
Subwoofers Inside Storage Bins - Installation and Pics

Thread Starter
Joined: Mar 2004
Posts: 612
Likes: 2
From: San Francisco
The minimal tools required for this installation include:
safety goggles and latex gloves
jigsaw with aggressive blades
dremel with sanding bits
electric drill with bits
2� masking tape
fiberglass, resin and a medium soft brush
bondo and plastic pallet and spreaders
knee pads - You�ll be kneeling a lot and there�s only a thin carpet between your knees and the FD�s uneven floor.
In the following posts, I will leave out the small details and outline only the big steps.
Thread Starter
Joined: Mar 2004
Posts: 612
Likes: 2
From: San Francisco
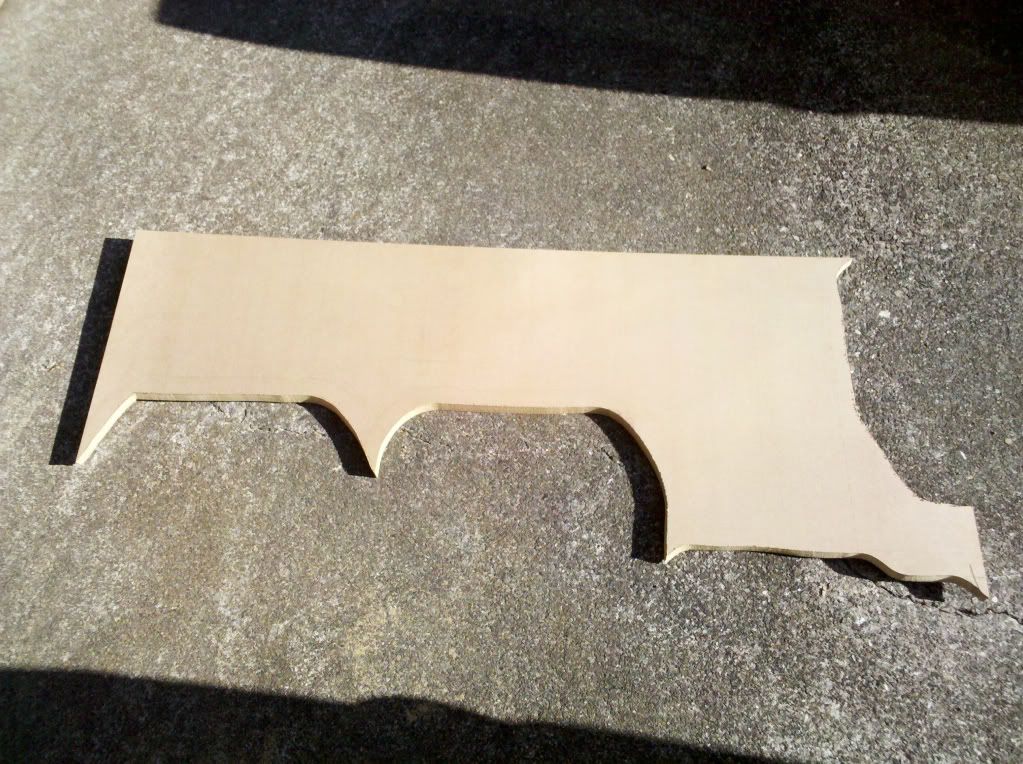
I laid down a few layers of fiberglass to cover the the back, bottom and transmission tunnel sides of the enclosures. For the other sides, I used posterboard to create templates for the baffle and front and outside walls of the enclosure using a single 2� x 4� sheet of 3/4� MDF. When making the templates, it�s important to consider that the posterboard is 1mm thick, whereas the MDF is 3/4�. Here�s the cutout to show the asymmetry between the right and left sides.
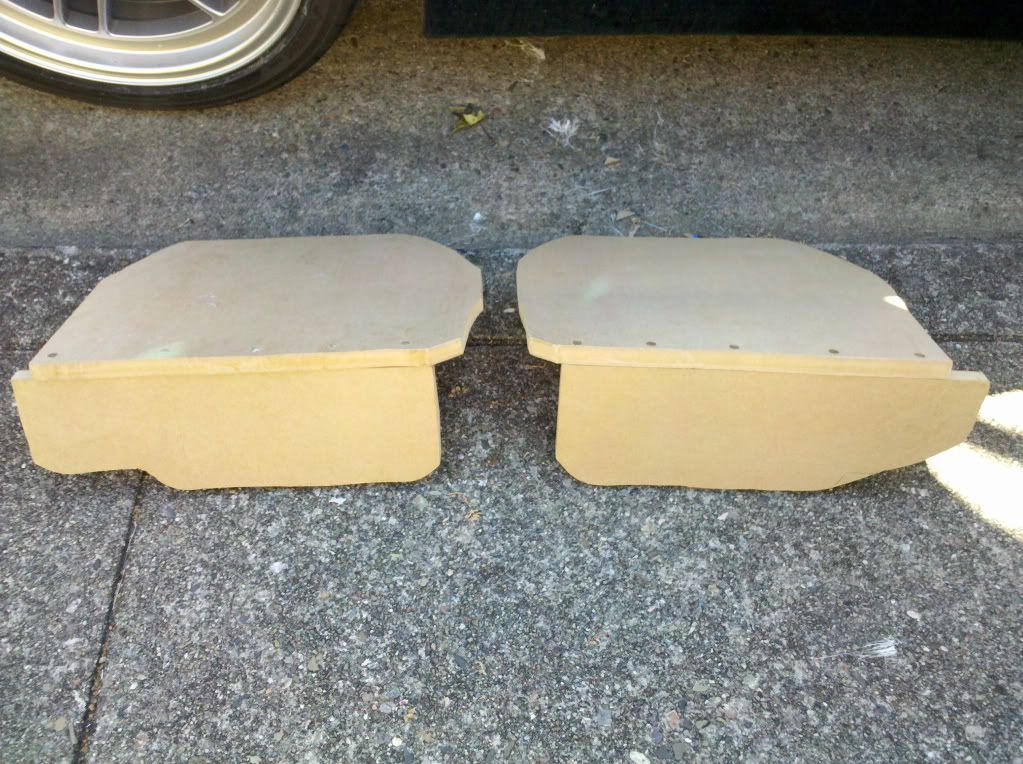
While I was waiting for each layer of the fiberglass to dry, I test-fitted the baffles...
And with countersunk holes I temporarily bolted them the front sides for further measurements. Notice the assymetry between the two sides due to differences in the FD�s frame.
 ]
]
While I was waiting for each layer of the fiberglass to dry, I test-fitted the baffles...
And with countersunk holes I temporarily bolted them the front sides for further measurements. Notice the assymetry between the two sides due to differences in the FD�s frame.
]
Thread Starter
Joined: Mar 2004
Posts: 612
Likes: 2
From: San Francisco
I made gaskets for the woofers and the ring terminals out of rubber foam to ensure the enclosures were completely airtight. Bondo was used to seal between the wood and the fiberglass. None of the bondo work will be seen, so there�s no need for �cleaning up� the look. The absolute most important factor is that enclosure is completely sealed. For each woofer, I used 2� #10-24 zinc bolts to ensure a good �bite� on the 3/4 MDF and tightly sandwich the grommet between the woofer basket and the baffle for an airtight seal.

I chose medium grey automotive carpet and laid it on top of the enclosures.
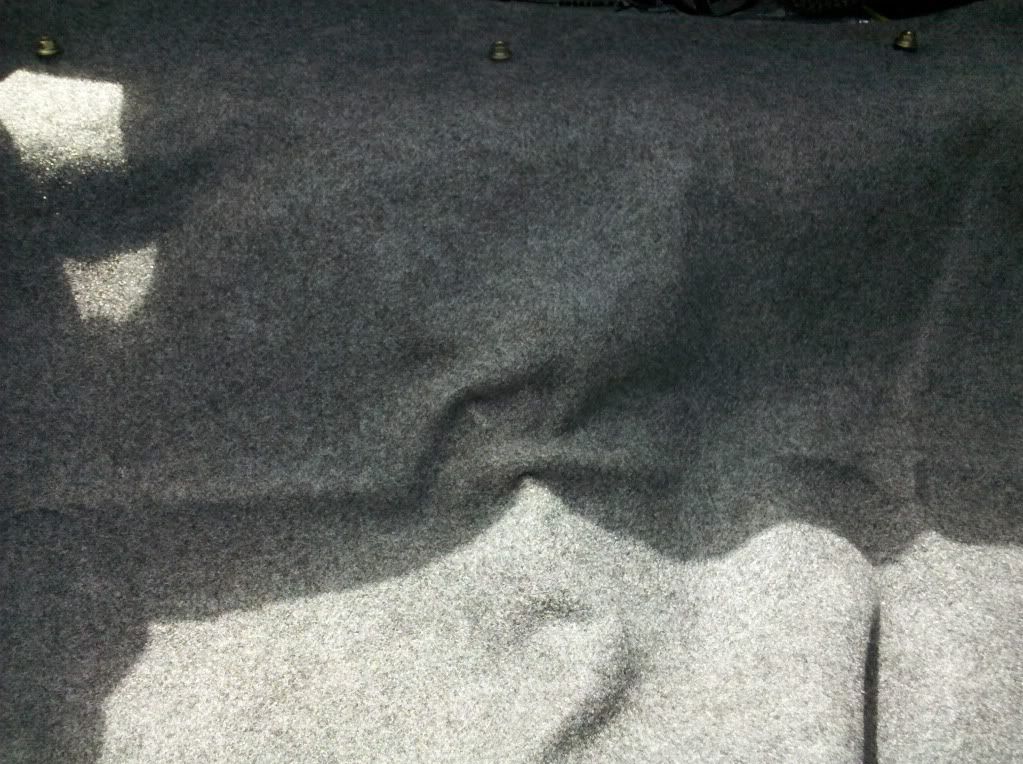
Using scissors, I cut around the woofers and used 3M 90 spray glue to stick the carpet.
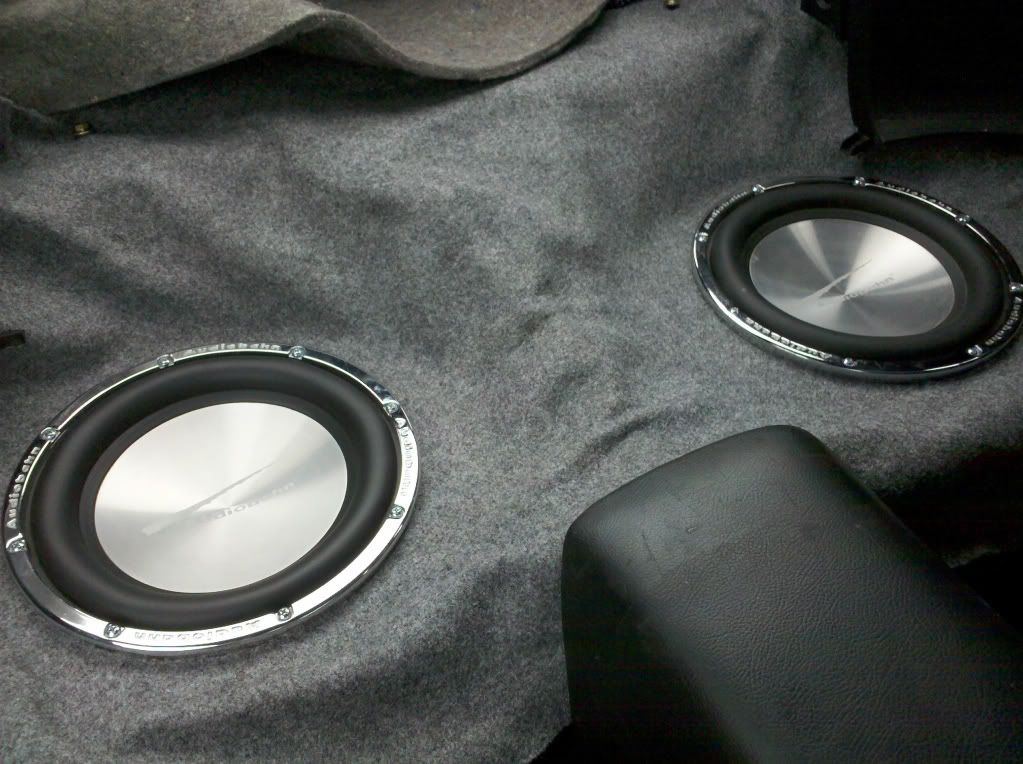
The system here is functionally complete, but exposed woofers are no bueno!

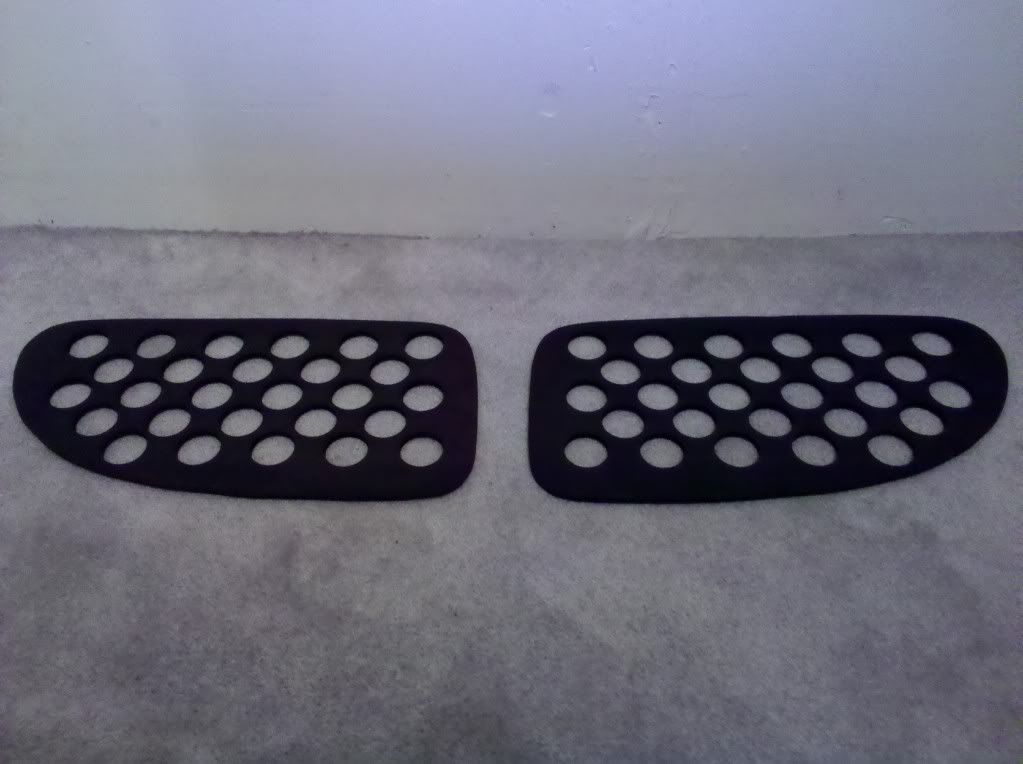
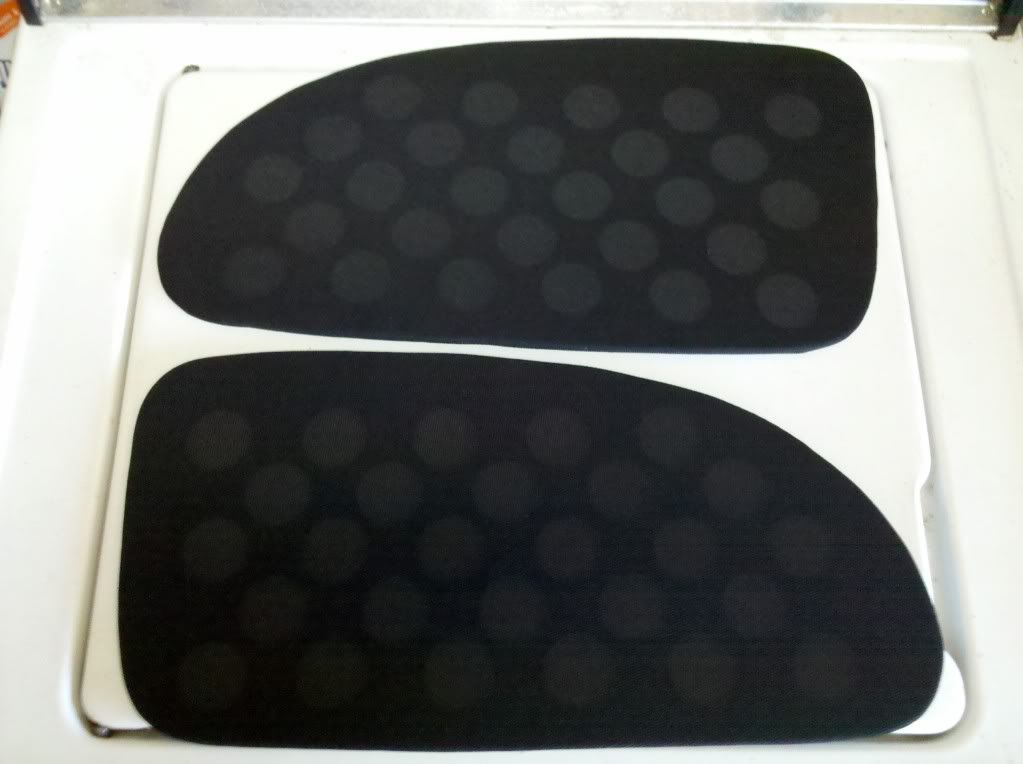
Now for cosmetics. I wanted to fabricate a strong cover, but allow the woofers to project uninhibited energy into the cabin. Once again I used posterboard and eyeballed the bin covers using scissors to create my templates. I then made the covers from 1/2� MDF, mapped out a slightly-angled cross pattern to complement the shape of the bins and used a hole saw to produce the strong covers.
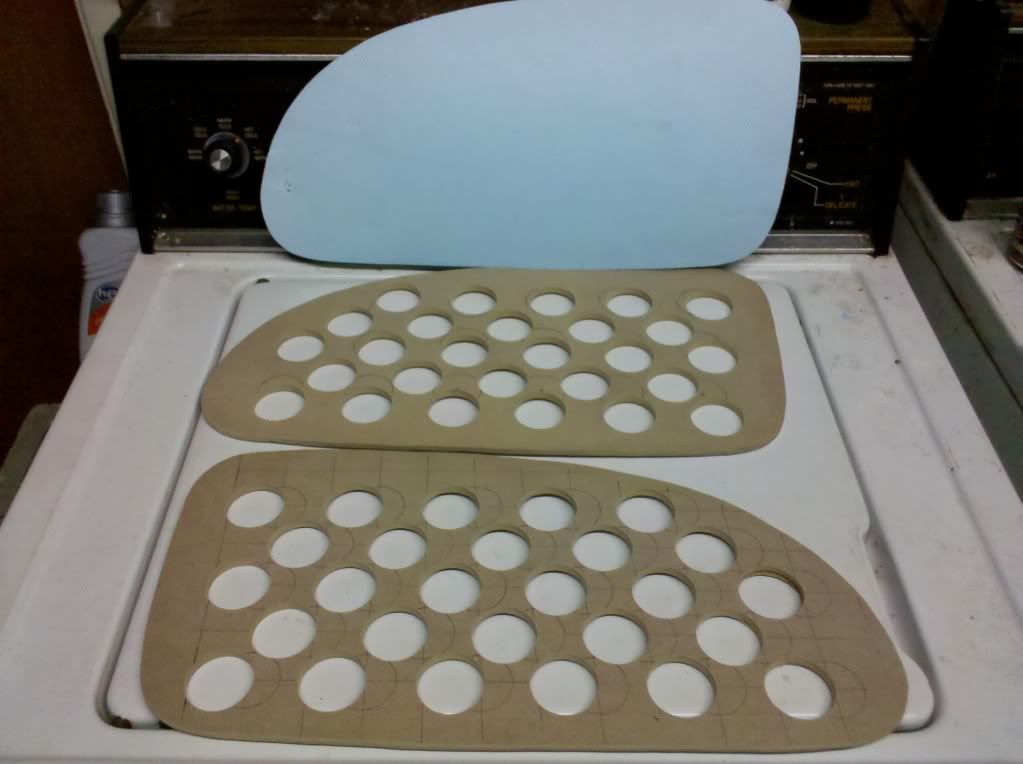
I then used DuPont flat black spray paint to match my interior.
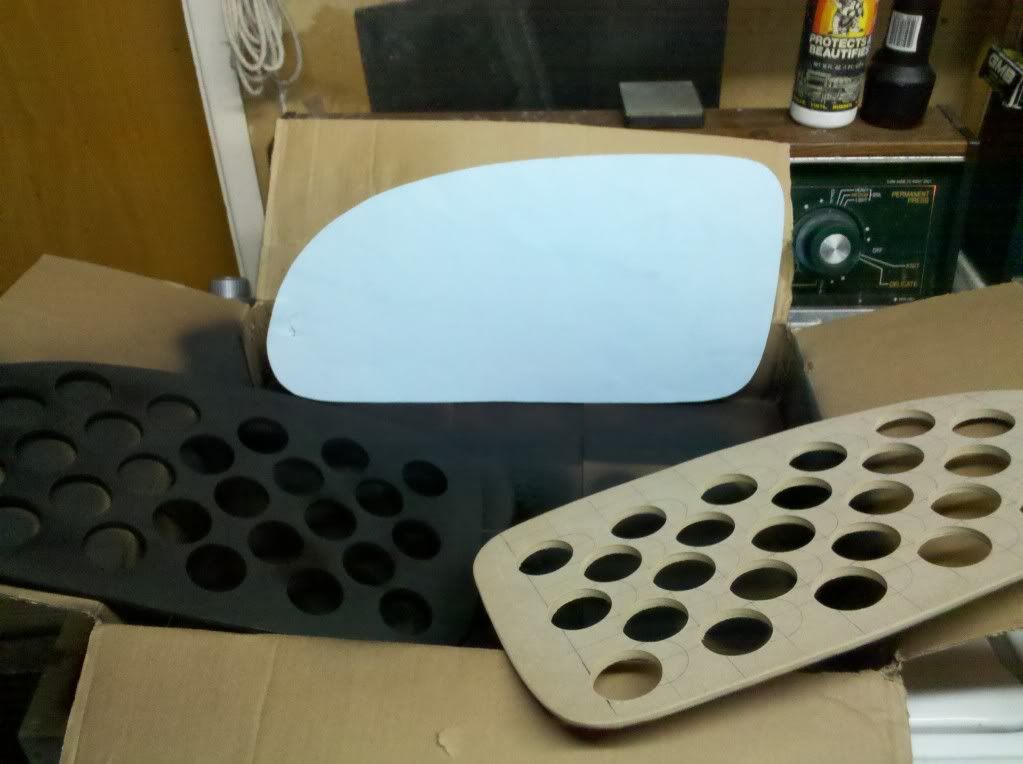
Using a sweeping motion, I used 4 thin coats, making sure to completely coat the insides of the circles.
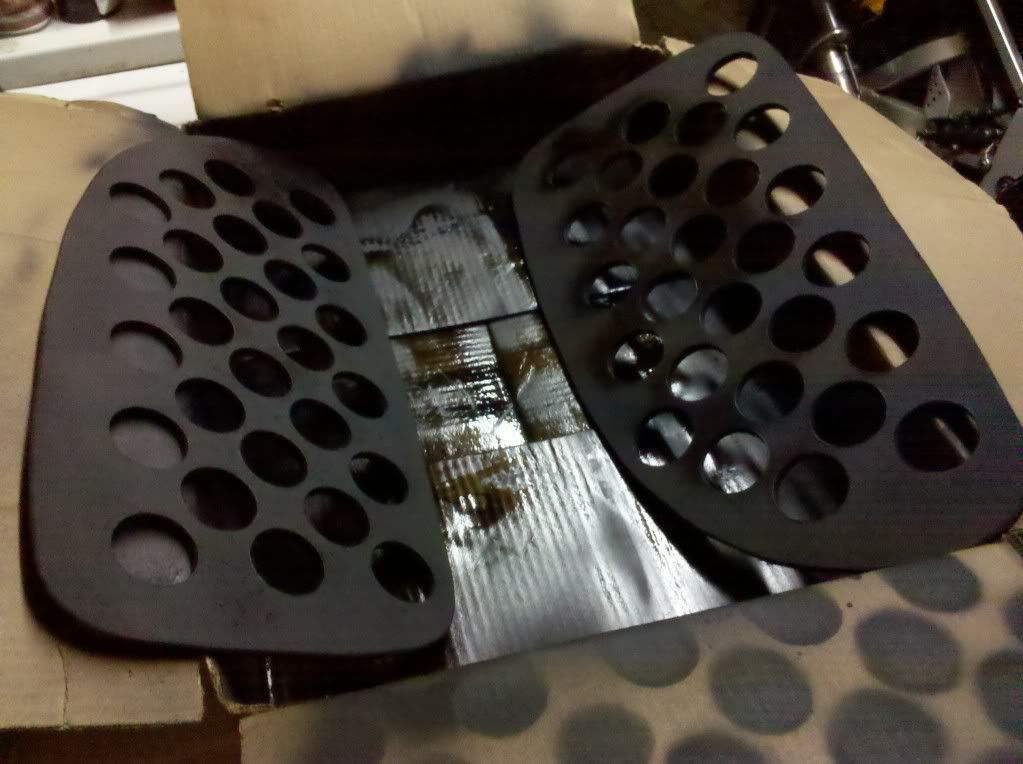
The covers were completely dry within an hour.
I chose medium grey automotive carpet and laid it on top of the enclosures.
Using scissors, I cut around the woofers and used 3M 90 spray glue to stick the carpet.
The system here is functionally complete, but exposed woofers are no bueno!
Now for cosmetics. I wanted to fabricate a strong cover, but allow the woofers to project uninhibited energy into the cabin. Once again I used posterboard and eyeballed the bin covers using scissors to create my templates. I then made the covers from 1/2� MDF, mapped out a slightly-angled cross pattern to complement the shape of the bins and used a hole saw to produce the strong covers.
I then used DuPont flat black spray paint to match my interior.
Using a sweeping motion, I used 4 thin coats, making sure to completely coat the insides of the circles.
The covers were completely dry within an hour.


Thread Starter
Joined: Mar 2004
Posts: 612
Likes: 2
From: San Francisco
Why?
Because there�s only 9� from the trunk floor to the bottom of the strut tower, which allows limited mounting positions for anything bigger than an 8� woofer. The goal here was to place two stacked-magnet, high-excursion 10� subwoofers as close to the listeners as possible and to focus their energy inside the cabin. Plus even a small sub box and amplifier in the trunk means carrying groceries in the passenger seat, which is a pain. Furthermore it�s just ghetto to tell girls:
�Sorry, I don�t have a trunk, just carry your purse and laptop, uh... on your lap, or by your feet... Yeah I know there�s no room.�
Great impression, huh. As if the FD�s interior wasn�t small enough already.
Installing the subwoofers in the bins places them in the lowest possible location in the car, keeping the center of gravity low and the woofers as close as possible to the listeners. This tutorial can be applied to FCs as well, since the interior layout is similar.
This installation requires knowledge and experience with the physics, mathematics, geometry of subwoofer cabinet design as well as competence with the use of fiberglass and bondo. You can probably acquire knowledge in these areas from the internet.
I�m hoping that by sharing this installation that people will perform their own clean and stock-looking installations in their cars.
I�m a Medical student, and this was a project I completed in between the hundreds of hours studying biochemistry and human physiology.
Trending Topics
Thread Starter
Joined: Mar 2004
Posts: 612
Likes: 2
From: San Francisco
Start with stock bins, which always just get filled with junk anyway...
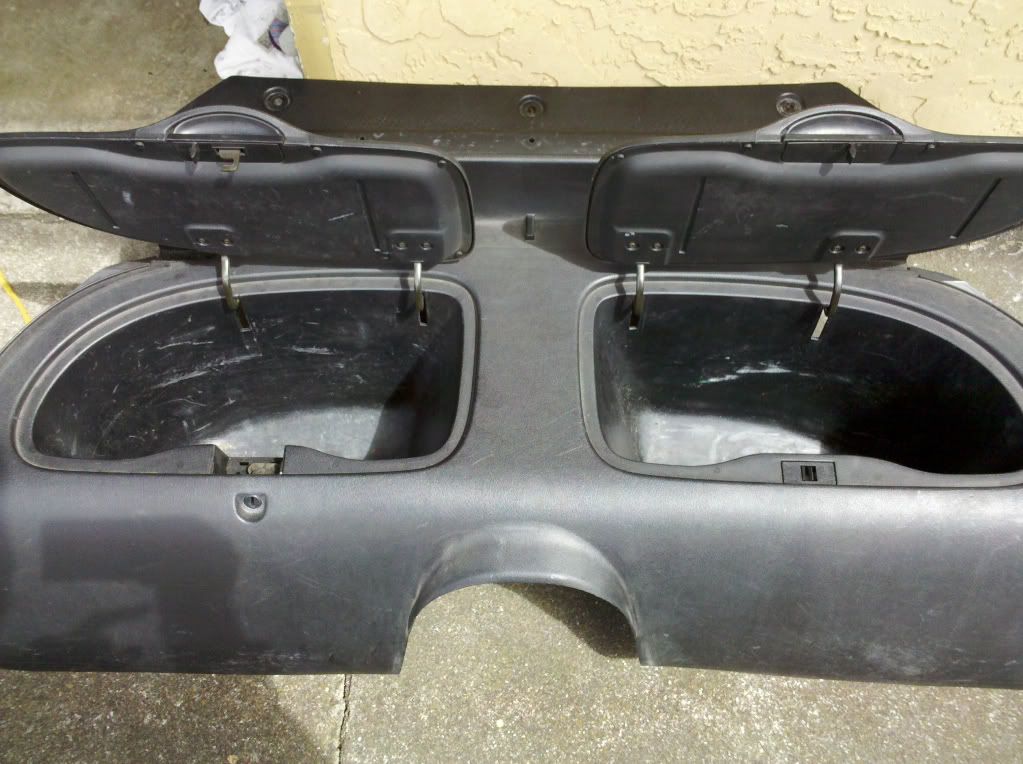
And use a dremel to cut out the bins. You�ll see that I will trim more of the lips later.

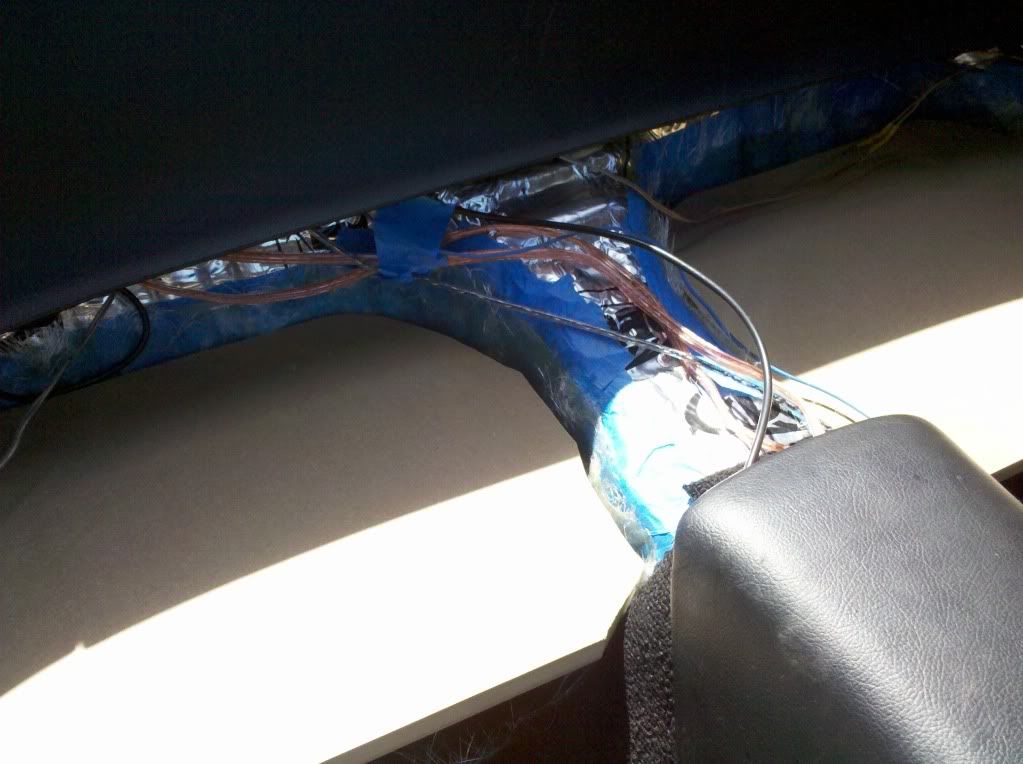
Place the bins shell back into the car and measure the available space appropriate to your woofers. Generally, 10� woofers will sound good in 0.5 (tighter bass) to 0.8 (looser bass) -cubic foot sealed enclosures. Since my preference is tight bass and reproductive accuracy over loose bass, I measured 0.55 cubic feet for each of the woofers, which will receive their own isolated enclosure. Since the FD rear seat area is rounded and not symmetrical, there will be a lot of geometric calculations here, but this is a critical step in the quality of your installation. A lot of you know that I have Dynamat laid over the back half of my FD, from the Sound Deadening thread https://www.rx7club.com/interior-exterior-audio-26/sound-dampening-information-151598/page3/, posts #78-81. Here I masked the area in preparation for the fiberglass.
And use a dremel to cut out the bins. You�ll see that I will trim more of the lips later.
Place the bins shell back into the car and measure the available space appropriate to your woofers. Generally, 10� woofers will sound good in 0.5 (tighter bass) to 0.8 (looser bass) -cubic foot sealed enclosures. Since my preference is tight bass and reproductive accuracy over loose bass, I measured 0.55 cubic feet for each of the woofers, which will receive their own isolated enclosure. Since the FD rear seat area is rounded and not symmetrical, there will be a lot of geometric calculations here, but this is a critical step in the quality of your installation. A lot of you know that I have Dynamat laid over the back half of my FD, from the Sound Deadening thread https://www.rx7club.com/interior-exterior-audio-26/sound-dampening-information-151598/page3/, posts #78-81. Here I masked the area in preparation for the fiberglass.
Thread Starter
Joined: Mar 2004
Posts: 612
Likes: 2
From: San Francisco
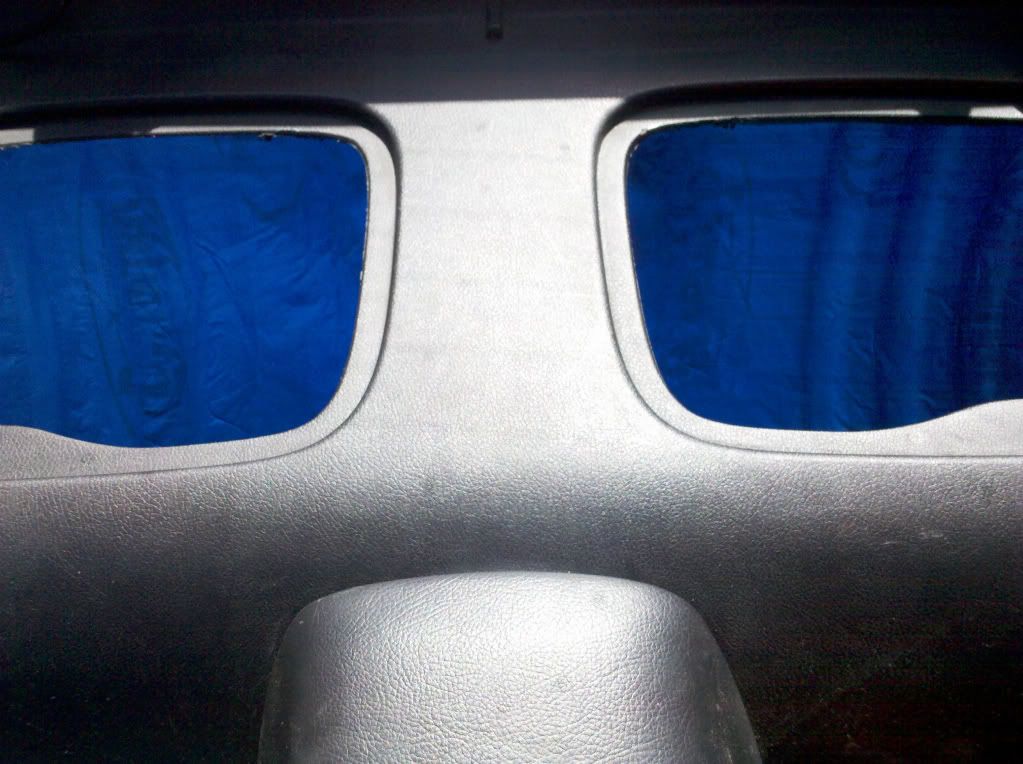
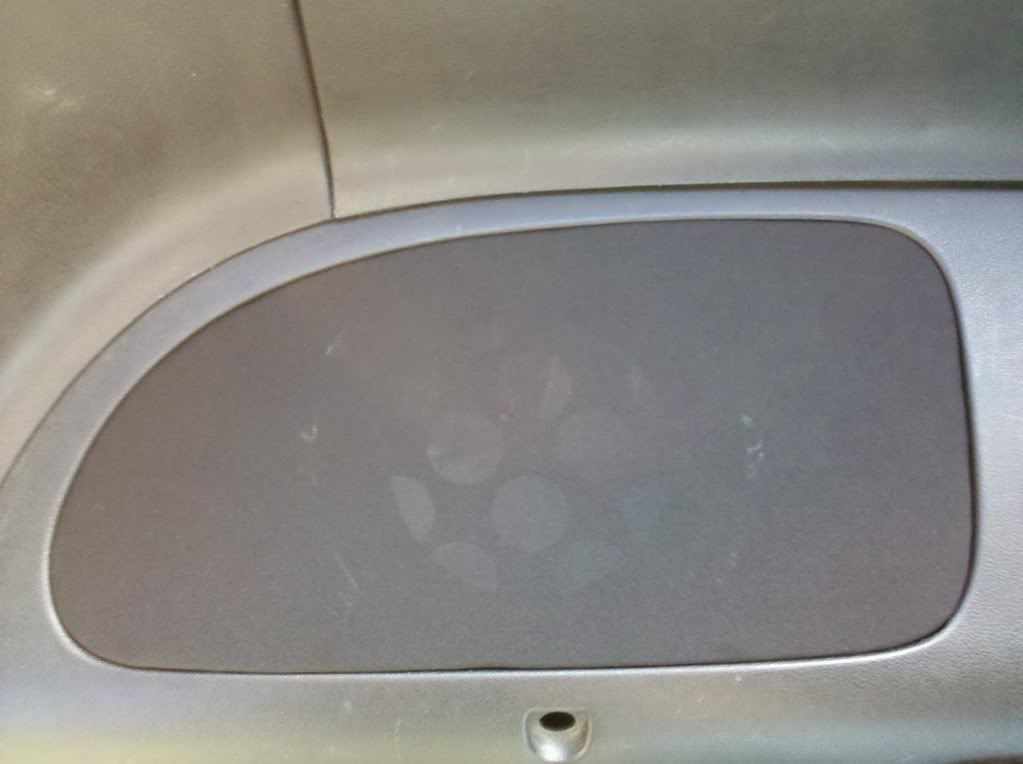
I then wrapped the painted covers in acoustically-transparent black fabic. I had to order this online; The minimum order was 1 square yard which was about $18 shipped. Once again I applied 3M spray glue on the under side lips of the covers.
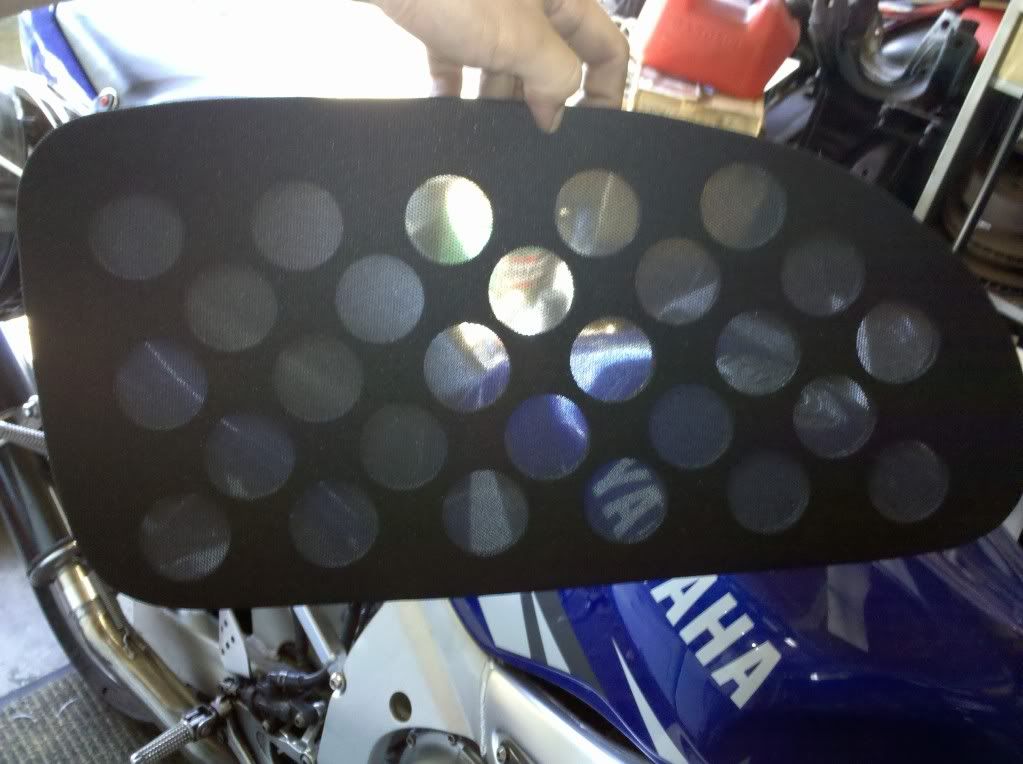
Another view. Note that the flash on my Droid camera phone against the white background exaggerates the visibility of the holes.
The passenger side cover installed...
And views of both finished bins. The camera flash against the aluminum woofer cones exaggerates the visibility of the holes, but you’re essentially seeing what the woofers see.
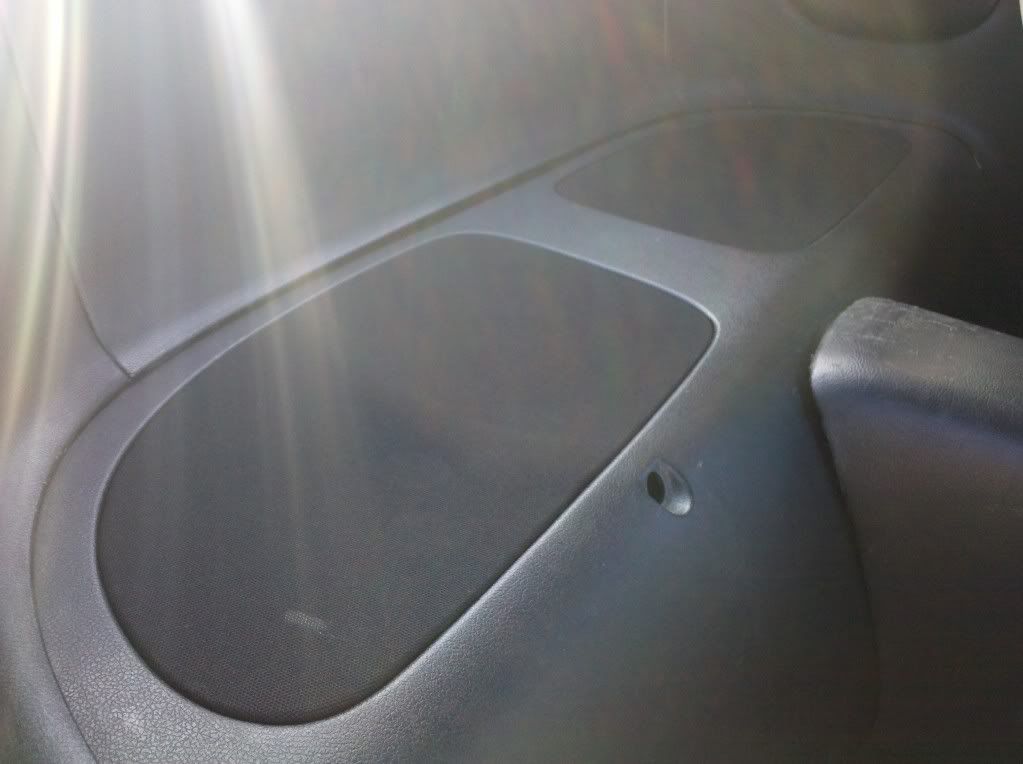
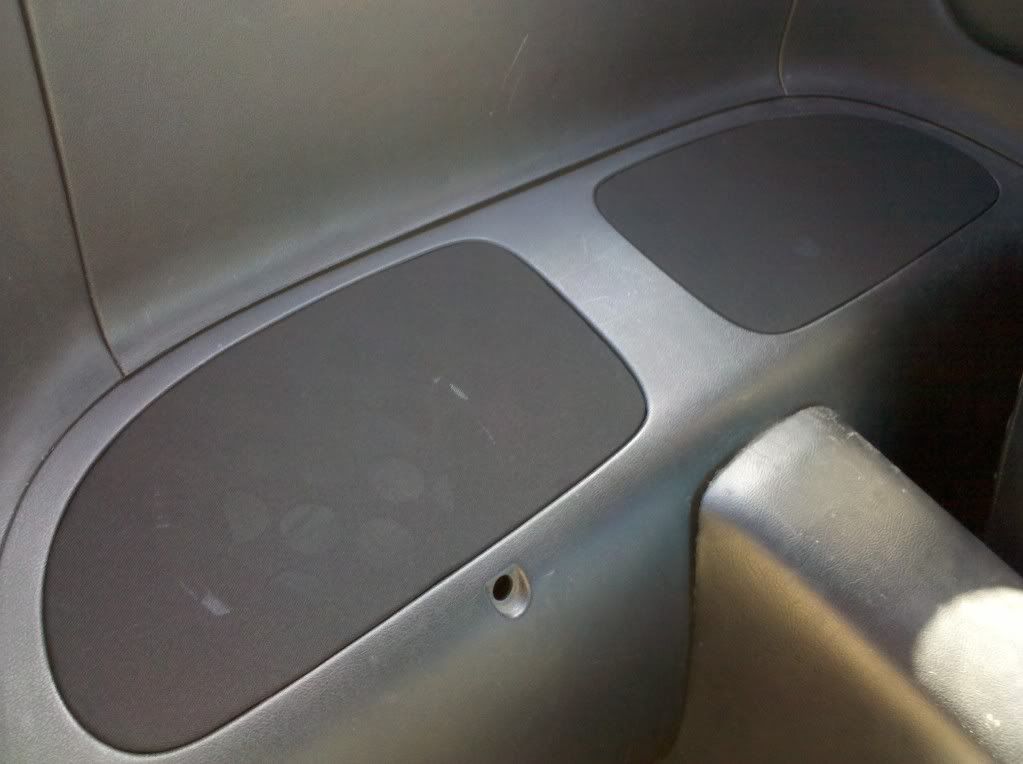
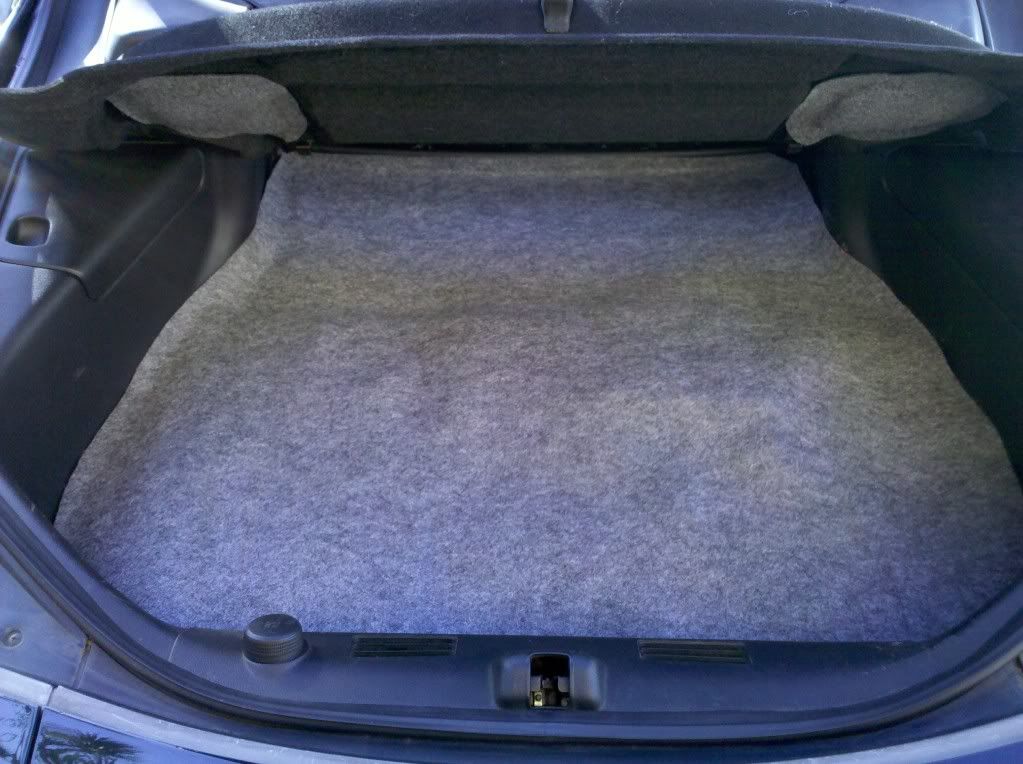
But I saved the best for last! You actually have a trunk! You can’t tell, but I also lined this with 2 layers of 1/4” sound-absorbing lint fabric. There’s also an Optima Yellow Top and Rockford Fosgate 4-channel amp mounted out of sight. I finished the trunk with the same grey automotive carpet. I absolutely love popping the hatch and seeing this:
About the installer...
Here’s me at my friend Cassie’s lake house up in Copperopolis earlier this summer. I should have know better, but I kept on drinking in the hot sun “cuz I didn’t feel anything.” In what would later be referred to by my friends as “The Vodka Waterfall,” I threw up a large volume of Grey Goose over the rocks leading down into the lake. (Hey I’m a Med student, so I don’t really drink, or apparently know when to stop!) Anyway I later napped out in the sun, and the girls covered me with towels. Good times!

Now for an encore...
So how does it sound?
No rattles courtesy of Dynamat Extreme that I installed 3 years ago. Here’s a demonstration of REAL SOUND DEADENING.
To my fellow RX-7 owners (and fellow Med students), thanks for reading ...and listening!
http://s248.photobucket.com/albums/g...=Norattles.mp4
Another view. Note that the flash on my Droid camera phone against the white background exaggerates the visibility of the holes.
The passenger side cover installed...
And views of both finished bins. The camera flash against the aluminum woofer cones exaggerates the visibility of the holes, but you’re essentially seeing what the woofers see.
But I saved the best for last! You actually have a trunk! You can’t tell, but I also lined this with 2 layers of 1/4” sound-absorbing lint fabric. There’s also an Optima Yellow Top and Rockford Fosgate 4-channel amp mounted out of sight. I finished the trunk with the same grey automotive carpet. I absolutely love popping the hatch and seeing this:
About the installer...
Here’s me at my friend Cassie’s lake house up in Copperopolis earlier this summer. I should have know better, but I kept on drinking in the hot sun “cuz I didn’t feel anything.” In what would later be referred to by my friends as “The Vodka Waterfall,” I threw up a large volume of Grey Goose over the rocks leading down into the lake. (Hey I’m a Med student, so I don’t really drink, or apparently know when to stop!) Anyway I later napped out in the sun, and the girls covered me with towels. Good times!
Now for an encore...
So how does it sound?
No rattles courtesy of Dynamat Extreme that I installed 3 years ago. Here’s a demonstration of REAL SOUND DEADENING.
To my fellow RX-7 owners (and fellow Med students), thanks for reading ...and listening!
http://s248.photobucket.com/albums/g...=Norattles.mp4

yea, it runs, kinda
Joined: Mar 2009
Posts: 111
Likes: 0
From: Eudora, Ks
nicely done man. looks great. I actually plan on doing something smililar over winter to my FC but only in one bin space i like to have at least one bin. and i plan on making it bandpass with a tinted plexiglass top. but i do like your idea of the vented lids or what have you. definitely will have to do a write up like this.

Beautiful job, I did the DamonB 10" box under the strut tower with an odyssey PC680 in the passenger bin and a JL 4 channel bolted to the back of the box hidden by the plastic divider. Your setup is significantly more prettier, thanks for sharing.


Thread Starter
Joined: Mar 2004
Posts: 612
Likes: 2
From: San Francisco
Yea, not my first choice, but...
The pair of Audiobahns went along with my goal of not spending craploads more money on my car, and they were the best woofers I had at the time. I didn't show the details, but swapping out the woofers (AND with different mounting holes I might add - see I WAS thinking forward! )would be a piece of cake - whenever I somehow feel like spending $600 on two JL W6v2s. (Yea, I'm dreaming...)
[ However...
These woofers actually handle a lot of power. I was originally running just one of them for about a year with easily over 300 RMS in a single box in the trunk, and the one by itself was one of the cleanest 10s I've installed - and I've installed a LOT of woofers. Not many 10's can handle 350 without blowing the voice coils. Again, that was for a year, and it's still going strong, and both hit hard and tight. And I can still make them boom if I want. I like pretty much in the ghetto, and I have no tolerance for crappy-sounding systems.
JL W3's would sound similar, but they definitely wouldn't sound hundreds of dollars better. And these woofers have serious stacked magnets and actually have longer throw than the W3s.
I took pics of the woofers before the install to show how serious the magnet structures are. Unfortunately, I powered off my Canon while removing the memory card, and consequently not only wiped the card, but now the Canon doesn't read ANY card at all. ]
The pair of Audiobahns went along with my goal of not spending craploads more money on my car, and they were the best woofers I had at the time. I didn't show the details, but swapping out the woofers (AND with different mounting holes I might add - see I WAS thinking forward!
)would be a piece of cake - whenever I somehow feel like spending $600 on two JL W6v2s. (Yea, I'm dreaming...)[ However...
These woofers actually handle a lot of power. I was originally running just one of them for about a year with easily over 300 RMS in a single box in the trunk, and the one by itself was one of the cleanest 10s I've installed - and I've installed a LOT of woofers. Not many 10's can handle 350 without blowing the voice coils. Again, that was for a year, and it's still going strong, and both hit hard and tight. And I can still make them boom if I want. I like pretty much in the ghetto, and I have no tolerance for crappy-sounding systems.
JL W3's would sound similar, but they definitely wouldn't sound hundreds of dollars better. And these woofers have serious stacked magnets and actually have longer throw than the W3s.
I took pics of the woofers before the install to show how serious the magnet structures are. Unfortunately, I powered off my Canon while removing the memory card, and consequently not only wiped the card, but now the Canon doesn't read ANY card at all. ]
Thread Starter
Joined: Mar 2004
Posts: 612
Likes: 2
From: San Francisco
I should have done it sooner! I see your Fosgate amps and the Dynamat too. I did this only months ago. It's awesome to have an FD with a system and a trunk! Good job on the install and congrats!
Vega, I posted pictures and even a video to share what's possible in the small FD chassis. I'm not trying to give a course in car audio here, although I could. A lot of time, a sore back and busted-up knees when into this installation. Anyone can talk; I'm showing what I've DONE.
I could go on for pages as far the wave cancellation measurements and audiodynamics underlying my design, but I left out a lot of calculations and details so as not to drive readers to boredom. I like details. I'm a Med student after all. Installing and working on my FD is what keeps me sane considering I spend 6-8 hours daily studying chromosome crossover events or glycolysis steps, intermediates, reactants, products and biochemical energy exchanges.
My type of bass is tight when I want it to tight, boomy when I have a girl in the passenger seat, and always clean. The bonus is that the woofers kick you in the back to the point of pain and distort your voice if you can somehow can manage to gasp for air. And getting the girl to cream in her panties even before we get to the club.
Edit: ^^ I meant W6v2's in the prior post.
Thread Starter
Joined: Mar 2004
Posts: 612
Likes: 2
From: San Francisco
Hopefully other fellow members will create their own subwoofer installations in the interior of the FD. I look forward to seeing other clean OEM installs.
Very nice. If I hadn't spent a good part of the last year on a different scheme I'd do this to my FD. I have a 4 cu ft box in my cargo area, housing 2 Kicker 10's and 2 Alpine Amps. I relocated an Optima yellow to the drivers side storage bin, along with my alarm system and associated relays. The passenger bin is in tact. I hardly ever have anyone else in my FD, so space is not as important to me as good sound
So the internal volume came out to .5 cu ft? Not much space for a 10" sub. Have you run any kind of tests to actually measure how low/loud you are going? What kind of music are you into?