
How-to re-upholster your headliner

Thread Starter
Joined: Jul 2001
Posts: 793
Likes: 1
From: Mascoutah, IL
How-to re-upholster your headliner
Is the fabric on your headliner falling down? Want to replace it with the quilted yellow vinyl with red stitching and "Type-R dragon-motif" embroidery that your grandma made for you?
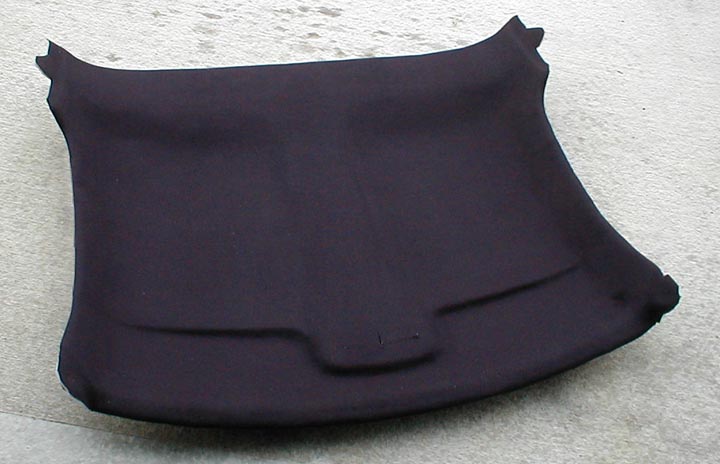
1) Remove the headliner from your car. I'm not going to help you there.
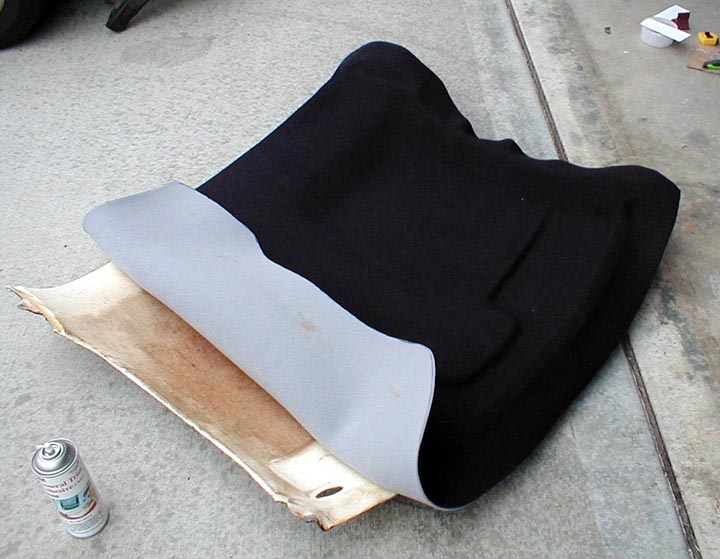
2) Start in the saggy areas and begin pulling the fabric off of the backing board. This will vary in difficulty according to your situation. You may want to use an exacto knife to cut away at extra-strongly-bonded areas, sort of like how you'd skin a baby seal, which is the perfect analogy since it's something everyone is taught in 3rd grade, by law.
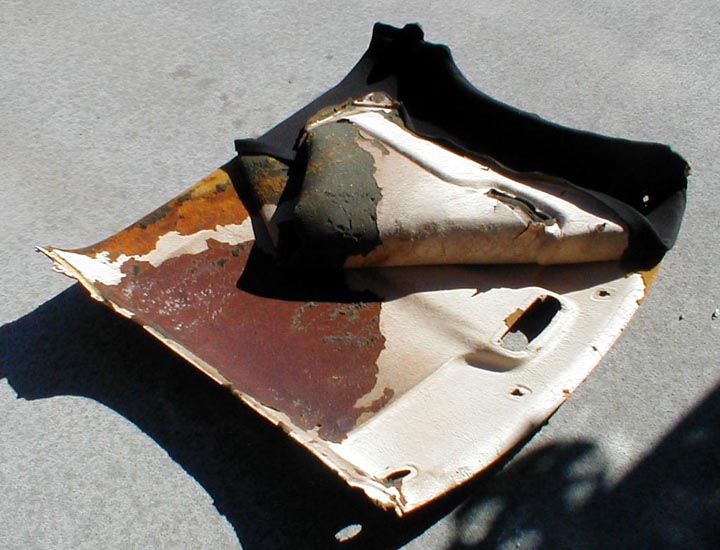
You can see in the pic above how in some places the foam stuck to the fabric, and the top layer of paper was removed from the cardboard, while in other areas the foam stuck to the board and the fabric pulled away from it. The areas where the foam remained on the board will become highly annoying to you in the next step.
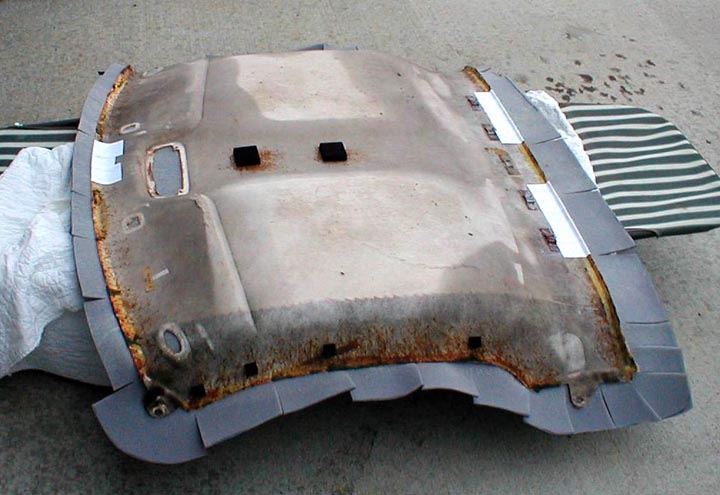
3) Remove the remaining foam from the board. Some of it I removed with my exacto-knife, and some of it I removed by sanding it off. (Sometimes I sprayed the foam with WD-40 and set it on fire so it would be easier to sand off after melting. I don't accept responsibility for accidents caused by that method.)
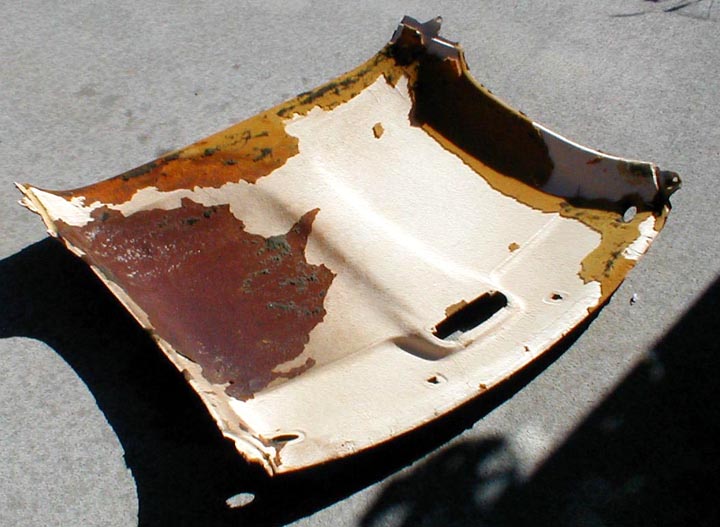
I don't know what the stain is on the passenger side of this pic. It smelled like rotting blood, but I'm hoping it was just a repair made by a previous owner using glue made from rendered animal products:
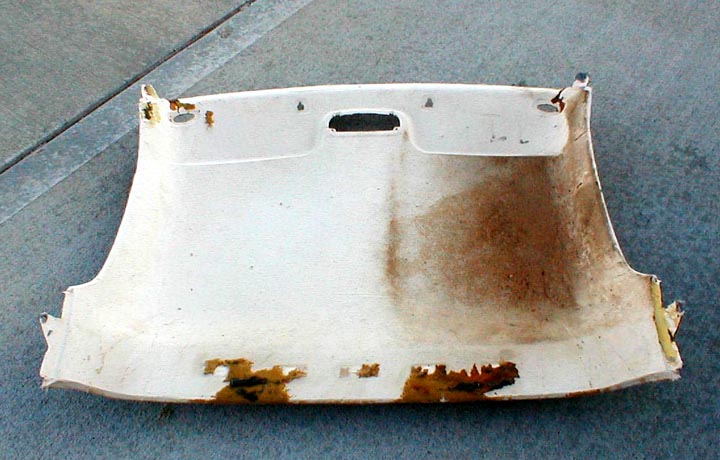
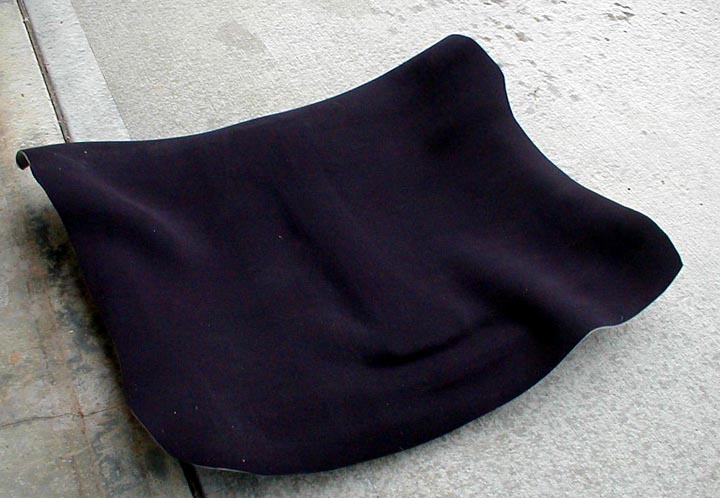
4) After the board is free of foam, you need to get some headliner material. I got mine (a 54" x 54" piece, I think) on Ebay for about $15.00. It's fabric specifically made for headliners and has a foam backing. Lay it on the board and cut out a shape the extends beyond the board by a few inches on all sides.
5) You also need spray adhesive. I am using 3M General Trim Adhesive. It has an adjustable spray pattern and comes in a big white can...You can sorta see the can in a couple of the pics.
6) I chose to apply the material to the board from the center outwards...I'd never done this before so I didn't know if that's the optimum method. My reasoning was that the center of the FD non-sunroof headliner is the flattest portion of it, so it would be easiest to start there and work outwards. This proved to be true.
I followed the directions on the can as far as the pattern of spray to use, applied it to both the board and the fabric in the general area that I wanted to adhere together, let the spray tack up, and slowly rolled the fabric across the board from back to front, smoothing it down with my hand.
Here it is with only the center stuck down:
7) Working from center outwards, I did about 6 inches at a time, spraying and sticking. You have to pay attention to the indented areas for the sun visors. If you don't let the spray tack up long enough (or wait too long) it's not going to stick well and the fabric will pull away from these places. This will ruin the headliner and prevent girls from responding randily to your automobile. Scientific research has shown that women look first at a guy's hair, then his shoes, then his ***, and lastly his car's headliner. Wrinkly or saggy headliners make nubile hottys join the convent. Don't mess up.
One side stuck down:
Both sides stuck down:
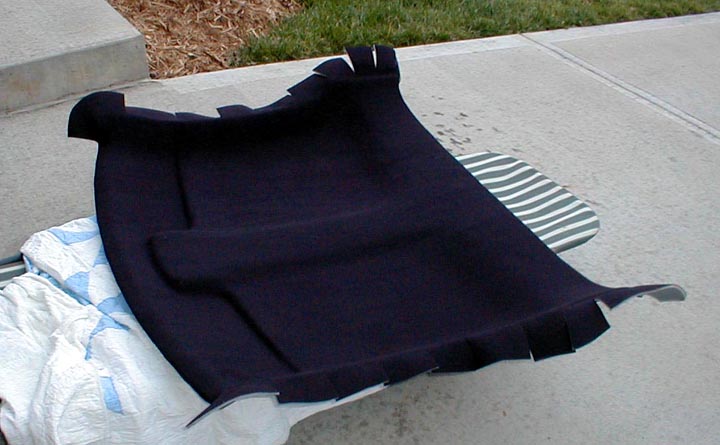
Cut notches around the perimeter so the excess can be folded over the edge easier. This excess is actually too excessive, and I ended up cutting it back to about 2 inches as you can see in the front. It's better to start with more than to have too little at the end.
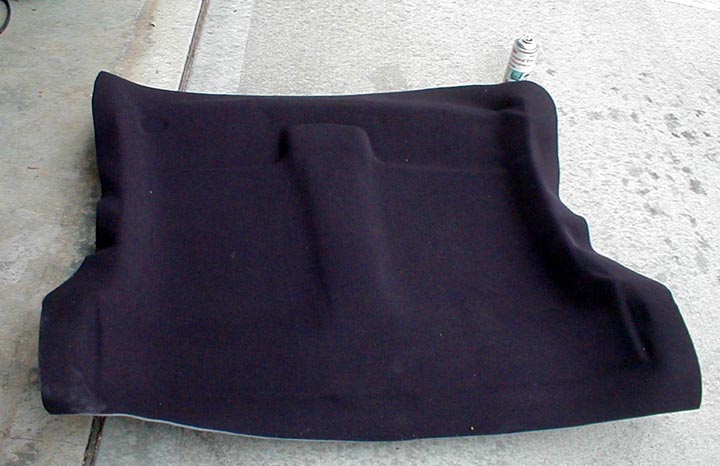
Here is the front and back edges folded over and stuck down. At this point I ran out of spray and had to stop. Also my wife came home and I had to put away groceries. I will add a final finished picture tomorrow probably:
I hope this is helpful to somebody.
-James
1) Remove the headliner from your car. I'm not going to help you there.
2) Start in the saggy areas and begin pulling the fabric off of the backing board. This will vary in difficulty according to your situation. You may want to use an exacto knife to cut away at extra-strongly-bonded areas, sort of like how you'd skin a baby seal, which is the perfect analogy since it's something everyone is taught in 3rd grade, by law.
You can see in the pic above how in some places the foam stuck to the fabric, and the top layer of paper was removed from the cardboard, while in other areas the foam stuck to the board and the fabric pulled away from it. The areas where the foam remained on the board will become highly annoying to you in the next step.
3) Remove the remaining foam from the board. Some of it I removed with my exacto-knife, and some of it I removed by sanding it off. (Sometimes I sprayed the foam with WD-40 and set it on fire so it would be easier to sand off after melting. I don't accept responsibility for accidents caused by that method.)
I don't know what the stain is on the passenger side of this pic. It smelled like rotting blood, but I'm hoping it was just a repair made by a previous owner using glue made from rendered animal products:
4) After the board is free of foam, you need to get some headliner material. I got mine (a 54" x 54" piece, I think) on Ebay for about $15.00. It's fabric specifically made for headliners and has a foam backing. Lay it on the board and cut out a shape the extends beyond the board by a few inches on all sides.
5) You also need spray adhesive. I am using 3M General Trim Adhesive. It has an adjustable spray pattern and comes in a big white can...You can sorta see the can in a couple of the pics.
6) I chose to apply the material to the board from the center outwards...I'd never done this before so I didn't know if that's the optimum method. My reasoning was that the center of the FD non-sunroof headliner is the flattest portion of it, so it would be easiest to start there and work outwards. This proved to be true.
I followed the directions on the can as far as the pattern of spray to use, applied it to both the board and the fabric in the general area that I wanted to adhere together, let the spray tack up, and slowly rolled the fabric across the board from back to front, smoothing it down with my hand.
Here it is with only the center stuck down:
7) Working from center outwards, I did about 6 inches at a time, spraying and sticking. You have to pay attention to the indented areas for the sun visors. If you don't let the spray tack up long enough (or wait too long) it's not going to stick well and the fabric will pull away from these places. This will ruin the headliner and prevent girls from responding randily to your automobile. Scientific research has shown that women look first at a guy's hair, then his shoes, then his ***, and lastly his car's headliner. Wrinkly or saggy headliners make nubile hottys join the convent. Don't mess up.
One side stuck down:
Both sides stuck down:
Cut notches around the perimeter so the excess can be folded over the edge easier. This excess is actually too excessive, and I ended up cutting it back to about 2 inches as you can see in the front. It's better to start with more than to have too little at the end.
Here is the front and back edges folded over and stuck down. At this point I ran out of spray and had to stop. Also my wife came home and I had to put away groceries. I will add a final finished picture tomorrow probably:
I hope this is helpful to somebody.
-James


Trending Topics
Thread Starter
Joined: Jul 2001
Posts: 793
Likes: 1
From: Mascoutah, IL
This is the material I bought and the seller I got it from...She's got a lot of colors.
http://cgi.ebay.com/54-x-54-FOAM-BAC...QQcmdZViewItem
http://cgi.ebay.com/54-x-54-FOAM-BAC...QQcmdZViewItem
Full Member
Joined: Mar 2003
Posts: 248
Likes: 0
From: Hawaii
Originally Posted by antiSUV
This is the material I bought and the seller I got it from...She's got a lot of colors.
http://cgi.ebay.com/54-x-54-FOAM-BAC...QQcmdZViewItem
http://cgi.ebay.com/54-x-54-FOAM-BAC...QQcmdZViewItem

Thread
Thread Starter
Forum
Replies
Last Post
Jeff20B
1st Generation Specific (1979-1985)
73
Sep 16, 2018 07:16 PM