
center caps

Thread Starter
Senior Member
Joined: Aug 2008
Posts: 349
Likes: 0
From: campbell river british columbia
center caps
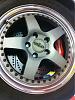
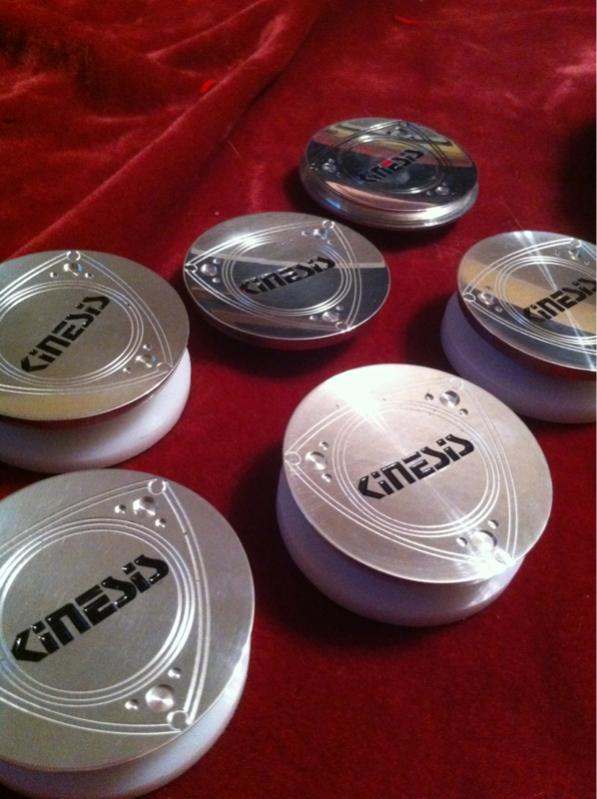
So!, I just finished a set of center caps for my work meisters, whatcha think? :P
ImageShack® - Online Photo and Video Hosting
ImageShack® - Online Photo and Video Hosting
ImageShack® - Online Photo and Video Hosting
ImageShack® - Online Photo and Video Hosting

Nice looking job. Font/style similar to Work itself. When can we see them installed? I would have expected them to be mostly flat so am curious what the bubble style will look like installed.
Thread Starter
Senior Member
Joined: Aug 2008
Posts: 349
Likes: 0
From: campbell river british columbia
I have a tester on a unfinished rim, no decal and its not polished. ill get them on the car today tho.


Thread Starter
Senior Member
Joined: Aug 2008
Posts: 349
Likes: 0
From: campbell river british columbia
Trending Topics
Could you pm me how you made them/ what they're made from? I have an idea but I'm curious to see if I'm right 
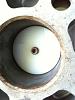
The center caps for my Kinesis wheels were pretty faded. I think they were originally the same color as the anodized finish on the centers.
My younger brother is a CNC programmer/ machinist. I am a mechanic. So we trade "trade skill for trade skill" I guess you would say. I told him I wanted new center caps and I came up with a design and we went back and forth improving on it. This picture includes a couple prototypes.
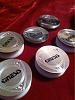
I enameled the engraving to make it stand out a bit more. Whatever type of aluminum he made them from, stays shiny and doesn't oxidize. I just hit it with a bit of polish when I do the wheel lips.
I'll have to get a better picture tonight.
The center caps for my Kinesis wheels were pretty faded. I think they were originally the same color as the anodized finish on the centers.
My younger brother is a CNC programmer/ machinist. I am a mechanic. So we trade "trade skill for trade skill" I guess you would say. I told him I wanted new center caps and I came up with a design and we went back and forth improving on it. This picture includes a couple prototypes.
I enameled the engraving to make it stand out a bit more. Whatever type of aluminum he made them from, stays shiny and doesn't oxidize. I just hit it with a bit of polish when I do the wheel lips.
I'll have to get a better picture tonight.


Thread Starter
Senior Member
Joined: Aug 2008
Posts: 349
Likes: 0
From: campbell river british columbia
Could you pm me how you made them/ what they're made from? I have an idea but I'm curious to see if I'm right
The center caps for my Kinesis wheels were pretty faded. I think they were originally the same color as the anodized finish on the centers.
Attachment 497796
My younger brother is a CNC programmer/ machinist. I am a mechanic. So we trade "trade skill for trade skill" I guess you would say. I told him I wanted new center caps and I came up with a design and we went back and forth improving on it. This picture includes a couple prototypes.
Attachment 497798
I enameled the engraving to make it stand out a bit more. Whatever type of aluminum he made them from, stays shiny and doesn't oxidize. I just hit it with a bit of polish when I do the wheel lips.
I'll have to get a better picture tonight.
Attachment 497799
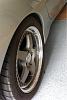
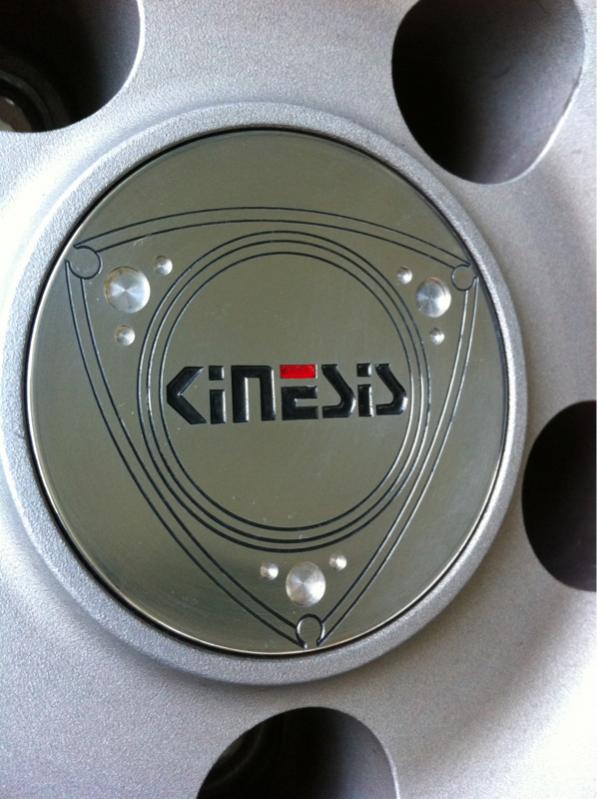
Got some better pictures of the center caps and the mounting method. Please don't mind the dirty wheels
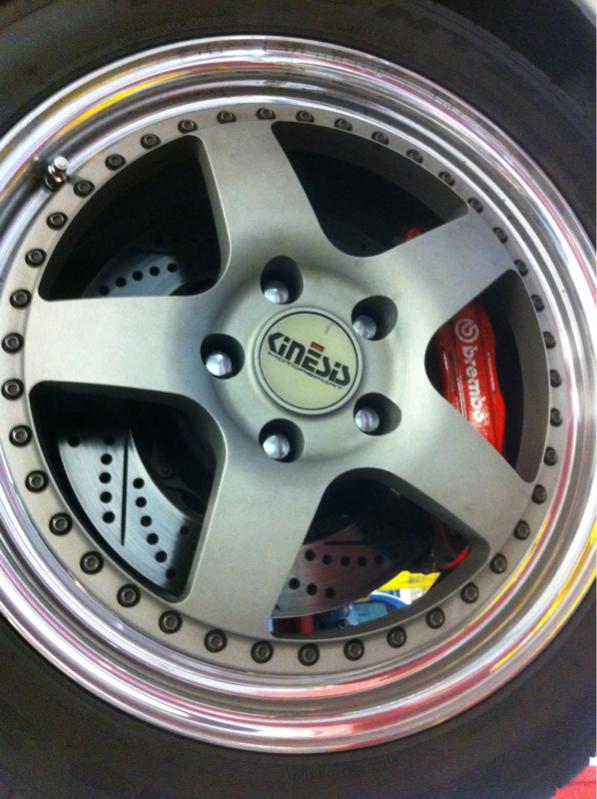
I forgot how hard it is to take a good photo of them. The engraved surface is concave like the factory cap, so it acts like a magnifier for anything in the background.
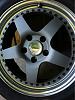
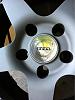

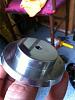
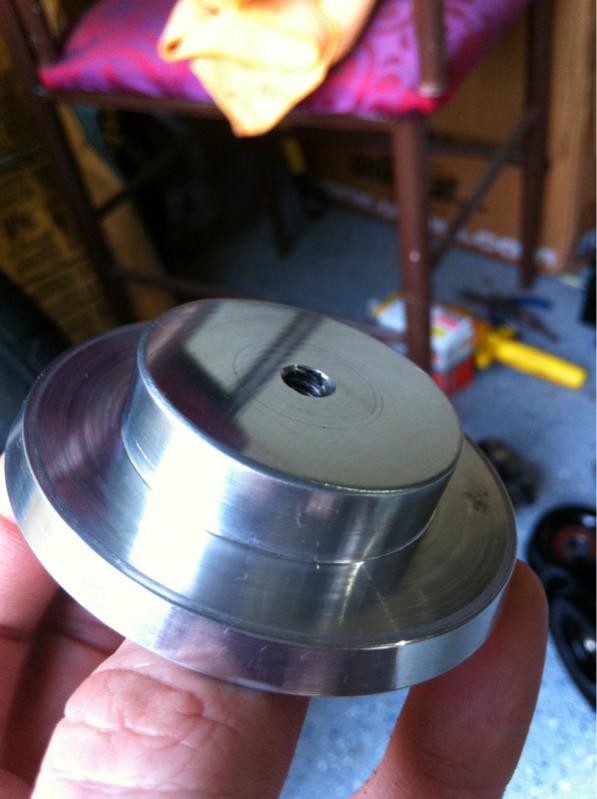
They are attached to the wheel by a cap screw and a nylon disk that goes in the backside of the center bore. The nylon disk rests against the small flange that the factory cap's plastic tabs clip into.
Yea I know I still need to put in new stainless cap screws. The black oxide screws were on hand at the time.
I forgot how hard it is to take a good photo of them. The engraved surface is concave like the factory cap, so it acts like a magnifier for anything in the background.


They are attached to the wheel by a cap screw and a nylon disk that goes in the backside of the center bore. The nylon disk rests against the small flange that the factory cap's plastic tabs clip into.

Yea I know I still need to put in new stainless cap screws. The black oxide screws were on hand at the time.
Thread Starter
Senior Member
Joined: Aug 2008
Posts: 349
Likes: 0
From: campbell river british columbia
Got some better pictures of the center caps and the mounting method. Please don't mind the dirty wheels
I forgot how hard it is to take a good photo of them. The engraved surface is concave like the factory cap, so it acts like a magnifier for anything in the background.
Attachment 497834
Attachment 497835
Attachment 497836
They are attached to the wheel by a cap screw and a nylon disk that goes in the backside of the center bore. The nylon disk rests against the small flange that the factory cap's plastic tabs clip into.
Attachment 497837
Attachment 497838
Yea I know I still need to put in new stainless cap screws. The black oxide screws were on hand at the time.
Thanks man! It was really difficult to decide how much detail to try and put into the rotor outline. Had to do a bunch of measurements, drawings and photos for my brother during the design phase. I'm sure he put many many hours into the programming. From concept to completion was probably 2 months cause it was mostly in his free time. I couldn't thank him enough, and I wish I had the badass skills to do them myself.
Bring this back from the dead. I have these exact wheels and they are missing center caps. Is the OP still around or anyone capable of making something like this? OEM center caps are very hard to find and very expensive for some new old stock caps.