RX7Club.com - Mazda RX7 Forum
  • LOG IN
  • REGISTER
  • Forums
    • New Member Section
      • How to use this Site
      • Introduce yourself
      • New Member RX-7 Technical
      • Website-related Comments, Suggestions and Issues
    • Vendors Forums
      • Private Vendor Forums
      • Vendor Classifieds
    • Generation Specific
      • 3rd Generation Specific (1993-2002)
      • 2nd Generation Specific (1986-1992)
      • 1st Generation Specific (1979-1985)
      • Old School and Other Rotary
    • Tech and Performance
      • General Rotary Tech Support
      • Race Car Tech
      • Single Turbo RX-7's
      • Rotary Car Performance
      • V-8 Powered RX-7's
      • Suspension/Wheels/Tires/Brakes
      • Engine Management Forum
      • Interior / Exterior / Audio
    • Classifieds
      • The NEW RX7 Marketplace
      • New/Old Products Review - Non Vendor parts
    • Regional Forums / Upcoming Events
      • Rotary Owner Events
      • NE RX-7 Forum
      • SE RX-7 Forum
      • Midwest RX-7 Forum
      • Mountain RX-7 Forum
      • South RX-7 Forum
      • NW RX-7 Forum
      • West RX-7 Forum
      • Canadian Forum
      • European Forum
      • Australia and New Zealand Forum
      • Far East Forum
      • Latin America Forum
    • General Topics
      • Racing Kills Lounge
      • RX-7 Audio/Visual Lounge
      • Test Area 51
    • Rotary Archives
  • Marketplace
    • Vendor Directory
    • Become a Vendor
    • Member Marketplace
    • Vendor Marketplace
  • New Posts
  • Tools
    • Car Payment Calculator
    • Tire Rim Calculator
    • Vin Decoder
    • Recalls
    • Technical Service Bulletins (TSBs)
    • Members List
    • Live Feed
  • Gallery
  • View Dark Mode
    • Please register or login to enable Dark Mode.
  • Log In
  • Register
RX7Club.com - Mazda RX7 Forum
    • Threads
      • Advanced
Dark Mode

Please register or login to enable Dark Mode.

Log In

Forgot your Password?

By logging into your account, you agree to our Terms of Use and Privacy Policy, and to the use of cookies as described therein.
or
 
  • Recent
  • Commented
  • Albums
  • My Pictures

erick31876's Photos

View Profile
Sort:
Most Recent
  • Most Recent
  • Most Comments
  • Albums
  • Photos
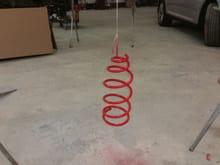
Here it is with the clear coat on.
0 2015/09/25 17:59:04 erick31876
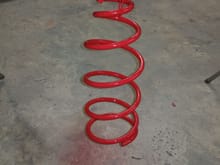
I decided to paint the springs the same exact color as the car. So I mixed up some rh sunrise red. Here it is with the base coat on
0 2015/09/25 17:55:24 erick31876
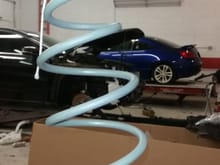
Here is the left front spring sandblasted and etch primed.
0 2015/09/25 17:53:50 erick31876
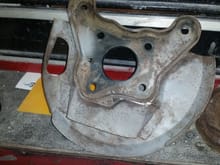
I got one spring and this much done on this plate before I ran out of sand
0 2015/09/25 17:51:48 erick31876
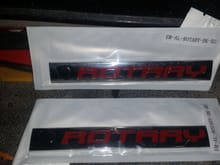
And some rotary emblems that I got off of eBay. I'm not sure where to put them, im thinking maybe on the fenders instead of the rx7 emblem.or just one of them above one of the tail lights
0 2015/09/14 15:37:17 erick31876
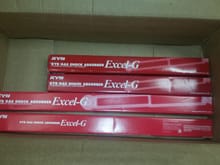
Kyb rear shocks, and front strut inserts
0 2015/09/14 15:35:08 erick31876
0 2015/09/12 15:42:55 erick31876
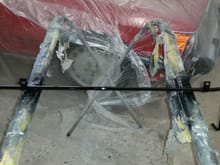
Also did the metal coolant line that runs along the passenger side frame rail
0 2015/09/12 15:41:29 erick31876
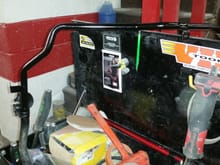
Sanded and painted the metal tube that goes to the brake booster
0 2015/09/12 15:40:16 erick31876
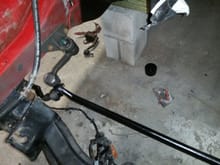
I installed the new moog idler arm to make room for the turbo
0 2015/09/12 15:39:00 erick31876
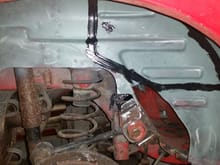
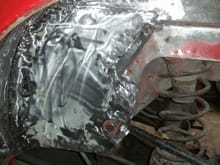
Re  seam sealed the wheel well, tomorrow I'll weld my patch in and paint it
Re seam sealed the wheel well, tomorrow I'll weld my patch in and paint it
0 2015/08/29 17:30:06 erick31876
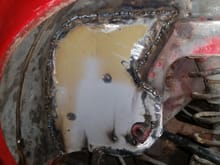
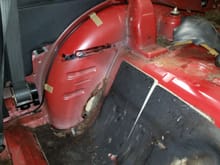
Grinded all of the crap out of the wheel well, and wire wheeled what wad left of the seam sealer out, again this side not to bad
0 2015/08/29 17:27:59 erick31876
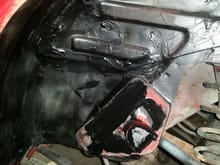
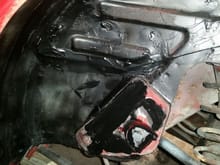
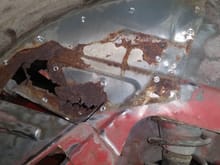
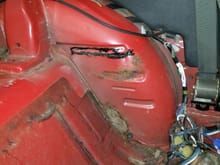
I cut out all of the rusted metal, this side isn't that bad at all
0 2015/08/29 17:26:23 erick31876
0 2015/08/23 11:16:10 erick31876
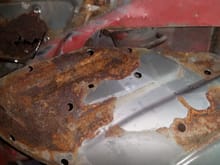
I started my rust repair on the passenger side. Thank God it's not as bad as the drivers side. This is the only rust on this side, one little patch and im done with the rust repair
0 2015/08/23 11:11:45 erick31876
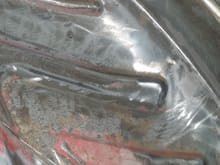
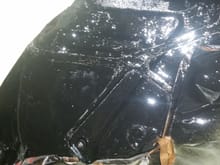
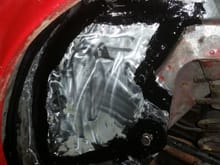
All painted with por15, looks shiny cause of flash
0 2015/08/17 15:08:50 erick31876
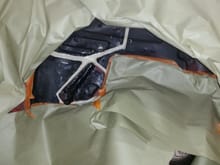
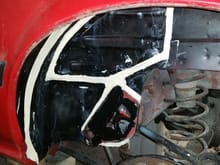
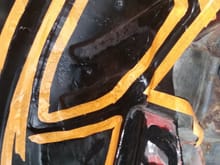
Taped up, all ready for por15 paint
0 2015/08/17 15:06:13 erick31876
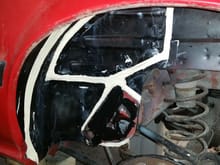
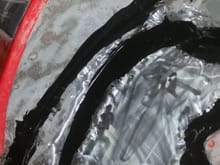
Re-seam sealed. The entire wheel well
0 2015/08/16 17:31:01 erick31876
Finished welding in my last patch, and went around the edges with panel bond
0 2015/08/16 17:29:48 erick31876
Here it is with the seam sealing done, just have to wait for it to dry a little bit so I can paint it
0 2015/08/16 12:55:30 erick31876
Taped up all of the seams in preparation for seam sealer
0 2015/08/16 12:54:30 erick31876
Finally welded in my last patch, and went around all of the edges with panel bond
0 2015/08/16 12:53:07 erick31876
I also scraped out what was left of the non existing seam sealer and re sealed the wheel well with panel bond, when im all done with the outer patches and bodywork I will go over all of the seams with seam sealer
0 2015/08/08 17:28:02 erick31876
After grinding all of the welds, I wrnt ovet them with panel bond as a added strength and sealing measure.
0 2015/08/08 17:26:12 erick31876
Finished welding and grinding the first patch
0 2015/08/08 17:25:07 erick31876
Here it is completely welded all except for the spot welds at the bottom which I will do with the spot welder. Tomorrow after work I will finish it and weld in the other plates
0 2015/08/07 18:48:26 erick31876
Here it is tacked in and the bolt hole for the suspension cut out
0 2015/08/07 18:46:52 erick31876
I forgot to mention that the patch that I previously made was way to thick and couldn't be shaped right with hand tools, I could have used it if I would have used multiple pieces to make it, but I just wanted to use one single piece. So I took a damaged hood that we had laying around the shop and cut the skin offand made my rough patch from that.here it is clamped in and slightly shaped
0 2015/08/07 18:39:49 erick31876
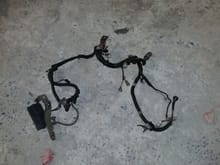
The last harness part I need came today, now I can finish my wiring
0 2015/07/27 15:49:28 erick31876
Here is what it looks like with all of the rusted metal cut out. After talking this picture my phone battery was really low, so I couldn't take any more pictures. I got my patch cut out, I also etch primer ed it so I don't get any rust finger prints on it from touching it while shaping it and installing it, and I got all of my spot welds ground down and cleaned up. When I get into work, I will take some pictures of what I just mentioned. I'll have another update in a few hours

0 2015/07/26 06:21:39 erick31876
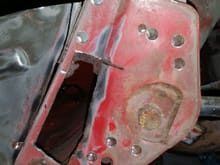
And behind that plate
0 2015/07/25 13:15:09 erick31876
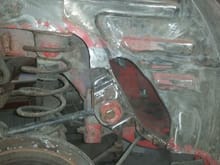
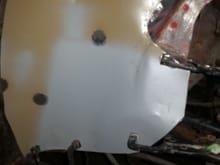
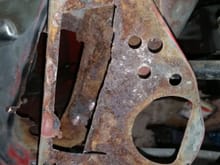
Here is the plate that strengthens the suspension
0 2015/07/25 13:14:53 erick31876
This is the back of the upper plate
0 2015/07/25 13:12:59 erick31876
Notice how the rust starts right below the edges of the upper plate
0 2015/07/25 13:12:51 erick31876
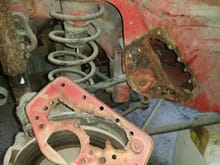
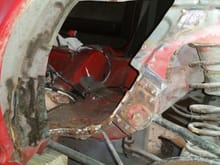
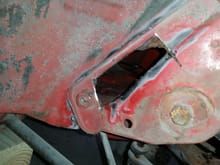
Started cutting out the rust from the driver's side, since it is the worst side.
0 2015/07/19 14:32:57 erick31876
Here's what I'm talking about , this is after cleaning that stuff has to go
0 2015/07/19 14:31:23 erick31876
I hope this will help
0 2015/07/19 13:05:00 erick31876
driver side Wheel well is a little worse, the thing I don't get is that on the outside there is no rust at the top, but on the inside there is. It's a good thing I have a big piece of sheet metal
0 2015/07/16 17:58:25 erick31876
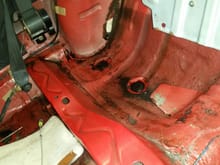
passenger side wheel well, not too bad.
0 2015/07/16 17:57:09 erick31876
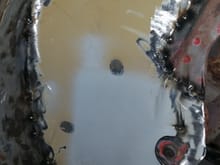
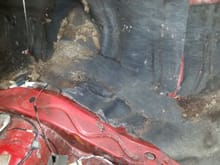
this is what I found under the Bin metal,about 5 pounds of Mouse turds
0 2015/07/16 17:55:56 erick31876
First
Page
4 of 6
Last
Go To
Page
  • 1
  • 2
  • 3
  • 4
  • 5
  • 6
4 of 6
Go To GO
Go to page of 6 pages
  • 1
  • 2
  • 3
  • 4
  • 5
  • 6

Top
RX7Club.com - Mazda RX7 Forum
  • Contact Us
  • FAQ
  • Archive
  • Advertising
  • Cookie Policy
  • Privacy Statement
  • Terms of Service
  • Your Privacy Choices
  • Manage Preferences

© 2026 MH Sub I, LLC dba Internet Brands

Follow Us        


When you click on links to various merchants on this site and make a purchase, this can result in this site earning a commission. Affiliate programs and affiliations include, but are not limited to, the eBay Partner Network.