
DIY: Junkyard Wheel Reconditioning

DIY: Junkyard Wheel Reconditioning
This was a great thread, and I really believe it belongs here. 
Went to the Junkyard looking for ball studs for a custom job that I wanted to do and I was looking around at all of the Crown Vics and Taurus's laying around. I happen to glance to the side and see this 89 Lincoln Mark VII, so I look at the wheels and sure enough it has the meshies on it! I have been looking around for these for a couple of years and most Crown Vics/Grand Marquies and early Marks have the wheels taken already.
The wheels are in decent shape. Took me some time to take them off the car with the wheel locks on them. The fronts came off ok, but the rears wouldn't budge. So one of the guys working at the yard moved the car with a loader to the garage and we torched the wheel locks off. You can see the burn marks left from the torch in the pics, but there was no damage to the wheels.
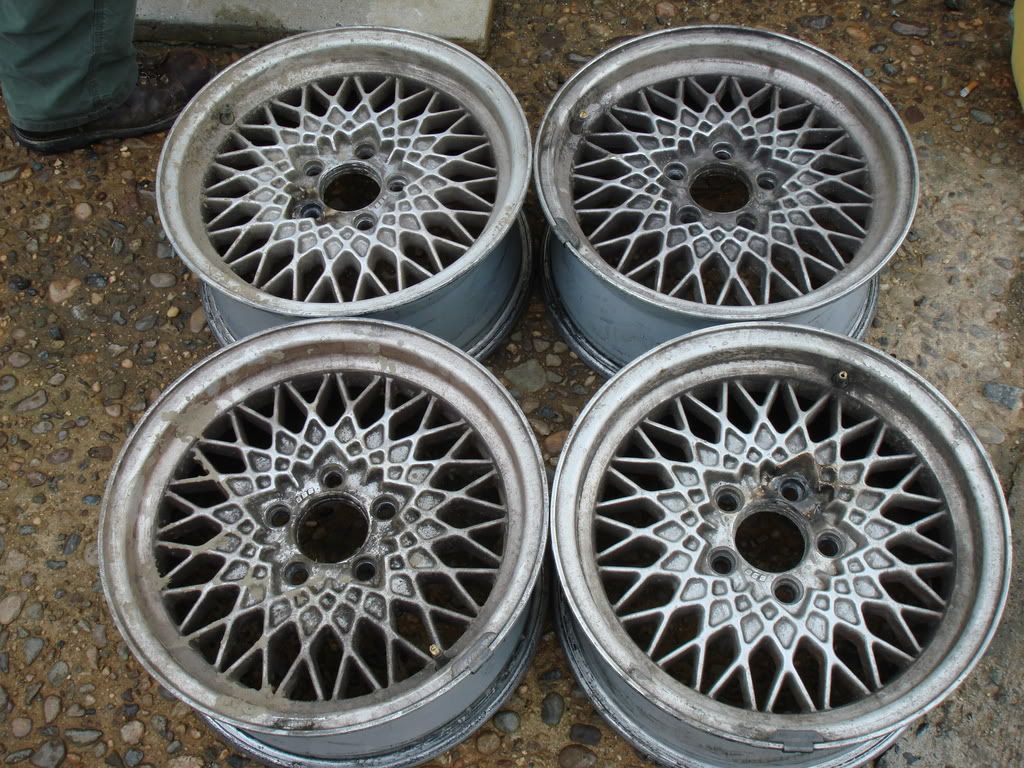
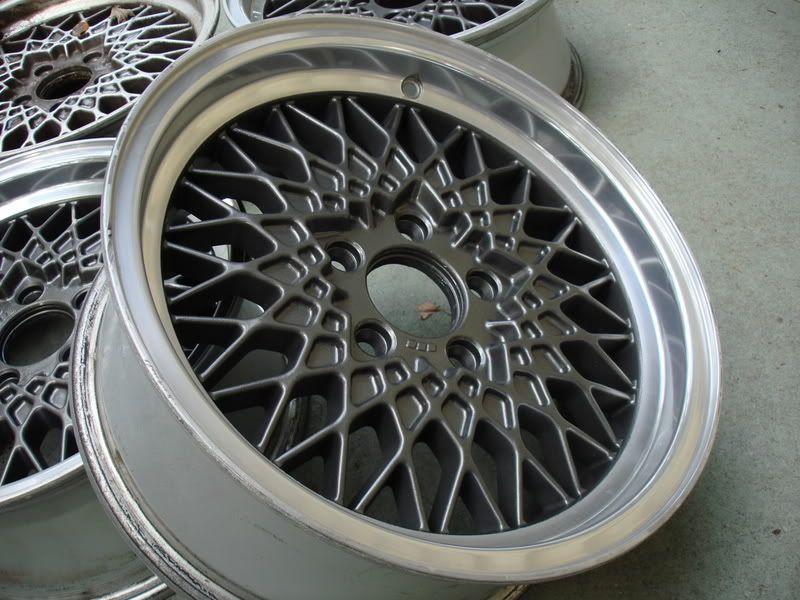
These are basically my before pics. I'll update as I refinish them.
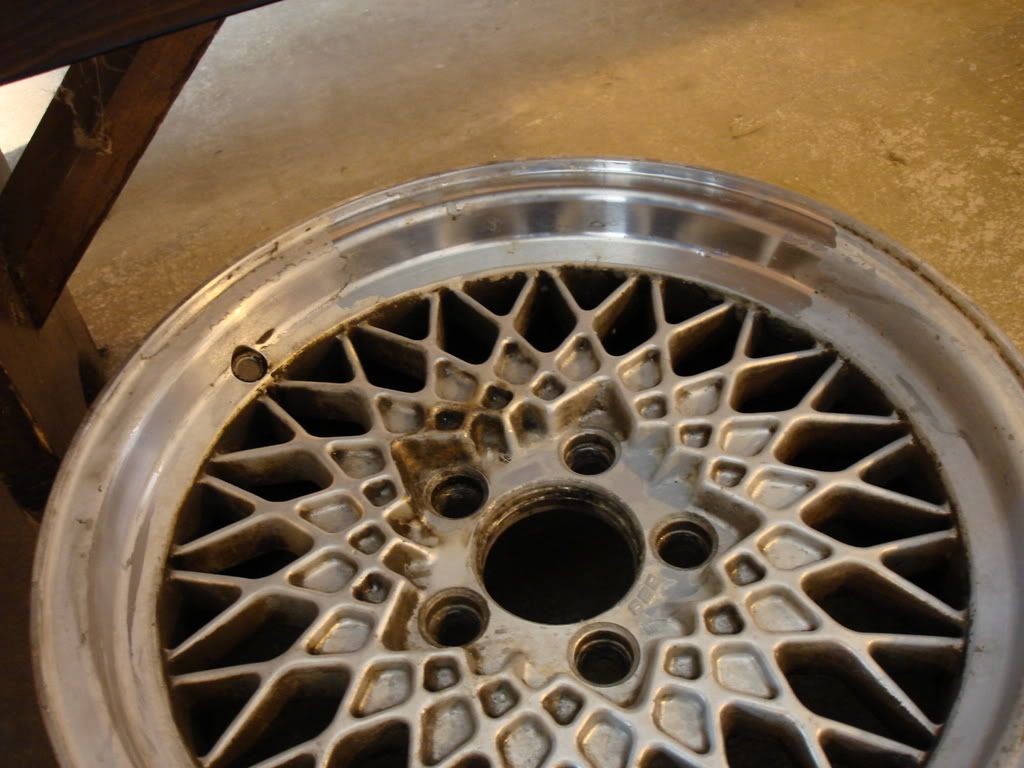
The wheels are 16x7 5x114.3 and they look to be around a +20 offset. The only problem I have with them right now is that the front calipers rub on the wheels. If I put on a small spacer they don't rub at all. It only rubs on this little nub that is sticking out of caliper. I think if I grind down that nub it should be ok without the spacers. The wheels look to be very close to the fender so I want to avoid spacers.
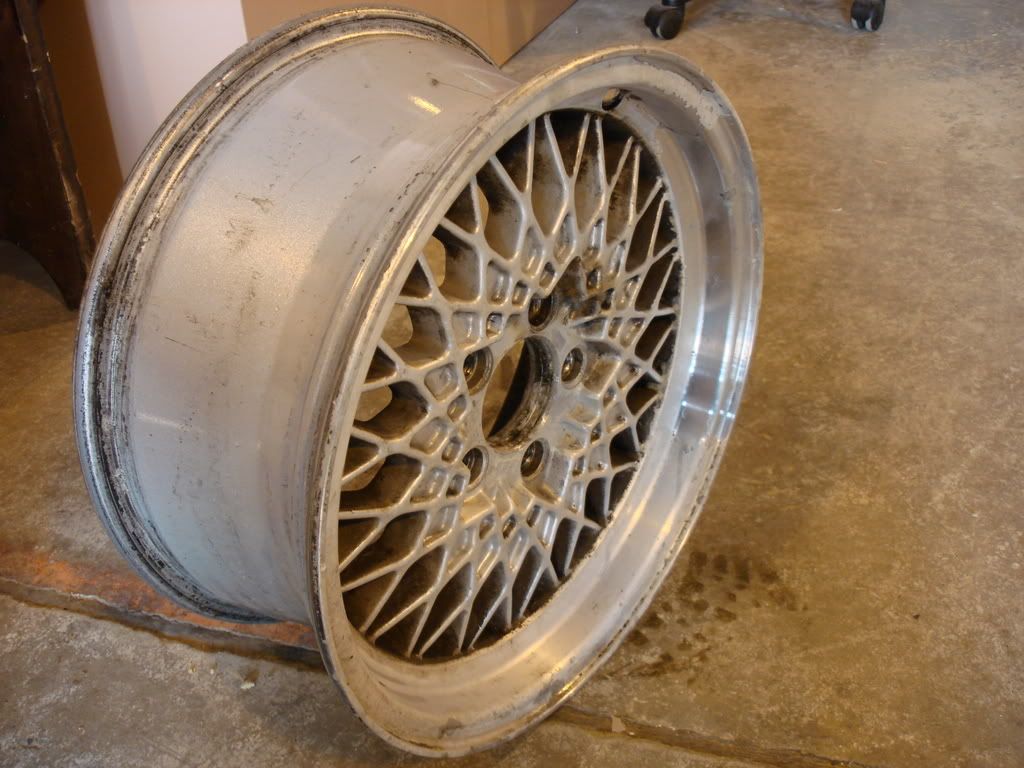
Straight from the junkyard. They need alot of work!
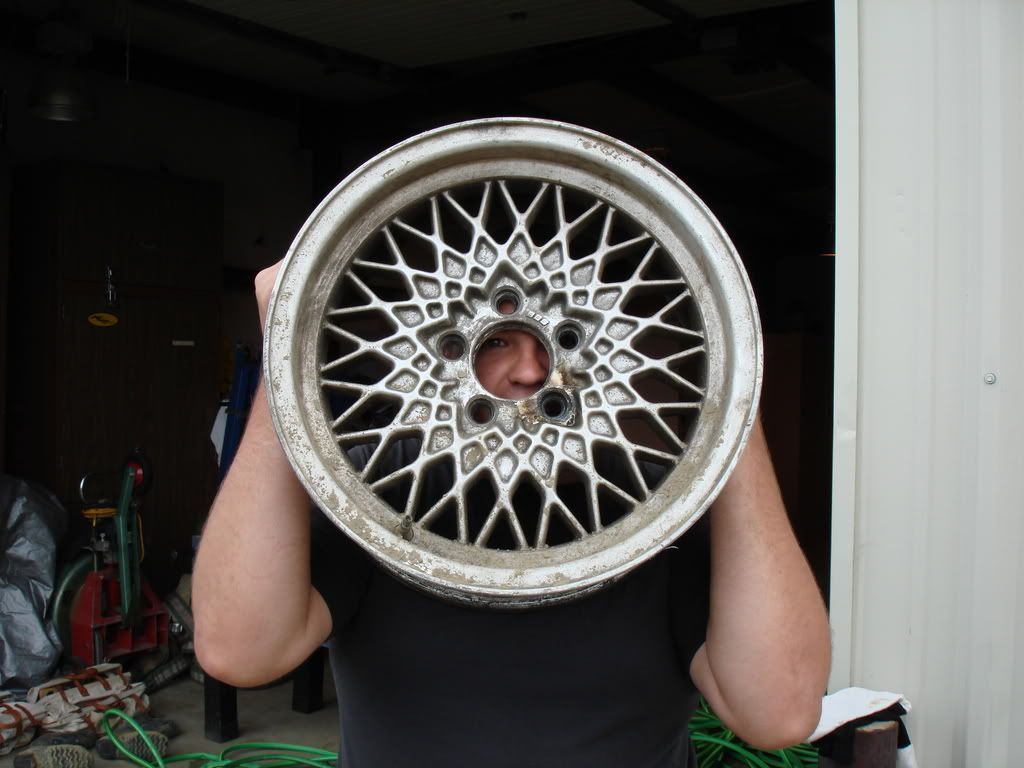
And my buddy just messing around.
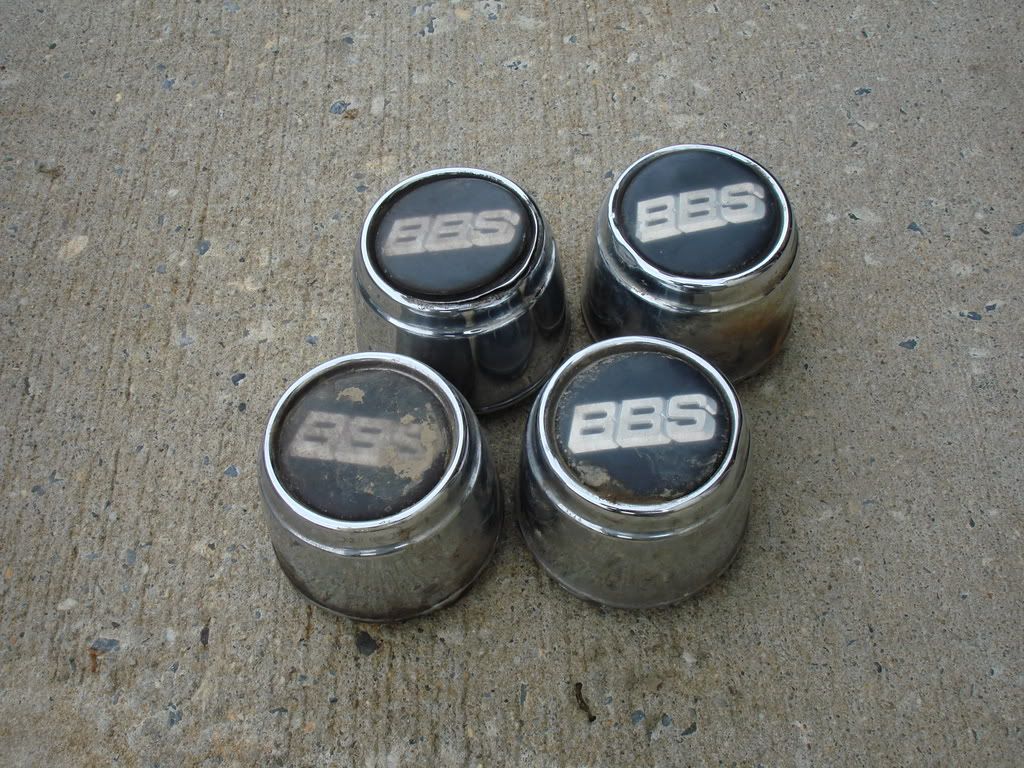
All center caps. I'm think about sending one out to see if someone can cut me out a piece from aluminum to replace the faded rubber stickers.
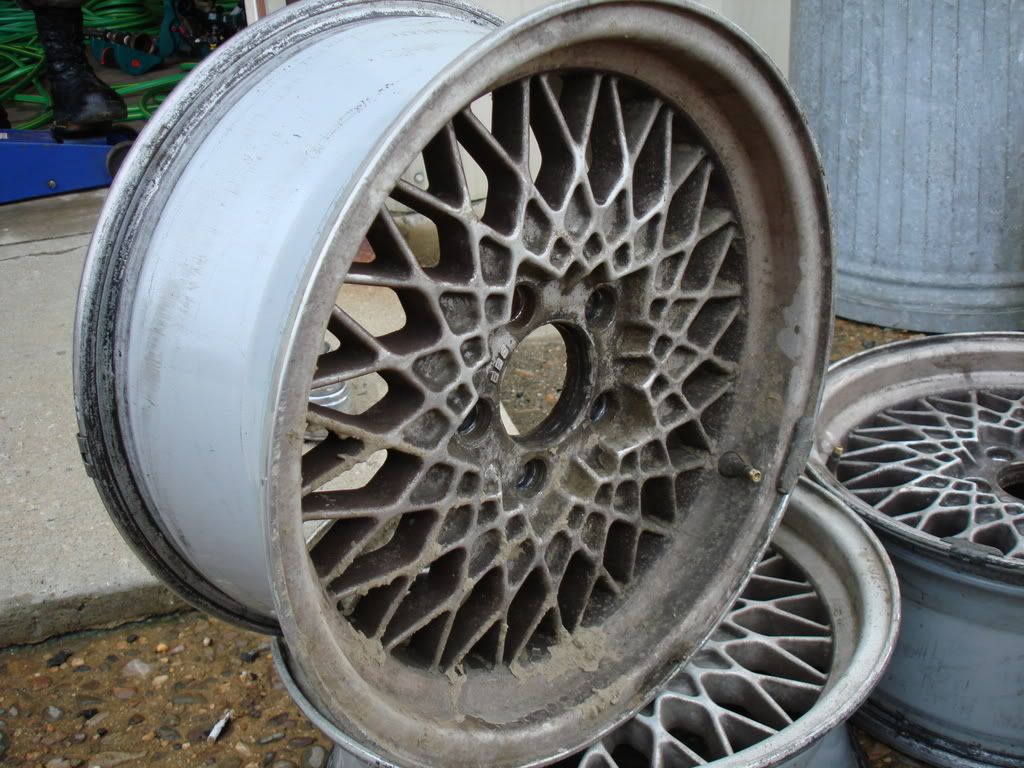
After a few minutes of cleaning and short section that I decided to strip the old clear from the lip just to see what was underneath.
The wheels are in decent shape. Took me some time to take them off the car with the wheel locks on them. The fronts came off ok, but the rears wouldn't budge. So one of the guys working at the yard moved the car with a loader to the garage and we torched the wheel locks off. You can see the burn marks left from the torch in the pics, but there was no damage to the wheels.
These are basically my before pics. I'll update as I refinish them.
The wheels are 16x7 5x114.3 and they look to be around a +20 offset. The only problem I have with them right now is that the front calipers rub on the wheels. If I put on a small spacer they don't rub at all. It only rubs on this little nub that is sticking out of caliper. I think if I grind down that nub it should be ok without the spacers. The wheels look to be very close to the fender so I want to avoid spacers.
Straight from the junkyard. They need alot of work!
And my buddy just messing around.
All center caps. I'm think about sending one out to see if someone can cut me out a piece from aluminum to replace the faded rubber stickers.
After a few minutes of cleaning and short section that I decided to strip the old clear from the lip just to see what was underneath.
Second
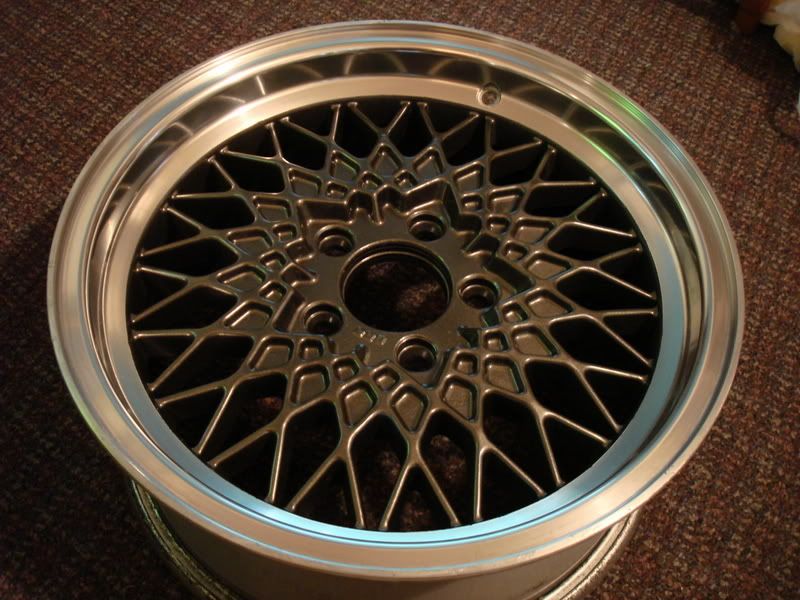
Got three done and I think they came out pretty good. I got some of the curb marks off, but my hands would start to hurt real bad so I just kinda gave up on a couple of them. I had to use a file on one of them it was curbed so bad. I just gotta stop being lazy and get the fourth one done.

This was over a time span of about a month.
This was over a time span of about a month.
Unfortunetly, you left out the most valuable information 
I copied this from someplace else, but is the basic steps I took to repolish the wheels. I posted some of my steps in addition. If the stock wheels are powder coated. Then it might be easier just to sand the whole thing and repaint with some wheel paint.
1 can of Aircraft Remover
1 pkg of 220-320 grit sandpaper
1 pkg of 400 grit sandpaper
1 pkg 600 grit sandpaper
1 pkg of 800 grit sandpaper
1 pkg of 1000 -1500 grit sandpaper
1 pkg of 2000 grit sandpaper
1 tin of NEVR DULL
1 tin of Mothers Billet Polish
1 pkg of microfiber cloths
1 roll of painters masking tape.
The total cost of all this weighs in around 50 bucks. But to get all your wheels polished out will run you upwards of 100 bucks per wheel!
Step 1:
Mask off the wheel lip. You DO NOT want any of the Aircraft Stripper to touch your painted wheel surface. It takes less than a minute to remove paint from a metal surface. So mask off this section well. You only want to apply stripper to the lip of the wheel. If your repainting the centers then I don't think it really matters if you tape of the lip.
Step 2:
Using a paintbrush approved for chemicals (can be picked up from Home Depot for like 2 bucks.) Spread a light coat of Aircraft Remover onto the wheel lip. YOU DO NOT WANT THIS STUFF TO DRIP. And whatever you do, don't get this on your skin. I recommend some chemical gloves. Once you have applied this stuff to the wheel lip, let it sit for a good half hour. I know it may look like it is done after the first minute or two, but you really want the clear coat to release from the metal.
Step 3:
Remove as much of the crusty stuff from the lip as you can with a piece of steel wool or a rag that you don't care about. Then roll the wheel out back and spray it off with the hose. You want to get all that crap off of there. If there is any clear coat left on the lip, you may need to re apply the stripper to it again.
Step 4:
Get a cup of water handy. Take a piece of that 400 grit paper and tear it off. You want about a 1"X1" piece. Splash a bit of water in the area of the wheel lip that you plan on starting with. Then dip your sand paper in the water and start sanding the lip. You want nice long strokes. The 400 grit should be enough to remove any surface imperfections. If you see dents that aren't coming out, try picking up a pack of 320 grit. You don't want to go too low though as you may not be able to remove the grooves that the sand paper leaves behind. Continue dipping and sanding with 400 grit as needed until the entire lip has been sanded. It is important to sand every inch of the lip to ensure uniformity of the finished product. I use bigger strips of sandpaper like 2x2
Step 5:
Wipe off the residues from the 400 grit paper. In fact, every time you step to a finer grit paper, you want to clean the surface with that "ruined" towel. The deposits from the 400 paper can cause lines when sanding with the 800 paper. Do the same as before with the 800 paper...lots of water, lots of long sweeping sanding motion. I don't even bother with the towel, I just rinse the whole wheel in between each step of sanding.
Step 6:
Repeat with 1000 grit paper, then the 2000 grit paper. You are almost done!!!
Step 7:
Ok, so you have wet sanded the lip with the 2000 grit paper, and wiped off the residue. It is lookin' pretty good at this point. Kinda dull, but smooth. Open that can of NEVR-Dull. Rip a chunk of the wadding off and start rubbing the surface of that wheel. This is the point when elbow grease will pay off. The same black residue will continue to show up here. Make sure to hit the entire surface with the NEVR-DULL cotton thingy. THen throw it the fock away...I hate it when I find dirty wadding in the NEVRDULL can. Let the residue dry to a haze then buff it off with a towel. I just skip to the Mothers polish step. The Mothers mag polish is the ****!
Step 8:
Right now you are looking at your wheel lip saying, "damn, can it get any better?" YES, it can and it will. Pull out one of those microfiber towels. Wrap it over your finger and open that Mothers polish I told you to buy. Put just a dab on the end of the 'towel finger.' You don't need much and you don't want to slop this stuff everywhere because it isn't cheap. Just like with the Nevr-Dull, start buffing. The more you buff, the better the lip will turn out. Keep buffing and don't let the polishing compound dry up until you have polished the entire wheel. Once you have polished the entire lip surface, let it dry for a second or two. Then buff it off with a clean section of the micro fiber towel.
Step 9:
Seriously, your wheel lip will look better than when you bought it. Most performance wheel manufacturers do not polish their lips to this level. It is MIRROR finished. Truely stunning.
You now have two options. YOu can either
1.) Wax the lip with a cream wax (NOT the spray stuff)
2.) Clearcoat the lip. I recommend Dupli-Color wheel coatings.
Before you spray it down with clear coat, make sure to wipe that lip clean with some windex. You don't want anything to keep the clearcoat from adhering. If you don't clearcoat it or wax it, it WILL corrode.
I usually just use the spray wax stuff and I've never had a problem with it and I repolish every once in a while. You really have to neglect your wheels to have them corrode I think.


Trending Topics
Fabrication/DIY thats what this section should be. Not soley fabrication. But i'm not in charge of that stuff. so...
Maybe this thread should remain until this section really takes off?
Maybe this thread should remain until this section really takes off?


 i should get replacement wheels because these starion rims really stick out like a ****.
I followed these exact steps with reconditioning my Work Equips and they turned out AWESOME.
SKIP the never-dull and get a Mothers power cone WITH some Mothers Alum polish(paste..not the power ball liquid. That liquid stuff is B.S.)
SKIP the never-dull and get a Mothers power cone WITH some Mothers Alum polish(paste..not the power ball liquid. That liquid stuff is B.S.)

Thread
Thread Starter
Forum
Replies
Last Post
Jeff20B
1st Generation Specific (1979-1985)
73
Sep 16, 2018 07:16 PM