Buckey's FD Build - RX7 Factory

Thanks man. I hope so. Gotta get it finished asap!
Nothing new to update but got this sick cake for my b-day. #bnsportsallthethings

Should have some stuff tomorrow worthy of updating. Customer work killin' the progress but stoked to be busy!
Nothing new to update but got this sick cake for my b-day. #bnsportsallthethings
Should have some stuff tomorrow worthy of updating. Customer work killin' the progress but stoked to be busy!

Lol been lagging. Trying to track down a hatch and misc bs still needed.
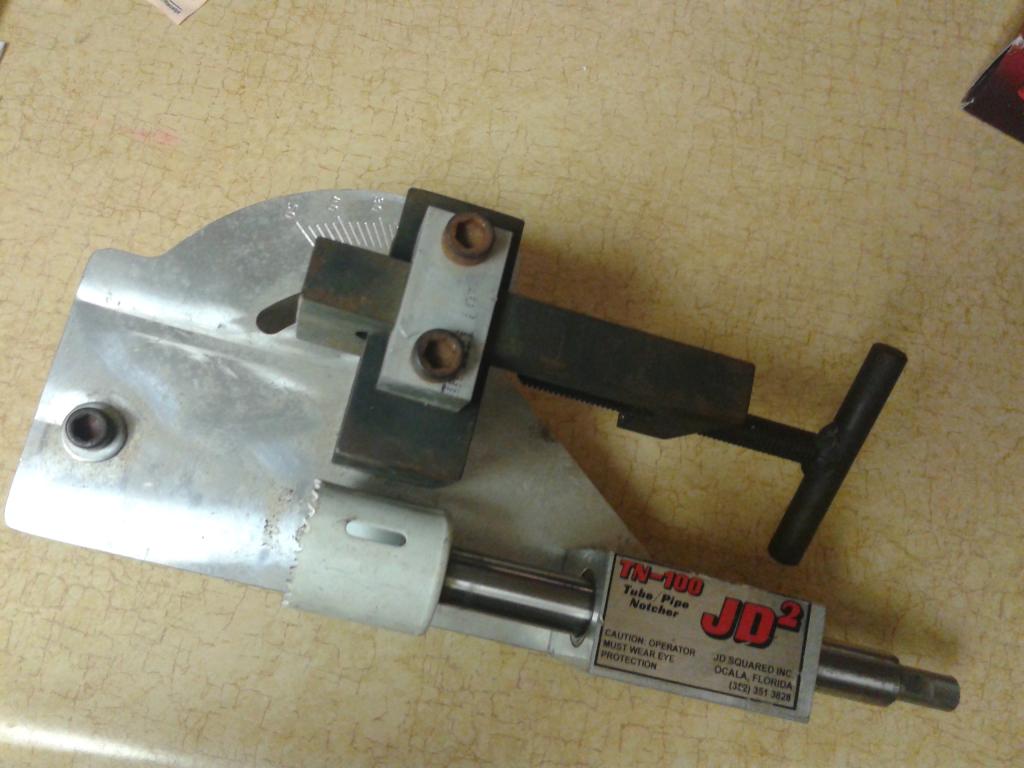
My chick surprised me with this notcher for my bday. She said it was under $100 shipped on ebay, and the guy never used it, just let it sit around and get all rusty. Not bad for a starter notcher. Its better than the one i used for most of my previous bashbars so might as well clean it up some, and run it into the ground before I upgrade to the beast notcher from JD2.
Some updates:
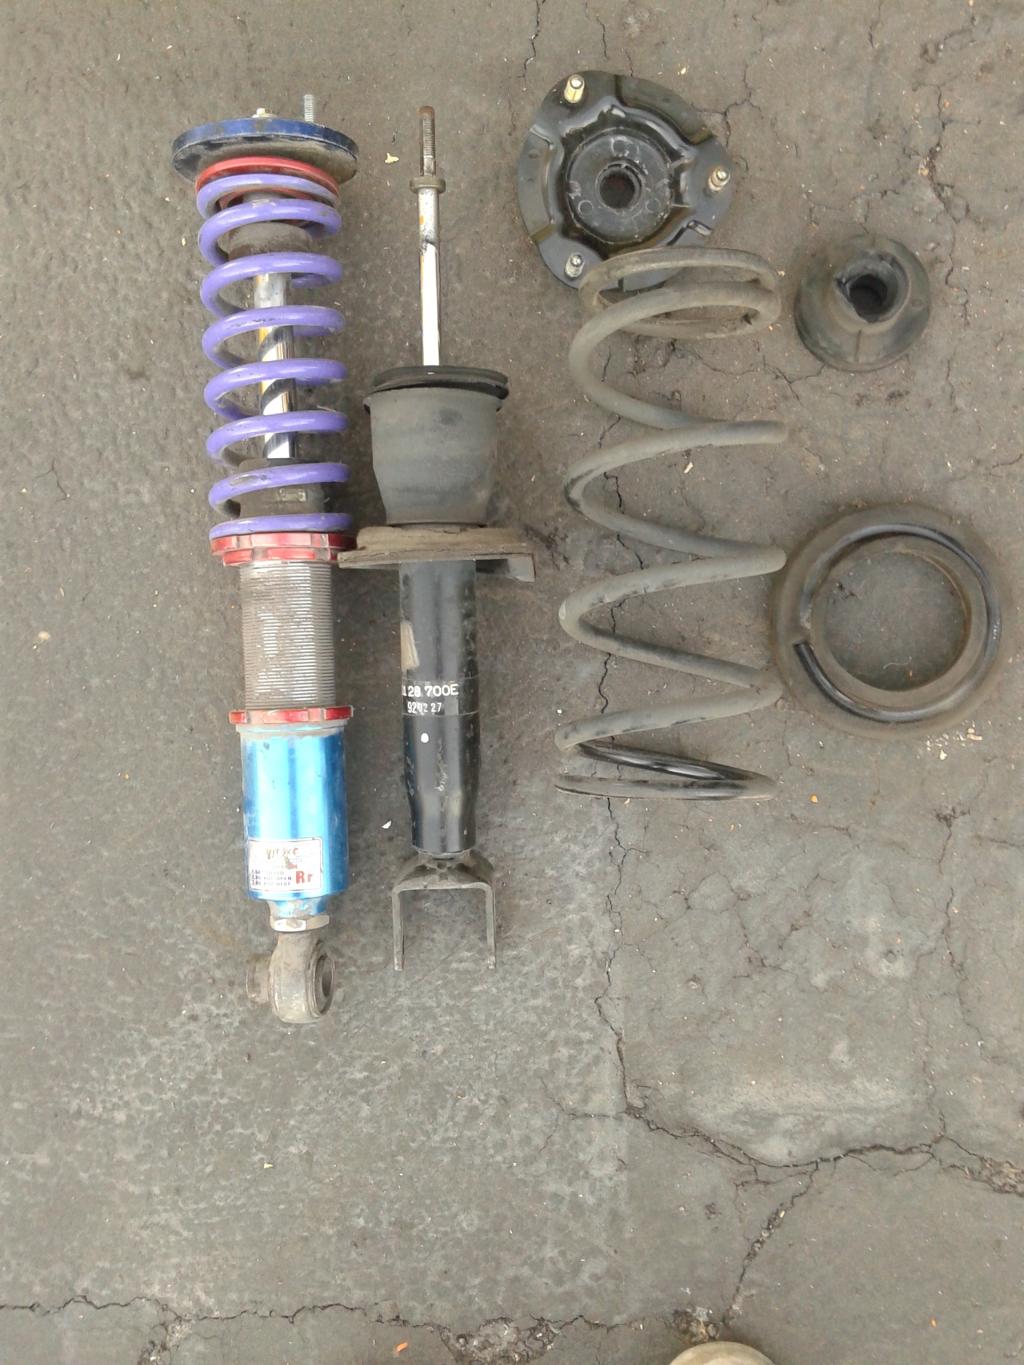
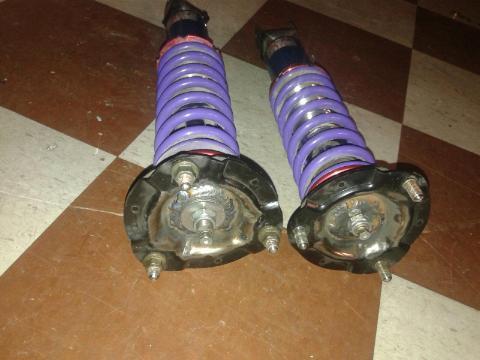
Picked up some used JIC Magic coilovers (rears only) for $100 on the vegas drift junkyard group in Facebook. They are for an S13, however height wise they measured out to be the same as the stocks when compressed, and the JIC's were wound up as high as they'd go. Figured for $100 and a few hours it would be a great alternative to modify these to use in the mean time.
So I started by cutting off the bottom mount from the stock struts, along with the spherical on the JIC's.
Atleast now i can set the car to ride height and get motivation while it sits around lol
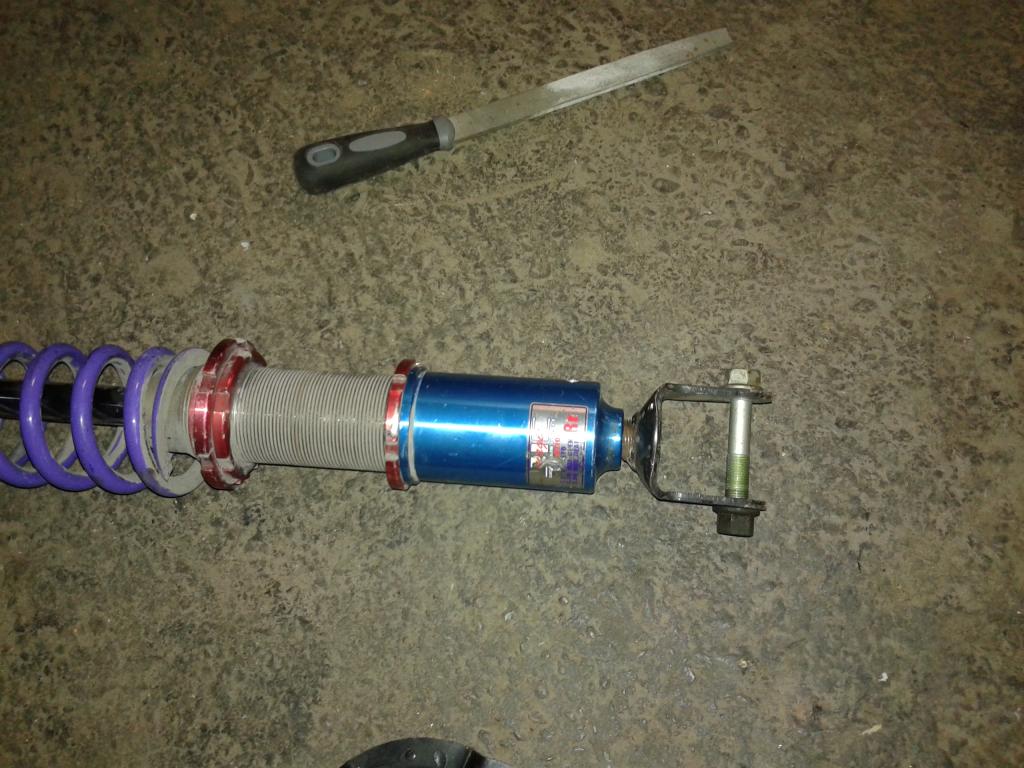
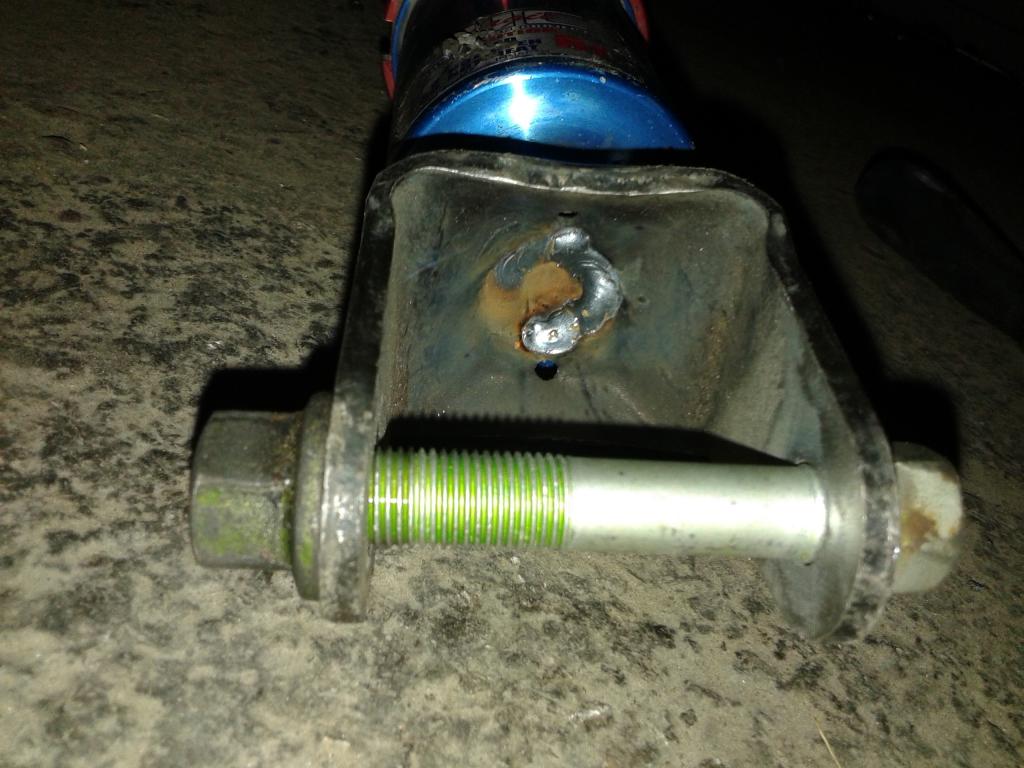
Flapped the mount smooth, and drilled a hole into it, to center the threaded piece left from the cut portion of the spherical and welded it up.
Still need to run a pass over the top but i wanted to let them cool some before warping them out, plus I was limited to the usual 1-2hrs of free time to work on it, so I was really rushing through it.
So far i'm $100 into coilovers.... with less than 1.5hrs into the mounts... The front has the FC drop knuckles, and stance coils, and now the rear has the JIC's mounted.
For the rest of the week I'll be a little tied up but i'm planning to get the engine bay, and front subframe cleaned up, and start stitch welding all the seams.
Getting rid of all the previous owners small paint errors.
I'm heavily considering making a chassis rotisserie and removing all the undercoating, and spraying the bottom of the chassis.
I don't want any rubber undercoating, glue, or any foreign matter on this car. Hoping for it to be light, rigid, and show off the paint quality in every wheel well and panel.
My chick surprised me with this notcher for my bday. She said it was under $100 shipped on ebay, and the guy never used it, just let it sit around and get all rusty. Not bad for a starter notcher. Its better than the one i used for most of my previous bashbars so might as well clean it up some, and run it into the ground before I upgrade to the beast notcher from JD2.
Some updates:
Picked up some used JIC Magic coilovers (rears only) for $100 on the vegas drift junkyard group in Facebook. They are for an S13, however height wise they measured out to be the same as the stocks when compressed, and the JIC's were wound up as high as they'd go. Figured for $100 and a few hours it would be a great alternative to modify these to use in the mean time.
So I started by cutting off the bottom mount from the stock struts, along with the spherical on the JIC's.
Atleast now i can set the car to ride height and get motivation while it sits around lol
Flapped the mount smooth, and drilled a hole into it, to center the threaded piece left from the cut portion of the spherical and welded it up.
Still need to run a pass over the top but i wanted to let them cool some before warping them out, plus I was limited to the usual 1-2hrs of free time to work on it, so I was really rushing through it.
So far i'm $100 into coilovers.... with less than 1.5hrs into the mounts... The front has the FC drop knuckles, and stance coils, and now the rear has the JIC's mounted.
For the rest of the week I'll be a little tied up but i'm planning to get the engine bay, and front subframe cleaned up, and start stitch welding all the seams.
Getting rid of all the previous owners small paint errors.
I'm heavily considering making a chassis rotisserie and removing all the undercoating, and spraying the bottom of the chassis.
I don't want any rubber undercoating, glue, or any foreign matter on this car. Hoping for it to be light, rigid, and show off the paint quality in every wheel well and panel.
Senior Member
Joined: Nov 2011
Posts: 418
Likes: 0
From: Oklahoma City, OK
Nice! I actually had a set of s13 coils I was going to mod to fit my old FD as well, but got rid of it and picked up a 180sx instead. I kind of regret getting rid of it but s-chassis are soooo easy haha
Rotary cars always run rich, and have small issues you grow to live with but im getting older and more annoyed with some of the small issues they always have as a street driven car. If i see another clean S13 coupe pop up thats already setup with goodies and in good shape id probably buy another.
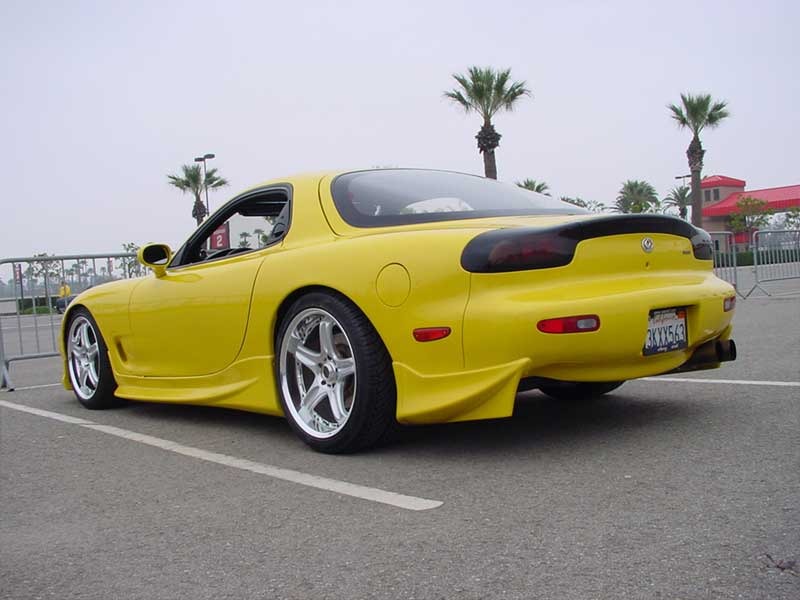
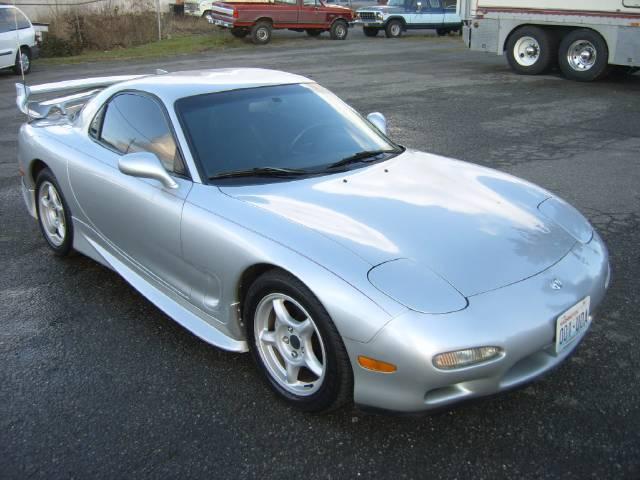
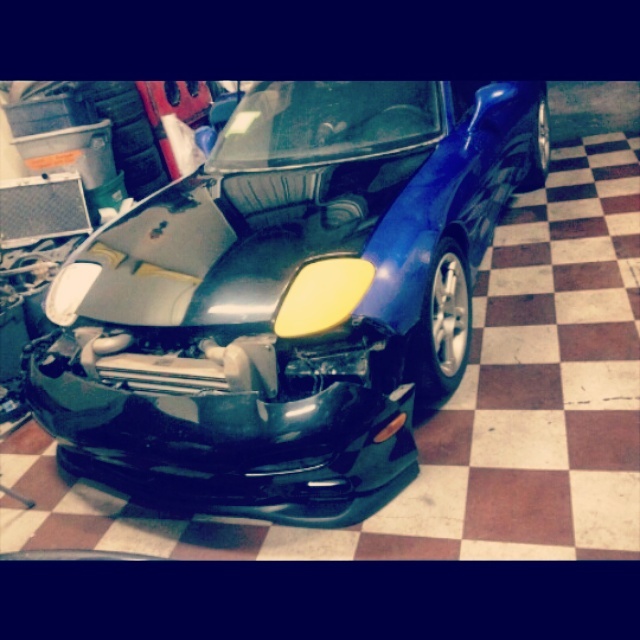
I got really sick of paying $300+ for each small item that was needed for the Silver FD, so I went to Cali to pick up this CYM R1 roller that had everything I needed.

Using it for the doors, rear hatch, pedals, and whatever else to make the best of 2 cars.
Will be replacing most everything with the silver fd parts, and offering it back for sale if anyone wants an initially cheap project FD. Ill make an ad when the time comes tho.
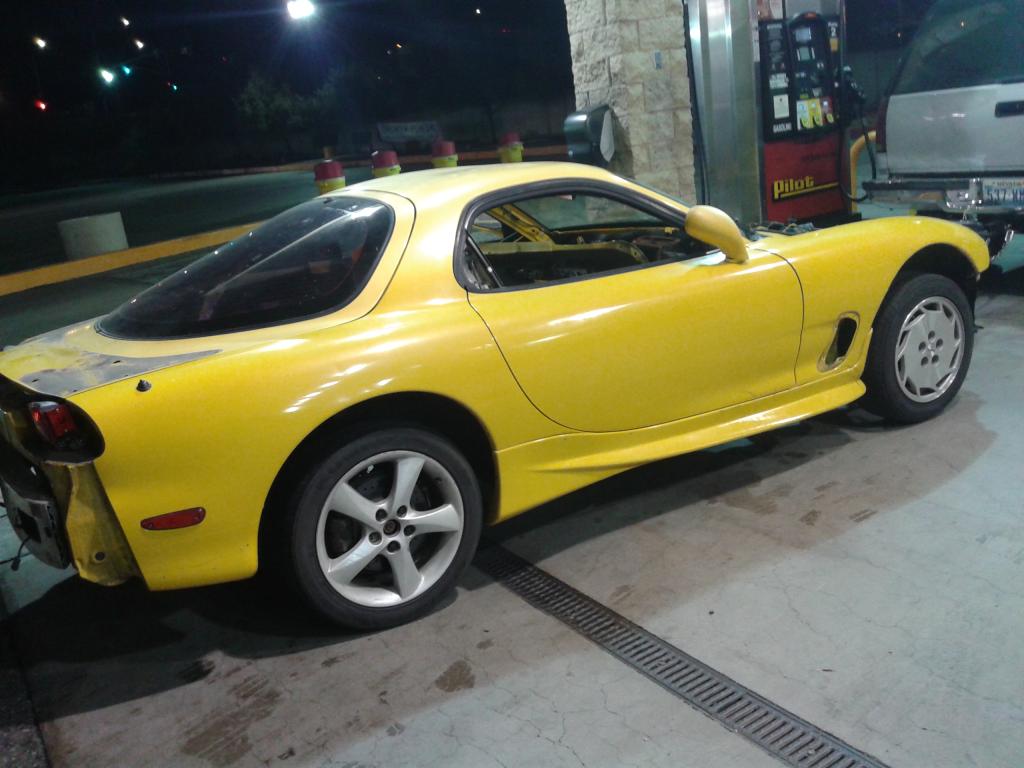
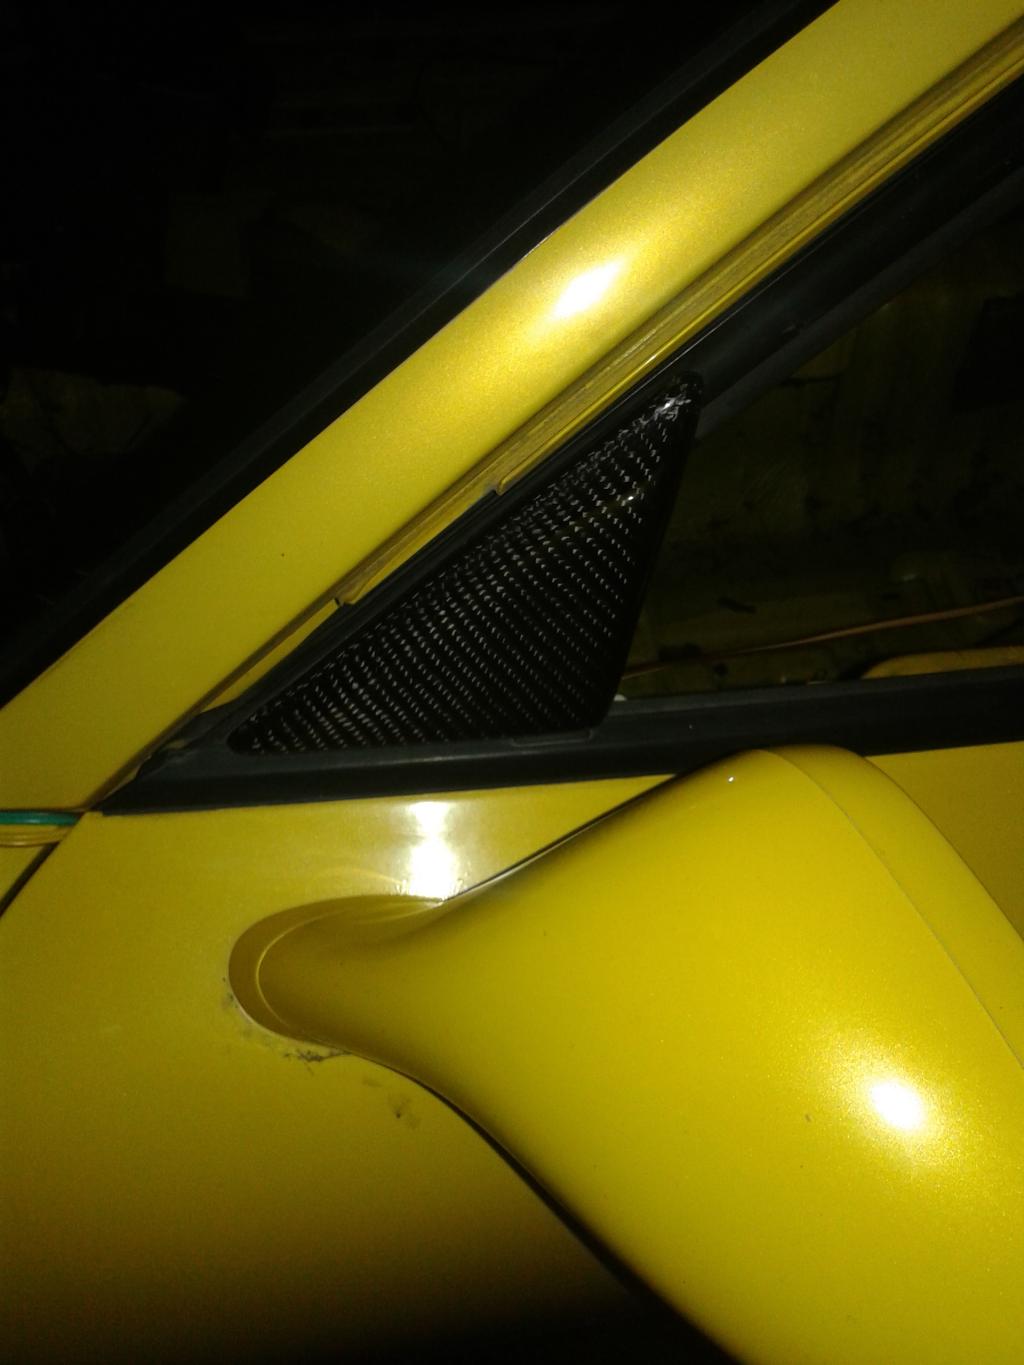
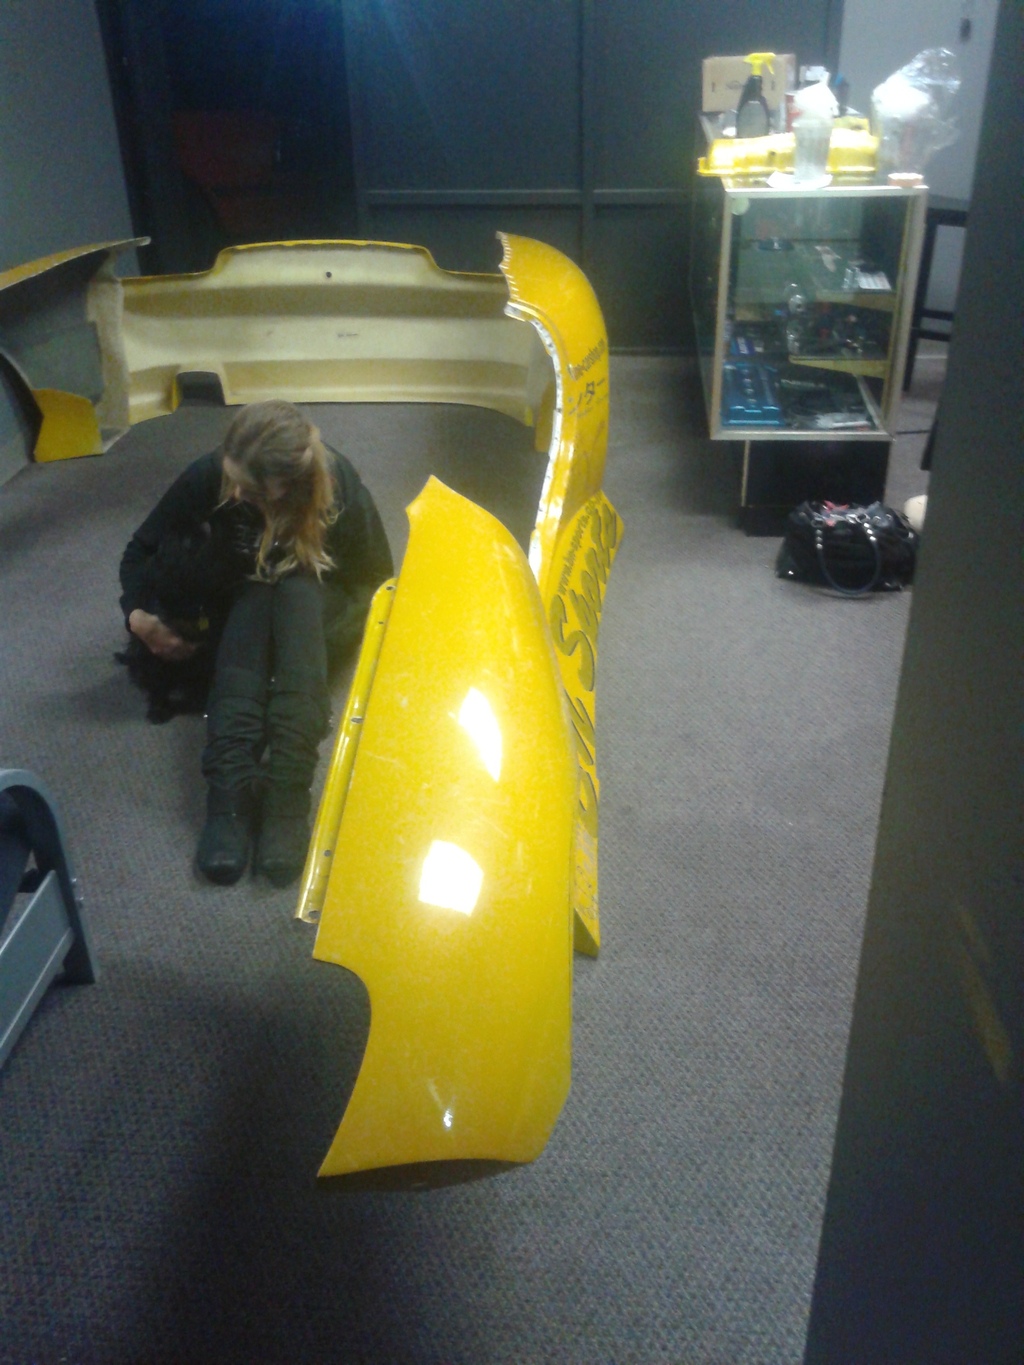
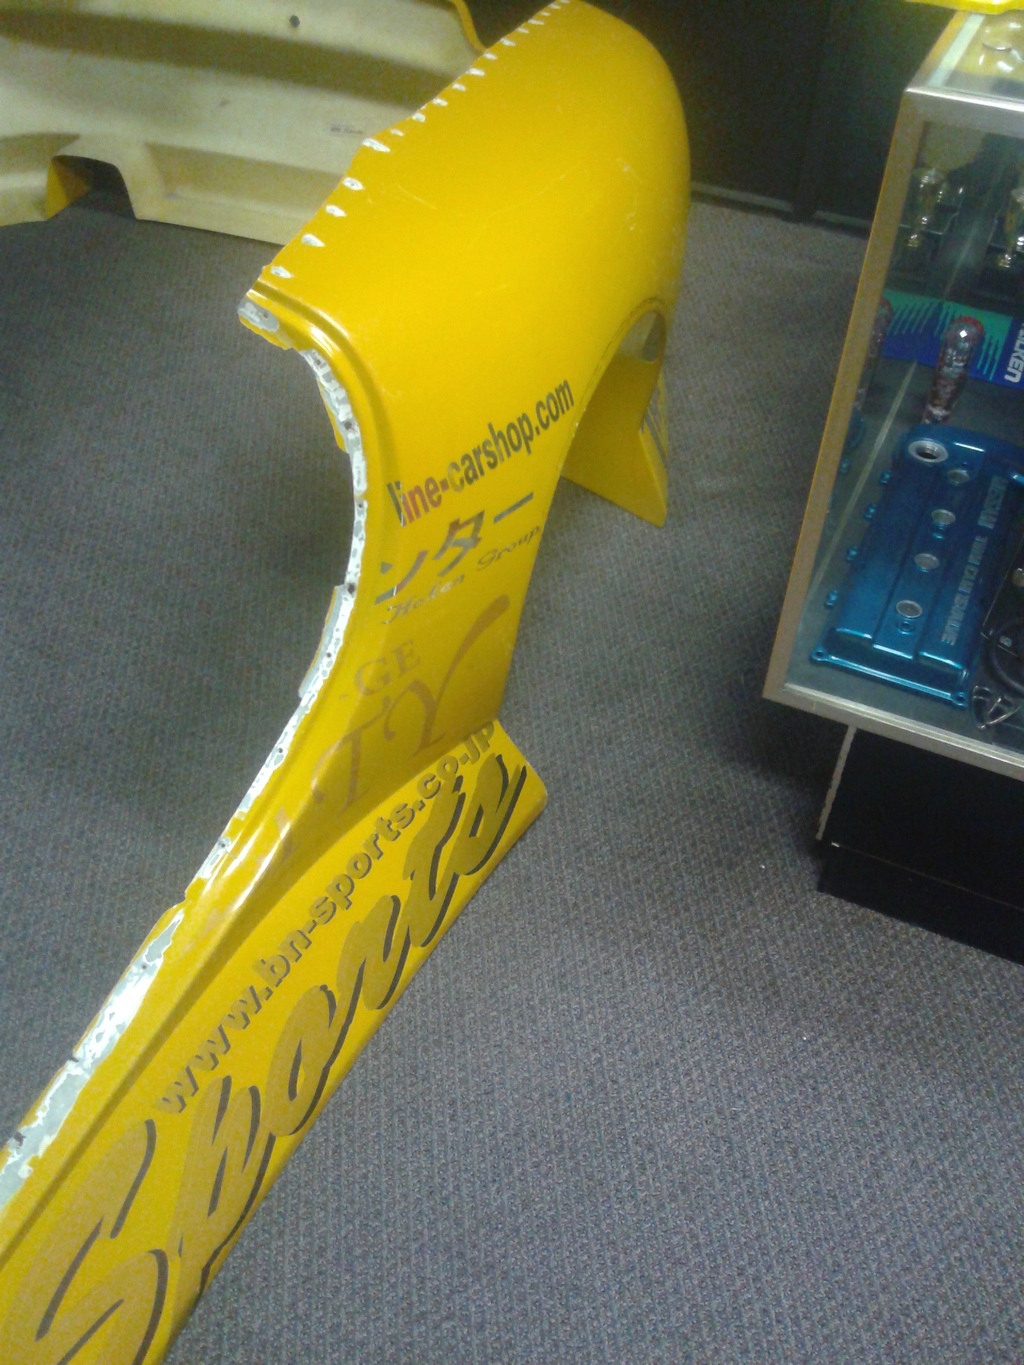
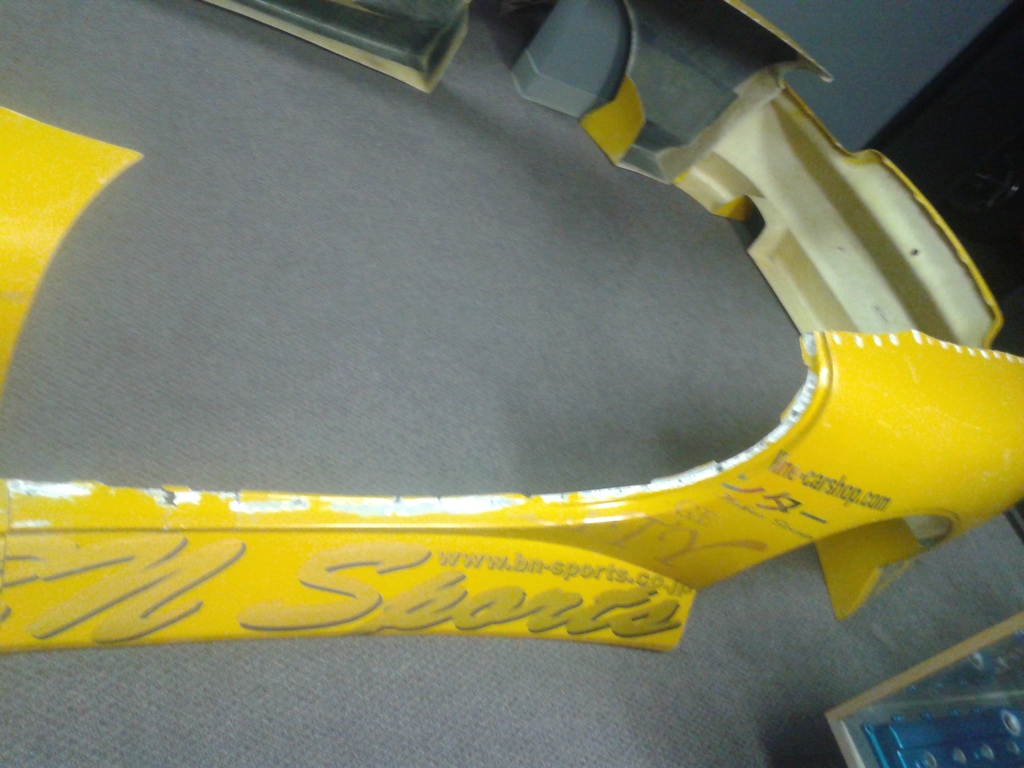
Bringing it back we had probably the most intense blowout ever... sheared off the fender, side skirt mounts and exploded the fender vent -___-
Had to switch the front wheel over the t2 spare i brought, and took it this gas station to get it in the light, and secure the fender again.
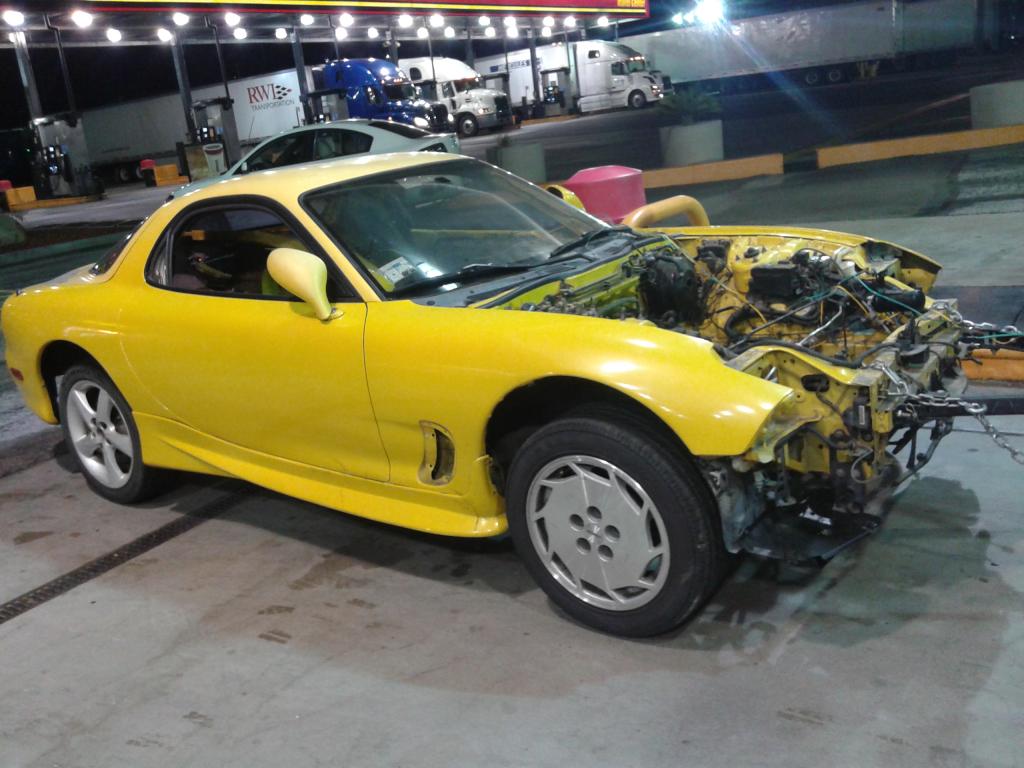
Upon closer look I noticed that the front alignment was shot. I didnt look at it much before hooking it up and just towing it, and im assuming it was from having the alignment set when it was lowered with coilovers before the previous owner parted it out. So basically had to align the front real quick, and noticed the drivers side tire was belted too from being towed 150 miles at this point with severe toe in.
Swapped the front tire to the rear, and aired it down a little, and we were on the way again.
Now we're home, and I've already started pillaging parts from it for the drift FD. Tomorrow my plans are to get the doors off, along with the hatch, and toss it all on the silver car.
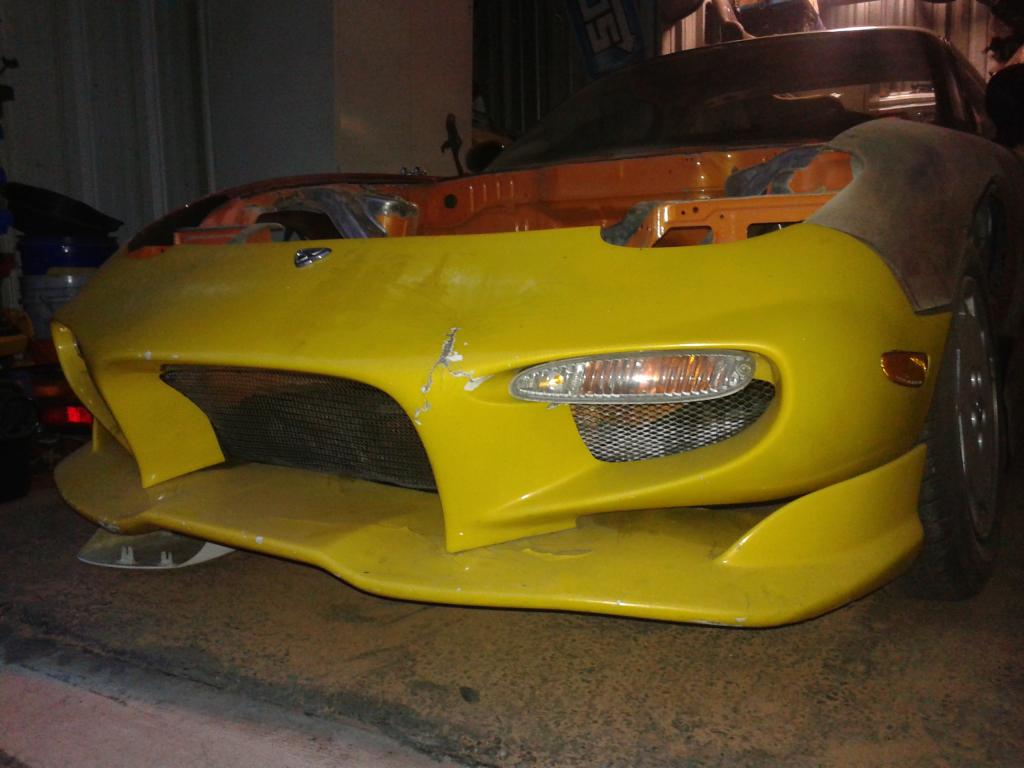
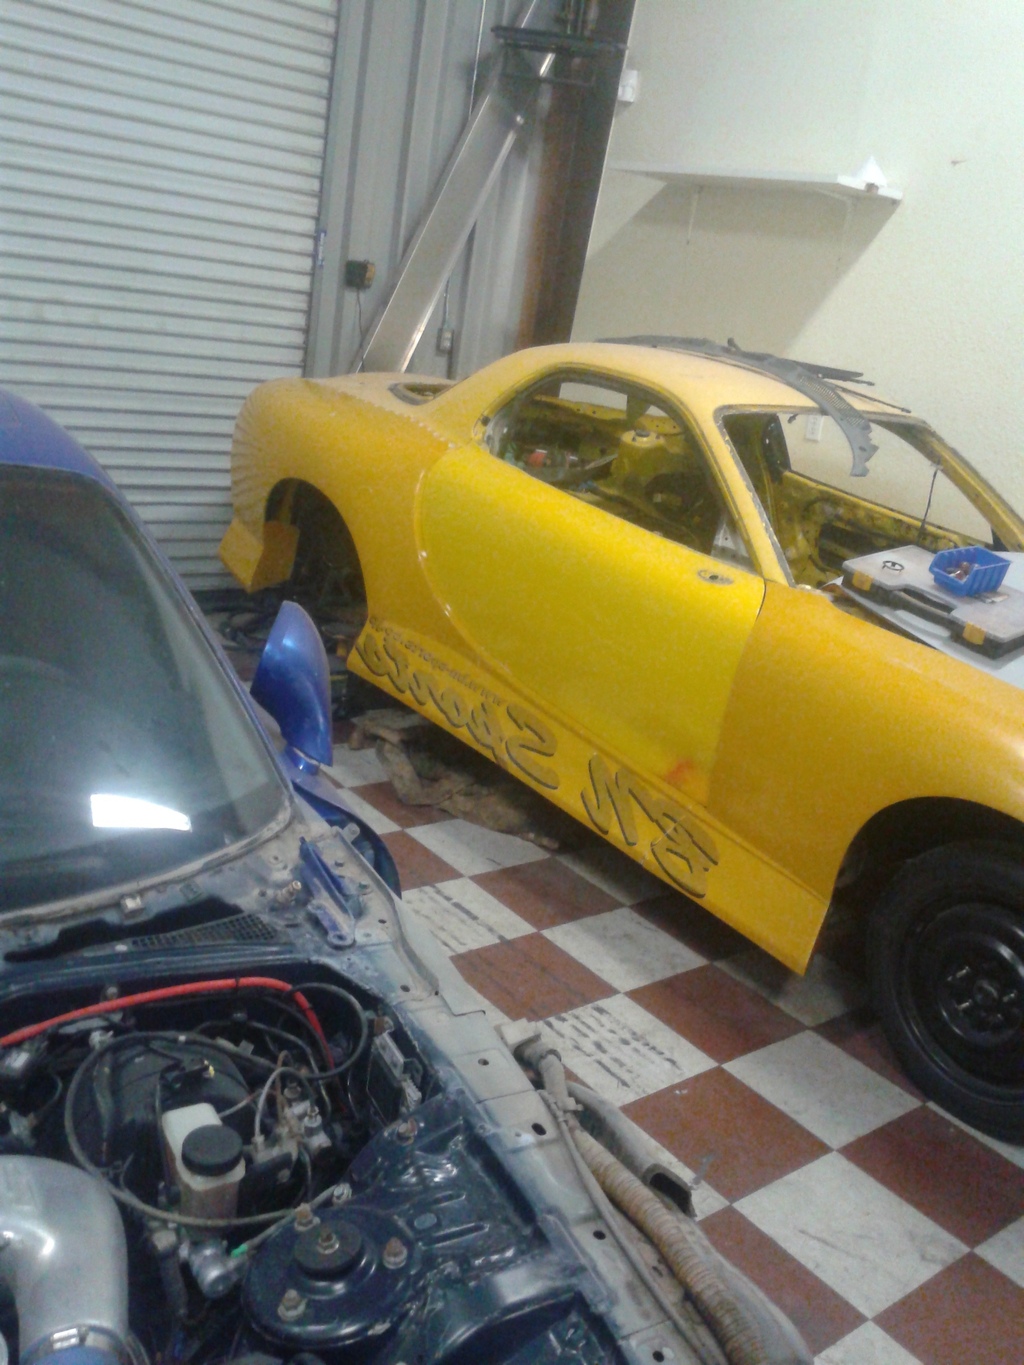
I tossed the sweet Veilside front bumper on the drift car to see what it looks like (lol 2001)
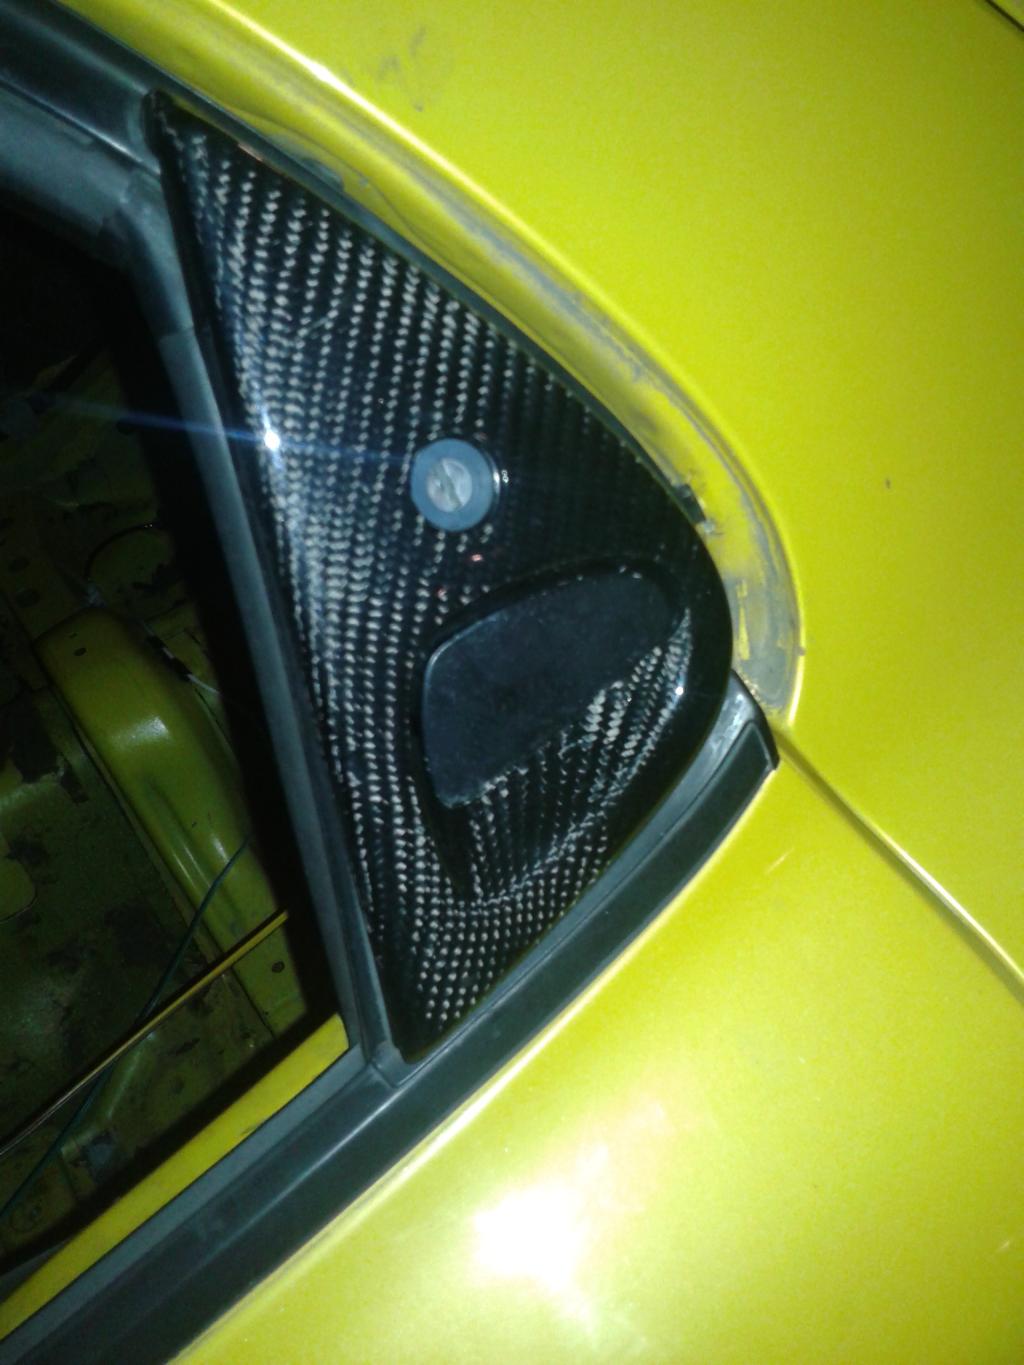
Had some sweet Razo pedal covers with simulated carbon fiber double side taped to the pedals. (first thing to hit the trash)
Need to clean off the tape residue and transfer to the silver FD.
Oddly enough the silver FD originally had this same Veilside side skirts, and wing...
#destinedtoridtheworldofveilsidefds #addbntoeverything
Using it for the doors, rear hatch, pedals, and whatever else to make the best of 2 cars.
Will be replacing most everything with the silver fd parts, and offering it back for sale if anyone wants an initially cheap project FD. Ill make an ad when the time comes tho.
Bringing it back we had probably the most intense blowout ever... sheared off the fender, side skirt mounts and exploded the fender vent -___-
Had to switch the front wheel over the t2 spare i brought, and took it this gas station to get it in the light, and secure the fender again.
Upon closer look I noticed that the front alignment was shot. I didnt look at it much before hooking it up and just towing it, and im assuming it was from having the alignment set when it was lowered with coilovers before the previous owner parted it out. So basically had to align the front real quick, and noticed the drivers side tire was belted too from being towed 150 miles at this point with severe toe in.
Swapped the front tire to the rear, and aired it down a little, and we were on the way again.
Now we're home, and I've already started pillaging parts from it for the drift FD. Tomorrow my plans are to get the doors off, along with the hatch, and toss it all on the silver car.
I tossed the sweet Veilside front bumper on the drift car to see what it looks like (lol 2001)
Had some sweet Razo pedal covers with simulated carbon fiber double side taped to the pedals. (first thing to hit the trash)
Need to clean off the tape residue and transfer to the silver FD.
Oddly enough the silver FD originally had this same Veilside side skirts, and wing...
#destinedtoridtheworldofveilsidefds #addbntoeverything

Replied to your post earlier. Email me, Im not seeing a message from you Cody.
driftfcbuckey@gmail.com
Still unsure if ill sell the quarter panel. Im hesitant to cut up a perfectly good car, but persuade me lol
driftfcbuckey@gmail.com
Still unsure if ill sell the quarter panel. Im hesitant to cut up a perfectly good car, but persuade me lol
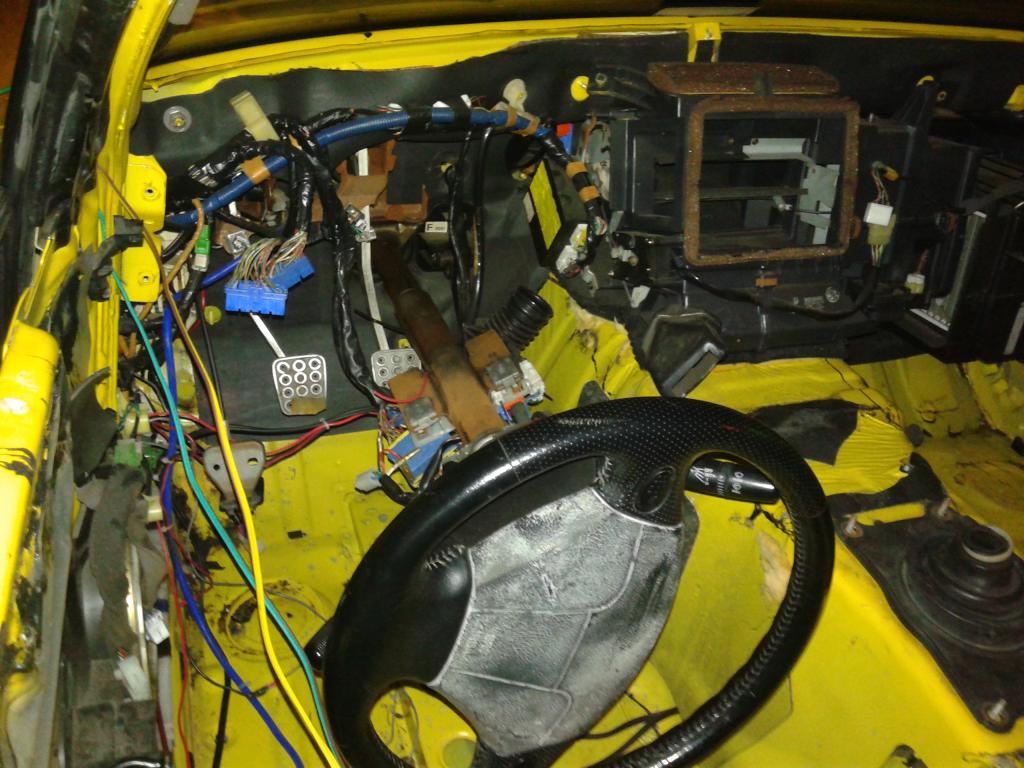
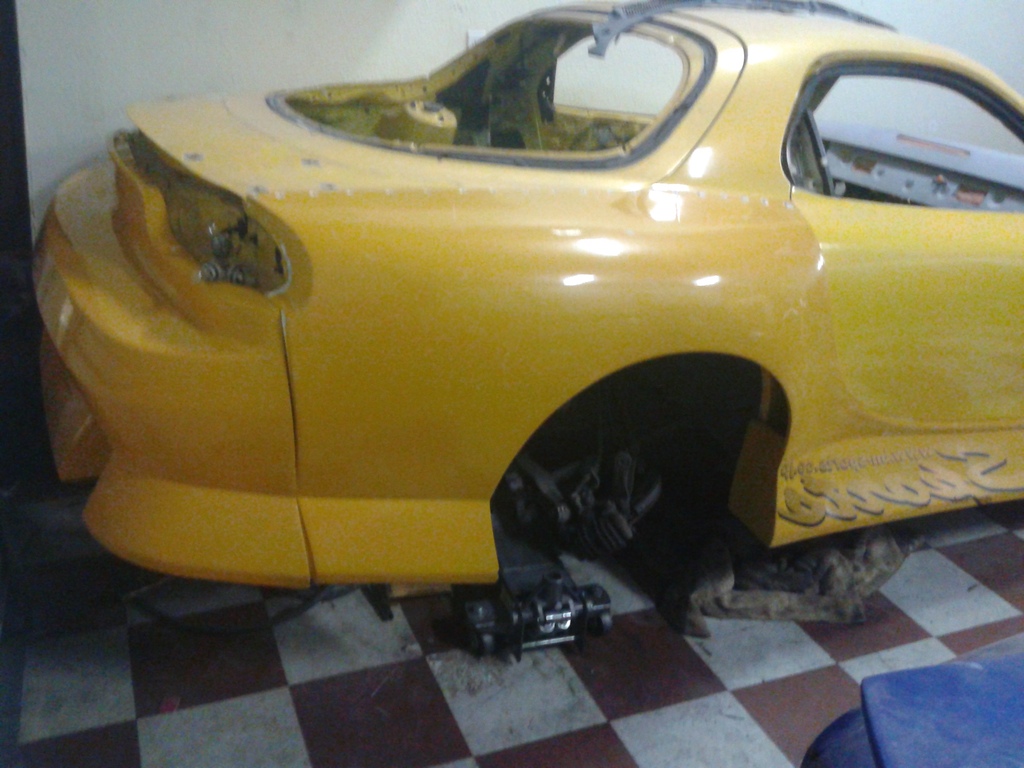
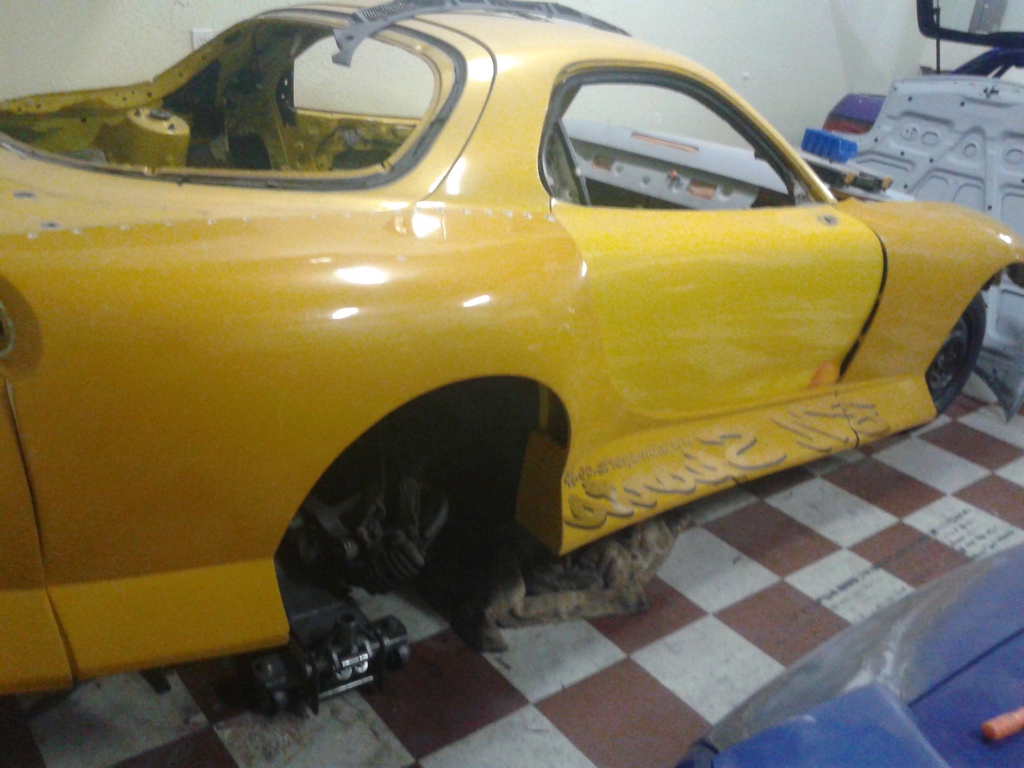
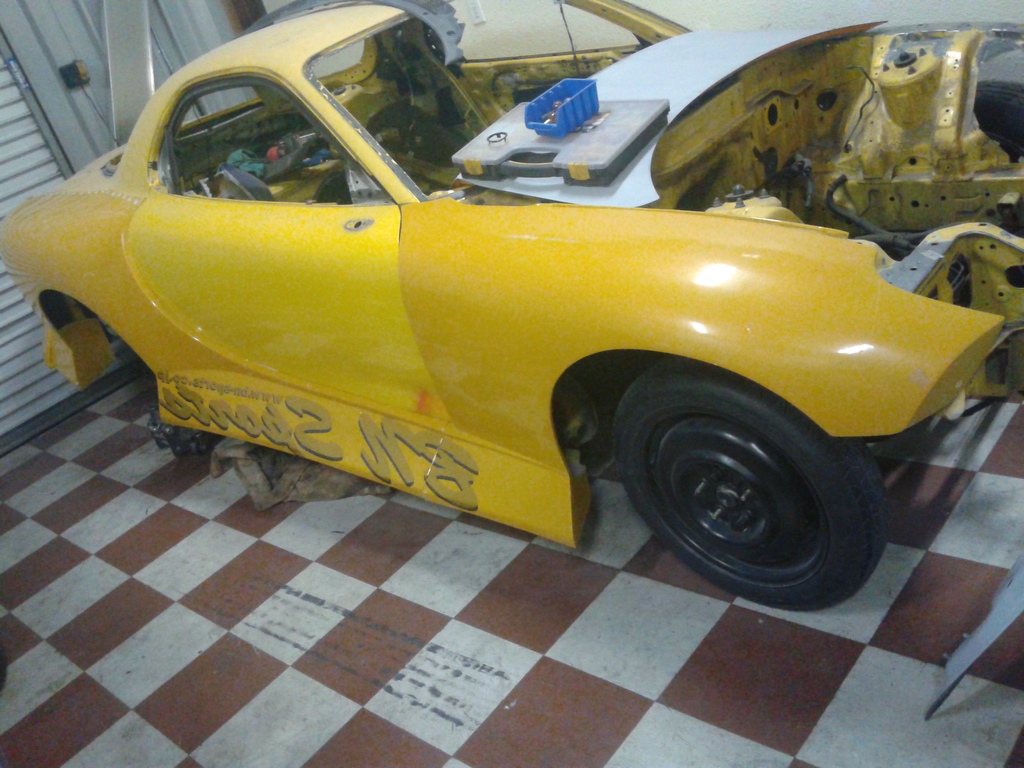
After what seemed like months of waiting, the landlord finally was in town to move out the previous tenants belongings, and gave us keys to the new shop. Been so consumed, in setting up the shop, and getting it presentable/operational, that I haven't had any time up until today to work on this car. But i'm finally caught up on work, and was able to put in 5-6hrs on it, pulling the subframe, and other misc things.
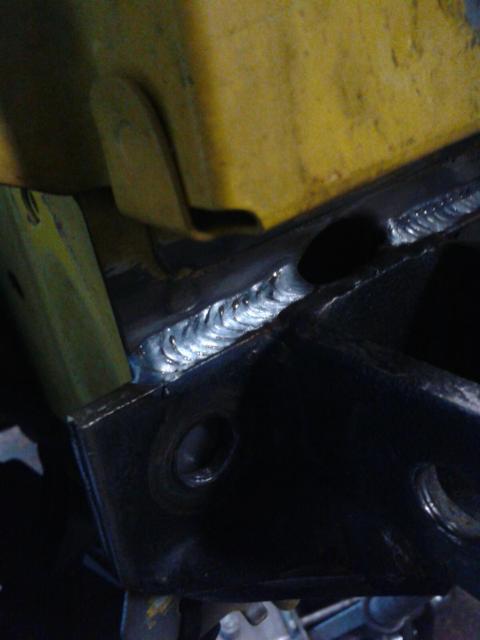
Added these tow bar brackets to the yellow car to move it from the old place to the new place.
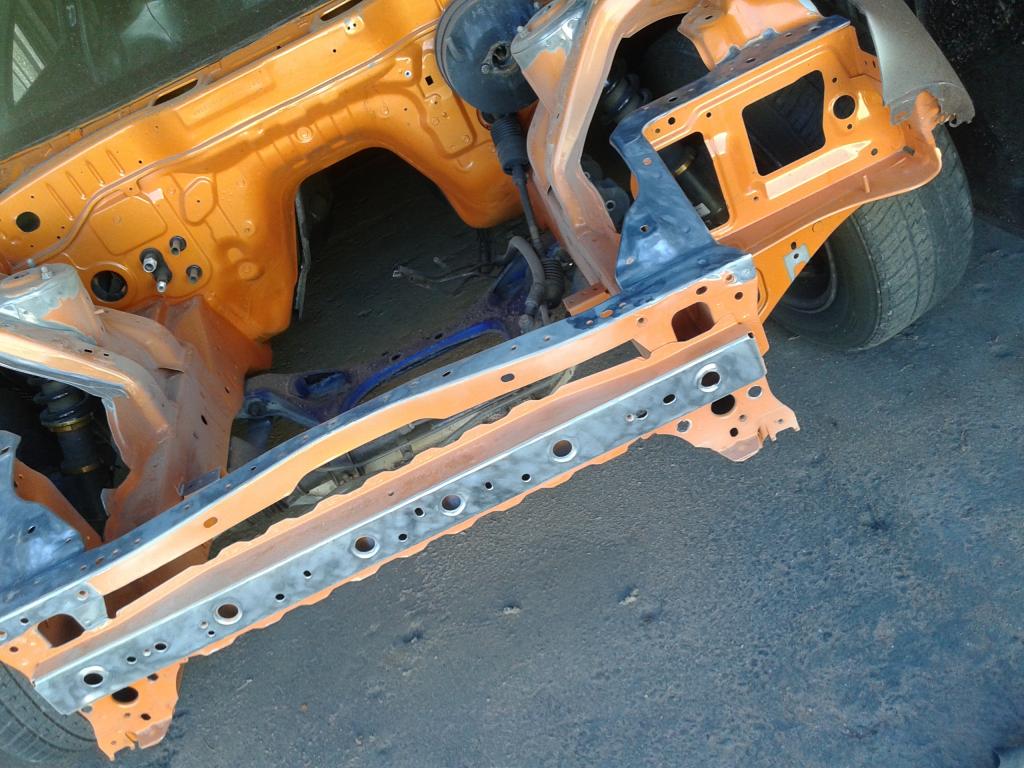
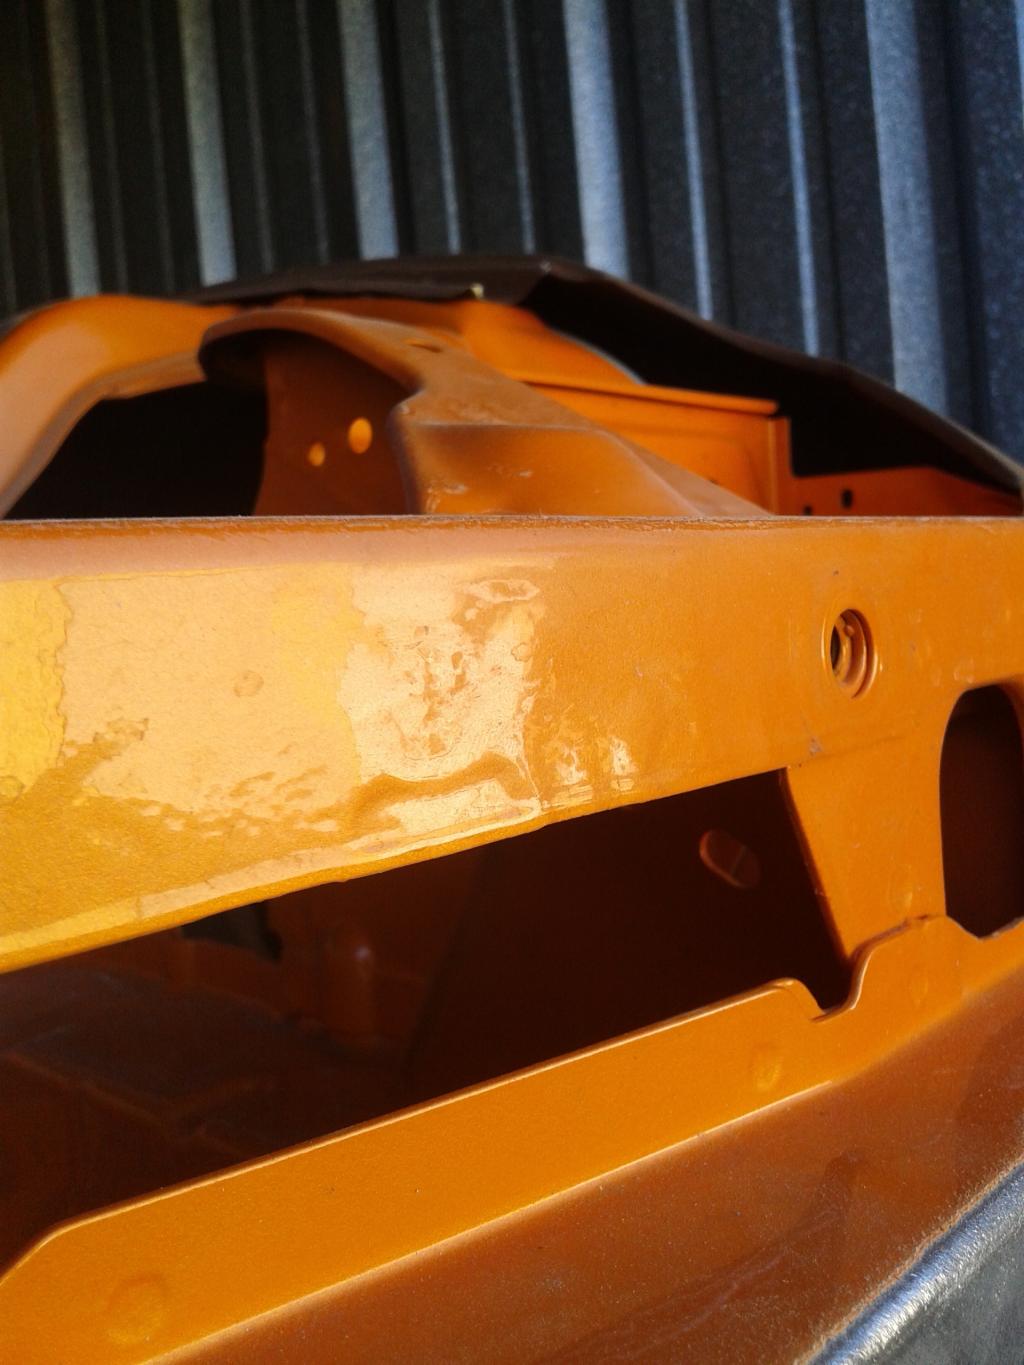
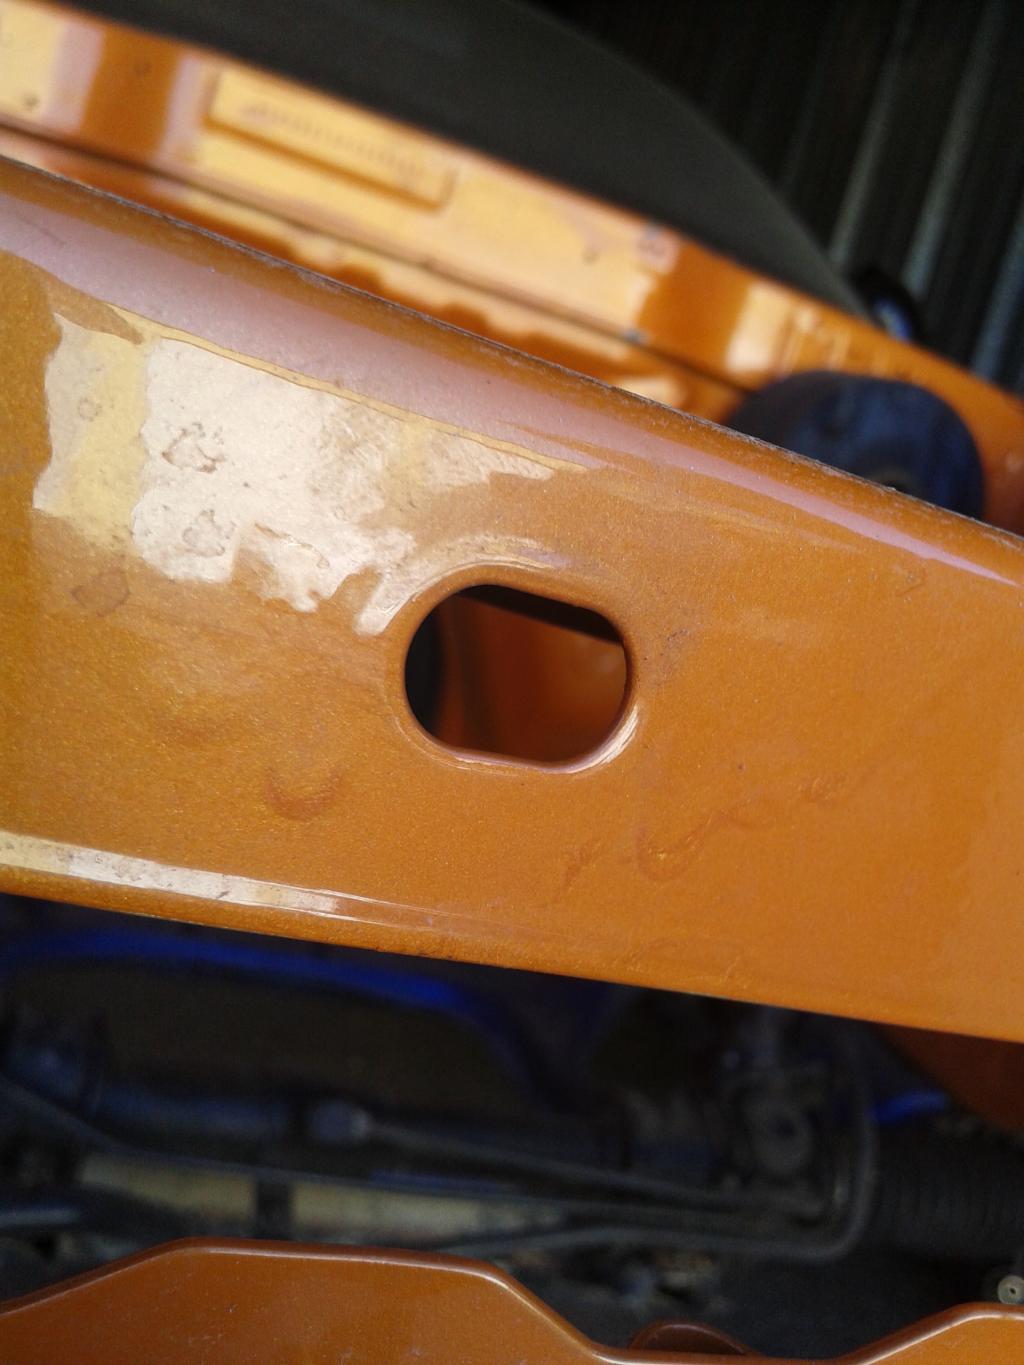
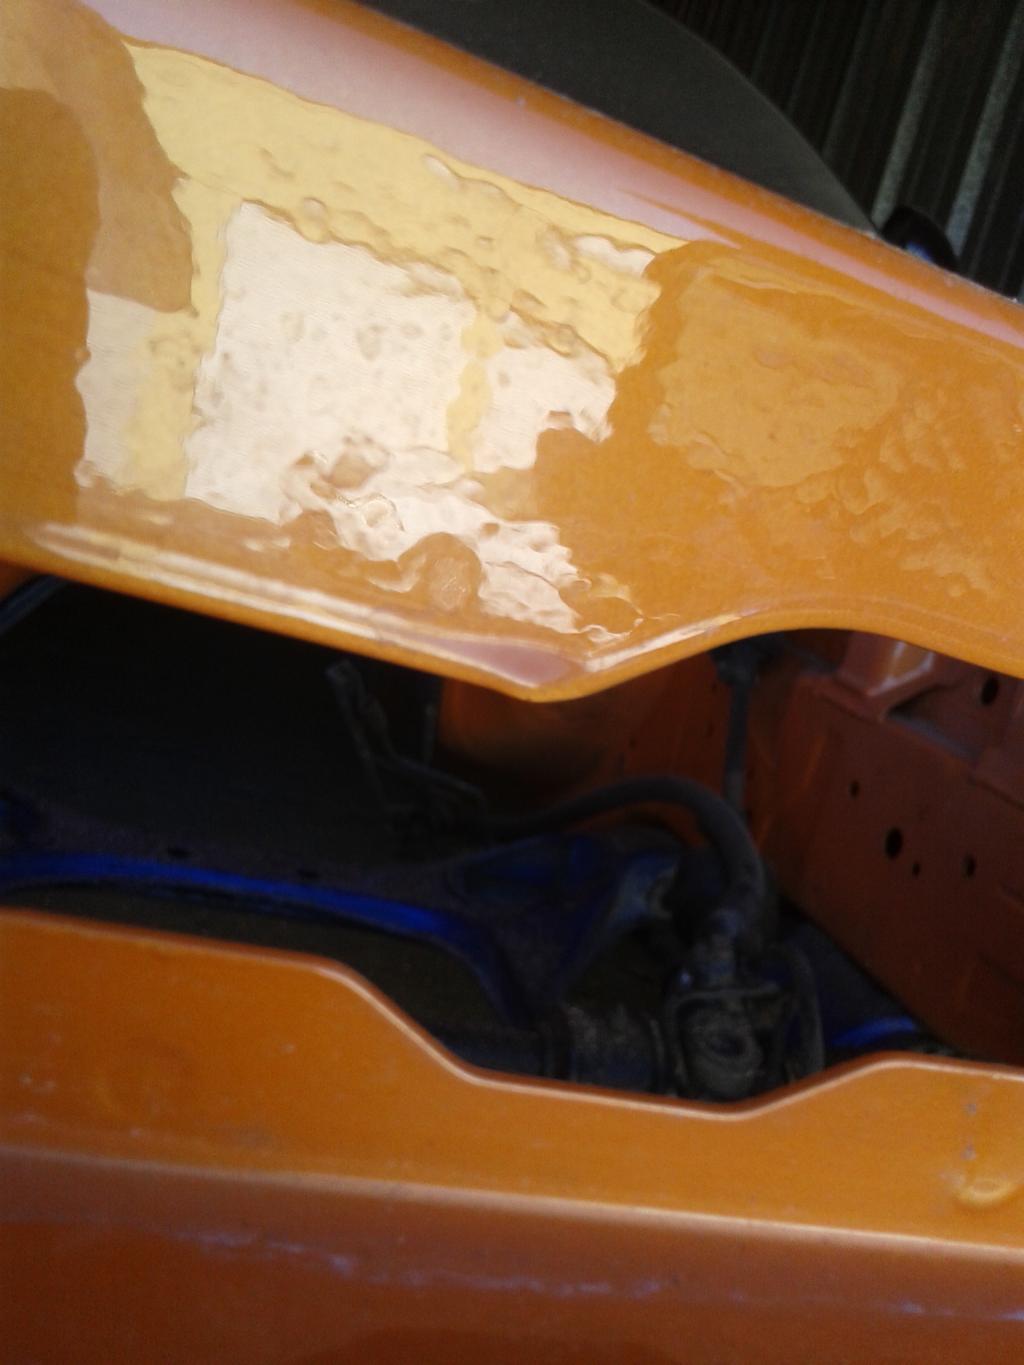
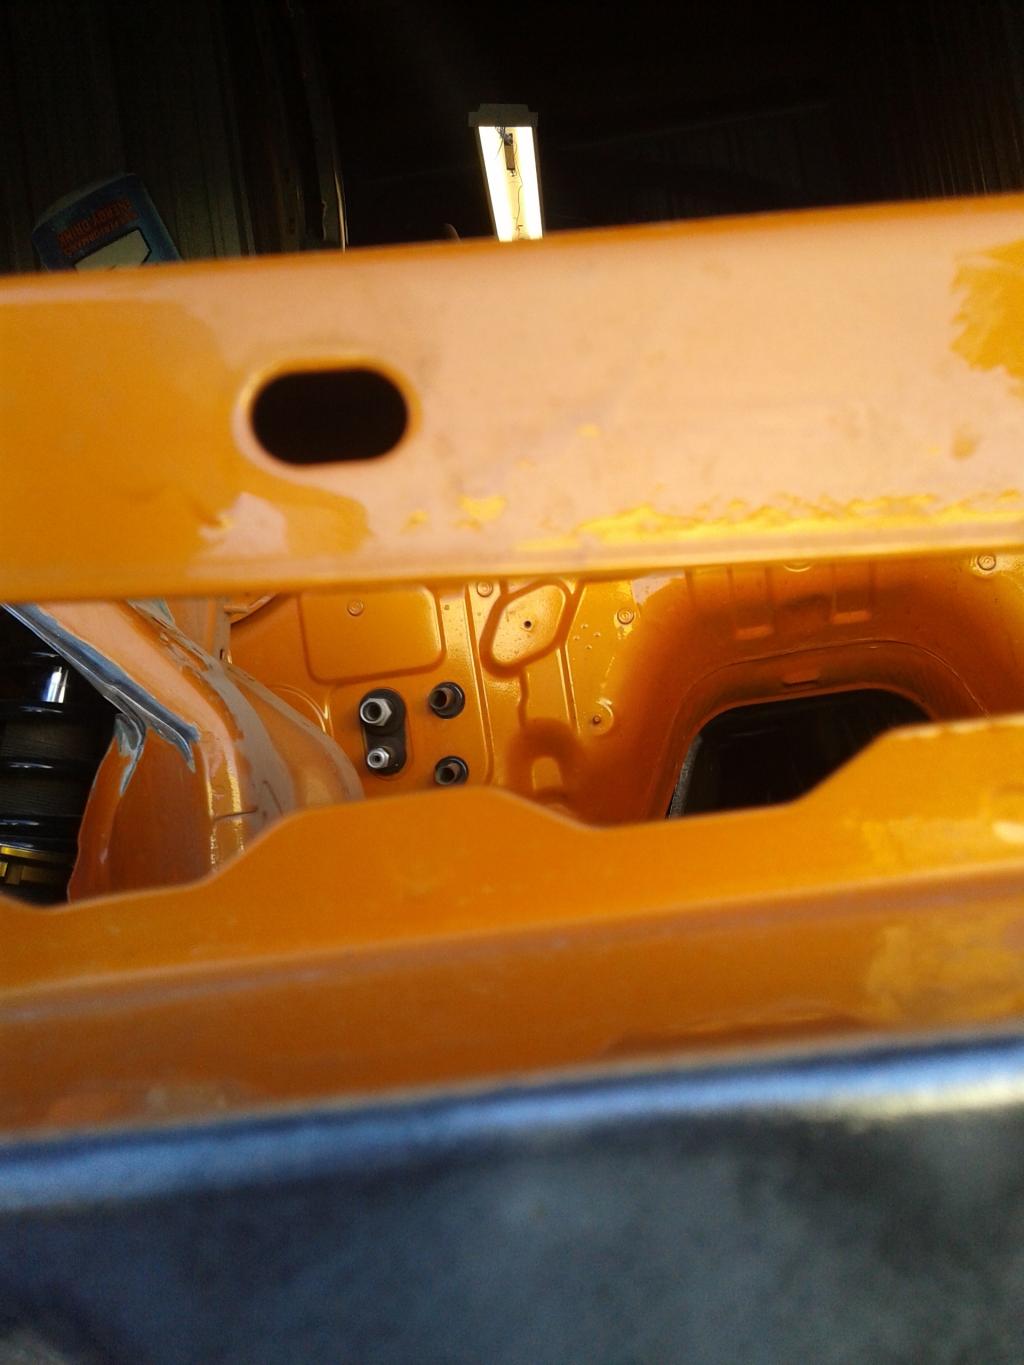
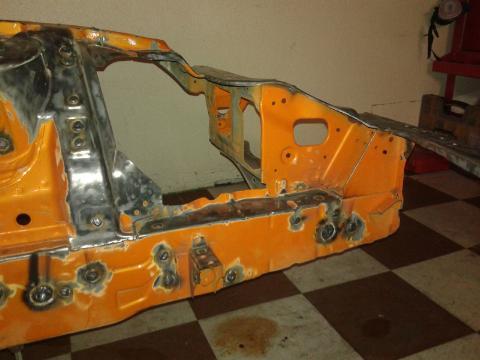
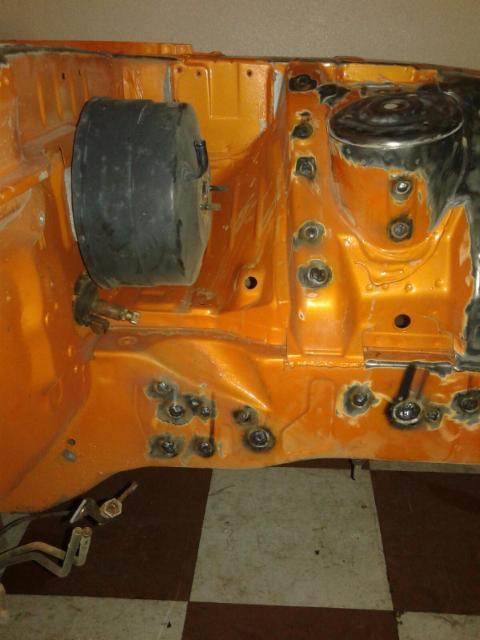
Got more knocked out on the engine bay. Fully shaving every unnecessary hole, and bolt. Why you ask? Stay tuned...
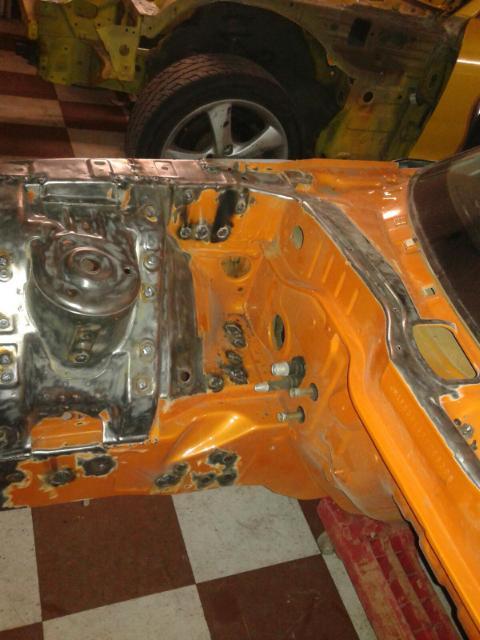
Also finished up the $100 coilovers. Top hats didnt fit the strut tube diameter, so a washer drilled to size was the temp fix until i replace these all together with something new. Looks good sitting low now with little effort into them. If nothing good comes from this, it was fun practice welding.

Shop pics in next post if anyones interested!
Added these tow bar brackets to the yellow car to move it from the old place to the new place.
Got more knocked out on the engine bay. Fully shaving every unnecessary hole, and bolt. Why you ask? Stay tuned...
Also finished up the $100 coilovers. Top hats didnt fit the strut tube diameter, so a washer drilled to size was the temp fix until i replace these all together with something new. Looks good sitting low now with little effort into them. If nothing good comes from this, it was fun practice welding.
Shop pics in next post if anyones interested!
Forgot to add these with the post above.. ^
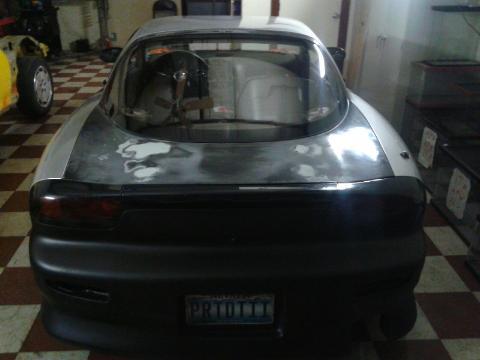
Also welded the wing holes, along with the wiper hole on the hatch. Got it pretty solid and only roughed in the filler. will sort any imperfections when its time for paint, but for now its seamless.
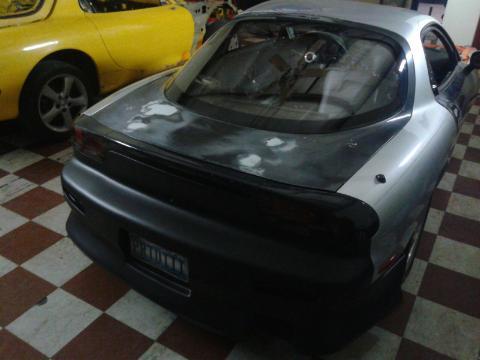
and pulled out the hatch glass from my R1 and put it on the drift car AKA "Battle Born" along with the super old school plate from my first FC. "Smoke Screen"
Also welded the wing holes, along with the wiper hole on the hatch. Got it pretty solid and only roughed in the filler. will sort any imperfections when its time for paint, but for now its seamless.
and pulled out the hatch glass from my R1 and put it on the drift car AKA "Battle Born" along with the super old school plate from my first FC. "Smoke Screen"
Havent updated this, or checked the forums in some time. Been really busy at the shop, but finally have some updates!
Sold the silver FD, decided to keep the CYM R1 after securing the title for it, and build this car over the silver one as it had some small rust in the hatch/upper windshield area.
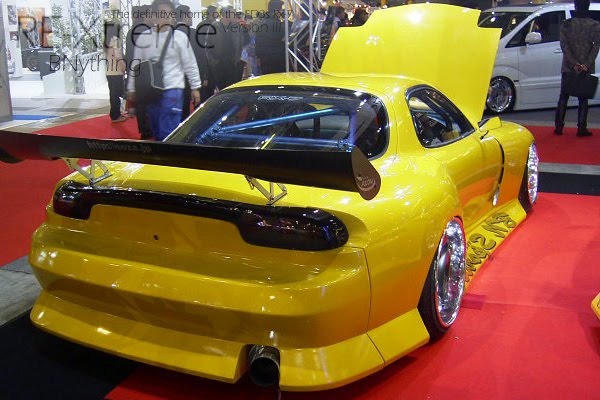
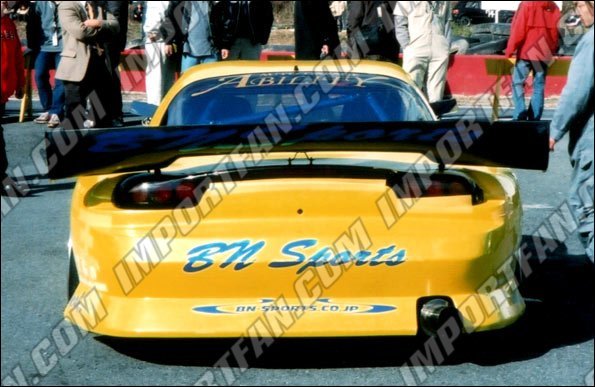
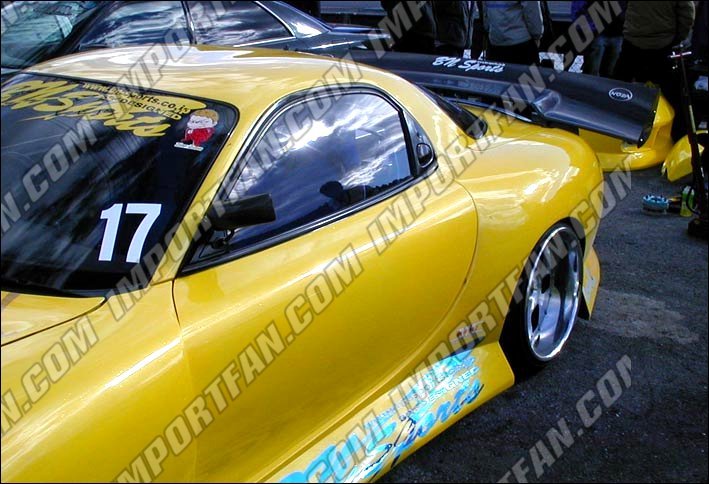
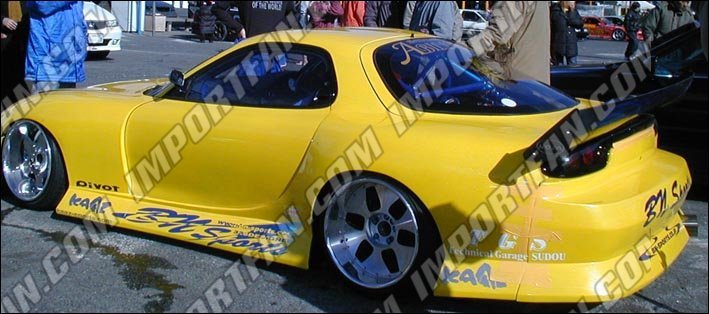
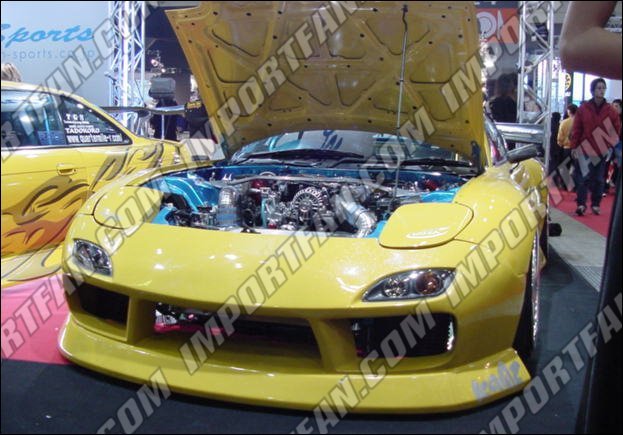
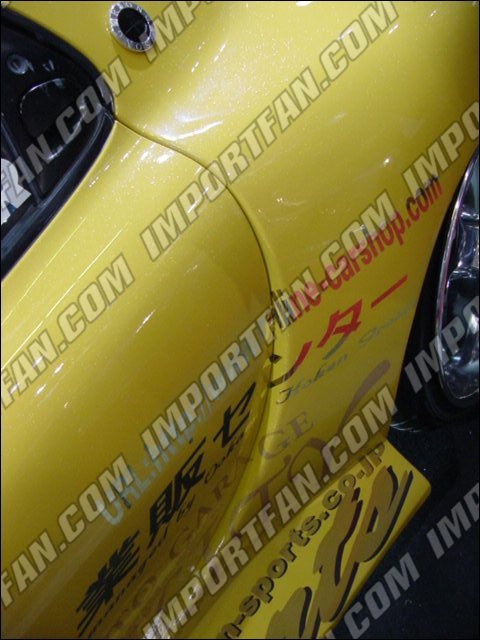
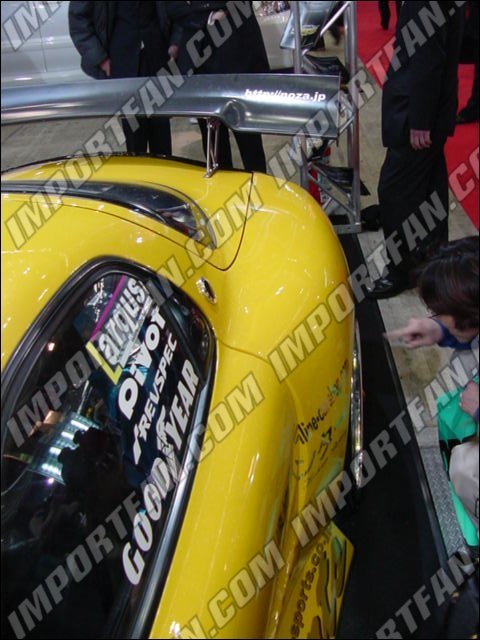
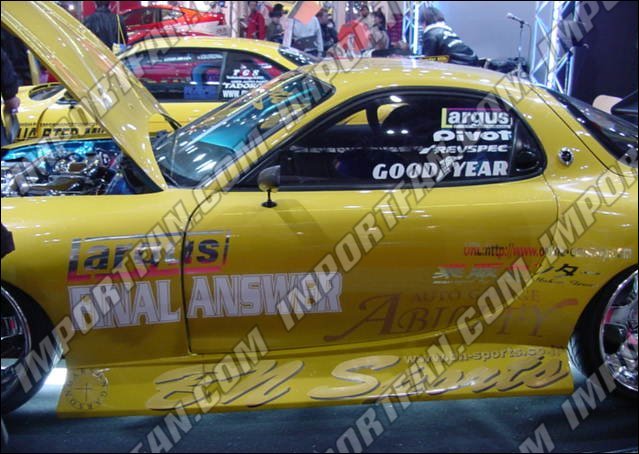
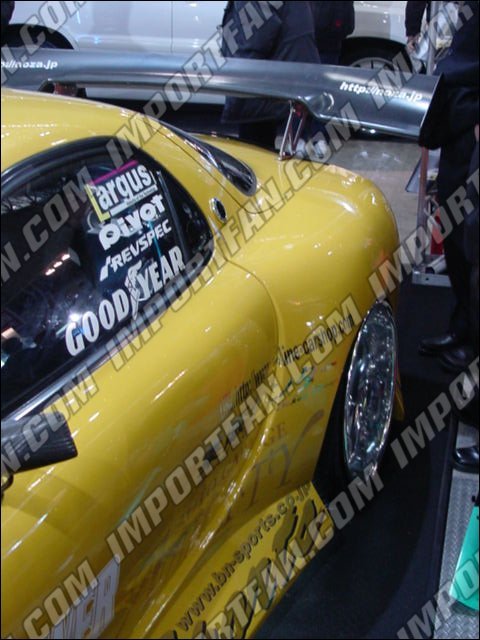
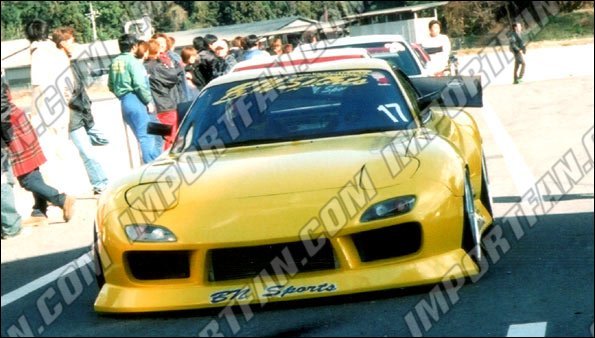
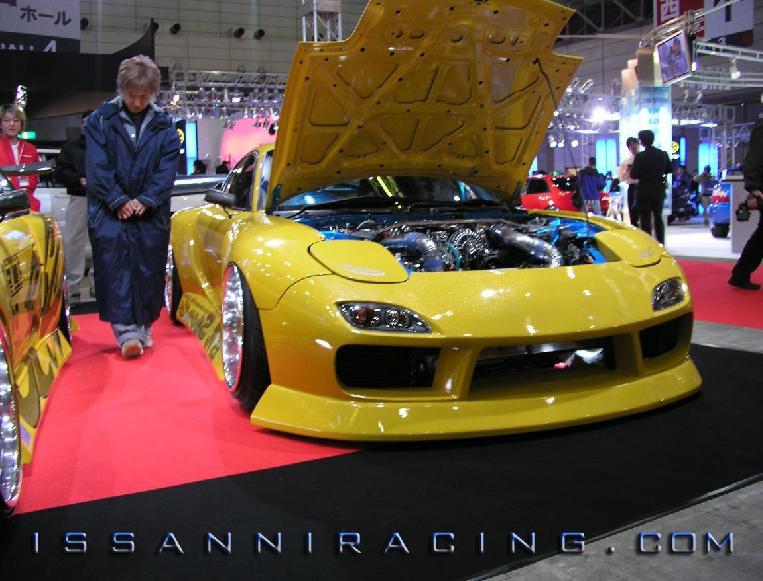
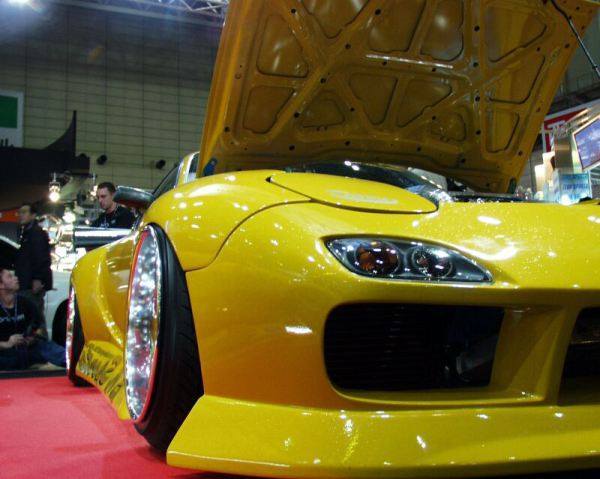
Picked up another FD in the process of all of this, and bought haruguchi's BN blister kit from the TAS 2003 FD demo car thanks to Tom at Circuit-Theory.
Busy busy busy.
Pics:
Mounted:
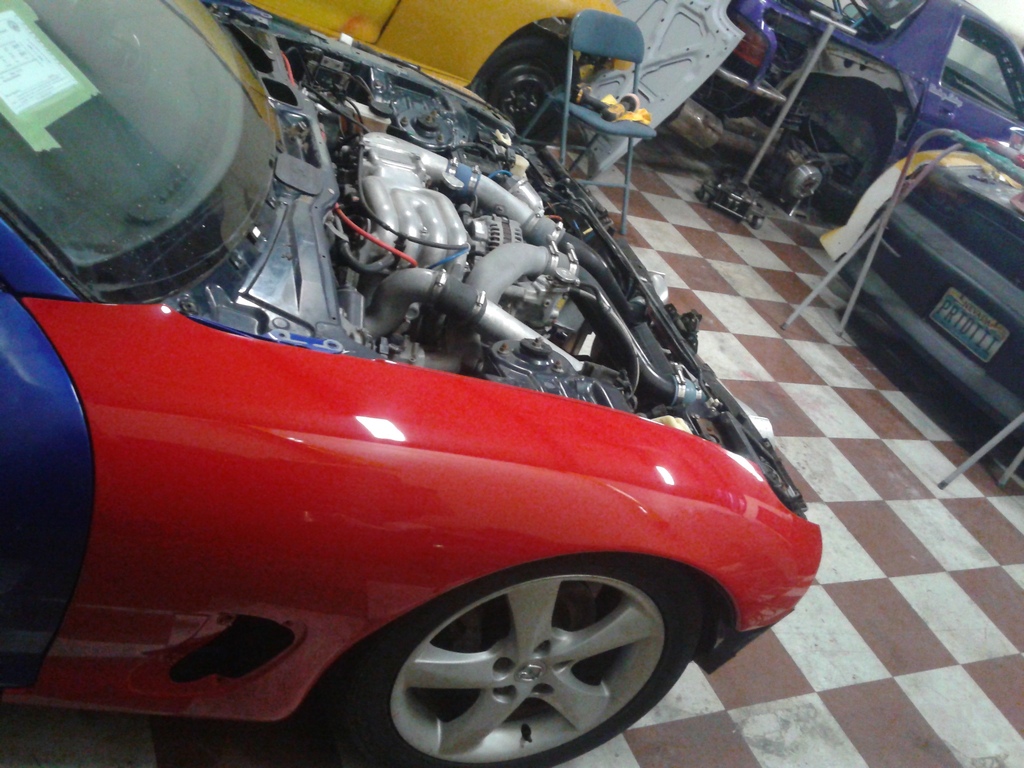
Here's the diamond in the rough I picked up. Street car build in full effect. In the process of painting it vintage red. no fancy flake, just blocked a bunch of times, color sanded, and oem showroom quality finish.
The car was originally built by Pettit Racing, and tuned by Peter Farrell of PF Supercars.
I'm now the 3rd owner, and the chassis has 73k miles. Has a powerFC, twins set up non sequentially, DSS axles, KAAZ 2 way lsd, coils, drilled/slotted brakes, and ducting out the A$$.

Ive named this car the ugly duckling. It screams 1998 SPOCOM show style.
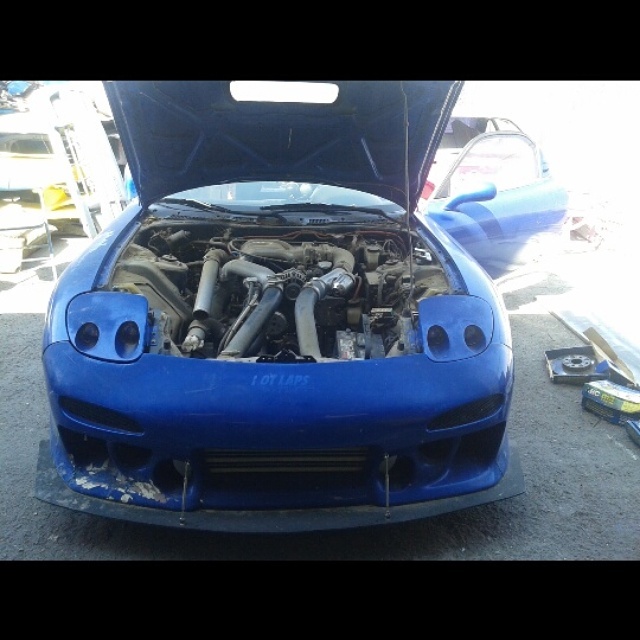
Sourced all the stock pieces I could find to get this thing looking better. bank account drained 4 times over it's finally getting paint and everythings here for it with the exception of wheels.
With my shop being busier than ever it's nice to have something cool to cruise in at the end of the day.
If anyone has info on this BN kit i'd appreciate learning more about it. From what i've researched im guessing it was the prototype kit, or possibly an early style of "blister" ? Everything ive seen to date mentions the production kits being different which they noticeably are. Really curious to know more about it so if you know anything post up links!
Sold the silver FD, decided to keep the CYM R1 after securing the title for it, and build this car over the silver one as it had some small rust in the hatch/upper windshield area.
Picked up another FD in the process of all of this, and bought haruguchi's BN blister kit from the TAS 2003 FD demo car thanks to Tom at Circuit-Theory.
Busy busy busy.
Pics:
Mounted:
Here's the diamond in the rough I picked up. Street car build in full effect. In the process of painting it vintage red. no fancy flake, just blocked a bunch of times, color sanded, and oem showroom quality finish.
The car was originally built by Pettit Racing, and tuned by Peter Farrell of PF Supercars.
I'm now the 3rd owner, and the chassis has 73k miles. Has a powerFC, twins set up non sequentially, DSS axles, KAAZ 2 way lsd, coils, drilled/slotted brakes, and ducting out the A$$.
Ive named this car the ugly duckling. It screams 1998 SPOCOM show style.
Sourced all the stock pieces I could find to get this thing looking better. bank account drained 4 times over it's finally getting paint and everythings here for it with the exception of wheels.
With my shop being busier than ever it's nice to have something cool to cruise in at the end of the day.
If anyone has info on this BN kit i'd appreciate learning more about it. From what i've researched im guessing it was the prototype kit, or possibly an early style of "blister" ? Everything ive seen to date mentions the production kits being different which they noticeably are. Really curious to know more about it so if you know anything post up links!