
Classic's Paint Info

Thread Starter
Joined: May 2003
Posts: 7,831
Likes: 2
From: Hagersville Ontario
Classic's Paint Info
Hello - My name is Joe Phillips and my father and I run a body shop called Classic
Auto Body Inc. I have constructed this thread as a guideline as well as a reference for anyone planning on giving their baby a fresh shine for the upcoming summer months.
As well feel free to post here any questions regarding any step in the body work process you need answered....Ok lets get started
Some helpful tools for performing a professional buff job are:
1. A variable speed buffer with a wool pad or coarse foam pad(for the initial cut)
- This is similar to an 8" grinder aside from the variable speed and lower gearing
2. A variable speed orbital buffer with a fine foam pad(for the final polish)
3. A mircofibre detailing cloth (and old t-shirt minus any printing will also work)
4. Rubbing compound (for all these I personally prefer 3M materials - the line of compounds is called perfect-it3)
5. Machine glaze
6. Hand glaze (wax)
- This is similar to pneumatic sander as far as the orbital motion goes
Alot of guys that do their own buffing are deathly afraid of swirl marks (especially on black or other dark colours) mostly because they believe that it is a one step process - take your buffer and your compound, hit it with that and see what you get.
In order to achieve professional results you must first understand a few basic concepts...
1. Anytime you touch your paint with anything - a chamois, your hand, or sandpaper you are scratching the paint. When you traditionally think of a scrath you think of someone keying your car right? Well the swirlmarks that can be created from an initial buff are simply scratches - only very very fine scratches.
2. How do you make it look scratch free and shiny if every time you touch it you scratch it? (a question I asked my dad in the learning process) You make scratches so fine that they can't be found with the naked eye. That is where the orbital polisher comes into play.
3. It always works best to do this out of the hot sun.
Now lets get ready to buff. Typically, when you buff you are removing rough swirl marks from repeated washing of the car. So you start with your buffer and a rubbing compound. Always work in small areas approx. 4 sizes of the wool buffing pad. Slowly bring the machine up to speed and spread the compound around. Once its evenly distributed go to full speed using equal speed strokes until the compound has disappeared. Once that happens move to the next area. Now, at this stage you will see swirl marks that are fairly ugly - but don't panic well take care of them later. You will want to make the swirl marks as even as possible - don't simply rub the buffer anywhich way, keep it very controlled and even as doing this will make the swirls easier to remove later.
TIP - it is very easy to tear paint off of edges with a buffer so either stay away from edges and do them by hand or pay attention to the direction the buffer is turning and orient it in such as way as to always go away from or along edges.
Once you have done the areas that you desire, we'll move on to the orbital buffer. Using the machine glaze go back over all the areas you buffed, you can now work in a bit larger areas (one half of the hood at a time) and you will not need as much machine glaze as you needed compound. If you were going to do for example, the hood, doing one half at a time - in the middle of the hood go from front to back keeping the polisher flat at all times and slowly bring it back towards you. (on black or dark colours you may have to do this twice) You can wipe the excess off as you go with your rag. Apply this same principle of doing the full lentgh of a panel - slowly and evenly drawing the polisher across it for the remainder of areas on the car.
Now the next step is really optional - if you are satisfed of the result of the polish, great go crusin! but if you want that little bit extra, those few very very minor swirls removed than take your hand glaze or turtle wax with your rag or microfibre cloth and apply it it small circles working in approx. the same size areas as you did during the intial buff. Once its applied and has dried remove it promptly with the same small circular motions used to apply it. This will give real hard glassy shine which is a must for your car show guys.
In the future I will get into some topics involving wetsanding as well as anything you guys have quesitons on.
Thanks - Joe Phillips, Classic Auto Body Inc.

Thread Starter
Joined: May 2003
Posts: 7,831
Likes: 2
From: Hagersville Ontario
Not exactly - but I would be glad to help you out.
and that brings up a good point.
I could give you a demonstration while i buff your car....for $150 + tax
Which convienently leads me to pricing - A typical buff and polish ^
A wet sand(I will give a how-to at a later date)buff and polish - $300+ tax
Now for painting - these first sets of prices are before tax and for a car that has been primed and had the body work done to it - we will do the final sanding, masking prepping and painting (and with no responsibility for the shape of the body work)
A complete paint job w/solid colour "C" quality - $1000
A complete paint job w/solid colour "B" quality - $1200
A complete paint job w/solid colour "A" quality - $1500
A complete paint job w/metallic or pearl colour "C" quality - $1400-1500
A complete paint job w/metallic or pearl colour "B" quality - $1600-1700
A complete paint job w/metallic or pearl colour "A" quality - $1800-2000
(Also these prices are all based on the size of an RX-7 and would translate only to vehicles the same size. As well these prices would be a change of colour operation which would include spraying the door jams and inside of hatch - none include spraying the engine bay - for this add $200 as long as the eninge is removed prior)
As far as pricing for complete bodywork and paint goes the car must be seen so that a clear understanding of your expectations of the bodywork as well as the true condition of the car can be crystalized.
Feel free to contact me - Joe Phillips at (905)779-3969 for more information

Thread Starter
Joined: May 2003
Posts: 7,831
Likes: 2
From: Hagersville Ontario
by all means
one thing to take into account though is buffing will actually REMOVE paint material from the car....but only very very thin amounts
therfore if the car has been buffed and polished umpteen times then I would go very easy with it
one thing to take into account though is buffing will actually REMOVE paint material from the car....but only very very thin amounts
therfore if the car has been buffed and polished umpteen times then I would go very easy with it
Thread Starter
Joined: May 2003
Posts: 7,831
Likes: 2
From: Hagersville Ontario
The Morrell Booster
A good friend of ours Bill Morrell has brought by his drag racer once again for paint - this time its no simple black paint... he wants simulated metal paneling to make up the body a set of large tribal style flames, since these projects are rather interesting i figured i would keep you guys posted on our progress...
lucky for you we are all finished the body work and I have begun the monumental task of painting this 836rwhp 8.49 second Pontiac firebird
Here are some pics of my first nights work the pics show the silver base coat going on in the booth and then the red candy over that (this will be the outline of the flames) and then the beginning of the layout
Trending Topics


hi, i might be looking for a paint job soon ... i have a 1990 RX-7 , but id like to keep it the "original" red ( the body color code is : SQ ) and id like to shave the emblems on the trunk and the key hole too ... anyways id probably do the "B" quality paint... so could you give me a quick estimate ?? ohh btw my car as a few minor scratches !! anyways pm me , thanks ,
Bruno
Bruno
Thread Starter
Joined: May 2003
Posts: 7,831
Likes: 2
From: Hagersville Ontario
Ok im going to post some more pics of the drg car, but id like to tell you a bit about some of techniques displayed in the last post of the progress.
Notice the pic of the hood where the paper has been layed out... I just folded a piece of paper and cut out the design i wanted for the center flames then unfolded it on the hood. Since the two flames in the middle are so close together its necessary to do this to get the "mirrored" effect, once you get further apart some variation between the two sides becomes less noticeable and more acceptable - especially in a hand laid design.
Here are some more pics...
you will notice that the last pic on there shows the front end in clear...this is because during the process of masking the fasteners and metal paneling edges the silver base will get rubbed against and bumped by my legs and knees and such, clearing it allows me to bump and scuff it without making marks in the silver.
more updates soon (got boost i pm'd you)
Thread Starter
Joined: May 2003
Posts: 7,831
Likes: 2
From: Hagersville Ontario
Its Done!
Alright I finally got the car finished, of the pics here I exempted the ones of applying the blue and shading the flames in the paint booth because even I have to keep a few secrets.....but it looks NICE
THe blue we put on just pops outside - its a viper GTS blue pearlcoat (SBE) i cant wait to see what the paint looks like at 167mph (avg. trap speed)
ne ways heres the pics...
THe blue we put on just pops outside - its a viper GTS blue pearlcoat (SBE) i cant wait to see what the paint looks like at 167mph (avg. trap speed)
ne ways heres the pics...
Thread Starter
Joined: May 2003
Posts: 7,831
Likes: 2
From: Hagersville Ontario
1955 Cehvy Bel Air 2dr Hardtop
Check out some photos of the latest custom paint job we did...
The colour on the fornt, although it appears black (wasn't very bright out when the pics were shot) is actually a dark blue pearl PB7, a chrysler colour.
The roof and quarter sections are a custom white pearl candy colour made by yours truly
The flames were done with a House of Kolour "true blue" candy coat, and the white tips are the custom tri coat from the rear section of the car, as well an intercoat urethane H of K was used to hand pinstripe the edges of the flames before the final 6 coats of clear.
I included some pics of the motor, even though its a 327, its still a beautiful piece of automotive jewelry
ENJOY!

Full Member
Joined: Oct 2002
Posts: 61
Likes: 0
From: Toronto, Canada
What do you mean by the car has to be primed and bodywork done to it? Is this just relating to the rust spots and parts of the car where the paint is chipping/poor. Also how may coats of clear is included?
Thread Starter
Joined: May 2003
Posts: 7,831
Likes: 2
From: Hagersville Ontario
Originally Posted by JonD
What do you mean by the car has to be primed and bodywork done to it? Is this just relating to the rust spots and parts of the car where the paint is chipping/poor. Also how may coats of clear is included?
With that said that means the whole car could be primed, or sjut spots - it depends on the condition of the car, the extent of your body work and how long you want it to last. But thats all up to you for that price range.
Coats of clear vary per application with such factors as temperature, sprayout, and overall purpose (burying graphics requires more obviously) but generally speaking cars recieve approx. 3 on a BC/CC job when they leave....meaning 4 may be applied, but after some light bufifng - 3 remain. Putting much more than that on a car where no burying is required is pointless. People seem to make a fuss about too much filler being put on but then when it comes to the clear, you'd think they want the car dipped or something - well the principle remains the same, less is more.


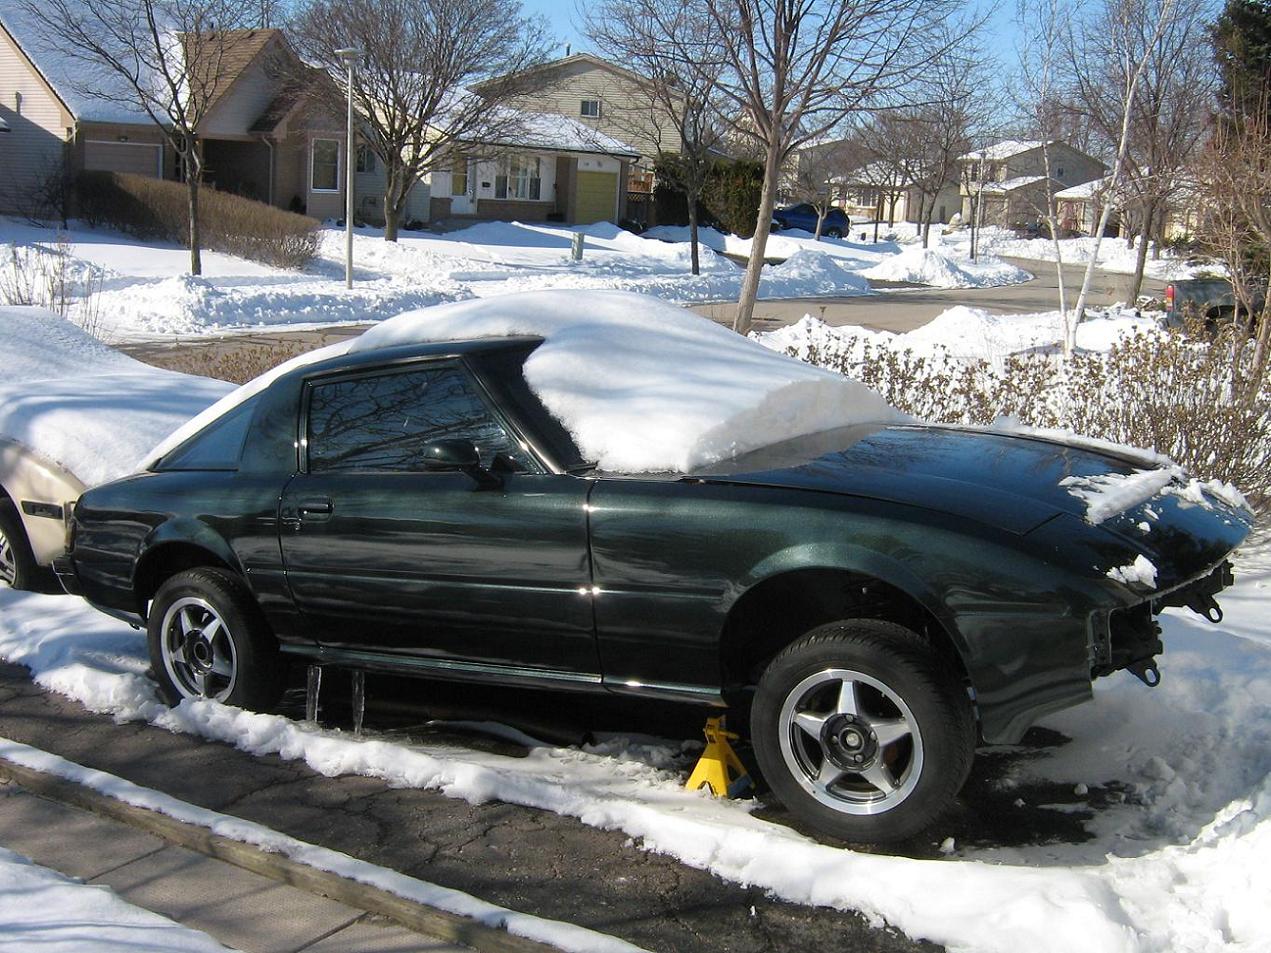
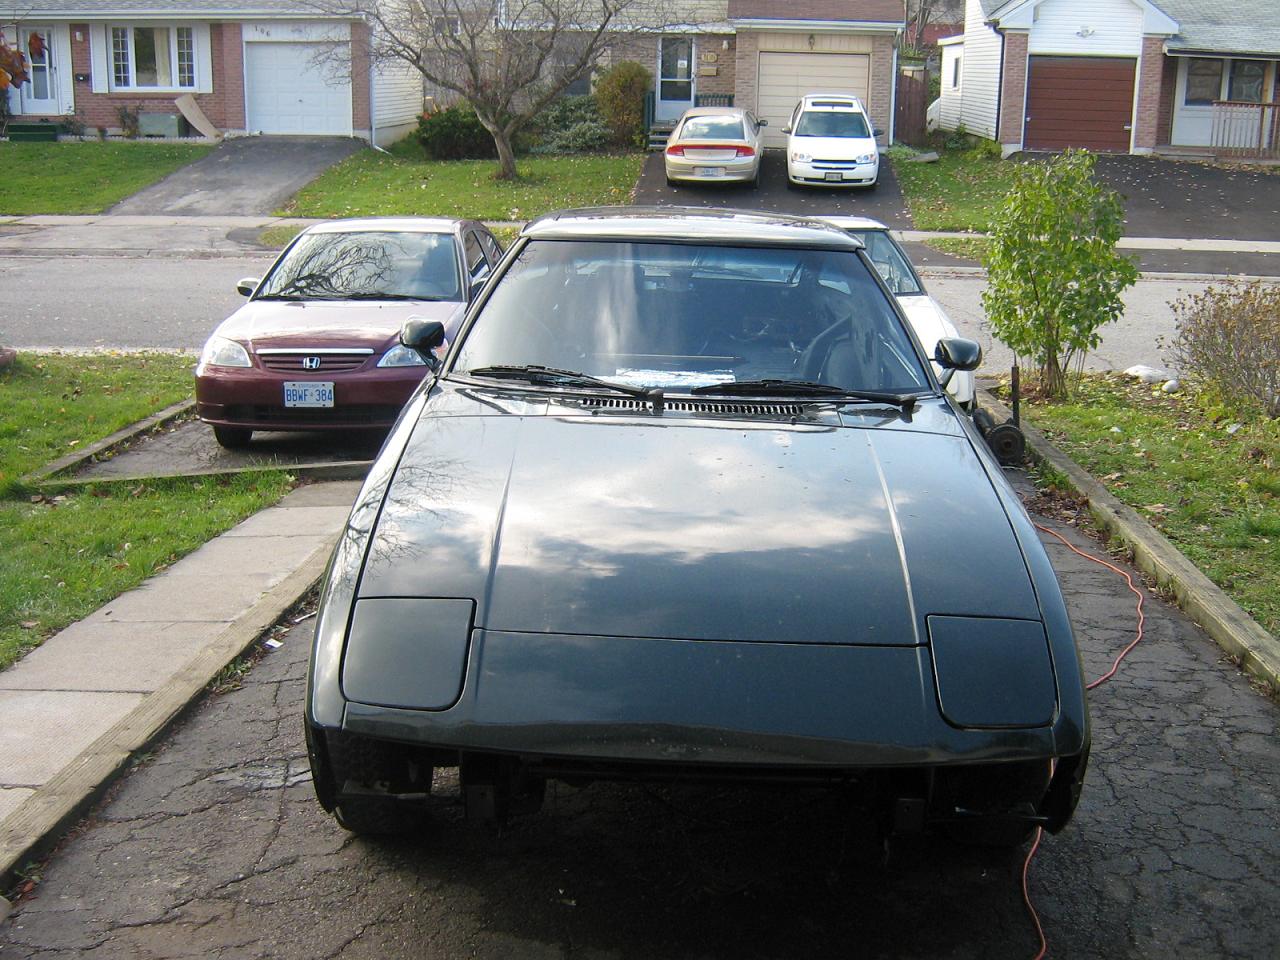
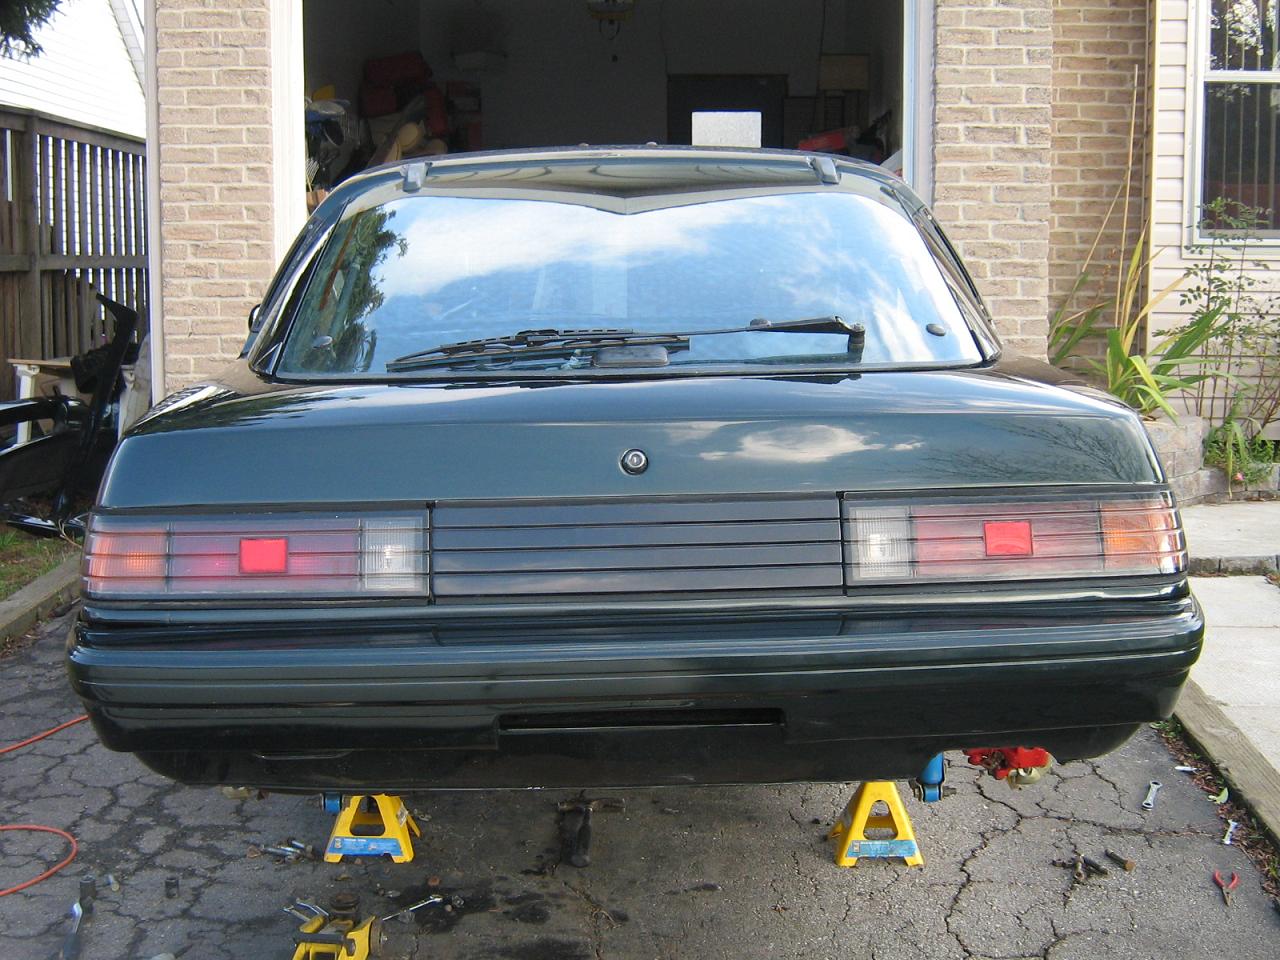
what? Joe Paint's car for that cheap  lol Ya he painted my car and happy with the results He had to do the lot on my car though, and that includes engine bay... Here's the car: (McLaren SLR green btw)
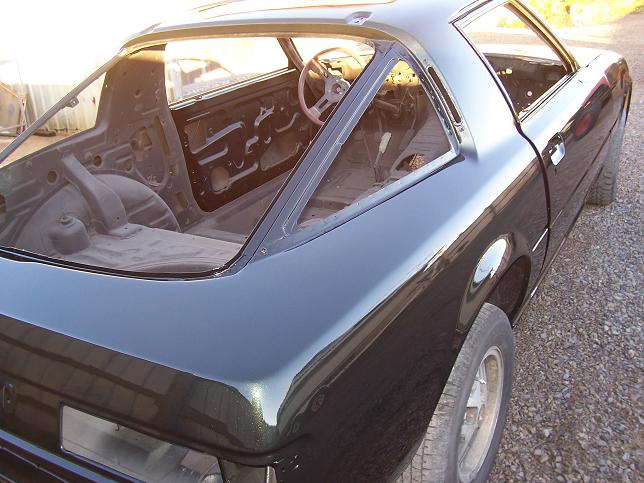

Also as mentioned, all the body prep work was done by me. But thanks again joe .. was worth the drive up there ...
lol Ya he painted my car and happy with the results He had to do the lot on my car though, and that includes engine bay... Here's the car: (McLaren SLR green btw)Also as mentioned, all the body prep work was done by me. But thanks again joe .. was worth the drive up there ...
Thread Starter
Joined: May 2003
Posts: 7,831
Likes: 2
From: Hagersville Ontario
Originally Posted by sizzlenut
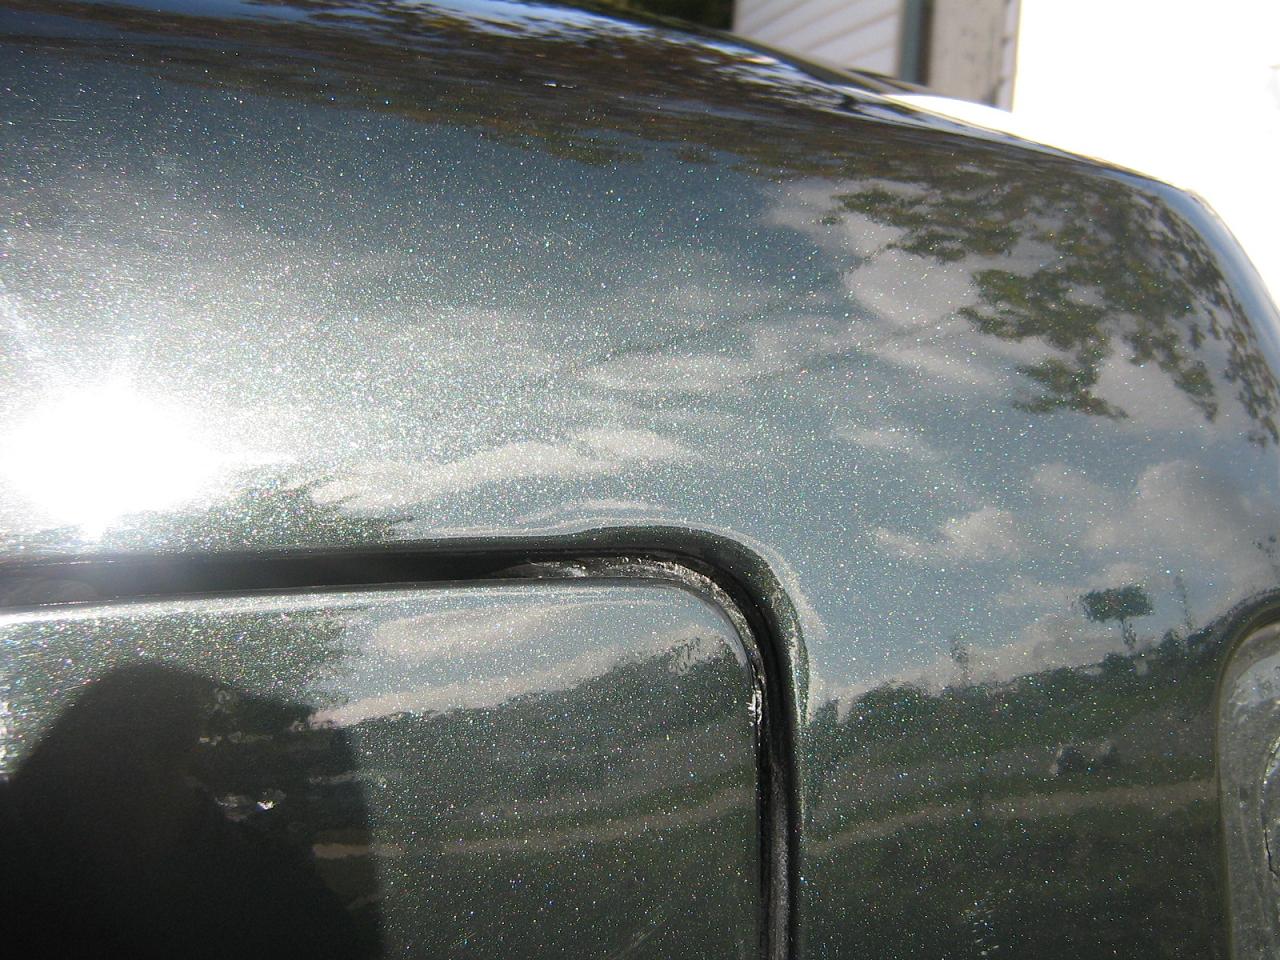
I was told that this should buff right out... would you be able to demonstrate?


what? Joe Paint's car for that cheap lol Ya he painted my car and happy with the results He had to do the lot on my car though, and that includes engine bay... Here's the car: (McLaren SLR green btw)
Also as mentioned, all the body prep work was done by me. But thanks again joe .. was worth the drive up there ...
lol Ya he painted my car and happy with the results He had to do the lot on my car though, and that includes engine bay... Here's the car: (McLaren SLR green btw)Also as mentioned, all the body prep work was done by me. But thanks again joe .. was worth the drive up there ...
Your car's really unique Sam, it'll be a hot topic at the tuning session I'm sure.
I need some warmer weather to help me finish it up though, I will post better pictures of it fully cleaned up and buffed up once she's all done ... I already got a door ding from it just sitting in the garage doing the engine swap  Shouldn't be too hard for a paintless dent removal company to do though.
Shouldn't be too hard for a paintless dent removal company to do though.
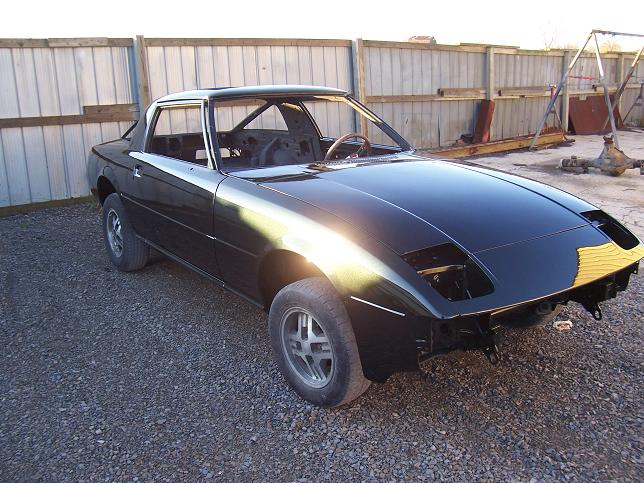
I love that paint job. You have a beautiful first gen.
I really would love to find a clean bare shell and get it painted cream white... put a ford 8.8 and a turbo 13B in it.
I really would love to find a clean bare shell and get it painted cream white... put a ford 8.8 and a turbo 13B in it.