When you click on links to various merchants on this site and make a purchase, this can result in this site earning a commission. Affiliate programs and affiliations include, but are not limited to, the eBay Partner Network.
Have been a member for a long time, and have had this car for a long time. About 8 years ago, I decided it would be a dedicated track car just for non competitive track days but life got in the way and it sat as a stripped out shell taking up space in my garage.
Anyway, just recently I started to get a little motivated, so myself, my brother and a buddy decided we'd throw a little cash into it and have ourselves a track car to use and not worry about breaking things too much. Just have a little fun! We decided to build it as if it were going to be in the Open class at World Time Attack Challenge here in Australia and so build to those rules. This will suit no speed limit days at the local track and hillclimbs. So, I'm calling it a time attack car and am inspired by the Turbosmart FC, which ran in the open class at WTAC.
So it's basically a stripped rolling shell atm. It's an '86 base model imported from Japan. It has a depowered rack that I did about 6 years ago... Can't really remember doing it all that well, so will need to check it out before turning in anger!
A bunch of MMR bushes (the benefit of an 8 year build is being able to wait for parts to show up from MMR). A short shifter in the standard box. It's got a Lexan rear hatch, and I'll make Lexan side windows for it.
That's the current state...
Late next month it goes for a trip to get a basic 6 point cage built to CAMS specs. I'll need to get a seat and am thinking a Sparco Sprint V keeping to the tight budget philosophy. A 6 point harness too.
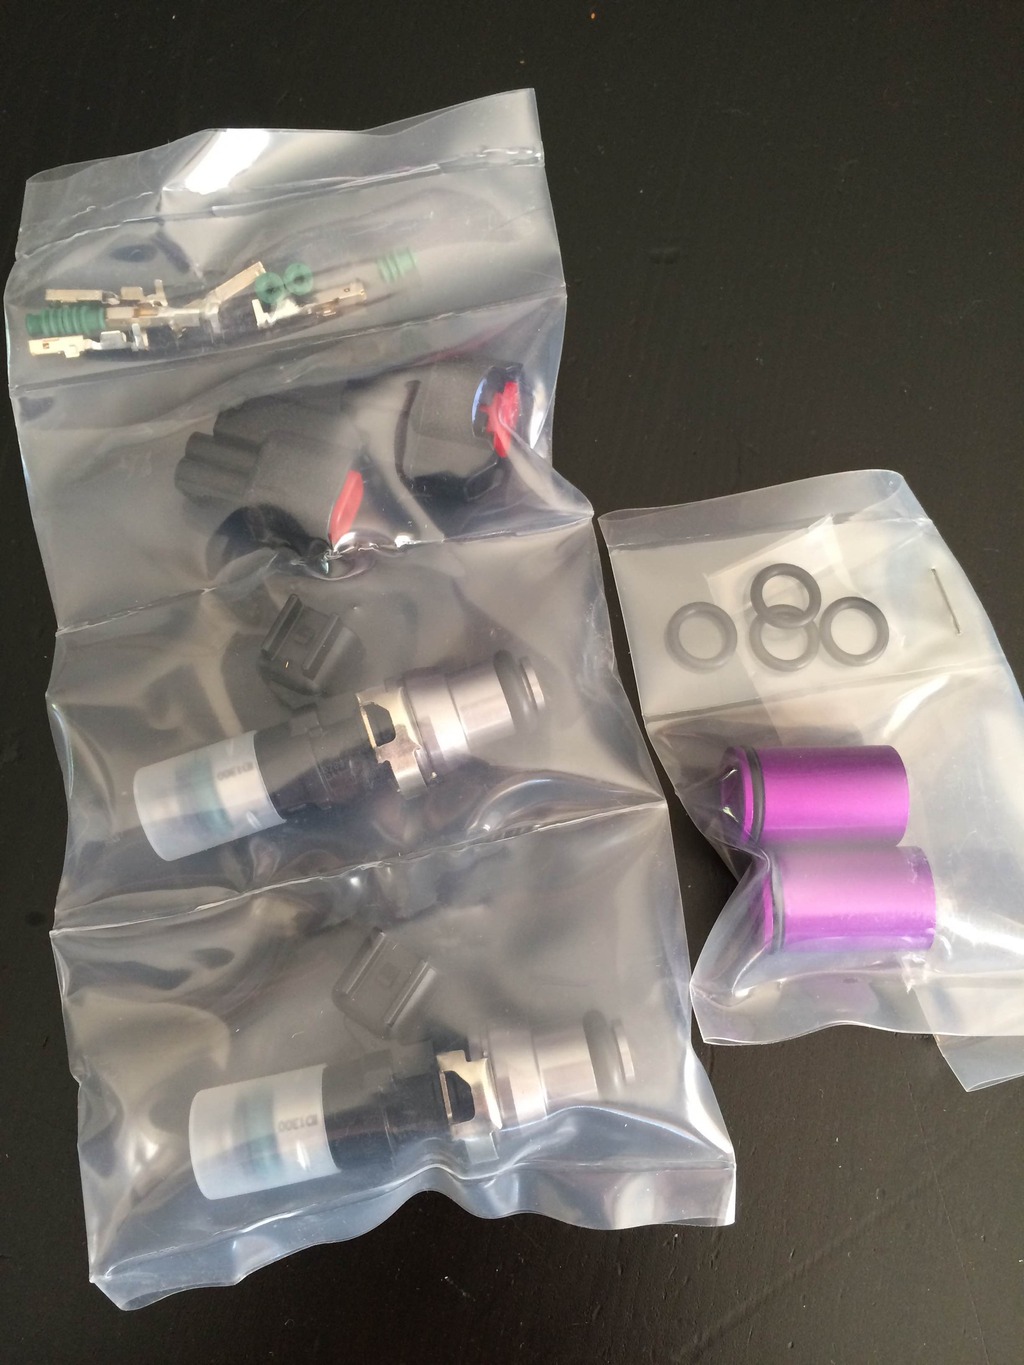
I will be installing an Adaptronic e420d, and all new wiring for the few things that remain... Will only use a few connectors from the original harness. It'll have brake lights, and then the essentials to get the car running.
It'll use the original block and turbo and clutch!! I'll wind the boost up a little, but that's it for power. Will rely on light weight and sheer driving skill for decent lap times!! I'll only be competing against my buddy and bro though, so we really don't care if it's the slowest car out there... It's all about having fun!
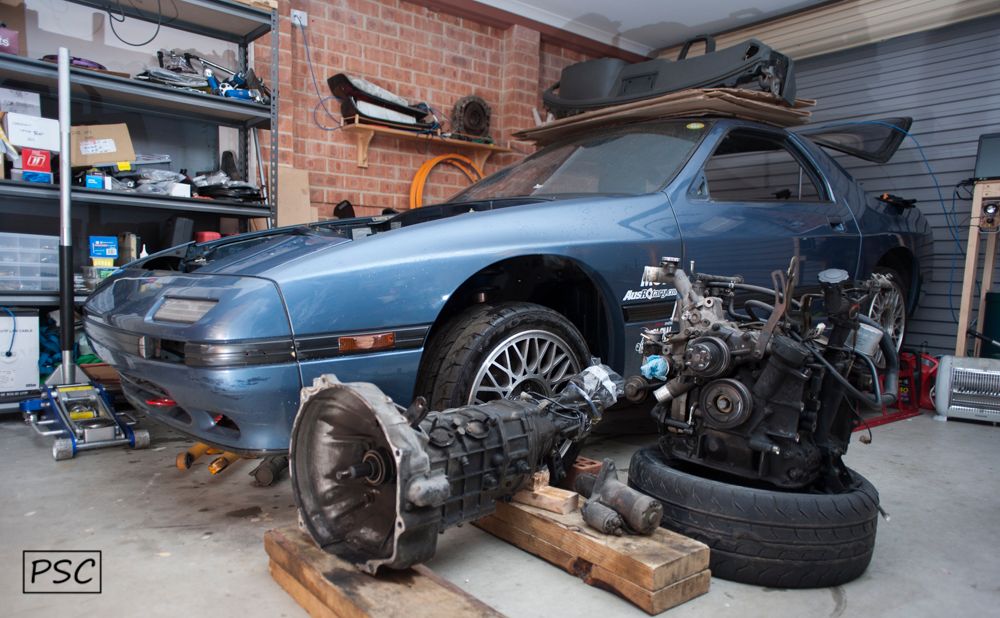
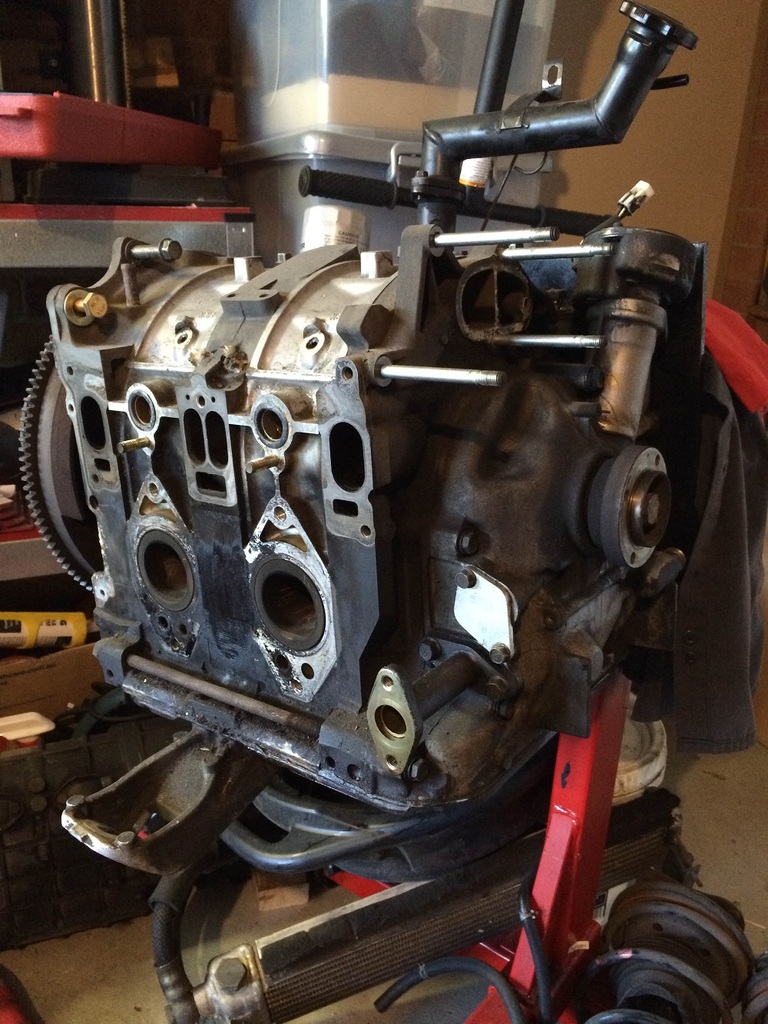
Been working at a general clean up. Removing sound deadening and whatever seam sealer I can easily get to, and I want to give the box and motor a good once over with the degreaser. The engine is out because my gearbox crossmember is off to get a new centre bushing machined up because the original rubber one perished and having to replace the entire piece to get new rubber sucks. Local rotary expert wanted to have a go at it anyway, so fingers crossed. So, the engine had to come out because the car will need to be trailered to get the cage fabbed.
Aside from the cage fabrication and possibly seat mouting (being RHD, the transmission hump is a PITA), the three of us will be doing all the work ourselves... For better or worse!! What could possiblie go wrong!
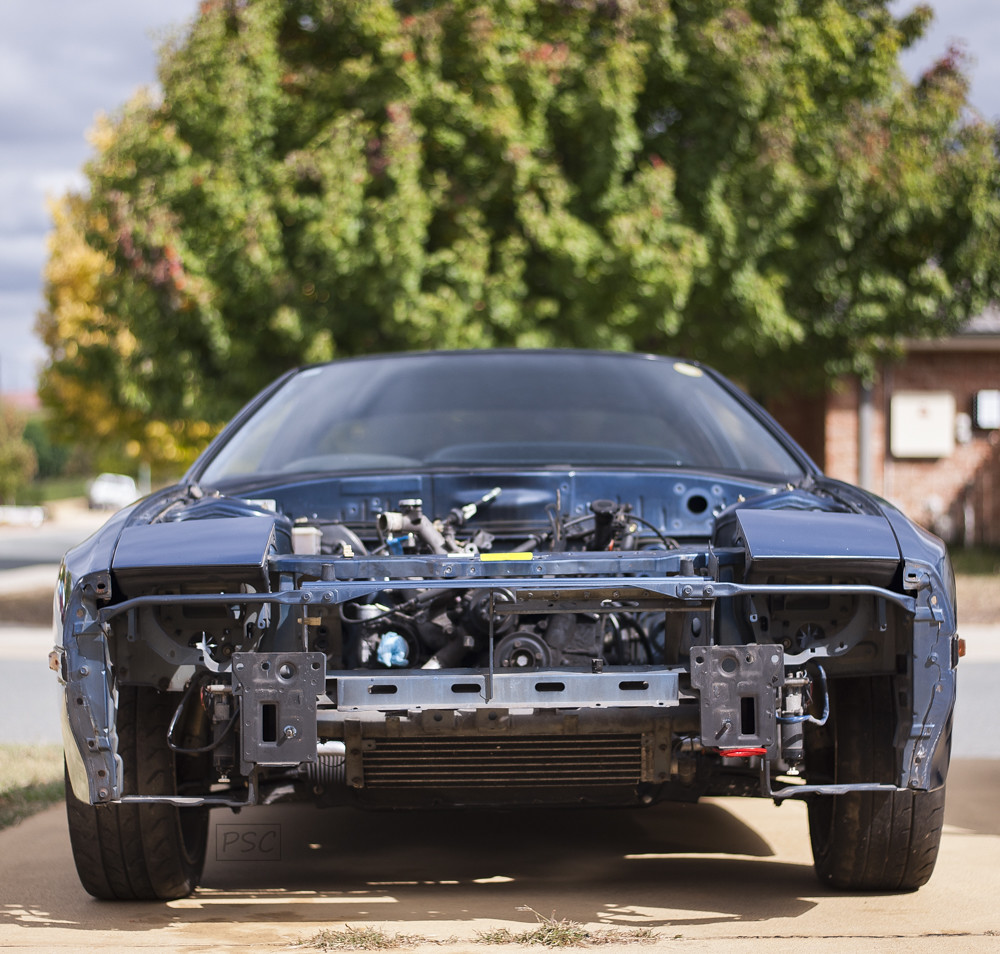
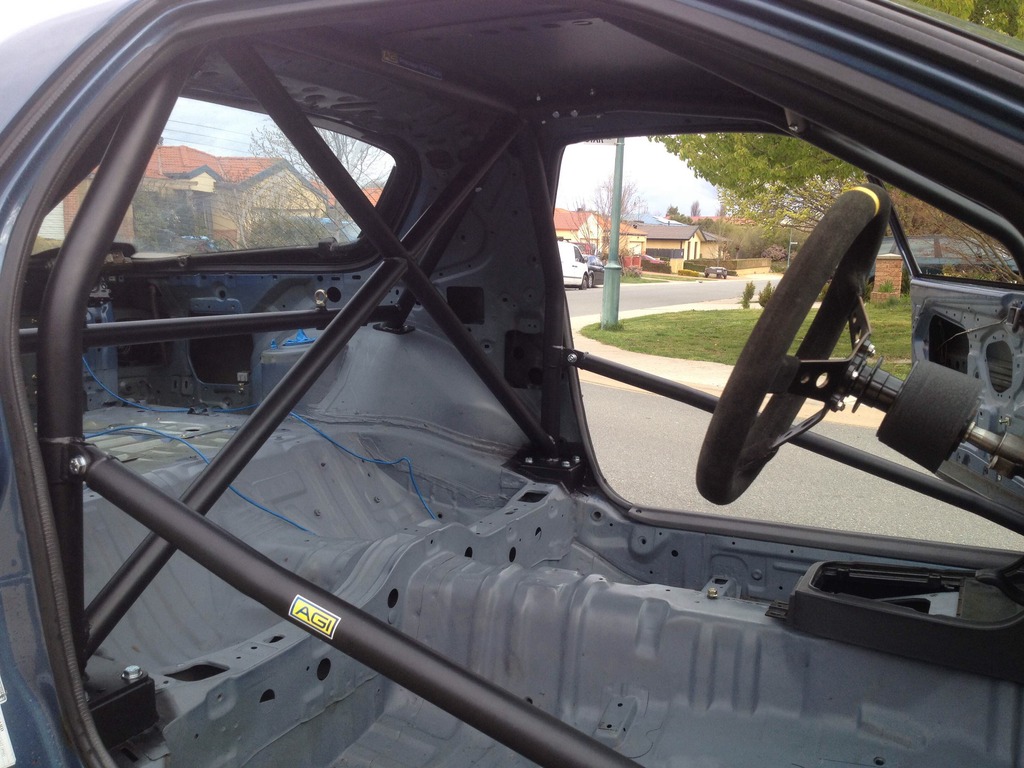
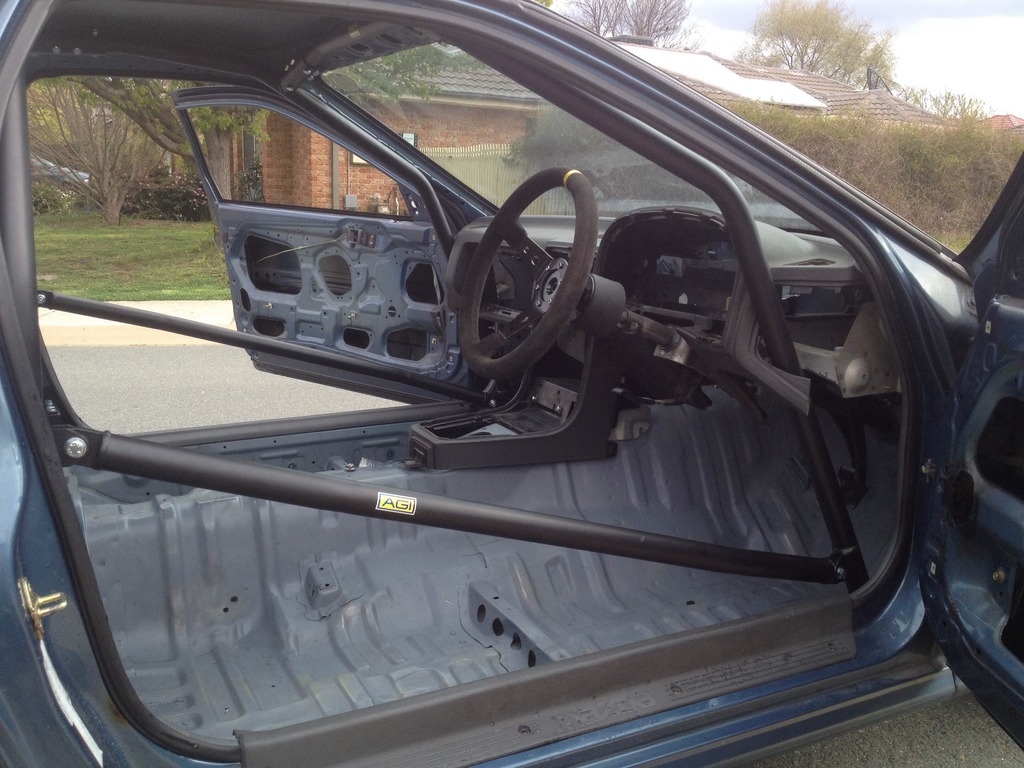
Here's two pics from a few weeks back, when I pushed it out of the garage for the first time in 18 months and dusted it off. Followed by a pic from today.
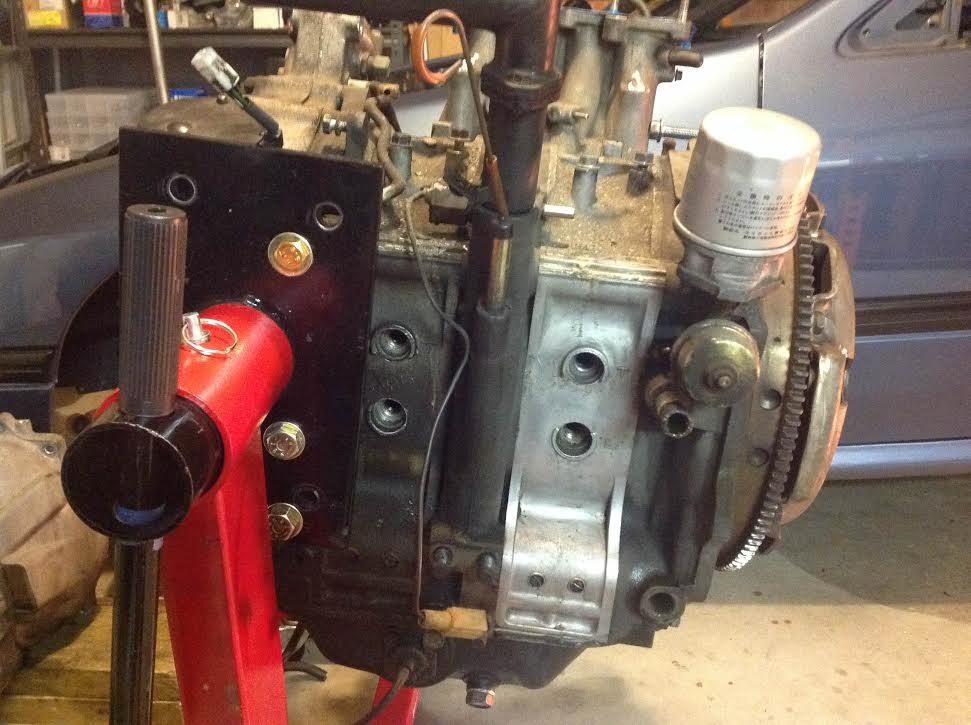
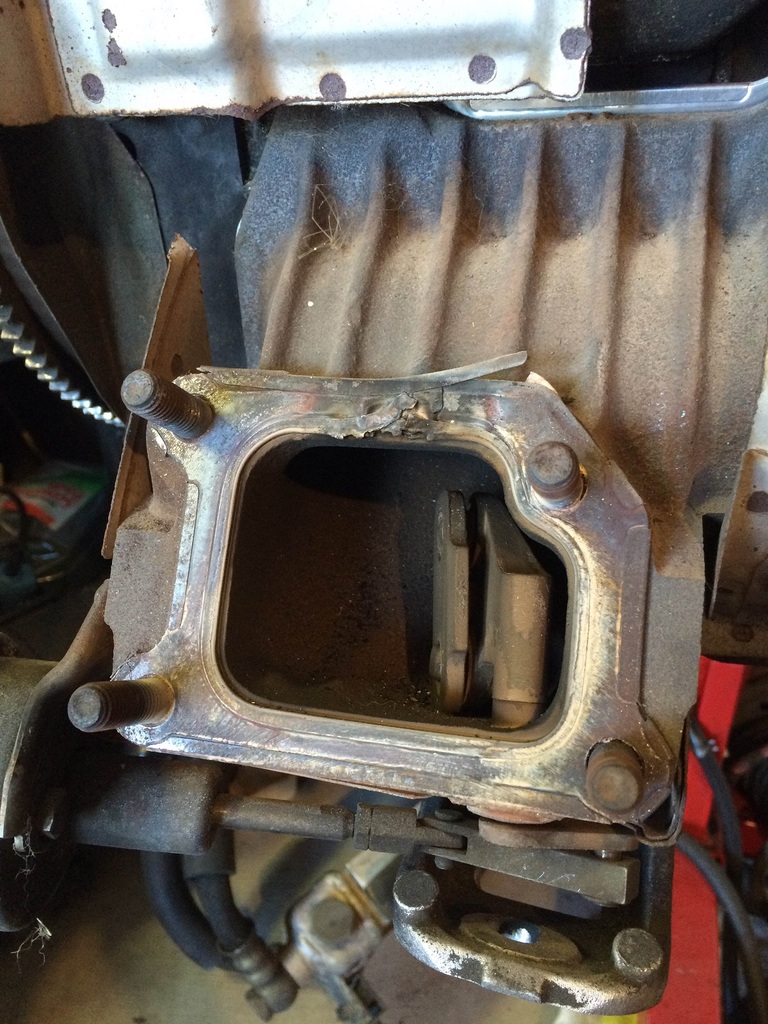
Terrible photo, but started cleaning off the block.
The sparkplug side and front cover is caked in crap.
Also, found the sparkplug threads are a little damaged. Will chase the threads very carefully with oodles of grease to catch the swarf. Fingers crossed nothing falls in!
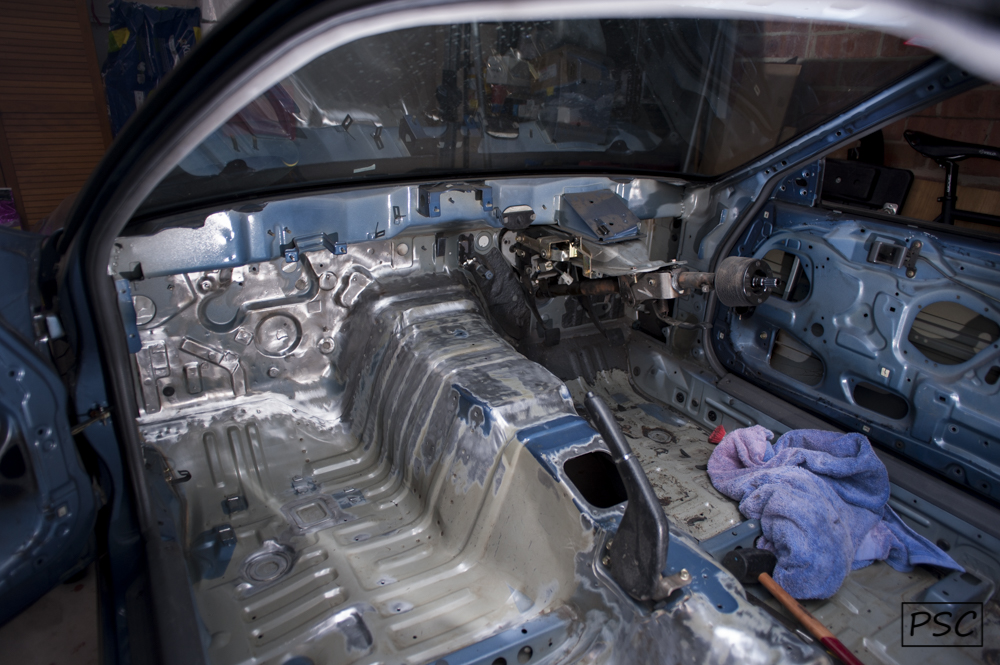
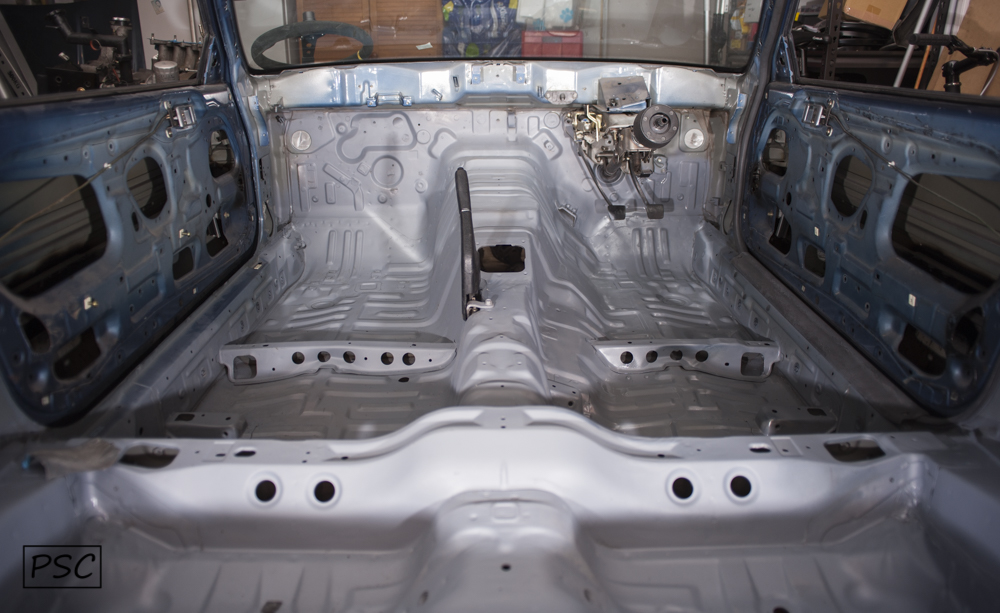
Slowly chipping away at the sound deadener. The vast majority was done with dry ice, I'm working on the residue that was left and the firewall area. Also getting as much seam sealer out as possible. Will stitch weld the chassis sometime in the future.
Very tedious job! Should be nice and clean when it's all done though.
I also removed the fuel tank and got rid of about 15 litres of 8 year old fuel. The smell is disgusting and it looks pretty terrible too! Going to give the tank a good clean out and it'll go back in with all new rubber lines, and a Walbro 400. Being a rotor it's going to need a lot of fuel when stage 2 of the plan hits and we up the power!
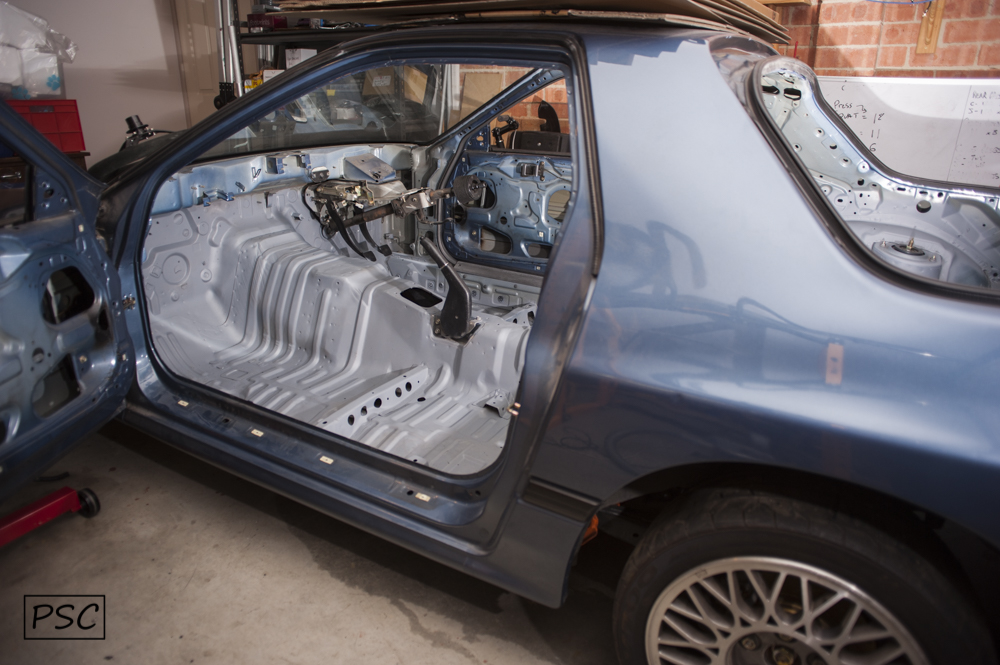
And there's a light coat of grey primer to seal up the bare metal. Gotta install the dash, put the rear hatch on, throw in the steering wheel and it's ready to go off to AGI Precision for a 6 point bolt in CAMS cage. Should be on a trailer and off to Sydney this Sat.
I think it's going to be a royal PITA to fit. Gonna need some pro assistance with that. Prob have to chop parts of the floor out to get it low enough to clear a helmet. Stupid tiny RX7s.
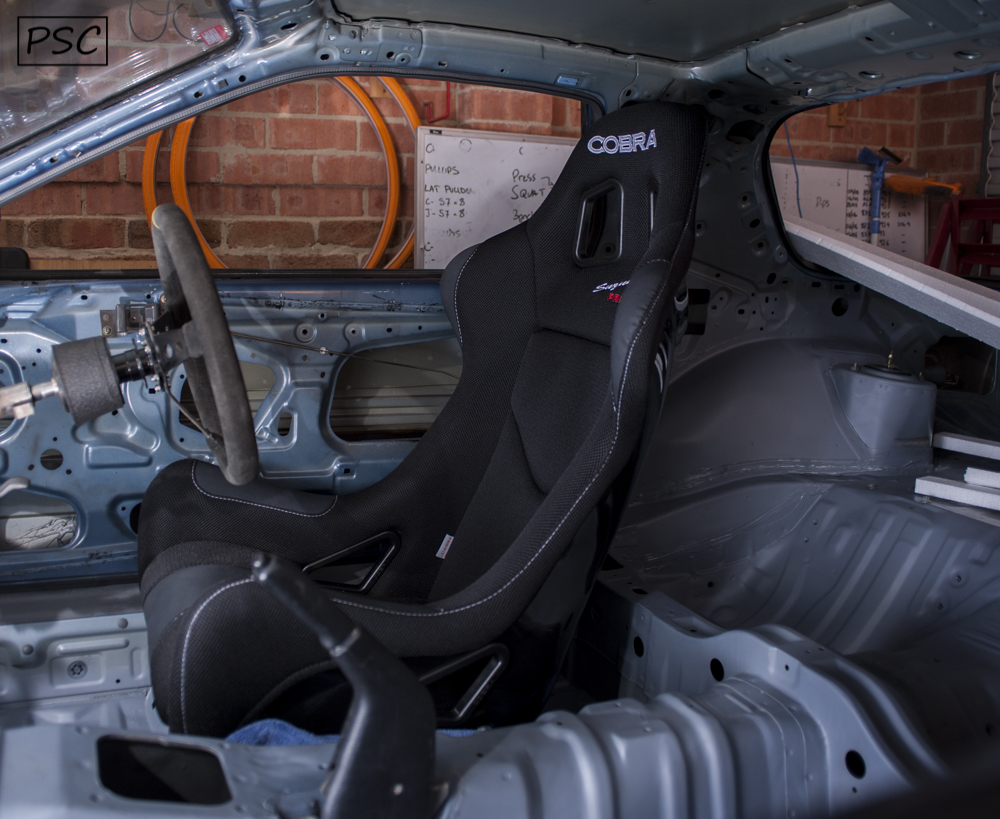
Good luck with the cage! Mine was already in when I picked up the car, and here's some pictures of the mounts i had to make for my Cobra Evo Pro.
basically the inboard side is mounted to the cobra rails and the floor, the outboard side uses roll cage tubing and 1/8" plate to space it up to level with the inboard side. Barely clears the helmet regs.
Get the cage as tight up to the roof as possible. If it was me and I was building it myself I'd section the inner sheet metal on the b pillar hoop, stick the main hoop roll hoop tubing up until it touches the out skin sheet metal of the roof, and then weld it all back together.
Nevermind the shitty welds on the spacers... I was dialing in the welder for the thickness and playing with a bunch of different settings. There is a 3/4" OD / 3/8" ID tube on the inside, w/ a 1 1/2" 0.095 scrap from the roll cage on the outside... welded to the plate to hold it all together make it easy to bolt up.
My problem is that the steering wheel is on the right! Mad JDM bro!!
So, if you scroll up a bit to the shot looking in through the hatch at the empty interior you can see the mega bulge on the tunnel side of the floor that is in the way.
I suspect, I'm going to cut out the bulge up to the cross beam, square it out, remove all the factory points (will drill em out with spot weld bit), smooth it out and then weld some real low mounts in. CAMS rules specify mounting points made of min 3mm thick plate 75x50mm for each point. I'll obviously go a little overkill on it for safety sake at the expense of a little extra weight (no big deal for this build). Also, the cage shop isn't doing the seat mount fab, so most likely I'll do it myself. This will slow the whole thing down, because I've only ever welded once before using a stick welder. I'll buy a mig, and learn to use it first. I want good welds on something as important as seat mounts.
I'll do essentially what you've done on the left side for a passenger seat, although we don't have one yet... Just in case we decide to add one at some point... Scare the wife of something!
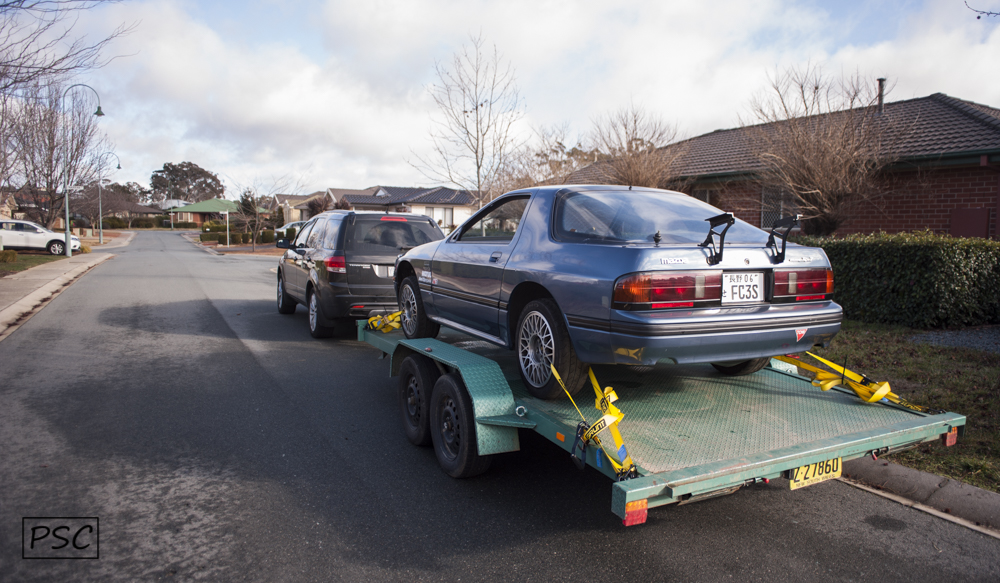
Anyway, cars only been gone a few days and I miss it!
Unfortunately my daily is in the garage while I do some suspension and brake work, so it'll have to sit under a cover in the backyard till that's done. Will be a couple weeks, then back to working on the 7.
Crappy photos:
I hate that second photo cause the hump in the floor is just staring at me!!
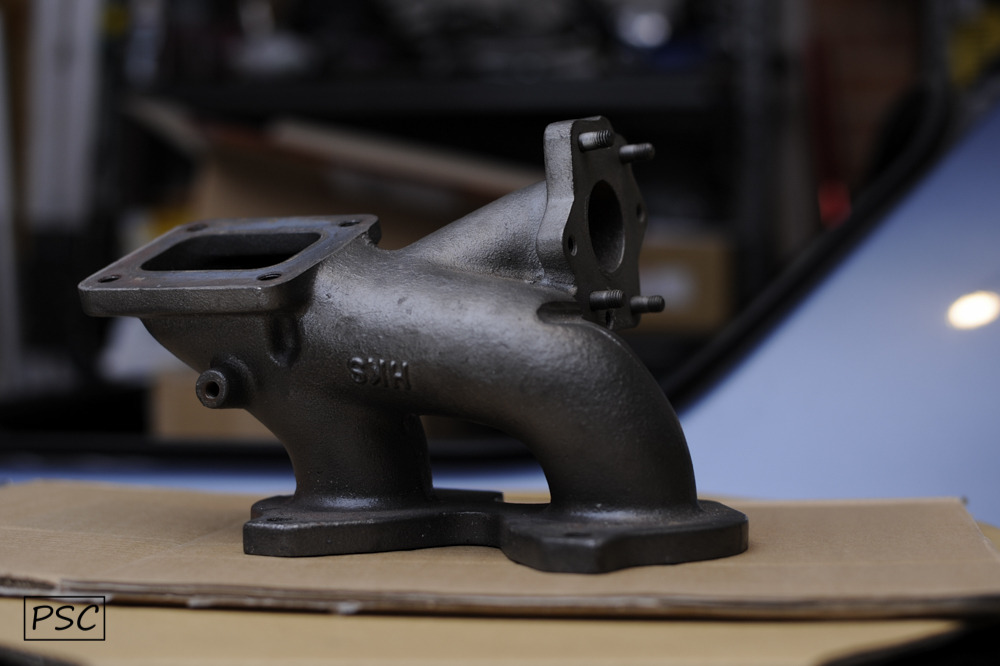
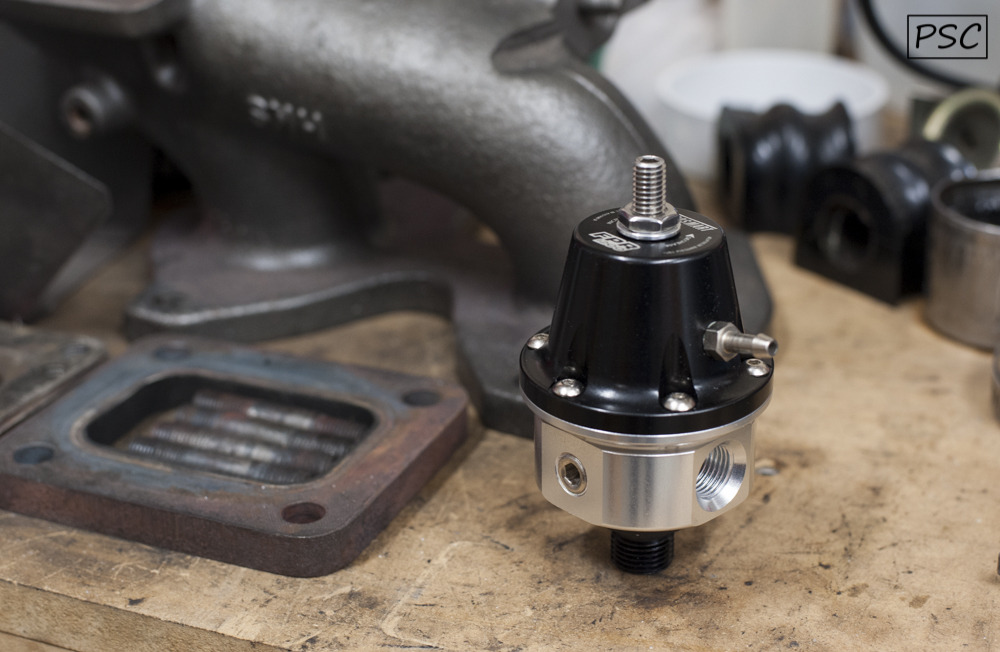
The other day while bored I was browsing eBay and scored this HKS cast turbo manifold. I was planning to stick with the stock turbo for awhile, but I guess now I have no choice but to go bigger. I'll be picking up a Borg Warner S360 .88 to go on this. I'll have to make an adapter to bolt a vband wastegate up to the manifold because the HKS gates no longer exist and are too small anyway. I'd just grab the Banzai Racing adapter, but waaayyyy too expensive by the time it gets to Australia.
The other thing that is happening, is that I'm two weeks into a welding course. Once that's done and I've gotten a bunch of practice in, i'll be chopping out the drivers side floor and lowering it to get the seat nice and low. Pretty excited to be learning to weld.


 for decent lap times!! I'll only be competing against my buddy and bro though, so we really don't care if it's the slowest car out there... It's all about having fun!