Build Threads
Sponsored by:

Saving a 1988 Vert - Could only be a labor of love

Thread Tools
 
Search this Thread
 
Old 01-05-20, 10:37 AM
  #51  
Polishing Fiend

Thread Starter
iTrader: (139)
 
CrispyRX7's Avatar
 
Join Date: Apr 2001
Location: MD
Posts: 3,393
Received 42 Likes on 22 Posts
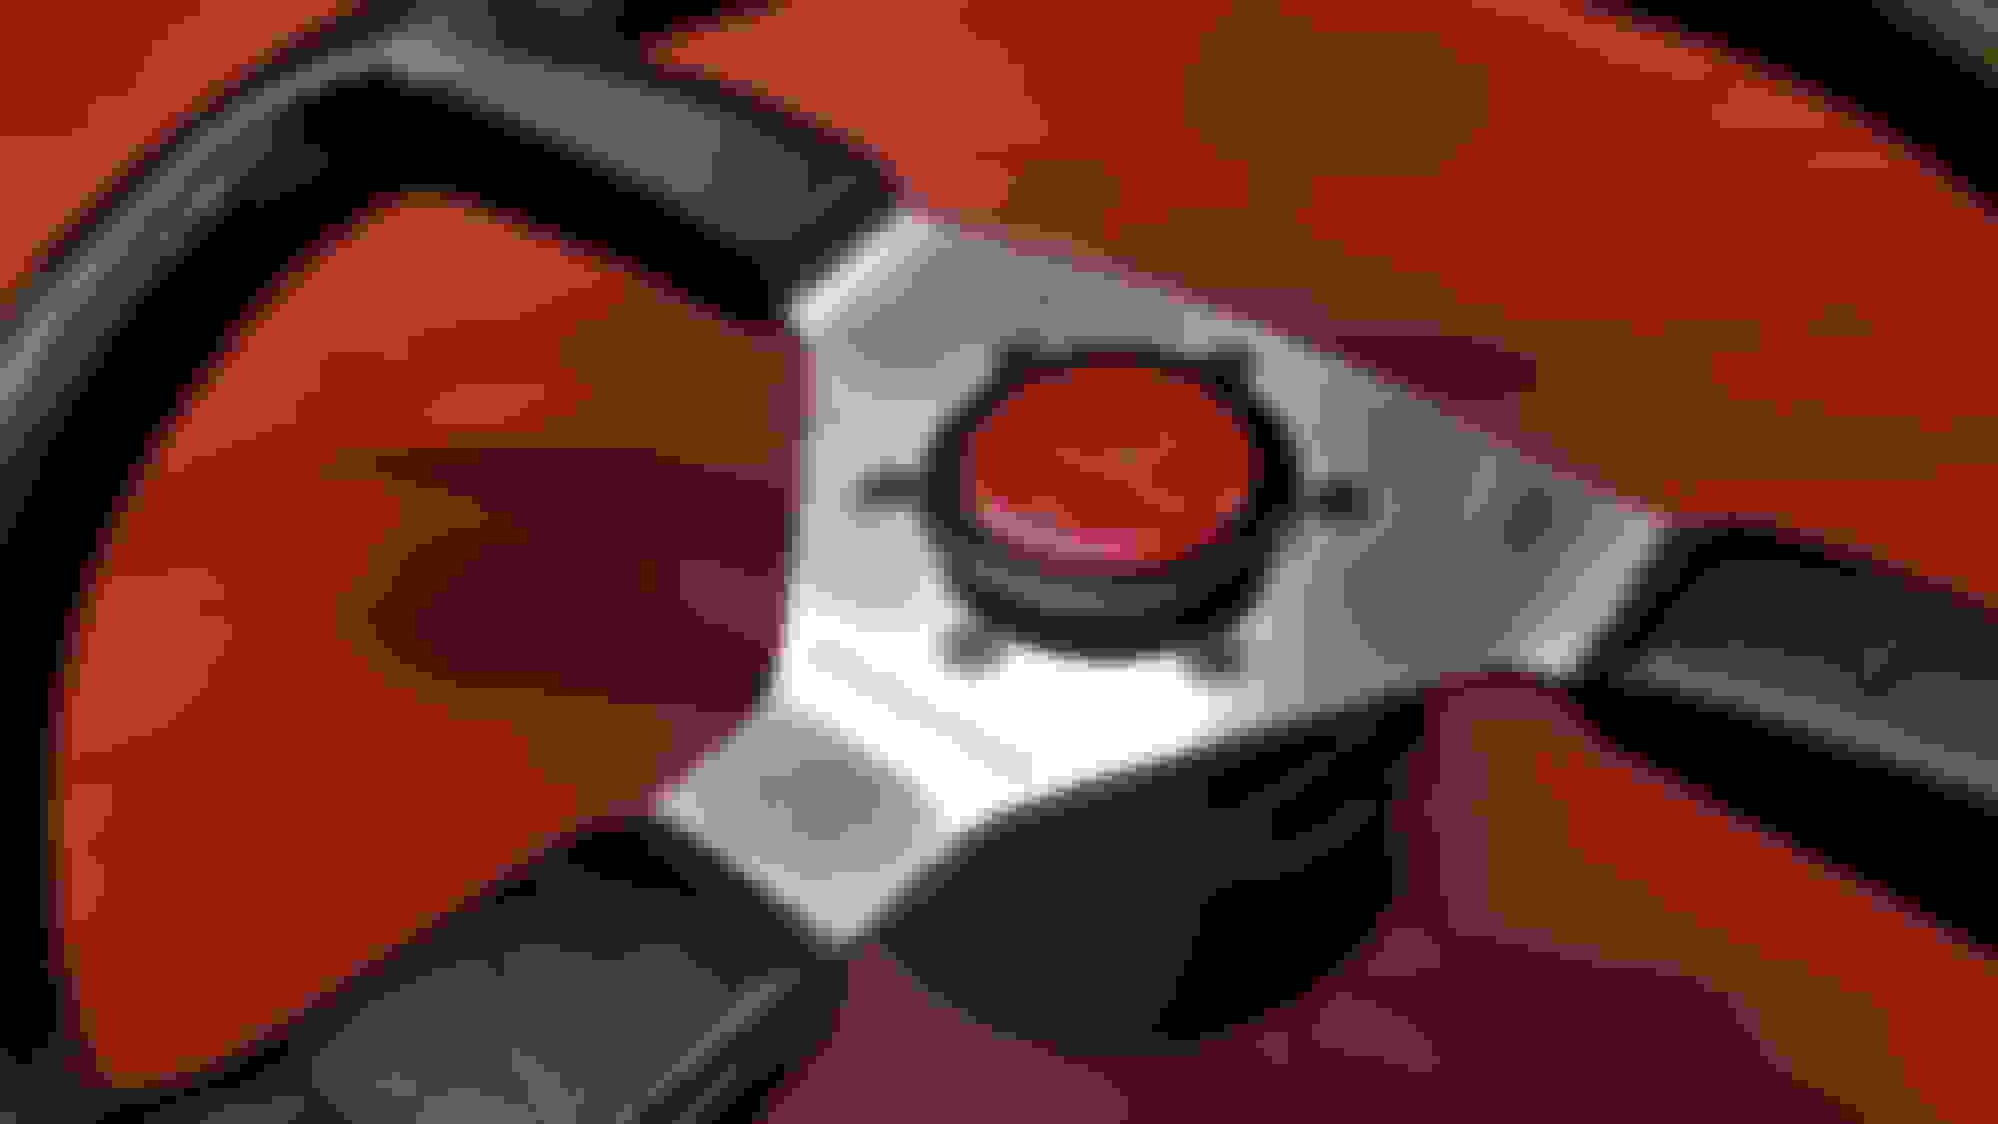
Every one in a while fate smiles on you. I'm a sucker for MazdaSpeed parts. So when a friend offered to sell me a MS steering wheel that had been collecting dust in his garage for quite a few years I couldn't resist. It was a pretty "tired" example although the leather didn't have any nicks, which is good. I gently stripped off the old faded anodizing (believe it or not the center was supposed to be black!) and treated the leather as best I could. A bit of pitting in the center but it cleaned up ok. And it came with a MS hub too. Hard to believe the wheel is worth almost as much as what I paid for the car! Anyone interested in two nice OEM wheels? LOL


Old 01-29-20, 02:46 PM
  #52  
Junior Member
 
CJGerard's Avatar
 
Join Date: Jan 2019
Location: Rockville, MD
Posts: 21
Likes: 0
Received 5 Likes on 5 Posts
Great write up. I actually saw this car for sale on craigslist in Washington DC last January and was interested in it but you got to it ahead of me. And then I coincidentally saw you driving it on a trailer up interstate 270 after you picked it. I knew it was the same car because of the damaged drivers side mirror. Glad to see it get rescued.
I ended up getting a red 88 convertible out of Philadelphia later
Old 02-05-20, 07:04 PM
  #53  
Polishing Fiend

Thread Starter
iTrader: (139)
 
CrispyRX7's Avatar
 
Join Date: Apr 2001
Location: MD
Posts: 3,393
Received 42 Likes on 22 Posts
Originally Posted by CJGerard
Great write up. I actually saw this car for sale on craigslist in Washington DC last January and was interested in it but you got to it ahead of me. And then I coincidentally saw you driving it on a trailer up interstate 270 after you picked it. I knew it was the same car because of the damaged drivers side mirror. Glad to see it get rescued.
I ended up getting a red 88 convertible out of Philadelphia later
HA! That's pretty cool you actually saw me driving it up 270!
where are you located?
regards,
crispy
Old 02-10-20, 11:06 AM
  #54  
Junior Member
 
CJGerard's Avatar
 
Join Date: Jan 2019
Location: Rockville, MD
Posts: 21
Likes: 0
Received 5 Likes on 5 Posts
I am in Rockville, MD
The following users liked this post:
CrispyRX7 (02-12-20)
Old 04-27-20, 04:07 PM
  #55  
needs more track time

iTrader: (16)
 
gracer7-rx7's Avatar
 
Join Date: Mar 2006
Location: Bay Area CA
Posts: 9,194
Received 510 Likes on 351 Posts
Very nice work as always @CrispyRX7
Are you still racing the FC?
Old 05-04-20, 10:38 PM
  #56  
Polishing Fiend

Thread Starter
iTrader: (139)
 
CrispyRX7's Avatar
 
Join Date: Apr 2001
Location: MD
Posts: 3,393
Received 42 Likes on 22 Posts
Originally Posted by gracer7-rx7
Very nice work as always @CrispyRX7
Are you still racing the FC?
Alas no. My racing days are over...at least until I retire. 3 kids in college hits the wallet pretty hard. LOL.

Regards,
Crispy
The following users liked this post:
gracer7-rx7 (05-12-20)
Old 05-08-20, 06:35 PM
  #57  
Polishing Fiend

Thread Starter
iTrader: (139)
 
CrispyRX7's Avatar
 
Join Date: Apr 2001
Location: MD
Posts: 3,393
Received 42 Likes on 22 Posts
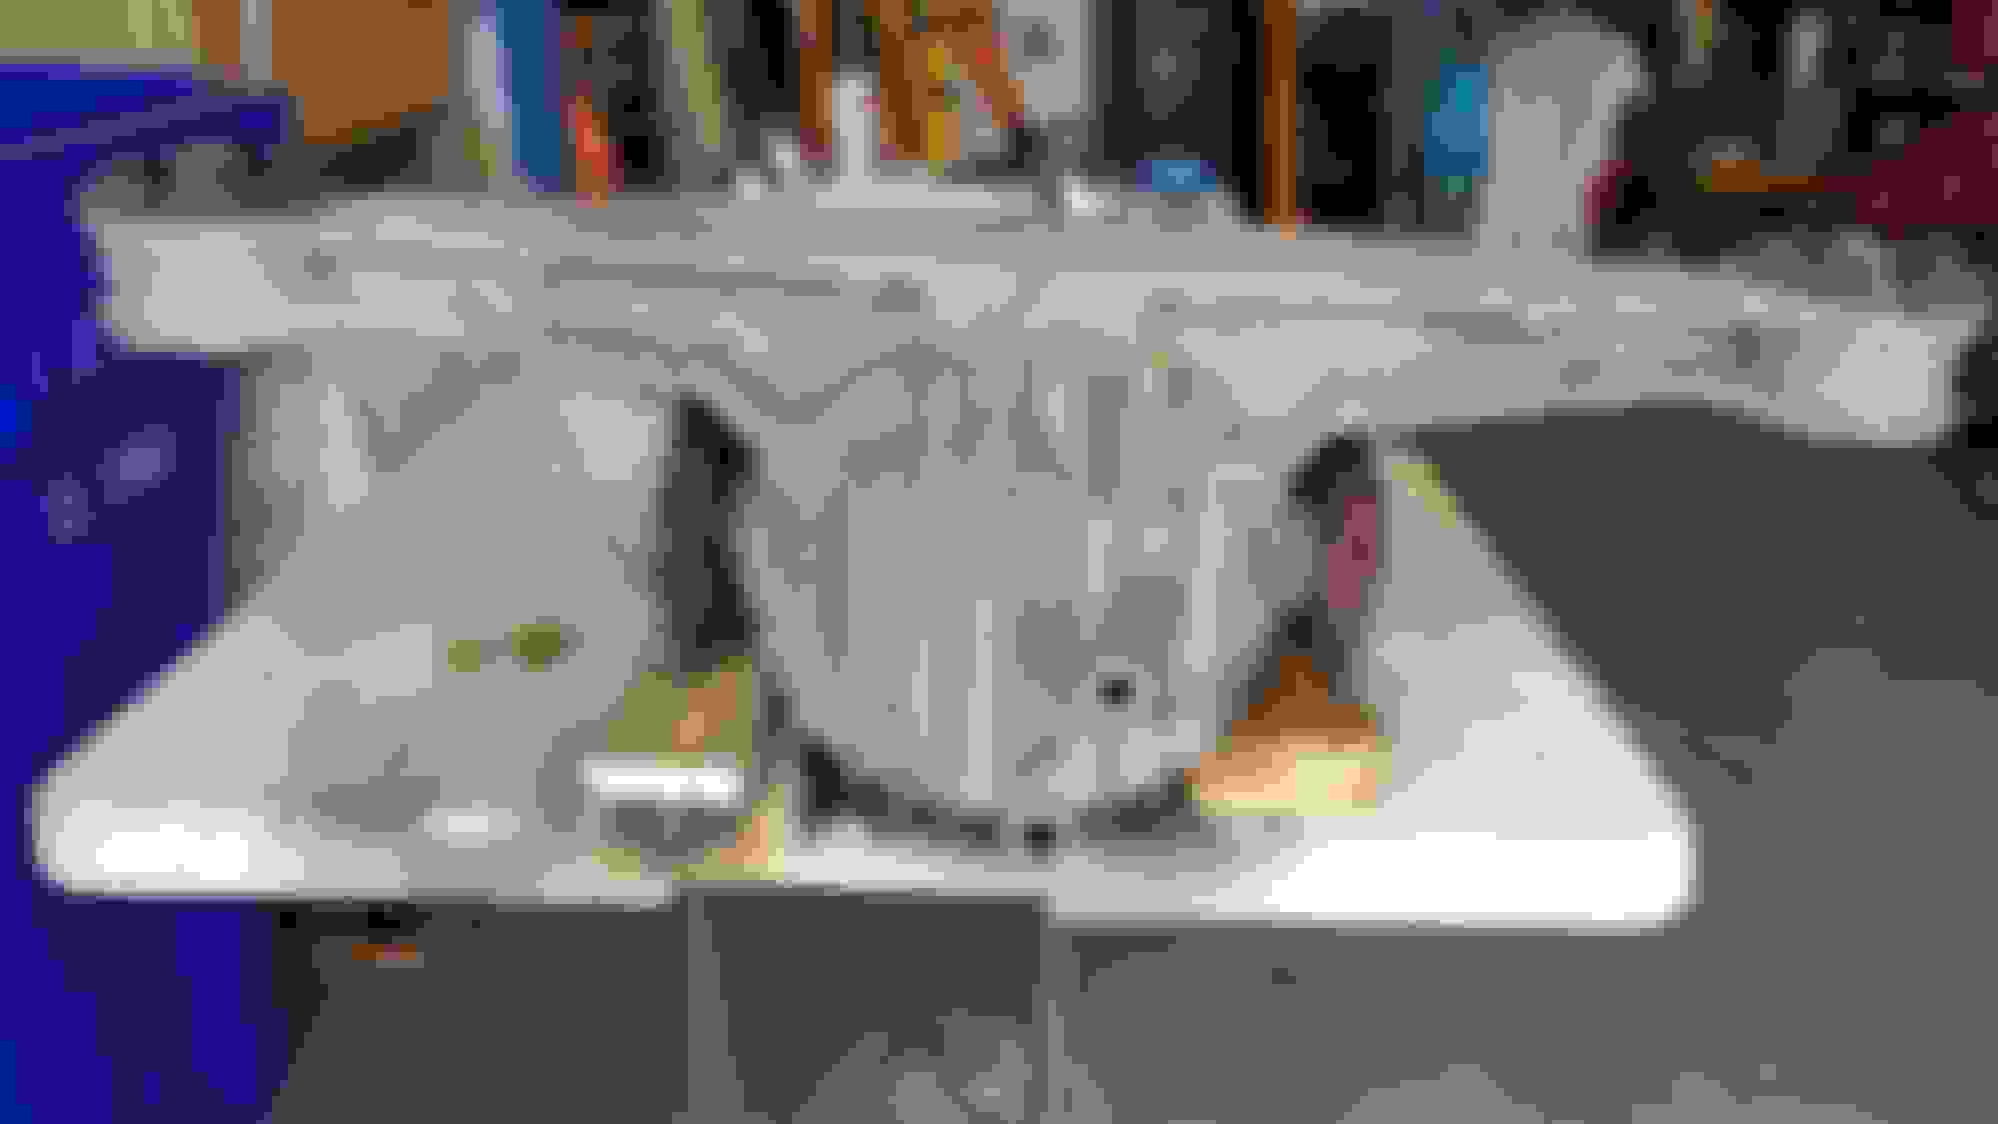
Perhaps it's time for an update. Since putting the front end back together and cleaning up the interior and starting on the rear brakes I've done a bit of work. Let's set the stage - before and the process to pull the entire rear end out of the car. Definitely a lot of rusty bolts in there but I managed to get it all out without breaking anything! And I'm sure my neighbors love me. LOL


Last edited by CrispyRX7; 05-08-20 at 06:38 PM.
Old 05-08-20, 06:47 PM
  #58  
Polishing Fiend

Thread Starter
iTrader: (139)
 
CrispyRX7's Avatar
 
Join Date: Apr 2001
Location: MD
Posts: 3,393
Received 42 Likes on 22 Posts
Lets start cleaning and bringing some parts back to life! BUt first some of the ugly bits that challenged me a little:
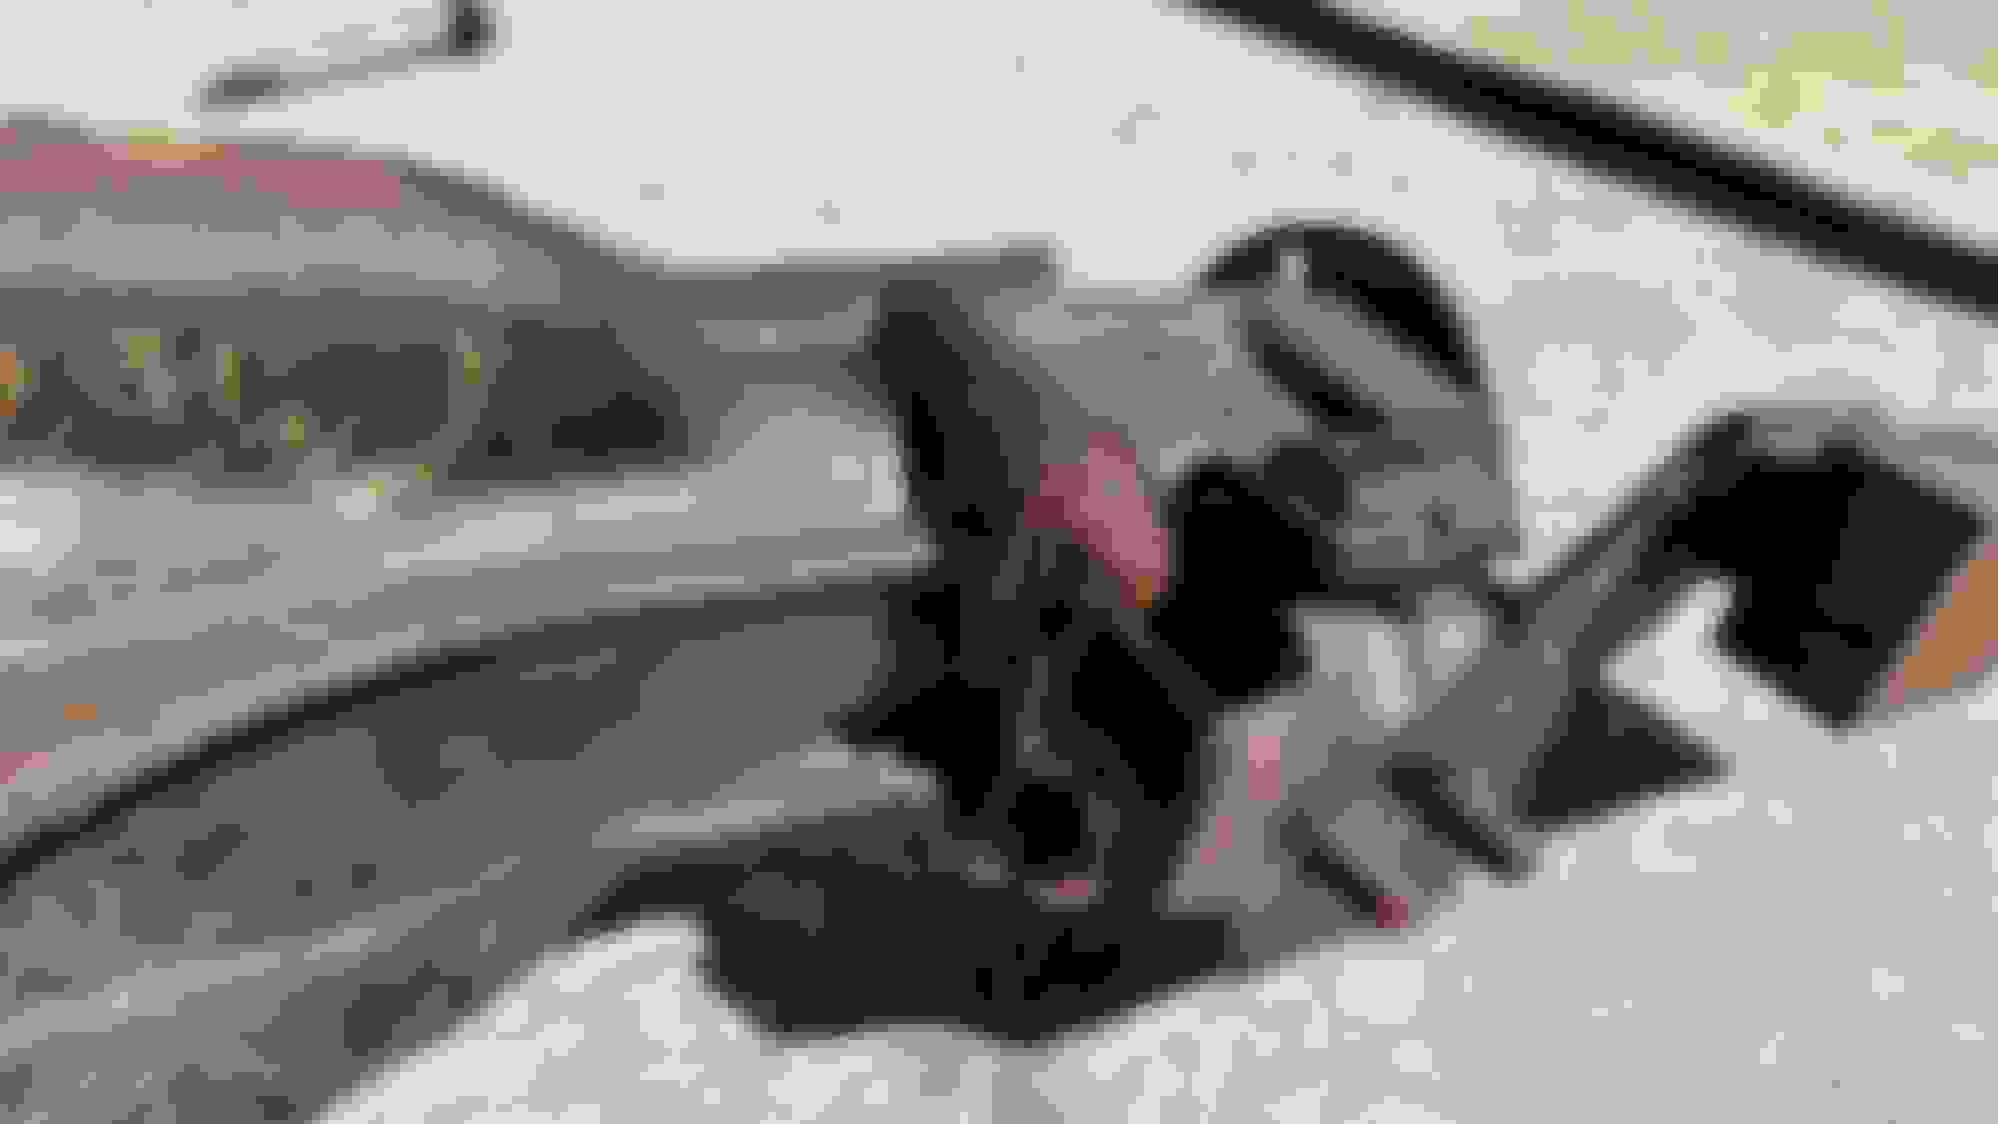
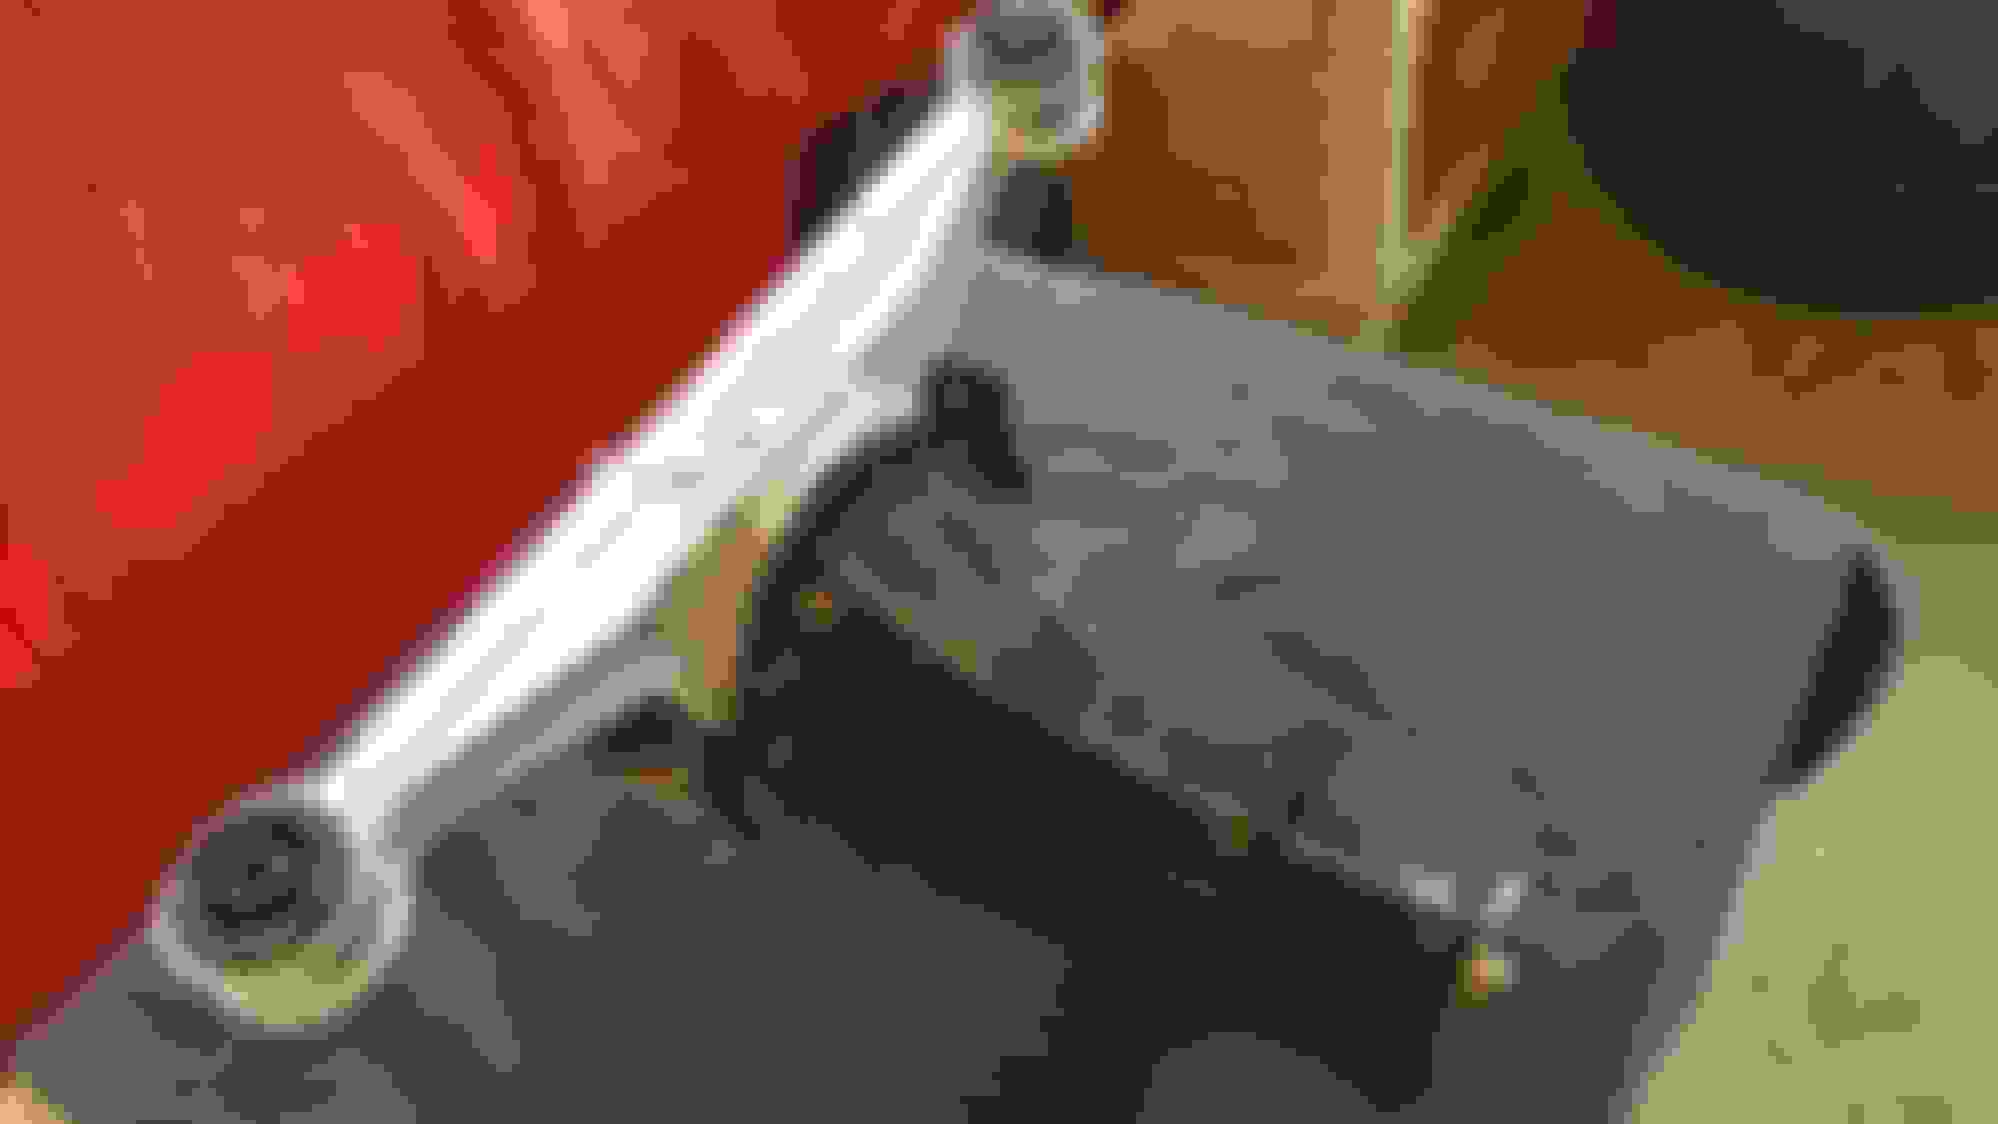
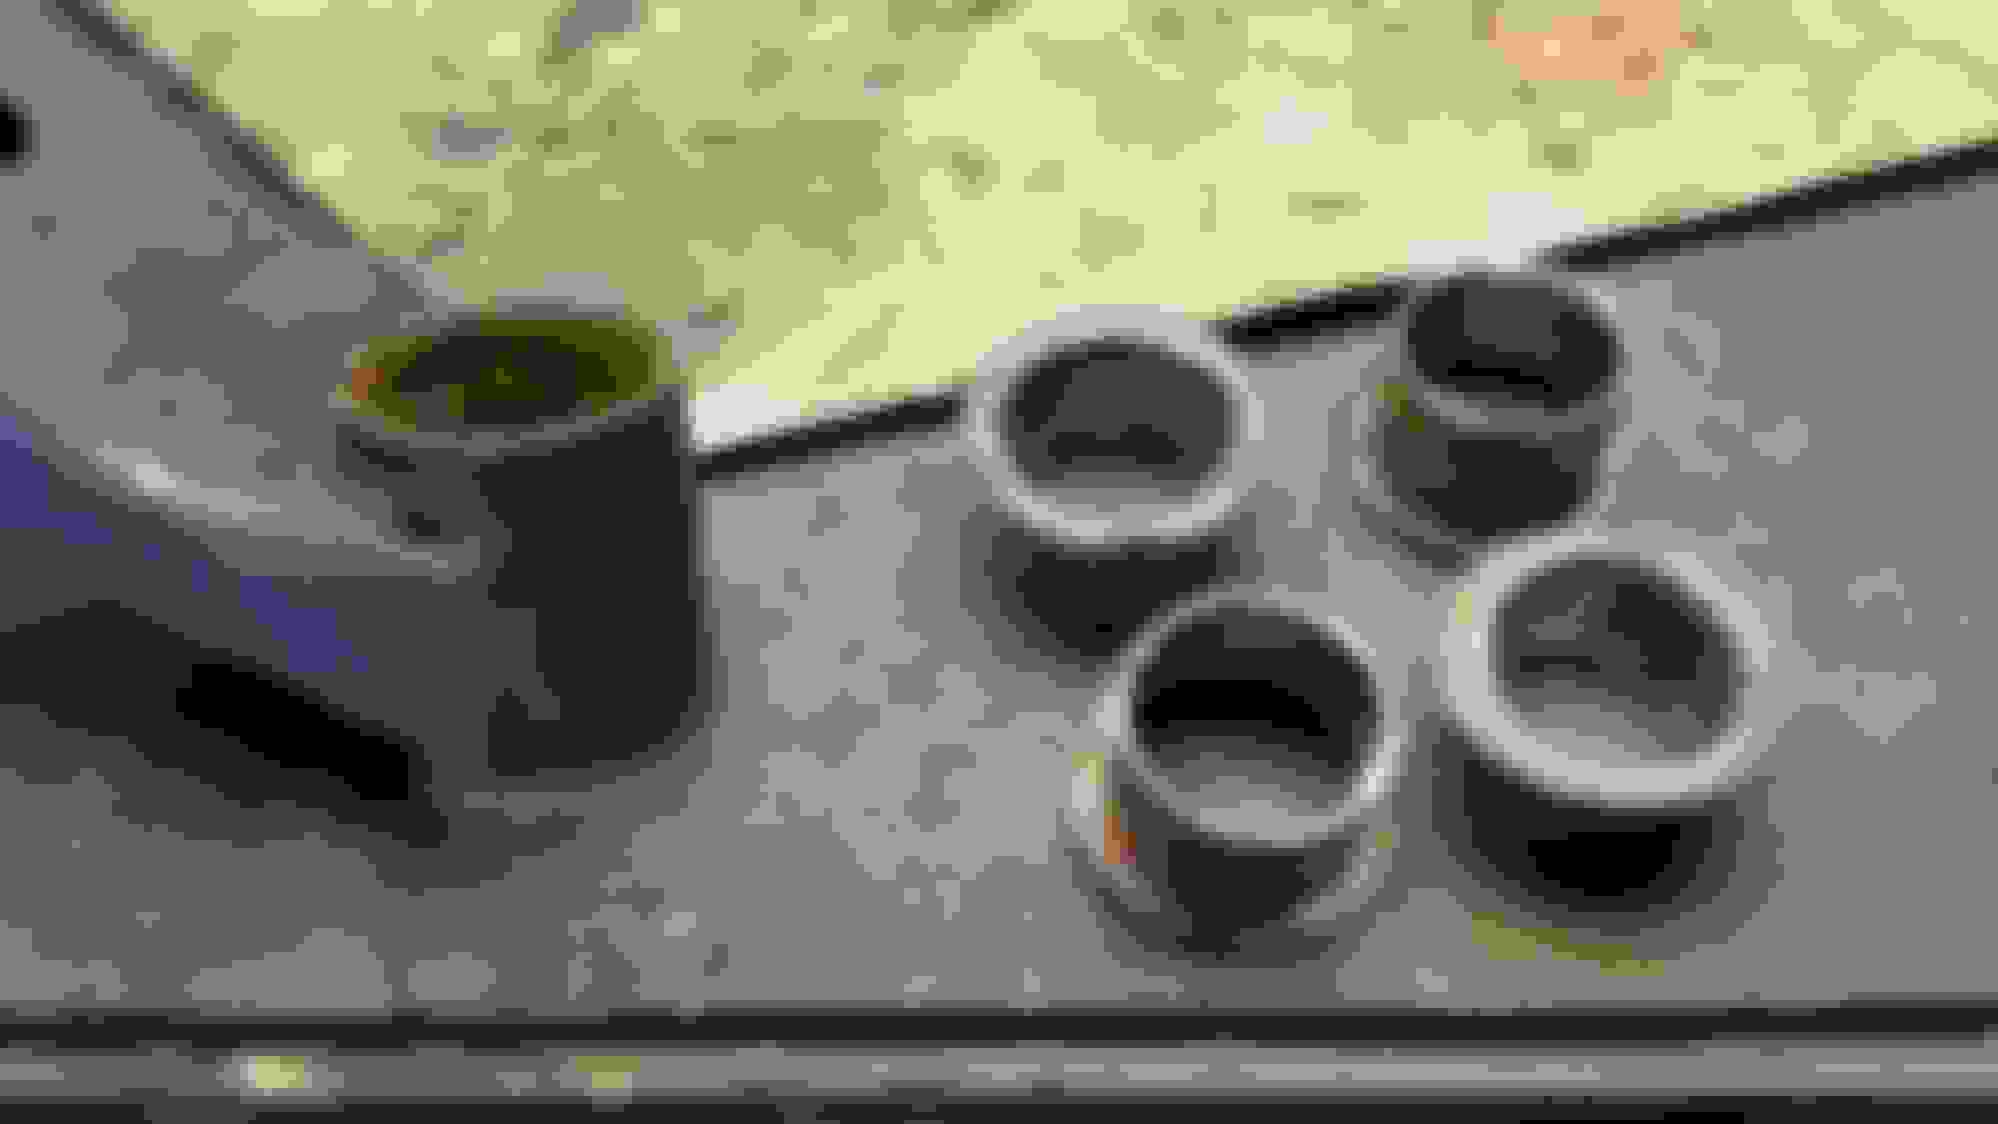
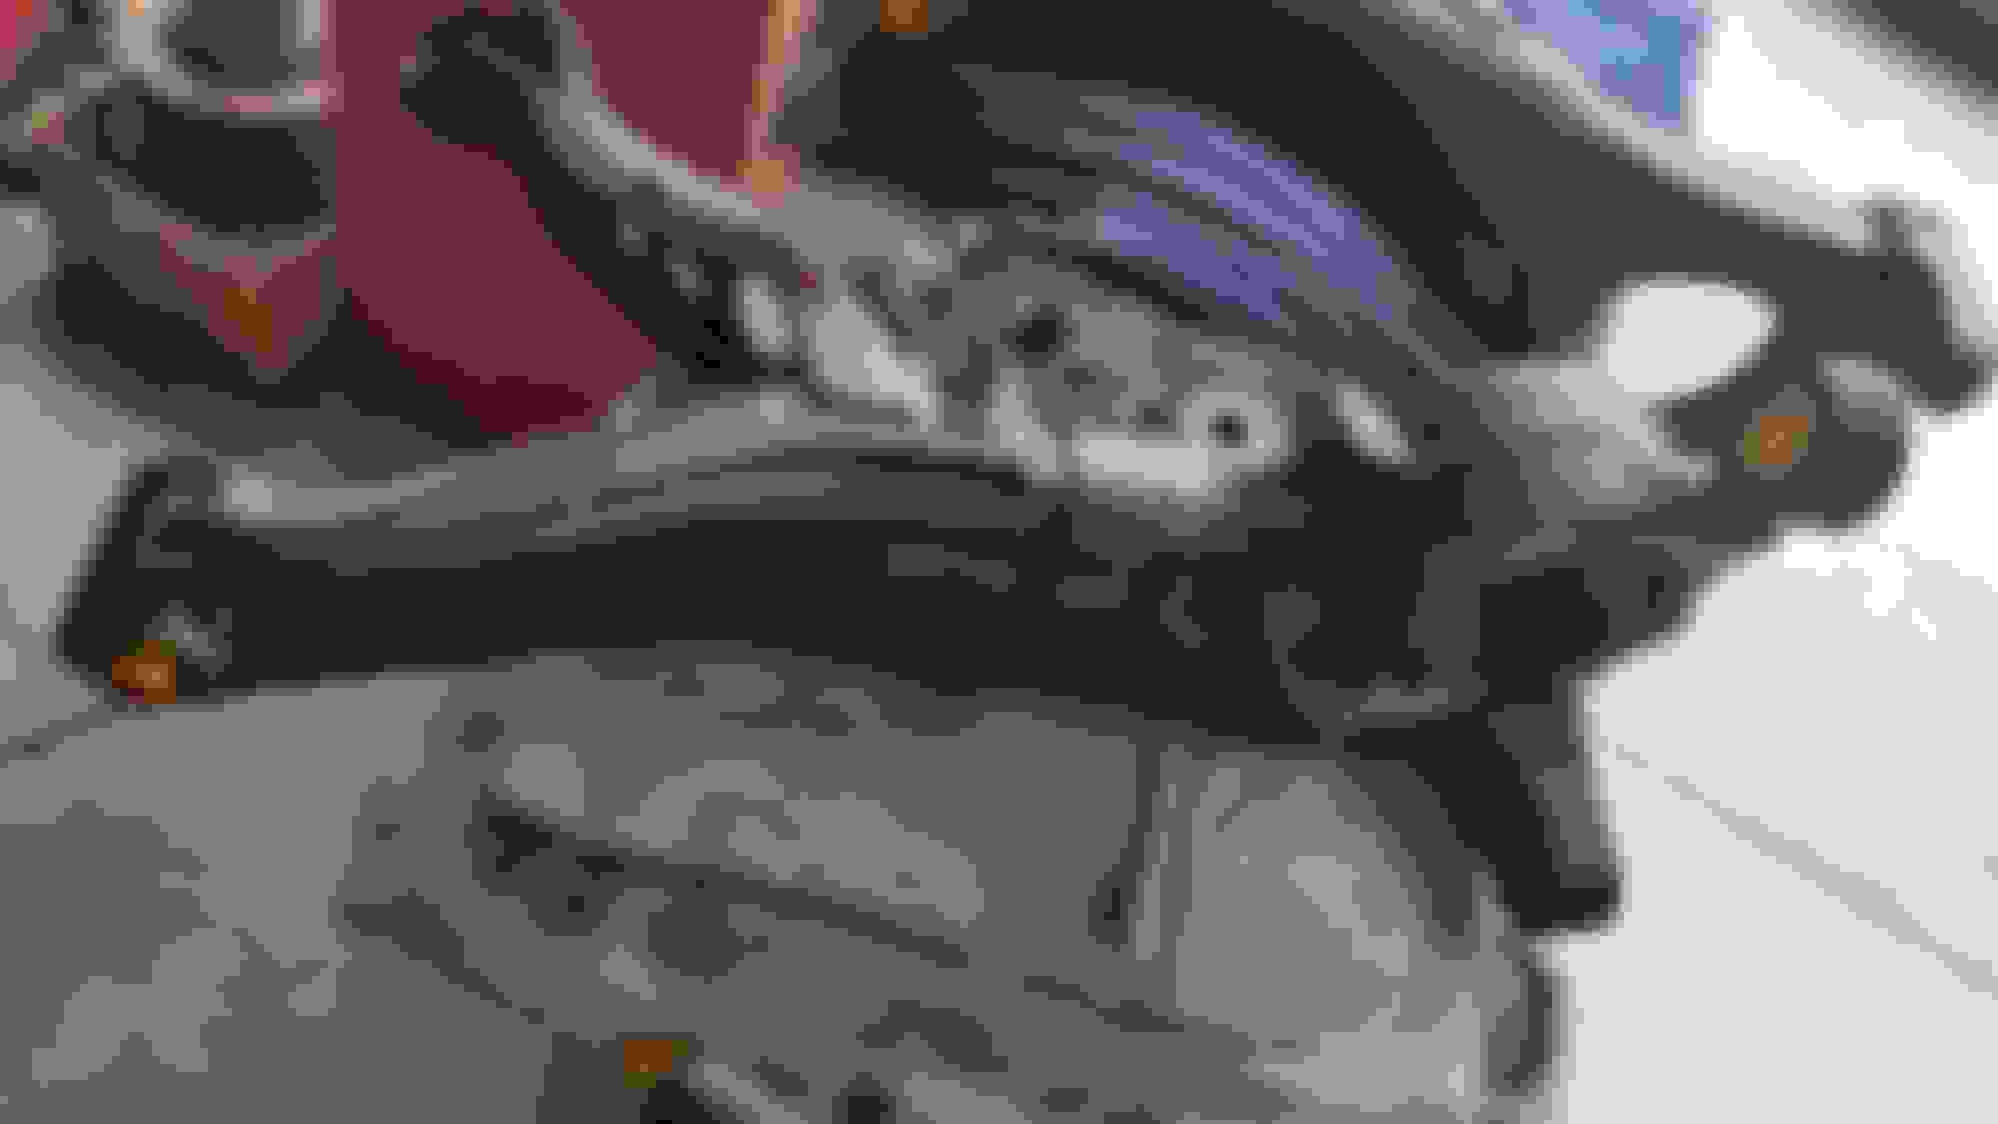
Wheel bearings will need to be replaced - the snap rings are massive and could break a finger for sure. Getting the inner bearing half off the stub axle was a pain. Pressing out bushings - lower control arm forward bushings were a bit stubborn. Had to cut the dogbone bolts - they were bonded to the dogbones. And of course the DTSS bushing bolts I had to cut the sleeve of with a dremel to save the bolts. WARNING: PICTURE HEAVY!


Old 05-08-20, 06:52 PM
  #59  
Polishing Fiend

Thread Starter
iTrader: (139)
 
CrispyRX7's Avatar
 
Join Date: Apr 2001
Location: MD
Posts: 3,393
Received 42 Likes on 22 Posts
Cleaned up the axles. Shot them with a little paint too.


Old 05-08-20, 06:58 PM
  #60  
Polishing Fiend

Thread Starter
iTrader: (139)
 
CrispyRX7's Avatar
 
Join Date: Apr 2001
Location: MD
Posts: 3,393
Received 42 Likes on 22 Posts
Heat shields cleanup: Brakes, Mufflers, and the stone guard for the fuel tank.


Old 05-08-20, 07:04 PM
  #61  
Polishing Fiend

Thread Starter
iTrader: (139)
 
CrispyRX7's Avatar
 
Join Date: Apr 2001
Location: MD
Posts: 3,393
Received 42 Likes on 22 Posts
Got to work with the wire wheel and my "bucket of doom" aluminum brightener to clean up parts ready for paint and reassembly.


Old 05-08-20, 07:10 PM
  #62  
Polishing Fiend

Thread Starter
iTrader: (139)
 
CrispyRX7's Avatar
 
Join Date: Apr 2001
Location: MD
Posts: 3,393
Received 42 Likes on 22 Posts
Cleaning, stripping, and refinishing the lower control arms and the read subframe.


Old 05-08-20, 07:15 PM
  #63  
Polishing Fiend

Thread Starter
iTrader: (139)
 
CrispyRX7's Avatar
 
Join Date: Apr 2001
Location: MD
Posts: 3,393
Received 42 Likes on 22 Posts
I even hit the rear tiedowns with some new paint as they were rusty hunks of metal. Blech!


Old 05-08-20, 07:22 PM
  #64  
Polishing Fiend

Thread Starter
iTrader: (139)
 
CrispyRX7's Avatar
 
Join Date: Apr 2001
Location: MD
Posts: 3,393
Received 42 Likes on 22 Posts
Differential refinishing. Drained the old oil out. Looked great so no need to crack the case to inspect the gears. Noe leaks at the stub axles so they can stay. And the bushings looked solid - good to go.Too bad it's an open diff. Maybe someday I'll upgrade it to a 4:30 and LSD but for now...being on a budget, this will have to do.


Old 05-08-20, 07:36 PM
  #65  
Polishing Fiend

Thread Starter
iTrader: (139)
 
CrispyRX7's Avatar
 
Join Date: Apr 2001
Location: MD
Posts: 3,393
Received 42 Likes on 22 Posts
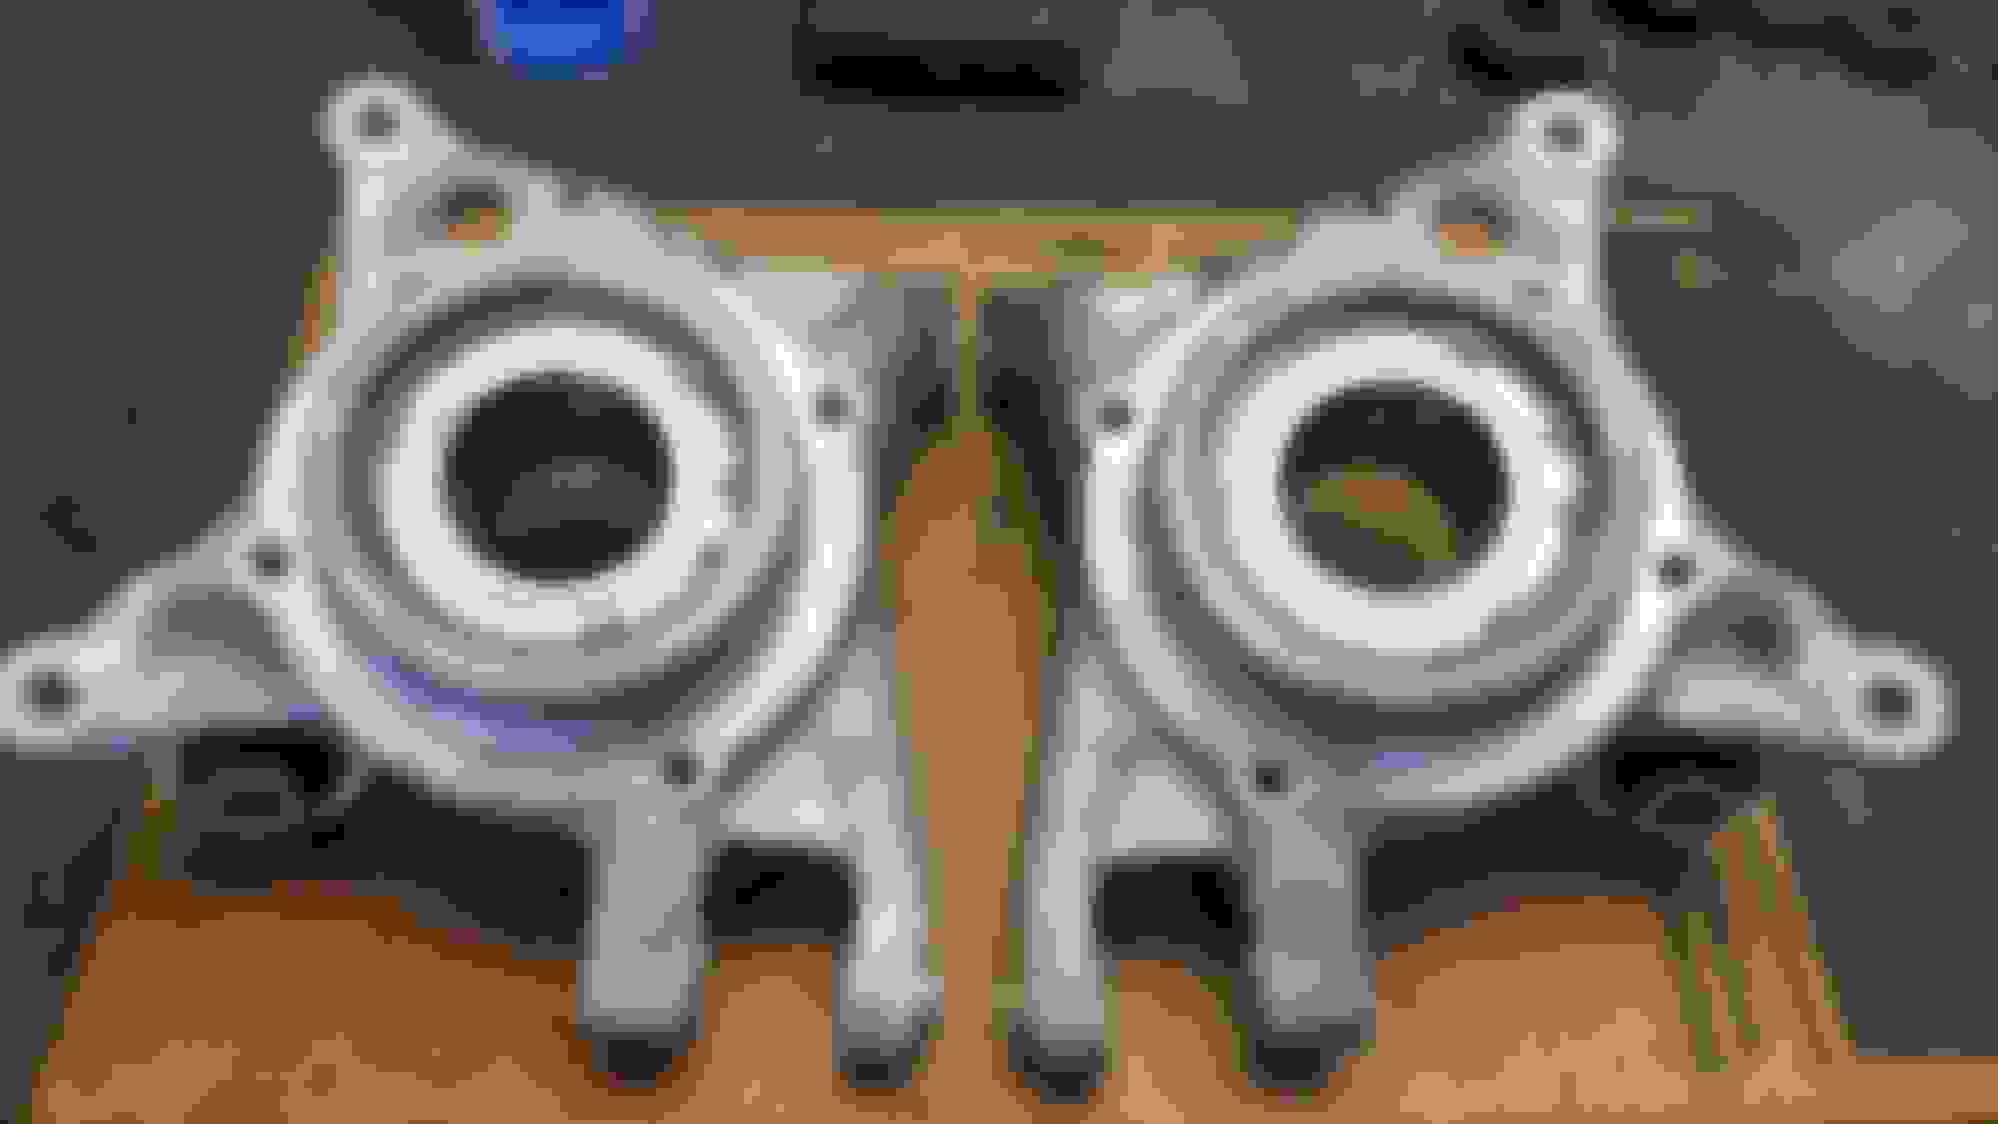
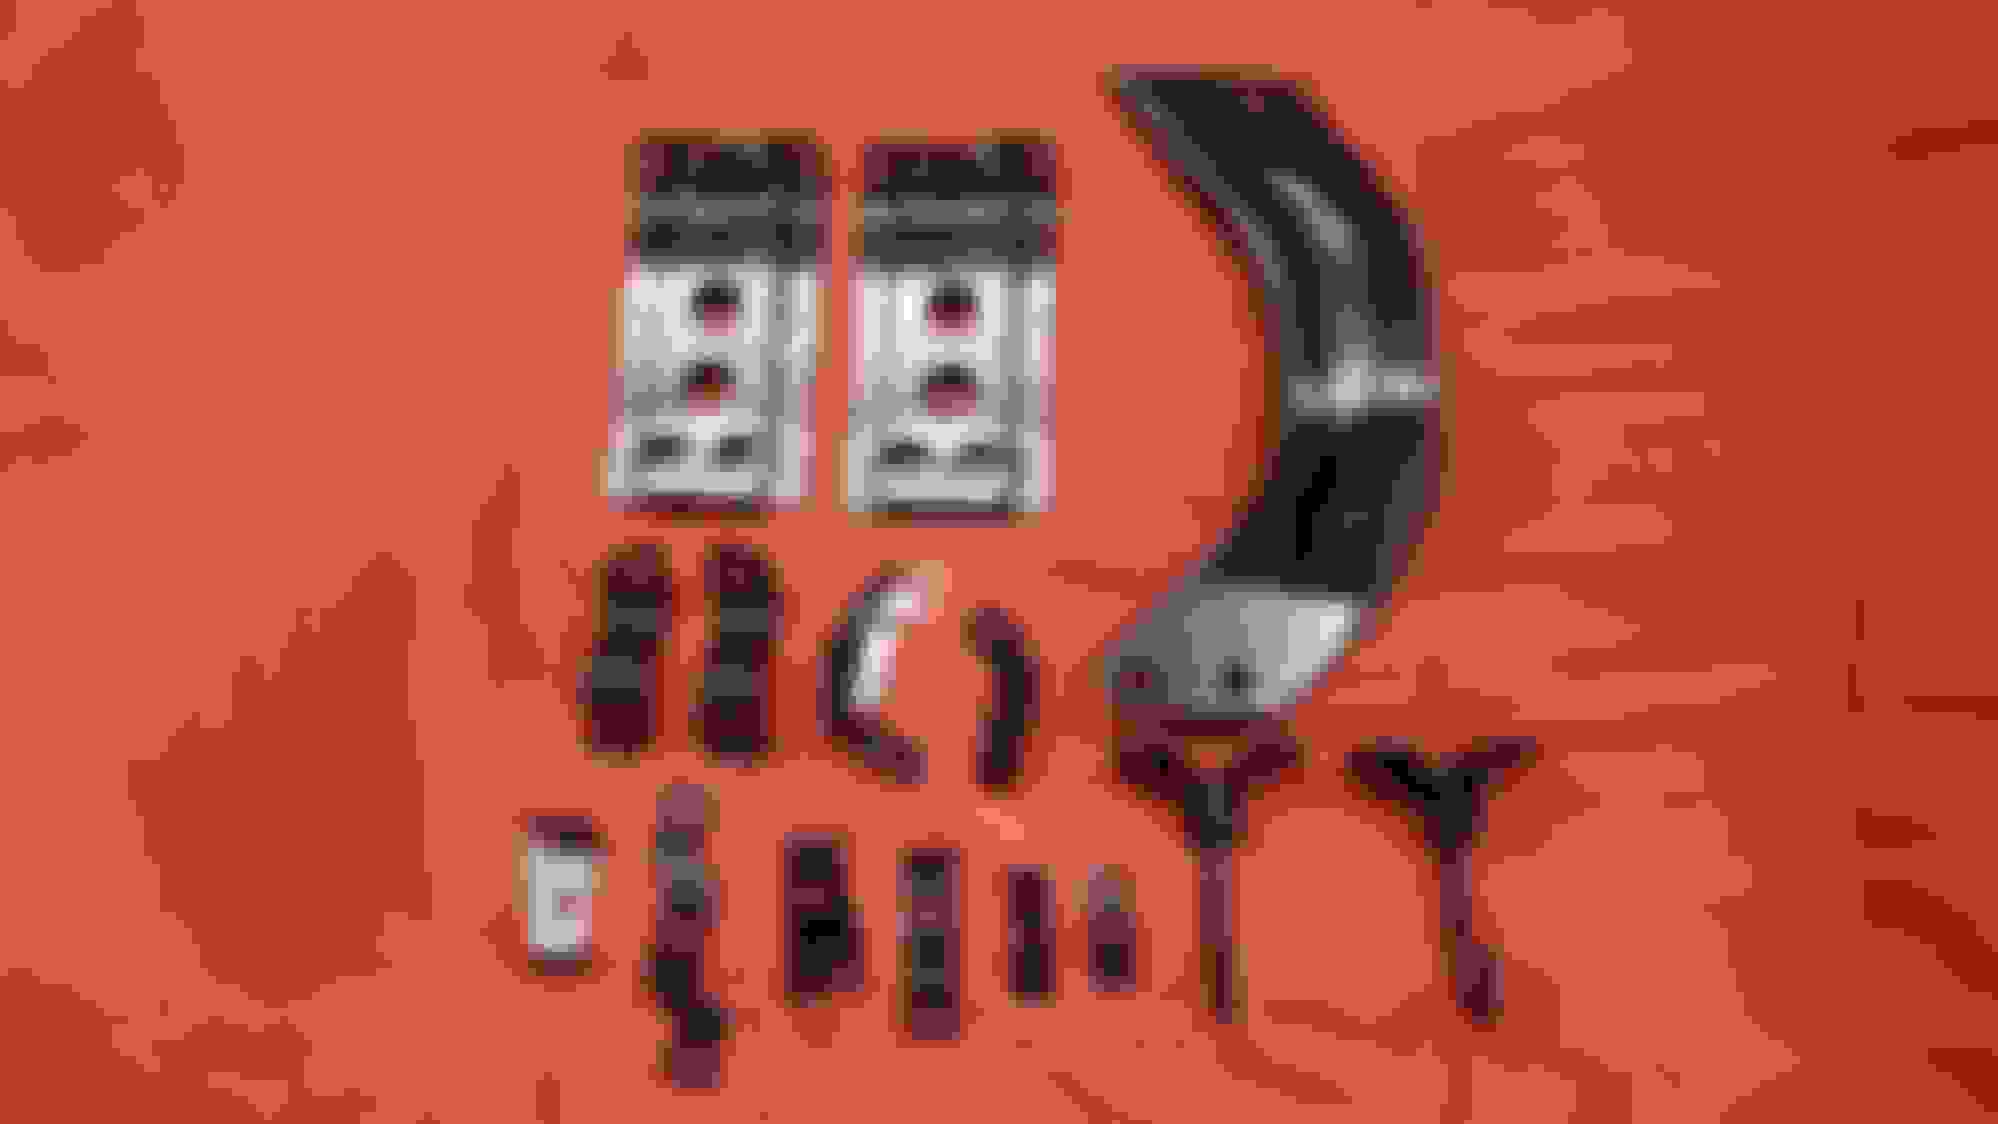
Time for new bushings and bearings. New wheel bearings were going to test my skill with the press. They are massive. I bought some 1x1" iron bars for my press to help with part positioning - they were a godsend! And turns out the weight for my pilot bearing puller is the perfect size for the rear wheel bearings! New Timken bearings and OEM seals. I decided to go with spherical bearings for the forward lower control arms where they fit to the subframe as I had heard using poly bushings will bind in that location. I hope they don't rattle my fillings out. Installed delrin DTSS eliminator bushings, and solid lower control arm bushings at the hub carrier interface, All went surprisingly smooth although the multi-piece spherical bearings were a bit tricky.


Last edited by CrispyRX7; 05-08-20 at 07:57 PM.
Old 05-08-20, 07:45 PM
  #66  
Polishing Fiend

Thread Starter
iTrader: (139)
 
CrispyRX7's Avatar
 
Join Date: Apr 2001
Location: MD
Posts: 3,393
Received 42 Likes on 22 Posts
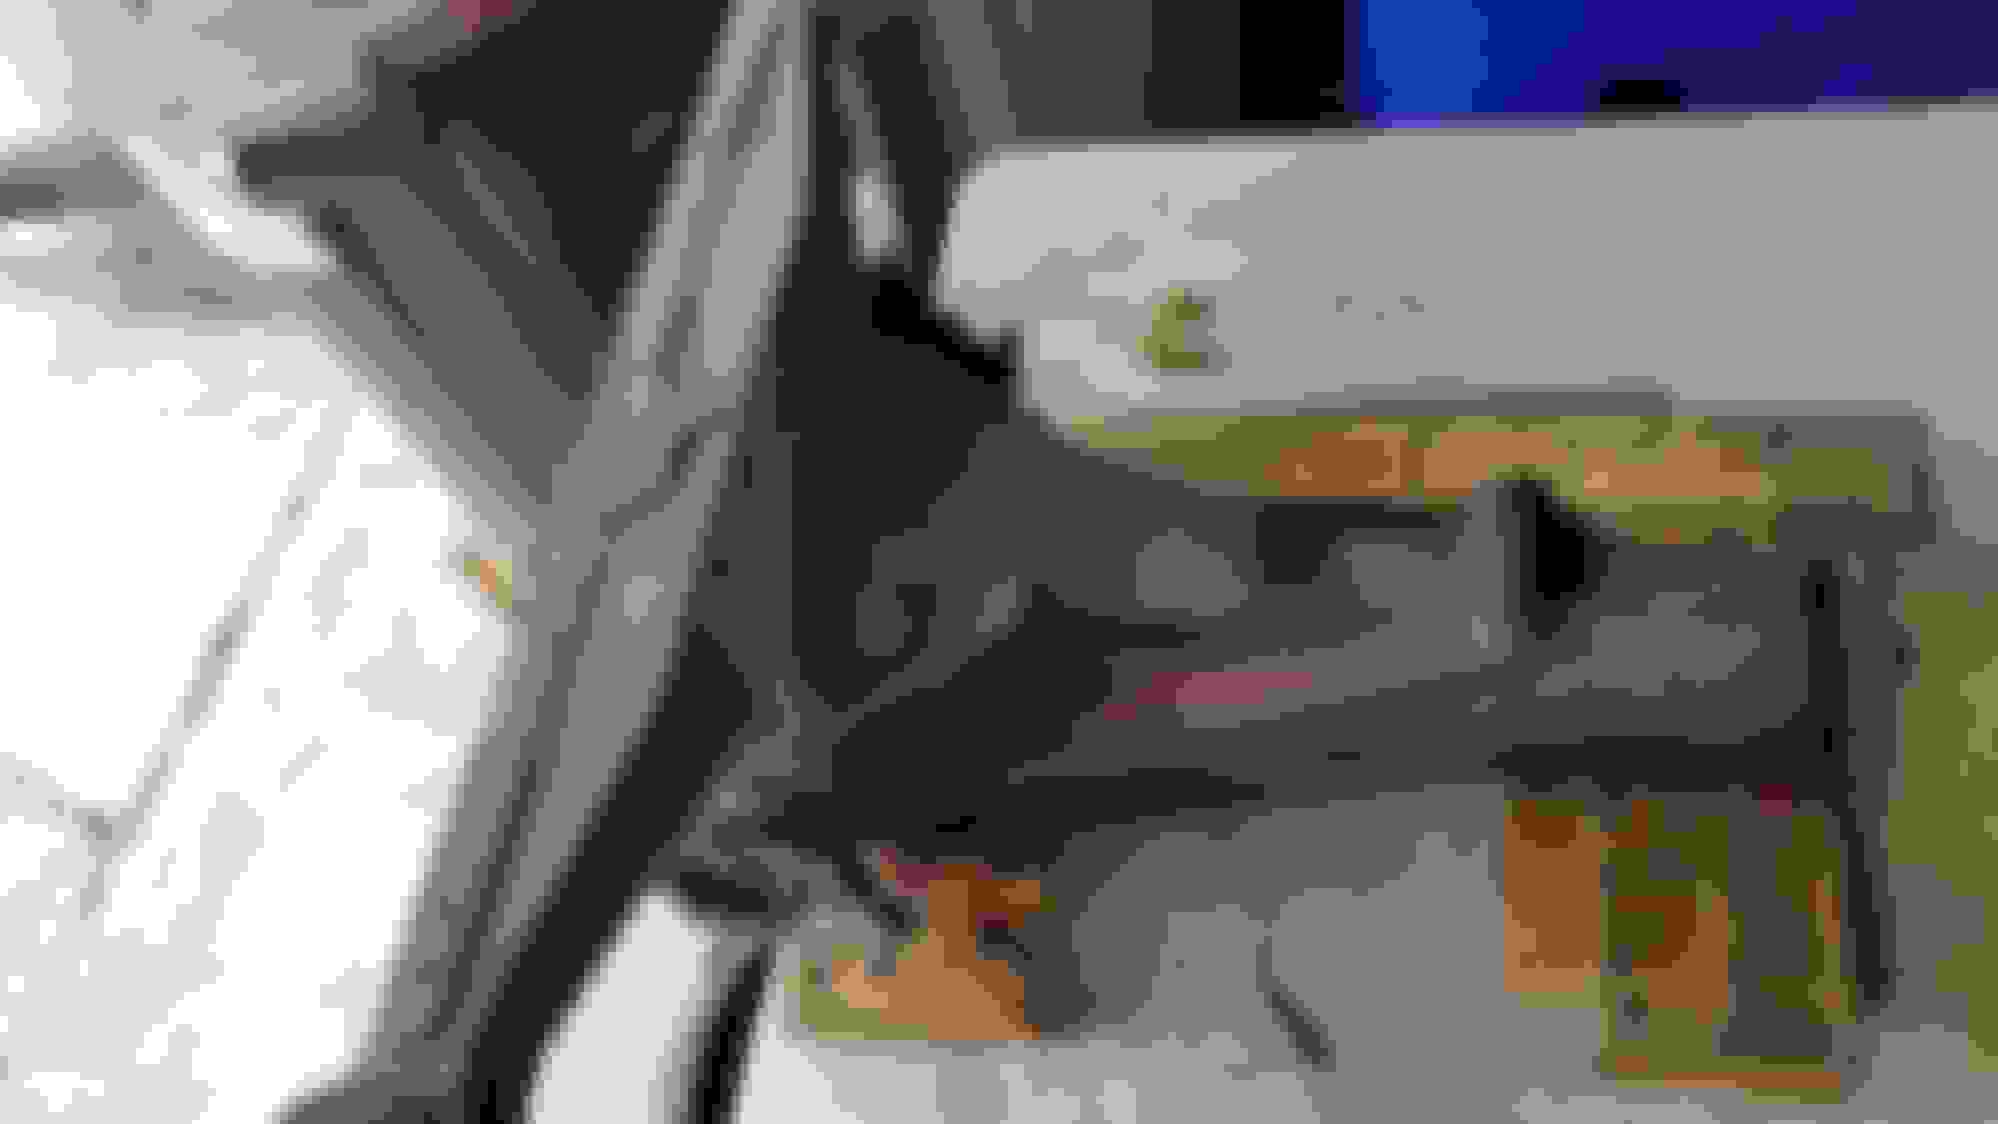
But wait there's still more cleanup! Need to get under the car and take car of the hard lines, all the clips and hangers and brackets, shoot the underbody with a fresh coat of rubberized protection and clean up the wheel arches.


Old 05-08-20, 07:50 PM
  #67  
Polishing Fiend

Thread Starter
iTrader: (139)
 
CrispyRX7's Avatar
 
Join Date: Apr 2001
Location: MD
Posts: 3,393
Received 42 Likes on 22 Posts
One more small thing - need to clean up the parking brake cables. LOL


Old 05-08-20, 07:54 PM
  #68  
Polishing Fiend

Thread Starter
iTrader: (139)
 
CrispyRX7's Avatar
 
Join Date: Apr 2001
Location: MD
Posts: 3,393
Received 42 Likes on 22 Posts
Imma just let these speak for themselves. 3 months of work and ready for installation


Old 05-08-20, 08:14 PM
  #69  
Polishing Fiend

Thread Starter
iTrader: (139)
 
CrispyRX7's Avatar
 
Join Date: Apr 2001
Location: MD
Posts: 3,393
Received 42 Likes on 22 Posts
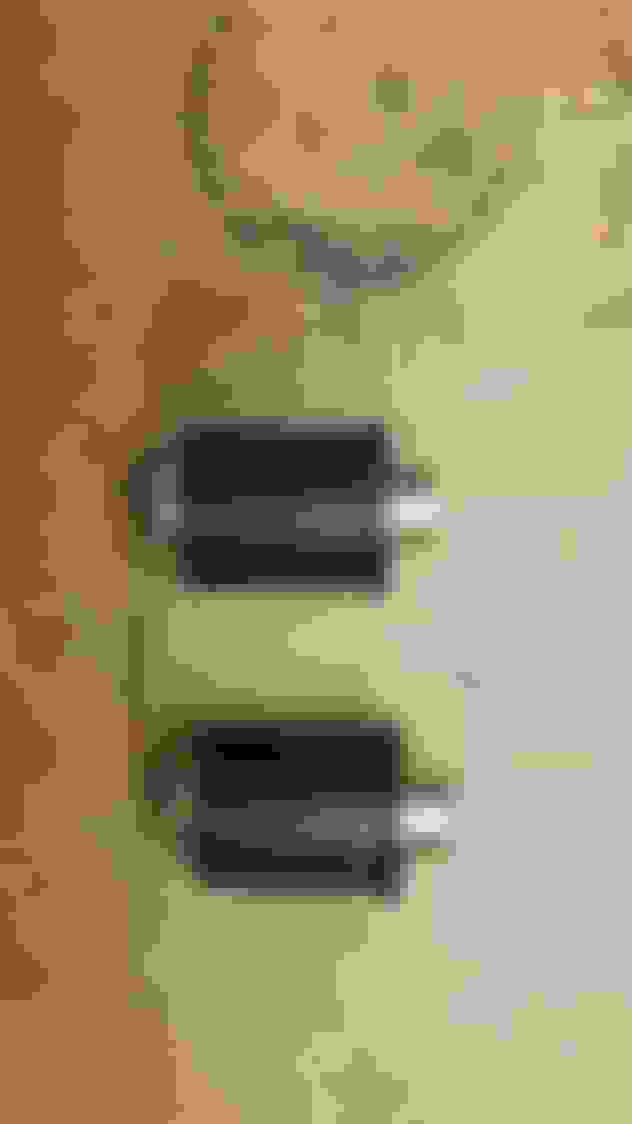
I bought rubber boots for the spherical ends on the camber link. For a race car leaving them bare is fine...but for a street car, Nope. Need covers - filled them with grease to keep the water out.


Old 05-08-20, 08:20 PM
  #70  
Polishing Fiend

Thread Starter
iTrader: (139)
 
CrispyRX7's Avatar
 
Join Date: Apr 2001
Location: MD
Posts: 3,393
Received 42 Likes on 22 Posts
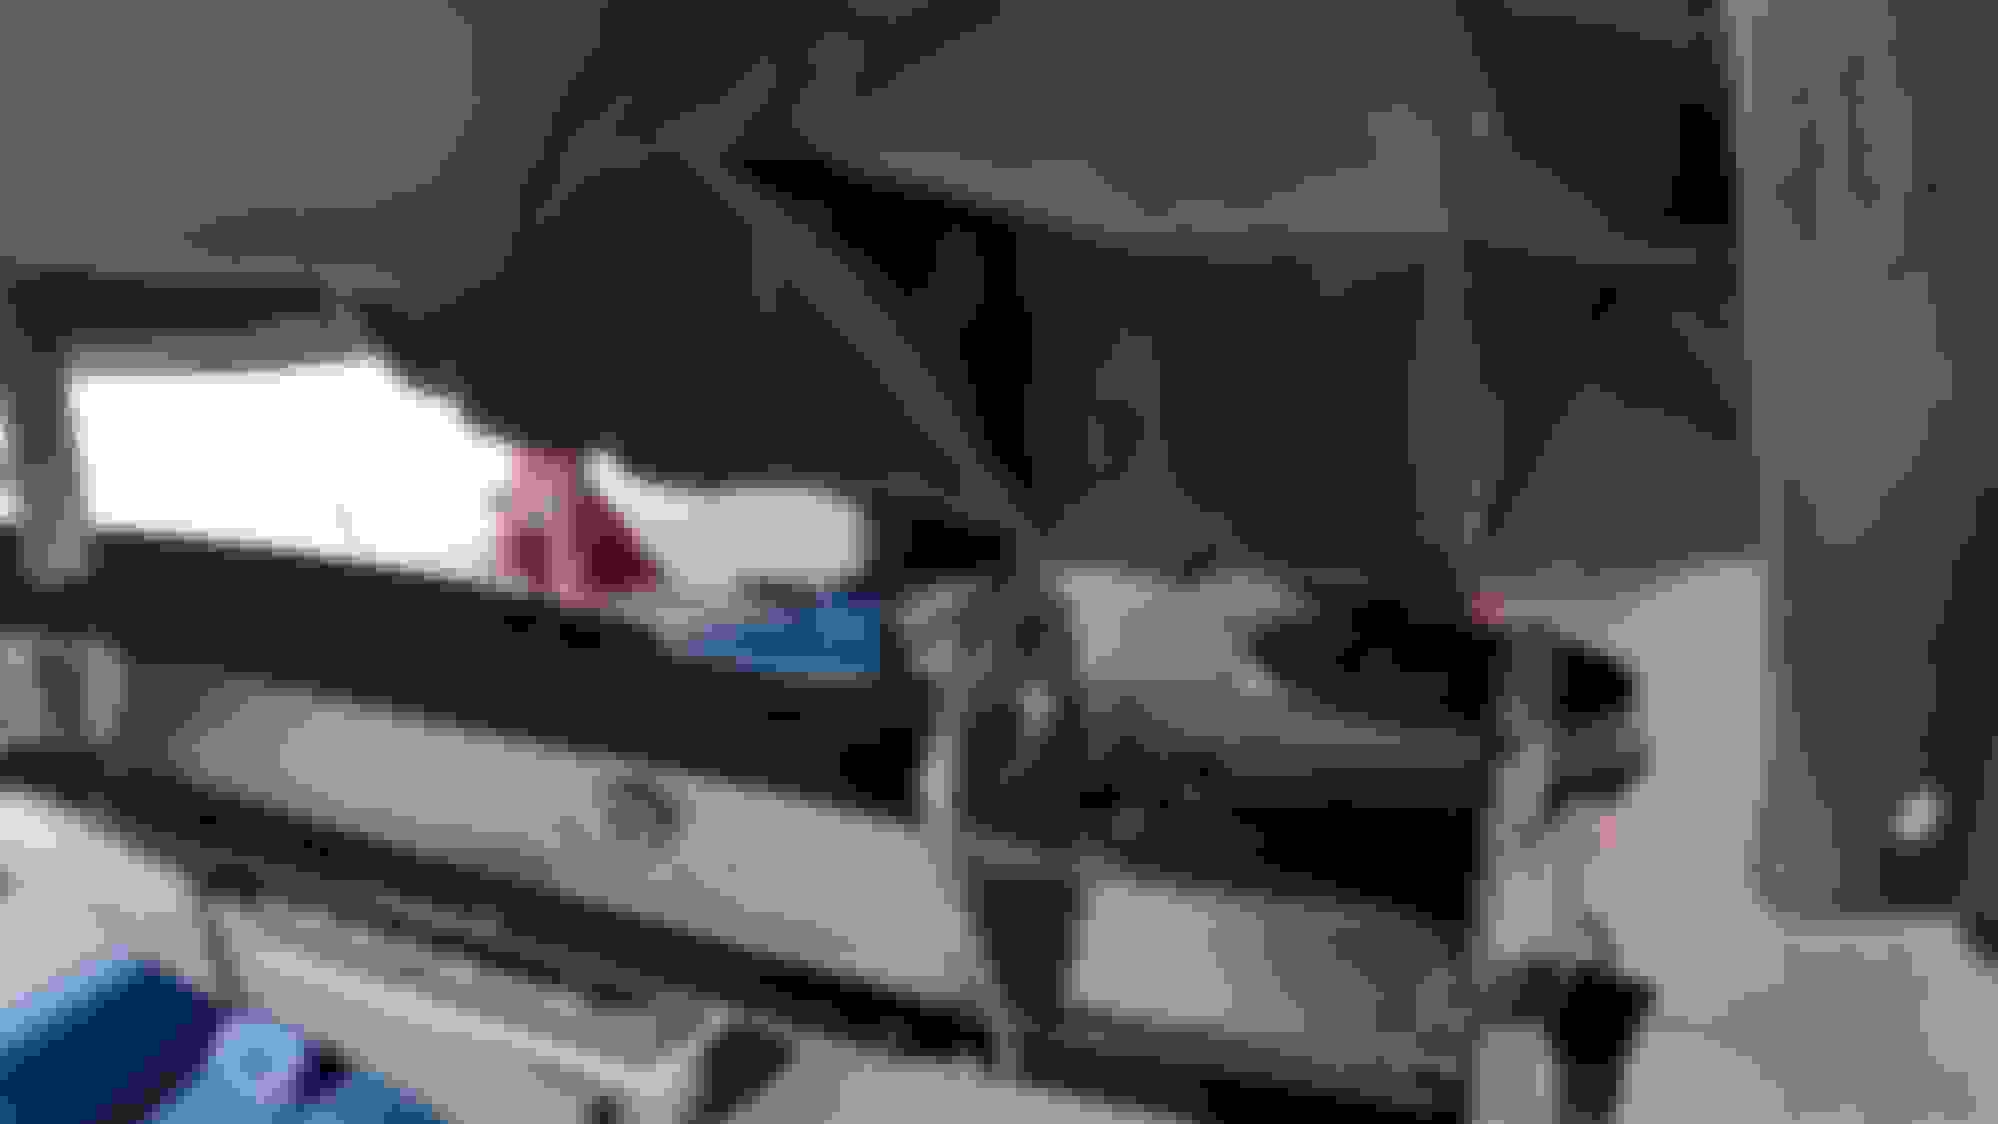
Installation day: Just me and my 2 trusty jacks to maneuver these big chunks of metal into place....WITHOUT DAMAGING ANY PAINT!!! That diff bushing is the original BTW. Looks pretty good eh?
The subframe and diff was like trying to dock the space station! LOL


Old 05-08-20, 08:27 PM
  #71  
Polishing Fiend

Thread Starter
iTrader: (139)
 
CrispyRX7's Avatar
 
Join Date: Apr 2001
Location: MD
Posts: 3,393
Received 42 Likes on 22 Posts
Subframe and diff in place, next is suspension links and hub carriers. And sway bar. And Dampers. A rotors and calipers...and lines.


Old 05-08-20, 08:33 PM
  #72  
Polishing Fiend

Thread Starter
iTrader: (139)
 
CrispyRX7's Avatar
 
Join Date: Apr 2001
Location: MD
Posts: 3,393
Received 42 Likes on 22 Posts
Final before-N-After shots


Old 05-21-20, 07:35 AM
  #73  
Full Member

 
Join Date: Nov 2002
Location: Atlanta Georgia
Posts: 50
Likes: 0
Received 0 Likes on 0 Posts
As an original owner of an 88 vert, I am amazed at your patience and detail! It was a great trip from start to now. Thanks for showing all the hours and dedication! Keep the pictures and information coming.
Old 05-24-20, 02:40 PM
  #74  
Solo/Runner

iTrader: (5)
 
savanna.seven's Avatar
 
Join Date: May 2011
Location: Washington
Posts: 229
Received 2 Likes on 2 Posts
I just finished reading the entire thread, this is most definitely a labor of love with the time investment you have. The amount of detail down to cleaning the hold down straps and going as far as to making a new jack cover. Just Awesome!
Old 05-25-20, 05:28 PM
  #75  
Moderator

iTrader: (3)
 
j9fd3s's Avatar
 
Join Date: Mar 2001
Location: https://www2.mazda.com/en/100th/
Posts: 30,832
Received 2,599 Likes on 1,846 Posts
that turned out really really nice!


Quick Reply: Saving a 1988 Vert - Could only be a labor of love


All times are GMT -5. The time now is 04:31 PM.