When you click on links to various merchants on this site and make a purchase, this can result in this site earning a commission. Affiliate programs and affiliations include, but are not limited to, the eBay Partner Network.
Saving a 1988 Vert - Could only be a labor of love
I was asked to start a thread here in addition to my posts on FB. So let me introduce myself since I haven't posted on the forum on what feels like ages. I'm a long time RX7 owner. Spent much of the last 2 *DECADES* fiddling with my FD. However I did have an interlude when I built a raced an ITS 2G RX7 in the SCCA. Best driving experience I've ever had with a car. Fast forward to January 2019. Surfing through the Forum I stumbled upon a carbon copy of the first RX7 I ever owned for sale...locally...for very little $'s. A quick check with the family financial advisor, aka wife, to get the green light and off I went to see it all the while thinking, "what the hell do I need with a other project!" And, "why would would I want a slow as dirt NA 2G?" Good questions. My answer, I'm a sucker for rotaries. So there!
The story of the car: A *ONE* owner car. The seller had bought it for his wife in 1988. He had just retired and was cleaning house in preparation for a likely move out of the area. The car was garage kept it's entire life...BUT...had not run for the last 8 years. Apparently the teenage son had gotten his grubby hands on it and had pretty much trashed the car ending with overheating it and locked up the motor. So they rolled it into the garage and left it there with 88k miles on the odometer still sitting on only it's second set of tires.
The good: the car was complete - everything: manuals, all the accessories that come with a convertible and the seller even had the original window sticker. All the electricals worked.. The seller even threw in an extra pair of the BBS rims. It was exactly how I remembered my first RX7 (7-Up Club Racing: Home of Triple R The bad (that I knew at the time of purchase - more on this later): well for starters it didn't run. And it was FILTHY (stupid teenager!) The front leather seats had the typical wear for a 30 year old car with 86k miles on it. Front passenger fender had a monster dent. Small shunt had marked up the bumper and bent a headlight support causing the hood not to close. The drivers side outside mirror needed paint. And the car looked like it has been pelted by a squirrel from all the dents in the hood and trunk lid (he lived in a heavily wooded area - acorns apparently)
And so begins my odyssey to bring the old girl back to life, restore, and give it the proper care and attention it deserves. I hope you enjoy my journey. More to come.
8 years of slumber Rise and shine my lovely!
Last edited by CrispyRX7; Dec 29, 2019 at 11:12 PM.
Reason: typos
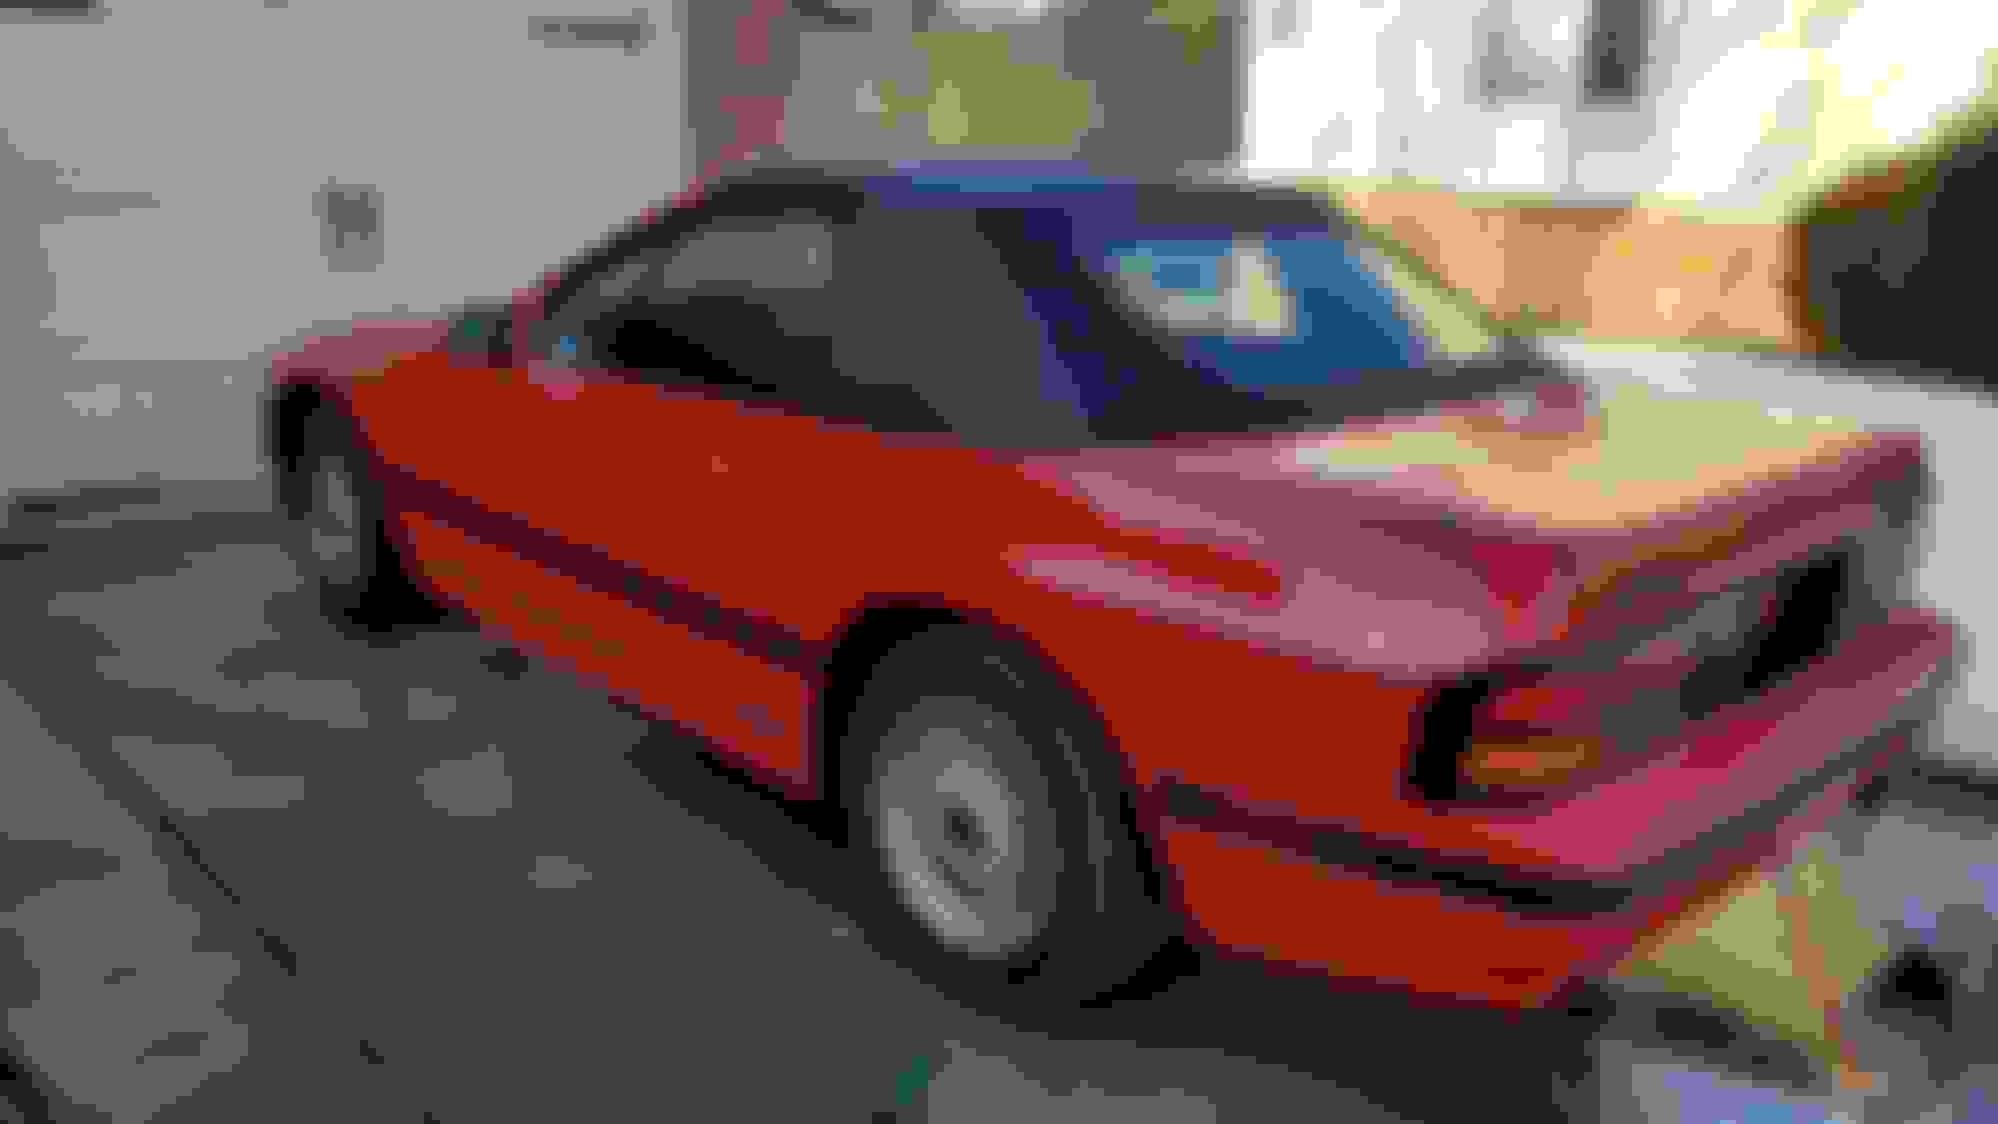
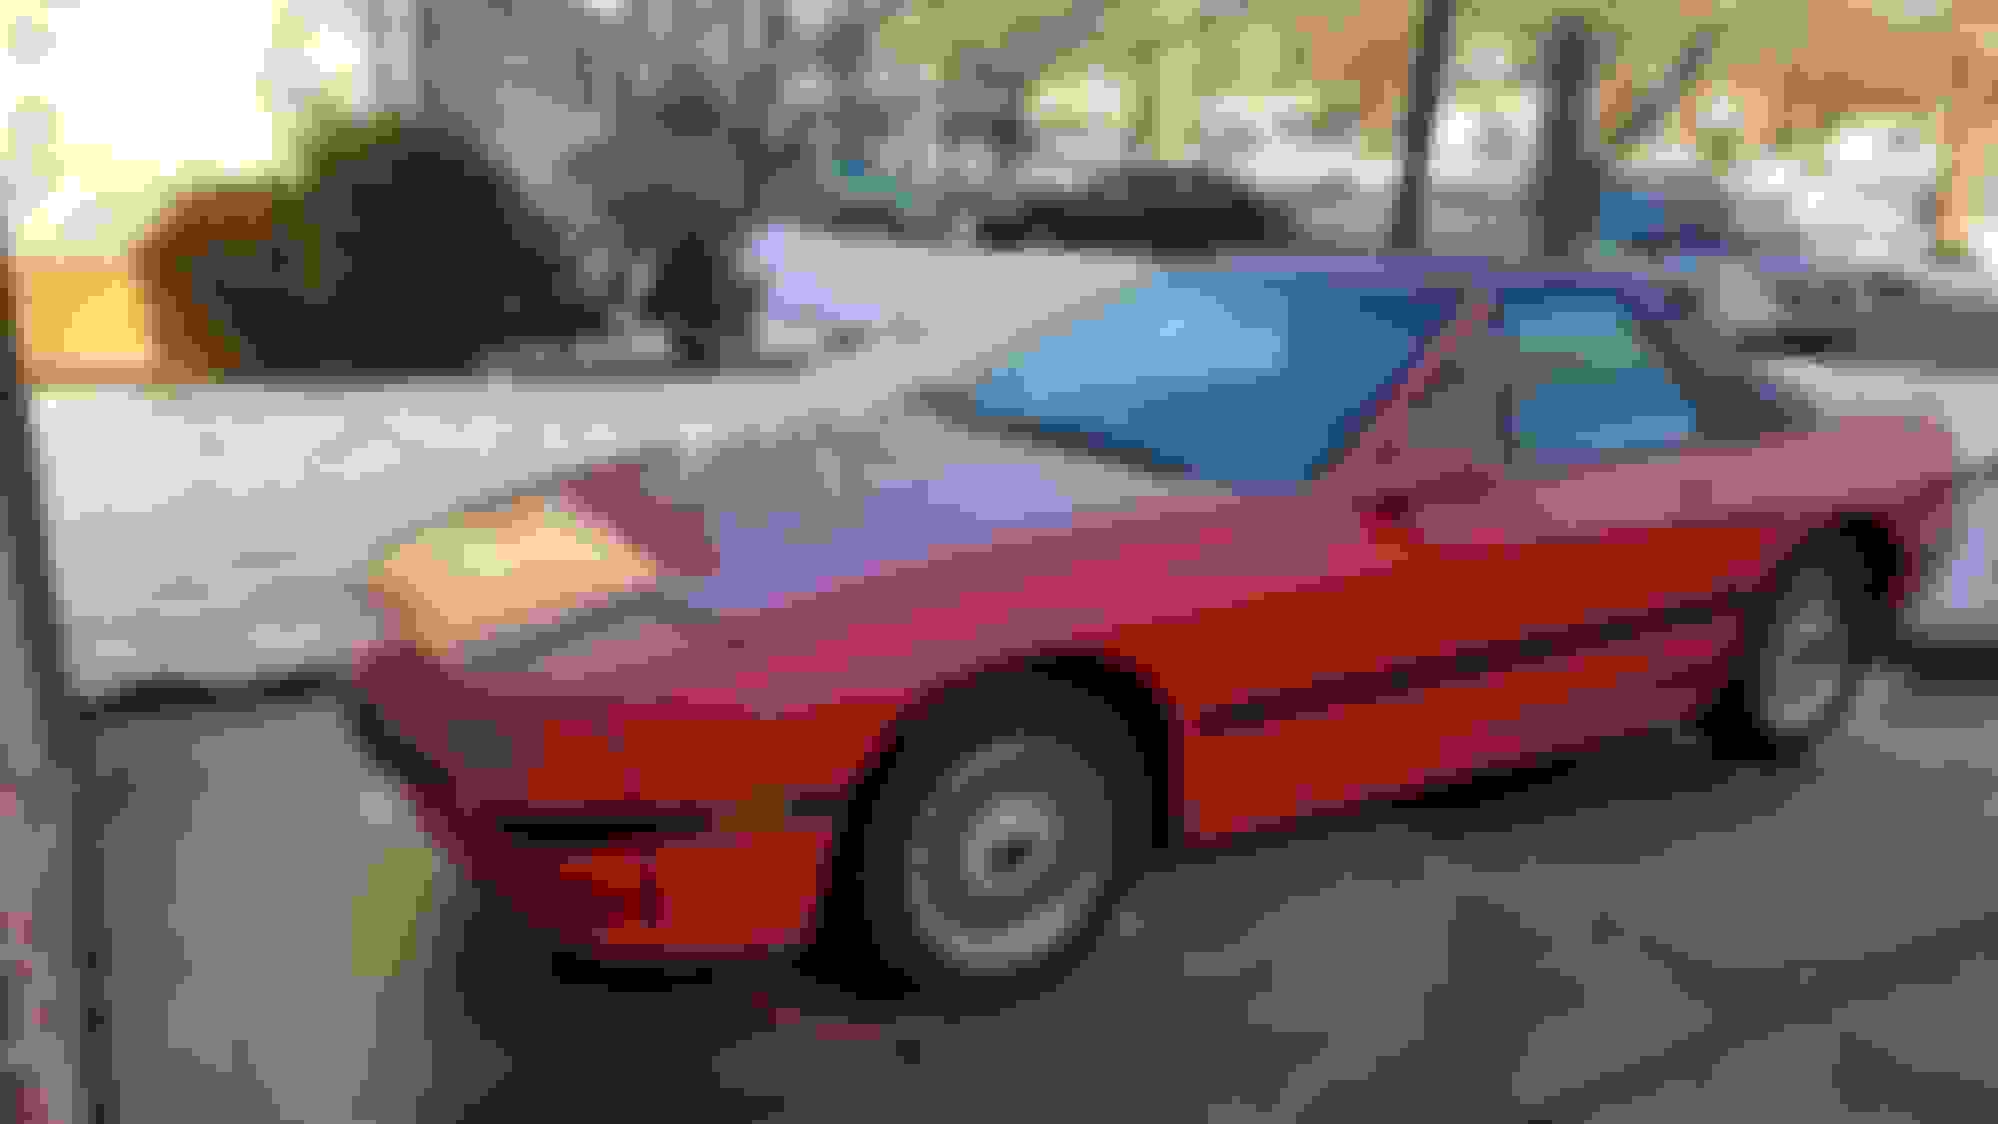
So this is how she looked when I got her home. Looked good from 10ft. Complete. But obviously a used car. And up close LOTS of small annoying defects and imperfections. Will definitely be fixing those.
Pictures...folks like pictures. Too many words. So in the future I'll be posting the pictures up top and you can read what I have to say below if you care. not too shabby patina? 100% bone stock but EEWWWW! Looks good from 10ft eh?
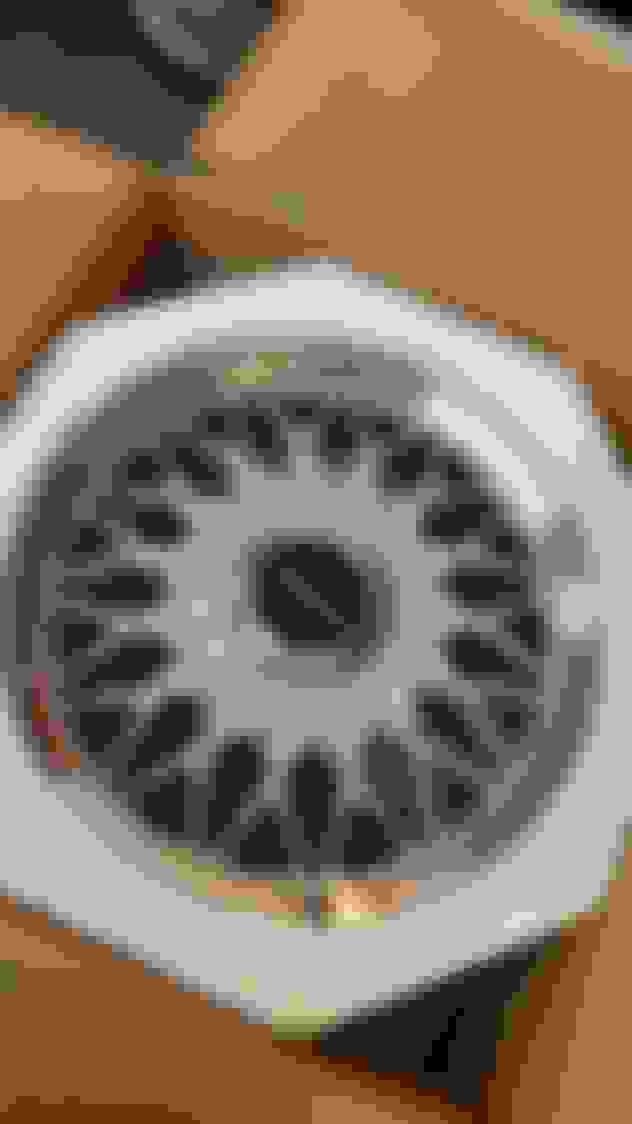
Lets start with the wheels... Disassembly, cleaning and repolishing
I spent some time cleaning up the two spare rims that came with the car. I also purchased a set of spare BBS rims with decent tires for the car to sit on while I cleaned up the wheels that came with the car. The tires that came with the car were absolutely bald and dry rotted so will need new tires anyway. This resulted in me having 10 centercaps of which I will keep the best set and sell the rest.
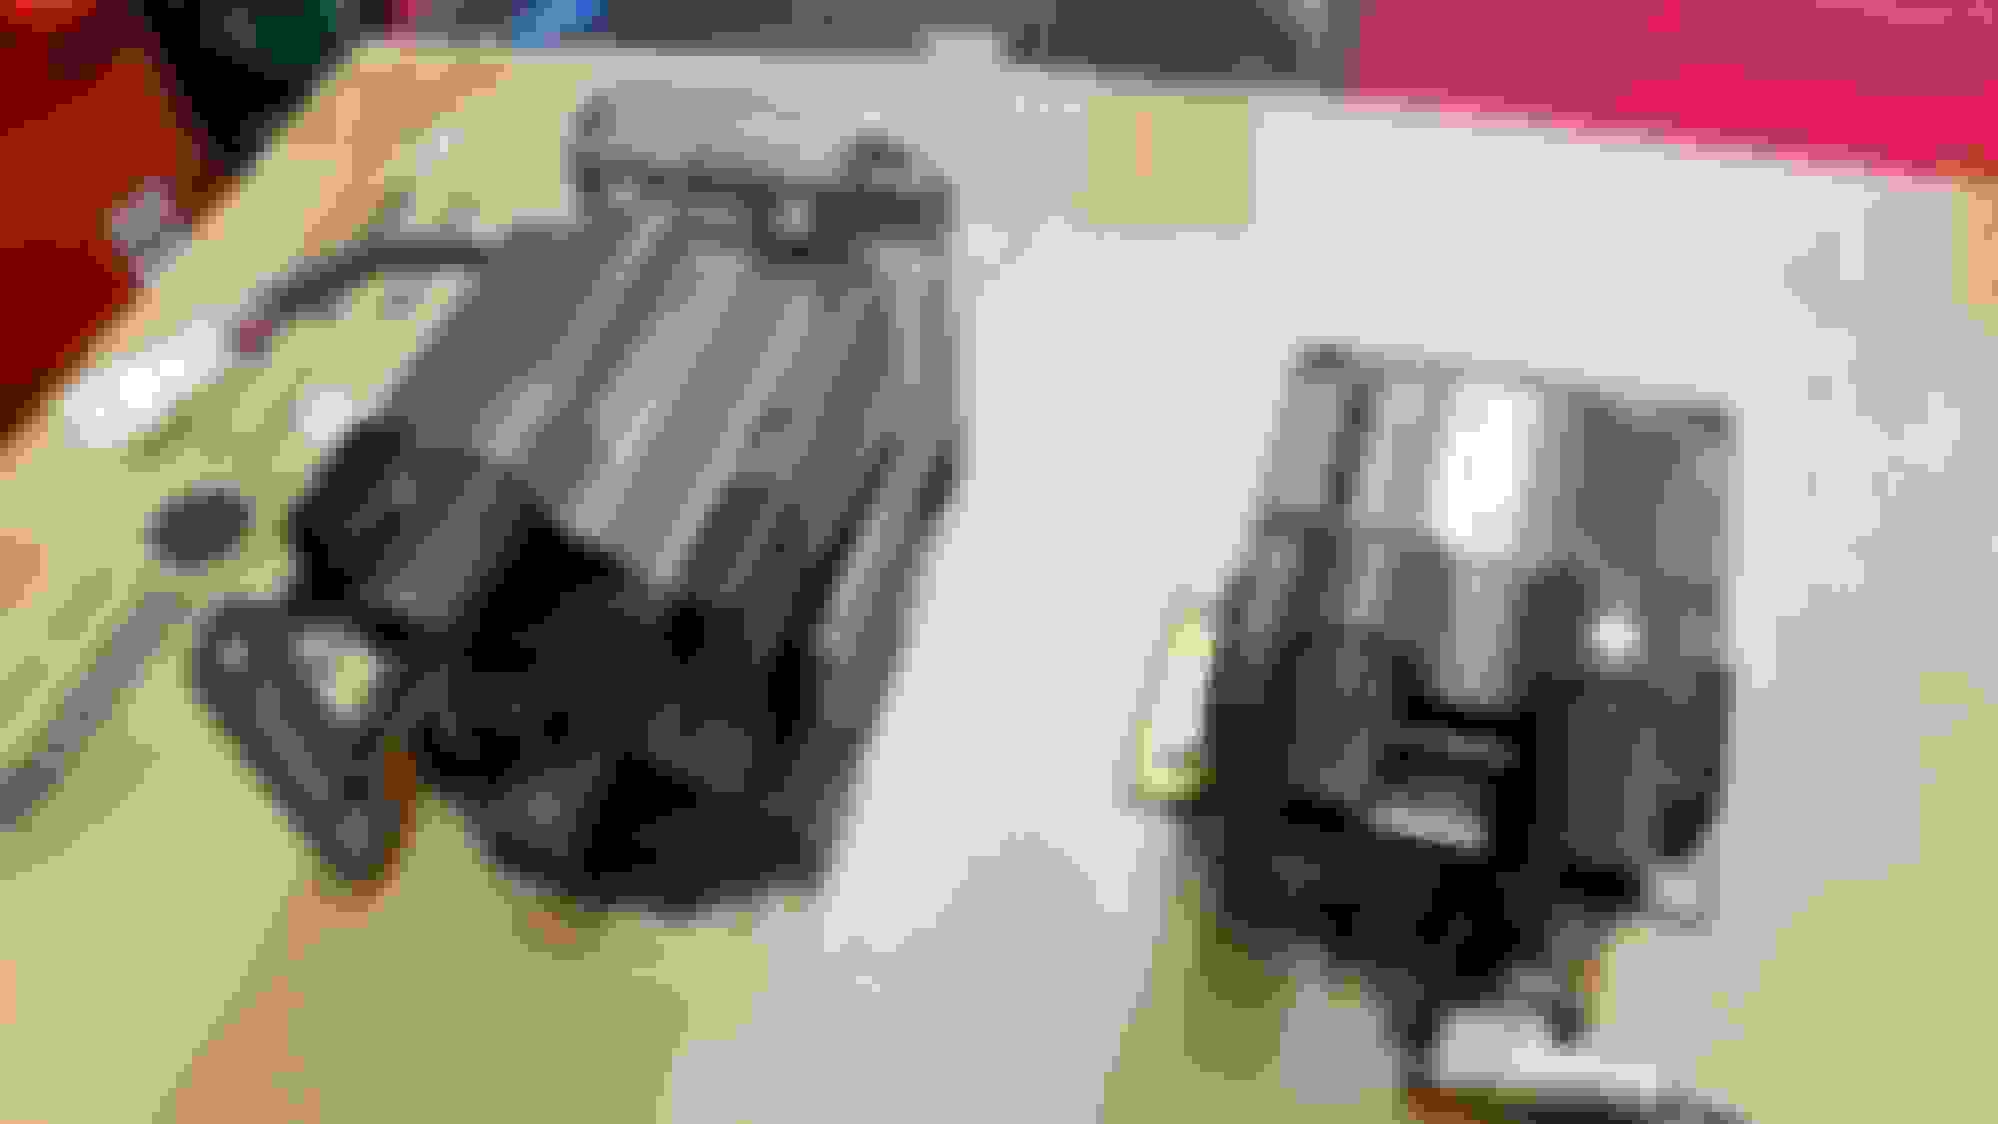
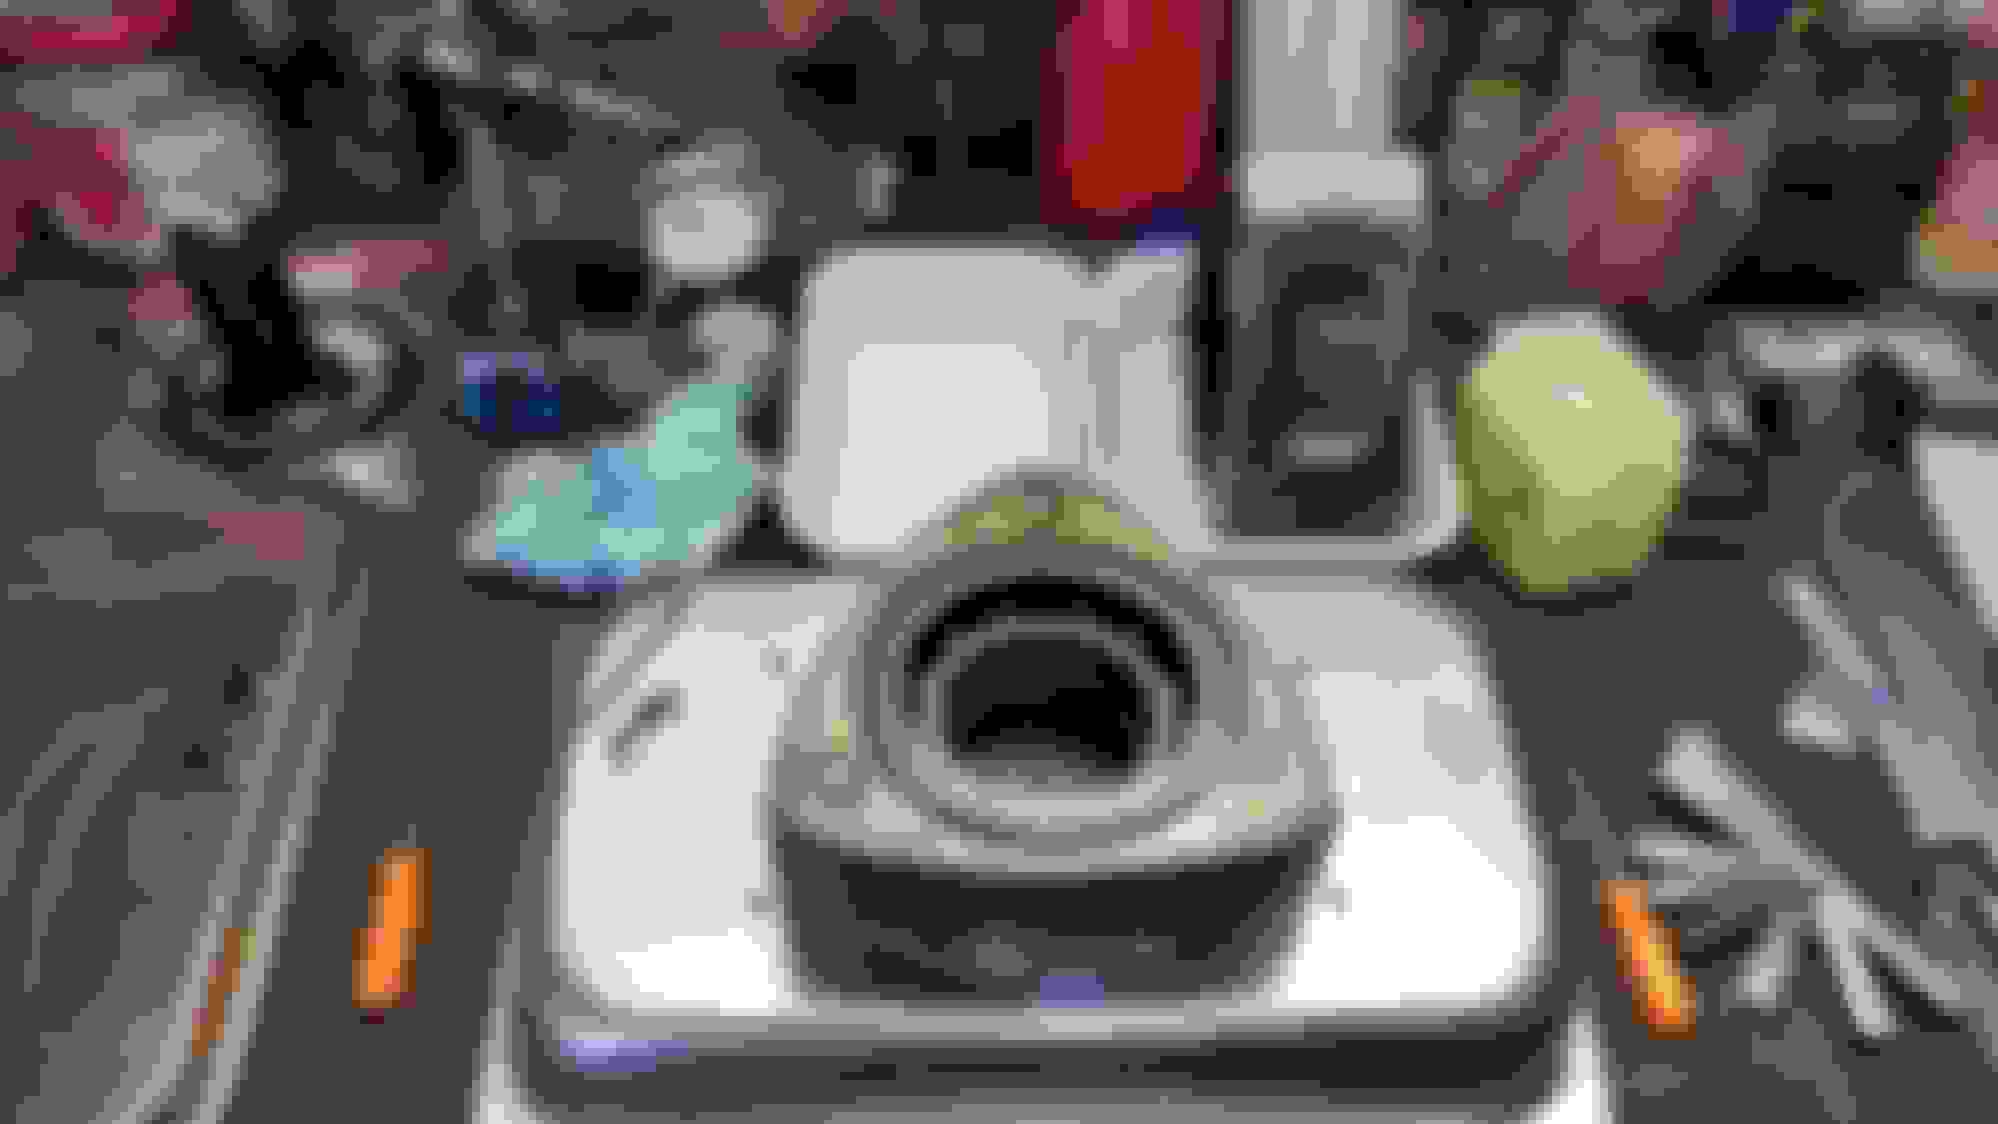
For those that aren't aware, FD calipers are a direct swap to an FC 5 lug hub. So I got my hands on a spare set of FD calipers from a friend, cleaned them up, polished lettering, painted with G2 epoxy paint (I hate seeing rattle canned paint jobs where everything is sprayed. Ugh), rebuild with all new seals and set them aside ready for install later given it was January at the time!
Last edited by CrispyRX7; Dec 30, 2019 at 10:36 AM.
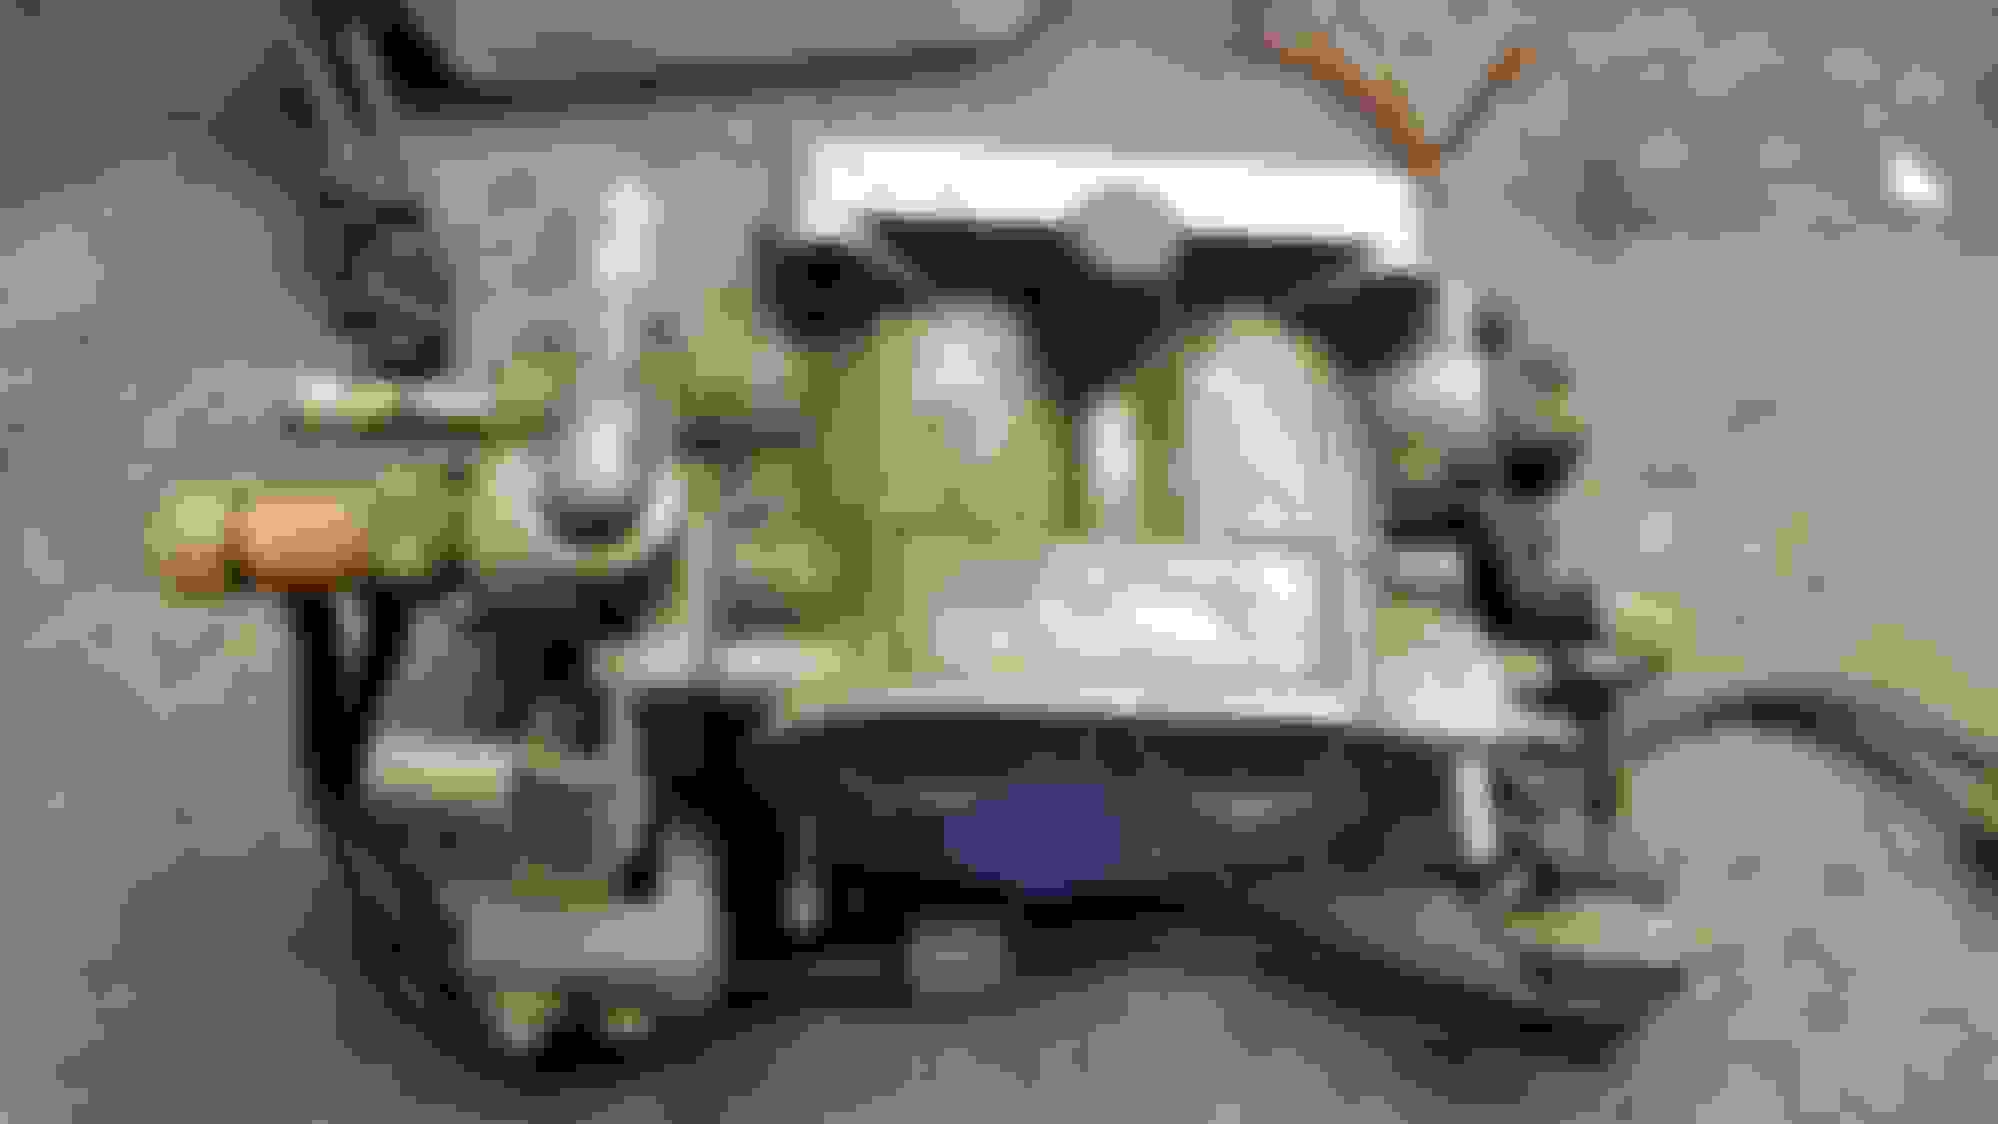
Around this time I acquired some decent used parts: Set of KSport coilovers, RB complete NA exhaust, and a spare motor. This is a budget restoration so essentially no new parts and only replacing those that are worn out or are mild improvements to the performance of the car based on my experience with FC's and my time racing one behind the wheel. Motors are always a crapshoot so we'll see what kind of condition it's in when I tear it down. Cleaned up pretty good after I hit the cans with my buffer yup, the WHOLE motor was rattle canned black
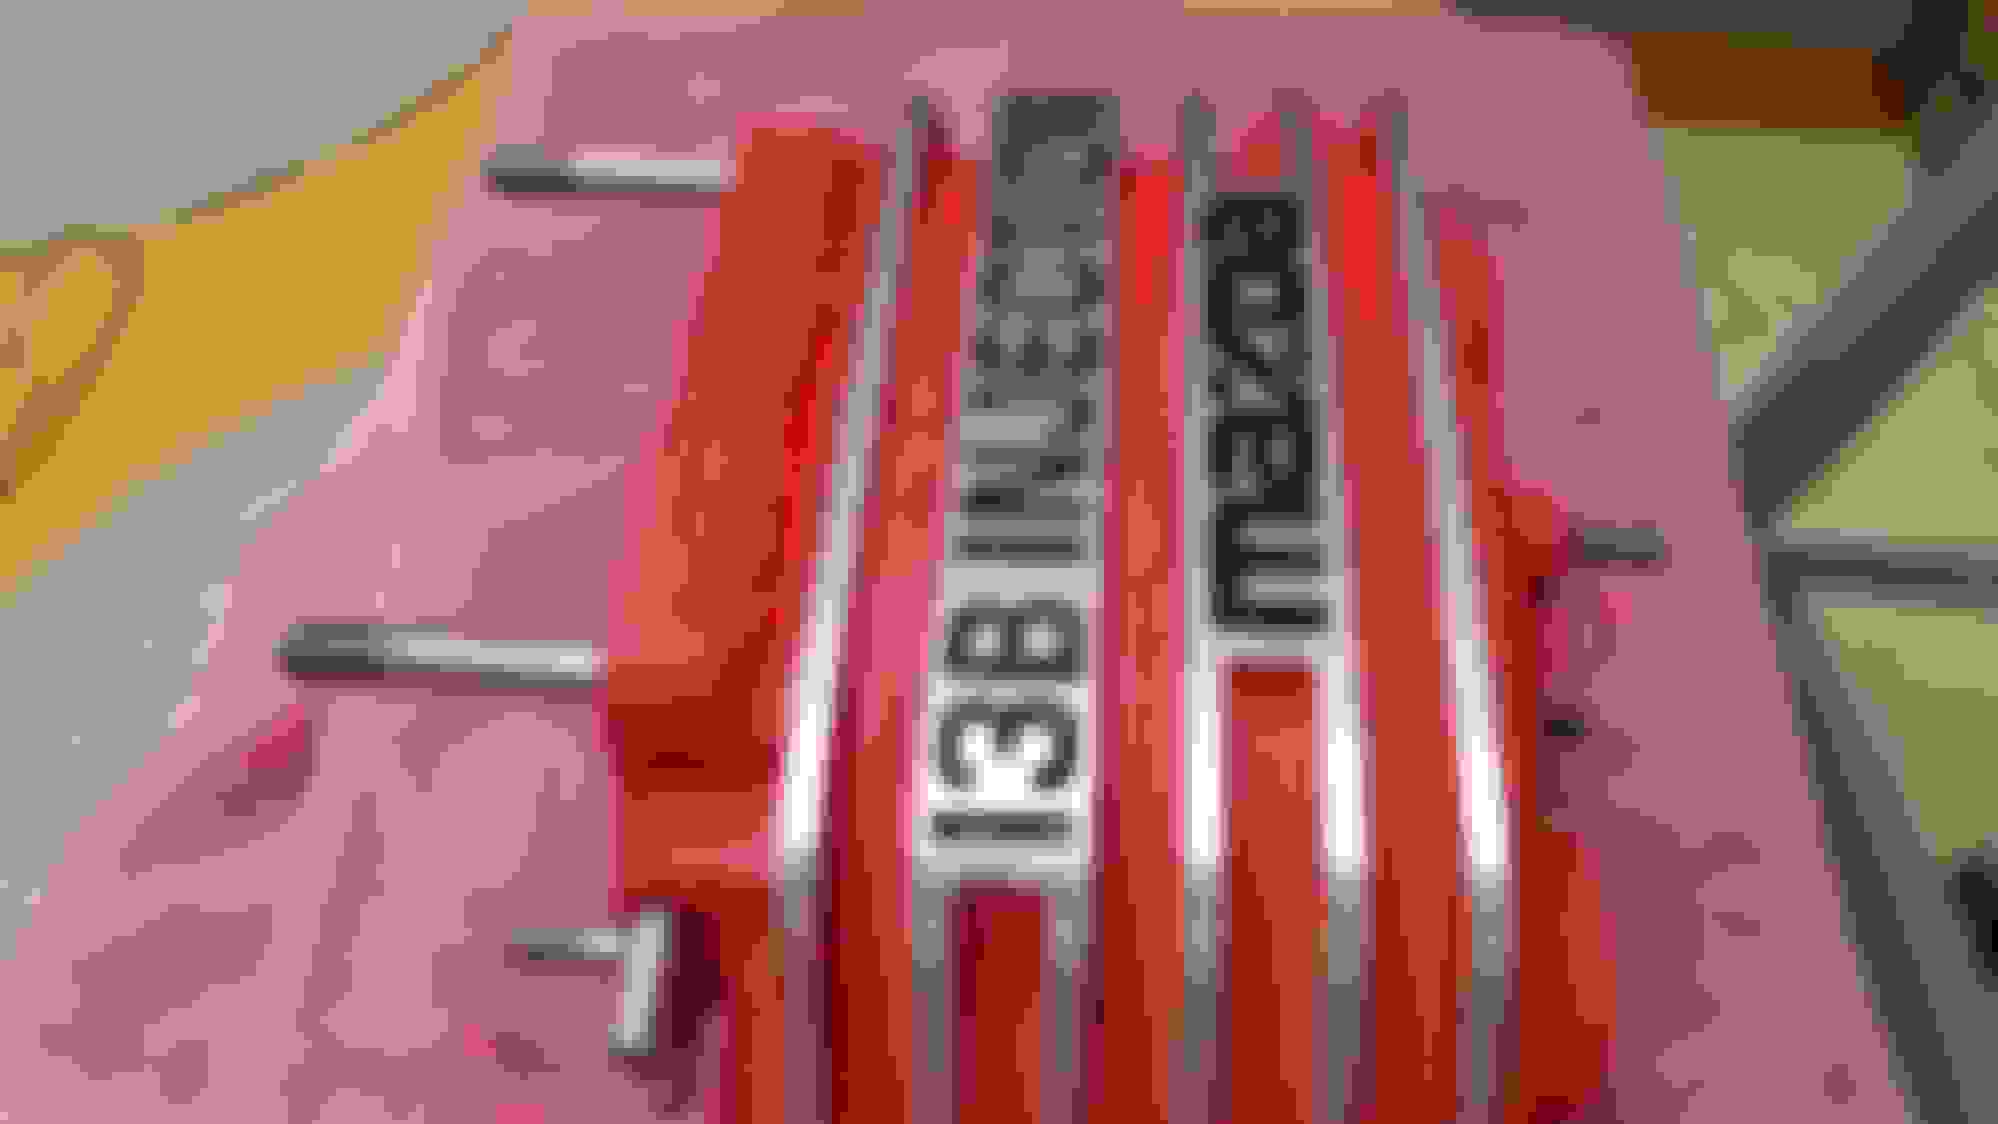
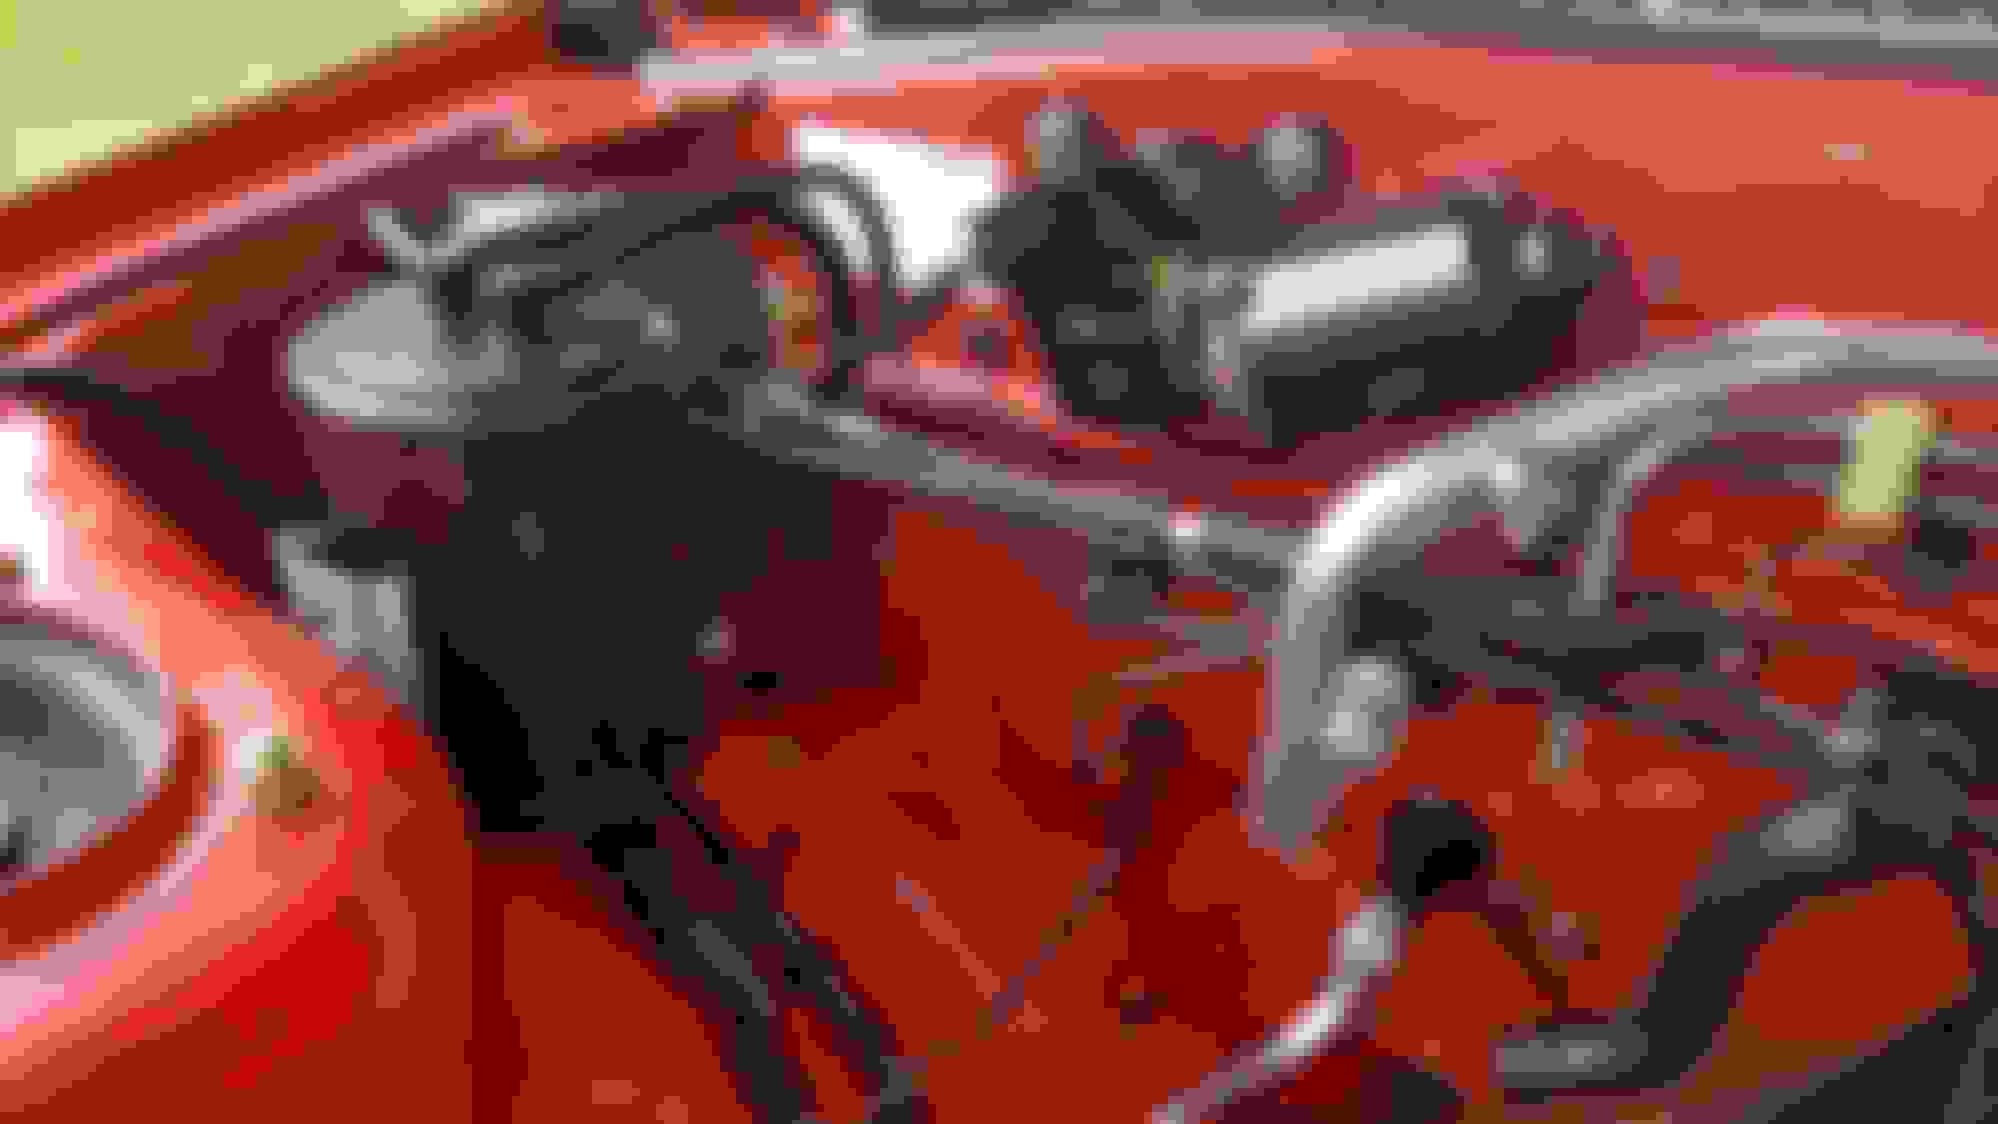
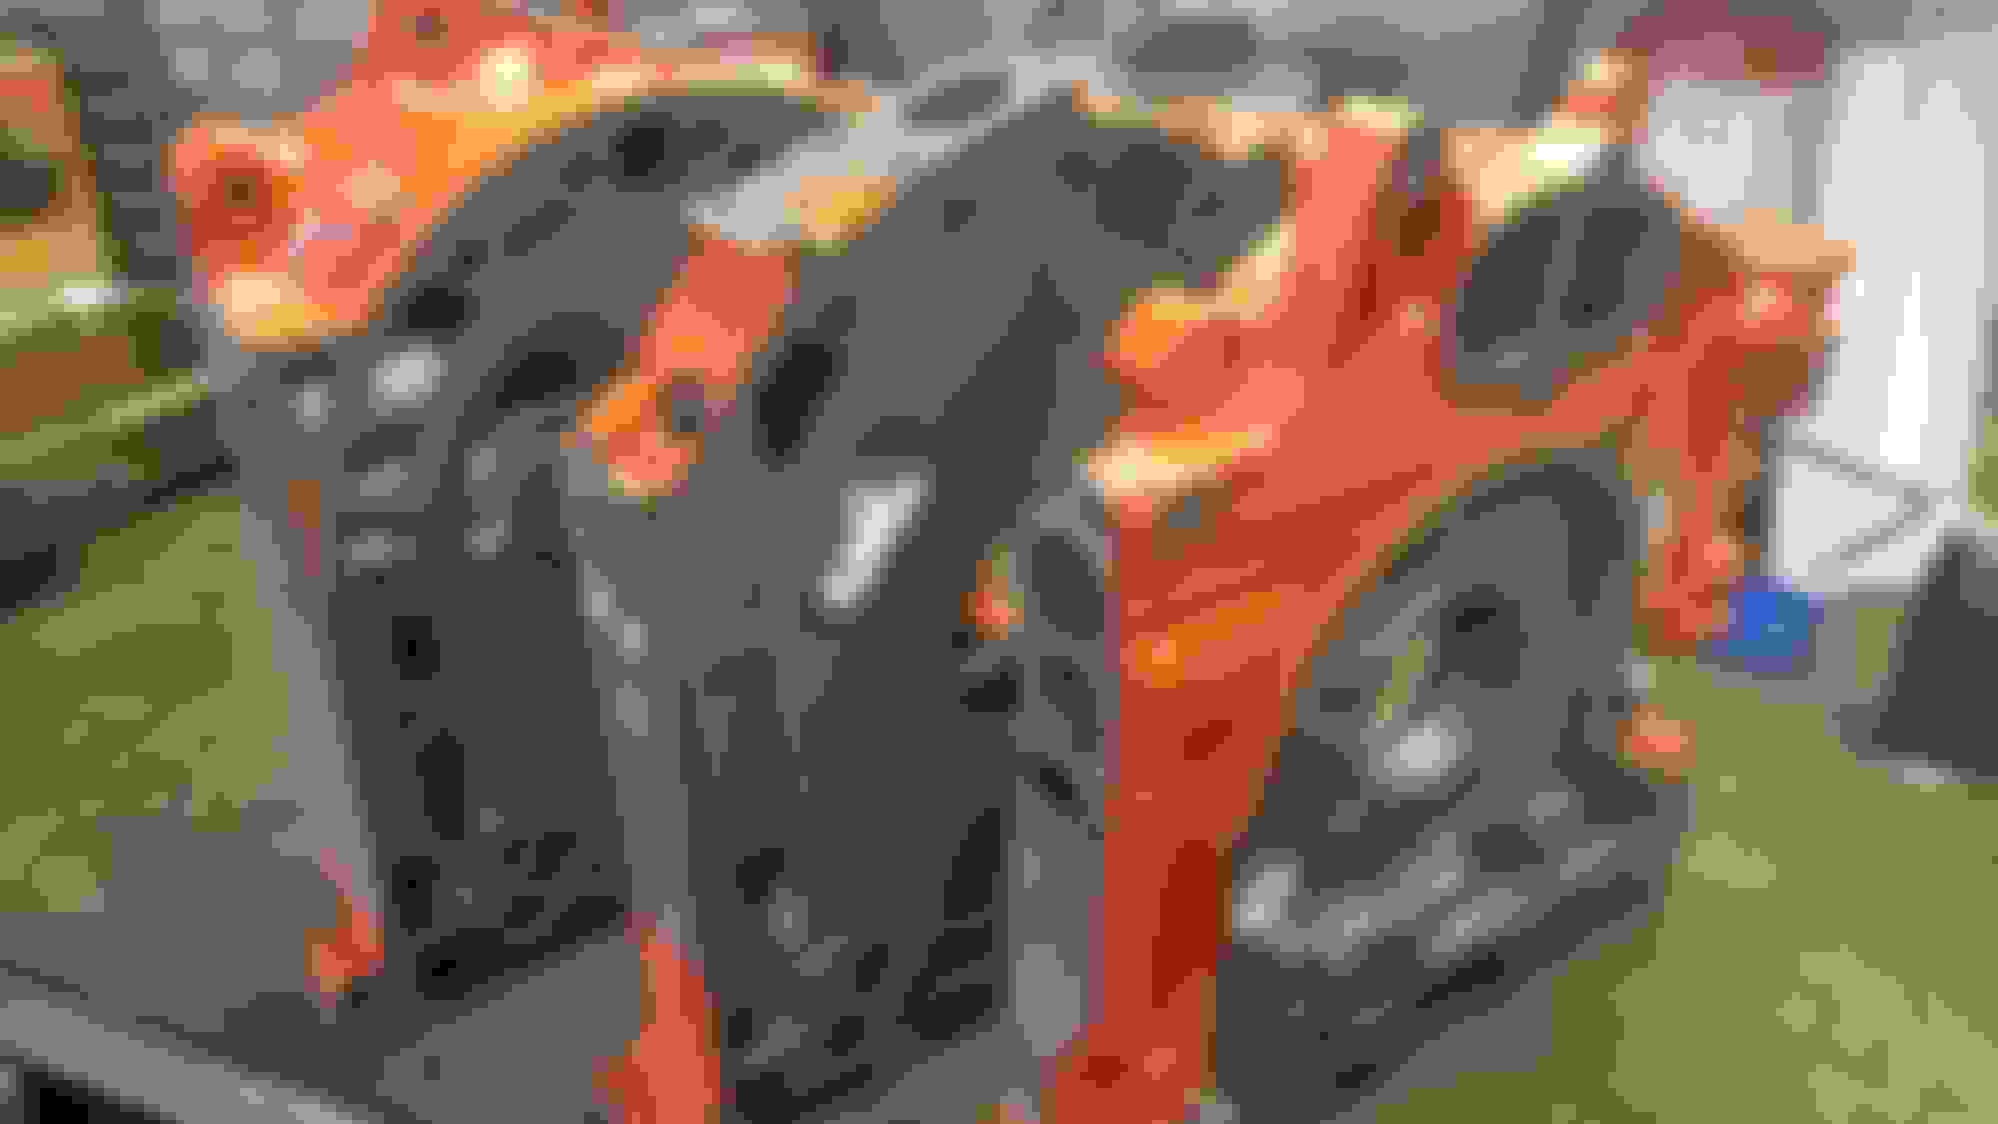
Refinishing the intake manifolds. All casting flash removed and the middle manifold runners made to look like round runners. :-) Coated in Ferrari wrinkle finish red.
Last edited by CrispyRX7; Jan 1, 2020 at 08:59 AM.
I had the irons lapped and re-nitrided. My biggest expense to date but for an engine rebuild this is money well spent. A little port work...just a little cleanup. No need to go crazy on a simple street driven NA S4. But it should breathe a little better. And, yes I know, I did not remove the diffusers.
Last edited by CrispyRX7; Jan 1, 2020 at 09:01 AM.
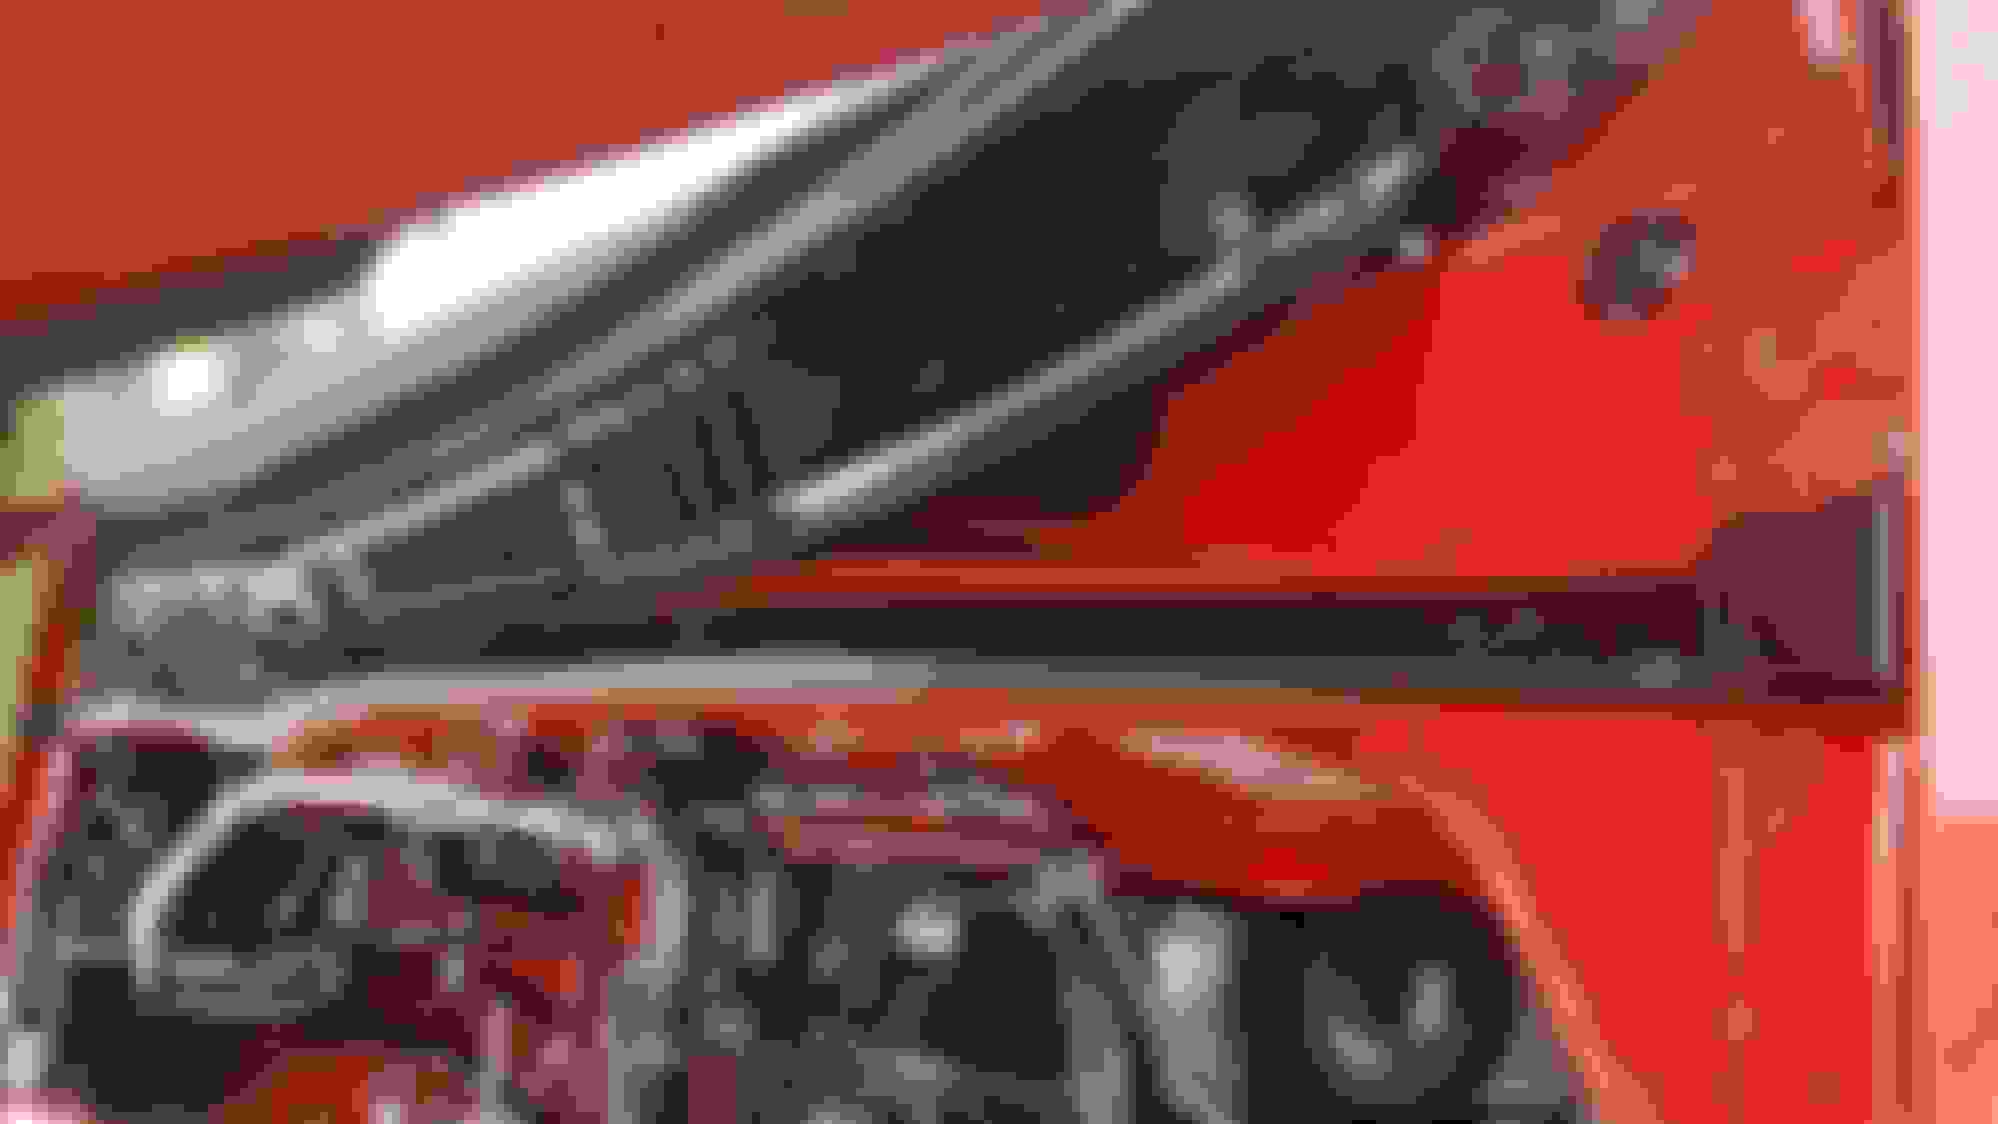
More work on the intake. Cleaned up the throttle body. Checked smooth operation of all linkages and hardware. Replaced the dashpot. Silicon hoses to replace all the vitrified rubber vacuum hoses.
Last edited by CrispyRX7; Jan 1, 2020 at 09:02 AM.
Had to repaint the outside mirror. Started down the road of an easy prep and paint exercise when tragedy striked! After priming and ready to shoot with final paint one of the mirrors dropped off the hanger and shattered into a bazillion pieces! After wallowing in misery for a day I set to fix it and make it right. About 8 iterations of epoxy and filler primer sanding and repeat...It was resurrected.
Last edited by CrispyRX7; Jan 1, 2020 at 09:03 AM.
Nice weather so fixed the "non-closing" hood issue. Amazing what the roadside jack can be used for! Pulled that wrinkle straight in only a few turns of the handle!
And I see evidence of prior accident repair damage that was undisclosed by the seller :-(
Yeah! The hood now closes! Evidence of prior repair
Last edited by CrispyRX7; Dec 31, 2019 at 12:51 PM.
Carpet and interior bits cleaning! I toyed with replacing the carpet outright (which I really should do) but given the nature of the brittle interior plastics, and having to remove the dash to do it properly, I decided to take a crack at cleaning what I have for now. Maybe new carpet later. I shampooed the carpet FOUR TIMES until the color of the water collected in the wet vac was relatively clean.
Last edited by CrispyRX7; Jan 1, 2020 at 09:04 AM.
Started on some underhood cleanup. The drivers side frame rail was a mess. Paint and corrosion from years of weeping Master Cylinder. On a budget so no complete underhood respray, just a bit of cleanup to protect the rails from further rusting.
Last edited by CrispyRX7; Jan 1, 2020 at 09:04 AM.
More engine bay cleanup. A reminder of what I started with. Cleaned up the hood latch which was originally a corroded mess. Also test and cleanup of the coils
.
Last edited by CrispyRX7; Jan 1, 2020 at 09:06 AM.
Hit the firewall/bulkhead. Removed the cruise control, wiper motor, cowl trim, and all the hard piping. Clean, refinish, and polish...and reinstall. Oh and remove the mouse nest. Fingers crossed they haven't been chewing on the wiring harness!
Last edited by CrispyRX7; Jan 1, 2020 at 09:07 AM.