When you click on links to various merchants on this site and make a purchase, this can result in this site earning a commission. Affiliate programs and affiliations include, but are not limited to, the eBay Partner Network.
Fuel tank and pump inspection and cleanup. Thankfully the seller had just replaced the fuel tank in a failed attempt to figure out how to get the car started. Not sure whey he wouldn't have replaced the fuel lines when it was all apart. Fuel pump was new and the tank had no rust inside. I will probably replace the hard lines to the front of the car at some point in time. And I will definitely drain the tank and refill with fresh fuel before initial startup.
Cleaning up the trunk area. Washed the jack and tools and shampooed the carpet. Made a new jack cover as the old one was broken and warped. Look at the filth coming out of the hold down straps!
AND I NEED THE PLASTIC PUSH PINS AND CLIPS! If you have any please let me know. See bottom pic for what I need.
At this point I decided to finish cleaning the interior and reassemble the dash. Simple Green and a toothbrush to get down into the texture of the dash finish - amazing what dirt comes off a 30 year old dash!. Fixed a few bits of broken trim in the process. Made sure the spare was in good shape and properly inflated. Checked that the tool kit was complete and cleaned everything up. Replaced the center console trim with a new OEM piece - the original was cracked and falling to pieces. And swapped out a stock steering wheel that was in better condition than the one originally in the car.
Last edited by CrispyRX7; Jan 1, 2020 at 09:50 AM.
Heat is the devil for a rotary. So I given I will be installing a RB header I decided to fabricate a small heat shield. It bolts to the outer ends of the upper manifold studs. Clearance is tight but it's rigid enough that nothing should rattle.
If anyone needs a mint condition OEM NA manifold and heat shields let me know (see pic at bottom). I cleaned up and retapped all the bolt holes (the little 10mm bolts have a tendency to rust up and snap off) so everything will button up perfectly,
Last thing to do before diving into the suspension - restoring the oil cooler and power steering loop line. Spent an hour straightening fins and hitting the cooler with aluminum brightener to strip all the corrosion. And also cleaned up and refinished the power steering loop. Hit all the brackets and oil cooler deflector with paint after a thorough stripping with a wire wheel. The oil cooler will be connected with new braided lines.
After seeing all the corrosion on the frame rail and the engine subframe I just couldn't bring myself to leave the subframe in the car that way. Plus I had to remove all the suspension to replace the bushings so out it all came!
Subframe was "de-rusted" and resprayed.
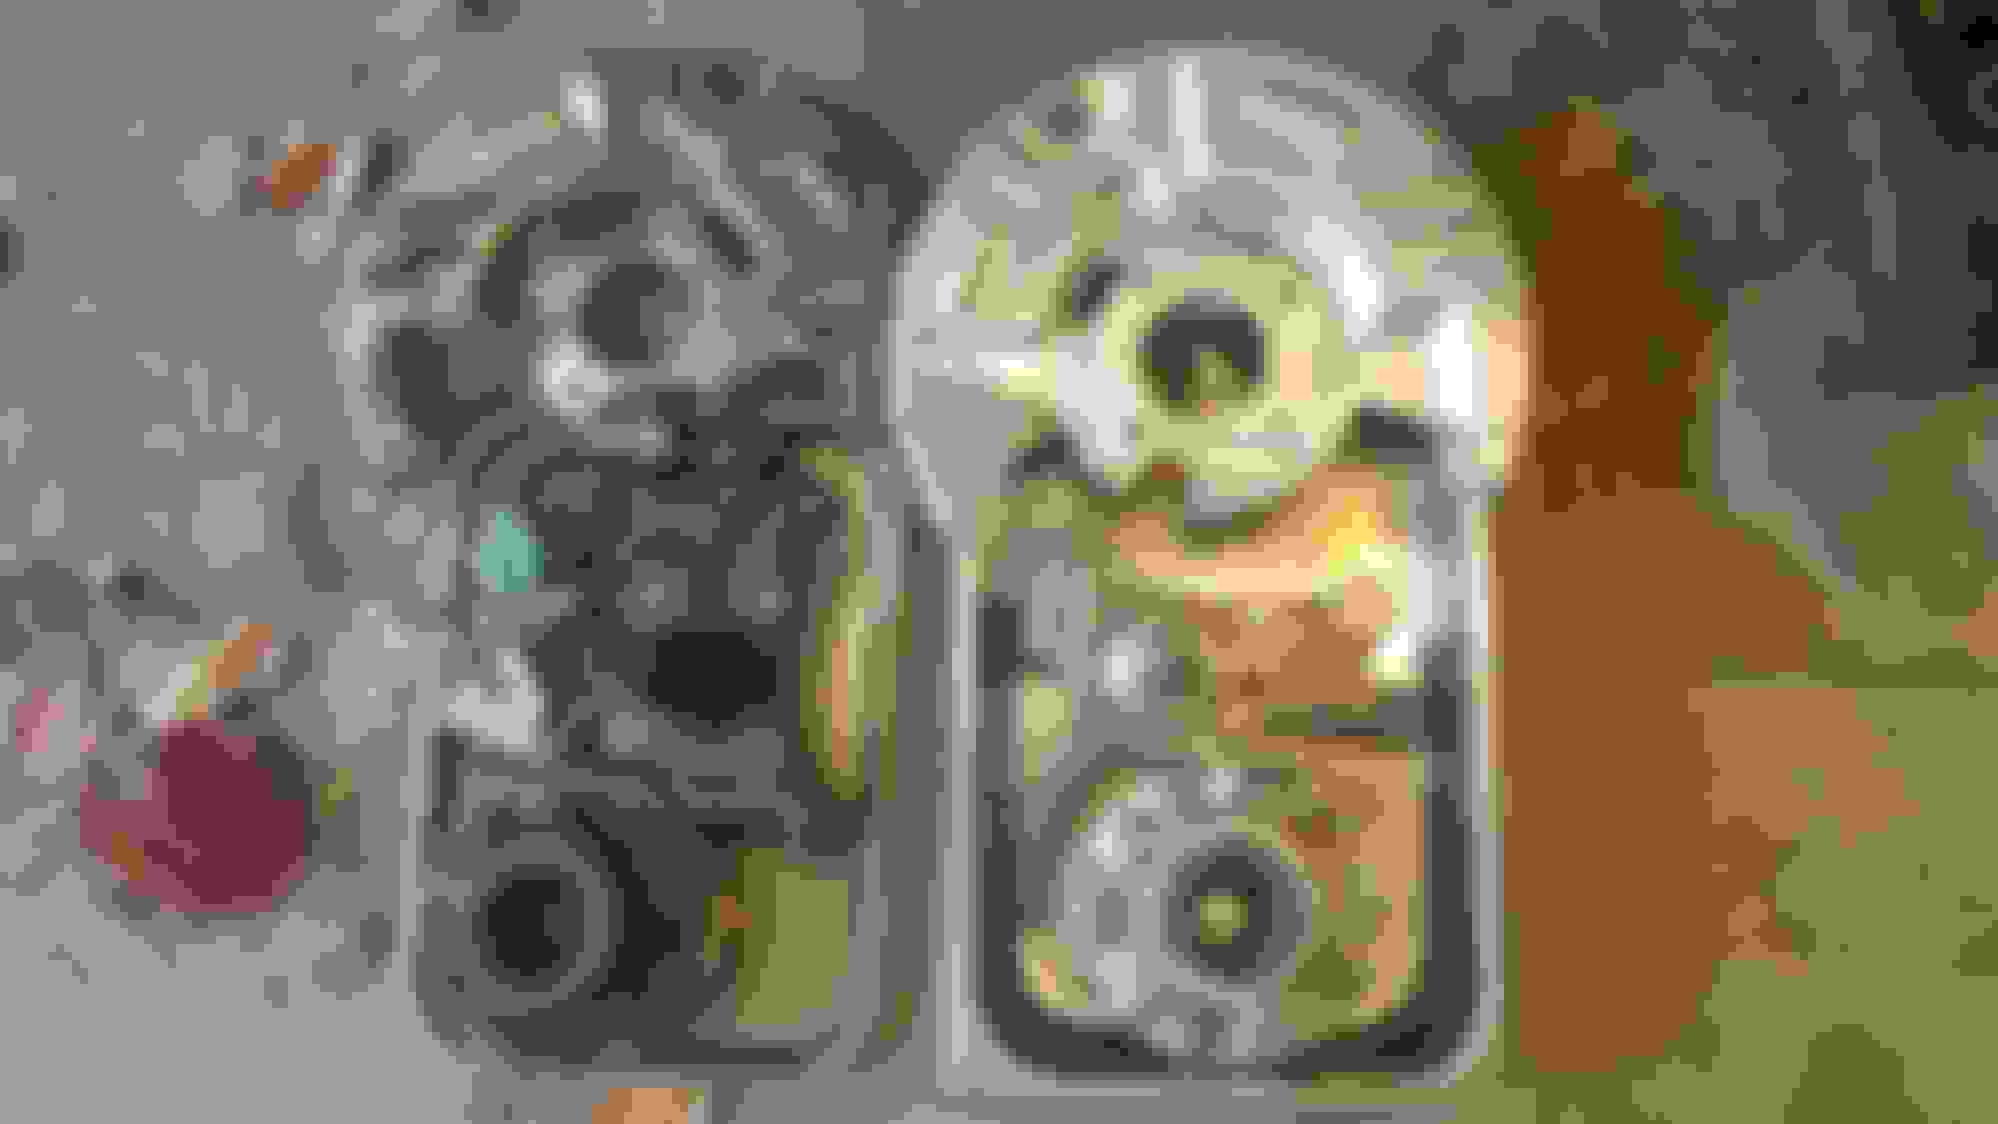
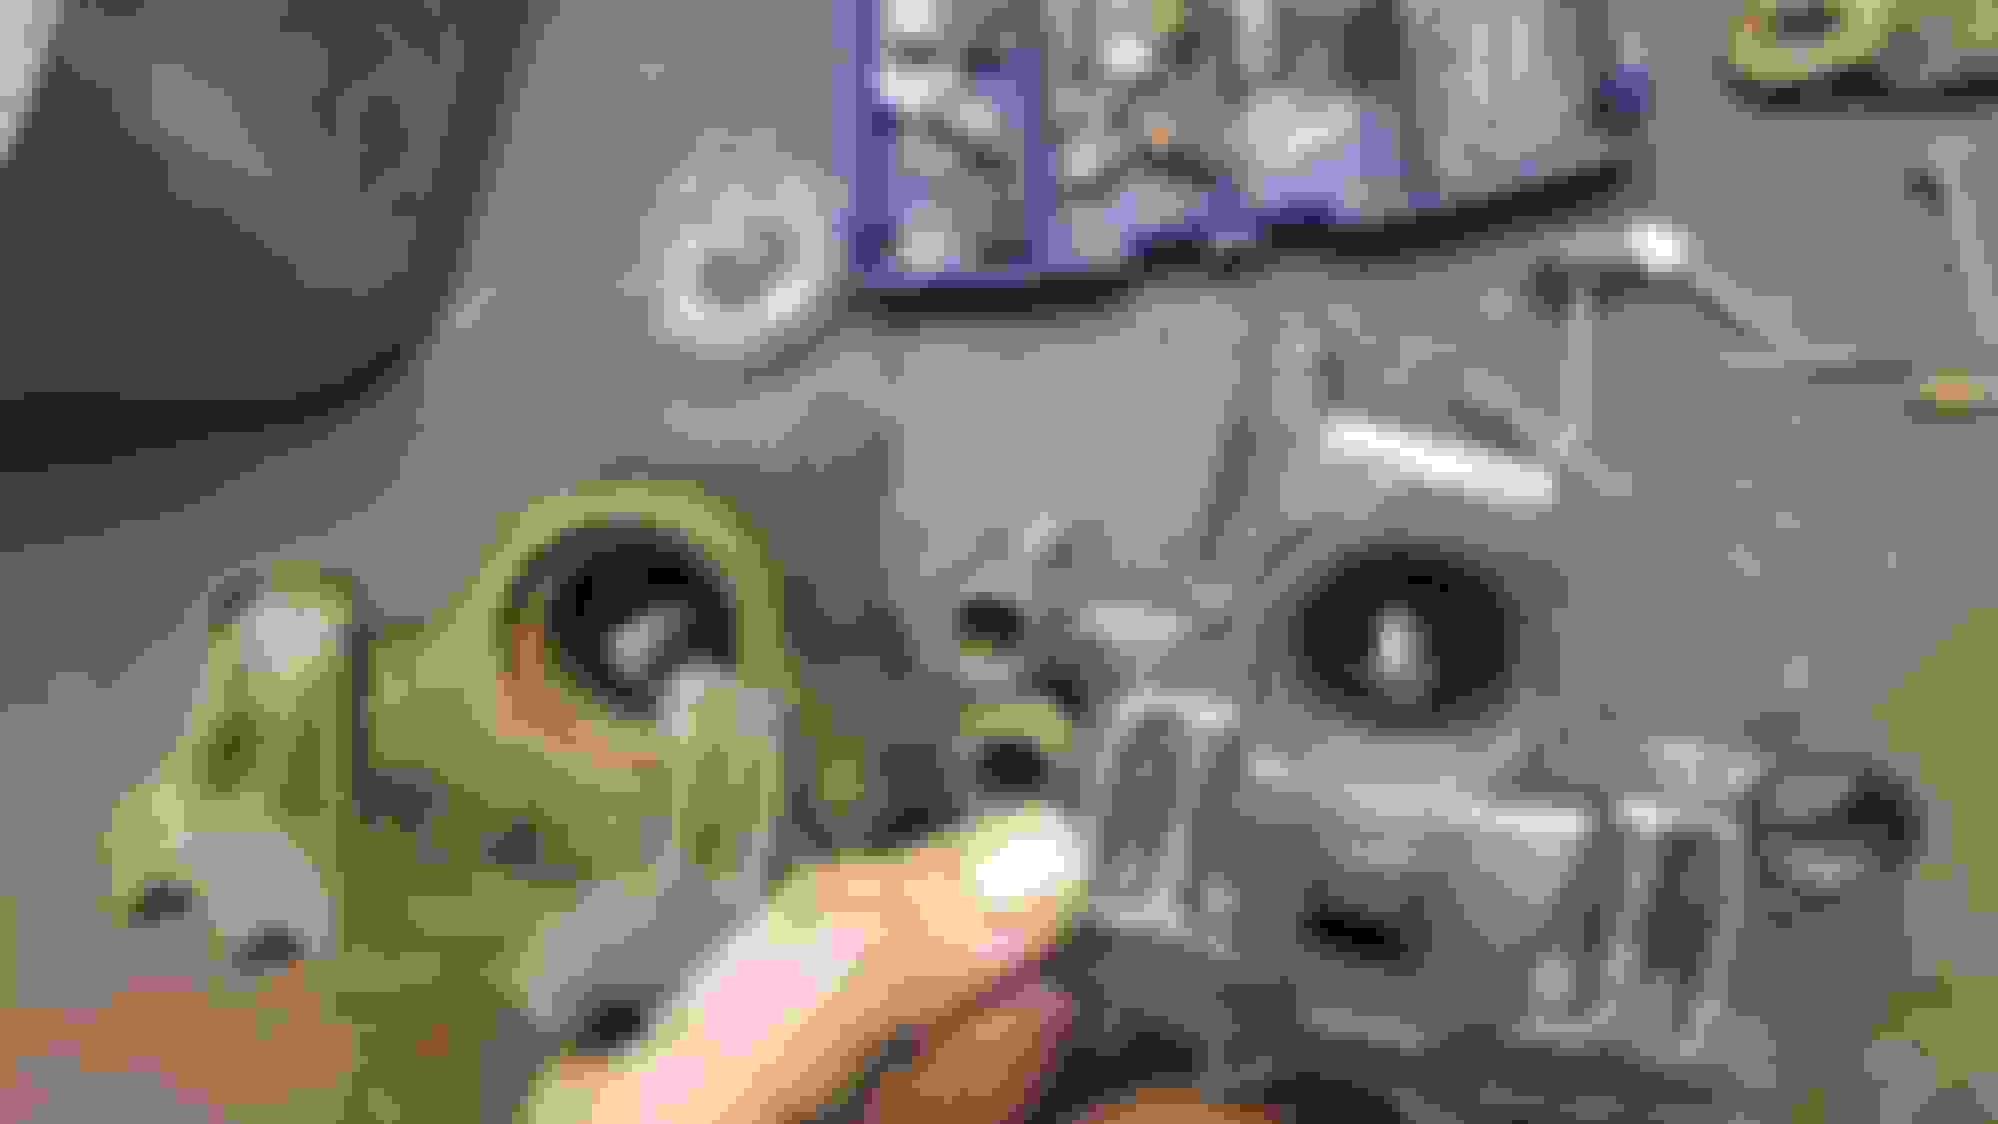
Cleaned up the hubs. Had to beat on the brake rotors to get them to separate from the hubs. Almost damn near broke a rotor getting one off! LOL I have the feeling they are the original rotors. Thorough going over with a wire wheel to knock 30 years of rust off of the knuckles. Stripped the heat shields. Checked all the bearings in prep for repacking when reassembling.
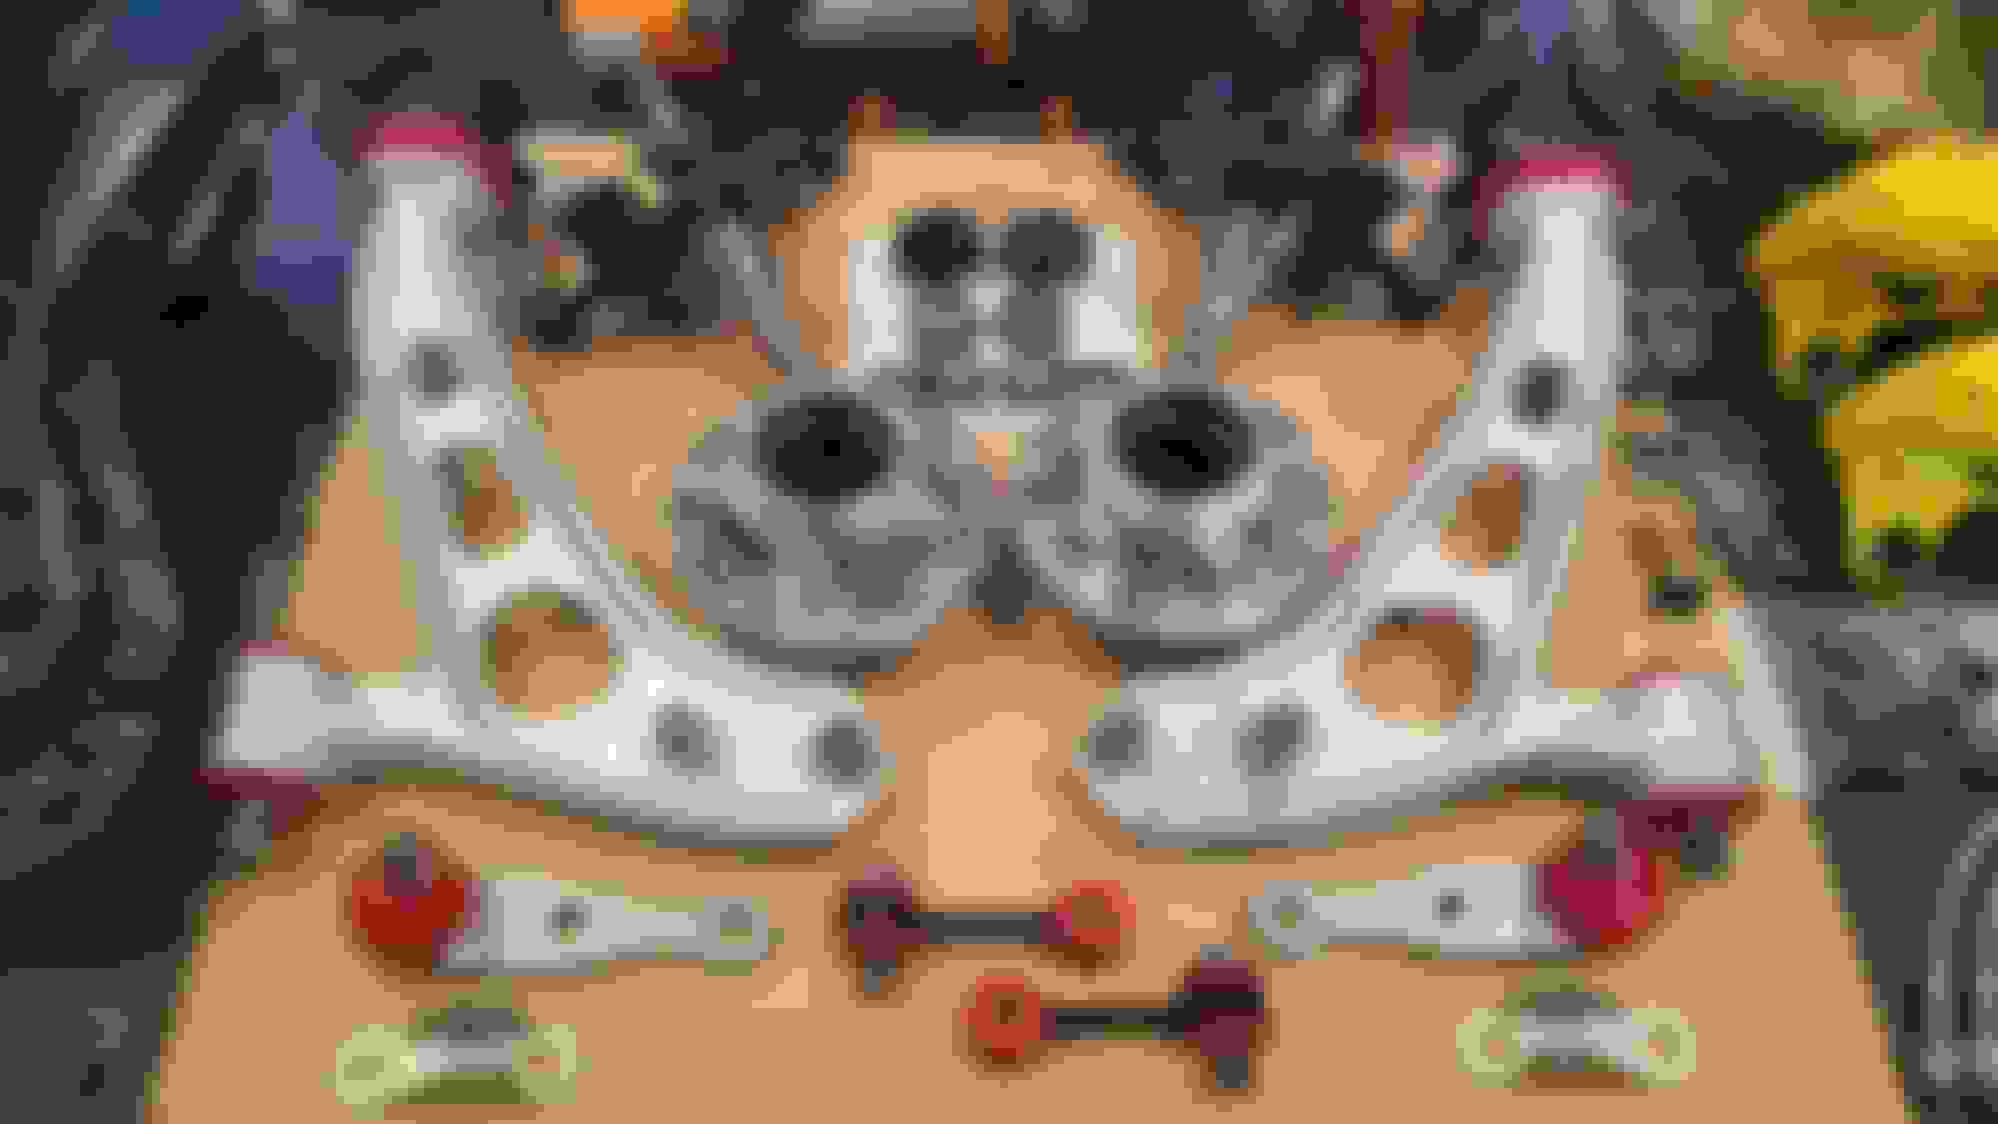
Bought a press to deal with the bushing swap. Original bushings came out with ease. Cleaned up the front control arms and hit them with aluminum brightener ready for the poly bushings.
Also took the time to disassemble and clean and de-rust the coilovers I'd bought earlier in the year (before-n-after).
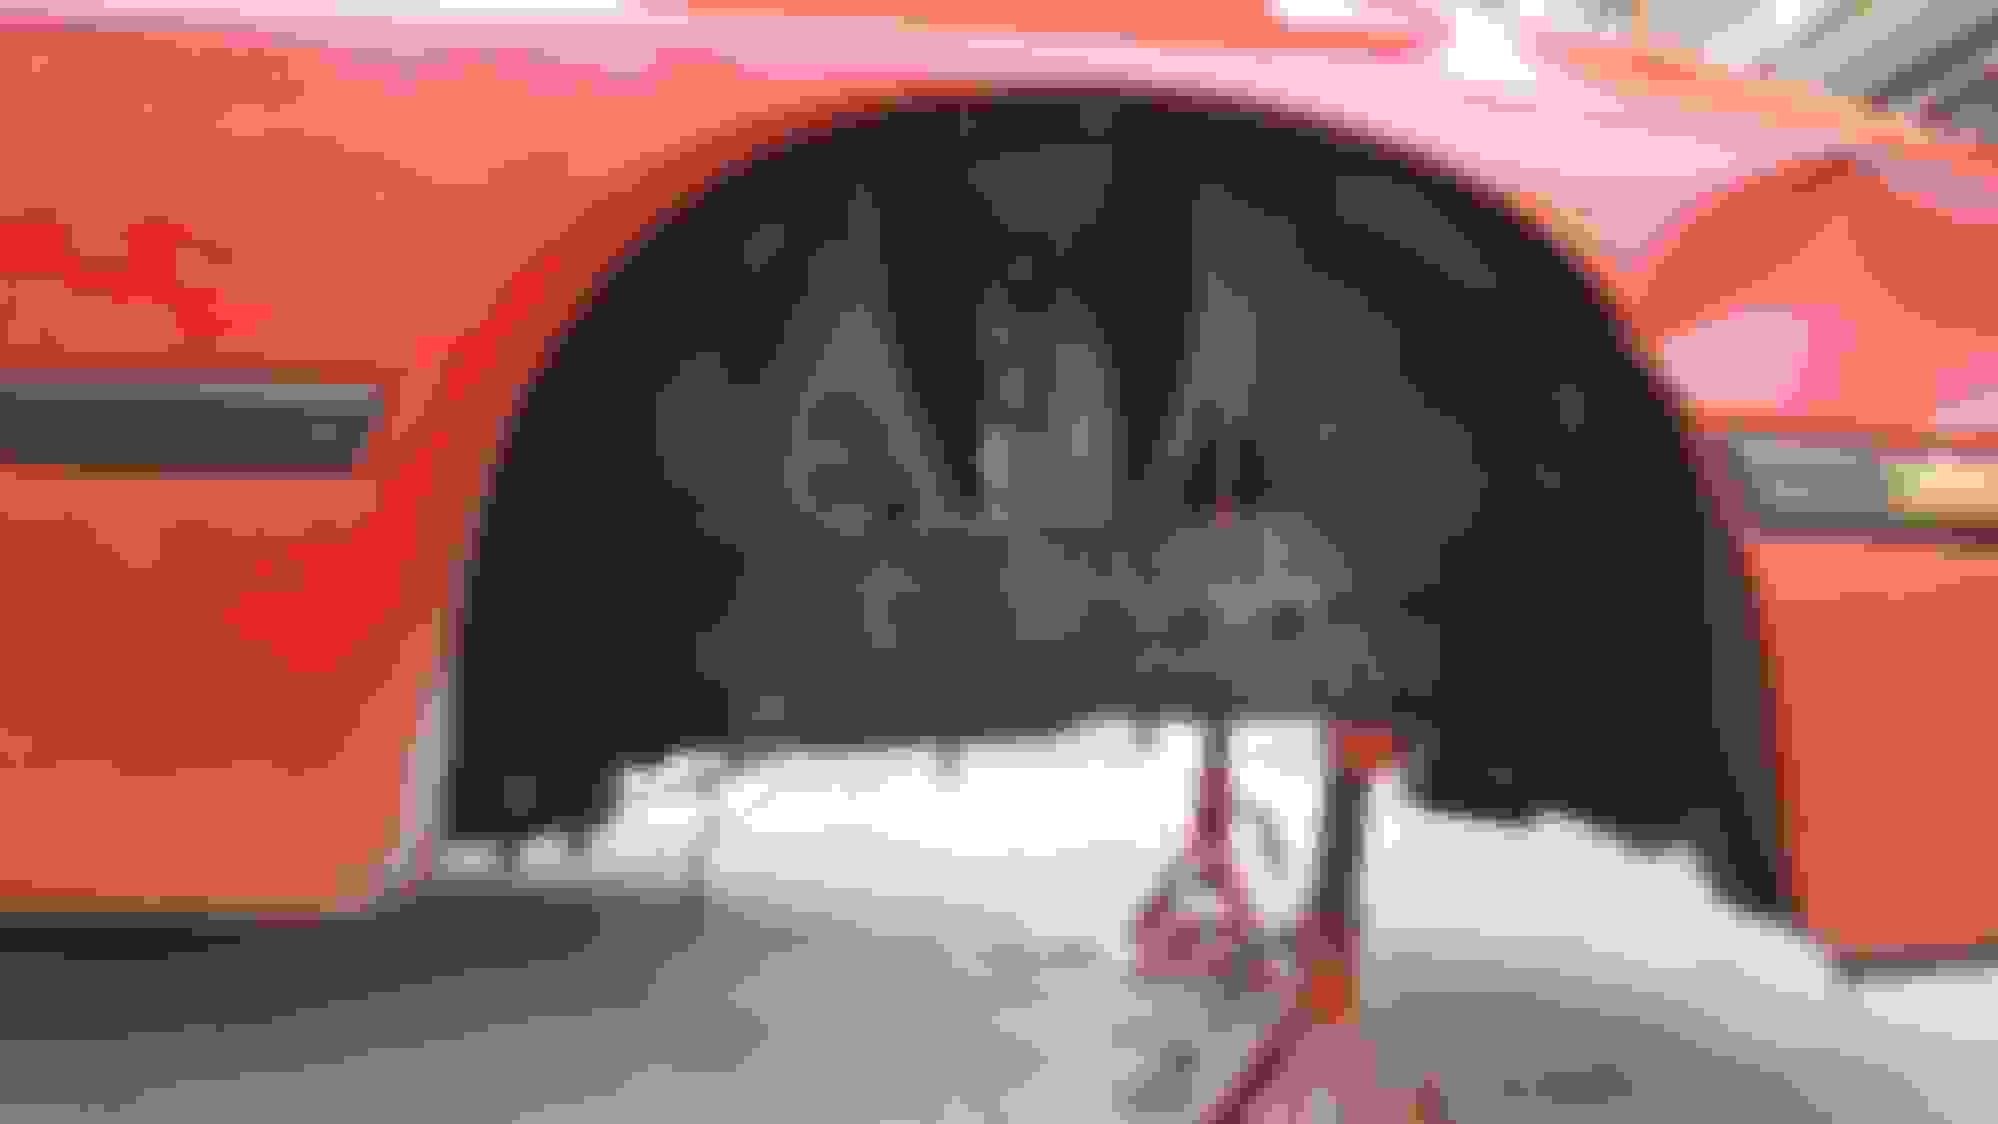
Before reassembling the front suspension I cleaned up the wheel wells and stripped all the stupid aftermarket underbody protection. Why spray the plastic fender liners? Duh! Each retaining nut was wire wheeled and coated with a dose of marine corrosion inhibiter.
Last edited by CrispyRX7; Jan 1, 2020 at 10:54 AM.
All ready for reassembly. Every single surface, nut and bolt, connection an joint was replaced, refinished and /or restored to like new condition. Imma just gonna leave these here.
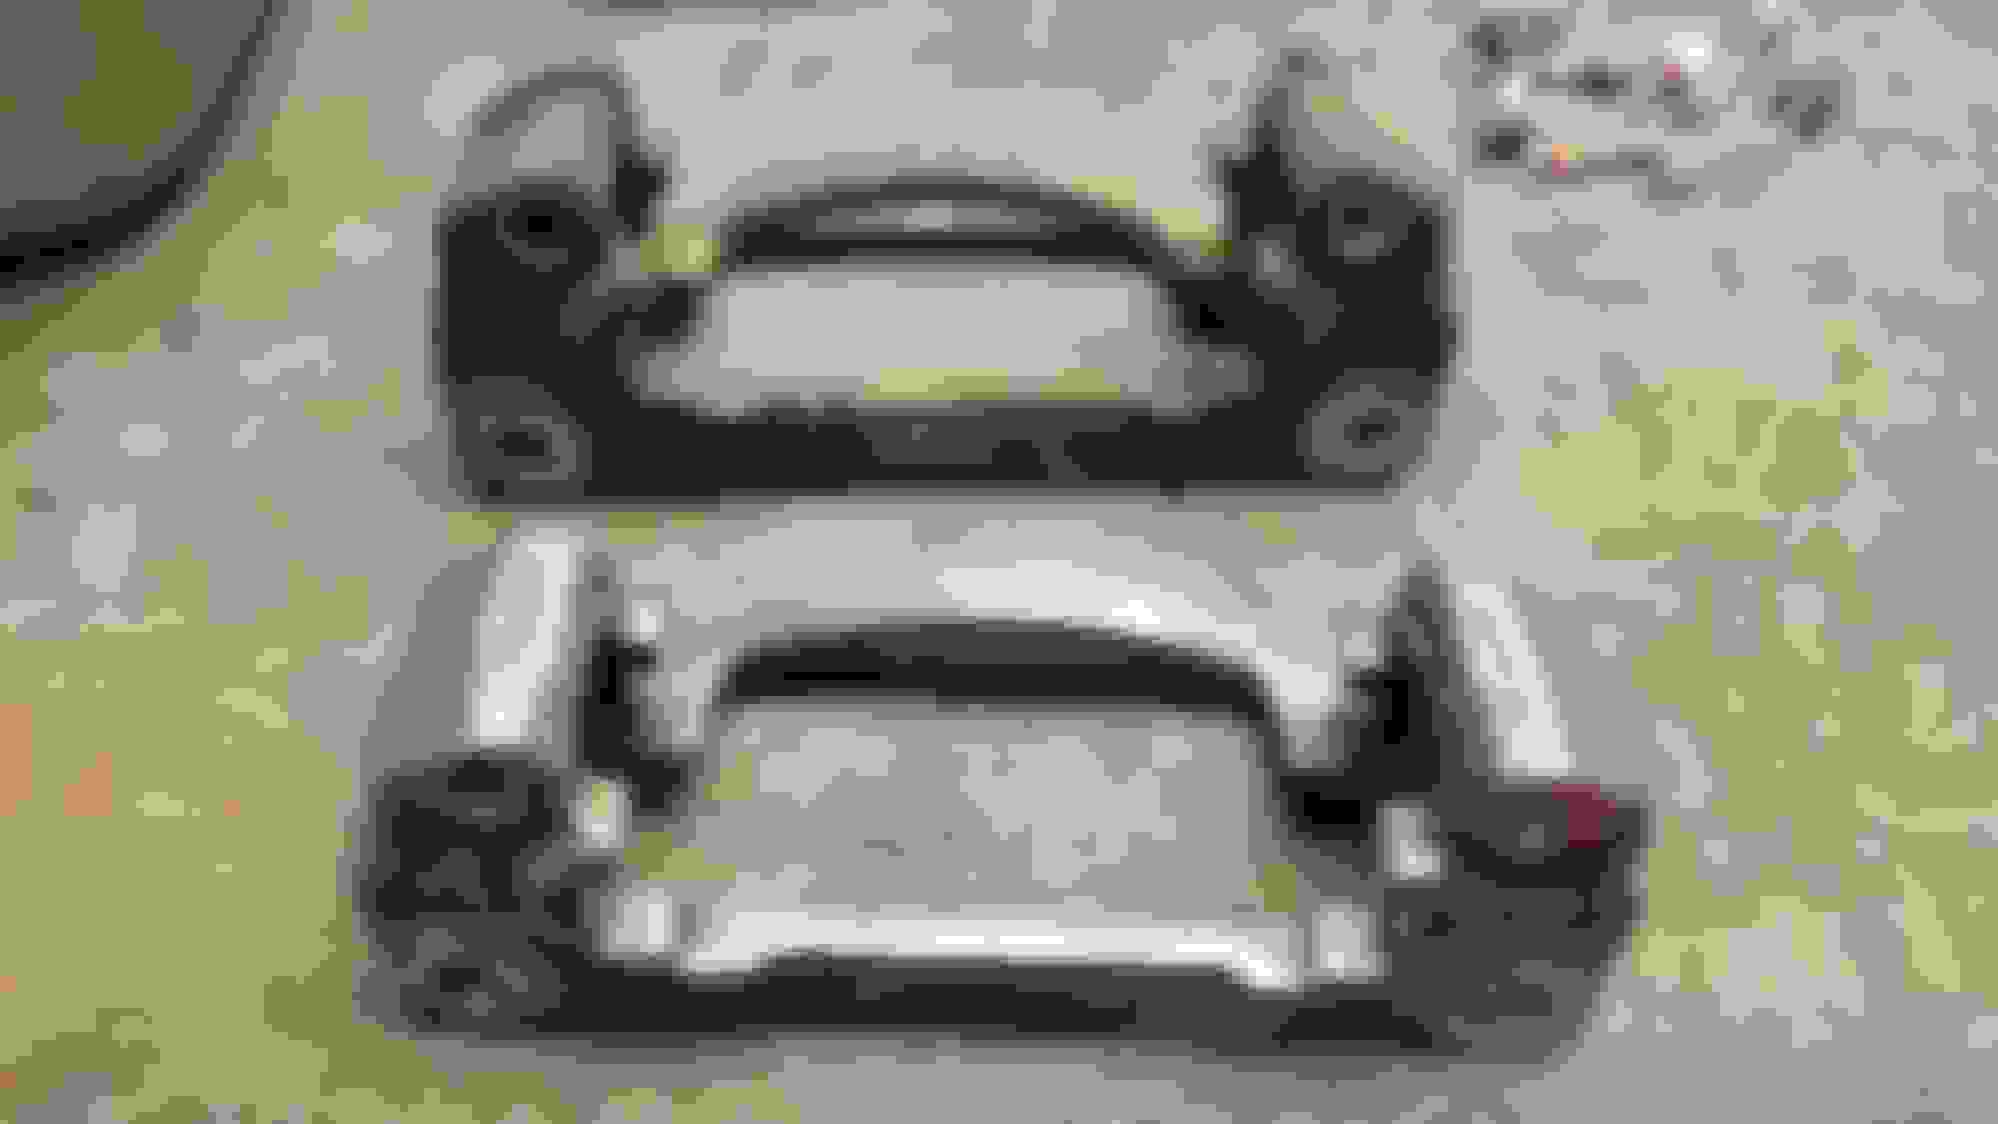
Time to start on the rear end components. Brake calipers first. Hearing stories of questionable reman units I set to restore and rebuild my original calipers. And man did they need help...lots of time invested in these. They were borderline to begin with with significant corrosion into the piston bore. That piston screw was REALLY stuck down in the bore. I micropolished all the sliders and pistons. Amazing how many parts are in a simple brake caliper. They turned out pretty good with everything moving smoothly...."like butta!"
7 coats of paint and time to rebuild the calipers. One of the spring retainers decided to go AWOL so had to drill and tap the hole and replace with a bolt. And I gotta say figuring out which grease went where took a bit of research - pink, orange, and white greases? Other than that, PRESTO! Like new calipers!
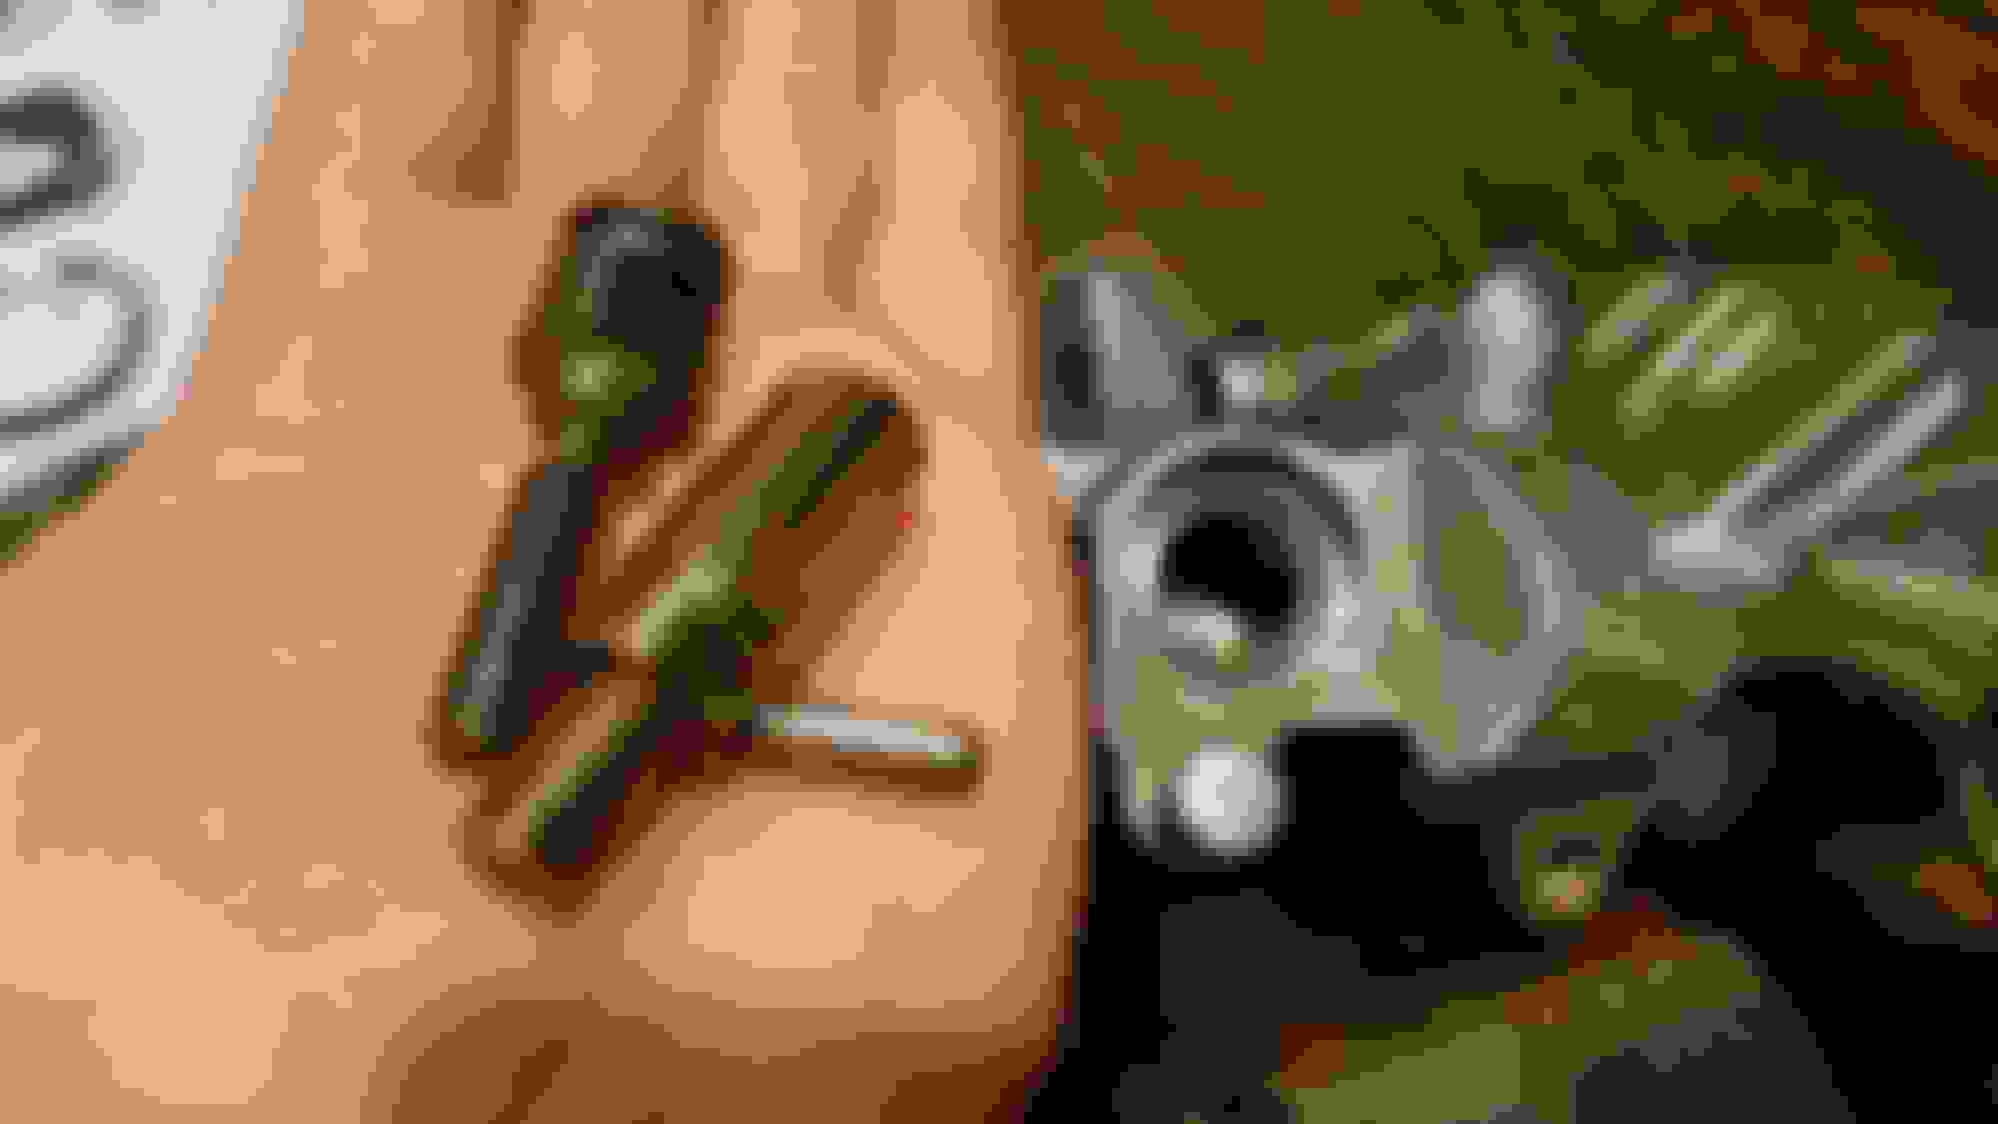
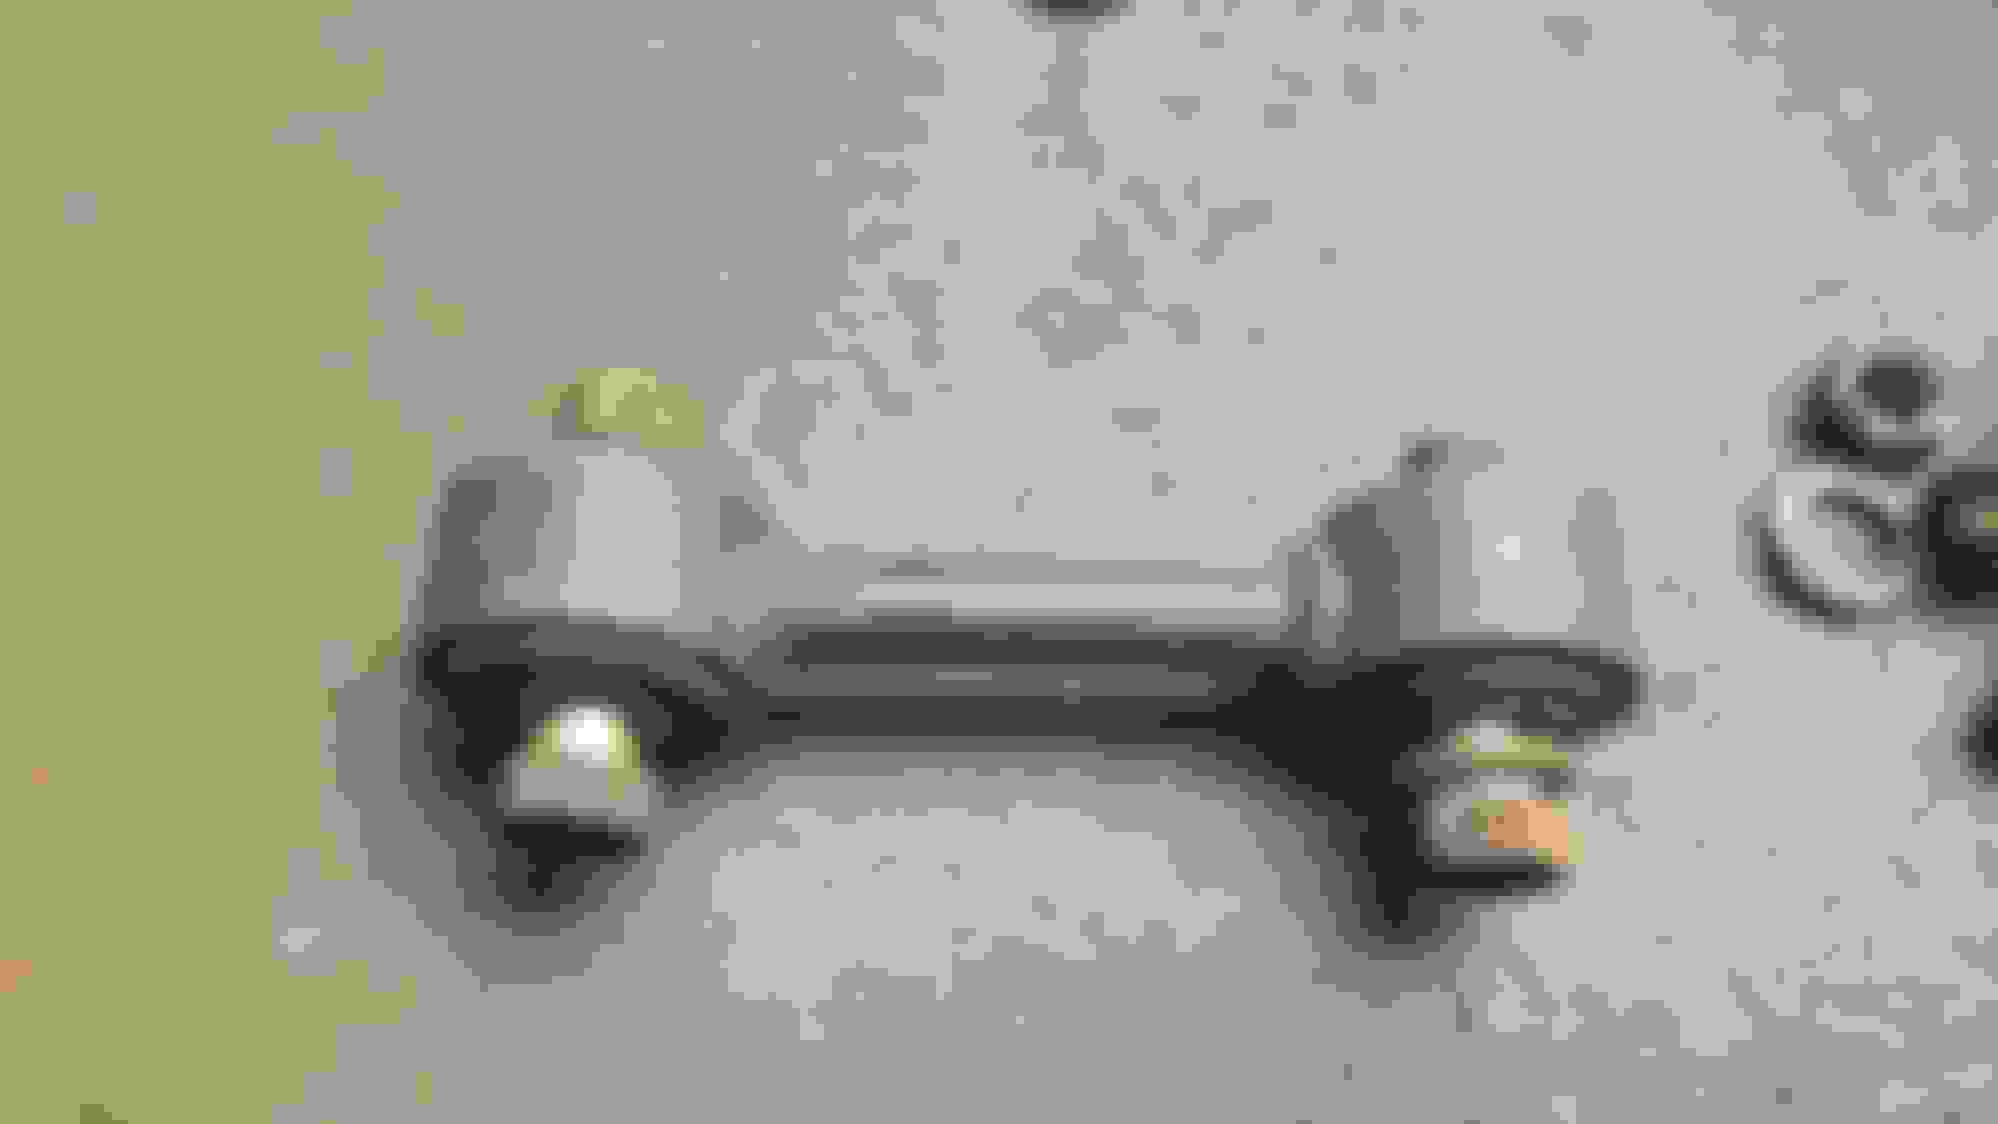
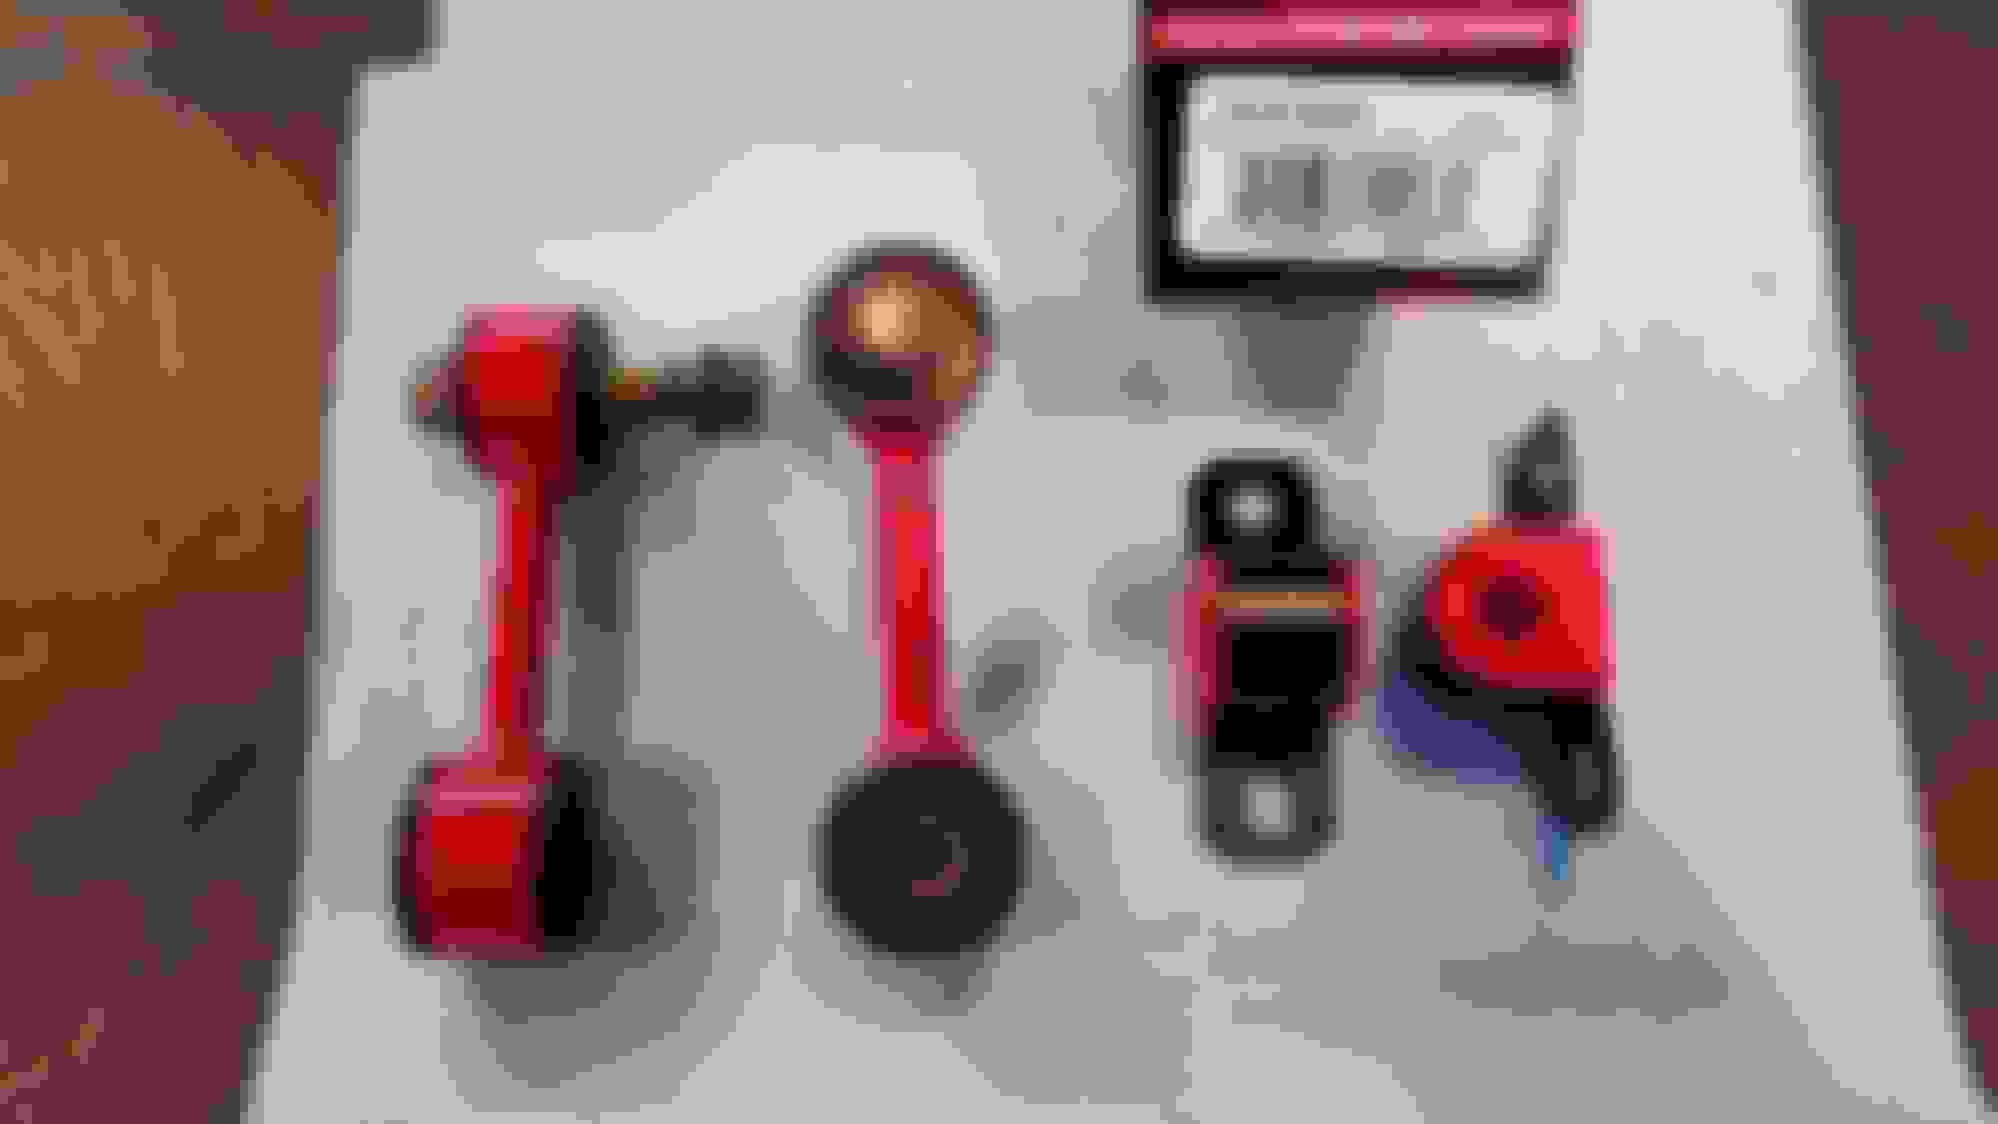
Cleanup of the rear sway bar and end links. Poly end link bushings. Why maintain the rear bar? When racing I simply removed it when using a bigger front bar, however, given I'm keeping the stock front bar I'l stick with the stock rear. But there's a twist! The stock rear bar on a vert is only 12mm vs 14mm for all the other FC's. Try finding a 12mm sway bar poly bushing! Almost impossible, I did end up locating a bushing made for a rear bar some older Honda Civic! A little grinding on the brackets and they fit just fine.
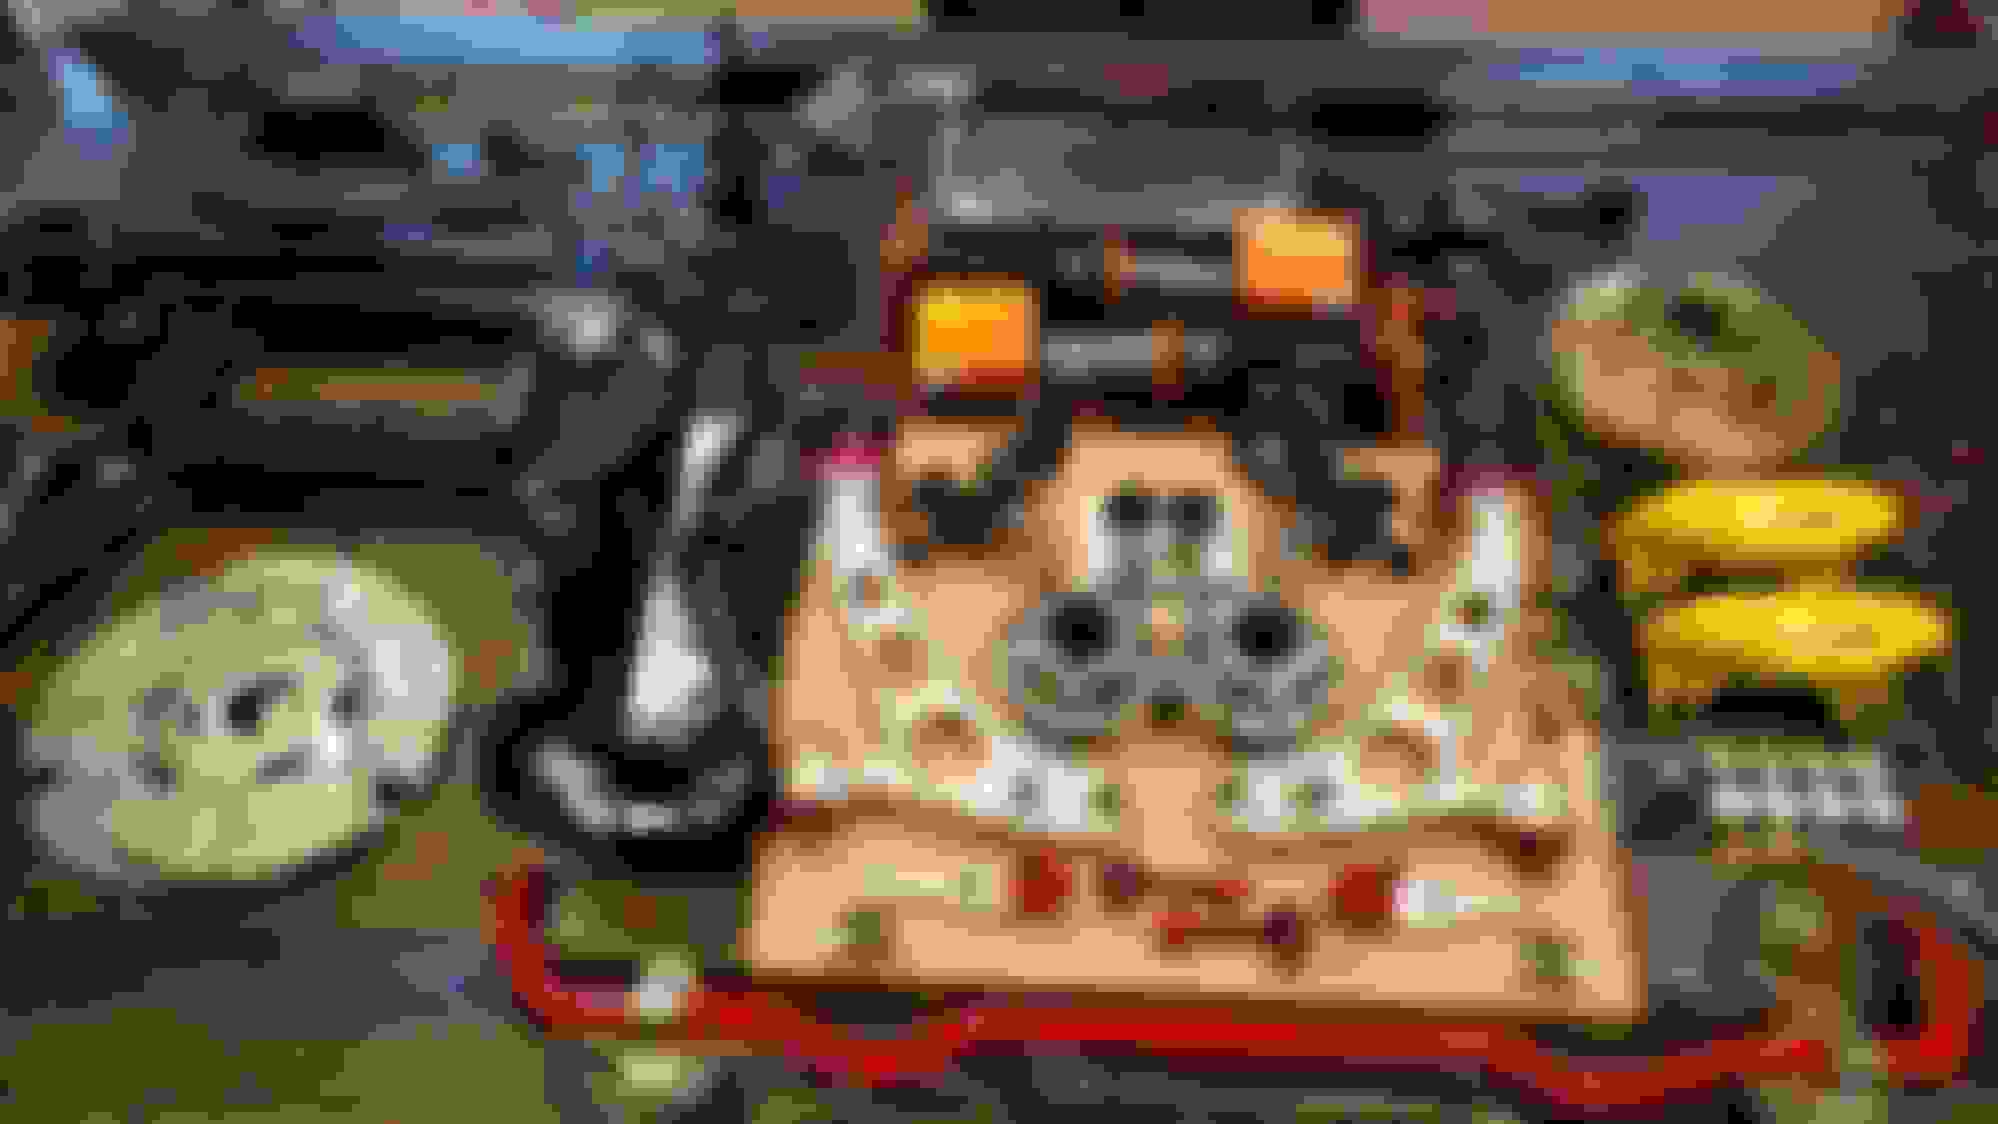
One last post before I quit with the current updates - all caught up. What do you do with leftover junk FC convertible engine parts? Make a clock of course!
It seems I missed a lot with just your facebook updates. Everything is coming along nicely. I know in the beginning I sprayed everything - I just recently took every bracket north of the firewall and had it powdercoated. What was your reasoning for rattle canning the brackets as opposed to powder? In hindsight I probably didn't even need to powder them, the paint had held up good over 3 years.
It seems I missed a lot with just your facebook updates. Everything is coming along nicely. I know in the beginning I sprayed everything - I just recently took every bracket north of the firewall and had it powdercoated. What was your reasoning for rattle canning the brackets as opposed to powder? In hindsight I probably didn't even need to powder them, the paint had held up good over 3 years.
Nothing but the cost and ease. Having to stop everytime I needed a bracket powder coated would have been a PITA. I've had decent success with the rattle can if the surface is prepped well an DC decent primer is used and for a sub $1k car I didn't want to invest too much. As it stands I'm riding the bubble of simply having bought a pristine S4 vert with what I've invested to date.
Your attention to detail is amazing; time, patience, and skill is on exhibition here! @FourtyOunce 's perfectionism is rivaled, ha! Convertible carpet is always the worst, if you could separate the nylon pile from the vinyl/rubber membrane that the foam is molded onto without removing the oe carpet unit from the car you may be able to replace it without much difficulty. I know FD owners will purchase the foam with the black membrane to use under aftermarket carpet in lieu of tan.
I'm hopeful to see this 'vert and your FD someday. I'm in NoVA and wouldn't be surprised if we have actually met before but it would have been years ago.
I needed a new front bumper as the PO had gently rear ended another car a scuffed up the one on the car. I found a suitable S4 bumper skin (in red!) and set to work with the 1600 grit sandpaper, compound, and polish to remove all the marks from storage and handling while it was off the car. I also removed and polished the turn signal lenses, removed all the black plastic accent trim and cleaned a retreated them before reinstalling, and resprayed the bumper trim.