When you click on links to various merchants on this site and make a purchase, this can result in this site earning a commission. Affiliate programs and affiliations include, but are not limited to, the eBay Partner Network.
So I've decided to make a build thread to try to keep a record of my FC build. So first the back story: This idea of a project is over 15 years old and was originally my brother's. He started with buying an 86 non-turbo 13b that didn't run and didn't have a title. We tried getting it running with a few friends, set it on fire, and never successfully got it running. We did some research, figured out how to do a compression test, had none, and ripped apart out first rotary motor using a video from Atkins. The project died when we finally figured out the car wasn't worth fixing. Flash forward a couple of years and my brother bought a red 87 TII that ran from somebody local. It ran but the car was not great body wise. We were young and stupid and had no idea how to mess with the Apexi AFRC that it had, so we took it to someone that worked on rotaries locally to have it tuned. He took it above redline and blew the apex seals (as we later figured out) then refused to do anything about it. Again we were young and stupid, so we didn't understand how the world worked and were angry. Anyway, it forced us to try to build our first engine. Using housings from the first RX7 and a rebuild kit from Atkins, we successfully built the engine, reinstalled it and had it running as my brother's daily driver for a couple of years. We never had it running perfect, he got 8mpg and constantly overheated on long drives. He ended up buying another car for a daily and parked the RX7, waiting for funds to make it faster. Another couple of years later, one of the friends that had been helping us bought a beautiful black 87 TII from a dealer he worked for. It had low miles, was garage kept and was owned since new by an older person. He raced it around and of course blew a water jacket seal. We started to rip it apart and found that the harness was falling apart every time we touched it. He decided not to continue and within a few months sold it to my brother. We swapped in the engine from the red RX7. Now my brother had a nice clean car with a good running engine. We tried for many years, with little help, to figure out why it would stumble so bad at higher RPMs. After throwing parts at it, we made little to no progress and his interest evaporated. So it was parked for a couple more years. Meanwhile I became an automotive technician and started to learn how to properly diagnose and repair vehicles. Eventually I convinced him to give it another go. We figured out that the whole time it was ground issues and we fixed it. Anyway he ended up trying to run it hard before I set the timing, detonated and cracked the front plate near the dowel. At this point he was fed up and threw in the towel. It sat for another couple of years and when he told me he was gonna sell it, I couldn't let it go to some kid after we had put so much time and effort and had so many memories with the idea of this car, so I bought it from him.
Ok... well that took longer than I expected. So now a list of what I started with: Black 87 TII manual, black and grey interior that is sadly not as nice as it once was due to sitting in the New Mexico sun for so long. Now I knew I was gonna rebuild the engine going in but it had so much other good parts on it including FMIC, T67 turbo (even though it's an ebay knock off), RC injectors, KSport struts, brand new harness, Aeromotive fuel pump and fuel pressure regulator, Koyo radiator, Spal electric fans, HKS blow off valve, PWR oil cooler, Clutchmasters stage 5 clutch and ACT lightweight flywheel. There was a bunch of other stuff that I'm forgetting. I'll post what I'm doing as I slowly progress through the build. But now for some pictures I took a few years ago when the paint was nicer and we had just detailed it for a car show.
We ripped down the engine a couple of weeks ago to rebuild and found one of the housings was chipping chrome near the edge. Looking at the apex seals on that rotor, we could see slight wear where it was running over the chips. I started looking for new housings and proceeded to fall down the rabbit hole. So after days of researching and much soul searching I decided to bite the bullet and build the engine I've always wanted. So I've sent my side plates, rotors and rear counterweight to Adam at rotaryengine.com for machine work. When he sends everything back to me in about a month I'll get the following: Lightened and clearanced rotors, lapped end plates, new housings, RX8 E- Shaft with all the oil mods to support it, FD front counterweight with thrust assembly and RX8 front and rear gears. Also he's going to do a half bridge port, balance the rotors and rotating assembly and machine it for the oversized stud kit. When he sends everything back I'll take a bunch of pics before, during and after I build the engine.
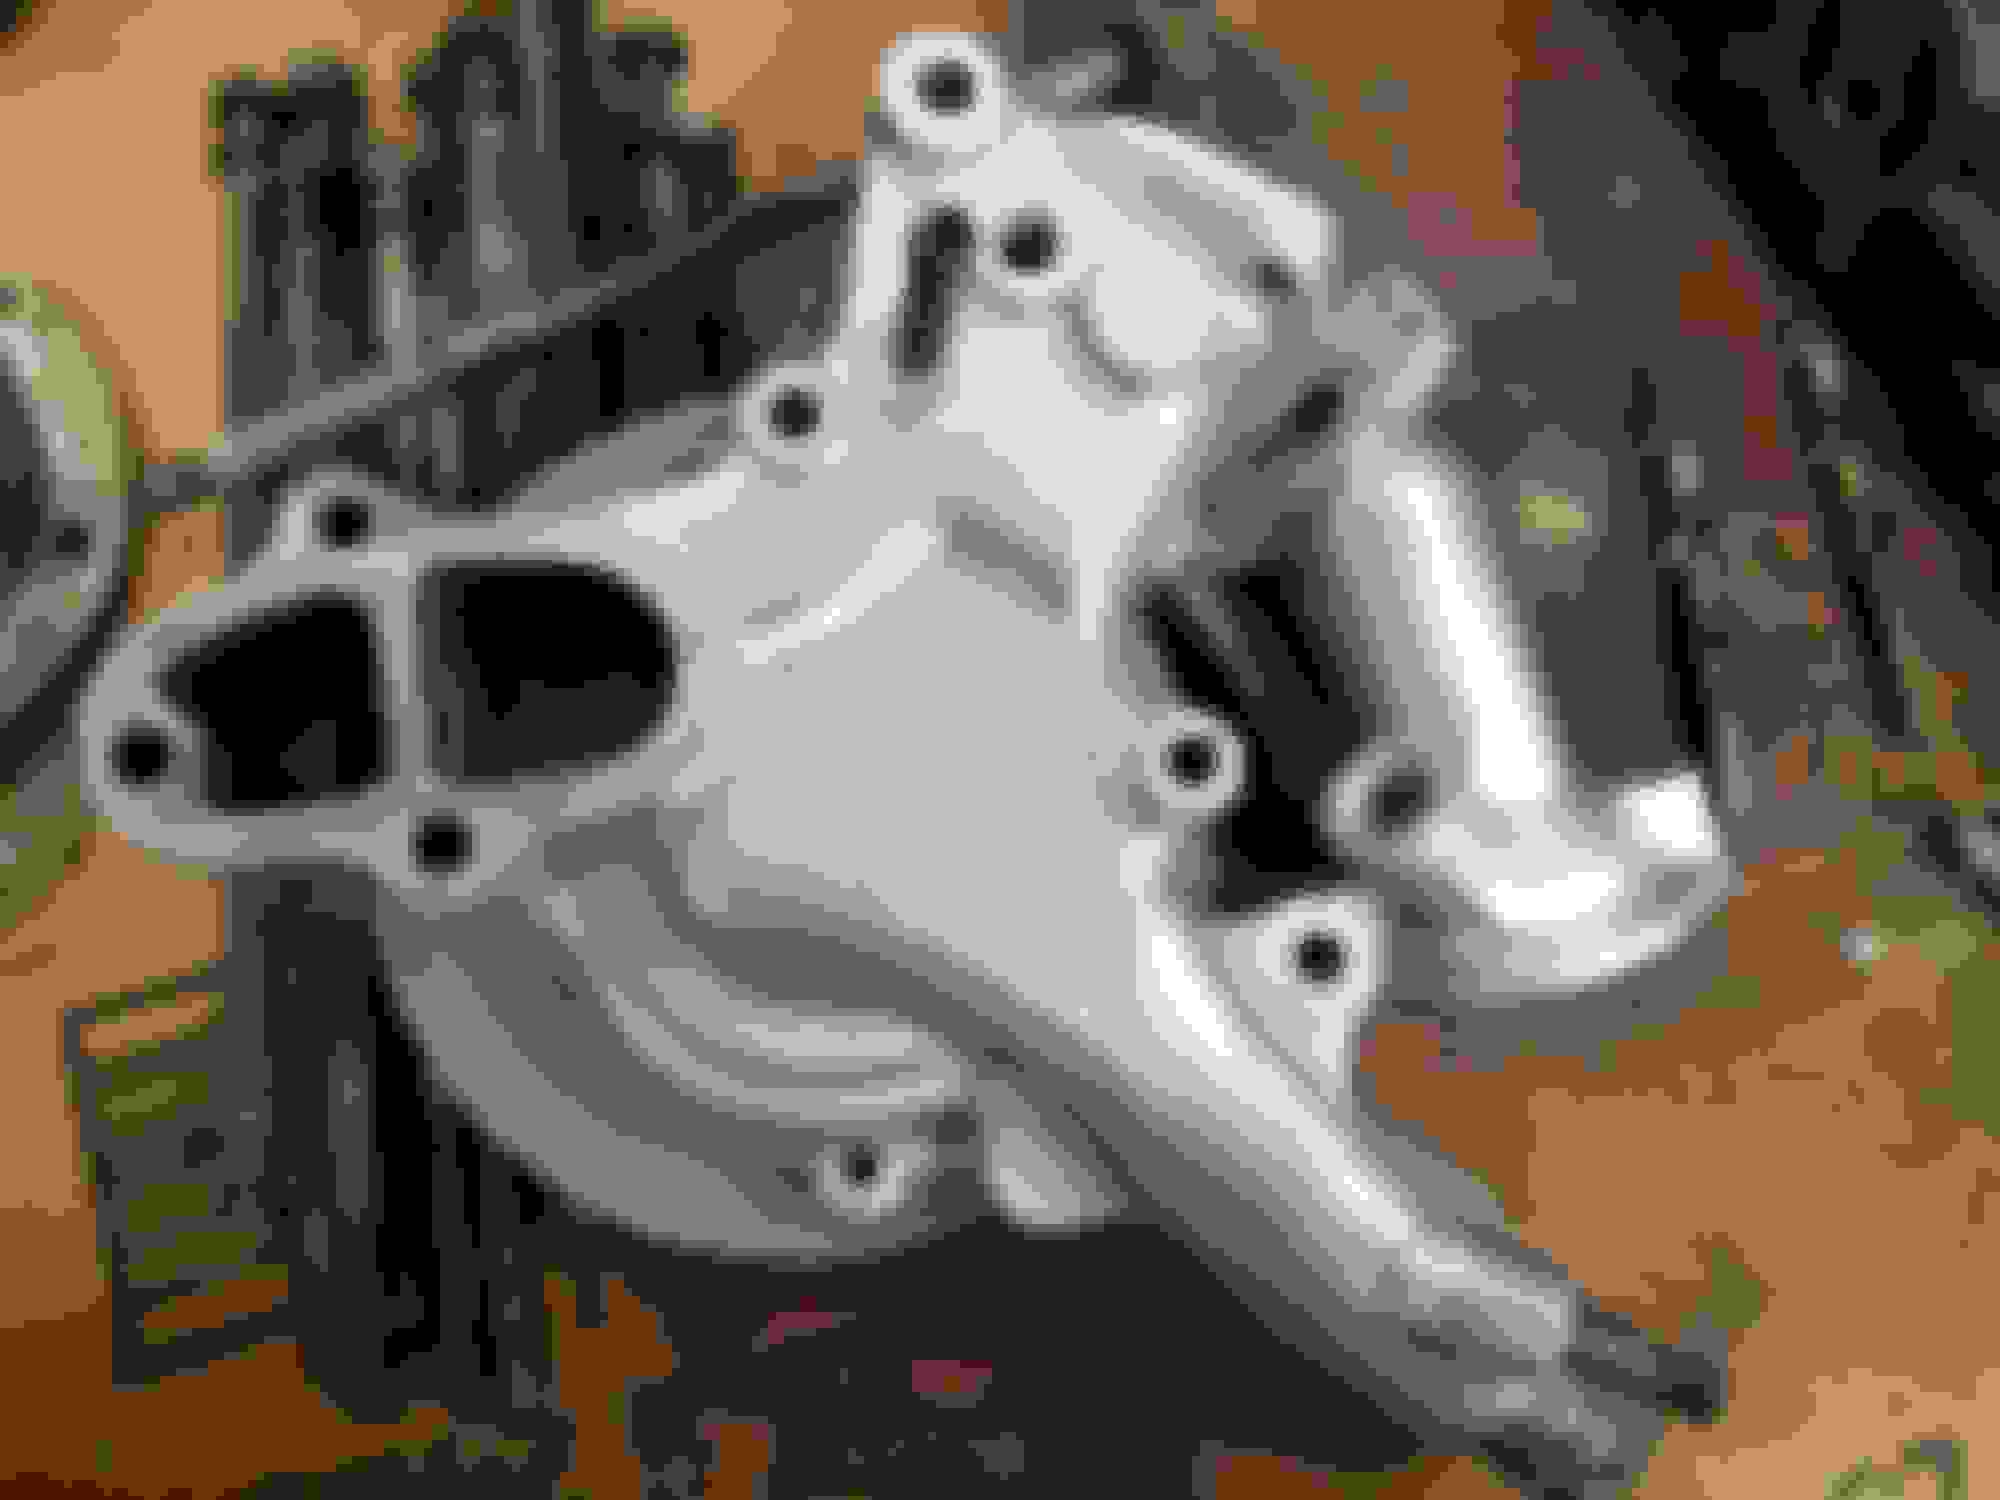
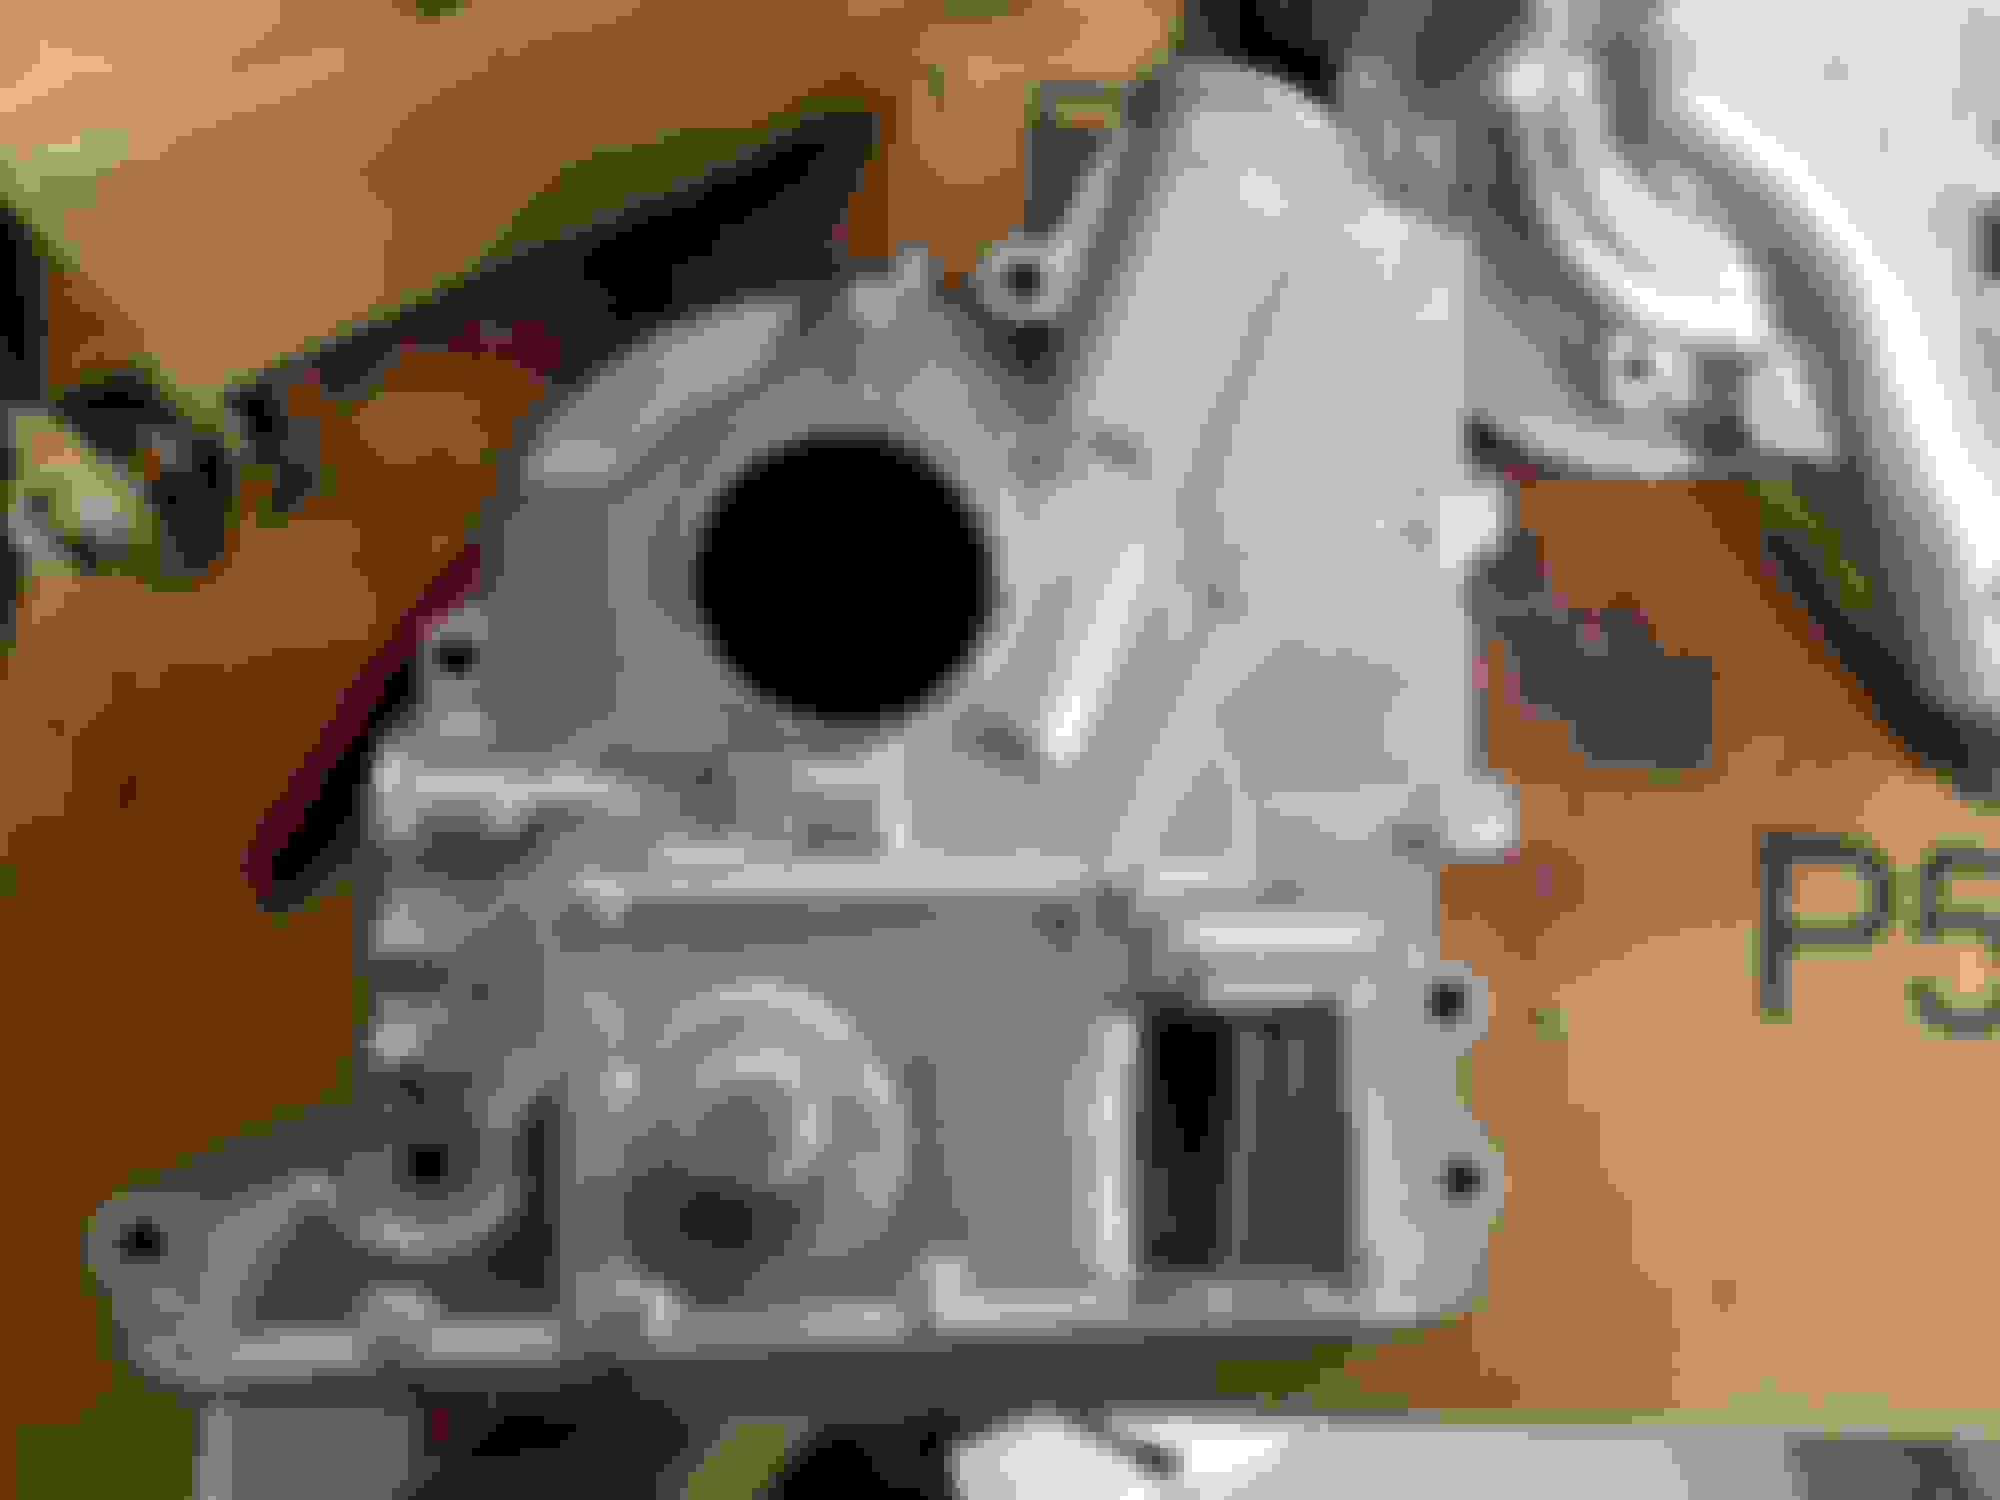
So quick update: Finally got the engine parts back a couple of weeks ago and have been doing other random little things. I had to flush the fuel system, get the fuel tank repaired and vatted. Also I have decided to start powder coating because I don't want to paint anything. I looked into it and it doesn't look too hard. I'll be experimenting for the next few weeks with that, however I didn't want it to delay the build of the actual engine so I had the local powder coat shop do my plates water pump housing and front cover. I also stripped and sand blasted my intake manifolds. Hopefully I'll build the engine this weekend, barring anything unfortunate. So here are a couple new pics: Sand blasted intakes, unsure which color I'll powder coat it. Water pump housing and thermostat housing powder coated in Porsche silver Front cover powder coated in Porsche silver
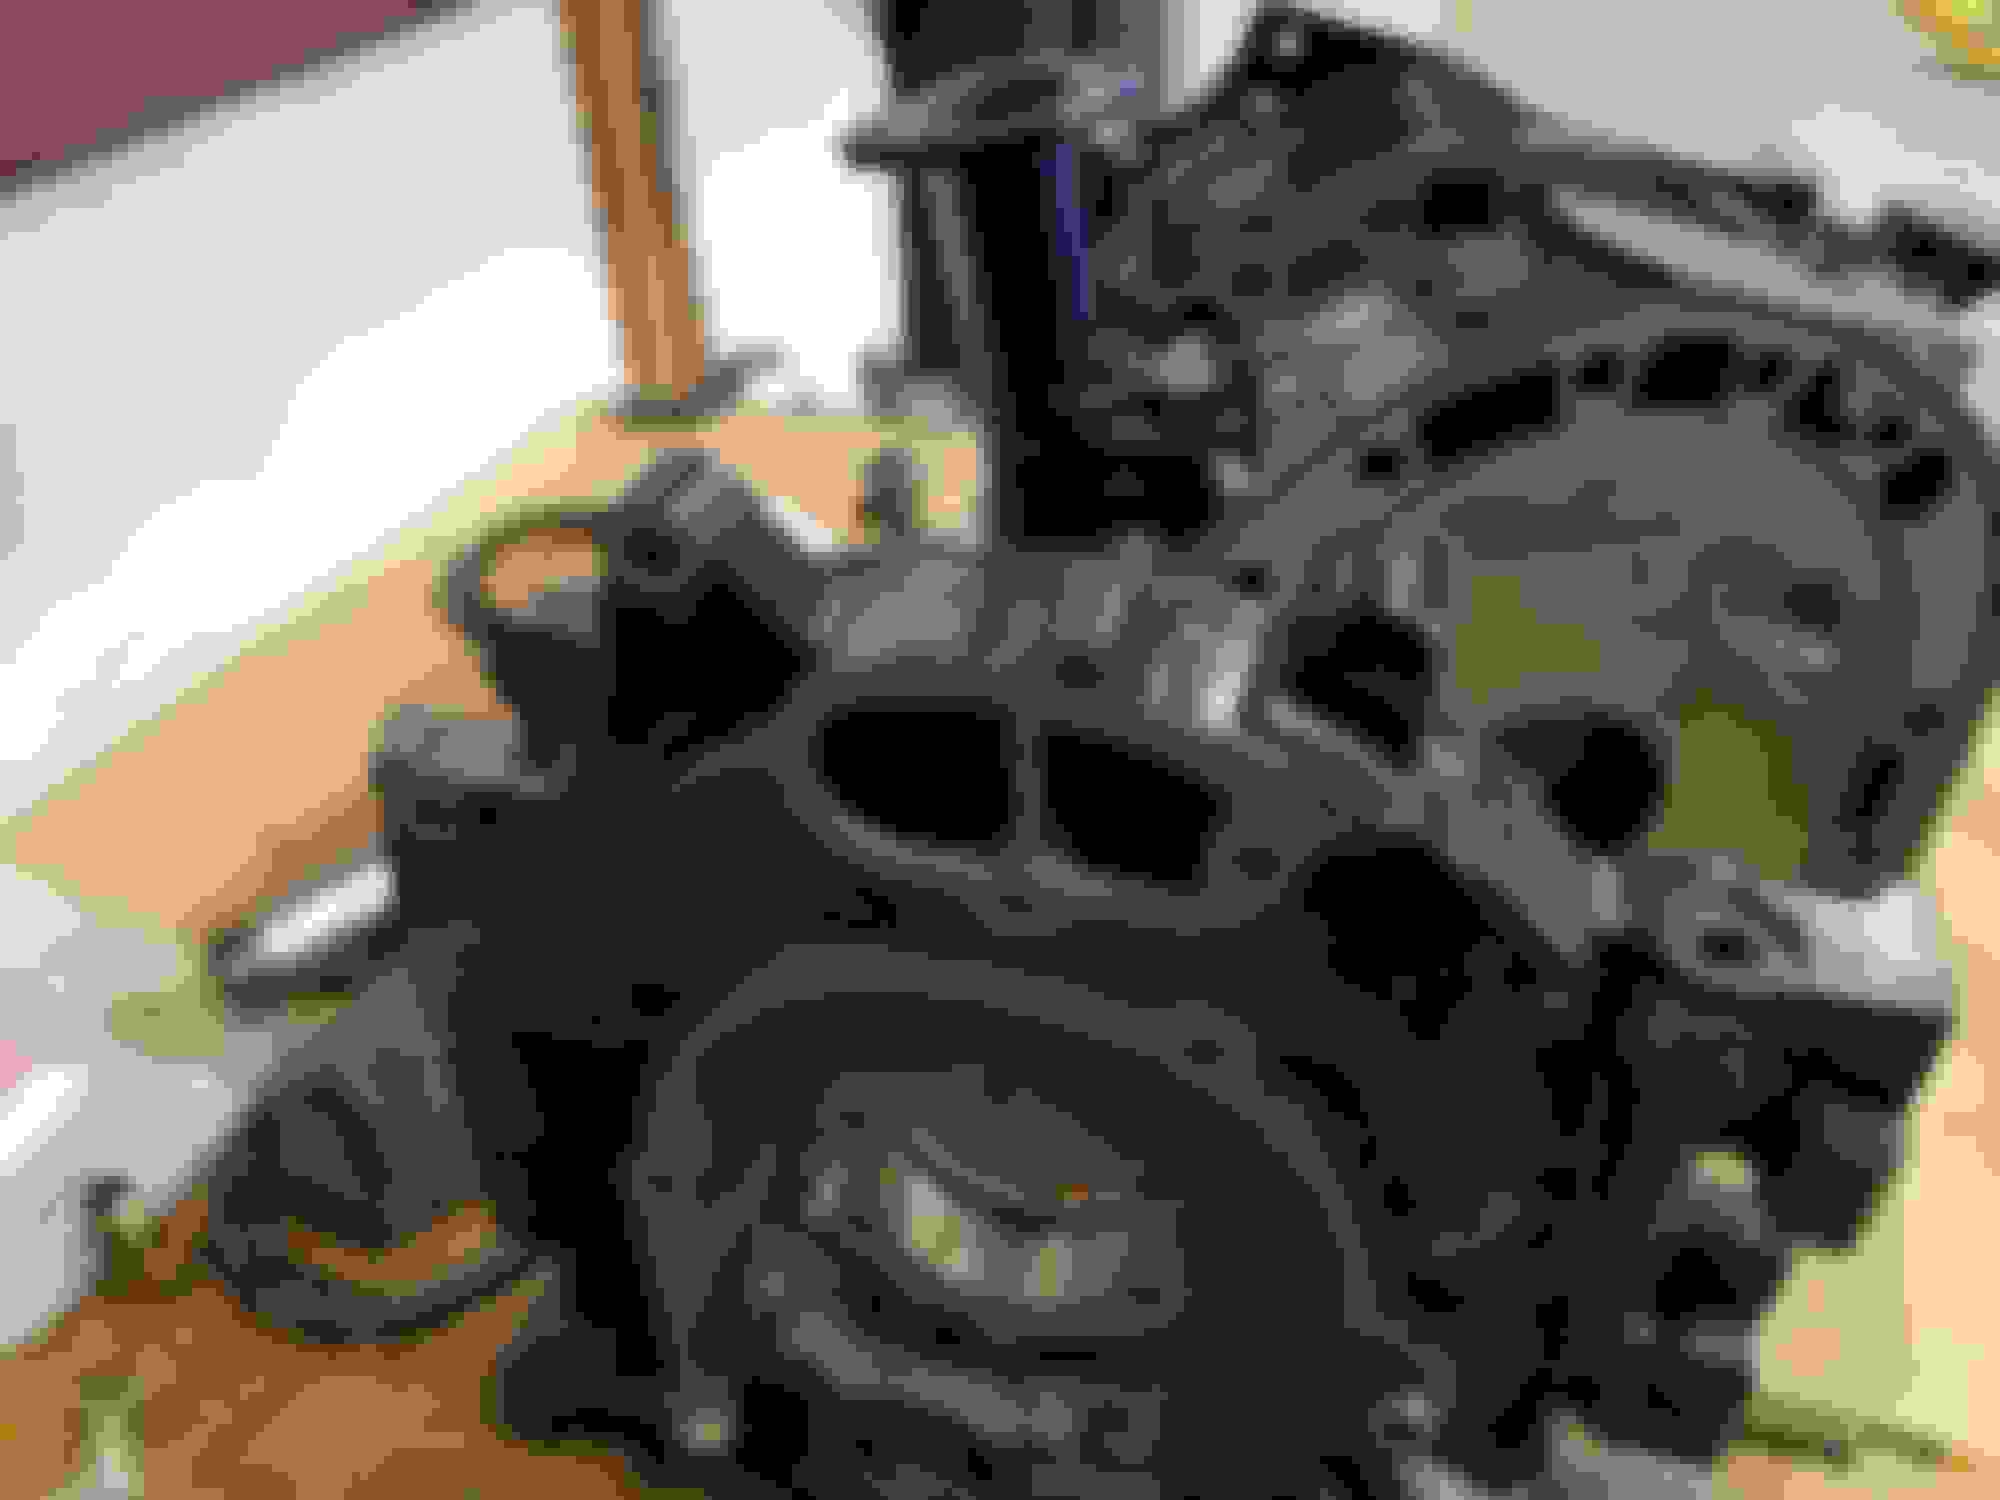
All the plates are powder coated in Misty Midnight
Looks like its starting to come together nicely! you know once you get the car together and running properly, your brother is going to be all over it! Super nice car!
Looks like its starting to come together nicely! you know once you get the car together and running properly, your brother is going to be all over it! Super nice car!
Well he is helping me build it... Maybe I'll give him a ride
Well sad news today, I started my build yesterday, spent three hours prepping and washing everything and was finally ready. Started building the rotors and low and behold, I was way to high on the side seal to corner seal clearance. No matter which combination I tried I kept hitting .007" and .009". So I'll order more side seals and clearance them myself. Sadly, life is getting in the way and it'll be a few weeks before I'll have time to build again. I'll update when I get further.
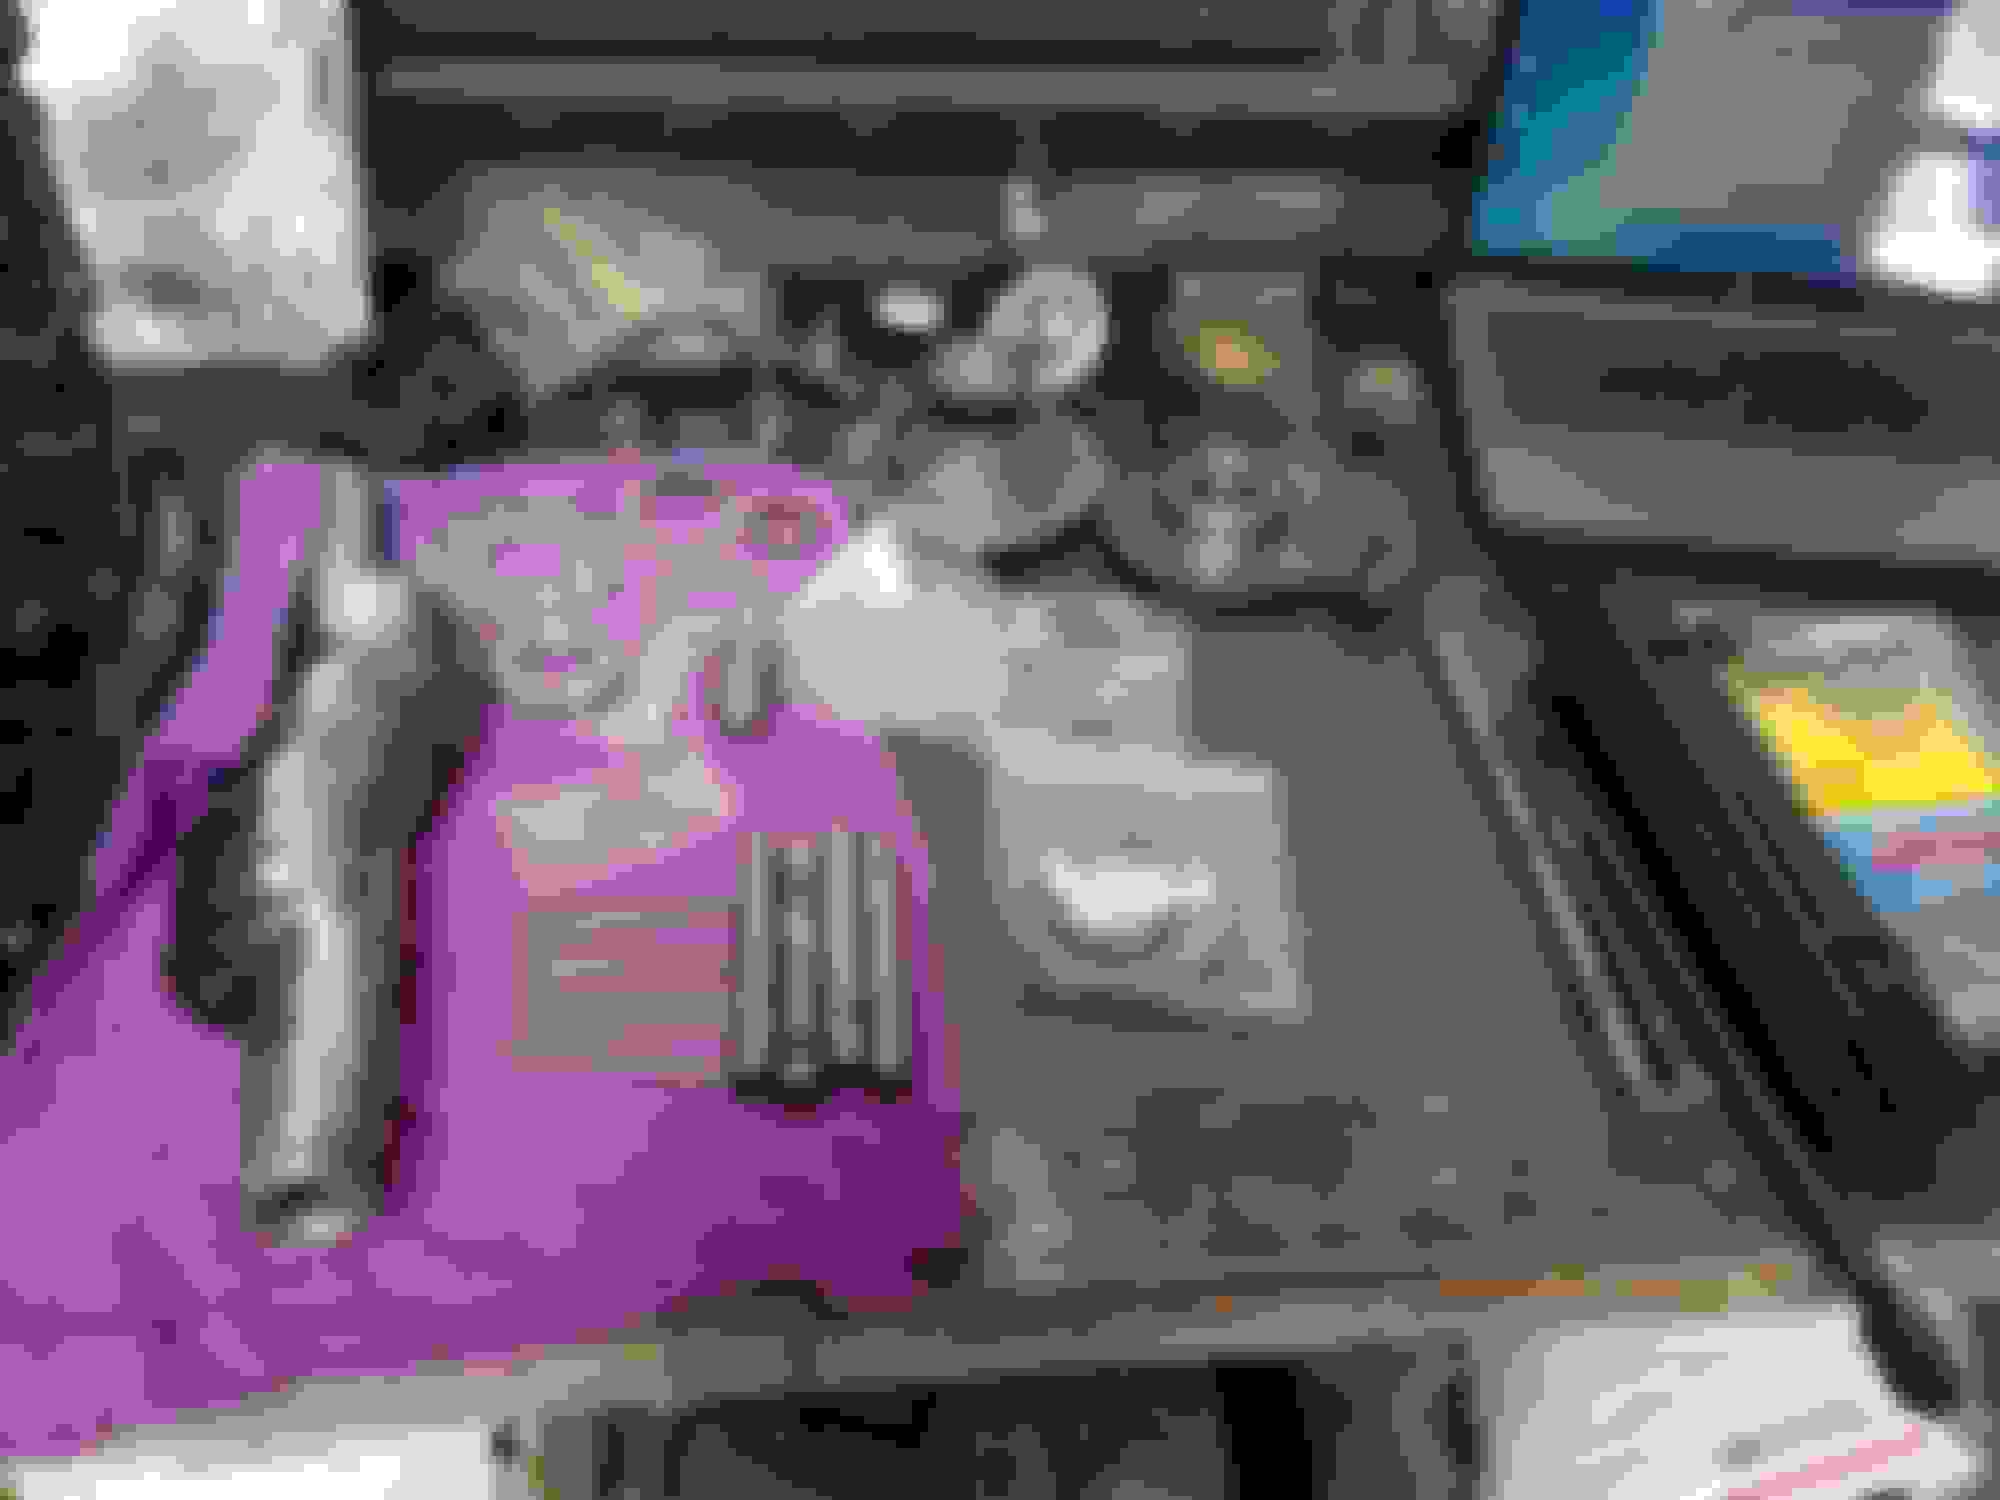
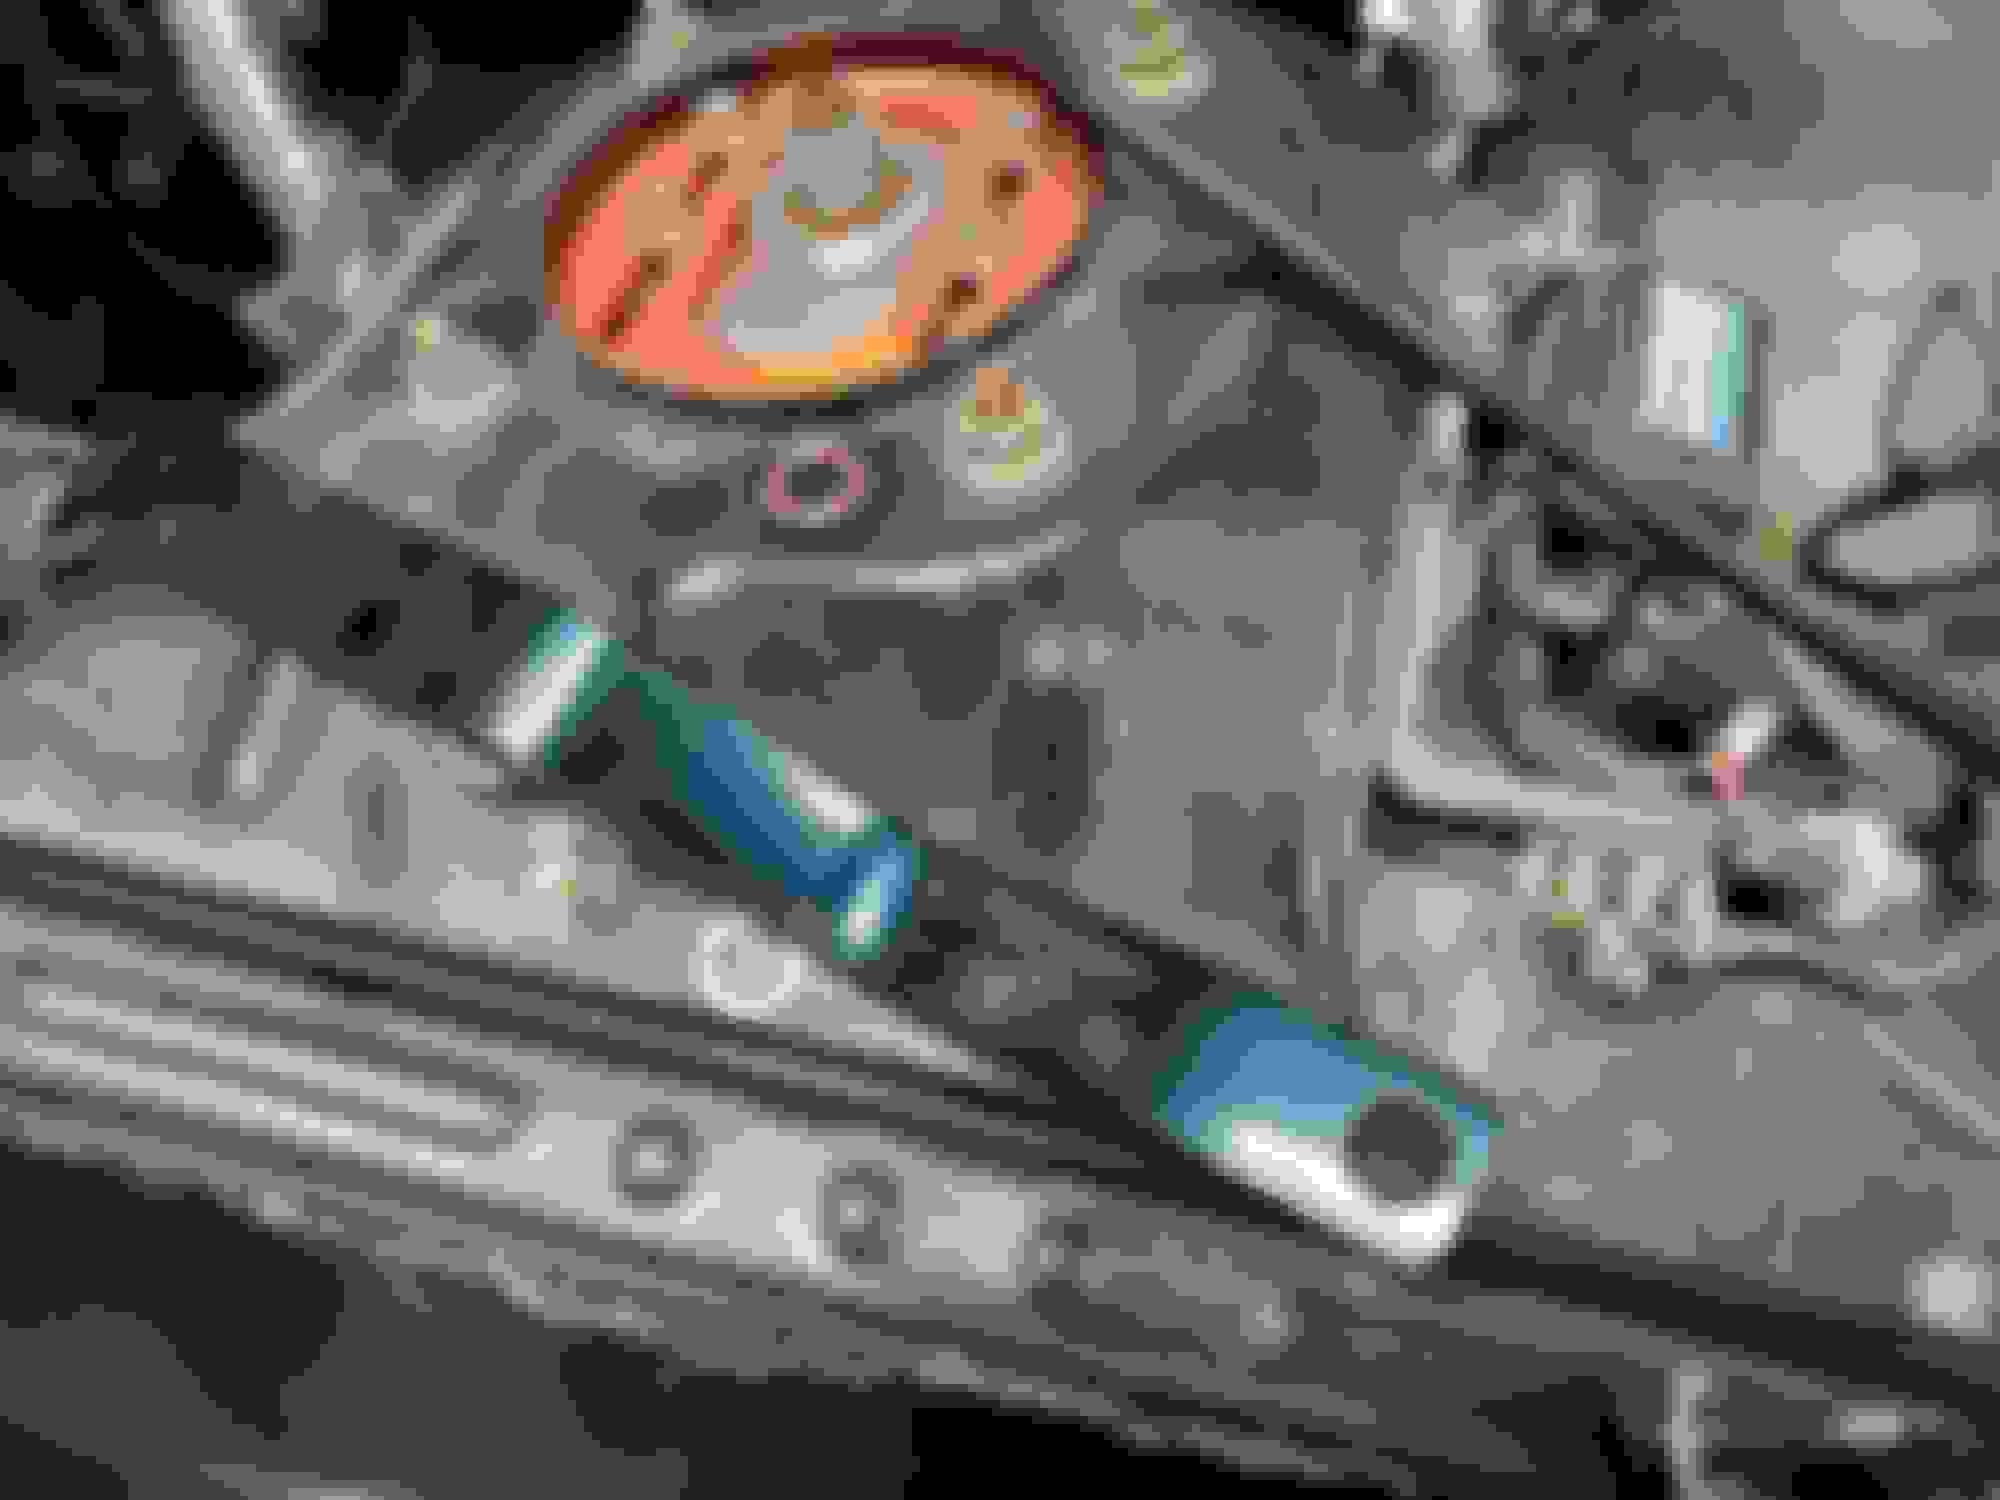
New update, the engine is built! I spent a week trimming side seals 3 at a time after work and slowly building the rotors. So by Saturday I was ready for the build. I originally intended to take pictures during but we were using my phone to control the gopro so I only have pics of before and after. Once I figure out how to work video editing software, I'll upload the video to youtube and post a link so you guys can see all the mistakes and pitfalls we had during the build. The one major issue we had was towards the end. We were putting the studs in, and had one stud that would not start threading. I got mad, said some things, cussed, then took the time to figure out what was happening. Turns out it was all on me, somehow a little bit of powder coat got into the threads on the plate. Huge pain in the a** to get it cleaned out without pulling the whole stack apart again but we got it cleaned out. In the video we show some of that but most of what happened we weren't recording. The last thing I found was my oil pump chain needs to be replaced so that's where I stopped. Everything is good, .002" end play, and coolant system held 30psi for about an hour. Compression sounds good but I'm gonna look into getting the factory compression tool and I'll post the numbers. So on to the pics that I do have... Just a wide shot of all the parts laid out. Both rotors are built minus apex seals, all side seals are clearenced to .002" to .003" Apex seals were glued together, all new thrust assembly and the stack of oversized studs with the install tool attached to one.
Here's the link to my build video. Don't judge me, this is only my second rotary build and first in about 10 years. Also I'm not fast at building and am not good at video editing so it's about an hour and a half.
New update: Getting the motor running has been a slow, agonizing process. I first started with powder coating the oil pan, which was my first powder coat attempt, and it turned out pretty well. Then I powder coated the intake manifolds, which did not turn out so well. I'm still going to use them because the light spots aren't easily seen and I plan on using a different intake setup during phase 2 of this build in a couple of years. After that I powder coated the turbo compressor housing and oil drains, just trying to get better before reinstalling the engine. The powder turned out a lot better on those but still need more practice.
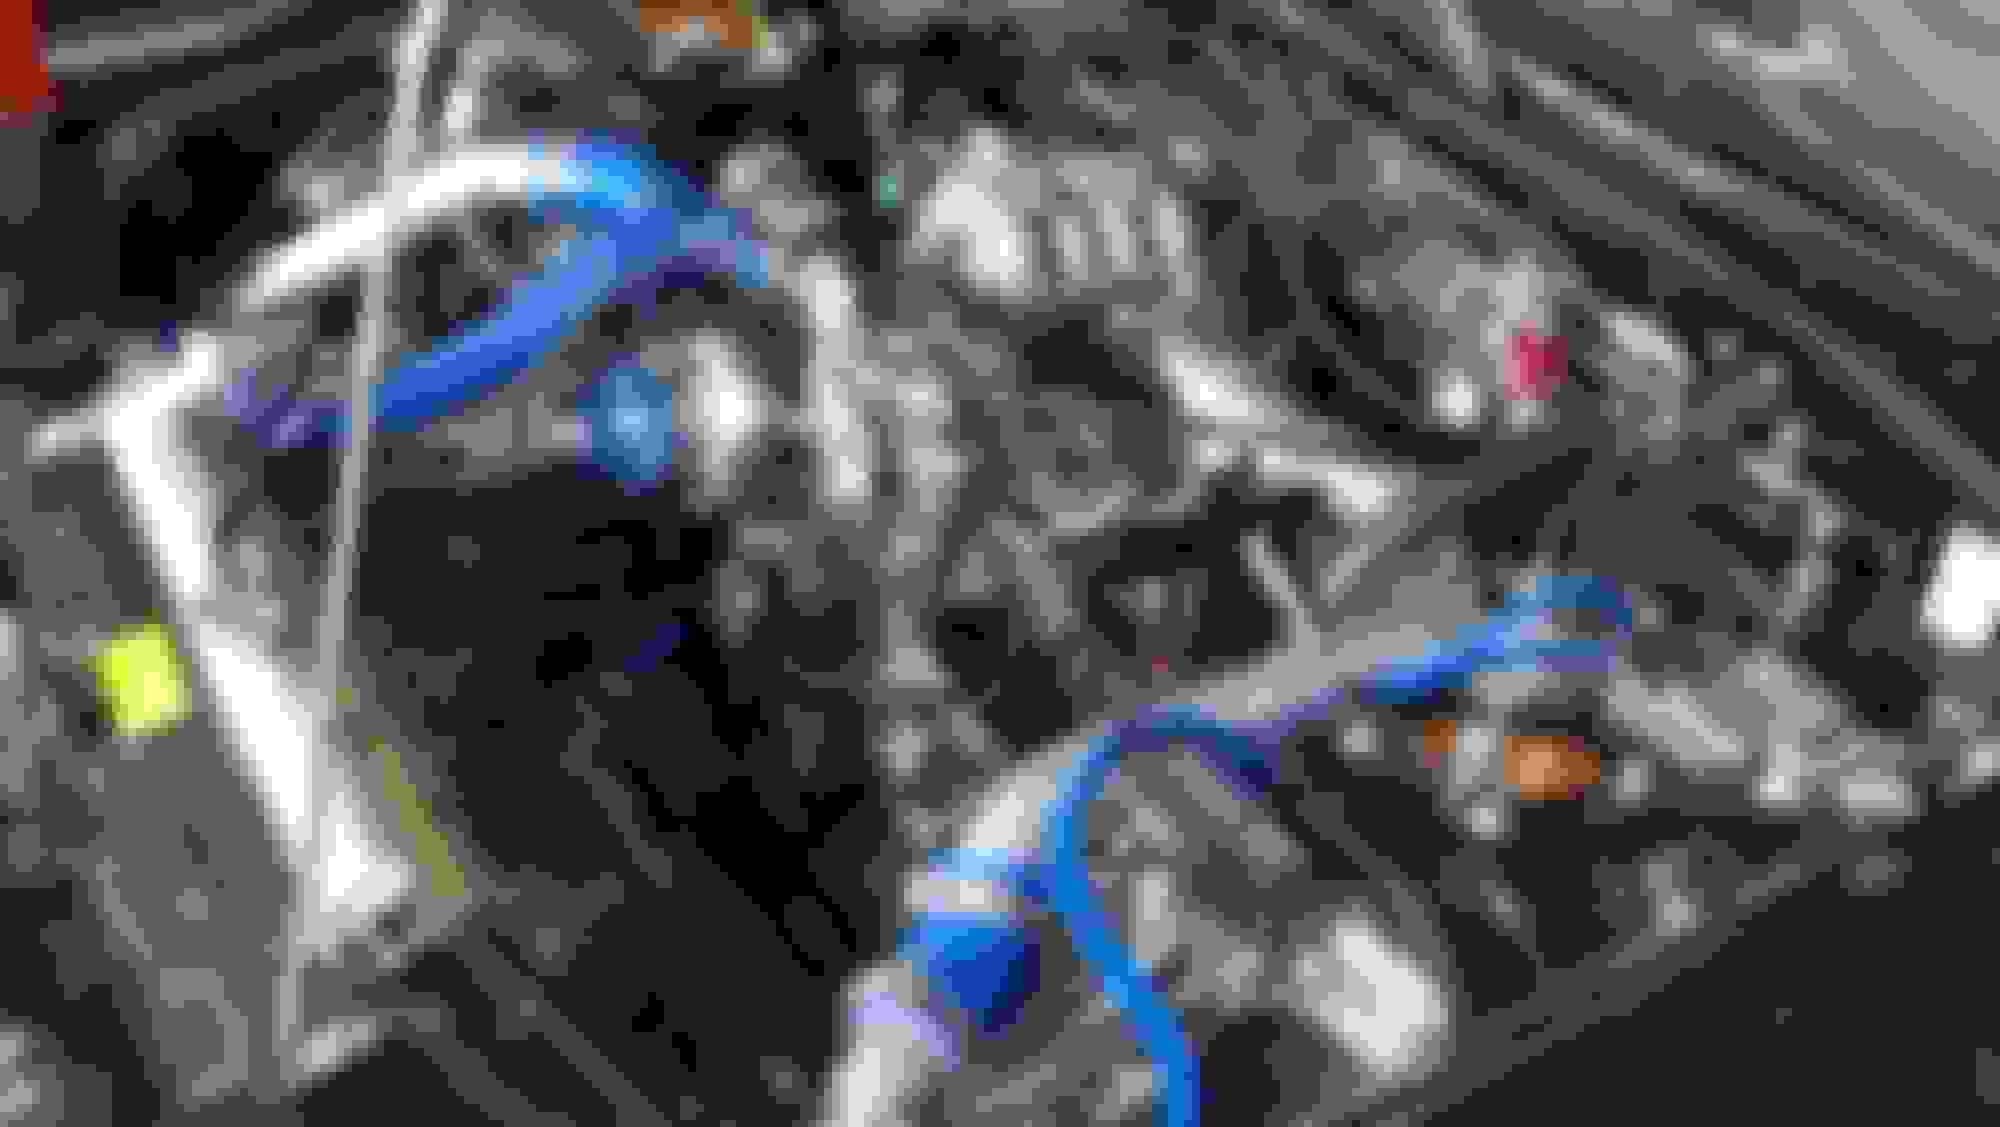
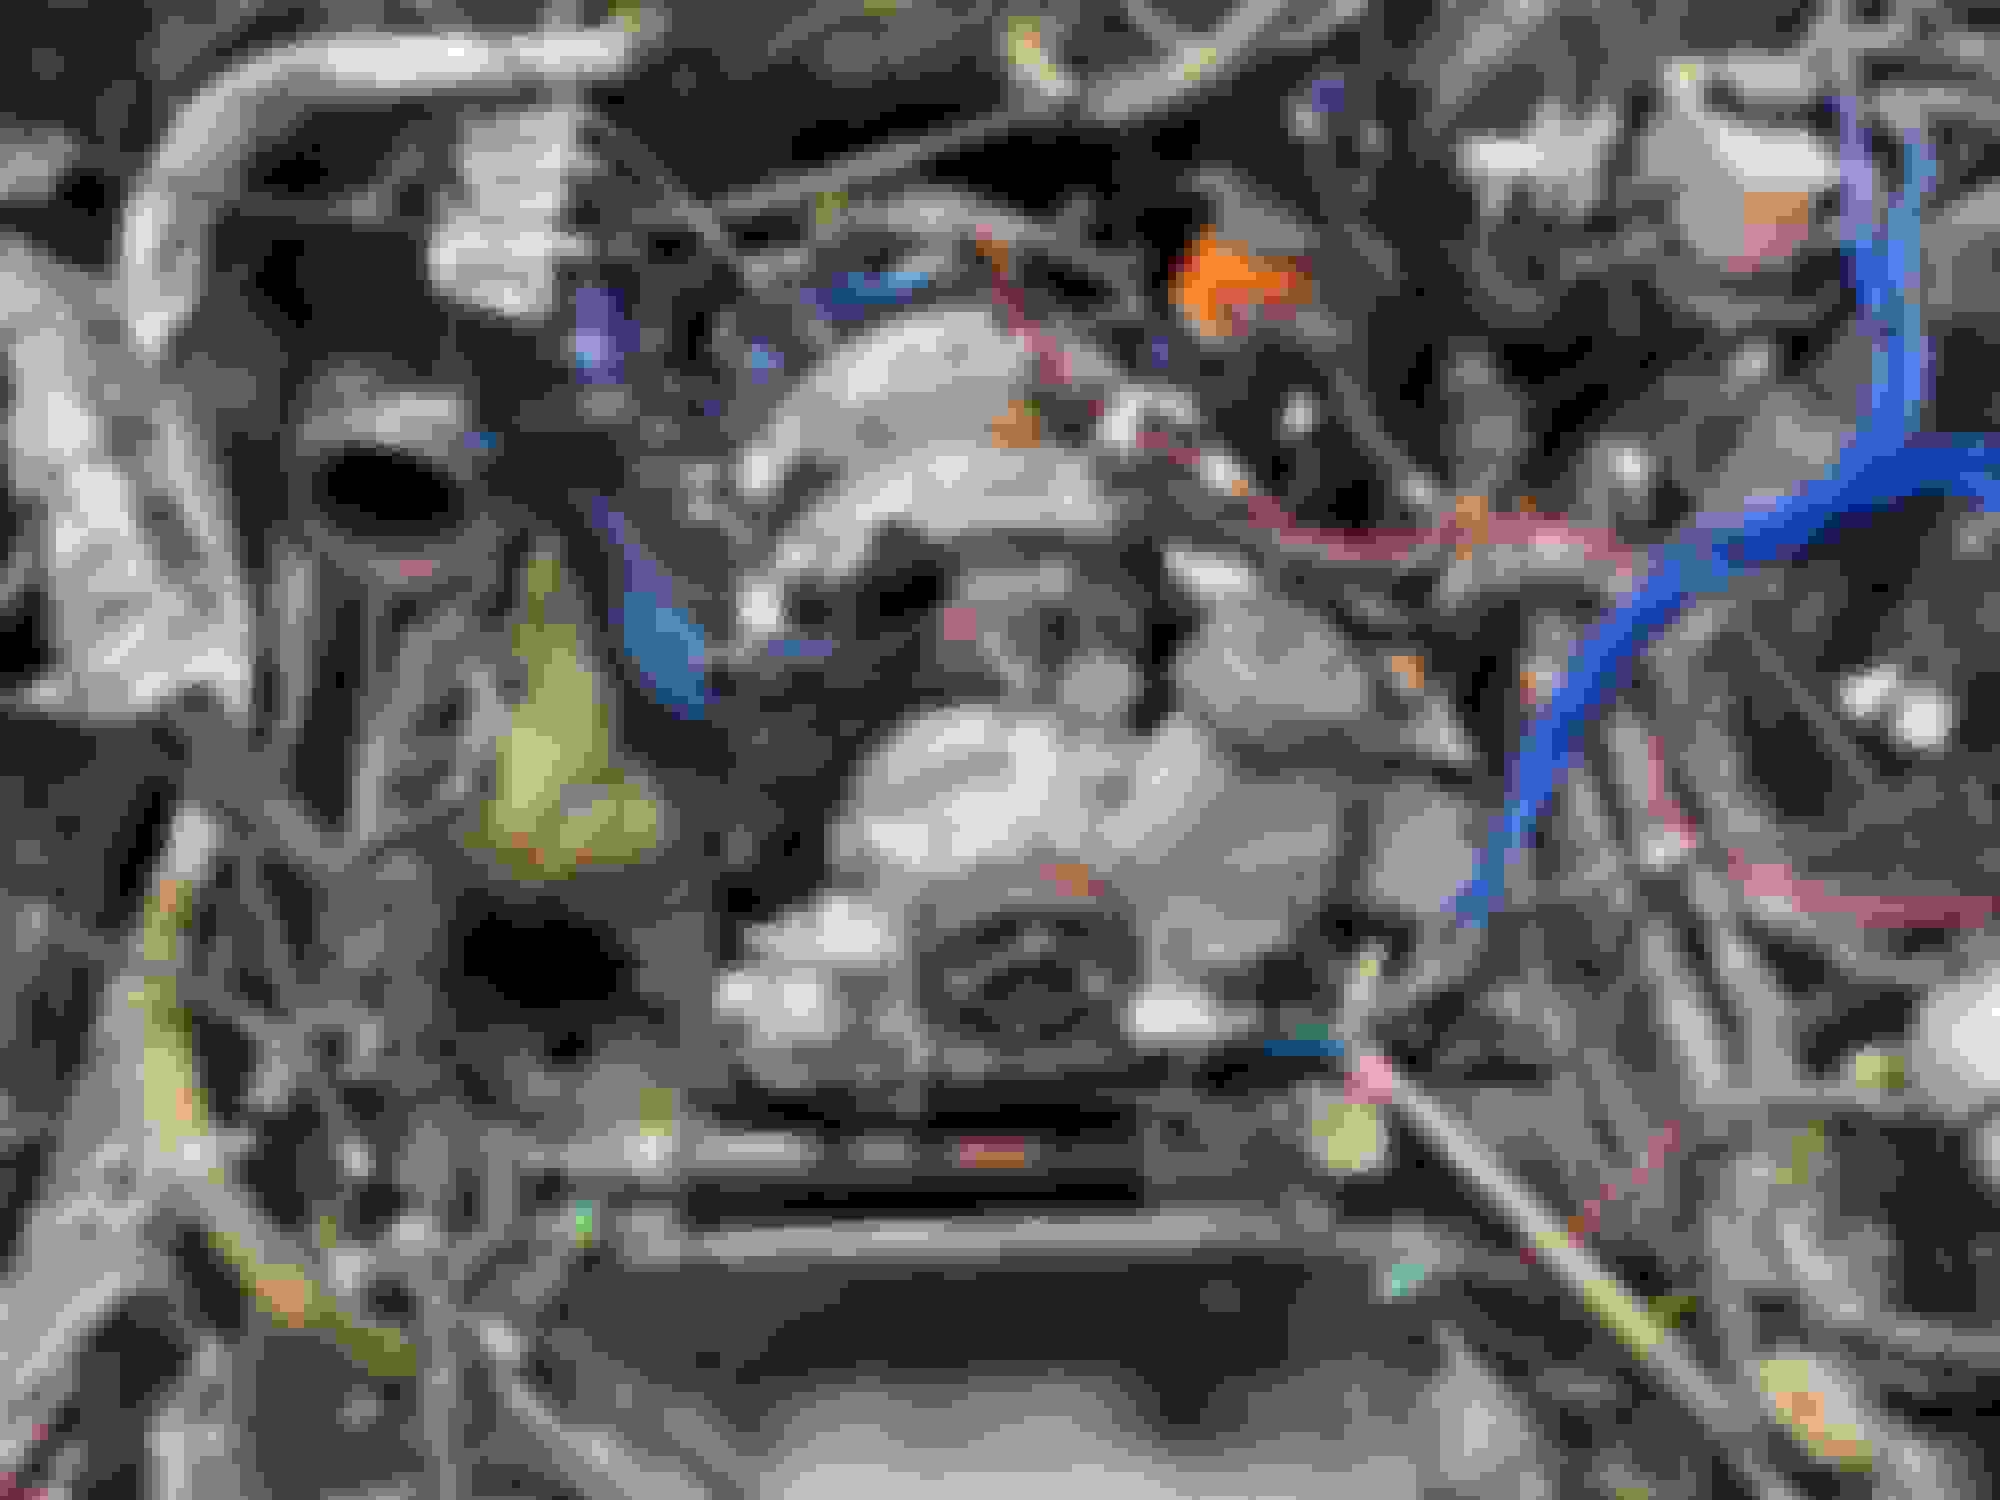
Anyway, I got the engine installed about a month ago, and it seemed like everything I tried to do, I'd find I needed to order parts, or go through my shed to find a piece or whatever, so it's been just spurts of progress. Today I had the day off, so I decided to go to the shop like it was a regular work day and just work of the 7. After 10 hours, lots of frustration and cussing, I've got it close to running. Turbo, exhaust, fuel system, and intake are all on. Mostly just cooling system needs to be finished, then fluids and I can try to start it. After today, I'm pretty convinced that I'm gonna go big in phase 2 to clean up the engine bay, but this will be what I'll break the engine in on and drive with until I can afford phase 2. So, on to the pics... This is the turbo support bracket powder coated in indigo teal. Turbo compressor housing in Indigo Teal First pic I remembered to take after the engine was installed. Manifold and downpipe are wrapped in titanium heat wrap. Wider shot, lower intake was powder coated in misty midnight.
Side view showing off the Pineapple Racine CAS cover. This was just a pic showing the difference between misty midnight (plates) and indigo teal (clutch cover). Not much of a difference, for some reason I thought I ordered a lighter teal. Wide shot of the progress after a few hours. Turbo was installed and so are the Corksport oil cooler lines. After fighting with it for hours, new injectors and rest of the fuel system installed. RC 750cc primaries and RC 1200CC secondaries. I'll run these until I spring for an Elite intake.
Wide shot before i put the intake on. Close up of the upper intake, also done in misty midnight, you can see where the powder was light. Wide shot when I decided to call it quits for the day. It's a freaking rats nest, but when I go with a standalone, I'll also do a terminated harness for a cleaner look, but that will be in phase 2.
Quick update: I did get my RX7 running a couple of months back, Had to jump a tooth on the CAS to get enough advance out of it to get it running. I'm not sure exactly where I'm at as far as timing because I had to crank idle speed up to about 1800 RPM just so it would idle. I'll probably leave it as is until it's broken in. But before I can drive it and start breaking it in, I have found a crap ton of other problems that need to be fixed before I can put it on the street. So over the next few months I'll start working on those to get it driveable.
Current list of problems:
*Battery issues- Had an Optima (POS) relocated to the rear compartment. I just bought a Odyssey 65-1700, which is the largest/ strongest battery I can fit in the compartment without major modifications. I'll be redoing the wiring and adding some circuit breakers in the process.
*Charging system is overcharging- Charges at 15.8V from my FD alternator. I was missing the signal coming from the CPU, and was hoping that was the cause, so I did the whole resoldering fix on the CPU, got it working again, but no dice. So, go big or go home mentality, I'm sending the alternator to IRP performance to get it rebuilt to 140amp.
*Multiple gauge issues- My original cluster had a broken oil pressure gauge, so I bought another cluster from a member here. Installed, still no oil pressure, installed new sender and voila, oil pressure. During the 45 min initial break in, I found my coolant temp didn't read so back to the drawing board. Eventually I figured out the coolant temp gauge on the new cluster was dead, so I swapped the gauge out of my old cluster and still no dice. I finally figured out that my old temp gauge only had two contacts where as the new cluster had four (had an overtemp light). So I soldered a bridge for the 7V on the back of the cluster and BAM! gauge works when grounded (can't verify sender works due to the overcharging issue at the moment.)
*Wipers only work on low- I tried the whole replacing the relay trick, and just my luck that is not my problem. I think it is the actual switch, but can't figure out how to get at it, so I'll probably just order one.
*Headlights wouldn't turn on/ pop up- Re-soldered some of the joints, and finally SUCCESS! They work now.
*There is a noise coming from the dash- Kind of sounds like blend door motors moving back and forth, but I haven't really looked into it. Problem for future me.
*Horn doesn't work- Re-soldering the CPU got the horn relay working but it's not getting the ground from the horn switch. I'll probably use this opportunity to put a different steering wheel on it at some point.
*Clutch has to be pumped up- Found the master cylinder is leaking, so I bought a new master and slave and will install those at some point.
*Dash is falling apart- Every time I touch it, something else breaks. I'll either try to source one from a non desert car or maybe get one made in the future (if anyone knows someone that makes custom FC dashes, let me know.)
I'm sure there are more problems just waiting to be discovered but for now, I'm just gonna try to focus on what I know I need to do. I'll post a few pics I have and try to take pics of my progress.
Another quick update:
I got the alternator back from IRP and it looked great, but I have had little time and motivation to actually work on the car. Every time I start to do something, I find more problems. It's starting to look like the car itself is falling apart by the day. I'm probably going to have to redo the interior harness along with the engine harness. The dash has gotten so bad that it doesn't even hold the cluster hood anymore. Anyway let's get to the actual progress I have made.
Installed the alternator, but was still charging above 15 volts, however this time it was adjusting itself, just too high. At first I figured it was the crappy battery or maybe the battery cables we used on the original battery relocate, so I went ahead on the new battery and proper relocation. I used an Odyssey 65-1700 battery, Odyssey battery hold down kit, 2 175 amp circuit breakers, 00AWG power cable and 4AWG ground cables. I mostly followed a guide from FC3S Pro, which was really helpful. I ran the power cable through the interior, instead of under it like we did originally(idiots), and used ground points on the frame. I soldered eyelets and heat shrinked every cable end for a cleaner look. My boss welded two plates into the bottom of the rear compartments to support the new battery cage and we tapped them so the bottom of the cage was able to be bolted down. I cut back the carpet inside the compartment and bolted one of the circuit breakers to the housing. I put the other circuit breaker in the engine compartment near the left strut tower. When all that was done, I installed the battery and cage. I thought it turned out really clean and now the car cranks very fast which helps a lot with the hard starts of a yet to be fully broken in motor.
After the battery, the charging system was still overcharging, which meant going back to diagnostics. After some time I figured out there was a voltage drop between the battery and the feedback circuit on the alternator. I eventually figured out the voltage drop was in the ignition switch, so I replaced it. Now it's charging at 14.8v, which is what it should be. However, when I plug in the turbo timer, it overcharges again, which means the timer has a voltage drop as well. I'll replace that as well.
Also my coolant temp gauge sender is not working, so another thing to fix.
I also ordered a rebuilt wiper switch from ebay and now I have wipers and lights working, but the cluster hood is barely holding onto the dash with one screw.
And finally, I bought a set of rims and tires from a member here and installed them. They look so good, it really accentuates how bad the paint has gotten. I'll post some pics of the battery install and the rims on the car.
Pic of the alternator installed. Powder coated the same as the oil pan.
Pic of the bottom of the cage bolted to the brackets we welded to the bottom of the compartment.
Pic of the cage bolted together outside the car.
Pic to show fitment. Final look, minus the cable ends. You can see the circuit breaker at the rear. Pic of the rims. 17x8 in the front and 17x9 in the rear.