When you click on links to various merchants on this site and make a purchase, this can result in this site earning a commission. Affiliate programs and affiliations include, but are not limited to, the eBay Partner Network.
I have moved my build thread to RX7 Central, this website is on its last limbs. I'll still be lurking around looking at sale posts and build threads but prefer to keep the archive of this car on my YouTube channel and RX7 Central
hey i love your car, I just bought a 88 and bought the same radio but I've been having trouble installing it, do you happen to know what install kit you used to mount it ? Idk how you'd remember but I just thought id ask cause I'm desperate. thanks
It is quite the shock that I find myself posting back here again, but here I am. A lot of changes have been made since I last posted on RX7Club. The turbo setup treated me very well, and honestly gave me zero issues at all, I had revised the tune and got the car running great, drove another drift event, and had a ton of fun with that setup, being a stock port series 4 engine on an S5 Turbo and various supporting mods. I'm going to try my best to follow up with a timeline of things that happened in between that and now, so bear with me.
December 2020 - March 2021
By this time it was the off-season, snowfall happened, the weather sucked, planned on going snowboarding for a majority of the season and focusing on school but that never really happened. Made some small changes to the car such as switching over to LS ignition coils, as I was tired of fighting with the OEM Ignition Coils, they are really not meant to be run on standalone platforms, and as Adam from Link had told me the only reason it was removed from a firmware/software standpoint is that it was known to fire on the wrong rotors in the trailing area with the toggle style trailing coils. I also had made the change from electric fans back to the traditional clutch fan setup, had too many issues with fuses popping with the proper wire size causing my car to overheat numerous times, luckily was able to catch those before anything bad could have happened. Aside from that kept the setup fairly simple just cleaning up some of the half-*** work I had done prior. Also drove one drift event that month, this time with power steering! Still struggled a lot much as a driver, couldn't get myself out of the habit of clutch kicking off throttle instead of in-throttle which made me look like an idiot on track, but I won't talk too much on that matter haha.
June 2021
The impossible was happening, I finally had saved up enough cash and brought the car off to paint, it was done by a local guy who had done insurance work for my parent in the past. We had a great relationship with him, and the coolest part was I got to help throughout the process. I also ended up getting new PBM Coilovers for the car. I ordered as many new parts as I could get such as brand new FTPs, door handles, belt moldings, and various trim pieces to complete the car. The car was painted in single-stage "Blue Black" which is pretty much the same as the OEM "PZ" paint code, he even reapplied the chip guard on the rockers/doors. I was excited so to say, and my goal was to just enjoy the car for the remainder of the season. Luckily I had the car back just in time for 7s day.
July 2021 - August 2021
Sadly, this month isn't too much of a blur for me, because it wasn't a good one. Drove the car pretty much as my daily throughout this month-, decided to even do more with the suspension by installing brand new bushings up-front, which helped a little with driving comforts and handling. Then one beautiful afternoon I was driving on the highway and all of a sudden I heard a bunch of metal banging up on my transmission tunnel, little did I know my driveshaft bolts had backed out, so I limped the car somewhere safe and luckily had spare hardware at home and got somebody to bring it over make sure to apply Locktite on all the bolts and torque it to whatever was OEM spec in the middle of a rainstorm (not very ideal lol). Drove the car to a couple of meets (which I honestly hate) and enjoyed it as much as I could, Upon further investigation when getting under the car, I had installed the front-diff mount plate incorrectly which caused a lot of rear-end issues driving and drifting so that explained a lot, it actually ended up destroying the lip on my rear subframe too. Anyways, on a beautiful July morning I went to go run some errands downtown with the FC and all of a sudden my belts snap out of nowhere, I assumed I may have tightened my belts a tad bit too much but that was not the case. Once I replaced the belts on the side of the road, the car was idling very high (~3800 RPM) and smoking all over the place, once again limped the car home and I thought the engine was cooked, as a result, I ended up pulling the engine out and upon further investigation the engine itself was actually fine-, when I looked closer at my Lower Intake manifold which I bought second hand from somebody they blocked off the OMP using some pretty trash set-screws which eventually backed out and fell into the rear housing denting my rotor but somehow not destroying the housing. At that point that was the rotary gods calling to go over the engine and the car and take a break from driving as there were a few things I just was not happy with on the car and knew it was best to be patient and take my time. I was just going to do a basic rebuild with all brand new OEM seals and replace the rotors (but that was not the case you'll find out why lol).
September 2021 - April 2022
I started this planning to be a pretty simple and basic rebuild, that was not the case as I mentioned prior. I ended up spending my money on a lot of stupid things such as an HKS single exit exhaust for the car as a 21st birthday gift to myself. Which honestly looks sick. Converted the car to a black interior slowly, with manual windows, and other small bits which I was hyped about. Installed Dodge Caravan Inner Tie-Rods, S14 Outter Tie-Rods, and the Villians Balljoint extensions. Once I stopped horsing around I actually took things seriously, from there I pretty much went all out and go as many new bits and pieces as I could get.- Large Streetport ported by my friend
- 6 Port Holes ported out
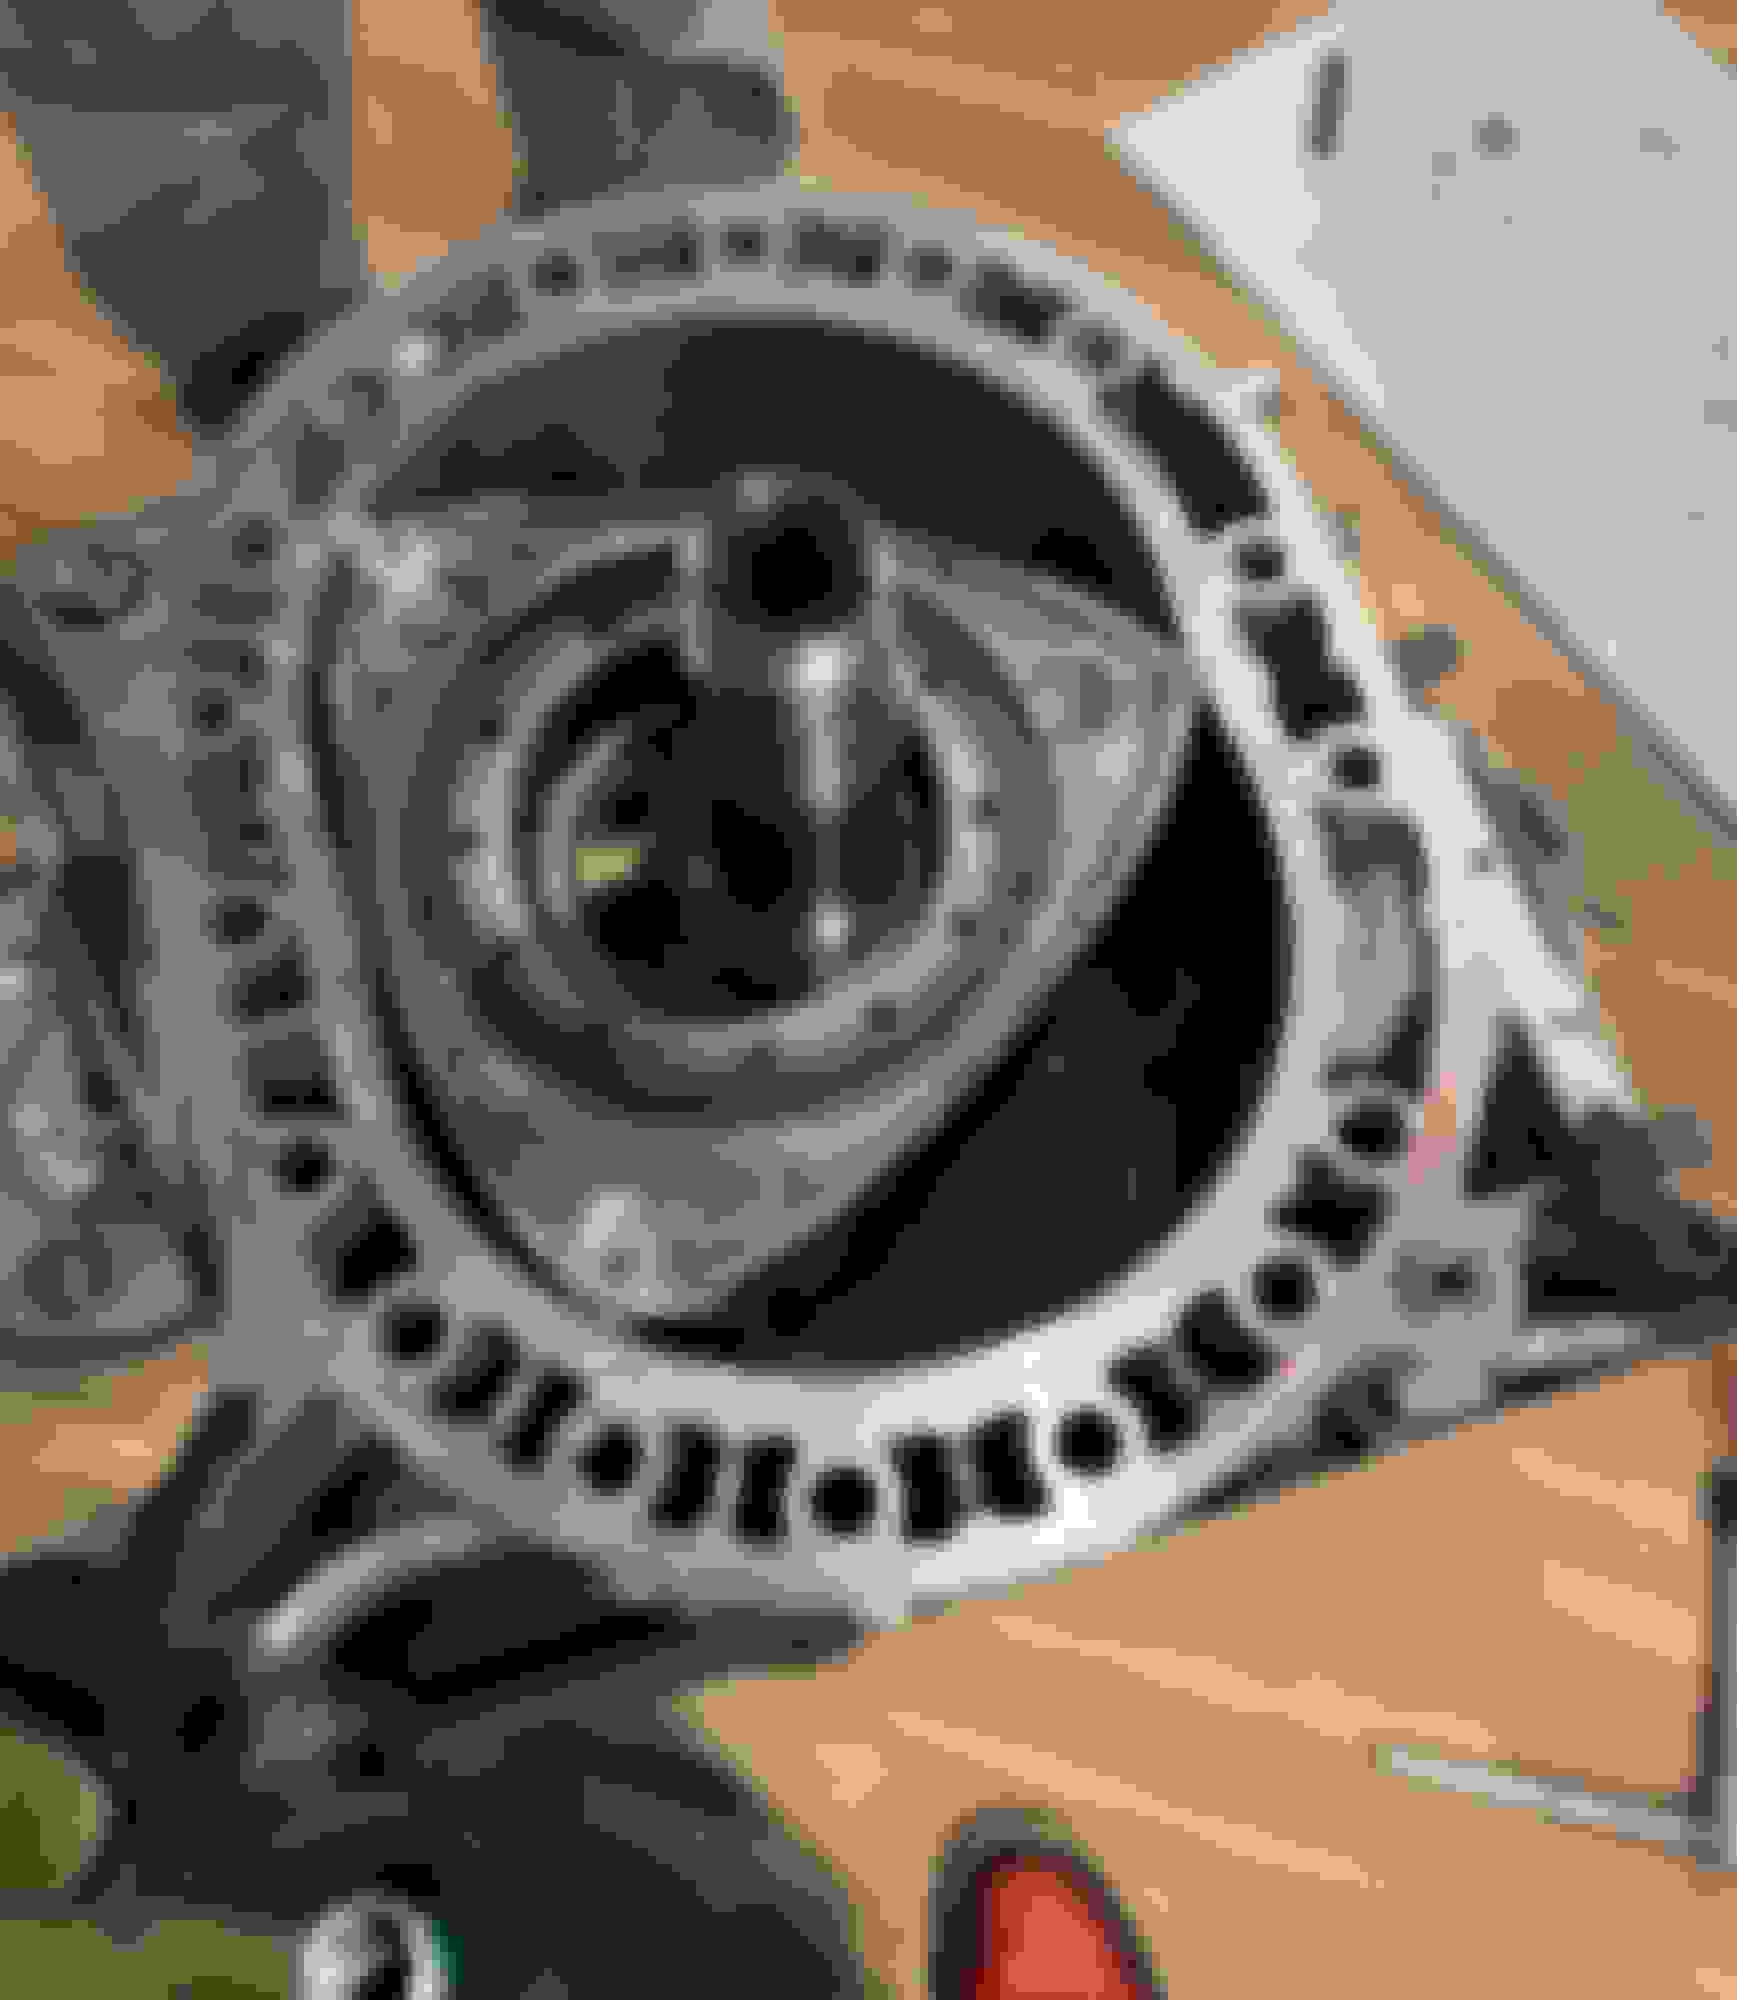
- RX8 Automatic Rear Counterweight
- New Turbo II Oil Pump
- New Turbo II Housings (Ported Exhaust Ports by my friend)
- OEM soft and hard seals (2pc Apex Seals, OEM Side Seal Clearance @ 0.002�)
- FD Oil Pressure Regulator
- TurboSource Stud Kit
- Pineapple Racing 1 Piece Dowels (1 hollow / 1 solid)
- Racing Beat Lightweight Flywheel
- ACT 6 Puck Clutch
- Brand New Stationary and Rotor Bearings
- Balanced and Race Clearance�d by EZ Precision Balancing in Lancaster, PA
- Borg Warner EFR 7670 Turbo (.91 AR)
- Turbo Source Cast Manifold
- Series 6 Intake Upper Intake Manifold
- Series 5 Lower Intake Manifold
- Greddy Compression Tube
- Himni Racing Engine Mounts
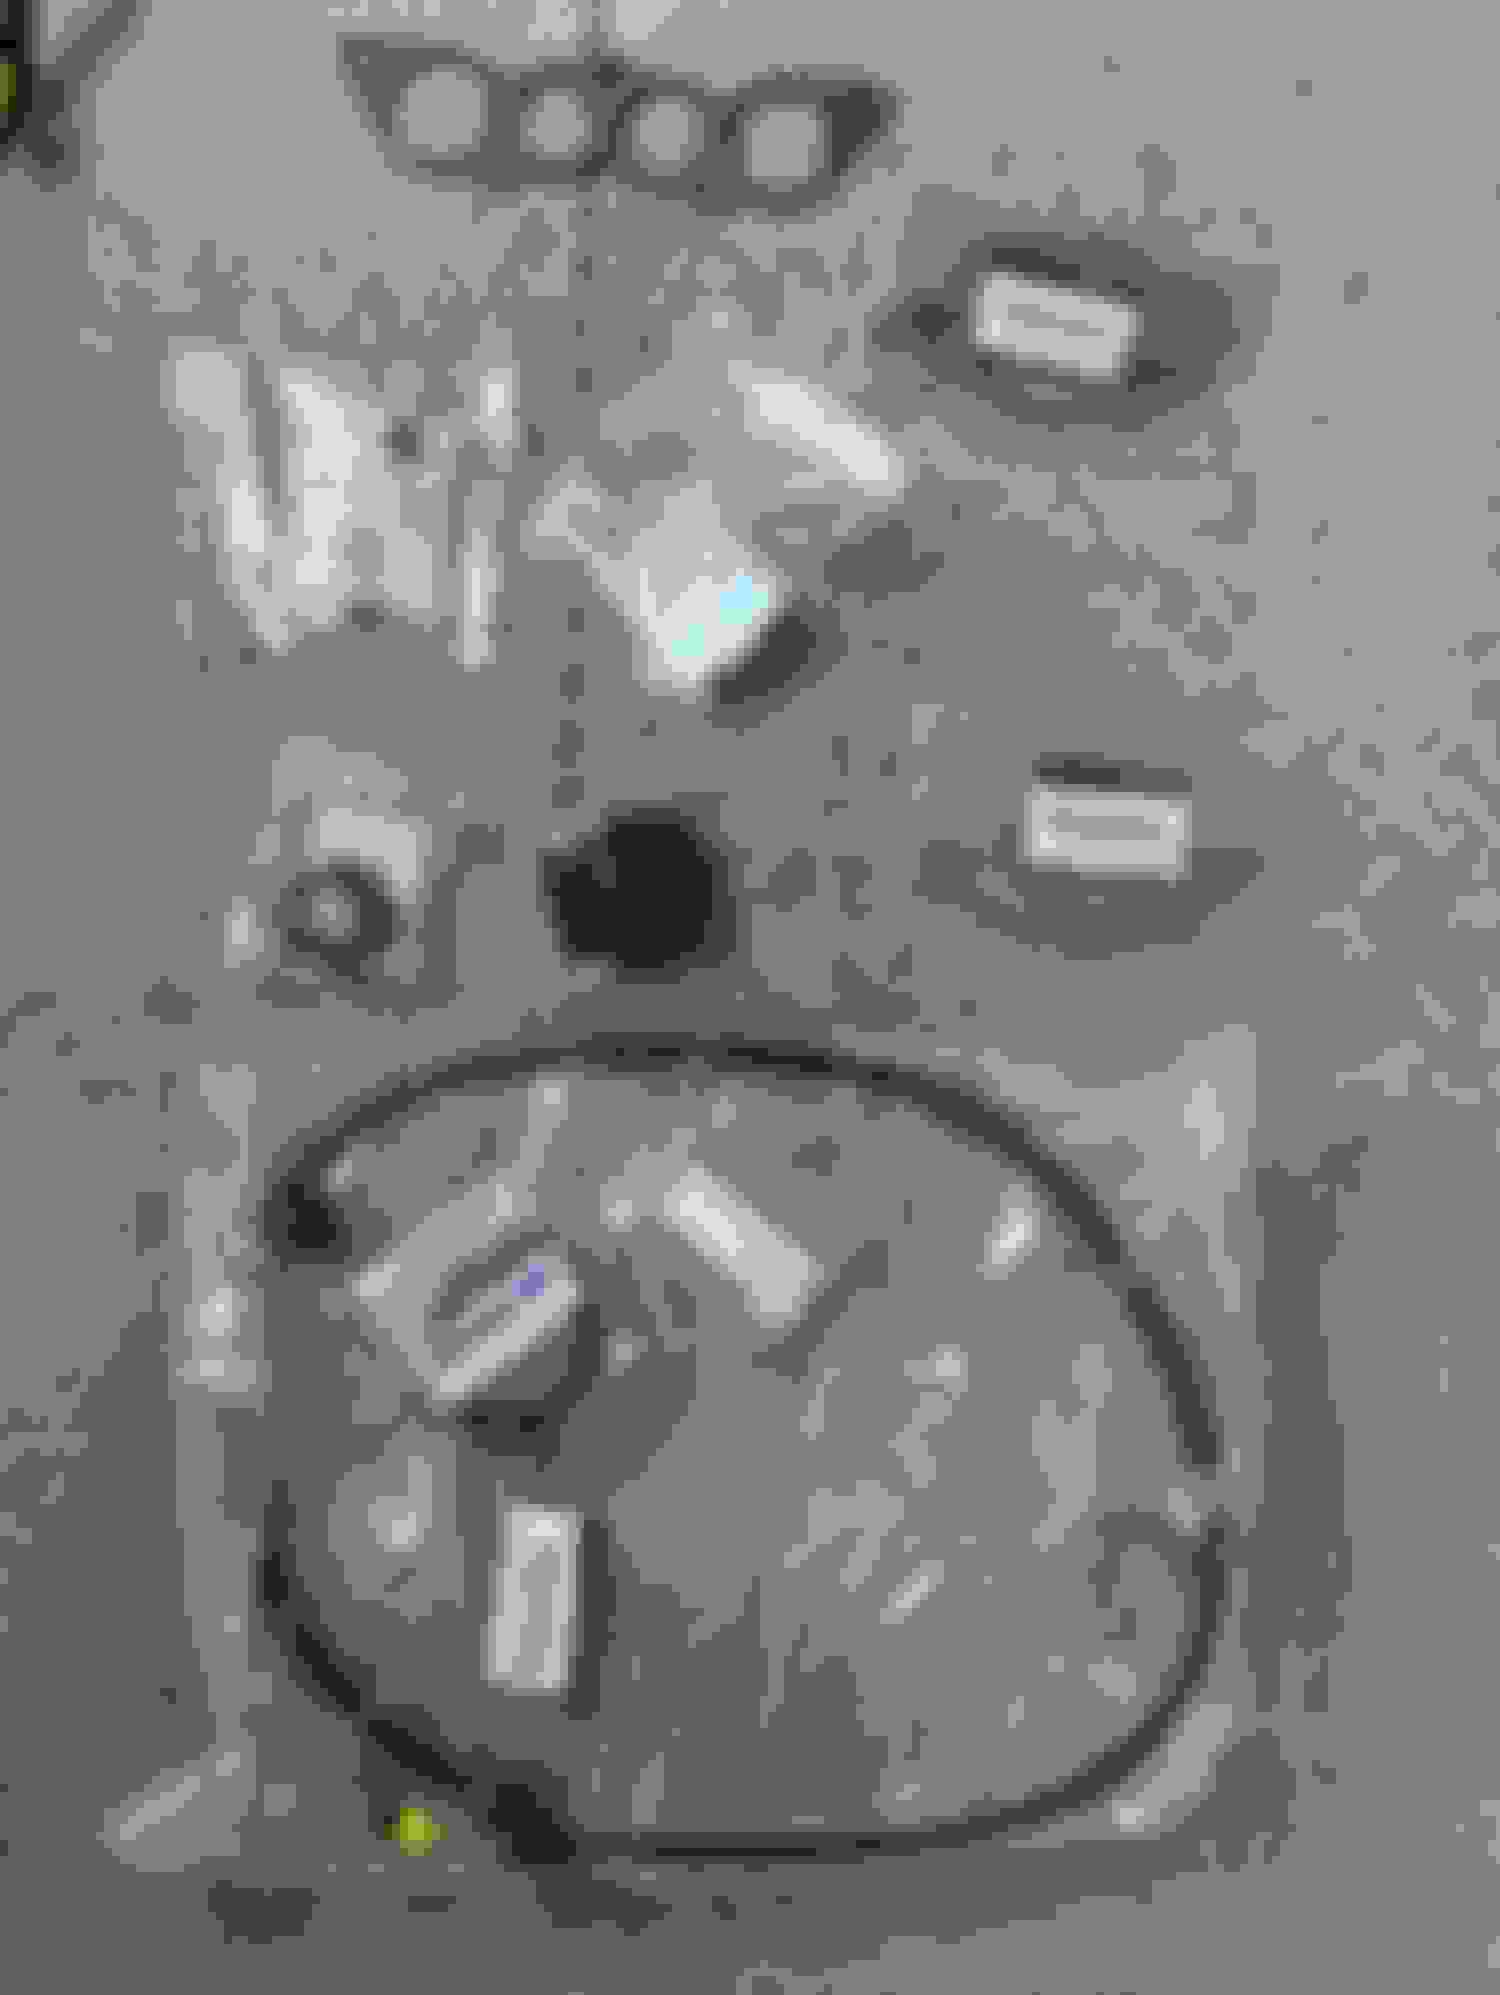
- 90-95 Cosmo Exhaust Manifold Gaskets
Now that I have this cool formula for a pretty badass build, I just have to stack the block, which I'll be doing soon, I'm waiting on my friend to finish porting up the plates but I worked so hard to get here and felt the need to document this journey. I've watched so many hours of rebuild guides, spent a lot of attention clearencing my side seal properly, and cleaned out a ton of parts. I still need to remake a new engine harness for this setup too but the rest is all a breeze now.
Irons and Housings are still undergoing porting, patiently waiting. A few parts came in the mail. HIMNI engine mounts which I'll probably regret, some An fittings/adapters, FD throttle cable, and a few gaskets.
I was planning a similar engine build a year or two ago, but things ended up going a different way. Smart to lighten and balance the rotors. I definitely want to do that when I build my next engine, if only so I can rev it really high for fun.
I've never used the Himni mounts, but I used the Level Zero Motorsports poly mounts and the humming / vibration was a bit much. I went back to OEM vert mounts and it's much better. I have been considering some sort of torque brace for the engine though, just to help that slight slack when you let out the clutch without having to go to harder mounts.
Definitely excited to see more updates
Thank you! We shall see how it performs, I already know how they feel like because my room mate had these exact engine mounts in his FC and they sucked anyways, just a way to get my car back on the road as soon as possible while being pretty much broke.
just a way to get my car back on the road as soon as possible while being pretty much broke.
That's where I'm at too. I had big engine plans after my last one blew, but then I got a stock S4 NA shortblock for a decent price and decided to just be happy with it for now.
Slow car on the road > Fast car in the driveway.
The poly mounts are certainly preferable to letting the car sit while saving up for the mounts you want.
Got the irons and housings back from porting, was going to stack the block the same night of but the inner coolant seals that I got seemed to either be damaged on arrival or split at the joint so I ended up ordering new inners seals from Mazdatrix instead of Atkins this time (OEM). They're arriving on Monday, most likely going to stack the engine on Monday. Also ordered a few odds and ends such as Turbo studs/hardware, Link CAN Lambda, wiring supplies to build the harness, FFE Injector Diffuser Inserts, and other small stuff. Just as a reminder to myself still need to order an external MAP Sensor, Connectors, and Oil Cooler Fittings.
Stacked my engine last week, was a journey in itself, I had to restack it 3 times, put the e-shaft in backward, then I pinched a coolant seal (caught that one as it was sticking outside of the iron), and then eventually I was able to stack the engine completely. Learned a lot. Very few things left to do, just handle the remainder of the turbo lines as 1/4 of them are complete right now and a few small odds and ends.
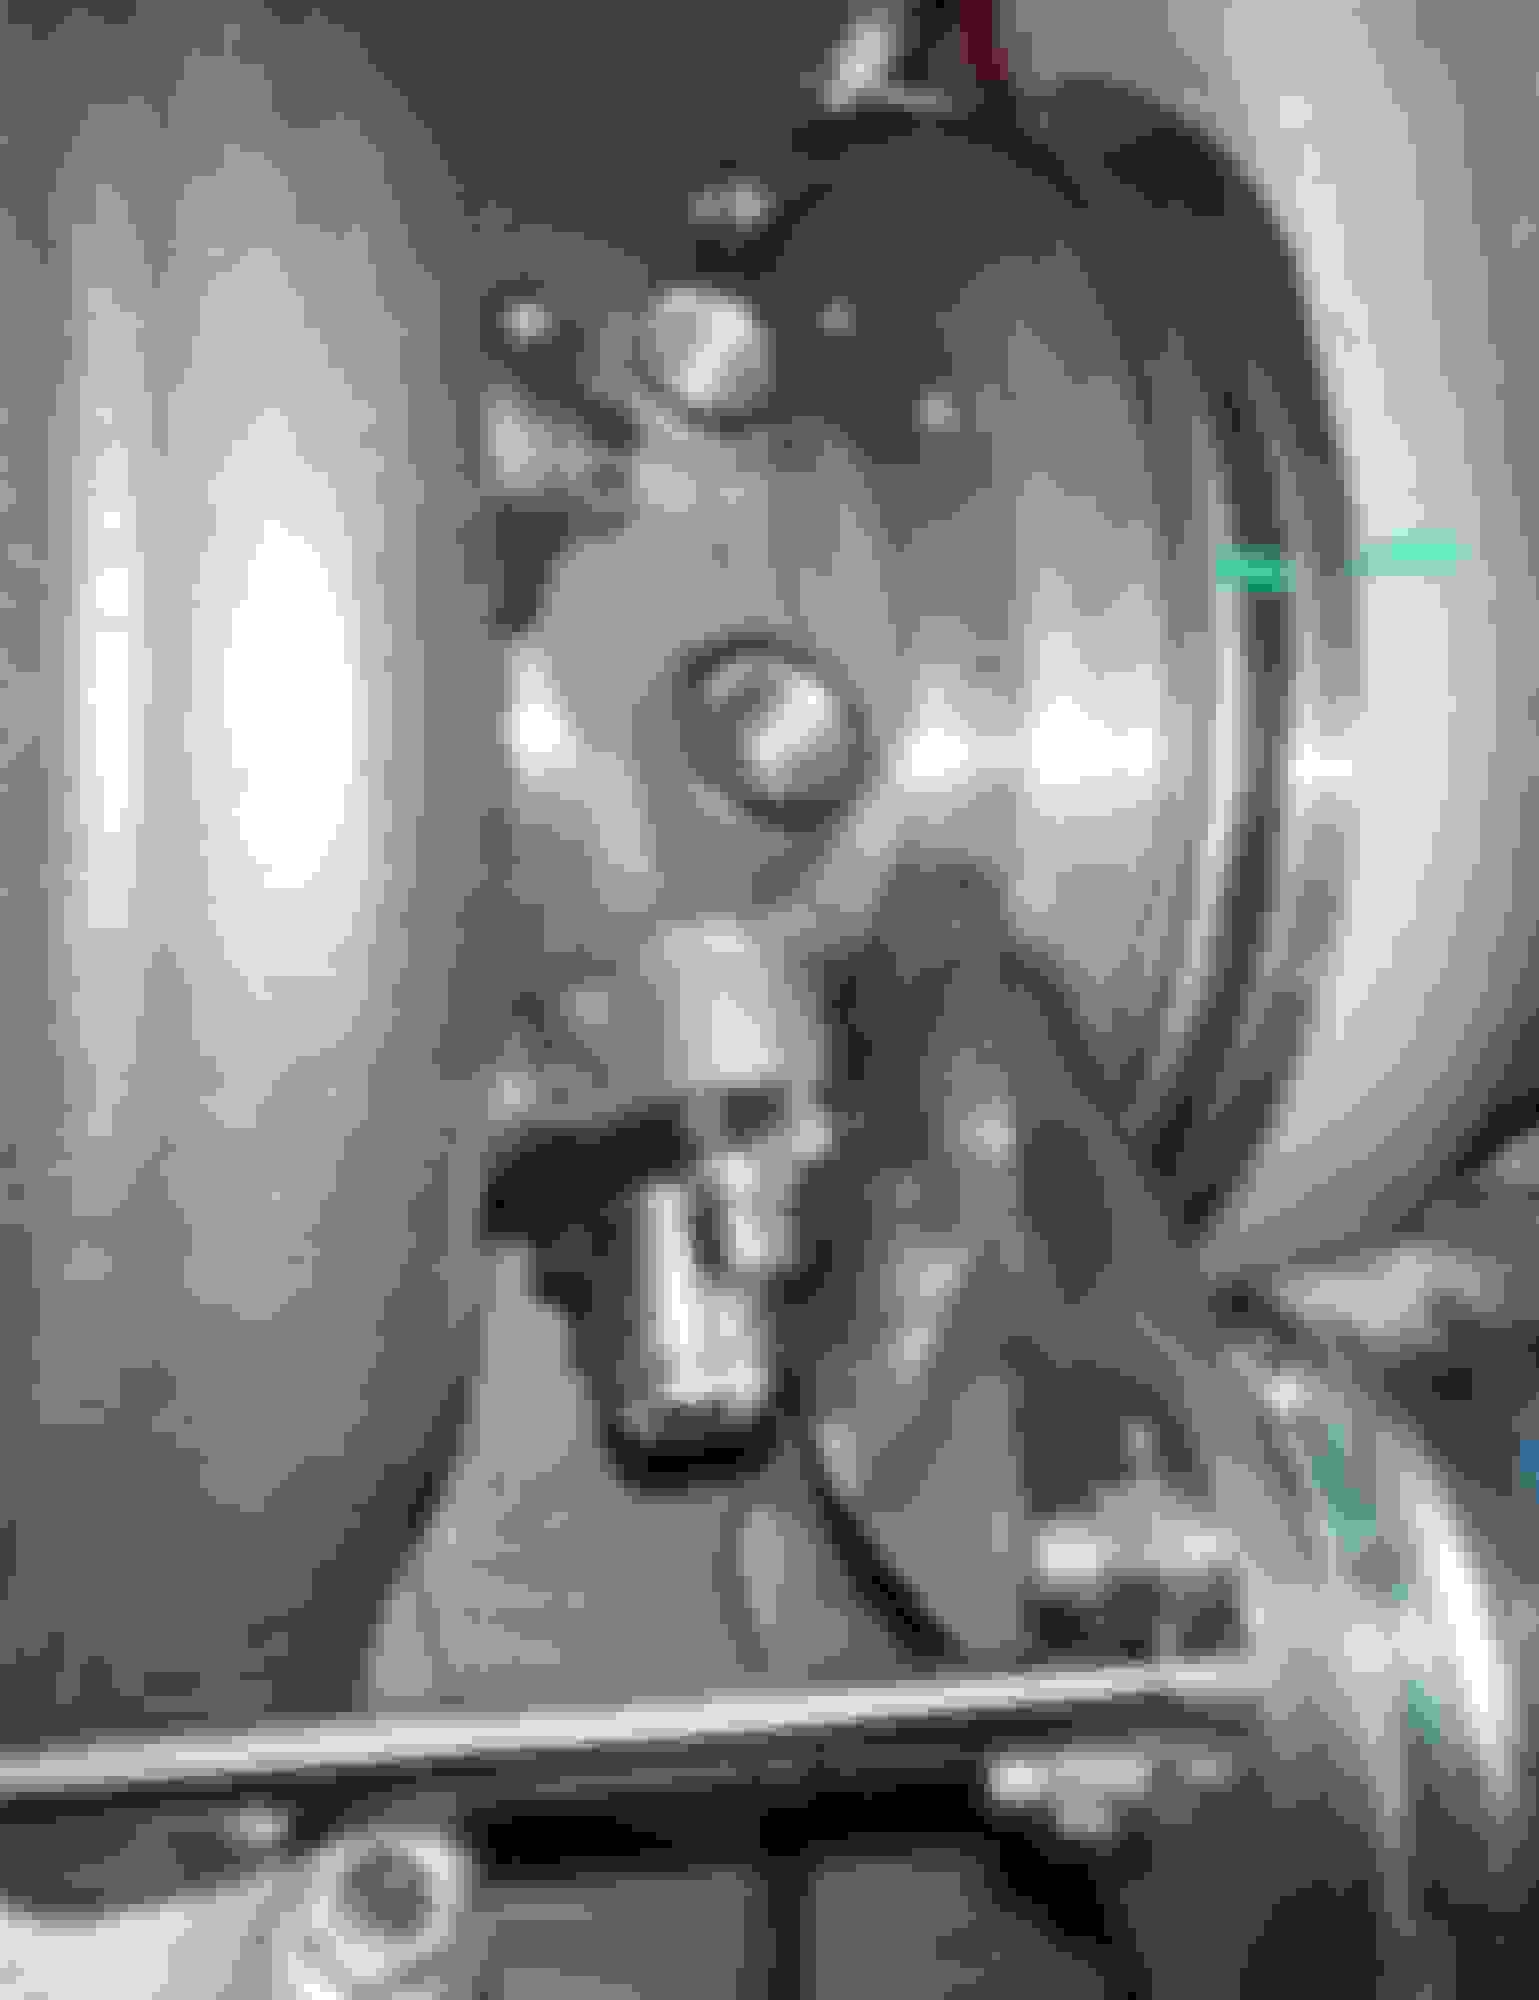
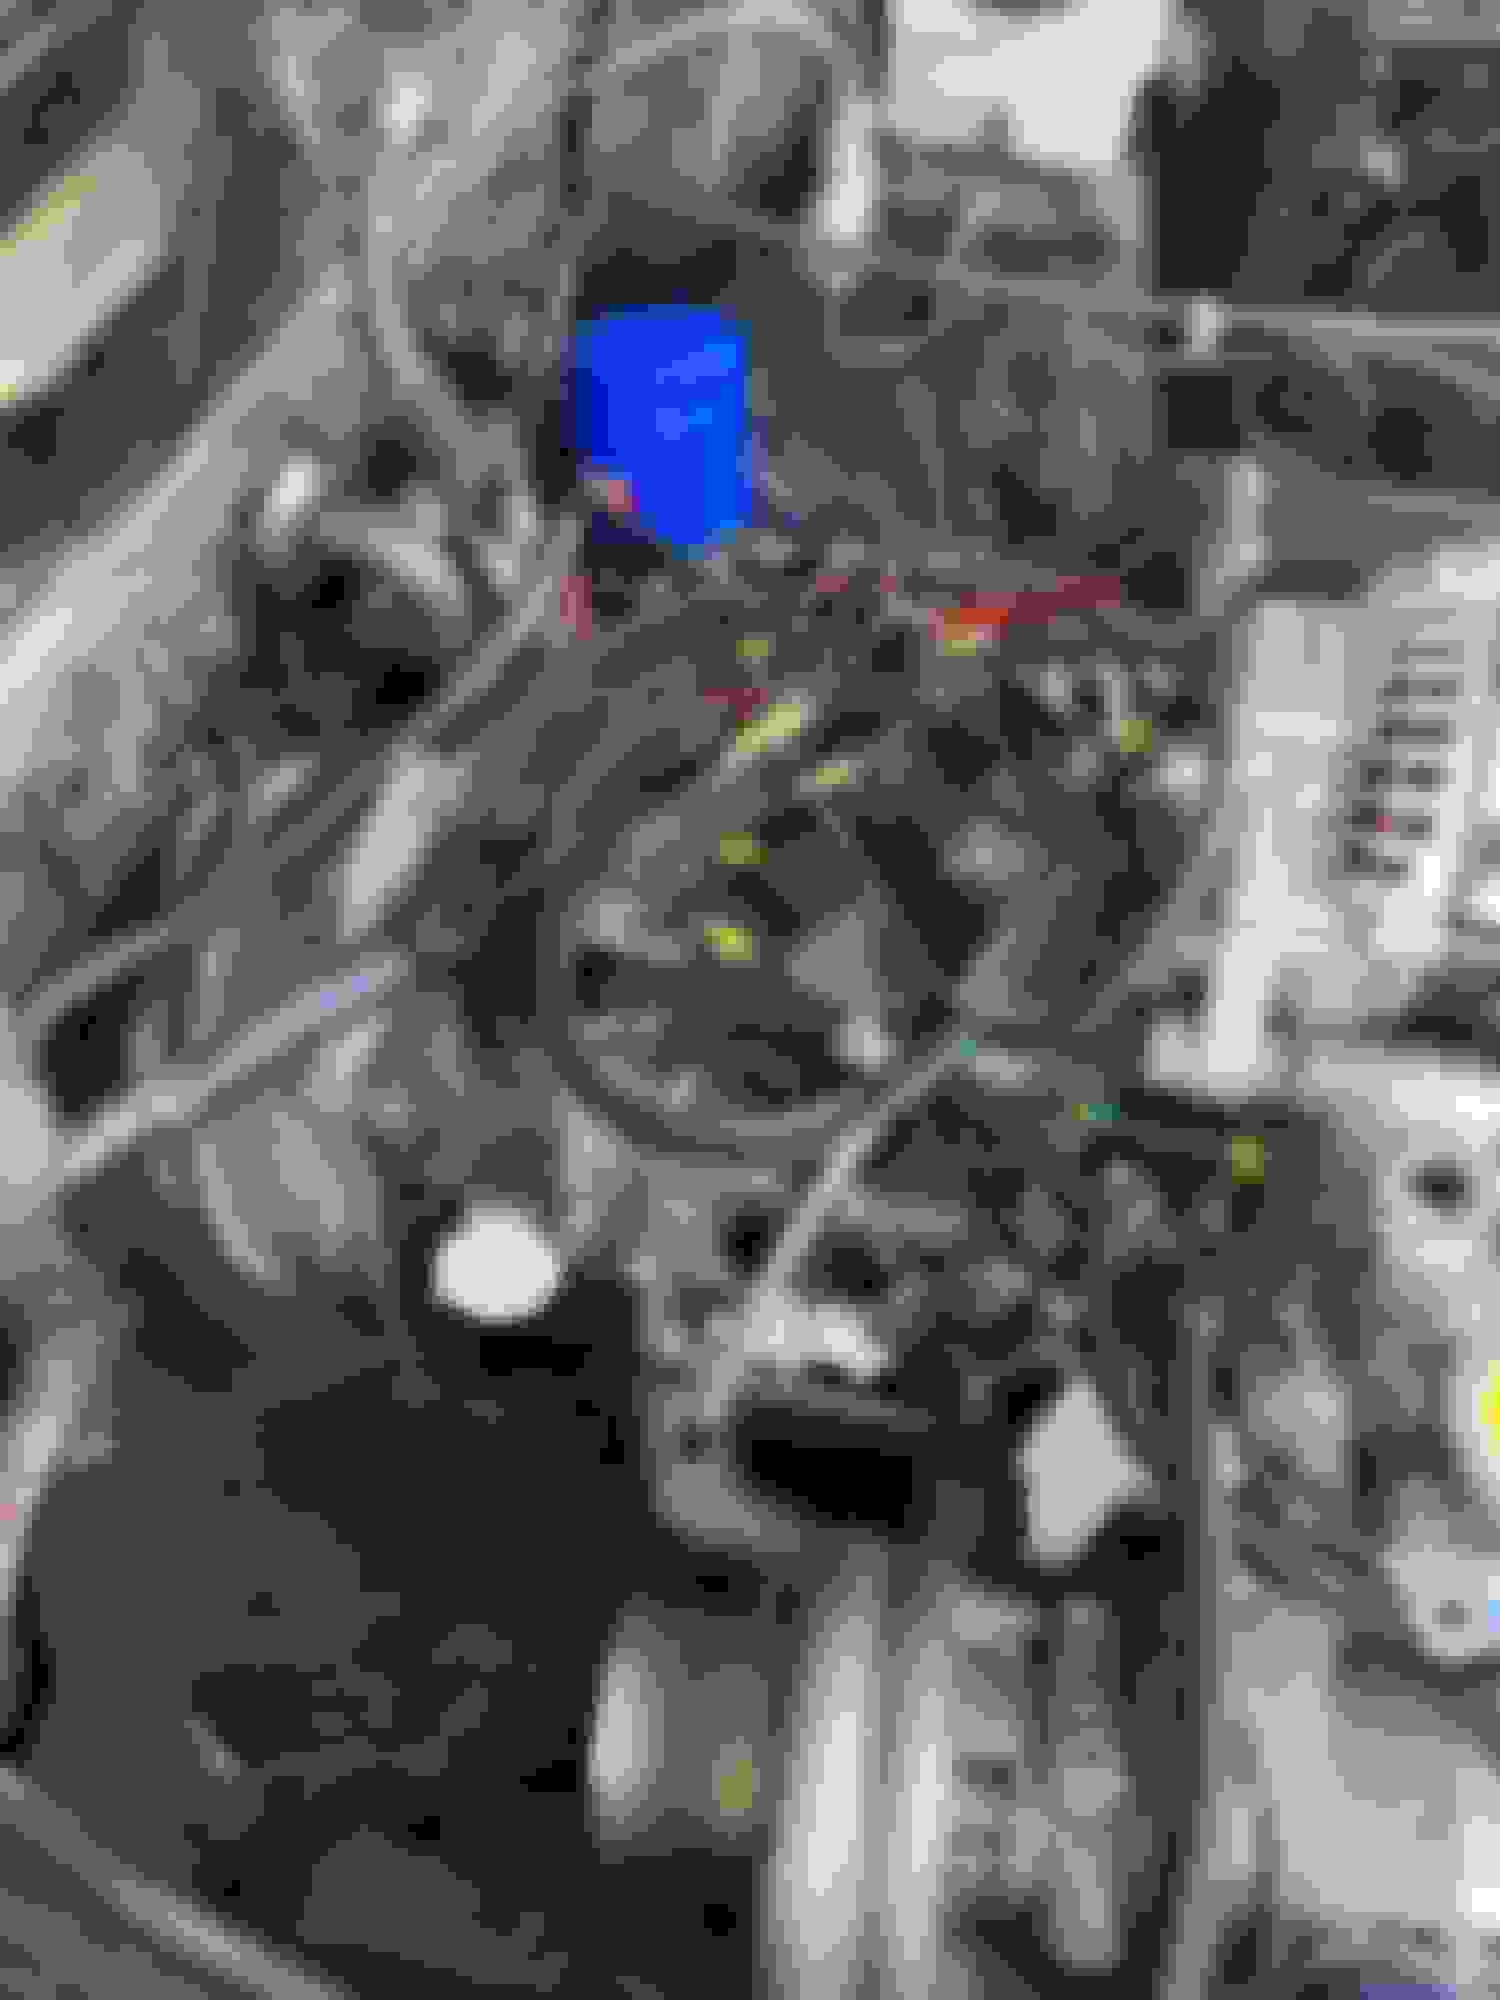
Some nice beauty shots of the internals Got the engine all stacked together, here is a shot my friend took while torquing down my turblown studs K spacer got my end-play right at 0.003" Installed the FFE Injector Inserts to properly seal the injectors, this was possibly causing some issues in the past so a nice addition to the build. I spent an entire day trying to pull the pilot bearing out, use a dremel to get it out, next time I'm doing this job I'm going to make sure to get the proper tool from Mazdatrix. Nice beauty shot of the engine all dressed up.
Got back from work tonight, got the wastegate bracket from Turbo Source, and came to the realization that my Treadstonen oil return line is sitting pretty close the bracket so need to find an "extendo" flange to fix that.
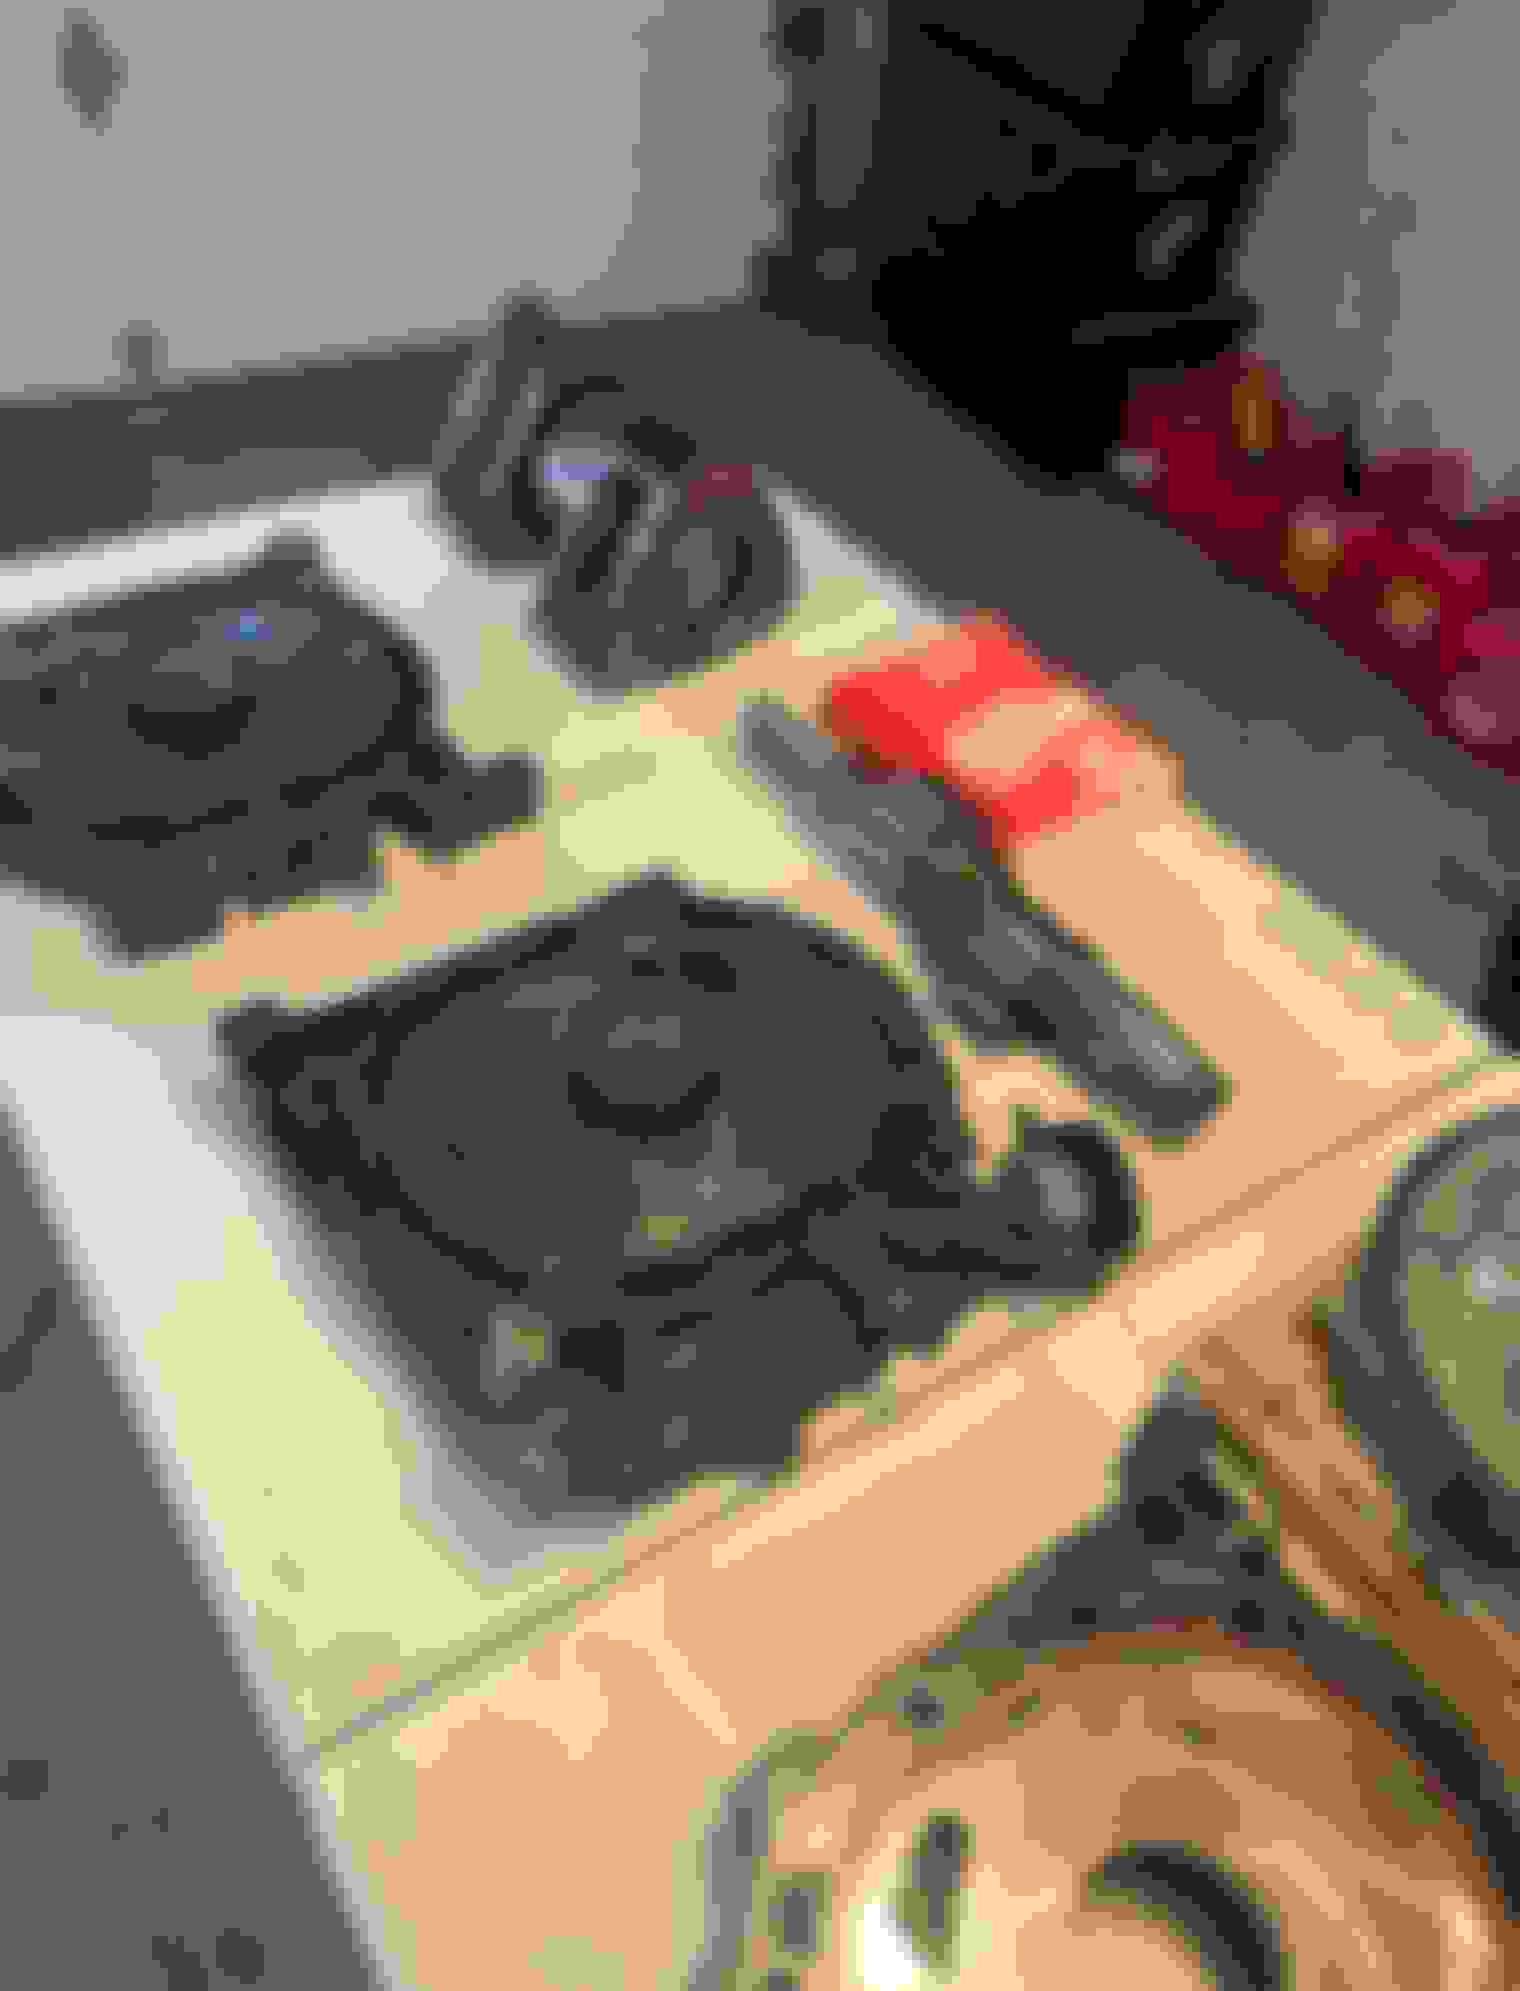
The engine is in the car, was honestly a PIA to put it in with my dumb engine hoist, installed my ACT 6-Puck Clutch, sealed the oil pan up with my LRB baffle plate, and throw the HIMNI Engine mounts on.
I'm surprised how much clearance and space I have in the engine bay, cleaning up the wire tuck was so worth it. Started planning out the intercooler piping and exhaust on the car which are the two major things that I was worried about. Also had the chance to get my Lower Intake Manifold welded up (as opposed to using JB Weld like last time) having my buddy deck it and port match for me and then from there the rest is light work.
Ordered a new alternator, dual pulley, JDL Oil Fill neck, and Banzai Oil Cooler lines which should hopefully be here next week, possibly first start-up next weekend (fingers crossed).
Spending 30 minutes or so within the day before or after work and just tidying up some things and planning. I've never planned so much with a project but I try to visualize and think of the best way to execute this and it seems to be playing in my favor. It has been a journey for sure but I'm happy with the end result of things.
Got the engine installed in the car, meant to update the build thread, been super busy with work and life overall. Finding whatever free time to get this car together and waiting on parts sadly. The car is 85% there, and expecting a first start-up in the coming days. Primarily can't do that since I need to order some parts to get my primary injectors to seal properly.
Installed the Banzai Oil Cooler Line Kit
Had the lower intake filled with weld by a local shop then my buddy decked and port matched the LIM for me.
Made a new engine harness for the car to accommodate for the changes I've made with the new engine setup, the old engine harness I had on the car before sucked anyways. Used every bit of I/O possible. Fuel Pressure, Oil Pressure, Stock CAS, FD IAC, FD TPS, GM MAP Sensor, GM Coolant Temp Sensor, GM Intake Air Temp Sensor, Boost Control, Electric Fan Control, FD Alternator, EV14 Injectors, and a Link CAN Lambda Wideband Controller since I'm fed up with the garbage AEM units.
Installed the engine harness, looks great in the car, took me 2-3 days to complete, and made it with whatever free time I had after work in my bedroom, not bad.
Finally ended up laying down the intake and whatnot, still finalizing a few small odds and ends. Really happy with the outcome, I blew my expectations out of the water. The wire tuck was worth it, for sure!
After getting back from class I got a little too excited to work on this thing. I went to AutoZone to go pick up a brand new clutch master cylinder and some basic maintenance items. I got a phone notification letting me know that my new injectors and calipers have arrived.
I read that this stuff works just fine, I'm new to rotaries but I'll give this a try.
The damage was $350 but worth it.
Installed the Atkins Rotary Fuel Filter, was quite the pain to get the filter back on the bracket. If you haven't figured out, I had the filter on backward, the arrow is supposed to be facing in the direction of the fuel rails.
Freshly installed fuel pressure regulator and injectors for both the primary and secondary rails.
Finally, put everything back together, I really need to clean up the bay. It was super cool seeing the car get some electricity and bumping some FM radio for a solid 15 seconds.
The car is so close to starting up (finger crossed) just need to throw the fuel tank back in and take care of something concerning I just discovered. There is a small portion of the fuel feed hard line that is rusted out causing quite a bit of fuel to leak out. I wonder if that's the reason the car wasn't starting in the first place. I think I'm going to cut that rusted section and extend the rubber hose connecting to the fuel filter to the hard-line. Hopefully, things go as planned.
I also decided to start filming some of the build if anybody was interested.
Whats name of company w/parts for a 1988 rx7 13b and where is yhie omp pump?and how do you tell if it has a working 1,and need a window motor,thx
Tdawg


 He wants to stay anonymous, but it is a proven and researched solution for what I'm doing


 but worth it.