When you click on links to various merchants on this site and make a purchase, this can result in this site earning a commission. Affiliate programs and affiliations include, but are not limited to, the eBay Partner Network.
About a week ago, I ended up picking up a 1988 GXL with 84,000 miles on the clock. I bought the car from the original owner who has unfortunately been battling cancer for the past 6 years and his brother helped to sell the car. The sale went great. I ended up renting a UHaul that day, never in my life have I driven a truck let alone a truck and a trailer. Getting the car onto the trailer was tough, I brought all my tools like the genius I am and had to remove the rusted brake calipers in the freezing cold then push the whole car up a hill with no winch (not fun lol)
The previous owner had the engine replaced at 68,000 miles over 20 years ago, also to note the car had been sitting in one spot in the driveway for 20 years. When the owner had kids he literally just parked it and never even opened the door to the car again. He literally gave me everything including all the service records, original brochures, DMV paperwork, etc. The car was only able to start on starter fluid briefly for maybe 5 seconds or so. It was a 2-hour drive somewhere in the middle of nowhere Connecticut. I have never owned a rotary car before but had always dreamed of owning an FC since I was very little. My father had a '91 S5 back in the day until he had kids (how ironic) but I do have good memories of the car. I've been dying to get into drifting and decided why not buy an FC, the original plan was to swap a 1JZ into the car but I ended up having a change of plans (for now), I have JZ parts sitting in the garage if I decide to rage quit.
Being a college freshman, I took advantage of the weekend and got to work in no time. I assumed that since the motor had compression and was able to start on some fluid that the car could potentially have some fuel delivery issues. I removed the upper intake manifold and pulled the primary fuel rail out. I ended up ordering a ton of parts for the car being:
Fuel Filter
Spark Plugs
Walboro 255 Fuel Pump
Plug Wires
Oil Filter
New Injectors (All 4)
Fuel Pressure Regulator
Shifter Bushings
Rear Brake Calipers and Rotors
S5 Taillights
A couple of miscellaneous maintenance items
Currently waiting on injectors at the moment, but crossing my fingers I can get the car running and driving this weekend.
After getting back from class I got a little too excited to work on this thing. I went to AutoZone to go pick up a brand new clutch master cylinder and some basic maintenance items. I got a phone notification letting me know that my new injectors and calipers have arrived.
I read that this stuff works just fine, I'm new to rotaries but I'll give this a try.
The damage was $350 but worth it.
Installed the Atkins Rotary Fuel Filter, was quite the pain to get the filter back on the bracket. If you haven't figured out, I had the filter on backward, the arrow is supposed to be facing in the direction of the fuel rails.
Freshly installed fuel pressure regulator and injectors for both the primary and secondary rails.
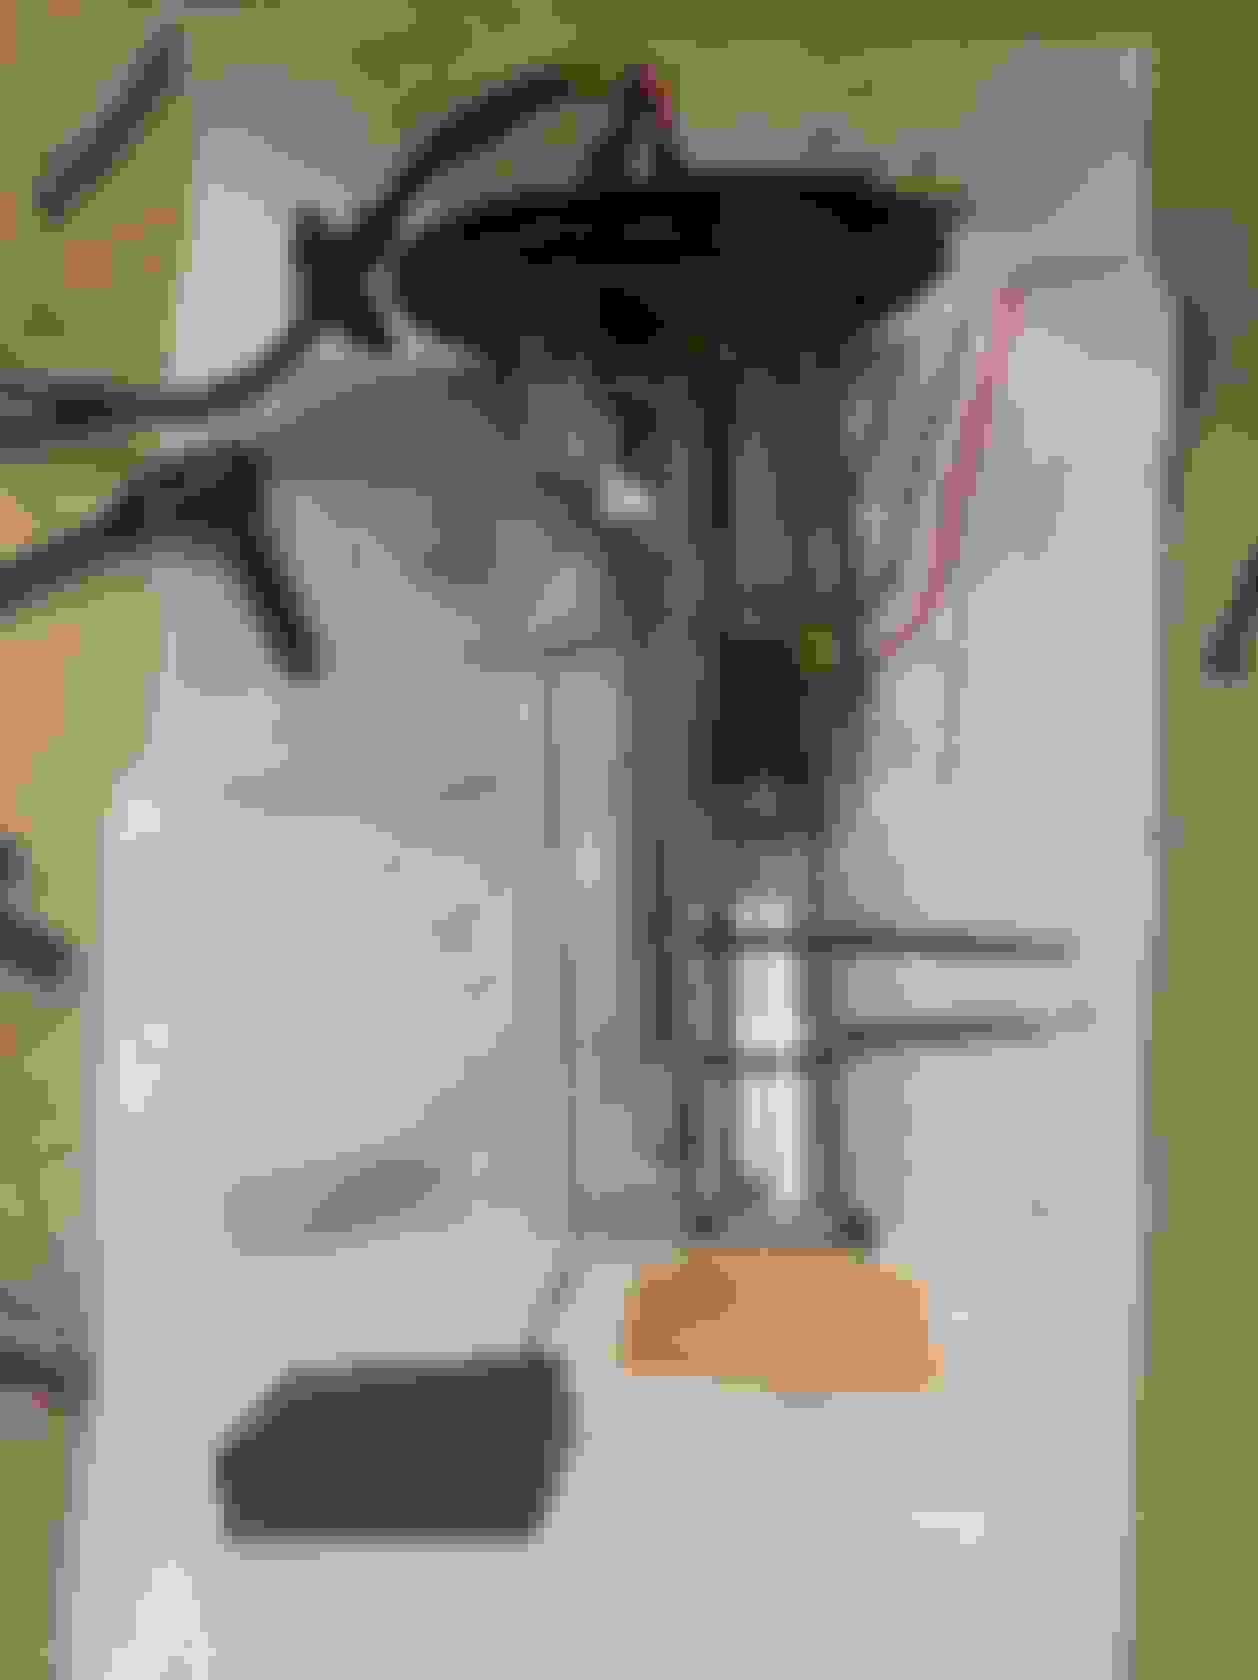
Finally, put everything back together, I really need to clean up the bay. It was super cool seeing the car get some electricity and bumping some FM radio for a solid 15 seconds.
The car is so close to starting up (finger crossed) just need to throw the fuel tank back in and take care of something concerning I just discovered. There is a small portion of the fuel feed hard line that is rusted out causing quite a bit of fuel to leak out. I wonder if that's the reason the car wasn't starting in the first place. I think I'm going to cut that rusted section and extend the rubber hose connecting to the fuel filter to the hard-line. Hopefully, things go as planned.
I also decided to start filming some of the build if anybody was interested.
Today was a pretty sad day for my wallet and the FC. I got my rear rotors and pads in the mail to find out that they sent me a 4-lug kit so there goes that. I Installed the new clutch master cylinder I got and ended up snapping the bleeder screw on the brand new slave cylinder and failed to bleed the clutch with the old one because it was obviously bad. I had some JZ swap parts sitting in my garage and figured out that the ISR 240SX Auto to Manual Clutch Line fits like a glove on the FC so I decided to replace the clutch line too. It's a little too long but I'll figure out how I'm going to tuck it. I also discovered that I was missing a plastic piece connecting the intake elbow to the BAC valve and went to Lowes and an L-shaped PCV fitting that fit perfectly.
Not sure if I mentioned previously, but when I had bought the FC, I had to remove the rear calipers to get it rolling and on the trailer. While removing the rear calipers literally ONE BOLT holding the rear caliper stripped so I had to cut it with a saw. I ended up buying new calipers off of somebody and decided I'd throw those in today. Everything went well on the passenger side, but for the driver's side that was a different story. I had to drill out two of the screws holding the rotor in place and then cut the caliper in half with an angle grinder processing to drill through the remains. Now I have a rounded off bolt stuck inside the driver's side knuckle and in all honesty, I'm not sure how I'm going to get that darn thing out. I could either drill it out and retap it or find some magical socket that can get it out. I tried using my set of extractors but that made it worse so I'll have to come up with something later this week. I really should be studying for a Calc exam and focusing on school so I'm going to leave the FC alone until I'm a little less busy.
PVC fitting solution I made for the intake
ISR Clutch line alongside with my new master cylinder
The aftermath of a lot of drilling and grinding
The rounded off bolt that will probably be on my mind for the next few days
Do you have vice grips, mapp gas, and a good 5 lb hammer?
Soak the bolt with penetrating lube, put your vise grips on the bolt head as tight as you can, then heat the knuckle up red hot around the bolt with the mapp gass and hammer on the vise grip handle to try to loosen the bolt. Also, save yourself some money at the auto parts stores, if you do site to store pickup you can usually save around 20% on every purchase.
Hey, I responded to your post on Reddit Glad to see everything is progressing.
Looking at that bolt, I'd do a variation of what Molotovman said.
I'd heat the bolt very hot, then take an air wand on a compressor (or a can of compressed air, like a computer duster can) and spray it at the bolt. The rapid cooling sometimes shrinks the bolt and breaks the seized portion free. If that doesn't work, heat again, spray lots of PB Blaster on it when hot (beware the smoke, and keep the can far away) and then hammer it. The only concern is to make sure you're hammering on the bolt, and not the knuckle. I don't know if it's possible to break the ear off with a hammer, but I wouldn't risk it.
Do you have vice grips, mapp gas, and a good 5 lb hammer?
Soak the bolt with penetrating lube, put your vise grips on the bolt head as tight as you can, then heat the knuckle up red hot around the bolt with the mapp gass and hammer on the vise grip handle to try to loosen the bolt. Also, save yourself some money at the auto parts stores, if you do site to store pickup you can usually save around 20% on every purchase.
I might give that a try, I've been using my subpar torch but not getting so lucky right now. I accidentally took an angle grinder to the head of the bolt so there is like 1/4 of the bolt head on there haha. Maybe if I do it to the other half that will help get some grip with my vice grip.
Last edited by HaveYouSeenAWizardSleep; Nov 22, 2019 at 09:01 AM.
Huge update, since my last post. I never ended fixing the issue with the brakes but at least I got my clutch pedal back (I'll get more into that). I threw the gas tank back in and tried to fire up the car on Friday after I got back from work, the car seemed like it wanted to start-up but couldn't then I realized that I had a pretty bad fuel leak. One of the hardlines rusted off at the tip by the fuel filter. I ended up cutting it off and extending the soft-line connecting from the hard-line to the fuel filter. Afterward, I tried to fire up the car and it would fire up for maybe 3 seconds or so, I realized I had a small vacuum leak so I fixed that, the car seemed to do a little better but still wouldn't idle even with my foot on the gas. I gave up that Saturday night and decided to look over everything. I realized that the AFM was unplugged so I plugged that in, and the car fired right up and even idled on its own with no issues. I also started to get pedal pressure on the clutch again after letting the car start which was awesome. Discovered a few small things, I have a small coolant leak coming from the back of the motor, might have to look that over and get that all fixed up. I'm going to probably replace the thermostat and other misc. things relating to the cooling system. I ordered an AEM water temp gauge because for some reason my water temp and oil gauge isn't working.
My close friends and I throw meets every Monday and we are having our final meet for the year since it's getting super cold down here in Mass. Hoping I can get that bolt out of the knuckle without destroying the knuckle and put the new caliper on the rear driver's side.
The next thing on the list is to fix my sunroof (I'll get into that in my next post) and get the car ready for paint.
Just a tip if you didn't know- make sure you replace any fuel lines with "Fuel Injection Hose". The auto parts stores are real quick to sell you low pressure fuel hose because they don't know any better.
Just a tip if you didn't know- make sure you replace any fuel lines with "Fuel Injection Hose". The auto parts stores are real quick to sell you low pressure fuel hose because they don't know any better.
To add to what Ian already stated, I would reaplce the zip ties holding the pump to the mount, with one or two worm clamps.
You'll probably find that the coolant leak at the back of the engine is either the heater core hose, or the small hose that runs from the top of the rear iron through the thermowax, along the dynamic chamber and BAC then into the front iron.
Just a tip if you didn't know- make sure you replace any fuel lines with "Fuel Injection Hose". The auto parts stores are real quick to sell you low pressure fuel hose because they don't know any better.
You'll probably find that the coolant leak at the back of the engine is either the heater core hose, or the small hose that runs from the top of the rear iron through the thermowax, along the dynamic chamber and BAC then into the front iron.
Yeah, most likely it's the thermowax, I'll take a closer look at it when I have time during the holidays.
Haven't posted in a long time, was busy with college finals and whatnot. But within 15 days of ownership, I got the car started for the first time. I installed the fuel pump, gas tank, and all the other stuff I had removed. I spent this week bleeding the breaks and the clutch which was a pain and ended up going back to the stock clutch line. In all honesty, I've done quite a bit including replacing that knuckle I was tackling with the stuck bolt alongside the wheel bearing. Installed the DTSS delete from Atkins rotary and some new seats. Waiting on some small stuff right now to make the car roadworthy. The car is insured and registered, drove it around maybe a total of 20 minutes. It's super sketchy since it's on 20+ year old studded tires.
Some Pics:
Drove it to my buddy's bay at the dealership so we could bleed the breaks and clutch off hours. Was super sketchy breaks were literally to the firewall haha. Had a small coolant issue as you can tell, it ended up being the coolant cap seal.
Replaced the cap with one of those locking caps from AutoZone, works great.
First time the car has seen a gas station in over two decades
Installed some NRG Racing Seats that came with Planted Technology Seat Rails. Bolted in perfectly with an FC (sorta, gotta drill out a stripped bolt)
Last edited by HaveYouSeenAWizardSleep; Dec 18, 2019 at 12:08 AM.
I really enjoyed reading through your thread!! I've been there myself with some of the restorations I've brought home. And as painful as it is at the time, it's well worth all of the time and money invested in the car. The FC is an incredible car and the rotary engine is just perfect for the car! Keep us updated on how it's been driving and how it's been treating you! Its definitely a car worthy of being restored!
Started off 2020 pretty bad for sure, got in a pretty bad snowboarding accident and have been wicked busy with college. But while I had my concussion I actually put some time aside to work on the car and did a lot of work last week too.
So my buddy and I split on a parts car and I snagged the dashboard and a couple other small bits to clean up my interior and other parts of the car. But most importantly I wanted to get everything mechanically together, had a pretty bad issue with charging the car and the stupid gauges on the cluster don't help whatsoever so rather than chancing it I pulled the trigger and got some quality replacement parts. I replaced my alternator, thermostat, and belts during my concussion period.
Last weekend my friend and I replaced the cluster, speedo cable, installed a Sony XAV-AX1000 radio, some brand new speakers, bolted down my seats, and other stuff I'll just throw in some pictures for your viewing pleasure. I'll upload a YouTube video with the stuff I did the last weekend.
I took the car to lunch with my family on Sunday, definitely a gratifying feeling seeing a car that sat for decades revived and running. So if you guys haven't figured I'll be drifting the car so a huge huge shipment will be coming containing coilovers, all-new poly bushings, diff & diff mount solid bushings, and wheels hopefully. I also got some brand new tires for the car too!
I really enjoyed reading through your thread!! I've been there myself with some of the restorations I've brought home. And as painful as it is at the time, it's well worth all of the time and money invested in the car. The FC is an incredible car and the rotary engine is just perfect for the car! Keep us updated on how it's been driving and how it's been treating you! Its definitely a car worthy of being restored!
For sure! A little late on a response, but that means the world to me seeing comments like this. I'll be pretty active forsure. I'm a Y2K kid so I'm the few last of my generation to stay active on forums.
Things have been going really slow as of recent. I did a couple of small things today and ordered a bunch of suspension parts (pretty much every part you can think of from bushings, arms, and coilovers). Had a small incident when driving the car the clutch peddle started to lose pressure when I checked under the hood the master cylinder was pretty much empty. I limped the car home with barely any clutch pressure. Came to the discovery I didn't thread the clutch line tight enough (no wonder why it was so hard to bleed it in the first place), recently the clutch kept sticking to the ground and getting really sketchy. When I pulled the line off there was a bunch of solid material sandwiched in between the fitting and slave-cylinder. Resolved the issue by cleaning off the surface, tightening it properly, and re-bleeding the system, the pedal feels a lot better. I'm a little concerned that the clutch fork isn't getting much movement so it looks like I'll have to pull the transmission soon before the season starts.
In other news, bypassed the stock amplifier today which was making my new speakers sound like garbage. I also removed the annoying buzzer from my cluster which was driving me crazy. My low coolant light seems to be active for some reason. I ended up replacing the sensor and gasket but had no luck so I just yanked it off the board and the cluster works just fine. I also got a new shift **** (Greedy Type A) and Garage Moon Power Mats, just useless stuff that will extend the time of this project but I'm happy with the car regardless.
Everything is coming together nicely! Not my cup of tea on drifting such a nice FC though. They are great cars and they are starting to climb a little in value. That car is well worth some light mods and being treated well. If you want to drift an FC, ibwould personally find a rotten example. This one is just too nice to chance ruining. But again, this is my opinion and it's your car. At the end of the day, you do what makes you happy.


 but worth it.


 Glad to see everything is progressing.