When you click on links to various merchants on this site and make a purchase, this can result in this site earning a commission. Affiliate programs and affiliations include, but are not limited to, the eBay Partner Network.
Everything is coming together nicely! Not my cup of tea on drifting such a nice FC though. They are great cars and they are starting to climb a little in value. That car is well worth some light mods and being treated well. If you want to drift an FC, personally find a rotten example. This one is just too nice to chance ruining. But again, this is my opinion and it's your car. At the end of the day, you do what makes you happy.
Haha, I feel you on that. I've been thinking a lot lately. I do have a parts car that has slight rot. But honestly I'm not gonna take it serious enough to the point where I'll have to get a cage but something simple and street-worthy without ruining many of the cool body features that come with the car.
My school's motorsports club had a dyno day and for the first time took the FC on the highway and put some serious miles on the car (still don't have an inspection sticker, due to the exhaust leak). The car ended up making 99.2whp on a Dynojet, not shocked and doubt my aux ports or opening up. Car sounds and feels fairly healthy though. That aside my main focus has been on suspension, this is very important as I need to somehow combat my low hp/trq with good suspension on the track and well also develop some driver mod. I went with pretty much everything PBM makes for the rear end, I won't be installing this anytime soon as the first drift event is on March 14th and I personally don't have the time to be burning and drilling through 30-year-old bushings as my neighbors are annoying and butthurt about the car as is (at least I'm not crying with 3 kids in a leased Audi LMAO). I did the brakes and rotors today which was nice, should have done that a long time ago since they're decades old and I've been driving with my fingers crossed since. Just waiting on my coilovers, poly bushings, and welded diff and we should be mint for the first drift event. Probably should do the trans and diff fluid too haha.
Just run high tire pressure in the rear and really throw the weight of the car, speed up your entries as you get more comfortable and don't expect to link up many turns. You'll have a fun day, keep up the work!
The past weeks have been horrible honestly, for the car and for me. With this whole COVID-19 crap going on it's slowed down a lot of things from work, college, personal life, etc. First Drift event was on March 14th, I missed that after doing an inspection of my car the fuel lines are rotted, never has this car leaked fuel on me but the moment I touched them they split in half, resulting to pressurized fuel getting in my eye. I had to pull the subframe like 3 times last week, also I started the whole paint prep process. Traded two of my GXL LSDs for a freshly welded open diff. Aside from that made some small progress on the car and ended up replacing the fuel and brake lines with fresh cooper lines. Just need to clamp them down properly to the body.
It's been a while since I've posted but I've done quite a lot for the good old girl and have been pretty much daily driving it. Finally, I got some wheels for the car too which I'm excited about. Sadly I went through a lot of personal issues last month, the original owner of this car who I had a relationship with had passed away from cancer and that put a huge toll on me. It pushed me to drive the car a lot more, I plan on bringing her off to pain and finishing everything up so the family can see the car in its new form here are a few pictures. Currently, the car is down right now, blew another alternator.
First ever "photo shoot" with the car
Got a Nardi 350mm deep dish wheel, love it.
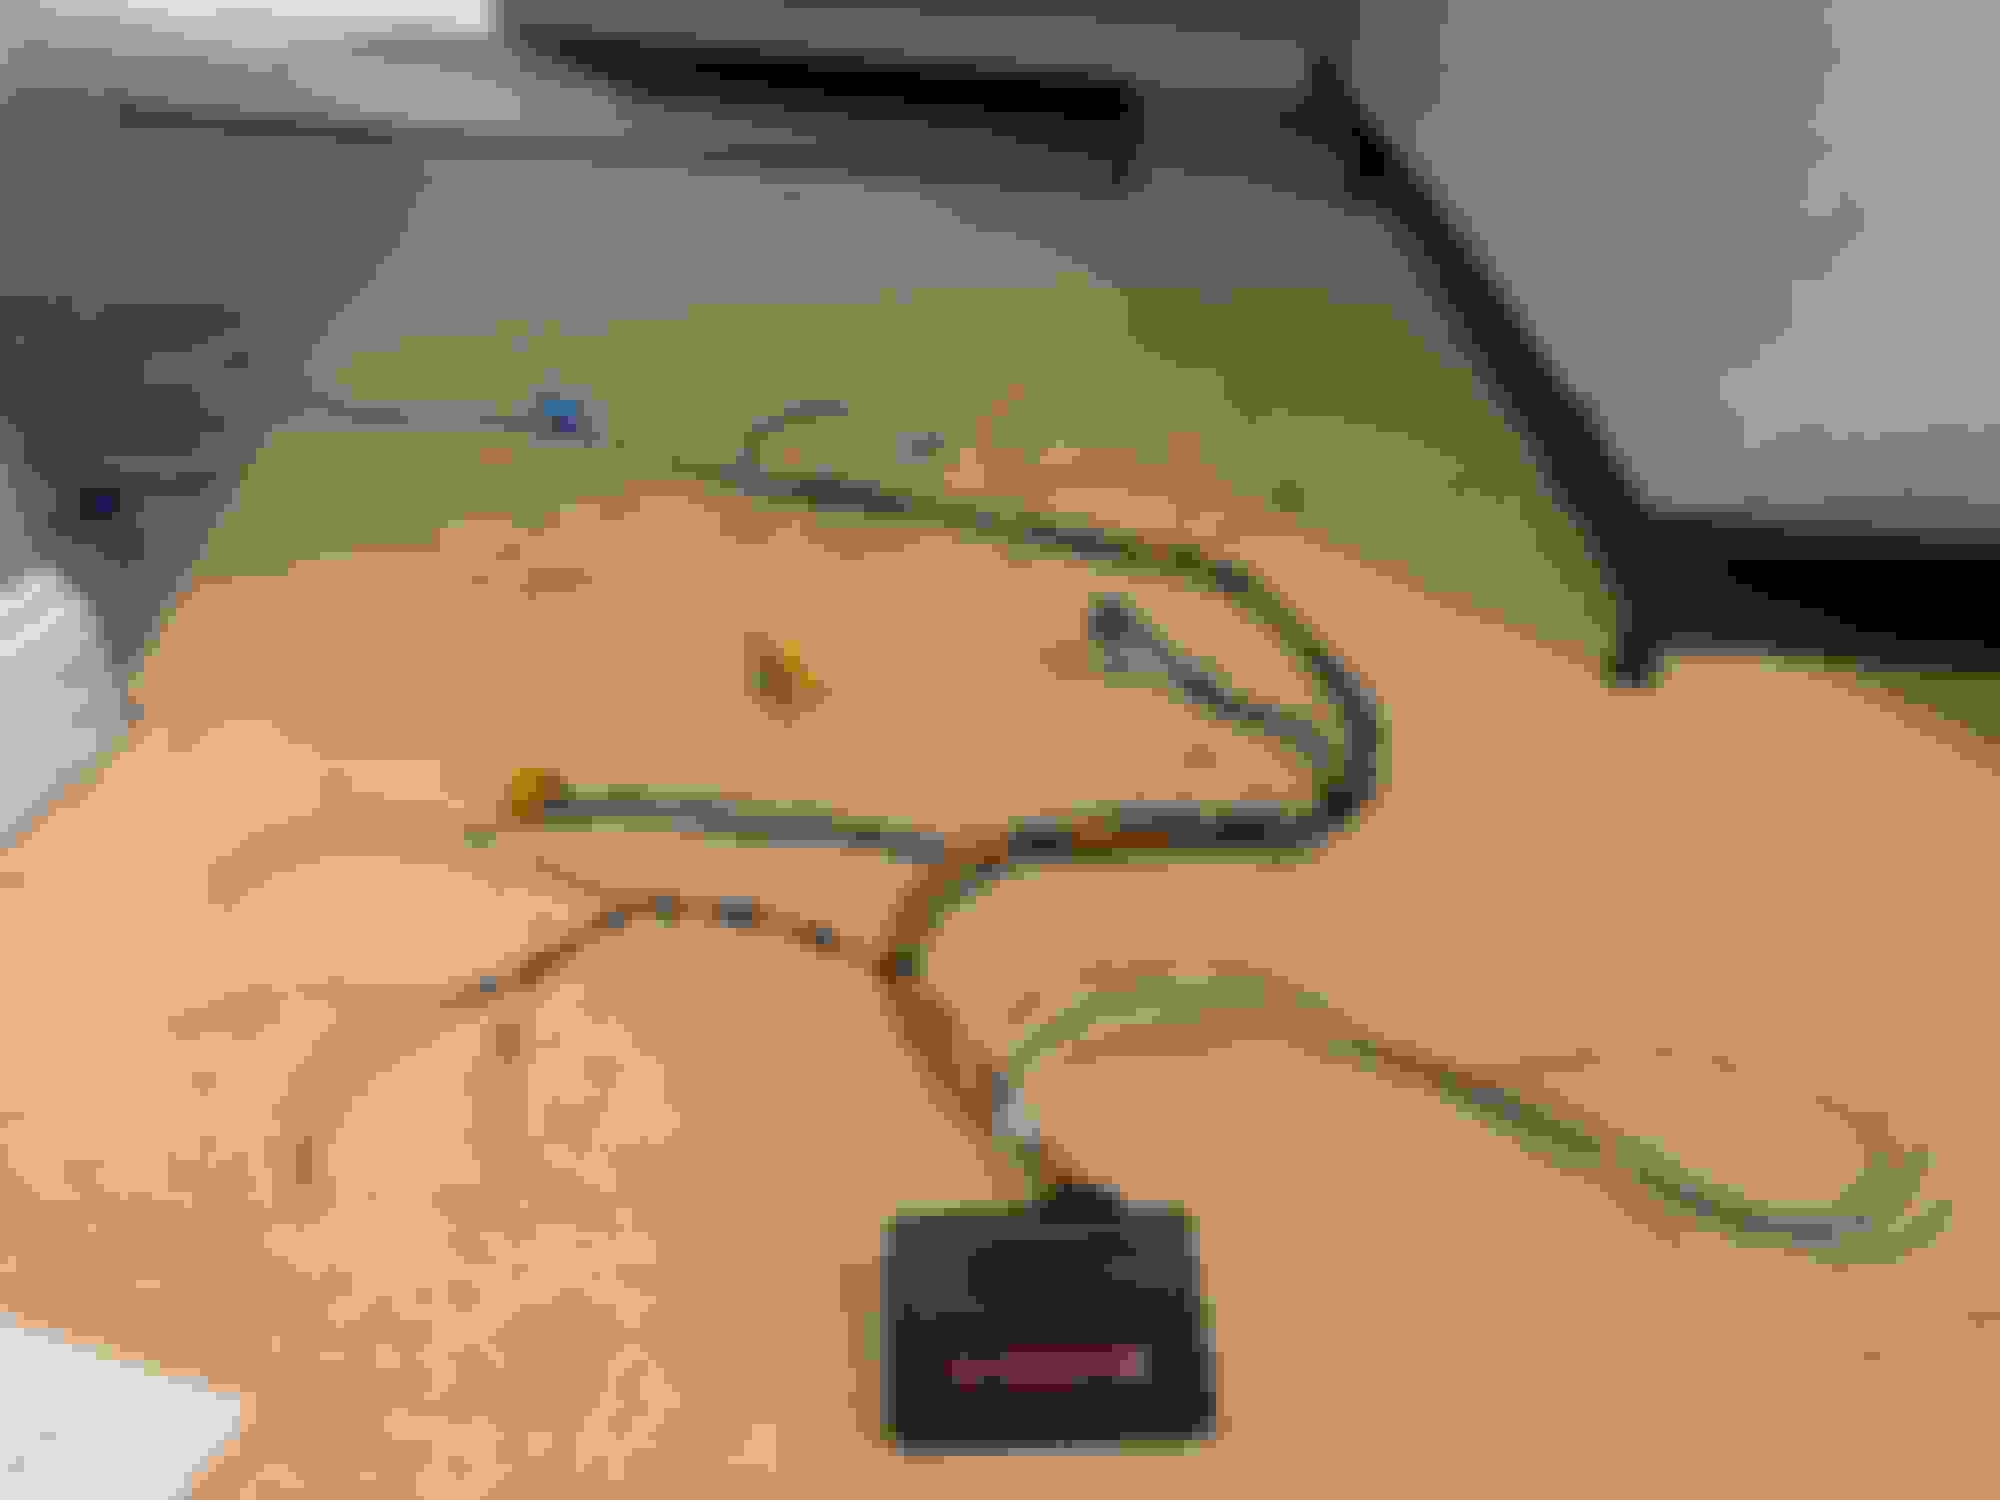
Installed a fuel cut off switch in arguably the worst location ever
Painted my UIM while I was doing the rats nest delete
Got some new wheels and tires! Advan ONIs 17x8 +25/+12 no spacers needed
Shoulda kept those solenoids! They can be handy and easily sold as replacements.
I still have them, stashed away in a box. I will never have any need for them I've been in the process of re-wiring everything upfront (front body harness and engine) for my 6-port turbo setup and wire tuck. I'm from the VW scene so that's all I know hahah.
It's been a while since I've last posted, to simply put it the alternator died on the car in early June and mu awkward functioning mind pretty much told me I should do the things I've truly planned on the car, meaning I was going to turbo my NA keg (properly). Believe it or not, for me this was actually financially a great choice, the reason being opposed to spending 4-6k+ to properly do a Tii swap I can actually delve more into the NA platform. Being an S4 I have 9:4:1 rotors making it slightly dicey territory for going the turbo route, but in my case, I've exected this properly and personally I'd do this with a Tii, NA, REW, etc...
Some people slap a Tii turbo and components on then throw any random computer or even worse a stock ECU on their builds and blow their engines of course. The 6-port is a very viable option you can do it affordably with good insurance with my research it was a no brainer.
I'm almost nearing completion, here is the parts list.S4 Tii UIM, LIM: Nice and simple fit, port matched my LIM and fits perfectly capped off everything pretty much besides the fuel pressure regulator, brake booster, and MAP sensor source.
S4 Turbo/Manifold: Drove 6 hours for this, was worth it. The only thing that had to be done was porting of the wastegate, boost creep is exactly what YOU DO NOT WANT especially with a high compression keg. If you plan on doing this yourself make sure to port out those wastegate holes FAT.
S4 Turbo BAC & Rails: People will argue about keeping the BAC Valve, it's a very nice piece to retain and I never understood why people remove it in the first place especially on the crusty stock ECU but to each their own.
CX Racing Oil Lines: This kit worked fine, for oil feed I used a sandwich plate and for the drain, I'll be draining into the front cover. I used a 10AN x 1/2" NPT for the oil drain and -4AN to 1/8 NPT Male Adapter Block for the oil feed which directly works with the CX kit.
Mishimoto Oil Adapter: Being used to provide oil feed to my turbo
OMP Delete Kit: Didn't want to have to do this, I can still retain it but since I'm going for a show style clean bay had to go I doubt it was working anyways.
eBay FMIC: CX Racing kit, haven't even ordered it yet, seems as it will work fine I'll probably upgrade the core in the future the only issue is the piping might not clear my oil fill neck sadly.
Racing Beat Down-pipe: Nice and straightforward, provides a direct fit.
Koyo Radiator: My Radiator is like 30 years old, not worth the risk.
Ford Taurus E-fan: Did this to clean up some things, like having the versatility of controlling this through the ECU, I've heard good and bad things, worth the shot.
Electronic Boost Controller: Typical MAC Valve, don't see why I'd personally want to use a manual boost controller, it's nice having the ability to modulate the wastegate duty via the tune.
Injector Dynamics ID1050X: It really isn't much about running high boost it's deeply into how I handle spark and fuel if anything, these injectors are great and provide essential data for me to enter in my ECU to utilize the best of it.
Link Monsoon: Rarely used on the FC platform, I've never heard of a single person running these ECUs but for the price it's amazing and I've seen great results. I'll actually be making a guide on how to wire and program it on your 13B if you plan on doing so.
AEM Wideband: Friend randomly gave me this it's going to be great for tuning as I can help me dial in the tune through closed-loop and Link's fuel mixture map feature.
Catback: Got it technically for free off a friend
A few photos, expect more, finishing up the wire tuck:
Port match my friend and I did together he used his Bridgeport to give it a smooth finish and really make it look right. So thankful for such friends.
Just chilling, waiting on parts ft/ my beat-up skate shoes.
Good glimpse of my -10AN oil drain line and coolant return line (using the port out of the rear nipple on the water pump housing)
Nice overview of the routing of my oil feed and coolant feed line (used the port coming out of the rear iron)
Excited to see the 6-port turbo update, this is definitely something I've wanted to do for awhile (although the car seems to have other ideas).
Originally Posted by HaveYouSeenAWizardSleep
Link Monsoon: Rarely used on the FC platform, I've never heard of a single person running these ECUs but for the price it's amazing and I've seen great results. I'll actually be making a guide on how to wire and program it on your 13B if you plan on doing so.
Definitely interested in the guide, I'd actually never heard of that. I've heard of people using Link ECUs, but I haven't seen any on an Rx-7 either.
Excited to see the 6-port turbo update, this is definitely something I've wanted to do for awhile (although the car seems to have other ideas).
Definitely interested in the guide, I'd actually never heard of that. I've heard of people using Link ECUs, but I haven't seen any on an Rx-7 either.
Good luck, update us soon
Yeah, I'm excited to actually provide a detailed guide. This is pretty much how it's going to be wired up. Had to make a sub-harness for my smart coils since I didn't want the 30AMP relay powering the ECU and other stuff also power the coils at once (not worth the risk).
Notes:
- NE+ is the red wire on the CAS
- NE- is the white wire on the CAS
- G+ is the green wire on the CAS
- G- is the White/Black wire on the CAS
- The yellow/blue wire on the back of the cluster is the tach signal you want to spice into (use a one pin weather pack connecter or whatever your heart desires)
- For the injectors, the order doesn't matter, just be sure to have it wired up consistently (left to right, i-e: 12v power to the left, signal wire to the right of the injector)
- The BAC, IAT and CLT Sensor are non-polar so no need to worry about which way they go
- White wire coming out of the wideband will be the signal wire that will be connected to An Volt 2
- You are not required to use the Ford TPS, it is recommended to take the full potential for tuning reasons if you choose to use an S4/S5 TPS the wiring goes as follows
- If you choose to use the Ford TPS the wiring goes as follows: Orange=5v Source, Green=Signal, Black=Ground
OMP Delete Kit, Mishimoto Sandwich Plate, and Link Monsson G4X ECU came in today, put a few hours in today, and got to work, never been so excited for parts especially this ECU! I'll be uploading a fully extensive guide on how to wire up the Link while retaining things such as functional gauges, wipers, and basic turn-key operations. That's what I call OEM+ folks haha.
Just about done with the wire tuck and routing what I need for the engine harness, just need to add the wires for the electric fans through the harness and the ground for my smart coils and I should be fine! I extended that lead to the fuse block and whatnot so that was fun. Just everything is expensive and annoying as is, so taking my time as I dug pretty deep into doing this deep, but at least it's being done right.
Finished the wire tuck and pretty much all the important wires that go to harness have been all handled just need loom!!! That being said all that's left is getting those darn expensive IGN-1A's w/ a mount and my injectors. Connected and unlocked the ECU which was pretty cool also tested for spark and injector signal with my voltmeter and everything. Pretty impressive for my first custom harness!
Ended up looming the remainder of the harness (sorta), I made the mistake of going over-kill on wire size making some things in the harness a pain to splice in and connect resulting in me having to make some modifications. As we speak I'm yet to wire in my CLT, IAT, Pressure Sensor, and Boost Controler into the harness (I have the leads all loomed up) just need to pin them up. I eliminated the whole IGN-1A thing it was too expensive for my likings and kept the stock ignition (this required modification to the igniter). Link has done good documentation of providing all the wiring stuff I needed. After looming it up halfway, I put the harness back in the car, I won't have to remove it ever again hopefully just need to add those remaining leads I was talking about in the car which is fine. I started to dial in my base map by configuring all my sensors and trigger information, Link provides a great feature allowing you to view the trigger scope giving you a full detail of the 5v pulse from the CAS, well I was getting signal from the sync (green wire on the CAS) but wasn't getting anything on the home (red wire on the CAS), so I went crazy for a whole day trying to figure out how I even regrounded my battery to the engine and the chassis to ensure everything checked out. My wiring was fine, the CAS was dead sadly, have no idea how that happened but it just randomly died. My buddy hooked me up with a new CAS, all of a sudden I was getting RPM readings and trigger signal. If you are more curious about how I resolved this issue and the hurdles I came across you can take a look here.
The fun part, I started to crank the engine had read from all sensors hooked up, calibrated my TPS, played around with the master fuel value (I set it to around 8ms, I will provide all files and videos to everything I had to do soon), started to crank the engine I just heard it was dying to start, I then tampered with the base timing, I got the engine started with the S6 Basemap by locking ignition timing to -20 BTDC (20 ATDC) and setting by offset to around 180 degrees. Started right up, sort of, it was rev'd to the moon and I shut it off (I didn't have the throttle body connected so it was sucking in a bunch of air), I saw a bunch of fuel leaking on the floor, luckily I had some spare seals and o-rings I had ordered from Atkins back in November when I had first got the car. The night was a success I went to bed (Aug 30th, 2020). As of today I cleaned up a few things and tightened up some bolts and vacuum lines, the engine started up just fine, I'm yet to dial in the base timing going to borrow a timing light from a friend. The funny thing about all of this, T1 isn't even firing at all, when doing the dual igniter setup (Video Guide I made if you're interested:
) I had two igniters because I replaced one after blowing it from hooking up my battery backward by accident, I didn't even know I blew it because I just replaced it because I wasn't getting a tach signal anymore. I started the first day of my sophomore year in college and right after classes couldn't resist but to work on the car, not only did I get the car to idle as I said beforehand I got it to pour oil all over my parent's garage floor. I shut off the car right away, realized I forgot I still haven't drilled and tapped my front cover for my oil drain so I have fat -10AN line sticking out to the floor at the moment.
Anyways got a few minor things to attend to and I can start street tuning it, I can't yet set the base timing until I replace the igniter for T1, but lots of progress has been made since.
All loomed up and ready to go back in the car
Falling in love with this whole shaved bay thing, I'm a fan (maybe because I'm into VWs lol)
Now to attend to the whole oil drain fiasco, I told myself that would be the last thing I'd do to "complete" this project, well yeah that's somewhat true. I was mainly concerned about the whole having the clutch depressed to avoid damaging the bearings inside the keg and almost even considered pulling the engine and getting it sideways on a stand, that seemed overkill but I guess you can call that playing it safe, despite most of what I've done to make this car a thing is unsafe.
Came up with a pretty trash (but functional) solution for keeping the clutch pedal depressed, thank god I replaced the lines, master, and slave so I could ensure that it was getting full travel. When removing the 6 bolts holding the front cover to the oil pan after lifting the engine a little bit (had to remove motor mount nuts) 4 of them snapped (not shocked).
Getting the oil drain drilled and tapped and having a friend remove the snapped bolt threads from the front cover. At the worst, since everything doesn't go as planned I will get a Turbo front cover, but that's boring, isn't it?
Ordered a new front cover gasket, water pump gasket, water pump housing gasket, and Atkins thermal pellet for the car, now I just wait.
A couple of small updates.
- Replaced the front cover and drilled and tapped for a fresh oil drain
- Front Cover Gasket, Water Pump Housing Gasket, and Water Pump Gasket have been replaced.
- New Front Main Seal
- Replaced my T1 igniter, have spark through all sections now.
- Rewired my CAS using WP style connectors
- Installed an IAT and CLT sensor for tuning
- Replaced Oil Thermal Pellet with the Atkins unit
Car is ready to rip once again, got caught up with some personal things, and missed the drift event yesterday but better-doing things right. Need to do a bolt check and ensure everything is torqued properly. The IAT sensor doesn't come until next week. Called it quits for the night because I got too lazy cutting my oversized oil drain line to size and getting the oil cooler lines back on. My major frustration is sometimes these WeatherPack connectors don't like to sit centered making me a wee bit concerned about the CAS connector I made, I'll have to give it a look in the morning.
Agree with the weatherpacks. The crimp needs to perfect or else a pin can sit crooked and make it a pain to plug in. Although a bit pricier, deutsch connectors are far superior than weatherpacks.
Agree with the weatherpacks. The crimp needs to perfect or else a pin can sit crooked and make it a pain to plug in. Although a bit pricier, deutsch connectors are far superior than weatherpacks.
Keep up the great work!
Thanks! They honestly suck no matter how delicate I am with them. Going to make the switch soon.
Took Atkins maybe a whole lifetime to process the shipping for my new front cover gasket after contacting them via email they just hit me with a lot of misleading and false information but I'm not one to talk down on one of the biggest rotary based companies as that's not my place just had my first bad experience out of dozens of orders I've made. That being said hopefully I can drive the car today if I can get that on today after getting my package delayed and the goal was to drive the car yesterday for my birthday but that didn't go as planned.
My school's motorsports club had a dyno day and for the first time took the FC on the highway and put some serious miles on the car (still don't have an inspection sticker, due to the exhaust leak). The car ended up making 99.2whp on a Dynojet, not shocked and doubt my aux ports or opening up. Car sounds and feels fairly healthy though. That aside my main focus has been on suspension, this is very important as I need to somehow combat my low hp/trq with good suspension on the track and well also develop some driver mod. I went with pretty much everything PBM makes for the rear end, I won't be installing this anytime soon as the first drift event is on March 14th and I personally don't have the time to be burning and drilling through 30-year-old bushings as my neighbors are annoying and butthurt about the car as is (at least I'm not crying with 3 kids in a leased Audi LMAO). I did the brakes and rotors today which was nice, should have done that a long time ago since they're decades old and I've been driving with my fingers crossed since. Just waiting on my coilovers, poly bushings, and welded diff and we should be mint for the first drift event. Probably should do the trans and diff fluid too haha.
Just now seeing this....I bet your aux ports werent opening up.