When you click on links to various merchants on this site and make a purchase, this can result in this site earning a commission. Affiliate programs and affiliations include, but are not limited to, the eBay Partner Network.
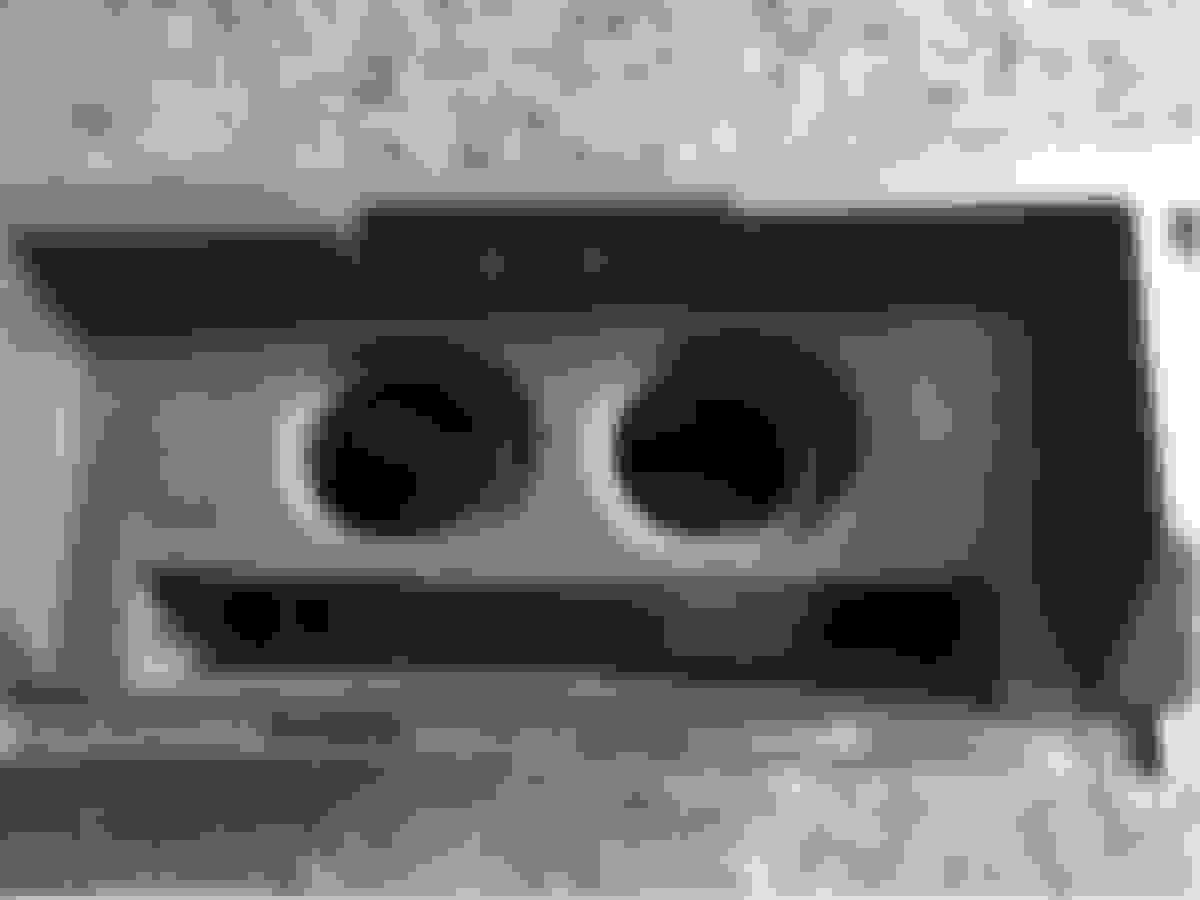
i have my gauges where the radio was, and its kind of neat but i think they will eventually migrate to the glove box too.
the glovebox is a really common spot actually, HKS used to have something for that (RHD specific, so it would point the wrong way)
food for thought, not sure where the registration goes if you have this, lol
Looks like you could slide the owner's manual in that space, but not sure about the width. My owner's manual does just fit underneath these two gauges. I did have a little note booklet I kept in the car that doesn't fit anymore, but I can put that in a seat back pocket.
Since I forgot to order the other end of the nine position connector for the sub harness, I moved to some other things this morning. Working on mounting up a new parallel flow A/C condenser and redoing my fan shroud brackets.
I already have a -10 flange for the front cover, just need to get one for the turbo. I discovered this was an issue when I attempted to install this back when I did the cooling system. I may make my own oil cooler lines at the same time. Or I may not, mission creep stinks.
I think I have that exact tank already, picked mine up with some line from Aircraft Spruce. Air pump is still in the car, so I think it's going to go where the battery was. I'd like to fit it where the ABS pump was, but I think the brake line gets in the way.
Yeah, beware of mission creep
For my FD, I settled for one of their smaller tanks, and fit it near where the ABS pump was. I don't have an air pump on the FD either, but the turbo eats up all that space. You should be able to do something similar in the FC, and to avoid the brake lines & such, get creative and build a multi-piece stand-off bracket to clear that stuff.
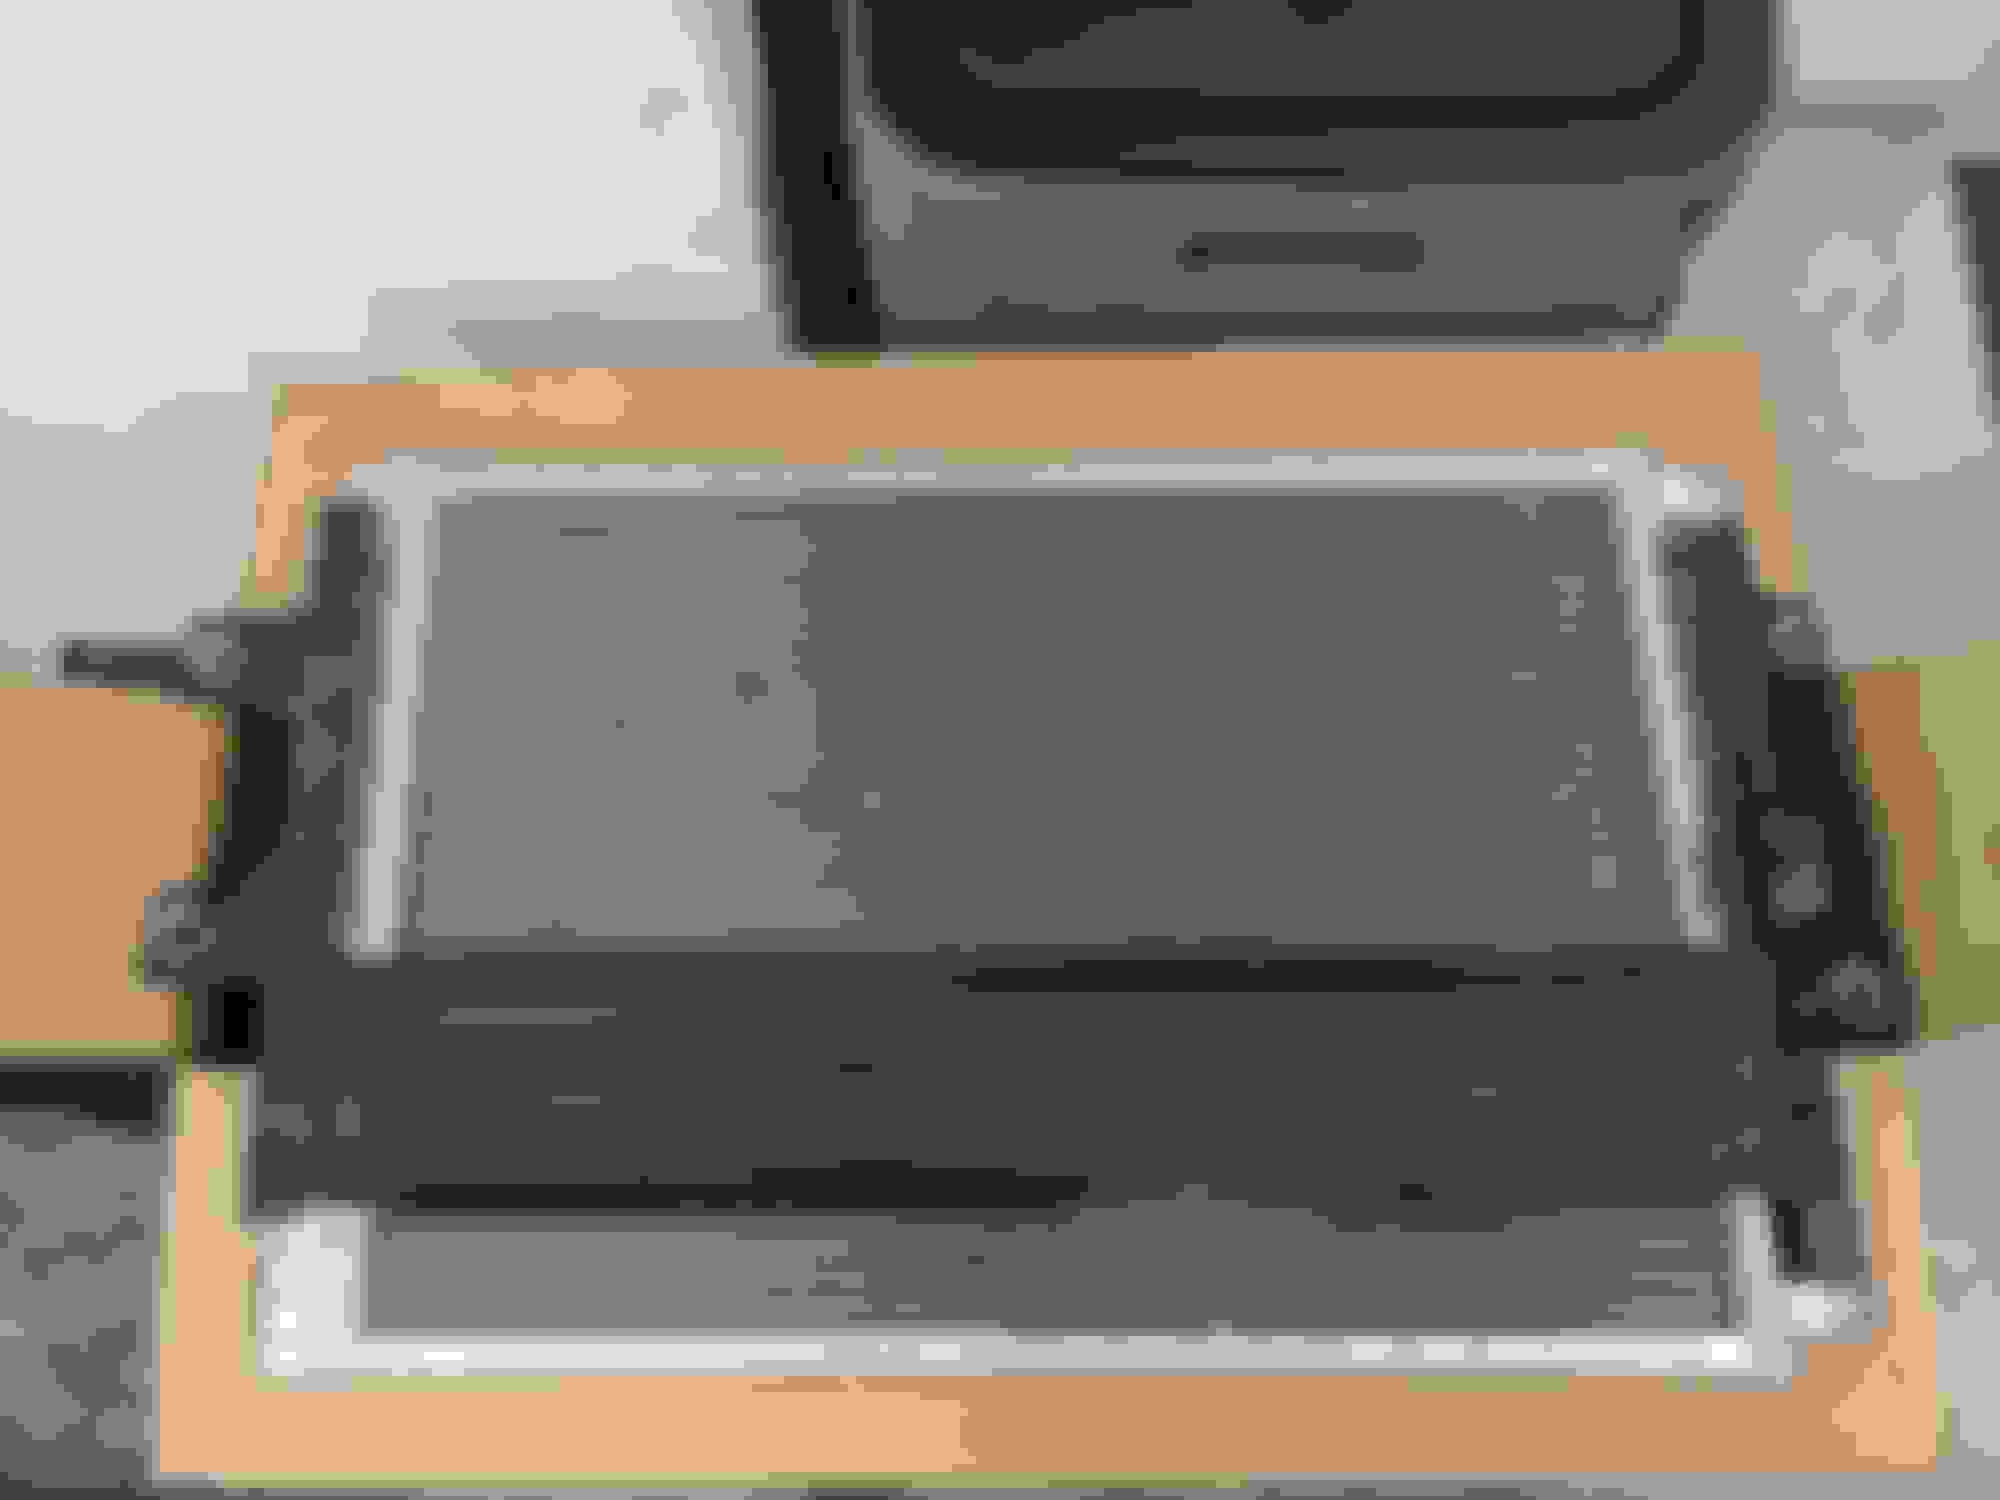
Progress is ongoing. One of the first non-engine related tasks I wanted to tackle was upgrading the A/C condenser. Parallel flow condensers are more efficient and anything I can do to make an A/C system work better in Florida heat is welcome. The standard universal 14" x 20" parallel flow condenser you can find from a lot of vendors fits perfectly with very minor modifications needed in an FC.
Here is the new condenser laid out with the stock brackets for mock up purposes:
And here it is mocked up in the car:
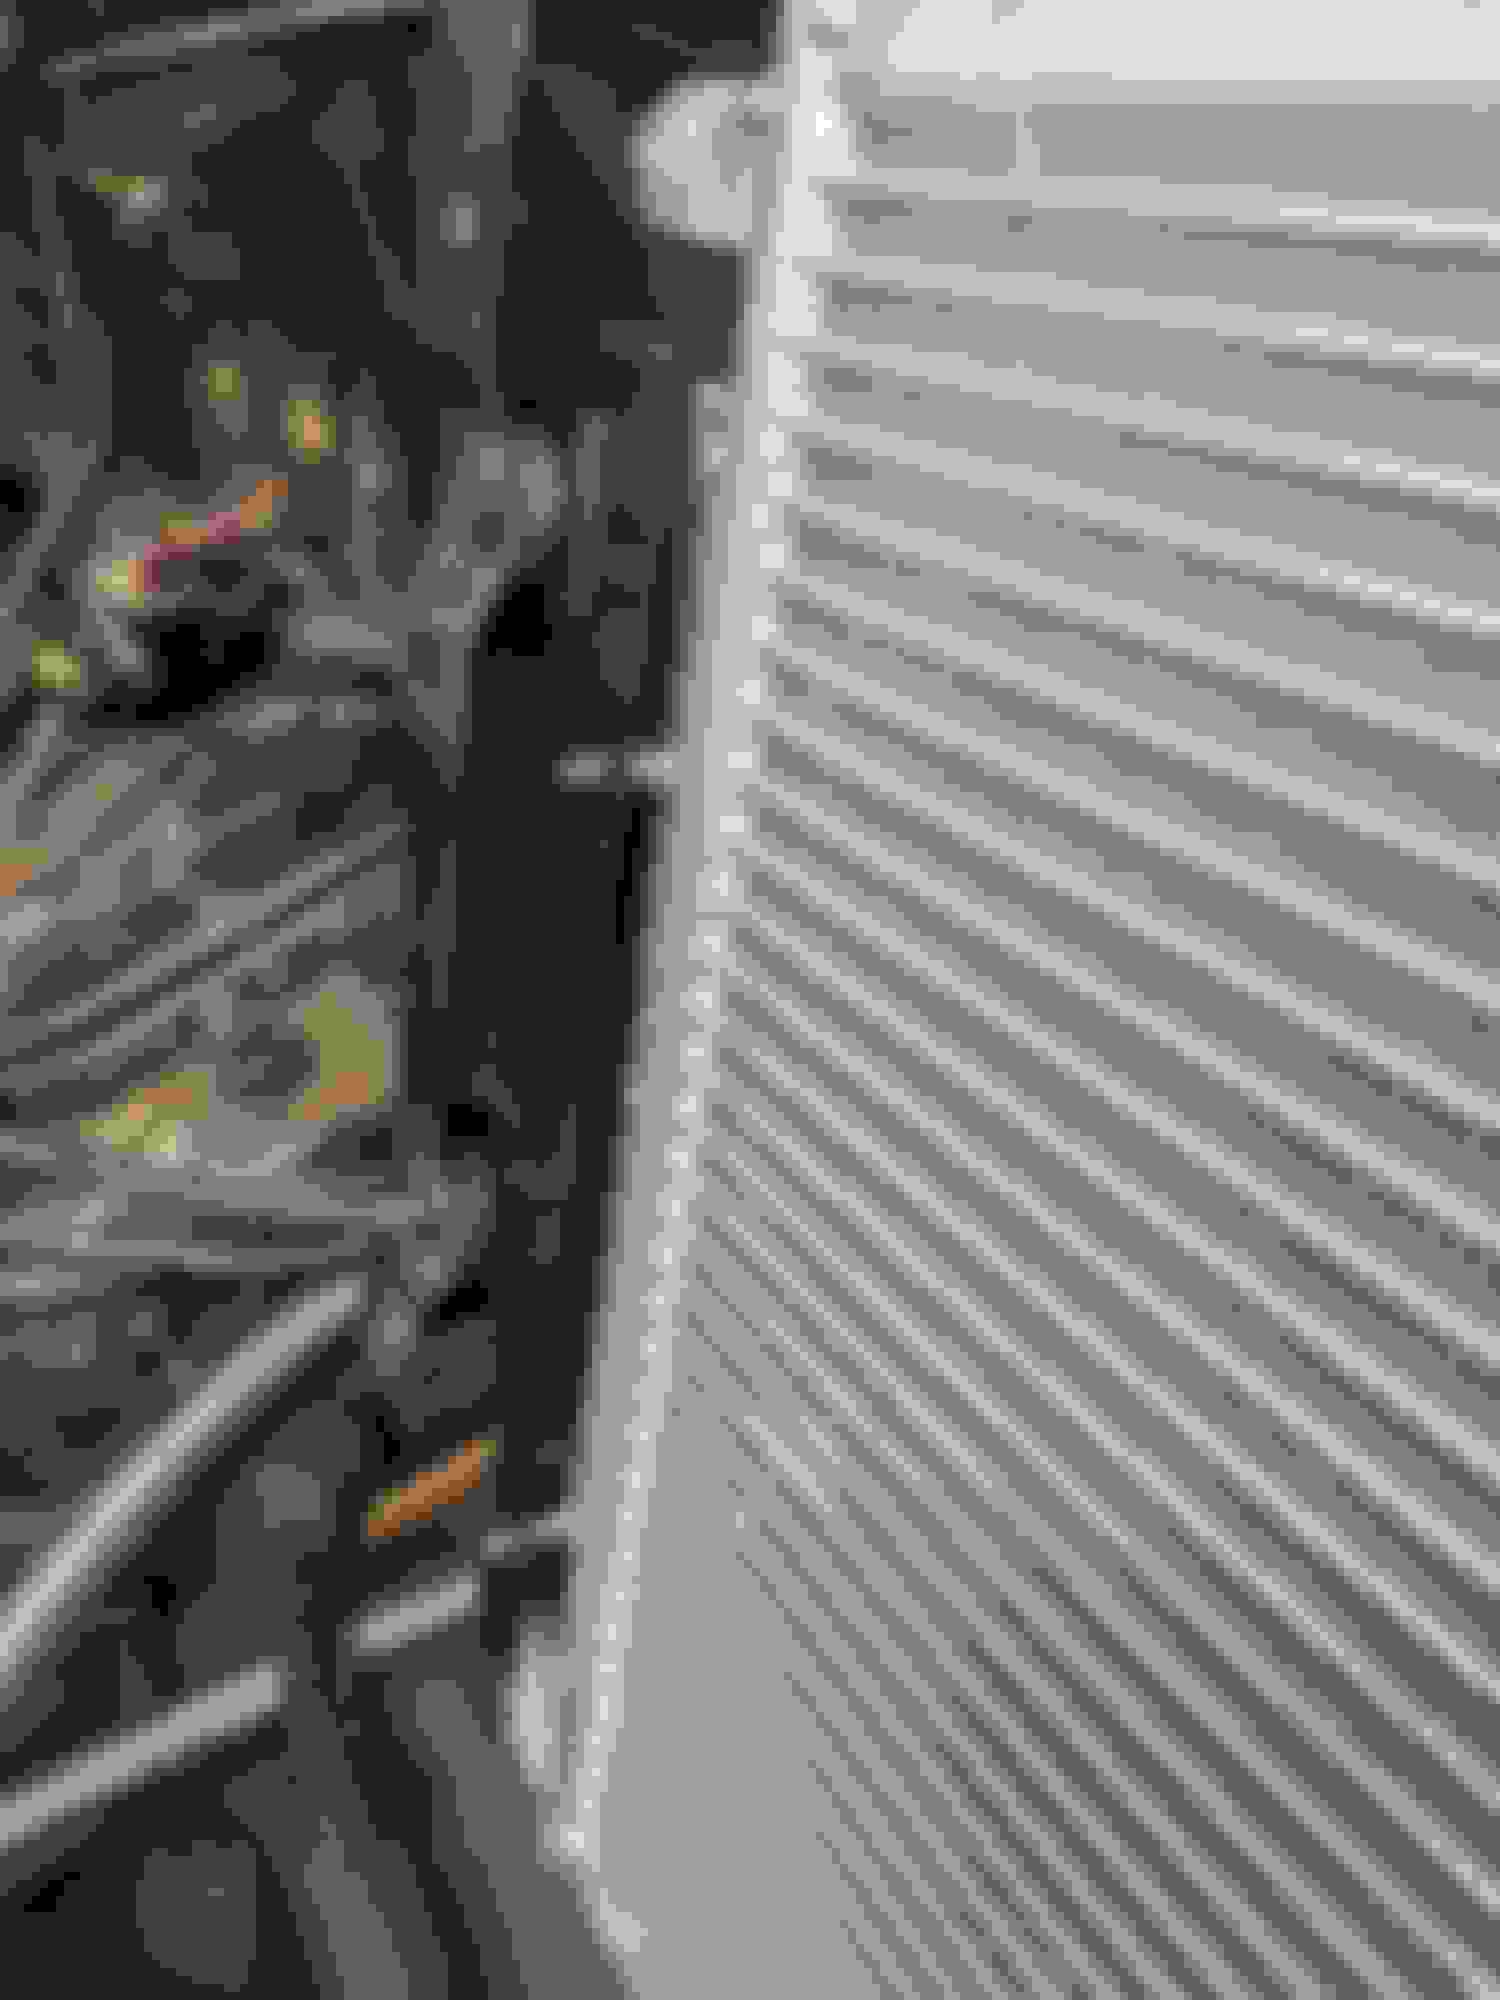
I used some aluminum M5 spacers to take up the space between the condenser's bracket and the rest of the thickness of the stock brackets. They were super-glued on for assembly. I trimmed the top of the stock driver side bracket to allow room for the A/C fitting from the compressor. I may need to do so for the bottom too, but for now, I think there is enough room. One hole on each side of the universal condenser worked perfectly for use with the stock brackets. For the other hole on each side, one hole needed to be enlarged and a new one drilled to line up with the stock bracket screw holes.
Custom lines will need to be made to either join the stock lines and get to/from the condenser or go more fully custom and make a new line from the compressor to the condenser and from the condenser to the receiver/drier. That latter line would need to include a service port and also a threaded port for the pressure sensor. I may just keep the stock line that already has those and deal with the fact I am adding an extra joint (just one more place for a leak!).
Last edited by JerryLH3; Mar 14, 2022 at 09:49 AM.
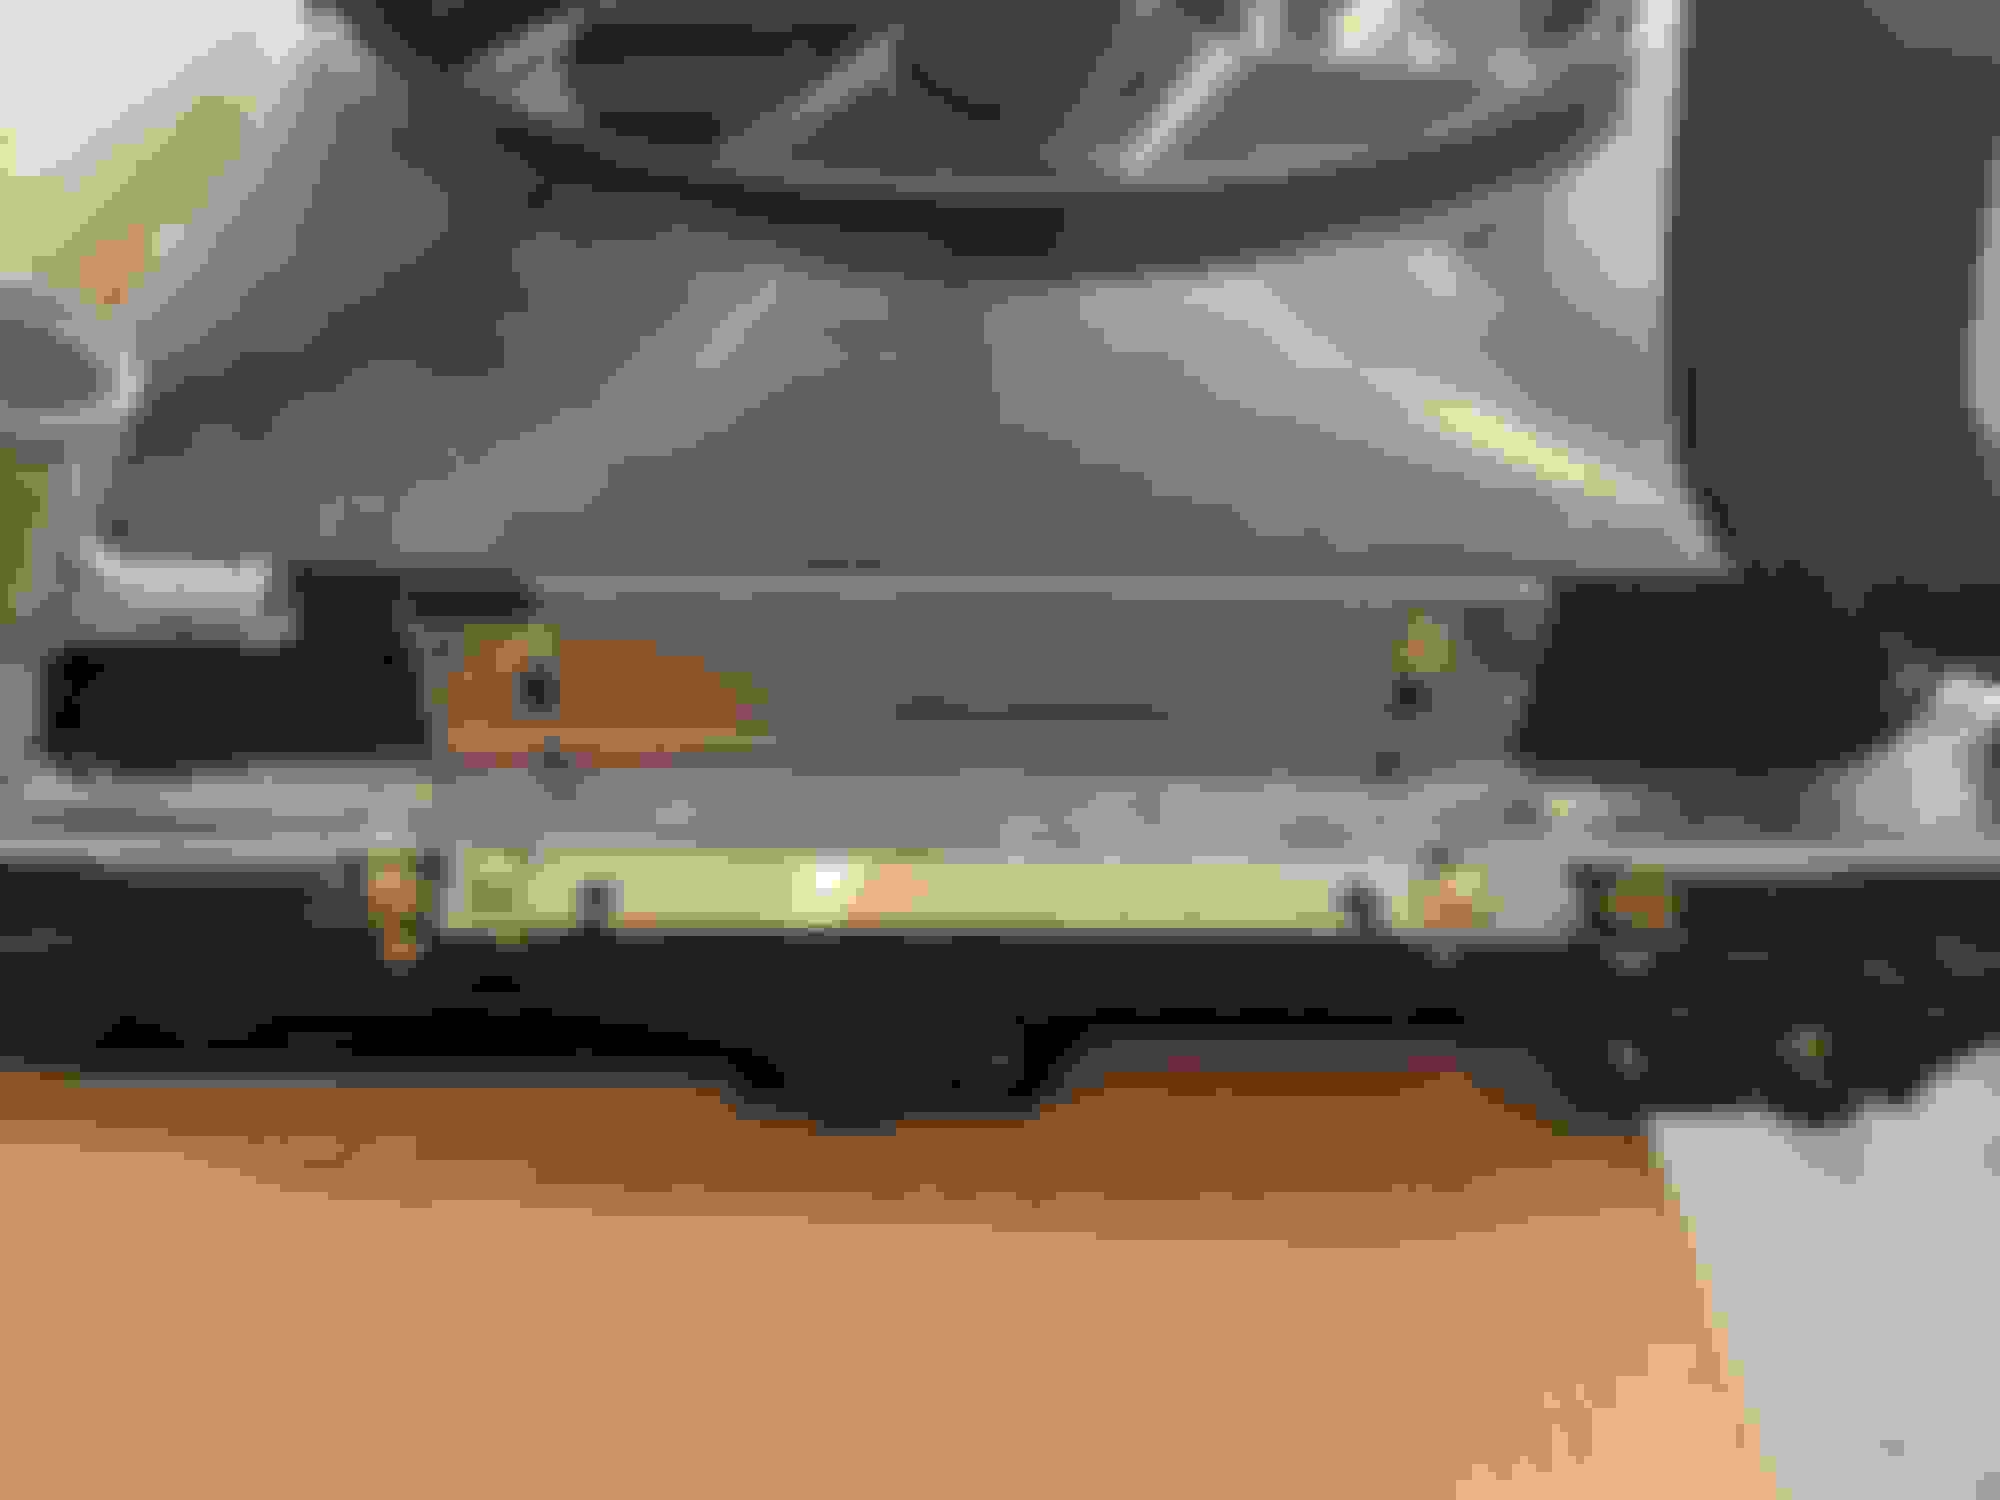
I never cared all that much for the radiator fan brackets I quickly cobbled together last year:
They got the job done, but it was stuff I had lying around and the angles were what was included with the fan. They weren't quite the right size, so I had to add the bar to lengthen where it attached to the radiator bracket. I ordered some angle aluminum in the proper size and redid these. My friend took them to work to cut away the excess material cleanly on the bandsaw and then surprised me with the media blasted finish. I am much happier with these brackets:
Next up - turbo rebuild, which is already in progress.
Pause on the turbo rebuild for a second. Took a quick detour to redo my starter and main fuse wires from the storage bins. I had previously done something quite terrible and used a circuit breaker and distribution block that really weren't up to the task. They are no more and have been replaced with proper terminals.
This week - a lot of parts cleaning, possibly finishing the turbo rebuild, and then, uh, gosh - I should build an engine.
One month to DGRR, so I'm upping the difficulty level slightly. Last year I gave myself seven weeks to do a cooling system overhaul and fix some other things (and we all know how that worked out - I did the work, but discovered the blown engine). Now I've given myself a month to put an engine in that isn't even built yet. There's also the whole issue of putting on some break-in miles.
I've got a couple small things to finish cleaning and then it's time to start clearancing side seals. Plan is to build the engine next week and have it in by the end of the following weekend, giving me a little over two weeks to sort out any last minute bugs.
I've got a couple small things to finish cleaning and then it's time to start clearancing side seals. Plan is to build the engine next week and have it in by the end of the following weekend, giving me a little over two weeks to sort out any last minute bugs.
If it's the 1st time you've done side seals, give yourself LOTS of extra time for the task, and take it slow - it's way too easy to take off a little too much material from the seal and end up with a loose fit. You'll want to stay on the tight side of the Mazda side seal clearance spec. Ask me how I know
I'm going to take a day or two off of work this week to speed things up. One of those days, all I want to get done or close to done is side seals. I will go very slow, especially on the first few.
I have many stories to tell, which I shall share after DGRR and I can breathe. Right now, almost every free moment outside of work, family, eating, and sleep goes to this engine. Back in the car very soon.
I don't really have power goals, it will be what it is. I am going to install a 2.5" universal catalytic converter to clean up the smell and figured I would just keep the rest of the emissions as well.
A quick update before I do some more work this weekend and can then go through everything I did.
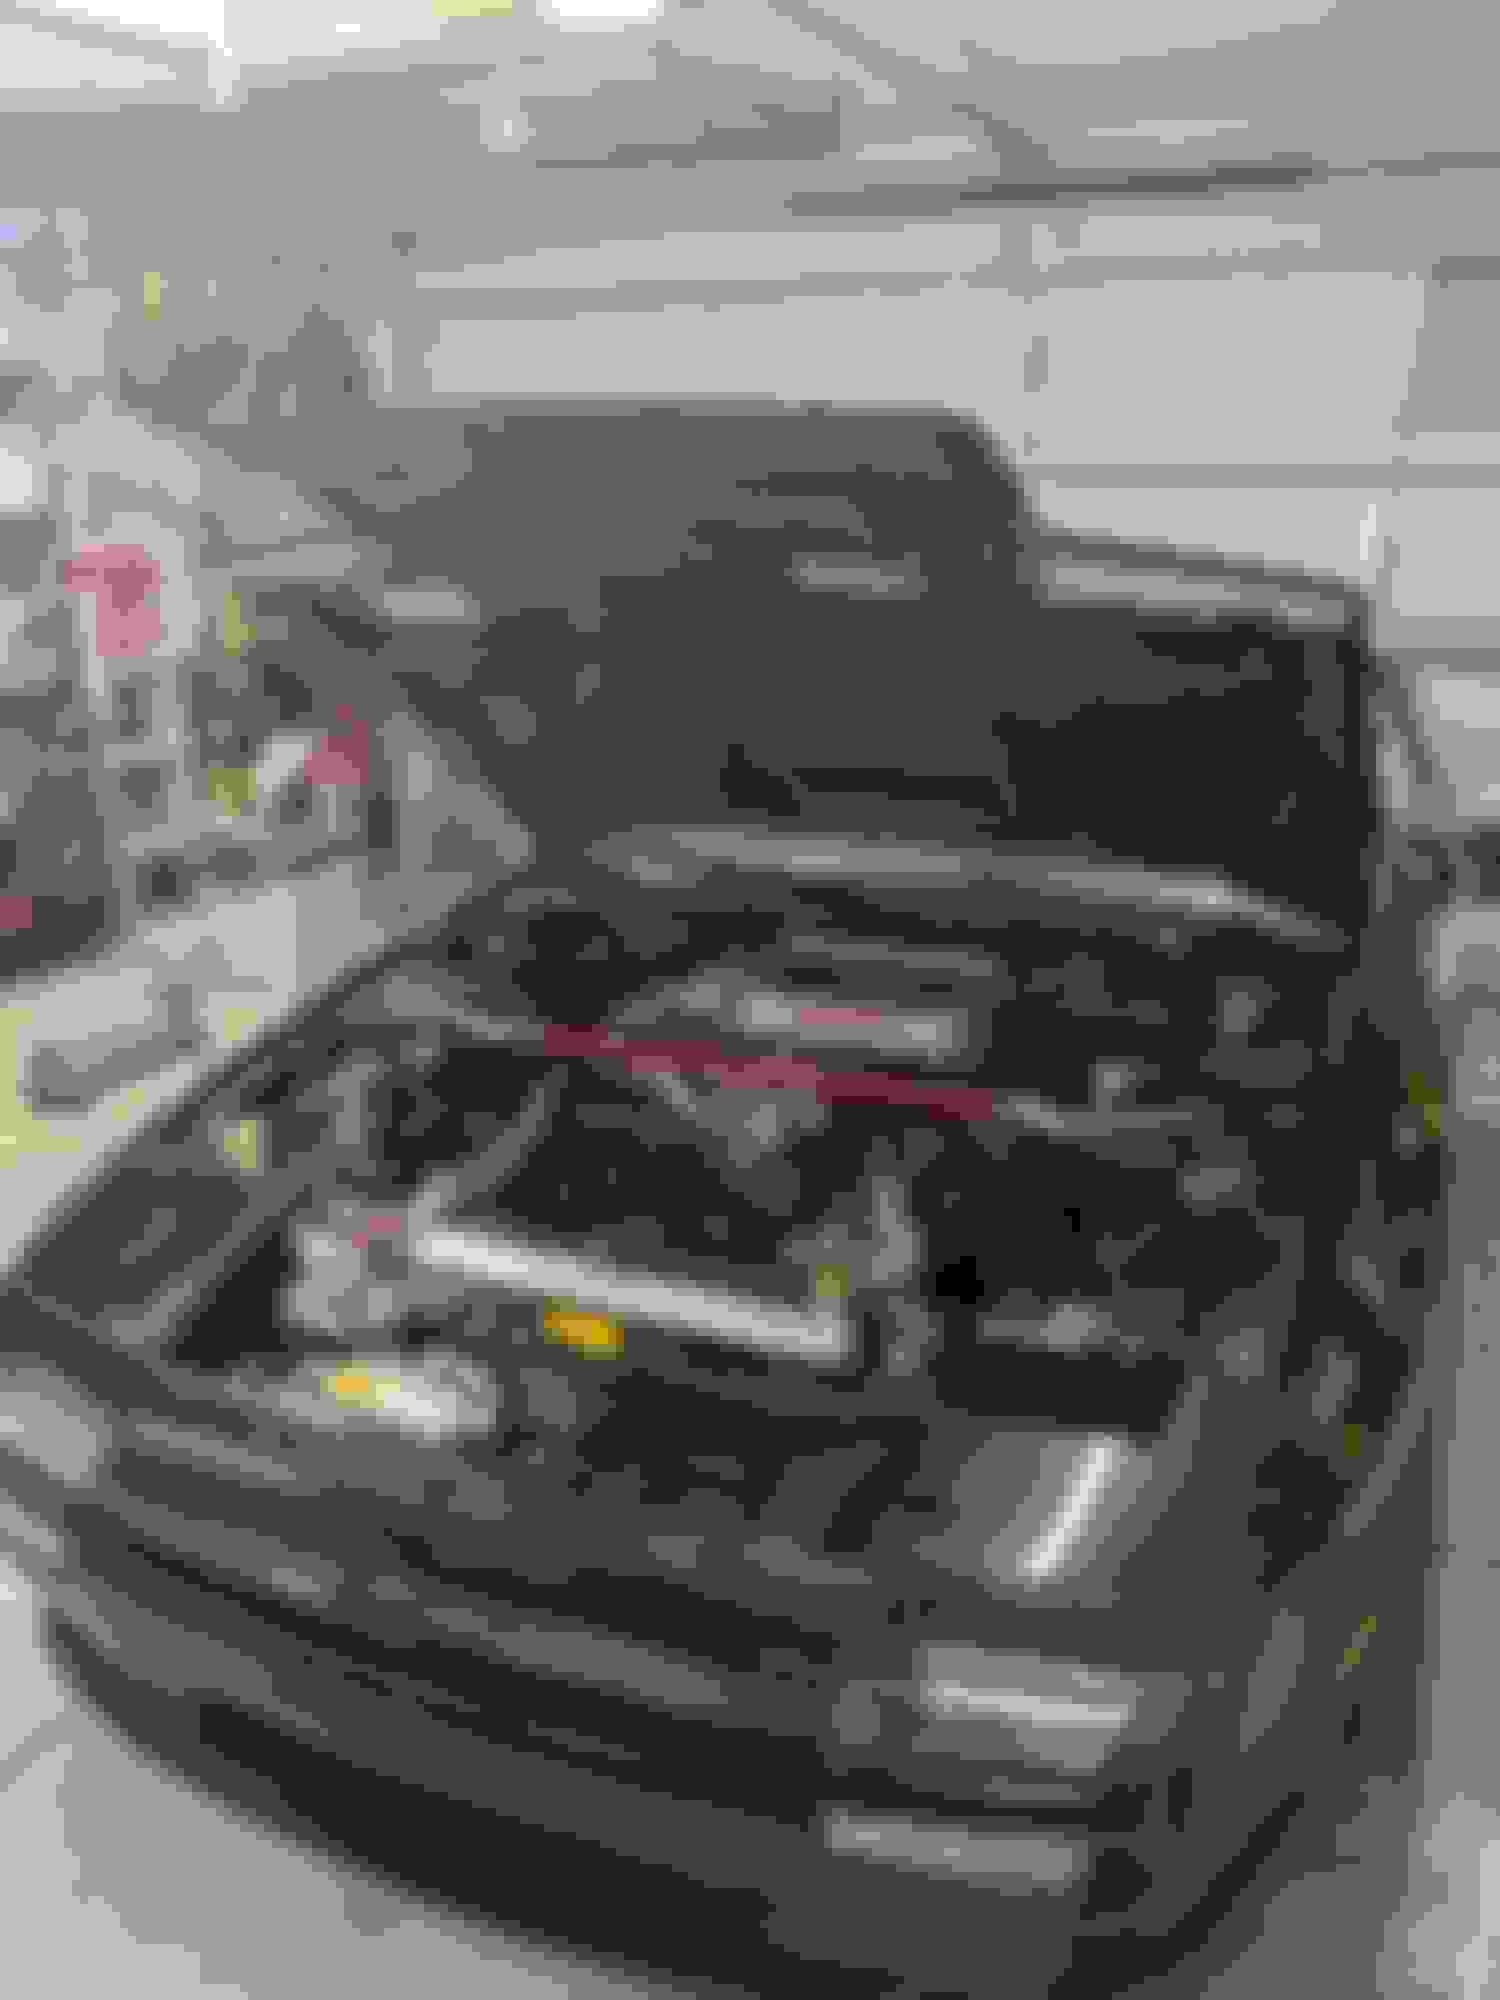
I did not make DGRR in the FC. I ran out of time and it would have had zero break in miles. Oh well. Getting the engine in and everything hooked up wasn't terrible, but I did have a couple of issues. The first was I discovered a coolant leak at the turbo inlet line where it meets the intake manifold. In the process of fixing the leak and then tightening the line, I snapped the studs. Whoops. I got that all fixed up for good last weekend and started it for the first time. It ran for about five minutes as I moved around and checked for leaks, etc. It then stalled and I didn't have time to mess with it until Wednesday this week. It started up again just fine and I drove it around the block. When I got back, I was going to start lowering the idle when I discovered ANOTHER coolant leak. I think it's the o-ring between the intake manifold and rotor housing. I suspect I didn't fully notice it when it ran last weekend because I thought coolant residue I had spilled while fixing the turbo inlet was burning off. The system also was not under pressure as I was bleeding it with a coolant funnel and no pressure cap. With the cap on, this additional leak was easily spotted with a heavy drip.
I'll isolate whatever the leak is this weekend and then get everything buttoned up once more. I'm itching to drive it. Everything so far seems really good, no check engine lights as it has run in the driveway, no hesitations, everything sounds smooth (and loud - open downpipe until I drive it to the exhaust shop to have a catalytic converter fabricated to the correct length), timing seems correct so no issues with the CAS being off, no oil leaks, etc. Which makes the coolant leaks all the more frustrating.
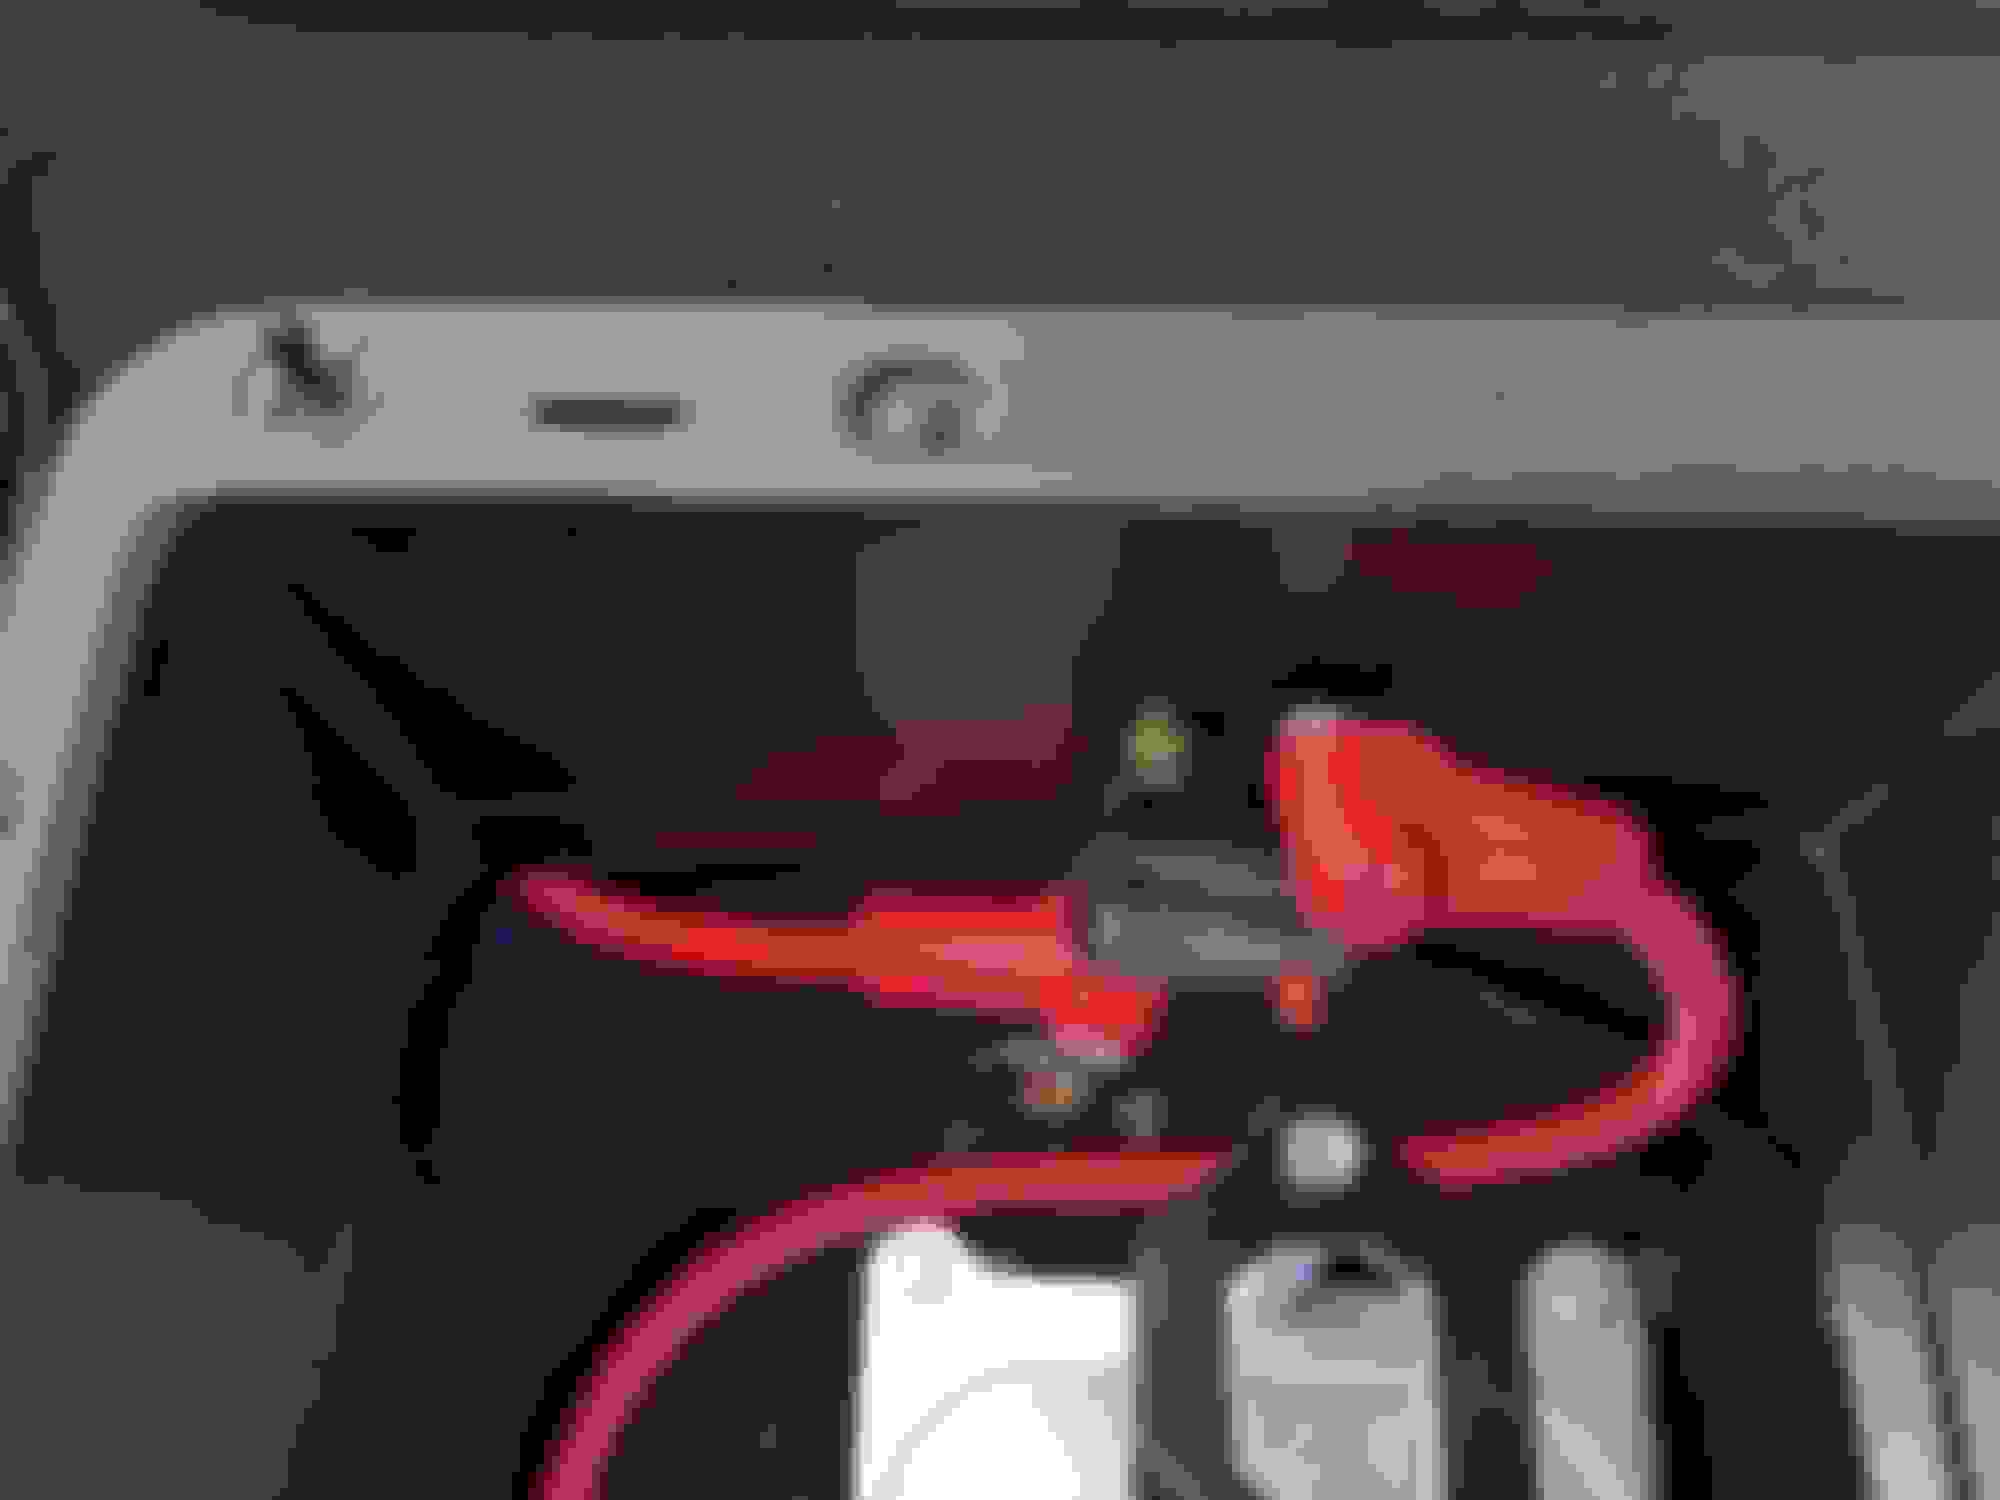
When I noticed the coolant leak while the engine was running this week, my mind immediately went to the worst - it seemed to be coming from the front passenger side of the engine. The only thing my mind could think of was o-ring at the front rotor housing to intake manifold. I preemptively ordered parts for that Thursday and Mazdatrix and USPS were on it, because they arrived today.
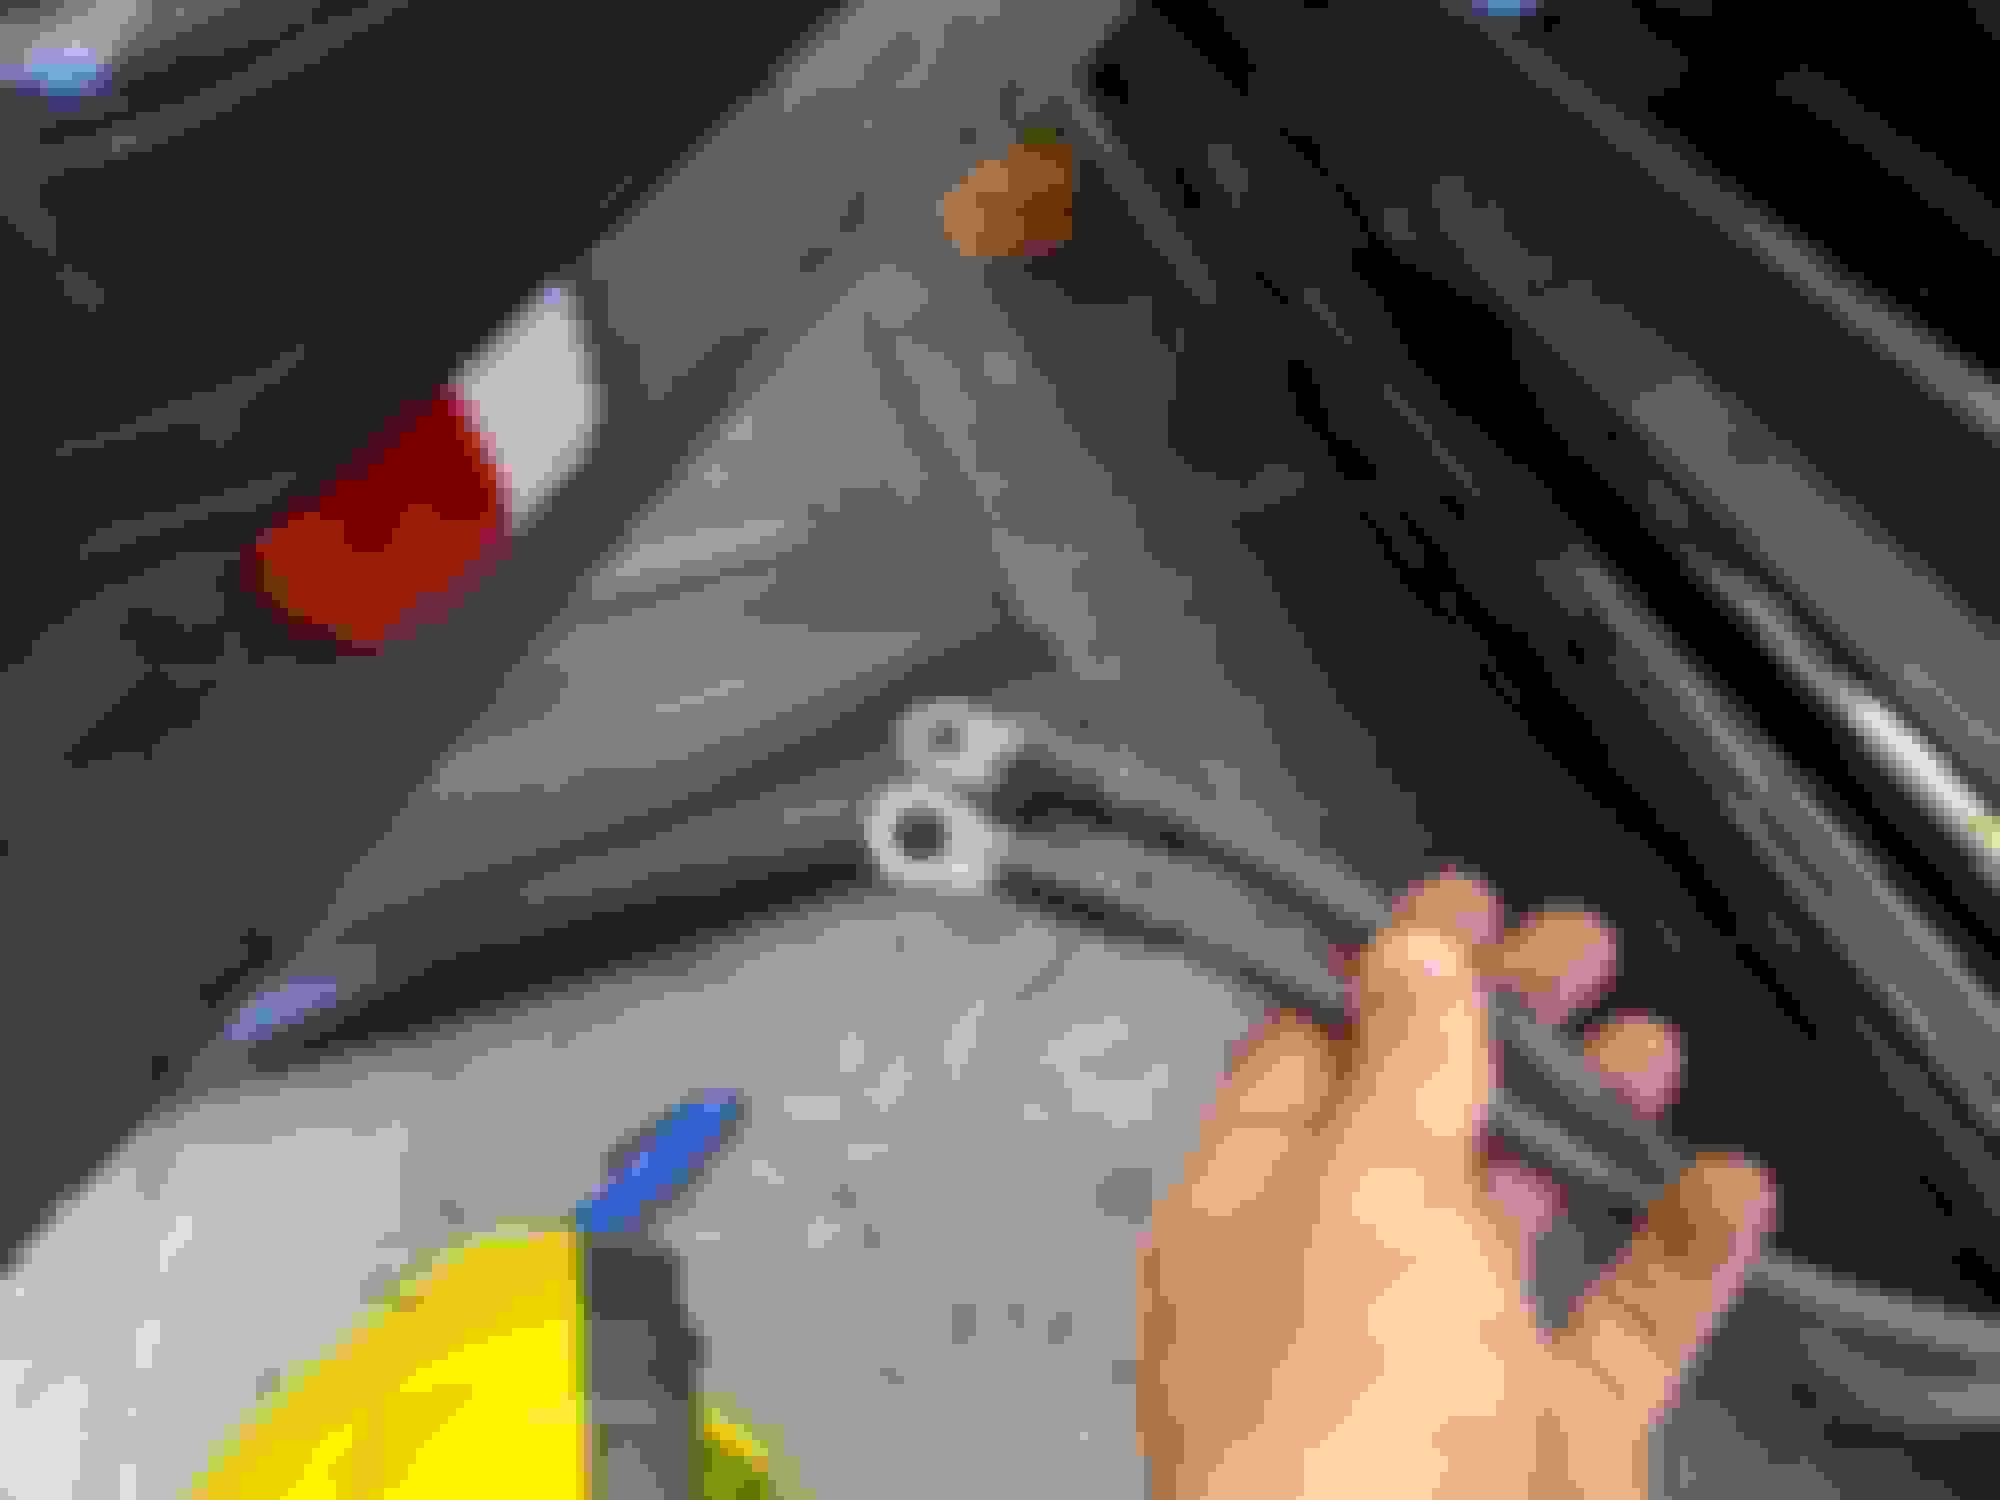
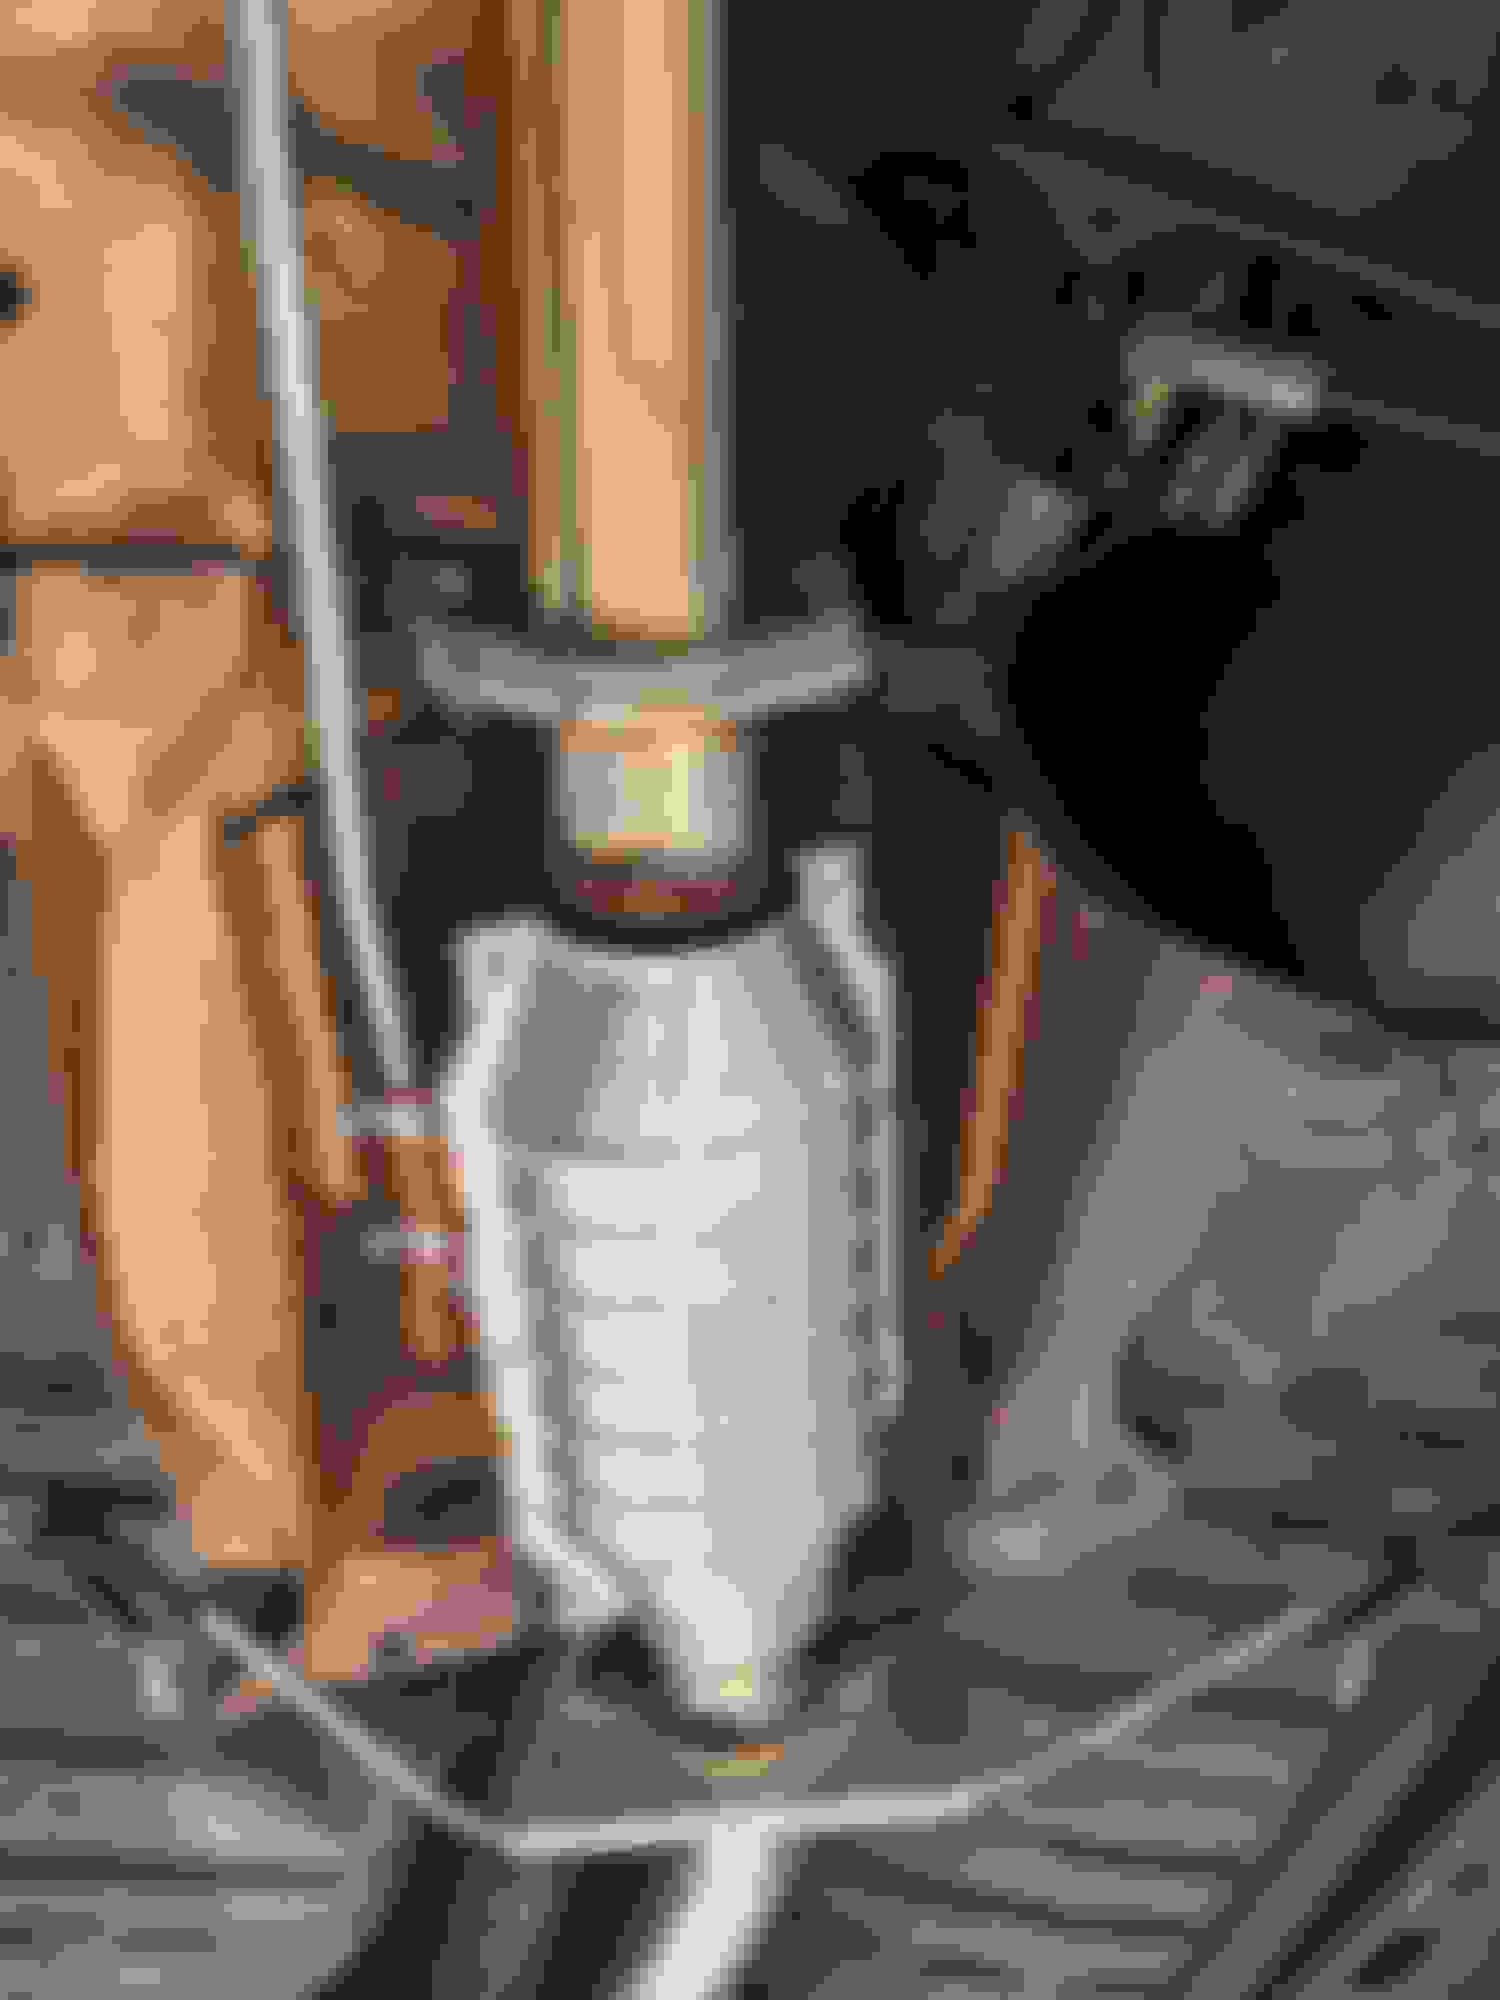
So, I take the air pump off to get a good look at things. I use my coolant system pressure tester to pressurize the system. And of course notice coolant just absolutely spurting out of the lower rad hose back up and at the engine.
Turns out the OMP adapter to inject premix pushes the OMP out far enough that getting the lower rad hose on is a challenge. It had curled up on me on the backside where I couldn't see. Loosened the clamp, readjusted the hose, tightened the clamp, and repressurized the system. It held the same pressure for 20 minutes.
Ten days later and everything is mostly complete. I still need to make two custom A/C lines and reinstall the compressor and a new receiver/drier before hooking the system up to a vacuum pump, checking for leaks, and replacing the refrigerant.
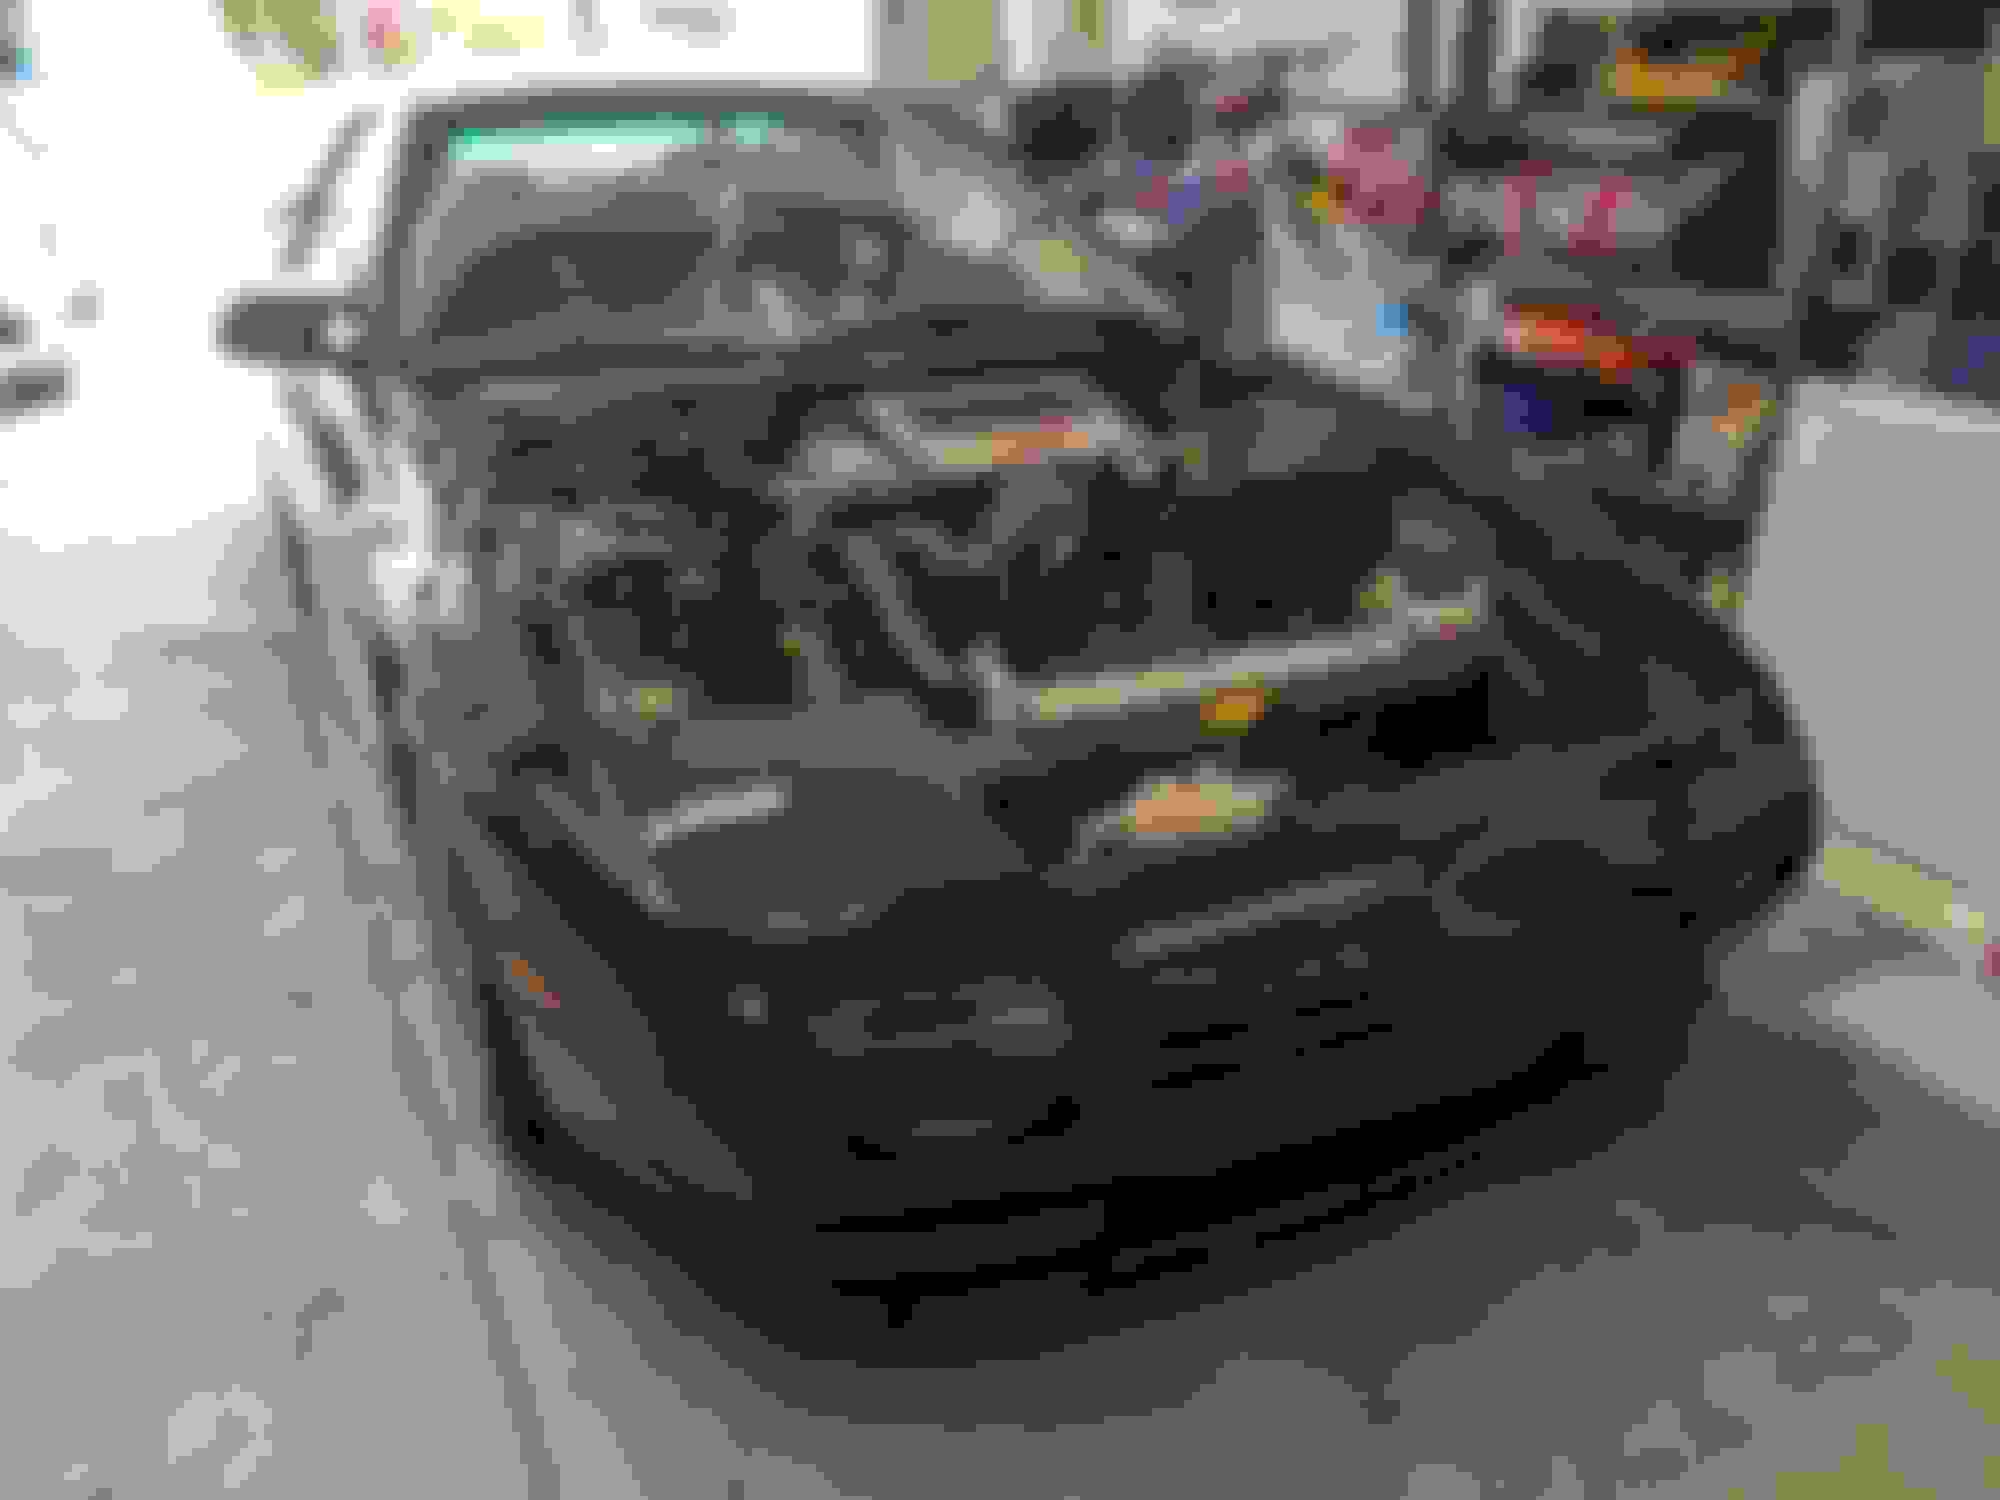
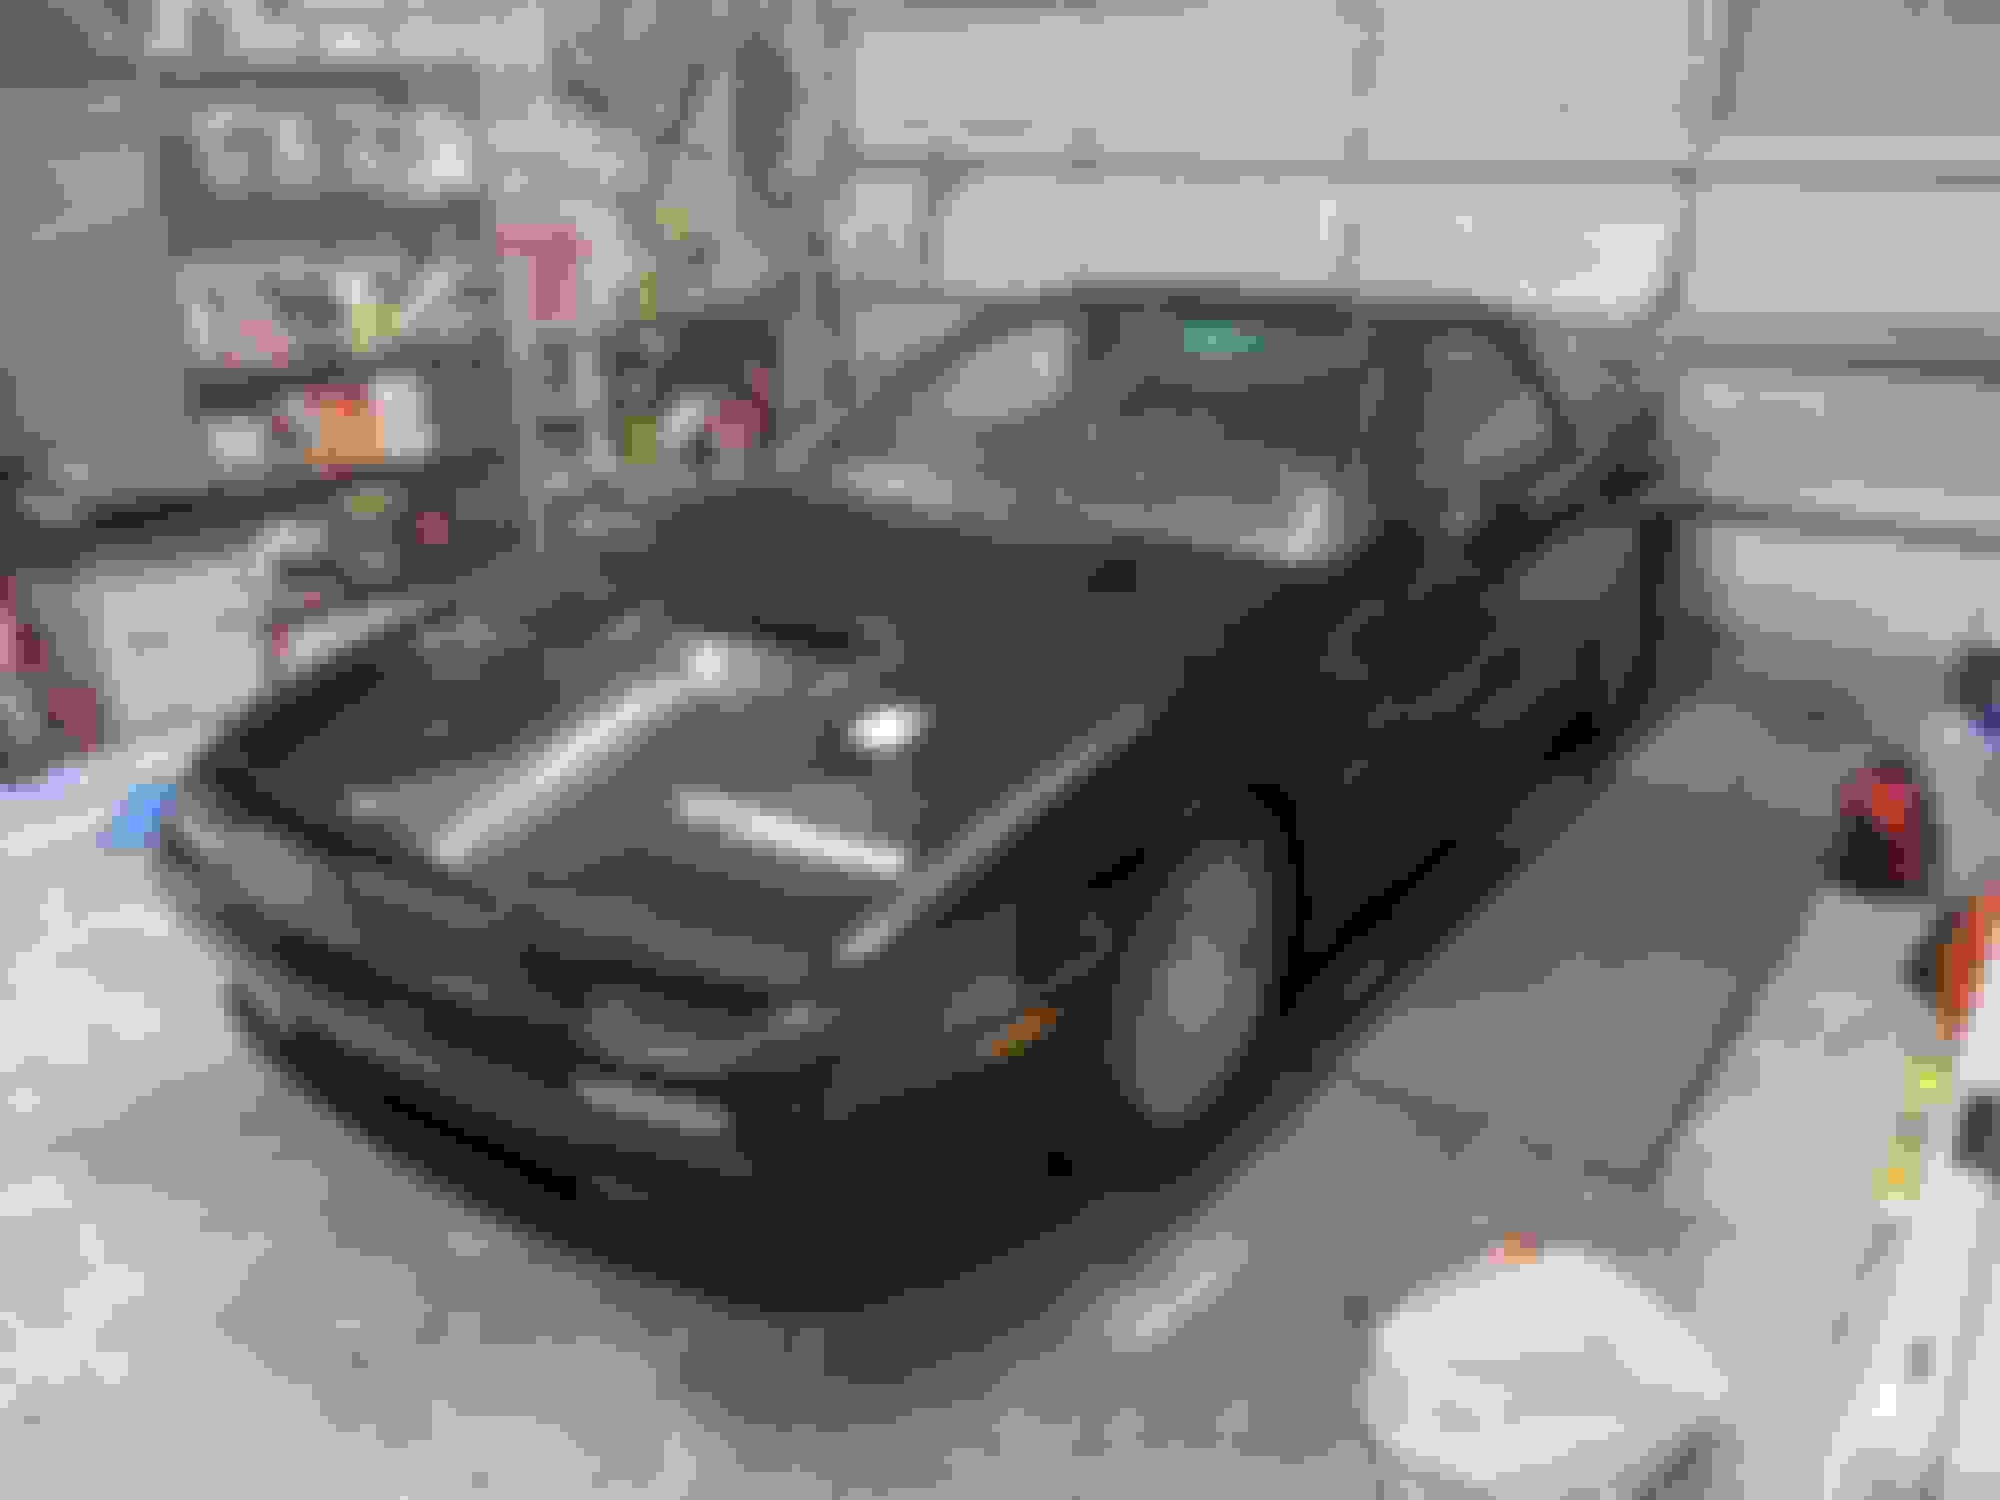
After I had taken it for another trip or two around the block, I was confident enough to reinstall the hood.
That marked the first time since last June the car looked the way it should.
The very next day, I took it up to an exhaust shop to have a universal 2.5" Magnaflow catalytic converter installed.
The cat really quieted the car down and I also don't seem to smell anymore when I get out of it. As much as I love power, I'm old enough I also love not stinking and prefer that more to the additional power.
The new engine has 165 miles on it. I got a couple of check engine lights the first day after a bit of time in fifth gear, but they went away and have not reappeared. I still have some minor issues to sort - my click, click, vroom problem is still present and this is even after bypassing the starter cut relay, a new ignition switch, and better battery to starter connections. I picked an inappropriate location for my water temp sender on the aftermarket gauge. It reads too cool.
As far as the engine goes, everything seems to be going well. I have no leaks anywhere on coolant or oil. The idle seems to hunt at times. It has idled at both 1500 and a more appropriate 800 with no BAC adjustments in between. Right now, I just get in and drive for the most part and am doing my best to get the new engine break in behind me. I can't wait to give it some full throttle sometime in the future.
Ten days later and everything is mostly complete. I still need to make two custom A/C lines and reinstall the compressor and a new receiver/drier before hooking the system up to a vacuum pump, checking for leaks, and replacing the refrigerant.
After I had taken it for another trip or two around the block, I was confident enough to reinstall the hood.
That marked the first time since last June the car looked the way it should.
The very next day, I took it up to an exhaust shop to have a universal 2.5" Magnaflow catalytic converter installed.
The cat really quieted the car down and I also don't seem to smell anymore when I get out of it. As much as I love power, I'm old enough I also love not stinking and prefer that more to the additional power.
The new engine has 165 miles on it. I got a couple of check engine lights the first day after a bit of time in fifth gear, but they went away and have not reappeared. I still have some minor issues to sort - my click, click, vroom problem is still present and this is even after bypassing the starter cut relay, a new ignition switch, and better battery to starter connections. I picked an inappropriate location for my water temp sender on the aftermarket gauge. It reads too cool.
As far as the engine goes, everything seems to be going well. I have no leaks anywhere on coolant or oil. The idle seems to hunt at times. It has idled at both 1500 and a more appropriate 800 with no BAC adjustments in between. Right now, I just get in and drive for the most part and am doing my best to get the new engine break in behind me. I can't wait to give it some full throttle sometime in the future.
Nice work & congratulations Jerry!
For the aftermarket coolant temp sensor, I installed mine via a brass "T" fitting added to the BAC valve to water pump housing hose - worked well there and temps measured on the aftermarket gauge tracked well with what the ECU is seeing.
On the idle, since your TB was out and the car and may have been disturbed while the car was in pieces for some time, I would go thru the FSM procedures step-by-step for adjusting all the mechanical aspects of the TB. There are quite a few, and all of them can impact idle/idle quality if they are not all spot on. For example, there's a spec for how far the primary plates should be cracked open before the secondary plates start to move open; a spec for the max. primary throttle plate opening when sitting on the throttle stop/set screw; fast idle/thermowax settings and dashpot settings. Review/readjust as necessary all the mechanical TB stuff, then deal with setting your TPS and the other "normal" FC idle checking & adjustment procedures.
For the click-click-VROOM start up issue, check your clutch switch. There's a plastic bumper piece that actuates the switch that eventually breaks/deforms enough such that switch engagement becomes iffy when the clutch is depressed. I've had that problem before and fixed it by adding one of those self adhesive cabinet door bumpers. It's not a permanent fix, as they wear out or fall off too, but it does work.
For the CEL light, what error codes are being stored in the ECU? You can check for any stored codes with this procedure: 89-91 CPU Trouble Codes
Sometimes while doing major engine work where some sensors/output devices are disconnected, you might inadvertently cause error codes to be stored to the ECU while testing things (e.g., using the fuel pump jumper to test for leaks). You can erase any stored codes by disconnecting the battery for a few minutes. If they come back next time you drive the car, then further investigation is needed.
If you lack the A/C bead lock fitting crimping tools or a local shop to build the A/C lines for you, I can give you a hand with those. Shoot me a PM for details if interested.
For the aftermarket coolant temp sensor, I installed mine via a brass "T" fitting added to the BAC valve to water pump housing hose - worked well there and temps measured on the aftermarket gauge tracked well with what the ECU is seeing.
I installed mine in the heater hose near the oil filter. I must have completely misremembered how the heater valve works. It is seeing restricted flow as it seems to top out around 165. Open the heater on full and it will move quickly to the 170s. I'll mess with it later, not a huge priority.
On the idle, since your TB was out and the car and may have been disturbed while the car was in pieces for some time, I would go thru the FSM procedures step-by-step for adjusting all the mechanical aspects of the TB. There are quite a few, and all of them can impact idle/idle quality if they are not all spot on. For example, there's a spec for how far the primary plates should be cracked open before the secondary plates start to move open; a spec for the max. primary throttle plate opening when sitting on the throttle stop/set screw; fast idle/thermowax settings and dashpot settings. Review/readjust as necessary all the mechanical TB stuff, then deal with setting your TPS and the other "normal" FC idle checking & adjustment procedures.
I did set the throttle plates while the car was out, I believe I am good there with everything physically on the TB. Going through the rest of it with the TPS will be my next step.
For the click-click-VROOM start up issue, check your clutch switch. There's a plastic bumper piece that actuates the switch that eventually breaks/deforms enough such that switch engagement becomes iffy when the clutch is depressed. I've had that problem before and fixed it by adding one of those self adhesive cabinet door bumpers. It's not a permanent fix, as they wear out or fall off too, but it does work.
Clutch switch! I had not thought of that one and will give that a check. A year and a half or two years ago, I had replaced the brake switch as I discovered it was broken when trying to get the cruise control to work. A busted clutch switch or bumper stop is definitely possible.
For the CEL light, what error codes are being stored in the ECU? You can check for any stored codes with this procedure: 89-91 CPU Trouble Codes
Sometimes while doing major engine work where some sensors/output devices are disconnected, you might inadvertently cause error codes to be stored to the ECU while testing things (e.g., using the fuel pump jumper to test for leaks). You can erase any stored codes by disconnecting the battery for a few minutes. If they come back next time you drive the car, then further investigation is needed.
No stored codes which is very odd. My ECU has done this before. Last year I had a CEL when cruising too that when I went through this harness, was quite sure it was the O2 sensor based on a bad splice that had been repaired at some point. But the ECU would never display the codes when checked and I verified I had a good ground connected to the check connector. Probably a reason to plan for an upgrade at some point.
If you lack the A/C bead lock fitting crimping tools or a local shop to build the A/C lines for you, I can give you a hand with those. Shoot me a PM for details if interested.
I think I have an A/C shop that can help. The main reason it isn't already done is the (metric) fittings that would match what the stock condenser had do not appear to be widely available.
The cat really quieted the car down and I also don't seem to smell anymore when I get out of it. As much as I love power, I'm old enough I also love not stinking and prefer that more to the additional power.
Same reason i'm going to put a cat back on mine, smelling like exhaust/2 stroke was fine in my early 20's but now in my 30's it makes me enjoy the car less.
I think I have an A/C shop that can help. The main reason it isn't already done is the (metric) fittings that would match what the stock condenser had do not appear to be widely available.
I found that one oddball metric fitting I needed for my FD's evaporator core at these guys: https://autoacfittings.com/
Nice, they at least list the metric fittings, so that's a start.
And it appears the clutch switch I completely forgot about may be the problem. The continuity test was giving beep-beep-----beep instead of one long beeeeeeeeeeeep on my multimeter. I attempted to take it apart to clean it and may (definitely) have broken it. I had the proper connector and terminals to make a bypass so I have done that for now. I will order a new one though, as I always appreciate stock functionality in most aspects.
So, I never came back and gave this thread the proper update it needed. I went straight from cleaning parts to assembled engine to in the car and eventually running.
First, an update. The new engine has nearly 800 miles on it. I do not appear to have any issues, and I think anything major would have shown itself by now, but I'll probably still be a little wary for a while longer. I changed the oil at 500 miles and sent it off to Blackstone for an analysis. Copper and silicon were elevated, but with the new engine, this was to be expected and we will look for those to go down in the next report(s). After 500 miles, I've been giving it a little boost and I am up to 5500-6000 rpm on occasion, but have still not gone full throttle. The car has made several longer trips, a 130 mile round trip last week with a stop, and a 105 mile trip along backroads a few weeks ago non-stop. I have no check engine lights. I have compression tested it a couple of times and it is not as high as I would have hoped, but the second test showed improvement from the first despite the engine being way warmer (it was tested after the 105 mile trip).
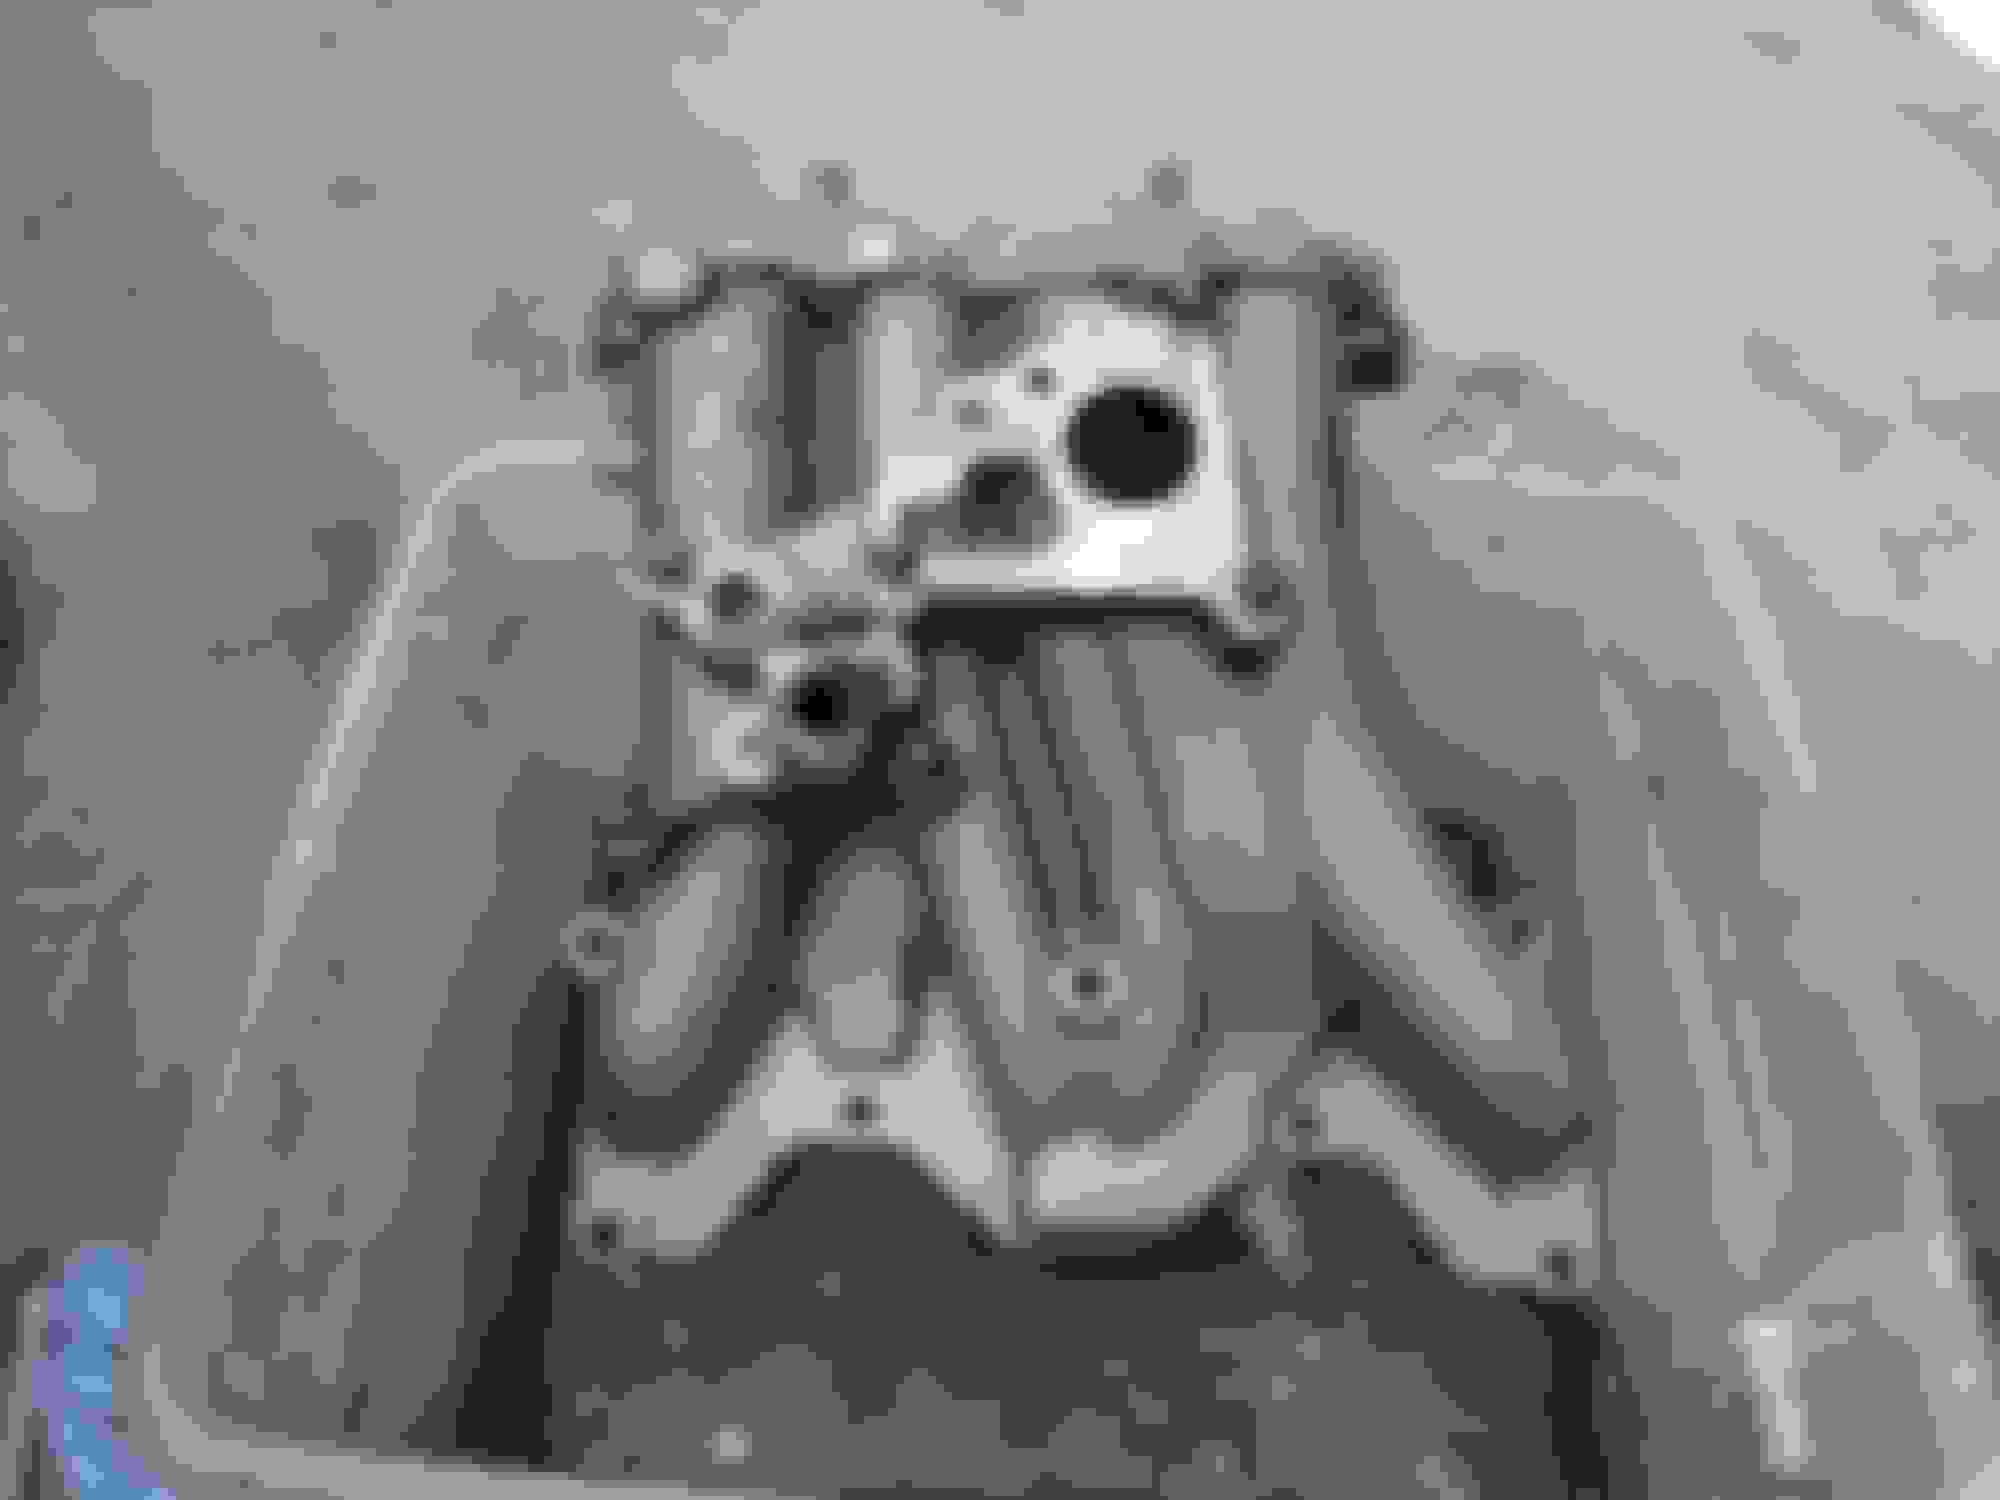
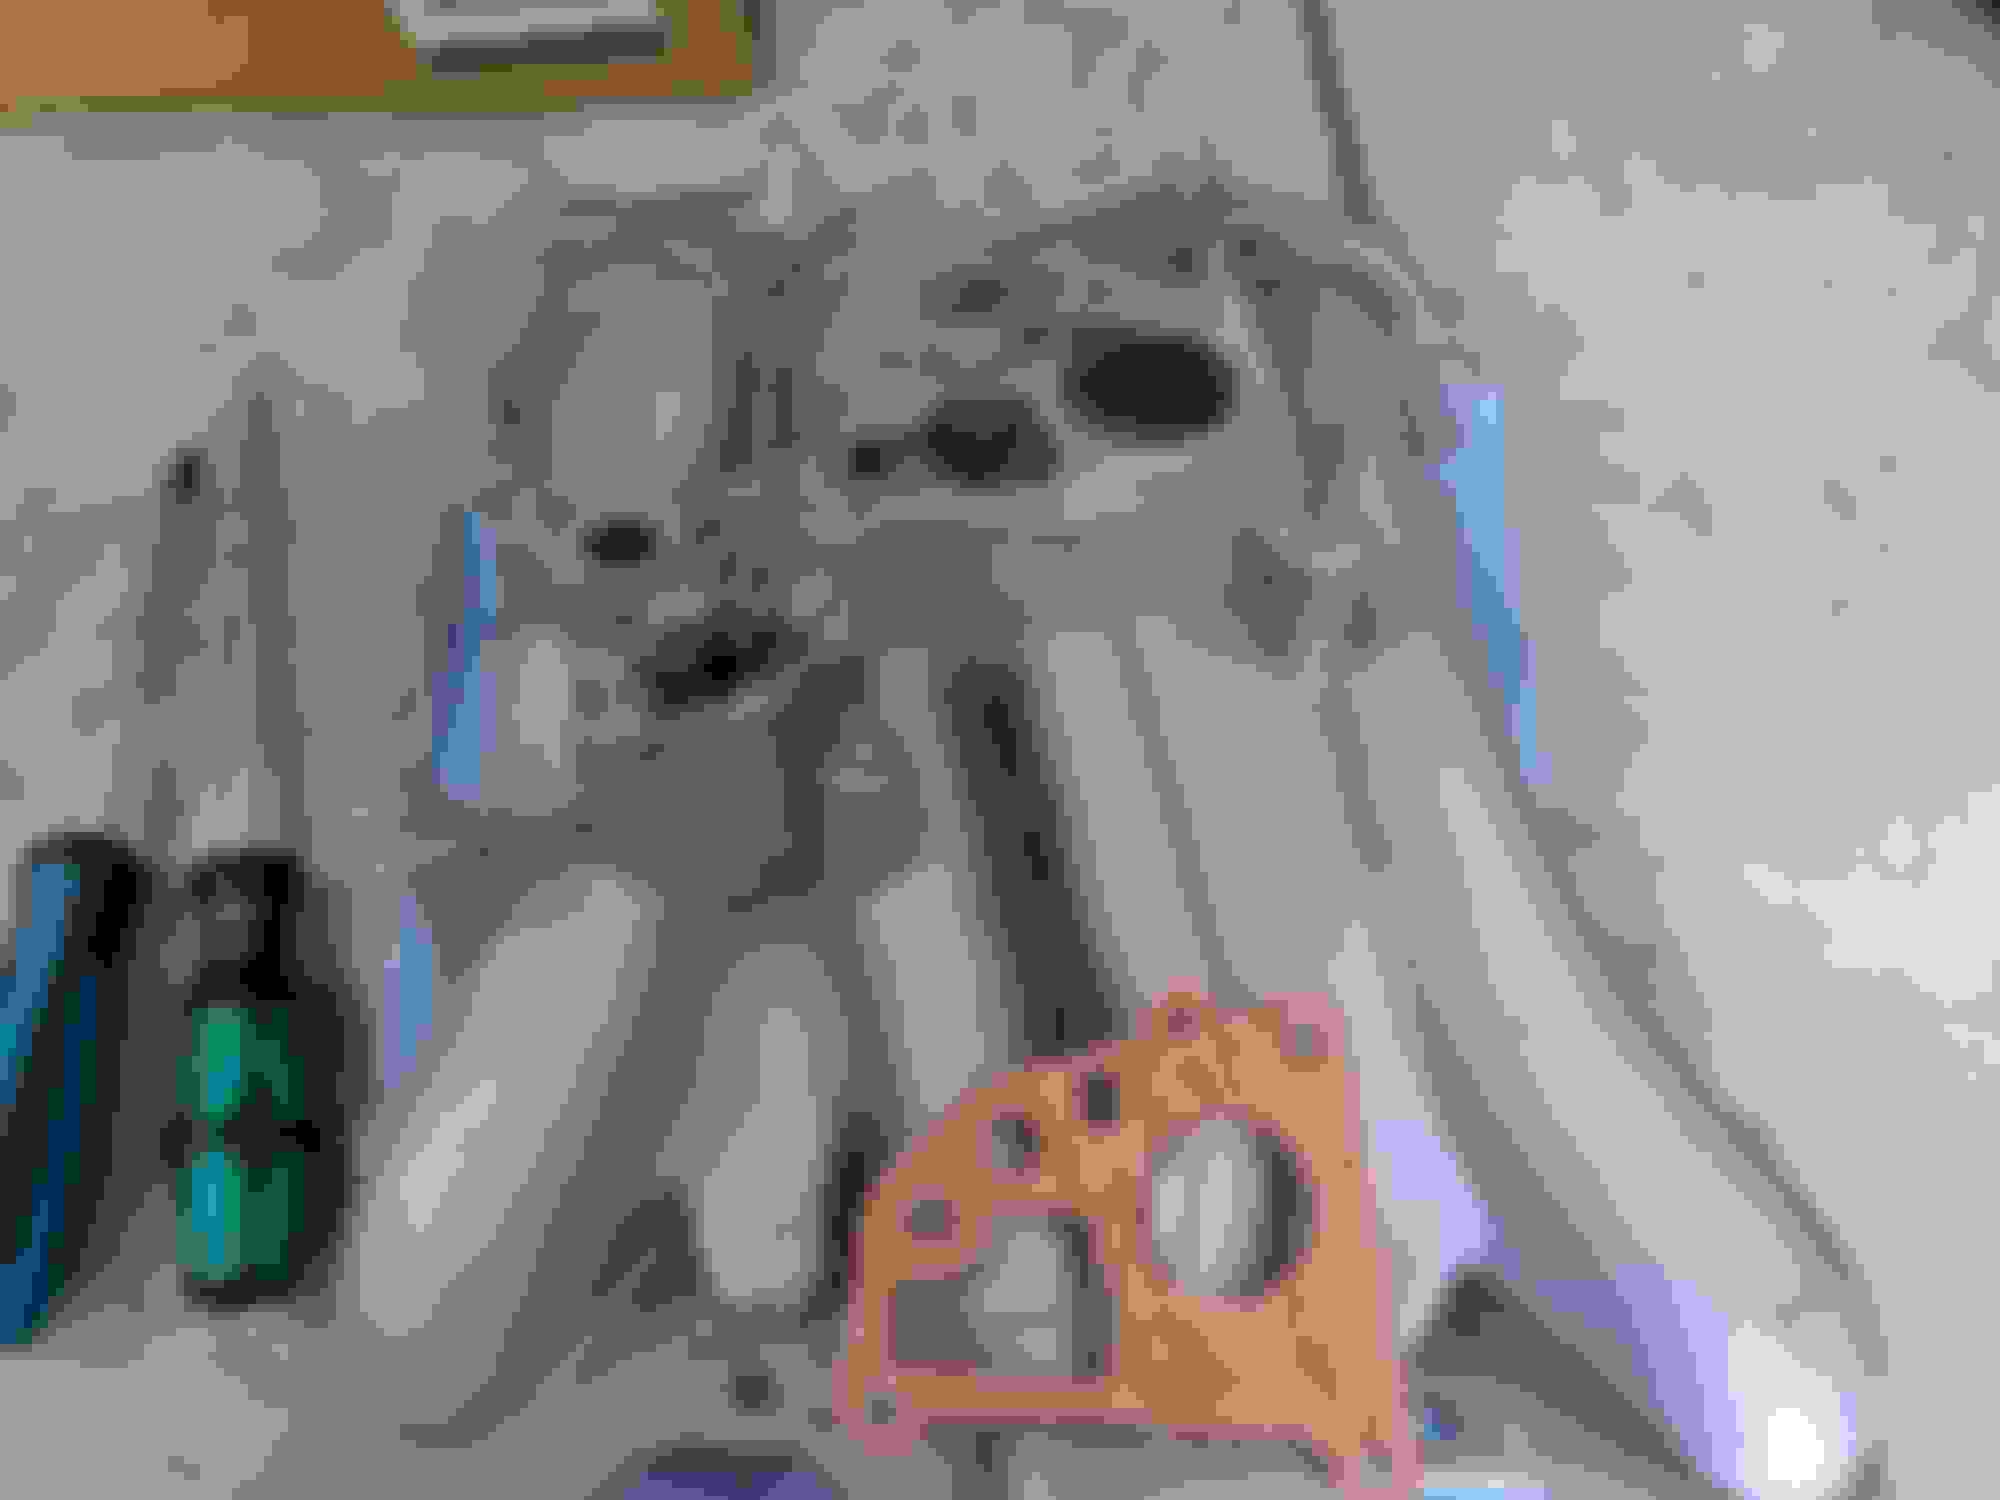
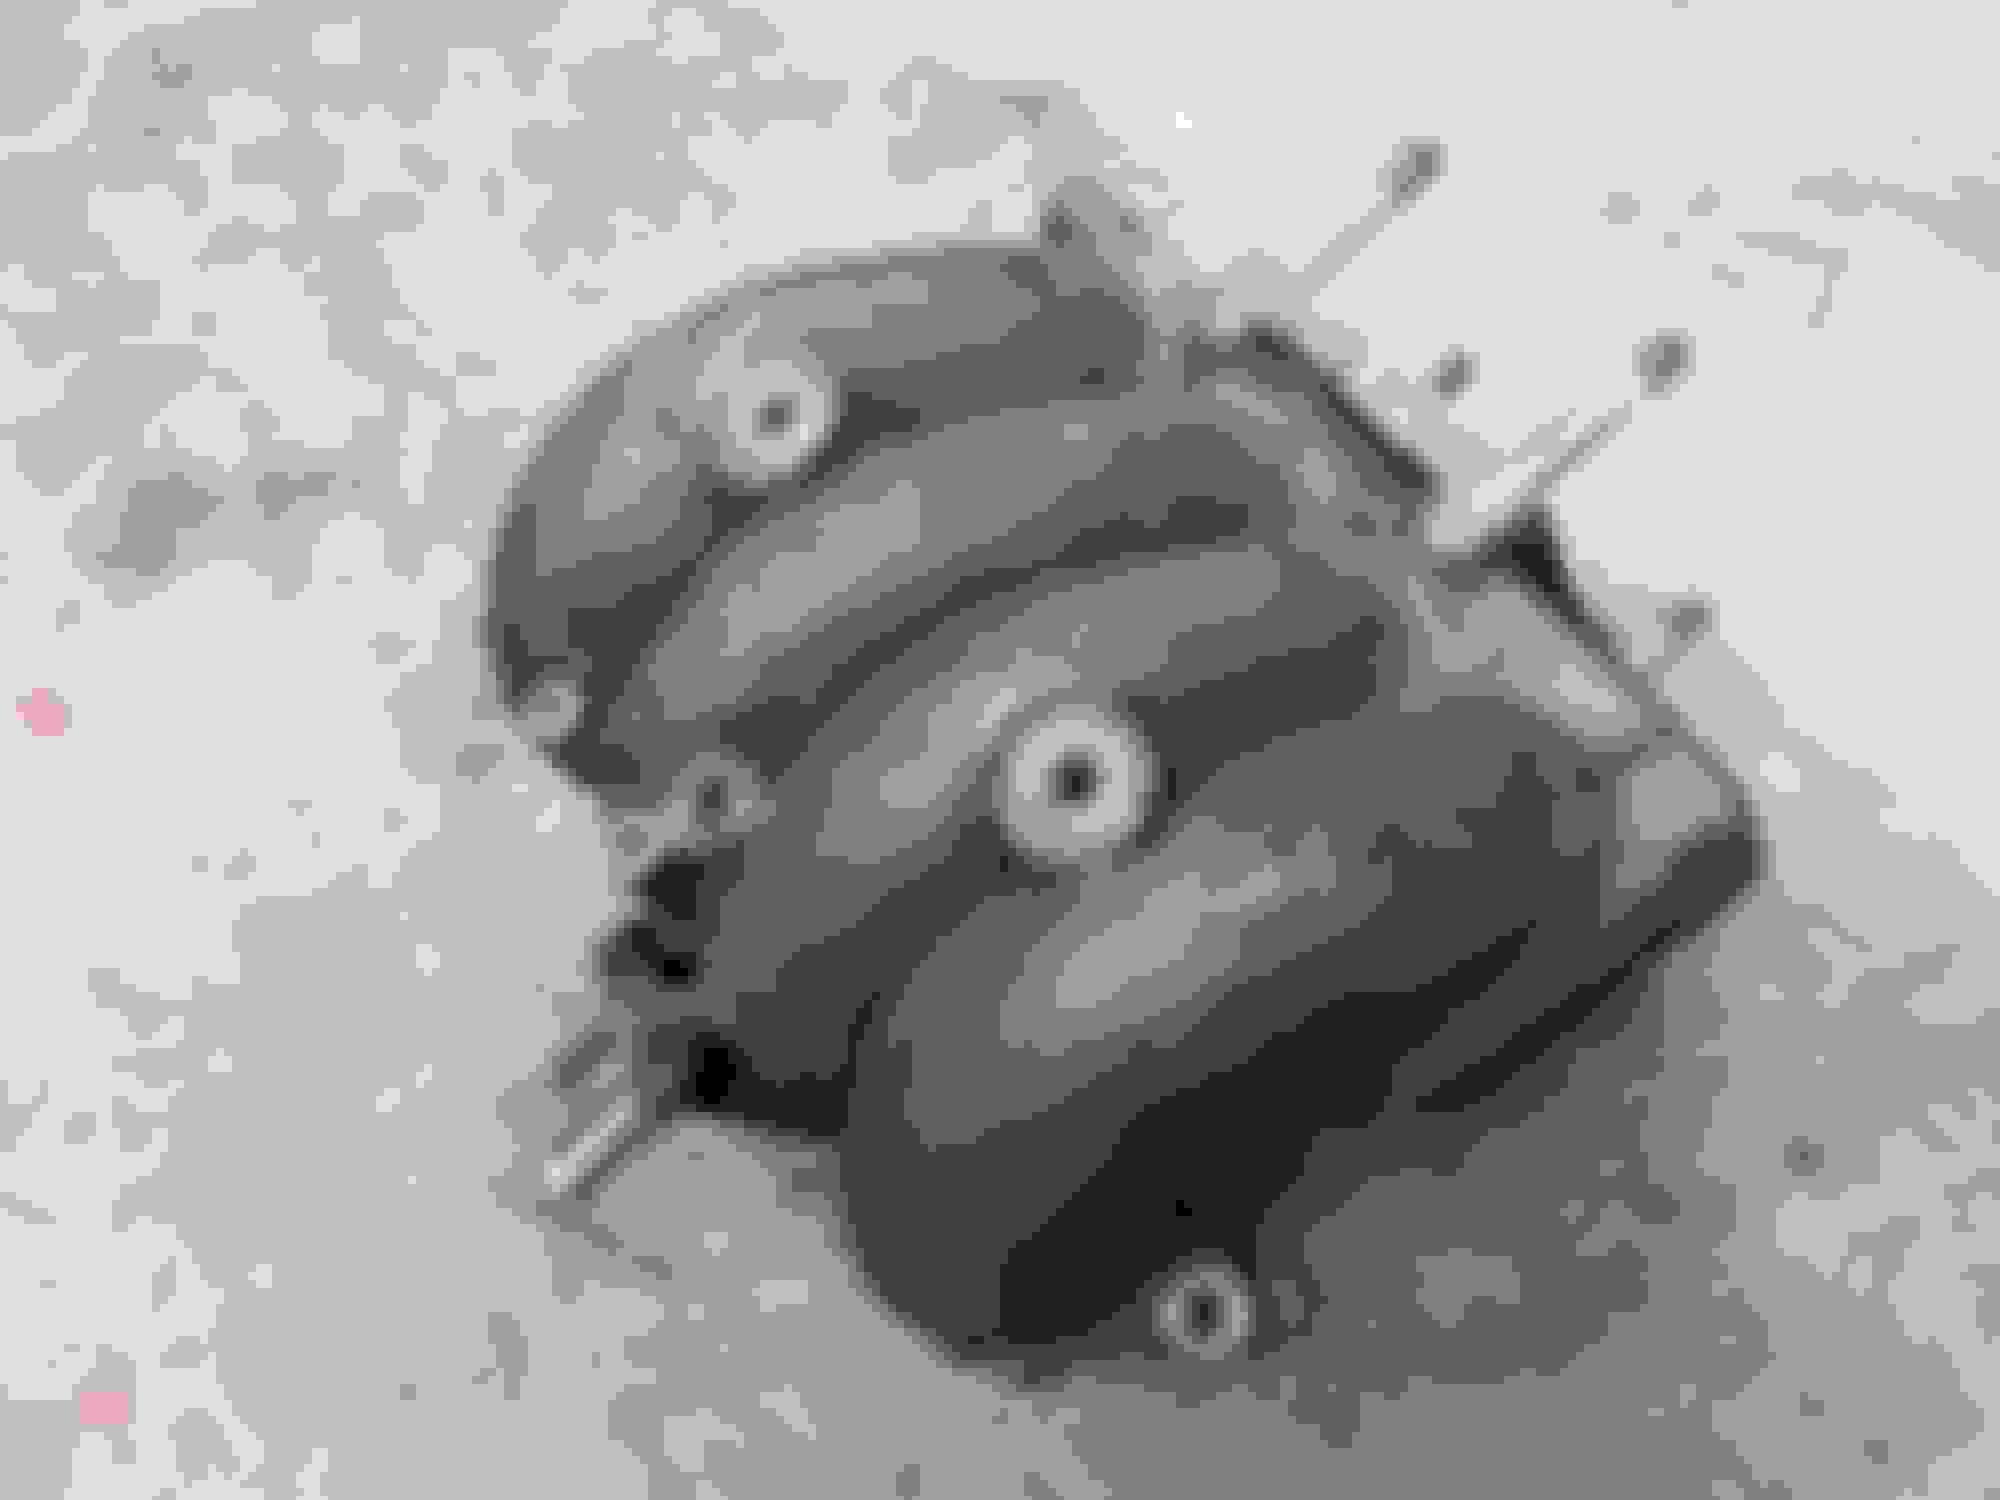
So, I cleaned all of the manifolds and things going back on the engine as well as I possibly could. Lots of scrubbing was involved here, and I was happy with the finished result.
Lower intake manifold before and after:
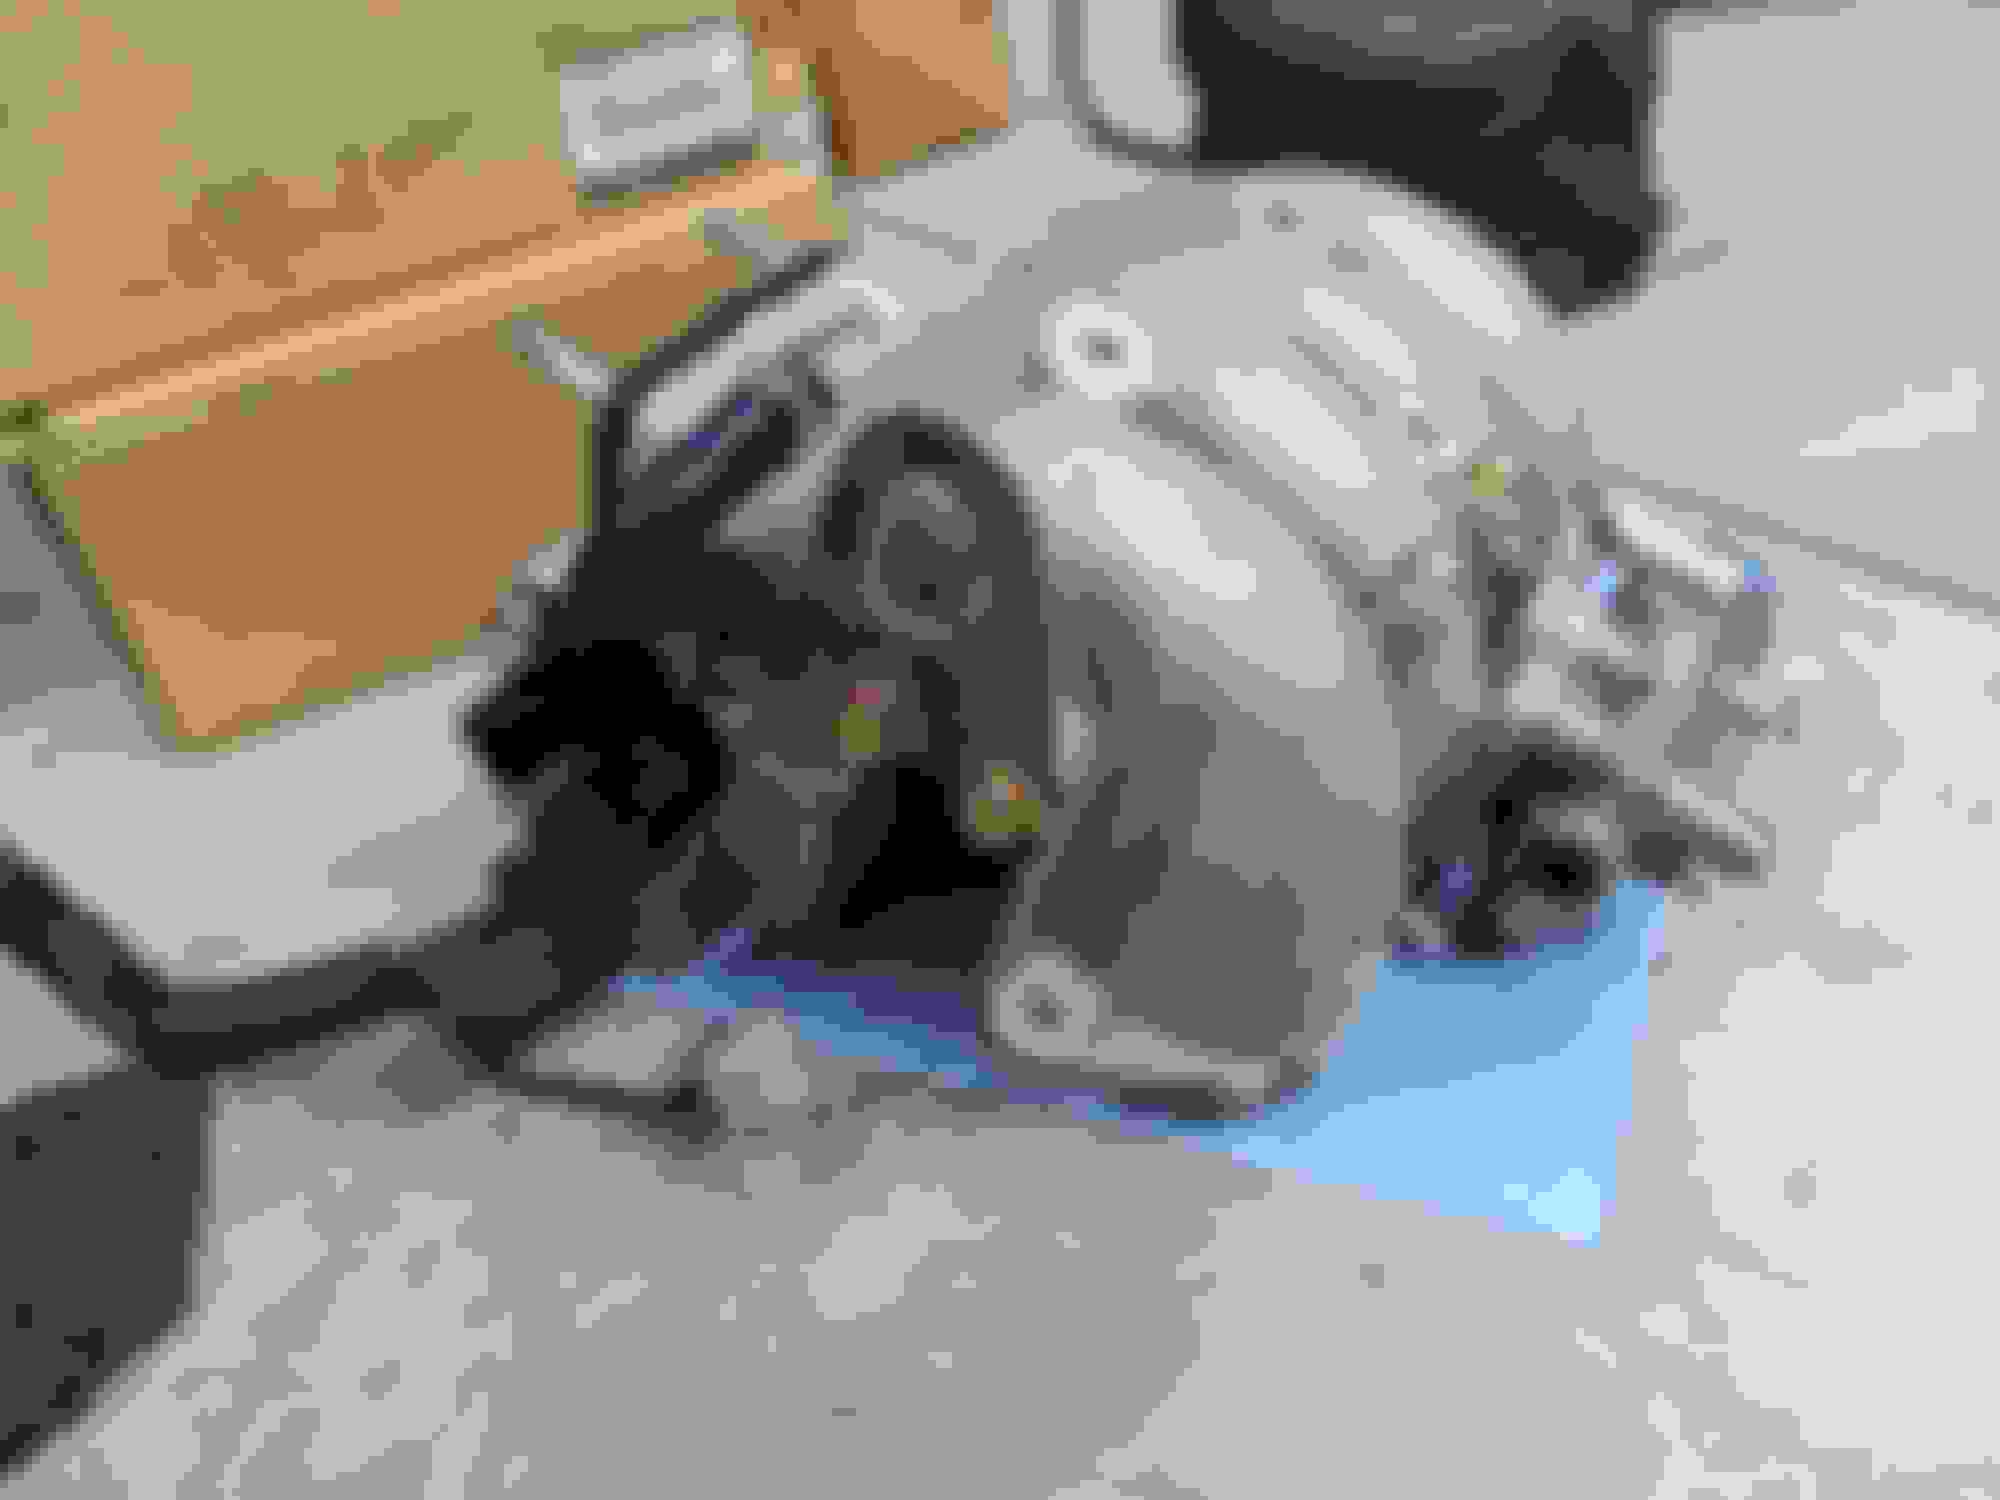
Upper intake before, after, and assembled with accessories ready to back in the car:
I also cleaned up the vacuum spider and replaced non-molded hoses with new silicone lines. I also may have replaced a couple of NLA molded hoses that were cracked, but can't really remember.