
IV-Rotor build: 12 plugs/ 9 bearings/ 8 ports= 1 monster.

IV-Rotor build: 12 plugs/ 9 bearings/ 8 ports= 1 monster.
The day has arrived, time to start the Defined Autoworks 4-rotor build thread. Some of you may have noticed our signature 3-rotor track FD hasn't been doing much. That of course is because it was being built into a 4-rotor track machine.
Since this was a long term project, I was able to very very carefully plan the whole thing one end to the other. Every single piece of data learned over the years with n/a tuning has been put into this one engine. Nothing was compromised and its built to be my ultimate vision of naturally aspirated horsepower. Because of that, certain parts of the car wont ever be photographed and are kept in "area 51" for the time being.
This specific 4-rotor is unlike any other. Its in-house name.... D26R
-Here is a cheat sheet on the specs it was built to-
Three plugs per rotor (just like the 787b 4-rotor)
Aluminum front and rear side housings
4-piece custom eccentric shaft
5-main bearings for very high rpm capacity
9.7:1 rotors, extensively lightened
race bearings throughout
2mm ceramic apex seals
Full custom p-ports in all housings
custom high strength stationary gears
Variable length intake, servo actuation (also like the 787b)
Custom slide throttle setup
4x2200cc injectors
Custom inconel header system
I've been working on this for 2 years, mostly on sundays or very late after hours at our shop. (pretty sure I earn one day a week off to work on promotional cars )
)
I will start feeding in pics over the next week or so, its hard to get any free time with all the work going on at good ol' Defined Autoworks.
Since this was a long term project, I was able to very very carefully plan the whole thing one end to the other. Every single piece of data learned over the years with n/a tuning has been put into this one engine. Nothing was compromised and its built to be my ultimate vision of naturally aspirated horsepower. Because of that, certain parts of the car wont ever be photographed and are kept in "area 51" for the time being.
This specific 4-rotor is unlike any other. Its in-house name.... D26R
-Here is a cheat sheet on the specs it was built to-
Three plugs per rotor (just like the 787b 4-rotor)
Aluminum front and rear side housings
4-piece custom eccentric shaft
5-main bearings for very high rpm capacity
9.7:1 rotors, extensively lightened
race bearings throughout
2mm ceramic apex seals
Full custom p-ports in all housings
custom high strength stationary gears
Variable length intake, servo actuation (also like the 787b)
Custom slide throttle setup
4x2200cc injectors
Custom inconel header system
I've been working on this for 2 years, mostly on sundays or very late after hours at our shop. (pretty sure I earn one day a week off to work on promotional cars
)I will start feeding in pics over the next week or so, its hard to get any free time with all the work going on at good ol' Defined Autoworks.
First up, the transmission. My old faithful T5 dogbox was not going to handle the 4 rotors power potential, so a upgrade was needed. Using our nascar connections was the obvious choice This is a Mid-valley engineering 4-speed unit. I tore it apart to inspect it..... okay I tore it down because I wanted to see how badass it was! Gun-drilled high strength massive trans shafts. All needle bearing support, internal oil pump, ultra lightweight gears, reem polished. This thing is a work of art!
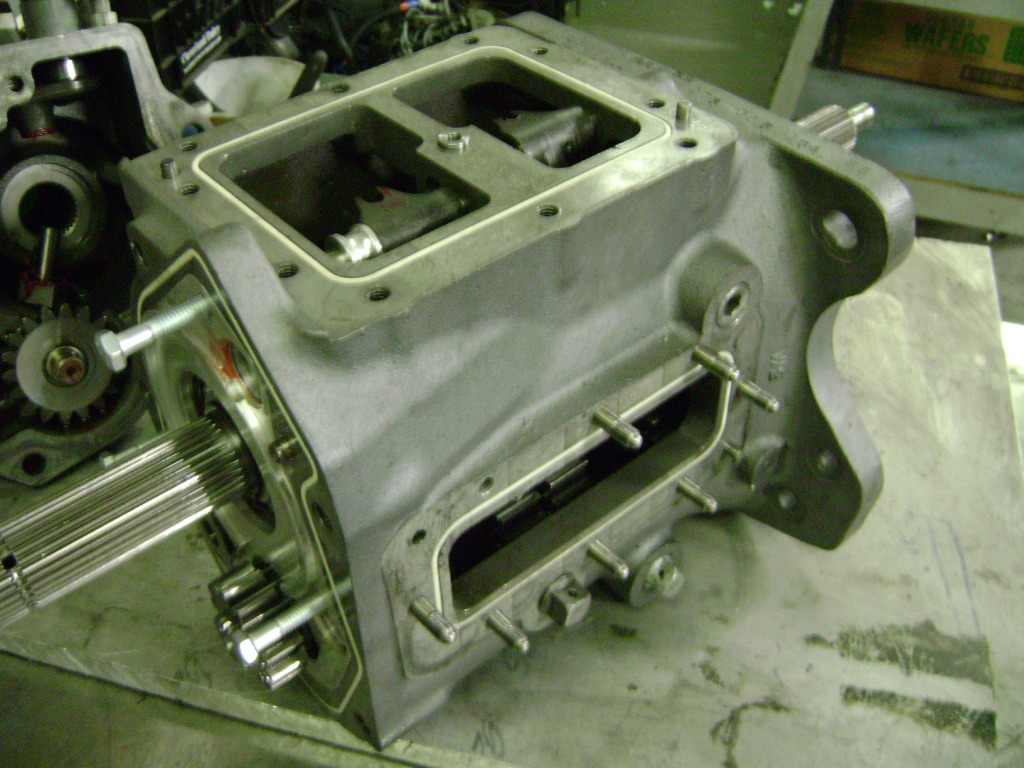
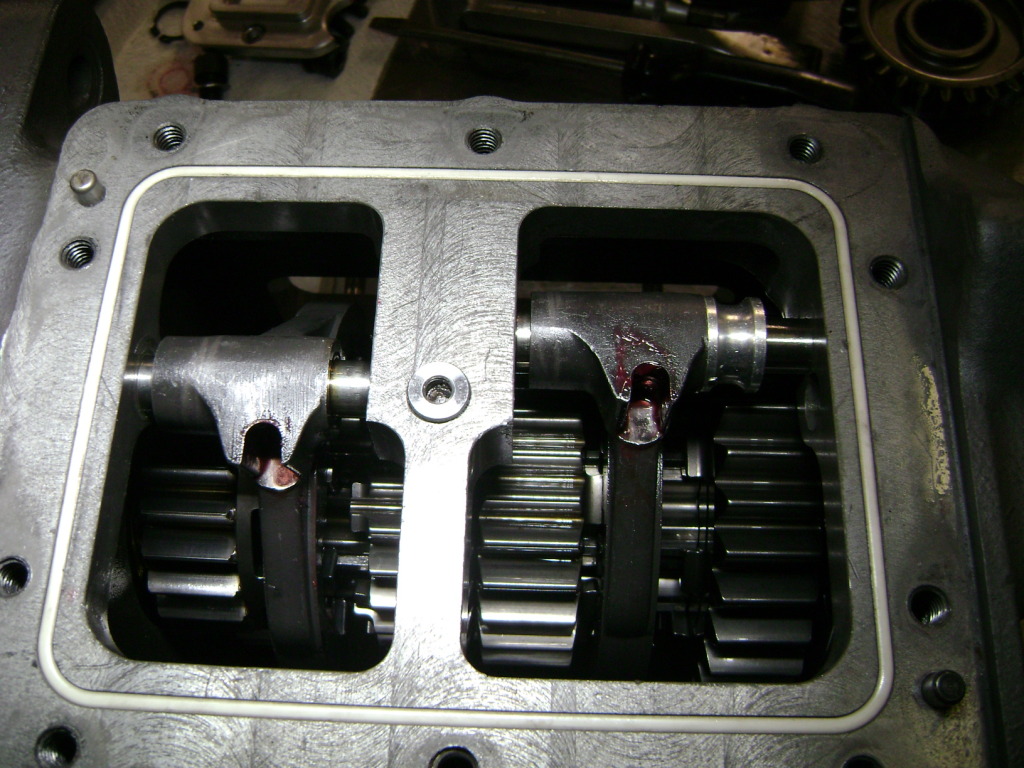
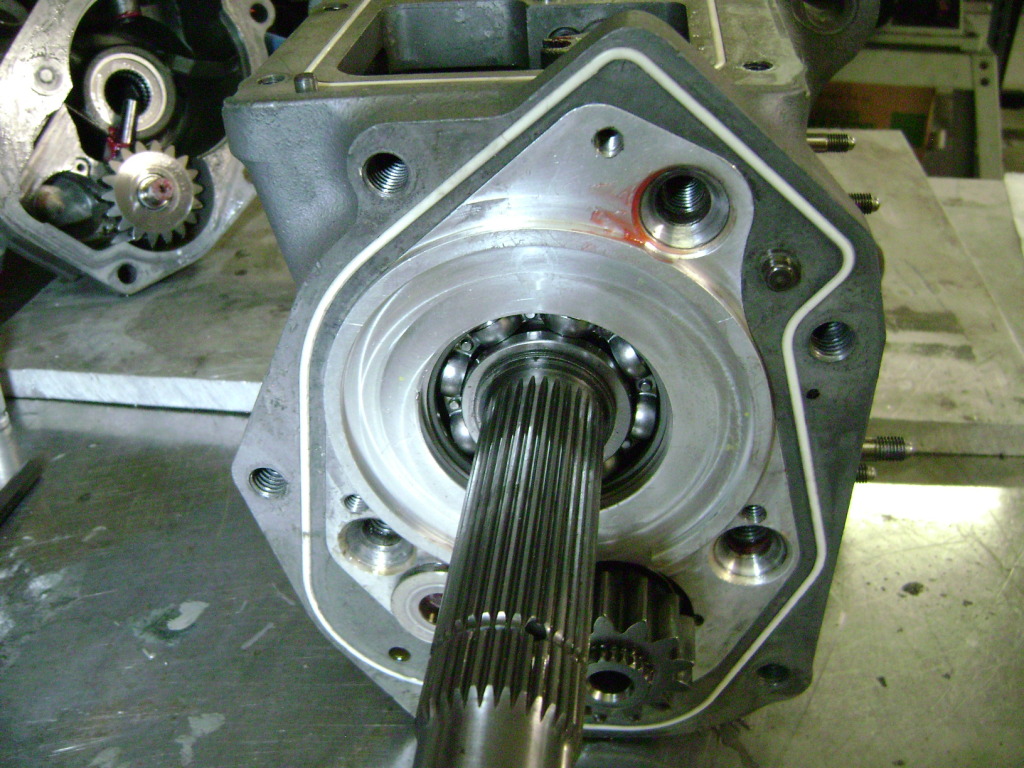
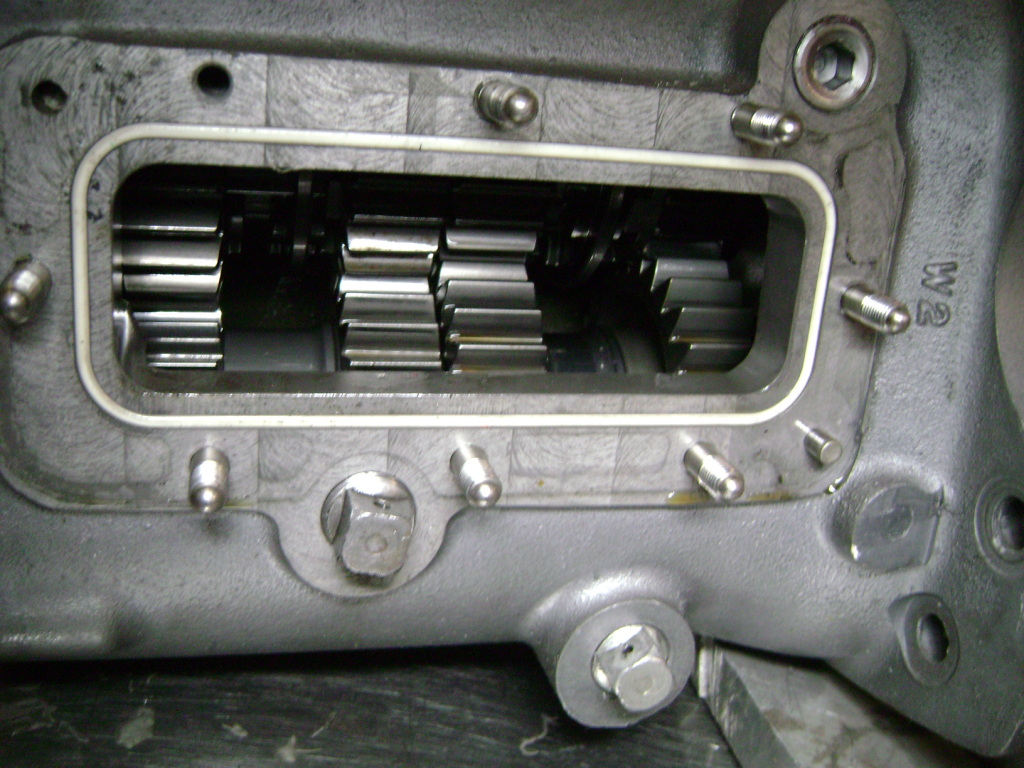
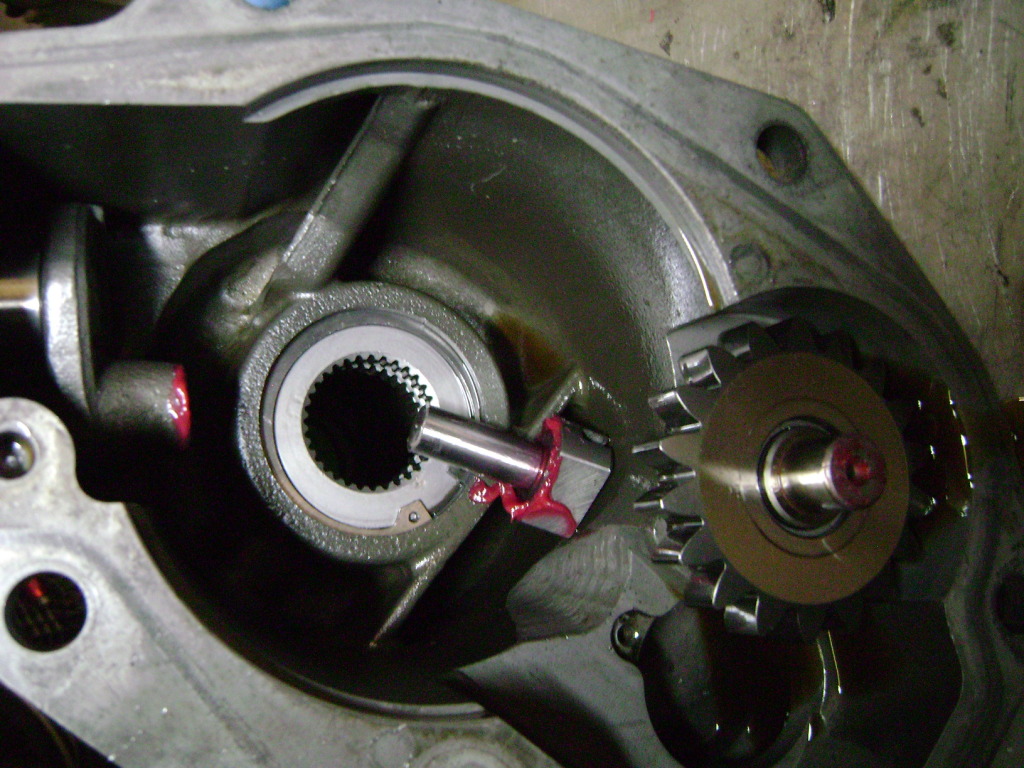
This is a Mid-valley engineering 4-speed unit. I tore it apart to inspect it..... okay I tore it down because I wanted to see how badass it was! Gun-drilled high strength massive trans shafts. All needle bearing support, internal oil pump, ultra lightweight gears, reem polished. This thing is a work of art!


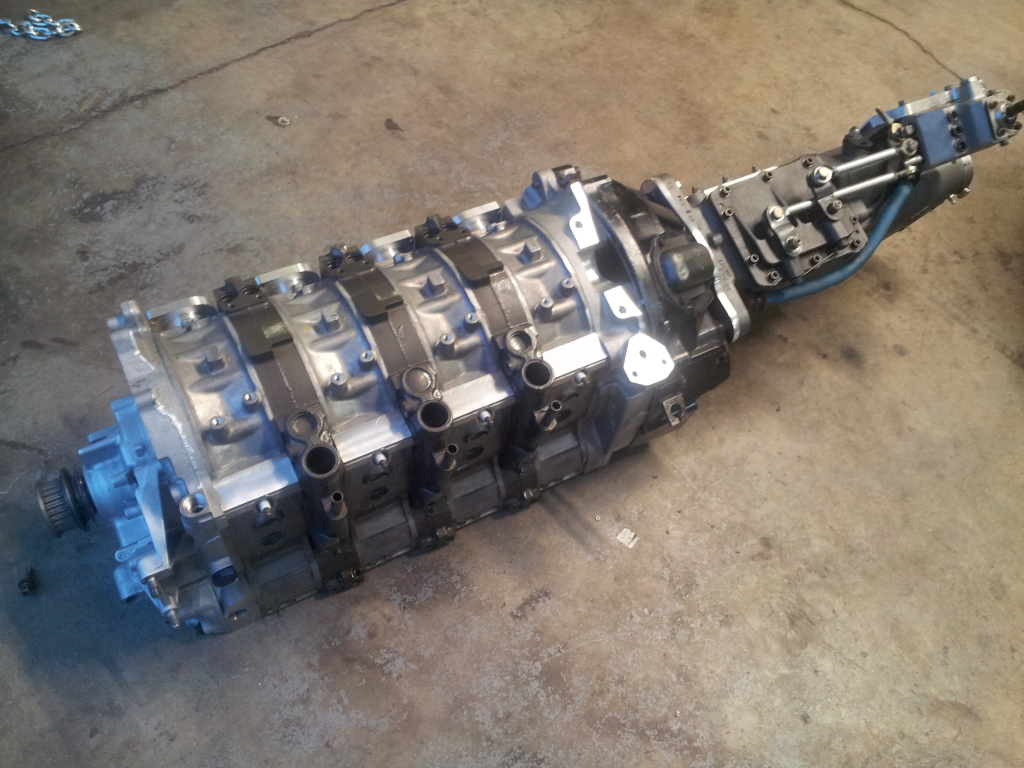
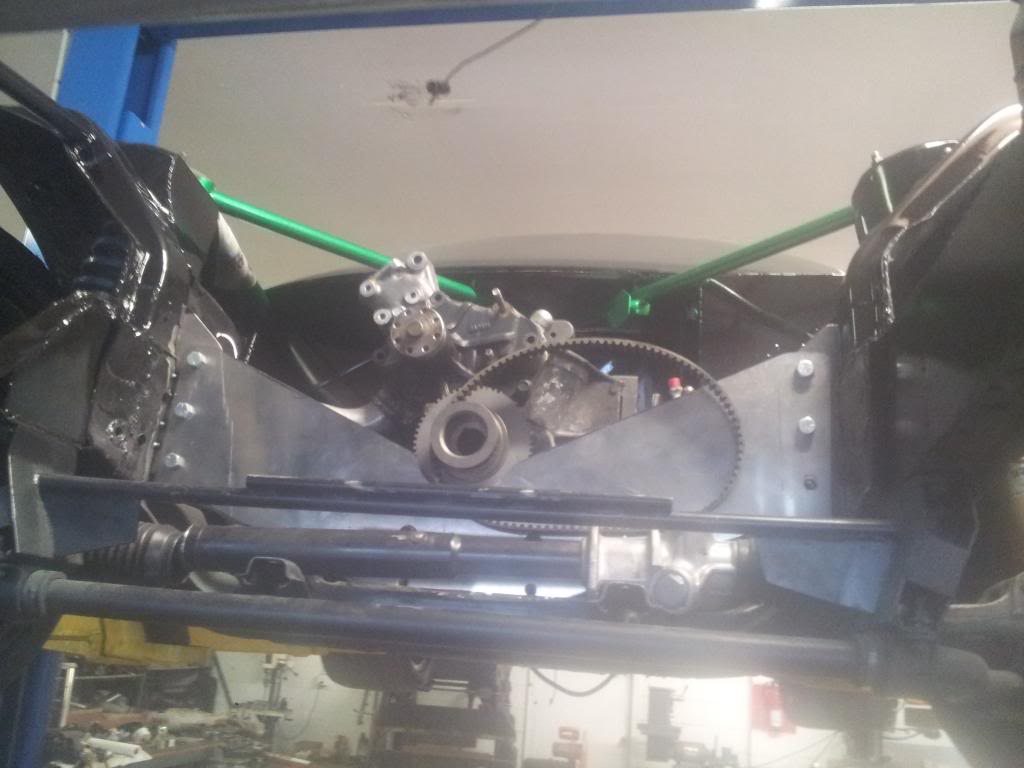
Here is the mostly real mockup 4-rotor attached to the 4-speed.
The chassis needed a nice overhaul before accepting the 4-rotor. After staring at it for many hours I had a vision of how to make it much easier and cleaner to work on. The engine bay and shock tower needed some modification to fit the variable intake as well. That will all make sense as we go along
She looks dirty and like a POS. But give it a chance
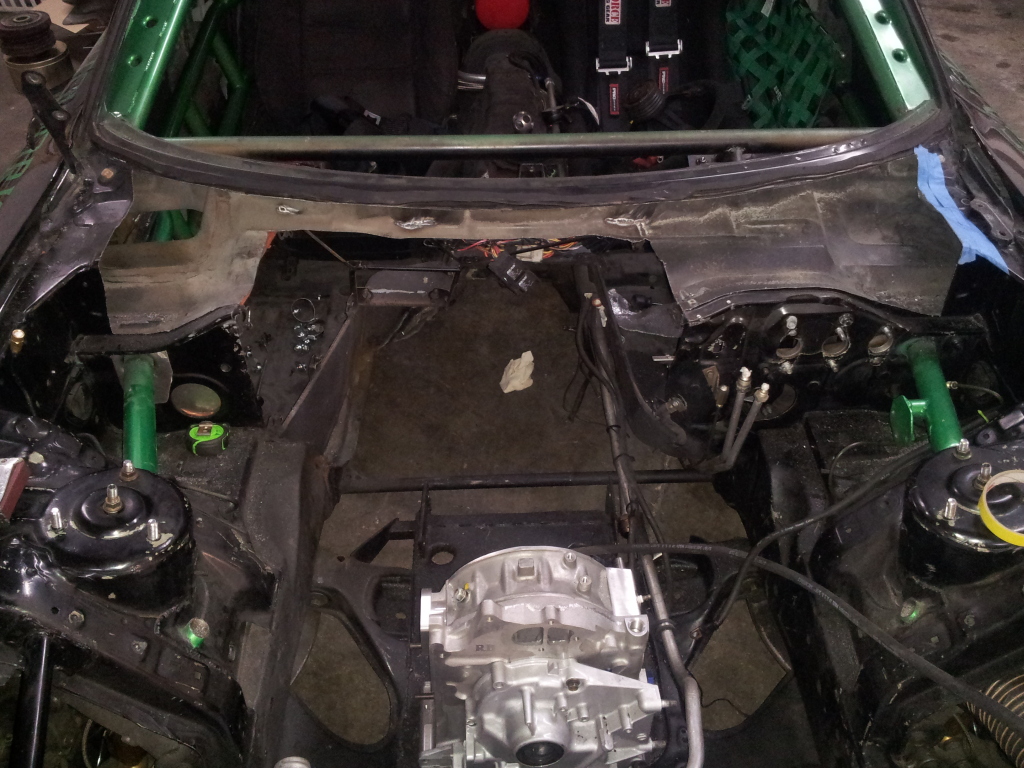
Now I did it. Whole firewall gone. No going back now!
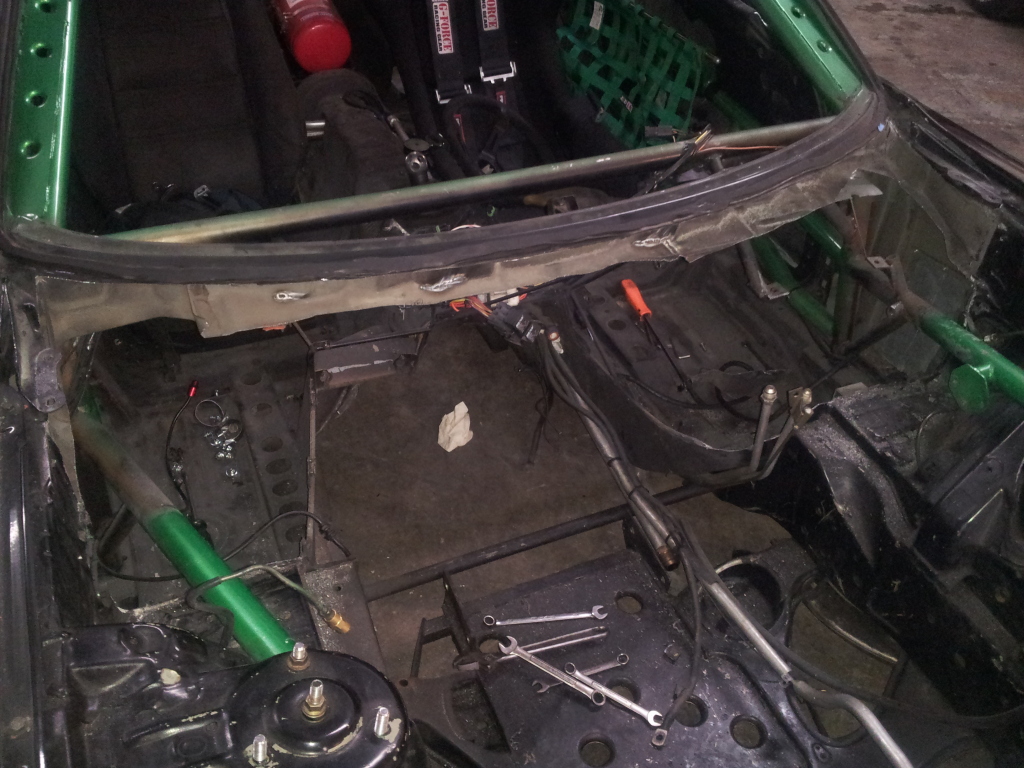


Trending Topics
Bet you guys didnt think this was possible based off the beginning huh? I'm not a professional painter, but many guys who have stopped by think I am

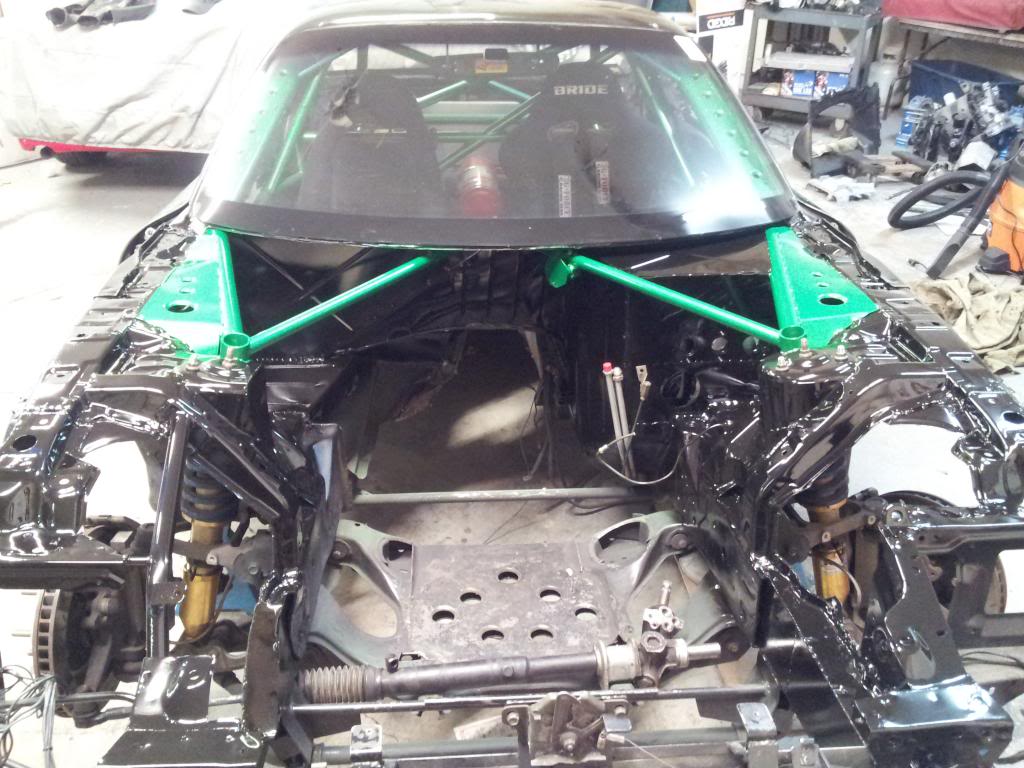
This one goes to Matt, he came up with using a motor plate idea. I liked it, and started to fabricate using the dummy engine. This made the whole package so easy to install and remove
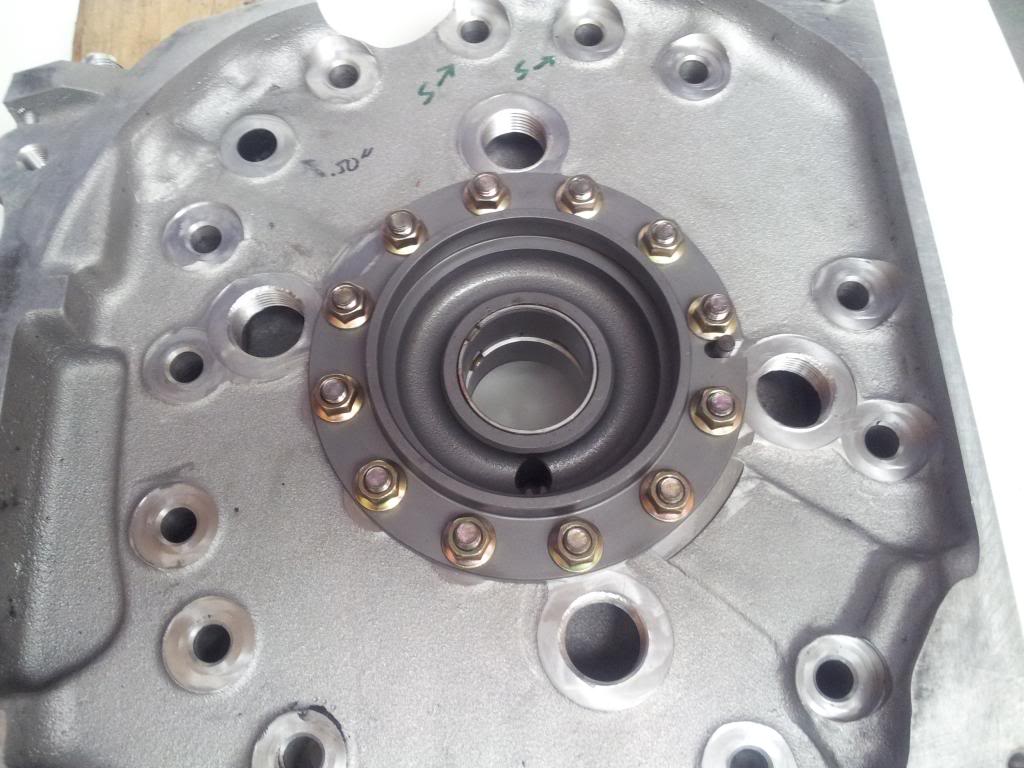
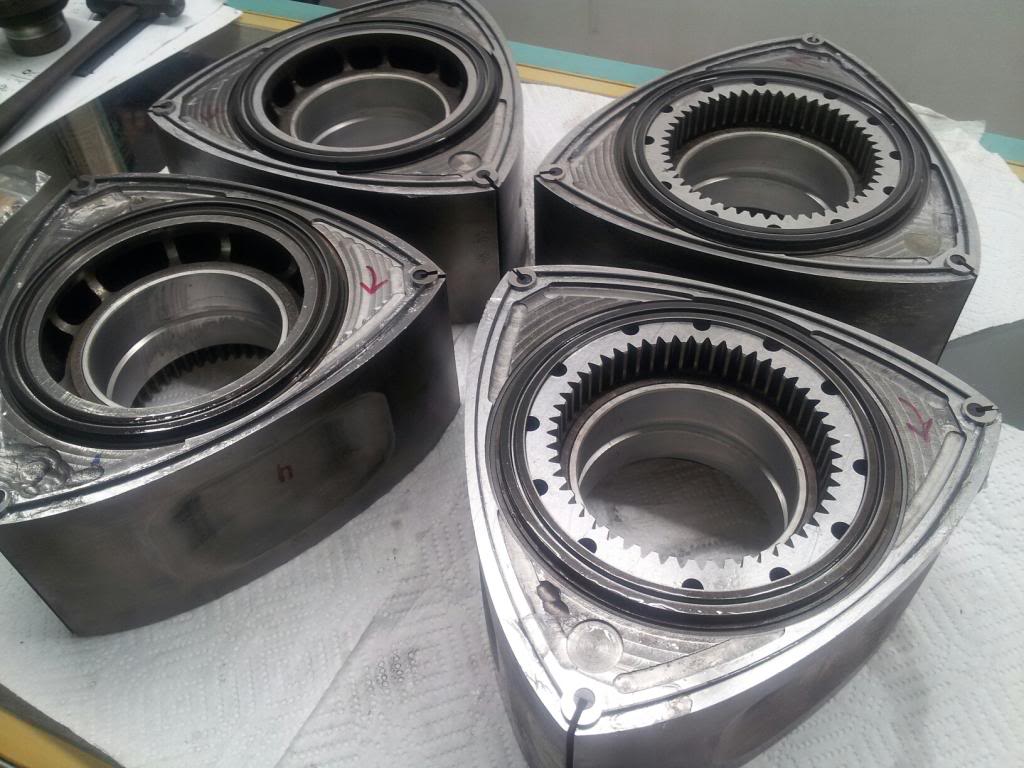
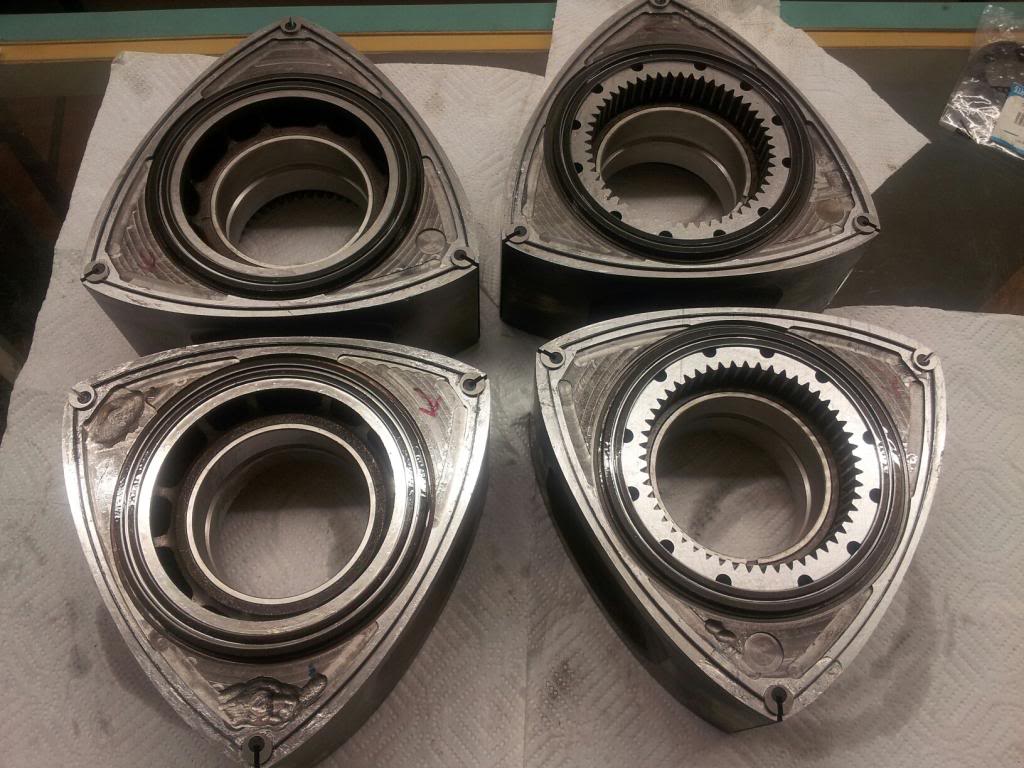
Now onto the 4-rotor! After all that is what everyone wants to see. 1st off the aluminum side housings. So light, so nice.
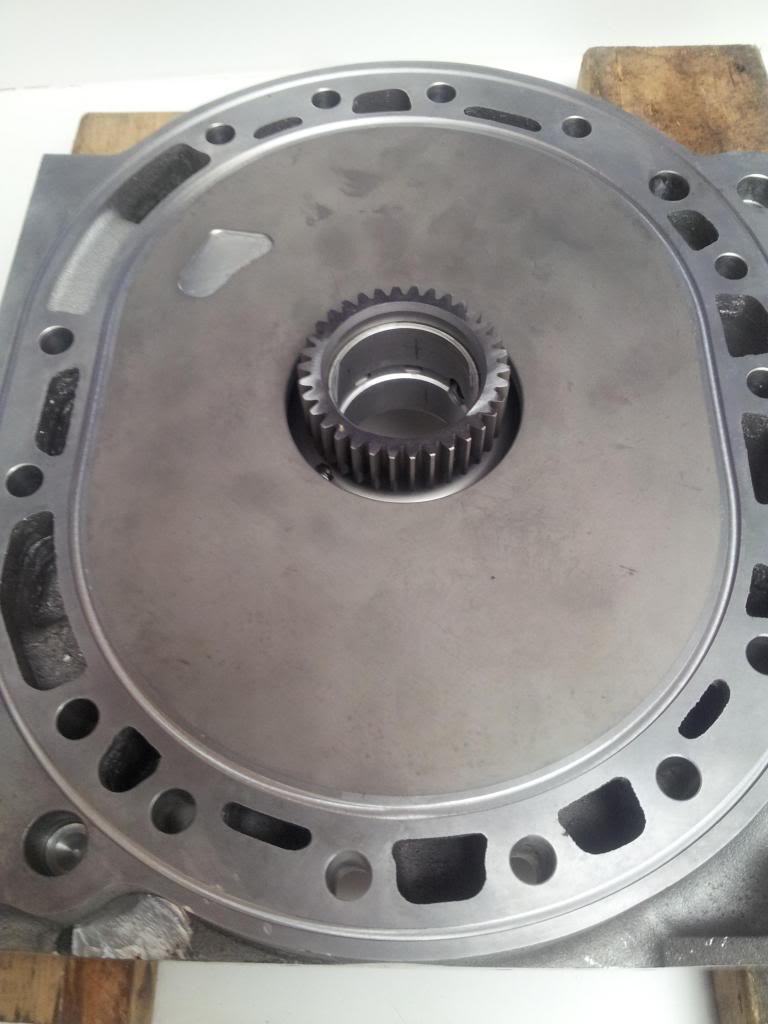
The ultra-light rotors
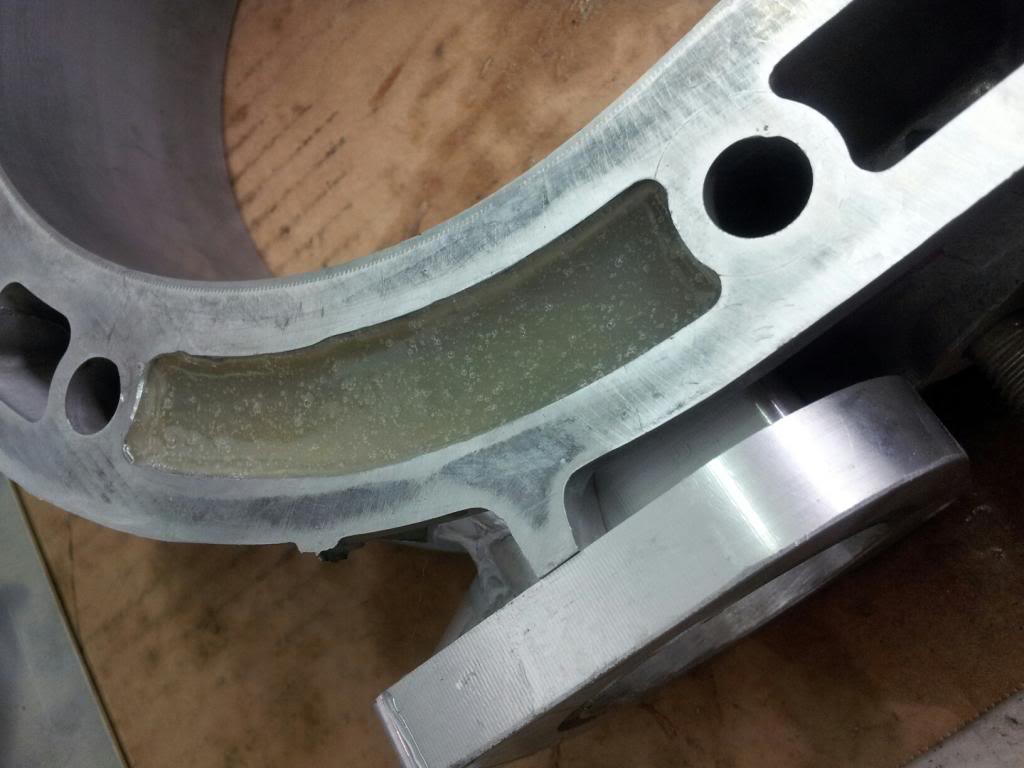
P-port all epoxy sealed


This one goes to Matt, he came up with using a motor plate idea. I liked it, and started to fabricate using the dummy engine. This made the whole package so easy to install and remove

Now onto the 4-rotor! After all that is what everyone wants to see. 1st off the aluminum side housings. So light, so nice.


The ultra-light rotors

P-port all epoxy sealed

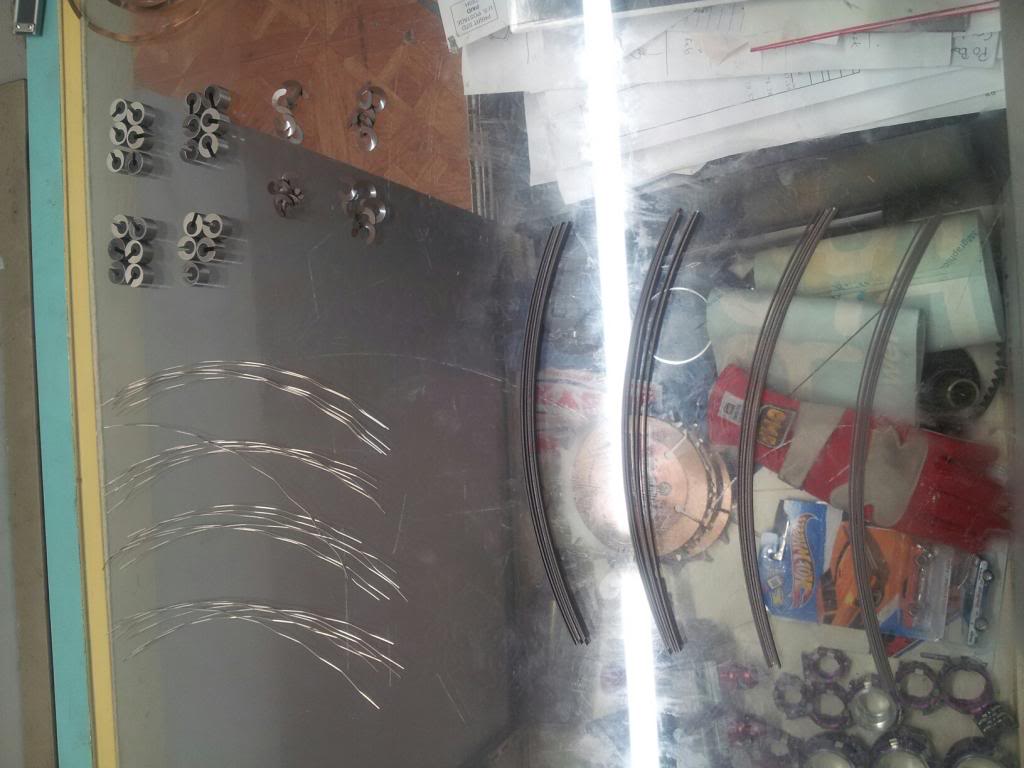
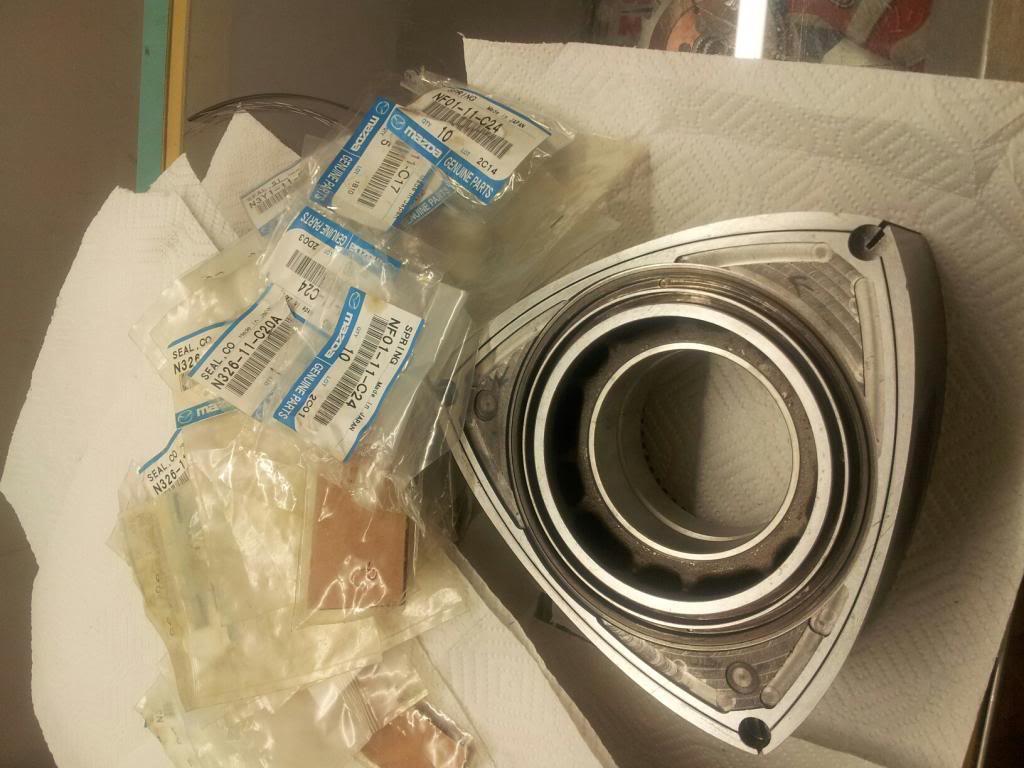
All the new seals. Too much time in clearancing side seals. I always dred it
The ultra ultra lightweight clutch and flywheel. 4.5lb flywheel and 9lb clutch. Alcon makes one sexy setup
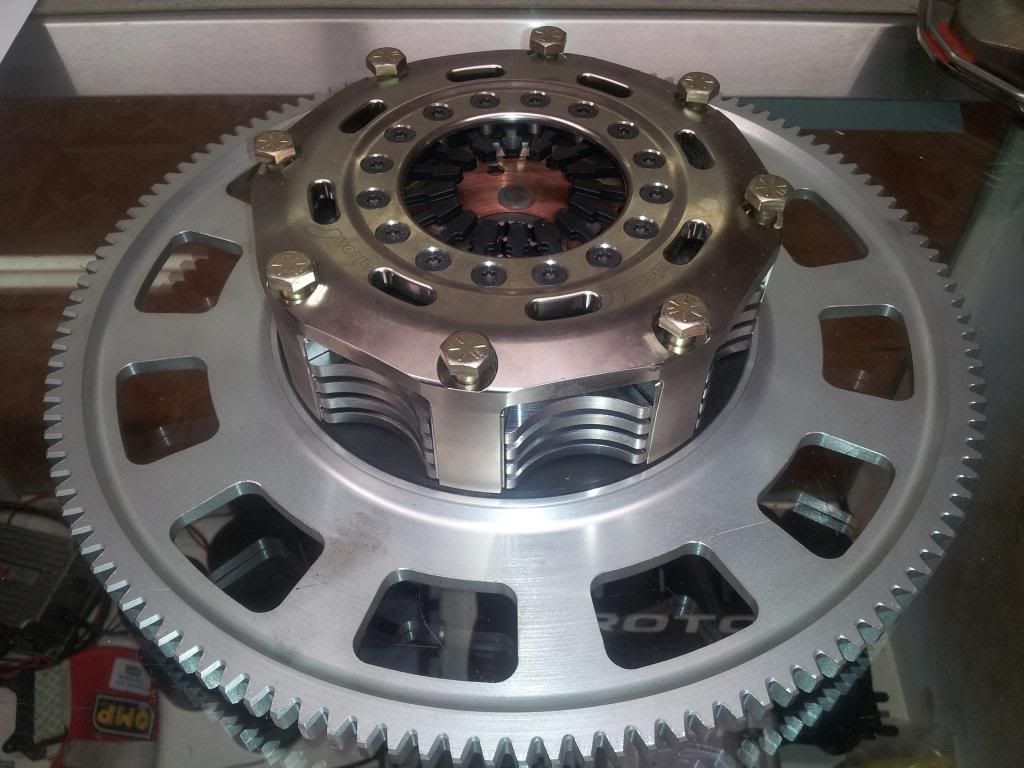


The ultra ultra lightweight clutch and flywheel. 4.5lb flywheel and 9lb clutch. Alcon makes one sexy setup


yeah I posted in FC section by accident, should be getting moved. The variable length intake uses carefully machined parts and slides without too much friction. It was tough to get clearances perfect

Senior Member
Joined: Jun 2012
Posts: 462
Likes: 0
From: Michigan
I was brainstorming a variable intake idea either doing that or using Rubber O rings on an oiled surface.
Super excited to follow this build!


Have you accounted for material expansion due to heat? I only ask because we spent countless hours designing and building a variable intake in college and it ended up failing due to that oversight. Phenomenal work so far!


 There are never enough 4-rotor threads, especially when they include amazing pictures like this one does
Starting it over again in the proper FD section. Look there and I will answer all the question on that thread. Now you guys have a reason to go visit the FD section
Last edited by GtoRx7.; Jun 9, 2013 at 02:00 PM.

Thread
Thread Starter
Forum
Replies
Last Post
iamsisyphus
2nd Generation Specific (1986-1992)
6
Sep 27, 2015 01:42 PM