
Finally turbo swapping my vert


Thread Starter
Joined: Oct 2002
Posts: 8,713
Likes: 17
From: Long Island, New York
installed the new wastegate spring and also installed a NGK/ATX wideband. After research and the recomendation from tuners this is the one that was suggested due to its sensor, which you calibrate before installing it.
Hopefully get back to the dyno this week, and hopefully my wastegate holds- its a older HKS and its now missing a small piece that cracked off the flange. If it leaks I will have to replace it.

Hopefully get back to the dyno this week, and hopefully my wastegate holds- its a older HKS and its now missing a small piece that cracked off the flange. If it leaks I will have to replace it.
Thread Starter
Joined: Oct 2002
Posts: 8,713
Likes: 17
From: Long Island, New York
Well I never got back to the dyno, due to Hurricane Sandy I have actually not driven my car since October when I moved it to higher ground- which was a good thing because I had 2.5' of water around my house.
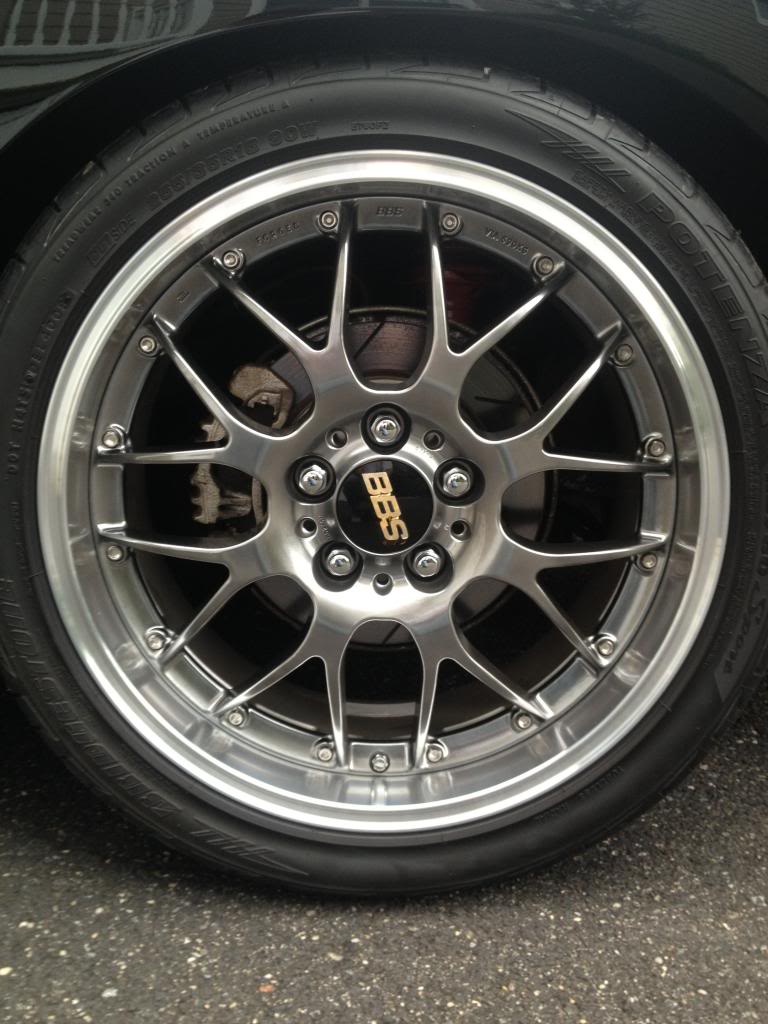
Anyhow- onto the next project- BIG BRAKES.
13" front, 12" rears using stock calipers
Stay tuned!

Anyhow- onto the next project- BIG BRAKES.
13" front, 12" rears using stock calipers
Stay tuned!

Thread Starter
Joined: Oct 2002
Posts: 8,713
Likes: 17
From: Long Island, New York
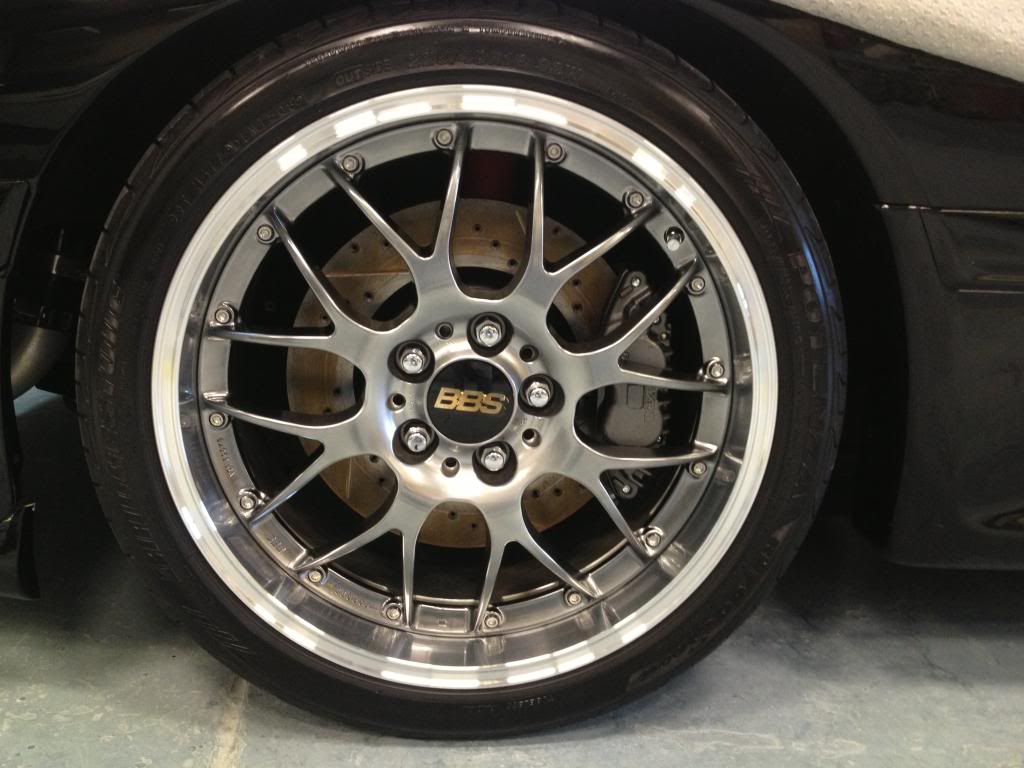
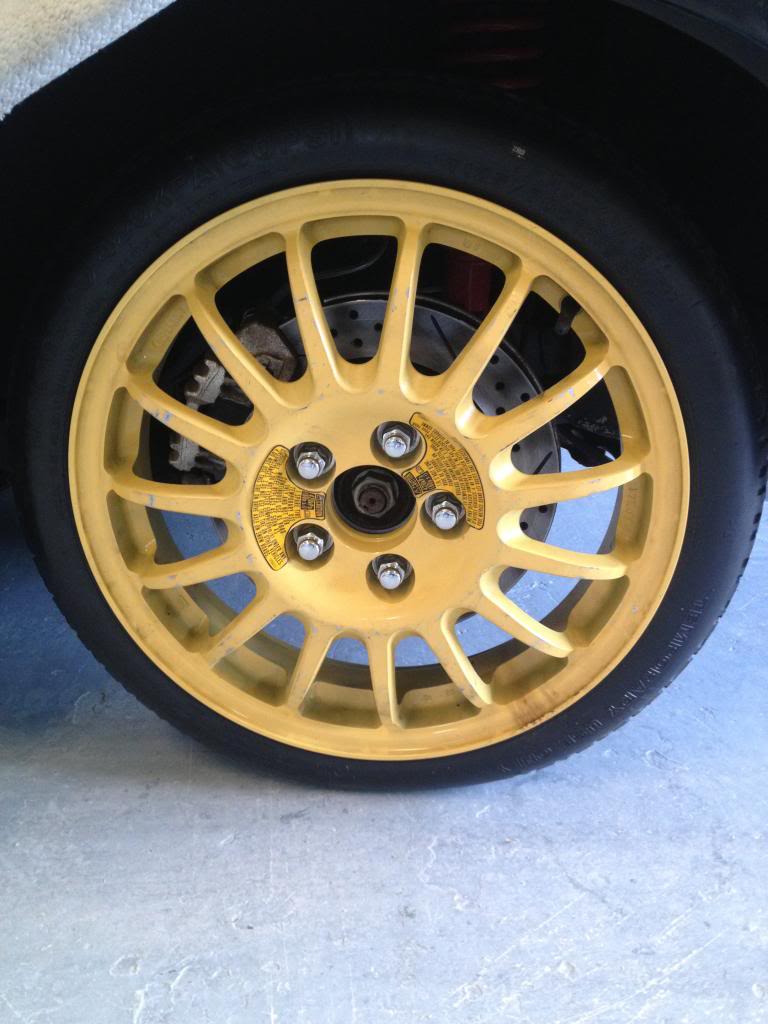
Ok well brakes are on.
I would consider process a bit involved. If you are thinking of doing it yourself understand its a bit more difficult than just swapping brakes out. Machining and problem solving are in order.
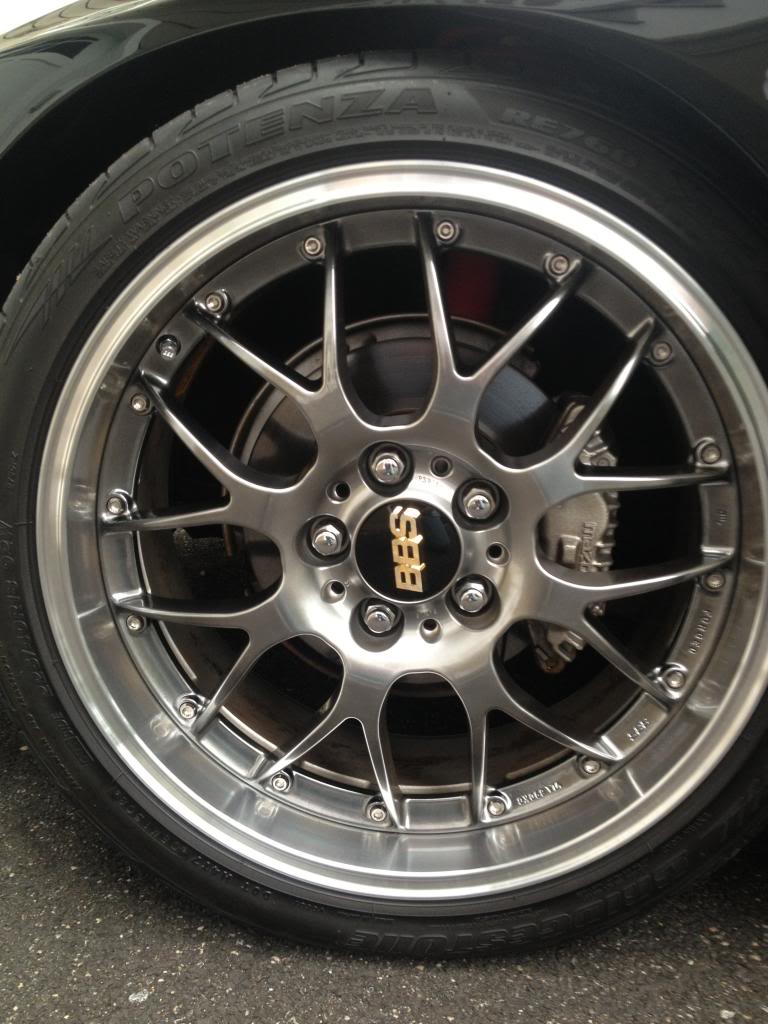
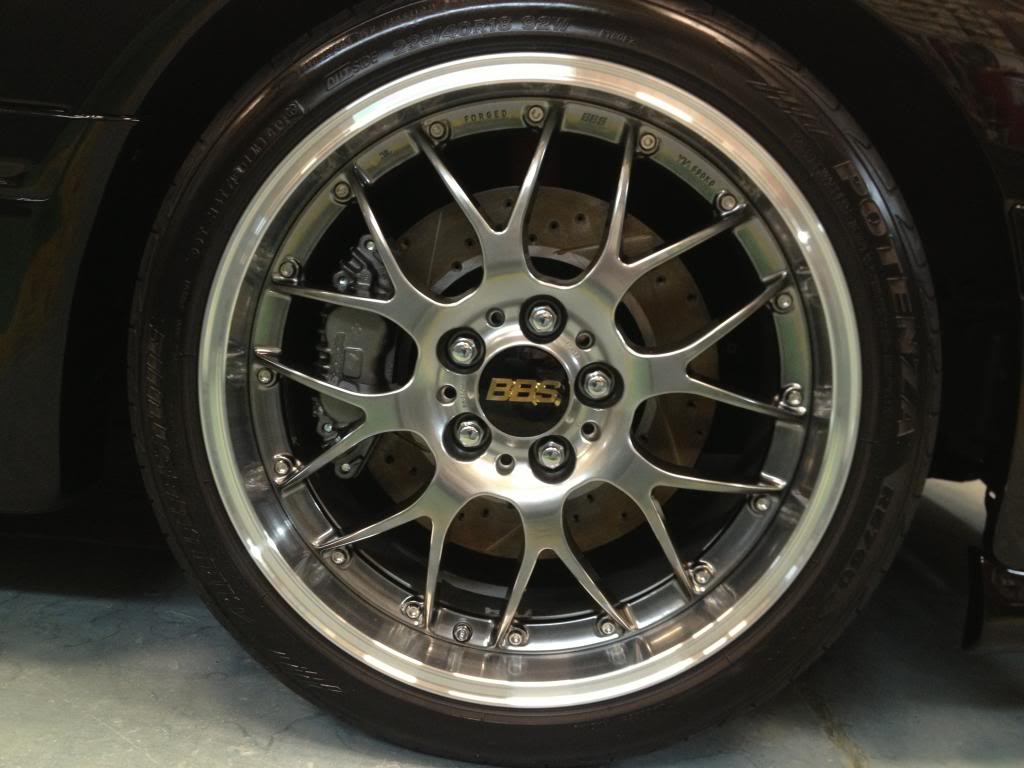
The ronin kit is very detailed, my machinist read them and modified somethings along the way like using a mill and lathe instead of small grinders- but that is because he had the means to do so.
Supernow rear kit- you get zero instructions with it. Even if there were some floating around they would most likely be in japenese. It gives you the option of standard FD rotors or RZ rotors, I chose standard because as far as I can tell you can only get RZ rotors from mazda and they are expensive- no choices as far as slotted, etc. I have new rear calipers I have to swap in. No modifications are needed to the calipers but some grinding.cutting is needed on the hubs
Running Hawk HPS pads
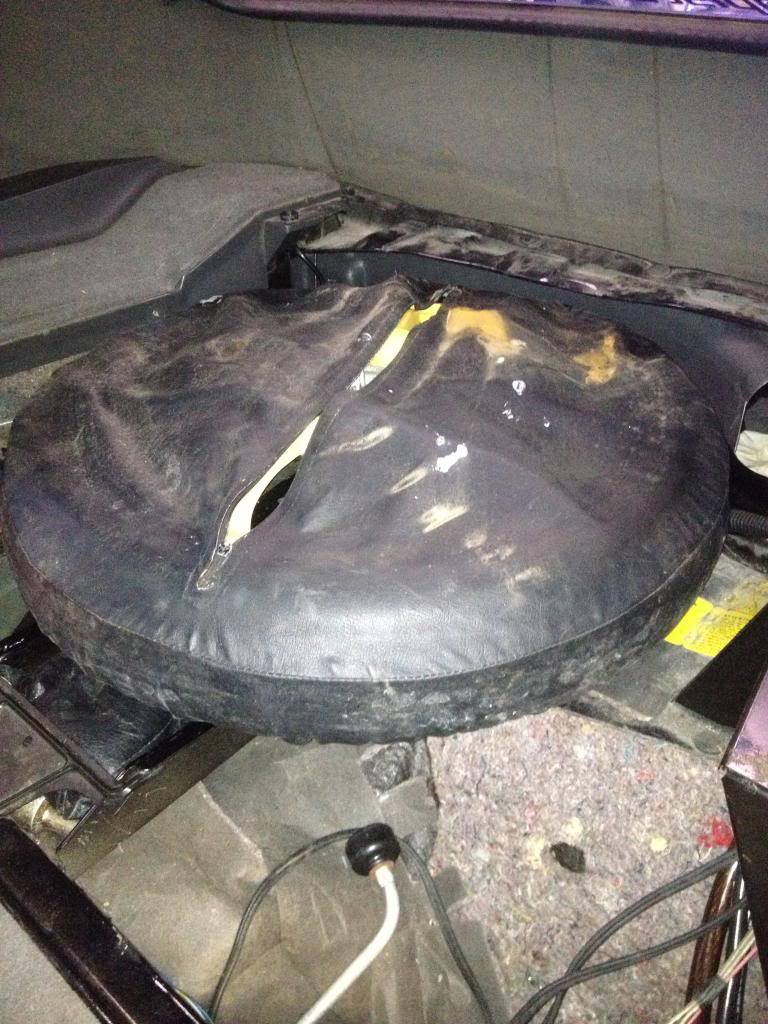
You can no longer use a standard spare, a RX8 spare fits in the rear ( I didnt try it in front I was running out of time ), and also fits in the stock spare location using original hold down.
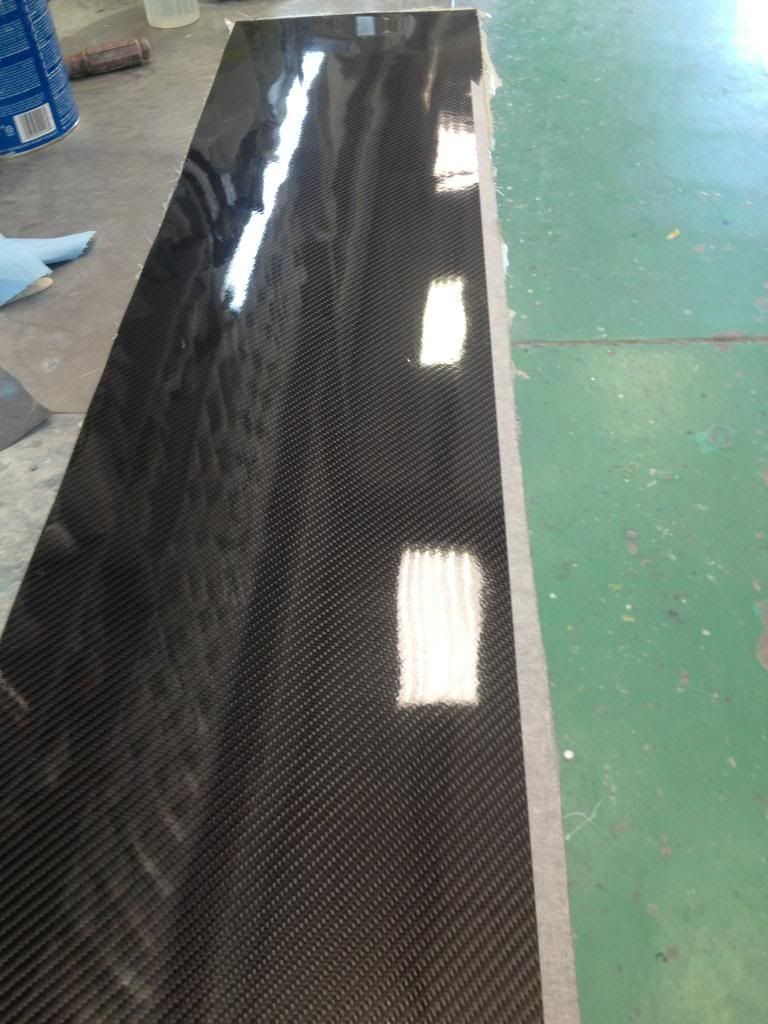
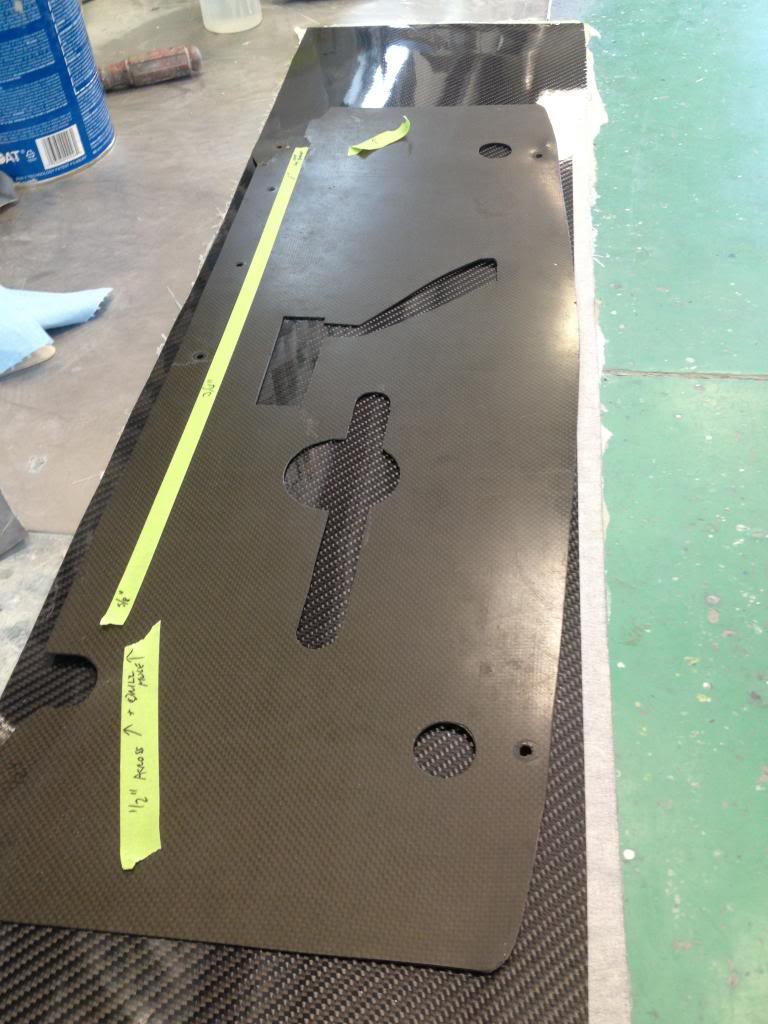
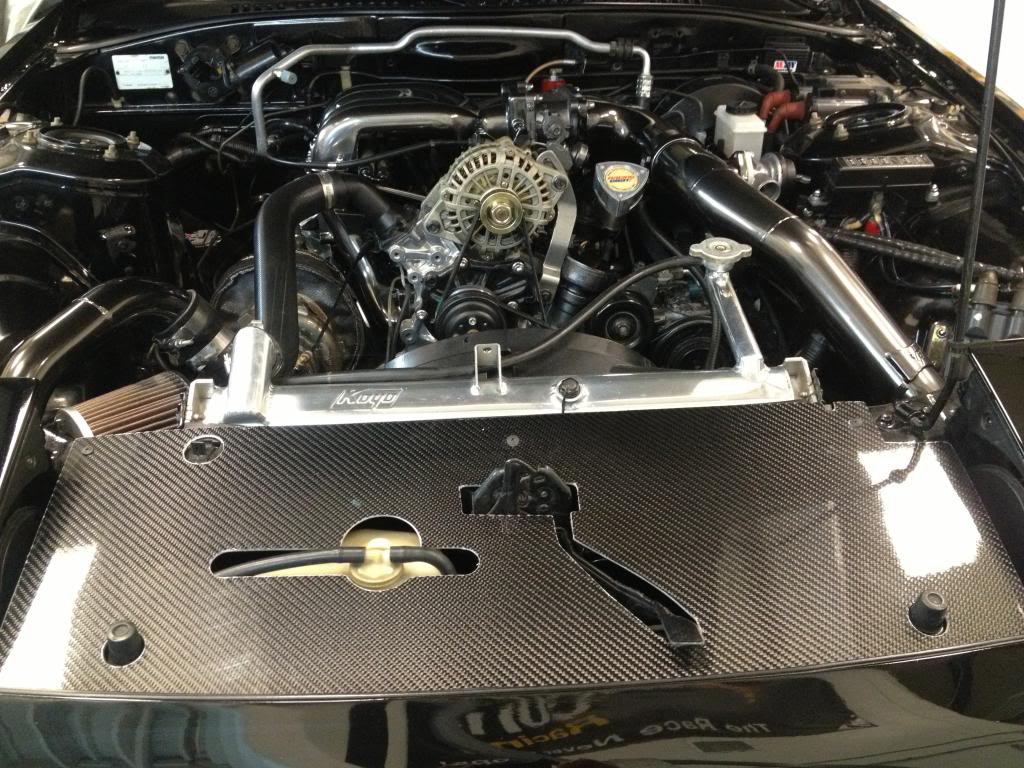
I also made a new cooling panel, I had laminated it months ago but never got around to cutting and fitting it. Might still do a little trimming around the edges.
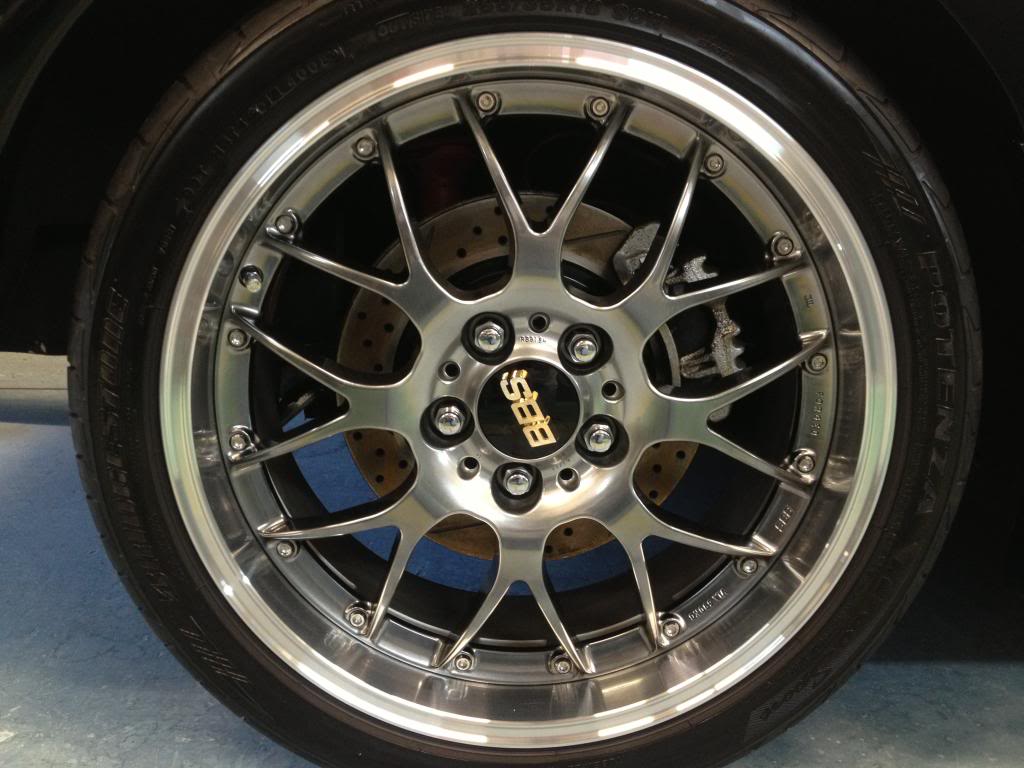
panel
I would consider process a bit involved. If you are thinking of doing it yourself understand its a bit more difficult than just swapping brakes out. Machining and problem solving are in order.
The ronin kit is very detailed, my machinist read them and modified somethings along the way like using a mill and lathe instead of small grinders- but that is because he had the means to do so.
Supernow rear kit- you get zero instructions with it. Even if there were some floating around they would most likely be in japenese. It gives you the option of standard FD rotors or RZ rotors, I chose standard because as far as I can tell you can only get RZ rotors from mazda and they are expensive- no choices as far as slotted, etc. I have new rear calipers I have to swap in. No modifications are needed to the calipers but some grinding.cutting is needed on the hubs
Running Hawk HPS pads
You can no longer use a standard spare, a RX8 spare fits in the rear ( I didnt try it in front I was running out of time ), and also fits in the stock spare location using original hold down.
I also made a new cooling panel, I had laminated it months ago but never got around to cutting and fitting it. Might still do a little trimming around the edges.


panel


Thread Starter
Joined: Oct 2002
Posts: 8,713
Likes: 17
From: Long Island, New York
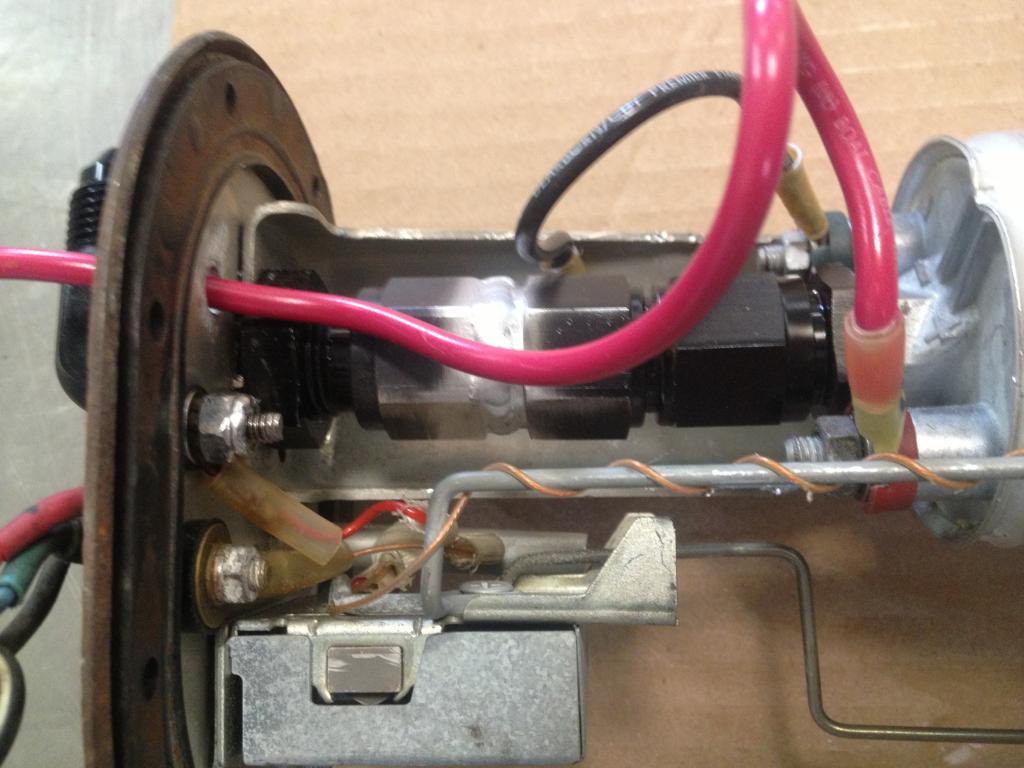
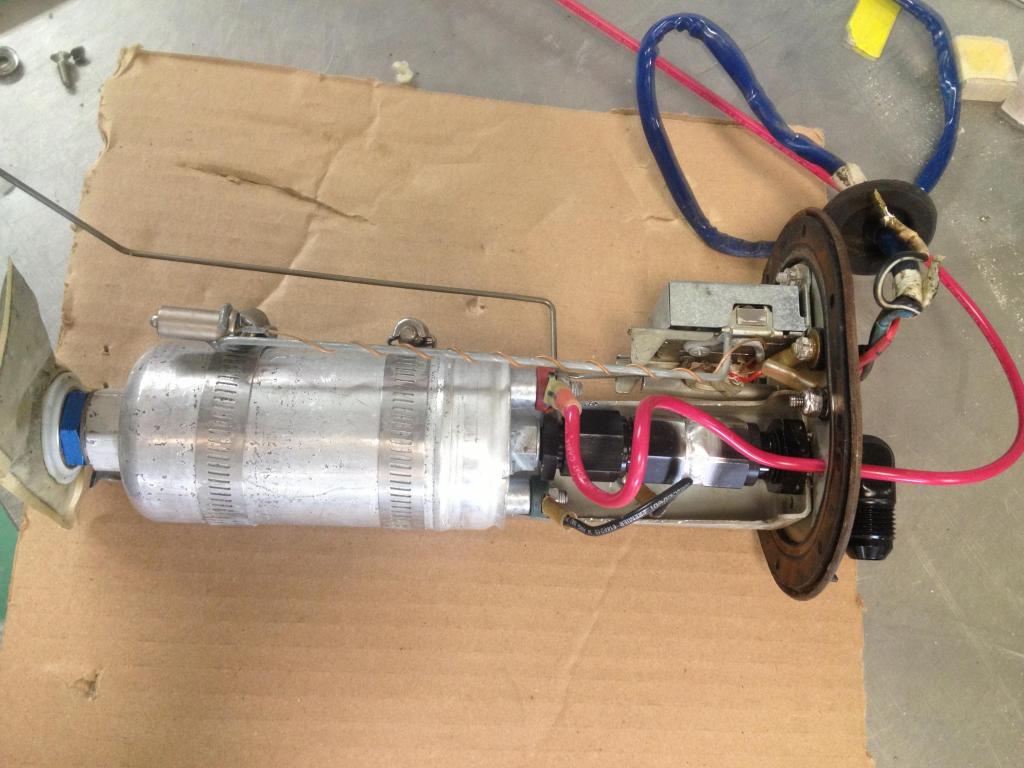
finally got rid of the small rubber hose going to the Bosch 044 pump.
Took some creative use of fittings but its all in there.
Originally I got a fuel safe cable glam for the power wire but it was too big to fit in there. When you have everything back on the stock carrier there is very little space unless you want to lose your fuel level sender.
I was wanting CJ Motorsports to make a custom hanger for us FC guys but there was not enough interested people to go forward with the project.
Big suspension restoration update coming soon, also ran all new fuel and brake lines. I also had my tank sumped and I powdercoated it. I figure when turbo upgrade comes one day I will need more fuel especially running E85 so why not sump it while its all out.
You will need the following for this set up ( note this is for S4 so S5 might need a slightly different set up to allow for increased tank depth )
I will also be using a -6 return line but running a short piece of hose at the tank end to run back into the tank through the stock tube.
-8 90 degree bulkhead fitting
-8 sealing washer
M12x1.5 to -8 adapter for the Bosch pump
-8 union
-8 tube nut and sleeve
JB Weld "Waterweld"- a product made to repair fuel tanks WHILE they are leaking ( I dont believe that but oh well it only needs to keep fuel from sloshing out the hole where the wire passes through.
To fit the bulkhead fitting I had to remove the stock power stud for the fuel pump. No big deal as I wanted to upgrade the wiring to the pump anyhow. This will allow me to run good heavy wire right to my pump relay. Previously I had stock wiring from the relay to the pump itself.
have the tube nut welded to the union. This will allow full rotation for putting it all back together. Be sure to flare a small piece of tubing to go inside the nut and sleeve so it seals properly.
There might be other ways to do all this but this is how I got it done.
Note: in these photos the wire has not been JB Welded yet.


Thread
Thread Starter
Forum
Replies
Last Post
trickster
2nd Generation Specific (1986-1992)
25
Jul 1, 2023 04:40 PM
josef 91 vert
2nd Generation Specific (1986-1992)
23
Sep 3, 2015 11:20 AM