
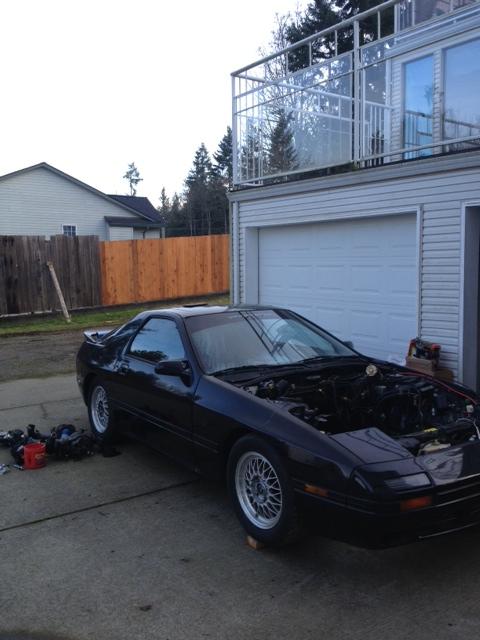
'87 TII daily project

'87 TII daily project
Well, I decided to part out my big turbo REW swap and move on to making a nice daily driver out of a clean '87 TII. I have a book full of receipts and one of them was a Mazda reman engine around 50,000kms old, but the rear apex seals popped.
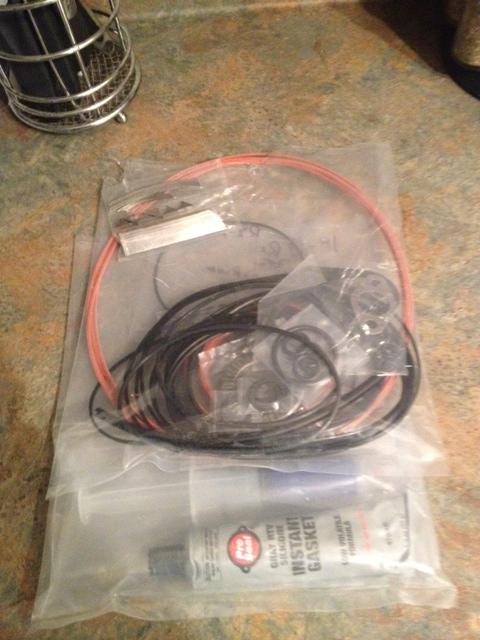
I bought the car for $800, and plan on doing the rebuild myself. I will be rebuilding using a RA kit with the classic seals and hopefully it arrives promptly.
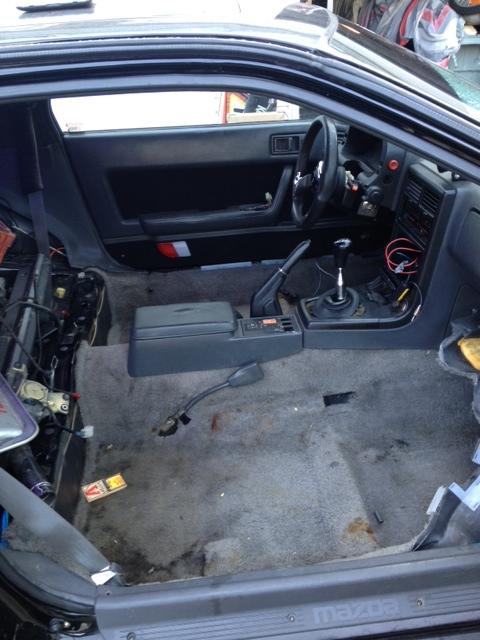
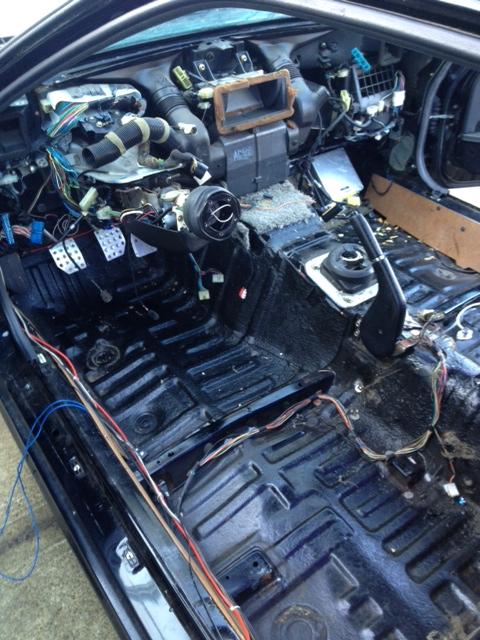
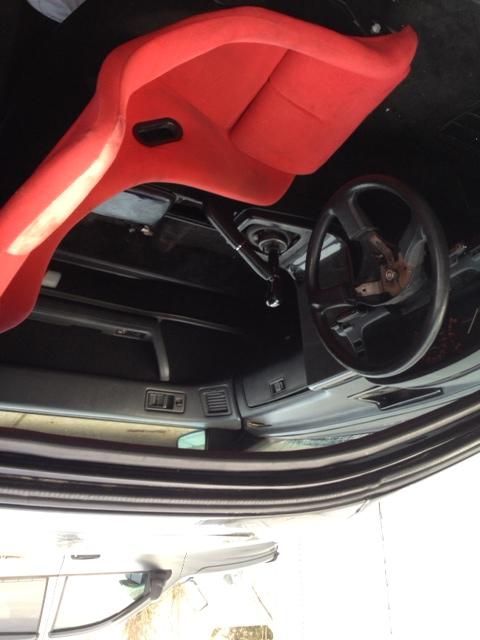
The car sat for a few months while I was away and in that time some rats decided to ruin my interior...luckily, I have my S5 roller with nice black interior and two red Bride seats.
I am not spending a whole lot of time cleaning the bay and making a show car, I just want the thing to drive nice and in time for the spring and be reliable.
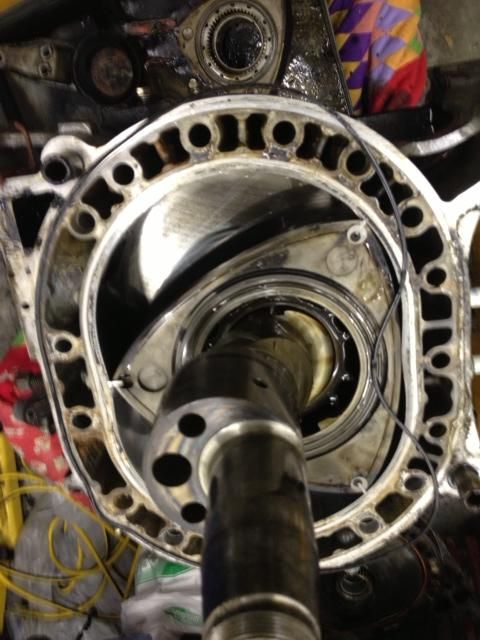
Anyways, here's some pictures of the engine tear down:
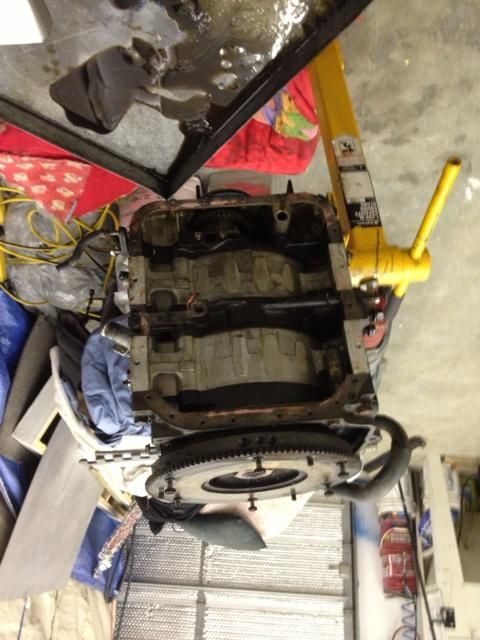
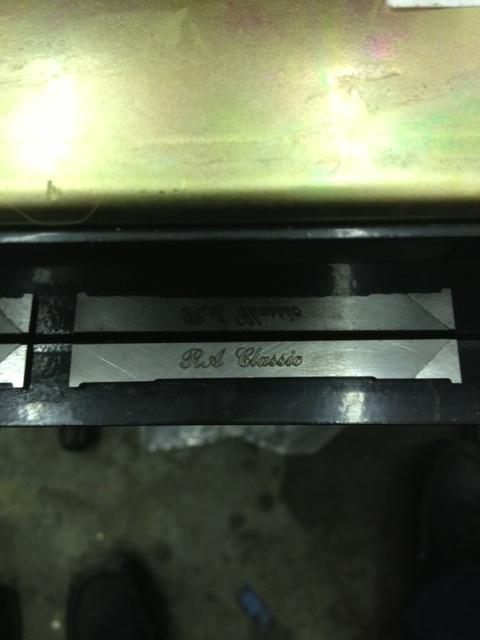
Bad apex, the other one had a chunk missing from the middle...
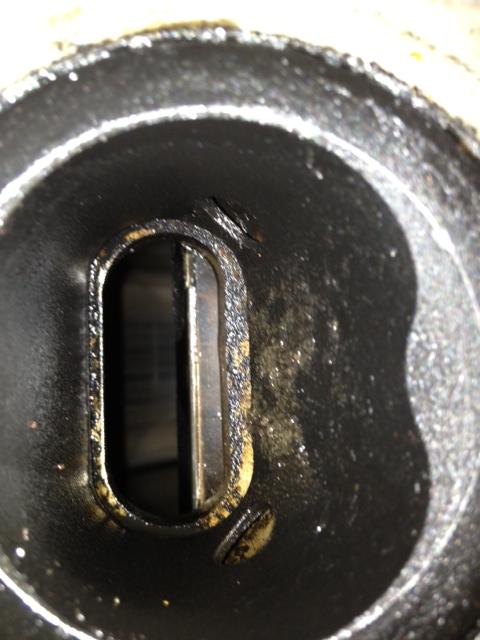
And the resulting carnage...
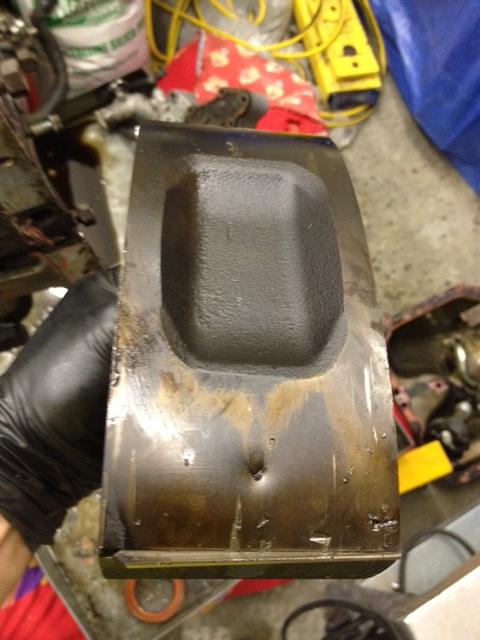
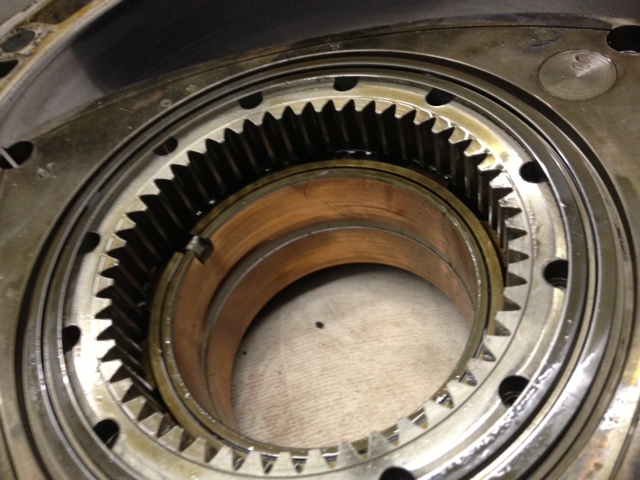
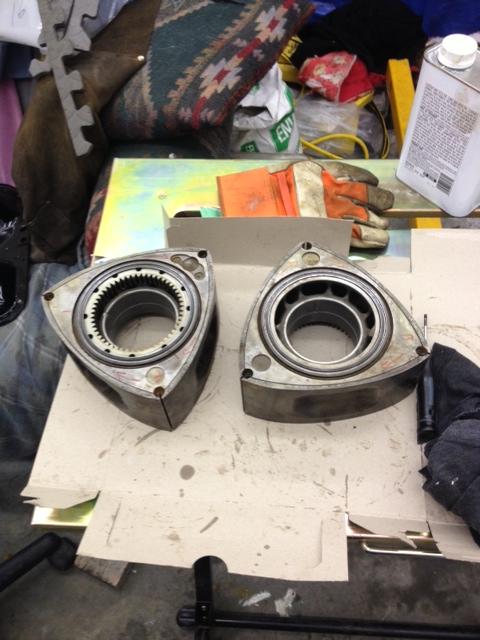
Plates and other rotor/housing looked to be in good shape...
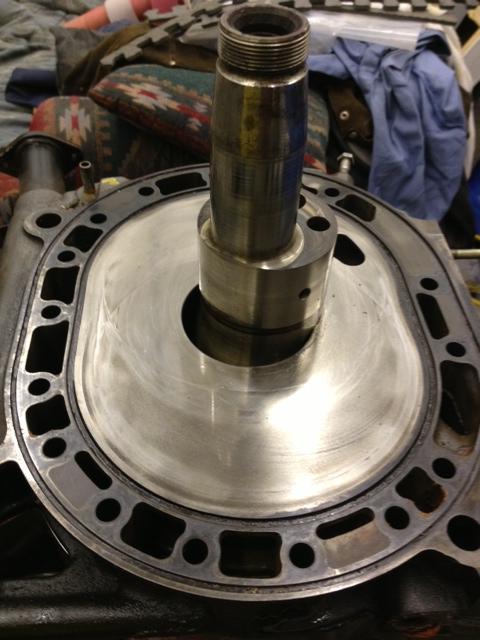
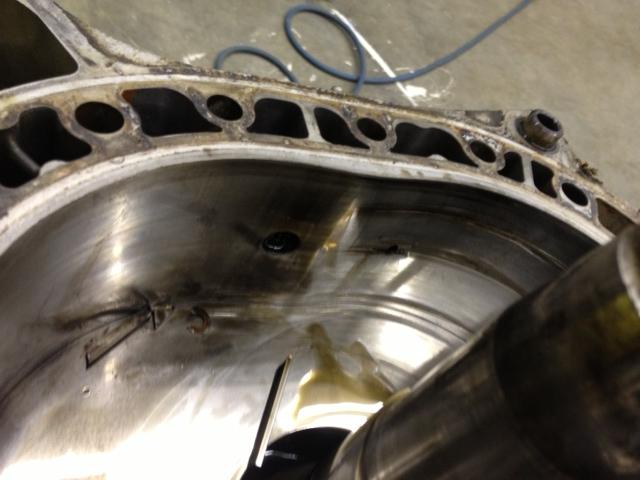
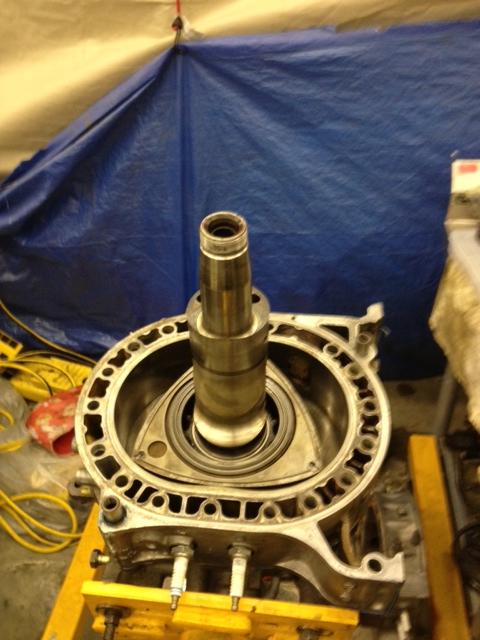
Weird how the good rotor has a severely worn bearing but the Eshaft is in good shape...
I am now on the hunt for a rotor, housing, injectors, and block off plates. More pictures of the car and such tomorrow.
I bought the car for $800, and plan on doing the rebuild myself. I will be rebuilding using a RA kit with the classic seals and hopefully it arrives promptly.
The car sat for a few months while I was away and in that time some rats decided to ruin my interior...luckily, I have my S5 roller with nice black interior and two red Bride seats.
I am not spending a whole lot of time cleaning the bay and making a show car, I just want the thing to drive nice and in time for the spring and be reliable.
Anyways, here's some pictures of the engine tear down:
Bad apex, the other one had a chunk missing from the middle...
And the resulting carnage...
Plates and other rotor/housing looked to be in good shape...
Weird how the good rotor has a severely worn bearing but the Eshaft is in good shape...
I am now on the hunt for a rotor, housing, injectors, and block off plates. More pictures of the car and such tomorrow.
Only a couple are, but reasoning was greasy gloves + iPhone if one must know.
I'll get out my DSLR setup next time, or maybe just take special care haha.
And I realize a couple were out of order, but people should get my point that I was taking apart, not rebuilding at that point.
I'll get out my DSLR setup next time, or maybe just take special care haha.
And I realize a couple were out of order, but people should get my point that I was taking apart, not rebuilding at that point.
Went ahead on the interior swap since I'm searching for a rotor and housing and waiting for my RA rebuild kit.
The car sat for a few months and in that time rats ruined the stock grey interior. I was told this year is the worst one in a while for rat infestations all around the island. I had a S5 sitting around so I will be stealing the interior from that one as its in pretty good shape.
I actually finished the carpet and dash swap but was to dark to take decent pictures but tomorrow I will be doing the headliner and side plastics along with the rear bins.
After:
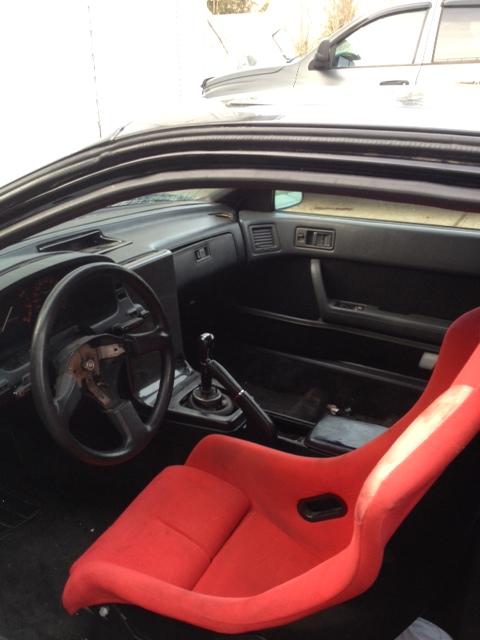
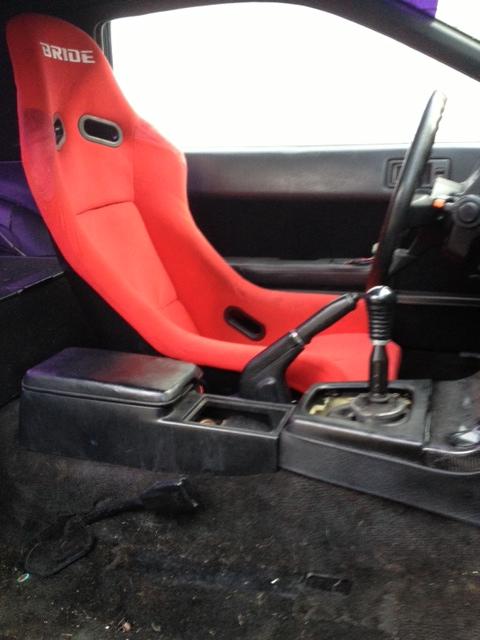
Still need to do the hatch area but its used as a parts bin right now. Haven't decided if Im going to keep the CF centre console and I need to make a passenger seat mount for my other Bride seat.
Still need to do the hatch area but its used as a parts bin right now. Haven't decided if Im going to keep the CF centre console and I need to make a passenger seat mount for my other Bride seat.
bcrotary.
Joined: Jul 2010
Posts: 513
Likes: 1
From: Abbotsford, British Columbia
That interior came out great! You really appreciate the black after you've had the gray. What are your power goals, and are you still going to be using the holset, and other parts you had from the REW build?
Senior Member
Joined: Nov 2012
Posts: 455
Likes: 0
From: LA

Trending Topics

Rebuild kit arrived and I also obtained a free S4 NA block with a recent rebuild using T2 housings. Girl thought an apex seal went but appeared to just be stuck along with some side seals. So I now have two mint housings and two mint NA rotors. I believe I will need something to control the timing now that I am using high compression rotors but like I said before, I don't plan on high boost (yet) and also have a water injection kit lying around that I can use if I decide to
Good luck, i wish you lived close by I'd help out. Where u at?
I'm still trying to diagnose whats wrong with the coolant system on my car, need a battery still so I can get it started up.
Rotary >Pistons
I'm still trying to diagnose whats wrong with the coolant system on my car, need a battery still so I can get it started up.
Rotary >Pistons
Rebuild went not to bad today, I'm sure all the little stuff takes practice over a couple of rebuilds but I followed the Mazdatrix dvd and it seemed to be pretty great.
I guess I bought some bad super glue to bond the corner piece of the apex seal since it kept breaking apart or maybe I just didn't wait long enough, the second rotor went a lot smoother. My first apex seal separated and the little corer piece went in a coolant passage so I had to remove the shaft, rotor, and housing to retrieve it. That was probably my only issue. I really took my time and I hope it paid off. I can rotate it and it seems to make some strong compression wooshes so thats a start.
If there were a couple things I would do different:
-Mazda OEM coolant seals. The RA ones gave me some grief keeping them in there. I ended up using more hylomar then I probably needed to.
-New corner and side seals. The ones I used were in spec but I would feel a lot better knowing EVERY seal was new.
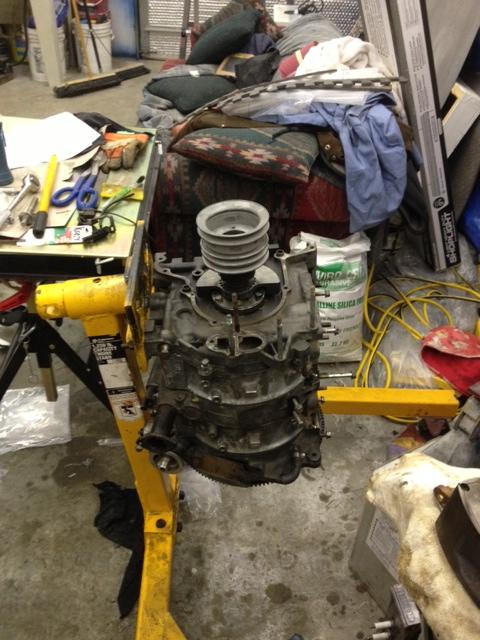
Anyways, the block is ready for end play check, just forgot a dial indicator but it feels pretty solid. Then I will install the front cover, oil pan, and clean up my manifolds and hopefully make a long block soon. I need to make some BOP's and intake gaskets but other than that it should go pretty smooth.
I dont know why the block looks filthy, I spent some time wire brushing the housings and the irons are extremely clean. I chose not to paint since I hate when paint chips and you see the aluminum under. I would have love to get the housings media blasted but I didnt want to risk any material being sucked in. I like the raw look since its not flashy but might oxidize fast but I'll figure something out.
And for the Game of Thrones fans...

I guess I bought some bad super glue to bond the corner piece of the apex seal since it kept breaking apart or maybe I just didn't wait long enough, the second rotor went a lot smoother. My first apex seal separated and the little corer piece went in a coolant passage so I had to remove the shaft, rotor, and housing to retrieve it. That was probably my only issue. I really took my time and I hope it paid off. I can rotate it and it seems to make some strong compression wooshes so thats a start.
If there were a couple things I would do different:
-Mazda OEM coolant seals. The RA ones gave me some grief keeping them in there. I ended up using more hylomar then I probably needed to.
-New corner and side seals. The ones I used were in spec but I would feel a lot better knowing EVERY seal was new.
Anyways, the block is ready for end play check, just forgot a dial indicator but it feels pretty solid. Then I will install the front cover, oil pan, and clean up my manifolds and hopefully make a long block soon. I need to make some BOP's and intake gaskets but other than that it should go pretty smooth.
I dont know why the block looks filthy, I spent some time wire brushing the housings and the irons are extremely clean. I chose not to paint since I hate when paint chips and you see the aluminum under. I would have love to get the housings media blasted but I didnt want to risk any material being sucked in. I like the raw look since its not flashy but might oxidize fast but I'll figure something out.
And for the Game of Thrones fans...
I won't say anything until its running and driving for any length of time, but the entire rebuild kit fit in a USPS envelope, so its pretty basic. Like I said, if I build a couple or more, I'd feel a lot more confident.
Rotary >Pistons
Well I was down for a few days with an intense sinus infection. Must be from welding and not taking care of myself, but this one was by far the worst I've had, I was bed ridden lol.
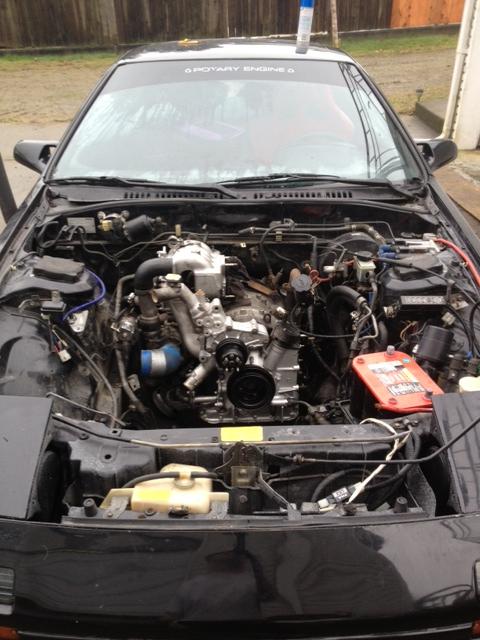
Anyways, I would have had the engine in days ago had that not happened. One thing I will probably never do again is put the engine in without the transmission attached. I've pulled and installed numerous rotary engines but this was the first time putting the engine in with the transmission installed in the car. Not sure why I had so much trouble.
The rest will be done fairly slowly after I figure out if I'm keeping or deleting the thermowax. I don't think I will benefit with the throttle body mod. Then it's just a matter of vacuum lines, coolant hoses, fuel line, and new injector grommets.
Senior Member
Joined: Nov 2012
Posts: 455
Likes: 0
From: LA
Ok, I thought it was just me that had that problem. It was hard as hell to mount my engine to the trans too!! It took me two days before I had to call in for somebody to help me force the engine up to the trans. I had to push the engine and hold it while my assitant lowered and navigated the engine. I think a longer boom arm would have helped maybe.
Last edited by S4 Vert; Jan 30, 2013 at 05:05 PM. Reason: Spell correction
Mine took a few hours by myself, but then once I loosened the motor mounts and put a big socket on the pulley to slightly turn it it helped tons, probably a half hour after that.

Thanks, I will. I havent had time to work on it lately since I started working two jobs. I'll be quitting one soon since I'm fed up but it looks like I might have some specialty welding job near by coming up which is all aluminum TIG, gangster haha

Thread
Thread Starter
Forum
Replies
Last Post
mulcryant
2nd Generation Specific (1986-1992)
10
Sep 9, 2015 05:24 PM