Widebody Turbo Swap - My Dream FB Build is Finally Happening!
 03-27-15, 12:29 AM
#176
Well, I felt like I got a lot done today...and here are 18 pictures to prove it. I'll have to do two posts to fit them all since the forum only allows 12 per post, and that's including emoticons. Usually my updates are 4 pictures, but tonight I really threw down the gauntlet and finished up a bunch of small projects that moved the car lightyears forward in my head. So, here we go:
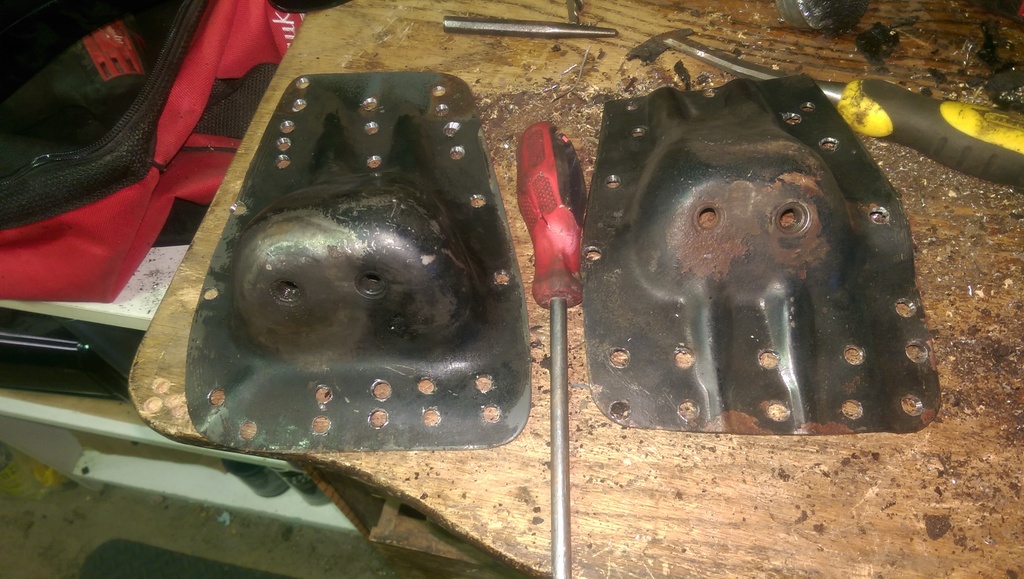
Drilled out the spot welds and removed the sheet metal from the other side's transmission mount. These are now ready to be welded into the car as soon as I'm ready, which is very relieving. I'll be putting the front cover on the engine, bolting the transmission to it, bolting the FB manual transmission mount to the FC tranny, bolting the tranny mount to the stock FB manual tunnel mounts, then raising the tailshaft of the transmission into place so I can mark and position the transmission mounts exactly where I want them. This should ensure exact placement of the mount while I'm still using the stock FB motor mounts.
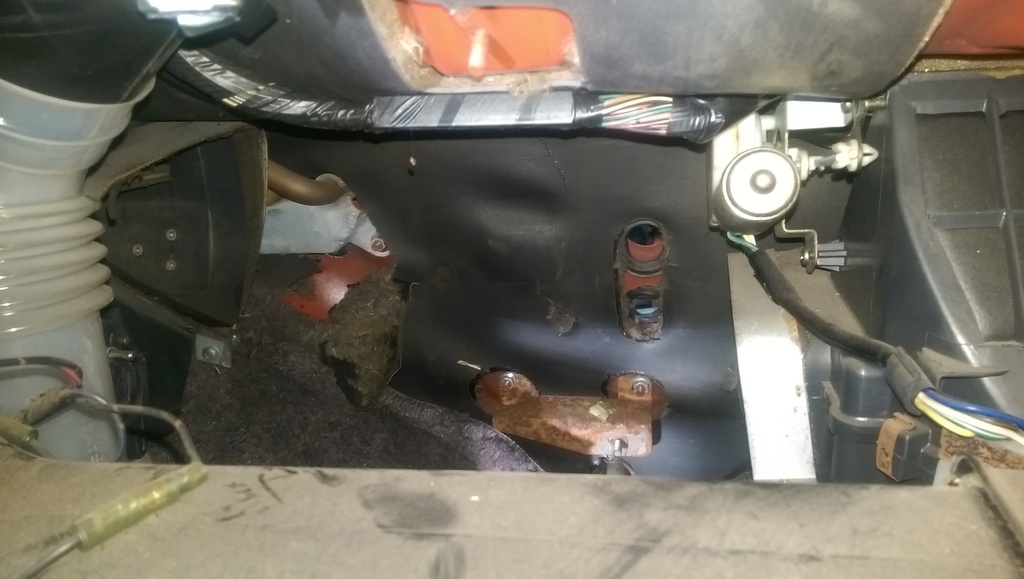
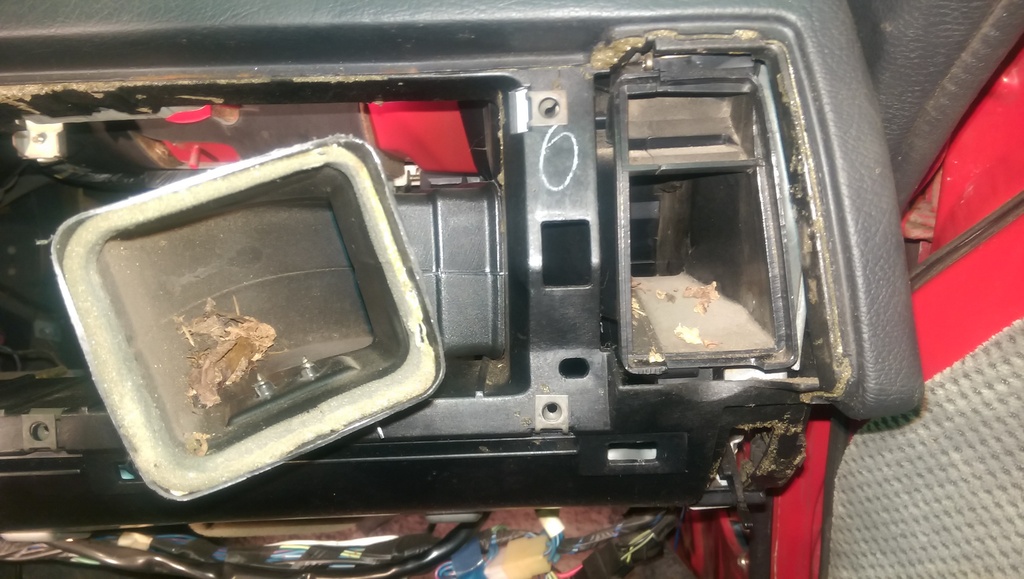
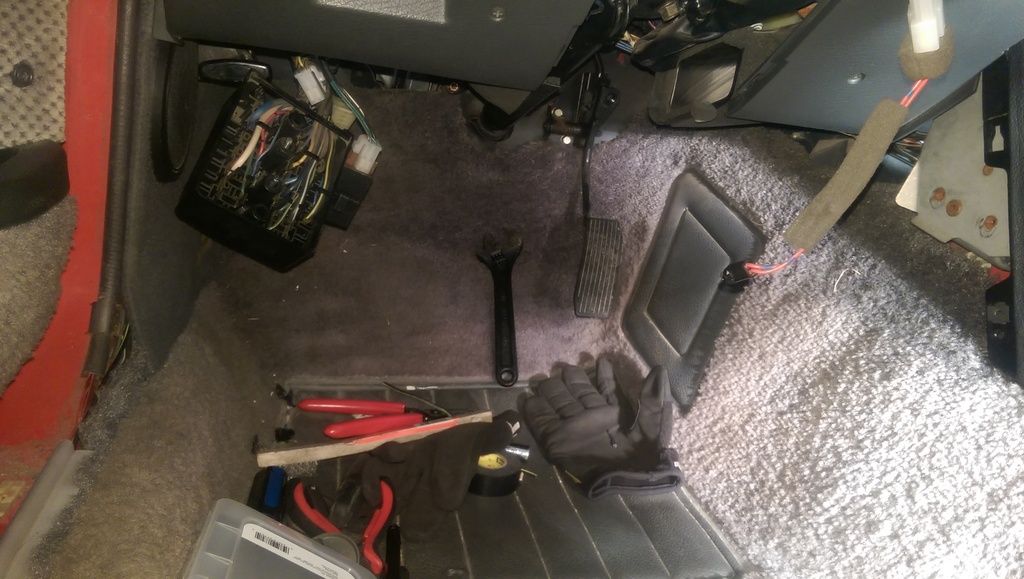
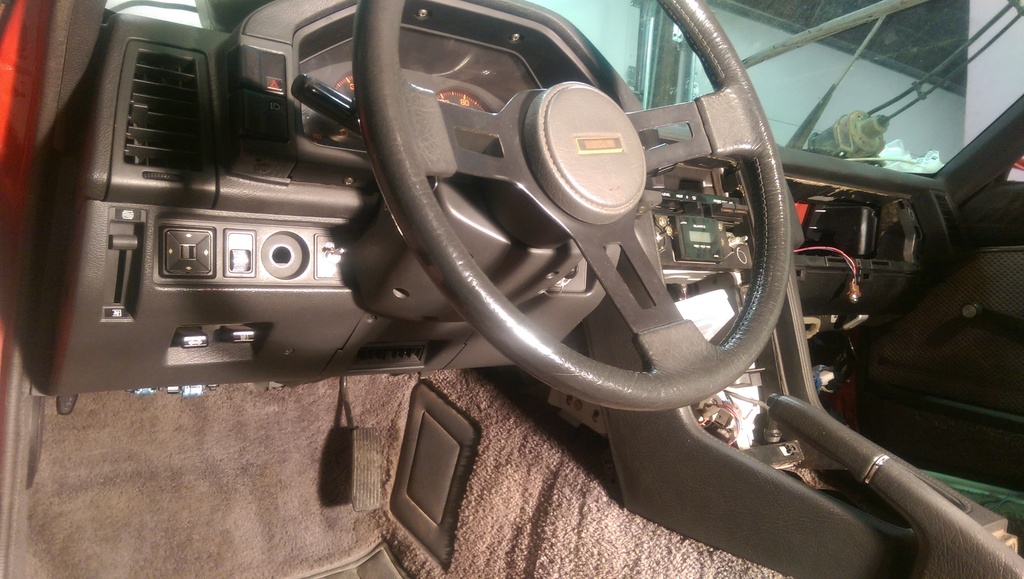
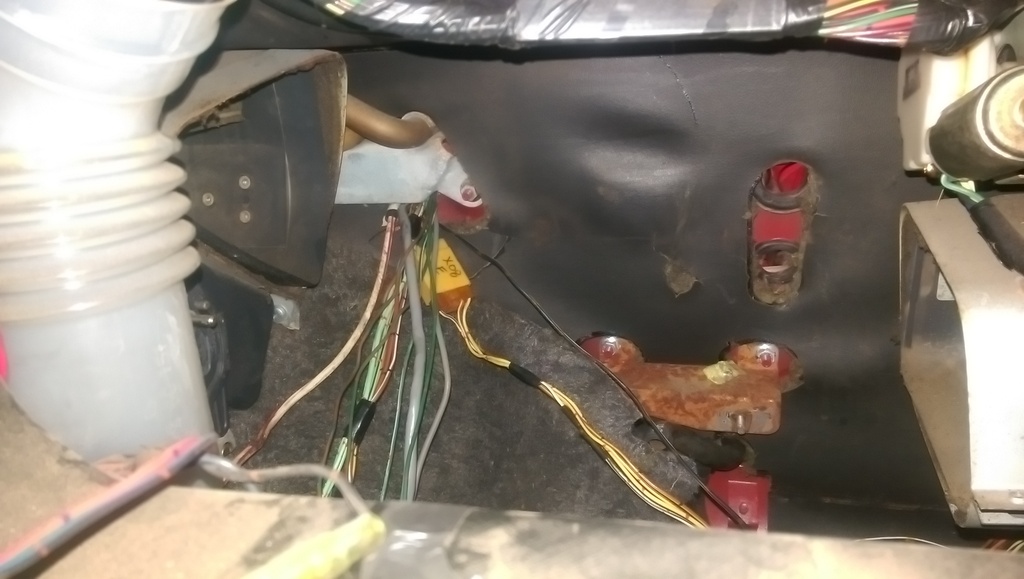
Took out the A/C box in the cabin to gain access to the firewall for the next step...and I really badly don't want to put it back in there but the fiance would kill me...
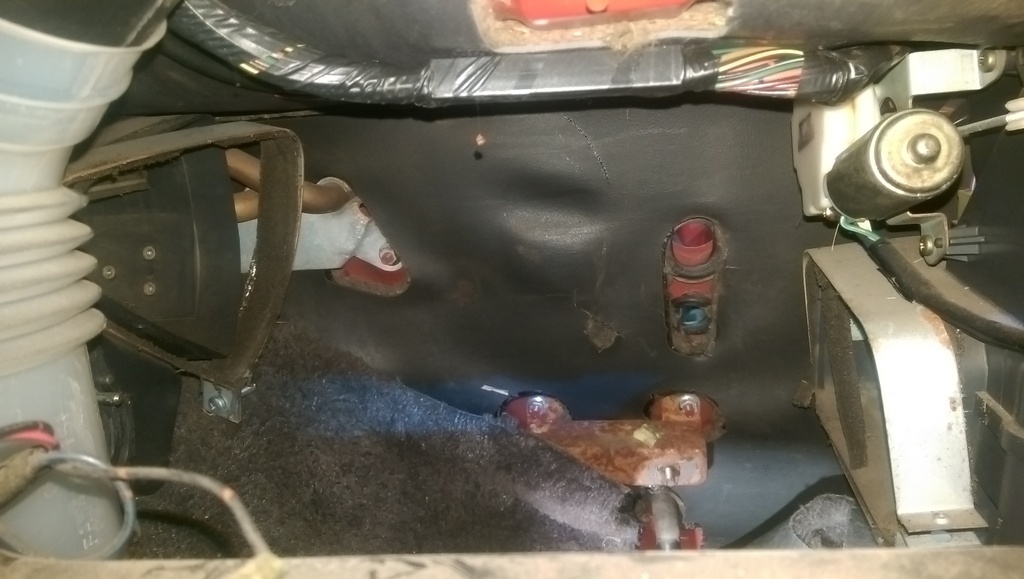
Trying to judge on the firewall where I can sneak some wires in that wouldn't look too conspicuous...

BOOM! Decision was made on where I think I'll be able to hide the engine wiring harness nicely, and most people would just look right past it.
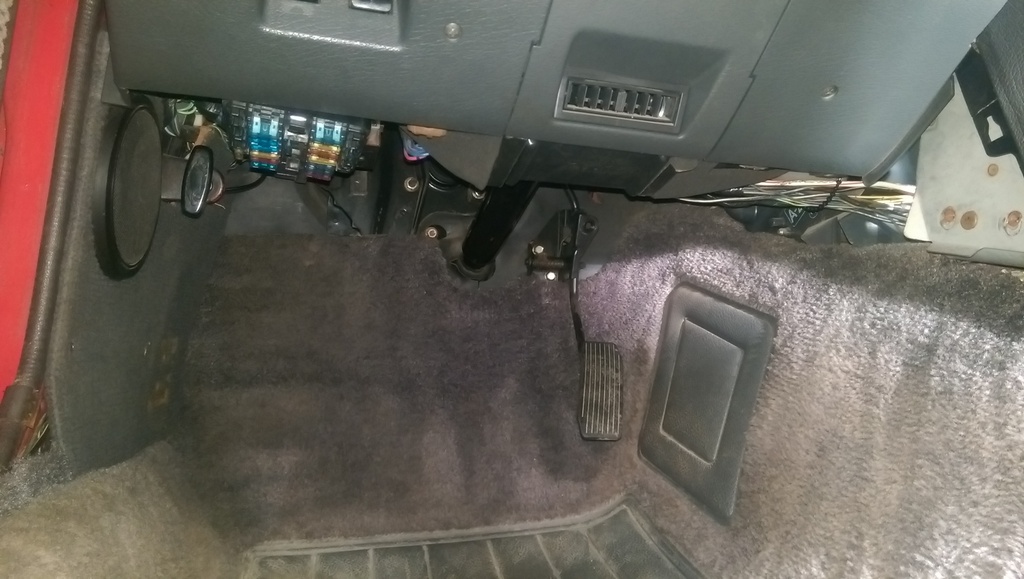
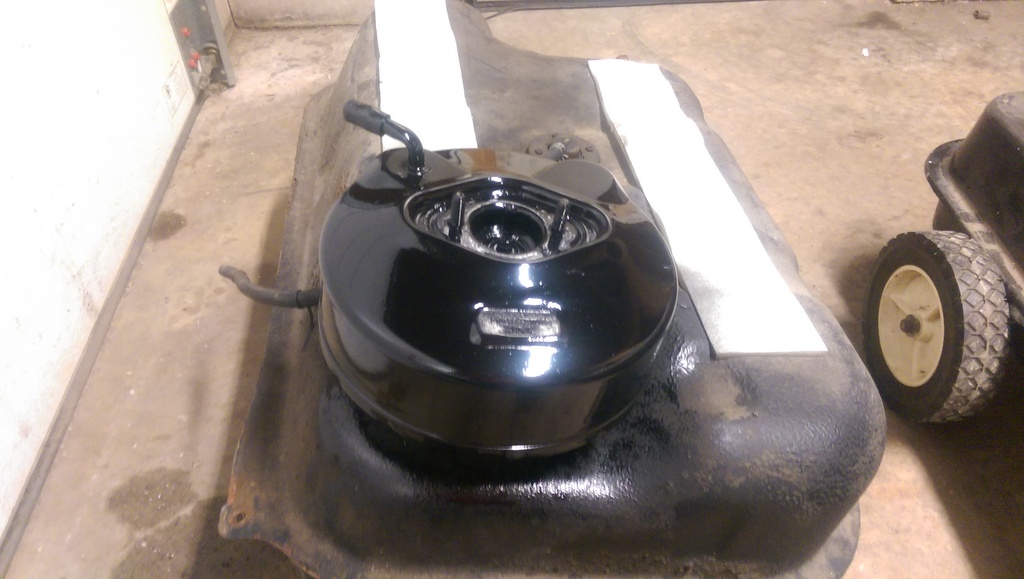
View from the inside of the cabin, more than enough clearance for what needs to go out past there - it's a 1" hole which is the same I've been using this whole time.

I really don't want to put that A/C box back in there, I'm tellin' ya...
Found a mouse next outside the vent in the wiper cowl, guess I'll be going in there soon to vacuum it all out and make sure there isn't any more nastiness up in there.
Took this turd out just to find that I didn't need to - the wire I needed for the tach was already down by where the slave clutch cylinder will go. Man I hate pulling these things out, always a pain.
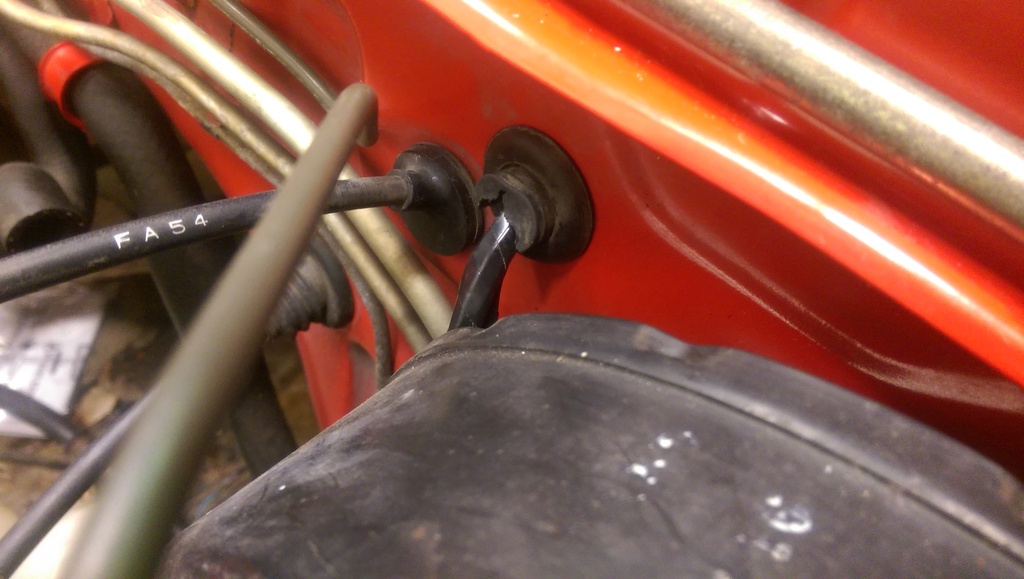
Hmm, what would I have run through the hole and grommet where the choke cable originally ran...
Drilled out the spot welds and removed the sheet metal from the other side's transmission mount. These are now ready to be welded into the car as soon as I'm ready, which is very relieving. I'll be putting the front cover on the engine, bolting the transmission to it, bolting the FB manual transmission mount to the FC tranny, bolting the tranny mount to the stock FB manual tunnel mounts, then raising the tailshaft of the transmission into place so I can mark and position the transmission mounts exactly where I want them. This should ensure exact placement of the mount while I'm still using the stock FB motor mounts.

Took out the A/C box in the cabin to gain access to the firewall for the next step...and I really badly don't want to put it back in there but the fiance would kill me...

Trying to judge on the firewall where I can sneak some wires in that wouldn't look too conspicuous...

BOOM! Decision was made on where I think I'll be able to hide the engine wiring harness nicely, and most people would just look right past it.

View from the inside of the cabin, more than enough clearance for what needs to go out past there - it's a 1" hole which is the same I've been using this whole time.

I really don't want to put that A/C box back in there, I'm tellin' ya...

Found a mouse next outside the vent in the wiper cowl, guess I'll be going in there soon to vacuum it all out and make sure there isn't any more nastiness up in there.

Took this turd out just to find that I didn't need to - the wire I needed for the tach was already down by where the slave clutch cylinder will go. Man I hate pulling these things out, always a pain.

Hmm, what would I have run through the hole and grommet where the choke cable originally ran...

 03-27-15, 12:44 AM
#177
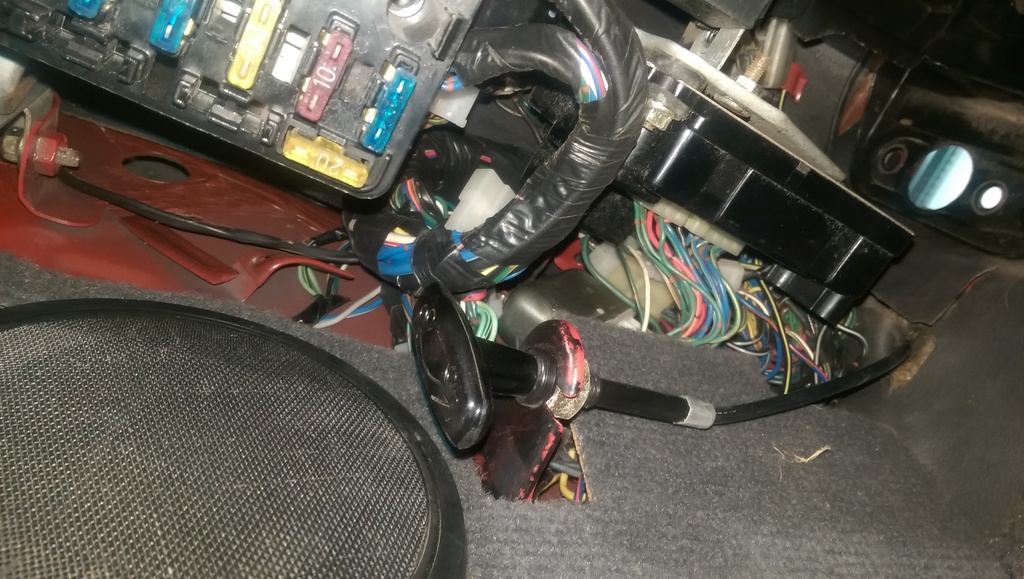
...I ran the FC leading and trailing coil wiring harnesses through where the stock FB choke normally goes, as well as the B/Y wire that goes to the starter. So that's all I'll be running through that side for wiring and I'll try to hide it as best I can. The only thing I'm running from the transmission will be the reverse lights so I'll just run those up through the shifter hole in the tunnel probably, or maybe through the heat hazard switch thing that has a nicely-located grommet under the driver's side.
This looks like an absolute disaster, I must admit. The sad part is it looked similar when I began, although more bundled together since it ran outside the firewall. Now it curls around and goes out sideways which is why it looks so bad. Next year if I'm feeling ambitious I'll pull the dash and go through the entire wiring harness removing all unused pieces and using high quality heat shrink on the whole thing to really clean it all up.
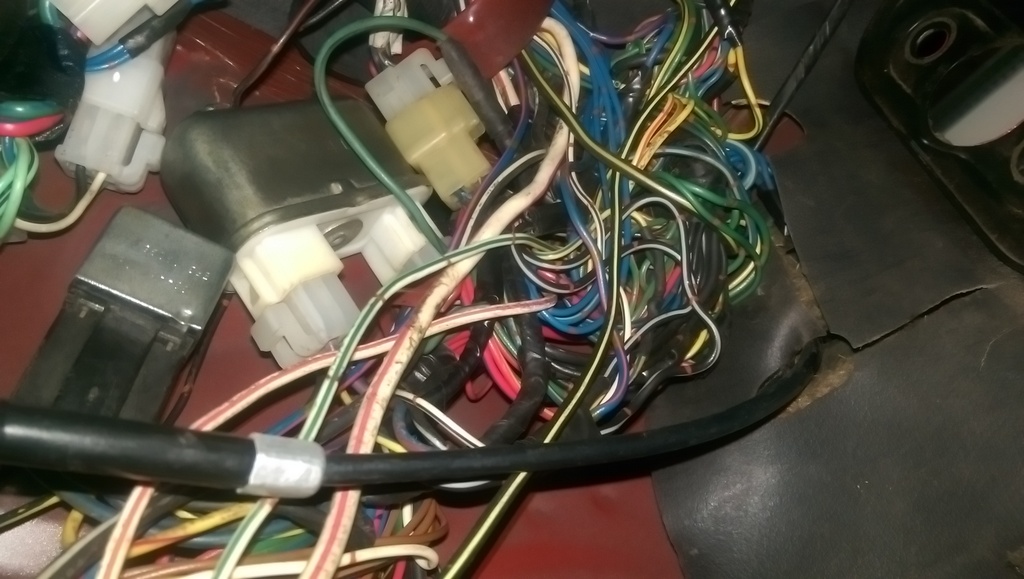
The wires that are running from the driver's side to the passenger's side to run the ECU mainly.
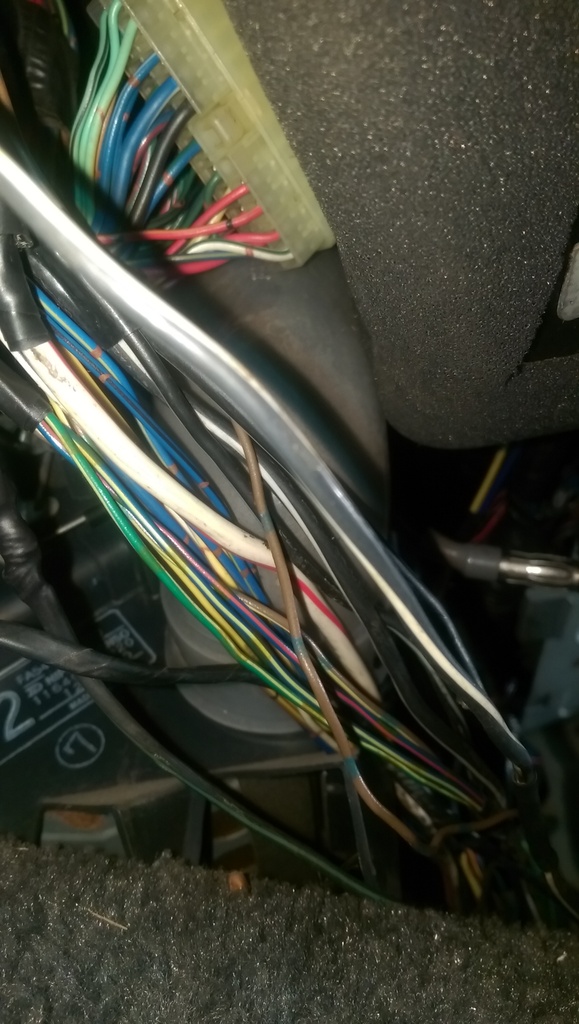
Ouch, one more look at the wiring mess...
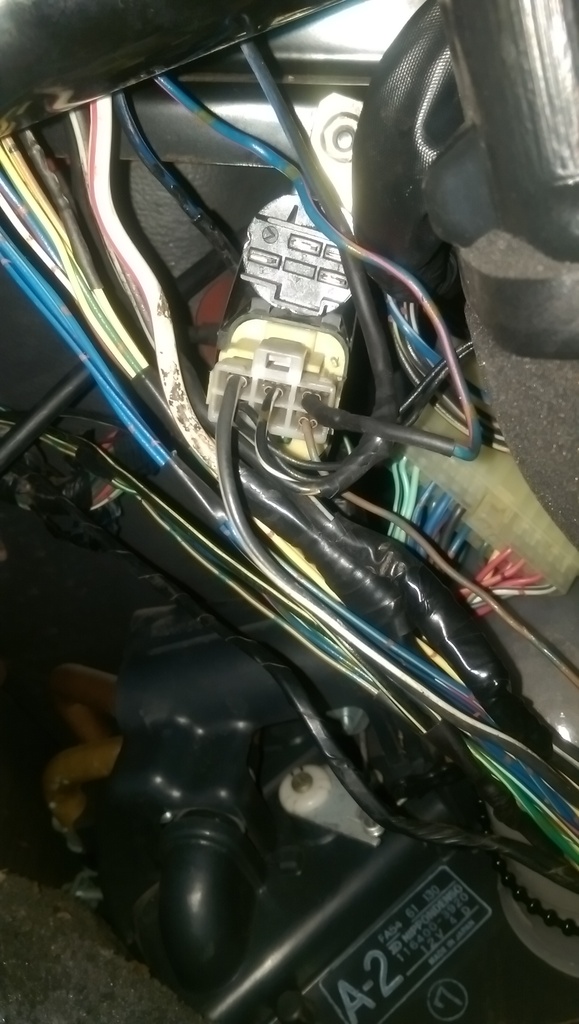
The scary part is how well this panel still fits. It's like I didn't even move the wires in there, it's still got great fitment down there and you can't tell that I've goofed with the wiring when it's on. It's so nice just to be able to have that installed, I can't even explain it with words.
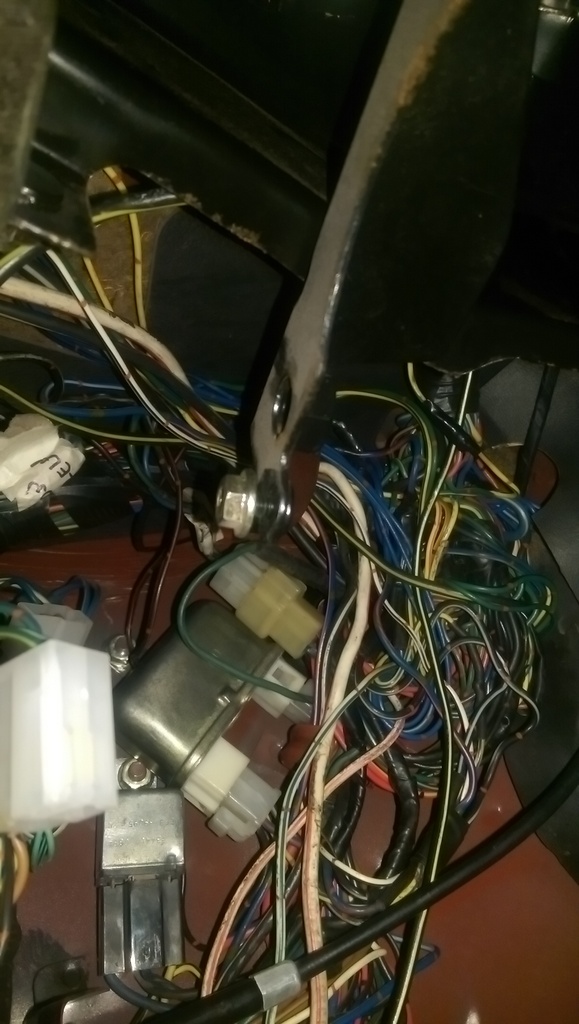
The view down there is heavenly right now for me, you can't see any long strands of wire hanging down waiting to be placed, they're all run where they need to go and I just need to finish plugging them all in...
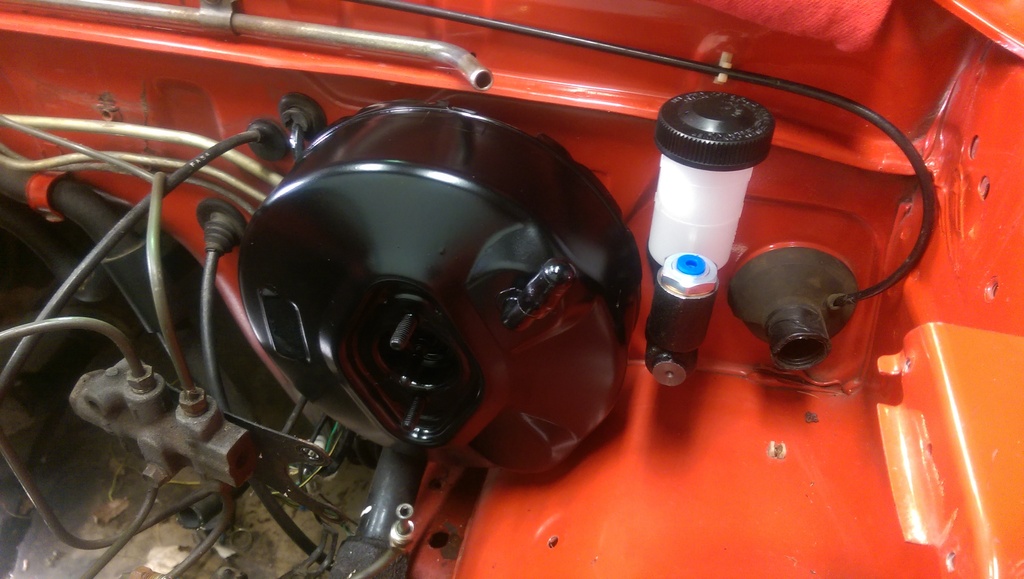
So I pulled the master brake cylinder tonight, since I could tell that it had been leaking.

The thing had been leaking a lot...for a while...
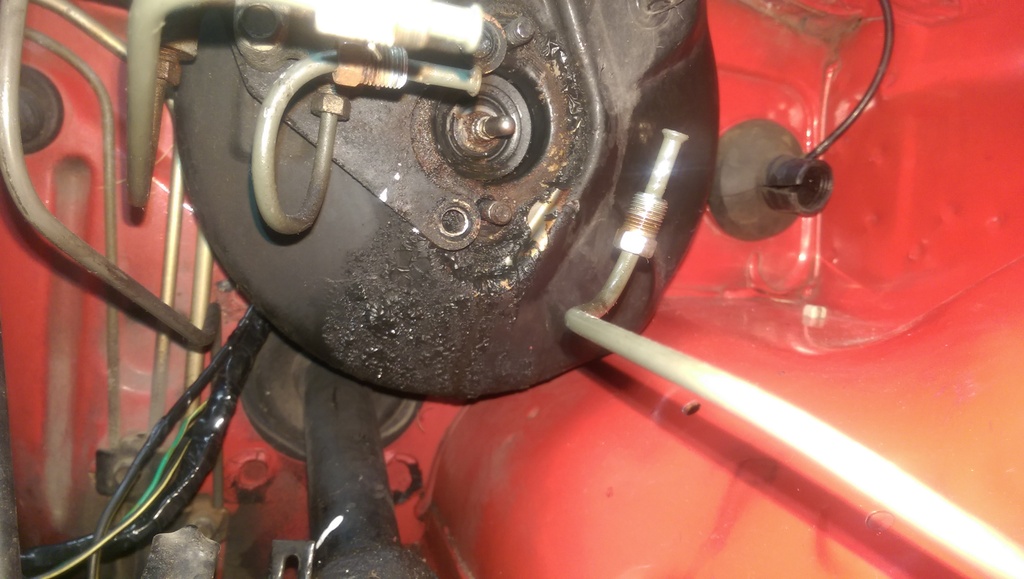
Gross. That's nasty.

So, since I should ask more questions, should I replace the brake booster while I'm up in there? I don't want to have to come back and redo it later - plus the peeling paint looks like poop. I'm probably going to do it anyways, since it will look terrible and I don't want anything screwing with the drivetrain in this car.
03-27-15, 01:42 AM
#180
See now I can't tell if you're angry or not -_-. Ahhahaha well I think it's about that time to go to sleep for me.
:p
( ; )
--) (
( * )( * )
Yeah got bored had to give this thread more sex appeal. Hahahah
Other than all that nonsense I just put...good looking work!
:p
( ; )
--) (
( * )( * )
Yeah got bored had to give this thread more sex appeal. Hahahah
Other than all that nonsense I just put...good looking work!
Last edited by Broke_A_Baller; 03-27-15 at 01:45 AM.
03-27-15, 01:45 AM
#181

I'm watching a movie for a group project I've gotta get done tomorrow, no worries. I'm sure some sex appeal could be brought in with some polished and cleaned up Epsilon's...soon...
Other than that, thanks! I really feel like I made huge leaping strides tonight. Whether you believe it or not, that only took me 4 hours. We went out to eat dinner tonight and came back around 8pm. I worked till about midnight and got more done in those 4 hours than I had in the last 4 days. I need to have more nights like tonight!
03-31-15, 01:16 AM
#184
I made 5 separate orders tonight and it should be all that I need to start putting the engine into the car:
- Pack of 10 1" rubber grommets from McMasterCarr to finalize the wiring locations
- 10ft of 1" heat shrink tubing to make the wiring protected and pretty
- Thermal pellet from Atkins Rotary (well, their eBay store since shipping was cheaper on there)
- Turbo oil drain to -10 AN fitting "Billet Alumimum Turbo Oil Return Flange -10 AN Hitachi HT18"
- 1/2" NPT aluminum weld-in fitting to make the turbo oil drain in the front cover
All of these parts should be here by early next week or sooner, so there should be some really good progress being made here soon!
03-31-15, 11:10 PM
#185
Well, I have 13 picture updates for the day - and not all of them good. So here goes nothing!
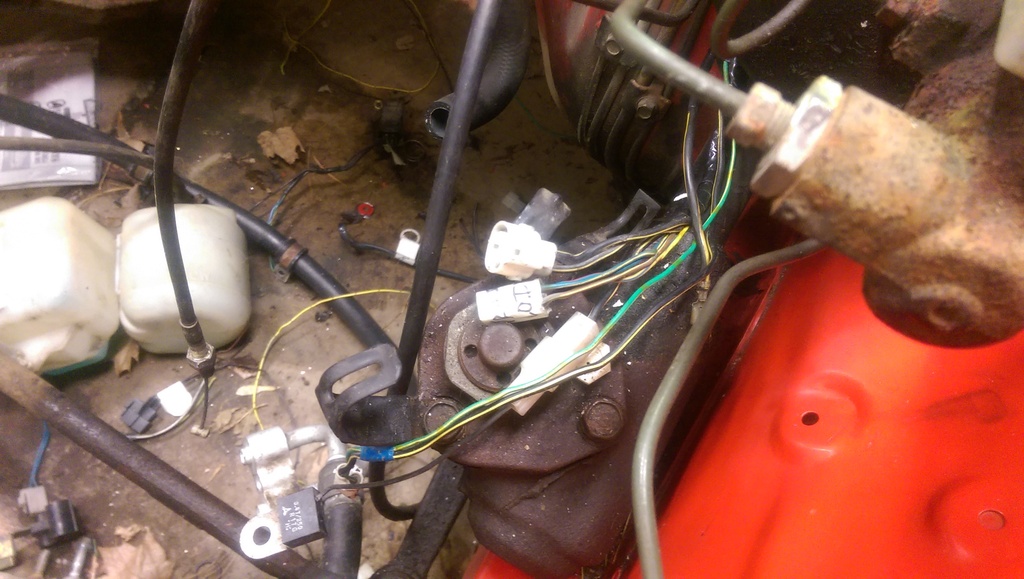
Got the right side of the engine bay all prepped and ready, everything's all wired in correctly and positioned where I want it.
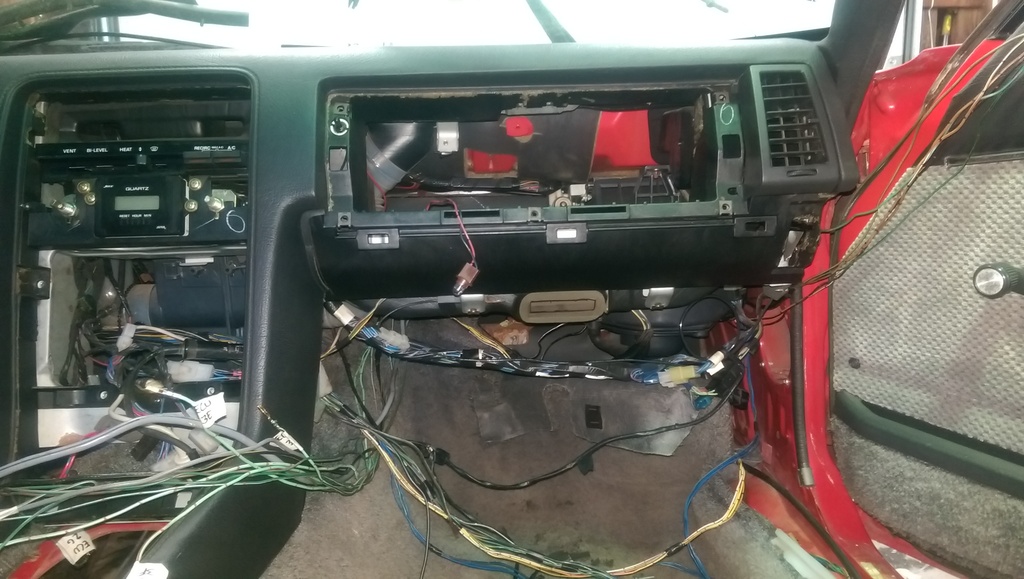
Driver's side interior is all done now, vacuumed up and all put back together. That feels really nice!
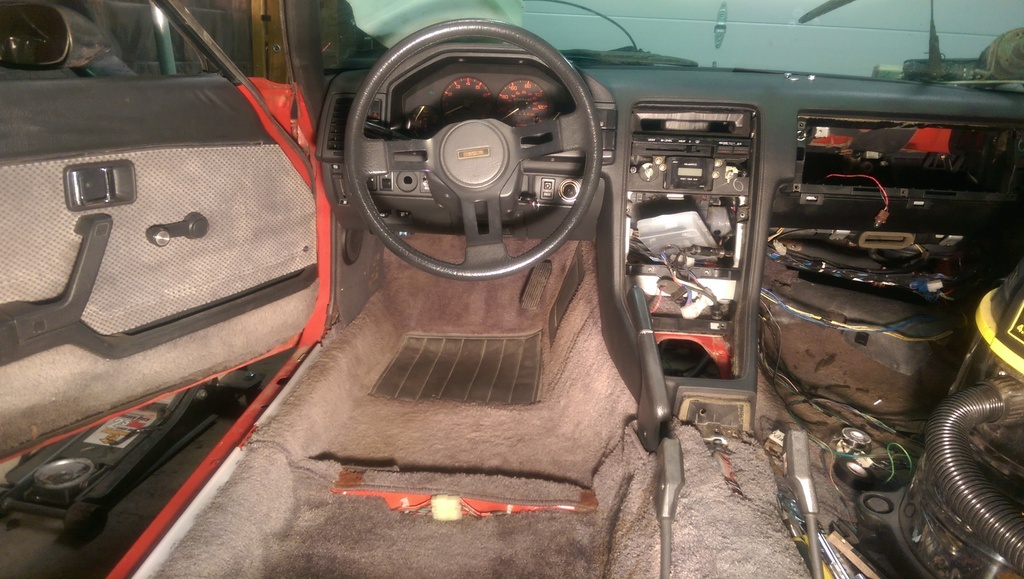
A few shots of the wiring in the car, just for the fun of it.
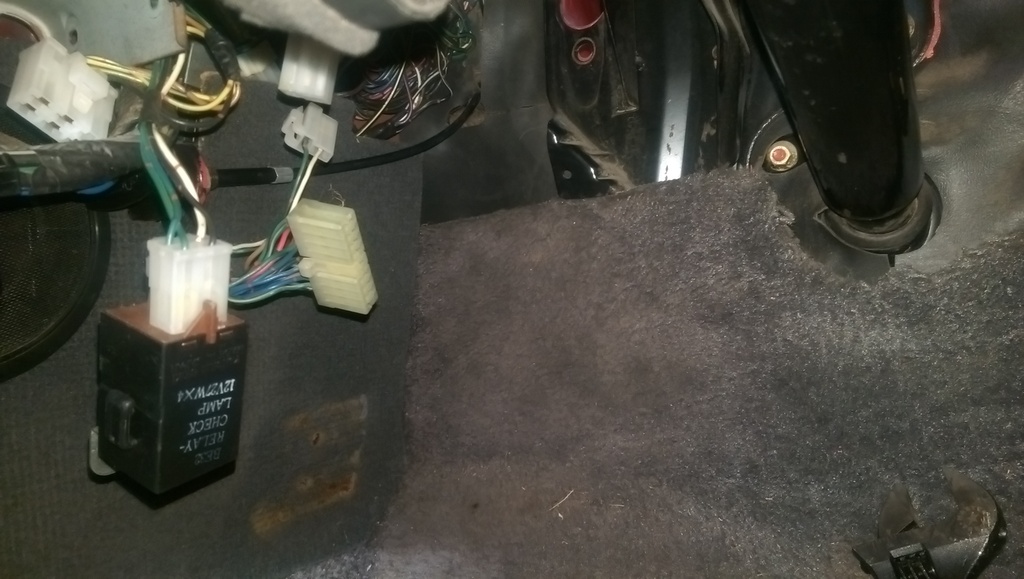
Circuit Opening Relay up there, taped to the FB equivalent.
Took the brake booster off, prepped it for paint and got one coat of semi-gloss on it before calling it a night.
Got the right side of the engine bay all prepped and ready, everything's all wired in correctly and positioned where I want it.

Driver's side interior is all done now, vacuumed up and all put back together. That feels really nice!


A few shots of the wiring in the car, just for the fun of it.


Circuit Opening Relay up there, taped to the FB equivalent.

Took the brake booster off, prepped it for paint and got one coat of semi-gloss on it before calling it a night.
 03-31-15, 11:11 PM
#186
Well I've got 13 picture updates for the day, and not all of them good.
Front bolt BBQ again, since this buggar was really stuck on there.
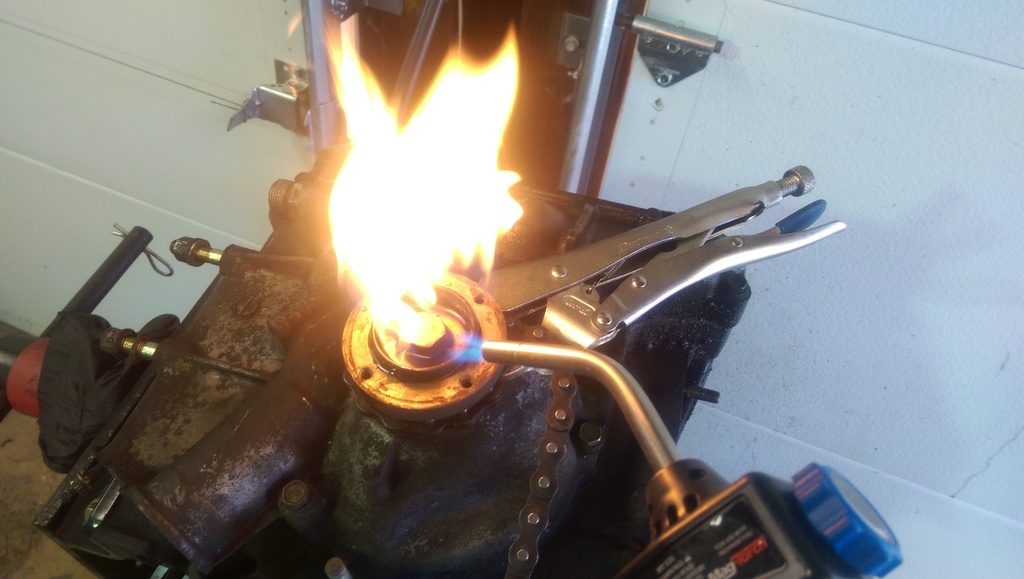
Another cool angle of the flames as I burned off the WD-40 that I had pooling in there.

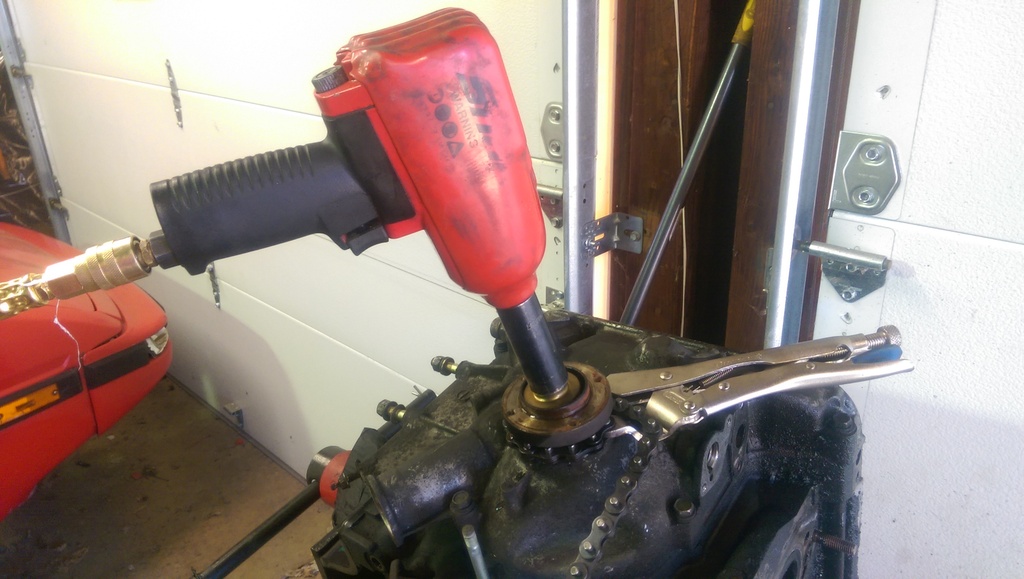
Impact gun and she ripped right off!
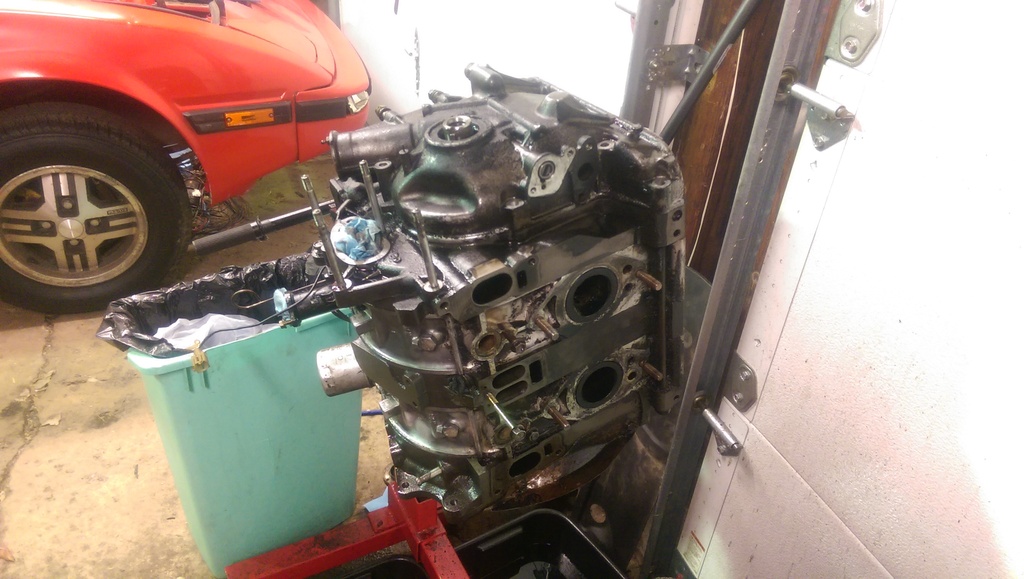
Started degreasing the engine on the stand, in order to clean it all up.
Proof that the front pulley bolt had been removed, with red Loctite on the threads.
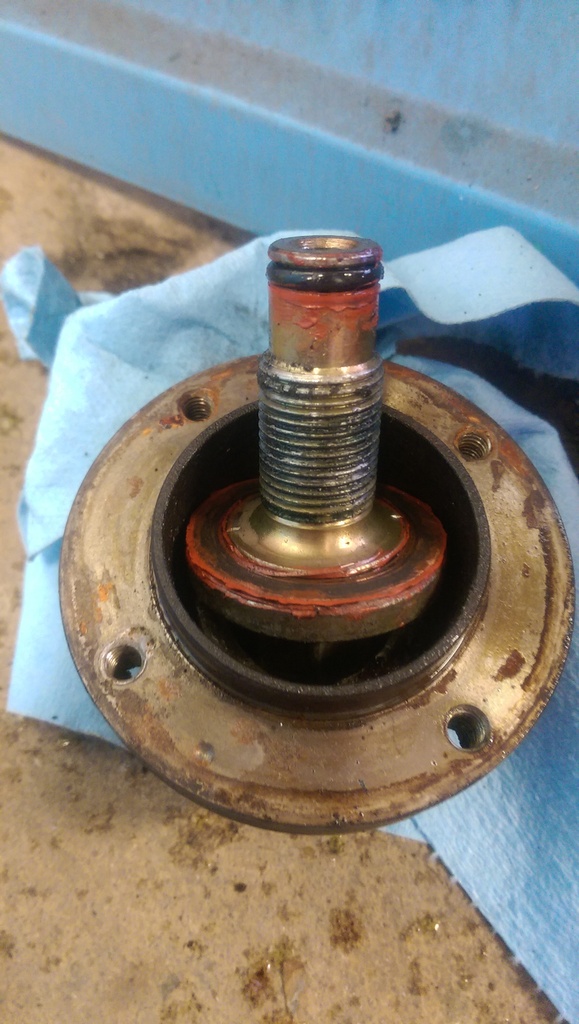
Aaaand the bad news...
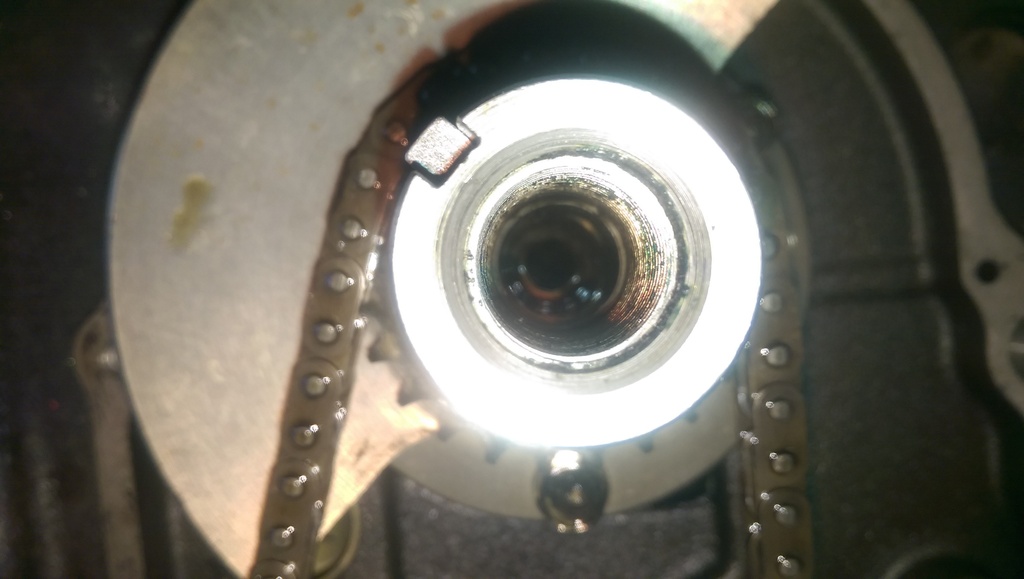
For those of you who don't know exactly what the bad news is, in that cavity there should be a spring loaded thermal pellet that provides oil pressure to the rotors via the e-shaft. That's about all I know, I'll see if I can bait someone else into answering the question in detail:
What exactly does the thermal pellet do? And, why is it so bad that I didn't have one installed?
Front bolt BBQ again, since this buggar was really stuck on there.

Another cool angle of the flames as I burned off the WD-40 that I had pooling in there.

Impact gun and she ripped right off!

Started degreasing the engine on the stand, in order to clean it all up.

Proof that the front pulley bolt had been removed, with red Loctite on the threads.

Aaaand the bad news...

For those of you who don't know exactly what the bad news is, in that cavity there should be a spring loaded thermal pellet that provides oil pressure to the rotors via the e-shaft. That's about all I know, I'll see if I can bait someone else into answering the question in detail:
What exactly does the thermal pellet do? And, why is it so bad that I didn't have one installed?
04-01-15, 12:58 AM
#187
Taken from Atkins:
The factory thermal pellet acts like a thermostat for the oil system. When the oil is cold it does not allow full flow to the rotors for cooling, only enough for the bearings. As the oil warms up it allows more & more oil to flow. When this fails, it does so in the cold mode, thus not allowing oil to fully flow to the rotors, which overheats them and causes damage to the oil control rings.
When the factory thermal pellet starts going out the thing clients comment on the most is excessive oil smoke at start up, which tends to go away as the car warms up and the catalytic converter cleans up the exhaust. Some people even notice the oil pressure being slightly lower.
04-01-15, 09:31 AM
#189
Thermal pellet was a FC thing, not found on FB engines. Basically it's purpose was to restrict oil to the rotors on warmup, to make it warmup quicker (all for lower emissions - stupid). To "delete" it correctly you need a solid replacement (sold by atkins and many other places) that replaces it completely and ensures good oil pressure to the rotors. Simply removing it like his engine does the exact opposite, which is bad.
Like I said to you yesterday, if that thing has been missing for a long time I'd want to open that engine up and see what shape the bearings are in before spending too much more time on it....
Like I said to you yesterday, if that thing has been missing for a long time I'd want to open that engine up and see what shape the bearings are in before spending too much more time on it....
04-01-15, 10:36 AM
#190
Moderator
iTrader: (3)
Join Date: Mar 2001
Location: https://www2.mazda.com/en/100th/
Posts: 30,826
Received 2,593 Likes
on
1,842 Posts
04-01-15, 12:42 PM
#191
Taken from Atkins:
The factory thermal pellet acts like a thermostat for the oil system. When the oil is cold it does not allow full flow to the rotors for cooling, only enough for the bearings. As the oil warms up it allows more & more oil to flow. When this fails, it does so in the cold mode, thus not allowing oil to fully flow to the rotors, which overheats them and causes damage to the oil control rings.
When the factory thermal pellet starts going out the thing clients comment on the most is excessive oil smoke at start up, which tends to go away as the car warms up and the catalytic converter cleans up the exhaust. Some people even notice the oil pressure being slightly lower.
The factory thermal pellet acts like a thermostat for the oil system. When the oil is cold it does not allow full flow to the rotors for cooling, only enough for the bearings. As the oil warms up it allows more & more oil to flow. When this fails, it does so in the cold mode, thus not allowing oil to fully flow to the rotors, which overheats them and causes damage to the oil control rings.
When the factory thermal pellet starts going out the thing clients comment on the most is excessive oil smoke at start up, which tends to go away as the car warms up and the catalytic converter cleans up the exhaust. Some people even notice the oil pressure being slightly lower.
That's a very good technical explanation of what the thermal pellet actually does in the motor written by the people who make the thermal pellet delete. I'm gonna tear down the engine and do a writeup of what happens when you remove a thermal pellet, in order to keep people from doing it thinking it's a good idea. I have two videos for the wiring tuck all edited and ready to upload, should both be up tomorrow night I hope!
Thermal pellet was a FC thing, not found on FB engines. Basically it's purpose was to restrict oil to the rotors on warmup, to make it warmup quicker (all for lower emissions - stupid). To "delete" it correctly you need a solid replacement (sold by atkins and many other places) that replaces it completely and ensures good oil pressure to the rotors. Simply removing it like his engine does the exact opposite, which is bad.
Like I said to you yesterday, if that thing has been missing for a long time I'd want to open that engine up and see what shape the bearings are in before spending too much more time on it....
Like I said to you yesterday, if that thing has been missing for a long time I'd want to open that engine up and see what shape the bearings are in before spending too much more time on it....

When I told the fiance she was pretty bummed, same as I. She wanted to cruise around in this thing during the fast-approaching summer here.
Then I told her, "It's teaching me patience."
She replied with, "Well at least that's good
 "
"She can be quite the smart ***
 , but I'd be so bored without it
  04-01-15, 12:50 PM
#192
So, for those who are wondering about the no thermal pellet thing, the engine has to get torn down and rebuilt. Maybe all the parts inside there are good but I'm not too hopeful right now. When it gets torn down it'll get a large streetport, cleaned entirely and painted, then reinstalled extremely cleanly. I'm going to be even more **** about the engine bay now, by painting hard lines and cleaning it up even more than it already is, since the engine will be down for a very long time. At least the down time will ensure that I'm able to get the whole suspension swap done correctly and neatly.
Goal is going to be around 350rwhp+ with the large street port, hybrid S4 or S5 turbo, full 3" exhaust, standalone ECU (Haltech or Adaptronic), big injectors (750cc primary, 1,200cc secondary or somewhere around there), among many other upgrades along the way. I said I wouldn't pull the motor apart if I didn't have to, but turns out that I do need to. And while it's apart I promised to do a big port so I have to stick by my word!
Goal is going to be around 350rwhp+ with the large street port, hybrid S4 or S5 turbo, full 3" exhaust, standalone ECU (Haltech or Adaptronic), big injectors (750cc primary, 1,200cc secondary or somewhere around there), among many other upgrades along the way. I said I wouldn't pull the motor apart if I didn't have to, but turns out that I do need to. And while it's apart I promised to do a big port so I have to stick by my word!
 .
04-01-15, 05:25 PM
.
04-01-15, 05:25 PM
#194
Haha I wish! I thought about doing a half bridge but decided against it. I want a huge street port so that the car is actually streetable and I can stand driving it every day. Eventually I'll build a track car with a big bridge or peripheral port
04-05-15, 12:08 AM
#196
Made some more progress today on the wiring.
Running all of the wires through the new hole in the firewall:
Separating everything out to be sorted and routed cleanly:
This is almost the whole bundle through the firewall, only one left to wire in I believe:
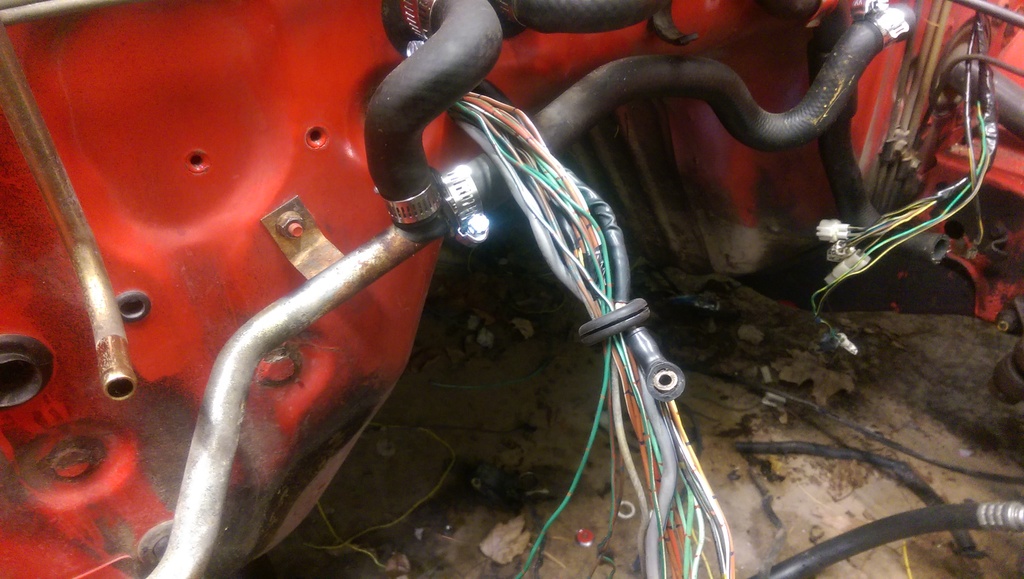
I had the boost sensor down by the ECU, but decided I'd rather have it near the engine. This way I don't have to worry about 4-5' of extended vacuum hose carrying the vacuum and boost pressure to it through the firewall grommet.
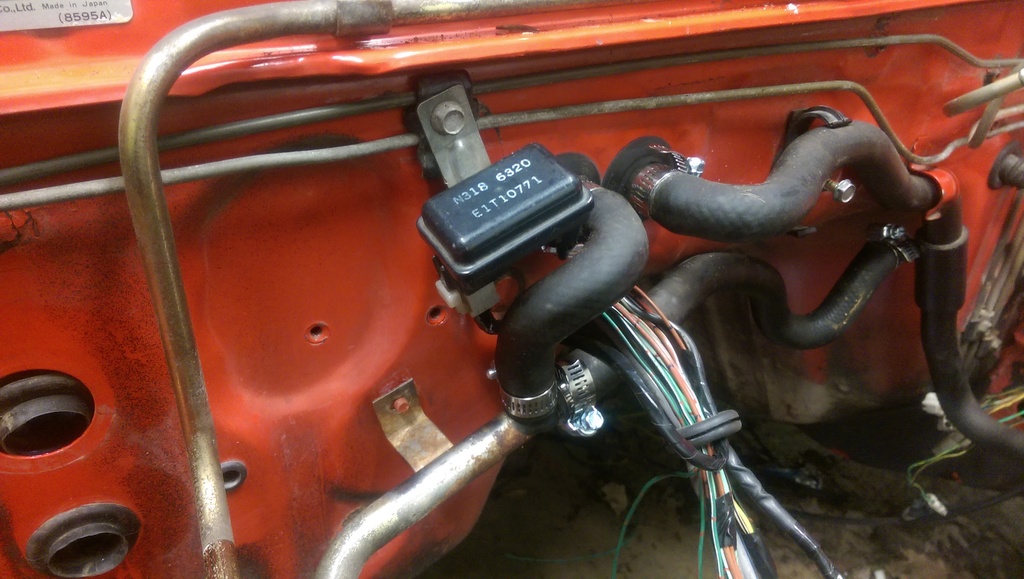
Another reason that I put the boost sensor there was in order to hide the wiring harness when viewed from the passenger side of the car. I think it'll work out pretty well as a disguise
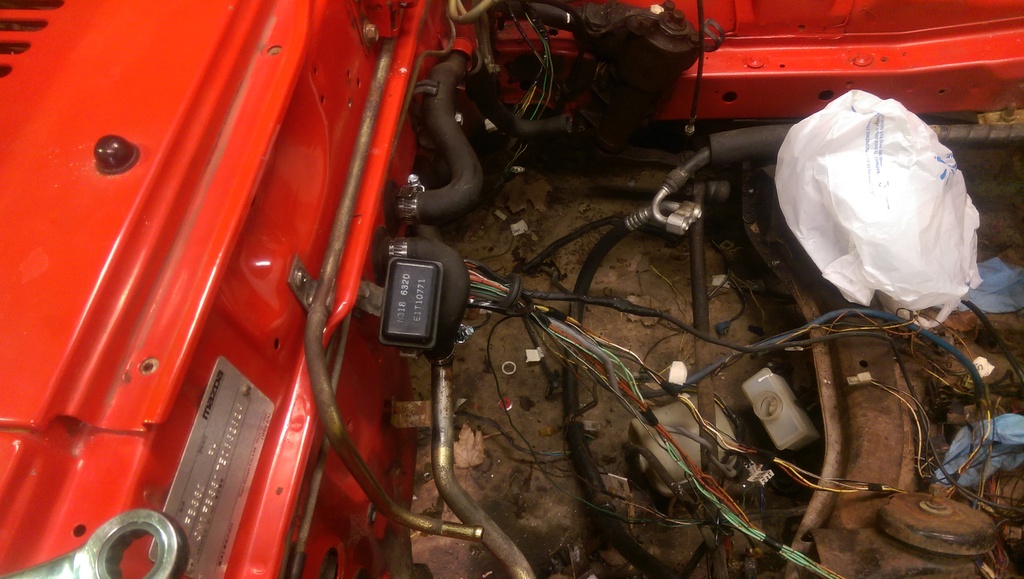
Firewall before...
...firewall after - much better.
Running all of the wires through the new hole in the firewall:

Separating everything out to be sorted and routed cleanly:

This is almost the whole bundle through the firewall, only one left to wire in I believe:

I had the boost sensor down by the ECU, but decided I'd rather have it near the engine. This way I don't have to worry about 4-5' of extended vacuum hose carrying the vacuum and boost pressure to it through the firewall grommet.

Another reason that I put the boost sensor there was in order to hide the wiring harness when viewed from the passenger side of the car. I think it'll work out pretty well as a disguise

Firewall before...

...firewall after - much better.
 04-05-15, 12:15 AM
#197
Started painting the radiator mounts as well, I hated the way they looked before - all nasty and rusty.
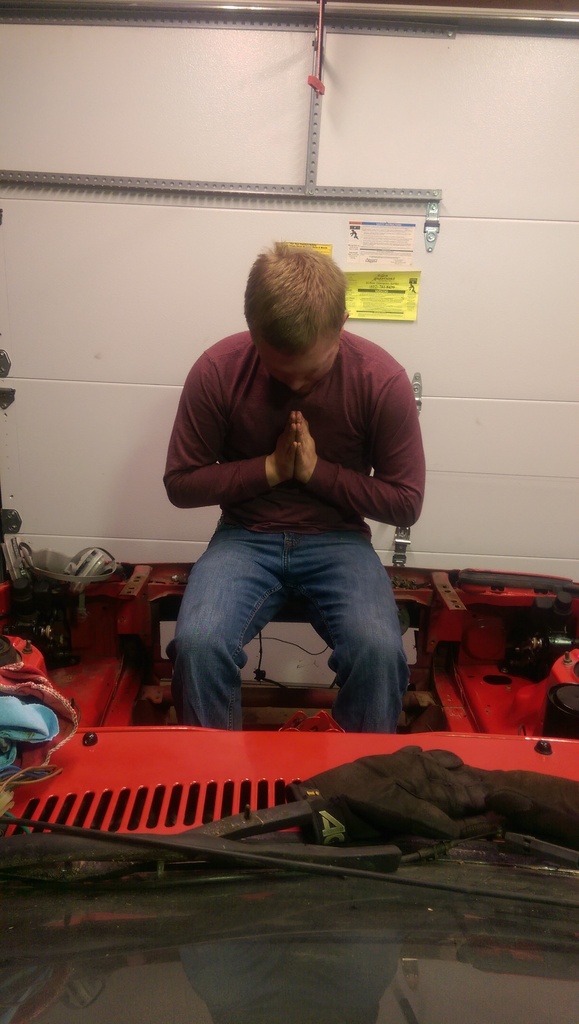
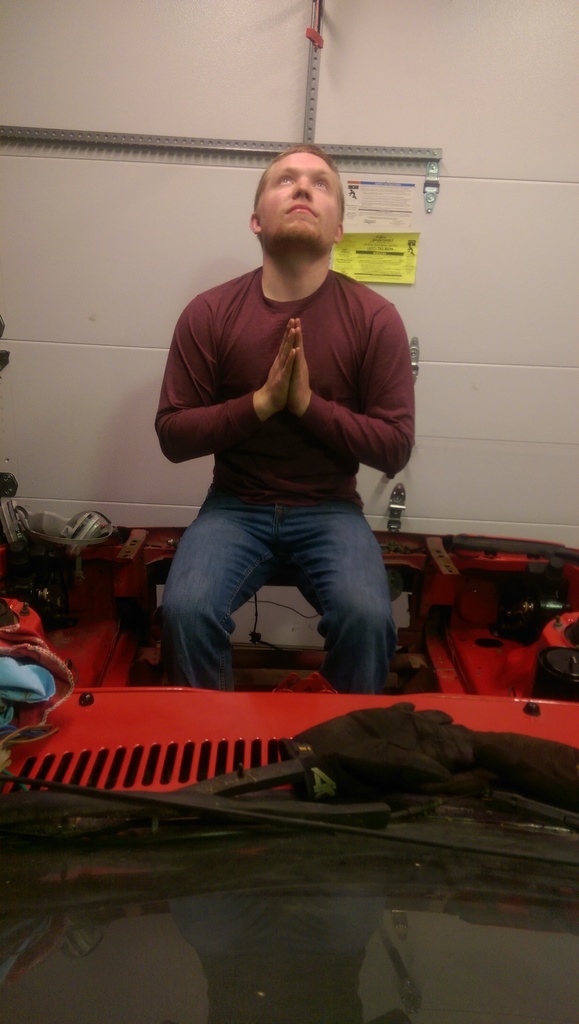
The three stages of my mindset while working on the car:
1. "You've got to be kidding me! What kinda f-ing small Japanese engineer thought that this was a good idea? Ugh, for real?! Man, I swear if I ever got a shot off at one of em..."
2. "Please help me to figure this out, I promise I didn't mean what I said about the poor Japanese fellow. I'm sure he's a nice guy and all, just wasn't thinking that day..."
3. "Pretty please help me find that bolt/spring/nut/part/wire that I lost/can't find/replace/locate...I promise I won't curse the engineer again..."


 04-06-15, 08:15 AM
#200

In your picture of the boost sensor, you can also see the tube that carries water from the radiator to the heater. That tube also has a "T" that carries water the the 12A beehive oil cooler. If your going to run a FMOC, you can just cap that off. I found caps a the auto store that work really well.