
Widebody Turbo Swap - My Dream FB Build is Finally Happening!

Thread Starter
Joined: Aug 2011
Posts: 3,078
Likes: 42
From: Cambridge, Minnesota
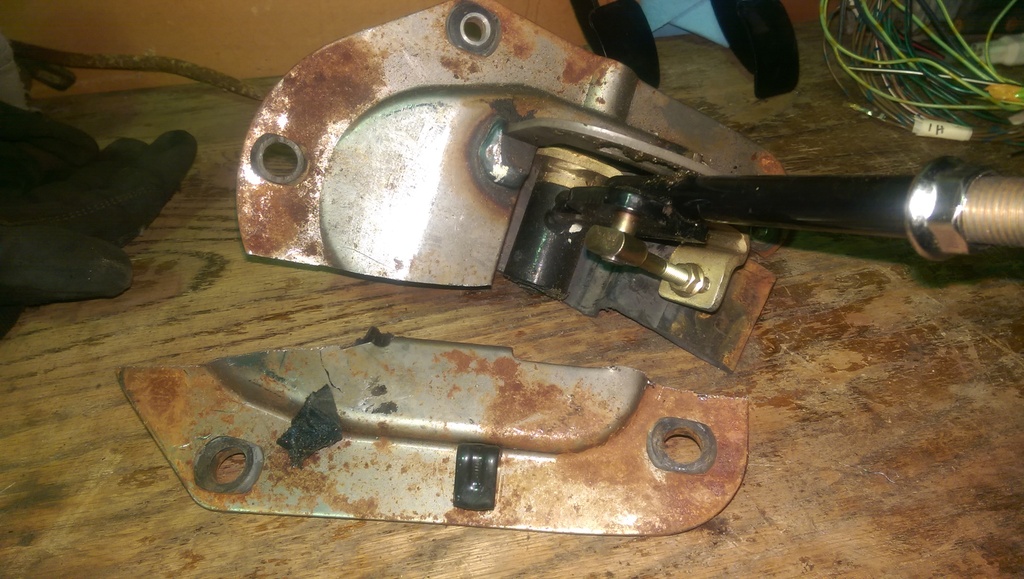
I plan on taking the whole front subframe out and repainting all of the components while I replace the steering components and bushings. That lower air panel is missing on this car and I need to find a replacement for it, and paint that as well. The headlight trim does need to be painted but I'm waiting on that until I have everything back together the way it should be.
New battery came in today! She's a tiny one, that's for sure.

So I started making this mounting bracket for the FPR/R, Main Relay and FC Fuse Box back by the battery.


Used that block as a grounding station that will have the best grounds in the whole car. I'm going to run individual grounds from that block all over the chassis with 12ga black wire I picked up from Menard's.

I was actually able to test the lighting system in the FB and that worked! So I was super happy with that. I started in on the FC wiring and got the Main Relay, Fuel Pressure Relay/Resistor and fuse box all wired in the way they should be. Need to start cracking on the FEM-02 and all 3 ECU Plugs next. The best part about doing this a second time is that I now know how to read the diagrams and my notes better than I did last time. Knowing where each wire should be going and that B/W all comes from IGN 1 is pretty helpful, I thought about it wrong last time. It's really nice doing it a second time to say the least, I feel more knowledgeable for sure.


Making good progress man! I wouldn't say I'm the "pioneer" of the FC subframe swap. It had been done a number of times way before I did it, I was just one of the first to put a "complete" thread together about it, most of the other guys never indicated if they had finished the swap or how it worked out etc. 
Thread Starter
Joined: Aug 2011
Posts: 3,078
Likes: 42
From: Cambridge, Minnesota
I'm starting to catch a glimpse of the light at the end of the tunnel, but it's still a long ways away and a few hundred dollars to boot.
1. Suspension decisions
---If SE suspension is swapped I need to refurbish it all with:
-----KYB shocks/struts
-----RB lowering springs
-----Re-paint it all black
-----Brake rotors, front and rear, with brake pads in all 4 corners
-----Refinish Epsilon wheels, mainly just the lips for this year
-----Install the poly bushings all around
-----New tires for the wheels since the ones on them are unusable
-----All this, among a whole list of other small things I'll need
2. Front Mount InterCooler FMIC and piping decisions
3. Finish fuel tank, fuel line and fuel pump installation
4. Get flywheel resurfaced and order a new clutch
5. Get a small order from Atkins with the thermal pellet, o-ring for front cover, Idemitsu pre-mix oil, etc.
6. Exhaust (need every gasket, 3" downpipe and I'll have to fabricate the rest of the 3" exhaust)
7. Tons of other small things

Making good progress man! I wouldn't say I'm the "pioneer" of the FC subframe swap. It had been done a number of times way before I did it, I was just one of the first to put a "complete" thread together about it, most of the other guys never indicated if they had finished the swap or how it worked out etc.

The biggest update here is that I was out working on the car and blew a fuse or something in the garage. All the lights and power went out in the whole garage except for the small back room. Luckily my great uncle comes over every Monday night and he is a retired electrician - so hopefully when he gets here in 2.5hrs he can help me fix the problem right quick. I need to get back out there and cracking away at the car some more! I'm in the middle of the FC wiring right now and want to get even further tonight so I can try and finish the wiring this week.
Thread Starter
Joined: Aug 2011
Posts: 3,078
Likes: 42
From: Cambridge, Minnesota
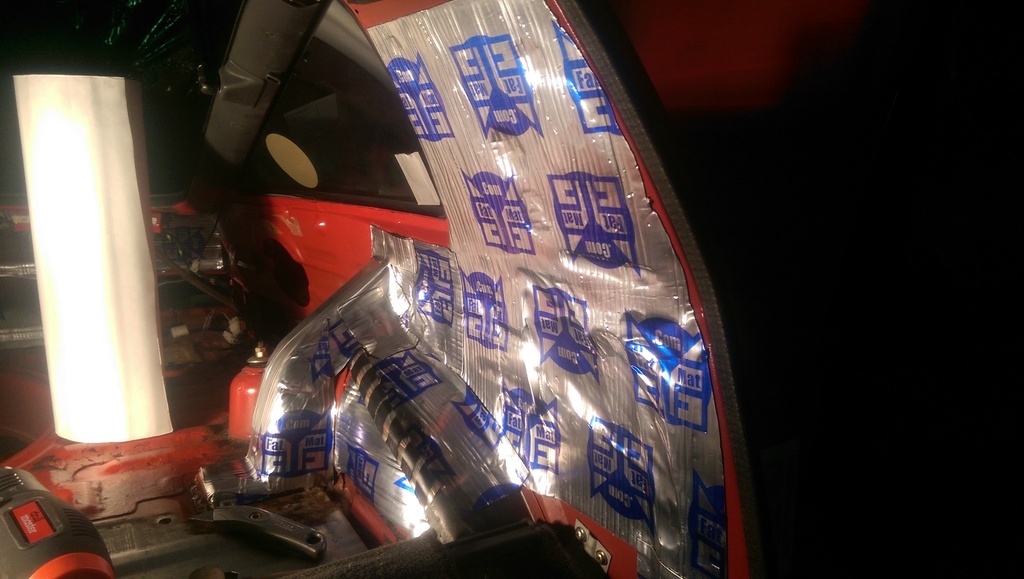
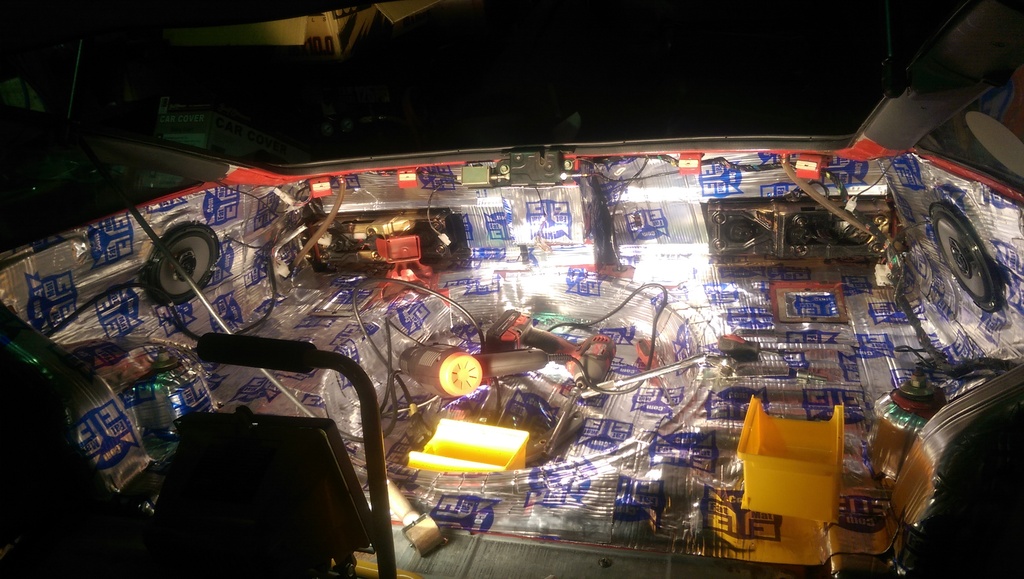
Decided to do something off-the-wall today and did the sound deadening.
I needed some mindless work for a change, was a nice change from sorting through vital engine wires.
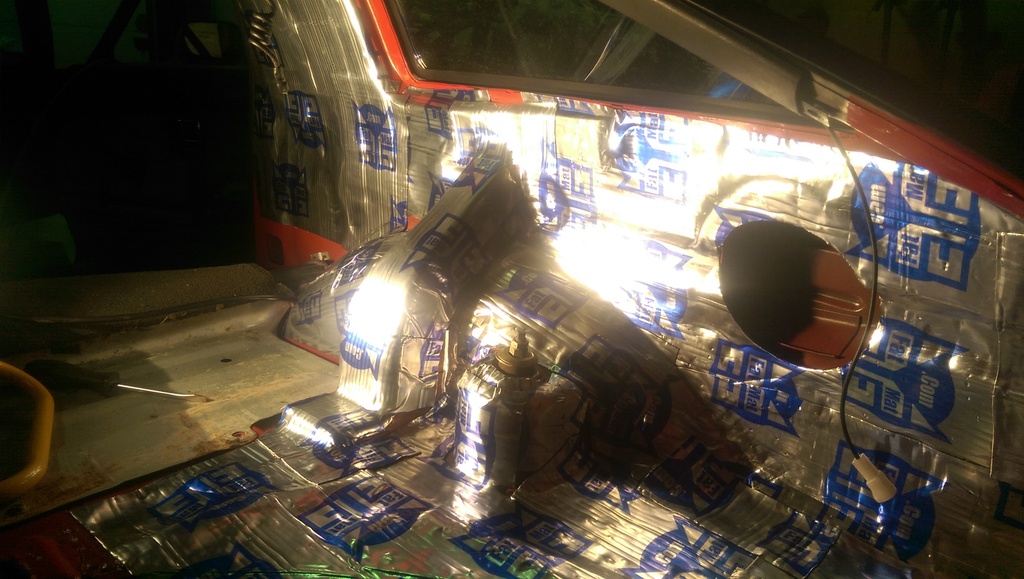

I needed some mindless work for a change, was a nice change from sorting through vital engine wires.


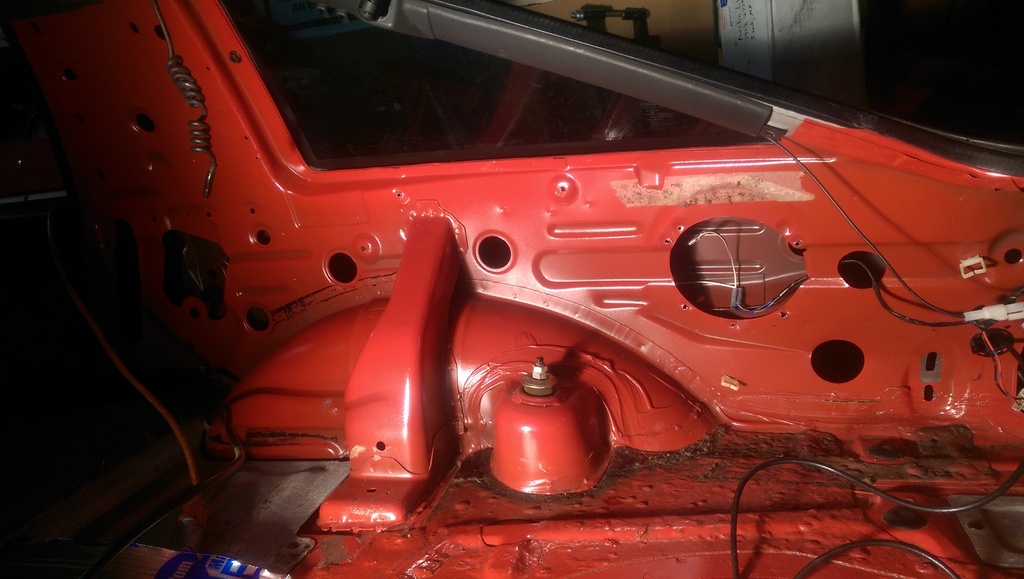
So that's what the inside of a rust free panel looks like, huh? 
Using fat mat I see. I've come to the conclusion that in the grand scheme of things, you really can't go wrong with any of the products available for sound deadener. Looks like you did a great job with it!
Using fat mat I see. I've come to the conclusion that in the grand scheme of things, you really can't go wrong with any of the products available for sound deadener. Looks like you did a great job with it!

Well in my opinion there will always be a faster car than yours, unless you have a Nissan GT-R.... So, if a heavier car turn your ride comfortable, then GO FOR IT!!!!
Look pretty damn cool!!!!
Look pretty damn cool!!!!
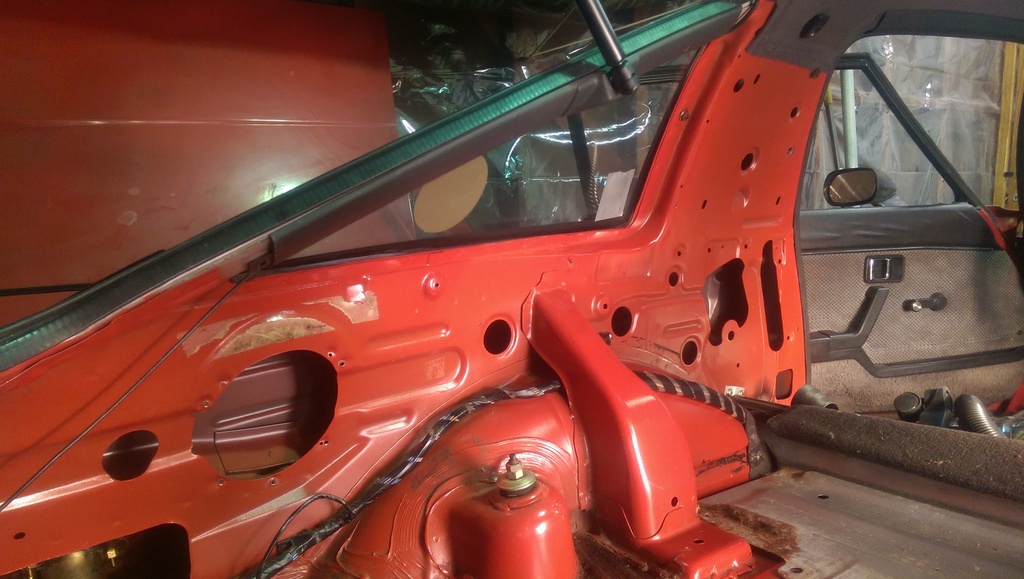
Looking forward to see your choice for deadening of the doors. I haven't decided how to do this on mine yet. Seems like a lot of work getting the inside of the out-side door panel cleaned and it put in there as opposed to just on the outside of the in-side of the door
Thread Starter
Joined: Aug 2011
Posts: 3,078
Likes: 42
From: Cambridge, Minnesota
Yeah, this car is crazy clean...I'm trying my best not to ruin how nice it really is!
I have actually heard that the spray-on deadener works the best in there. Use some black silicone between the crash bar and outer door skin to prevent that *clang* of the skin hitting the bar when closing the door. Then use some good undercoating in a spray can to cover the inside part of the door skin. There's a guy who gave me those hints who did that to his FD and it completely changed the noise inside the car as well as making the door shut with a satisfactory *thud* instead of *clang*.
I have actually heard that the spray-on deadener works the best in there. Use some black silicone between the crash bar and outer door skin to prevent that *clang* of the skin hitting the bar when closing the door. Then use some good undercoating in a spray can to cover the inside part of the door skin. There's a guy who gave me those hints who did that to his FD and it completely changed the noise inside the car as well as making the door shut with a satisfactory *thud* instead of *clang*.
That's an awesome tip! Thanks for passing it on.
Thread Starter
Joined: Aug 2011
Posts: 3,078
Likes: 42
From: Cambridge, Minnesota
No problem, thought I'd help some others out by passing along the information. I'll be doing it to my own car and seeing how it goes so feel free to watch for that in the near future!
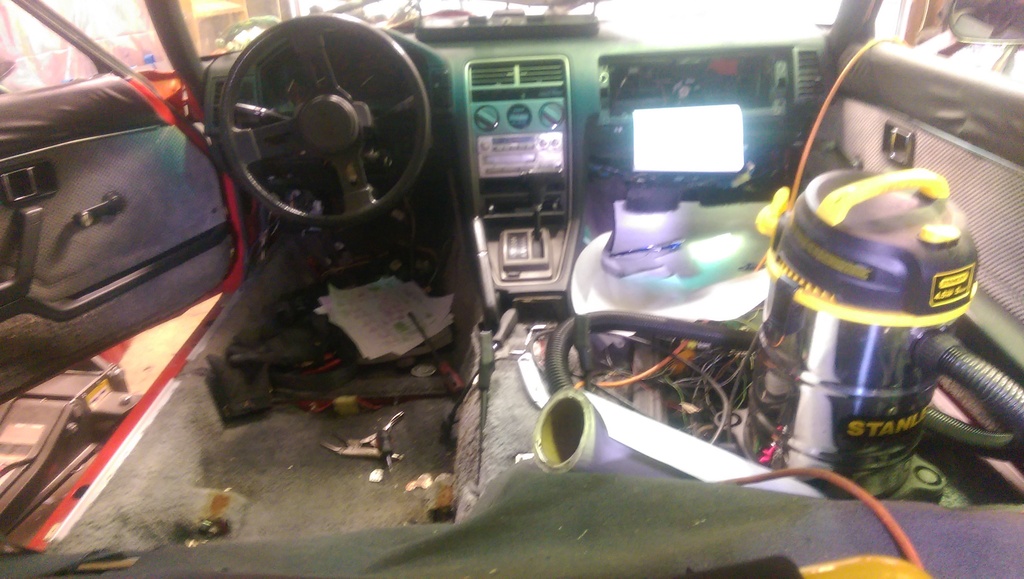
I got some more done here today, here's the mess that I had to clean up in order to get some more stuff done in the car:
/START RANT
So the genius engineers at Mazda decided one fateful night on how to install an automatic transmission to make the car more appealing to women. They figured that since it was going to be a woman's car, they could make it complicated - in order to match the creatures they were focusing for in the sale. In order to try and match the sophisticated nature of the future women drivers of the auto cars, they decided it would be a good idea to install the automatic transmission gear lever mechanism before the dash. This decision was an effort to confuse and frustrate future male mechanics who might get the idea to mess with what they had decided was right (not dissimilar to arguing with the normal female occupants). You see, performing a change from auto to manual would require something monumental - removing the dash. This was most likely done in order to change the mind of a determined man who wanted to change the nature of the original form of the car.
You'd literally have remove the entire dash in order to get that auto gear lever selector out of its home. You'll also have to weld in the manual transmission mounts or make a big long flat piece of steel to cover the distance difference from the auto to the manual.
Automatic woman cars - never a good idea.
\END RANT
Stupid auto gear selector referenced:
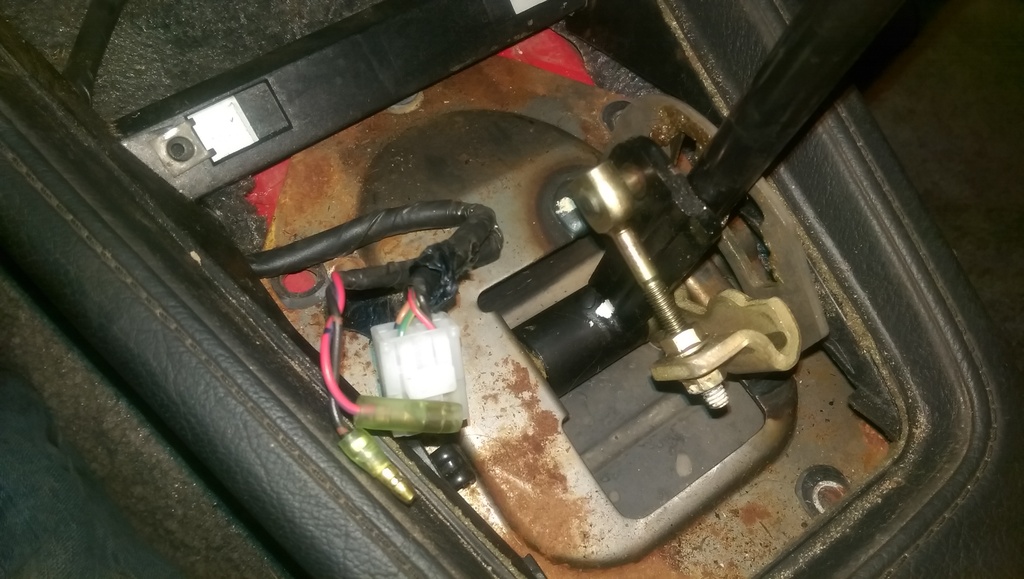
I made four cuts in the selector in order to get it out without taking the dash out:
1. By back left bolt
2. By back right bolt
3. From selector to front left bolt
4. The left side of the bolt that the selector rotates on, this separated the two parts
Lastly, I drilled out the spot welds in the right side manual transmission mount and separated it from the sheet metal. Before I do the left side I'll be using a bit bigger of a drill bit in order to have to pry on the sheet metal a lot less.
I got some more done here today, here's the mess that I had to clean up in order to get some more stuff done in the car:

/START RANT
So the genius engineers at Mazda decided one fateful night on how to install an automatic transmission to make the car more appealing to women. They figured that since it was going to be a woman's car, they could make it complicated - in order to match the creatures they were focusing for in the sale. In order to try and match the sophisticated nature of the future women drivers of the auto cars, they decided it would be a good idea to install the automatic transmission gear lever mechanism before the dash. This decision was an effort to confuse and frustrate future male mechanics who might get the idea to mess with what they had decided was right (not dissimilar to arguing with the normal female occupants). You see, performing a change from auto to manual would require something monumental - removing the dash. This was most likely done in order to change the mind of a determined man who wanted to change the nature of the original form of the car.
You'd literally have remove the entire dash in order to get that auto gear lever selector out of its home. You'll also have to weld in the manual transmission mounts or make a big long flat piece of steel to cover the distance difference from the auto to the manual.
Automatic woman cars - never a good idea.
\END RANT
Stupid auto gear selector referenced:

I made four cuts in the selector in order to get it out without taking the dash out:
1. By back left bolt
2. By back right bolt
3. From selector to front left bolt
4. The left side of the bolt that the selector rotates on, this separated the two parts

Lastly, I drilled out the spot welds in the right side manual transmission mount and separated it from the sheet metal. Before I do the left side I'll be using a bit bigger of a drill bit in order to have to pry on the sheet metal a lot less.

LOL yeah that auto selector looks terrible to remove. Glad you're doing this swap the right way though by welding on the manual mounts etc. Will be a nice clean setup when you're done.

Joined: Mar 2001
Posts: 31,863
Likes: 3,245
From: https://www2.mazda.com/en/100th/
its funny how beefy Mazda made those, and then BMW just uses a nut and bolt through the floor pan. the BMW way is better, because it starts perfect, and then there is a kit to fix it.
Thread Starter
Joined: Aug 2011
Posts: 3,078
Likes: 42
From: Cambridge, Minnesota

They really do!
When I see guys who do the auto to manual swap by making a big metal bracket to span the distance, it really makes me worry. I don't want my driveshaft rotating over a big metal plate that's holding my transmission in the car. Not to mention flex and shearing, among many other scary things that could happen there.
Crazy! I'd love a BMW someday, always loved their coupes since I was younger than 16.
Joined: Mar 2001
Posts: 31,863
Likes: 3,245
From: https://www2.mazda.com/en/100th/
but chicks dig it
Joined: Mar 2001
Posts: 31,863
Likes: 3,245
From: https://www2.mazda.com/en/100th/
Thread Starter
Joined: Aug 2011
Posts: 3,078
Likes: 42
From: Cambridge, Minnesota
BMW does things really weirdly. we raced an E46 one year, and the front of the hood has like 6 layers of steel pressed together, and the rear suspension is just literally bolted to the trunk floor. so just to reiterate, the structure of the car is a washer from the hardware store, and the hood is built like the prinz eugen.
but chicks dig it
we stopped racing it because we couldn't afford to fix all the stuff that fell off when it was sitting in the garage between races.
but chicks dig it
we stopped racing it because we couldn't afford to fix all the stuff that fell off when it was sitting in the garage between races.
Haha falls off in the garage, I can see how that would get really annoying!