
Project "Smurfette"

Thanks. The car was in an accident I hit a woman that decided it was ok to pull out into traffic and then stop once she saw me. Needless to say I lost she drove her 77 olds home I had to get my car towed bin working on it ever since.
Thread Starter
Joined: Jan 2007
Posts: 847
Likes: 0
From: Burlington, Ontario
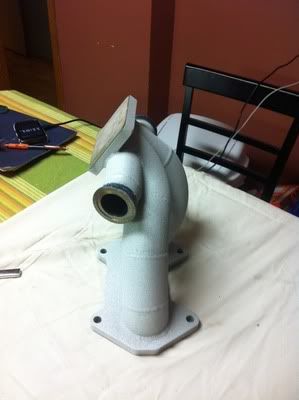
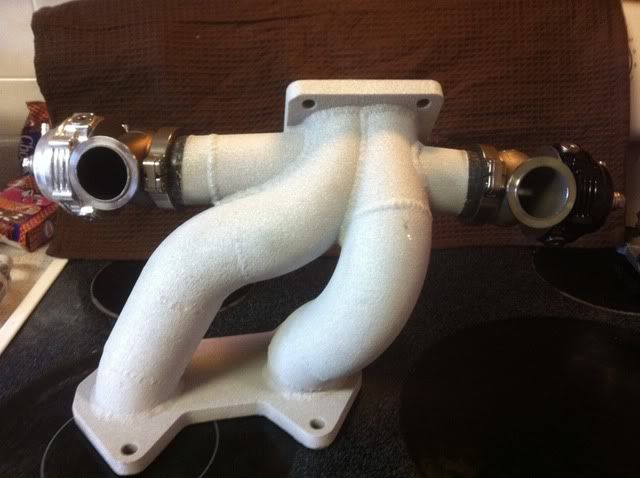
here are some pics of my custom Exhaust Manifold from Omar @ GATO PERFORMANCE.
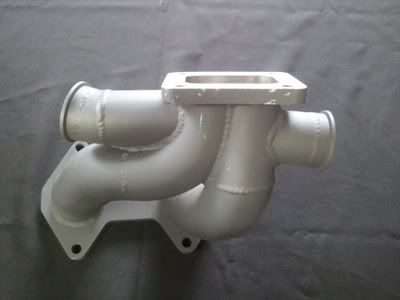
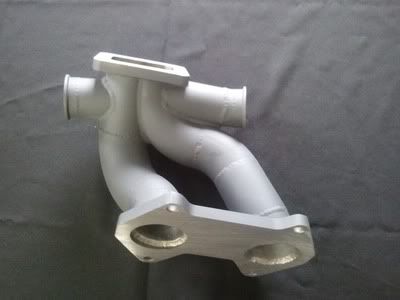
I cant wait to get it, cant decide if to wrap it or powder coat it.
Any thoughts.........
I cant wait to get it, cant decide if to wrap it or powder coat it.
Any thoughts.........


I cant wait to get it, cant decide if to wrap it or powder coat it.
Any thoughts.........[/QUOTE]
Ceramic coating.....
http://www.fireballcoatings.com/inde...id=4&Itemid=12
Any thoughts.........[/QUOTE]
Ceramic coating.....
http://www.fireballcoatings.com/inde...id=4&Itemid=12
Thread Starter
Joined: Jan 2007
Posts: 847
Likes: 0
From: Burlington, Ontario
well I have decided to have the manifold "metalized"by a local guy, its a pretty cool process. The owner told me if it ever changes color he will redo it for free. I will be getting it back on Monday or Tuesday, pics will be up shortly after.
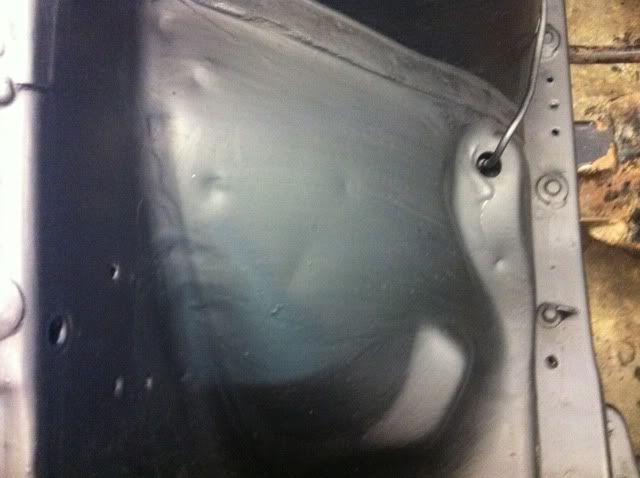
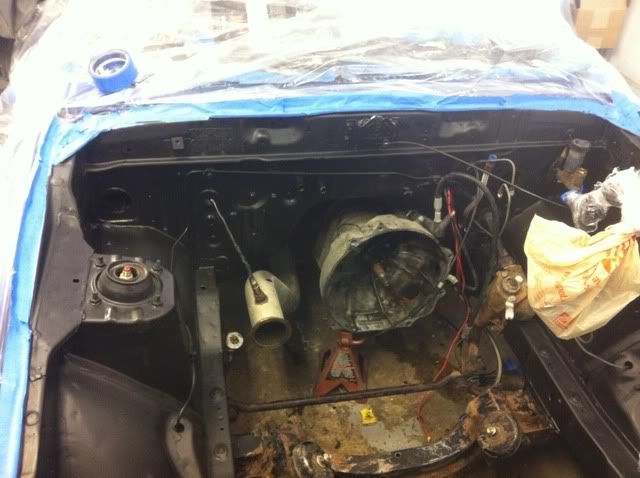
So I have been working away any chance I get on cleaning the engine bay, here is a pic of where I am at presently

So I have been working away any chance I get on cleaning the engine bay, here is a pic of where I am at presently
Thread Starter
Joined: Jan 2007
Posts: 847
Likes: 0
From: Burlington, Ontario
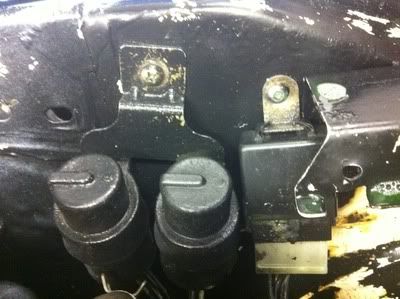
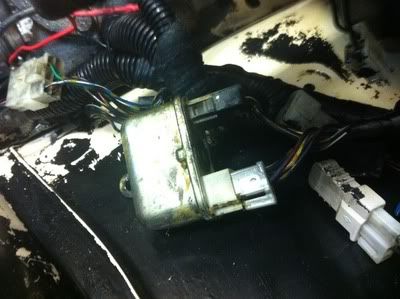
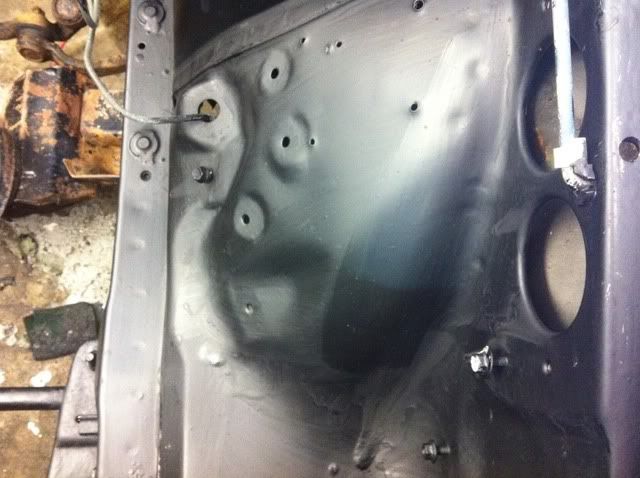
I have a few questions on the engine bay wiring that comes from the drivers side of the firewall.
I need to know if I need these electrical components or is it OK to remove them?
I need to know if I need these electrical components or is it OK to remove them?
Thread Starter
Joined: Jan 2007
Posts: 847
Likes: 0
From: Burlington, Ontario
well I got my parts from the powder coating shop today
Hope you guys like.......
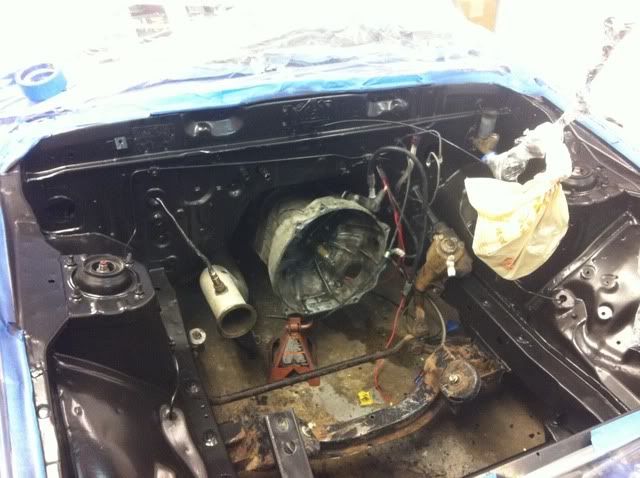
As for the engine by, after spending so much time on it, I have decided not to leave it in POR 15 semi gloss but to paint it the color of the car. I think it would look much nicer.
I have also done a wire reduction of the drivers side harness, I would like to do a wire tuck, but I am not that confident. Who knows I might just take the plunge , do it and hope for the best.
Hope you guys like.......
As for the engine by, after spending so much time on it, I have decided not to leave it in POR 15 semi gloss but to paint it the color of the car. I think it would look much nicer.
I have also done a wire reduction of the drivers side harness, I would like to do a wire tuck, but I am not that confident. Who knows I might just take the plunge , do it and hope for the best.

Thread Starter
Joined: Jan 2007
Posts: 847
Likes: 0
From: Burlington, Ontario
I was down and out for a week due to a minor surgery, so i was unable to do any work on the car. I thought about it every night though. 
Anyhow i am back up to working on the car, I finally put down the POR15 and followed the instructions to the tee.
I was not fully happy with the result. It started out OK, but half way through I noticed that the bristles on the brush I was using started curl. From the bristles curling, every stroke started to leave little bubbles all over. I also was not happy with the color of the finish. So I went ahead and purchased some automotive Satin Black spray paint to put over it. I am happy now.
I am not fully finished with the painting, I still have to paint my sub frame and steering box. I used the sub frame as my "bench" while I painted the engine bay, I will finish that part tonight.
The following pictures are of the engine bay before with the POR 15 and after with the Automotive Satin Black.
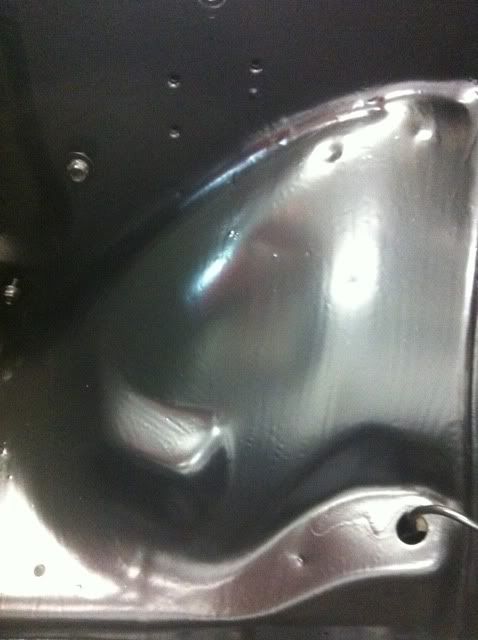
Thread Starter
Joined: Jan 2007
Posts: 847
Likes: 0
From: Burlington, Ontario
time for another update.
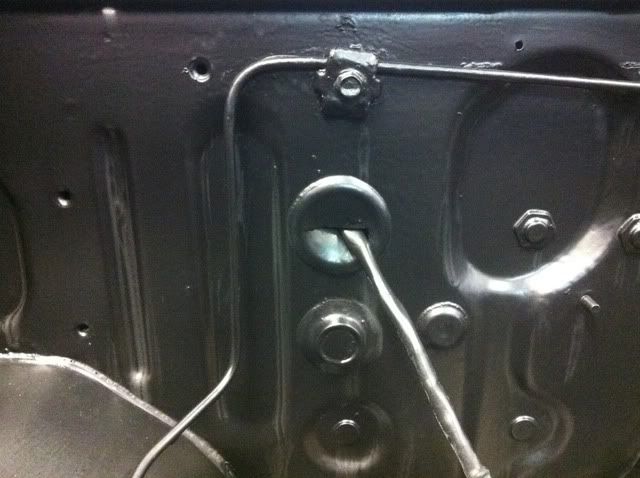
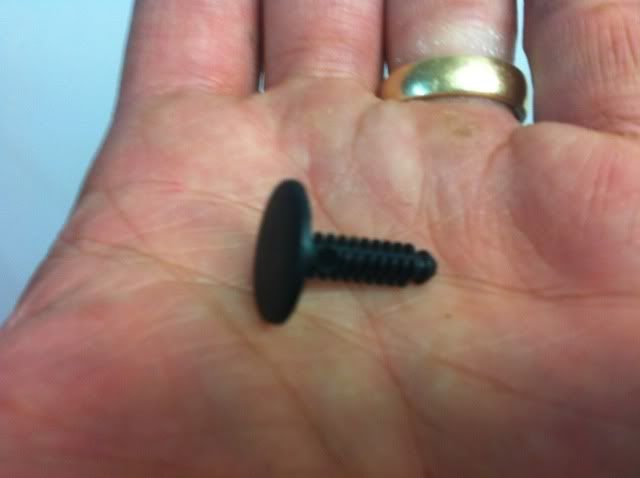
Well I cant weld to save my life, so those of you who would like to close up some holes in your engine bay I found these and they serve the purpose nicely.
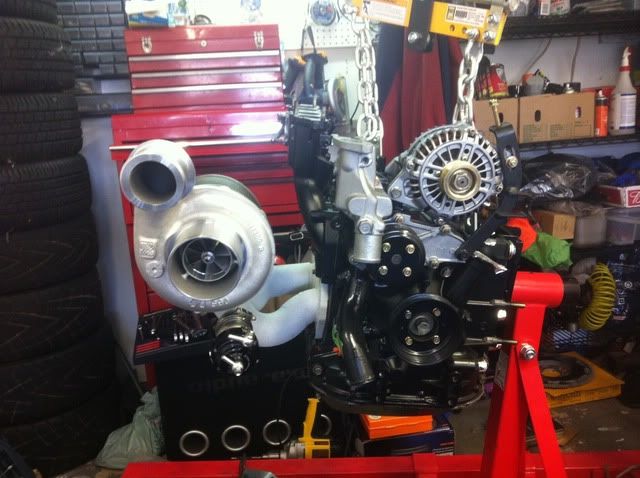
Here are a few more pics of things coming together

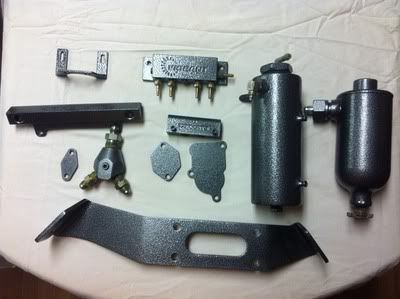
OIL CATCH CAN
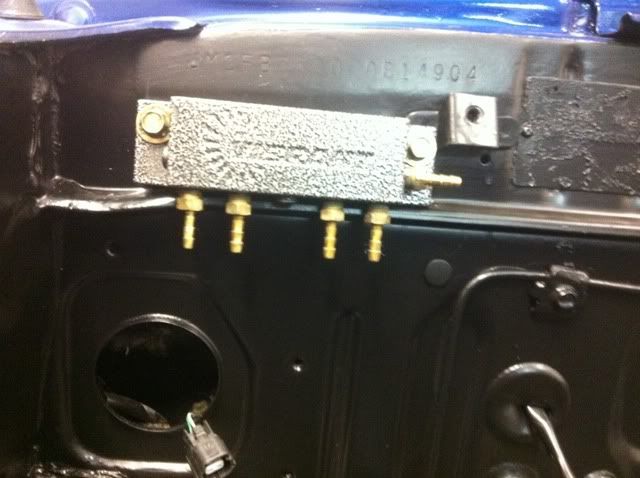
VACUUM DISTRIBUTION BLOCK
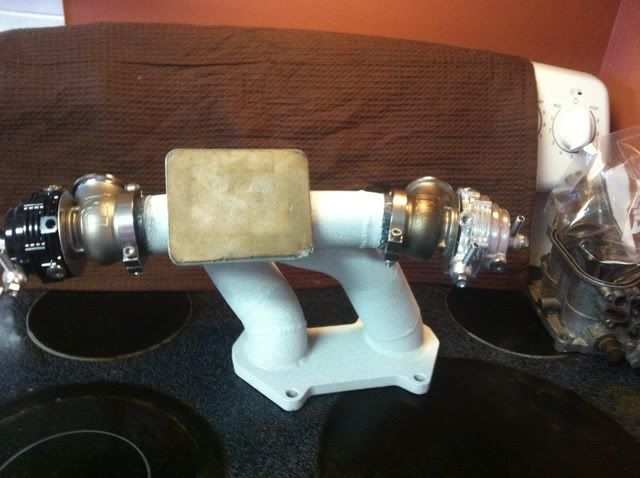
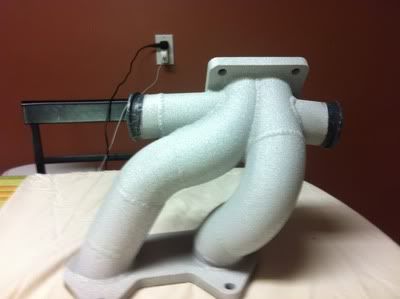
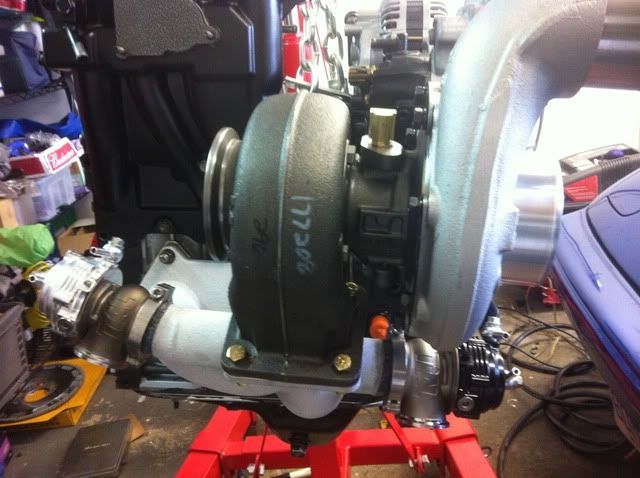
GATO MANIFOLD WITH DUAL TIAL WASTEGATES
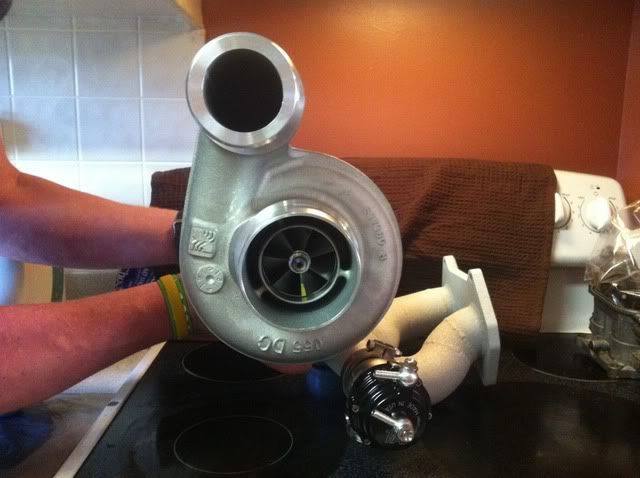
HEAVY *** TURBO
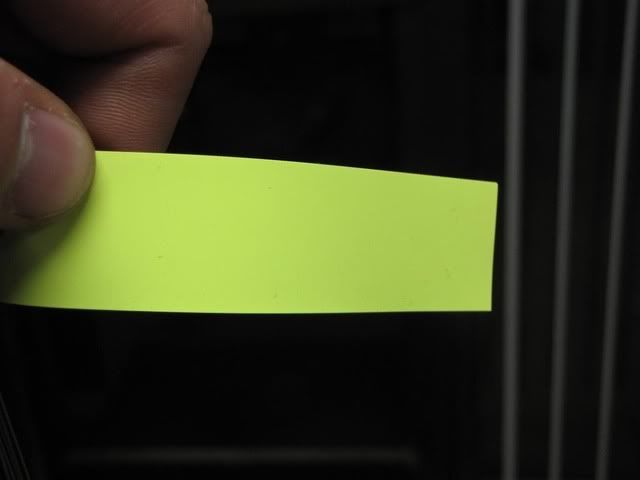
What do you guys think of this color as an accent color in the engine bay? I am getting my track rims done in this color.
Well I cant weld to save my life, so those of you who would like to close up some holes in your engine bay I found these and they serve the purpose nicely.
Here are a few more pics of things coming together
OIL CATCH CAN
VACUUM DISTRIBUTION BLOCK
GATO MANIFOLD WITH DUAL TIAL WASTEGATES
HEAVY *** TURBO
What do you guys think of this color as an accent color in the engine bay? I am getting my track rims done in this color.
Thread Starter
Joined: Jan 2007
Posts: 847
Likes: 0
From: Burlington, Ontario
more pics
Should be finishing mounting external parts on the engine by today.
I just have to find the remaining nuts and bolts I have lost. (Shame on me!)
Should be finishing mounting external parts on the engine by today.
I just have to find the remaining nuts and bolts I have lost.
(Shame on me!)
I had to do a similar thing but I took some 400grit sandpaper and wetsanded the rouf lines from the paint brush out then primered and did 3 coats of semi gloss black over that.
Thread Starter
Joined: Jan 2007
Posts: 847
Likes: 0
From: Burlington, Ontario
I had to do a similar thing but I took some 400grit sandpaper and wetsanded the rouf lines from the paint brush out then primered and did 3 coats of semi gloss black over that.
loving it ..
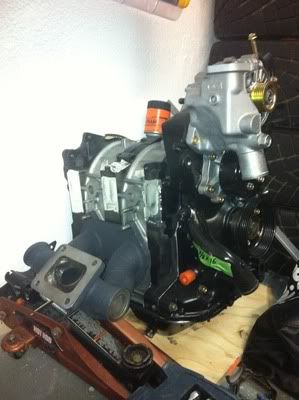
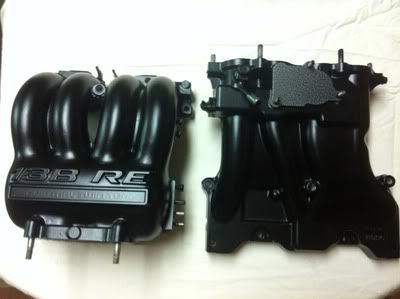
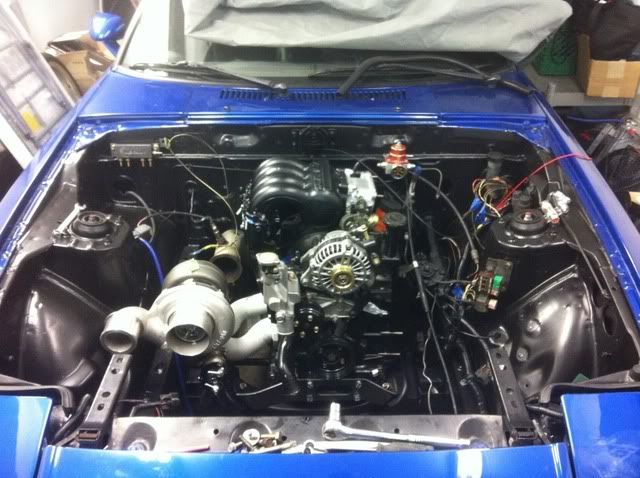
Well I have the engine in as of tonight.
So far I have realized that I am going to have to do over my down pipe, it never ends does it?
I also decided to go with the FD throttle body, I was going to use the 20B throttle body, but I could not find a TPS for it for the right price. The price I could have gotten one for it was not worth it for me. I read on the forum if I used the FD TB I would have an issue with an open spot I would have to see about.
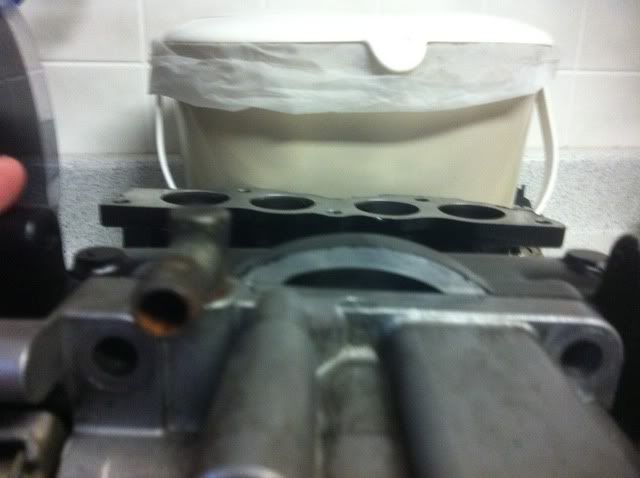
So I opted to welding on a piece of aluminum.

I dont have a picture of the finished solution, but it worked perfectly.
Anyhow here is a pic of the engine in its final resting place.

Thread Starter
Joined: Jan 2007
Posts: 847
Likes: 0
From: Burlington, Ontario
She is alive.....
OK, so i just got my engine started and cant get it to idle less than 1300+ rpm.
1. I checked for vaccum leaks, found none.
2. I tried adjusting the Idle control valve screw, nothing
3. I then proceeded to take off the TB elbow to inspect the TB. I noticed a port on the lower left of the TB, covering this was the only way I could lower the Idle.
So I have been searching for solutions on my problem, I came across a thread in one of the many windows that i had opened about welding shut the idle control port on the UIM . Next thing you know it, I accidentally closed the window with the thread.
So is this correct? weld that port off?
Any help would be greatly appreciated.
Sorry for writing a book, I am truly FRUSTRATED.
thanks guys
Thread Starter
Joined: Jan 2007
Posts: 847
Likes: 0
From: Burlington, Ontario
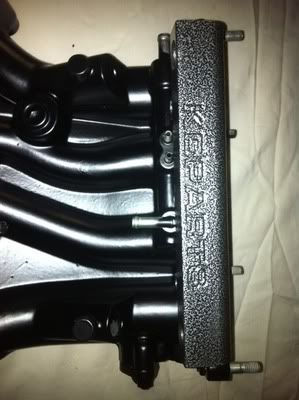
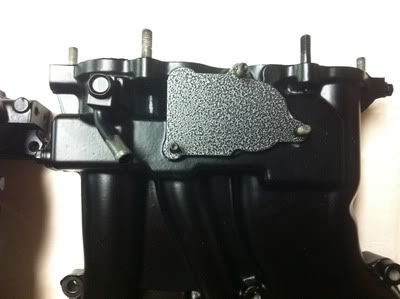
k, so I got my problem all sorted out. I had to plug a hole on the RE UIM
The car idles perfectly now, I will post a vid soon.
So all I need to do now is do my engine break in, and then do a full tune.
The car idles perfectly now, I will post a vid soon.
So all I need to do now is do my engine break in, and then do a full tune.