
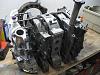
My 79 "barn find" project


As as the tranny, they always get that way. The inside bellhousing gets like that due to the rear main seal. The tailshaft seal is an easy fix. I wouldn't worry about the rest of the tranny....
Everything else just take your time, treating the rust spots, clean and paint accessories and then painting the engine compartment.
Everything else just take your time, treating the rust spots, clean and paint accessories and then painting the engine compartment.
Progress
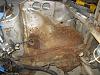
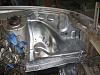
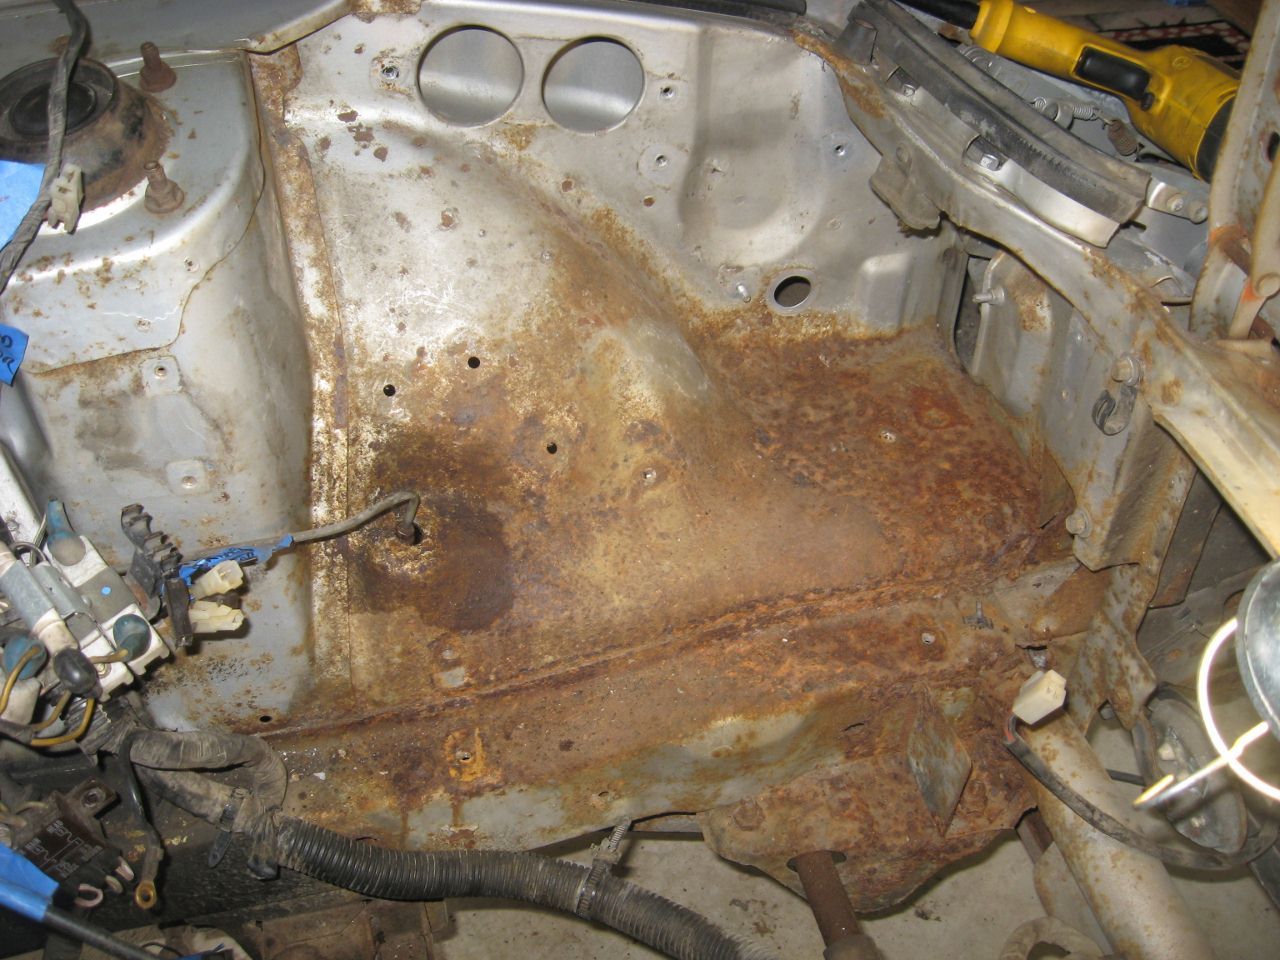
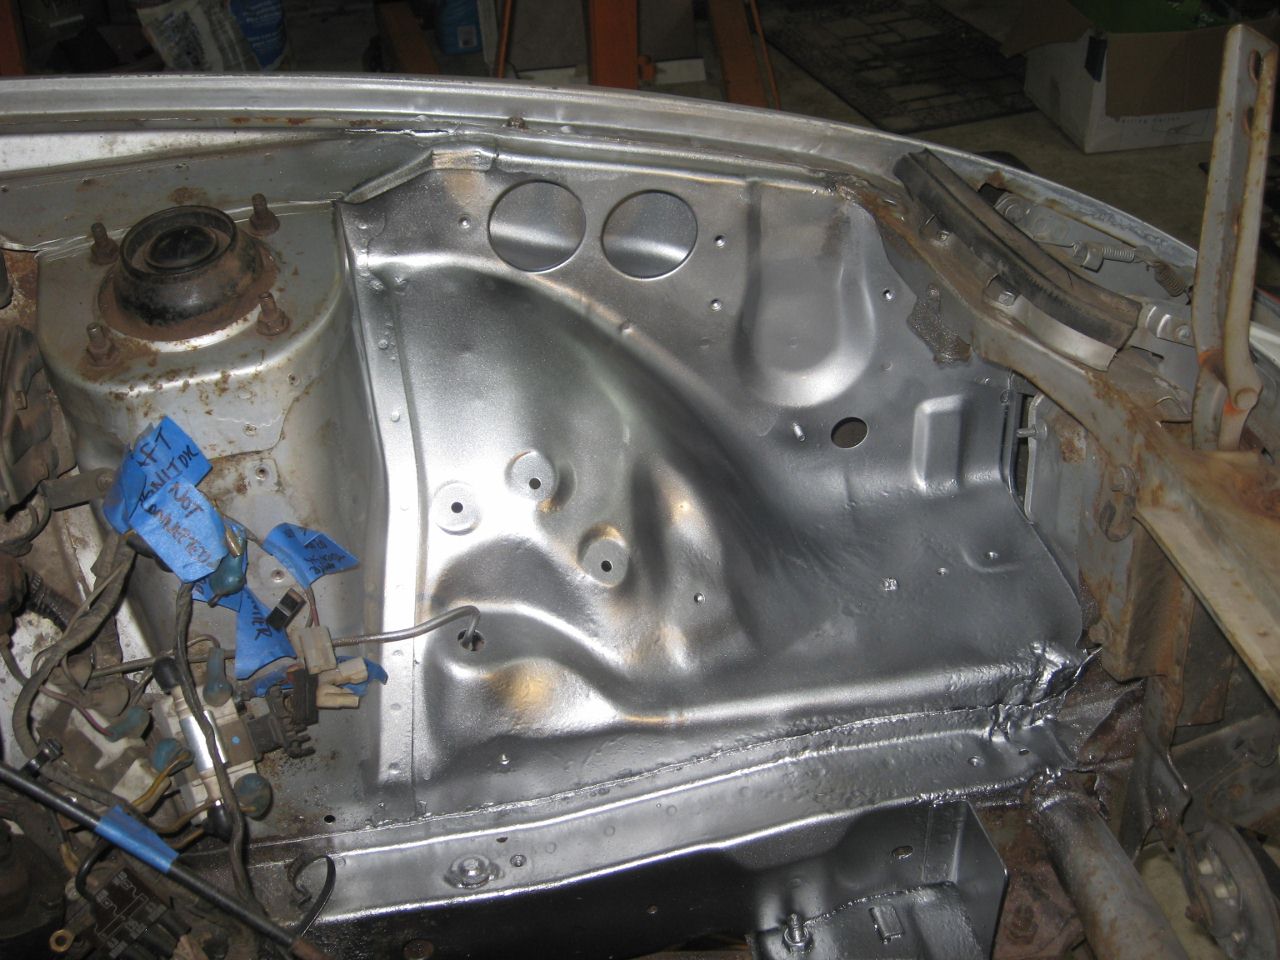
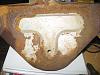
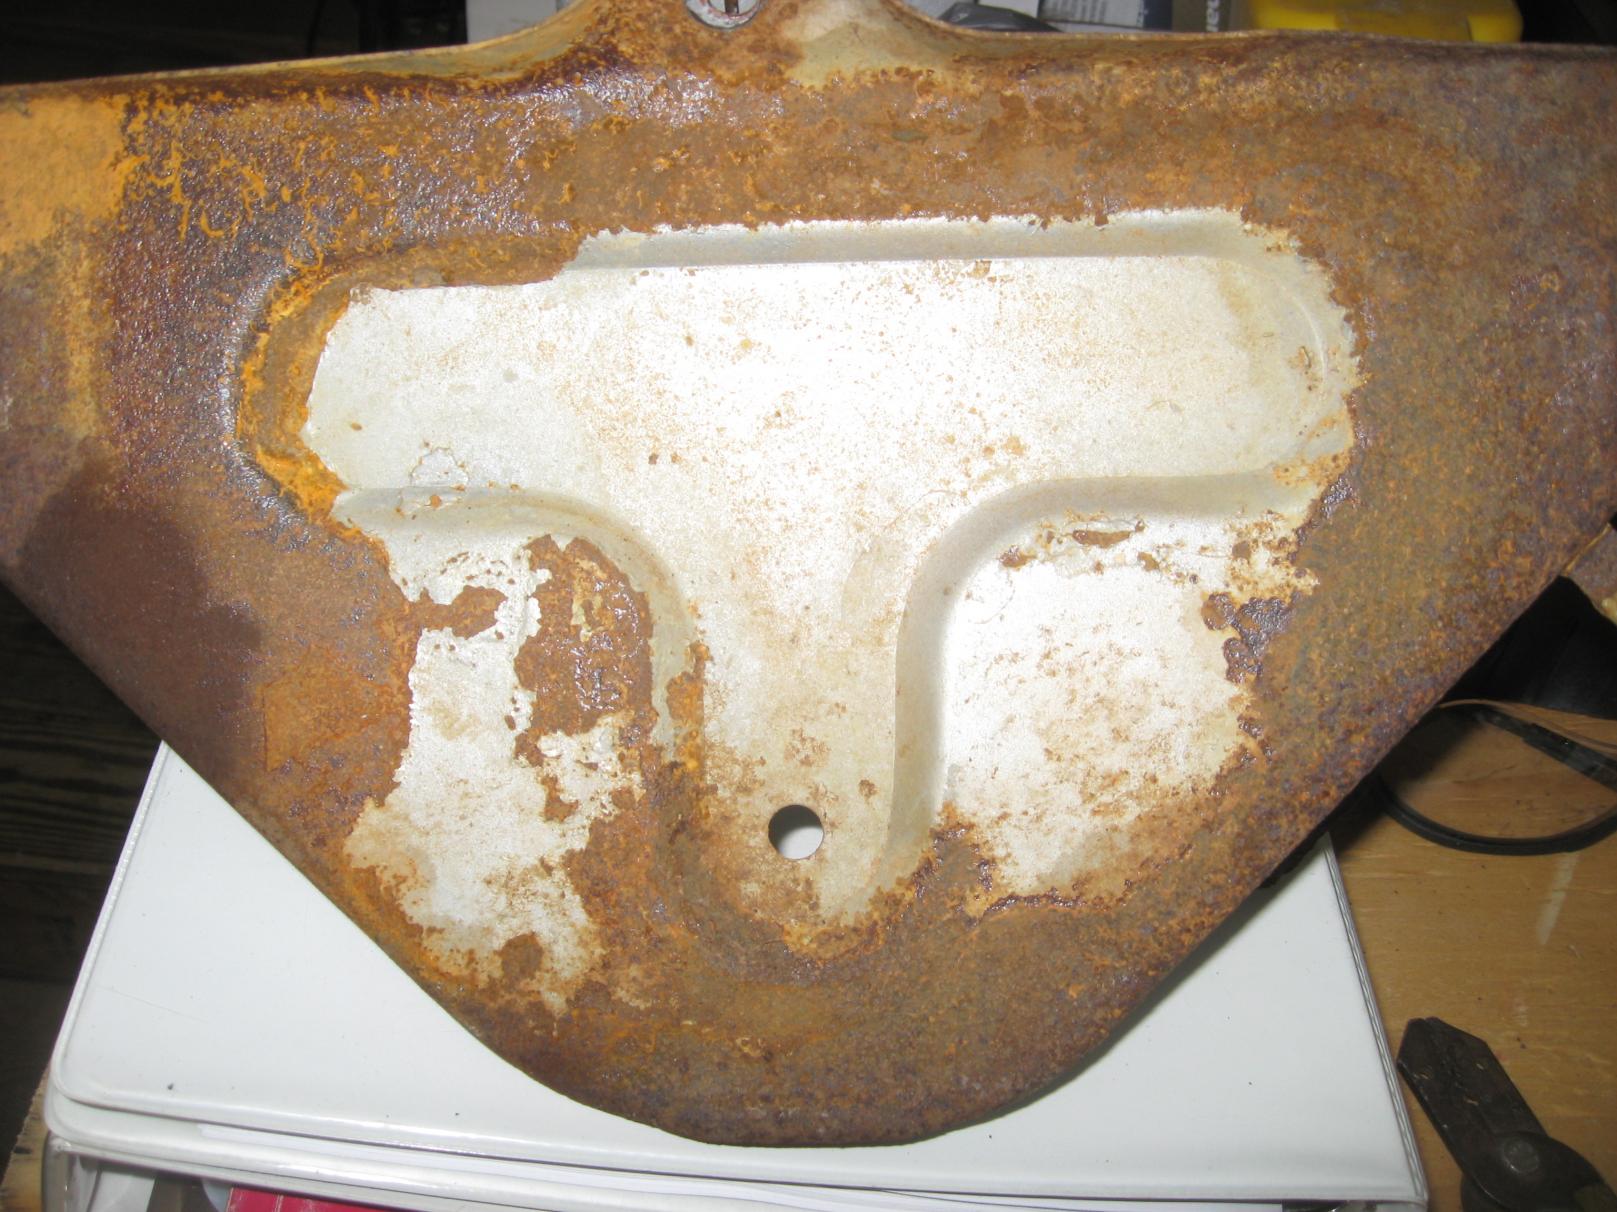
Spent most of the day in the garage yesterday and made some progress. I removed most all the wiring and components from the rusty battery area and attacked it with my wire brush attachments and drill. It really cleaned up nice but I still have work to do. Couldn't get the brake line disconnected because it's rusted together pretty good. Even a good soak in PB Blaster didn't touch it so rather than muck up the threads I removed the clip that holds it to the fender and worked around it. I read on another thread that Rustoleum Metallic Silver is an almost exact match, so I can't wait to get that area finished up and see how it looks.
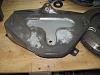
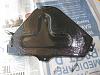
Then about two-ish my stand adapter came from Pinapple Racing (yahooo!). My ADHD kicked in and I stopped working on the rust and hooked up the engine to the stand and got to working on that. Removed the tranny and set it aside and began tearing down the motor. Got to the point of removing the oil pump and had to knock off for the day.
Will post up some pics when I get some progress made.
Then about two-ish my stand adapter came from Pinapple Racing (yahooo!).
Will post up some pics when I get some progress made.
Last edited by woodmv; Jan 13, 2013 at 07:57 AM.
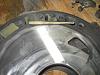
Inner drivers fender rust repair
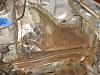
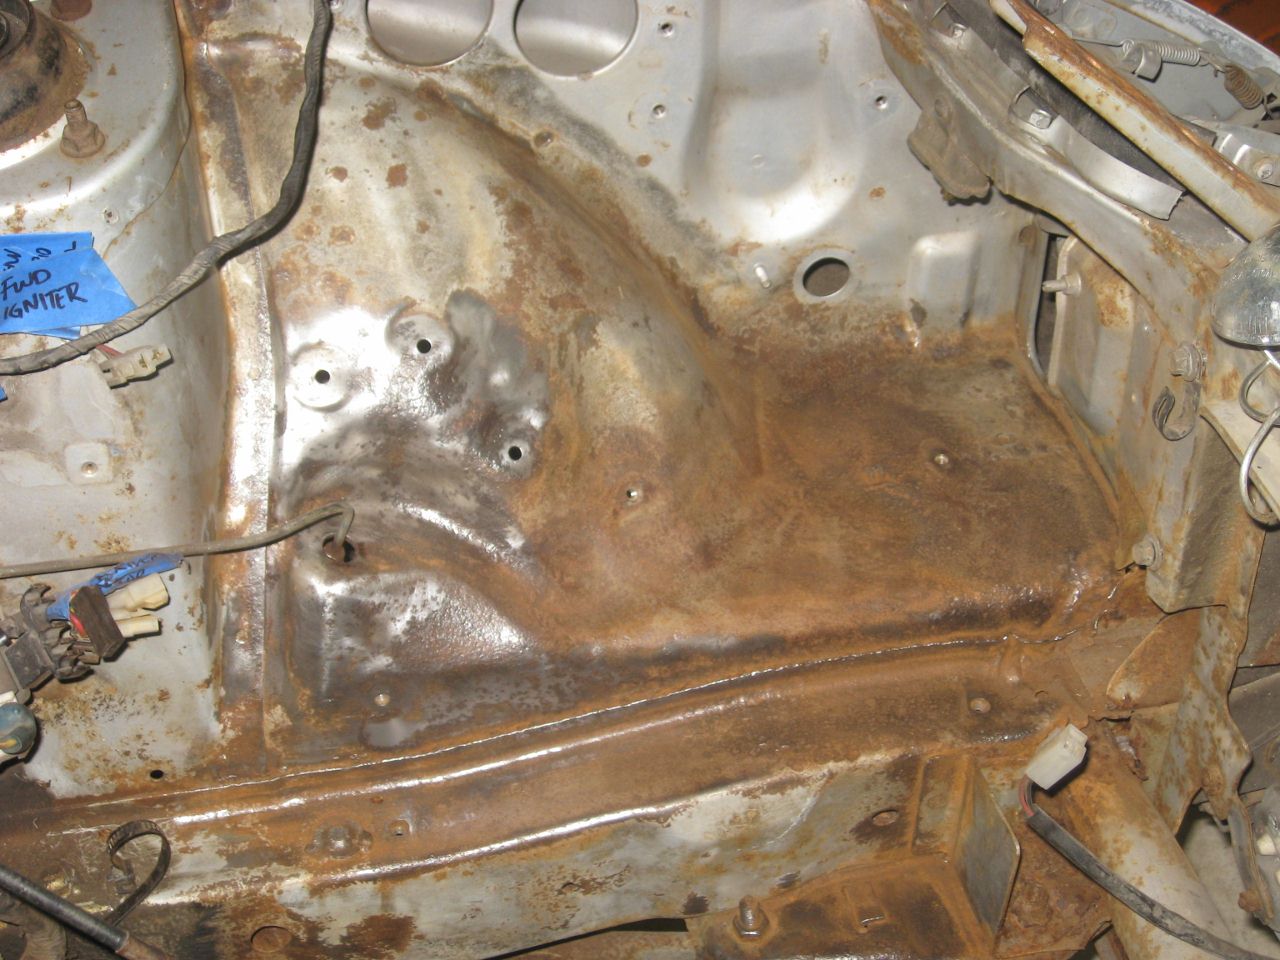
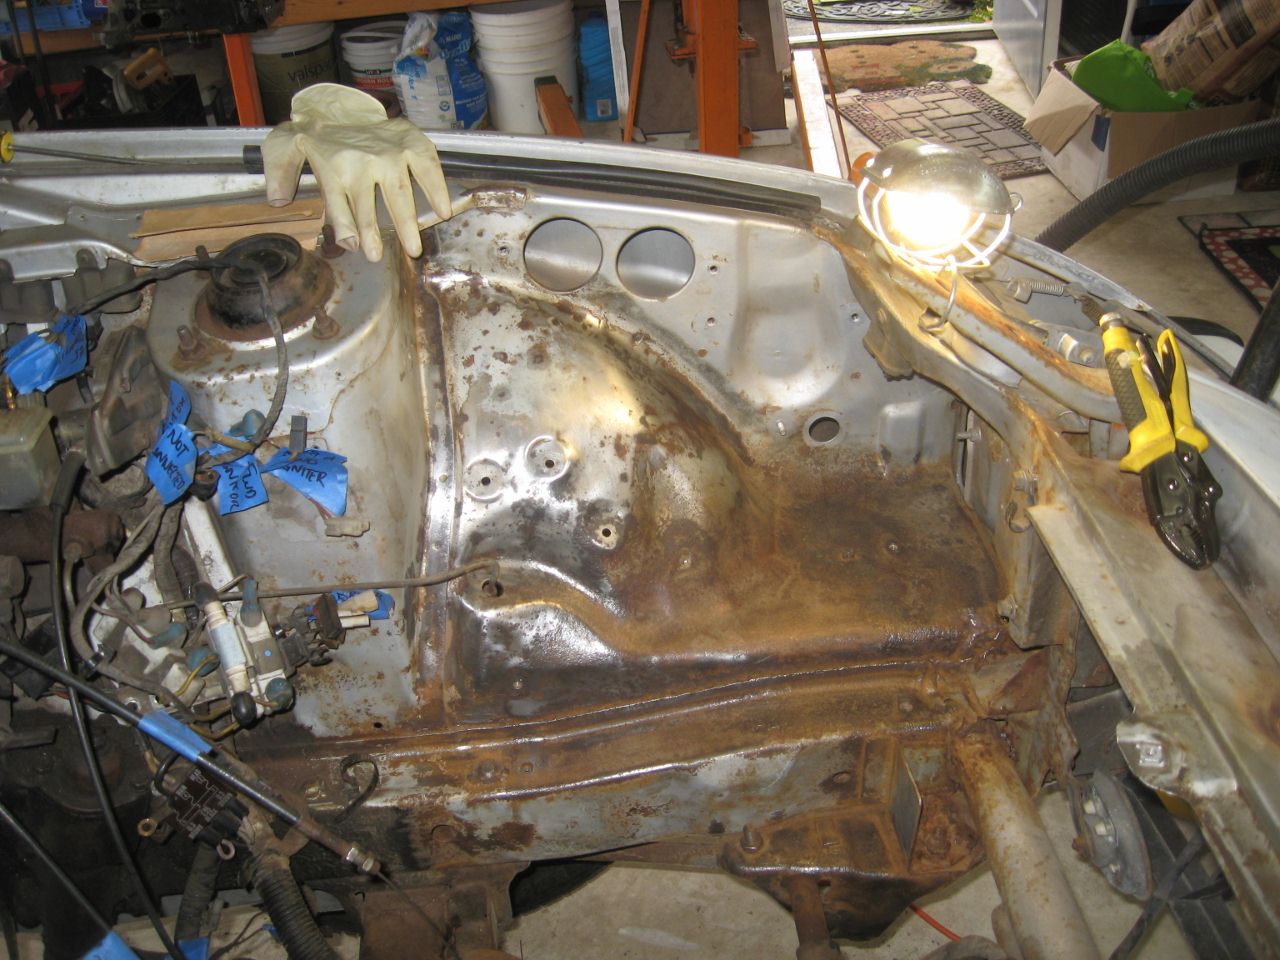
OK, I know this subject has been done and shown about a million times on this website, but I'm gonna share anyway. I sanded down the fender area around the battery tray and hit it with POR15 and finished it off with that Rustoleum Metallic Silver. It's a close match, but not that close. At least it looks a LOT better than rust! I hope to eventually do the entire engine bay so that it looks this nice!


Problems...
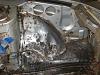
I began the teardown of the keg tonight and got the back cover off. I was disappointed to find out that whoever put that engine together messed a few things up.
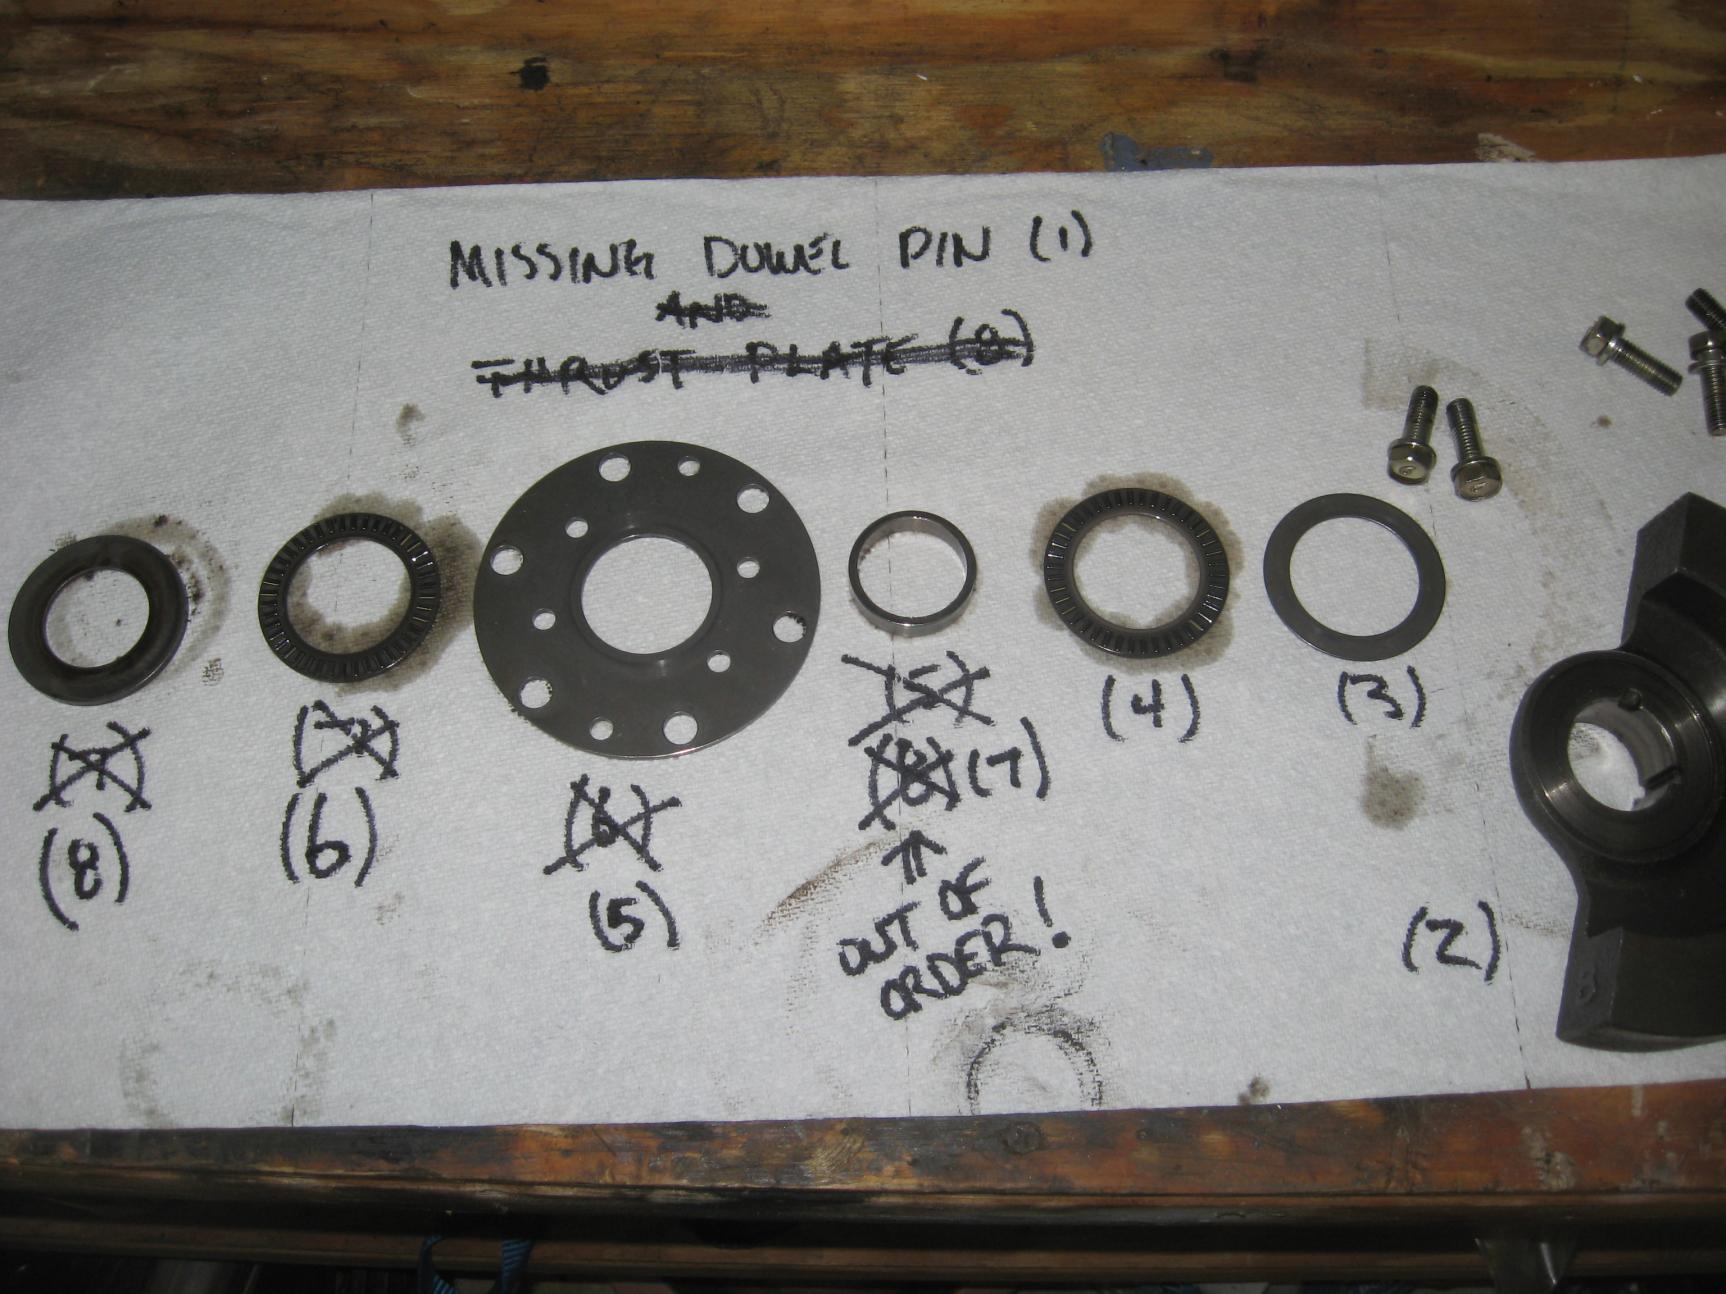
First, the order of the parts for the counterweight/bushings/thrustwashers was out of order. Those parts are SUPPOSED to go in this order:
1. Key
2. Balance weight
3. Thrust Washer
4. Needle bearing
5. Bearing housing
6. Needle bearing
7. Spacer
8. Thrust plate
The order they came off was this:
1. MISSING
2. Balance weight
3. Thrust washer
4. Needle bearing
7. Spacer
5. Bearing housing
6. Needle bearing
8. Thrust plate.
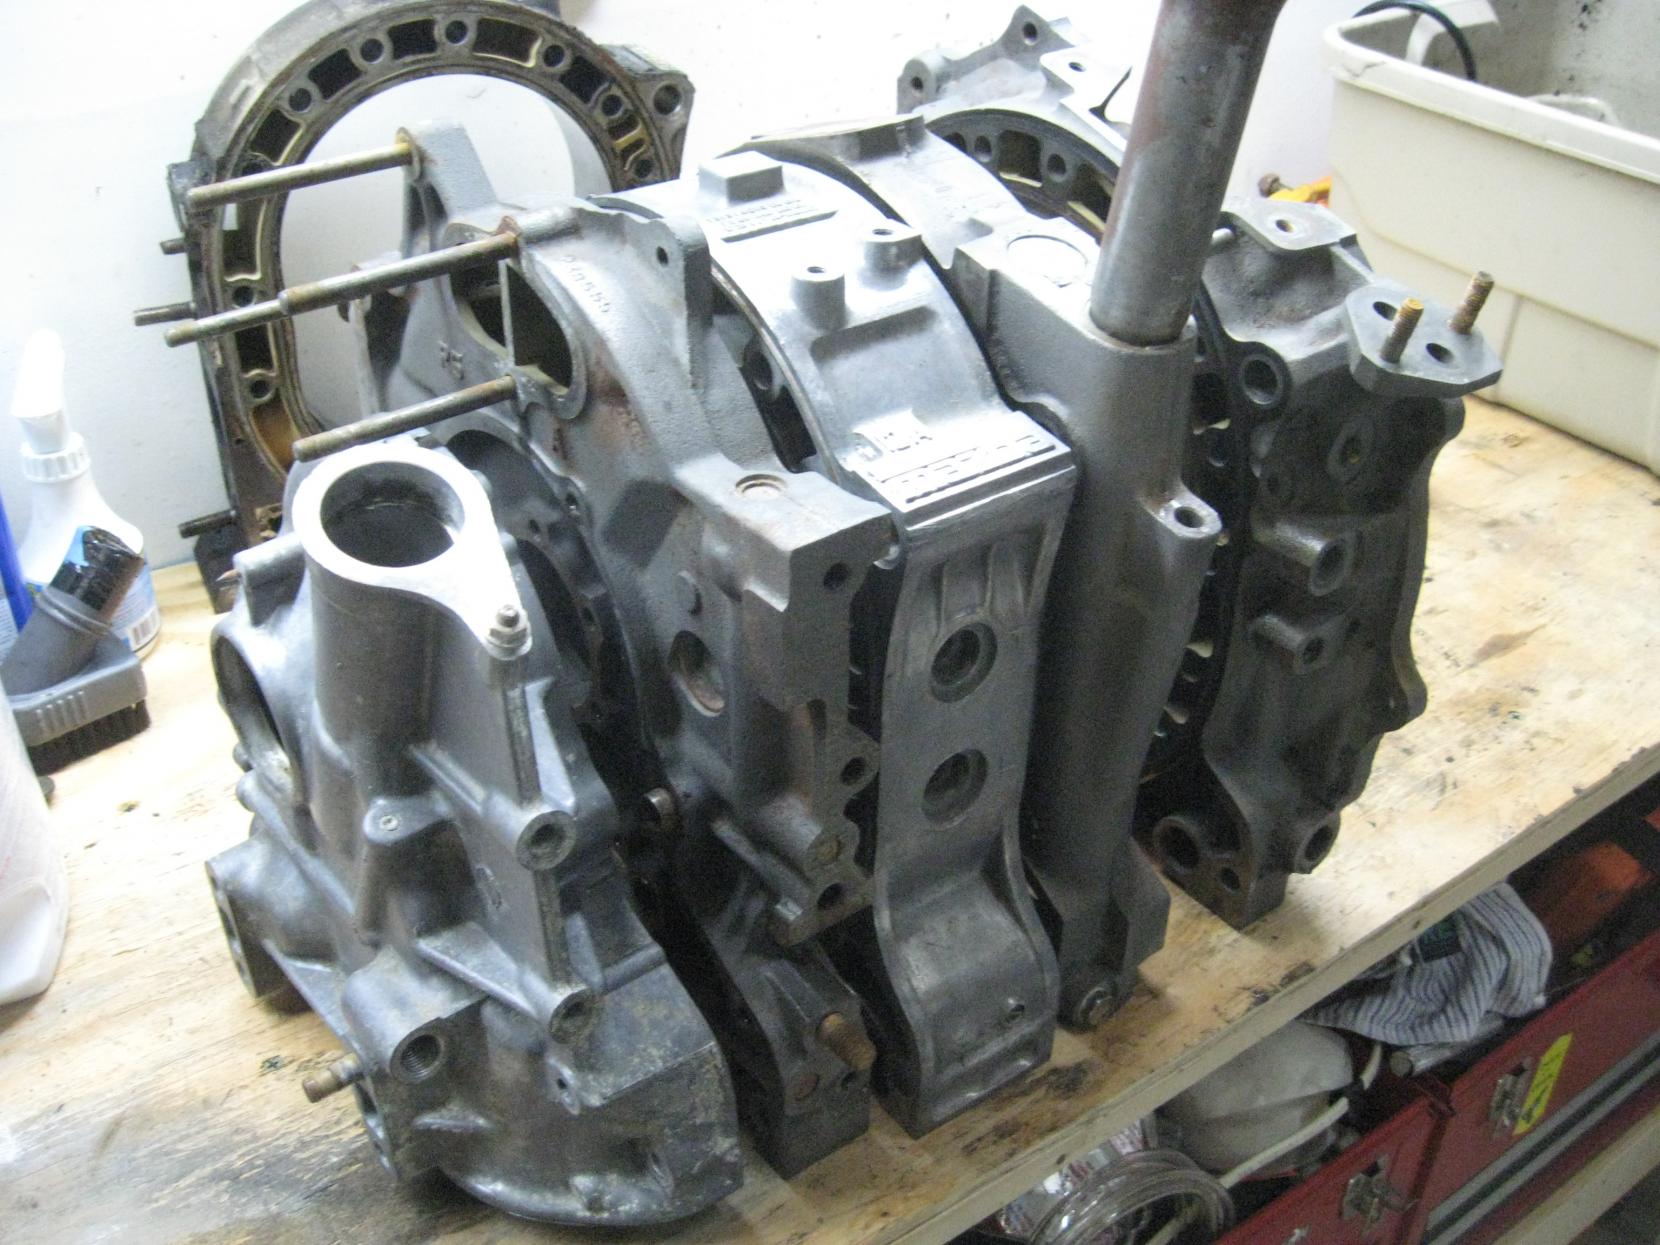
Here's a pic of the order in which I took them off:

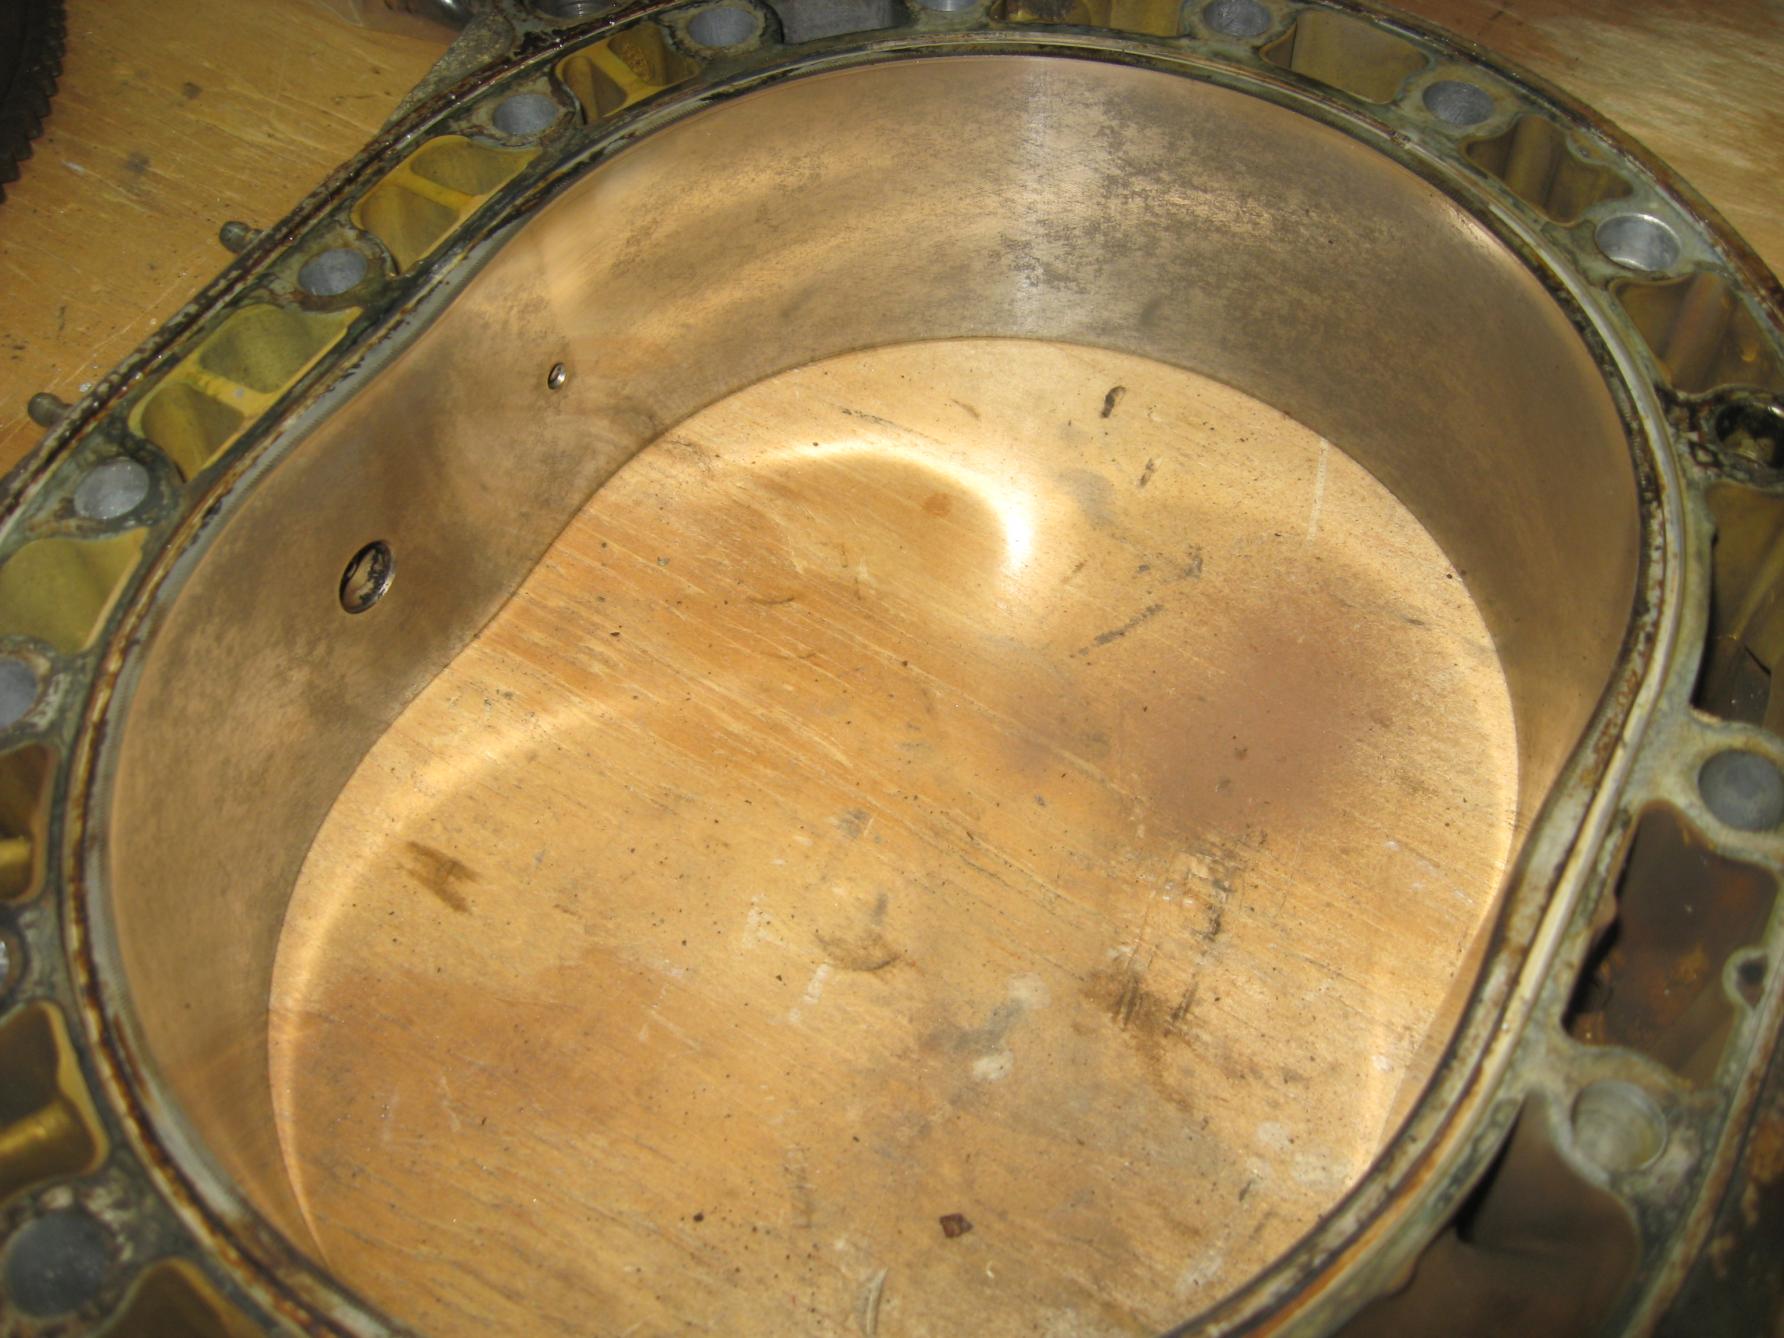
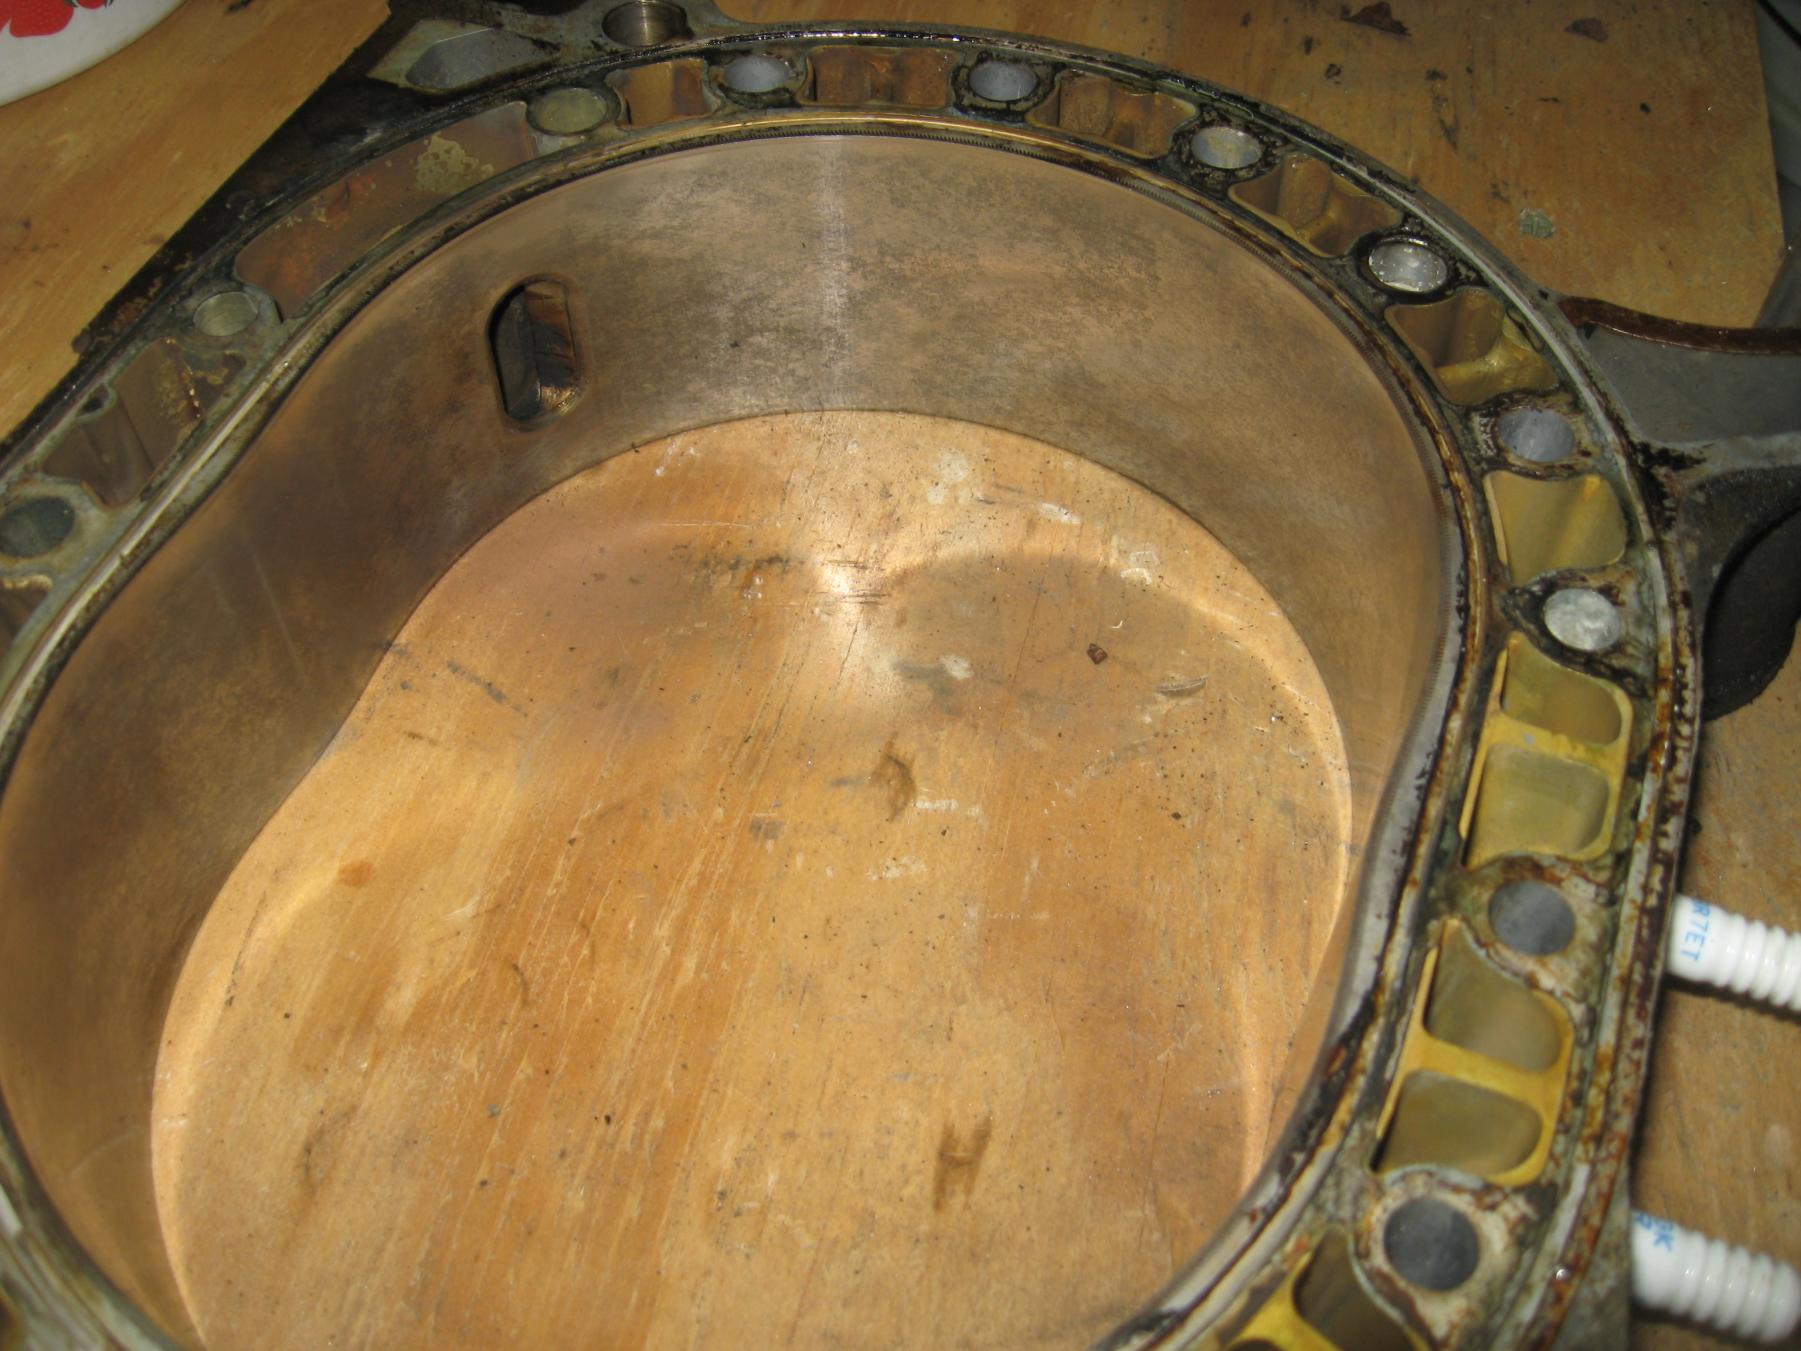
So no big deal. More curious than anything. But then I take off the rear plate. I see that the epoxy that had been put on the outside joint near the oil filter mast between the rear rotor housing and rear plate is because there was no RTV or gasket sealant there. Nice...
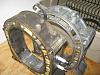
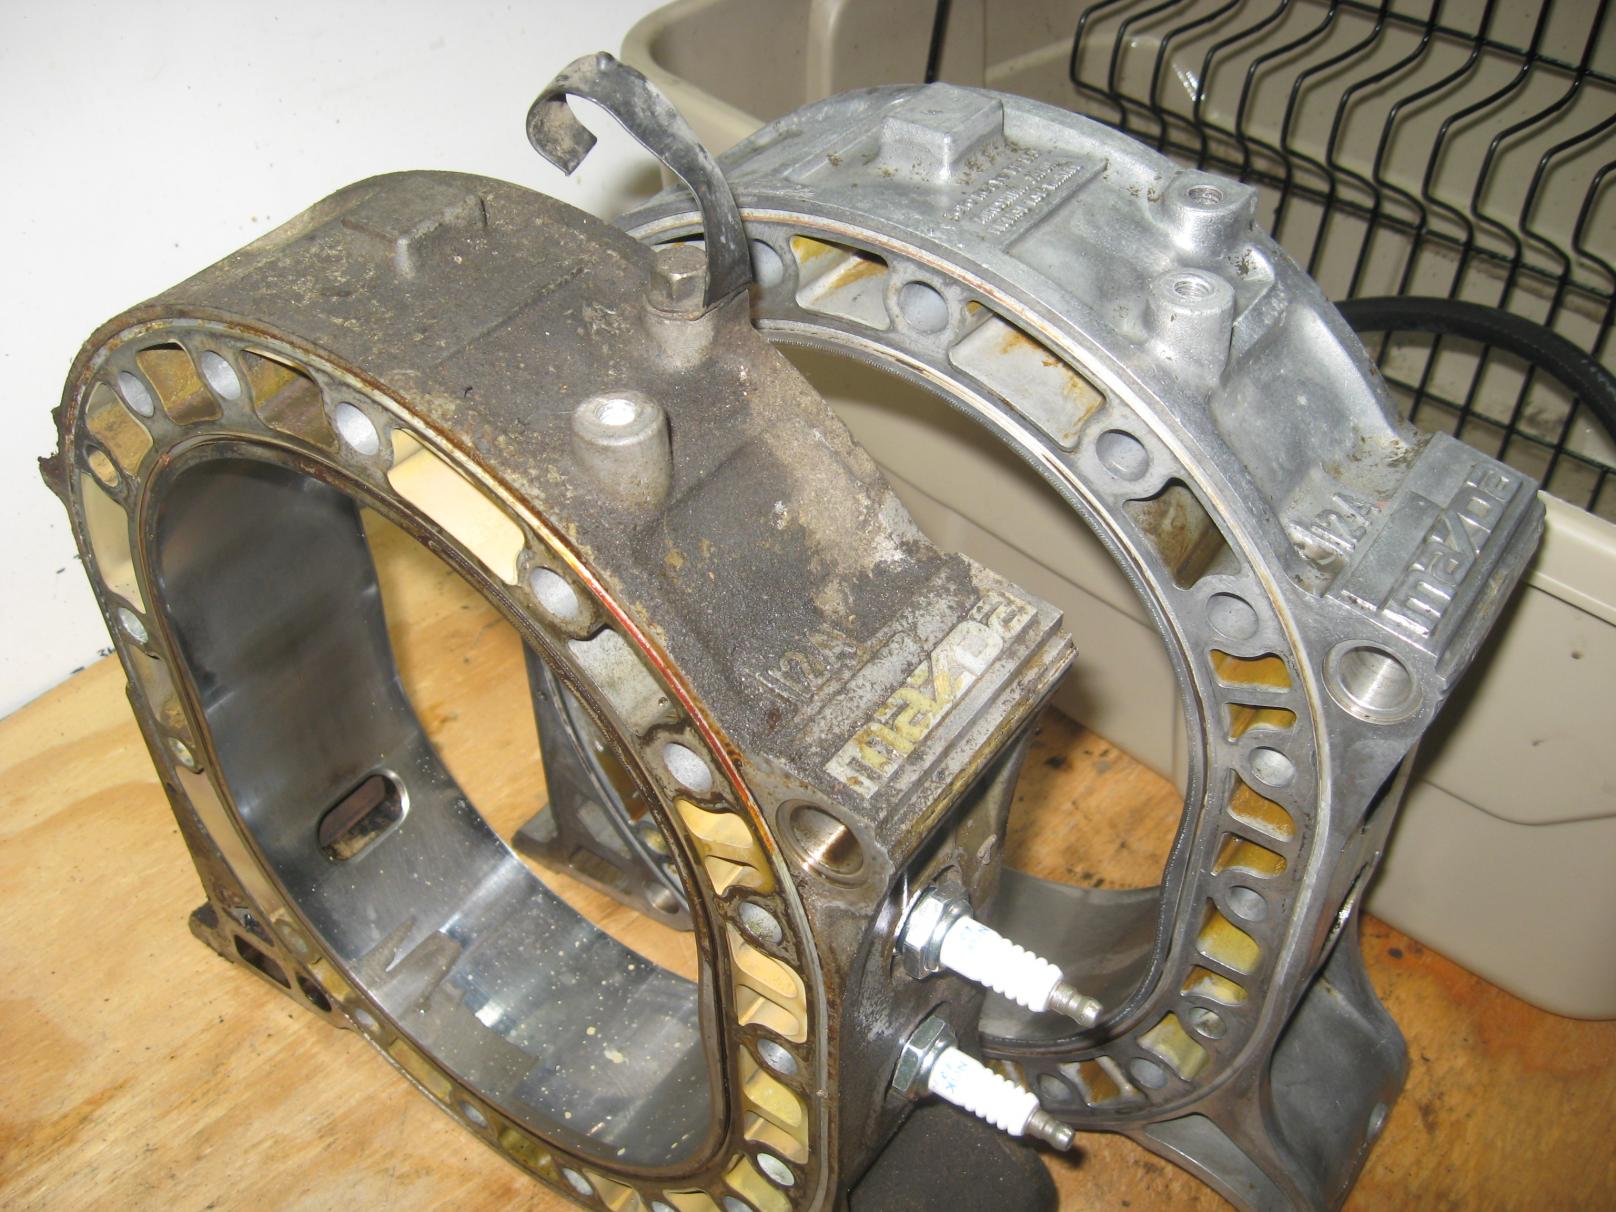
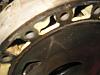
I think: "ok, whatever". Then I take a close look and lots of pics of the rotor, housing, and rear plate. Then I see this:
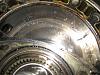
OUCH! So much for that housing. I think I can see what made this engine sound like a rotary piston airplane engine. I swear I heard metal smacking metal from that side of the engine but could never locate it. Thought maybe exhaust leak and while I did have one of those, the noise never really went away. I think this may have been the source of that noise.
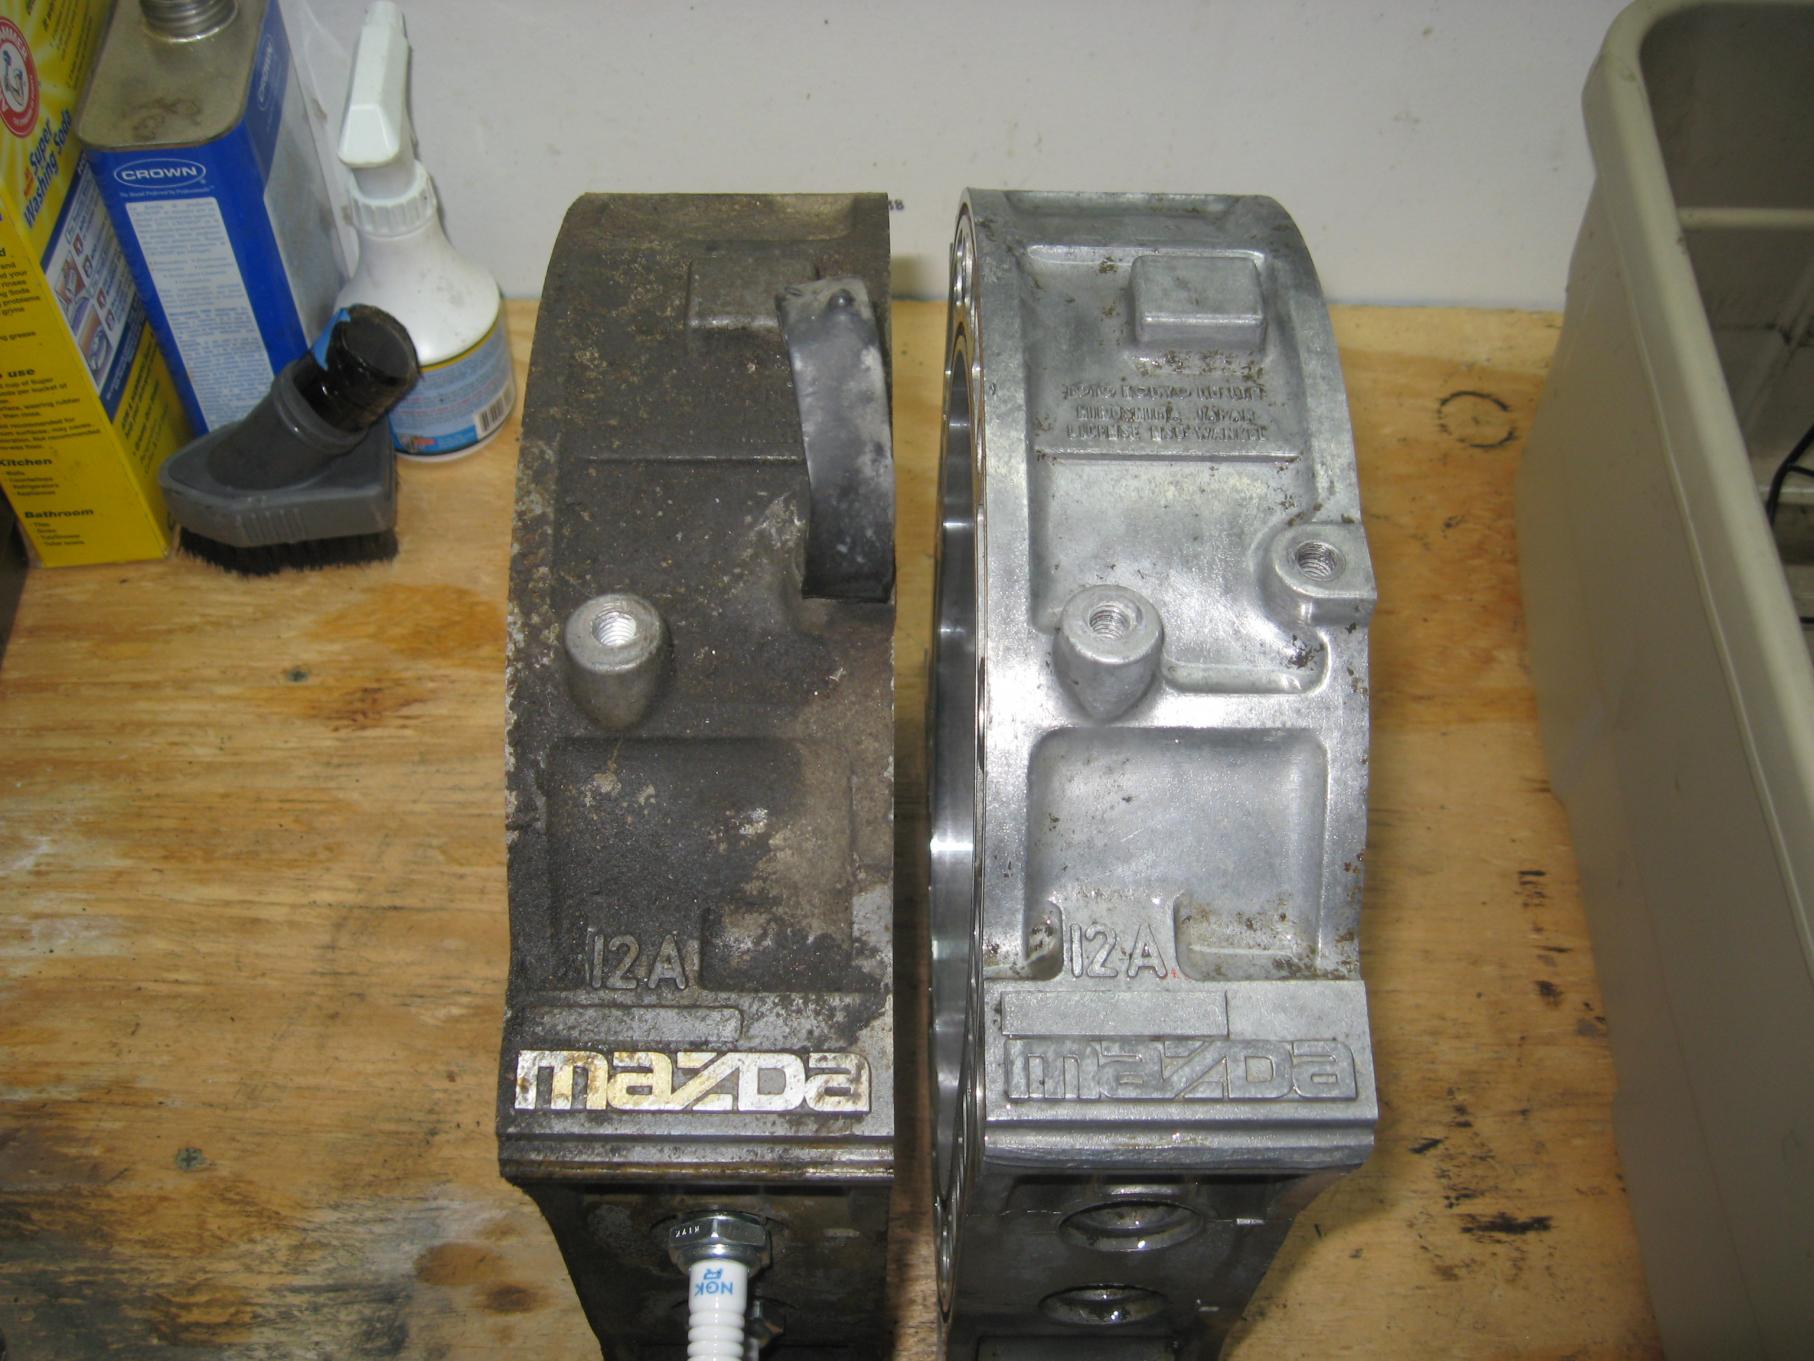
Scratch one rotor housing. Good thing I got that kitchen pass to get that engine from the junkyard a couple weeks ago. That one looks like it's in much better shape, judging from the condition of the outstide of the back plate compared to mine. It's much cleaner and the seal isn't leaking. The freeze seal plugs are in great shape too.
Which brings me to this request for help. My back plate and mid plate are marked with a "R5", and the back plate on the donor engine is a "Y". I just KNOW I read a thread someplace that discussed the differences in these markings but for the life of me I just cannot find it. Any help finding that would be great as I am curious to learn more about that.
Also, is there some trick to getting the dowel pins out?
And lastly, what's the secret to keeping all the seals and springs in order? I know that most ppl use a plastic bin with lots of slots or cubbies, but how do you keep track of what is what?
Thanks folks!
First, the order of the parts for the counterweight/bushings/thrustwashers was out of order. Those parts are SUPPOSED to go in this order:
1. Key
2. Balance weight
3. Thrust Washer
4. Needle bearing
5. Bearing housing
6. Needle bearing
7. Spacer
8. Thrust plate
The order they came off was this:
1. MISSING
2. Balance weight
3. Thrust washer
4. Needle bearing
7. Spacer
5. Bearing housing
6. Needle bearing
8. Thrust plate.
Here's a pic of the order in which I took them off:
So no big deal. More curious than anything. But then I take off the rear plate. I see that the epoxy that had been put on the outside joint near the oil filter mast between the rear rotor housing and rear plate is because there was no RTV or gasket sealant there. Nice...
I think: "ok, whatever". Then I take a close look and lots of pics of the rotor, housing, and rear plate. Then I see this:
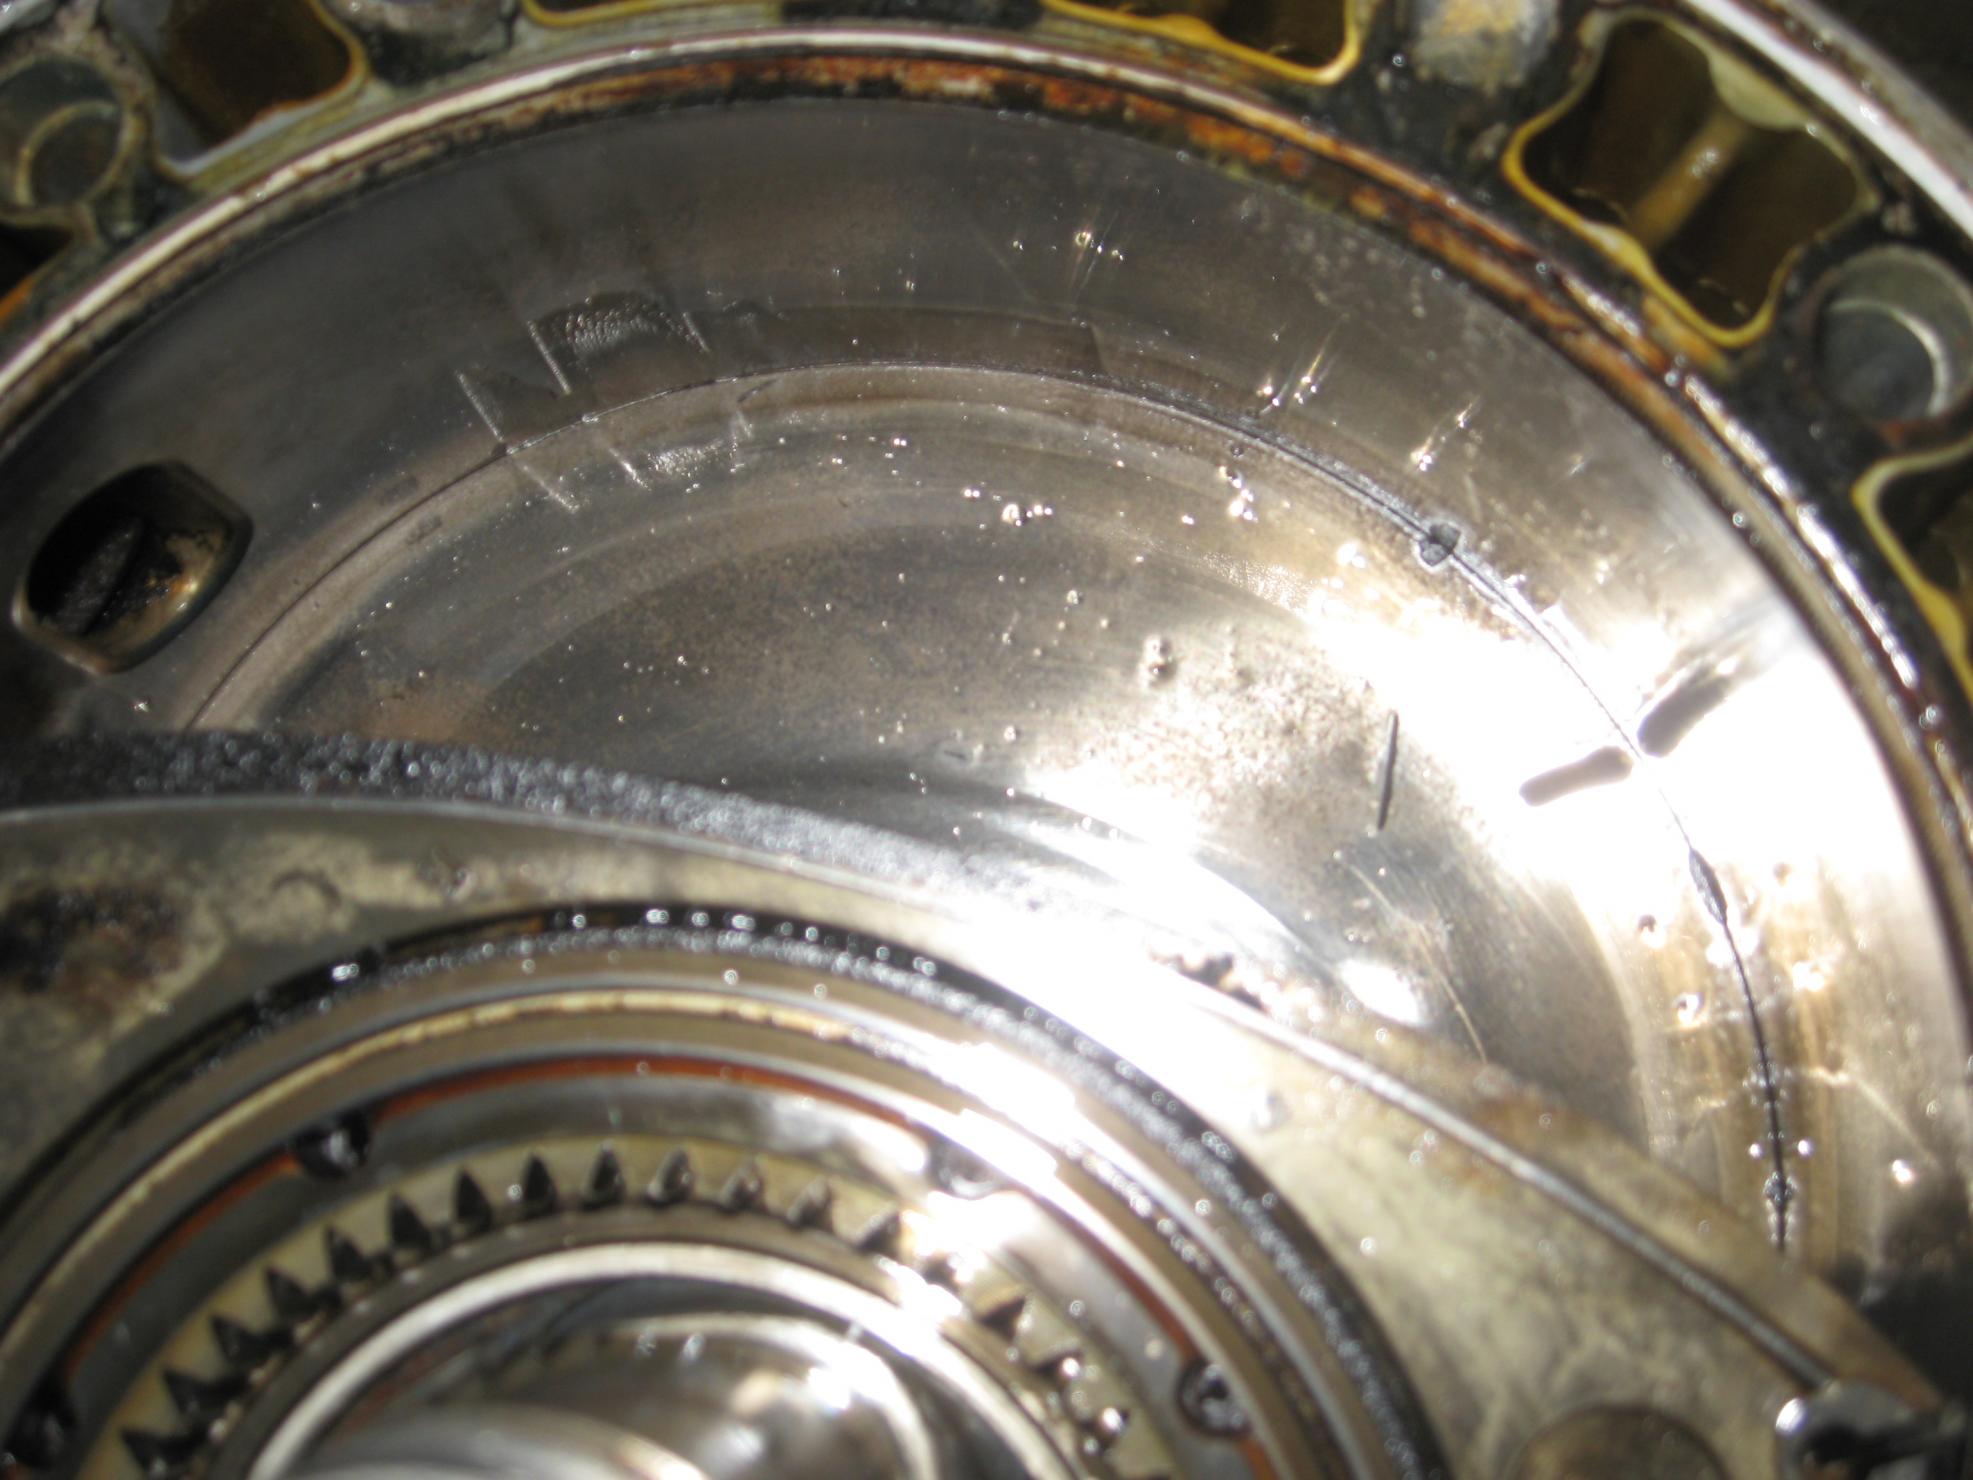
OUCH! So much for that housing. I think I can see what made this engine sound like a rotary piston airplane engine. I swear I heard metal smacking metal from that side of the engine but could never locate it. Thought maybe exhaust leak and while I did have one of those, the noise never really went away. I think this may have been the source of that noise.
Scratch one rotor housing. Good thing I got that kitchen pass to get that engine from the junkyard a couple weeks ago. That one looks like it's in much better shape, judging from the condition of the outstide of the back plate compared to mine. It's much cleaner and the seal isn't leaking. The freeze seal plugs are in great shape too.
Which brings me to this request for help. My back plate and mid plate are marked with a "R5", and the back plate on the donor engine is a "Y". I just KNOW I read a thread someplace that discussed the differences in these markings but for the life of me I just cannot find it. Any help finding that would be great as I am curious to learn more about that.
Also, is there some trick to getting the dowel pins out?
And lastly, what's the secret to keeping all the seals and springs in order? I know that most ppl use a plastic bin with lots of slots or cubbies, but how do you keep track of what is what?
Thanks folks!
Slow progress
But progress nonetheless...
I had to give some TLC in the form of a new water pump on my truck this past weekend, and with midterms coming up my kids have kept me quite busy. Besides, had to research a way to get those stuck dowel pins out. Today I finally found a post that gave the key! A box wrench around a lug stud screwed into the dowel and some gently peruasion from a hammer. Viola!! Such a simple solution, and it escaped me for weeks. SMH....
Out they popped and the rest of the engine was apart in about ... 10 minutes.
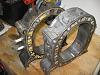
As bad as the rear housing looks, the front housing looks GORGEOUS! It has no wear, no scratches, no flaking, nothing! It looks perfect, so good news there. Check out these pics:


This weekend I finally got my mad scientist project figured out and removed the rust from the battery tray with electrolysis. Yep, it worked VERY well. It doesn't fix the pitting, but it makes light work of removing the rust, and it removes it ALL. Hit it with my last few drops of POR15 and painted it silver. Check out these before and after pics:
Next up will be to get the seals together and inspected, and clean off the 79 motor parts, then take apart the 80 motor and see what's up with that and scavenge what I need.
Until the next update, take care everyone!
I had to give some TLC in the form of a new water pump on my truck this past weekend, and with midterms coming up my kids have kept me quite busy. Besides, had to research a way to get those stuck dowel pins out. Today I finally found a post that gave the key! A box wrench around a lug stud screwed into the dowel and some gently peruasion from a hammer. Viola!! Such a simple solution, and it escaped me for weeks. SMH....
Out they popped and the rest of the engine was apart in about ... 10 minutes.
As bad as the rear housing looks, the front housing looks GORGEOUS! It has no wear, no scratches, no flaking, nothing! It looks perfect, so good news there. Check out these pics:
This weekend I finally got my mad scientist project figured out and removed the rust from the battery tray with electrolysis. Yep, it worked VERY well. It doesn't fix the pitting, but it makes light work of removing the rust, and it removes it ALL. Hit it with my last few drops of POR15 and painted it silver. Check out these before and after pics:
Next up will be to get the seals together and inspected, and clean off the 79 motor parts, then take apart the 80 motor and see what's up with that and scavenge what I need.
Until the next update, take care everyone!
FrankenEngine
That's what I'm calling my engine. I took the seals and springs out of the rotors last night. Thanks J9 for showing me the numbering convention - couldn't see the numbers because of all the burned oily goop on there but I can see them now! How do we number the apex seals? If anyone can tell me I'd appreciate it. I've pored over this website and youtube, but everyone seems to skip that part.
I don't know all the history of this car, but I know that my dad bought it from my brother, who had bought it from the high school automotive shop. They got it as a donation and didn't do much with it because it was a rotary engine (so the story goes). Well, my guess is that they TRIED to do something with it and didn't quite get it right. That would explain why the front stack was out of order. It may also explain why the front rotor was missing an apex seal spring and a side seal spring. The rear rotor was missing an apex seal spring and unless I dropped it somewhere - a corner seal. It's possible I lost it somewhere, but not probable.
Even with that and close inspection I can't really find any damage to the rotor or apex seals so I really don't know how the rear housing got so trashed. It wasn't all "carboned" up, and I know it wasn't locked up when I got it, but something got in there and dug the housing up. Anyone have any ideas?
I need to get a micrometer and measure the apex seals but with my small steel ruler and naked eye (ooh, naked!) they all look to be just a bit over 7 mm, so I think they're done.
Anyhoo, now that I have the seals off I can go about cleaning everything up. I should have some free nights the end of this week to do something, unless something else on my truck comes up and takes my weekend away! IT has gotten a new water pump and new brakes in the last two weeks.
Parents are coming to visit in a month and the last time they saw it it looked like it did on page 1 (dusty!!) so they're gonna be shocked. It was dad's baby...

Senior Member
Joined: Sep 2012
Posts: 403
Likes: 0
From: akron ohio
Man this is comein along I like it what are your plans are You going to port it? But nice score. On only the back houseing being bad... Hope u solve what caused it man . My 79 would be rebuilt and a whole thread on it but my funds are to limited ....
Keep us posted Shane
Keep us posted Shane
Good thing about this project so far is that it really hasn't cost me much - except of course to get it to my house and except for a few trips to the junkyard. I borrowed the hoist and engine stand so it doesn't cost anything to tear it down except for a can of PB blaster and some engine degreaser.
Putting it back together; yeah, THAT's gonna cost some money and will cause delays. I have enough work though to restore all the bits, pieces, and components I've removed to keep me busy for a very long time, and grinding, polishing, painting shouldn't be too expensive I hope. Guessing that the most expensive thing I'll have to buy is a carb rebuild kit. Maybe by the time all that is done I'll have saved enough jack for the new seals.
Once I crack into the 80 donor engine I might find something reusable there, like some nice gently used seals.
Senior Member
Joined: Sep 2012
Posts: 403
Likes: 0
From: akron ohio
Ahh nice man my 79 idk what I'm going to do to mine but yah I like the way it's going .. I think the rebuild kit is the worst it why my 79 sits... But why color u going to paint the engine ? Nice find on a parts car tho. Hope u get something goodto I use from it man . I'm going to try and degrease. My 85 engine while its in the car how hard has it been for you to clean urs up?
Ahh nice man my 79 idk what I'm going to do to mine but yah I like the way it's going .. I think the rebuild kit is the worst it why my 79 sits... But why color u going to paint the engine ? Nice find on a parts car tho. Hope u get something goodto I use from it man . I'm going to try and degrease. My 85 engine while its in the car how hard has it been for you to clean urs up?
I didn't degrease the engine much at all before I took it apart, but I should have. With the 80 engine on the stand now I'll prolly put a couple pieces of cardboard underneath it and hit it with Gunk and take a wire brush to it. Or just do that in the yard, but that's not very environmentally friendly. Nosy neighbors might turn me in!
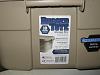
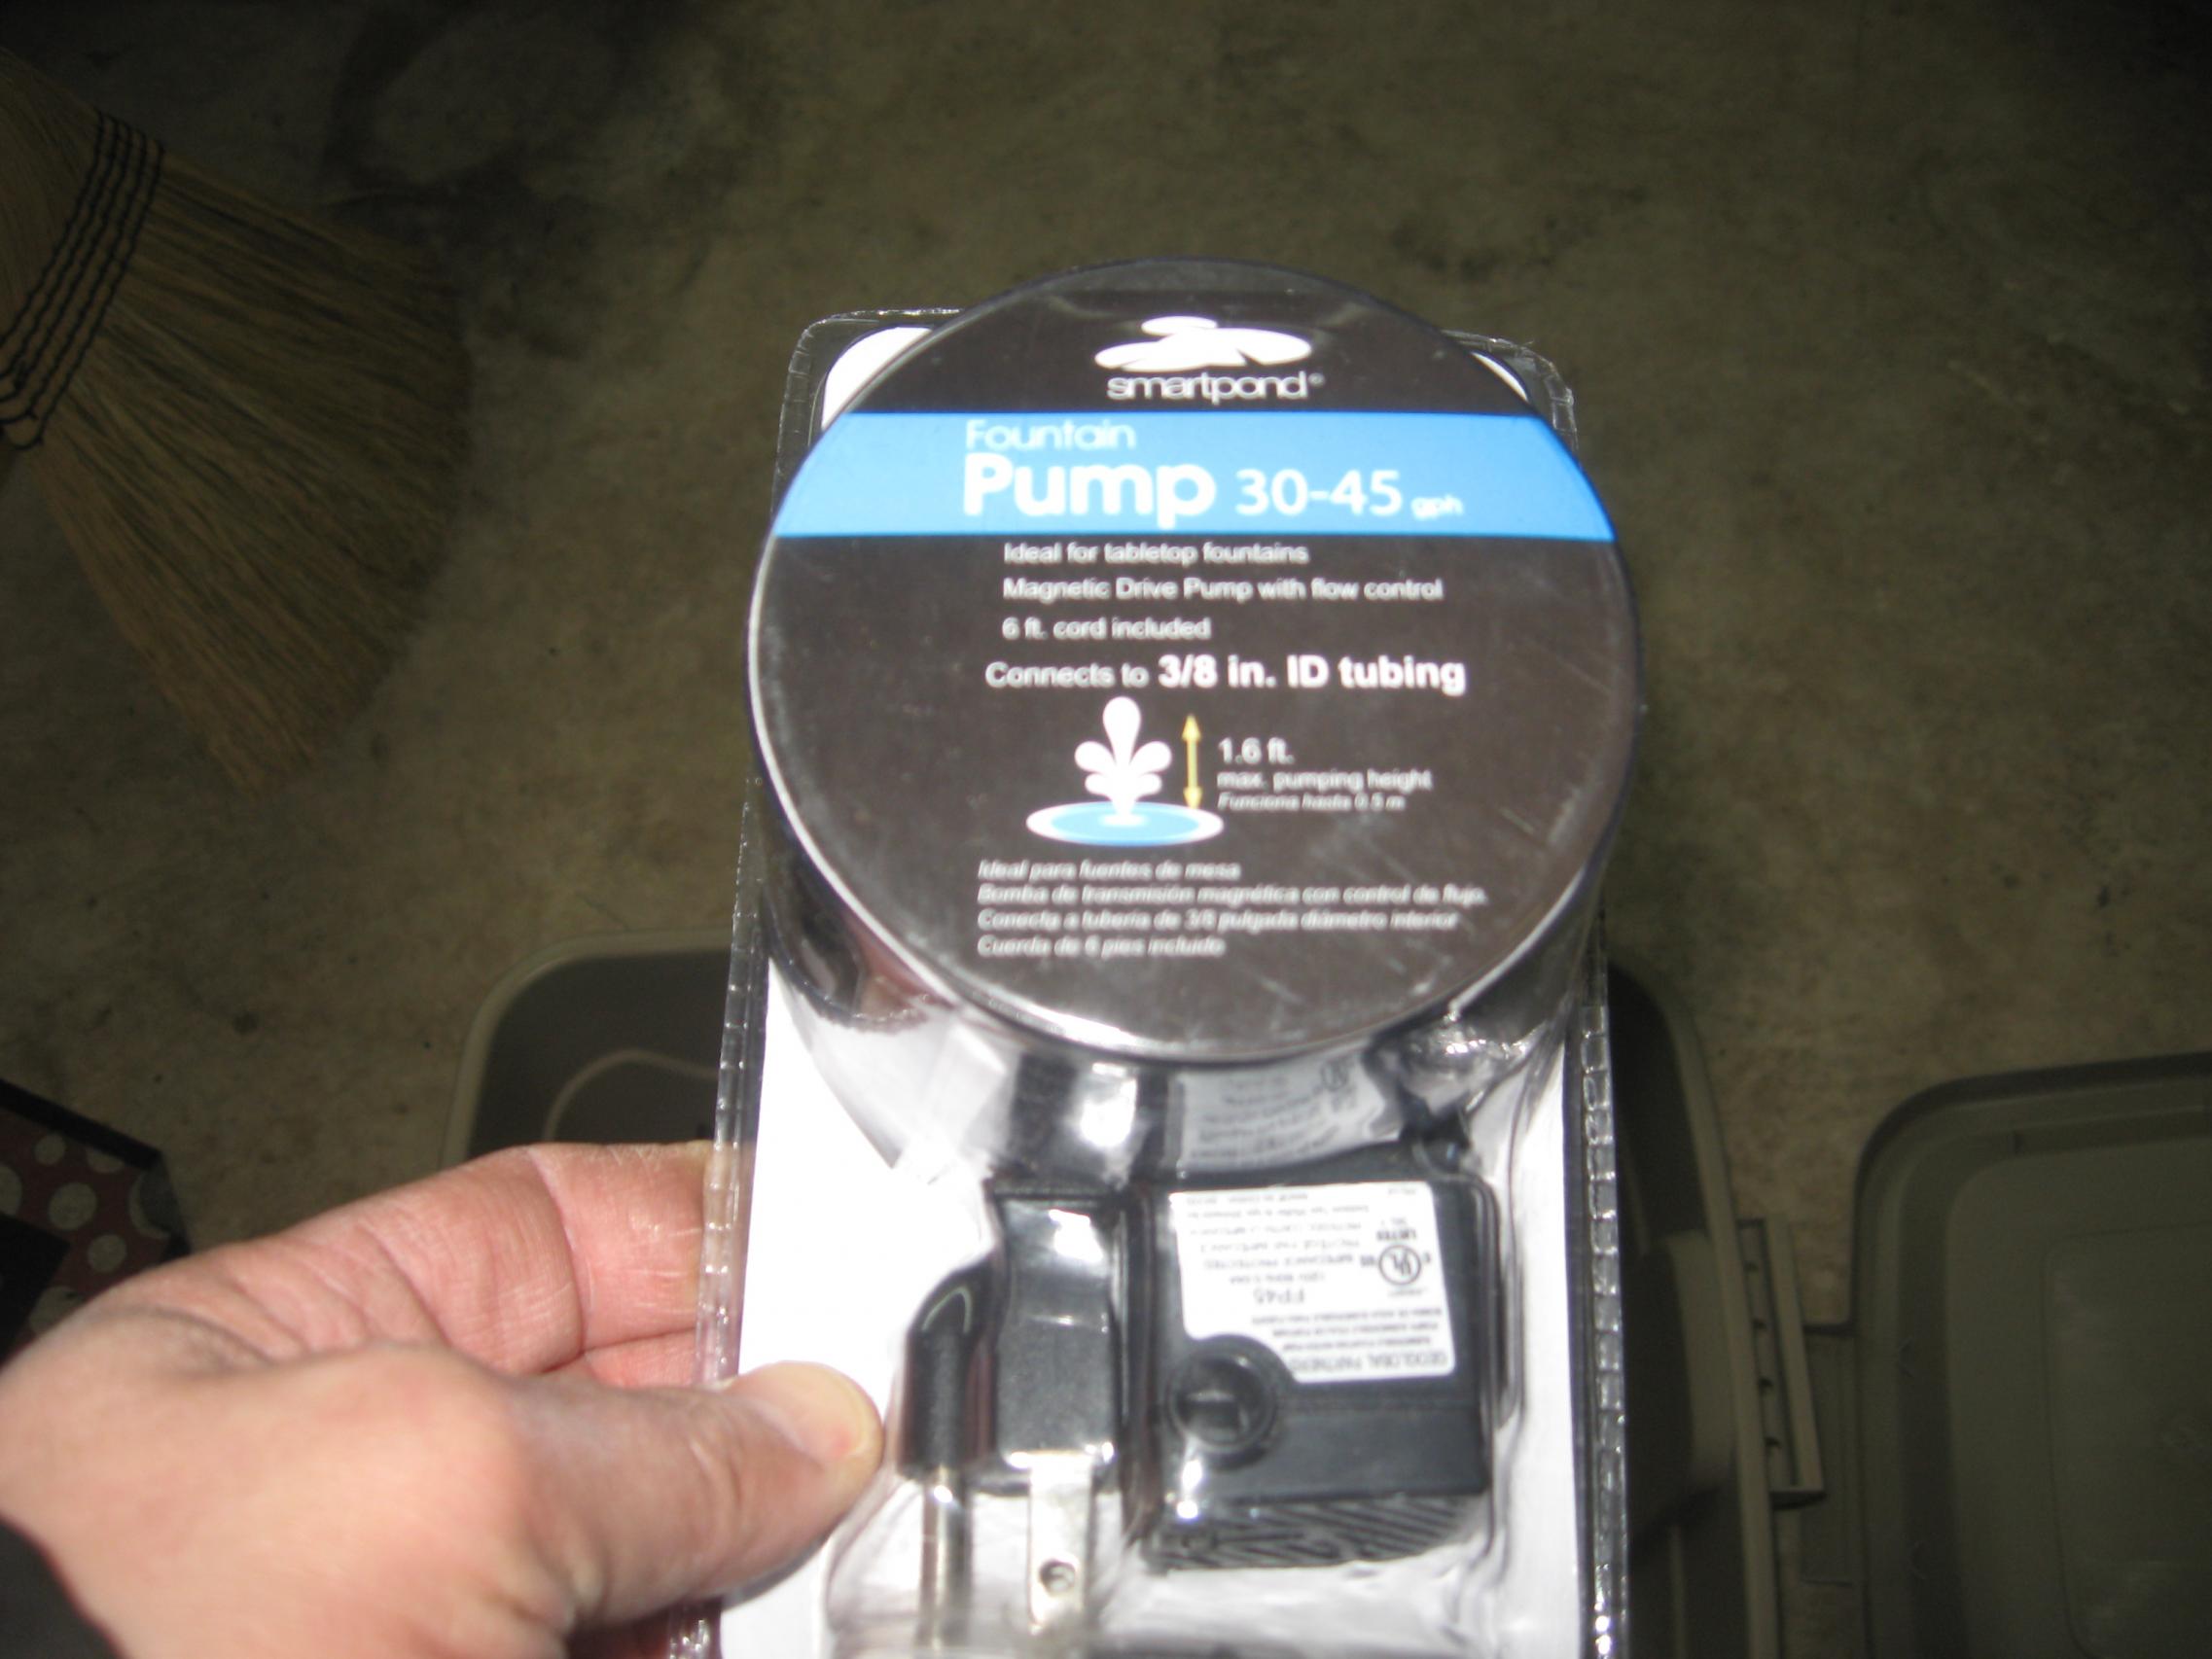
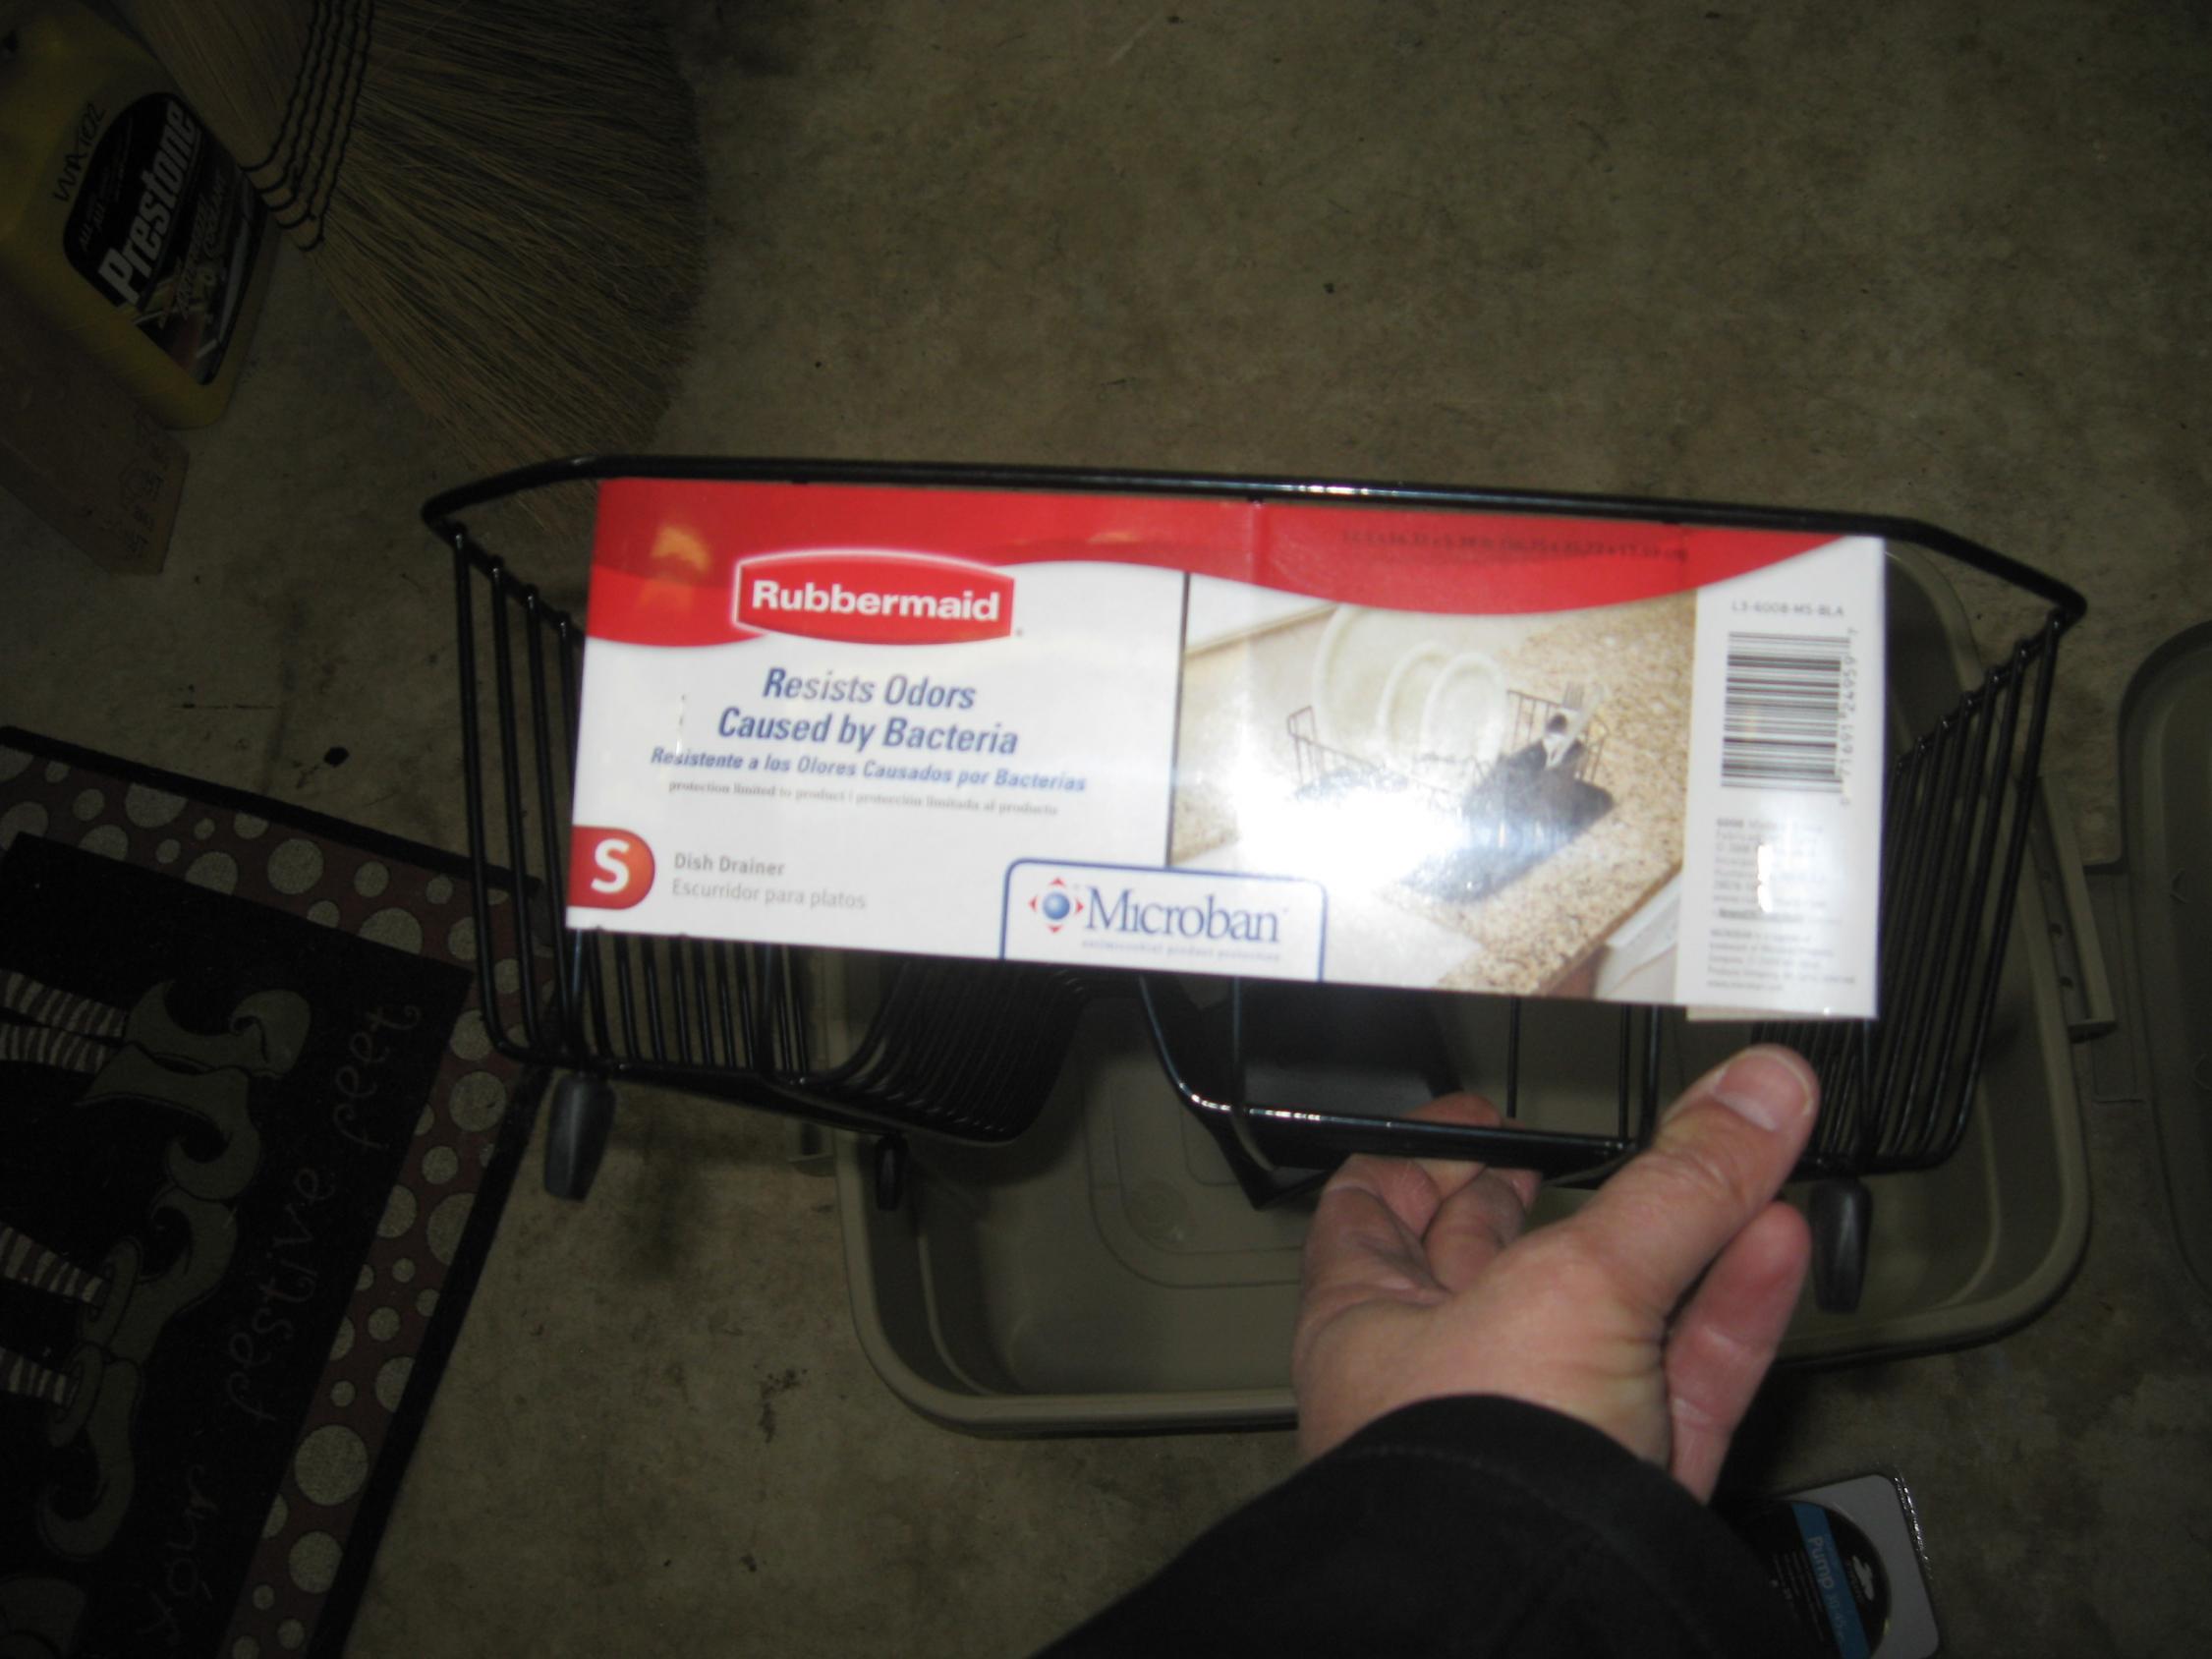
I don't have a parts washer but I have an idea to make one out of a palstic tote, a small garden fountain pump, and one of those plastic coated wire kitchen organizers, although Harbor Freight or someone might actually sell one for the same money. Haven't looked yet.
Cheap parts washer
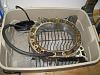
Have the day off so I thought I'd check into the parts washer idea. Can get one from Harbor Freight this month on sale for about 100 bucks, and they have a tiny benchtop 6 gallon one for 50 bucks, but I was able to put this together for 33 bucks!!
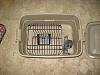
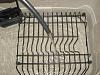
Viola! My version of a benchtop parts washer! Best part is that I can just keep everything inside it put the lid on it and store it away. Cool.
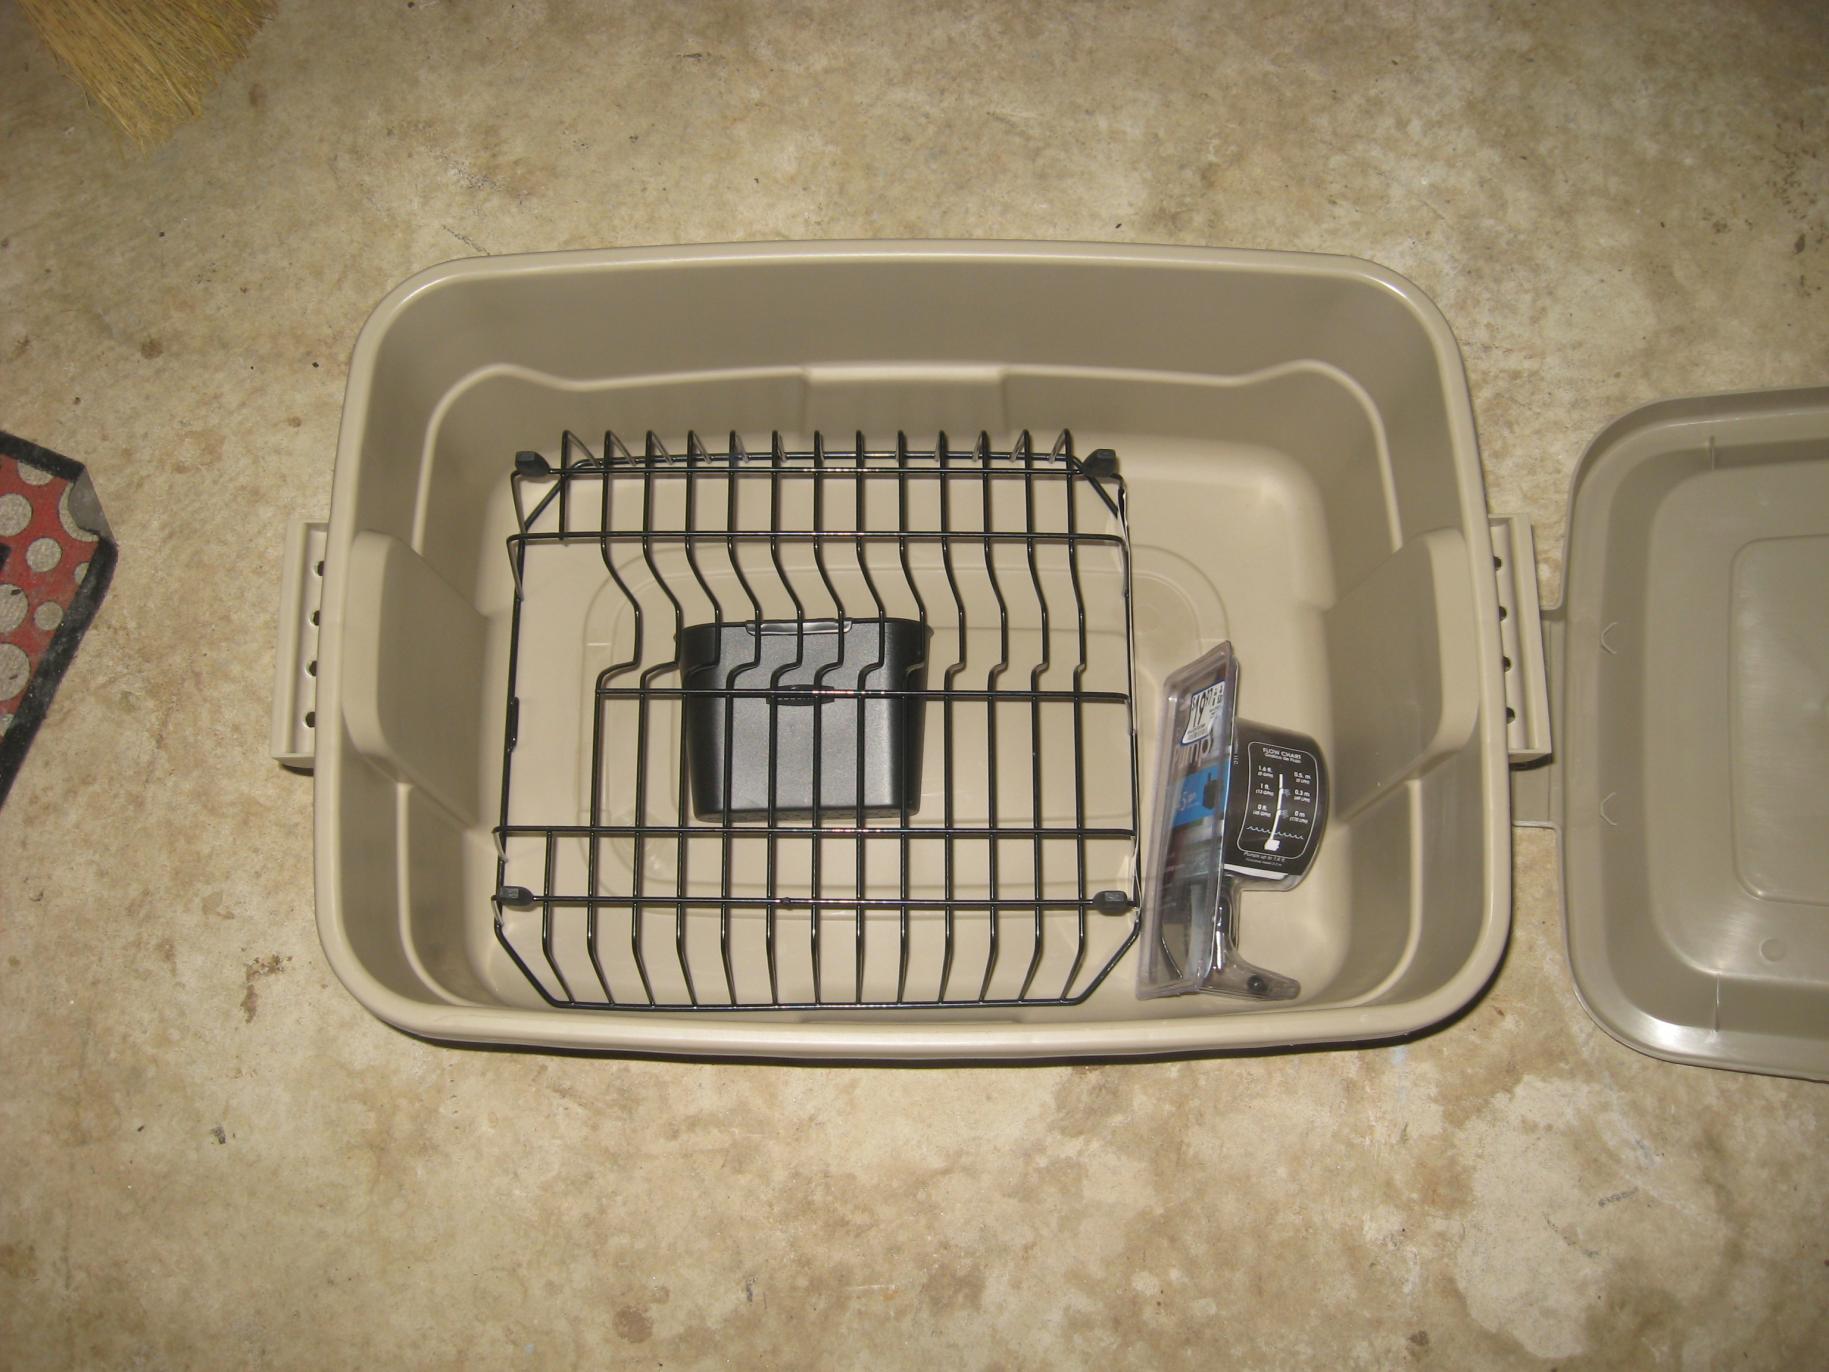
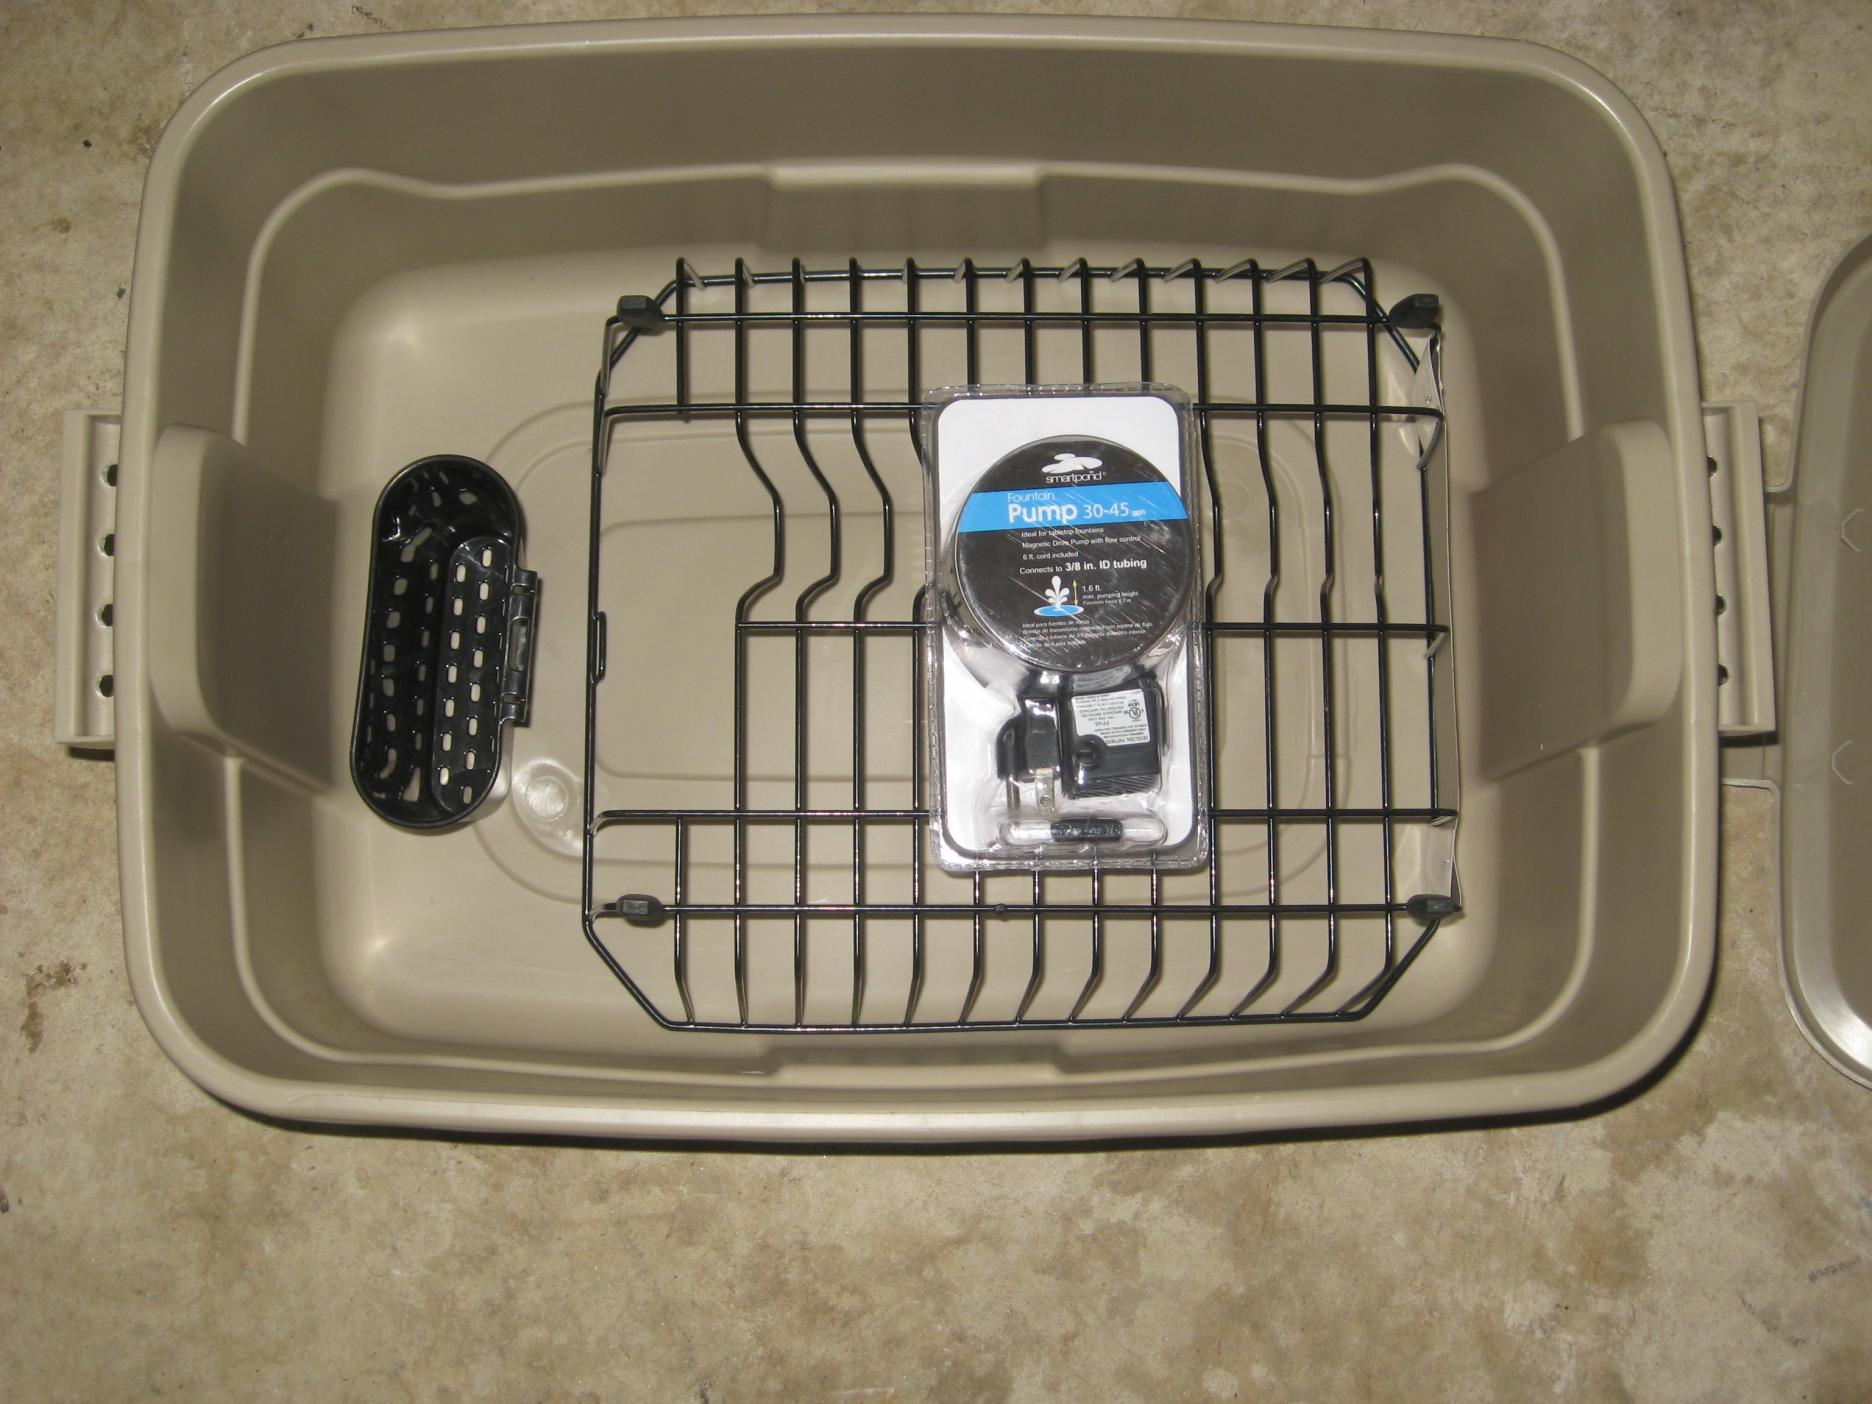

Viola! My version of a benchtop parts washer! Best part is that I can just keep everything inside it put the lid on it and store it away. Cool.
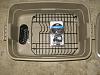
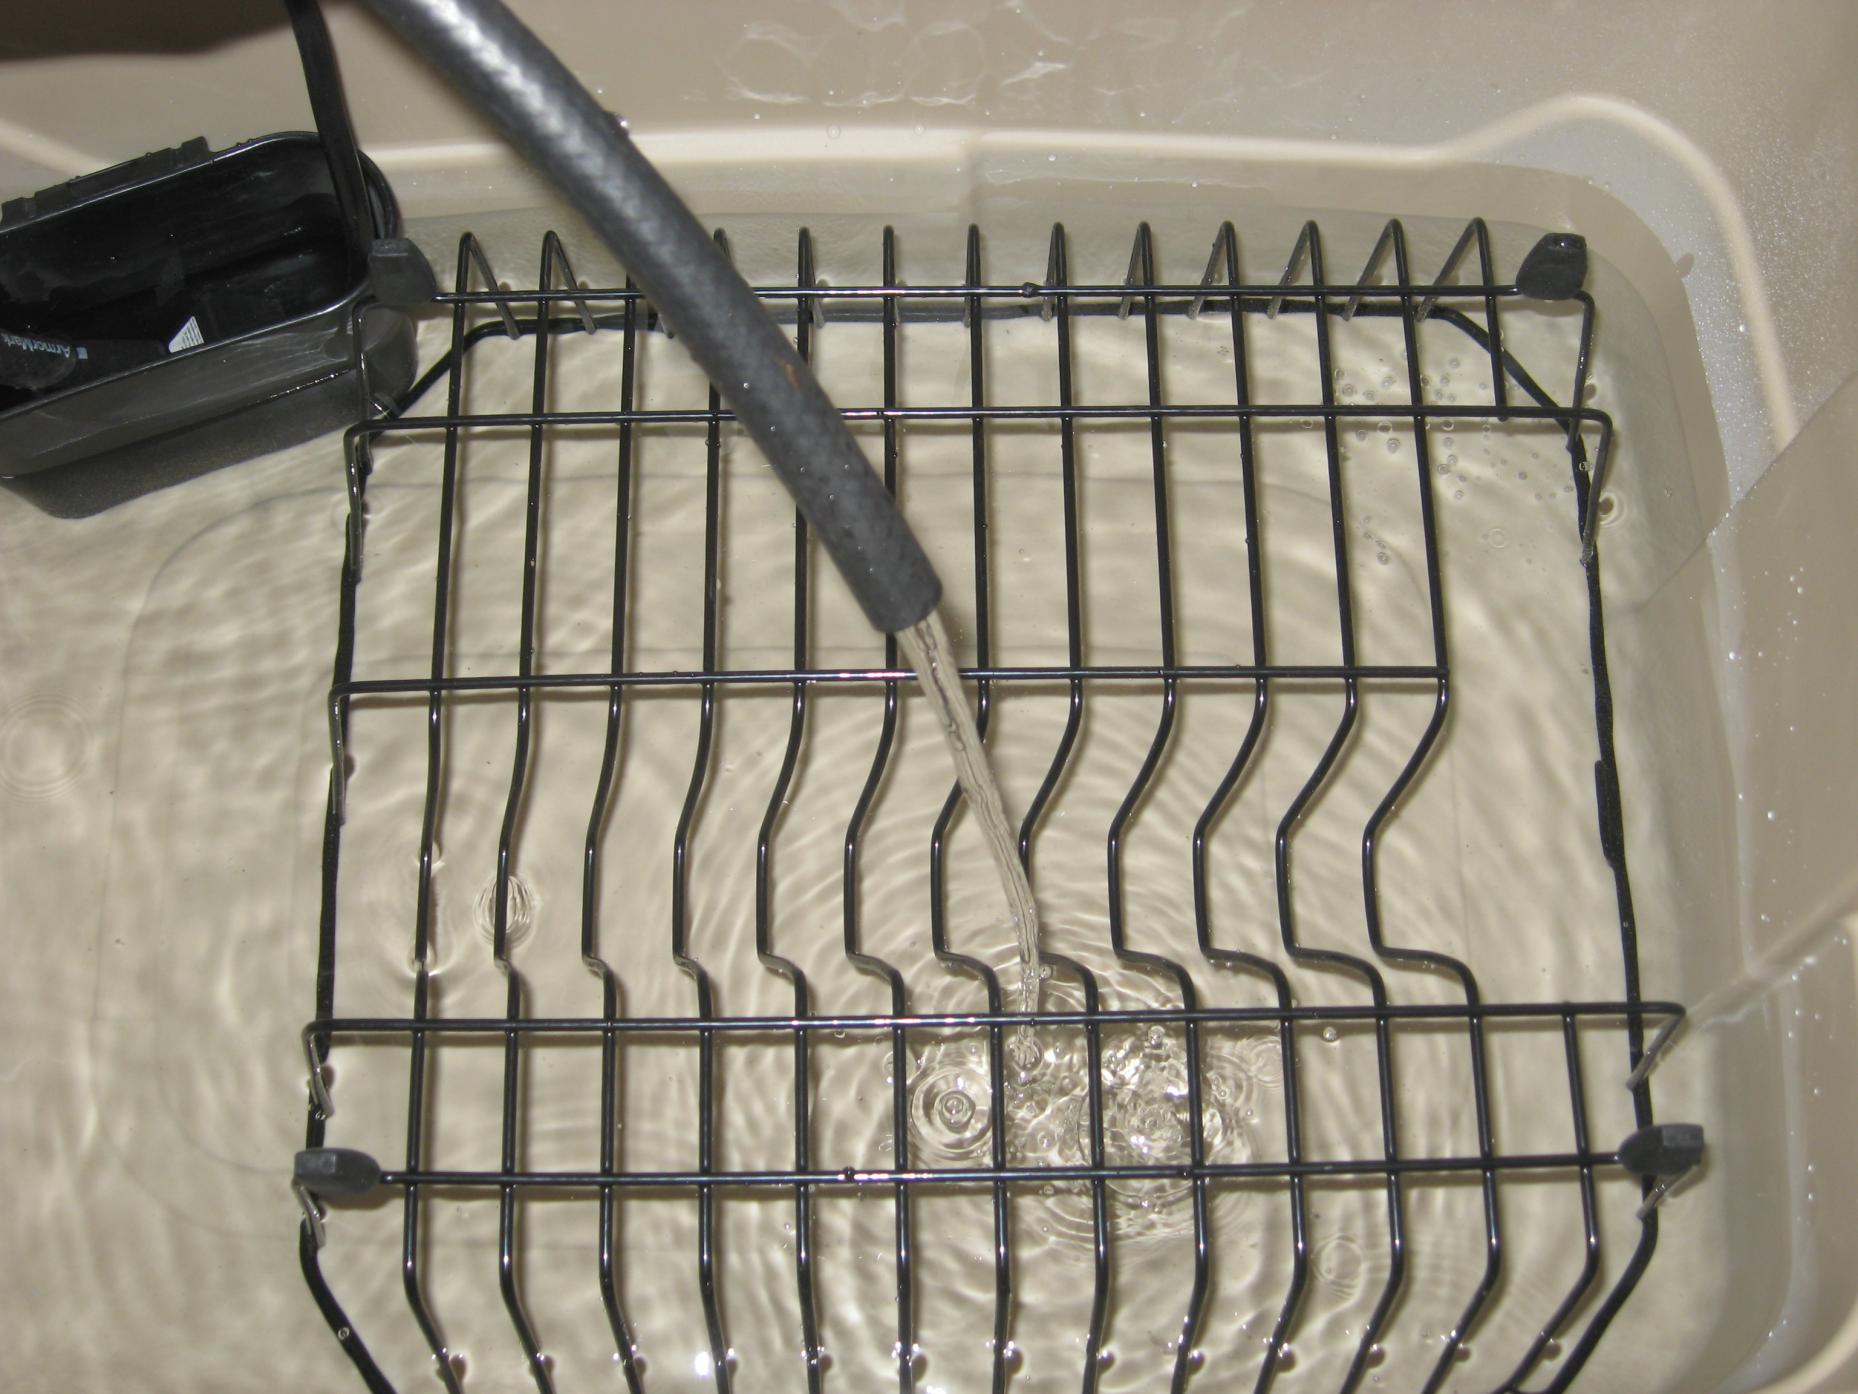
Parts washer works!
So I decided to clean the one good 79 housing I have in my new parts washer. Check these pics out. Before and after:
Thats after 2 hours of scrubbing with some small wire brushes and a toothbrush. Got to get into those water passages with a smaller brush, and polish the outside of the housings with a brass wheel attachment, but it looks a TON better already.
OH!! And I think I know why that rear housing was trashed. That is the rotor that was missing an apex seal spring, so whent that apex seal got ground down to the point it was as high as the groove in the apex, then the sharp edges of the apex dug into the side of the housing. I can see some damage to the apex groove on the rear rotor, but it's slight - to the naked eye anyway.
Here's a good pic of the damage. Looking for agreement on that theory, so if you have an opinion please share!
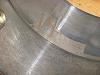

Last edited by woodmv; Feb 1, 2013 at 05:06 PM.
Senior Member
Joined: Sep 2012
Posts: 403
Likes: 0
From: akron ohio
Did u just let them sit in cleaner those look so much better ... And wow that apex must of just torn through it ... But nice it's looking good keep going it motivates me for my 79 lol...
Nice cleaner thing though saved u money
Nice cleaner thing though saved u money
Senior Member
Joined: Sep 2012
Posts: 403
Likes: 0
From: akron ohio
Ya I think this next weeken. I'm going to a rub down my engine and pain it silver well try to with it still in my 85 I can't wait to see what yours looks like all black are u rebuilding ur carb to?
are u rebuilding ur carb to?
Somone posted on another thread that they let their rotors with all the carbon on them soak in Simple Green for a week and then it cleans up very easily.
My goal is to get these major portions of the keg cleaned up and painted so I have some "wow" factor to show mom and dad when they visit!
Yep, I'll be going thru the carb and repainting it too. Love that thread someone started on the pics of ppls carbs. I got a couple good ideas from that.
Last edited by woodmv; Feb 2, 2013 at 07:20 AM.
Senior Member
Joined: Sep 2012
Posts: 403
Likes: 0
From: akron ohio
Nice. I'm surprised how clean they came man . ItbatI'm going to do to probly haha ... But nice. I can't wait to se them painted .... And. Yah I seem that post about the carbs they actually looked pretty nice ...and good luck with showing your parents. I hope they like it
Cleaned and ready for paint
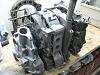
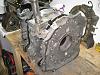
Finally found the time to finish cleaning the major engine parts. I've had them soaking in industrial strength degreaser and water for about a week. Made it so much nicer to clean up... Decided to go with the gunmetal for the irons and either polish and clear the housings or paint them silver.

No big surprises, but nice to know that all three irons are "R5" irons - I guess, right? The 80 has an R5 front plate, Y back plate, and unknown mid plate. Noticed tonight that the oil filler neck on my 79 is 6" tall and the 80 is 4". The oil filter mast looks different too. I plan to tear that engine down tomorrow.


No big surprises, but nice to know that all three irons are "R5" irons - I guess, right? The 80 has an R5 front plate, Y back plate, and unknown mid plate. Noticed tonight that the oil filler neck on my 79 is 6" tall and the 80 is 4". The oil filter mast looks different too. I plan to tear that engine down tomorrow.
What is THAT???
So, I was washing the middle iron and moving it around and heard a "ping!", so I moved it back and heard it again .. "ping". What the ?!?!? Strange noise sounded familiar - had that high pitched tone to it that I heard when the engine was running and I recognized it straight away.

Looked in the water passages and saw this thing in there! What the heck is THAT??? It was just laying in there and when it rolled back and forth it would hit the iron and make that noise!! THAT's what was making that noise all along!!! WTF?!?!?! What is it and how the heck did it get in there?!?!
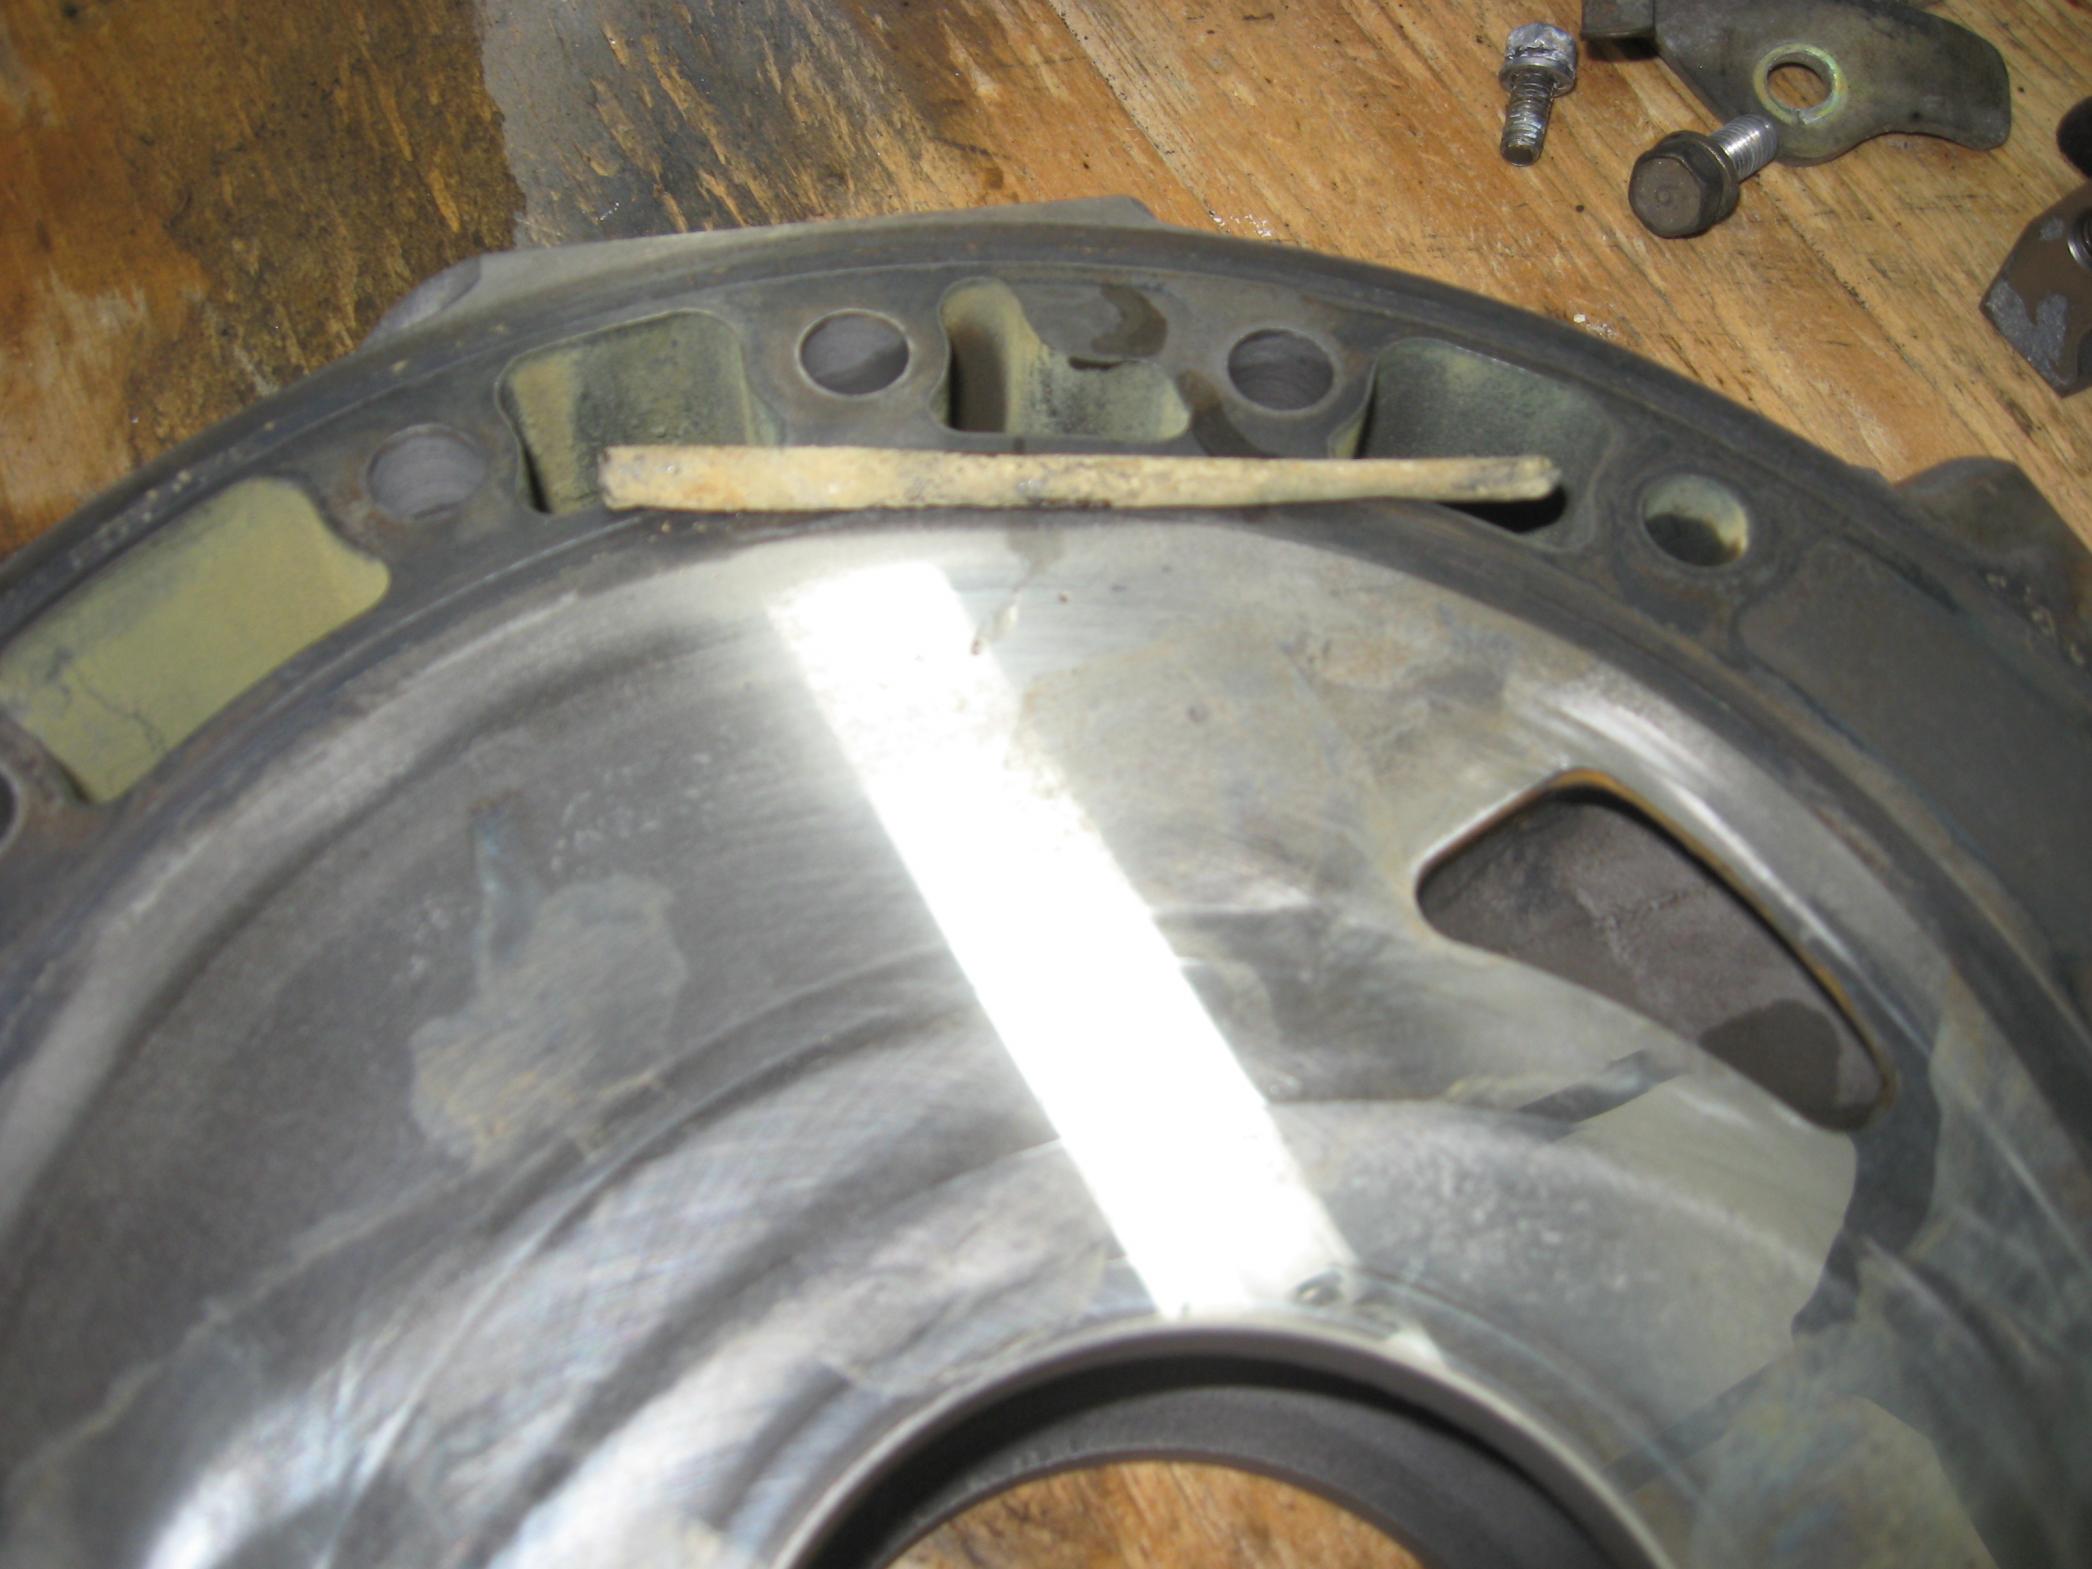
It wasn't easy to get out because it had to be oriented just so and come out at a funny angle. Never seen anything like it before. The last pic I placed it near the water passages where I found it and how it was oriented.
Anyone have any ideas as to what it is and why it might be in there??

Looked in the water passages and saw this thing in there! What the heck is THAT??? It was just laying in there and when it rolled back and forth it would hit the iron and make that noise!! THAT's what was making that noise all along!!! WTF?!?!?! What is it and how the heck did it get in there?!?!
It wasn't easy to get out because it had to be oriented just so and come out at a funny angle. Never seen anything like it before. The last pic I placed it near the water passages where I found it and how it was oriented.
Anyone have any ideas as to what it is and why it might be in there??
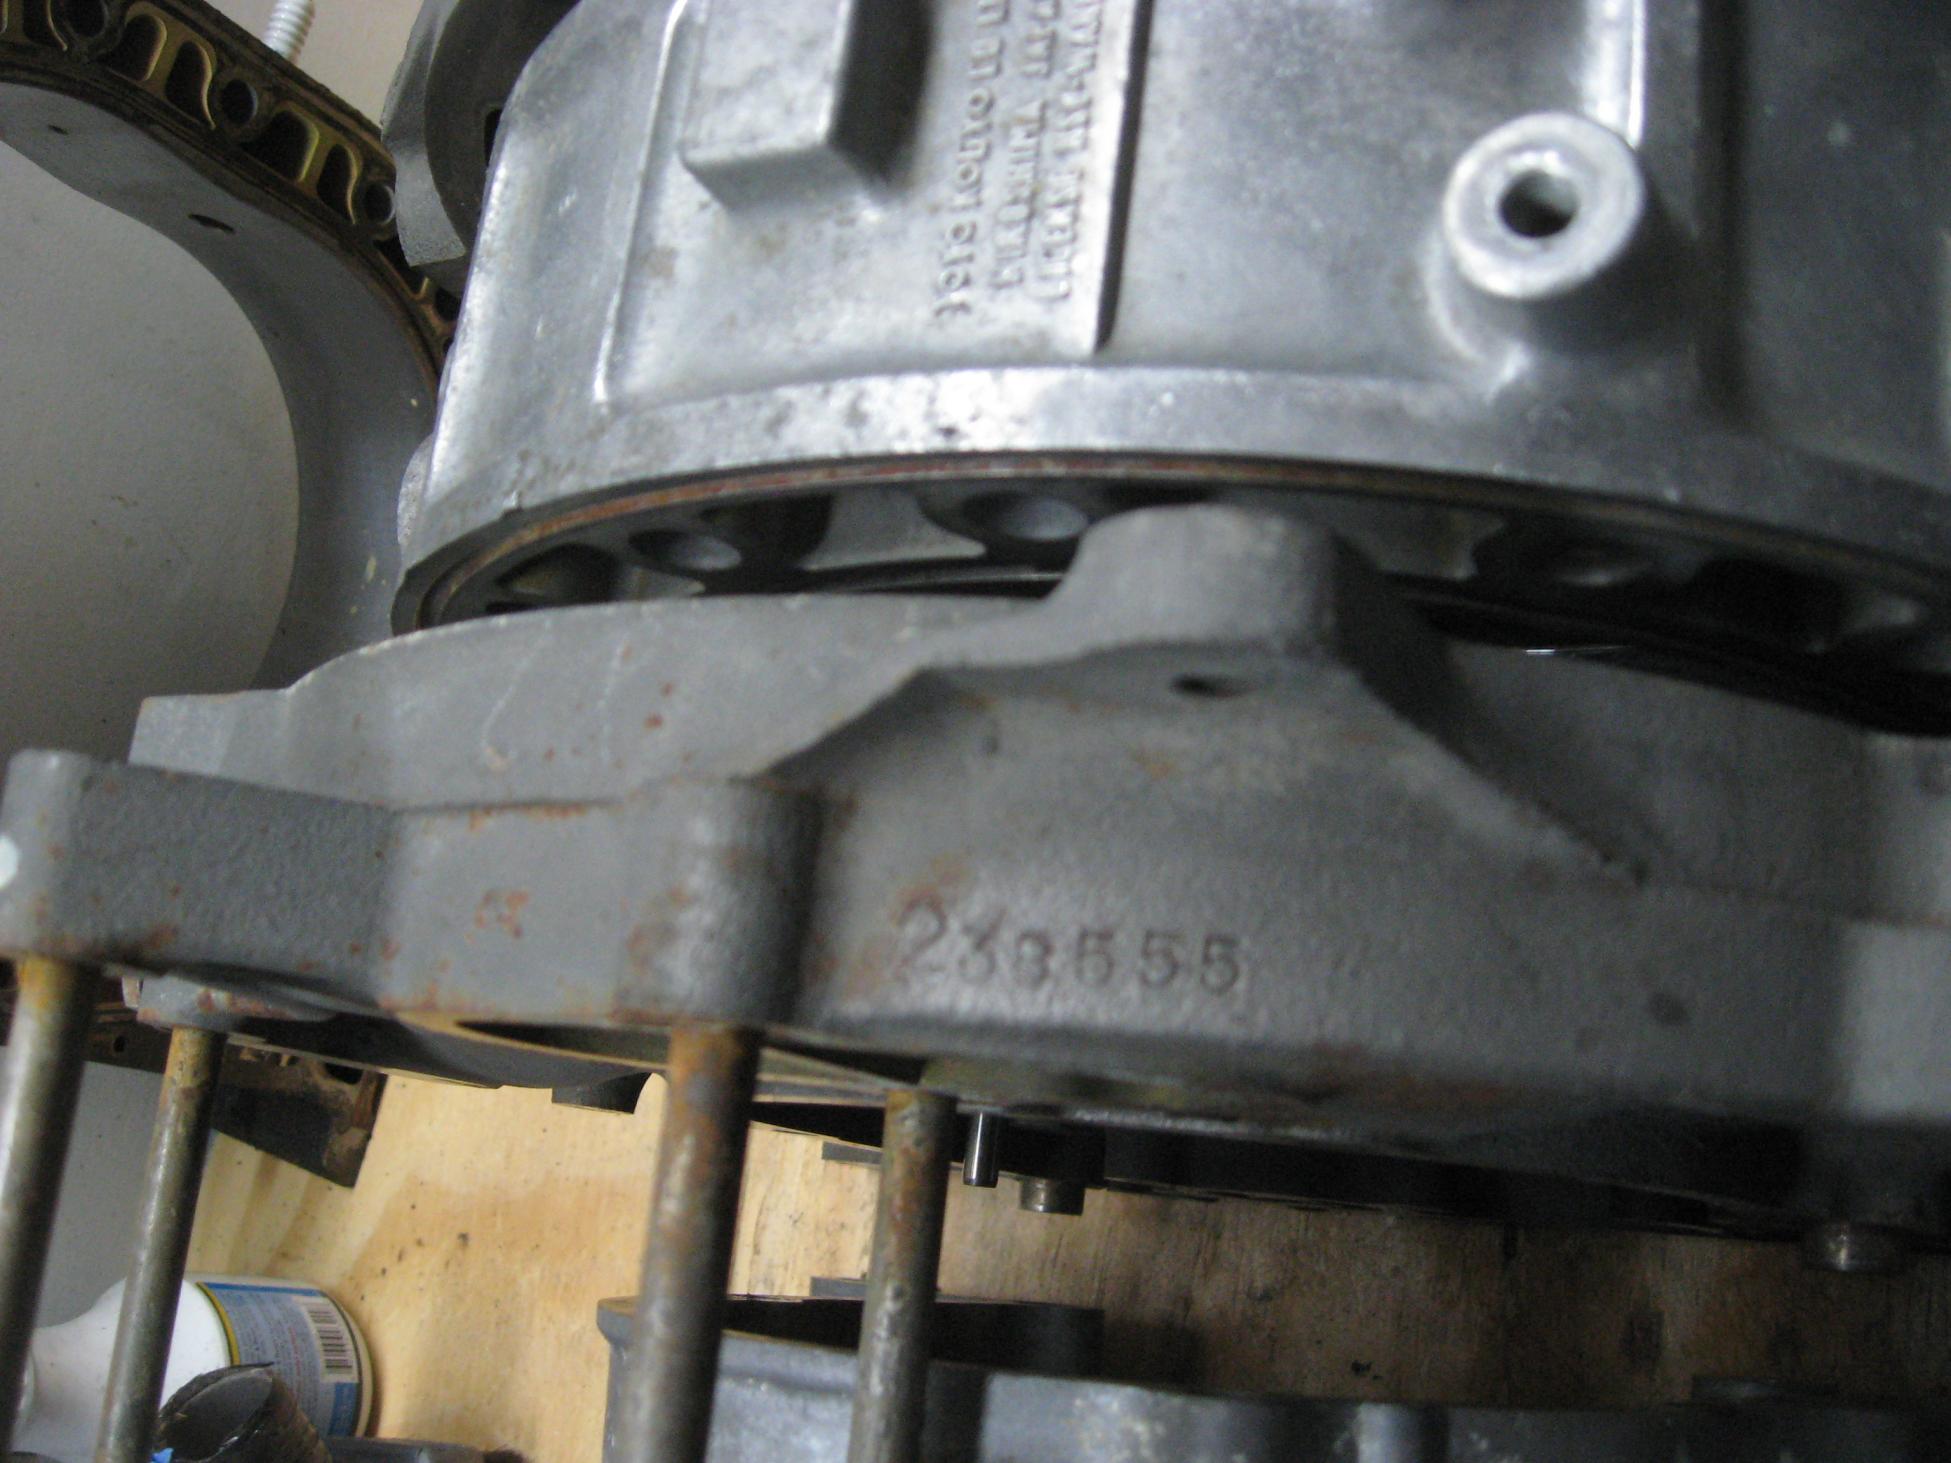
Block numbers??
I haven't seen any threads on this but I still am curious. What is that number in this pic? Is that a block number? If so, it doesn't match my car's number! Do these cars have block numbers?
This number is stamped into the top of the front iron.
This number is stamped into the top of the front iron.

Joined: Apr 2002
Posts: 1,916
Likes: 1
From: Hampton, Virginia
that is the engine number....Only on the original window sticker and/or original certificate of origin you would see that number matching to the car...... I have a friend who sent me his..I will try to post it here in a few....

