When you click on links to various merchants on this site and make a purchase, this can result in this site earning a commission. Affiliate programs and affiliations include, but are not limited to, the eBay Partner Network.
Today I took care of that "lazy eye" look my car had on the right rear tail light area. In the area that the previous repair work had been done the brazed joint hung low so I ground it down. I made a template from cardboard (thank you Anheuser Busch!) of the curvature of the back end where the tail light goes and then transferred it to a wood paint stick. I sanded it down to get it just right. With the template I was able to grind the brazed joint and sand the filler down to where this section looked identical to the other side. Cool!
Cardboard and wood paint stick template
This is an old photo of the "lazy eye" look Old Rusty used to have. Hard to tell, but the horizontal body line isn't exactly straight and dips downward toward the right.
All fixed up! I need to sand a bit more on the top of the vertical section.
Making progress on the lower front valence panels. Got them stripped, filled, sanded and primed. I enlisted some help with the front spoiler too.
I'm still not quite happy with the drivers side panel... It looks like it's a bit bent in the corner. I'll have to wait for the primer to dry and see if I can straighten it out.
To borrow a term from Qindao, getting medieval on the spoiler... There will be NO rust pit left with rust in it!
I need to stop looking at the body of the car. Every time I do I see another ding or small dent. Sheesh!! But, I'm getting closer to paint, and I'm getting really good at mixing up this body filler and using it before it hardens. I need to finish finding dings, work the front spoiler more and straighten it out. I picked up a replacement hood from Rotaryhaven a while back that's red and has two holes that someone drilled in it that need to be filled. I need to sand down the underside and prime it and relocate the hood prop to the other side so that it's correct for my 79. After that I should be ready for paint!
Been a little while since I checked your thread, you're making great progress! Awesome job on that cart, if I had a paved driveway I would consider something like that, but alas, only gravel. Guess I could put some offroad tires or something on there lol.
I'll second yours and Erick's comments about filler - it hardens fast as hell in the summer, go light on the hardener and you'll give yourself some breathing room.
I find that you get to "that point" where you just need to paint the thing, cause as you said, the more you look at it the more flaws you see. Sometimes it's just better to just get it done, once the car is assembled you'll likely never notice the flaws anyway
Hey, it HAS been awhile! Out actually ENJOYING your car, not watching others on the board, right?
I suppose you could get some larger inflatable wagon wheels from Tractor Supply and it would work. It prolly would require them to be mounted up higher, but I'm sure it would work. I have to say, it has made working on the car SO much nicer. I can get it outside, see things in the light of day, see things from different angles and let the dust fly. And you're right, I am at that point of **** or get off the pot with the paint. All I need to do is finish up the front spoiler and get the hood ready and I'll be waiting for it to cool down. It's been so hot this month that it's almost 90 in my garage.
Which brings me to my latest efforts. I finished sanding down the ENTIRE car with 150 to get rid of the orange peel, and worked the hood some yesterday (took the day off) and I have a question and a share.
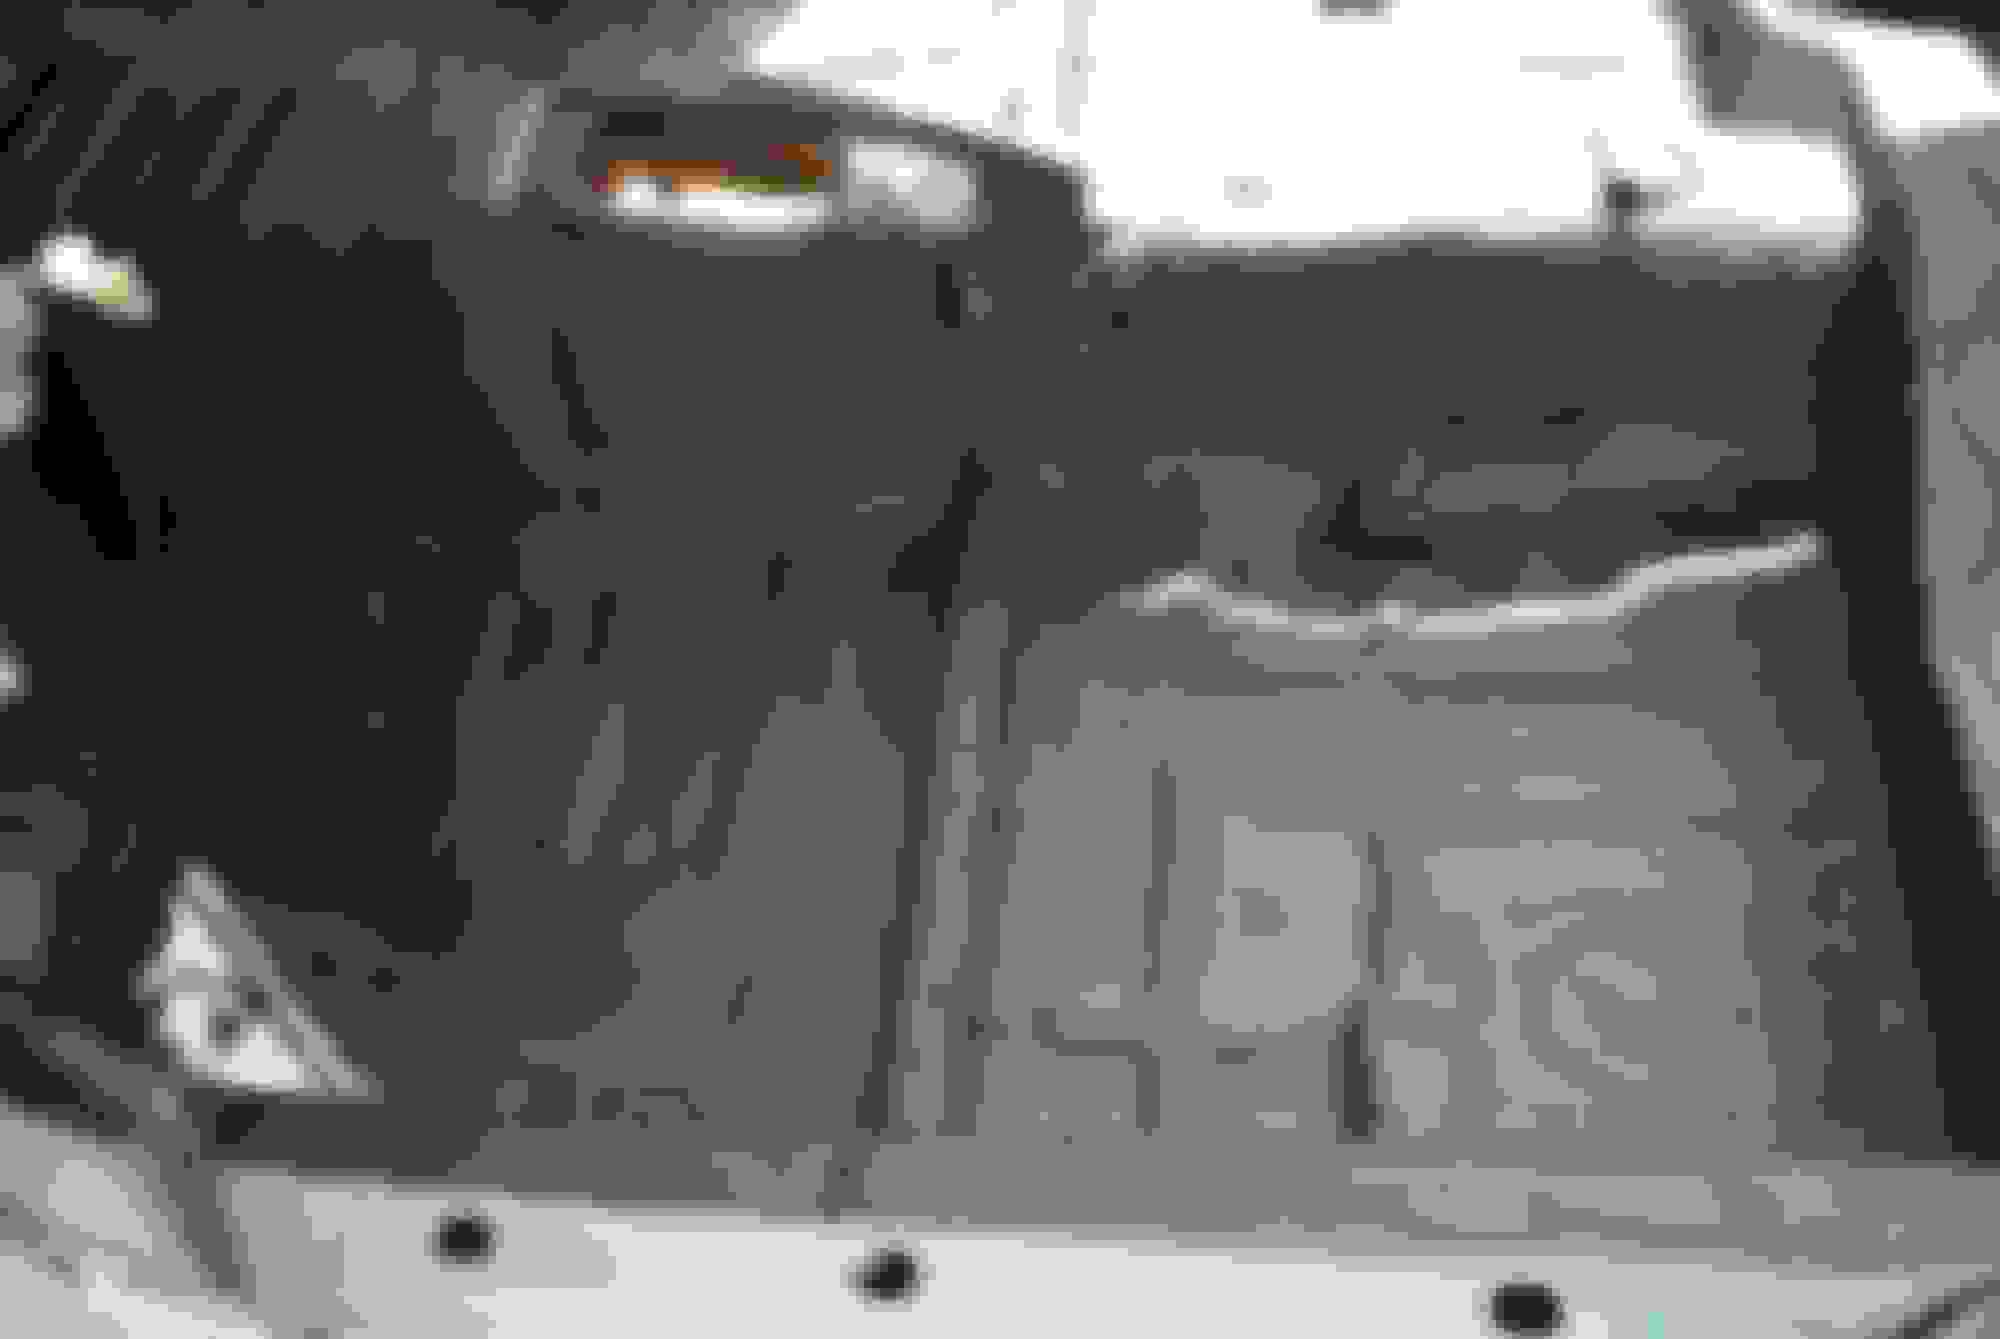
I was sanding down the underside of the hood and noticed that the structure was coming unbonded from the hood. Sanding it with my orbital made it worse. Can I just use seam sealer to rebond it or is there something else I should use? Looking for advice here. I suppose I could use JB weld. I'm also not sure if the hood sheet metal has the correct curvature or if the structure does? I was planning on laying the hood upside down and putting some weight on the center of the structure to force it down to the hood sheet metal while whatever I use to rebond it with cures. Or am I overthinking it? Here's a couple pictures:
It looks like it was rebonded in the past and was offset by about 1/4", but looking at my original (and rusty) hood, the structure was bonded right on down to the sheet metal with no gap.
I also found a neat sticker I've never seen before. It's not a paper sticker. It's one of those that are covered with a polyurethane or something and is located near the drivers side hinge under the red paint. I could see something was there and just carefully uncovered it with the 150. Does anyone have any idea what this sticker is?
It's neat and I plan on saving it. Anyway, I have the underside sanded down ready for primer, but I need to weld in some patches on top of the hood to fill in two circular holes that were drilled in there. Not sure why but prolly for hood pins I'm, guessing. I also need to modify it to accept the hood latch from my hood, which belongs on the passenger side. Then I can get it finished and work on my tent and getting ready for paint.
1. yes you can run seam sealer around the hood, it makes a HUGE difference. closing the hood will sound more like a mercedes and less like a garbage can. you can just go all the way around the openings, or maybe go sections so water can get out, whatever.
2. the R dot sticker is for replacement parts, D.O.T. dept of transportation, R = replacement. must be a fairly newer part, as the R Dot thing is maybe early 90's?
Cool! Thanks for the info j9! I guess I'll be getting rid of it then. I noticed that this hood had no other stickers on it, but they could have been removed by the PO, or maybe the replacements didn't come with any. I guess I'll be looking for replacement stickers as well. I recall someone on the forums recently asking about them. Used to be BD had them but maybe not anymore. Another challenge. At least this hood has no rust!
I thought the seam sealer seemed the best solution, and thank you for the info! I plan on putting the hood upside down on a couple of saw horses set at the edges, putting the seam sealer on there and adding some weight to press and hold the structure down.
As I sanded the chips and scratches out of this hood I noticed that almost every one had some rust forming beneath it. That **** just gets in under the paint and spreads. It's the same as the other stuff I found on the car. Sanded them all down and then hit the entire hood with Metal Ready from POR-15 then primed the top. I left the underside for the welding I need to do to attach my hood prop to this hood.
My flux core welding skills still leave a lot to be desired... If I ever do this type of thing again I'm going to invest in a nice MIG welder.
This hood was prolly on a race car of some sort. After I cleaned it up but I could see the outline of the hood pins. The underside structure where the hood rests on the rubber stops is kinda flattened out so I have some work to do there to make sure it will sit right. There's also some slight flat spots on the top and in the contour of the edges but I should be able to make that look ok.
Luckily I have them on my original hood. As I was looking at the new hood I realized that I confused myself about relocating the hood prop. This one IS on the passenger side. I got confused cause it was upside down...
Sounds like you have a good plan there with putting saw horses on the edges of the hood. Be VERY careful about turning the hood upside down, too much weight on the center of it and it'll cave in - ask me how I know... What a pain in the *** to reshape!
Good advice above about the copper plate - you can actually get a "welding spoon" from harbor freight which is essentially the same thing, and it helps when welding holes up like that basically by keeping it from overheating as easily.
Looks like you're really making good progress. As for my leave of absence from the forum I've been through 4 jobs in the past year and kinda went into hiding lol. I do have a number of builds and projects to post about, just haven't had the time. One of these days...
Hey, it HAS been awhile! Out actually ENJOYING your car, not watching others on the board, right?
I suppose you could get some larger inflatable wagon wheels from Tractor Supply and it would work. It prolly would require them to be mounted up higher, but I'm sure it would work. I have to say, it has made working on the car SO much nicer. I can get it outside, see things in the light of day, see things from different angles and let the dust fly. And you're right, I am at that point of **** or get off the pot with the paint. All I need to do is finish up the front spoiler and get the hood ready and I'll be waiting for it to cool down. It's been so hot this month that it's almost 90 in my garage.
Which brings me to my latest efforts. I finished sanding down the ENTIRE car with 150 to get rid of the orange peel, and worked the hood some yesterday (took the day off) and I have a question and a share.
I was sanding down the underside of the hood and noticed that the structure was coming unbonded from the hood. Sanding it with my orbital made it worse. Can I just use seam sealer to rebond it or is there something else I should use? Looking for advice here. I suppose I could use JB weld. I'm also not sure if the hood sheet metal has the correct curvature or if the structure does? I was planning on laying the hood upside down and putting some weight on the center of the structure to force it down to the hood sheet metal while whatever I use to rebond it with cures. Or am I overthinking it? Here's a couple pictures:
It looks like it was rebonded in the past and was offset by about 1/4", but looking at my original (and rusty) hood, the structure was bonded right on down to the sheet metal with no gap.
I also found a neat sticker I've never seen before. It's not a paper sticker. It's one of those that are covered with a polyurethane or something and is located near the drivers side hinge under the red paint. I could see something was there and just carefully uncovered it with the 150. Does anyone have any idea what this sticker is?
It's neat and I plan on saving it. Anyway, I have the underside sanded down ready for primer, but I need to weld in some patches on top of the hood to fill in two circular holes that were drilled in there. Not sure why but prolly for hood pins I'm, guessing. I also need to modify it to accept the hood latch from my hood, which belongs on the passenger side. Then I can get it finished and work on my tent and getting ready for paint.
That sticker means it is a factory replacement,must have been in a accident and whoever fixed it,used factory parts. I would use panel Bond to read glue the hood back together
Pro tip: clamp a (copper) plate under the hole that's need to be welded, welds much better
Excellent tip damic, thanks!! I'm gonna remember that next time.
Originally Posted by 82transam
Sounds like you have a good plan there with putting saw horses on the edges of the hood. Be VERY careful about turning the hood upside down, too much weight on the center of it and it'll cave in - ask me how I know... What a pain in the *** to reshape!
Good advice above about the copper plate - you can actually get a "welding spoon" from harbor freight which is essentially the same thing, and it helps when welding holes up like that basically by keeping it from overheating as easily.
Looks like you're really making good progress. As for my leave of absence from the forum I've been through 4 jobs in the past year and kinda went into hiding lol. I do have a number of builds and projects to post about, just haven't had the time. One of these days...
Welllllll..... I know exactly what you mean about too much weight in the center, although only an expert eye would be able to tell HOW I know...
Would love to see the progress you're making on your other projects!
Originally Posted by erick31876
That sticker means it is a factory replacement,must have been in a accident and whoever fixed it,used factory parts. I would use panel Bond to read glue the hood back together
I wish I knew that 18 hours ago... But, I'll see how the seam sealer holds up. It seemed to be good tonight when I looked at it. Hoping it holds up to the heat under the hood. If not, I'll know how to fix it!
I straightened out the front spoiler and painted it with the POR-15 I had laying around. Looks good naked, but it has a BUNCH of rust pits, and a few small holes. Once I get that thing ready I'll be ready to paint!
But the lip I pulled off my car had an undercoat kind of texture to it not smooth. Might be good to put some undercoat on it then paint it your intended color after.
But the lip I pulled off my car had an undercoat kind of texture to it not smooth. Might be good to put some undercoat on it then paint it your intended color after.
Ahhh..., yes, I forgot about that, thanks for reminding me! The rock chip rocker covering. I need to put that on before paint... Back to the PPG paint store! I also need to work some small dents in the hood too. That'll give me something to do while I wait for cooler weather. That, and sound proofing with my damplifier pro... And, and, and...
Dupli-Color paintable undercoating does a really nice job of replicating that chip guard. That's what I use along the rockers etc on my builds and it comes out really nice. Paint adheres to it really well too. Nice budget alternative lol
Dupli-Color paintable undercoating does a really nice job of replicating that chip guard. That's what I use along the rockers etc on my builds and it comes out really nice. Paint adheres to it really well too. Nice budget alternative lol
Ahhh rats! I wish I had seen your post Sean before I made a trip to the paint store... I ended up with this. Expensive. Schittt:
It went on nicely enough and almost looks factory. It will give it a decent texture. The only factory stuff I had left was on the back of the car where the bumper covers it up. It's definitely not gray, but it looks ok:
I also dug out my fender bolts and front fascia bolts. Mine are quite rusty, and the ones I've collected are also rusty, so I thought I'd get cute and try to order some. I got these from McMaster Carr. Close, but the flanges are definitely smaller. I was hoping I could find exact replacements.
I researched on here for a while and I think if the dealer still has them that may be the only place that has replacements. It may be worth getting a dozen or so fender bolts to replace my rusty ones. Unless they clean up with either the tumbler or on my bench grinder with a wire wheel...
This is about the ONLY rather rust free original bolt from my car!
U can use the new ones with a large stainless washers .I have done this many times when cant get original bolts
Yes, WJM that's a good idea! I may have to if I can't get these de-rustified. Thanks for the tip!
Originally Posted by RCCAZ 1
^^Mike, soak your old rusty ones in an old glass jar with Apple Cider Vinegar. Takes all of the old rust off overnight.
Tim! I just hit my head like in the old "I could have had a V8" commercials! I put the fender bolts in an empty water bottle and filled it up bit with Apple Cider Vinegar. They started bubbling right away. Going back to my chemistry classes (grinding brain gears that haven't been turned in FOREVER) I remember that vinegar is acetic acid, and it should work really well! They're bubbling up as we speak (or, type and read as it were)...
Funny-ish story. I put the front valence and headlight bolts in my HF tumbler last night at dinner time and let it go over night. Checked on it this morning before I left for work. Everything was fine. Got home from work and have this conversation with my wife:
Wife: "uhhh honey, I had to turn off your tumbler a few hours ago. I went into the garage and there was smoke everywhere".
Me: "Smoke? Really? Uh oh.... That can't be good."
So I go investigate and see the top is off. What? Where is it? I look around and it's on the floor. Alone.
Me: "Honey, did you take the top off the tumbler?"
Wife: "I didn't touch it except to unplug it. I was afraid to".
Poor thing...
I go back out to the garage to investigate. Where's the washer and the wing nut that hold the lid on? Where's the lid gasket? Huh... I eventually found everything scattered about with the crap on my workbench. The lid had a new cockeyed hole in it where the washers and wing nut go. Aha! I see what happened. It loosened up and vibrated a new semi-hole in the top, lost the center insert for the top and eventually fell onto the floor. The "smoke" was dust. Workbench is covered in it!
Here's the lid:
Oh well... I had a 50% off coupon I bought that with. Good thing trash day is day after tomorrow.
The weather is turning less humid around here now so I hope to start getting this car primed and painted. I'm gonna be brave and try the two stage. Worst I can do is Eff it up, sand it off and pay a professional later. Might as well try. I'm making mental plans for the tent, routing my hoses with a cooler of ice to condense the moisture into a moisture trap and hopefully get dry air. Looking forward to the experience. Been thinking that I have to paint the door pillars and door sides with primer, base, and then clear, then hang the doors, set the fenders in seam sealer, then paint the car. At least I think that's the right sequence to set the fenders AND get the door pillar painted correctly.
Last edited by woodmv; 08-23-16 at 07:28 PM.
Reason: Stupidity....
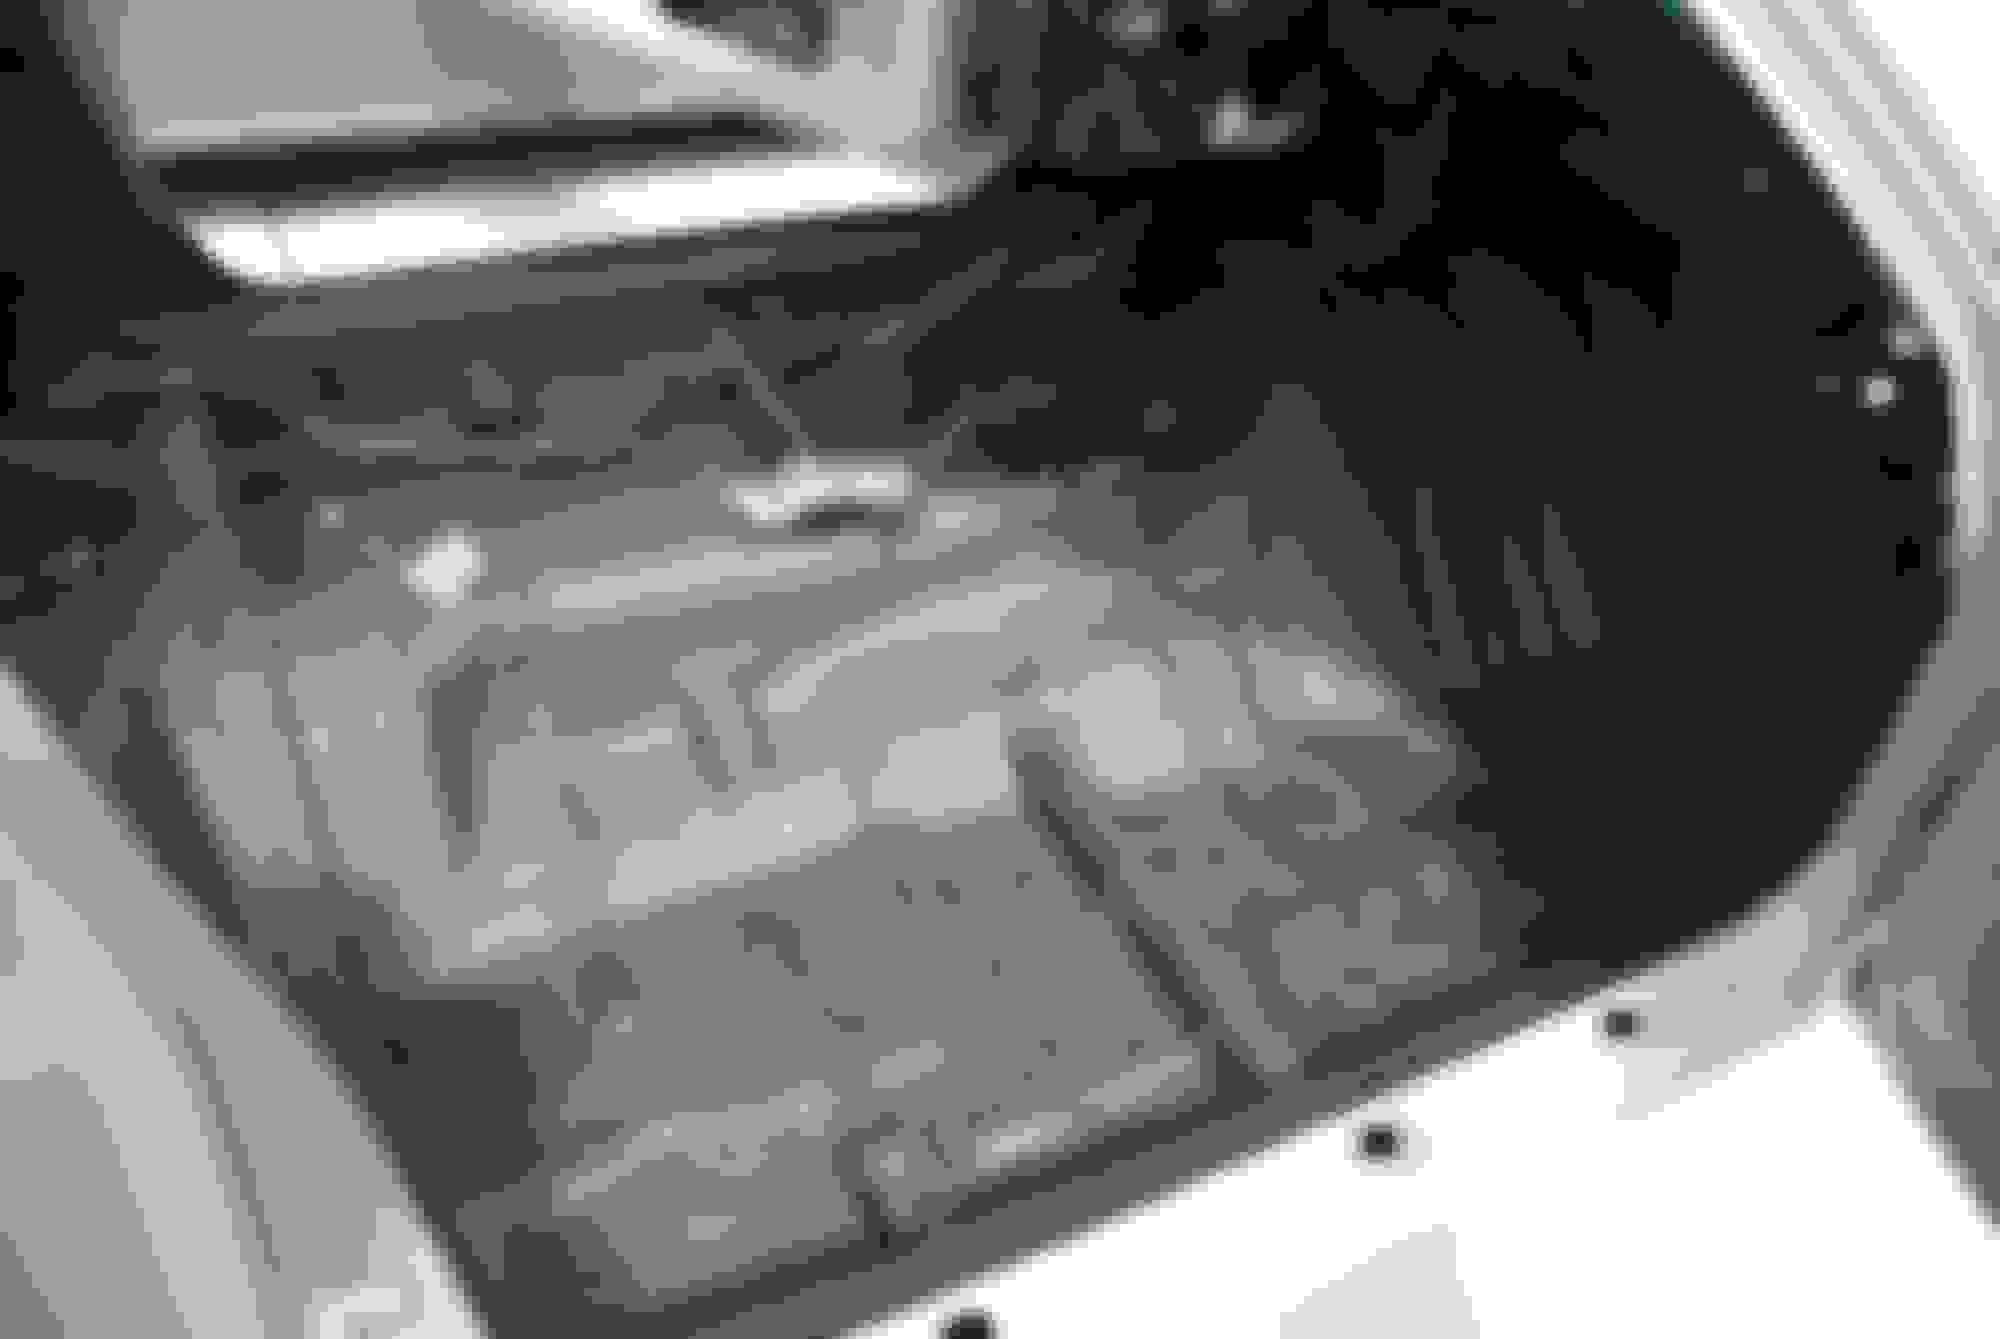
Things at work and other priorities and expenses at home and at mom and dad's have kept me from doing much with old Rusty. Been waiting for the weather to cool off so I can paint and in the mean time I've installed the sound deadening material.
Went with Damplifier Pro, and for all those wondering how much covers the interior (like I was), to cover the firewall, floors, rear end section, and up the sides in the back, it took almost exactly two bulk packs. Each pack is 36.5 square feet. I still have to do the doors, and the ceiling so another order is in store.
It dramatically improved the look of my poorly welded floors!
WOAH, you beat me to it! Damplifier Pro didn't need a full cover to work effectively, but I see why you did it. Doors and headliner you might want to consider 2-3 layers and doors should be inner and outer shell, regardless (make sure you SEAL them so as to act as a speaker enclosure - the added depth from your midwoofer will be amazing if you go that route).
I'm hopefully doing all this after I get my car started and running. Looks great!


 06-30-16, 06:43 PM