
My 79 "barn find" project


Man that stinks. At this point, I'd get a second or third job to come up with the money rather than part with the car.
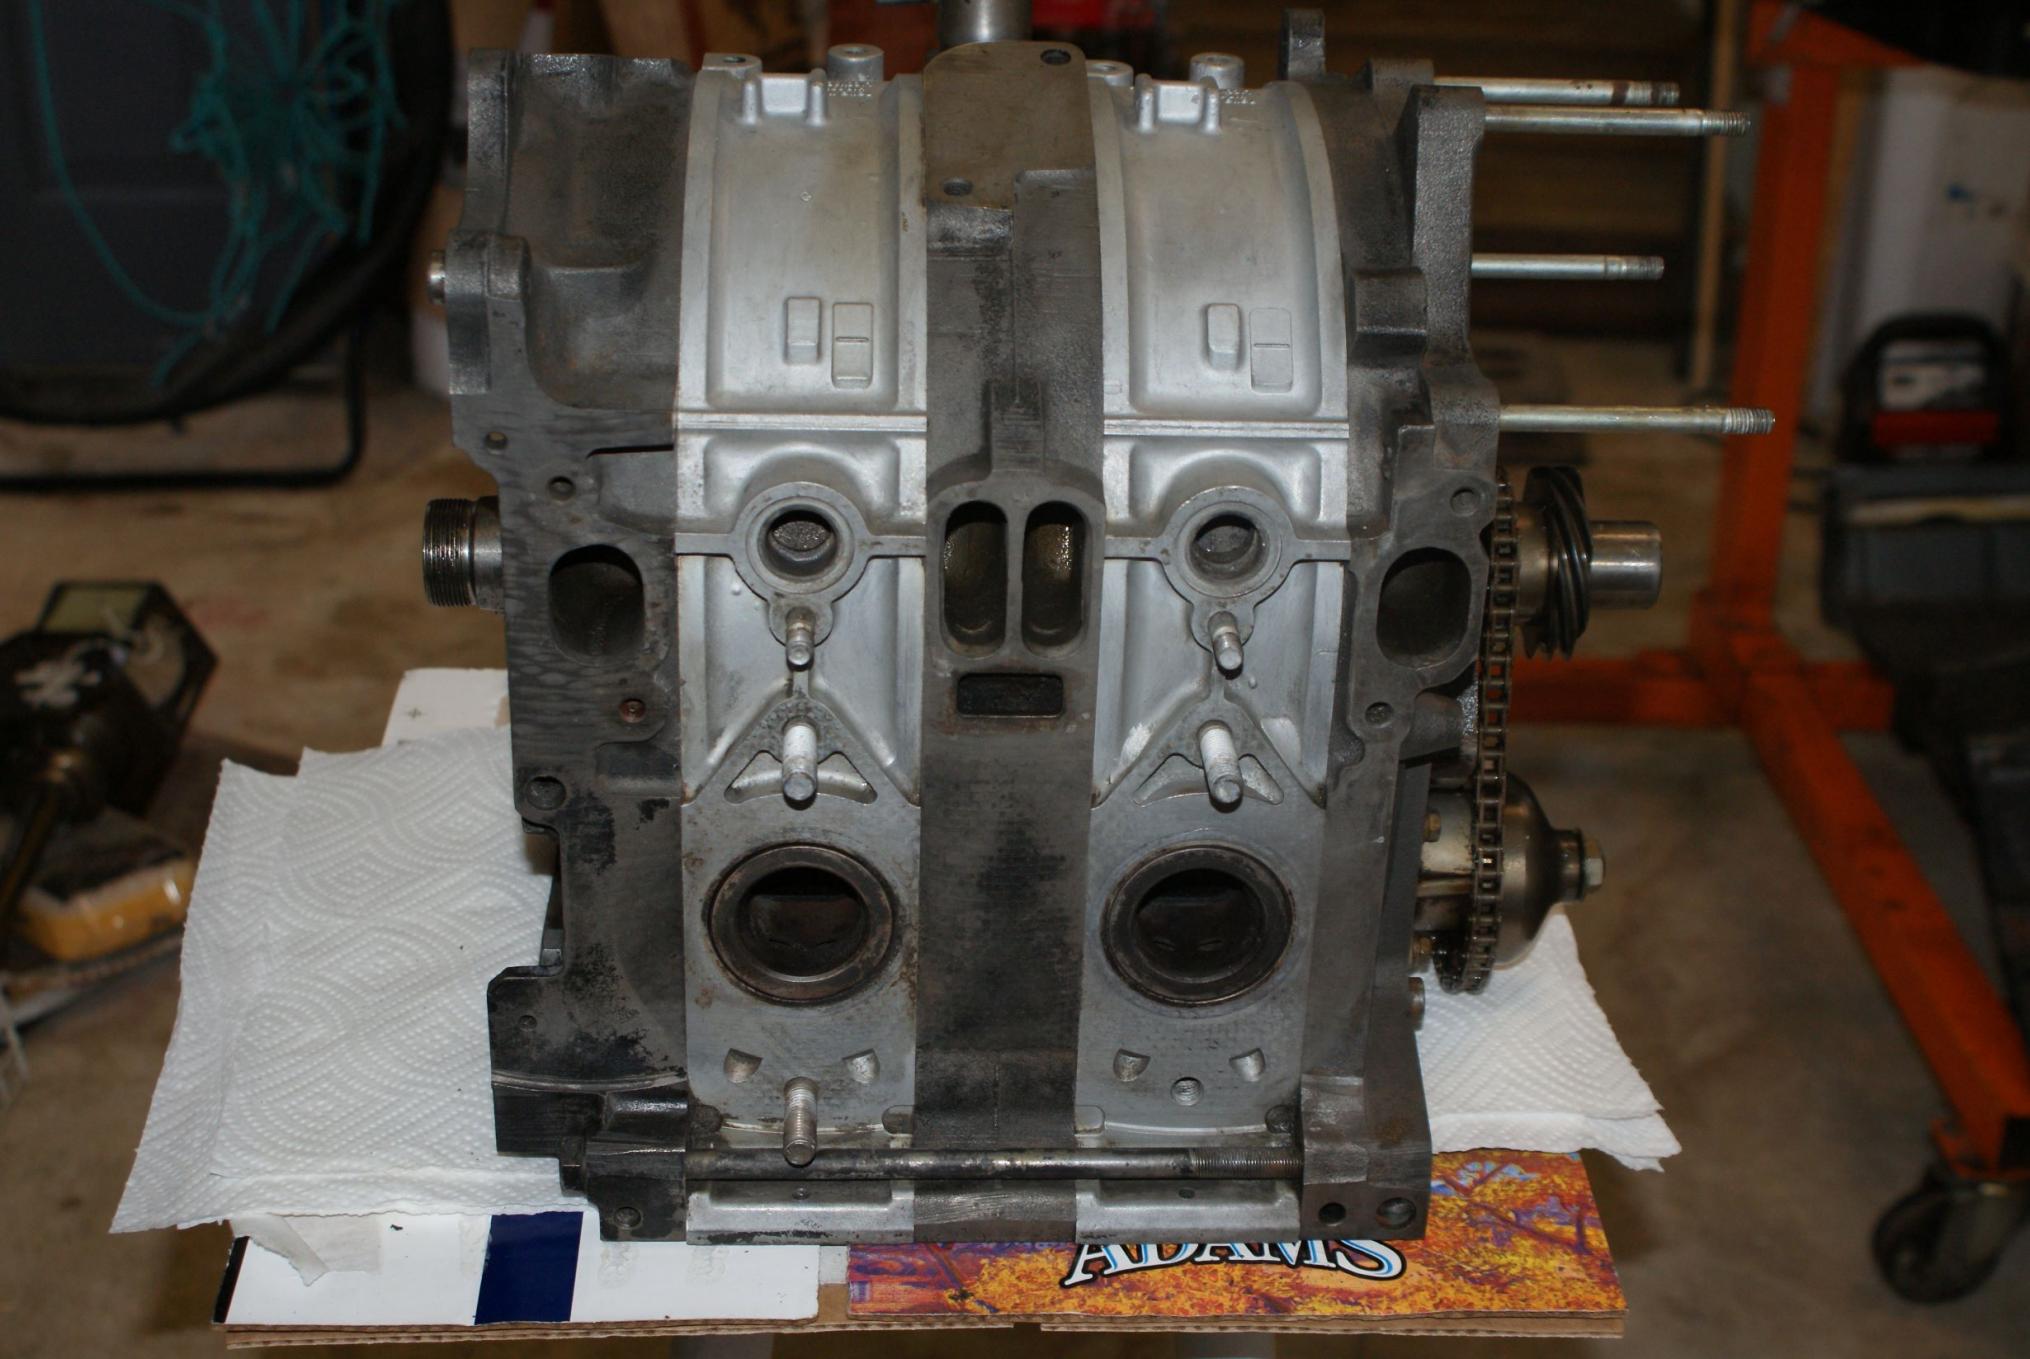
So, I had a pretty productive weekend. Worked about 12 hours on Friday. The new engine had a water leak from the water pump housing, an oil leak from the front timing cover, and an oil leak from the oil pan so I had planned on addressing those issues. I started out by digging out the 79 oil pan from the engine that came in the car. I looked it over and man was it RUSTY. So, into the electrobath it went. Then I spent who knows how long scrubbing the new engine and taking off as much of the old paint as I could. This is where I ended up.
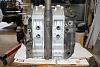

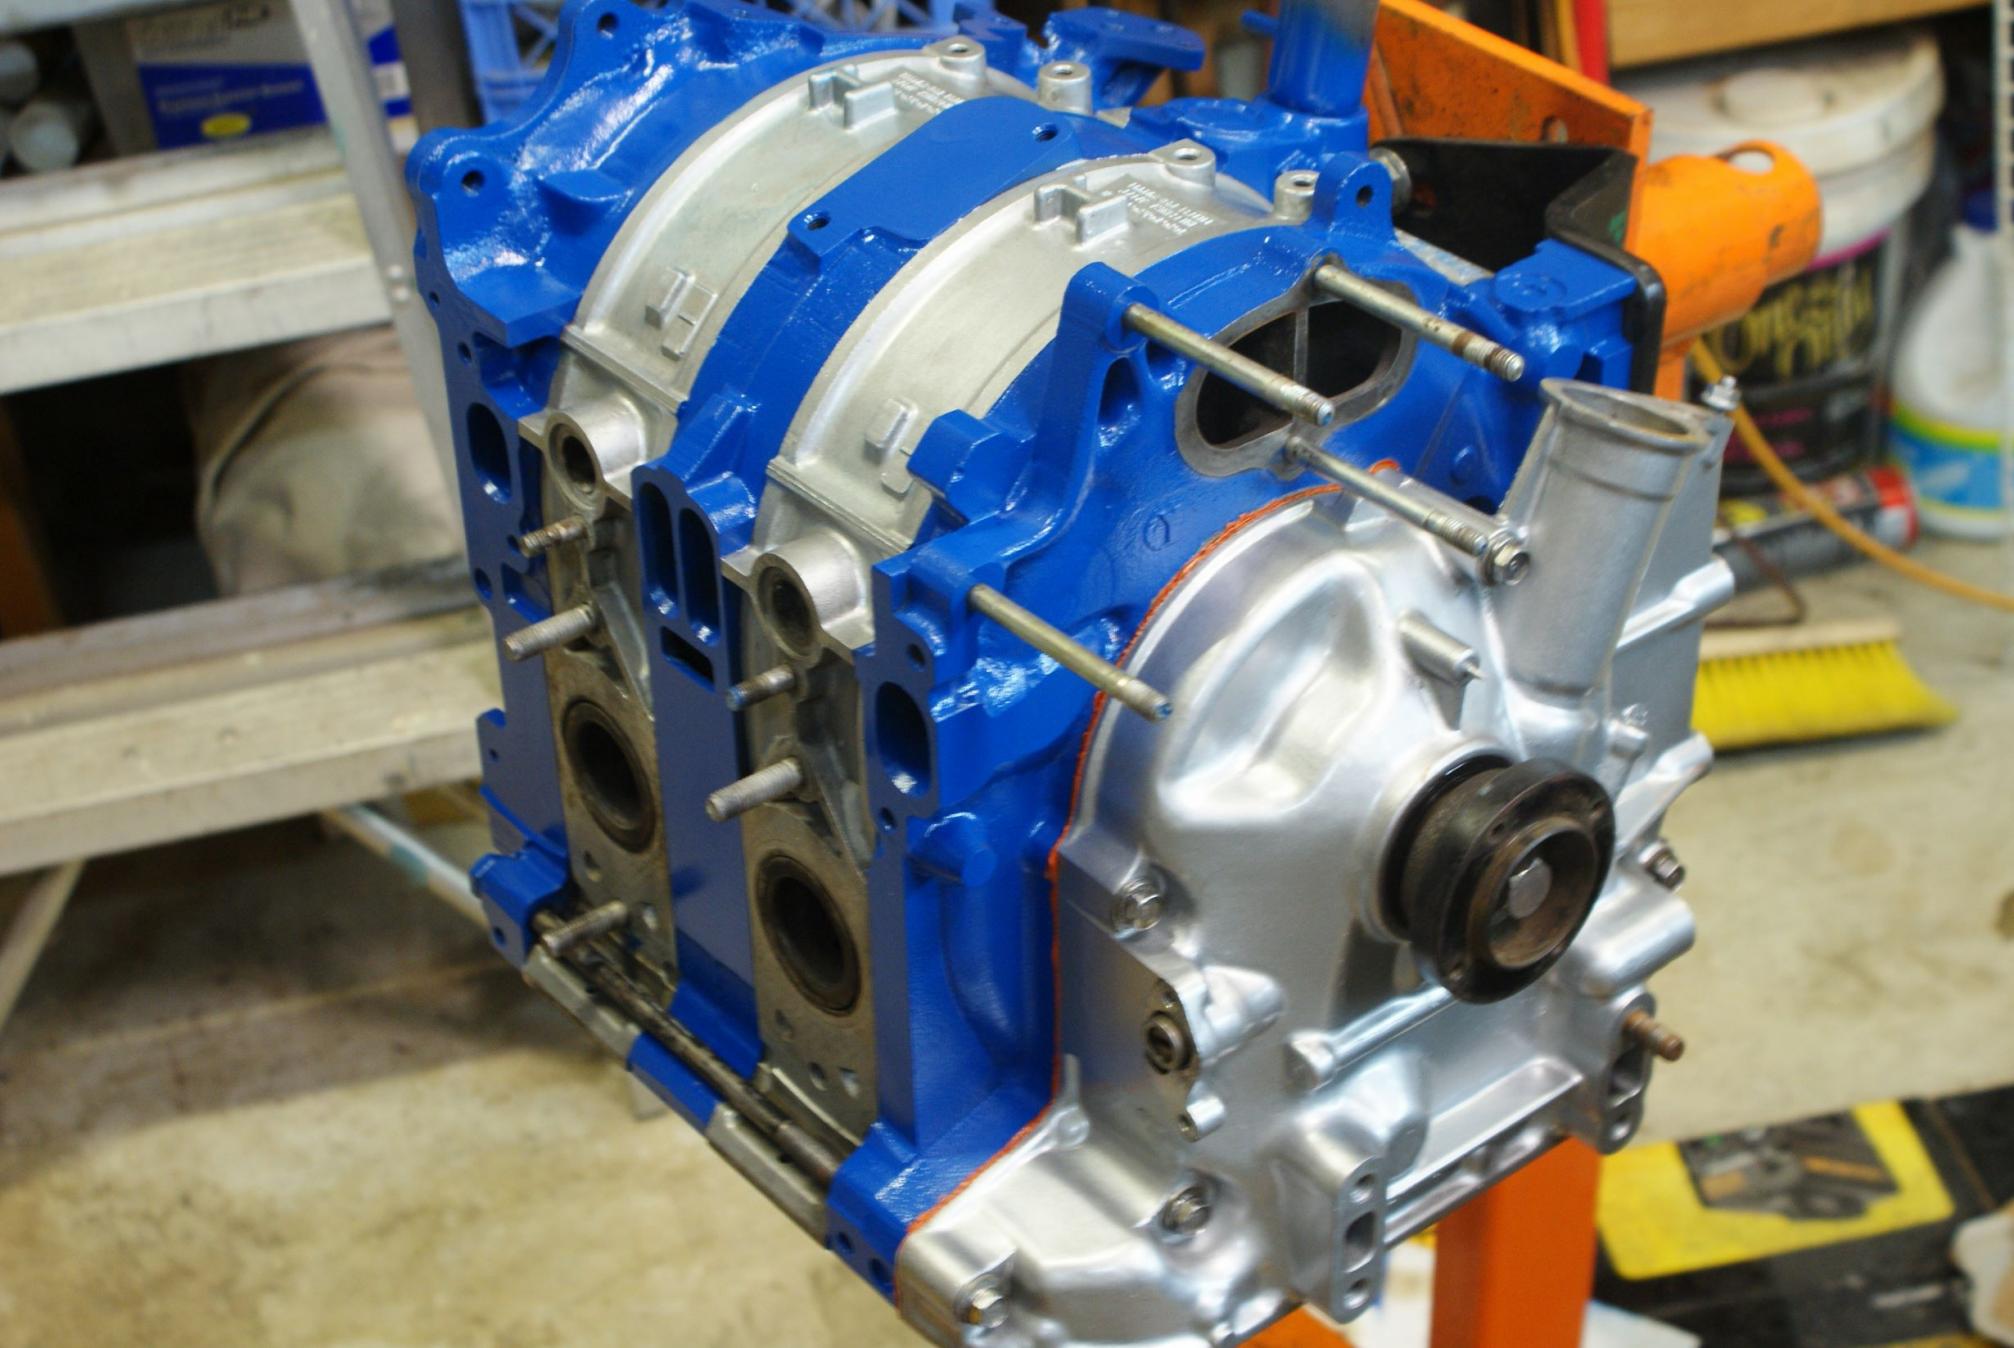
Brake cleaner and carb cleaner work wonders on your sinuses. I haven't been this clear since my trip to Arizona! It also works well on removing paint. I spent the rest of the day masking off the aluminum housings and painting the irons. I spent a LOT of time studying and researching rotary engine color schemes and this is the one that I like the most. I think it looks fantabulous, but I am partial to the color anyway.

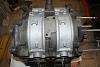
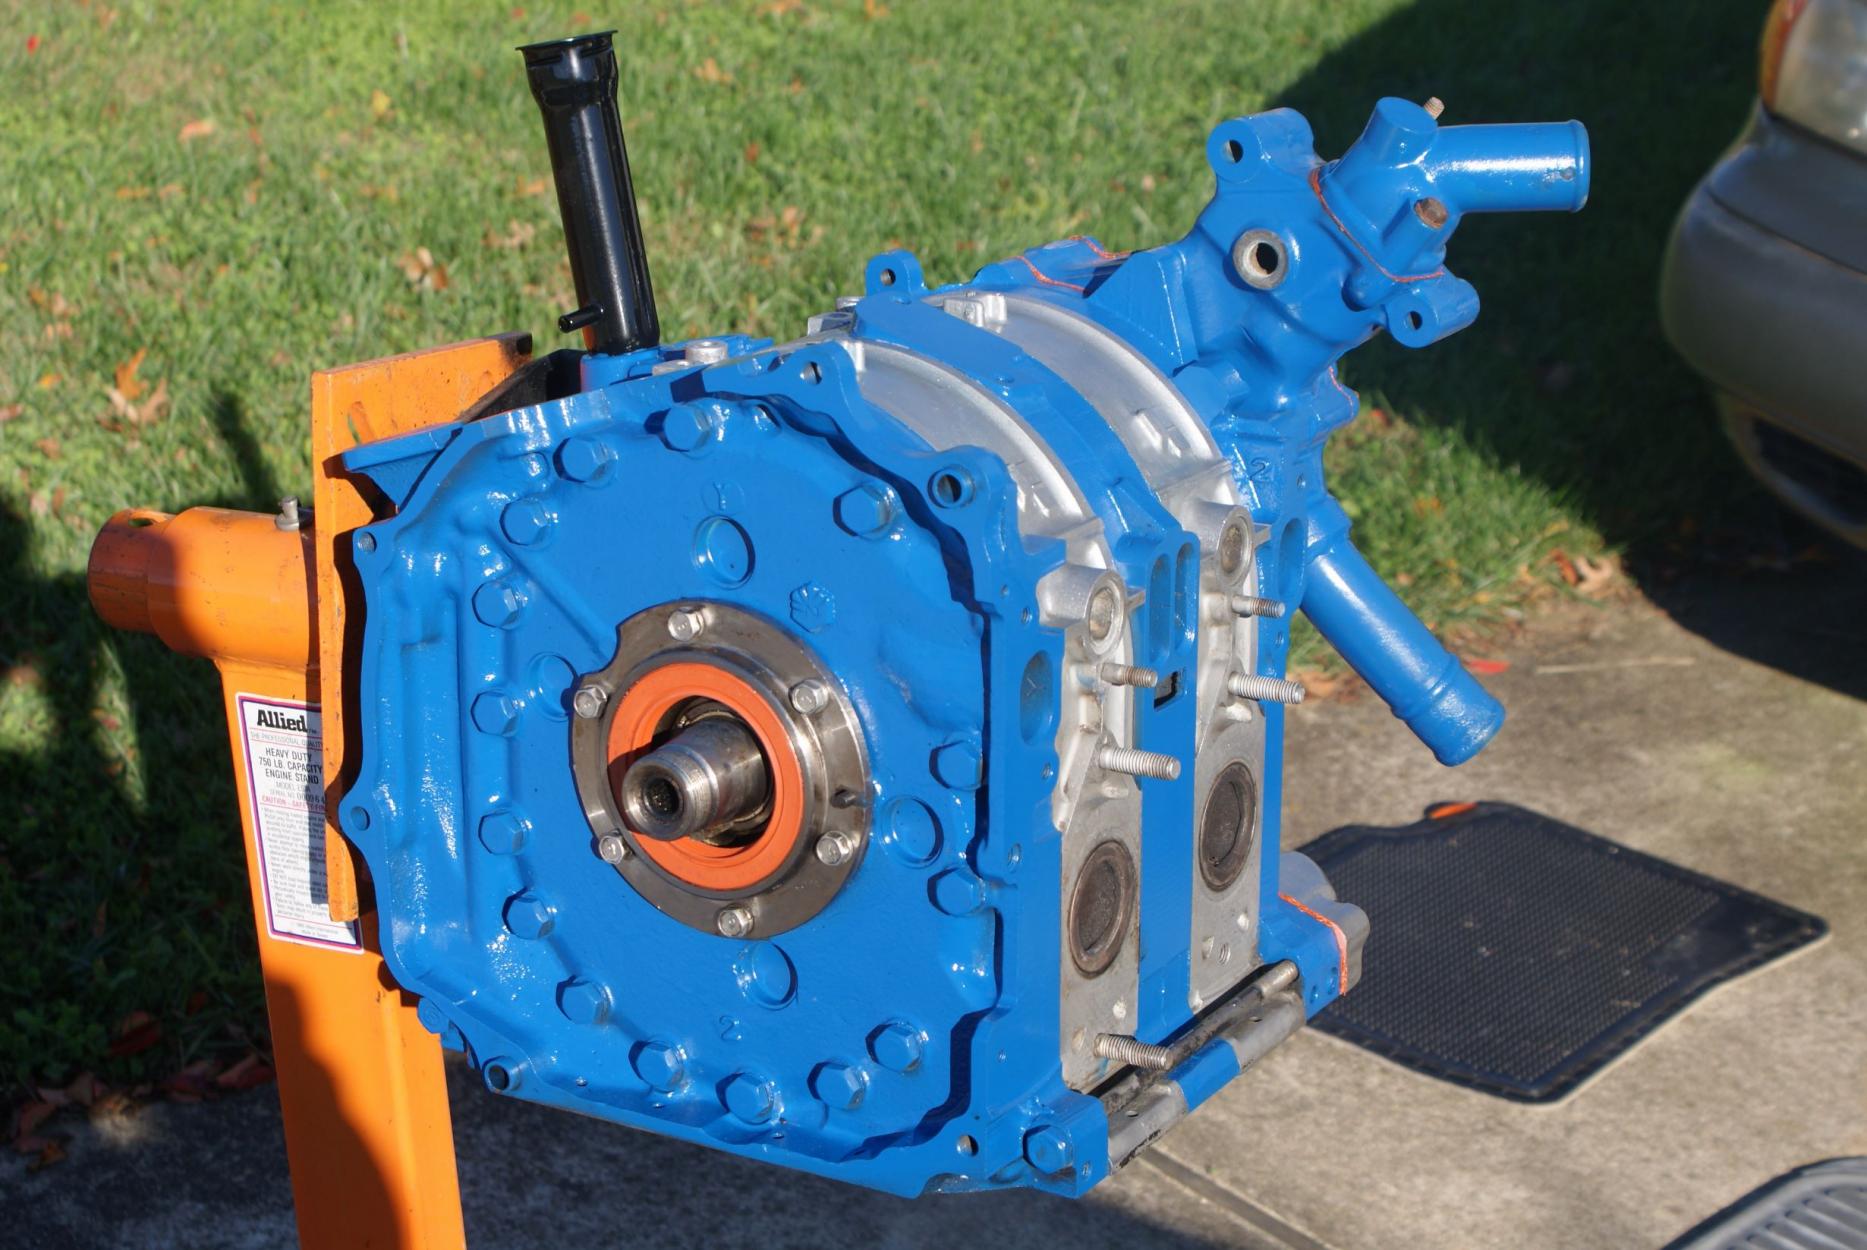
I took the flywheel off and replaced the rear oil seal, and had already painted up my front timing cover I took off the engine that was in the car. After carefully studying the one that was on the new engine they were exactly alike, so I put the new front seal on my cover. I had already de-rustified the water pump housing and painted that as well.
My plan is to put a bypass hose on, plug up the few holes I have for water passages and fill it with some water and antifreeze so it can sit in a fluid state until I get it in the car and fired up. My thought here was to try to prevent the soft seals from drying out to the point that they fail when I do finally fire it up.
Almost there - I just need to install the single outlet water hose from the rear iron from the '80 engine I got a year ago, and take out a small hex head threaded plug from the R5 rear plate that was in the car to replace the mushroom looking oil sensor that was on this new engine. It's in a curious little spot near the water temperature sensor on the Y plate on this engine. The '80 Y plate was solid in that location, and on my R5 plate it was the threaded hex head plug. THAT little bugger is STUCK in there and will take some soaking in PB blaster. After that, a little MMO and it will be good to go until I'm ready to install it into the car!
I also got in the mail on Friday my new original color rattle cans from Automotive Touchup to paint the engine bay with. THAT was like candy for me - couldn't WAIT to put that on! Next post:


Brake cleaner and carb cleaner work wonders on your sinuses. I haven't been this clear since my trip to Arizona! It also works well on removing paint. I spent the rest of the day masking off the aluminum housings and painting the irons. I spent a LOT of time studying and researching rotary engine color schemes and this is the one that I like the most. I think it looks fantabulous, but I am partial to the color anyway.

I took the flywheel off and replaced the rear oil seal, and had already painted up my front timing cover I took off the engine that was in the car. After carefully studying the one that was on the new engine they were exactly alike, so I put the new front seal on my cover. I had already de-rustified the water pump housing and painted that as well.
My plan is to put a bypass hose on, plug up the few holes I have for water passages and fill it with some water and antifreeze so it can sit in a fluid state until I get it in the car and fired up. My thought here was to try to prevent the soft seals from drying out to the point that they fail when I do finally fire it up.
Almost there - I just need to install the single outlet water hose from the rear iron from the '80 engine I got a year ago, and take out a small hex head threaded plug from the R5 rear plate that was in the car to replace the mushroom looking oil sensor that was on this new engine. It's in a curious little spot near the water temperature sensor on the Y plate on this engine. The '80 Y plate was solid in that location, and on my R5 plate it was the threaded hex head plug. THAT little bugger is STUCK in there and will take some soaking in PB blaster. After that, a little MMO and it will be good to go until I'm ready to install it into the car!
I also got in the mail on Friday my new original color rattle cans from Automotive Touchup to paint the engine bay with. THAT was like candy for me - couldn't WAIT to put that on! Next post:
Completed the engine bay
So like I said, the nice lady from UPS delivered my two rattle cans of original K3 Sunbeam Silver metallic on Friday. SWEET!

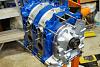
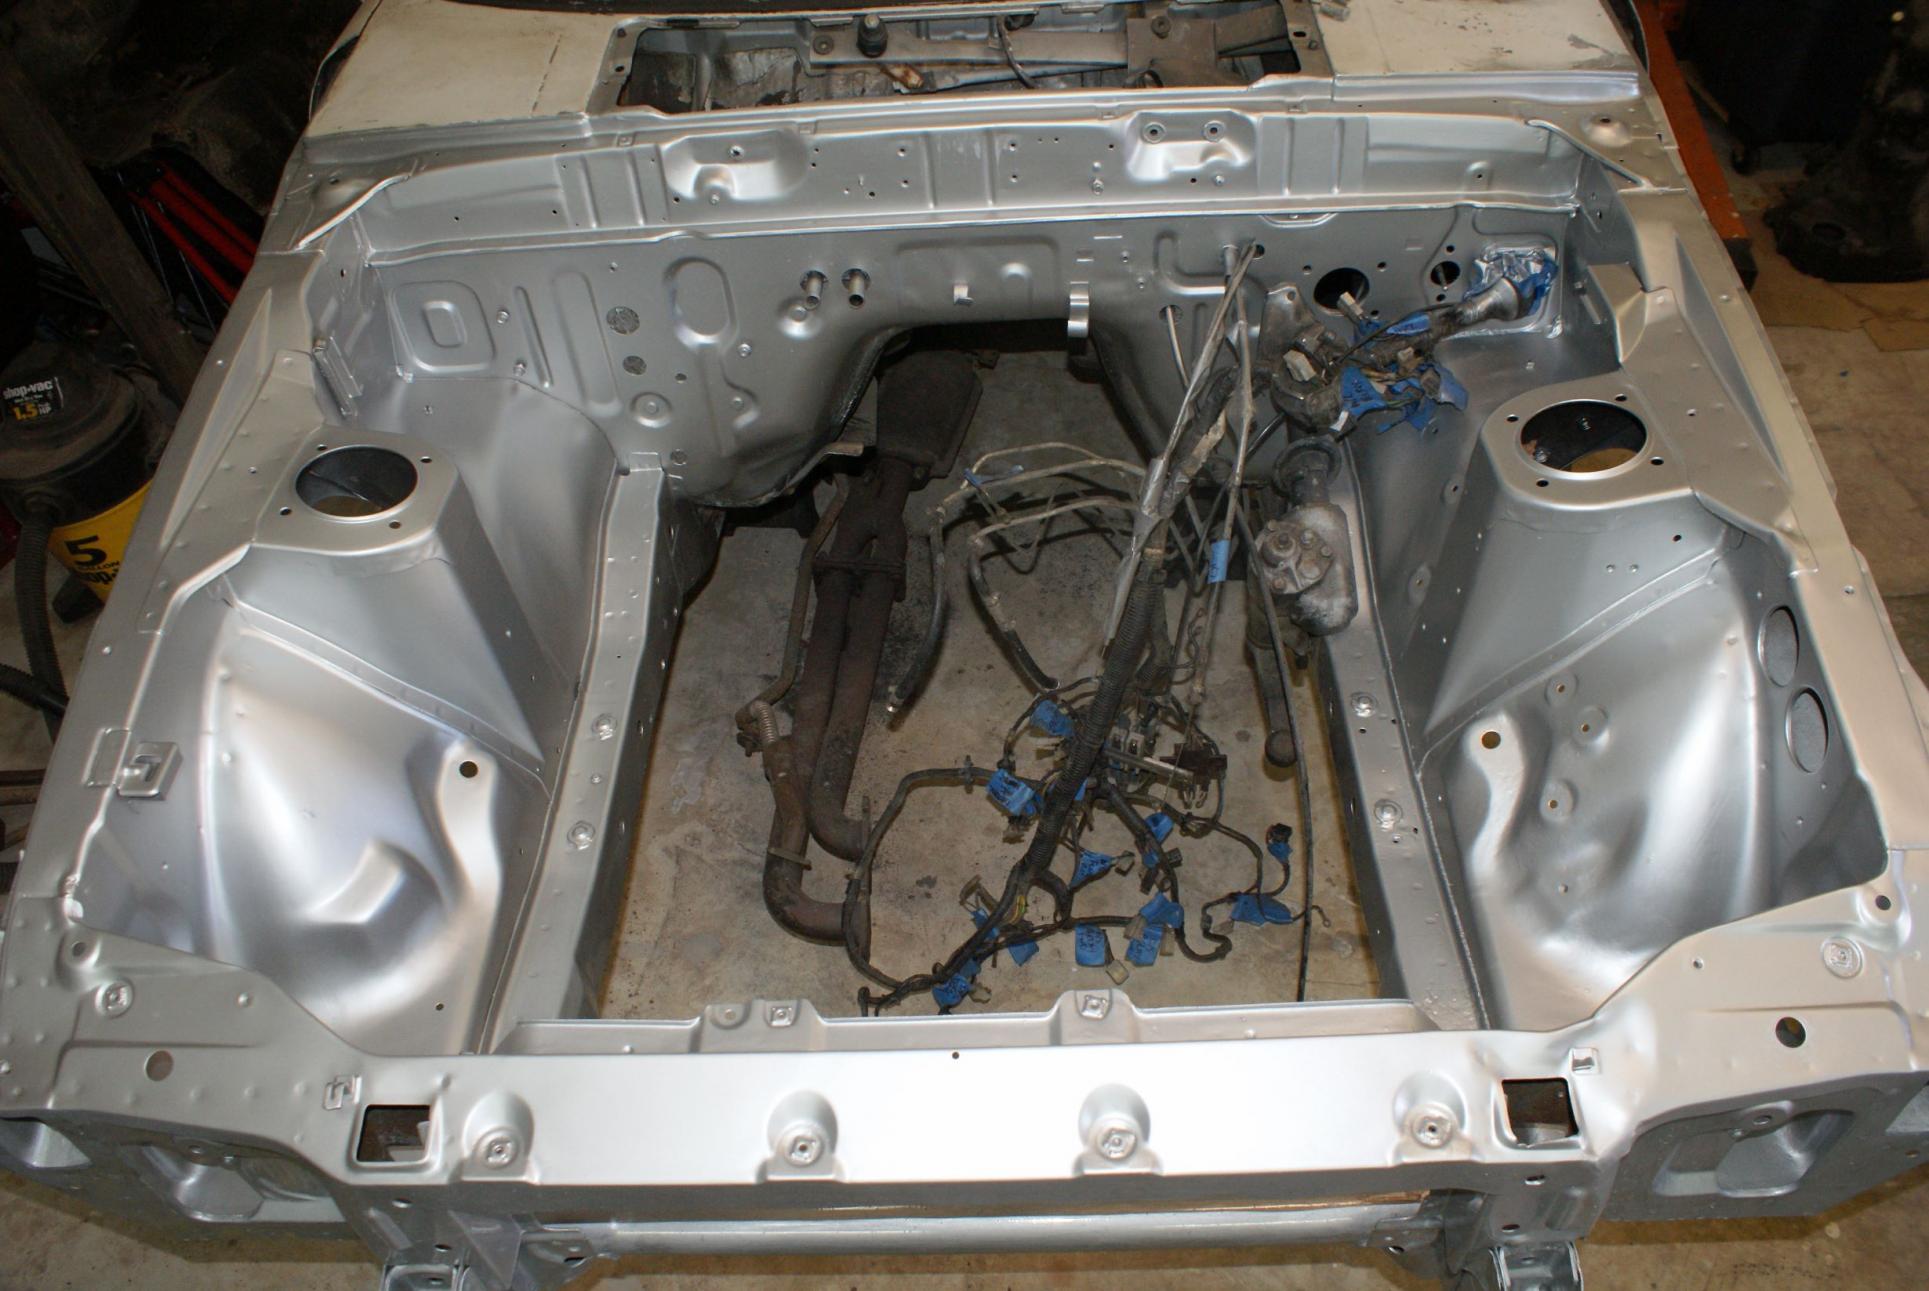
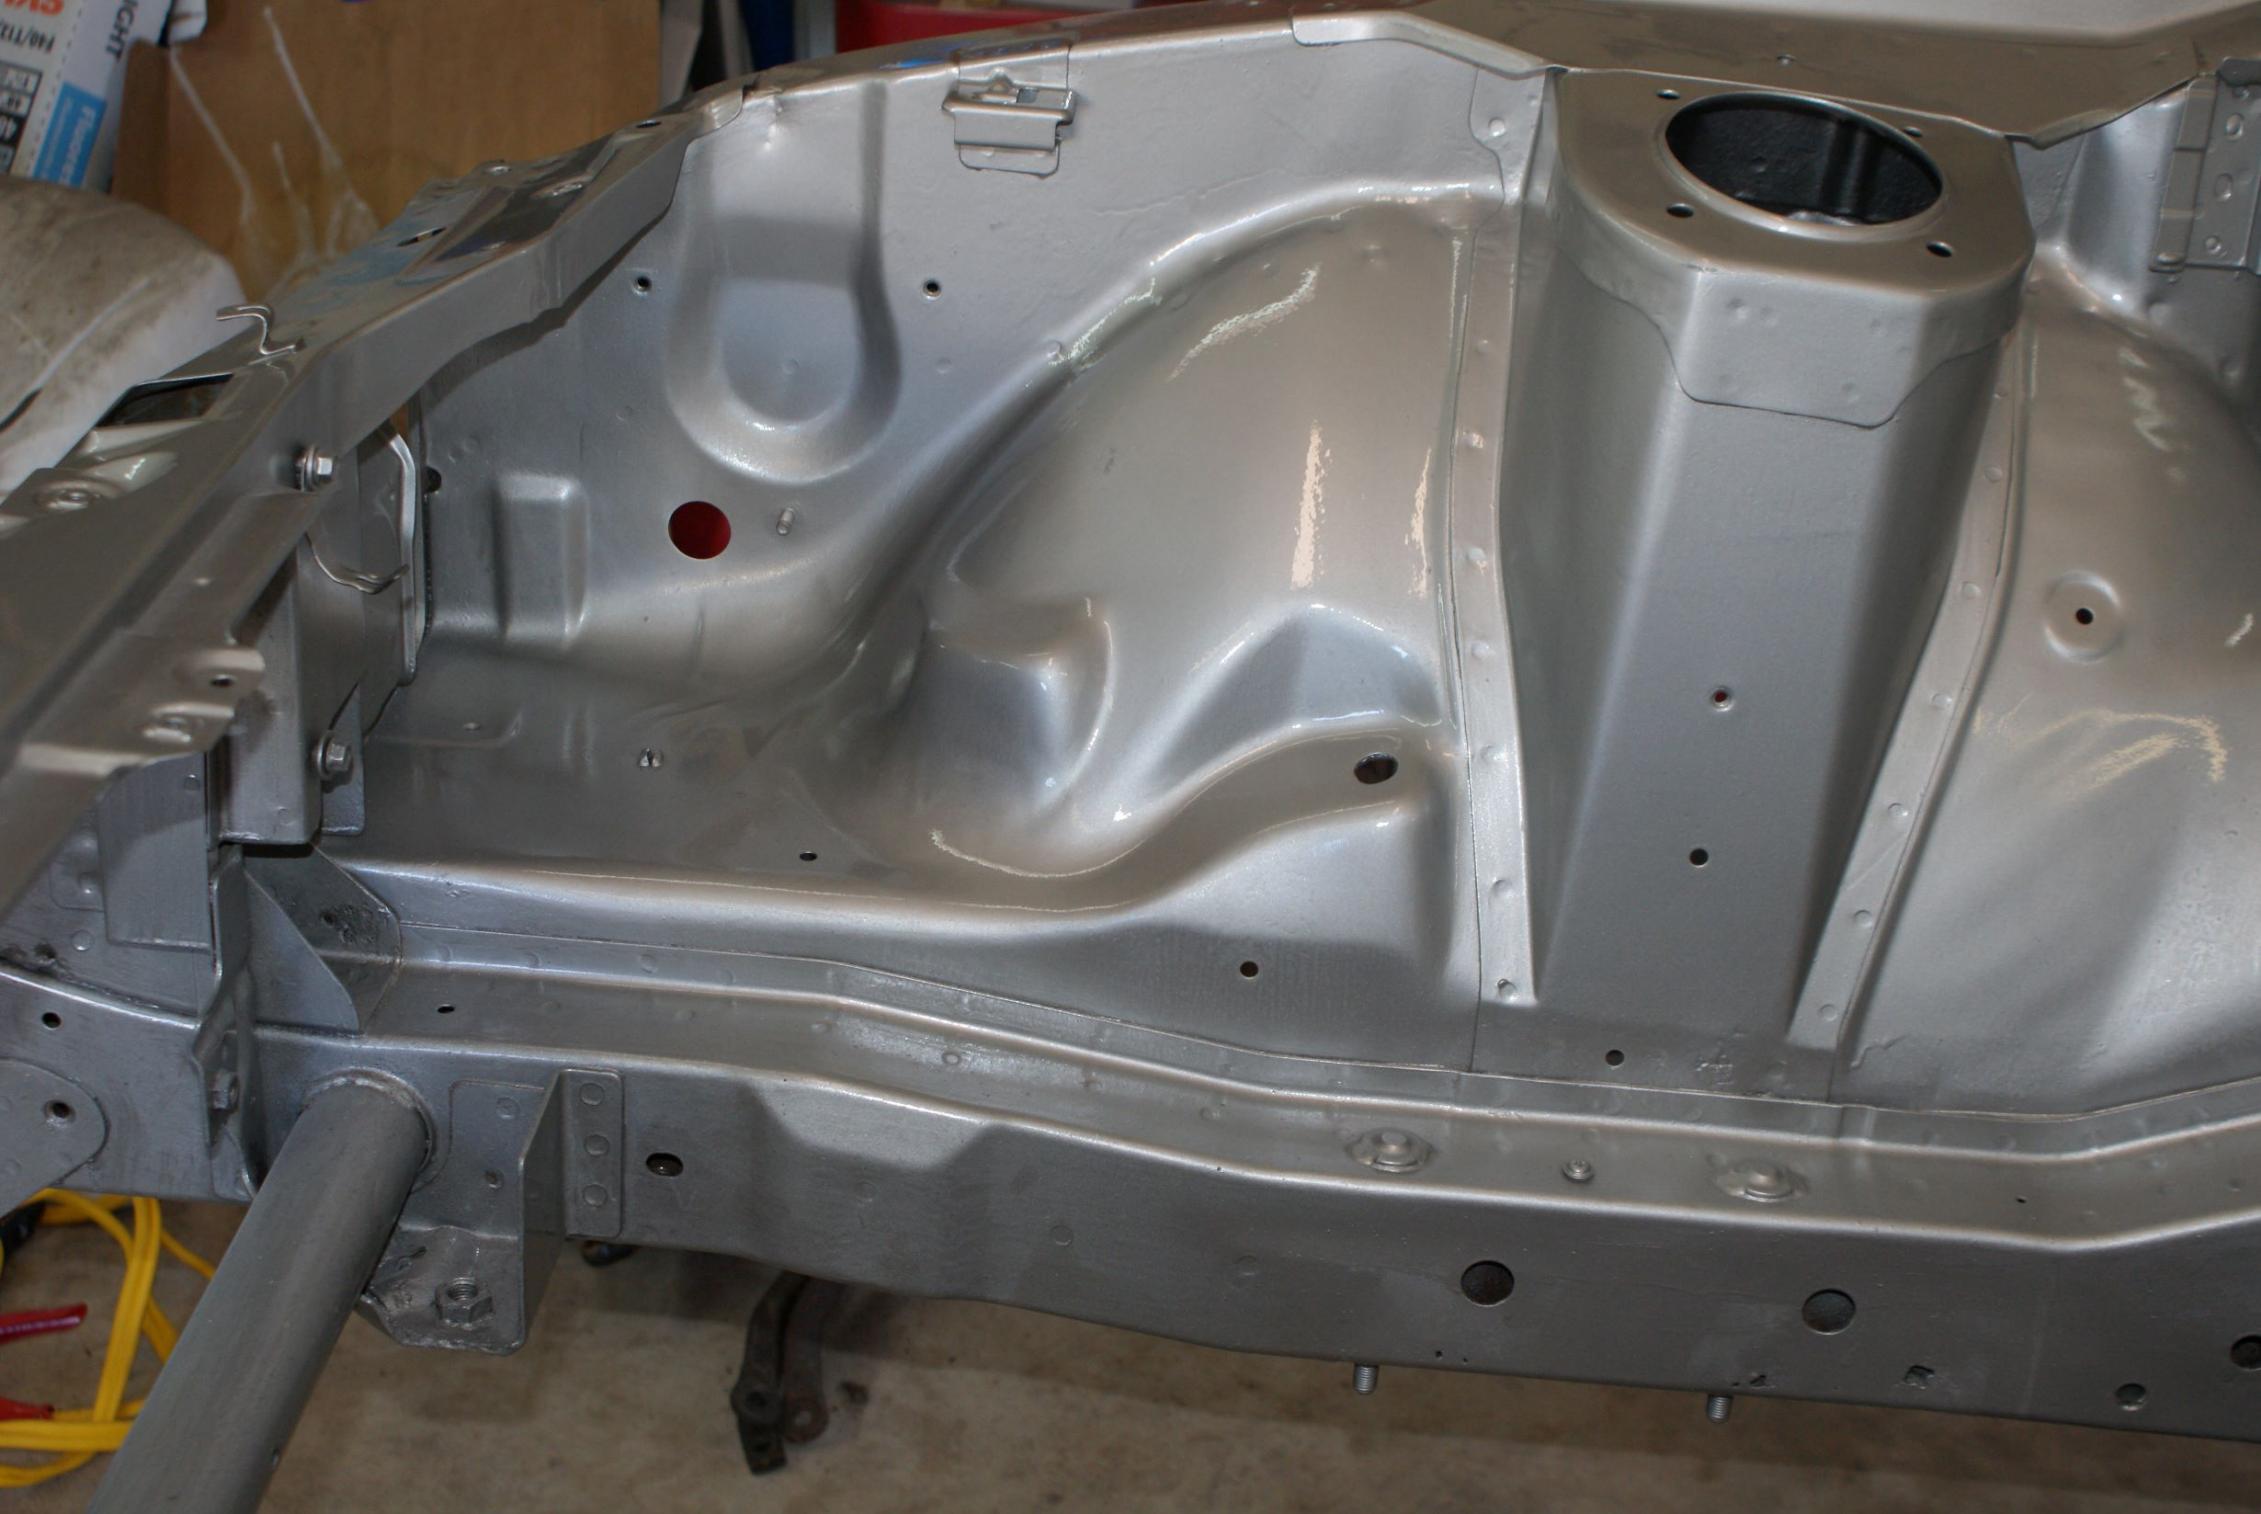
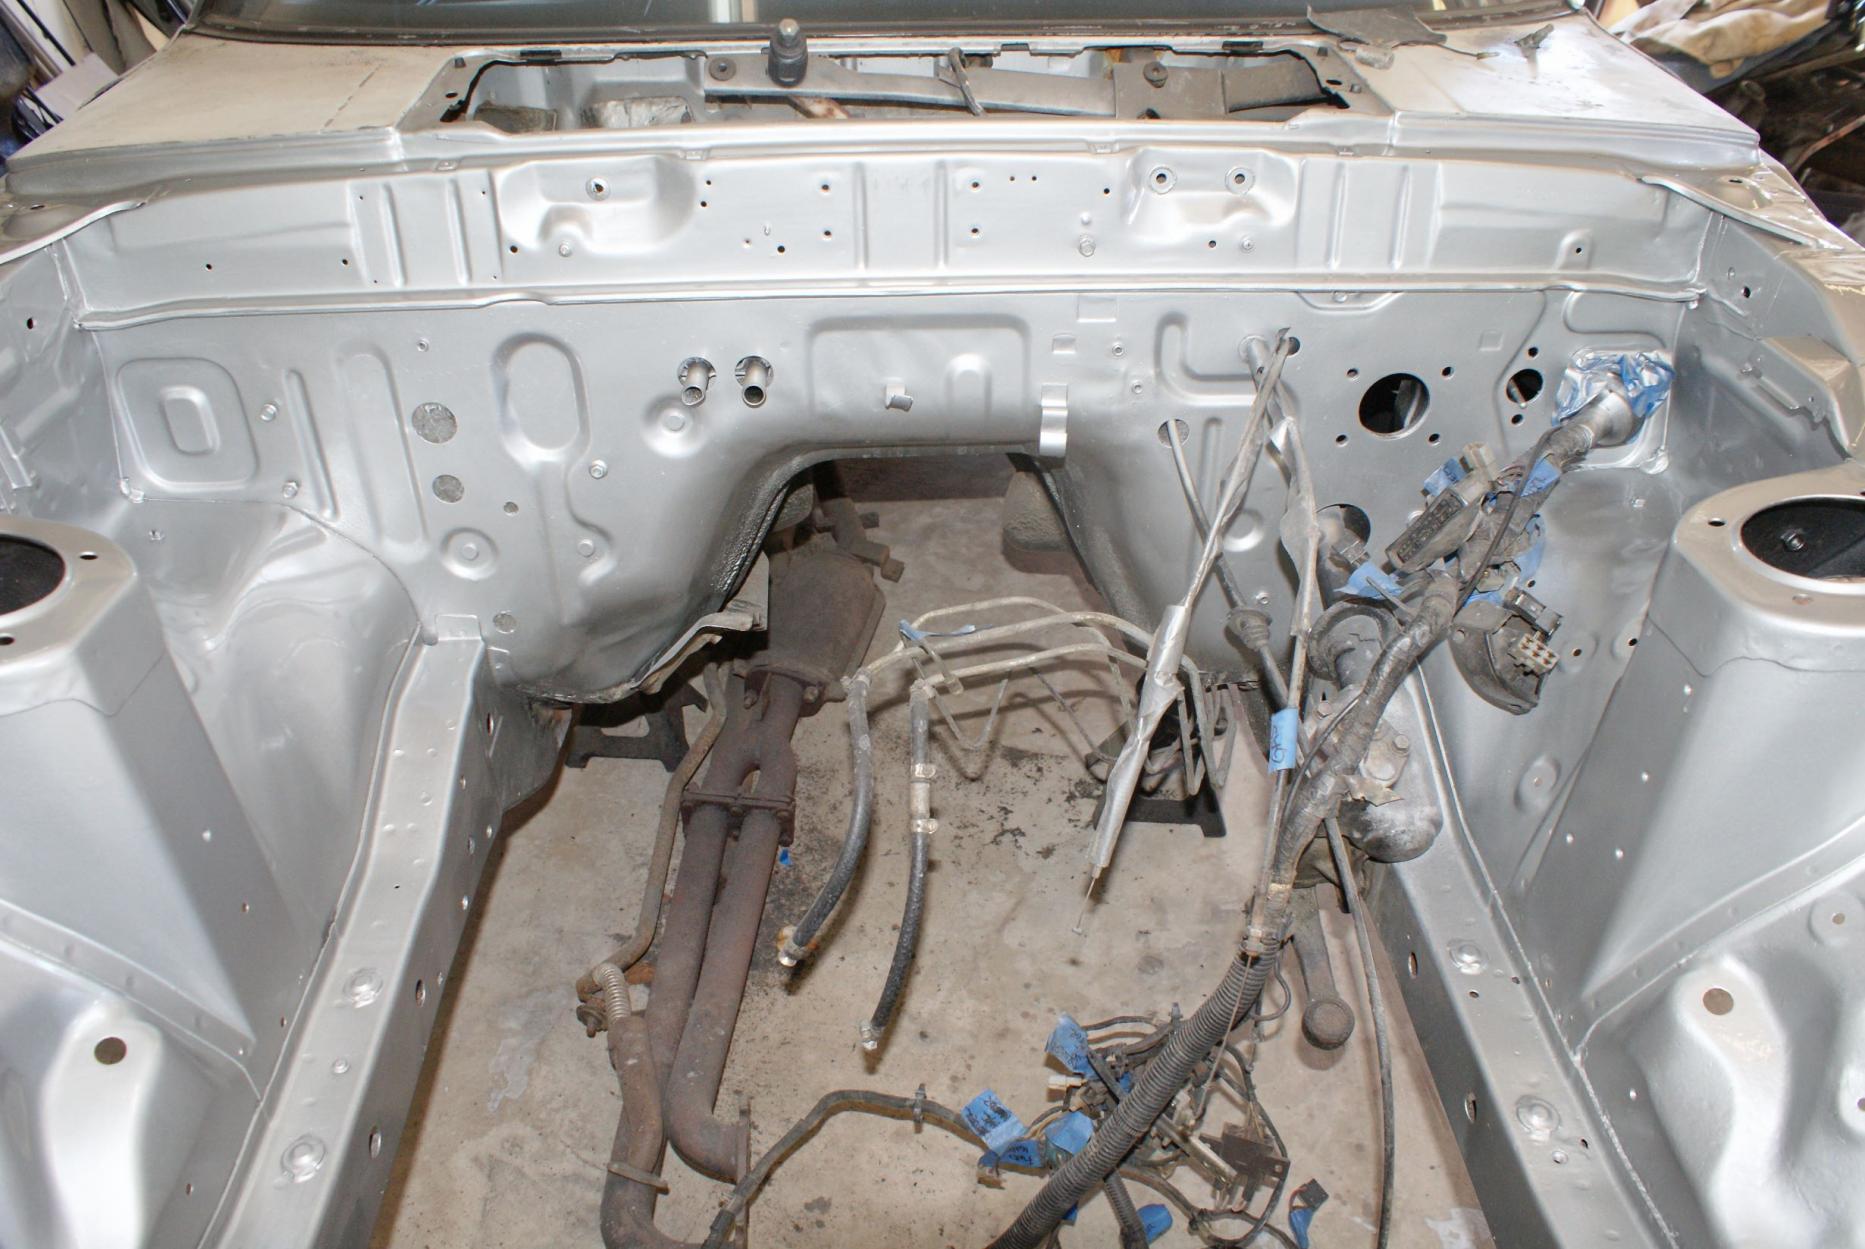
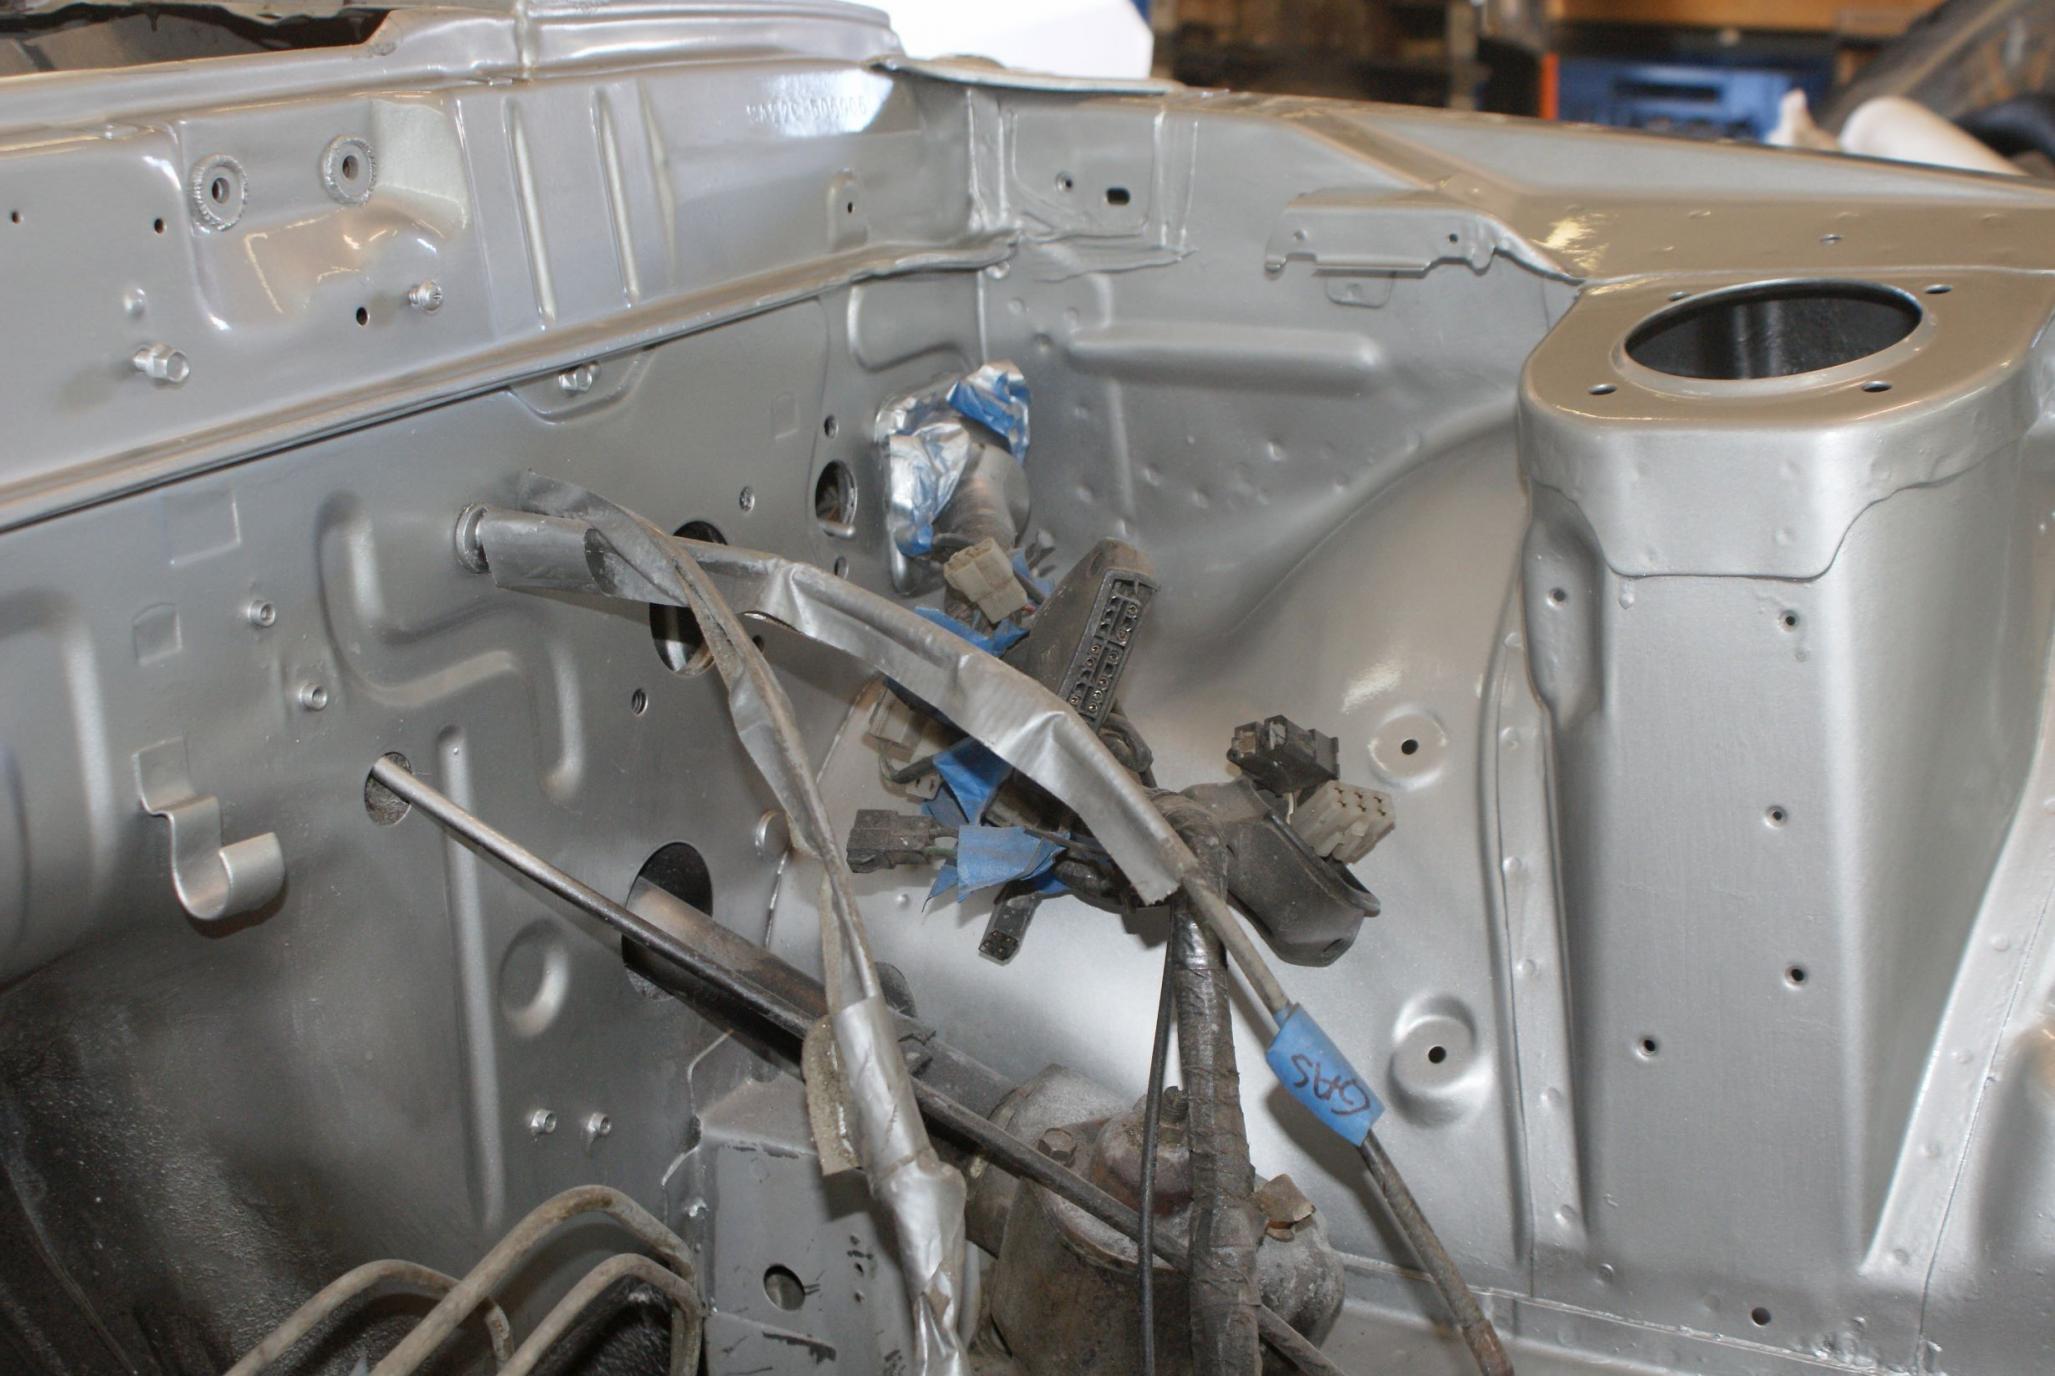
That meant that after I had painted the engine, I needed to address the engine bay. I had wet sanded it once but wasn't happy with the results, so I did it all again Saturday. I redid the whole engine bay. Then I put on the color. I had read somewhere that the Rustoleum Silver Metallic was a close match, and it kinda is, but I like the original better. This is what it looked like after the base coat color:
After that dried, I followed it up with clear. I kinda like the results, even though upon close inspection you can tell it's an amateur job without the proper tools. I'm happy with it though and it is much MUCH better than what I started with. Love that it's done!
Not bad for a rattle can job! When I finally get to the point of painting the body I'll leave that up to a professional. Not a HUGE fan of silver, but that's the original color and I'm more a fan of keeping the original color. I'll order a pint or two from the same place and hire that job out.
That meant that after I had painted the engine, I needed to address the engine bay. I had wet sanded it once but wasn't happy with the results, so I did it all again Saturday. I redid the whole engine bay. Then I put on the color. I had read somewhere that the Rustoleum Silver Metallic was a close match, and it kinda is, but I like the original better. This is what it looked like after the base coat color:
After that dried, I followed it up with clear. I kinda like the results, even though upon close inspection you can tell it's an amateur job without the proper tools. I'm happy with it though and it is much MUCH better than what I started with. Love that it's done!

Not bad for a rattle can job! When I finally get to the point of painting the body I'll leave that up to a professional. Not a HUGE fan of silver, but that's the original color and I'm more a fan of keeping the original color. I'll order a pint or two from the same place and hire that job out.


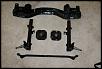
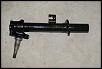
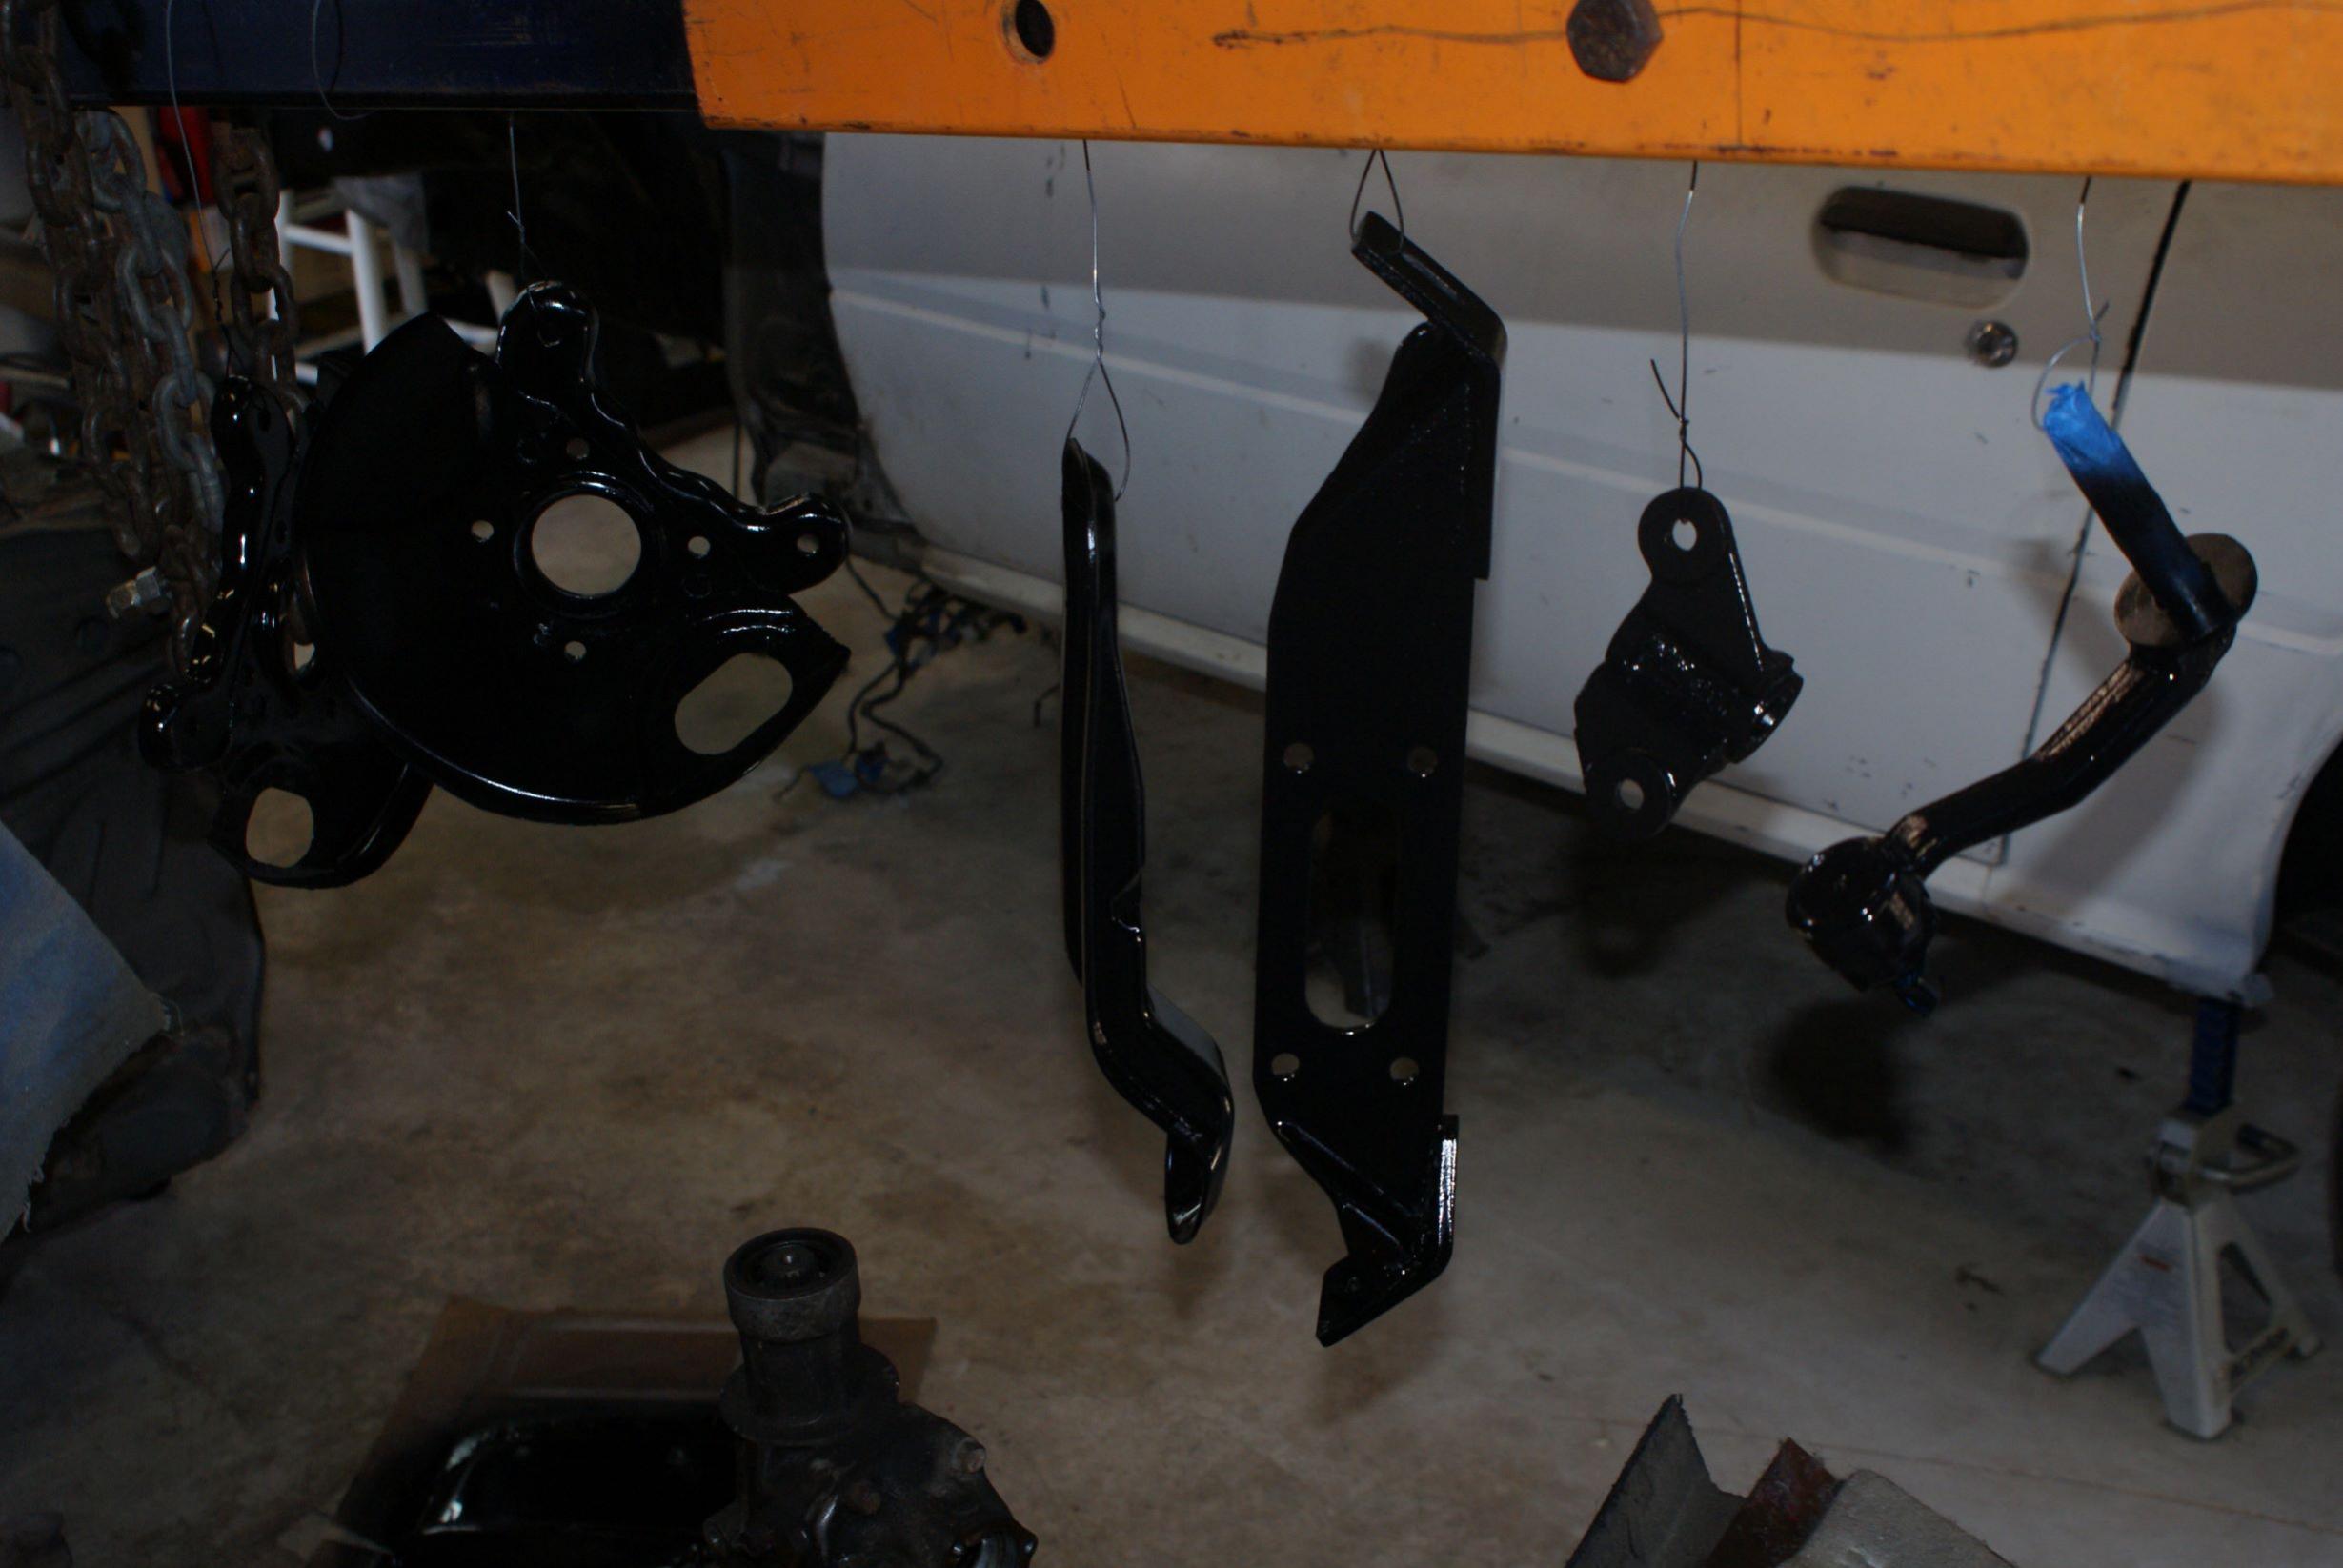
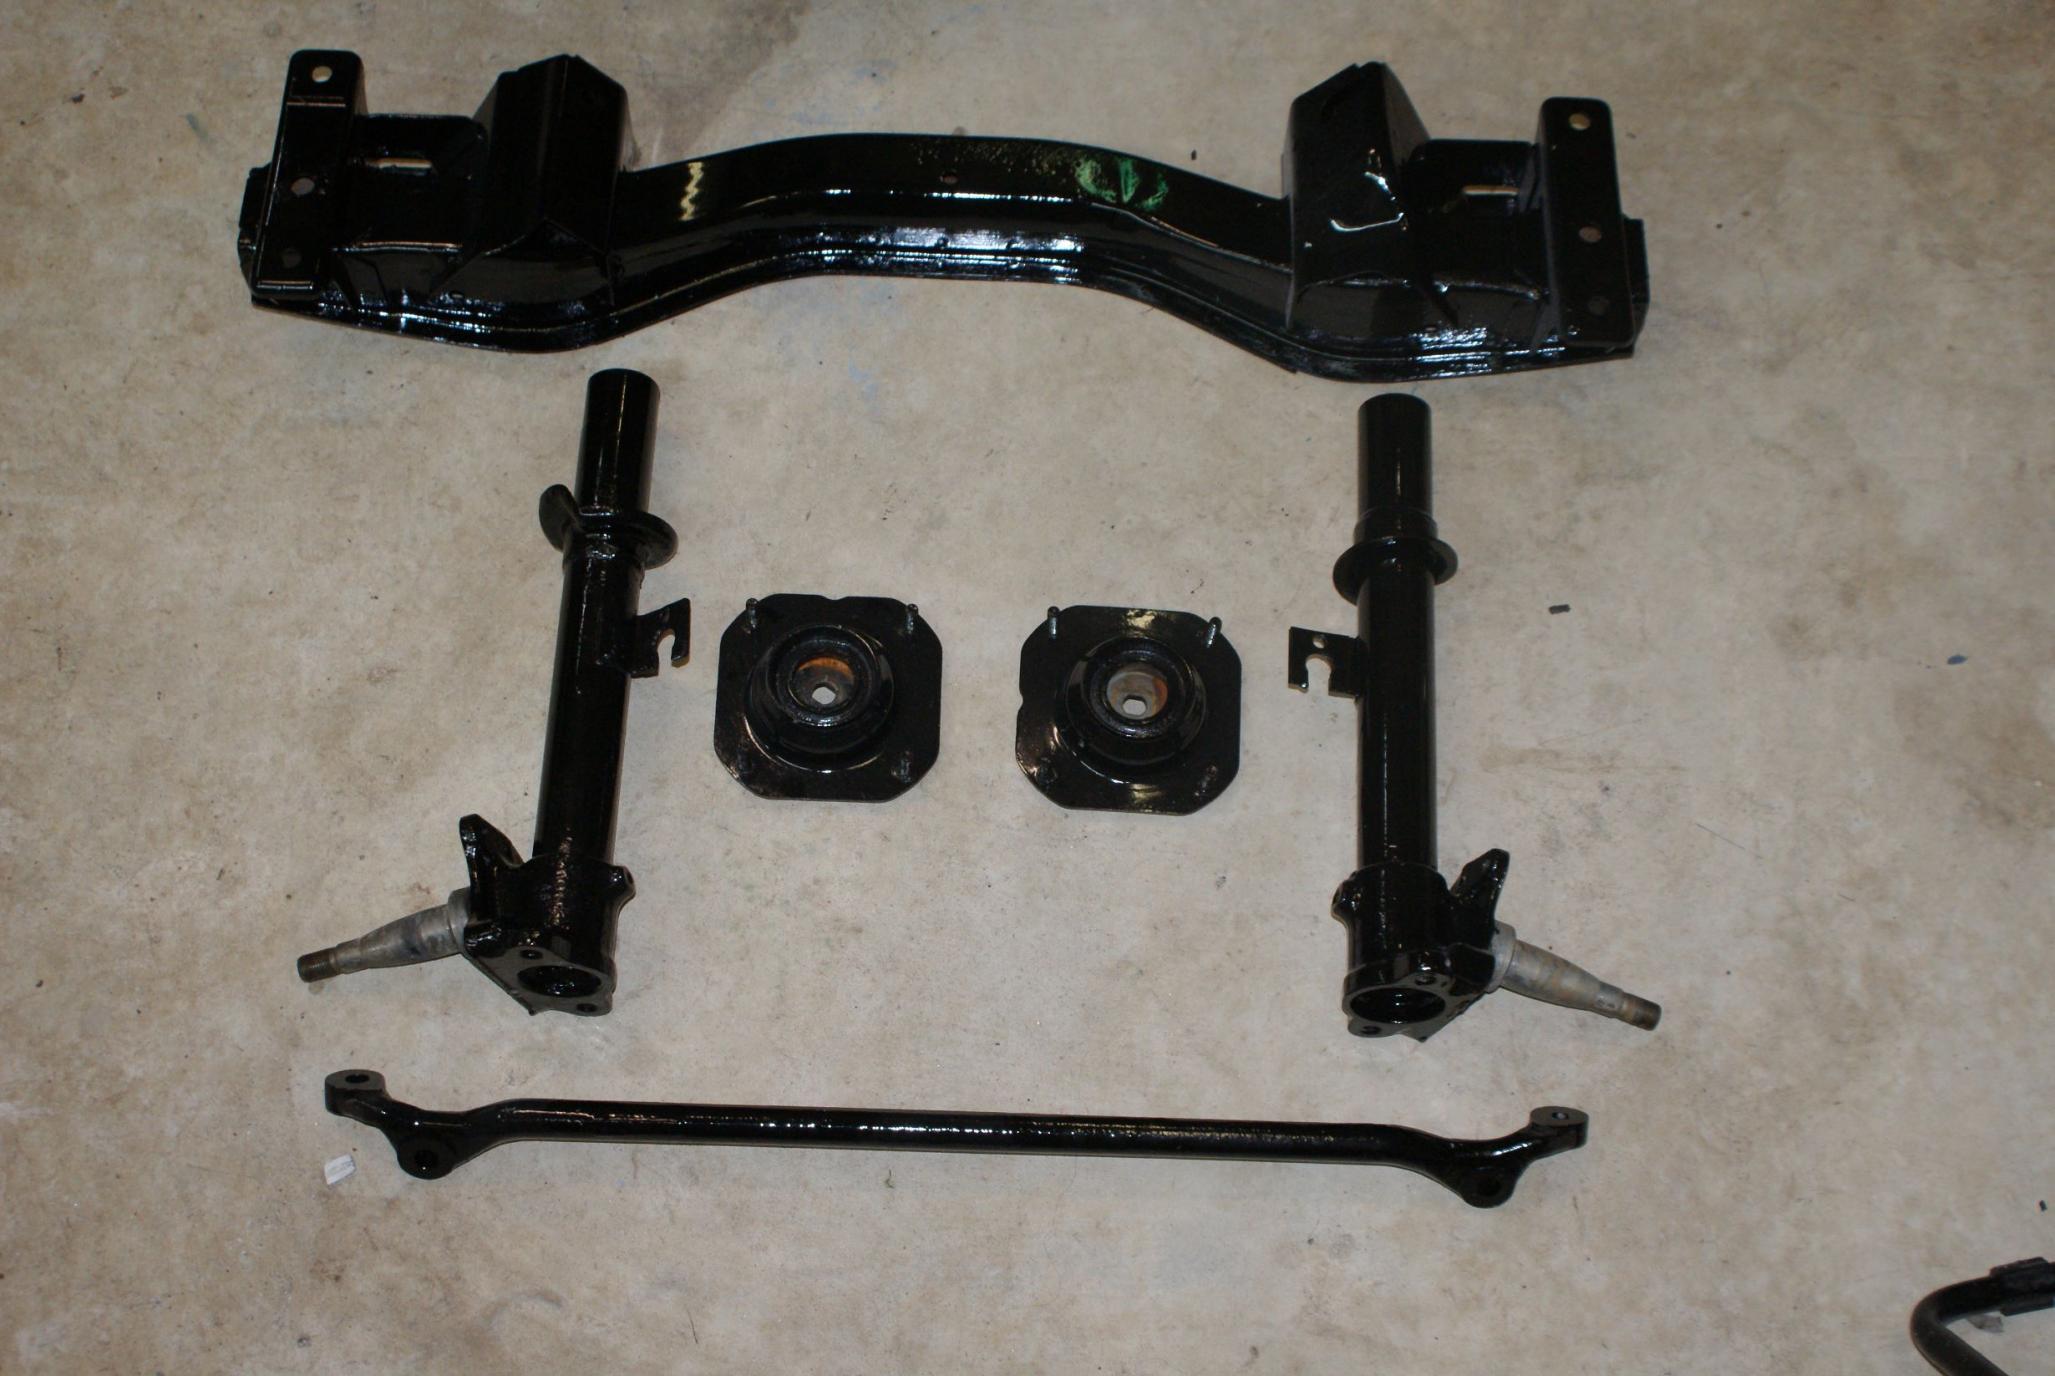
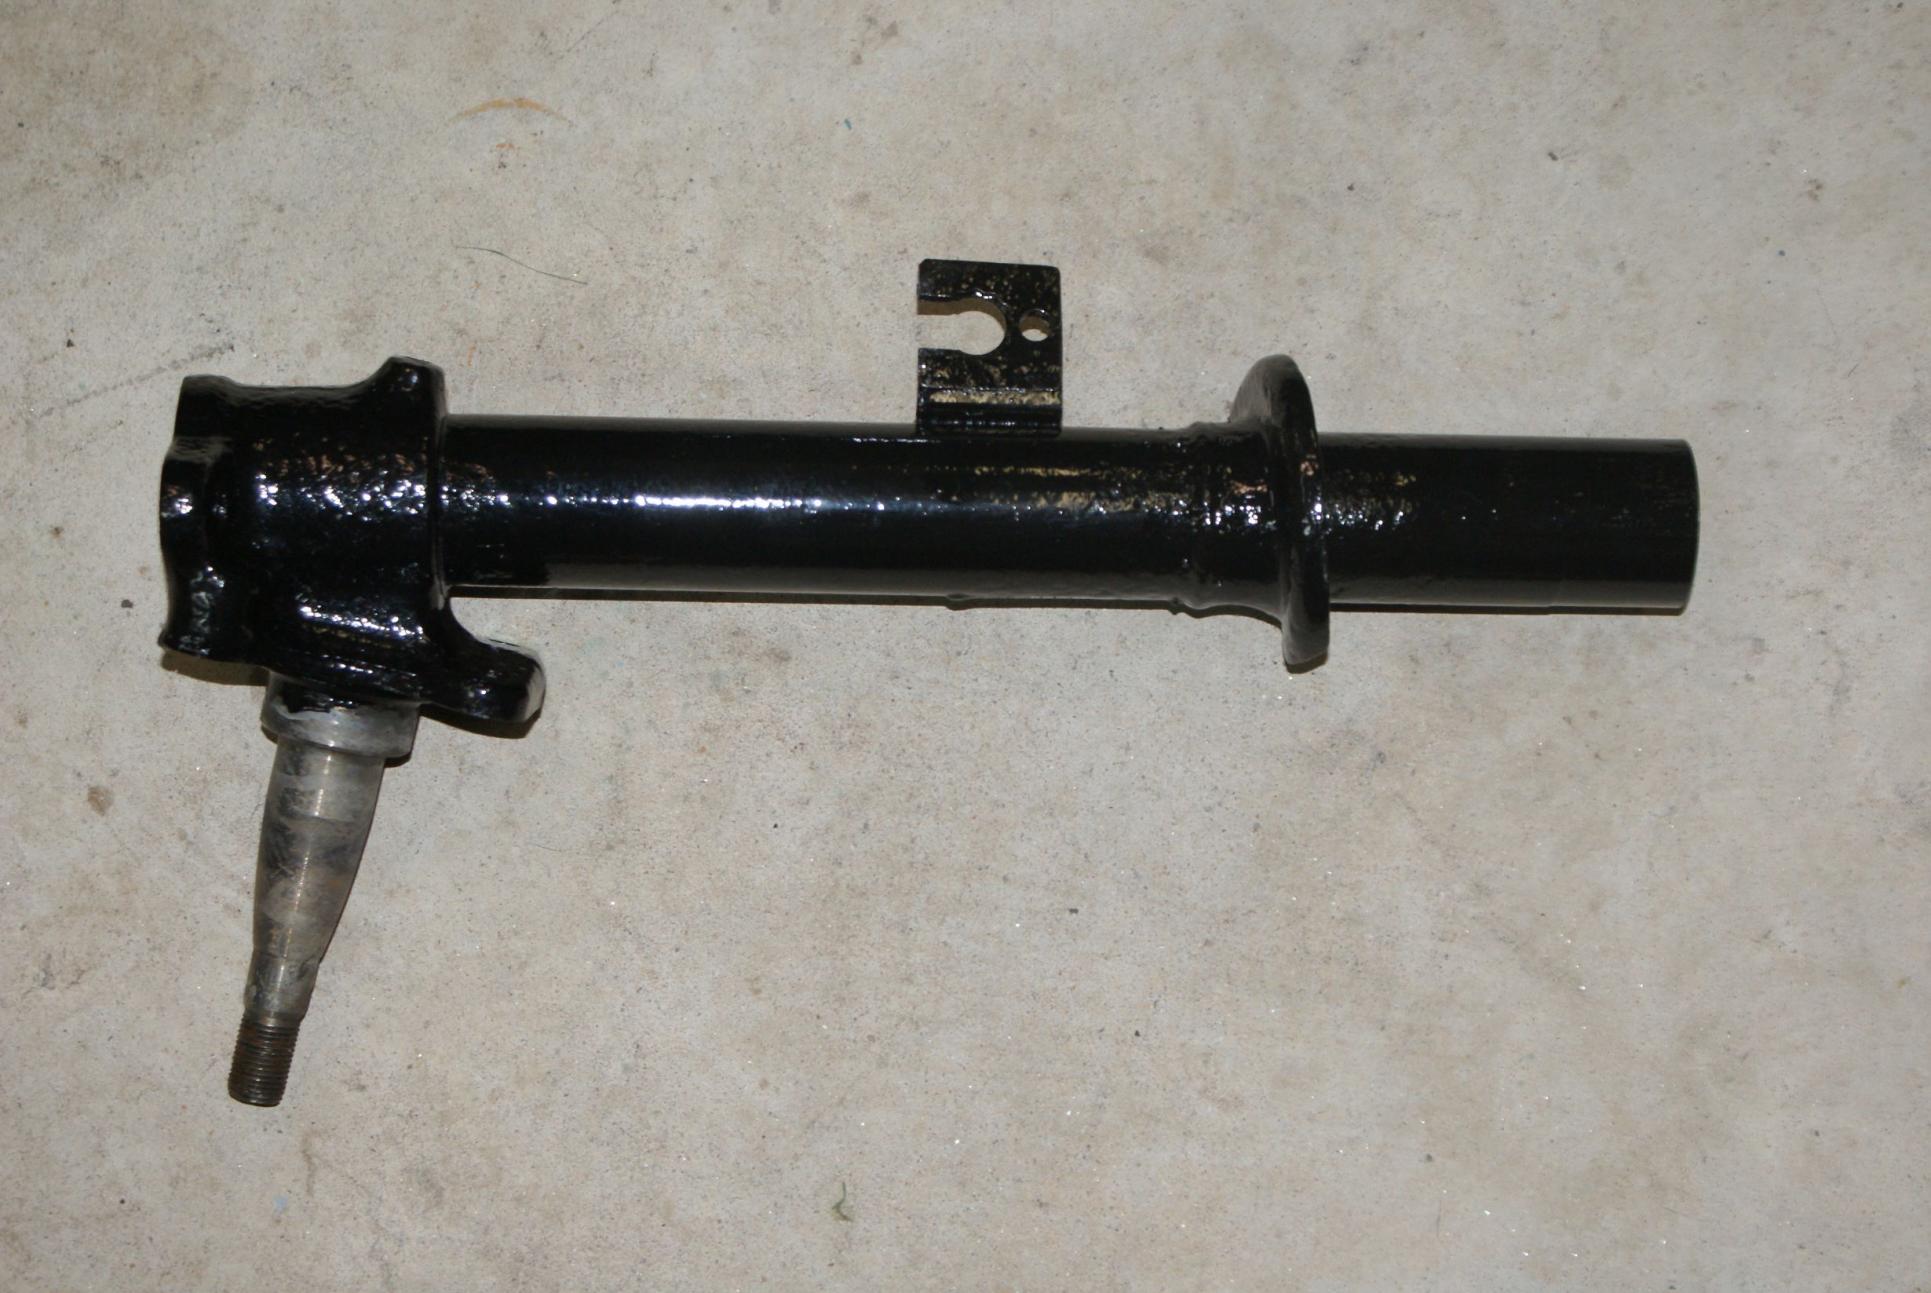
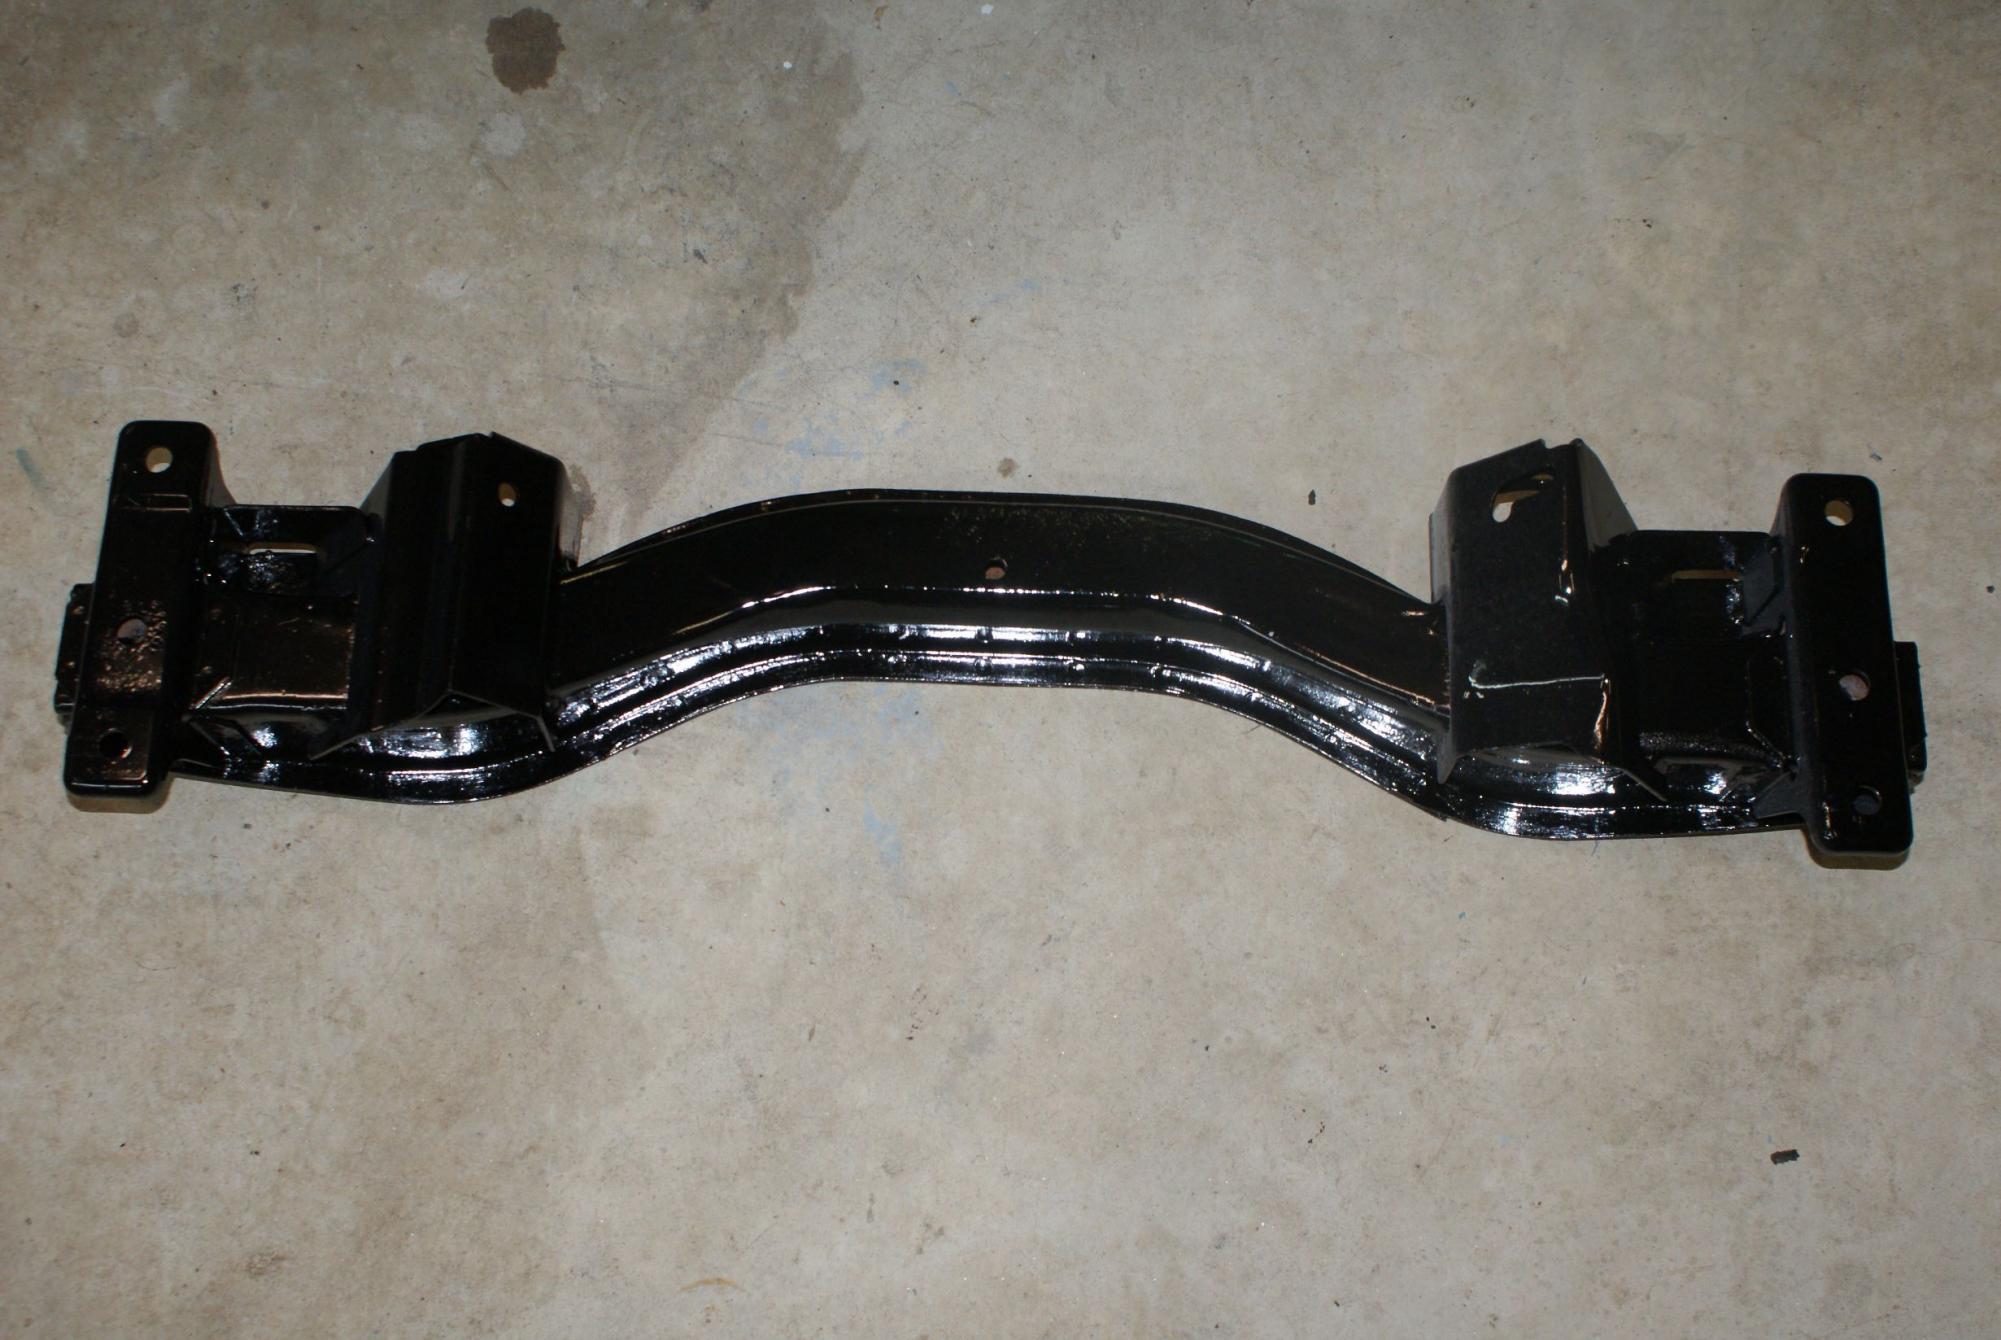
Been sorta busy and trying to take advantage of the warmer temps to finish up some painting. Got the main engine cross member and a bunch of suspension parts completed:
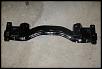
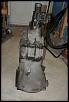
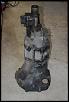
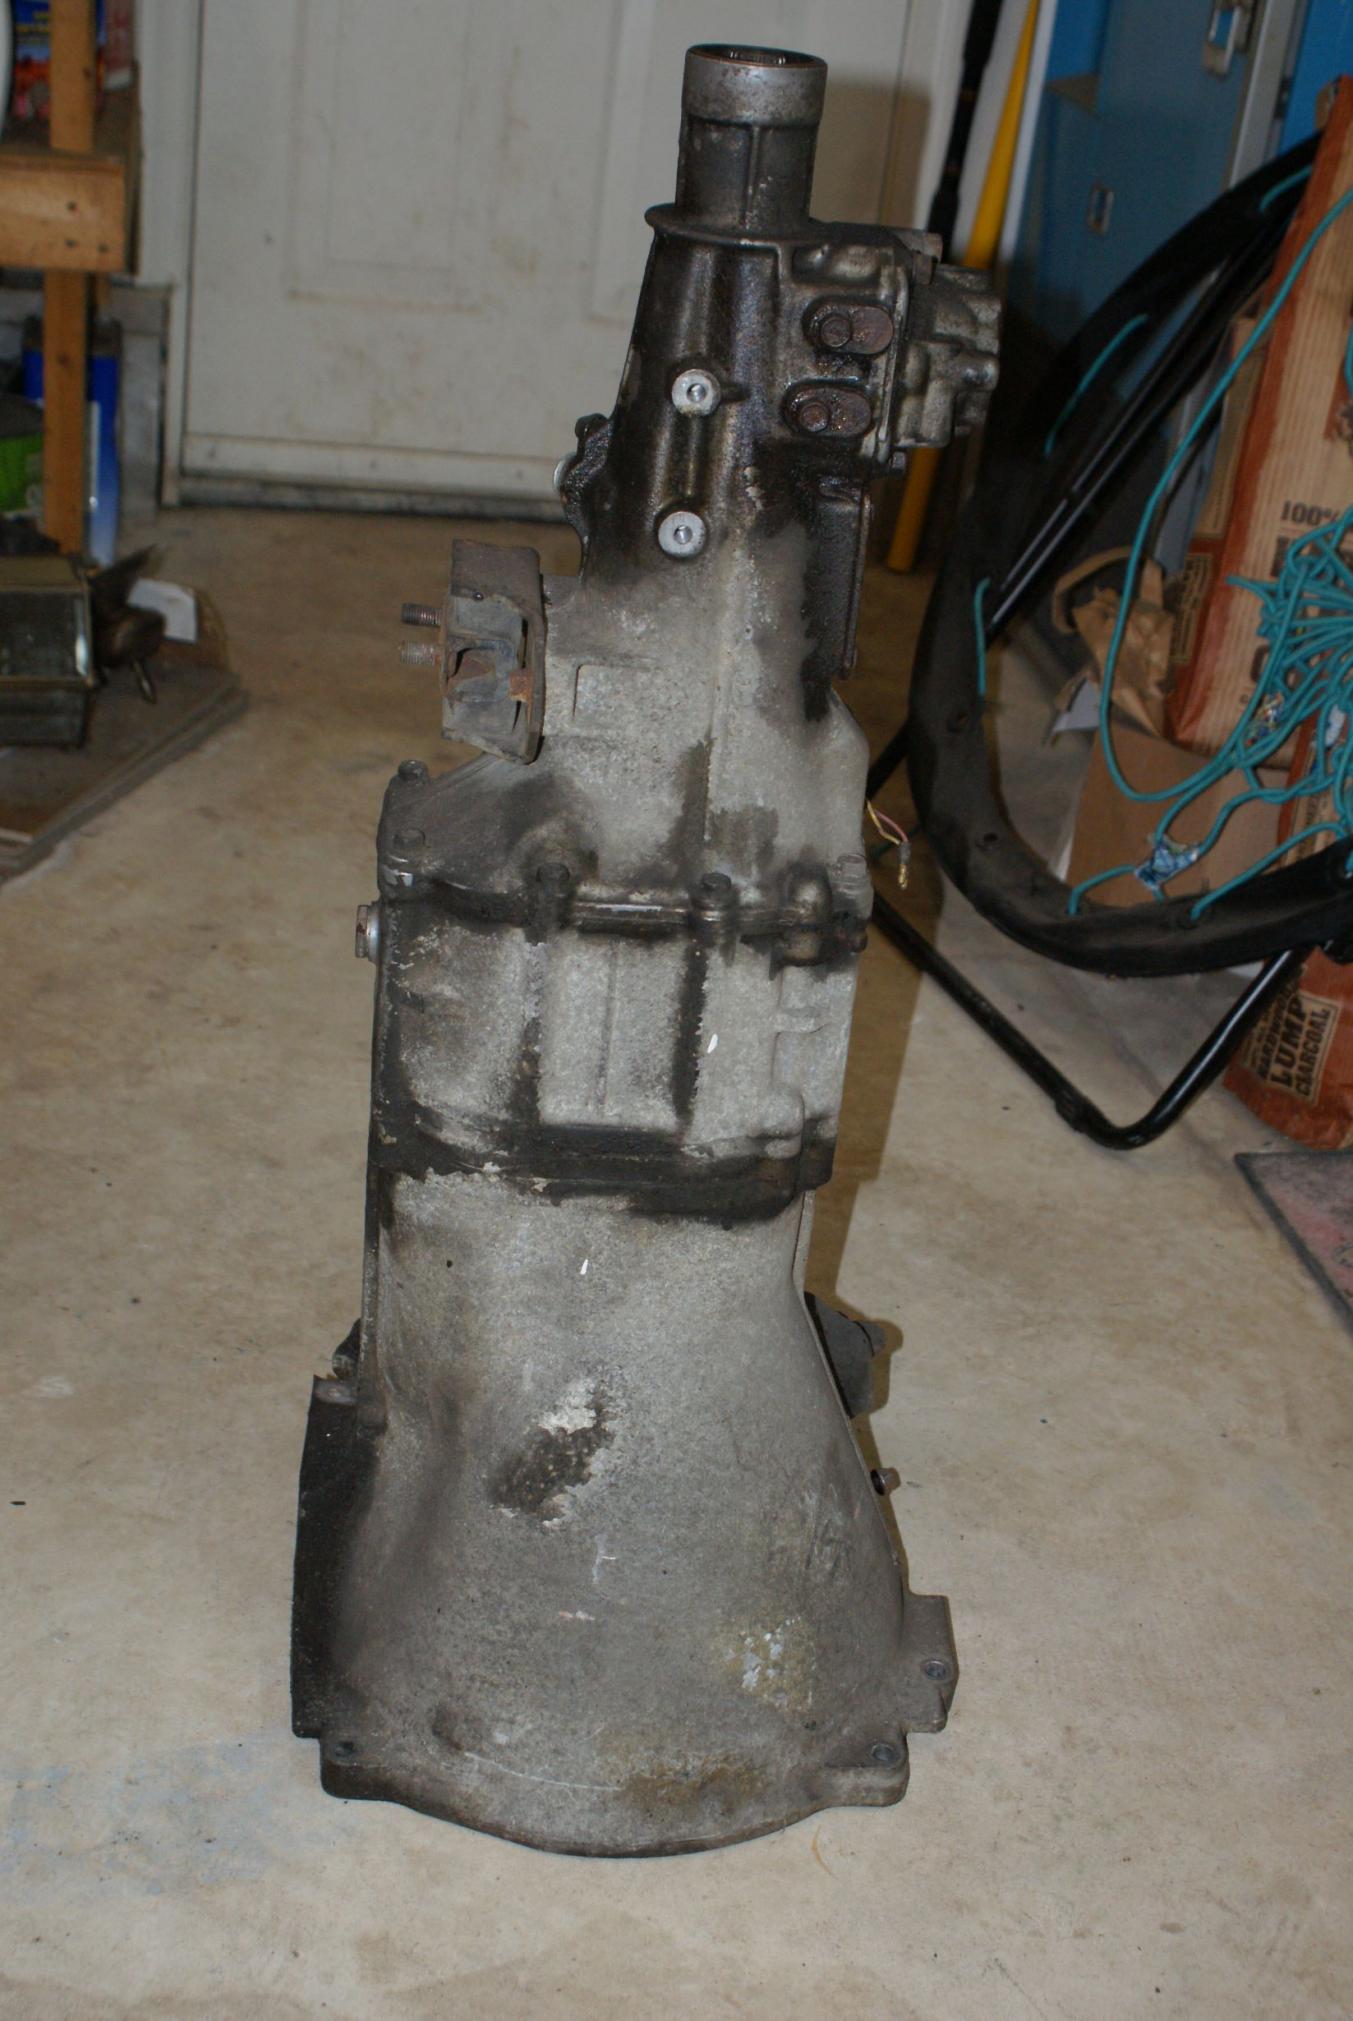
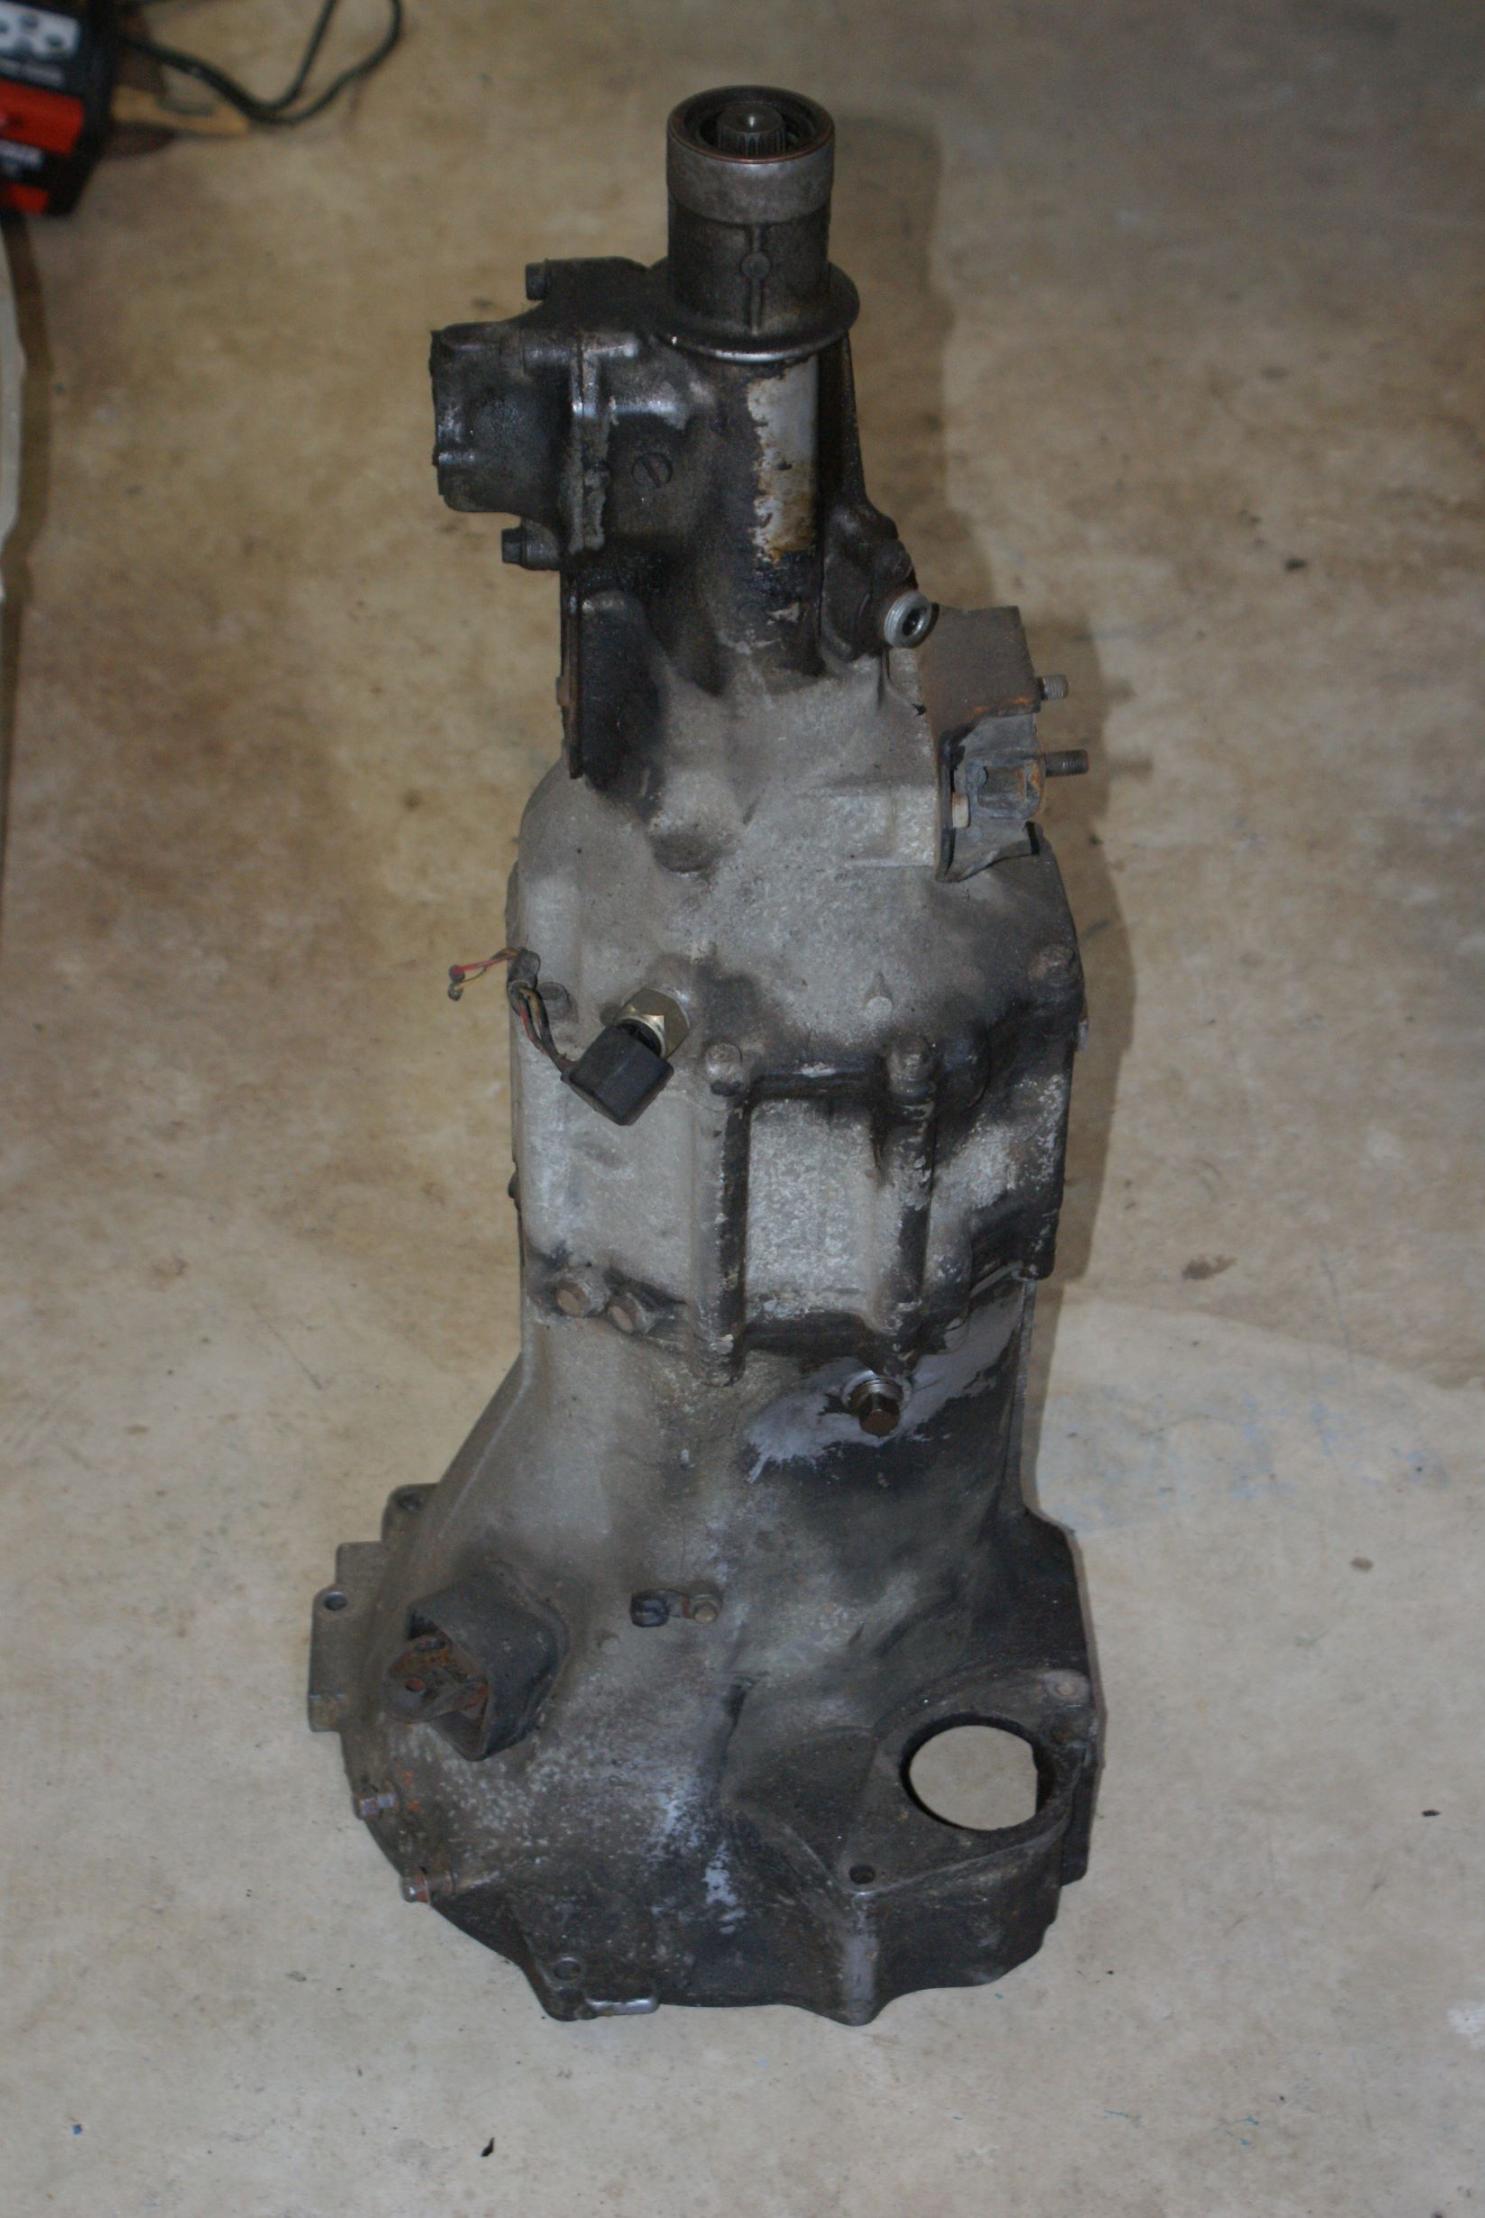
I need to start on the transmission; clean it up, replace the seals, get a couple new gaskets, reseal the main housing with silicone, put it back together and repaint it. I need to re-solder a wire on the backup light switch too, so there's an excuse for a new tool!
I'd like to get the flywheel nut torqued down, fix up the transmission and mate the two back together, install the main engine cross member and put the engine and transmission back in the car. That's the plan anyway! Maybe Santa will buy me a new set of KYB struts and a set of RB springs so I can put the suspension back together (fingers crossed!).
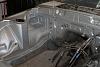
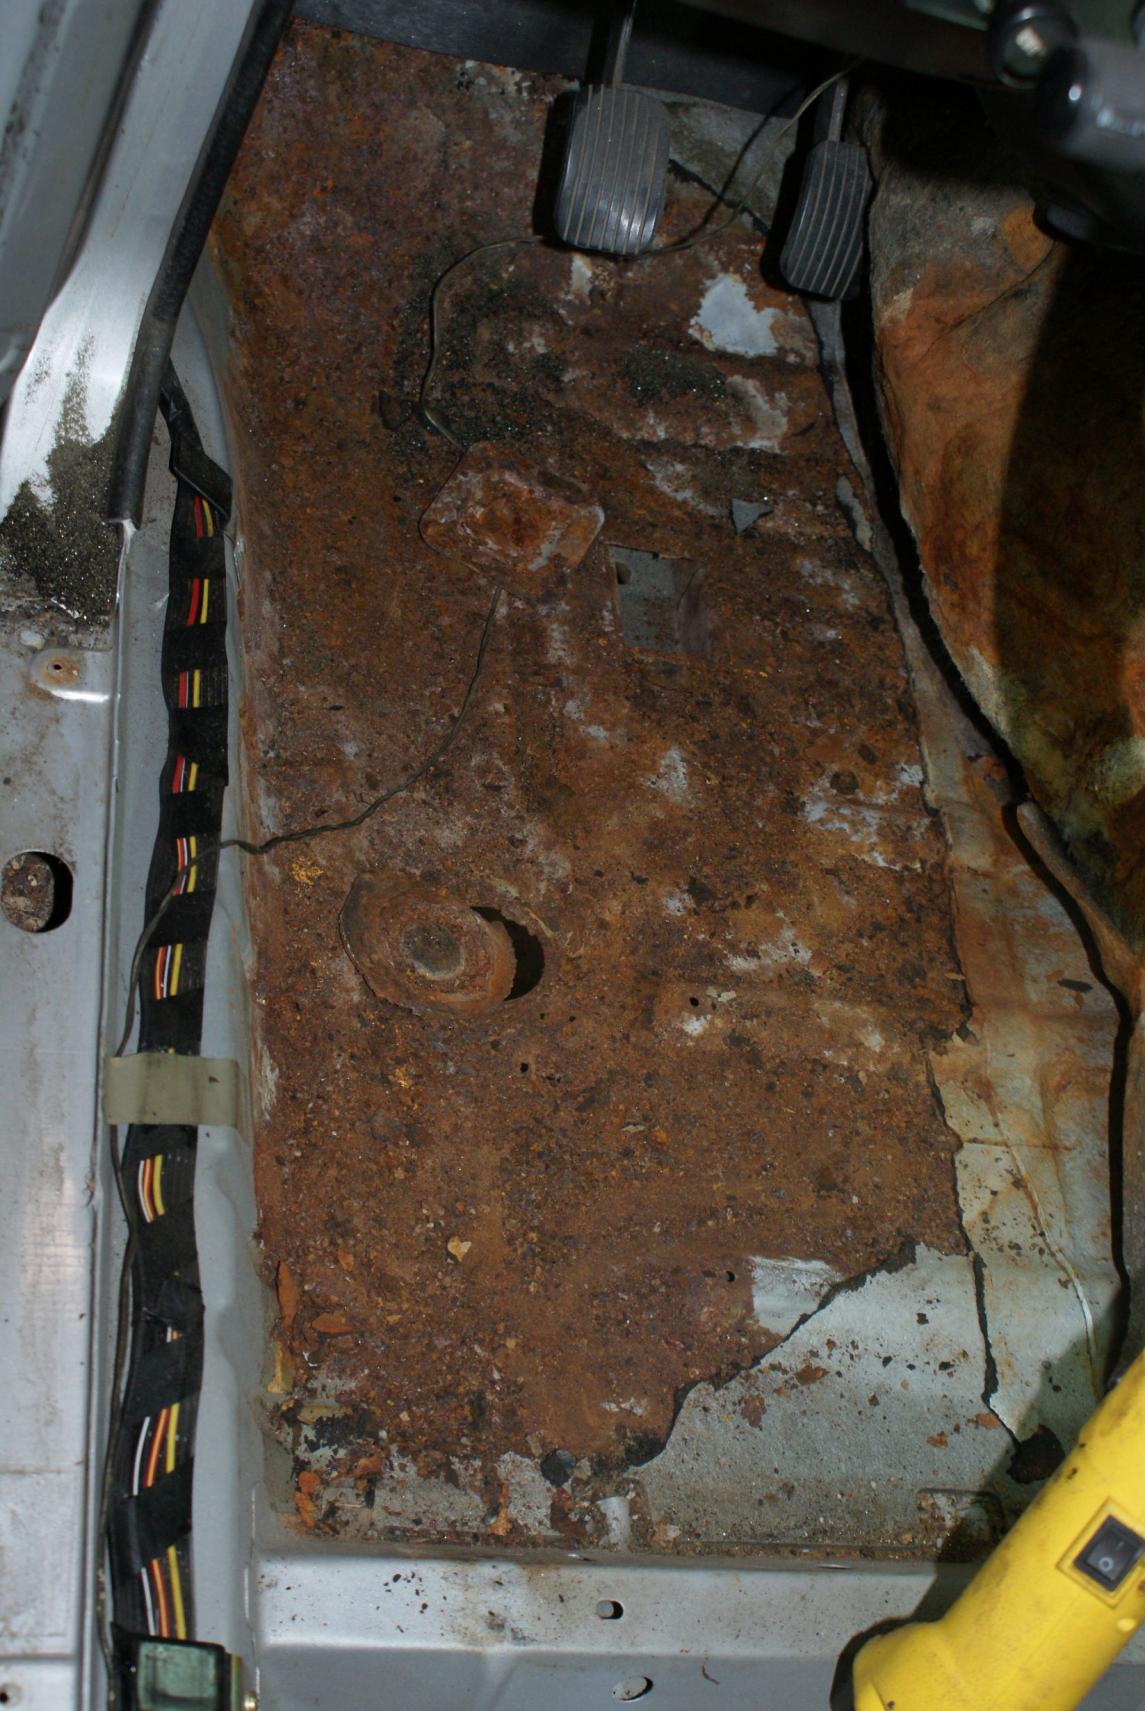
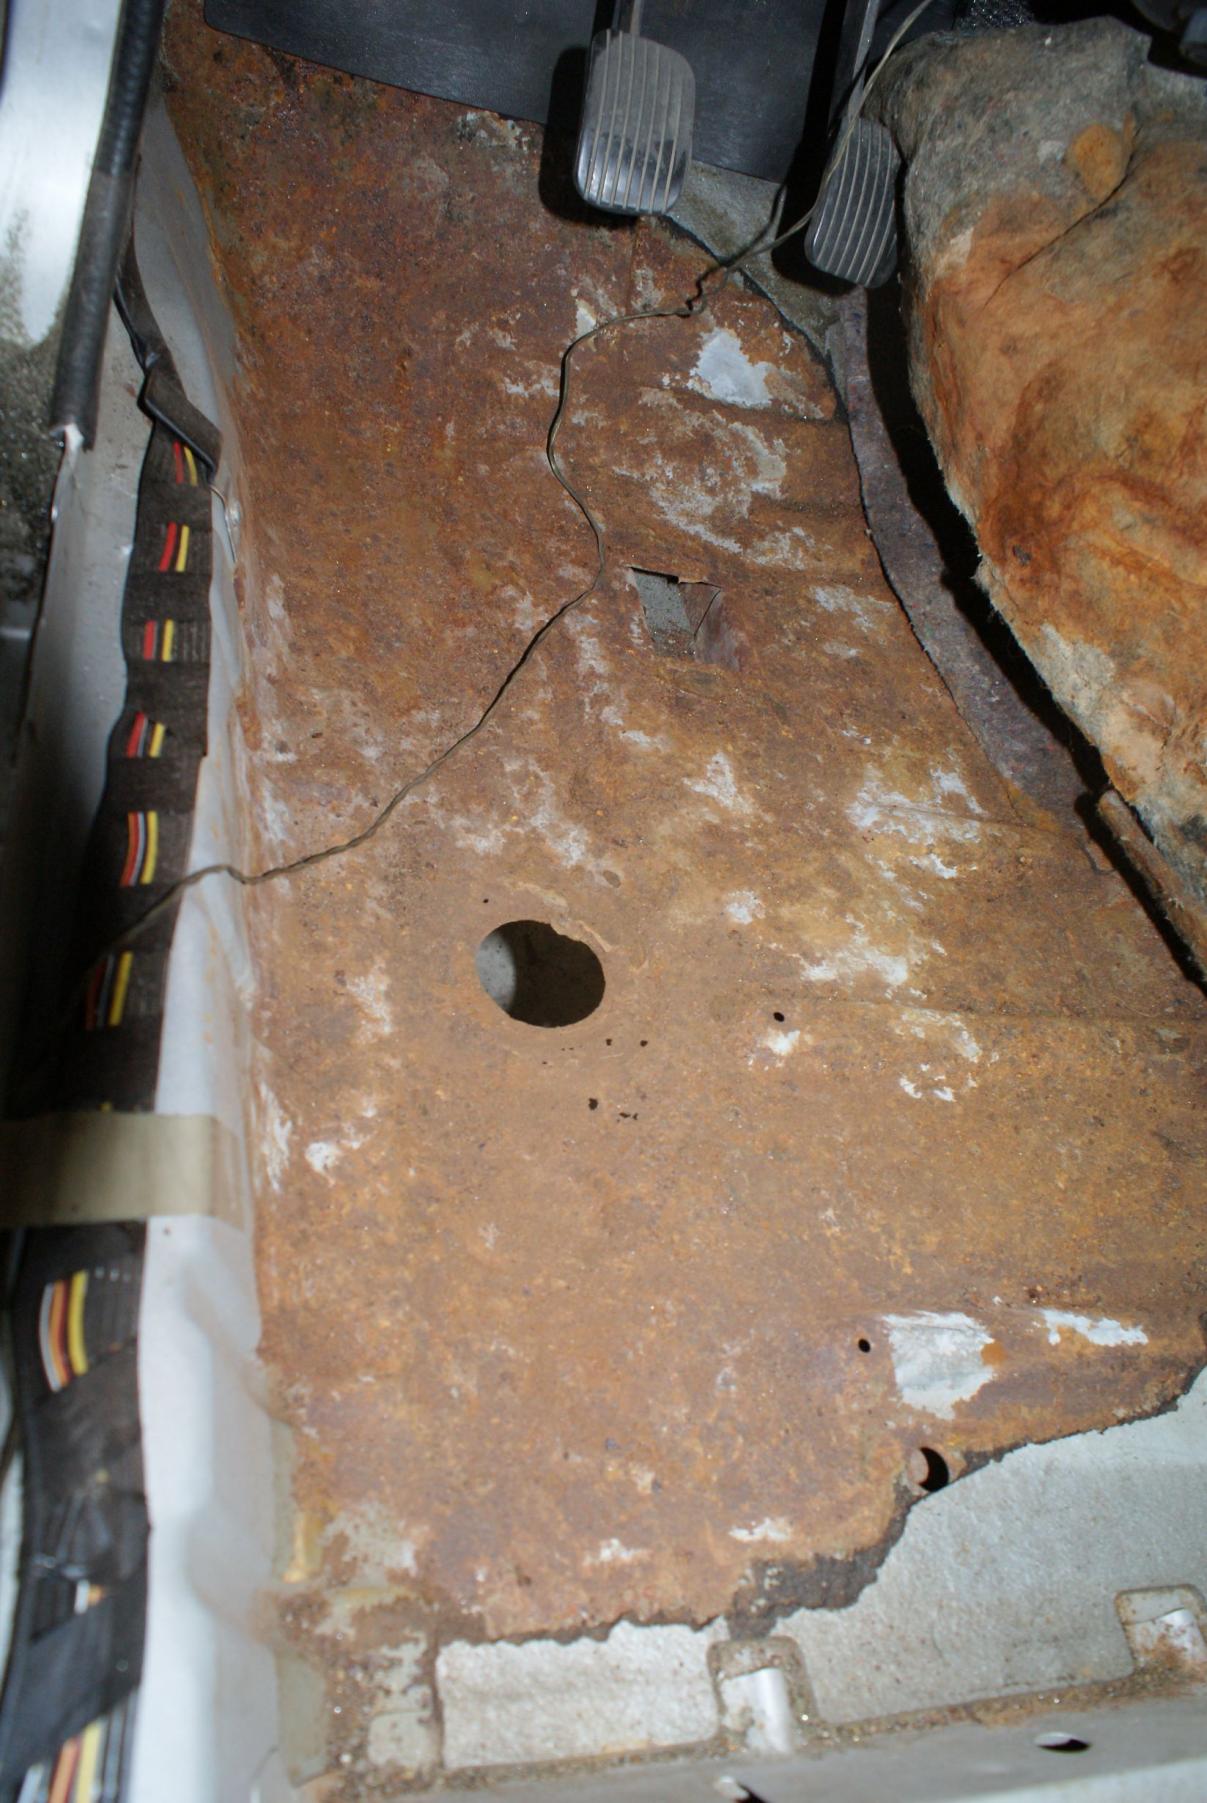
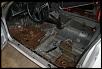
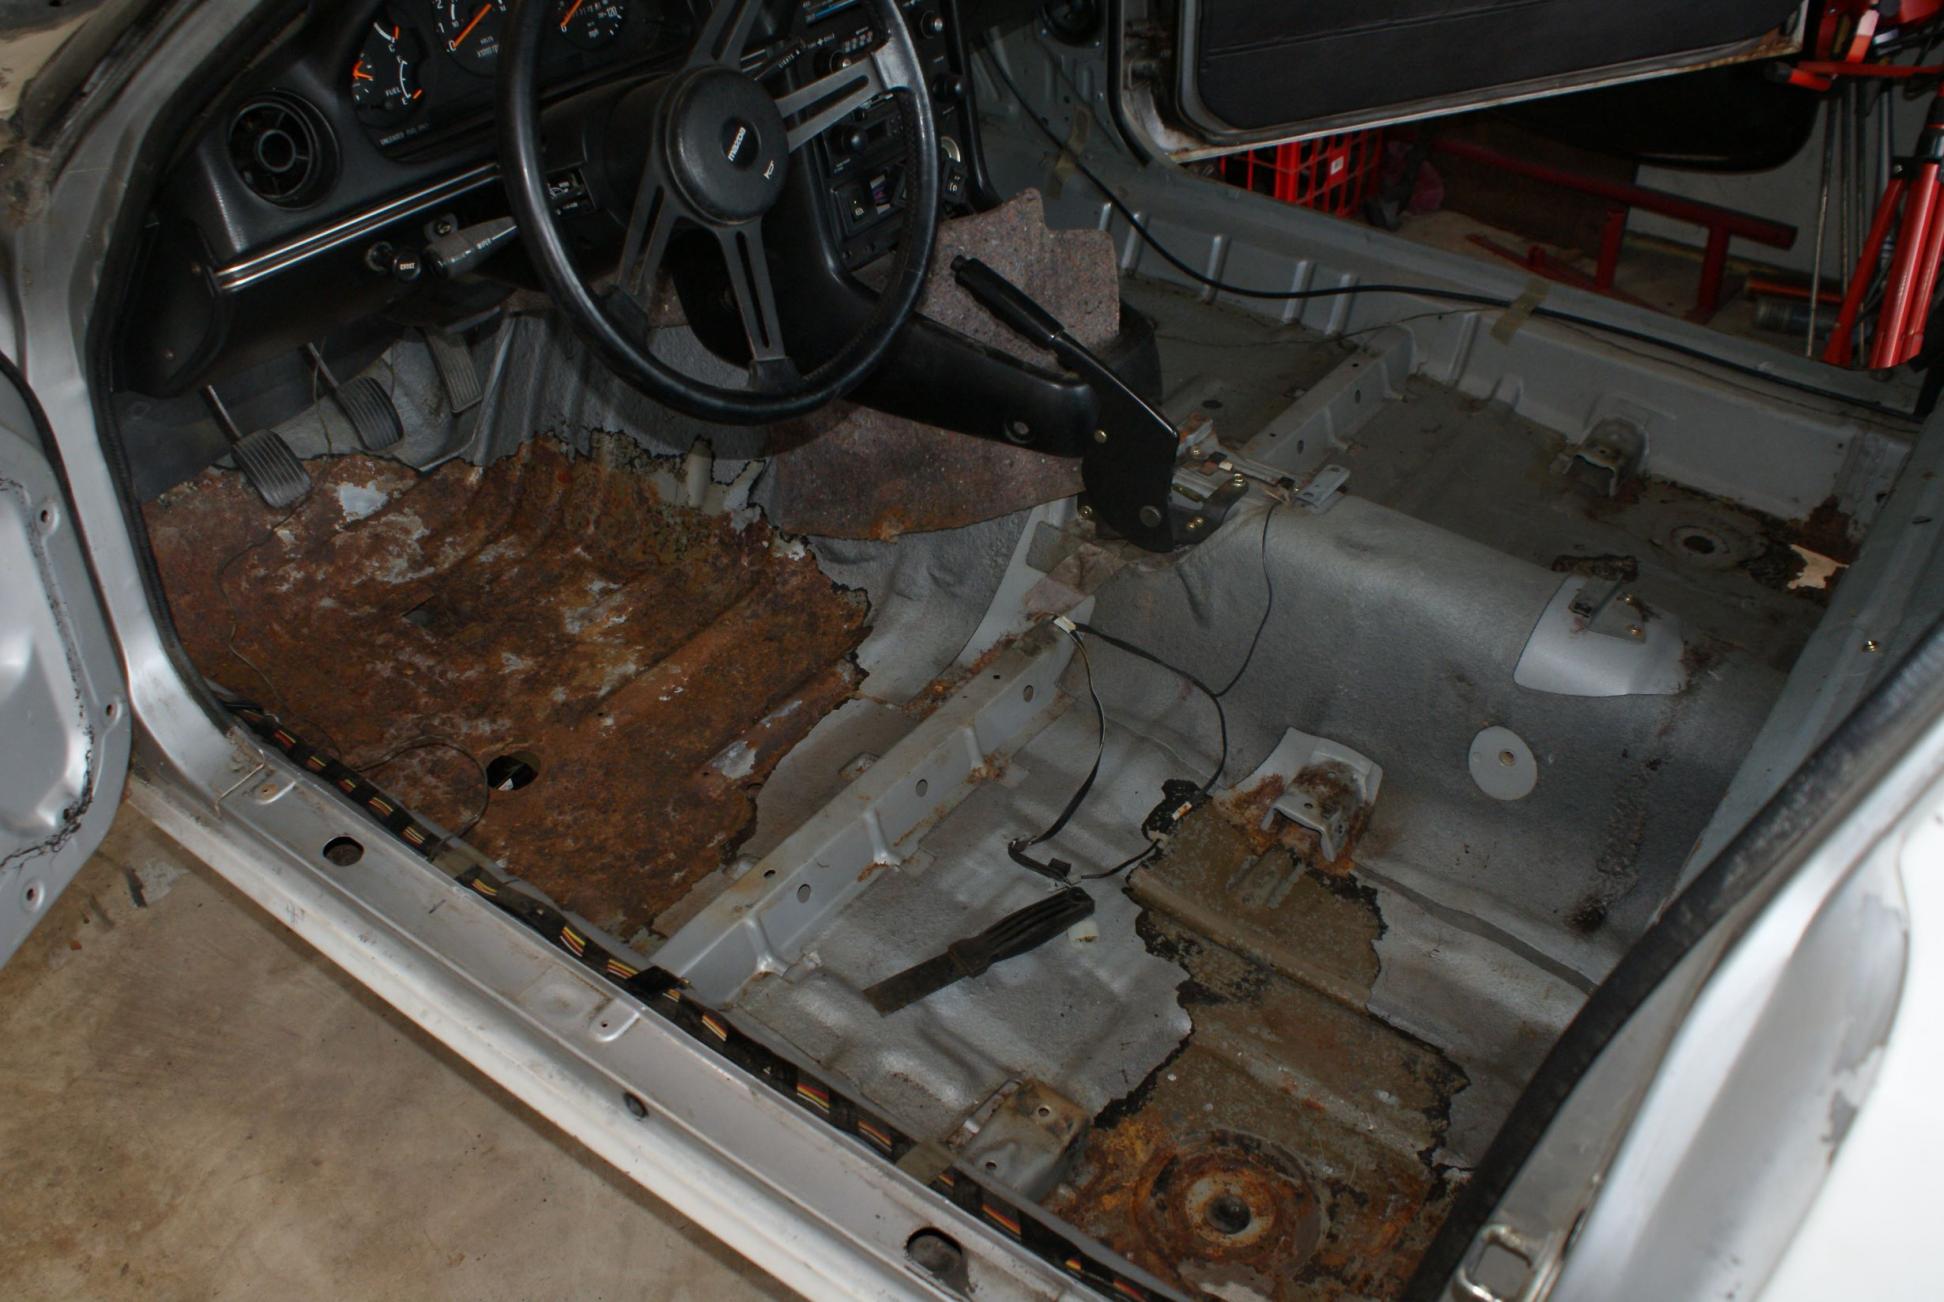
Well I didn't get to the car at all this past weekend, and I really don't have the pan to put transmission in to clean it like I want to, so I did nothing on the car until tonight. I took an hour or so and poked around the interior a bit. I need to take out the carpets and take up that floor insulation / rubber crap to get an idea of how much rust repair I need to do.
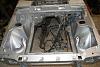
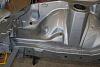
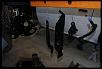
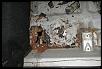
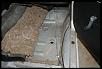
Well.... It's a lot. This is just the drivers side, and I didn't even get to the rear wheel wells which I KNOW are rotten.
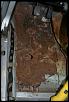
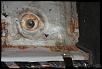
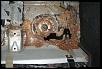
The only good thing is that the insulation / rubber crap came up in large chunks. Unfortunately because of all the rust. I also have most of a donor floor thanks to Rotaryhaven who sold me almost a complete rust free body. At least all I could fit into my truck (see previous posts).
Looks like I'll finally get to learning how to use the cutoff wheel, grinder, and welder I bought when there was a fantastic sale at HF.
Well.... It's a lot. This is just the drivers side, and I didn't even get to the rear wheel wells which I KNOW are rotten.

The only good thing is that the insulation / rubber crap came up in large chunks. Unfortunately because of all the rust. I also have most of a donor floor thanks to Rotaryhaven who sold me almost a complete rust free body. At least all I could fit into my truck (see previous posts).
Looks like I'll finally get to learning how to use the cutoff wheel, grinder, and welder I bought when there was a fantastic sale at HF.
Junior Member
Joined: Apr 2013
Posts: 6
Likes: 0
From: Kansas City MO area
I've got an '83 with 100K+. It runs kinda rough, too, but does *not* exhibit the ticking noise that you refer to. I don't work on engines so can't offer any kind of diagnosis. Just that in my experience, the ticking sound is not typical.
Yes, I'm sure it is, and lots of love at that.
I'm positive now after talking with a couple others that the noise was from having the incorrect intake manifold on the engine leaving part of the exhaust ports open to the atmosphere. Mystery solved!
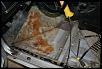
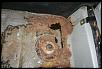
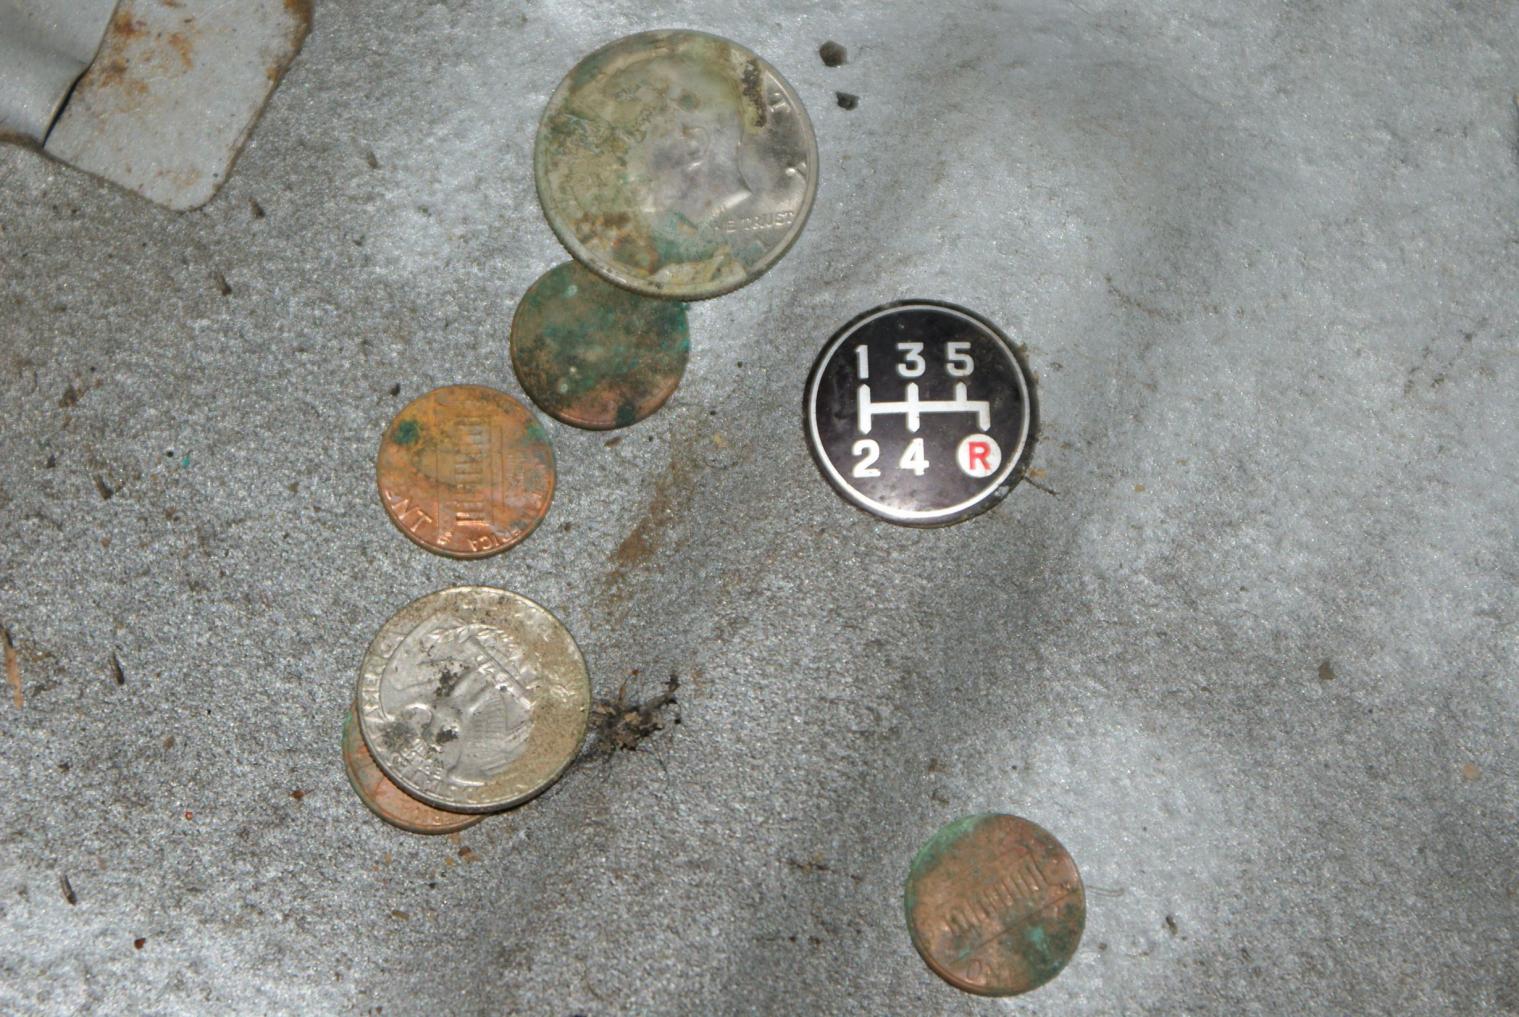
The passenger side floors are not nearly as bad as the drivers side for some reason, and look what I found tonight!! JACKPOT!! I found a 50 cent piece and the center graphic for the old (and now missing) shift ****!

The passenger side floors are not nearly as bad as the drivers side for some reason, and look what I found tonight!! JACKPOT!! I found a 50 cent piece and the center graphic for the old (and now missing) shift ****!

Last edited by woodmv; Nov 19, 2013 at 07:18 PM.
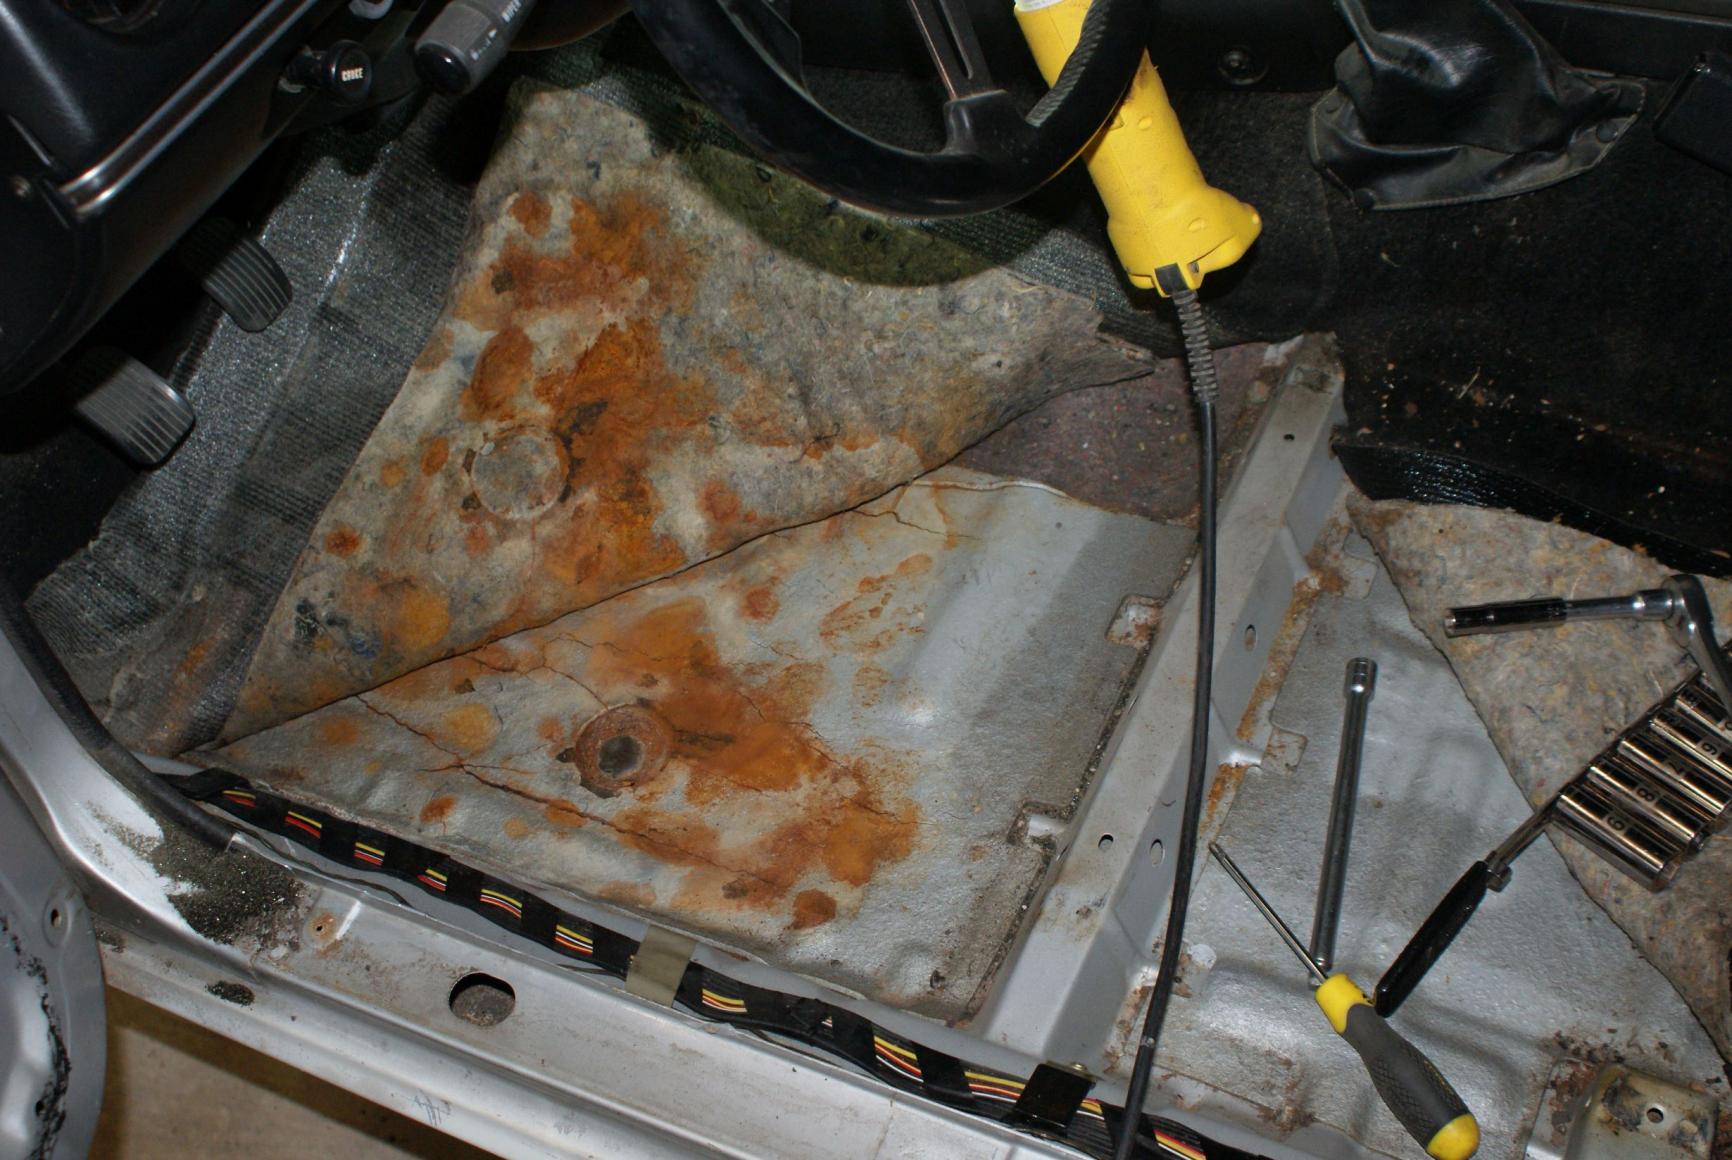
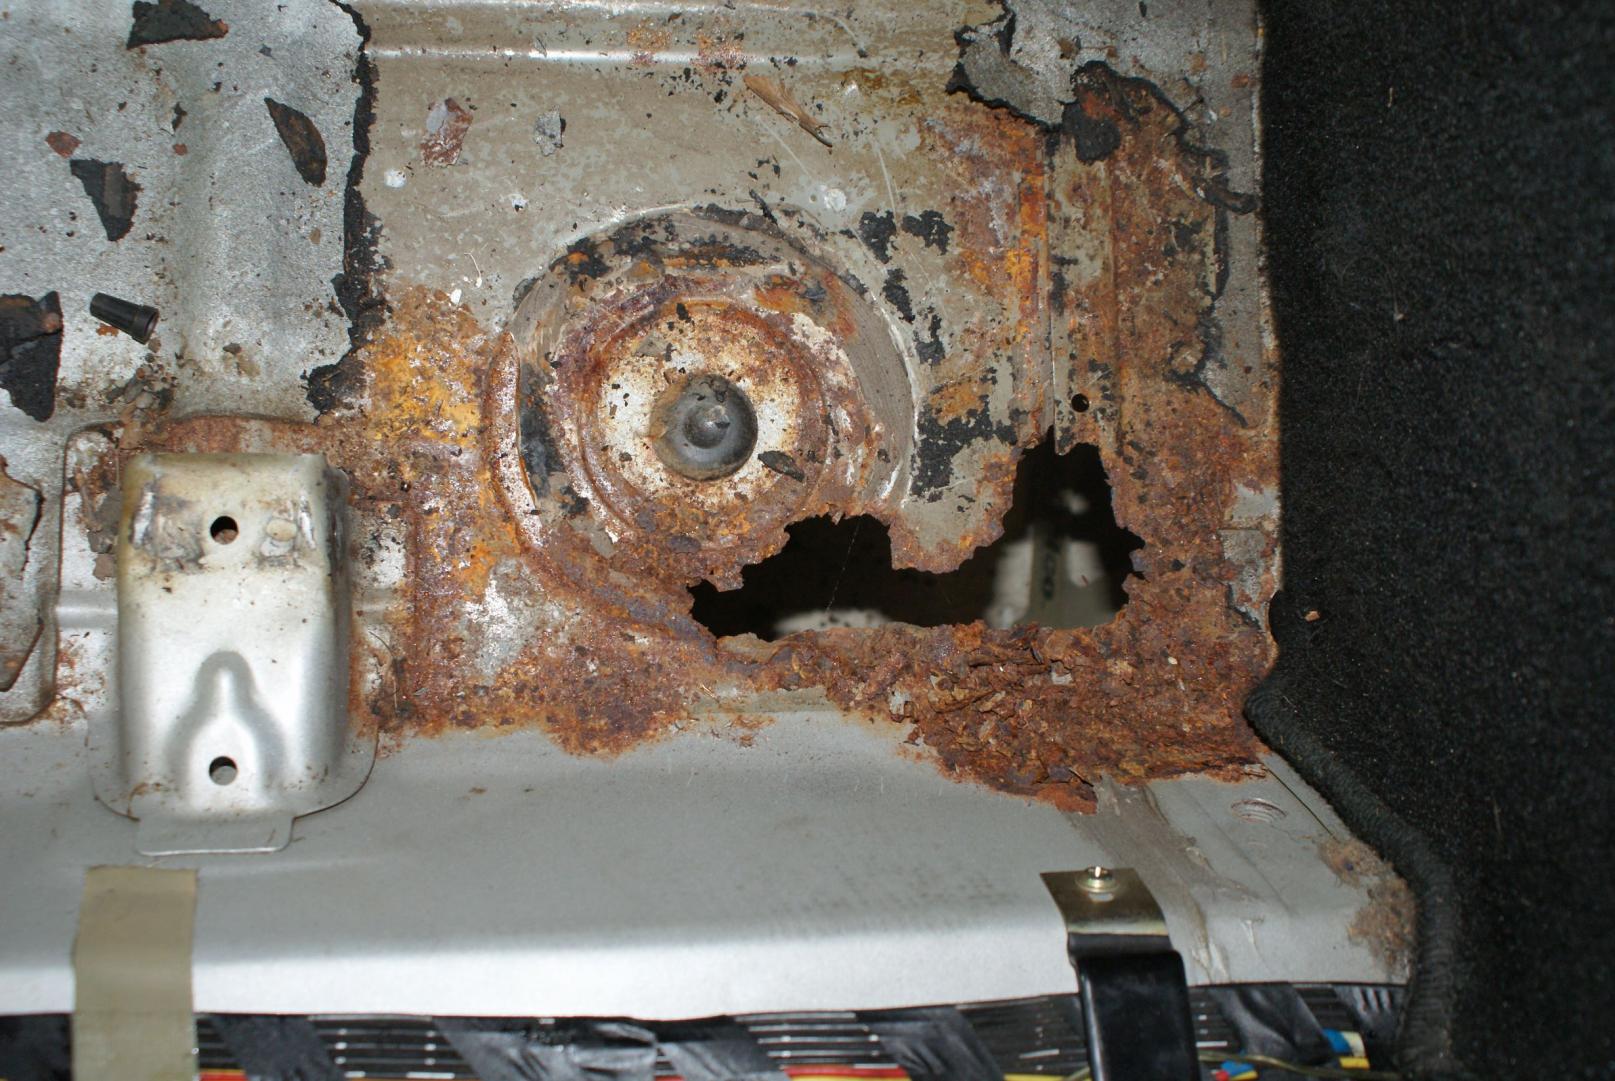
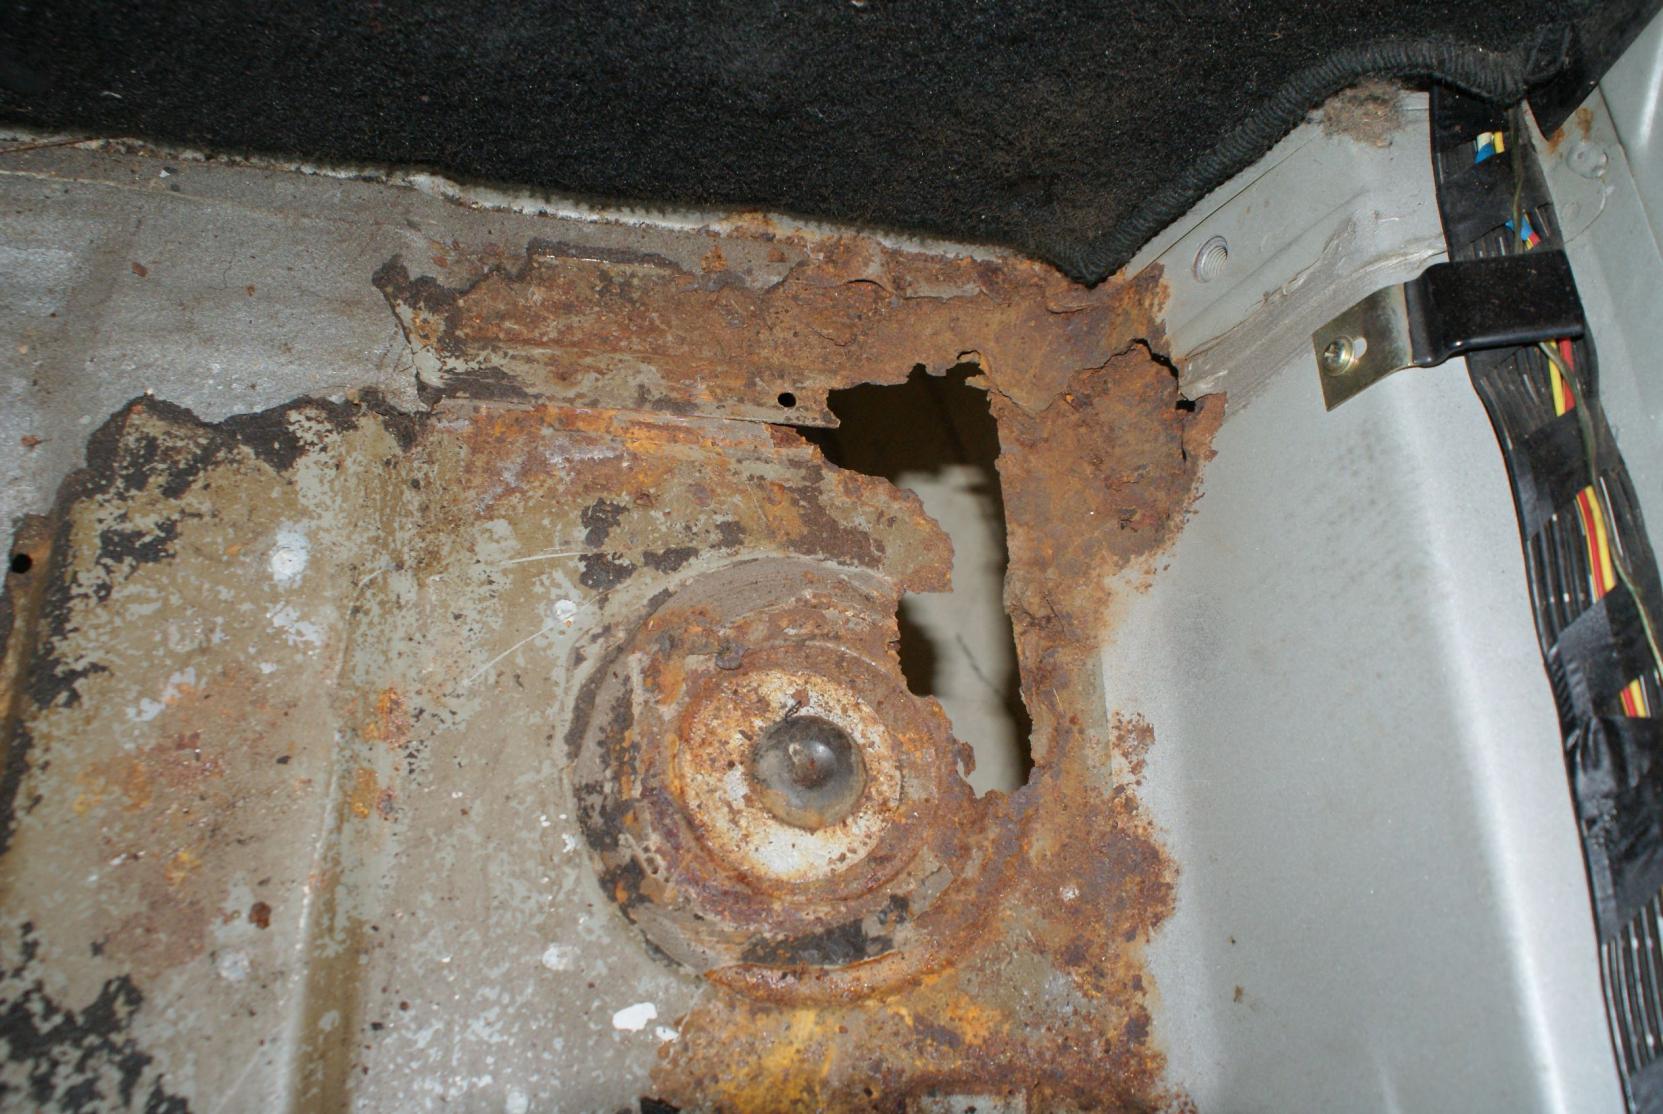
Rust sucks!
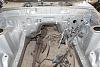
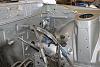
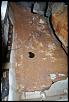
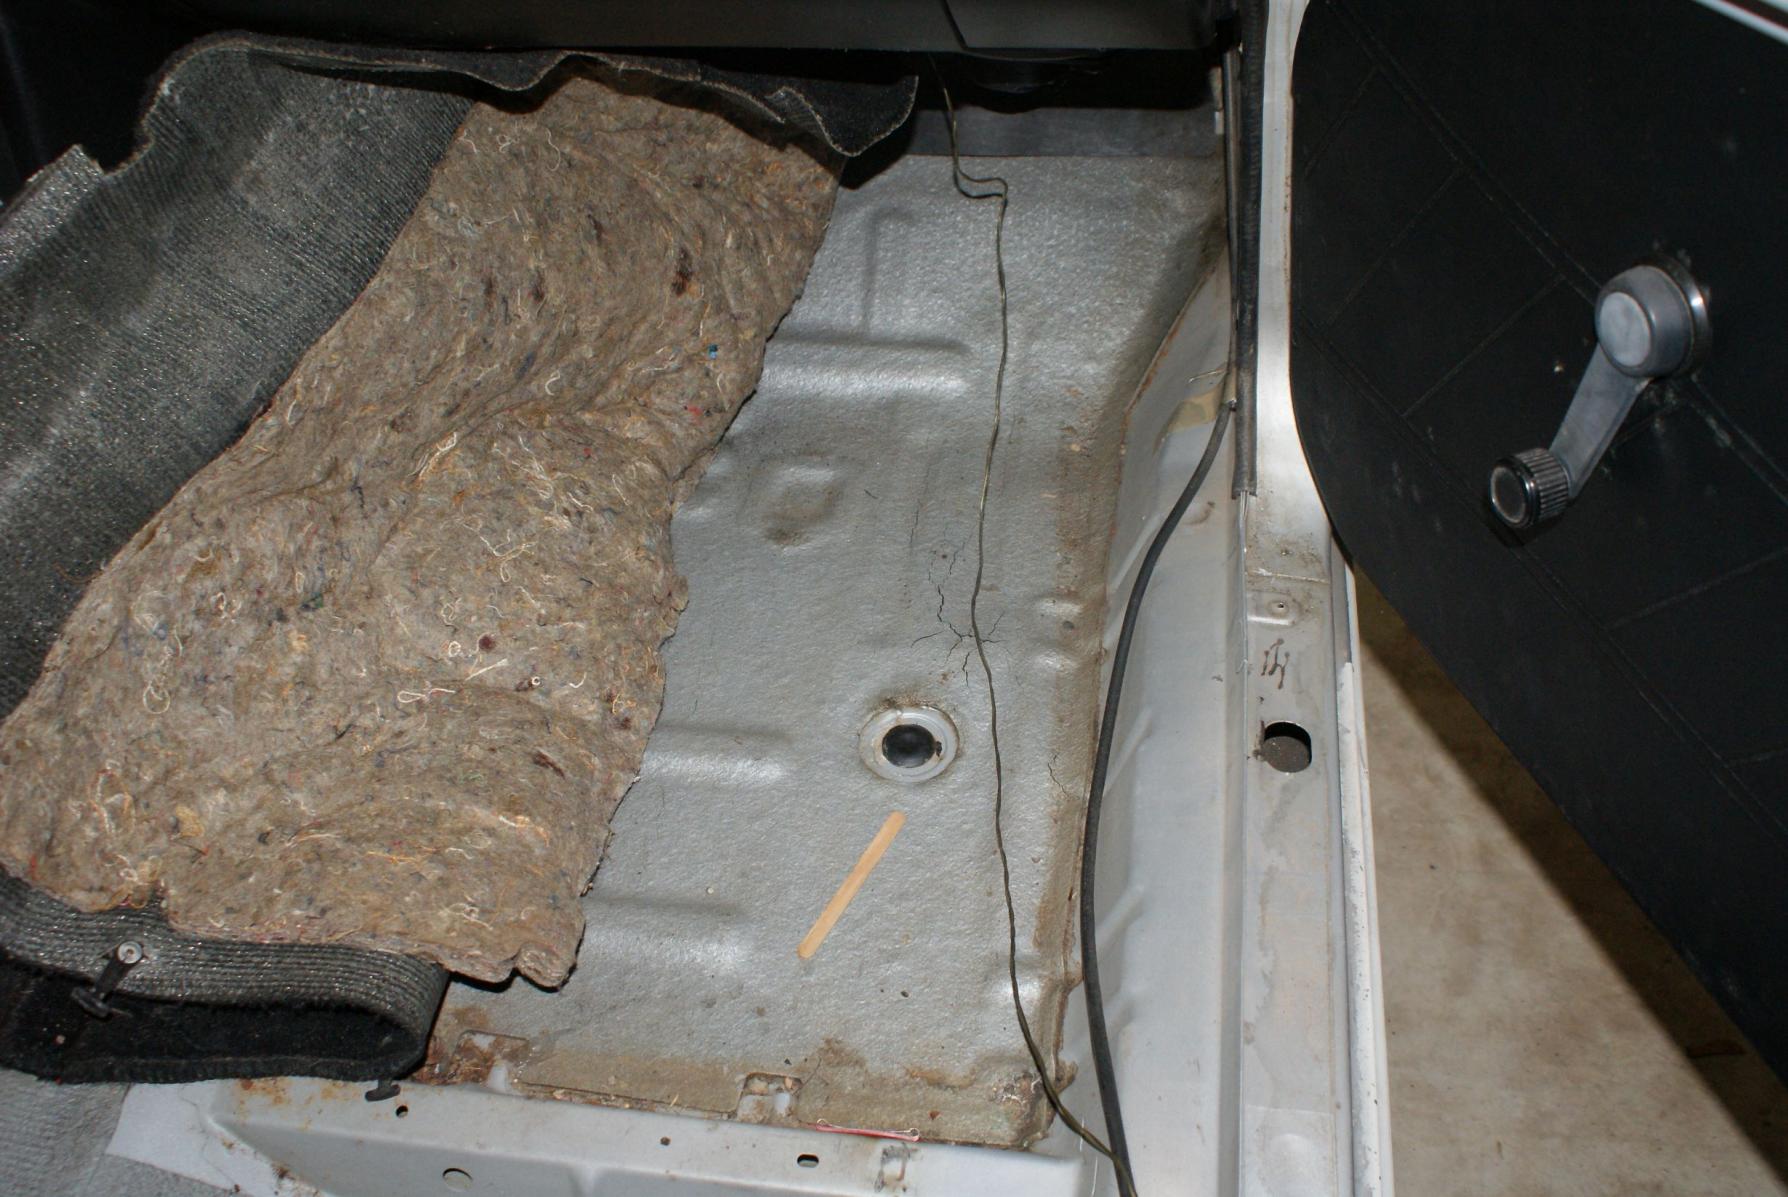
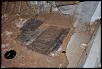
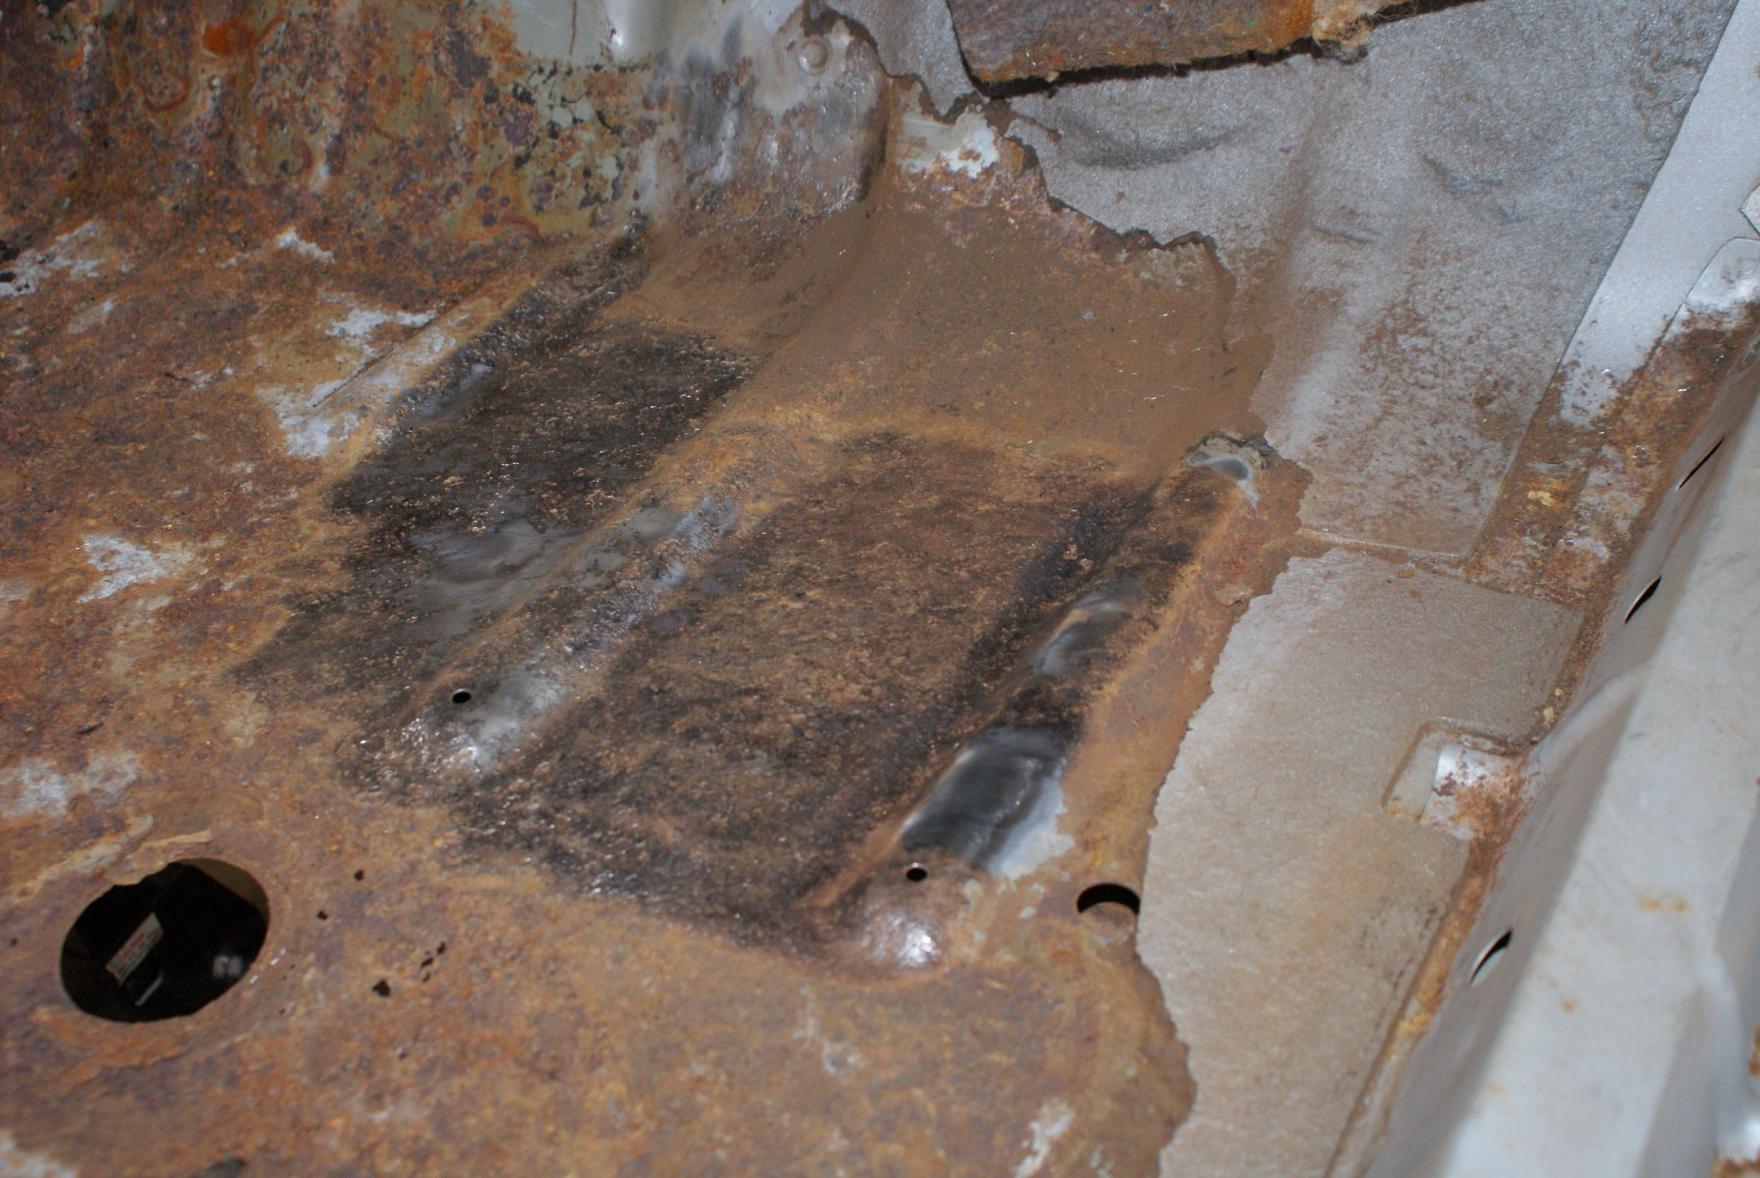
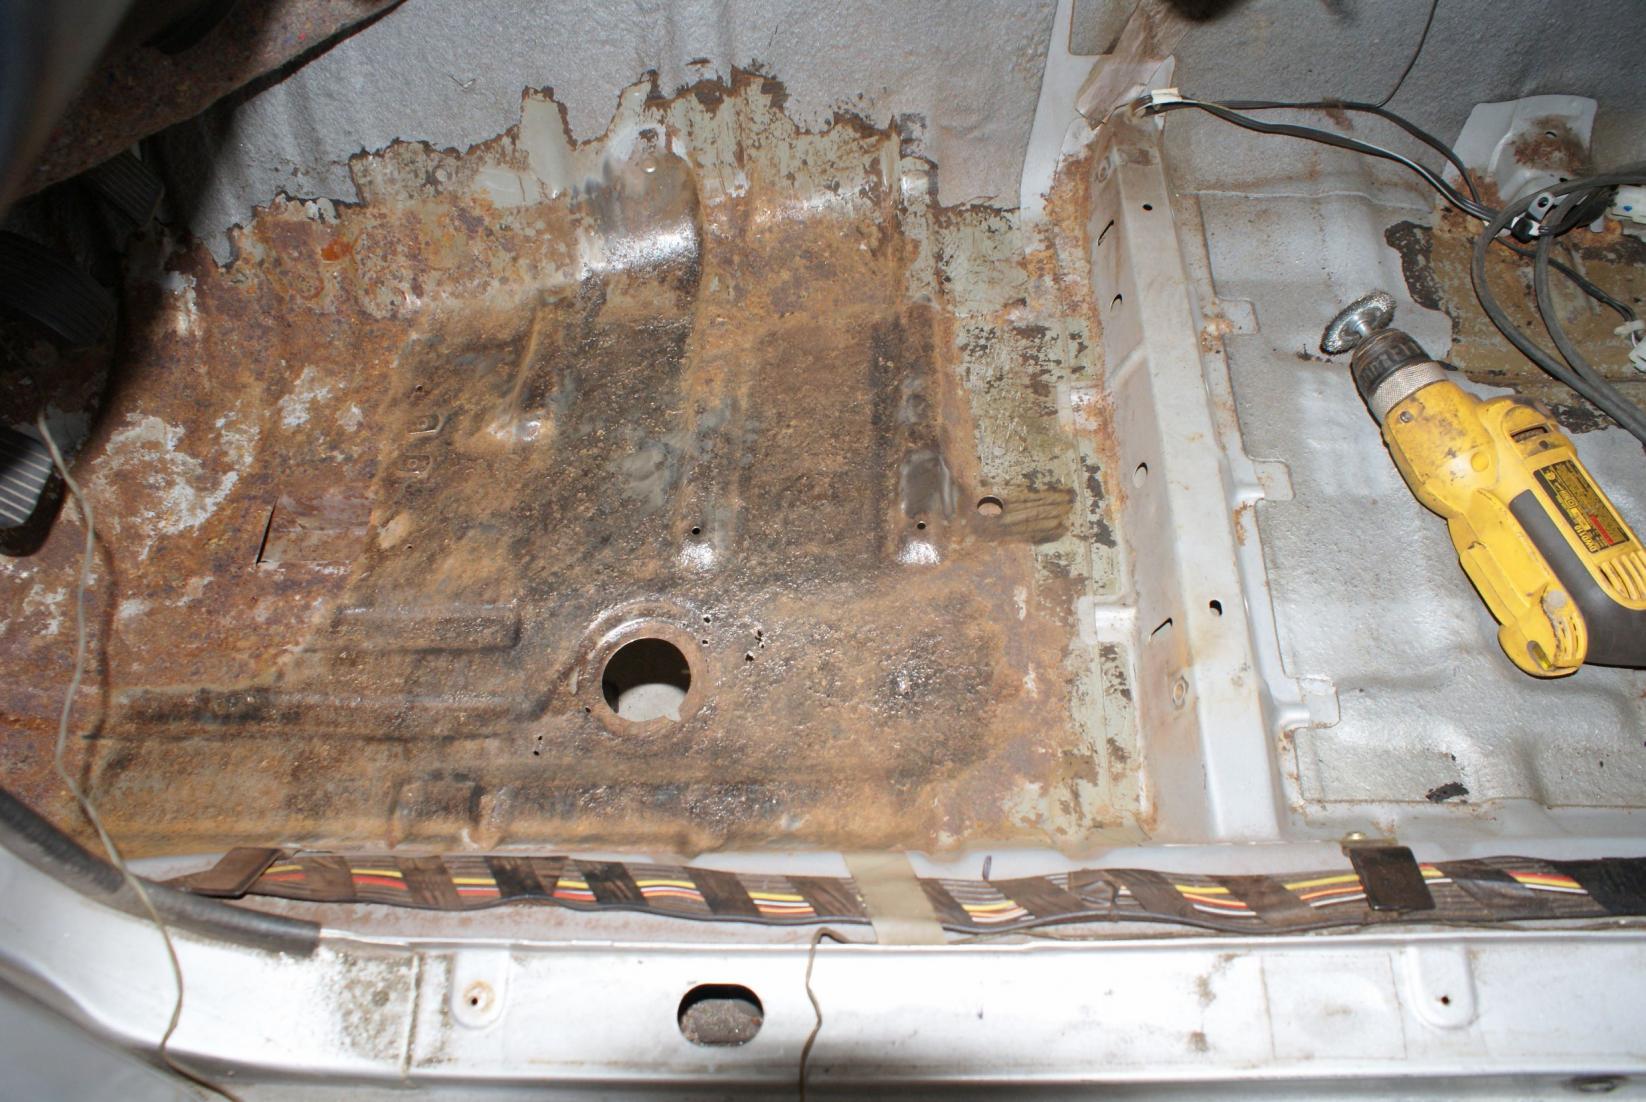
I finally got the carpet out yesterday and tried to see if I could find the edges of the rusty drivers side footwell and see exactly how deep the damage is by taking a wire wheel to it. It was like polishing a turd. I gotta pretty much cut out the entire drives side footwell.
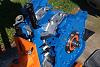
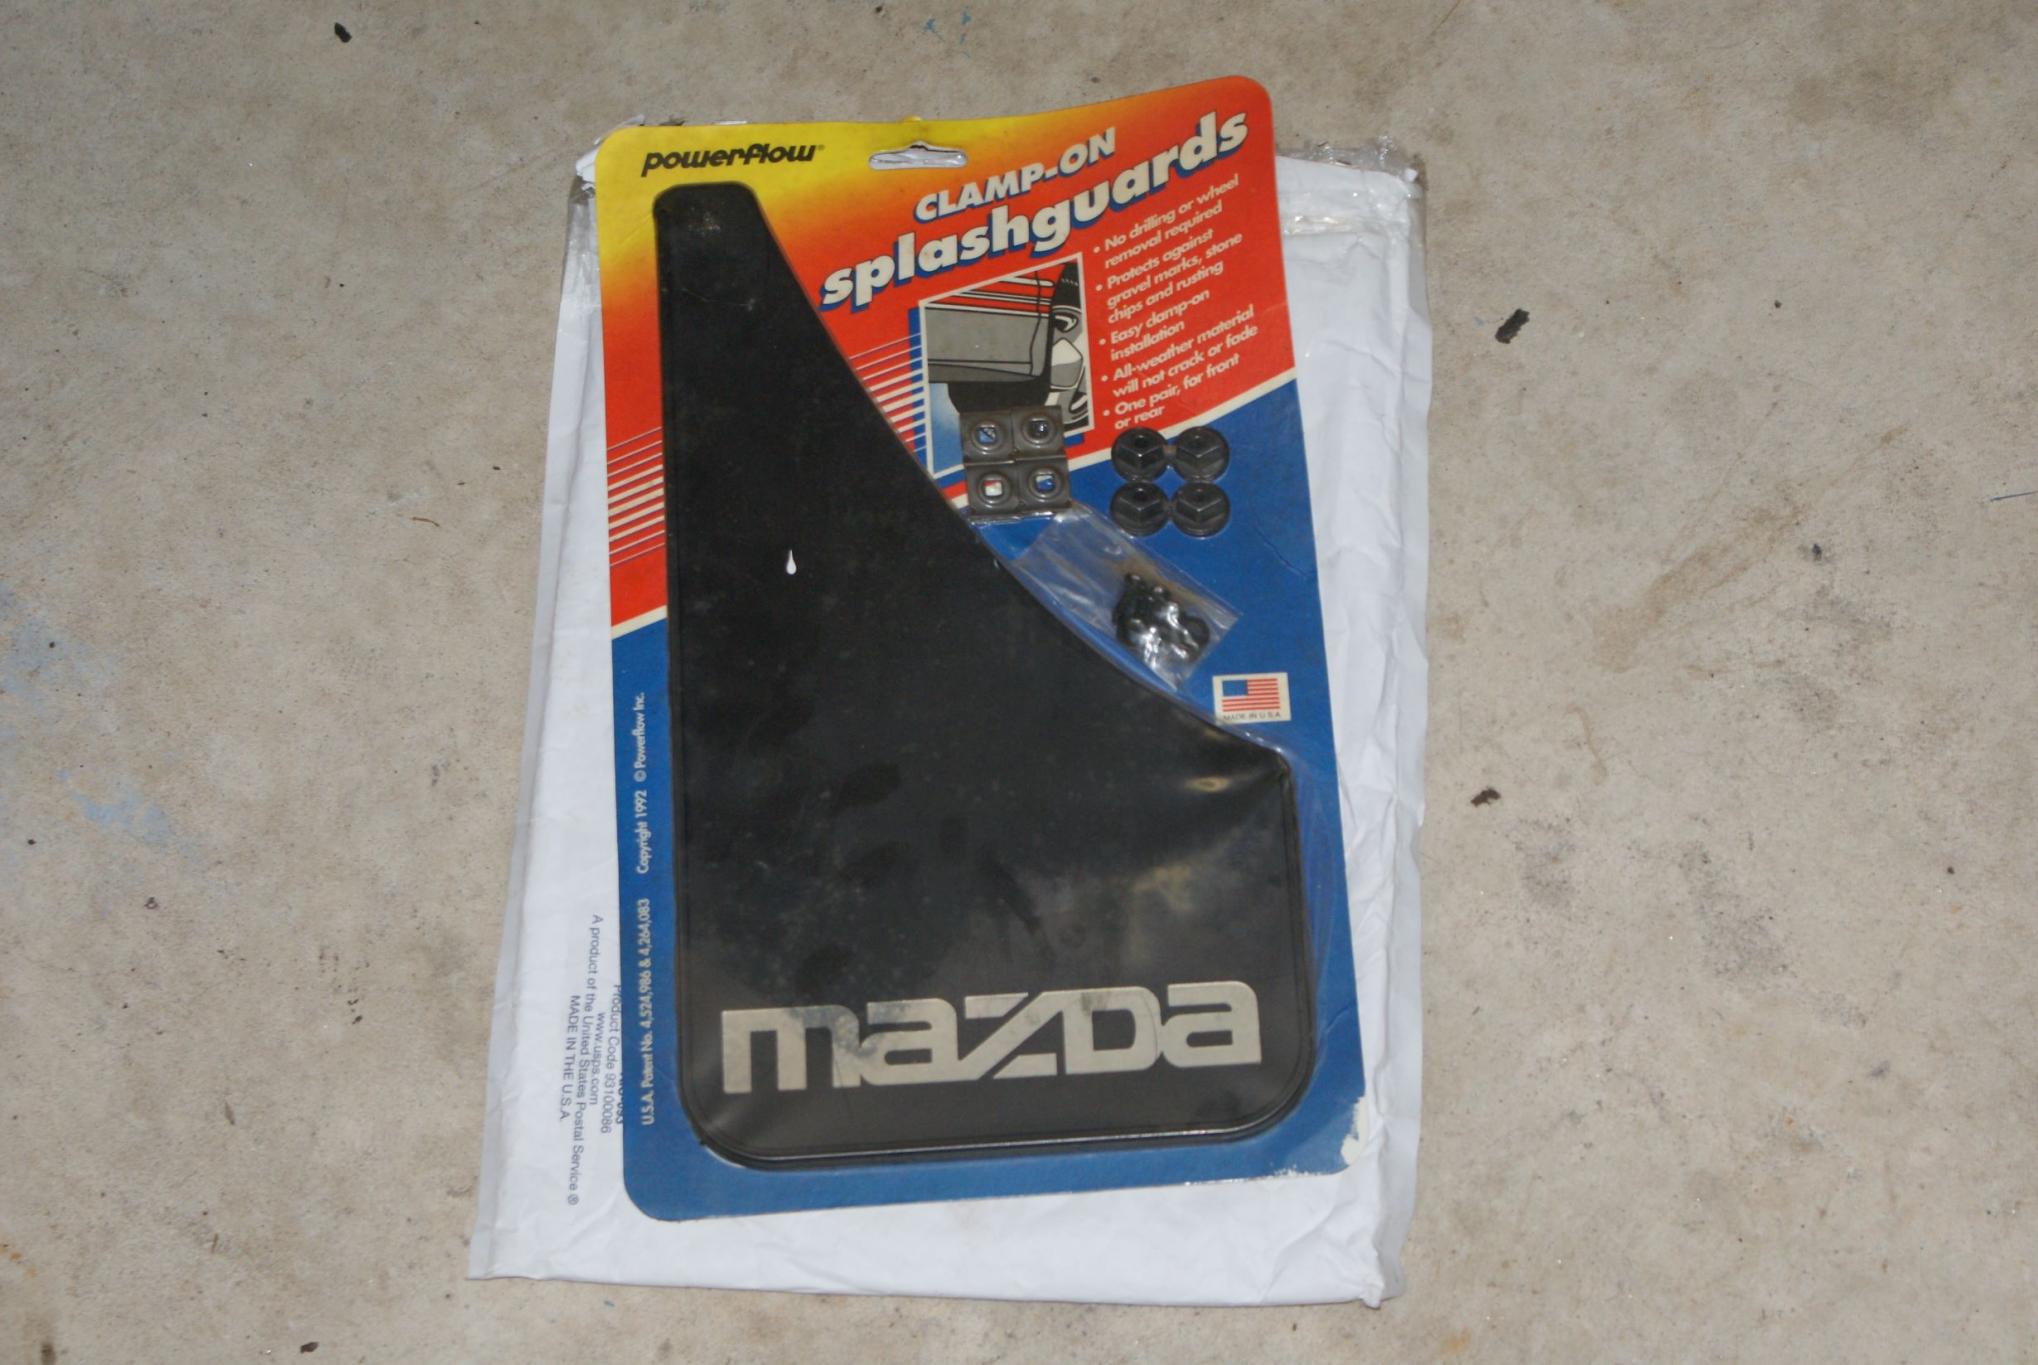
On a good note, mom and dad sent me some mudflaps that they had bought long ago for the car. Check these out!
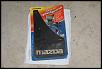
On a good note, mom and dad sent me some mudflaps that they had bought long ago for the car. Check these out!
Ready or not...
Joined: Dec 2009
Posts: 261
Likes: 0
From: Taos, NM

My husband pokes fun of me for always thinking positive about the challenges I'm given (and Smooth provides a LOT!).
Those ARE cool flaps... I've been annoyed by mud lately, but it didn't even occur to me to use mud flaps!
What a lucky car you have! Does he/she have a name? like LUCKY? or BARNY?
Last edited by Ms. DIY; Nov 24, 2013 at 04:04 PM.
Yeah that rust looks all too familiar. Good that you have a donor panel though, that makes things a lot easier since you don't have to fab them from scratch. I had to on my Trans Am and it took forever to fit...
I know it's a pain in the *** to do, but you really should remove the dash when you start tackling the work on this. The sparks flying around will destroy it, cover the windshield as well, welding sparks will pit the glass in no time flat. Removing the dash also gives you a lot more room to work on it.
Butt welding the panels would be the "best" way to do this, but if you have limited welding experience a small overlap is perfectly acceptable, and will make your life much easier in my opinion. As for sealing the backside of the weld in the rocker area, get a spray can of some primer (again I use rustolium and it holds up well) and put the nozzle and straw from a carb/brake cleaner can on there, that was you can shoot the primer in behind that area through some of the access holes that are along the rail.
Butt welding the panels would be the "best" way to do this, but if you have limited welding experience a small overlap is perfectly acceptable, and will make your life much easier in my opinion. As for sealing the backside of the weld in the rocker area, get a spray can of some primer (again I use rustolium and it holds up well) and put the nozzle and straw from a carb/brake cleaner can on there, that was you can shoot the primer in behind that area through some of the access holes that are along the rail.
UGH.... I haven't even begun to look into that but I'm sure it's a big ole pain and prolly hard as heck to get back in correctly and without breaking anything. Well, in for a penny in for a pound - out it will have to come!Thanks a ton man for the advice. I had asked around about what type of weld would be best, but no one had mentioned the slight overlap. That sounds like the perfect way to put it back together.
I know that this thing will be a TON better when I'm done with it. I just don't know when that'll be!
It's actually not as terrible as you might think. The dash pad and surrounding panels are all held together with screws, no clips that will snap on you or anything like that (exception is the a pillar trim, that's held on with clips, but I have had pretty good luck with that) It's been a while since I was poking around an SA, but the dash is very similar to the 81-83 so start by removing the glove box and the whole piece that goes around the stereo/shifter/hvac controls along with all of the "lower dash" pieces. To get the dash pad off you'll need a 8mm socket on a fairly long extension. I'm sure there are pics somewhere on here or a more in depth writeup, just work methodically and take pics, label the hardware etc. Honestly the biggest pain in the *** about it is the car yoga you have to do to get at the hardware lol, especially being 6'-3", I don't really fit down in the fb's footwell too easily haha.
It's worth it though, and really, protect the glass the whole time, it gets pitted very easily (ask my how I know....)
Yeah the slight overlap (again, key word is slight, keep your joints nice and tight) is fine as long as you seal it up, no reason to drive yourself nuts over a floor pan, especially if you are new to welding.
It's worth it though, and really, protect the glass the whole time, it gets pitted very easily (ask my how I know....
)Yeah the slight overlap (again, key word is slight, keep your joints nice and tight) is fine as long as you seal it up, no reason to drive yourself nuts over a floor pan, especially if you are new to welding.
One last question - what do you cover your windshield with? I tried looking on a google search but came up with a bunch of junk threads. Something flame resistant I'm guessing?
1. A $3 box of Arm and Hammer Washing Soda from a box store in the detergent aisle. Some people use baking soda but I like the results with the washing soda better.
2. A plastic bucket or a tote, depending on the size of the part you're restoring.
3. A plug in trickle battery charger.
4. Some sacrificial iron like a piece or two of re-bar you can get from Lowes or HD.
5. Some standard household 3 wire romex.
6. Wire nuts.
I use a square tote for larger items and a regular 5 gallon bucket for smaller things, but for the sake of example, let's assume you're using a square tote and two pieces of rebar placed in two adjacent corners. In each of those two corners drill two small holes about an inch apart near the top lip of the tote. Place a piece of rebar upright in the corner of the container and using a small section of bare copper wire, loop it from the outside of the container through one hole you drilled, around the rebar and out the other hole. Twist the wire tight like you're connecting two wires so that it holds the rebar upright and makes good contact with the rebar. Repeat for the other side. Connect these two pieces of rebar with one of the remaining pieces of copper wire from the romex and wire nuts on the wires you used to hold the rebar in place. You've now connected the two pieces of sacrificial iron which will be your cathode.
Strip a few inches off each end of another piece of wire and twist one end of it around the item you are restoring so that it makes good contact. It should be long enough to extend out of the water. Loop the other end around a non metal stick (I used a wood paint stick) that sits over the top of the tote (or bucket). Leave this end of the wire accessible for the negative clip from the battery charger. This will be your anode.
With your part hanging in the middle of the tote, fill it with water to completely cover the part. Mix in at least one tablespoon of the washing soda per gallon of water. The more the better and the faster it works. More soda dissolved means more ions in the water and more electronic exchange. I have a separate bucket and pour in a bunch of washing soda and fill from a hose mixing it all up good, then pour the concoction into the tote. Fill until the part is covered. If your part is too big, you'll have to do one side first, then flip it over and do the other side.
Connect the negative terminal of the battery charger to the wire that the part is hanging from (the anode). Connect the positive terminal of the battery charger to your rebar. After you've made the connections plug in your trickle charger and turn it on. You should soon see bubbles forming around the rebar and the part. That's the science at work! Leave it until it runs it's course. The dissolved washing soda creates an ionic solution that allows the iron oxide (rust) from your part to break down so that the iron is attracted to and adheres to the rebar.
!!!!!!!!! WARNING WARNING WARNING !!!!!!!!!!!!
This process creates hydrogen (the bubbles) and should be done in a well ventilated space!
I should also say that it will remove the rust and most paint, but it won't fill any pitting from the rust - that's what bondo is for. Your part should come out black with no more rust. You may have to brush it off with a stiff wire brush to remove all of it, but it works wonders. It's truly plug and play and is a LOT better than grinding and scrubbing.
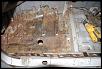
Here's a picture of my tote setup:

My battery charger is one of those smart chargers and will automatically test the battery for a fault. With no battery in line, it senses a fault and then won't pass a charge to it, so I had to fake it out and connect a battery to it. Of course you can also just connect a 12 volt DC source (car battery) to the cathode and anode, but eventually you'll need to charge it anyway so I just ran jumper cables from the battery terminals to the cathode and anode. As you can see I got lazy and just laid the rebar in the water so that it was sticking out enough. If you let the copper wire or jumper cables soak in the water, the copper will get eaten up and you won't have anymore jumper cables. Trust me - I know.
You can also find some cool videos of it by searching YT.
Hope that was helpful, good luck!
Lol yes car yoga. Harbor Freight sells cheap welding blankets. They are basically just heat resistant fiberglass blankets. You'll have to get creative as to a way to keep it in place to cover the inside of the windshield but some bungee cords or something would probably work.
Lol yes car yoga. Harbor Freight sells cheap welding blankets. They are basically just heat resistant fiberglass blankets. You'll have to get creative as to a way to keep it in place to cover the inside of the windshield but some bungee cords or something would probably work.
 Now I have an excuse to go to the tool store! "Honey, I'm going to Harbor Freight! Need anything?"
 Thanks again for the help, I really appreciate it! I'm going to take the time this Thanksgiving weekend to get the dash out and finish taking out the rusty floor sections.
Happy Thanksgiving everyone!
Thanks, you too! Yeah no problem man, glad to see other people tackling rusty ones, these cars are worth saving.
Harbor Freight is my go to store for anything consummable (cutoff wheels, flap wheels etc) or oddball (like a welding blanket) If I want to get real longevity from a tool, like my welder, I'll buy a name brand though.
Harbor Freight is my go to store for anything consummable (cutoff wheels, flap wheels etc) or oddball (like a welding blanket) If I want to get real longevity from a tool, like my welder, I'll buy a name brand though.
Ready or not...
Joined: Dec 2009
Posts: 261
Likes: 0
From: Taos, NM
In my house that's a dangerous question! we CAN get wrapped up in the battle of the permissions... Well, YOU spent $xxx. I don't see why I CAN'T! Be careful opening the catalog (even if it's virtual). My hubby knows enough to try to stifle me at times. I sometimes envy those who have a clueless partner.

http://www.ebay.com/itm/Mazda-RX-7-2-Door-Rotary-Glass-Back-No-Reserve-1980-Mazda-RX-7-1-3L-12A-Rotary-Engine-Racing-Beat-/310812616679?forcerrptr=true&hash=item485de027e7&item=310812616679&pt=US_Cars_Trucks
K8 is my favorite though. If I ever do a color change from white, I'll do a K8 (looks like gun metal gray).
Merry Christmas everyone!
Awhile back I had hoped that Santa would bring me a set of RB springs and new KYB shocks and HE DID!!!! Wish I could upload a pic, but it doesn't seem to be working quite right, right now. It's not like you haven't seen RB springs anyway but man, they sure look pretty cool!! THANKS Santa!!
I haven't had a chance to do a single thing to the car since the last update because I had a few problems with the house that had to be taken care of, and of course cost money.... That sucked. Anyhoo, I only had the last two weekends to work on it but Christmas stuff kept me from it. I did pick up a nice gift from RotaryHaven though - a new black interior carpet I can use to replace mine with and some other odds and ends that I can use - THANKS Jerry!
Hopefully I'll make some progress on the car in the next week or so. Can't wait to get back into removing the dash and cutting out some rusty floors. I'll be sure to take lots of pics and post up progress, but for now Merry Christmas everyone!