
Damic's Annabelle (SA)


Thread Starter
Senior Member
Joined: Aug 2008
Posts: 493
Likes: 0
From: Belgium (2800)
After almost 3 years a quick update:
* car still isn't finished: grey fender, right
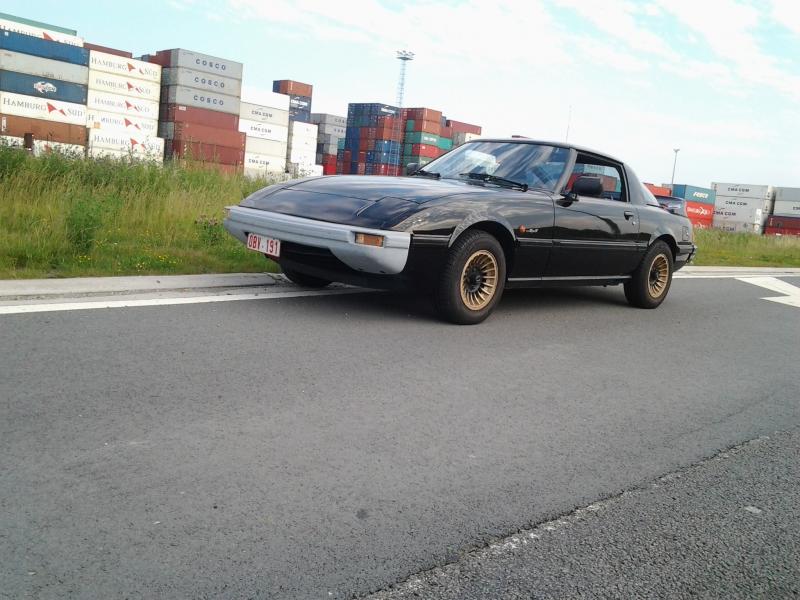
* added direct 2stroke "injection" instead of engine oil

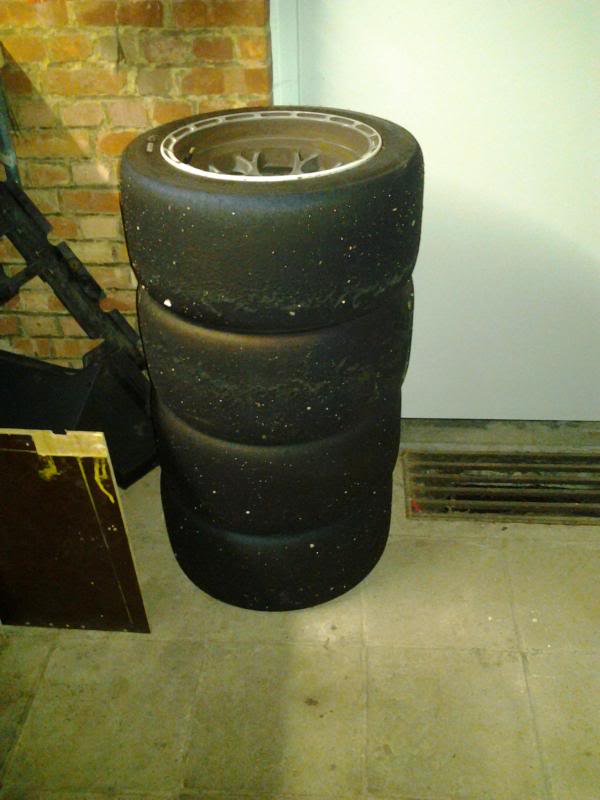
*Bought some rims with tire:
Before:
after:

* problems with a vacuum leak: solution, replace all clamps 2014-04-04210717.jpg Photo by fragme_dmc | Photobucket http://i63.photobucket.com/albums/h1...4-04210706.jpg
* had problems with the starter power cable, bad crimped connector (the yeelow one)

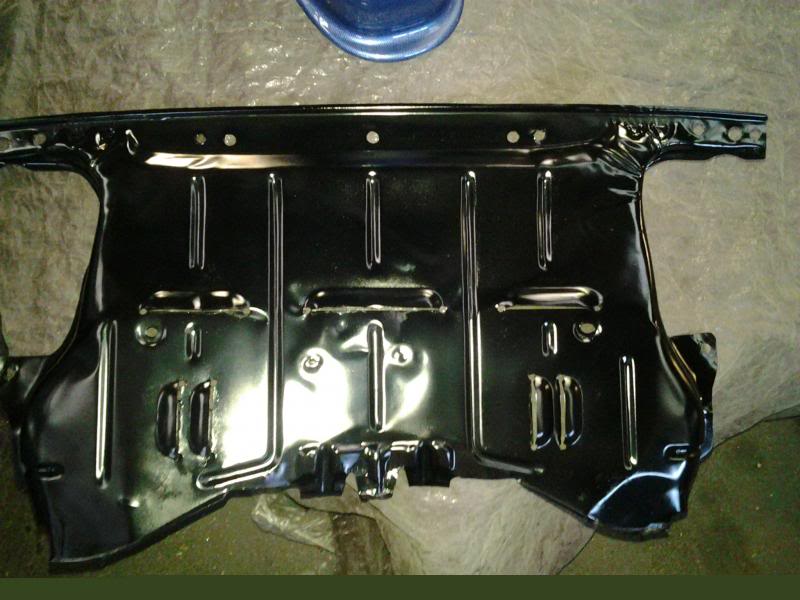
* cleaned the "under bonnet" from
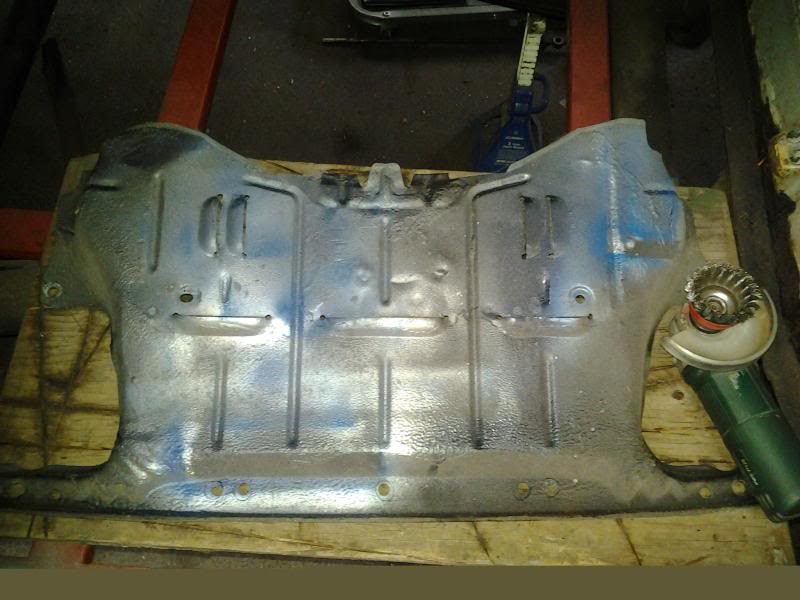
2014-04-21145437.jpg Photo by fragme_dmc | Photobucket > 2014-04-21152404.jpg Photo by fragme_dmc | Photobucket
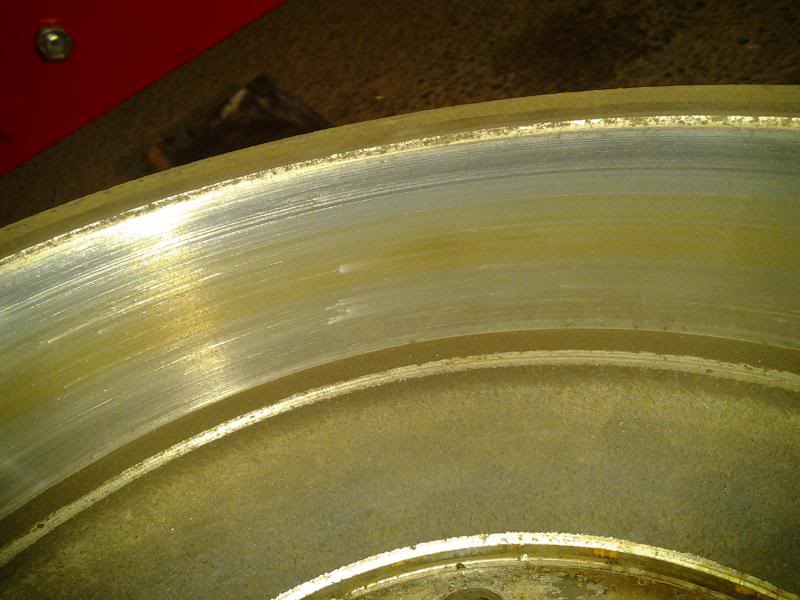
* rear drums are fading, mmmh why would that be
* last weekend gearbox went grinding on the secondary axle, so need to remove it again
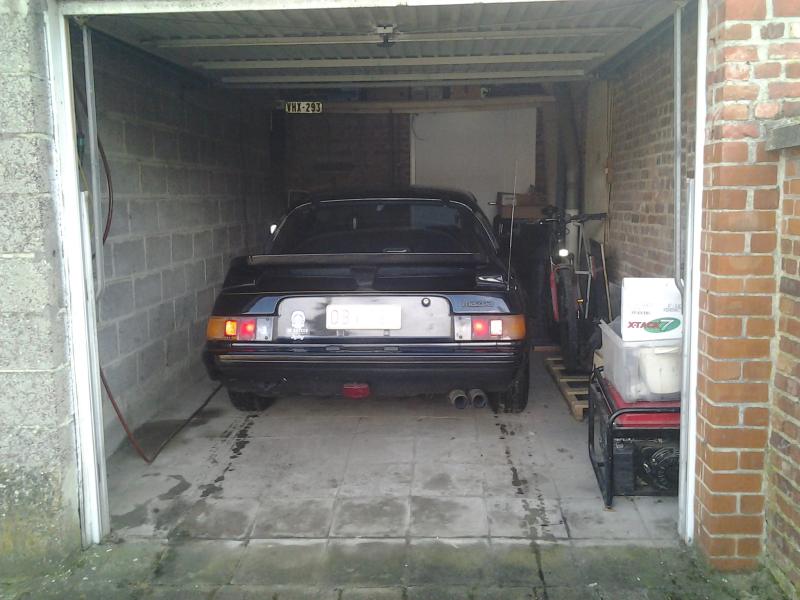
Cleaned up my garage after my house, result:
* car still isn't finished: grey fender, right

* added direct 2stroke "injection" instead of engine oil

*Bought some rims with tire:
Before:

after:

* problems with a vacuum leak: solution, replace all clamps 2014-04-04210717.jpg Photo by fragme_dmc | Photobucket http://i63.photobucket.com/albums/h1...4-04210706.jpg
* had problems with the starter power cable, bad crimped connector (the yeelow one)

* cleaned the "under bonnet" from

2014-04-21145437.jpg Photo by fragme_dmc | Photobucket > 2014-04-21152404.jpg Photo by fragme_dmc | Photobucket

* rear drums are fading, mmmh why would that be

* last weekend gearbox went grinding on the secondary axle, so need to remove it again
Cleaned up my garage after my house, result:


Thread Starter
Senior Member
Joined: Aug 2008
Posts: 493
Likes: 0
From: Belgium (2800)
Thanks aaaand some bad news, she's sitting in the hangar for a while now on 4 axle stands, reason broken gearbox  when't out for a ride and suddenly grrrrrrrrrrrr on 1st 2nd 3th 5th and revers, yes you noticed that 4th isn't in the row, that's because a bad bearing on the secondary axle
Normaly it was repaired in June but because instead of giving me my loan+vacation money they took some of it for my vacation money. I'l happy I've got some reserves but all the things I wished todo with it they went in the bin.
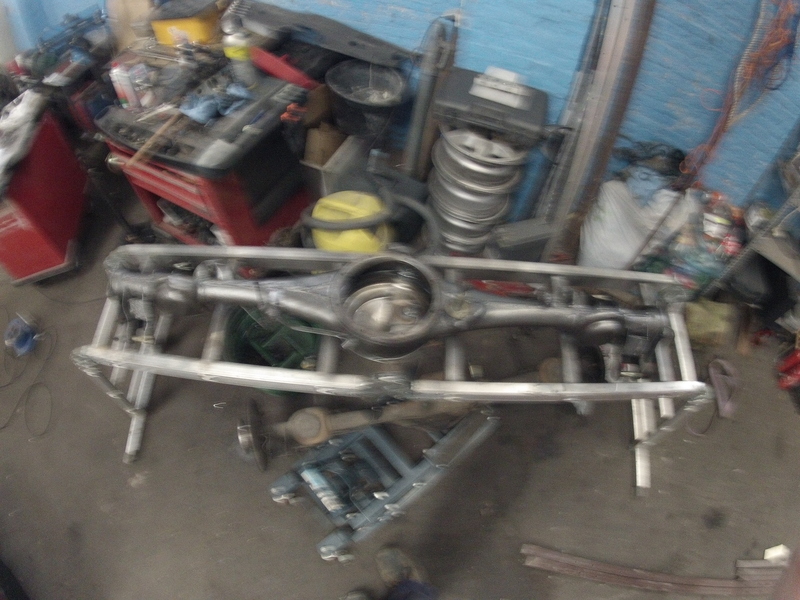
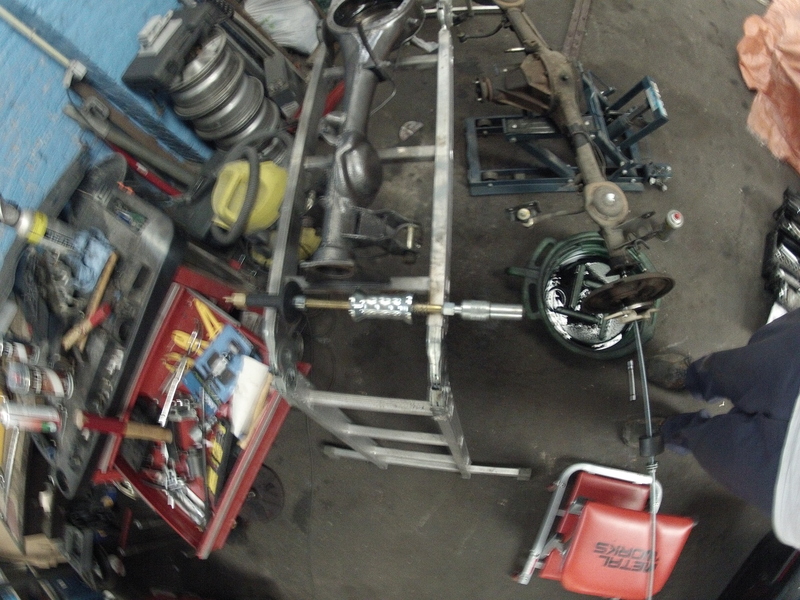
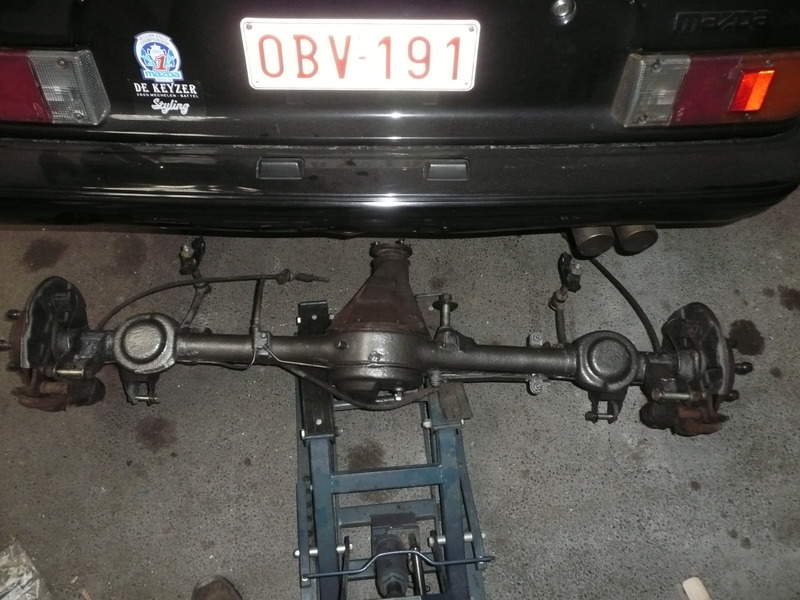
Anyway started on the rear axle conversion
GoPro and taking pictures =: bleh:
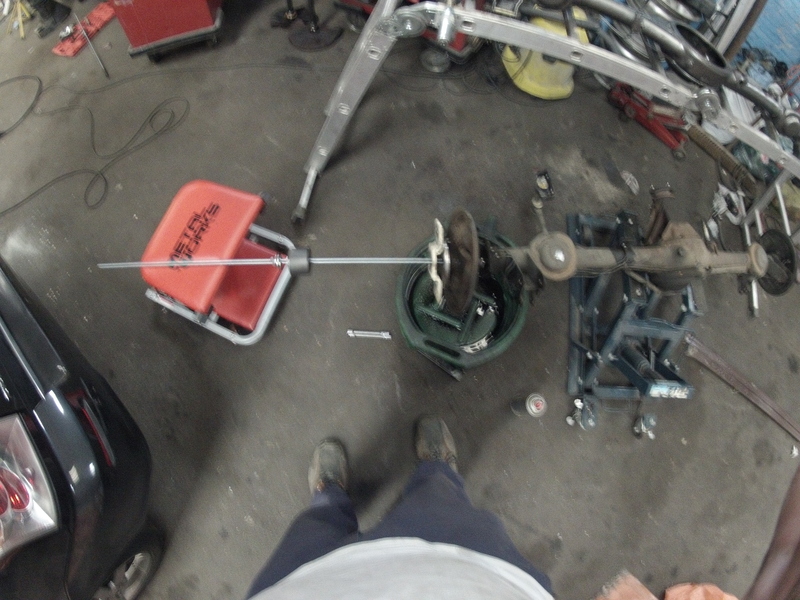
First I was trying to extract it with a professional puller but the point only accepts small nails
So made one myself
1 wire rod M10, few nuts, small plate and 2 bolts m8 und goooooaaaaaan
and if you are finished then it looks the same als you started
but then with changed diff.
After this I found my photocamera back, so good pictures now
The dust shield that is on either side cleaned it up and put some paint on it
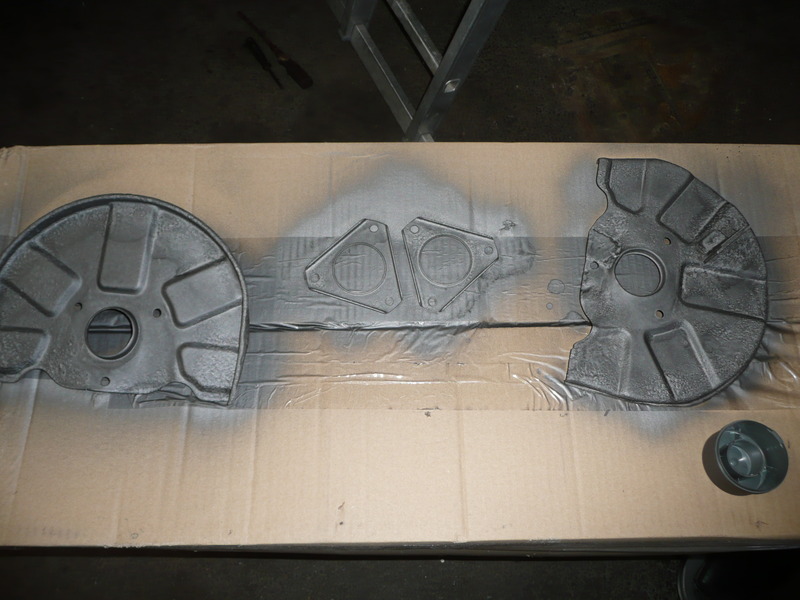
Don't panic, it's good paint

when't out for a ride and suddenly grrrrrrrrrrrr on 1st 2nd 3th 5th and revers, yes you noticed that 4th isn't in the row, that's because a bad bearing on the secondary axle Normaly it was repaired in June but because instead of giving me my loan+vacation money they took some of it for my vacation money. I'l happy I've got some reserves but all the things I wished todo with it they went in the bin.
Anyway started on the rear axle conversion
GoPro and taking pictures =: bleh:


First I was trying to extract it with a professional puller but the point only accepts small nails

So made one myself

1 wire rod M10, few nuts, small plate and 2 bolts m8 und goooooaaaaaan
and if you are finished then it looks the same als you started

but then with changed diff.
After this I found my photocamera back, so good pictures now
The dust shield that is on either side cleaned it up and put some paint on it

Don't panic, it's good paint

Thread Starter
Senior Member
Joined: Aug 2008
Posts: 493
Likes: 0
From: Belgium (2800)
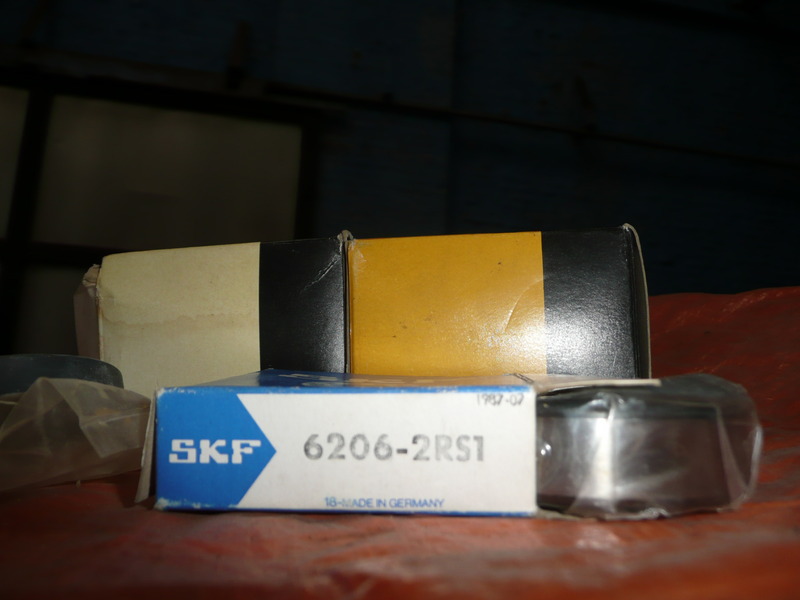
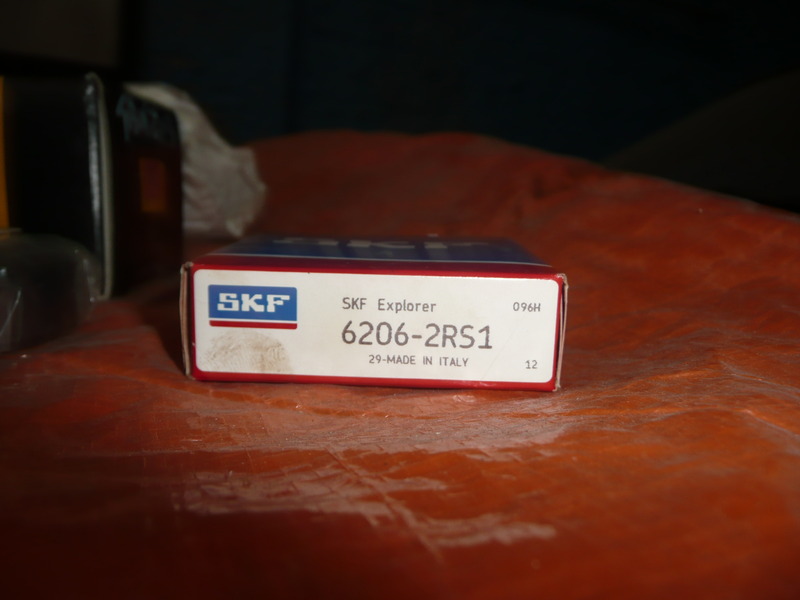
I ordered some new bearing and then came across a bearing kit
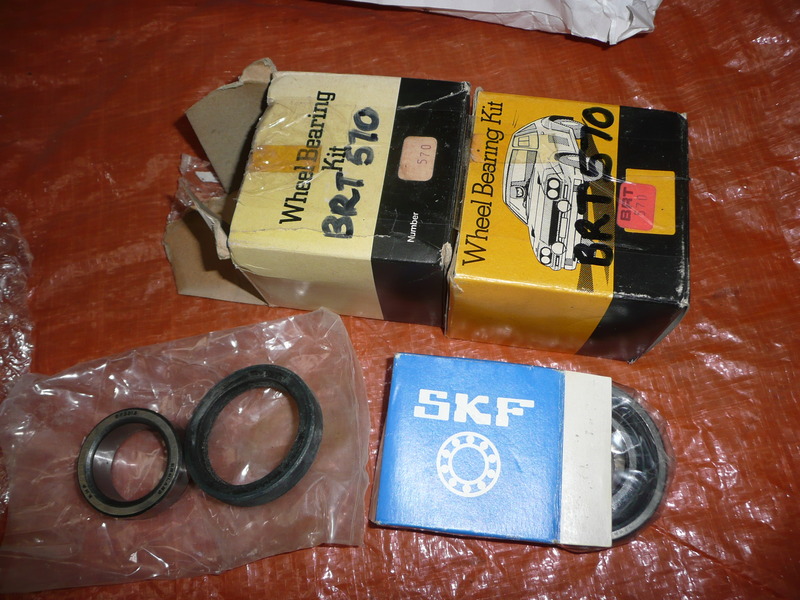
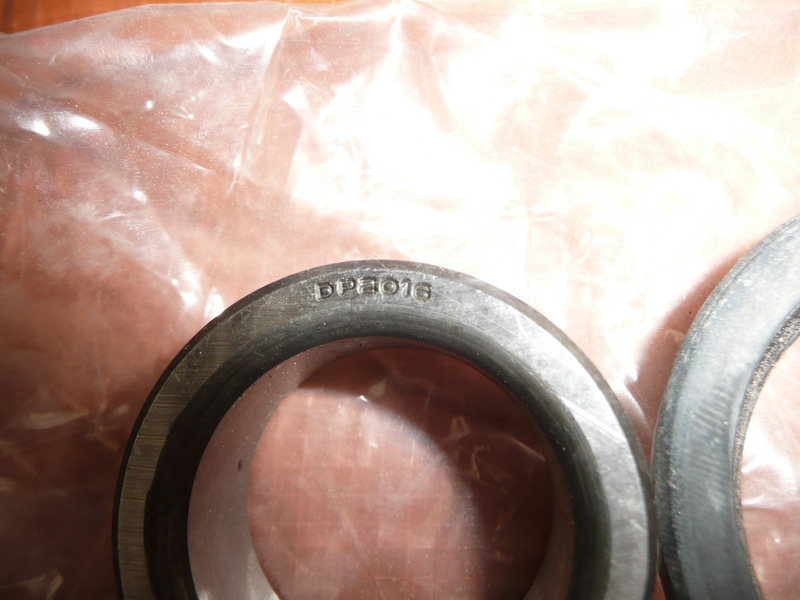
Bus detail: DP2016
Also been busy with the inlet collector (next picture is a test).
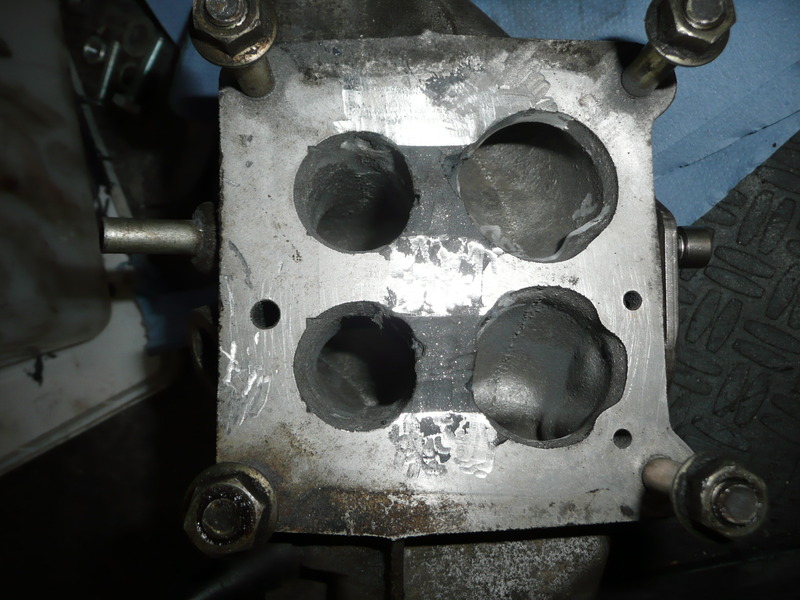
Blocked the channels between first and second stage
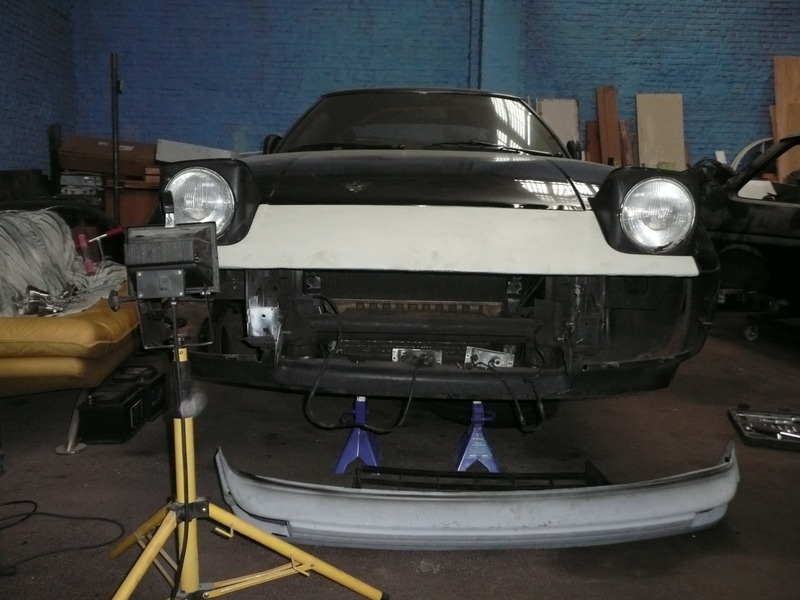
And removed the bumper :p now with a straight bar, had to make some new brackets, but hey I love welding
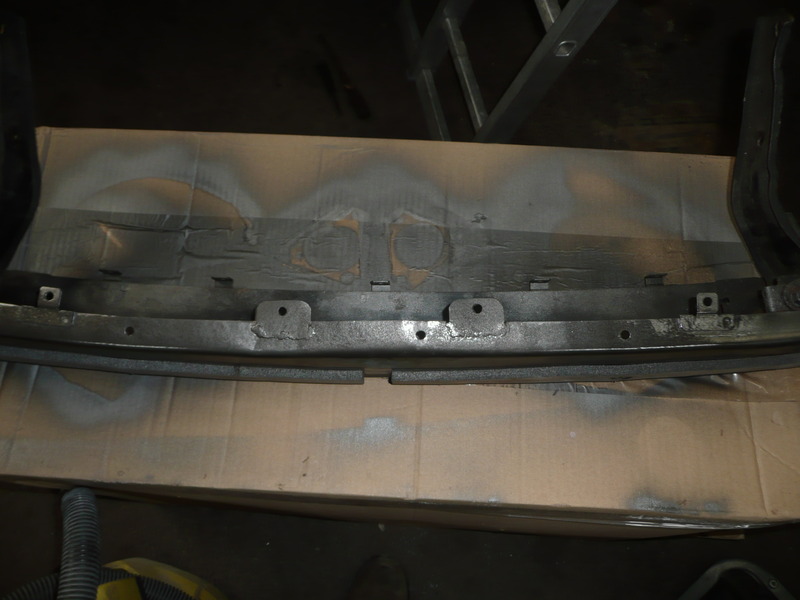

*with hammer finish
Fixed the drivers door. Since I had once had some rust. Everything had been removed and then Loctite rust converter on it and the rust was not further creep-ed, but now that she is still only able to get some holes filled up with new material and 4in1 anti-rust paint sprayed.
Other front spoiler on her, this one is still straight
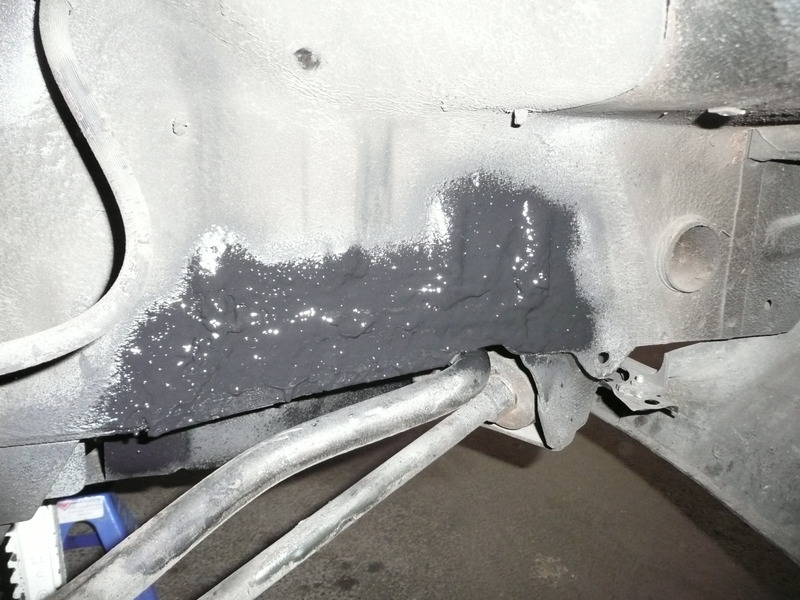
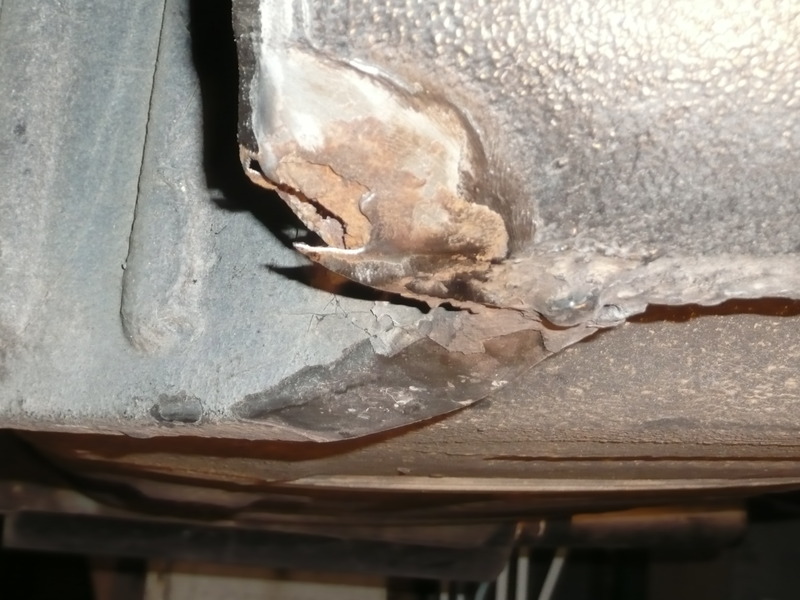
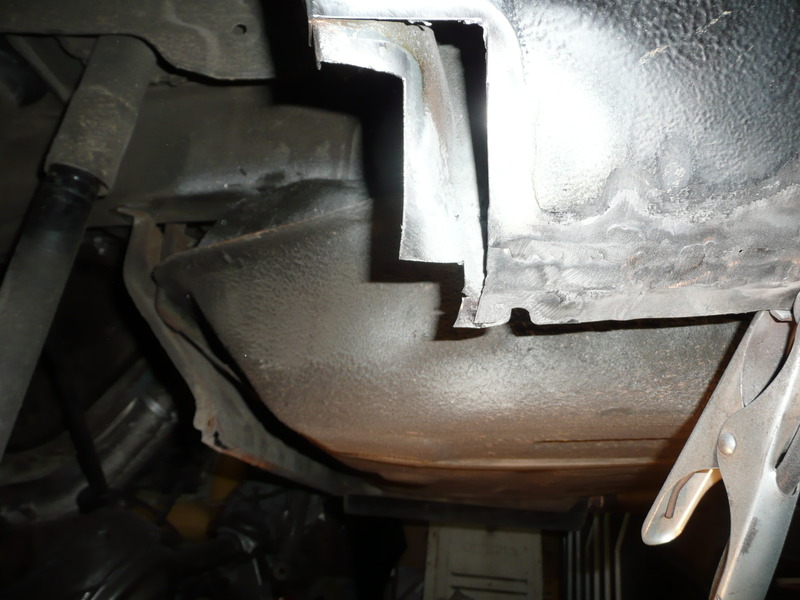
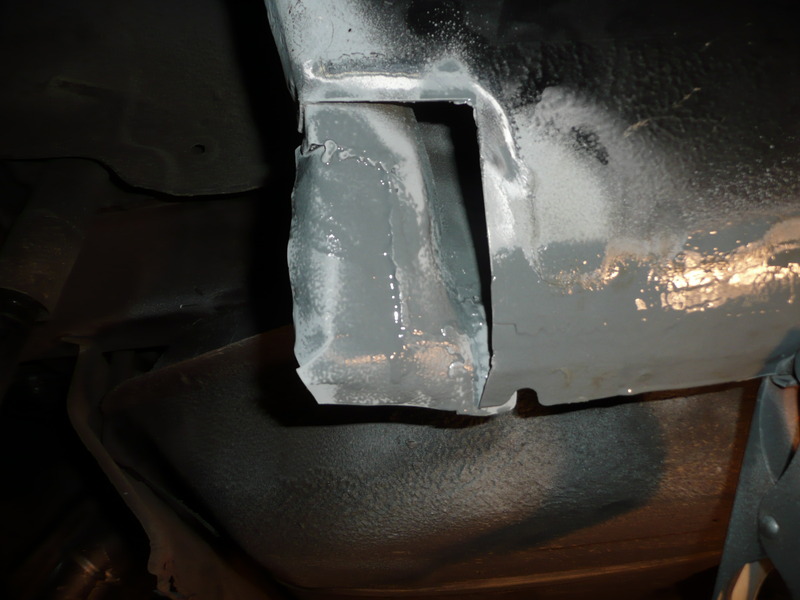
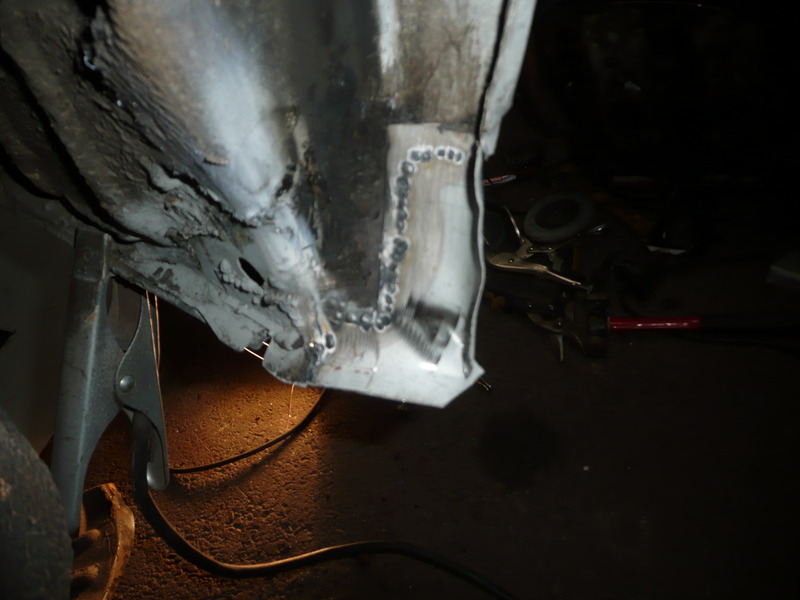
Whaaaaaa found some rust in the front :'(
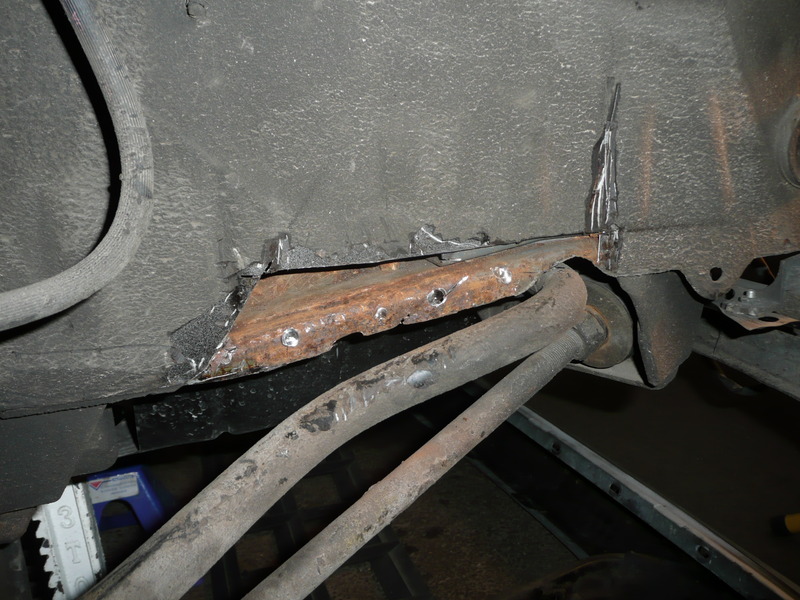
made a new piece, welded it in and under coating on it


Bus detail: DP2016
Also been busy with the inlet collector (next picture is a test).


Blocked the channels between first and second stage
And removed the bumper :p now with a straight bar, had to make some new brackets, but hey I love welding


*with hammer finish
Fixed the drivers door. Since I had once had some rust. Everything had been removed and then Loctite rust converter on it and the rust was not further creep-ed, but now that she is still only able to get some holes filled up with new material and 4in1 anti-rust paint sprayed.
Other front spoiler on her, this one is still straight

Whaaaaaa found some rust in the front :'(

made a new piece, welded it in and under coating on it

Thread Starter
Senior Member
Joined: Aug 2008
Posts: 493
Likes: 0
From: Belgium (2800)
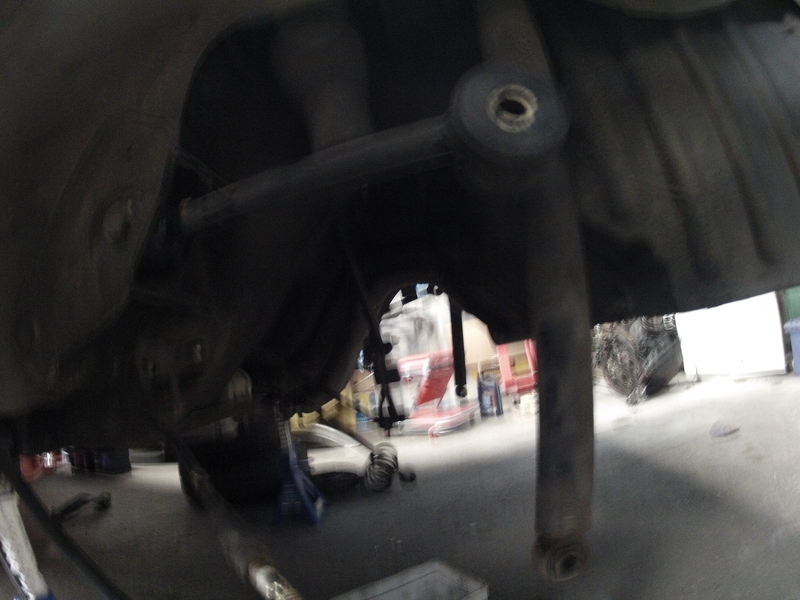
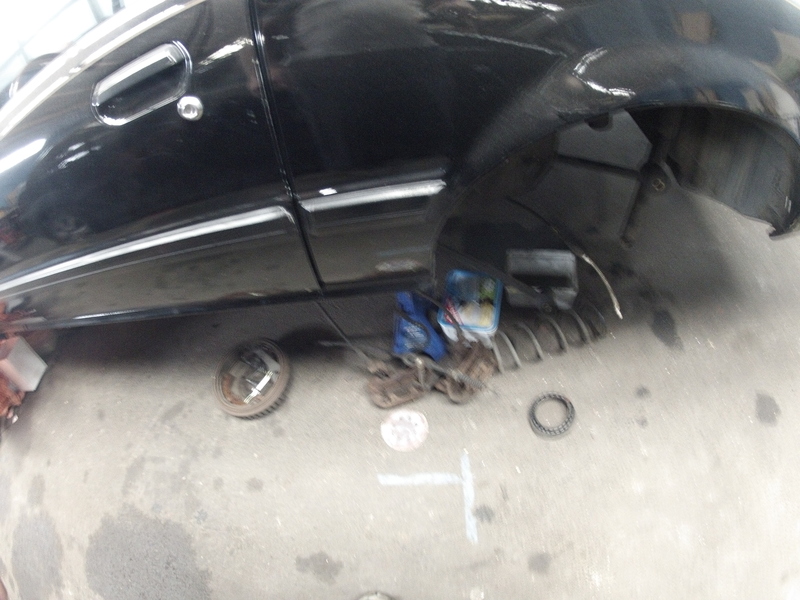
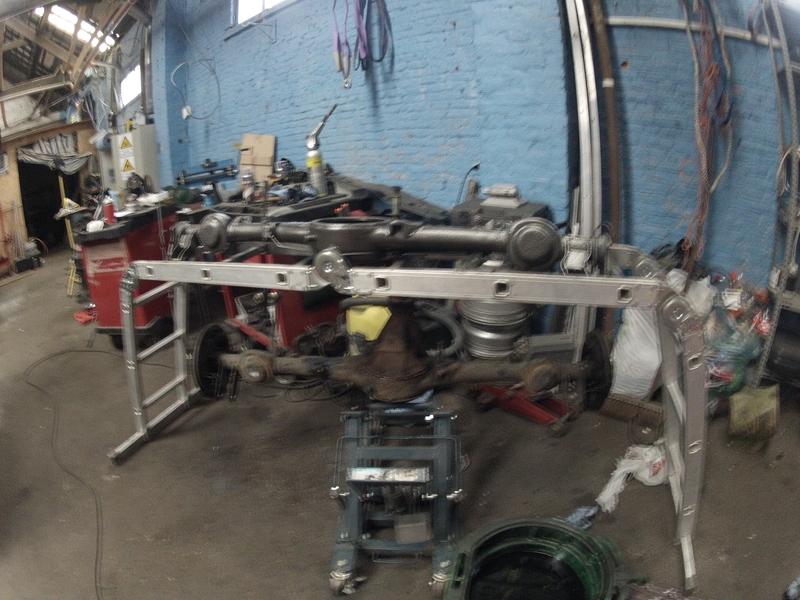
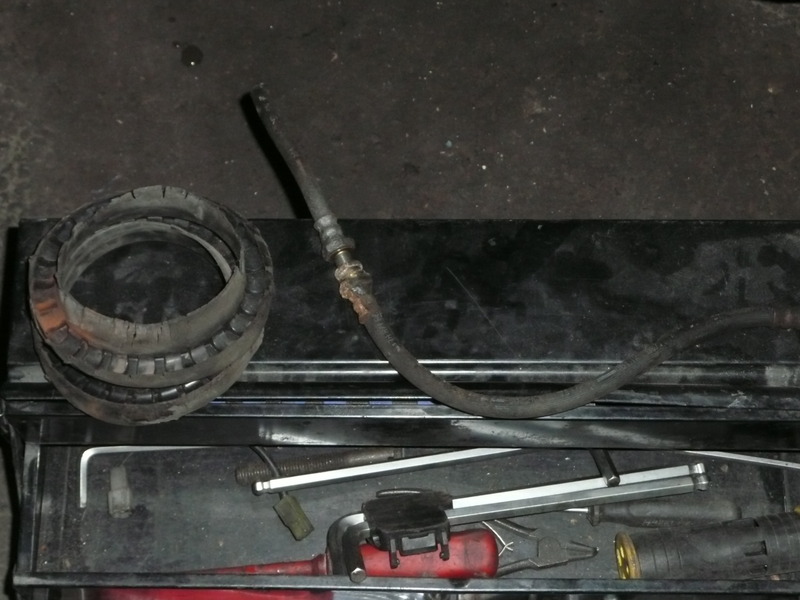
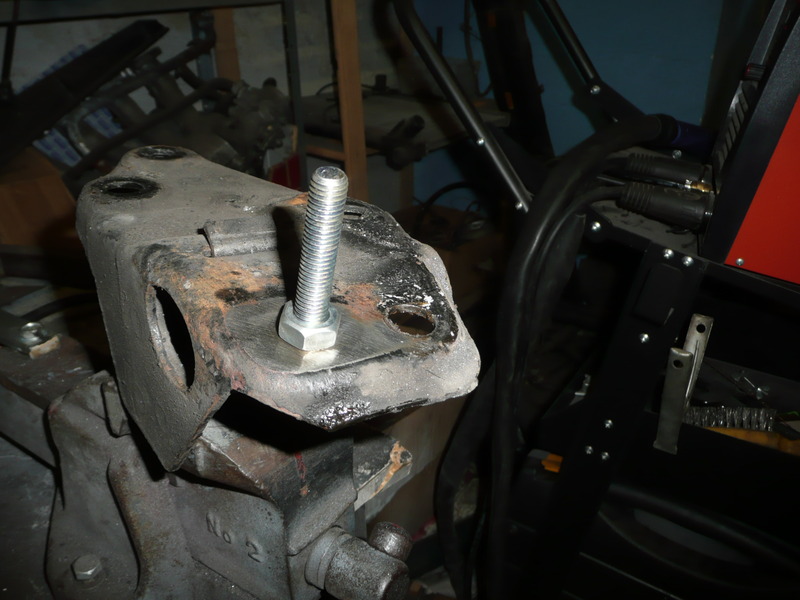
And the rear axle is back together now the handbrake cables are still todo and then the axle can go back under it, now I have seen that this is not going to be that simple. On the left side is the fuel pump in the way and on the right muffler
and the next parts must be replaced:
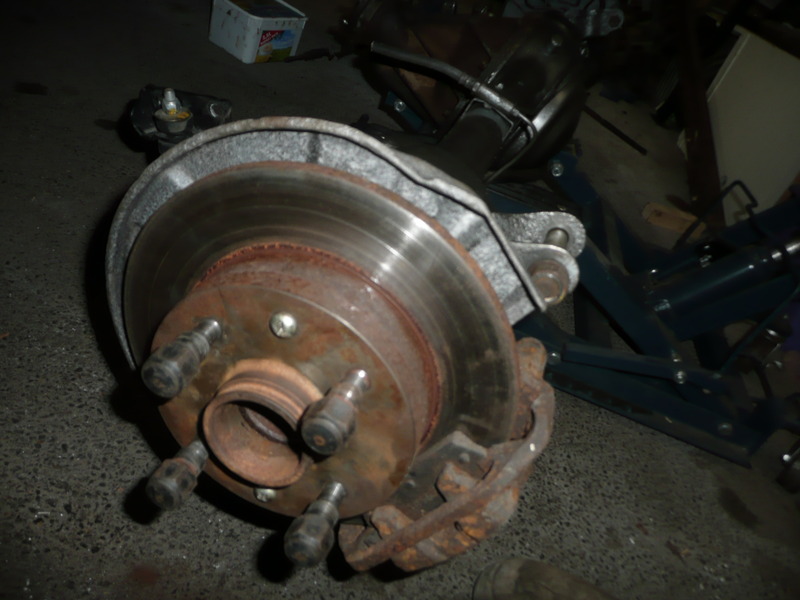
The rear axle with sanded disks
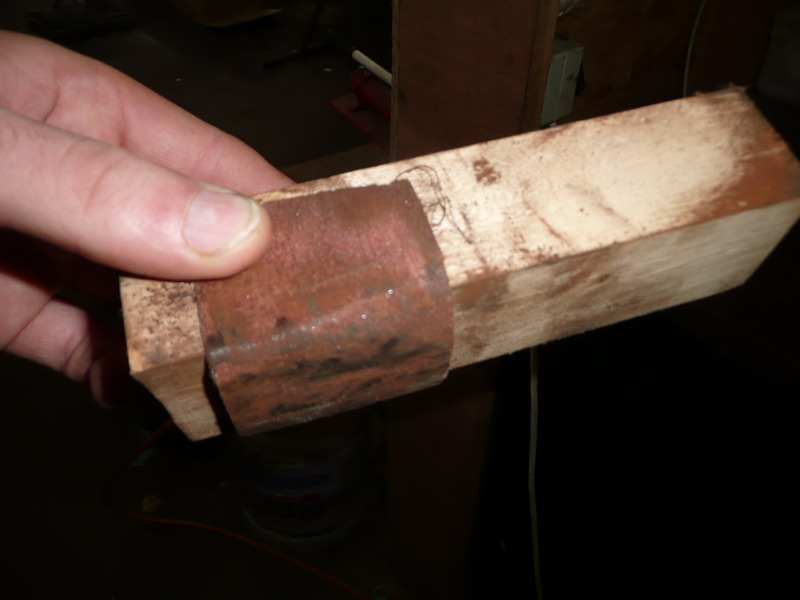
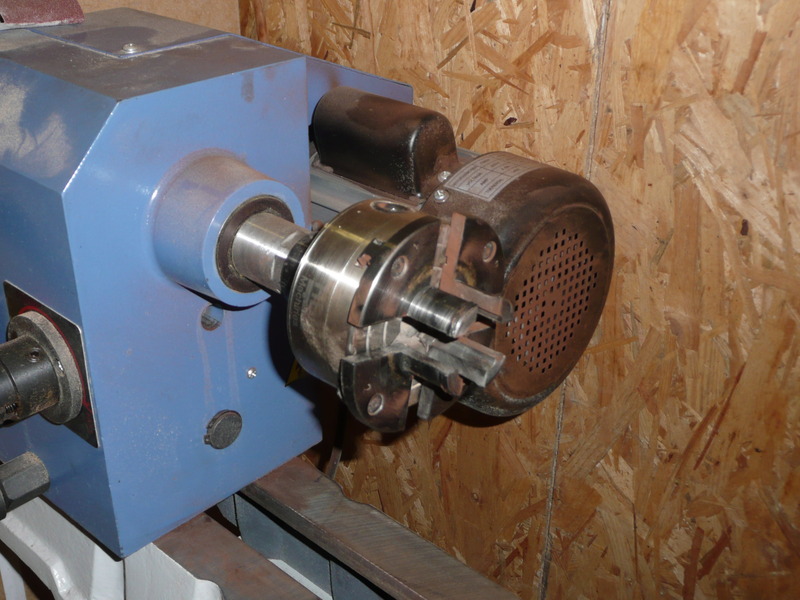
How did I do it
1. a block of wood and a piece of sanding paper (in my case grid 100)
2. take a lathe (in mycase a wood lathe)
When I reinstall the torsion bar, I turned nut over so I decided to weld a new one
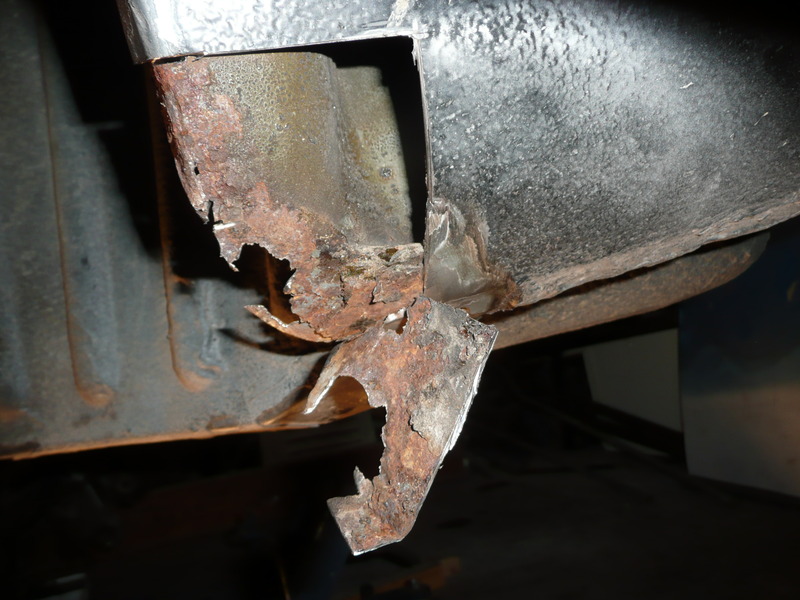
Ohja found some more rust (left rear)

This is it for this time, next time maybe driving again. Who knows.
ps. the e-brake cables are installed
and the next parts must be replaced:

The rear axle with sanded disks


How did I do it
1. a block of wood and a piece of sanding paper (in my case grid 100)
2. take a lathe (in mycase a wood lathe)


When I reinstall the torsion bar, I turned nut over so I decided to weld a new one

Ohja found some more rust (left rear)

This is it for this time, next time maybe driving again. Who knows.
ps. the e-brake cables are installed
Thread Starter
Senior Member
Joined: Aug 2008
Posts: 493
Likes: 0
From: Belgium (2800)
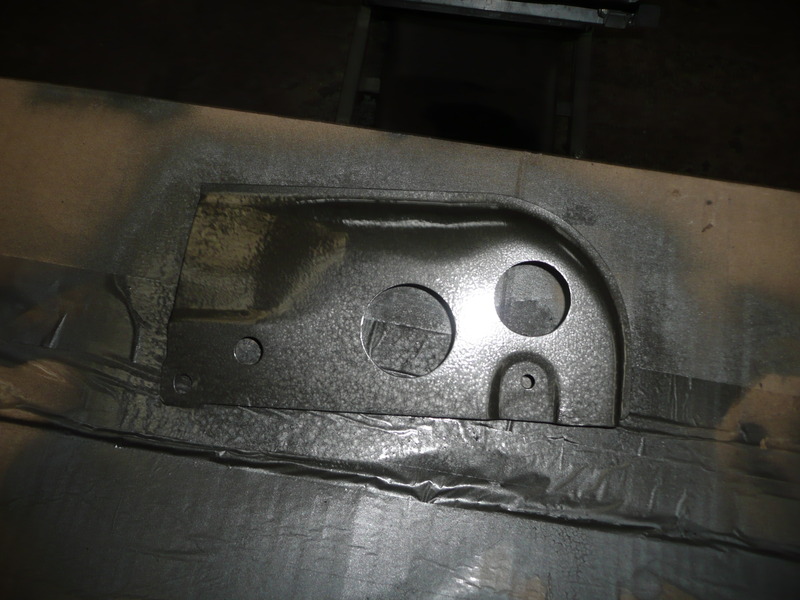
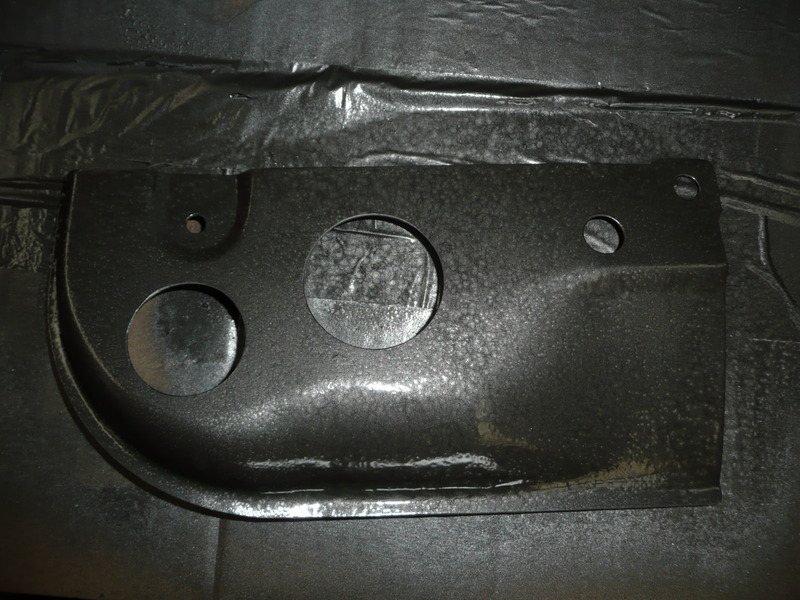
Fuel filter plate (Fuel pump plate is also done), both have a extra under coating
Was cleaning up and found some stuff that I thought I lost
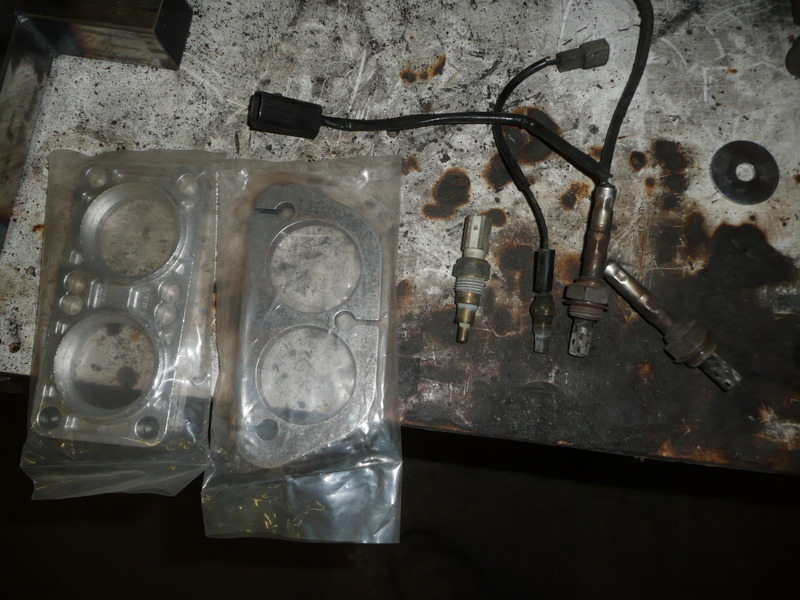
* exhaust flanges for the RX7, temperature switch, temperature sensor, 2x simple lambda


Was cleaning up and found some stuff that I thought I lost

* exhaust flanges for the RX7, temperature switch, temperature sensor, 2x simple lambda
Last edited by damic; Oct 13, 2015 at 12:52 PM.

Thread Starter
Senior Member
Joined: Aug 2008
Posts: 493
Likes: 0
From: Belgium (2800)
Today I did some work on the left rear corner.

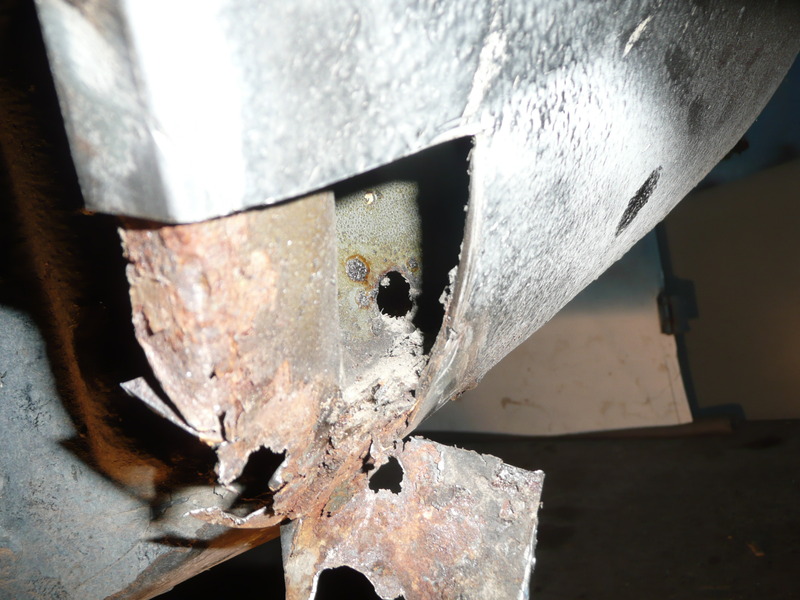
Fitted a small plate on the inner side (grmbl not easy to weld)

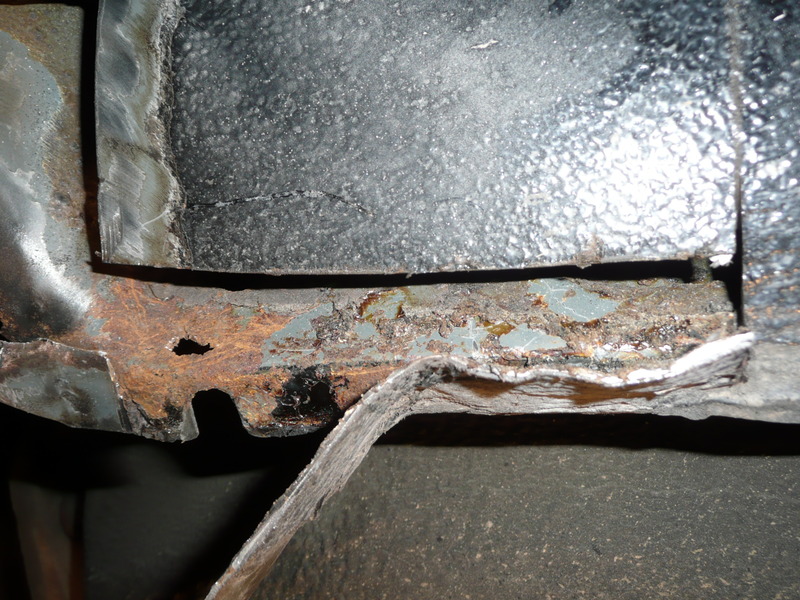
After that welded the inside and sprayed zinc spray.
Rest is for later.


Fitted a small plate on the inner side (grmbl not easy to weld)


After that welded the inside and sprayed zinc spray.


Rest is for later.


Thread Starter
Senior Member
Joined: Aug 2008
Posts: 493
Likes: 0
From: Belgium (2800)
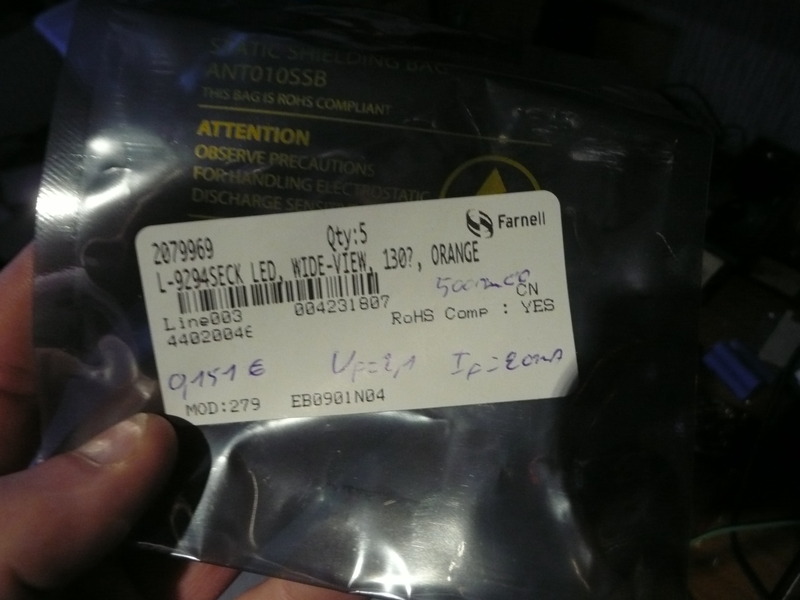
Ordered parts for the new fender lights.
*Draws around 75mA/13.8V
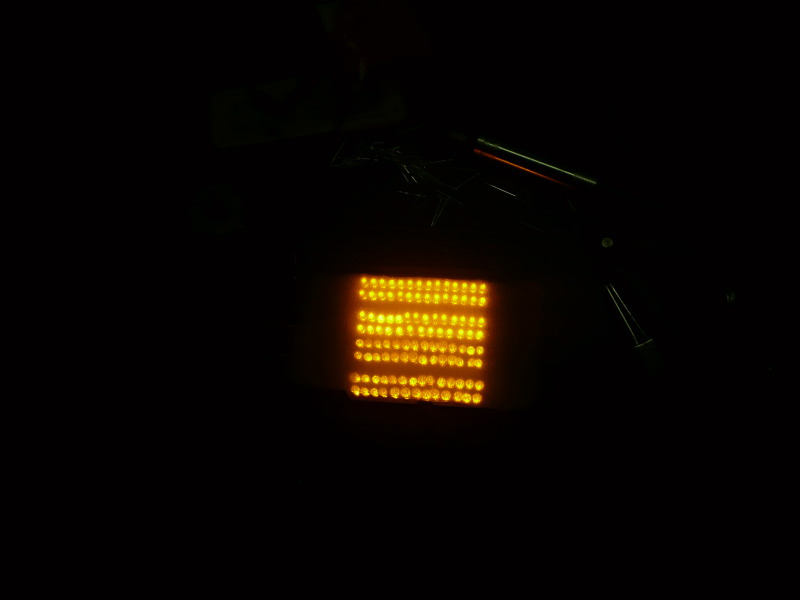
**After the 9 led test I've added 1 more string of 3 leds, so now we have 12 white leds.
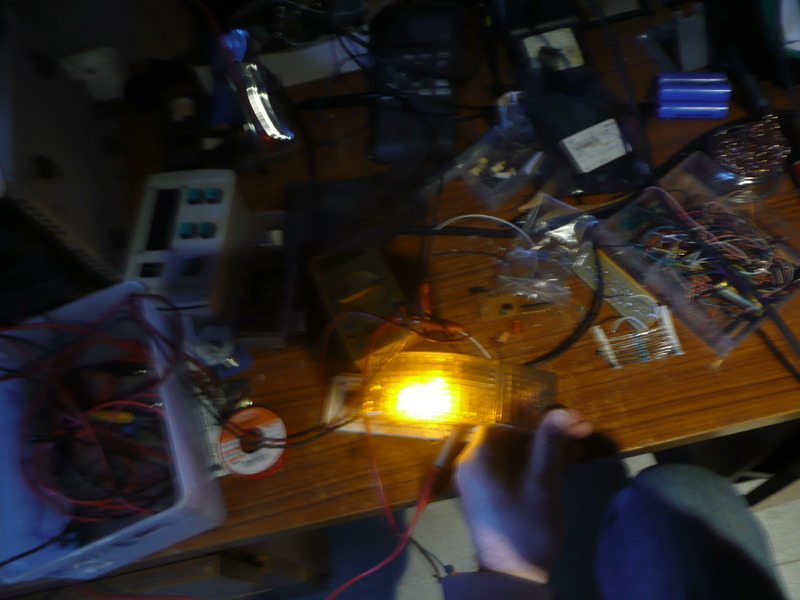
Not easy taking pictures from a light source.
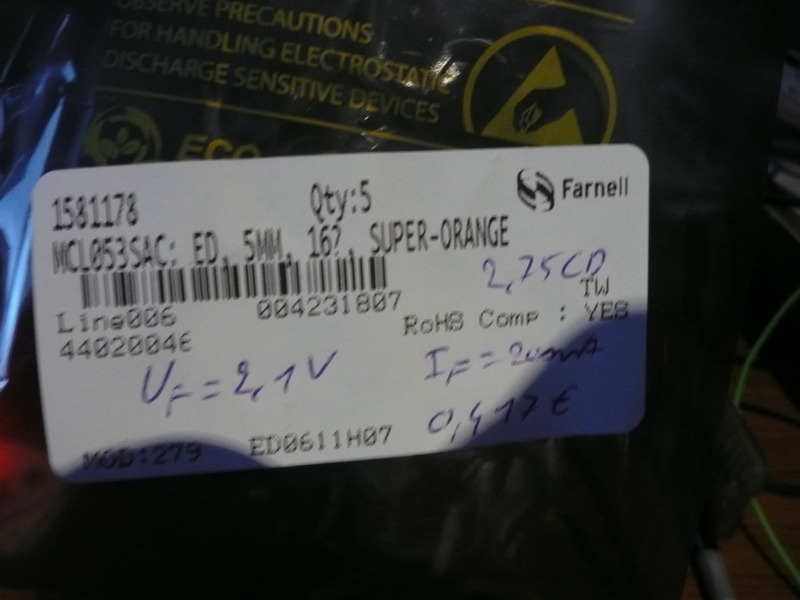
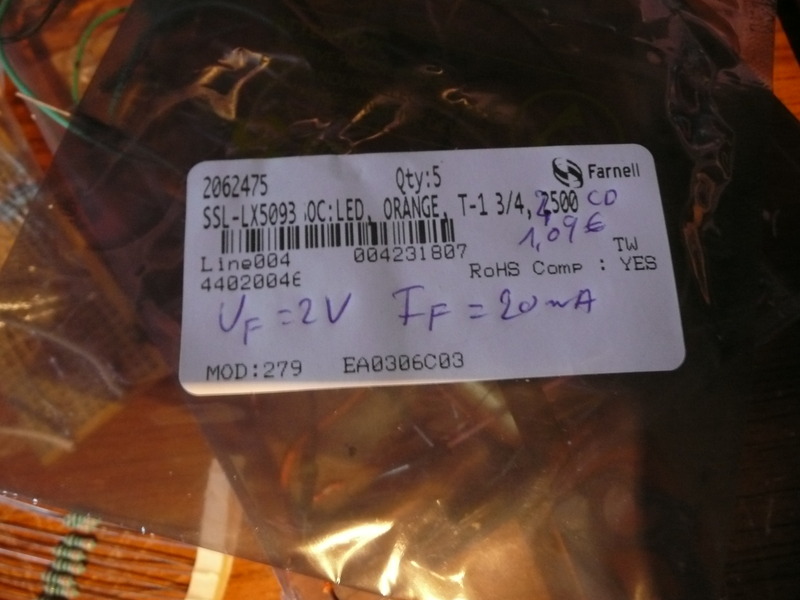
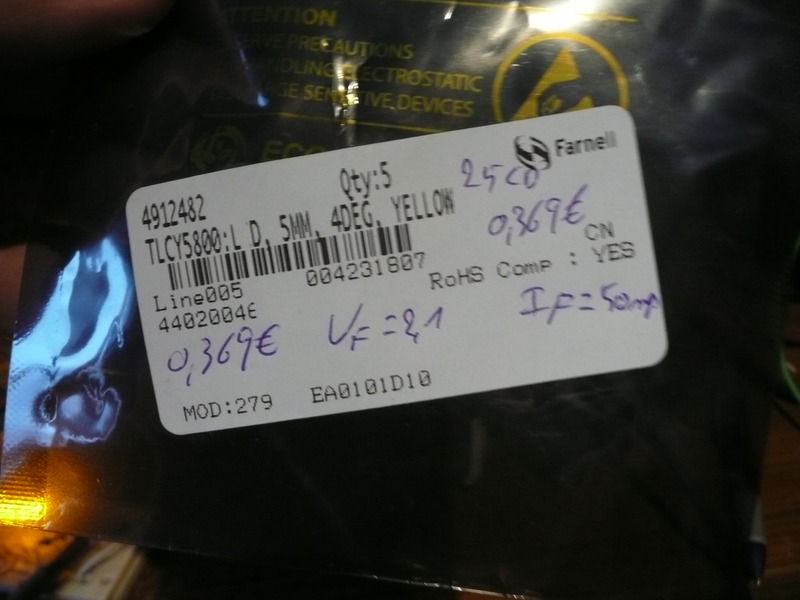
I've tested the orange and yellow leds that I've ordered and I will go with the yellow leds from Vishay TLCY5800, if I see price/intensity and current then OPTEK TECHNOLOGY OVLGY0C9B9 is a more suitable winner.
The results:
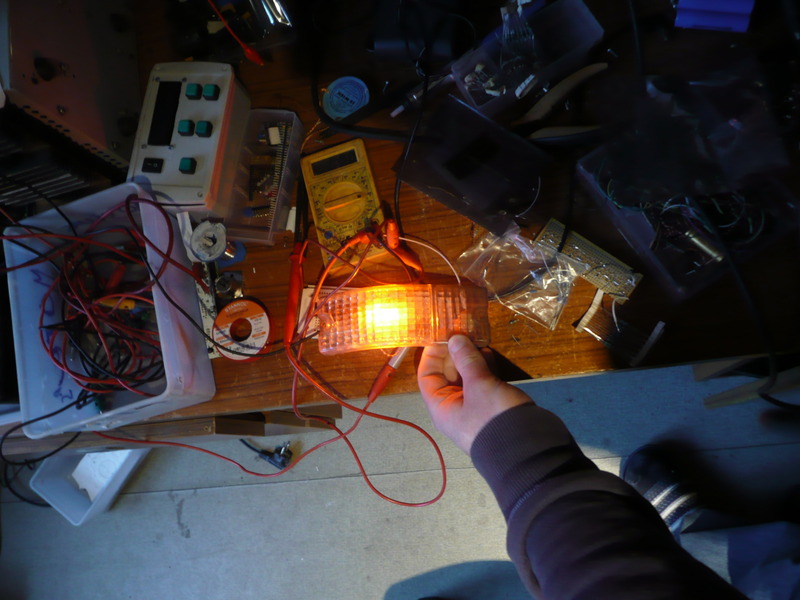
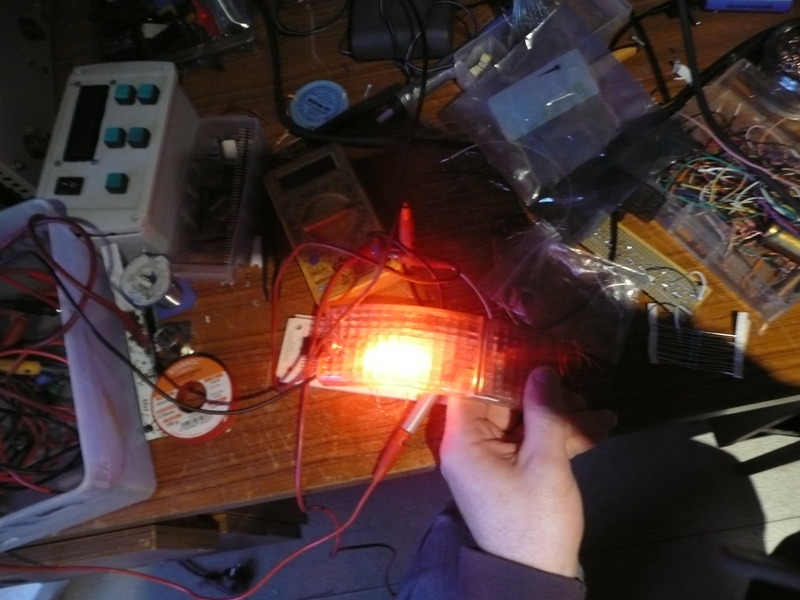
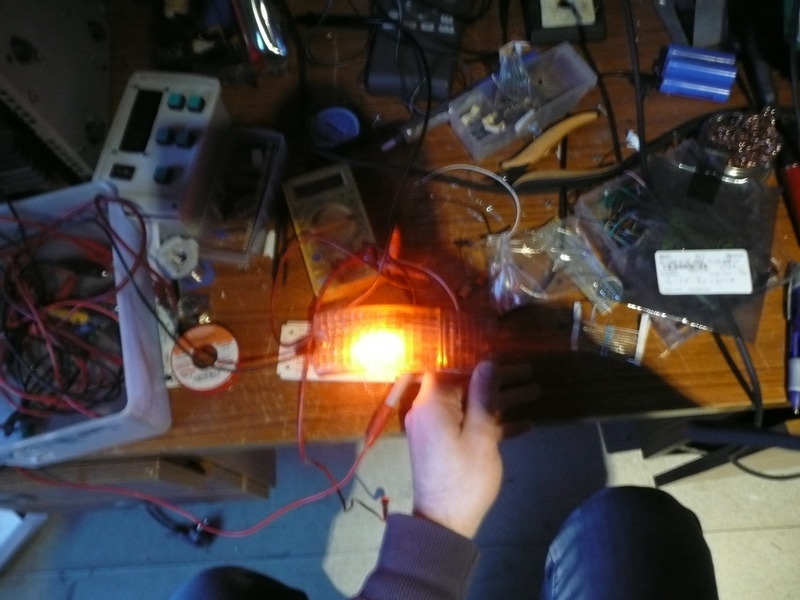
And the winner:
*They aren't 25cd but 14cd on 50mA (see datasheet)


*Draws around 75mA/13.8V
**After the 9 led test I've added 1 more string of 3 leds, so now we have 12 white leds.
Not easy taking pictures from a light source.
I've tested the orange and yellow leds that I've ordered and I will go with the yellow leds from Vishay TLCY5800, if I see price/intensity and current then OPTEK TECHNOLOGY OVLGY0C9B9 is a more suitable winner.
The results:


*They aren't 25cd but 14cd on 50mA (see datasheet)


Last edited by damic; Dec 24, 2015 at 01:55 PM. Reason: Orange/yellow led test


Thread Starter
Senior Member
Joined: Aug 2008
Posts: 493
Likes: 0
From: Belgium (2800)
Updated the webpage: CD-PC :: RX-7 Fender LED light with new pictures and a video
Can you spot the Opteks?!
Package deal:
Video
Can you spot the Opteks?!

Package deal:

Video
Thread Starter
Senior Member
Joined: Aug 2008
Posts: 493
Likes: 0
From: Belgium (2800)
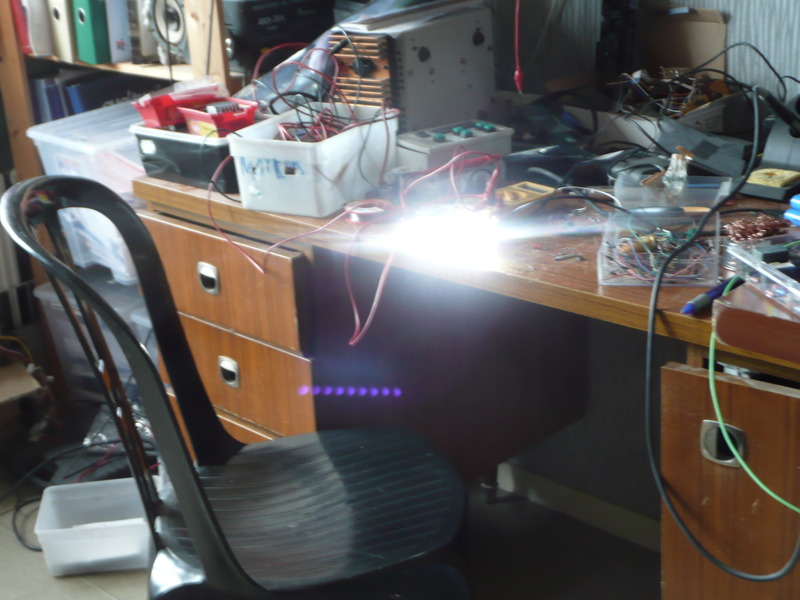
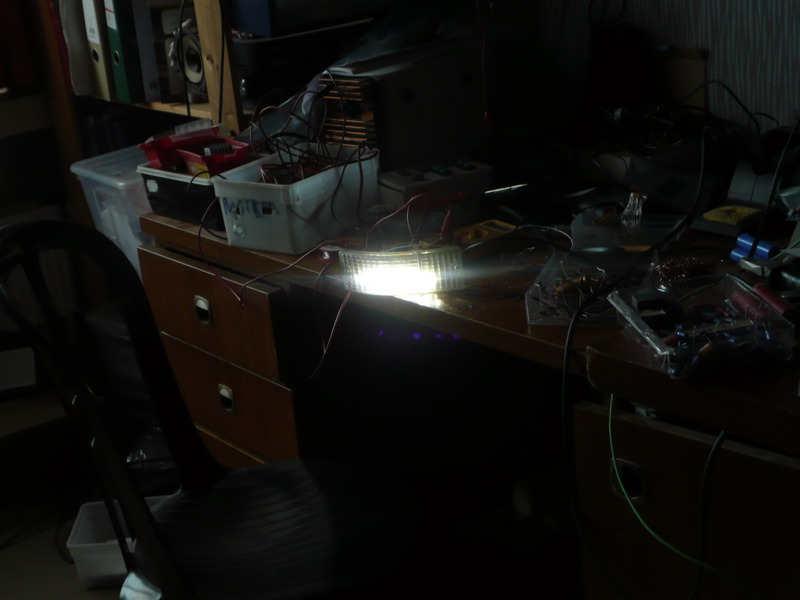
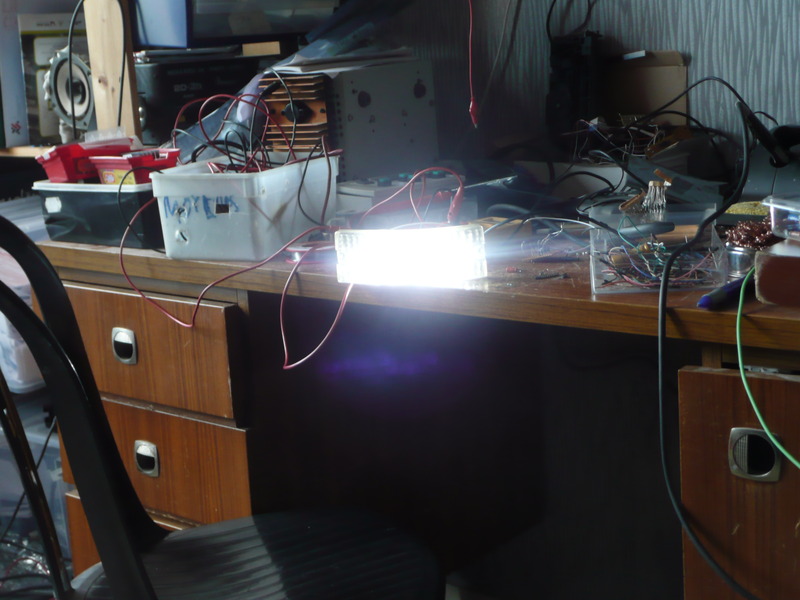
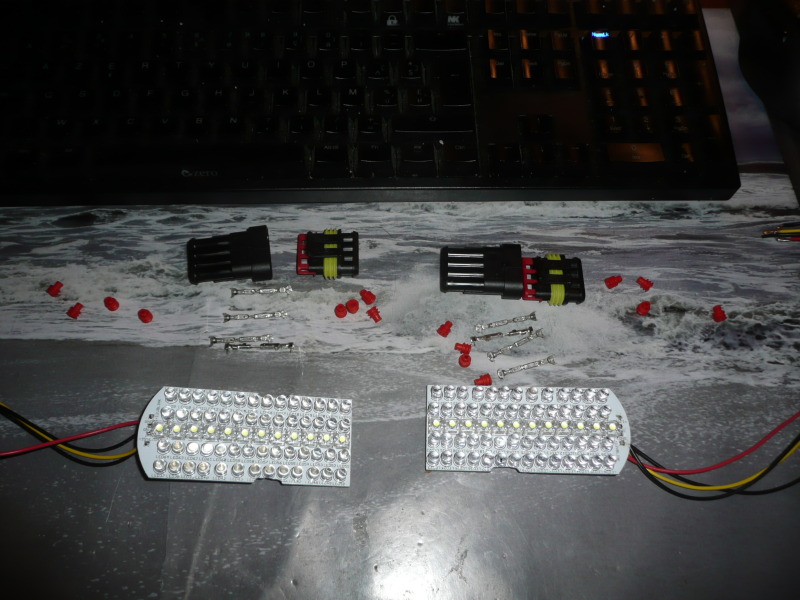
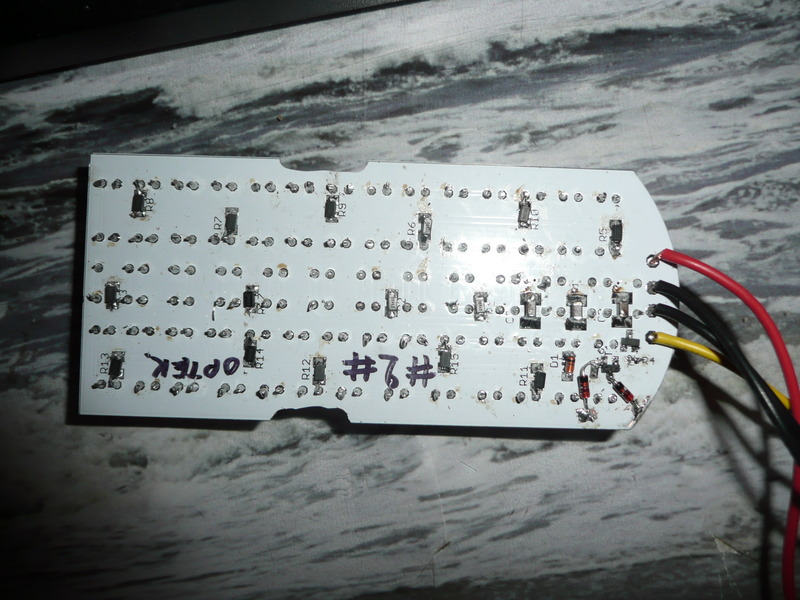
Some pictures of the test board:
Connecting it to the car
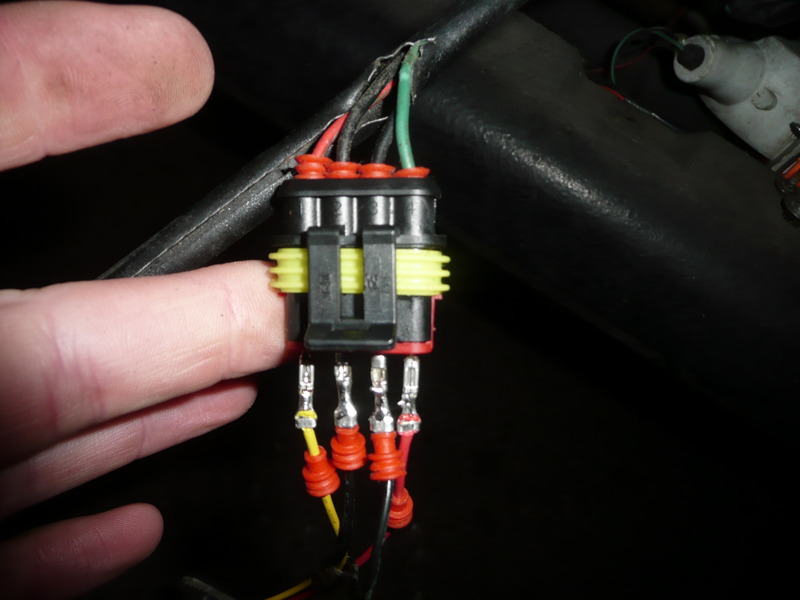
1 = red = fender light
2&3=black = ground
4 = green = blinker
Then I tested it on the car and when the battery is low it sucks.
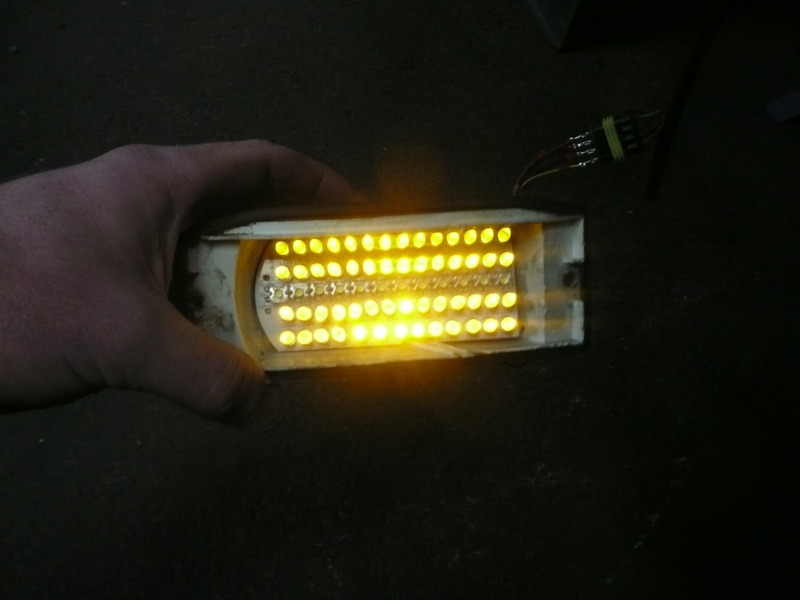
Why is this: in v1 there where 5 led's in serie = 2.0Vx5 = 10V +0.7V=10.7V for optimum lighting, that's solved in v2 where there are 4 leds in serie so 8.7v is needed for optimal lighting.
The normal 21W lamp without running engine.
Difference between led and 5W lamp with running engine

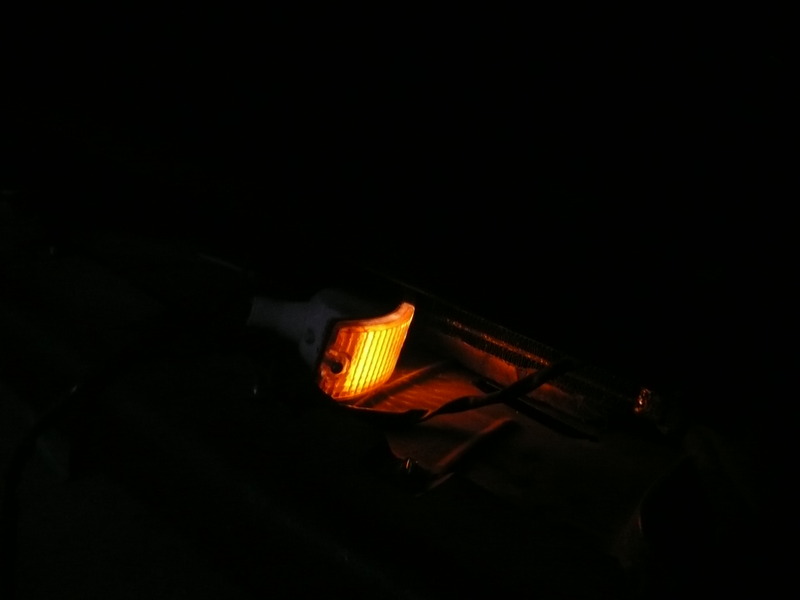
Blinker:
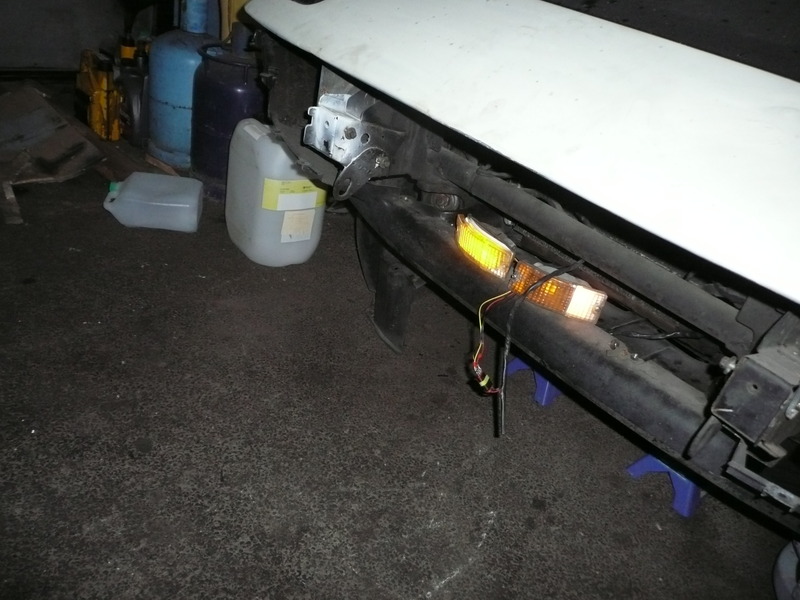

Connecting it to the car

1 = red = fender light
2&3=black = ground
4 = green = blinker
Then I tested it on the car and when the battery is low it sucks.


Difference between led and 5W lamp with running engine

Blinker:

Thread Starter
Senior Member
Joined: Aug 2008
Posts: 493
Likes: 0
From: Belgium (2800)
Made a indiegogo campain: http://igg.me/at/Lsqqt9r1cvc/x/13278051
Thread Starter
Senior Member
Joined: Aug 2008
Posts: 493
Likes: 0
From: Belgium (2800)
Today I modified the blinker relay
One drawback: when a bulb fails there is no more fast blinking.
I forgot a few pictures of the gearbox cleaning
What do you need:
and a brush from the Action (=a cheap *** store) and a bin from Ikea
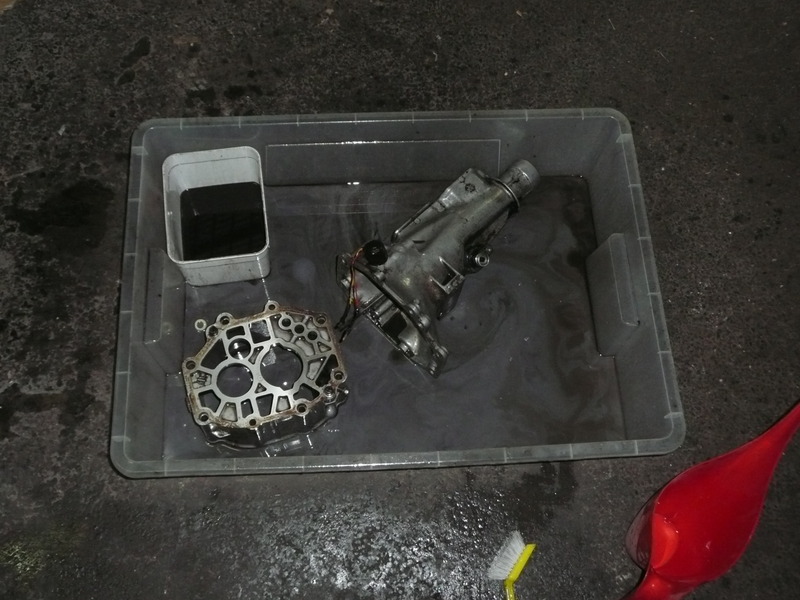
And for drying a small heater
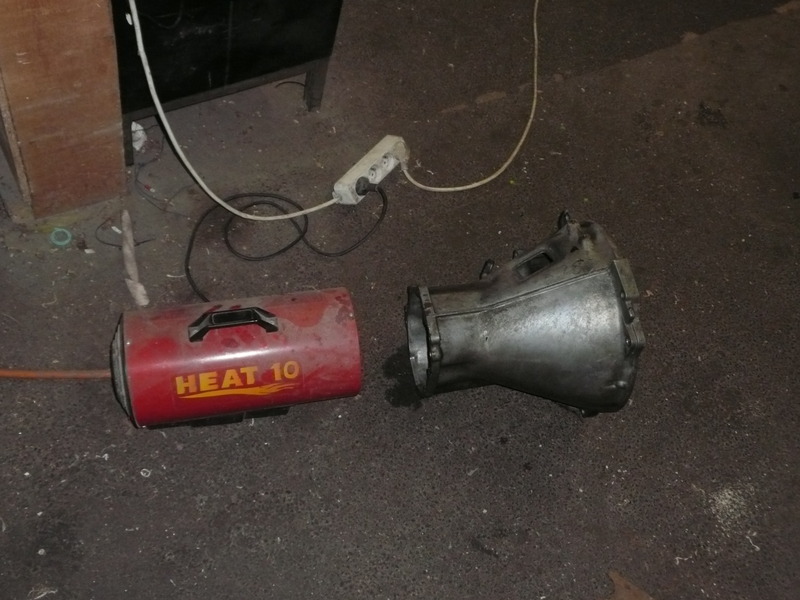
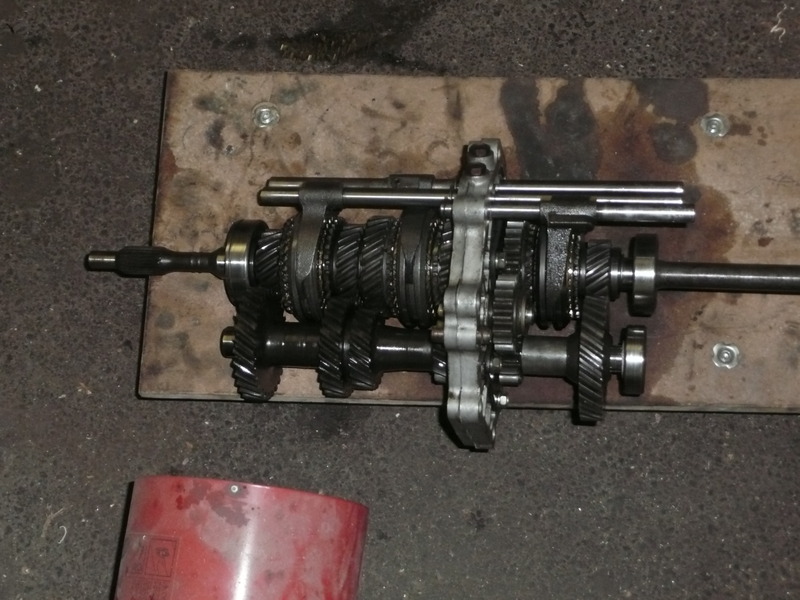
It works well to clean and dry, almost burned my fingers on the gear assembly. But something isn't right, when I put the front lid over the axle the axle is stuck. Need to find why that is.
I forgot a few pictures of the gearbox cleaning
What do you need:

and a brush from the Action (=a cheap *** store) and a bin from Ikea

And for drying a small heater


It works well to clean and dry, almost burned my fingers on the gear assembly. But something isn't right, when I put the front lid over the axle the axle is stuck. Need to find why that is.


