Bringing it back to life


 11-19-10, 12:11 PM
#29
Senior Member
Thread Starter
iTrader: (1)

Join Date: Aug 2010
Location: Southern Minnesota and Southern California
Posts: 340
Likes: 0
Received 0 Likes
on
0 Posts
Sweet! A good reason to invest in more tools. Any suggestions on a good pneumatic impact wrench? (brand, ft/lbs?)  Thanks Kentetsu.
Thanks Kentetsu.
Last edited by clykins; 11-19-10 at 12:31 PM.
12-19-10, 10:52 PM
#30
Senior Member
Thread Starter
iTrader: (1)
Join Date: Aug 2010
Location: Southern Minnesota and Southern California
Posts: 340
Likes: 0
Received 0 Likes
on
0 Posts
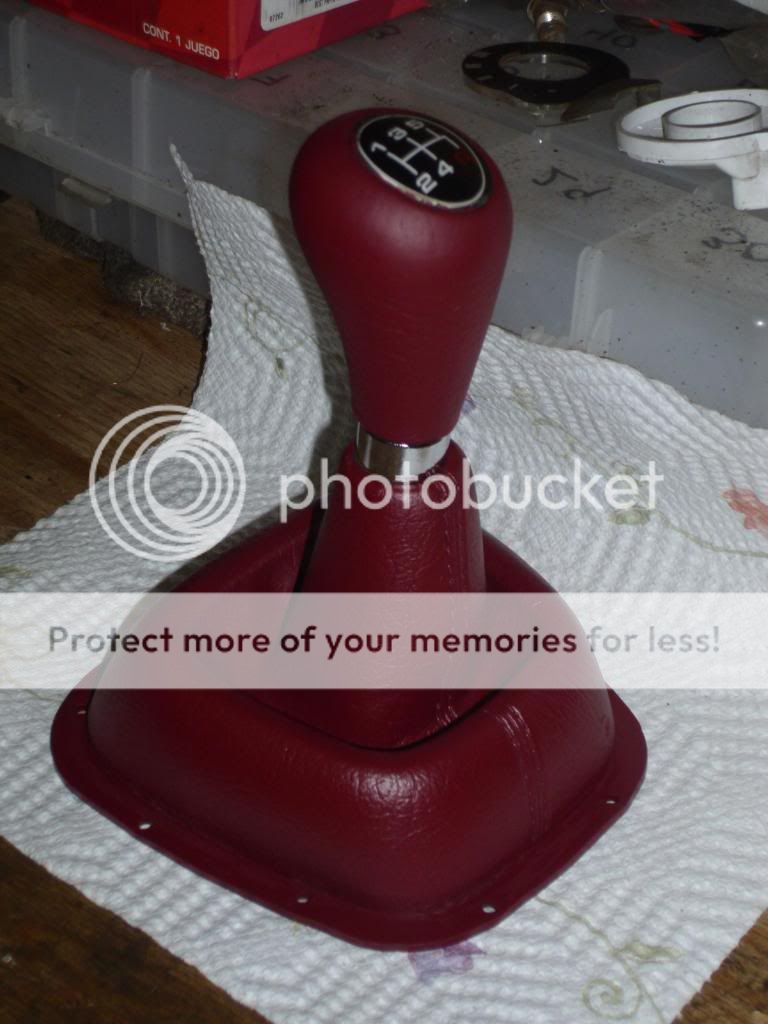
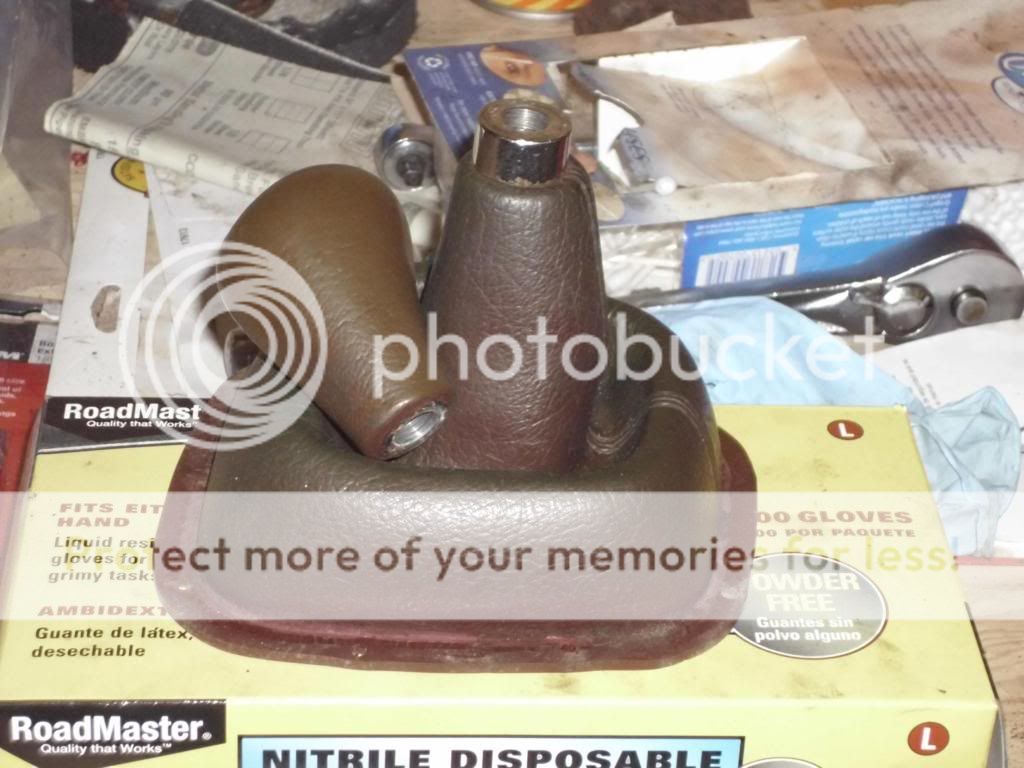
Been out in LA for a while and haven't had a chance to work much on my 7. Before I left I saw a thread on repainting upholstery that is sun fadded. So I thought I'd give it a shot. I am impressed with how well it turned out! Although not an exact match in color, it is still a lot better than the sun-fadded green it was before.
Last edited by clykins; 12-19-10 at 10:57 PM.
12-22-10, 04:52 AM
#32
Senior Member
Thread Starter
iTrader: (1)
Join Date: Aug 2010
Location: Southern Minnesota and Southern California
Posts: 340
Likes: 0
Received 0 Likes
on
0 Posts
I believe it is Duplicolor's Fabric and Vinyl paint from Autozone. I will make it back there in the next couple days and check. There is another thread that recommended this stuff highly. I will see if I can find it. Happy holidays everyone!
01-06-11, 06:49 PM
#33
Senior Member
Thread Starter
iTrader: (1)
Join Date: Aug 2010
Location: Southern Minnesota and Southern California
Posts: 340
Likes: 0
Received 0 Likes
on
0 Posts
Happy New Year everyone!
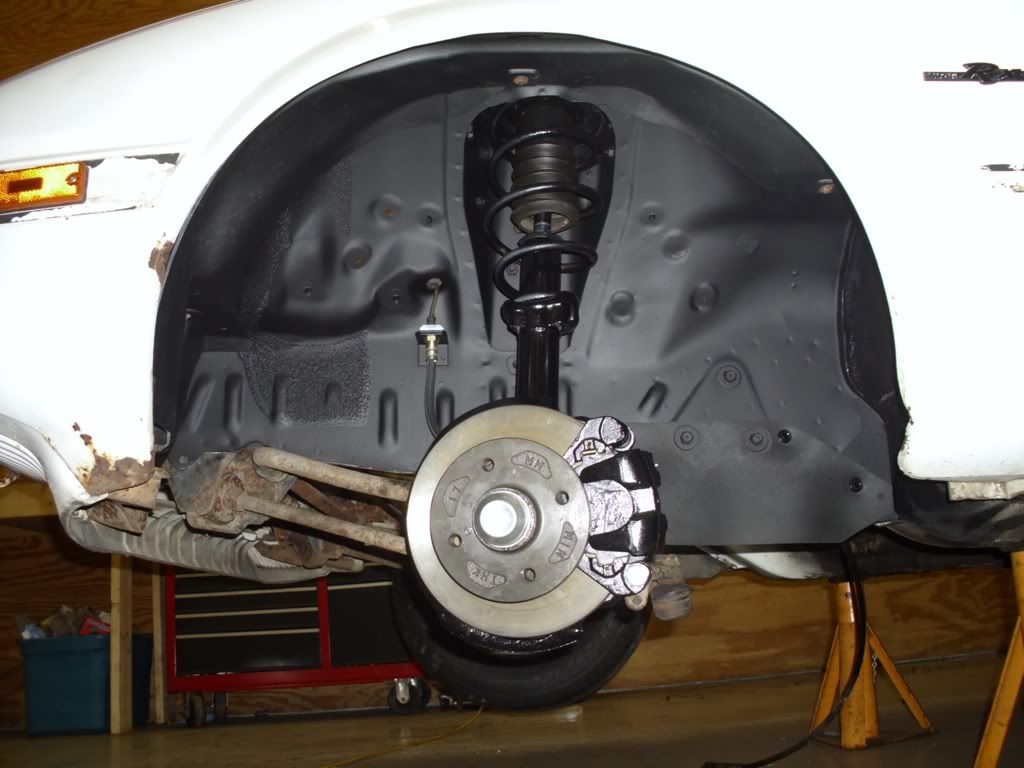
Well I'm back in Minnesota working on the 7. I decided to paint the strut and caliper so I took it all apart again. While I was doing that I noticed that the wheel well looks horrible.
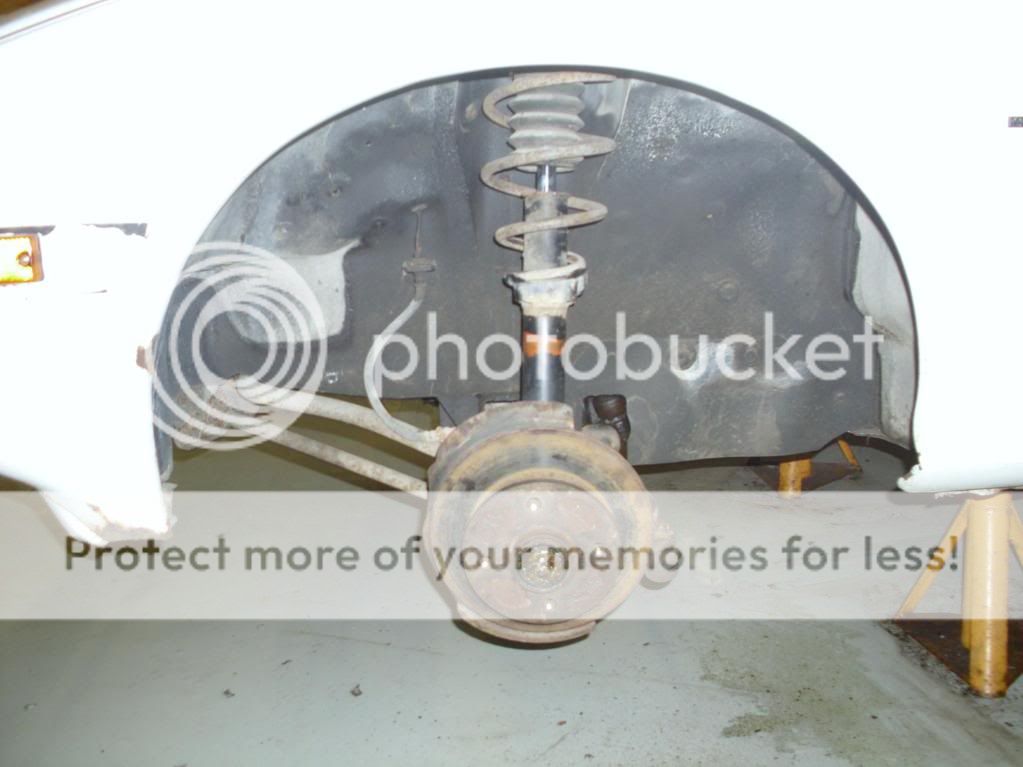
So after some scrubbing:

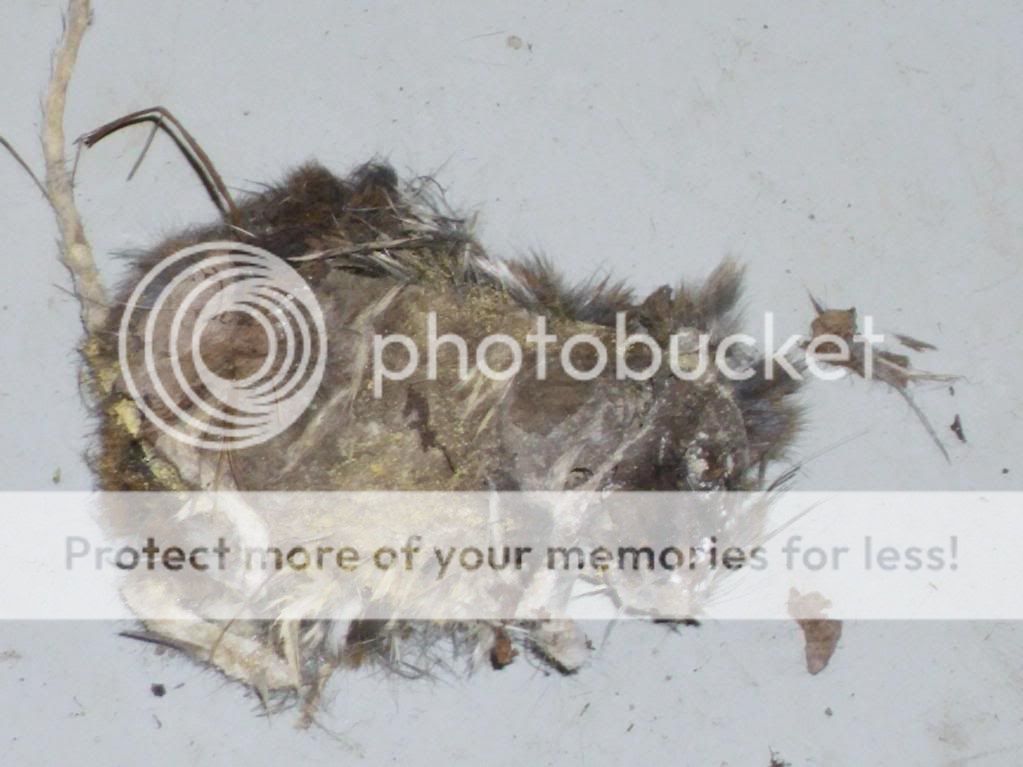
...and finding a mummified mouse tucked in a corner of the wheel well...
I painted the wheel well a flat black (its still drying in this photo)

I also painted and cooked my brake caliper components (the directions said cook at 200 degrees until golden brown... I mean, for 1 hour. Yummy! Looks delicious)
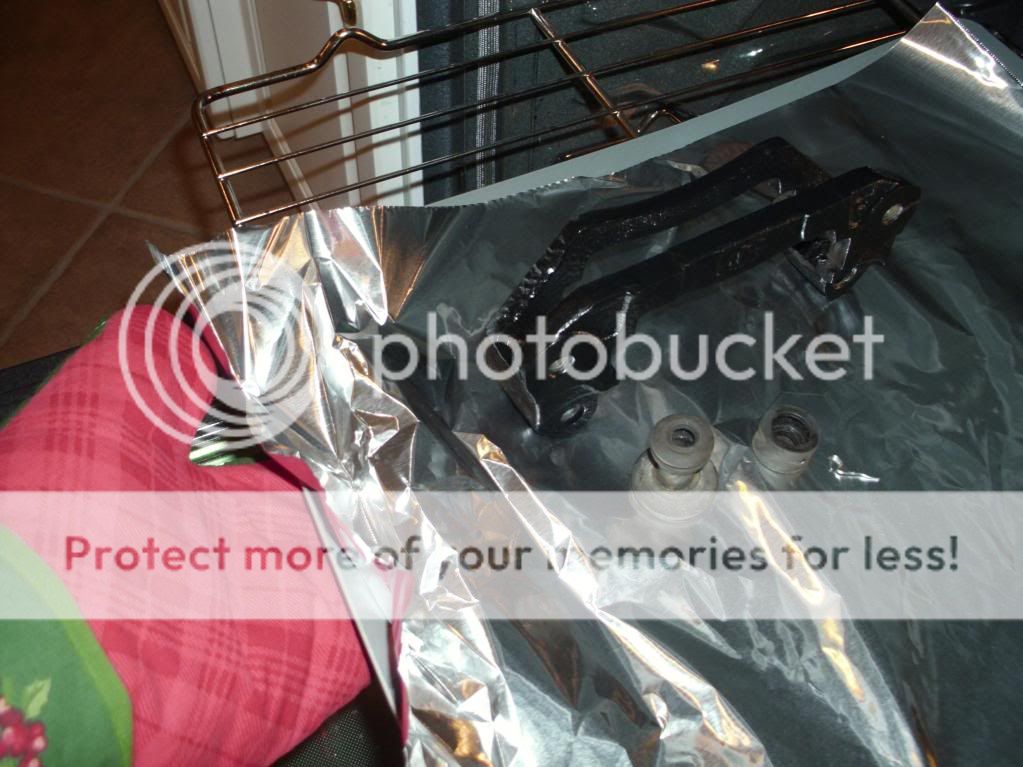
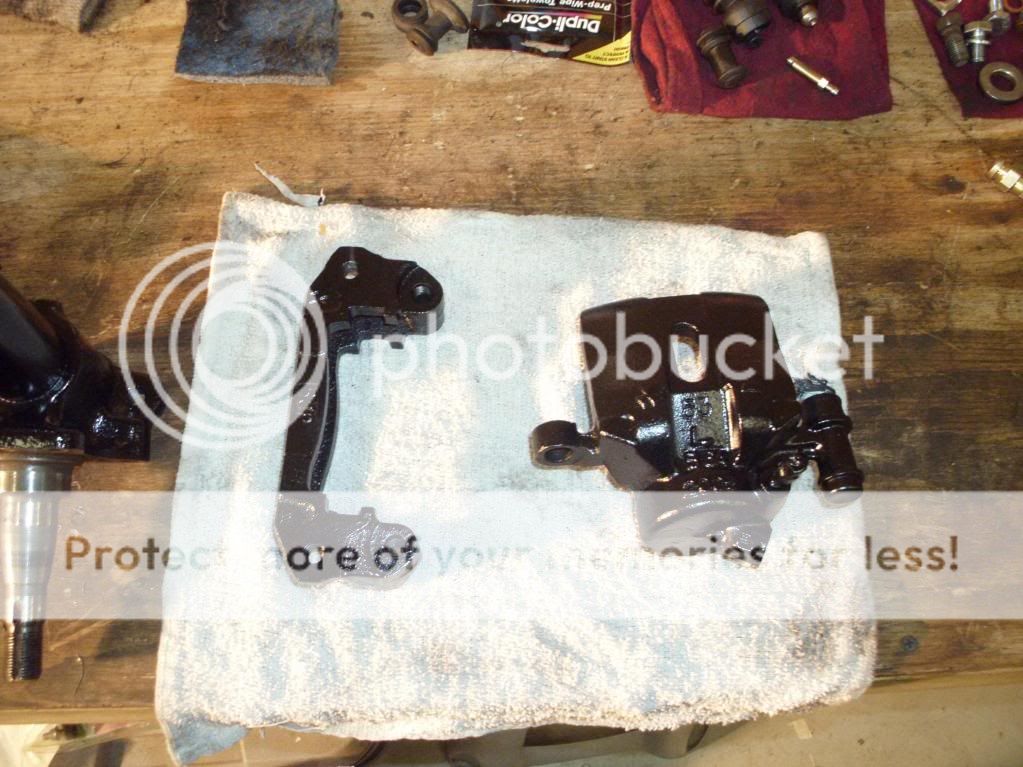
...could use some salt...I put in some old rubber gromits to see how they reacted to being cooked. They turned out fine so in went the break caliper. This is how they turned out. (Yes, I used caliper specific paint - from Autozone)
I am planning on finishing up the driver's side strut this week and hopefully start putting the engine back together sometime next week. I can't wait. Still have to get a replacement rear rotor though. I am going to paint the housings and irons too Probably black and white to match the rest of the car and engine bay components.
Well I'm back in Minnesota working on the 7. I decided to paint the strut and caliper so I took it all apart again. While I was doing that I noticed that the wheel well looks horrible.
So after some scrubbing:
...and finding a mummified mouse tucked in a corner of the wheel well...
I painted the wheel well a flat black (its still drying in this photo)
I also painted and cooked my brake caliper components (the directions said cook at 200 degrees until golden brown... I mean, for 1 hour. Yummy! Looks delicious)
...could use some salt...I put in some old rubber gromits to see how they reacted to being cooked. They turned out fine so in went the break caliper. This is how they turned out. (Yes, I used caliper specific paint - from Autozone)
I am planning on finishing up the driver's side strut this week and hopefully start putting the engine back together sometime next week. I can't wait. Still have to get a replacement rear rotor though. I am going to paint the housings and irons too
Probably black and white to match the rest of the car and engine bay components.
01-09-11, 06:57 PM
#35
Senior Member
Thread Starter
iTrader: (1)
Join Date: Aug 2010
Location: Southern Minnesota and Southern California
Posts: 340
Likes: 0
Received 0 Likes
on
0 Posts
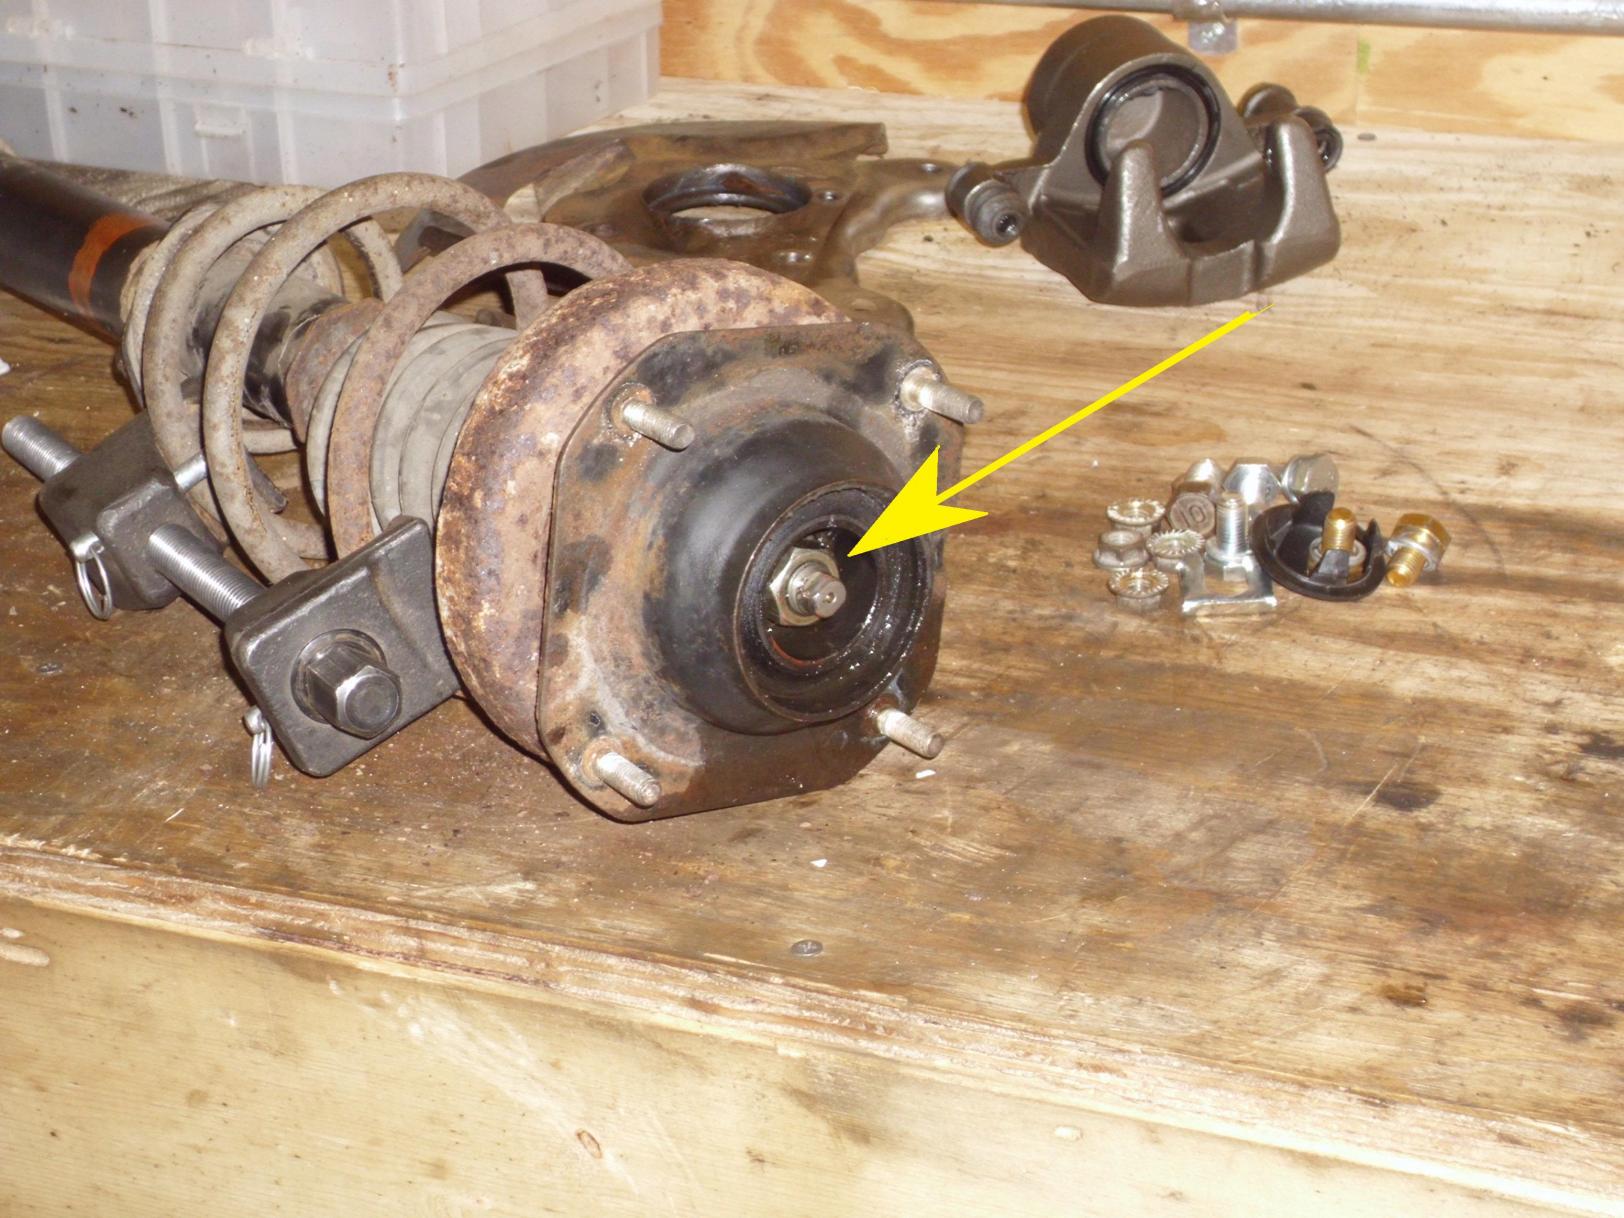
Finally the paint is dry! I put together the driver's side strut. 16 years after it broke, it is finally fixed and looks a lot better then it ever did... Ever brand new While putting the strut back together I realized that I may have put the spacer in the wrong place when I assembled the passenger's side. Guess I will have to pull that apart one more time. At least that shouldn't take more then about twenty minutes to check and fix. Alright I am doing this with my IPOD. Let's see if I can get the pictures to post...
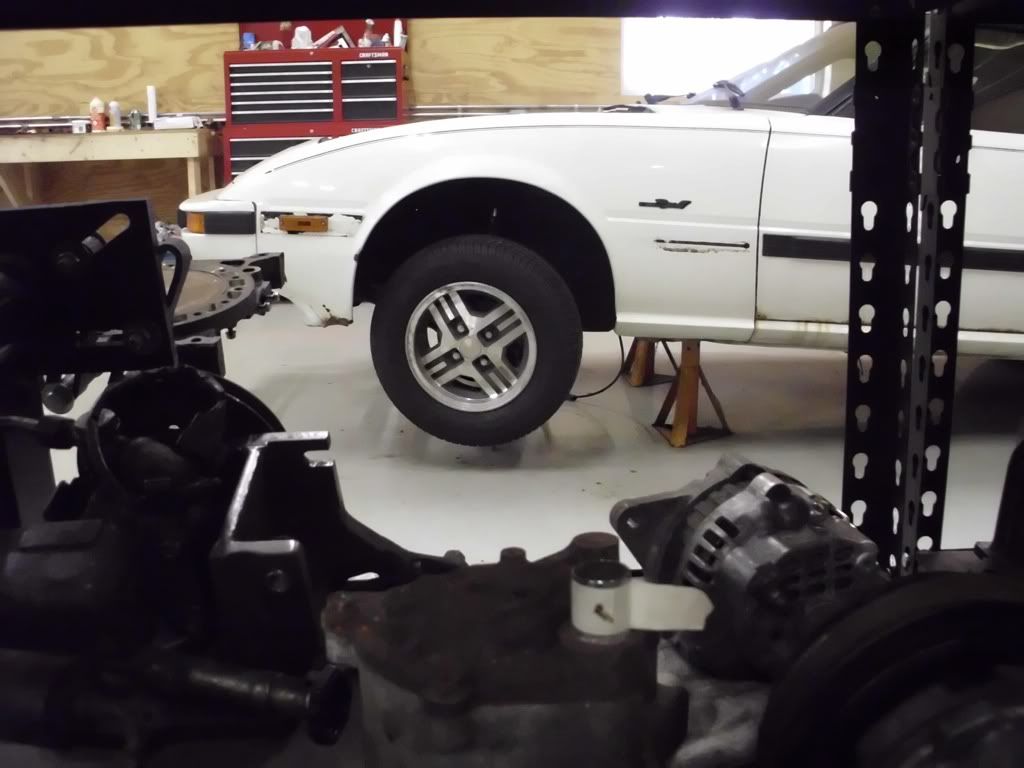
While putting the strut back together I realized that I may have put the spacer in the wrong place when I assembled the passenger's side. Guess I will have to pull that apart one more time. At least that shouldn't take more then about twenty minutes to check and fix. Alright I am doing this with my IPOD. Let's see if I can get the pictures to post...
01-12-11, 12:07 PM
#36
Senior Member
Thread Starter
iTrader: (1)
Join Date: Aug 2010
Location: Southern Minnesota and Southern California
Posts: 340
Likes: 0
Received 0 Likes
on
0 Posts
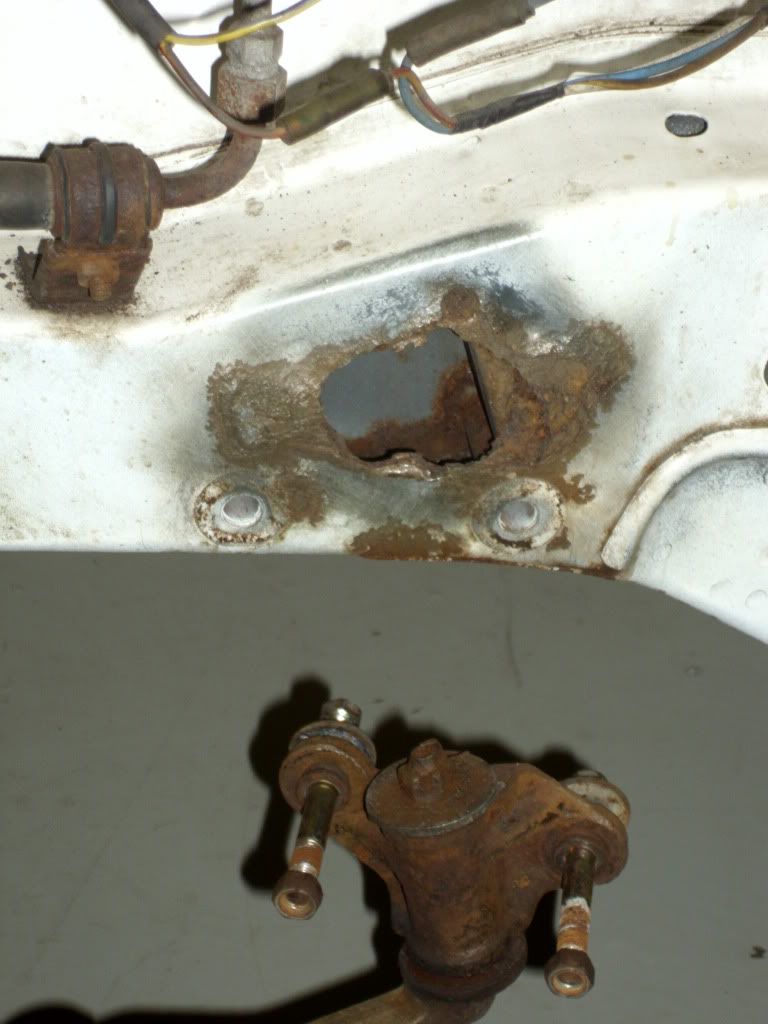
Well, I noticed an eye sore when I pulled the engine out around the idler arm. There was a big patch of body cancer on the frame. (See the picture) I removed the idler arm attachments and my finger went right through the rust. I knocked out as much as I could. I still need to attack it with some sandpaper or a grinder, however my question is Can I clean off the rust and just weld a patch over this without messing with the frame's strength?
01-22-11, 11:35 PM
#38
Senior Member
Thread Starter
iTrader: (1)
Join Date: Aug 2010
Location: Southern Minnesota and Southern California
Posts: 340
Likes: 0
Received 0 Likes
on
0 Posts
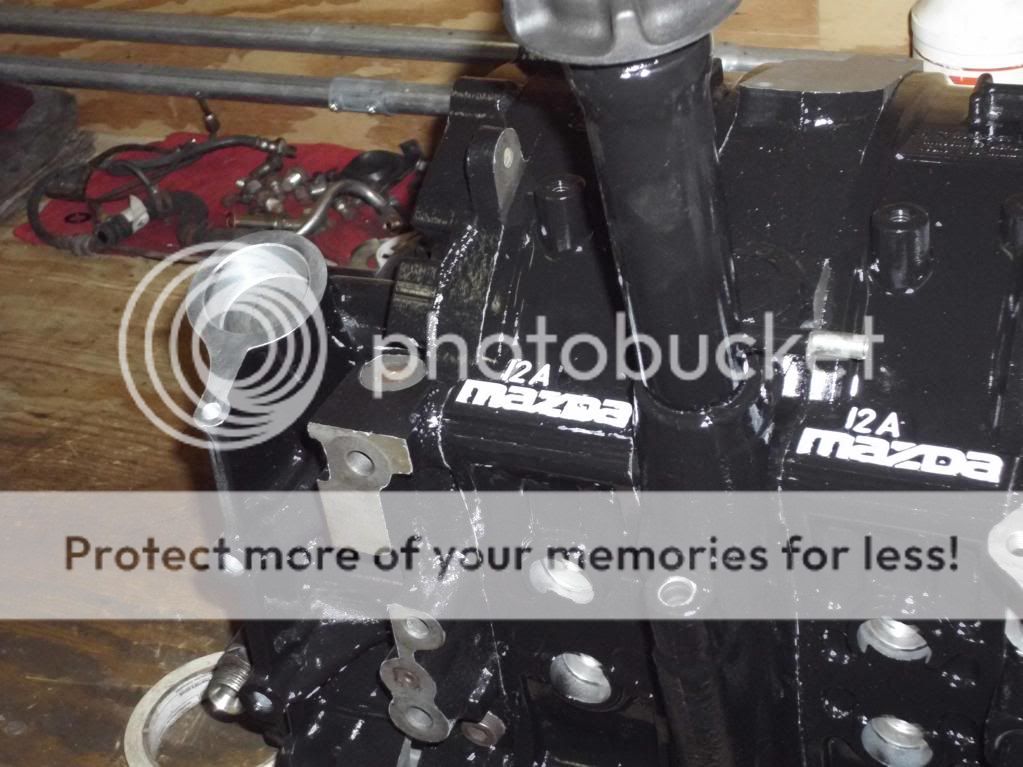
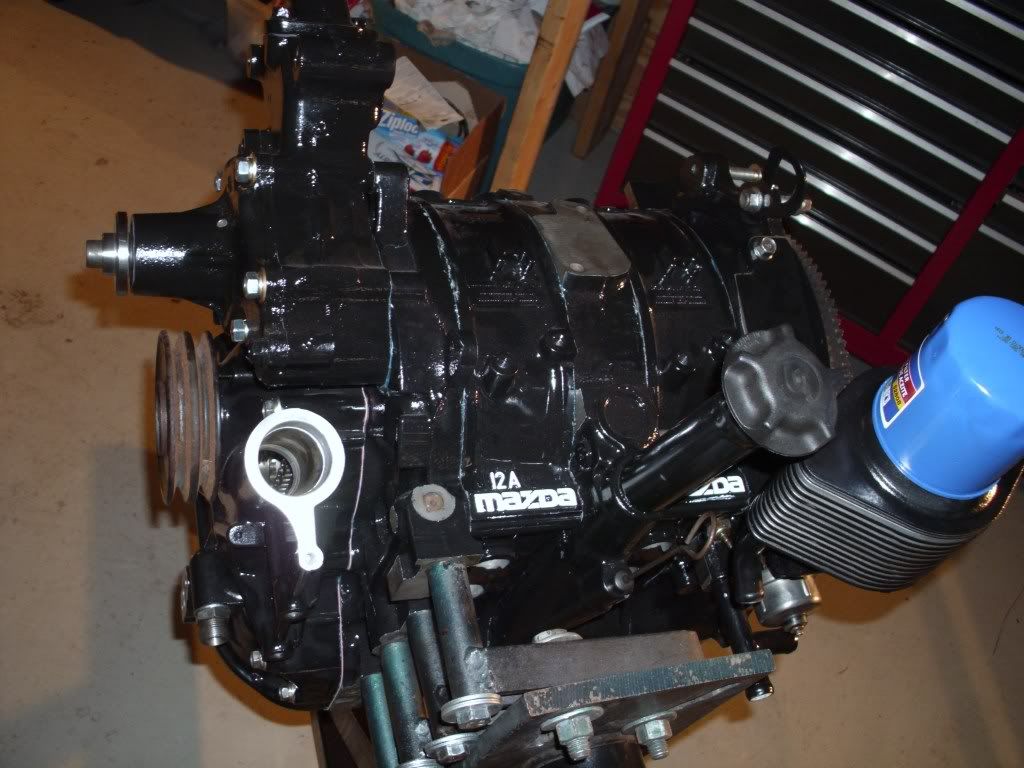
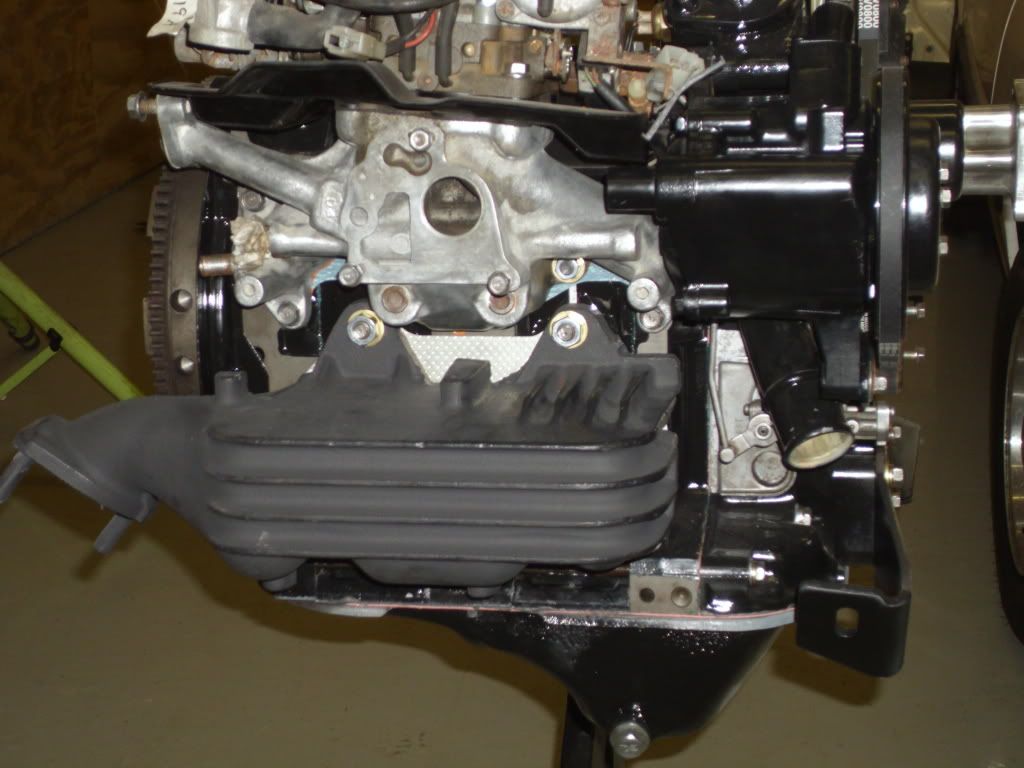
Okay I decided on painting the engine all black. After hours of painstaking cleaning, masking, priming, painting and recoating I am finally done and I am very happy with the outcome. I used Rustoleum's engine paint and primer. Although the masking tape left behind a little glue residue on the irons it cleaned up easily enough. Here's what the engine will look like when reassembled:
...and with the water pump:
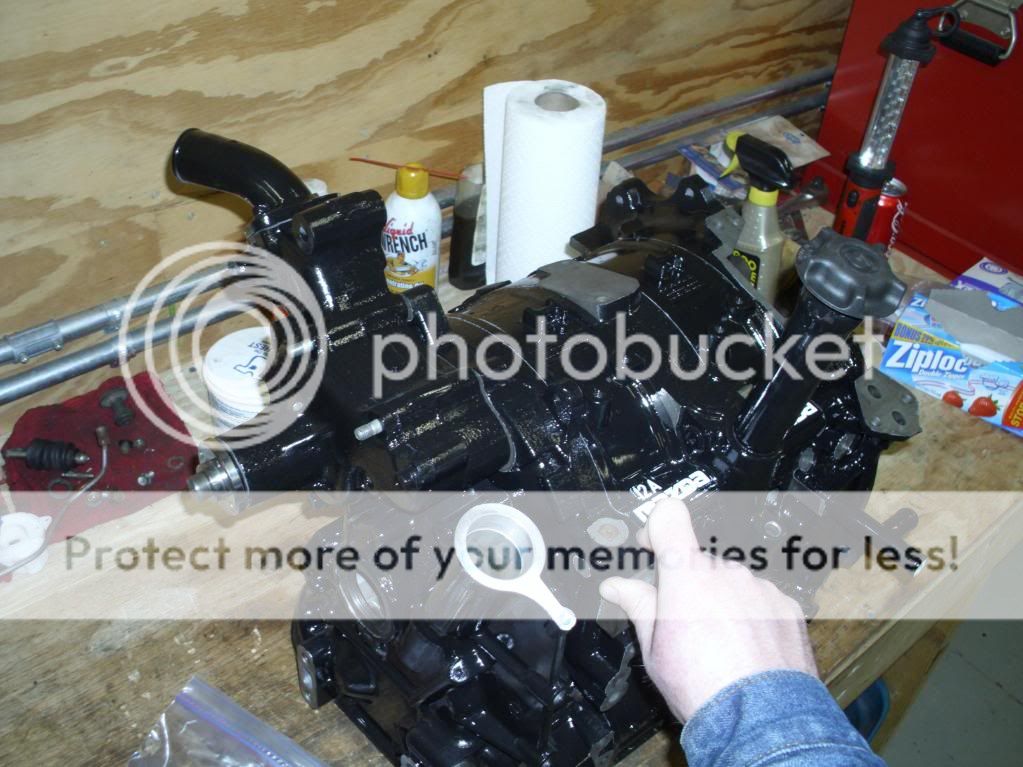
Now I've just got to find a replacement rotor and the gaskets and I'll be ready to put the engine back together finally. I've still got a little bit of cleaning and painting in the engine compartment left before I'll be ready to reinstall the engine. Can't wait to see this engine installed
I've painted the oil cooler, air pump, water pump. I have to get a new alternator (which I'll paint) and I still have to paint the ac pump and the intake and exhaust. Hopefully the paint will keep the rust and dirt off the engine longer.
...and with the water pump:
Now I've just got to find a replacement rotor and the gaskets and I'll be ready to put the engine back together finally. I've still got a little bit of cleaning and painting in the engine compartment left before I'll be ready to reinstall the engine. Can't wait to see this engine installed
I've painted the oil cooler, air pump, water pump. I have to get a new alternator (which I'll paint) and I still have to paint the ac pump and the intake and exhaust. Hopefully the paint will keep the rust and dirt off the engine longer.
02-16-11, 06:28 PM
#39
Senior Member
Thread Starter
iTrader: (1)
Join Date: Aug 2010
Location: Southern Minnesota and Southern California
Posts: 340
Likes: 0
Received 0 Likes
on
0 Posts
Hey Everyone. I've been working a lot, been gone and waiting for parts to arrive. Hopefully as of Thursday I will have the last part in and will be ready to put the enginge back together this weekend... if they don't call me out for another trip.
I purchased a dial indicator to measure the end play.
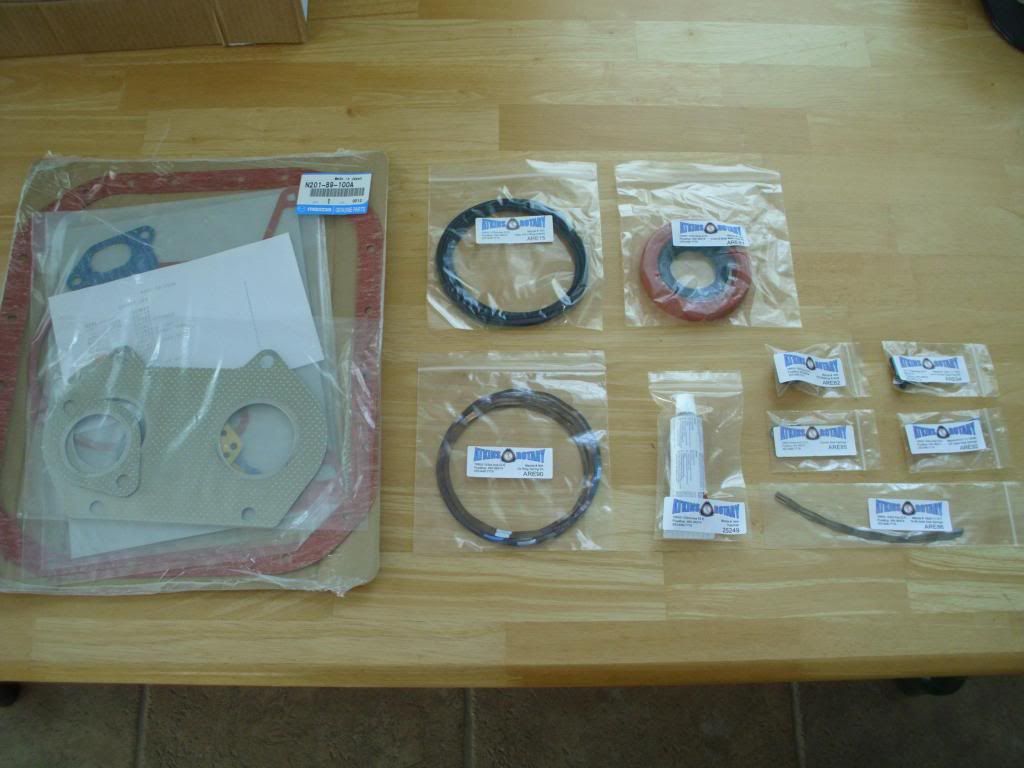
I also purchased Atkin's Kit A gasket set along with the oil ring springs. I have an extra pilot bearing now since one came with the kit so if anyone wants it let me know. $320 bucks!
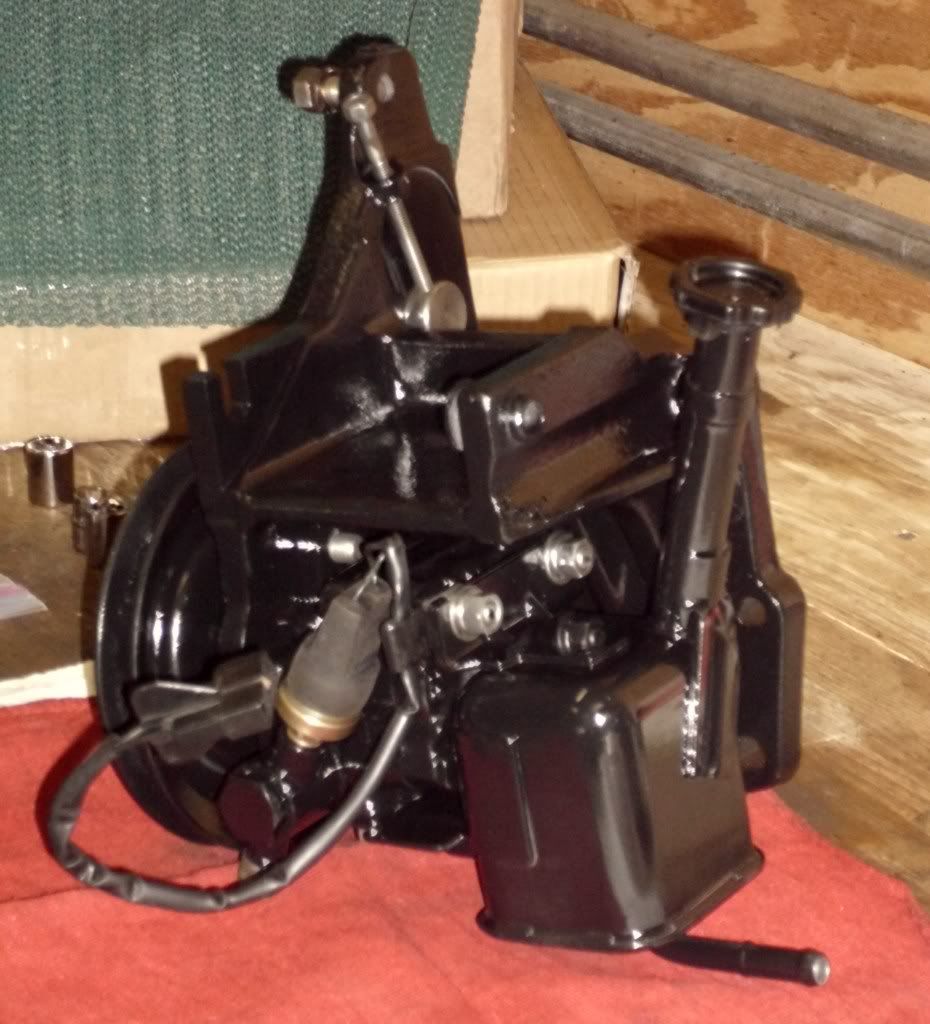
I also went through and disassembled the power steering and painted it. Its really impressive what a little soap, water and paint can do to a rusty little dirt ball
I've been watching Atkin's rebuild video over and over again. I think I should be able to put it together blind folded now. Still thinking about purchasing their cooling system pressure tester. It would be nice to find out that there was a problem in reassembling before I've reinstalled the entire engine. I still need to purchase some new intake studs and I think I'm going to replace one of the external tension bolt that is a bit pitted with rust.
For those that have been following this thread, thanks I'd like to thank Jerry, Mark, and Greg for helping me locate parts so far. Thanks guys!
I purchased a dial indicator to measure the end play.
I also purchased Atkin's Kit A gasket set along with the oil ring springs. I have an extra pilot bearing now since one came with the kit so if anyone wants it let me know. $320 bucks!
I also went through and disassembled the power steering and painted it. Its really impressive what a little soap, water and paint can do to a rusty little dirt ball
I've been watching Atkin's rebuild video over and over again. I think I should be able to put it together blind folded now. Still thinking about purchasing their cooling system pressure tester. It would be nice to find out that there was a problem in reassembling before I've reinstalled the entire engine. I still need to purchase some new intake studs and I think I'm going to replace one of the external tension bolt that is a bit pitted with rust.
For those that have been following this thread, thanks
I'd like to thank Jerry, Mark, and Greg for helping me locate parts so far. Thanks guys!
Last edited by clykins; 02-16-11 at 06:38 PM.
02-17-11, 07:52 PM
#41
$320 is a little stiff for a pilot bearing.
You're doing great. Use great care cutting the side seals to length; be sure to angle the cut end properly to fit the corner seal. Cut them long and then lap them with fine grit paper stretched over plate glass.
You're doing great. Use great care cutting the side seals to length; be sure to angle the cut end properly to fit the corner seal. Cut them long and then lap them with fine grit paper stretched over plate glass.
02-22-11, 02:42 PM
#42
Senior Member
Thread Starter
iTrader: (1)
Join Date: Aug 2010
Location: Southern Minnesota and Southern California
Posts: 340
Likes: 0
Received 0 Likes
on
0 Posts
After scrounging the internet, Galpin Mazda, and some help from some rx7club members I finally got all of the parts together. Months of cleaning and painting came down to this:
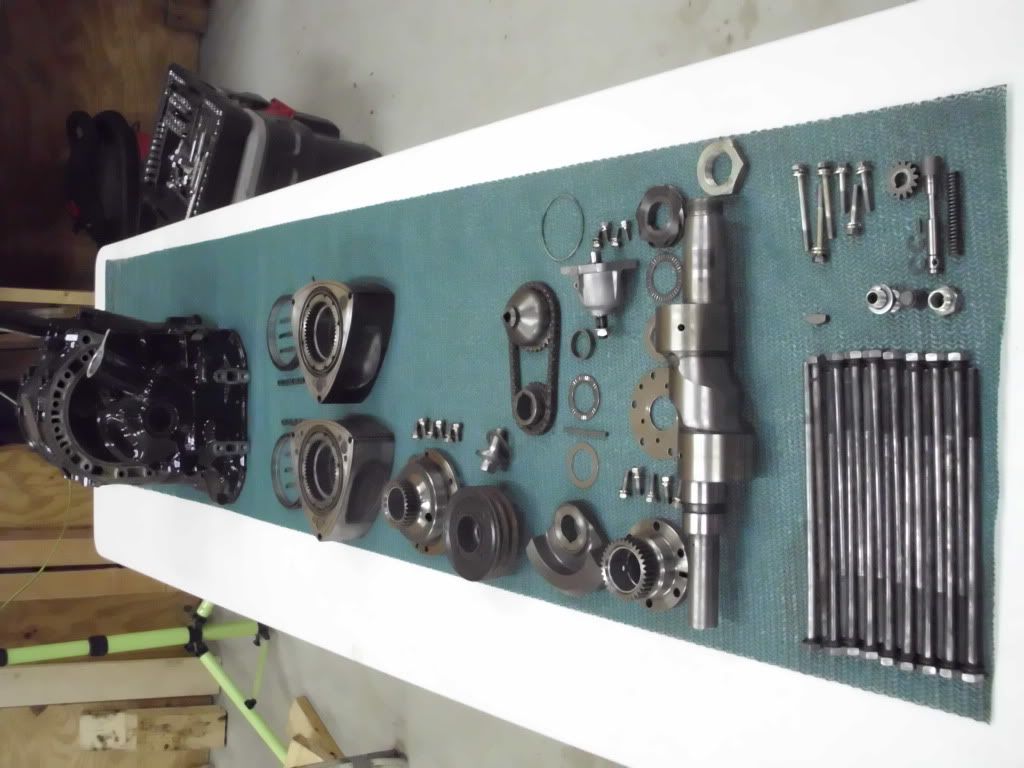
(Can anyone spot the missing parts?)
I was going to record the reassembly on video for fun of it and so that when I do this again I can hopefully do it better, but after about an hour the battery died. Oh well. It was taking a lot of extra time anyways. A few short hours later I finished:
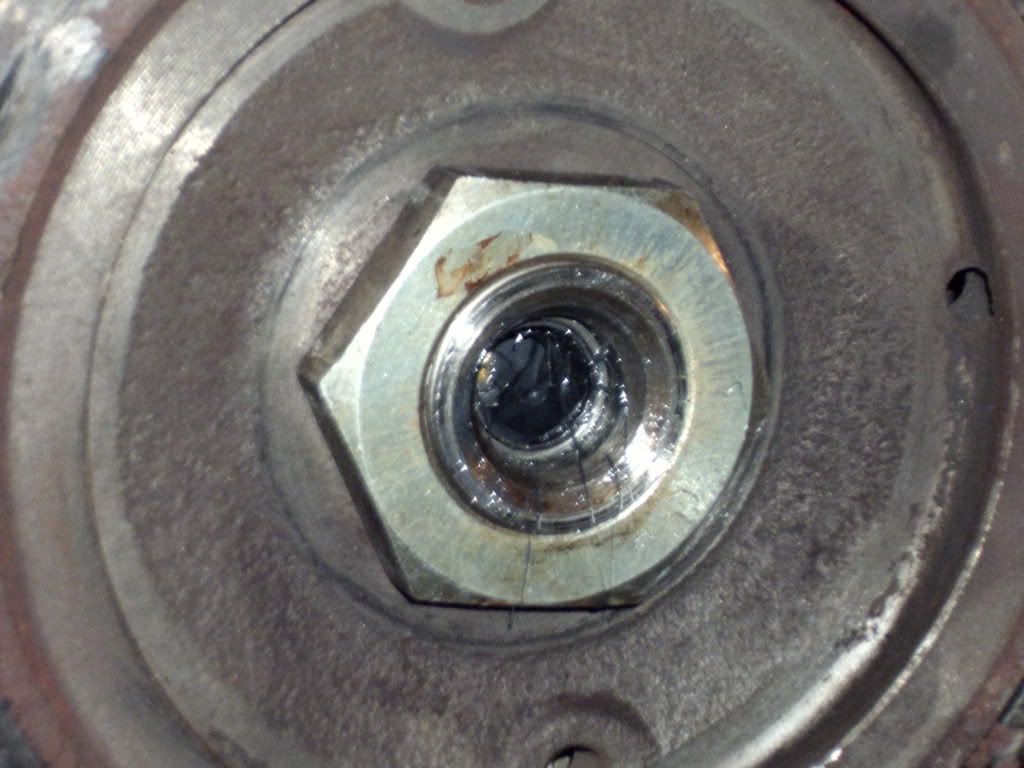
I still have to do some touch-up cleaning. The Hylomar is messy and it liked to seep out of the cracks. Hopefully I got the Hylomar that seeped into the housing well enough. I turned the engine over after I finished and it turns just fine. There is also a welcoming "whoosh" sound coming from the rotors. Whew! I still need to take it to a local dealer and have them torque the eccentric shaft nut that holds the flywheel on to some 300#'s. I've got a local dealer that's been nice to help me with these small requests. (Thanks Harry Brown's!)
Okay, so after I put it together I looked on the table of parts and still had an extra part... Does anyone know where this one goes? Is it important? (Just kidding )
(Can anyone spot the missing parts?)
I was going to record the reassembly on video for fun of it and so that when I do this again I can hopefully do it better, but after about an hour the battery died. Oh well. It was taking a lot of extra time anyways. A few short hours later I finished:
I still have to do some touch-up cleaning. The Hylomar is messy and it liked to seep out of the cracks. Hopefully I got the Hylomar that seeped into the housing well enough. I turned the engine over after I finished and it turns just fine. There is also a welcoming "whoosh" sound coming from the rotors. Whew! I still need to take it to a local dealer and have them torque the eccentric shaft nut that holds the flywheel on to some 300#'s. I've got a local dealer that's been nice to help me with these small requests. (Thanks Harry Brown's!)
Okay, so after I put it together I looked on the table of parts and still had an extra part... Does anyone know where this one goes? Is it important? (Just kidding )
02-22-11, 02:51 PM
#43
Senior Member
Thread Starter
iTrader: (1)
Join Date: Aug 2010
Location: Southern Minnesota and Southern California
Posts: 340
Likes: 0
Received 0 Likes
on
0 Posts
For those of you that like "Before/After" shots, here is a picture of the engine after I pulled it out:
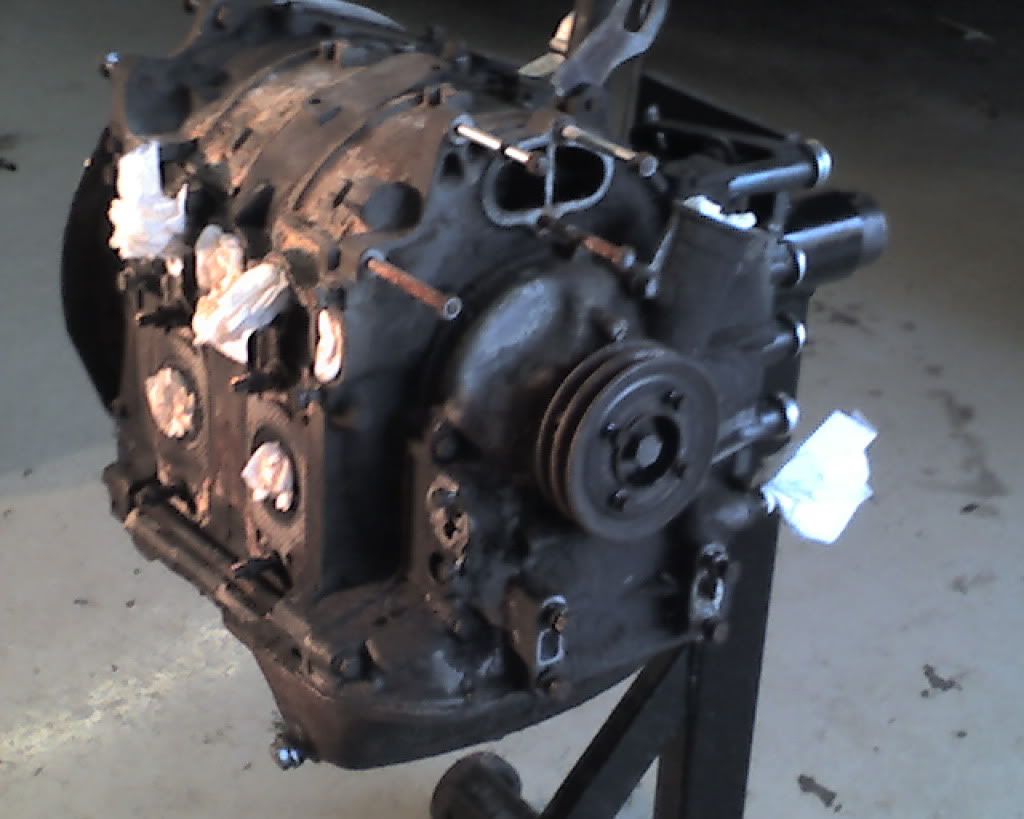
Oh and for those of you that were trying to find the missing parts in the previous post, the answer are the tubular alignment dowels and, of course, the gaskets. (All of which I did have, but didn't put in the photo for some reason.... camera shy?)
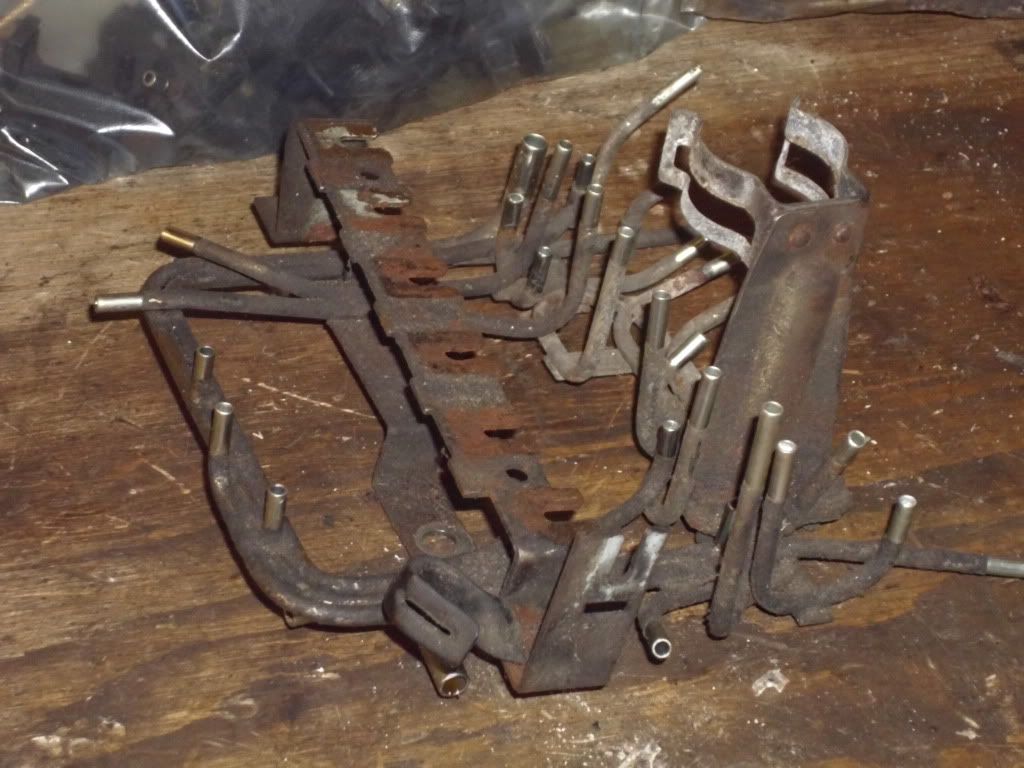
Next I'm going to be working on cleaning and testing the rats nest. I am also painting the thermal reactor (so much more cooler a name than exhaust manifold)
...Does anyone have a pilot bearing puller they want to part with?
Oh and for those of you that were trying to find the missing parts in the previous post, the answer are the tubular alignment dowels and, of course, the gaskets. (All of which I did have, but didn't put in the photo for some reason.... camera shy?)
Next I'm going to be working on cleaning and testing the rats nest. I am also painting the thermal reactor (so much more cooler a name than exhaust manifold)
...Does anyone have a pilot bearing puller they want to part with?
Last edited by clykins; 02-22-11 at 02:57 PM.
03-21-11, 02:09 PM
#46
Senior Member
Thread Starter
iTrader: (1)
Join Date: Aug 2010
Location: Southern Minnesota and Southern California
Posts: 340
Likes: 0
Received 0 Likes
on
0 Posts
Okay so I haven't posted much recently. Been kinda busy. My job actual made me work a lot last month (the nerve of them, lol). I have been getting a little done here and there though on the engine.
I busted up the original alternator. It was grinding and probably needed to be replace anyways, but I got a new one put on last week. The intake and exhaust are now on, minus the air control valve (that I also broke by stripping out some screws - replacement is on the way)
I got the belts, distributor cap and rotor and the altitude compensator gasket put on as well. I have new spark plugs in, the Autolite (I've noticed they are not the spark plug of choice on the board, but they will do for now.) I also replaced the pilot bearing thanks to a local mechanic at Harry Browns who had the tool for removing the bugger. Mine had grenaded.
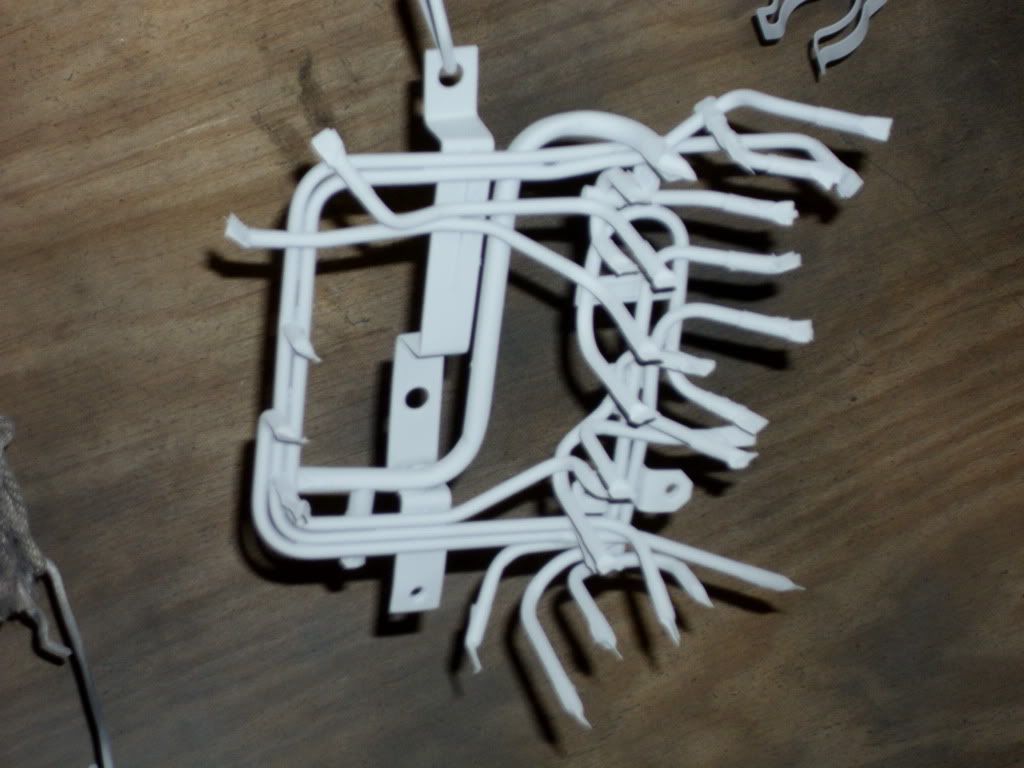
I've also taken apart the rats nest and clean and painted the metal tubes. I have new vacuum hoses to put on it as well as soon as the paint is thoroughly dry and I'm back in town. I know most of you are in the process of removing the rats nest, but I'm trying to restore my baby back to its orginal condition. A friend asked if I was going to race his friend's corvette when I was done. Hell no! I'm going to drive this car like I'm 108 When I'm done with this restoration, I'd like to restore one that I could/would race, but this one is too sentimental for me to risk busting up.
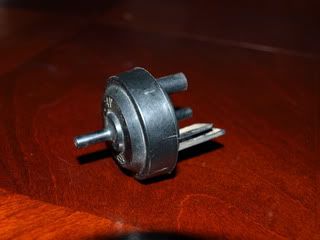
Anyways as I was removing the hoses, I did what seems to be a common mistake, I broke the nipples off the purge valve. If anyone is removing their rats nest and has an extra purge valve please PM me I am almost ready to put the engine back in. Granted I still need a new oil cooler, radiator, oil cooler line, transmission mounting bracket, battery, exhaust manifold shield (or absorber) and a cold mountain dew, but the light is beginning to appear at the end of the tunnel.... oh yeah and I still have to deal with the gas tank and rear suspension. But as far as the engine goes, ... oh yeah and at least a replaced cat and muffler, but other than that... and... ... its a project
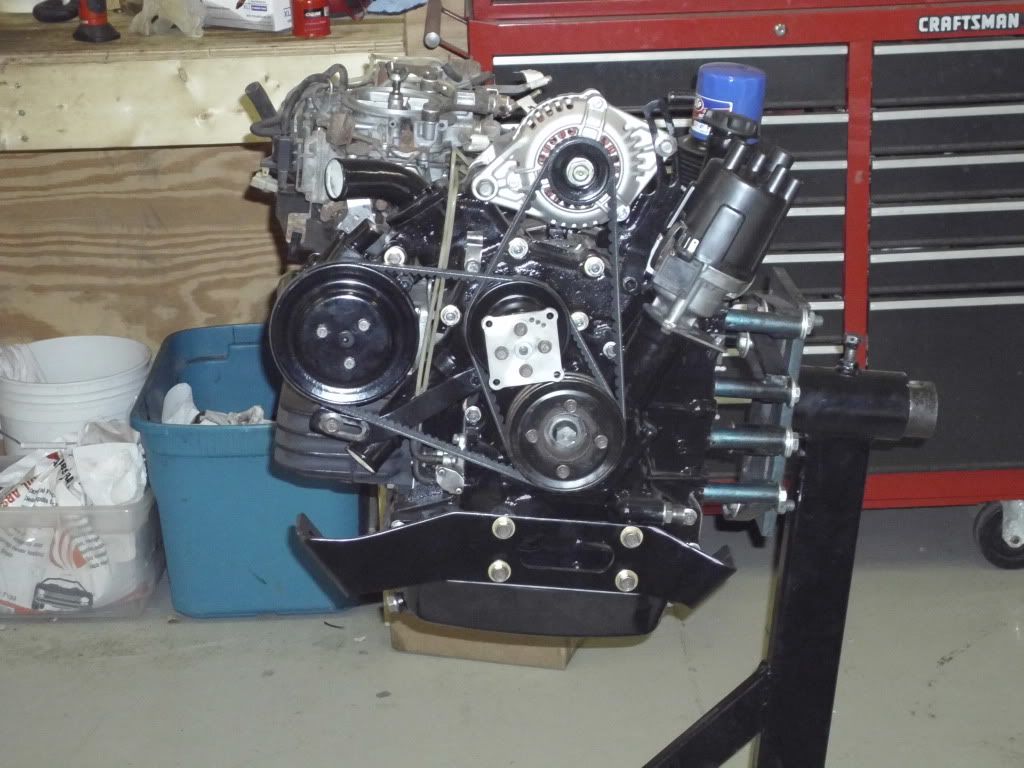
I busted up the original alternator. It was grinding and probably needed to be replace anyways, but I got a new one put on last week. The intake and exhaust are now on, minus the air control valve (that I also broke by stripping out some screws - replacement is on the way)
I got the belts, distributor cap and rotor and the altitude compensator gasket put on as well. I have new spark plugs in, the Autolite (I've noticed they are not the spark plug of choice on the board, but they will do for now.) I also replaced the pilot bearing thanks to a local mechanic at Harry Browns who had the tool for removing the bugger. Mine had grenaded.
I've also taken apart the rats nest and clean and painted the metal tubes. I have new vacuum hoses to put on it as well as soon as the paint is thoroughly dry and I'm back in town. I know most of you are in the process of removing the rats nest, but I'm trying to restore my baby back to its orginal condition. A friend asked if I was going to race his friend's corvette when I was done. Hell no! I'm going to drive this car like I'm 108
When I'm done with this restoration, I'd like to restore one that I could/would race, but this one is too sentimental for me to risk busting up. Anyways as I was removing the hoses, I did what seems to be a common mistake, I broke the nipples off the purge valve. If anyone is removing their rats nest and has an extra purge valve please PM me
I am almost ready to put the engine back in. Granted I still need a new oil cooler, radiator, oil cooler line, transmission mounting bracket, battery, exhaust manifold shield (or absorber) and a cold mountain dew, but the light is beginning to appear at the end of the tunnel.... oh yeah and I still have to deal with the gas tank and rear suspension. But as far as the engine goes, ... oh yeah and at least a replaced cat and muffler, but other than that... and... ... its a project
Last edited by clykins; 03-21-11 at 02:30 PM.
03-22-11, 04:08 PM
#47
Hopefully you're not in MN.... !
I've been following your thread... the car is looking great! You are paying attention to detail, and it is really coming together. I just switched to a pcv valve setup the other day, and would be happy to send this purge valve your way. PM me your address, and I can get it out as soon as the weather permits.. They're talking 10-20 inches of snow! I think it'll be end of july before I ever get to drive my 7 haha. I also stripped a boatload of other things, all air conditioning and p/s, sub zero start, rats nest, intake and all emissions, so if there is anything else that you might need just let me know. Justin