
85 GSL in Montreal :)

Thread Starter
Full Member
Joined: Apr 2014
Posts: 68
Likes: 0
From: Montreal
85 GSL in Montreal :)
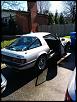
Hey guys, my name is David and i got my first rx7 this spring. She is a 1985 GSL and was in pretty rough shape. Since the spring i have spent my spare time working on it while working full time and now that i'm back at school i don't have much time to spend on it. All things considered i'm happy with what i have gotten done this summer and and super excited to complete the restoration next year! Here are some pictures of how things have progressed in the past months.
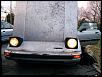
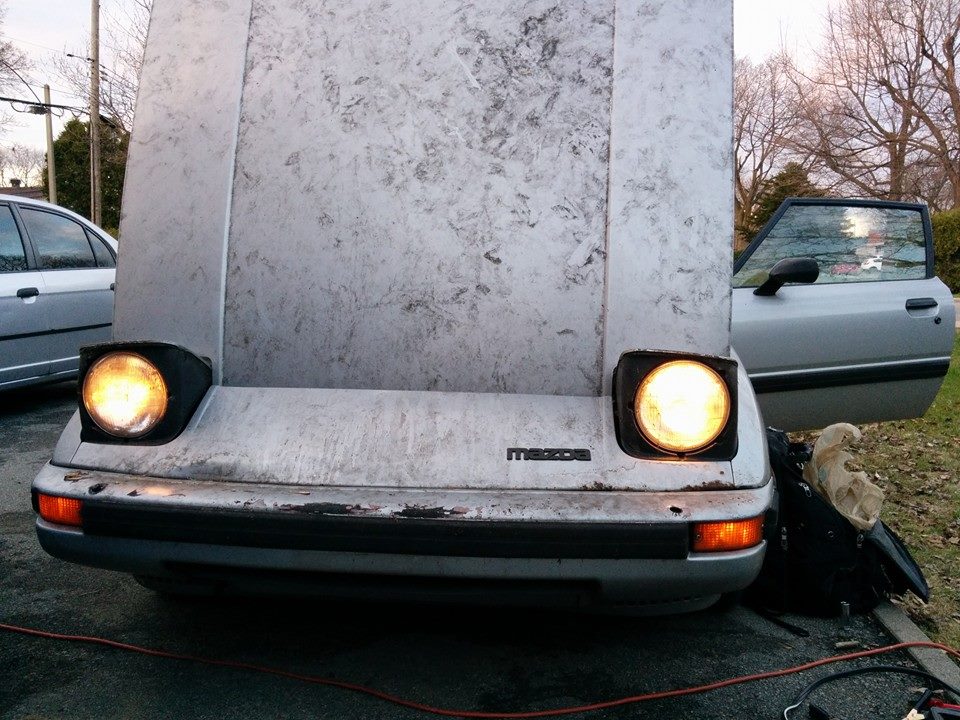
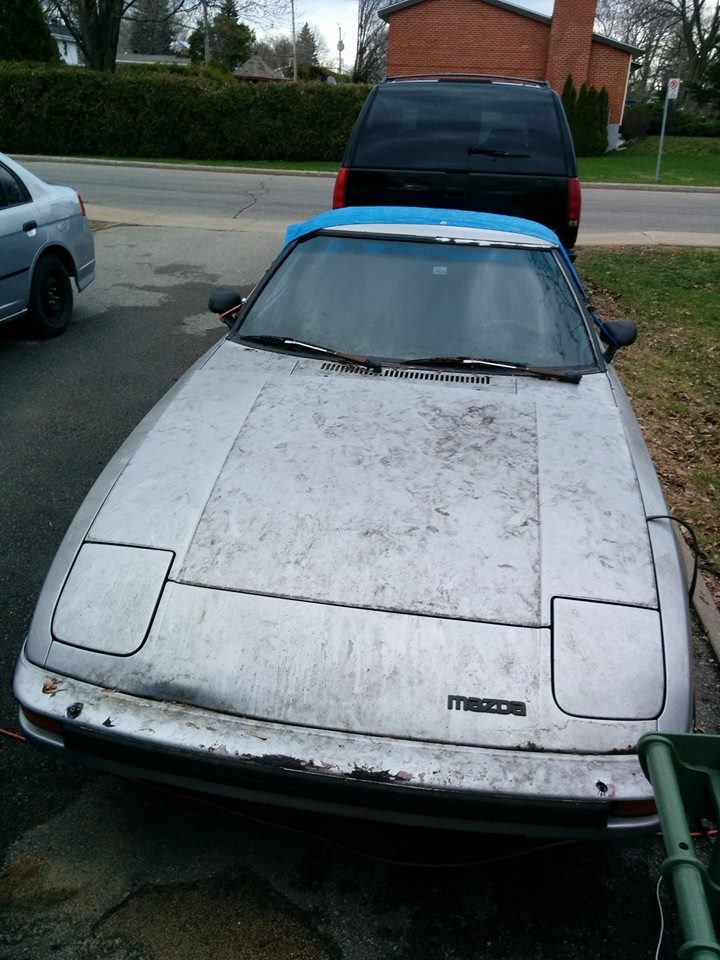
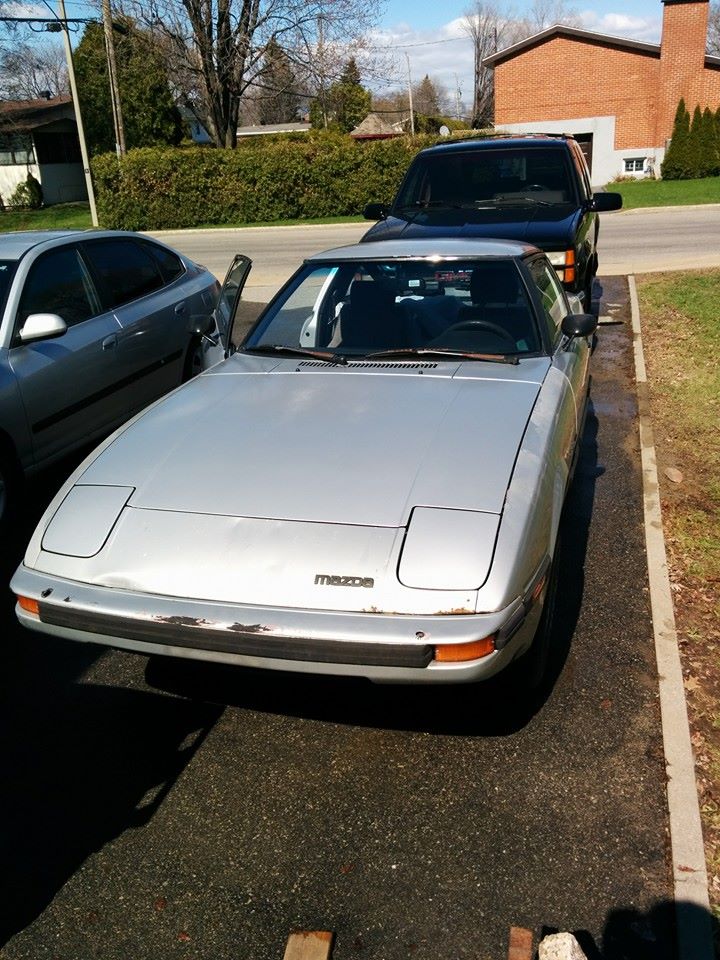
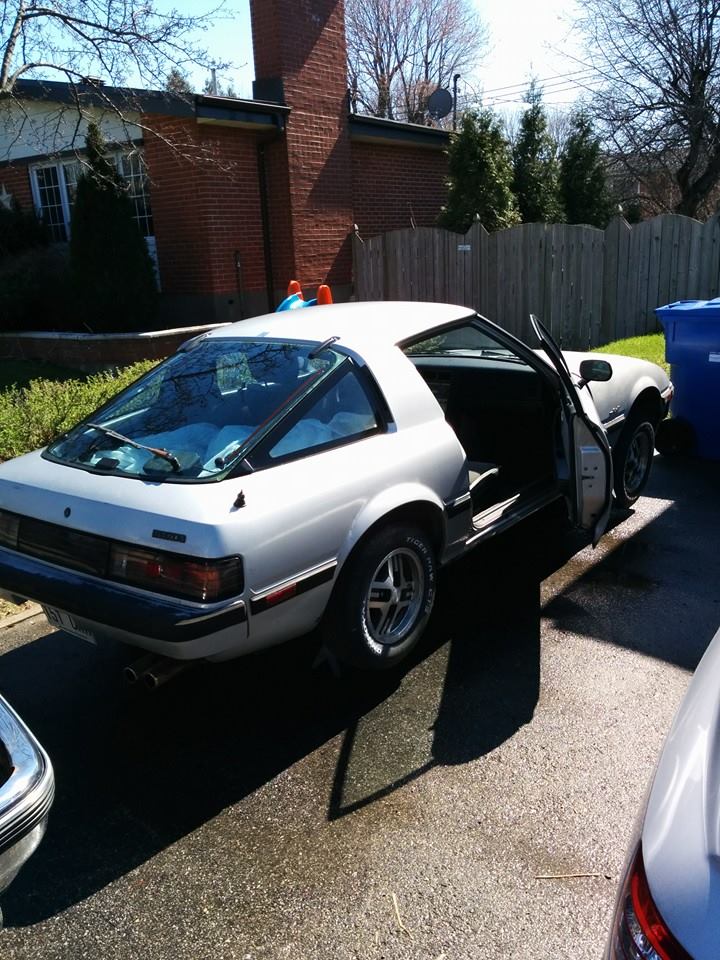
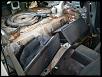
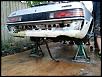
When I got it in the driveway!

Another in the driveway. Nice and dirty
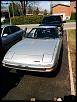
After a good wash she looked a lot better
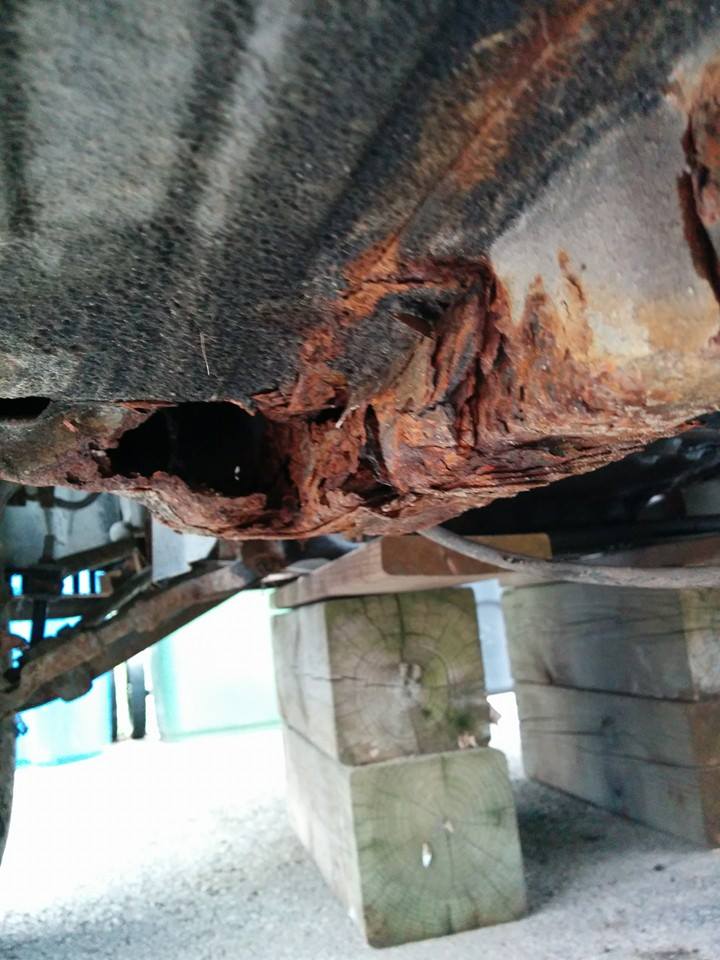
Now for the issues:
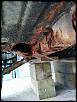
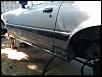
Serious frame rust right there!
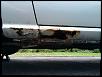
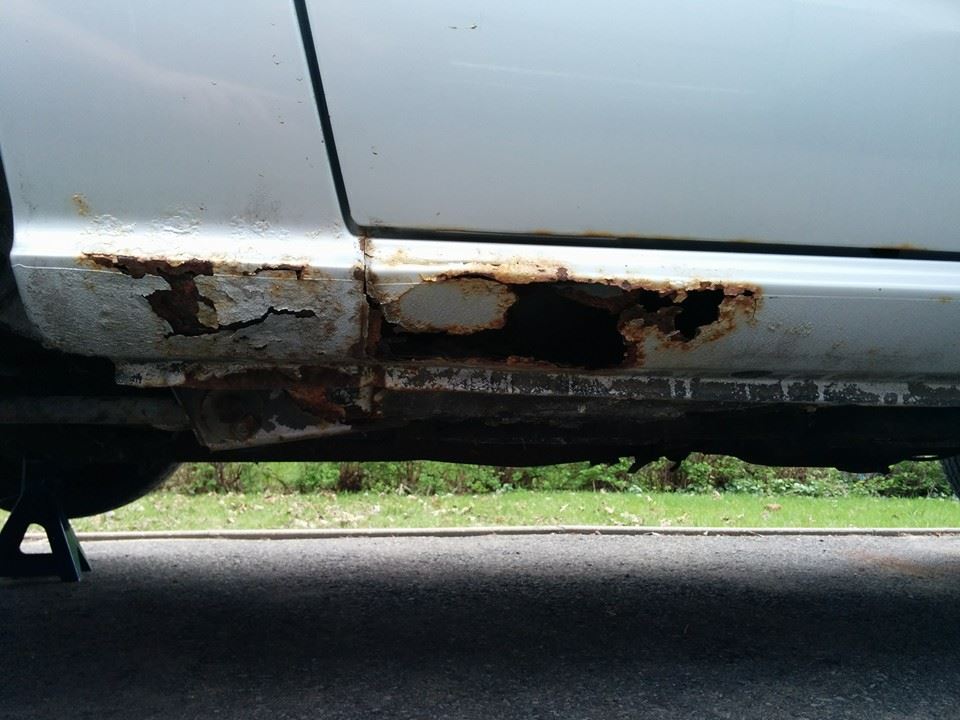
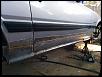
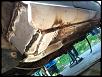
Rocker panel in bad shape (other side was similar but not as bad)
Other issues included things like a seized clutch slave cylinder, a rusted out brake line and fuel line, a dead fuel pump, and of course almost all the suspension and bushings need changing because of their age and all. Also full brake replacement!
When I got it in the driveway!
Another in the driveway. Nice and dirty
After a good wash she looked a lot better
Now for the issues:
Serious frame rust right there!
Rocker panel in bad shape (other side was similar but not as bad)
Other issues included things like a seized clutch slave cylinder, a rusted out brake line and fuel line, a dead fuel pump, and of course almost all the suspension and bushings need changing because of their age and all. Also full brake replacement!
Thread Starter
Full Member
Joined: Apr 2014
Posts: 68
Likes: 0
From: Montreal
Over the summer i tackled some of these problems but mainly focused on getting the body work done. the clutch slave came out and a new one went in with a nice braided clutch line courtesy of Mazdatrix:
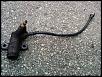
The old slave
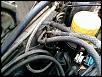
and the new one installed!
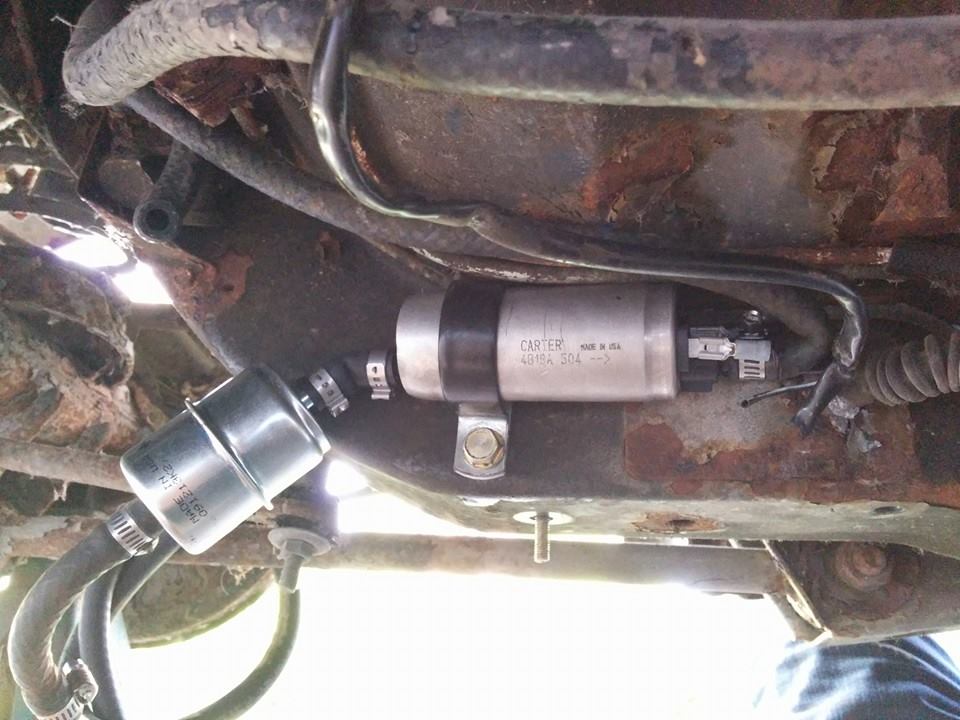
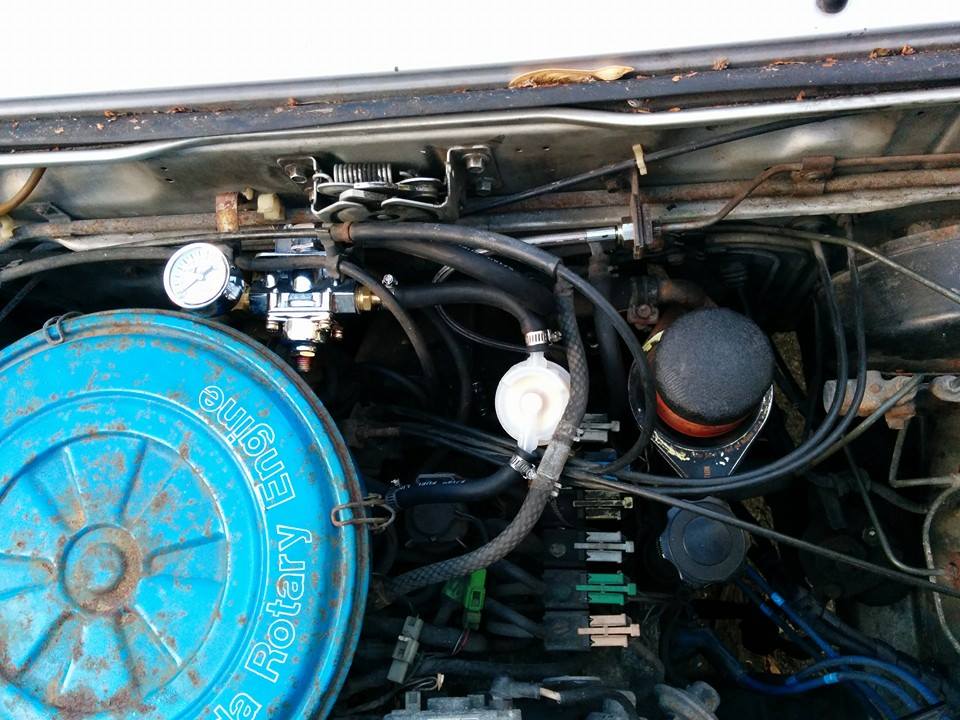
I also replaced the fuel pump:
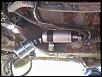
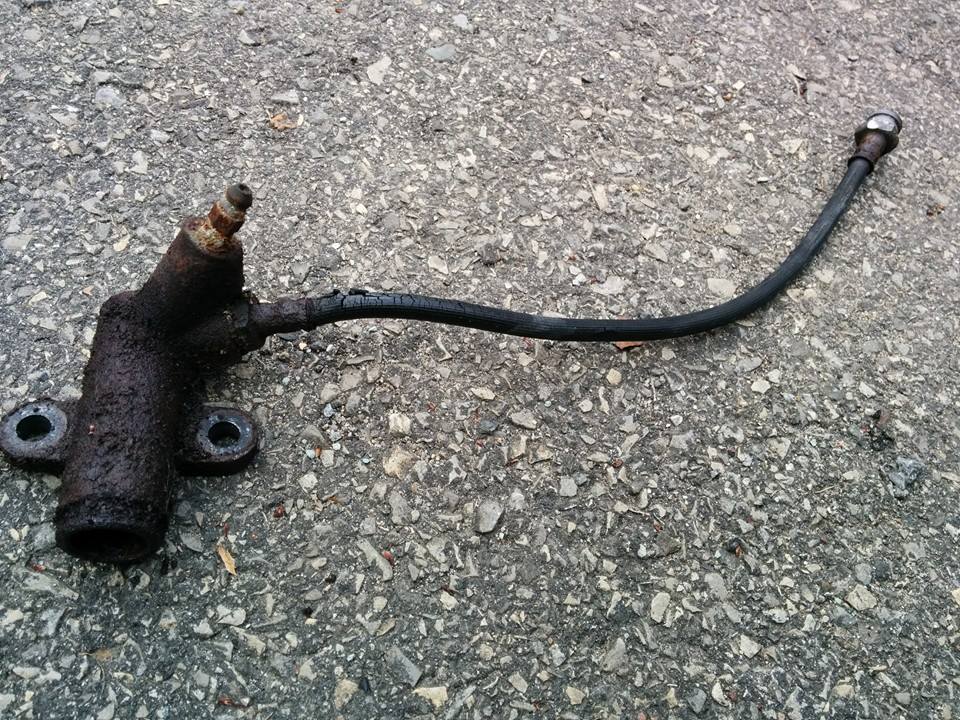
I know the fuel lines are bad in this pic. I redid them with new stuff and they work great.
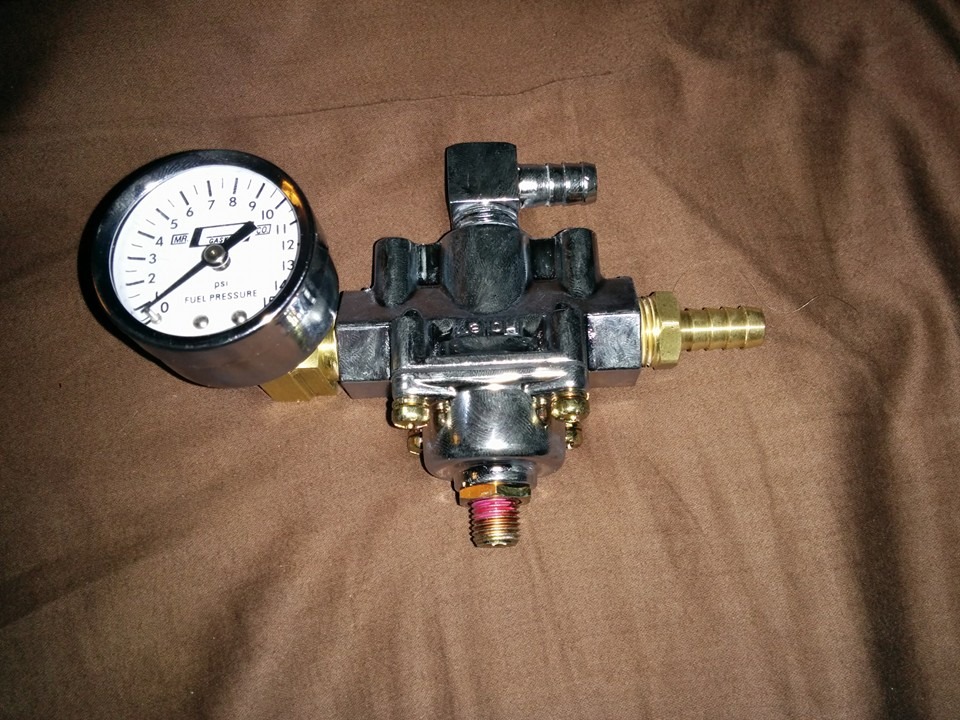
Also included a FPR while i was at it!
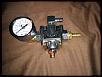
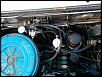
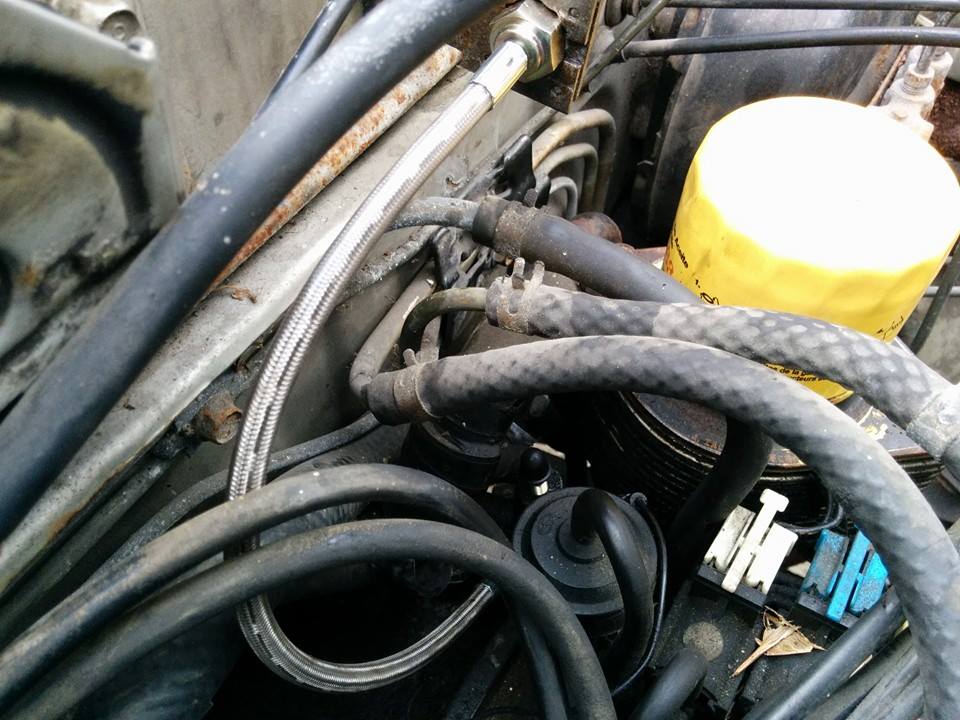
And here is a pic of the engine bay after the FPR install
The old slave
and the new one installed!
I also replaced the fuel pump:
I know the fuel lines are bad in this pic. I redid them with new stuff and they work great.
Also included a FPR while i was at it!
And here is a pic of the engine bay after the FPR install
Thread Starter
Full Member
Joined: Apr 2014
Posts: 68
Likes: 0
From: Montreal
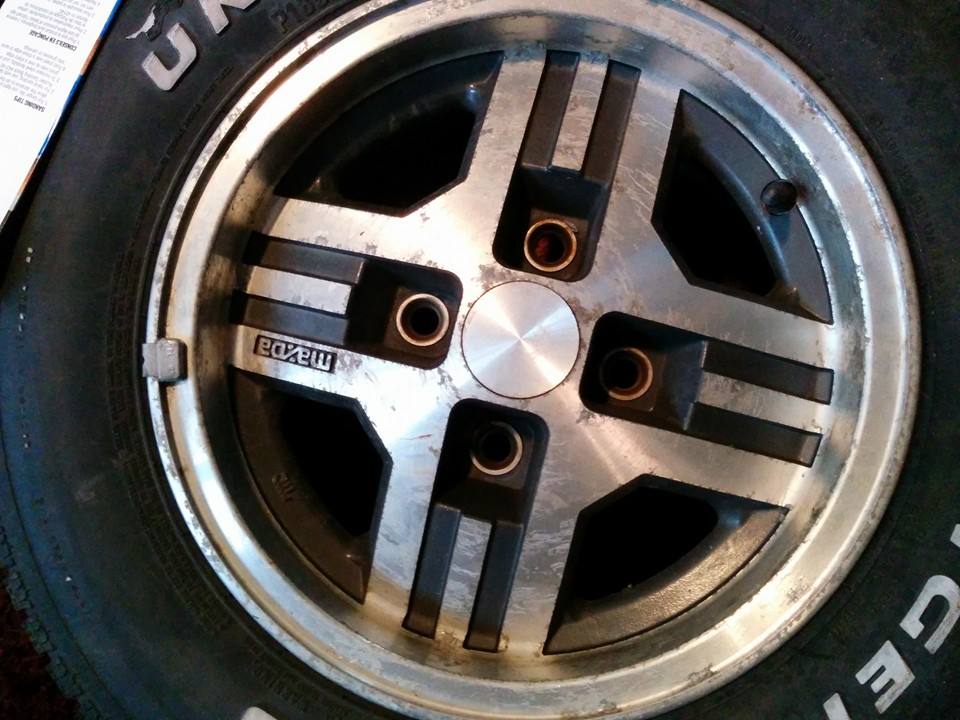
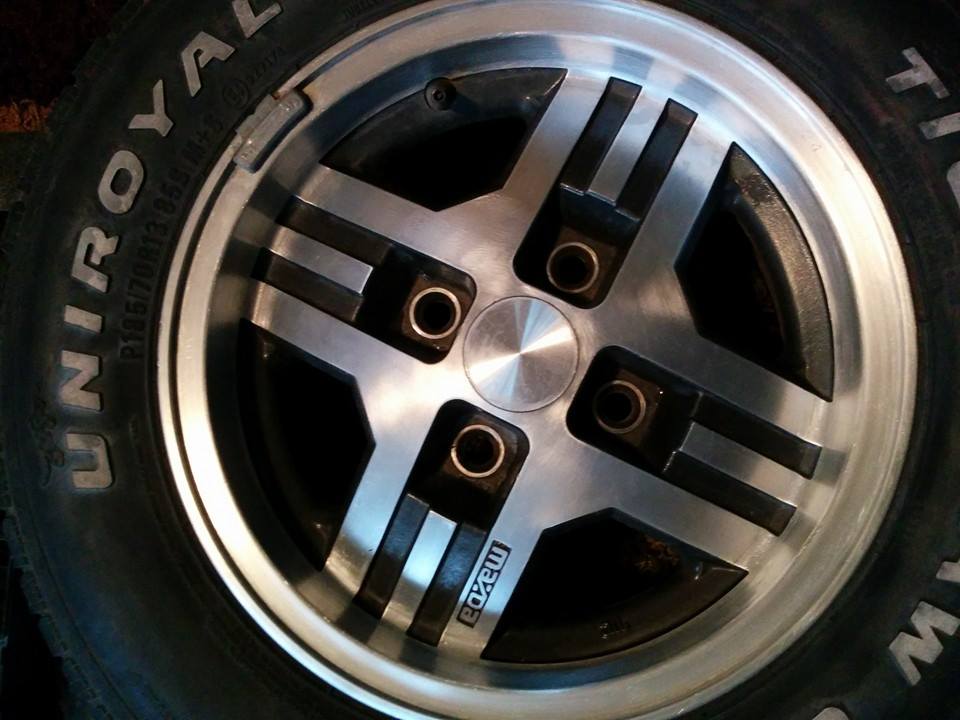
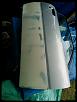
I also decided to refinish the rims to save money (will buy 15x7s, probably konig rewind or something similar later).
Before:
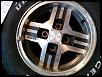
and after:

Each wheel took about 2.5-3 hrs of hand sanding.
I tried using a sander but found it left odd grain patterns.
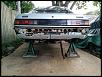
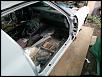
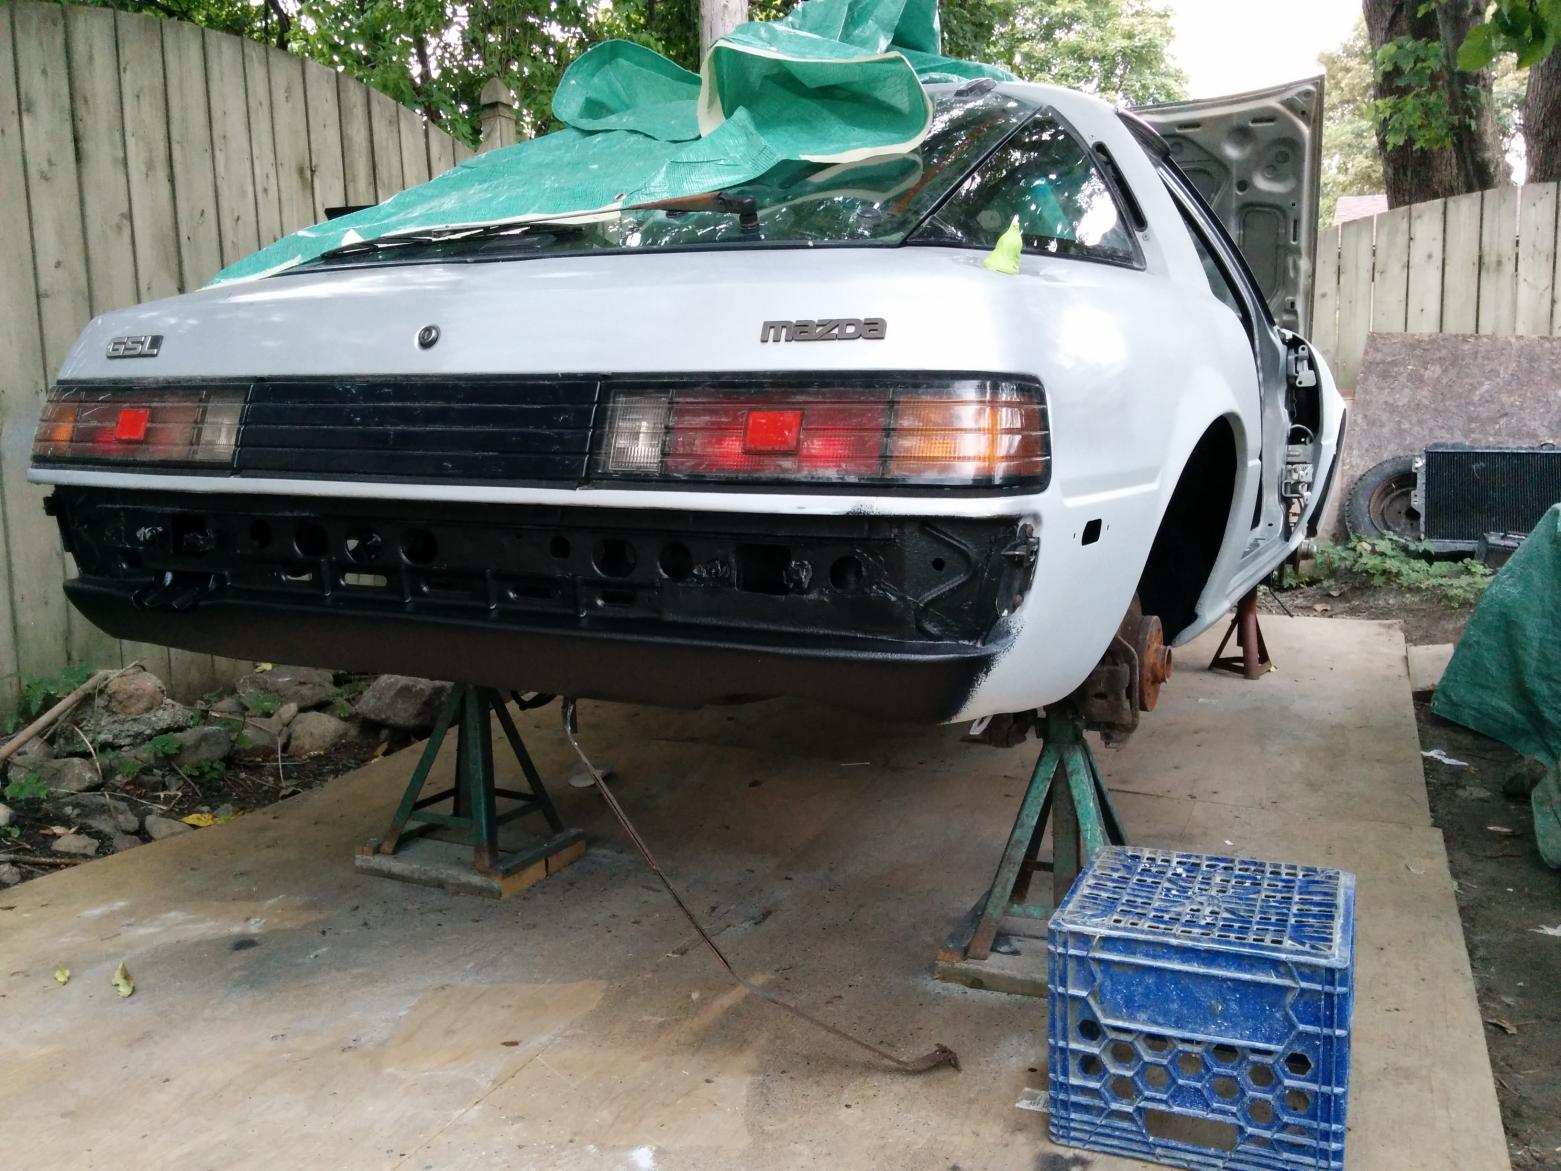
Next she was stripped down so that my body guy could do his stuff.
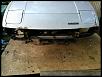
Before:
and after:
Each wheel took about 2.5-3 hrs of hand sanding.
I tried using a sander but found it left odd grain patterns.
Next she was stripped down so that my body guy could do his stuff.
Thread Starter
Full Member
Joined: Apr 2014
Posts: 68
Likes: 0
From: Montreal
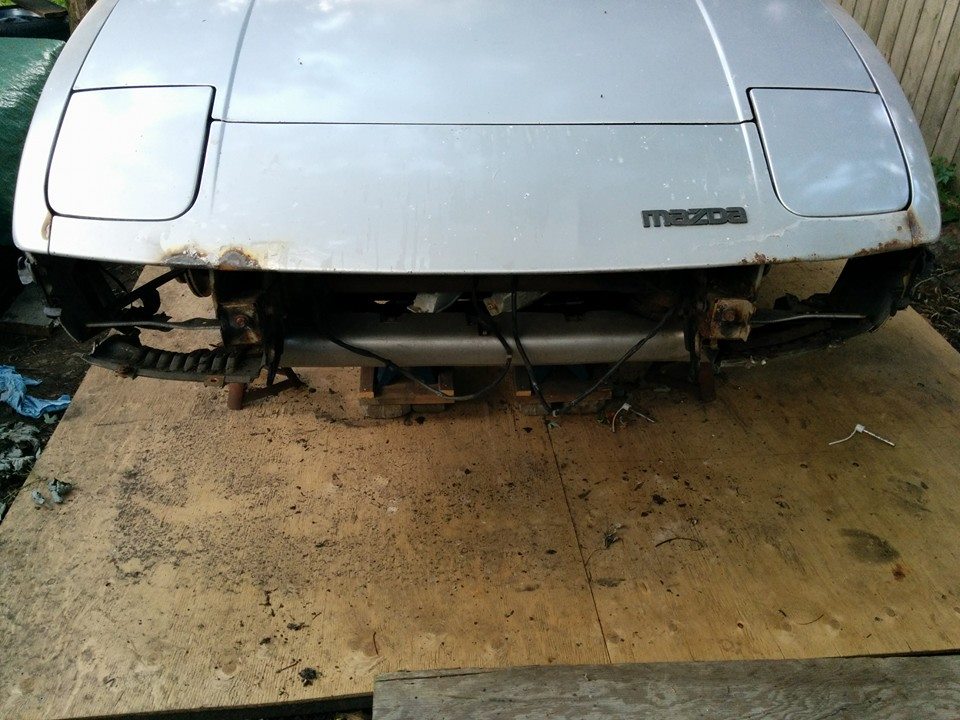
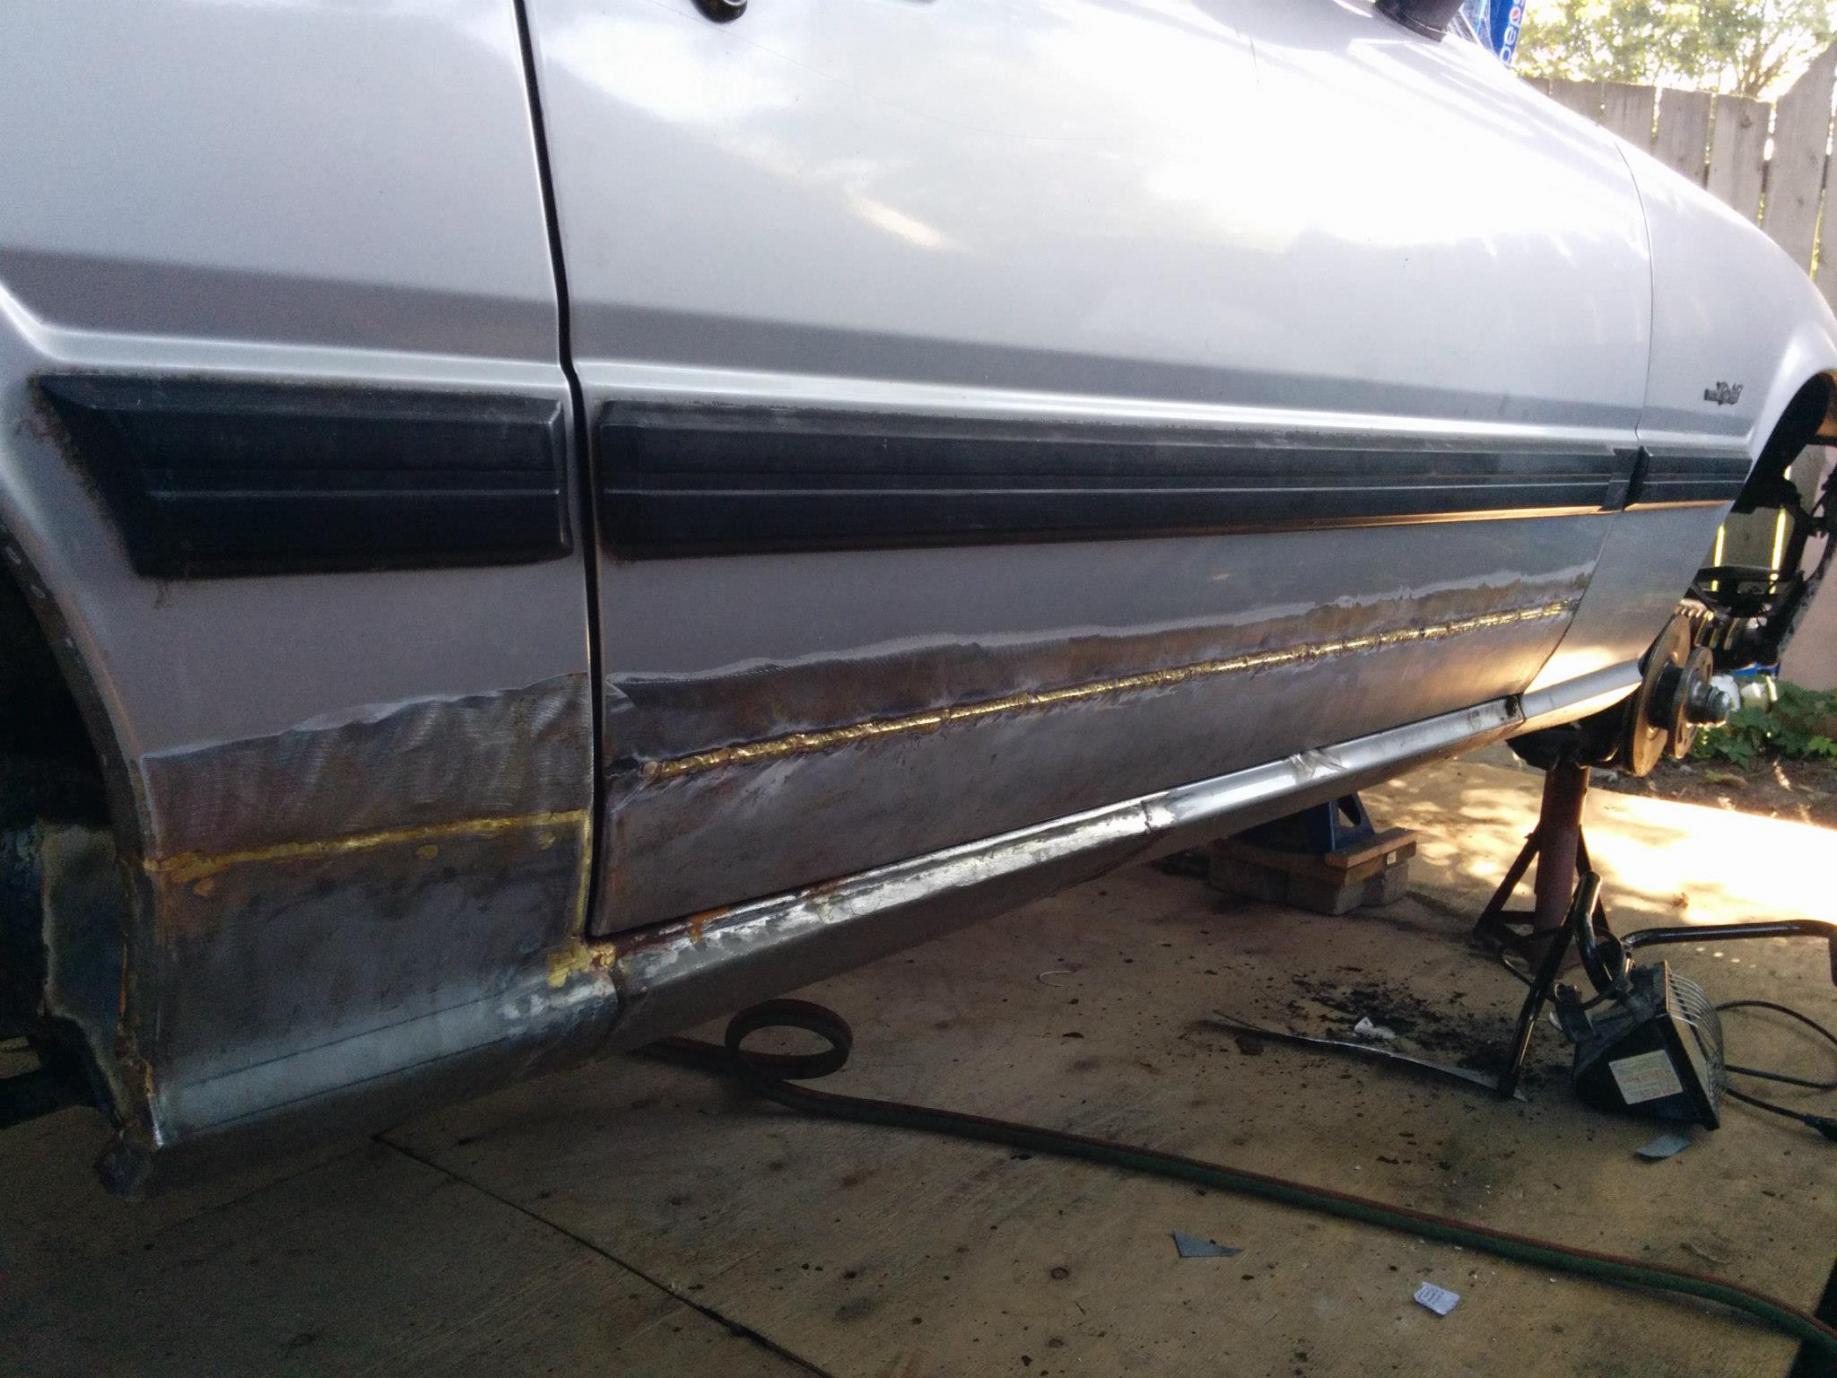
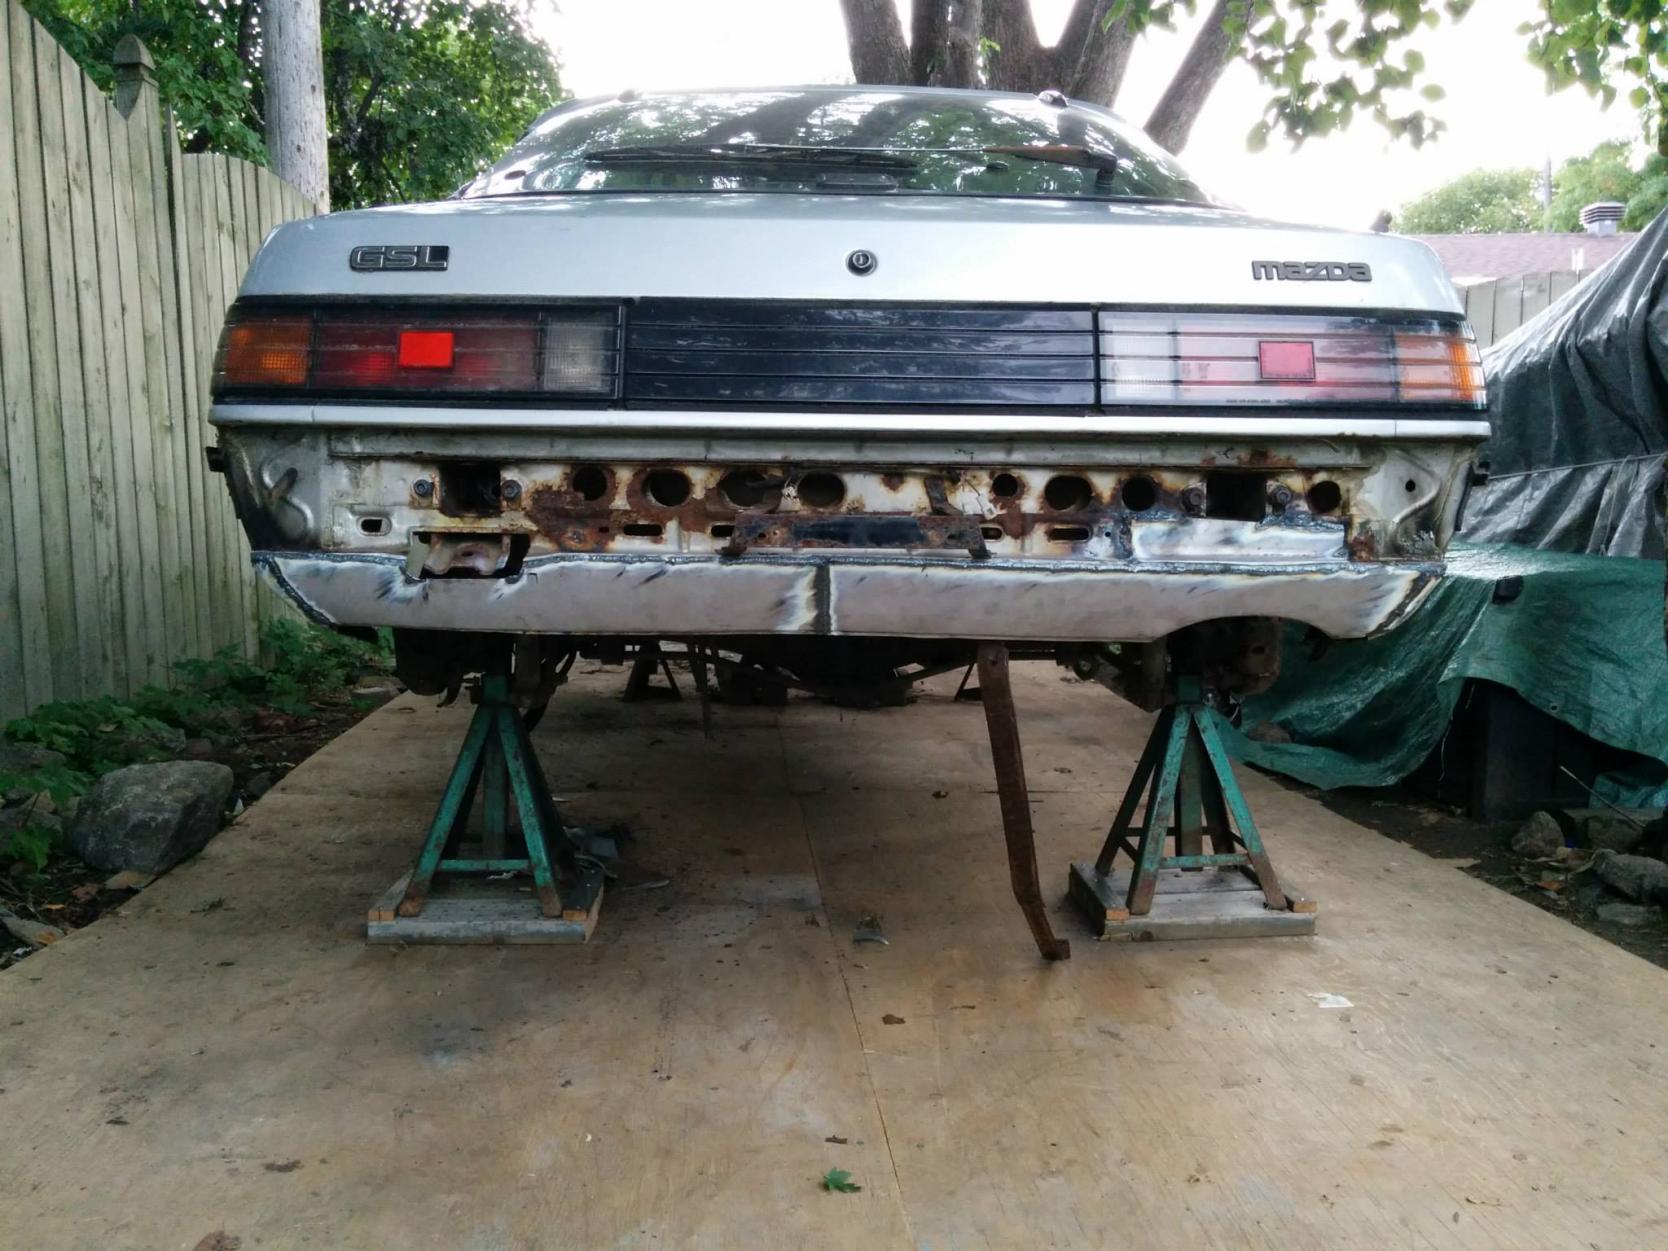
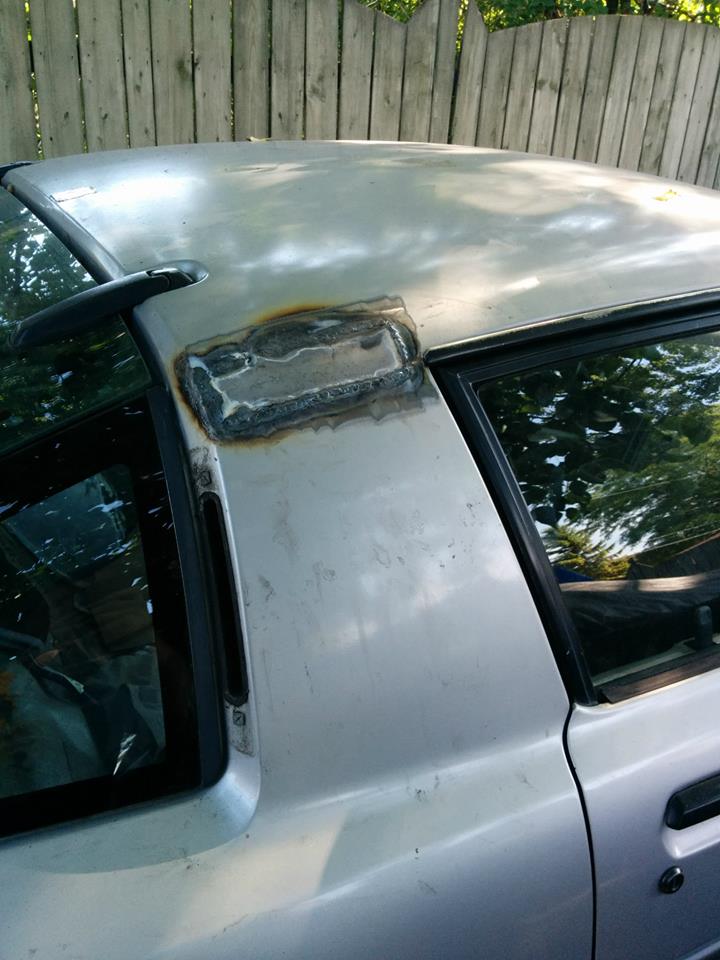
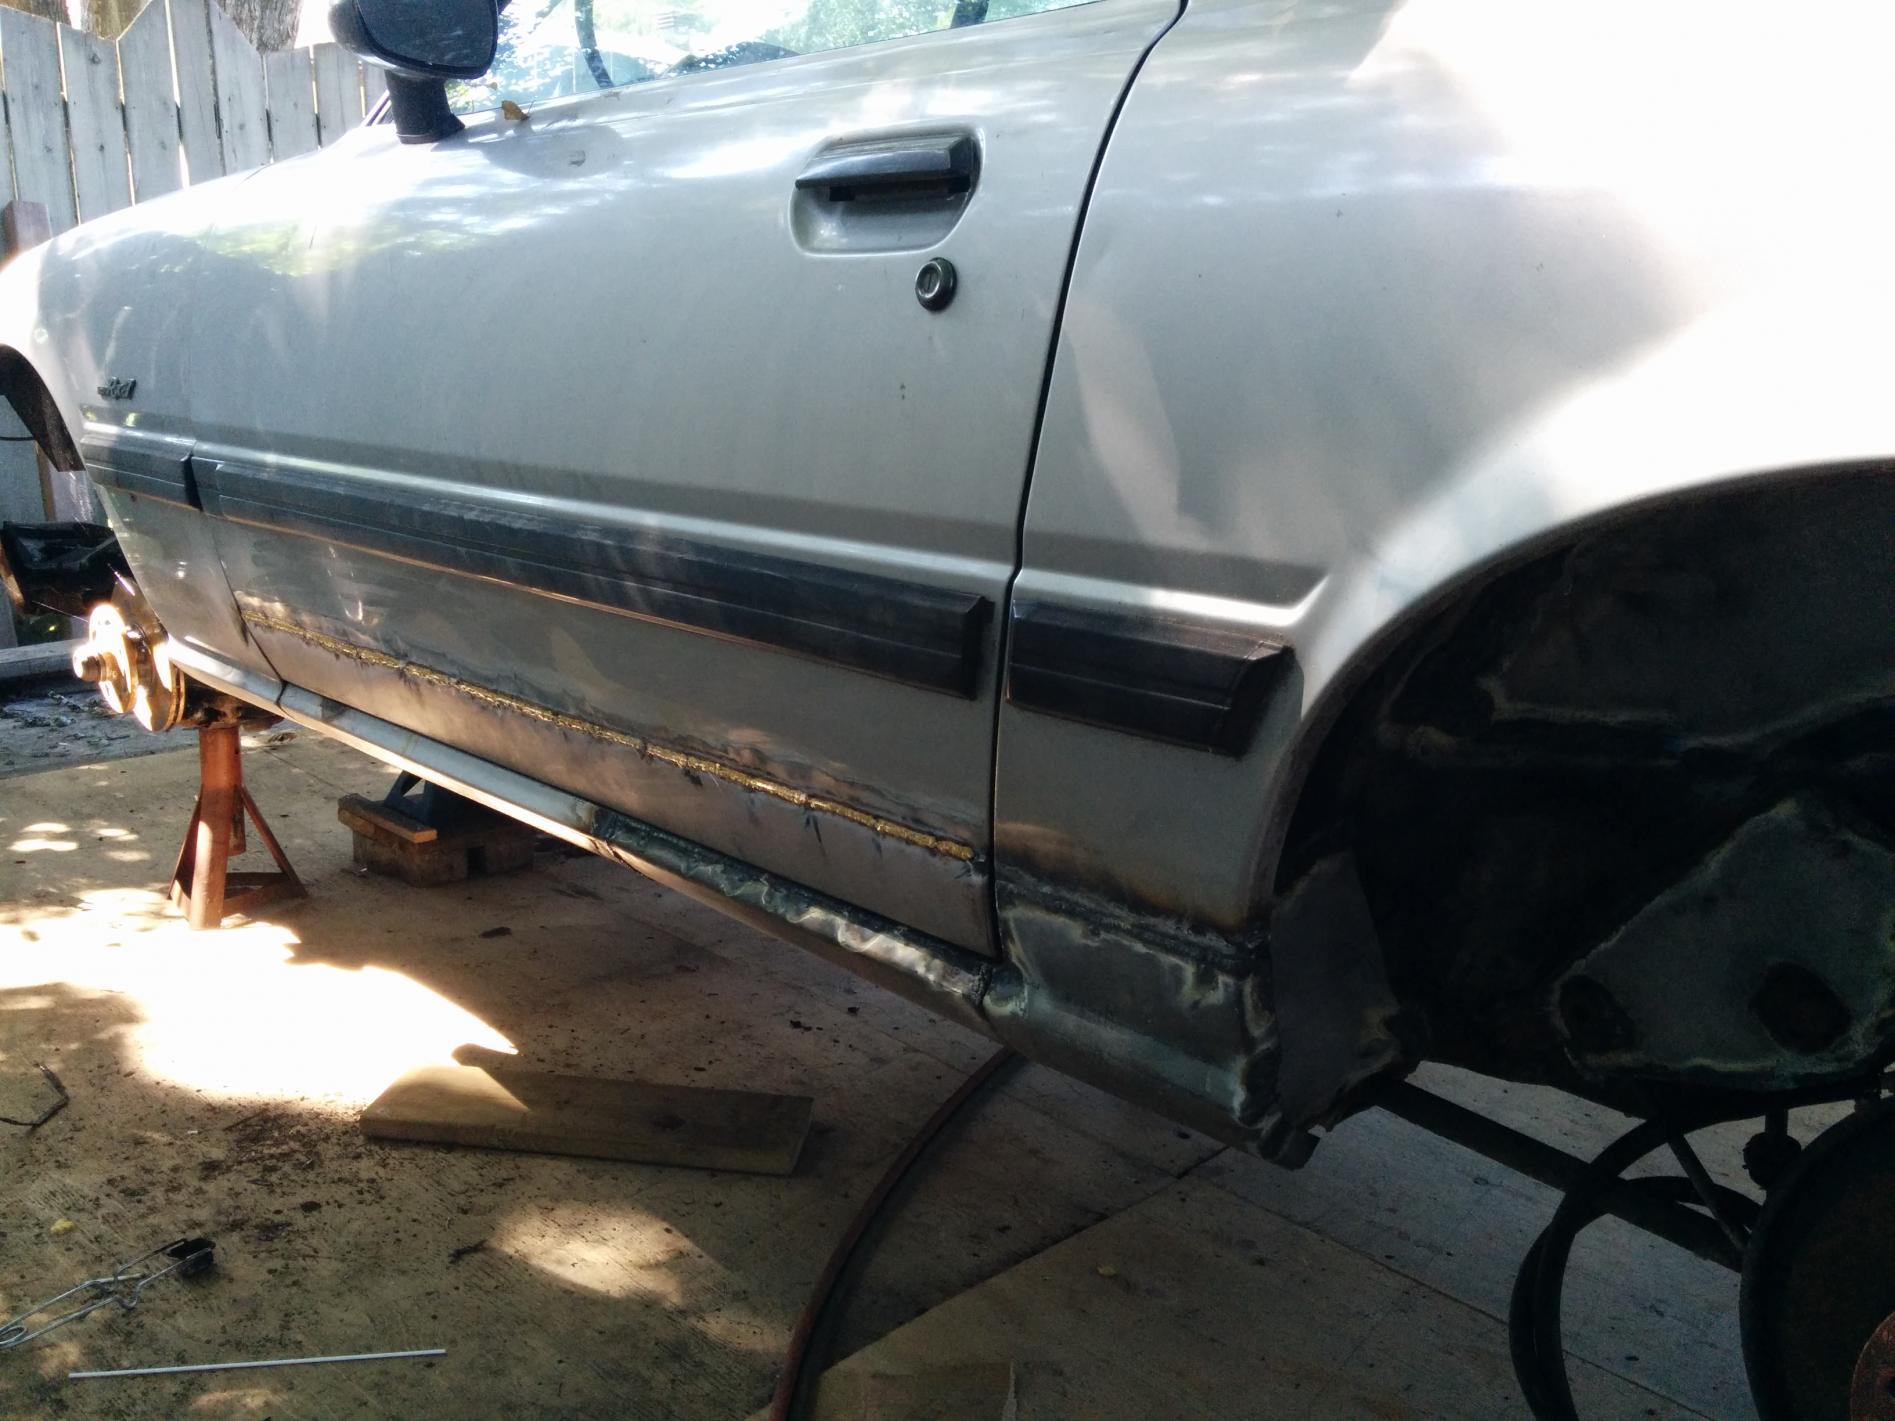
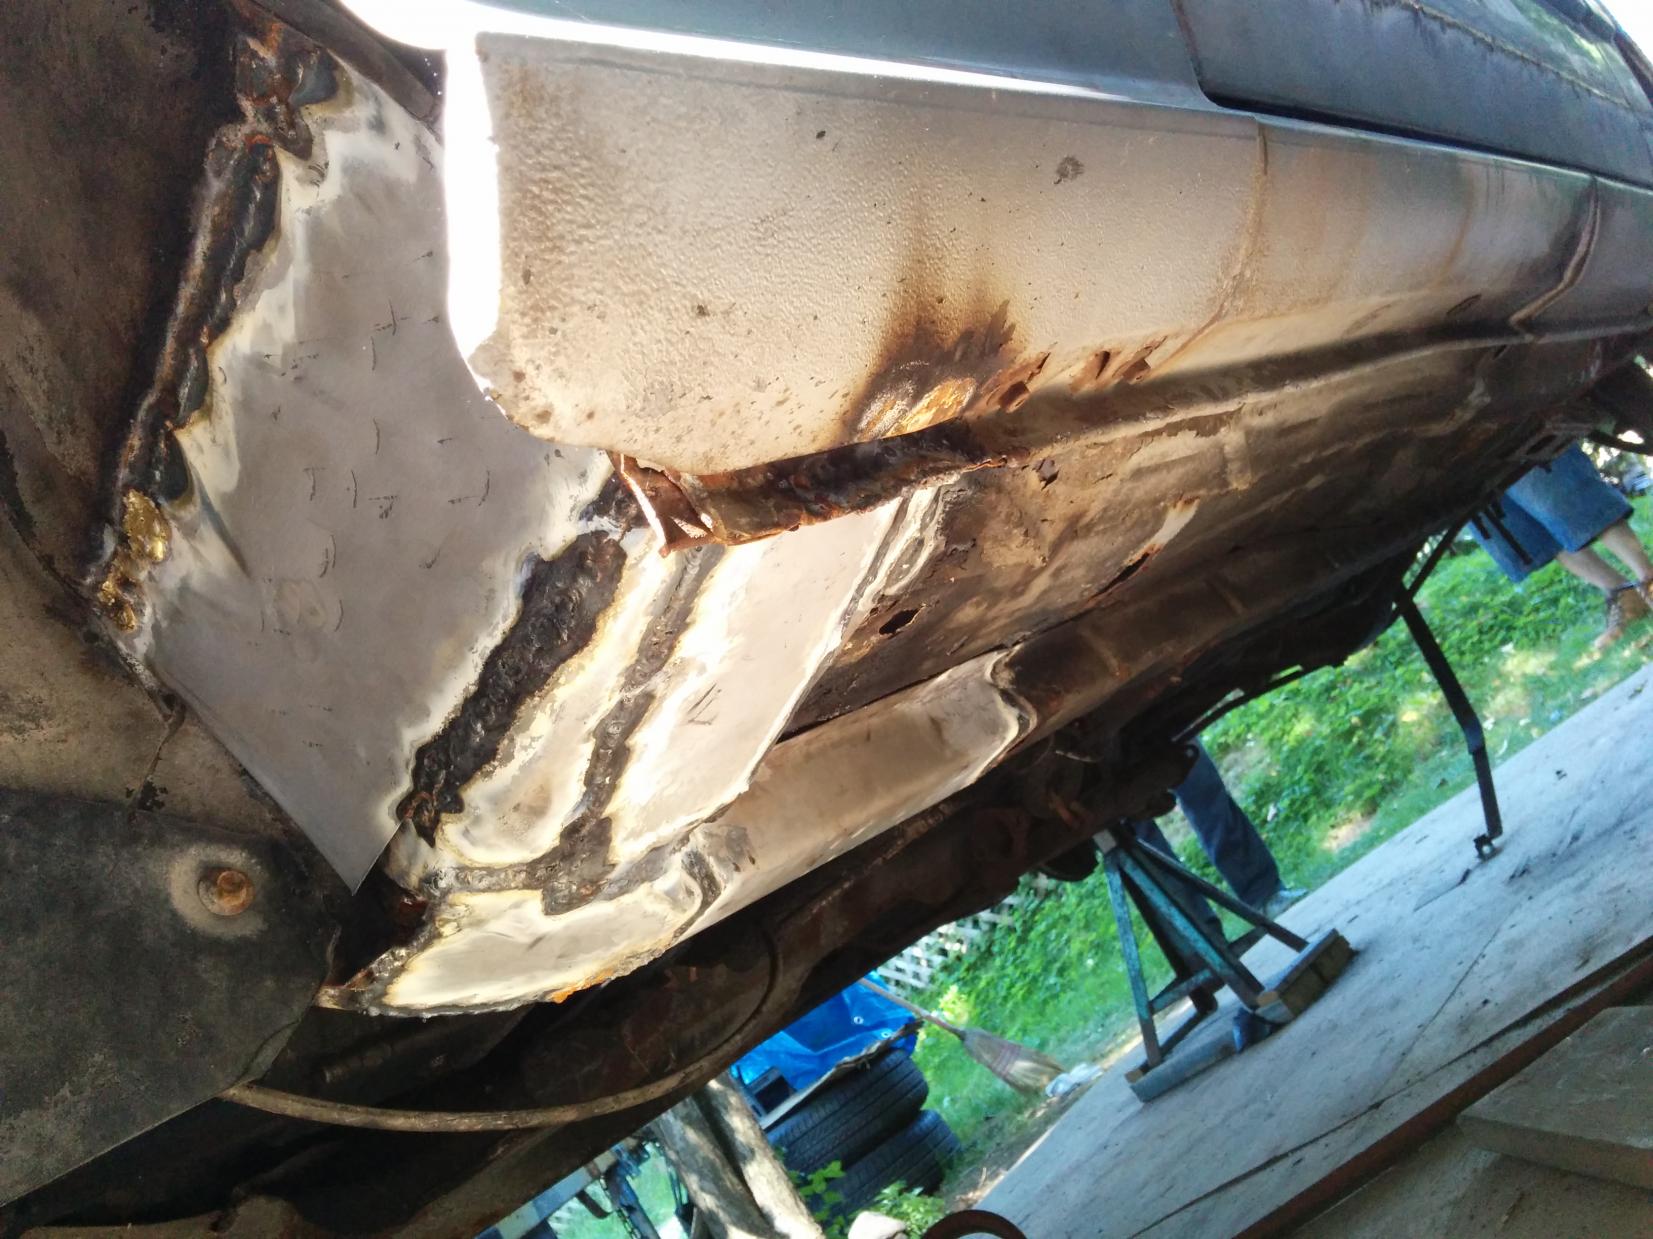
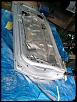
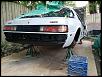
Skip ahead some time and all the welding is done! everything was hand shaped and welded with tons of steel and bronze to make sure it was nice and strong (steel used in high stress areas for extra strength). All the welding was done with an oxygen and acetylene torch because my body guy is old school like that.
Here are some pics!
Here are some pics!
Thread Starter
Full Member
Joined: Apr 2014
Posts: 68
Likes: 0
From: Montreal

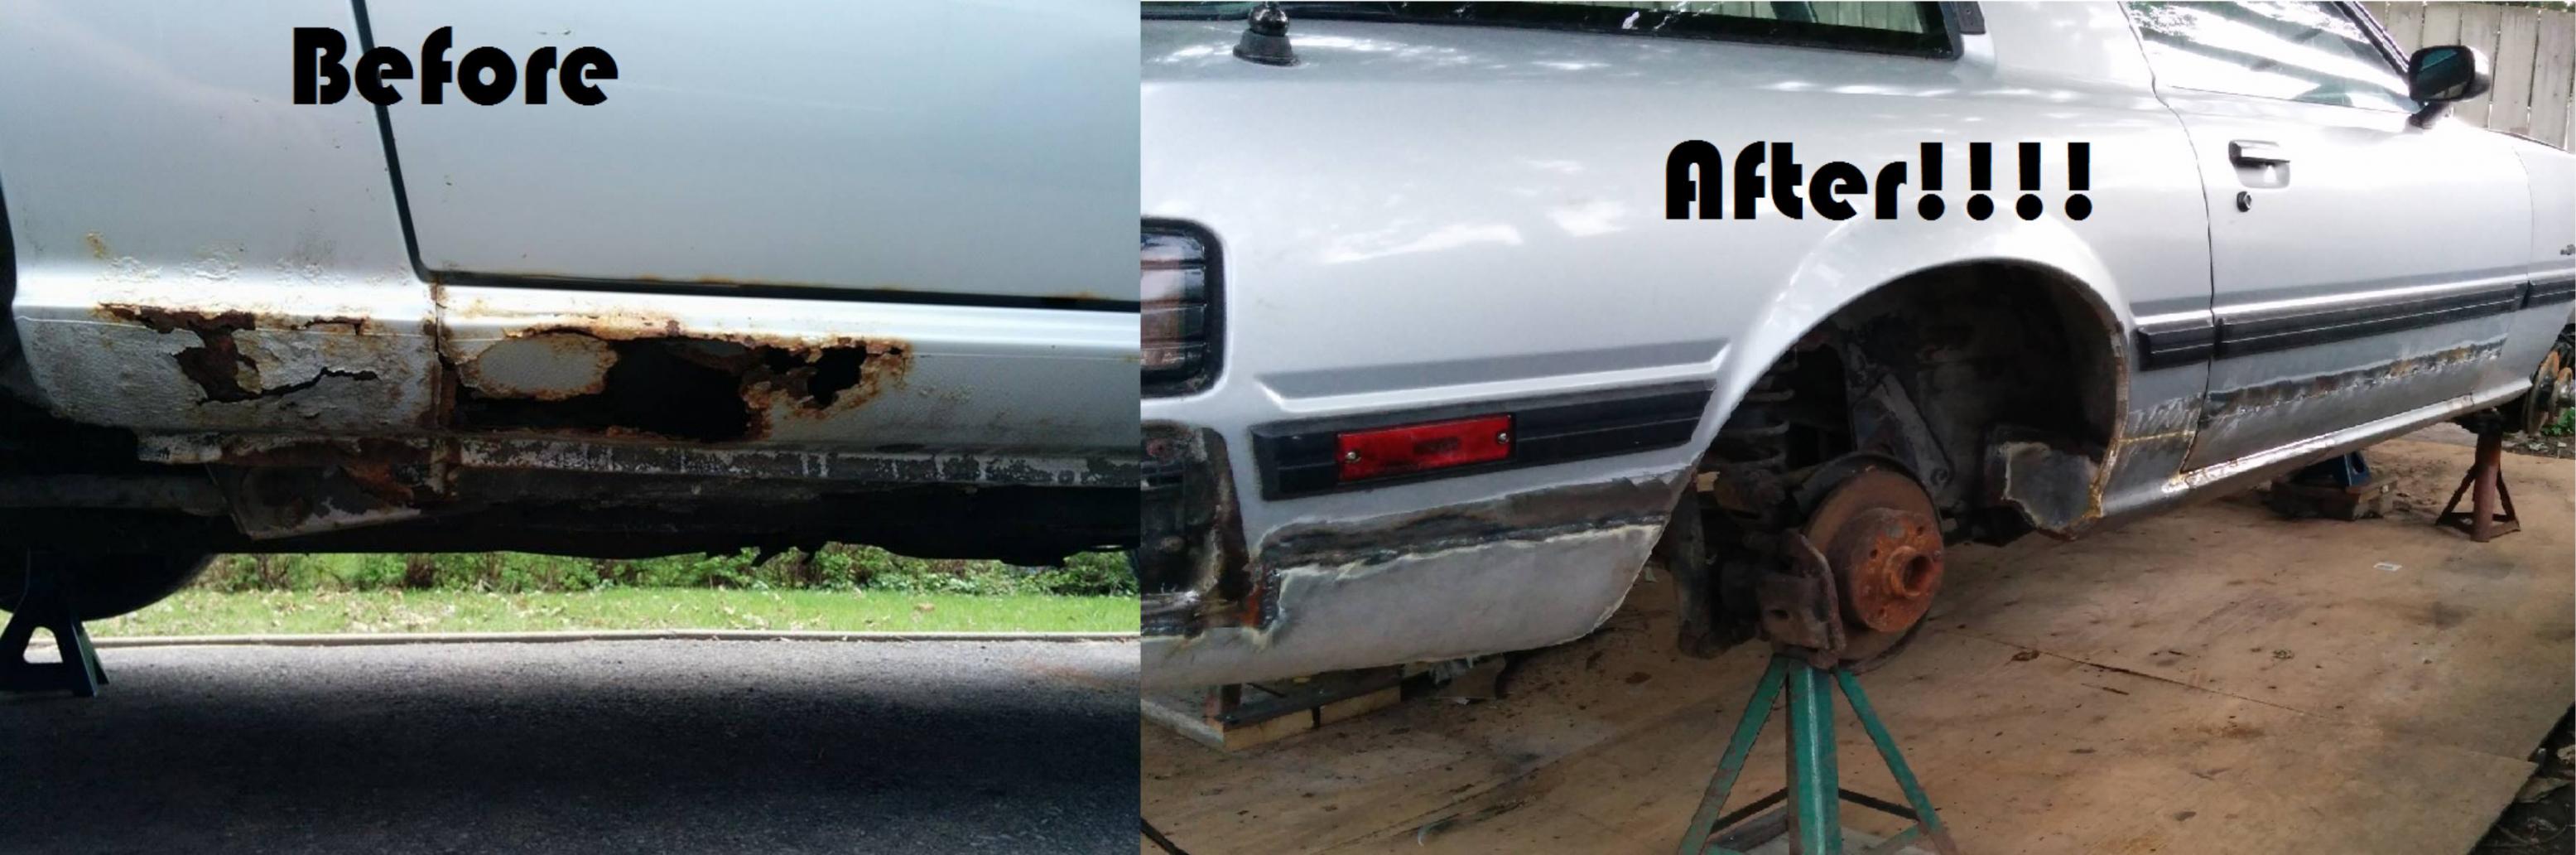
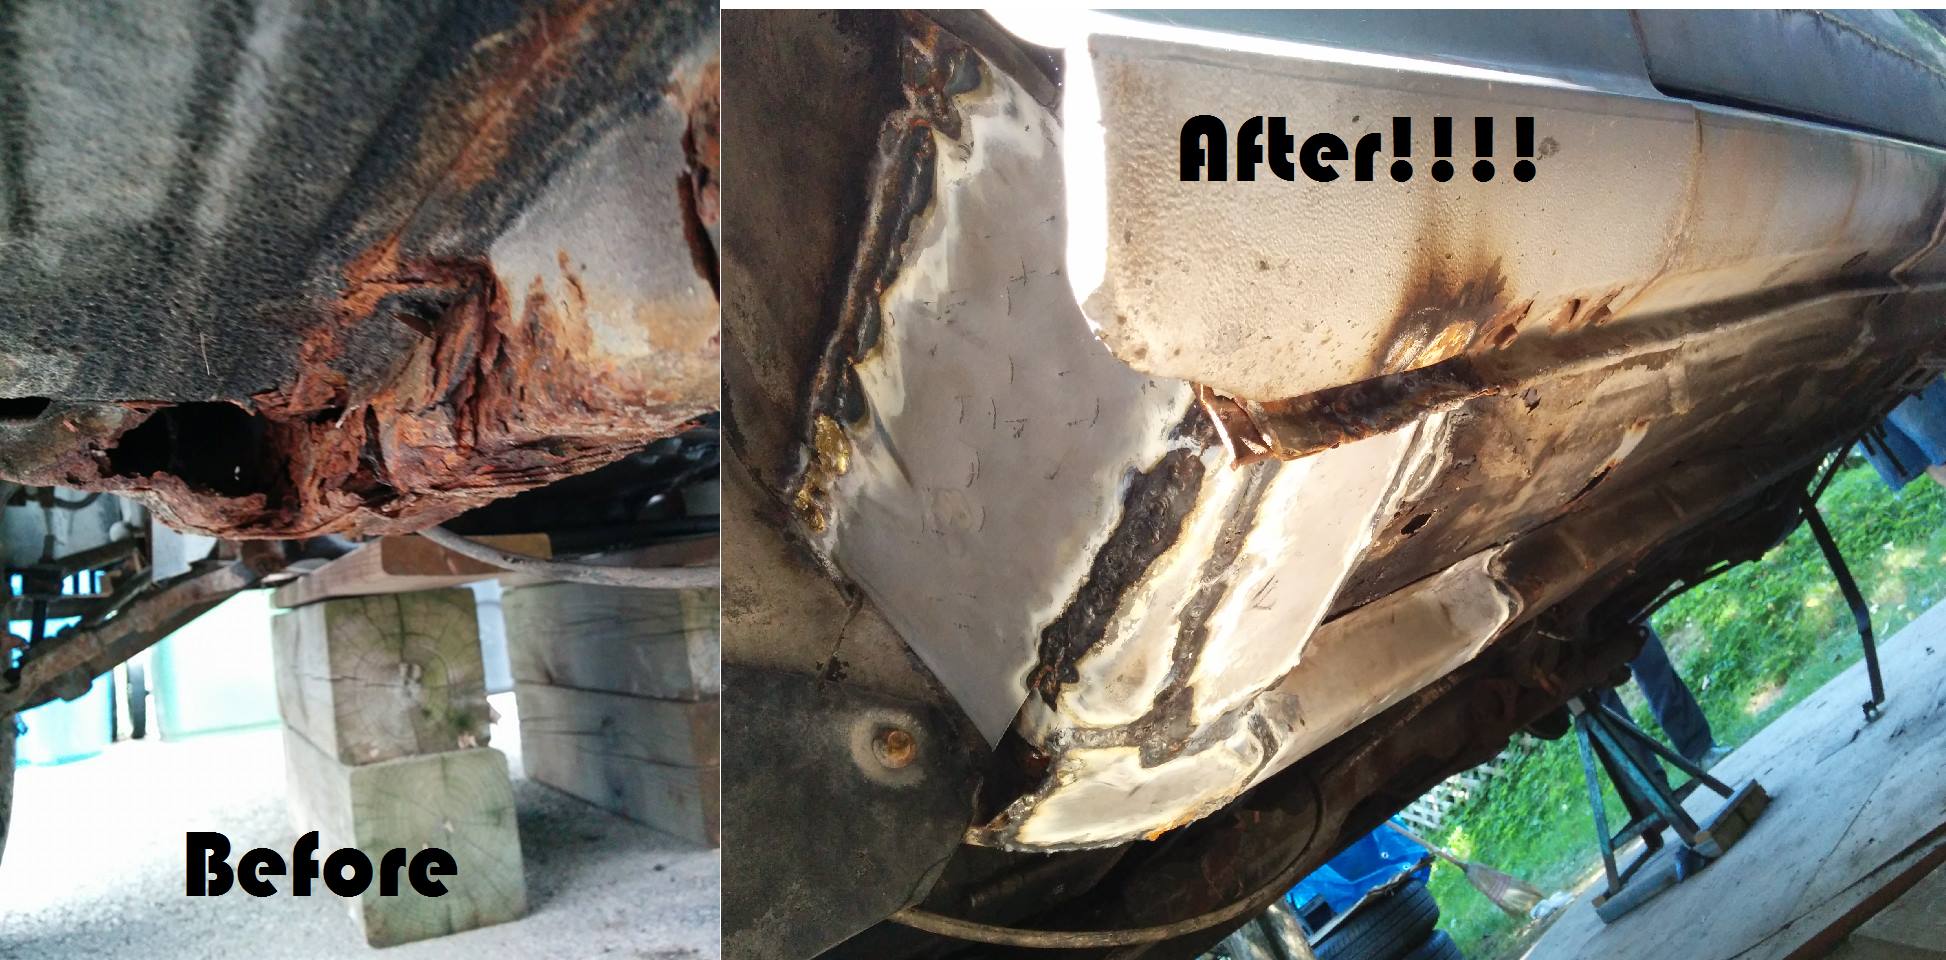
And some before and after pics, because why not?
The car is now in the last stages of body filler being applied and smoothed out to get all the right curves (pics to be posted). In other news the engine runs great but it is loud as fk due to a few holes in the exhaust. All of the drive train is healthy and has fresh redline synthetic lube (in gearbox and diff). The car also recieved a new rad, battery and tires. Hope you guys like what you see! She should be rolling on the street next summer with fresh paint and basically completely rebuilt.
To be done:
-shocks
-bushings
-springs
-exhaust
-finish the brakes (i have the parts lying around, including braided lines
 )
)On the exhaust note I am wondering which would be a better performance choice: RB long primary system aka "street port exhaust", or the same header (racing dual) to a power pulse muffler in the rear with stainless test pipe in between? The difference in the two systems is the presence of presilencers in the rb exhaust vs just test pipe in mine. Both systems would be dual all the way back to the PP muffler. Based on flow i would guess the test pipe would be better due to less restriction but let me know what you guys think (and yes i know it will be loud). There are no emission laws to follow here either so no need to worry about that.
Thanks for taking the time to read!
Be back soon.
Thread Starter
Full Member
Joined: Apr 2014
Posts: 68
Likes: 0
From: Montreal
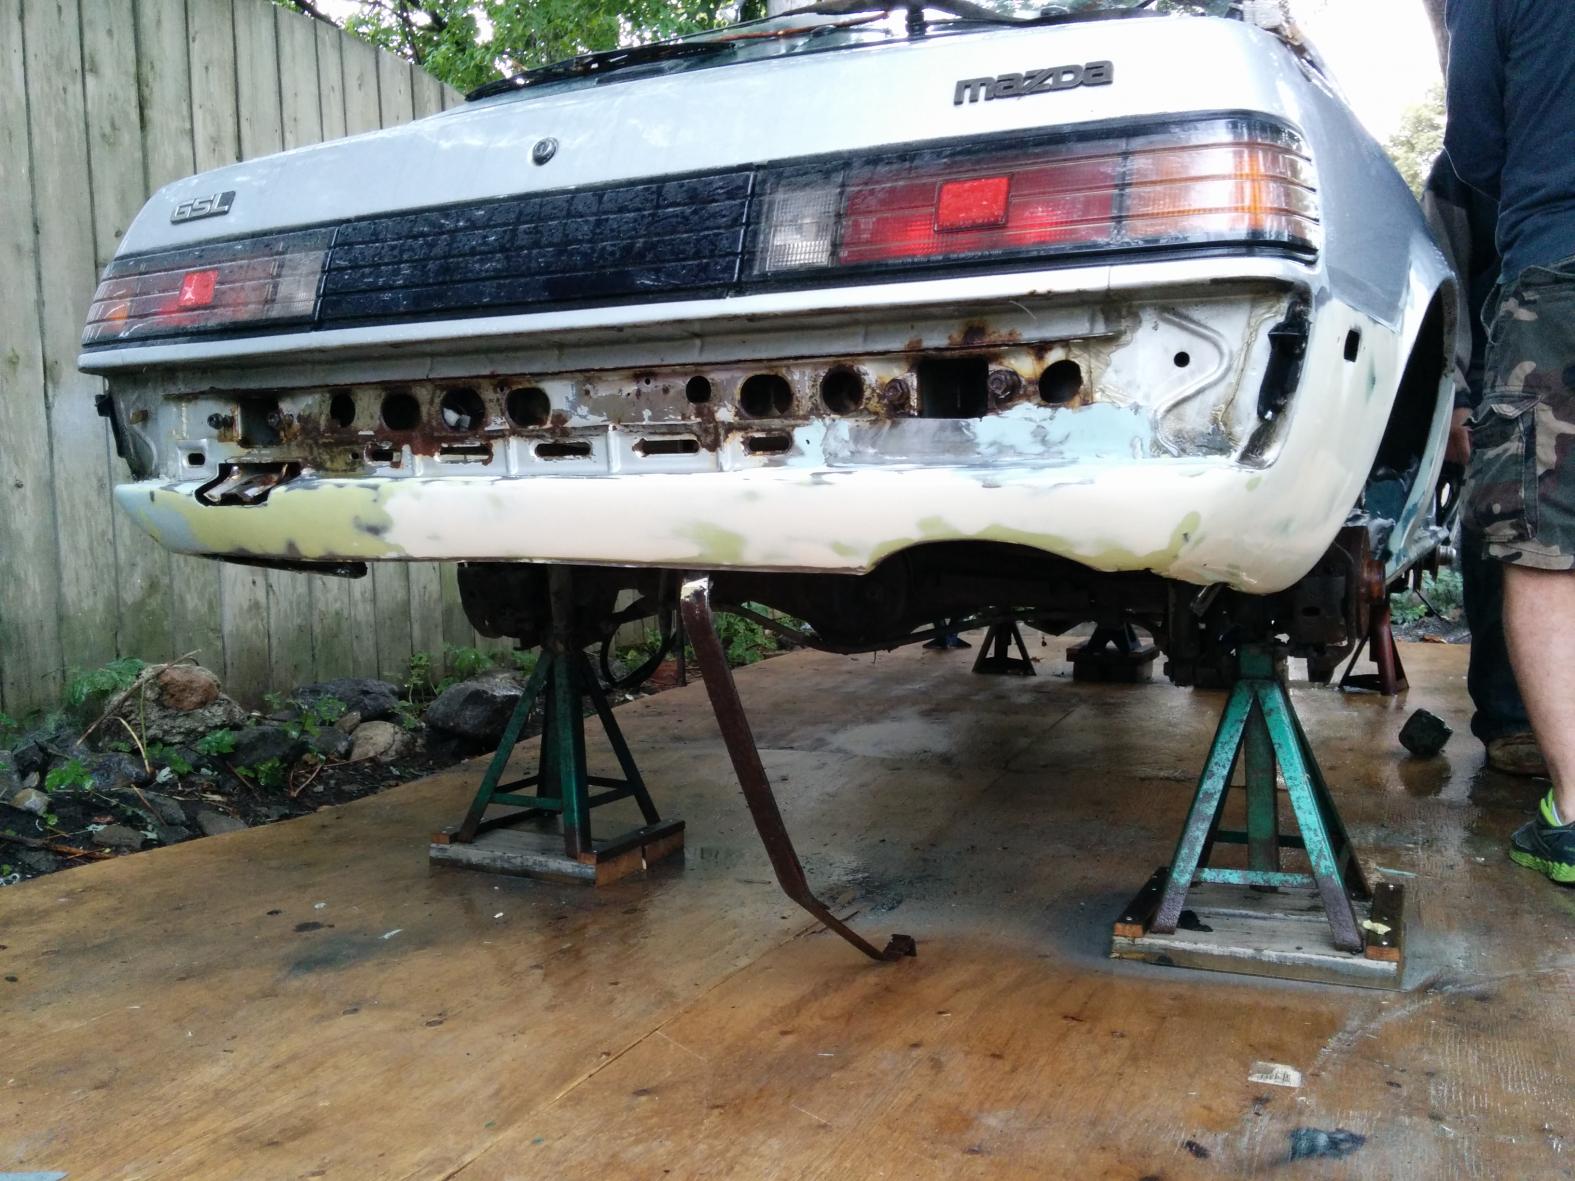
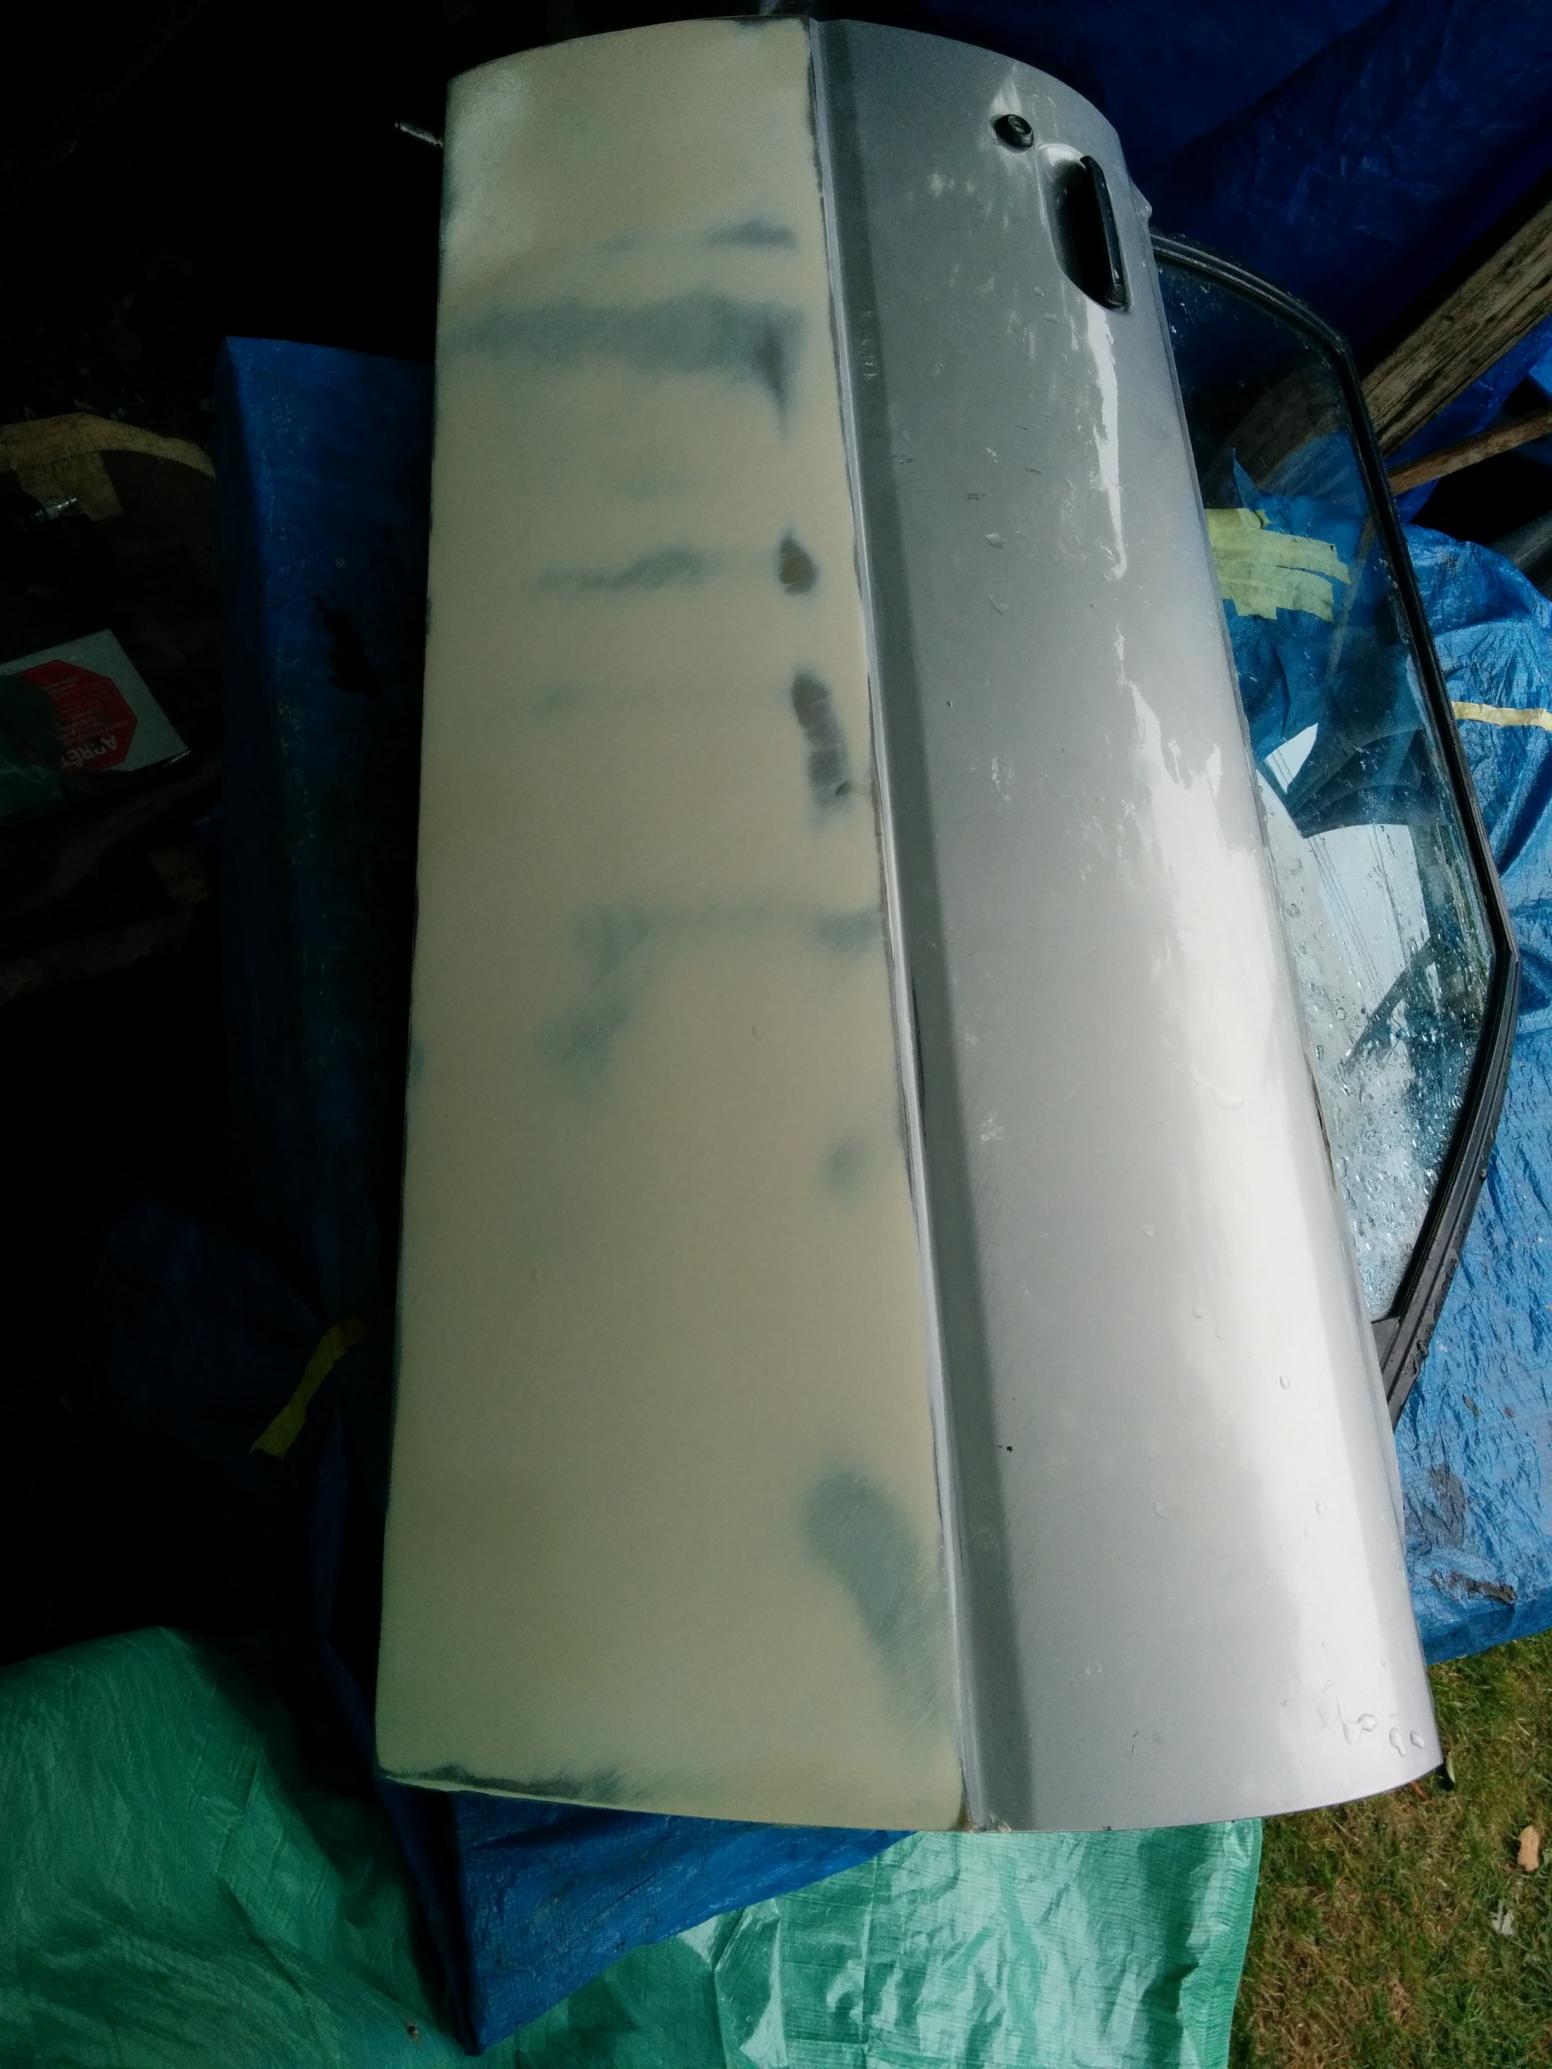
So here are some pics of the body filler/smoothing process. The inner part of the door and the door frame have also been given a first coat of paint! Check it out below
This is the same type of rubbery material used under the car for rust protection
The bumper will be sanded smooth and fainted silver like the rest of course
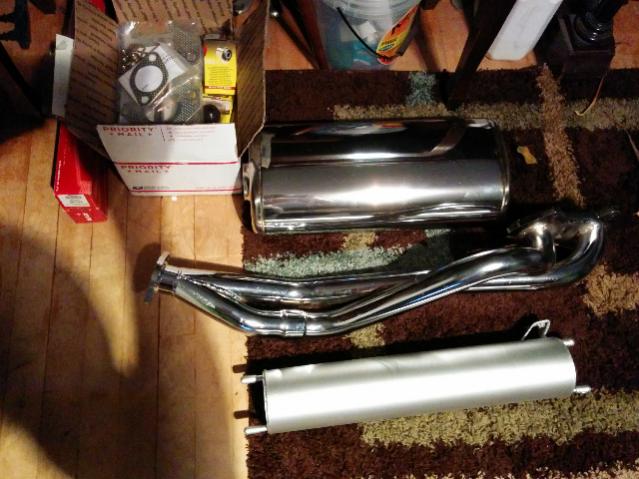
On another note today I ordered most of the rest of my parts required to get it on the road!
Including energy bushing master kit, racing beat exhaust parts (street-able header, pre-silencer and universal muffler),
and some rear shocks since mine are rotten.
This is the same type of rubbery material used under the car for rust protection
The bumper will be sanded smooth and fainted silver like the rest of course
On another note today I ordered most of the rest of my parts required to get it on the road!
Including energy bushing master kit, racing beat exhaust parts (street-able header, pre-silencer and universal muffler),
and some rear shocks since mine are rotten.
Trending Topics
Thread Starter
Full Member
Joined: Apr 2014
Posts: 68
Likes: 0
From: Montreal
Norton | MetalSand 9 inch x11 inch Sanding Sheets Assorted grits 3 pack | Home Depot Canada
Thread Starter
Full Member
Joined: Apr 2014
Posts: 68
Likes: 0
From: Montreal
I just used Norton metal sand paper form Home Depot which comes in a 3 pack (rough, medium, and fine grit). I'm not of the actual grit rating it was as there wasn't any labeling on them except for the rough, medium, and fine. I sanded them in stages from rough to fine, doing the majority of the work with the rough and then just giving it a nicer finished look with the medium and fine grit. The package of sandpaper I used can be found at this link:
Norton | MetalSand 9 inch x11 inch Sanding Sheets Assorted grits 3 pack | Home Depot Canada
Norton | MetalSand 9 inch x11 inch Sanding Sheets Assorted grits 3 pack | Home Depot Canada
Thread Starter
Full Member
Joined: Apr 2014
Posts: 68
Likes: 0
From: Montreal
Full Member
Joined: May 2012
Posts: 136
Likes: 0
From: Rochester, NY
Thread Starter
Full Member
Joined: Apr 2014
Posts: 68
Likes: 0
From: Montreal
For sure. Mine was just a neighborhood car and developed a friendship with the owner and got it pretty cheap. Looking back I know it would have been much cheaper to wait and find a clean one but this has offered a big learning experience! Live and learn right? :P
Thread Starter
Full Member
Joined: Apr 2014
Posts: 68
Likes: 0
From: Montreal
So I have been wondering what the computer for this car controls considering it is carbed and has a distributor and so none of the fuel delivery or timing is computer controlled? Is the computer used to just manage things like climate control, cruise and power windows etc? My last question is whether or not the EGT sensor in the post cat section of the exhaust is important at all (taking into consideration I have racing beat exhaust with no cat and simply a presilencer? Thanks guys. If need be I can open a thread or do some extra research (didn't come up with anything easily).
Thread Starter
Full Member
Joined: Apr 2014
Posts: 68
Likes: 0
From: Montreal
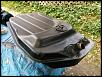
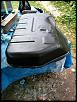
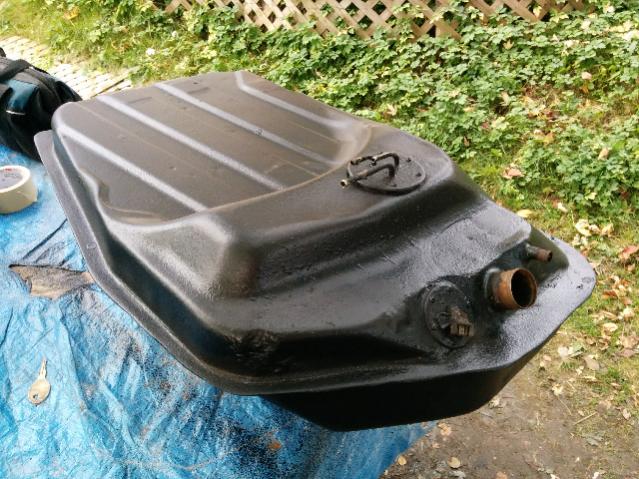
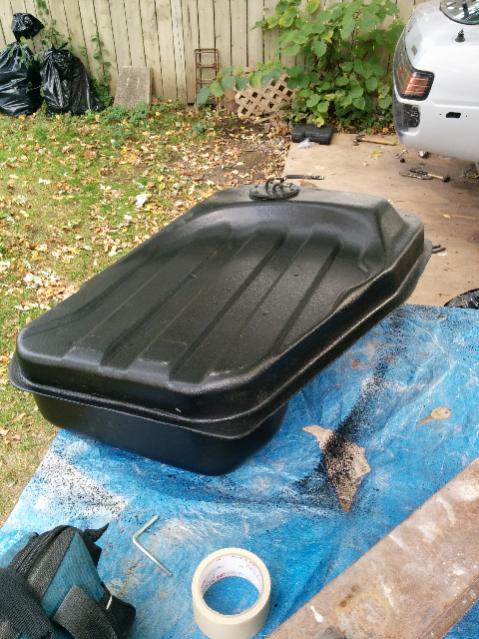
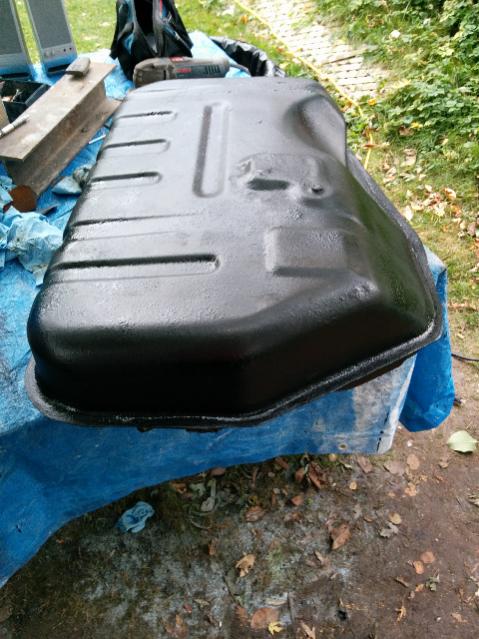
So today I tackled the restoration of the gas tank which involved washing out the inside and then grinding and sealing some spots and repainting it. Here are a few pics of the final results!


Thread Starter
Full Member
Joined: Apr 2014
Posts: 68
Likes: 0
From: Montreal
Yeh its getting pretty cool up here but yesterday was pretty warm considering (18C ish) and yeh I ground the edges and then used a wire brush. Then put the filler to seal it on top. Washed the whole thing and then added a fresh layer of bedliner (rubbery plastic type paint)
Thread Starter
Full Member
Joined: Apr 2014
Posts: 68
Likes: 0
From: Montreal
Update: So i have received half of the brake calipers I ordered from rock auto and the rest should come some time this week!!! In other news I got the gas tank remounted and all the fuel deliver works great exceeeeppppt..... my carb is now clogged :'( the fuel line runs great right up to the carb (disconnected it to test it and successfully sprayed gas everywhere!) but the inside stays dry and the engine just keeps turning over and wont start since no gas is getting in there  So it looks like its time to do a carb rebuild/cleaning! I also installed the racingbeat header and presilencer as well as did the air pump delete (no emissions in QC). Cheers
So it looks like its time to do a carb rebuild/cleaning! I also installed the racingbeat header and presilencer as well as did the air pump delete (no emissions in QC). Cheers
Thread Starter
Full Member
Joined: Apr 2014
Posts: 68
Likes: 0
From: Montreal
She's away for the winter and its time to save up the moneys to finish it up in the spring! obviously the end of the restoration is only the beginning of the project but at least then i will will be able to drive her around town! Waiting eagerly until spring!
Thread Starter
Full Member
Joined: Apr 2014
Posts: 68
Likes: 0
From: Montreal
WOW its been a long time since I have posted! I got some good work some this summer I have also migrated over to this site as my main build thread because it looks perty :3 Project RX-7 - The Beginning
So what have I been up to?
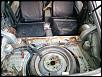
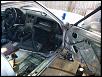
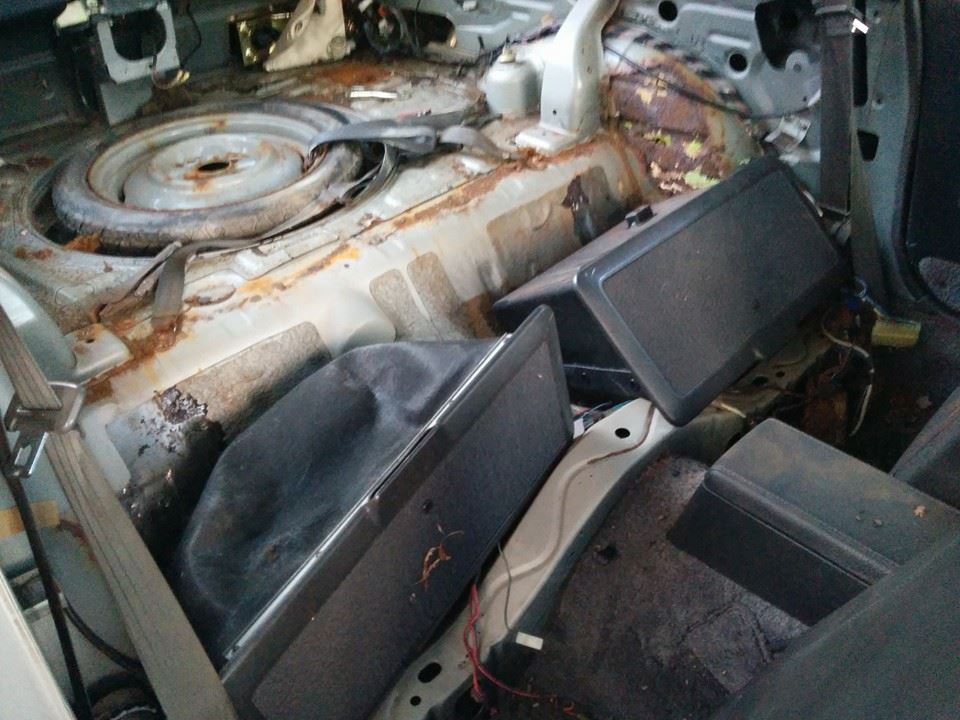
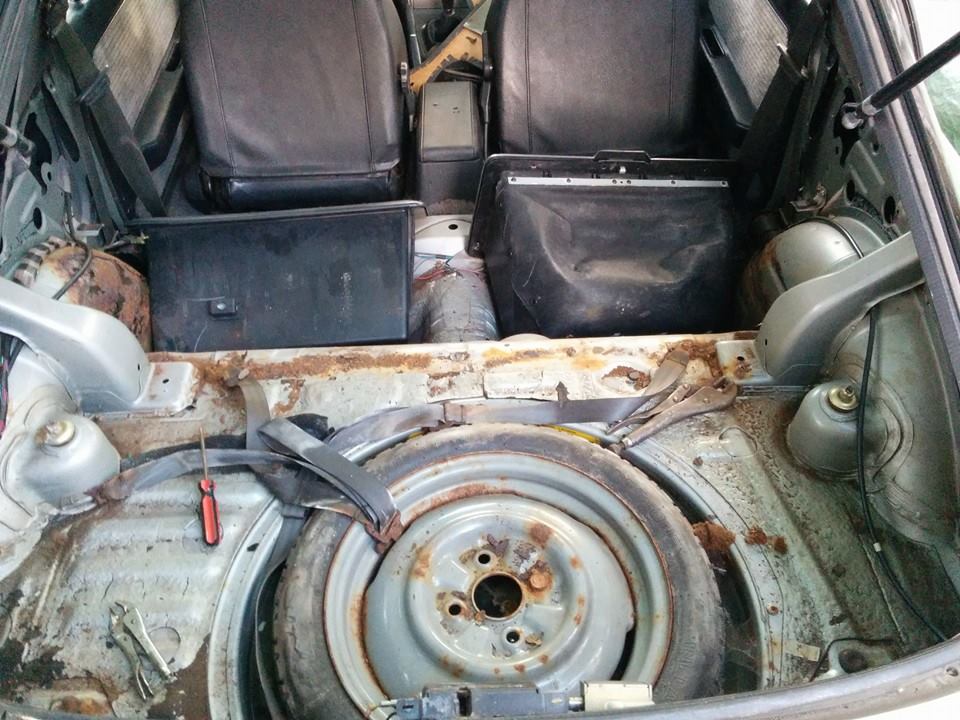
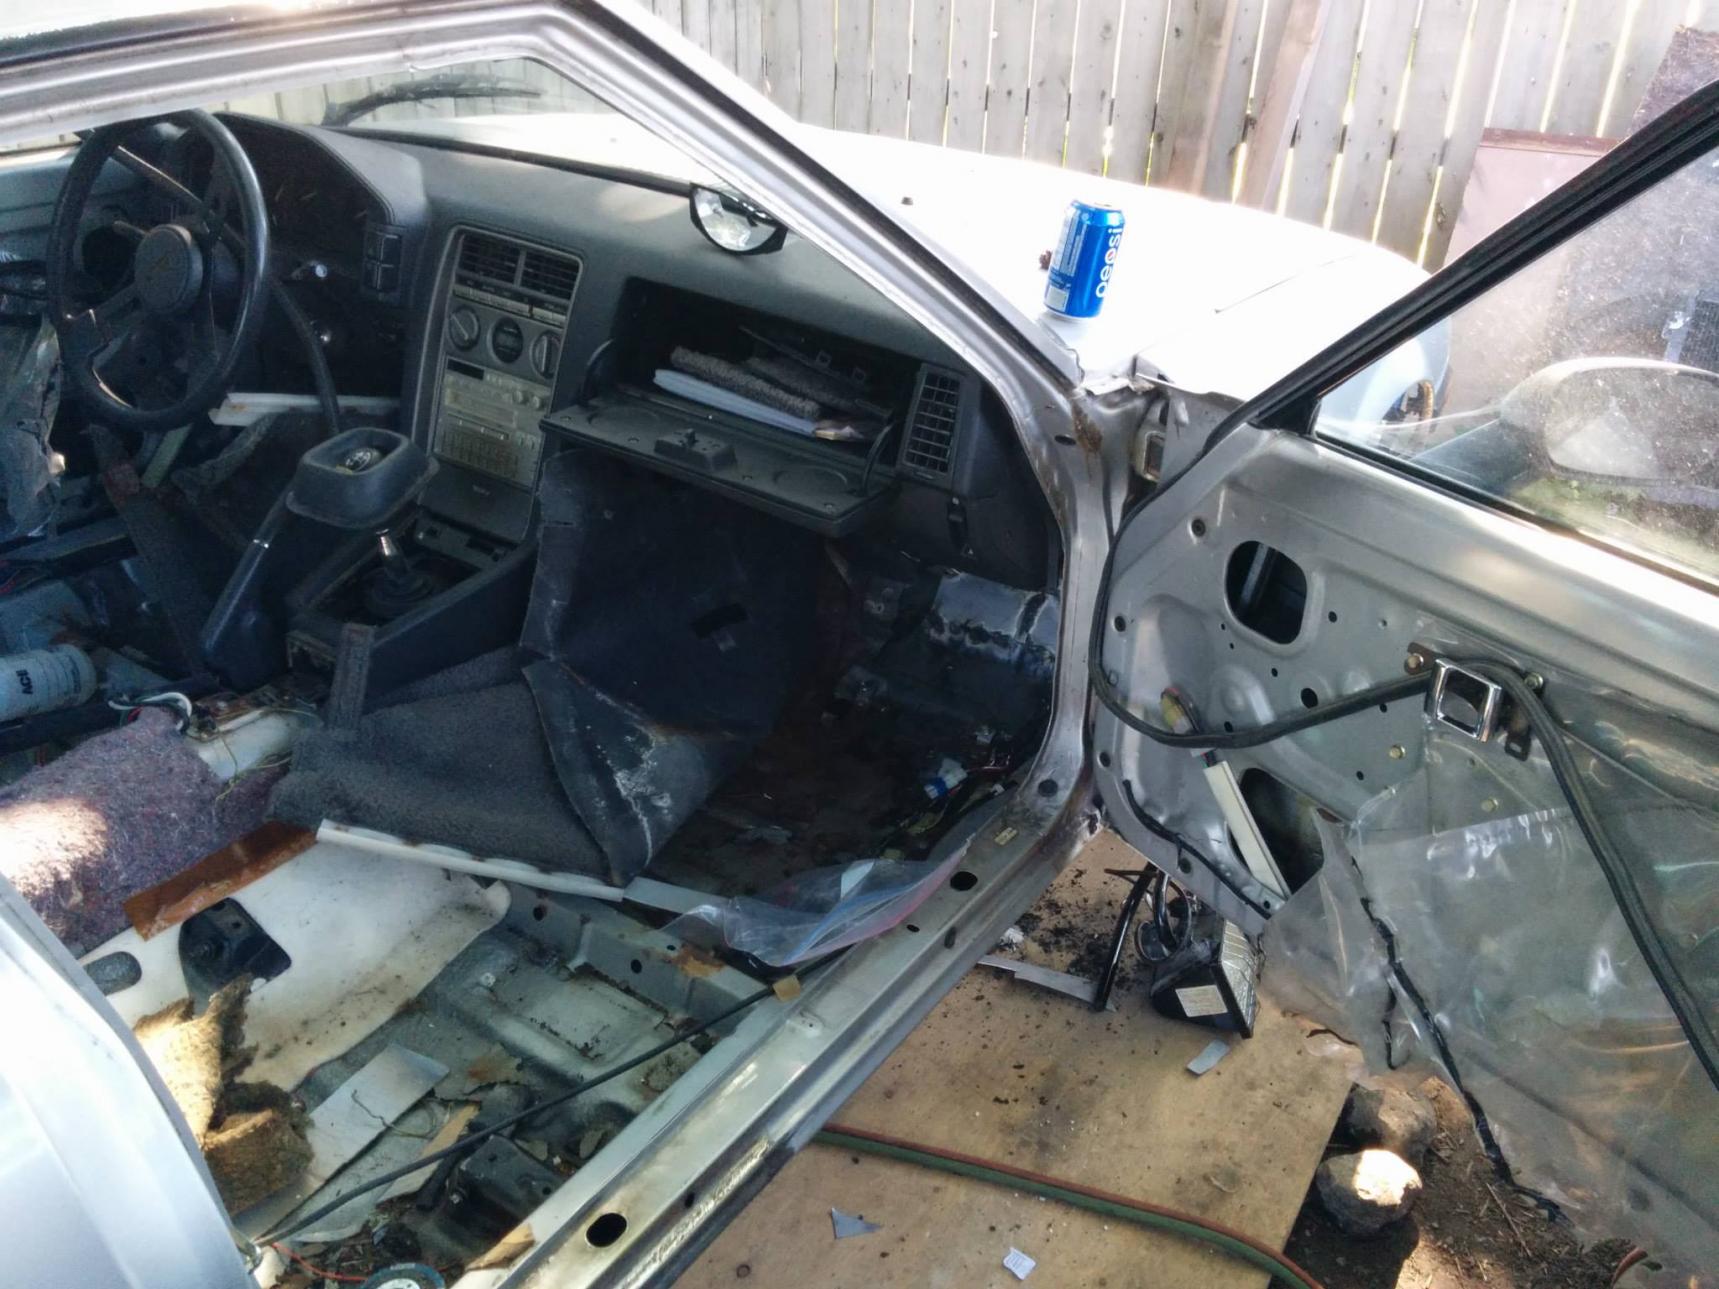
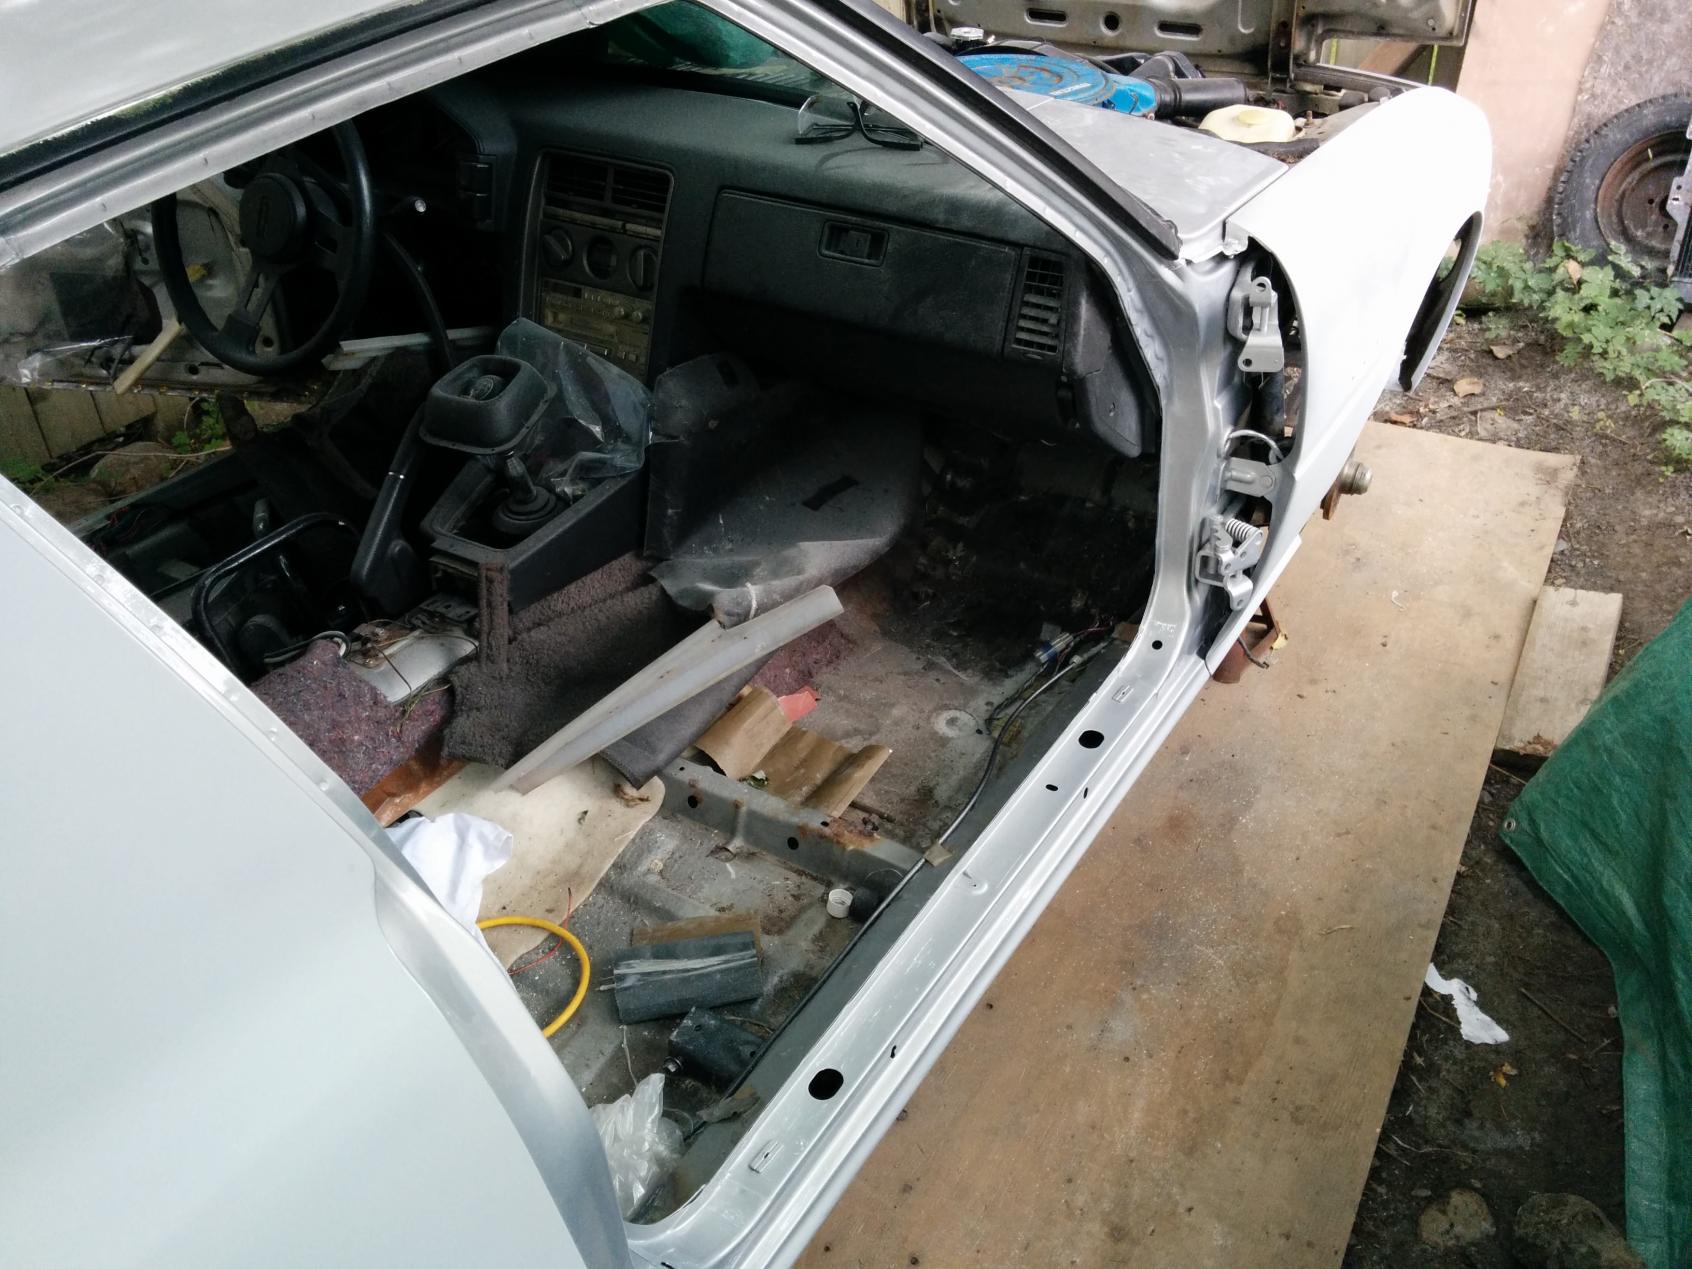
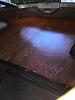
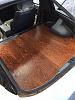
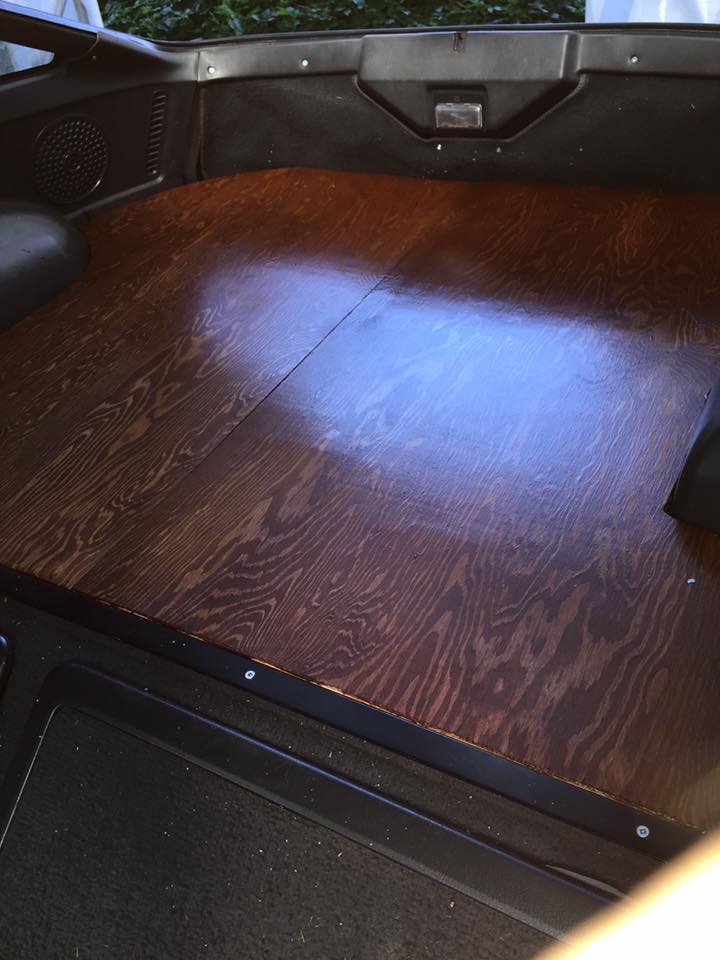
School and working mostly but as for the car I spent a good amount of time this sumemr stripping the dash out and cleaning every carpet and piece in the car to get rid of a funny smell. I also made a wood trunk to take the place of the old grungy carpet which looks pretty sick!
The alternator got completely rebuilt with a new rectifier and brushes.
I have also done a carb rebuild and modified air intake, removed the rats nest, and made my own version of mechanical secondaries that involves no ties or welding
The car runs pretty decently now but needs some tuning of course
What is left on the list:
brake calipers need to be installed and brake hard lines replaced.
Replace read shocks and all the bushings!
Still got a long way to go but its coming! Hoping to be done next summer.
Hope you are all doing well! Peace
I have also migrated over to this site as my main build thread because it looks perty :3 Project RX-7 - The BeginningSo what have I been up to?
School and working mostly but as for the car I spent a good amount of time this sumemr stripping the dash out and cleaning every carpet and piece in the car to get rid of a funny smell. I also made a wood trunk to take the place of the old grungy carpet which looks pretty sick!

The alternator got completely rebuilt with a new rectifier and brushes.
I have also done a carb rebuild and modified air intake, removed the rats nest, and made my own version of mechanical secondaries that involves no ties or welding
The car runs pretty decently now but needs some tuning of course
What is left on the list:
brake calipers need to be installed and brake hard lines replaced.
Replace read shocks and all the bushings!
Still got a long way to go but its coming! Hoping to be done next summer.
Hope you are all doing well! Peace

Thread
Thread Starter
Forum
Replies
Last Post
NickNac113
1st Generation Specific (1979-1985)
13
Oct 1, 2015 09:25 PM