When you click on links to various merchants on this site and make a purchase, this can result in this site earning a commission. Affiliate programs and affiliations include, but are not limited to, the eBay Partner Network.
Here's something you don't see everyday: The old AA Rayovac air line plug trick. Developed by Foolix ****** back in late 2014...I believe. I'll have to check Wiki on that. Foolix ****** at the R&D lab 2014.
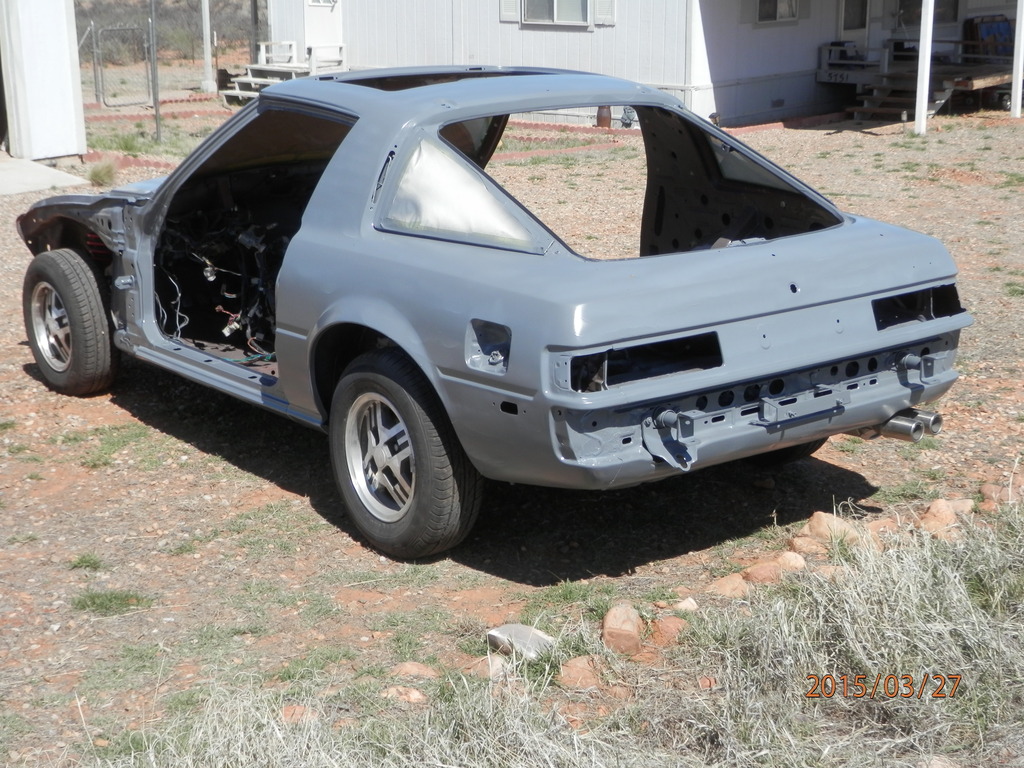
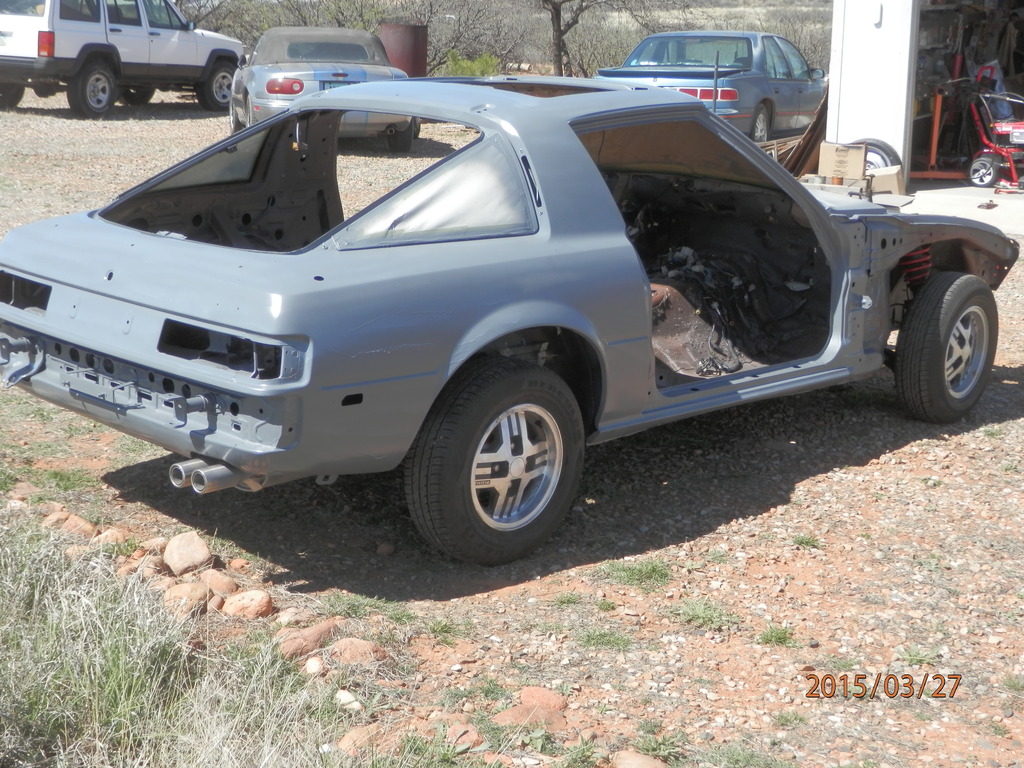
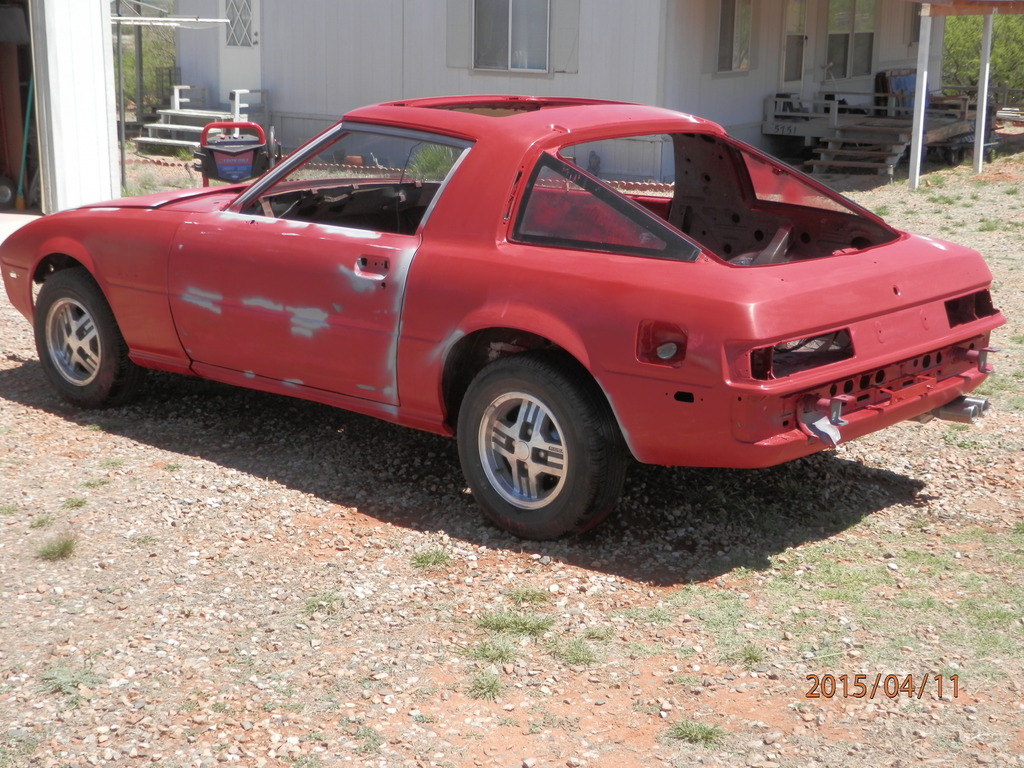
Had to take a bit off for a vacation, I mean work, but I'm back in the garage and taking care of bidness. Here's what I've been doing as of late.
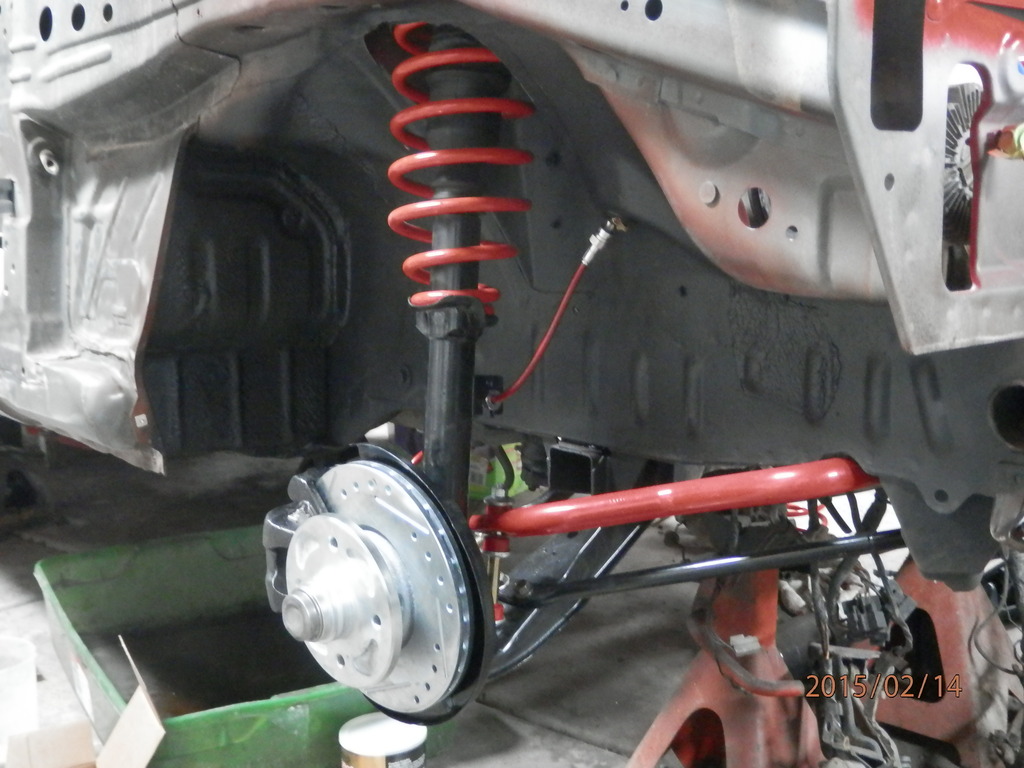
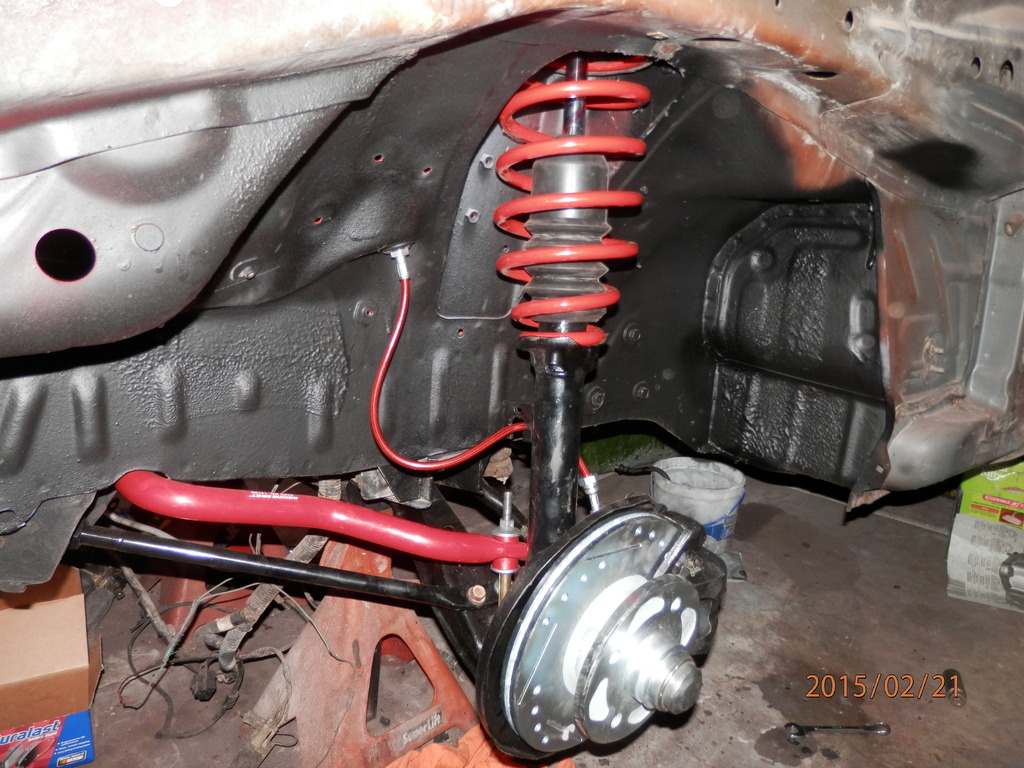
I decided to go ahead and replace the brake system. New rotors and calipers all the way around. That finished off the brakes, suspension, and steering work. All new and looks great.
Then I finished up the prep for the primer. Shot the epoxy primer.
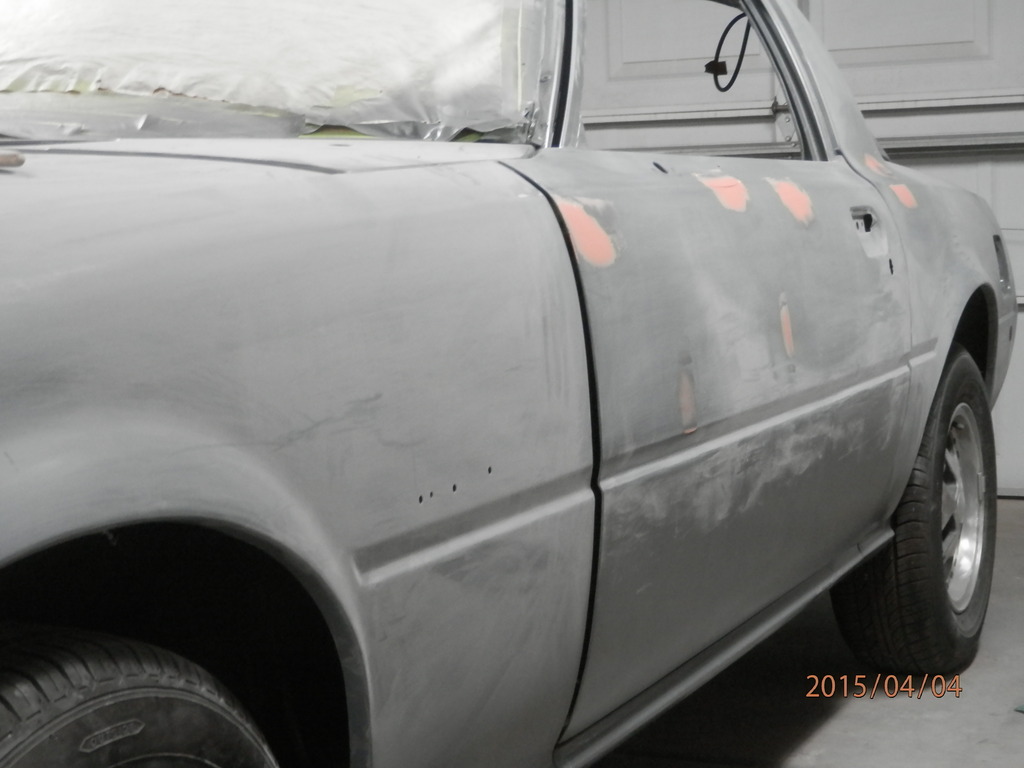
Then came the sanding and filling.
Then I hit Walmart for some paint and a couple of nice roller brushes.
Okay, I was just pulling your leg. I really couldn't afford new brushes.
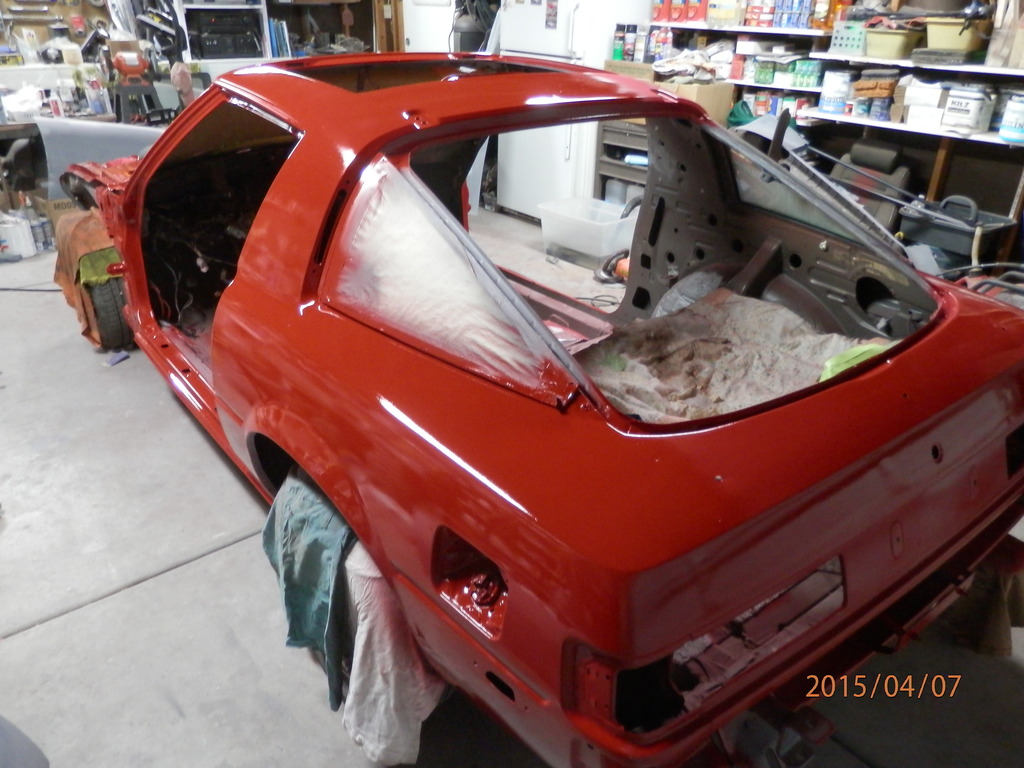
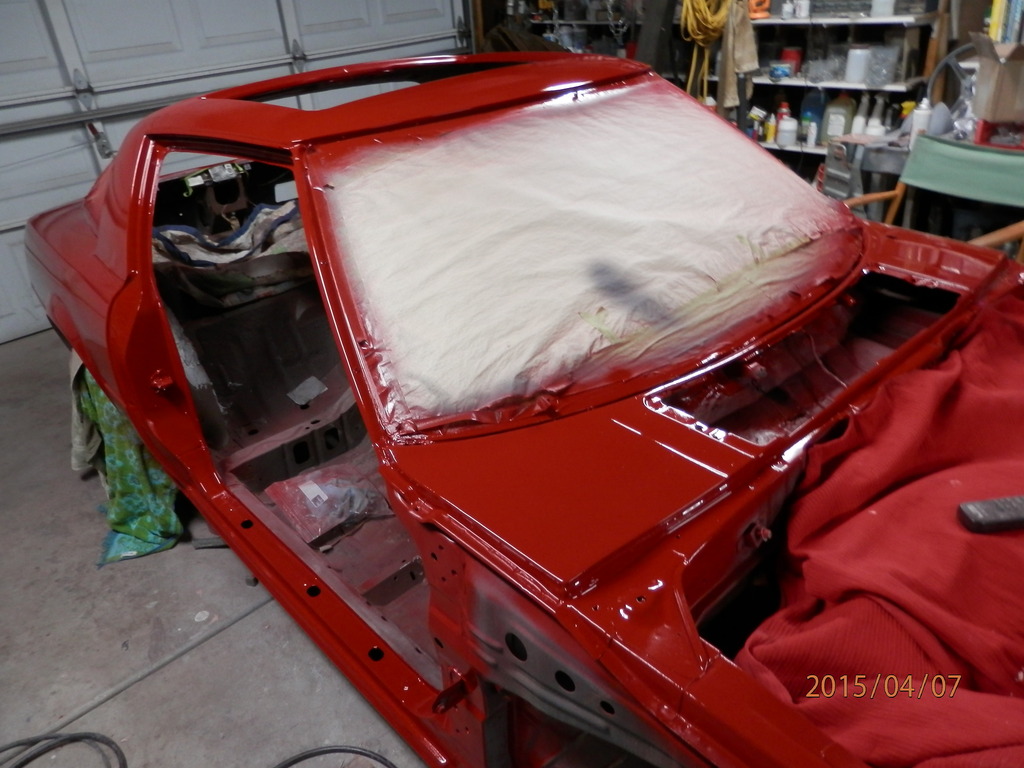
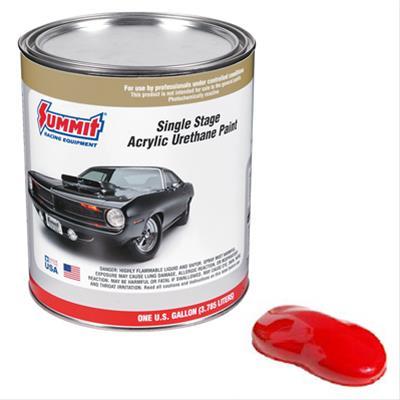
The last couple of days has been color sanding what I painted so far. Some dumb *** didn't order enough paint. Said dumb *** ordered another gallon. Came in yesterday. I'm using a Summit Racing paint SUM-UP304.
Color Sanding today and will throw another coat on some areas. Still have to shoot the bumpers, valance, cowl, and a couple of other things.
Luckily, I had some friends help me out with the paint work. Didn't go as smooth as I had hoped.
Ordered this today. I'll be able to get rid of the mess that's in now. That leaves the engine rebuild kit as the next (and last...I hope) big purchase. Thinking of going with the Atkins kit, possibly with Mazda Apex Seals. Appreciate any thoughts?
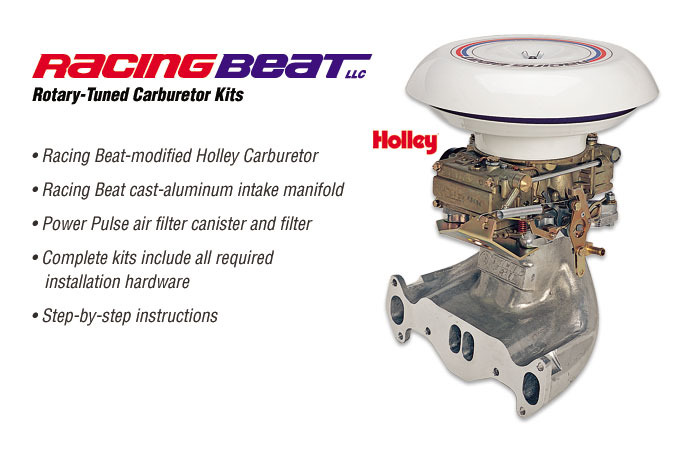
Not crazy about the intake canister. Reminds me of "Lost in Space" from the 60's.
Have fun with that Holley... theyre a real pita to get running right. Whatever you do dont make any adjustments at all and leave the setting as they were right out of the box.
Have fun with that Holley... theyre a real pita to get running right. Whatever you do dont make any adjustments at all and leave the setting as they were right out of the box.
Thanks, NCross. I appreciate the tip . Just hope it goes somewhat smoothly. The last car I had with a carb was a '83 Rx7 back in the 80's. Go figure.
Along with getting back to the color sanding, I've been doing a lot of work getting the engine bay squared away.
Tore down all the motors. Cleaned and lubed. Then I put them on a battery to test. The doors and windshield wiper motors work great now. Well worth the effort. The brushes are pretty worn, but should get me down the road awhile. I'll go ahead and order some. They are cheap.
This is something I tried on my Miata and it works great. I used the bedliner coating around and under the brake and clutch master cylinders. This stuff is impervious to brake fluid. I test sprayed some on an old compressor and let brake fluid sit overnight on this stuff. Wiped it off the next day. No effect of the coating.
As far as the engine bay goes, I've put most of everything in. I got rid of the old radiator fan replacing it with a 14" Flexalite. The Holley from Racing Beat is installed. New header. New master brake cylinder. New hoses all around thanks to Atkins. New alternator. New rad. The clutch master cylinder looked to be brand new so I was going to put it back in. Turns out it was defective. I'll replace that 2-nite. Put an Optima battery in. It's the first one I ever had. Hope it lives up to it's rep. Put a couple of new Accel coils in from Summit.
With everthing hooked up I just had to give the engine a whirl. That moment when you just know it's going to blow up and shrapnel flies everywhere. Hit the starter and...the brand new starter wouldn't turn over the engine.
I put the old one back in and tried again. Worked perfectly. Hooked up the fuel pump and squirted starting fluid into the Holley. Hit the starter and...
Friggin' runs perfectly! Couldn't believe it. Thank you Racing Beat!
Wired up and installed the Mallory Fuel Pump today. Really, really...I mean really made a difference. I think the pump I replaced was from a lawnmower or something.
car looks phenomenal, man. i really like what you've done with it. those GM connectors are just downright great. i got put on to them a few years ago and i am not looking back.
Yeah, I like the connectors a lot also. I appreciate the compliments. I've had some PITA moments (mostly with aftermarket parts) but overall it's been a lot of fun. I'm sure you've been there and back!
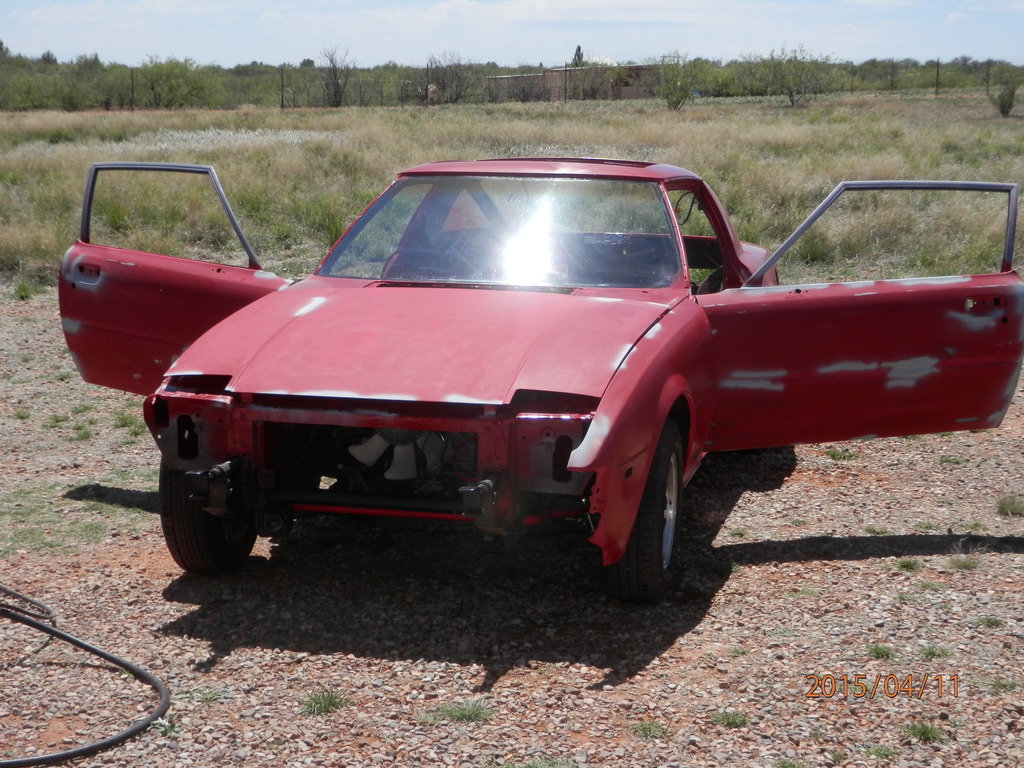
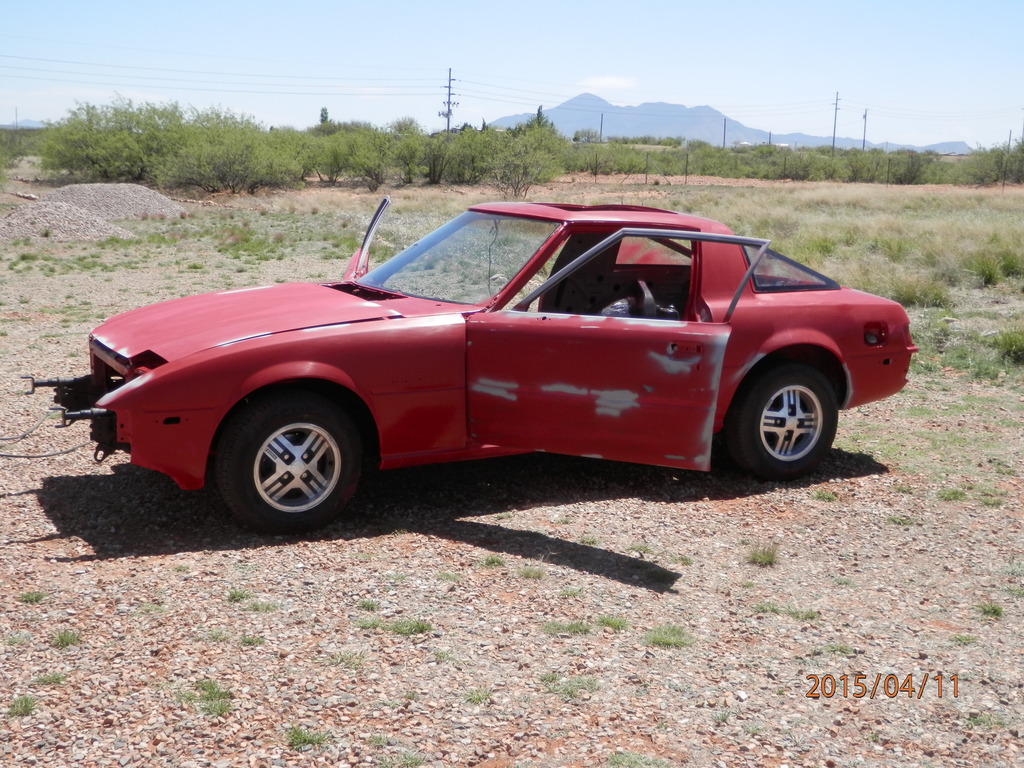
Here's a few more shots. Still a lot to do. Bled the brakes and clutch last night. They are ready to go. I'm back to concentrating on the the paint again.
Thanks! The hood only had a couple of coats. I wanted to put a couple more on. There were also a couple of invisible dents I went back to. I also had a problem with my gun that kept dicking me around. Friggin' DeVilbiss Starting Line guns are just plain garbage. Might as well have been using a garden hose. Worked well for awhile then went to *****. They have been used only on a few rides.
I had a passing interest in the DLIDFIS, but really didn't look into it. Since you mentioned it, and I do appreciate you bringing it to my attention, I looked into it a little more in depth. I think I will give it a go. I'm guessing you did it? How is it working for you?
I'm sure the results will be well worth the sanding and painting.
It is working great. I wish I could give you A/B test results but I hadn't driven the car in so long and changed so many things I'm not sure what has made the biggest impact recently.
The basics are that currently your system shares a coil for leading spark, with DLIDFIS you have an individual coil for each leading plug. You can wire it up with stock Mazda ignition modules but the best way for me was to use GM HEI ignition modules. The most time consuming part for me was figuring out where to mount the third coil, ended up building a bracket to mount to strut tower that has the trailing coil underneath. If you do it I'll be excited to see your wiring, I have become a wiring snob and I'm sure you'd take the time to do it right.


 04-11-15, 03:15 PM