
'83 for 50 MPG, big brakes,and more

Suggestion for next time
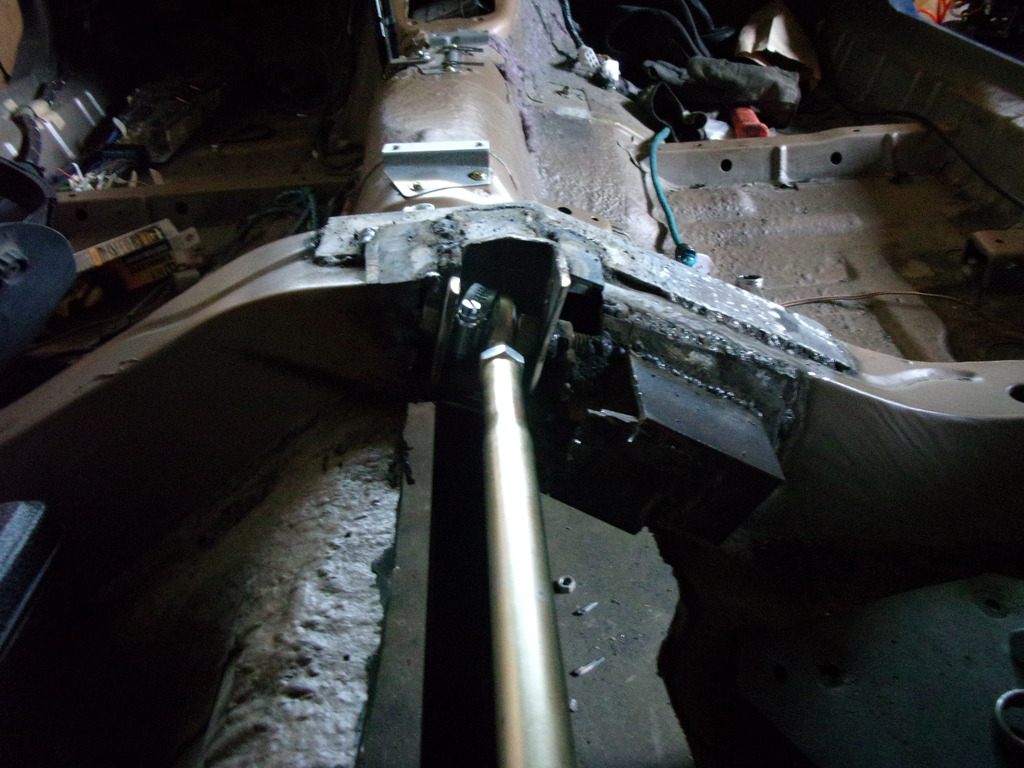
I can't expect everyone who does this stuff to be an engineer, so I am passing on a suggestion to you and others who may read this thread. Whenever you make a cutout in a structural member, sharp corners should be avoided because they cause stress concentration when bending loads are applied. As an example, the cutout you made in the frame rail for the steering link could be a half circle. If you have a junk driveshaft lying around, that would be about the right radius. Cut out a half circle or maybe a little more, cut and grind out the frame rail until the curved piece fits with minimum gap, and weld it in. This will look neater, have more of a factory appearance, and will be much stronger. In this case there are no really big loads forward of the cutout, so it won't make a lot of difference unless you get into a accident.
I realize you may be planning to weld on a doubler to the cutout. If so make it with a rounded cutout to increase the strength.
When I was a Service Engineer at Boeing I did hydraulics, and we had cases of components failing in the 3,000 psi hydraulic systems because they were incorrectly machined with to small a radius in some areas, and fatigue cracking resulted. The most famous example was the De Havilland Comet, the world's first jet airliner. Back in 1950 there had not been many pressurized airplanes, and fatigue failures were not well understood. The airplane was designed with square windows and after a few thousand hours service, there were two mysterious crashes. It is interesting to read about it and how they solved the problem.
A Great British Air Disaster, Channel 4, review - Telegraph

Thread Starter
Full Member
Joined: Oct 2014
Posts: 207
Likes: 0
From: Smithfield, UT
While I appreciate your efforts to save others from problems, I disagree.
First, to get it round, it takes either an oxyacetylene torch, which is undesirable even beyond the jagged results, or a plasma cutter, which is costly and difficult to use. Everyone can afford an angle grinder, $15 at Harbor Freight. A nibbler isn't a practical option here, nor any other sort of snips nor shears. certainly not any saw I've ever seen.
Second, there was no way to know in advance where the center of a half-spherical cutout would need to be located. Except now anyone can ask me for measurements at no cost.
Third, any concerns about weakening the structure can be addressed with a few bracing bars welded in. How you execute that should factor in your beliefs concerning how you want the front of the car to crumple in an accident. That's your crush zone.
I had considered what you call a doubler, I could make cardboard patterns or templates now that I'm this far along, but that brings us back to how that area will collapse in a wreck. The general public, including me in this case, has no access to computer modeling programs that can adequately illustrate alternative ways of finishing the area in question.
I do care about the driver's safety, but in this case I know the driver, and how she will use the car. It's only 175-ish HP at this elevation, with massive overkill brakes, and should swerve well enough to avoid most crashes.
She has already scheduled a course at the Bondurant school, so little risk of her standing on the brakes while trying to swerve.
Thread Starter
Full Member
Joined: Oct 2014
Posts: 207
Likes: 0
From: Smithfield, UT
Many people doing these swaps seem to worry a lot about fitting everything under the hood. Of all the many changes I made to my 84 RX-7 for the V8 swap, modifying the hood was one of the easiest. I just built everything, got it running and then installed the hood. It would not close, so I just started trimming until I had adequate clearance. I went to a local salvage yard and bought a damaged hood from a 280Z. I carefully trimmed out the hood bulge, shortened it and it fit the shape of the FB hood perfectly. I welded it on with lots of tiny tacks to minimize the heat warpage, ground the welds smooth and did my bondo magic. Most people who looked at the car did not even notice the hood was modified.
More recently I picked up a damaged hood from an early Eclipse, which had that teardrop shaped bulge as you may recall. I trimmed out the bulged area and tossed it on the shelf with my collection of miscellaneous sheet metal parts in case I ever have the same problem again.
More recently I picked up a damaged hood from an early Eclipse, which had that teardrop shaped bulge as you may recall. I trimmed out the bulged area and tossed it on the shelf with my collection of miscellaneous sheet metal parts in case I ever have the same problem again.


Thread Starter
Full Member
Joined: Oct 2014
Posts: 207
Likes: 0
From: Smithfield, UT

superbriteleds provided the bulbs to upgrade the gauges.

My spring pads are only tacked for now, no shock brackets yet, trailing arm brackets are thoroughly welded, as are the Watt's link stubs. Sway bar mounts from '80s Camaro not snugged yet. That's the '83 RX-7 bar.


PCM location shown, intake ducting and alternator relocation mounting bracket both in progress.


Thread Starter
Full Member
Joined: Oct 2014
Posts: 207
Likes: 0
From: Smithfield, UT

not happy yet

had to order this to match the HTOB

I'll splice the center of this to the RX-7 hood to clear the throttle body.
I'll give credit to whomever gave me the idea as soon as I can get it right.


Thread Starter
Full Member
Joined: Oct 2014
Posts: 207
Likes: 0
From: Smithfield, UT
There are 2 ways of doing a Watt's link behind the axle. Either center pivot on the chassis, outer ends on the axle, or center pivot on the axle, outer ends on the chassis. These cars came with the latter, while I've been working toward the former. Now that I've made a bunch of brackets and done many mockups, I've learned a few things.
Assuming keeping the stock fuel tank, If you're going to do a panhard, the chassis end will need to be on the right, putting the axle end to the left, much like an '82-'02 Camaro. If you insist on Watt's link, as I do, then the center pivot must be mounted to the axle. It just can't be packaged any other way with the stock tank.
Pics to follow very soon.
Thread Starter
Full Member
Joined: Oct 2014
Posts: 207
Likes: 0
From: Smithfield, UT
I realize my progress isn't pretty yet, but very little is finalized, either. Anyway,...
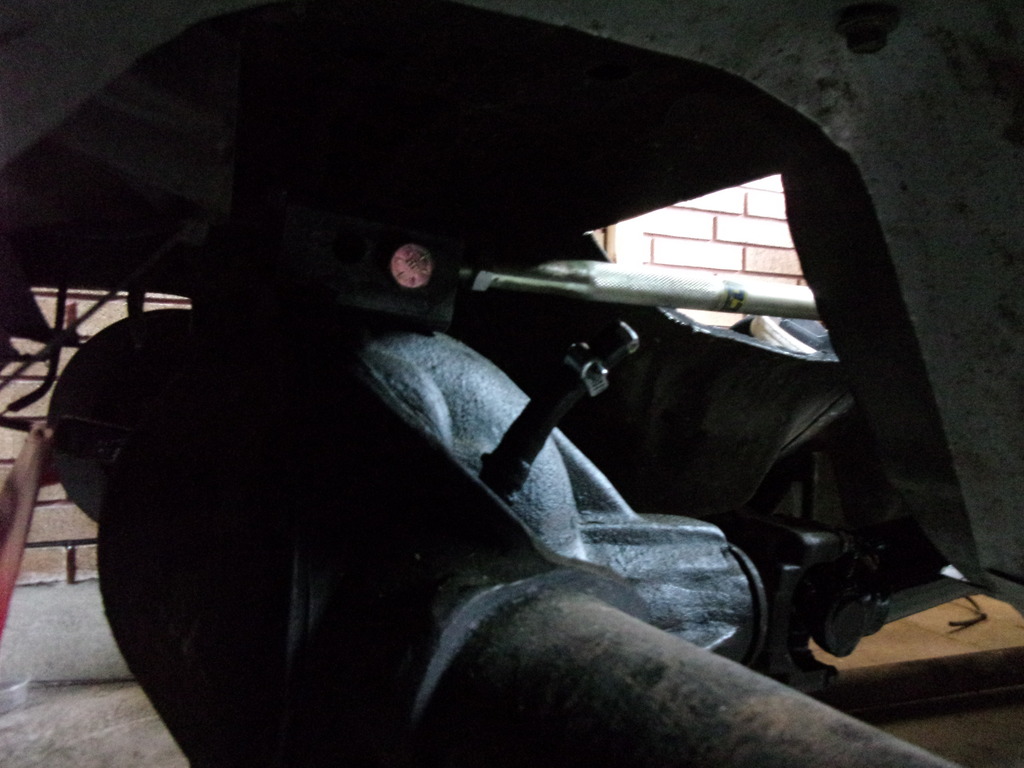
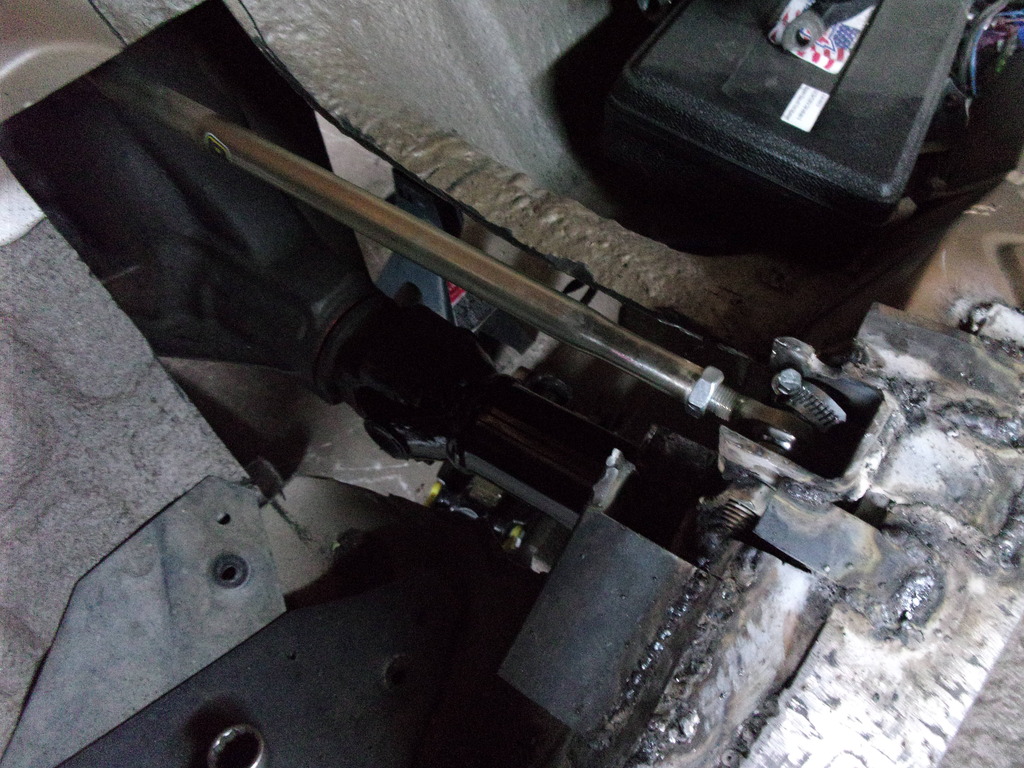
Sorry the flash isn't working, and that's an '86 Camaro driveshaft shortened 5.25 inches and re-balanced.


Sorry the flash isn't working, and that's an '86 Camaro driveshaft shortened 5.25 inches and re-balanced.

Thread Starter
Full Member
Joined: Oct 2014
Posts: 207
Likes: 0
From: Smithfield, UT
Ordered a Summit radiator, 2 row, 2.5" thick, 19" x 27". It's all I think I can fit, and probably overkill. Now to mount it and adapt the hoses.
Also trying to splice the GM single-outlet p/s hose to Mazda's dual-inlet p/s rack. I'm using a y-block, all -6 AN, with 2 different adapter fittings, and 3 identical 13-inch lengths of PTFE-lined braided stainless steel hose.
For anyone who may ever try this with any GM engine that uses a metric pump, and an FC steering rack, you need a -6 AN / 16 mm x 1.5 o-ring style male adapter, for the GM pump, and a pair of -6 AN / 16 mm x 1.5 inverted flare style male adapters, for the Mazda rack. I used a Fragola brand 491963, and 2 Fragola 460616s. I'll report back if I ordered anything that proves to not work. So if you try to copy this part, keep reading to see if I later correct myself.
Thread Starter
Full Member
Joined: Oct 2014
Posts: 207
Likes: 0
From: Smithfield, UT
Also, now the alternator is relocated and mounted, I had to find a belt. I used the Napa website to search by length and number of rows, the first thing I tried fits great! I'm putting an identical spare in the car, just in case.


Thread Starter
Full Member
Joined: Oct 2014
Posts: 207
Likes: 0
From: Smithfield, UT

just a general mockup there

PCM mounted

How I did it, with 1/4-inch panhead bolts, lockwashers, and double nuts.

Made the p/s bracket by cutting and welding what it had, then drilling the car.


