'83 for 50 MPG, big brakes,and more
 10-06-14, 01:59 PM
#1
Full Member
Thread Starter

Join Date: Oct 2014
Location: Smithfield, UT
Posts: 207
Likes: 0
Received 0 Likes
on
0 Posts
'83 for 50 MPG, big brakes,and more
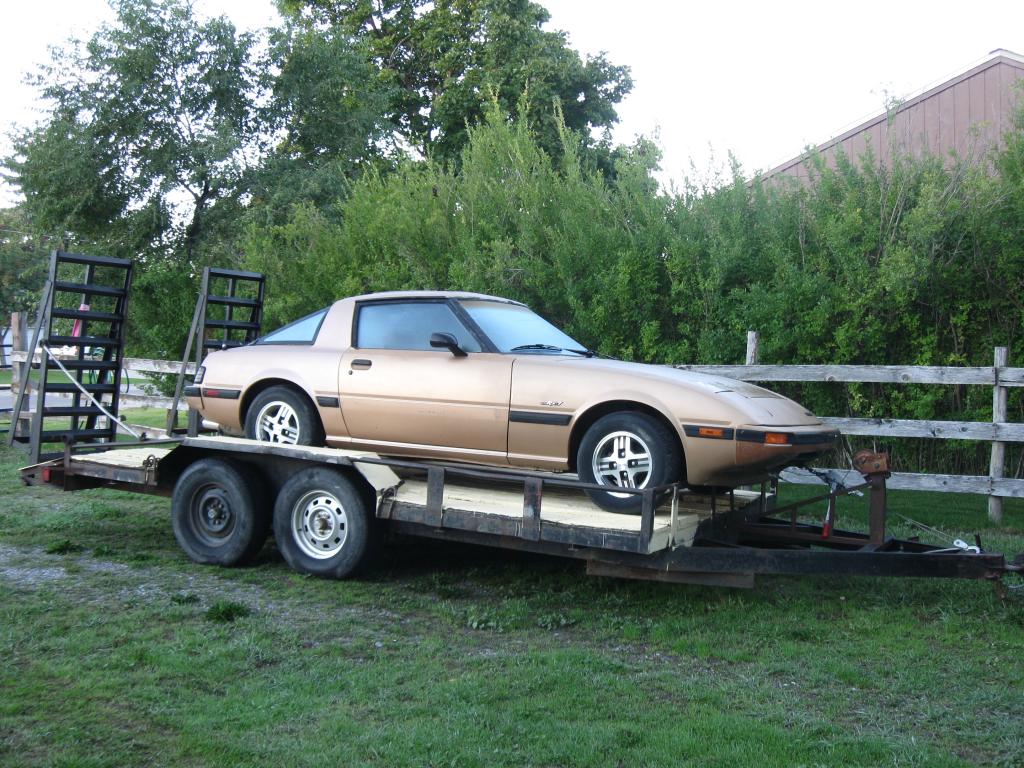
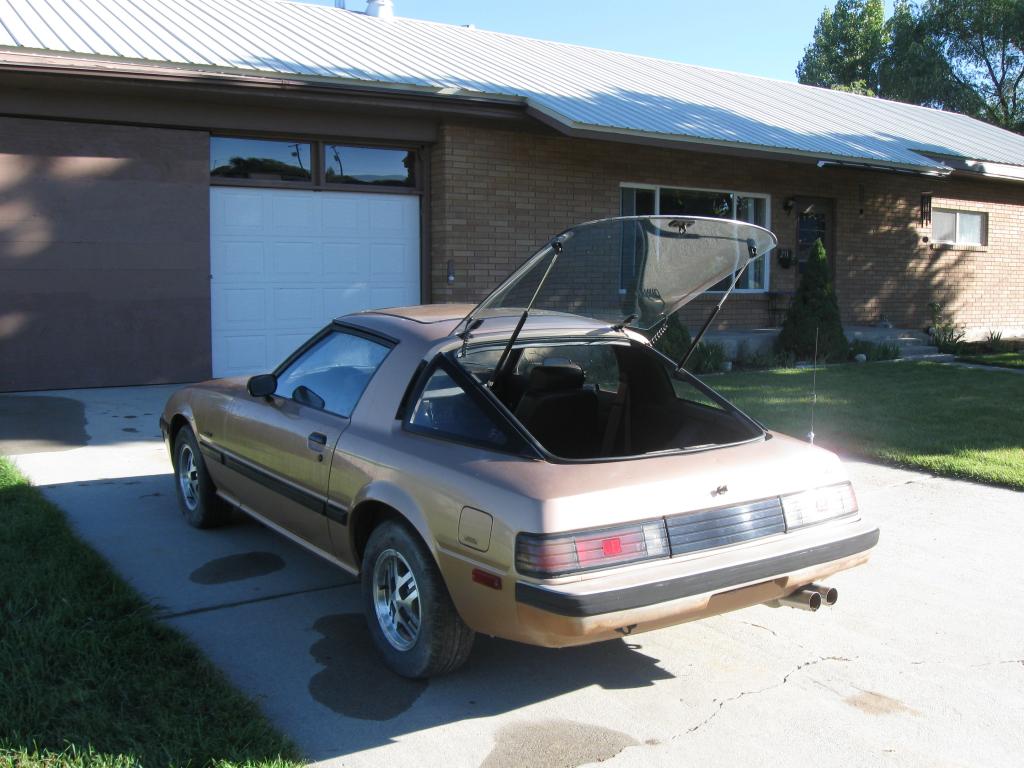
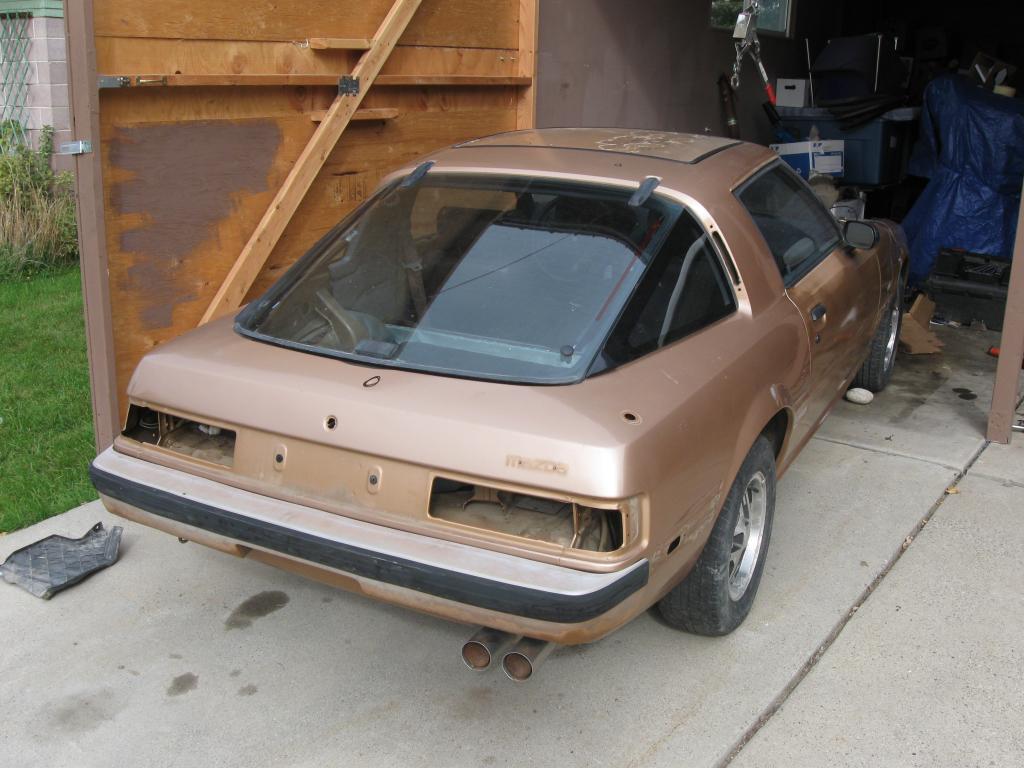
Just saved a good condition example, slight hail damage, never crashed, no rust.
The goal is 50 MPG highway with a 3.8L V6 and 5-speed manual from a '96-'02 Camaro, a 2.29:1-geared 7.5" axle from an S-10 pickup, Just ordered a new pair of 10.86" x 25 mm front rotors for a '90 Audi Coupe Quattro, they're 4 lug on 108 mm, and I'll show how I make it work.
The Konig Rewinds are discontinued, so I ordered some other 15x7s, but with a +40 offset, on a 4 x 10⁸.
The S-10 axle is getting shafts from a late-'80s Mustang, which are also 4 x 10⁸.
Lots of work ahead, but already ordered wheels, tires (195/55R15) , rotors, speakers, head unit, CD changer, et cetera.

 10-07-14, 04:06 PM
#2
Full Member
Thread Starter
Join Date: Oct 2014
Location: Smithfield, UT
Posts: 207
Likes: 0
Received 0 Likes
on
0 Posts
Just pulled an L36 from a '96 Camaro, brought it home. Going after the trans tomorrow morning. Also scored a 28-spline 2-series Auburn, for under $ 50. Then got the new rotors, now that I've had them in my hands I think I can make them work.
The gears arrived, I expected 39:17, got 48:21, so that's 2.2857:1, but should always be loading 2 teeth at a time, on both the ring and on the pinion.
The gears arrived, I expected 39:17, got 48:21, so that's 2.2857:1, but should always be loading 2 teeth at a time, on both the ring and on the pinion.
10-10-14, 06:39 AM
#7
Full Member
Thread Starter
Join Date: Oct 2014
Location: Smithfield, UT
Posts: 207
Likes: 0
Received 0 Likes
on
0 Posts
Parts I ordered are beginning to arrive. I'm not happy with the tires, but they'll do. I've decided on a 4WD S-10 rear axle housing, the 4-lug Mustang shafts, and redrill the '84 Trans Am rotors. Not the least possible unsprung weight, but the best parts for me.
Also gotta get a PCM and send it to Ryan Gick at gmtuners.com, he's been the best results at the best price on other projects.
Really not liking these exhaust manifolds, half hoping they won't fit the car.
Pics once most of the parts are here and the work gets underway.
Can't understand why it costs so much for shipping a simple airdam. It's not even 6' x 1' x 1', and not even 10 pounds with the box. I'm not paying $134 for shipping, I'll build my own instead.
My appreciation to those who've taken interest.
Trending Topics
10-10-14, 03:37 PM
#8
Full Member
Thread Starter
Join Date: Oct 2014
Location: Smithfield, UT
Posts: 207
Likes: 0
Received 0 Likes
on
0 Posts
Had to get a 4WD S-10 housing, then discovered the snag in the idea. Going to have to grind the Ford C-clips to fit the GM Auburn. Otherwise it works fine so far. Planning to press the studs out of one of the Ford axles tonight. Then tomorrow I should be able to show using the axle as a pattern for re-drilling the rotor. New wheels have not arrived yet.


 10-16-14, 05:47 PM
#11
Full Member
Thread Starter
Join Date: Oct 2014
Location: Smithfield, UT
Posts: 207
Likes: 0
Received 0 Likes
on
0 Posts
Just scored a better hood for $ 100, same year and color, even. They had 1 more, from a blue '85, but it needed more sanding. I planned to skip that salvage yard, but now I'm glad I stopped. I'm 51% sure they don't have a website, but they have 3 '79-'85s, and they're at about 20th north on Redwood Rd. ( SLC )
10-17-14, 07:49 AM
#12
Full Member
Thread Starter
Join Date: Oct 2014
Location: Smithfield, UT
Posts: 207
Likes: 0
Received 0 Likes
on
0 Posts
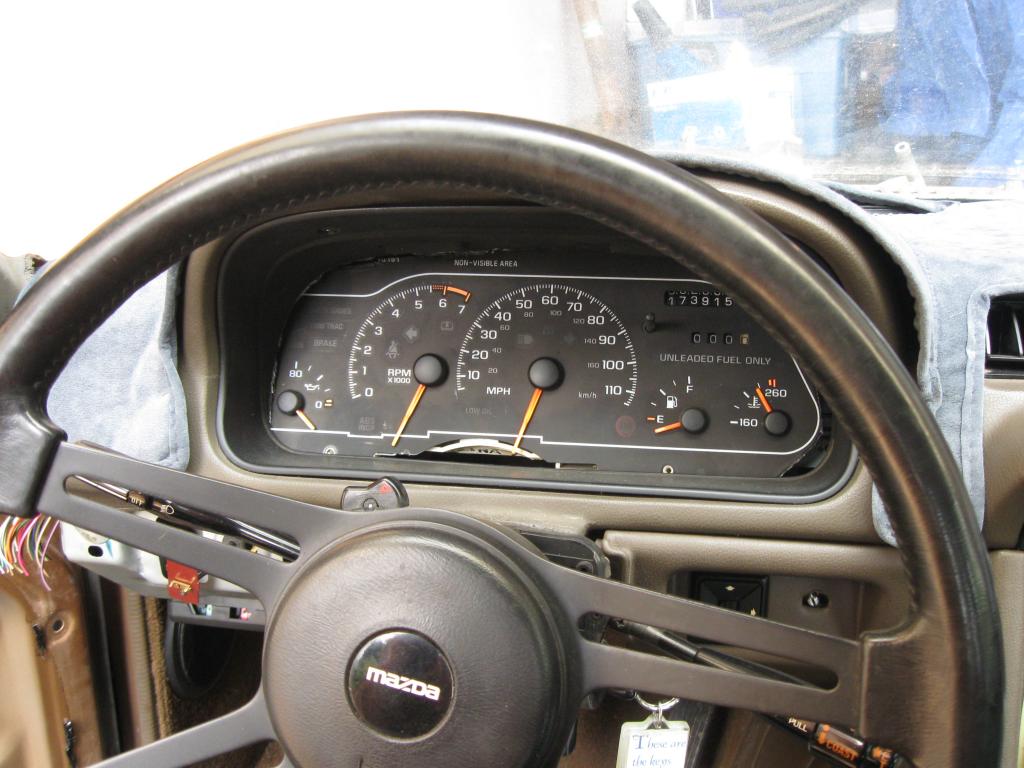
I'm trying to show progress, triumphs and failures in how I do things, like my own big brakes, my own Watt's link, and fitting this engine, then the show stopping result. So now 3 good "before" pics, then 2 progress pics, including my first test-fit of the '94 Camaro gauge cluster.
The car is about to be painted blue, and there's been a snafu with some bolts.


The car is about to be painted blue, and there's been a snafu with some bolts.


 10-20-14, 03:12 PM
#18
Full Member
Thread Starter
Join Date: Oct 2014
Location: Smithfield, UT
Posts: 207
Likes: 0
Received 0 Likes
on
0 Posts
Just got the FC front suspension / steering / brakes / crossmember / anti-roll bar, except for the springs and struts. Ordered new KYB struts. Now back to the cosmetics.
10-21-14, 09:03 AM
#19
Full Member
Thread Starter
Join Date: Oct 2014
Location: Smithfield, UT
Posts: 207
Likes: 0
Received 0 Likes
on
0 Posts
Each different thread has different ideas about how thick of a spacer between the rear of the FC K-member and the SA framerails. I saw this as adjustable anti-dive, but then I'm having difficulty wading through all the search results for that. I'm thinking It safest to start with a stack of spacers totaling 1" thickness, then test drive very cautiously, then go 3/4" thickness, then test again, until I've tested down to no spacer.
Likewise, I think I'll be moving the FC K-member back about 1" to keep the front wheels from being too far forward in the wheelwells.
Comments welcome.
Likewise, I think I'll be moving the FC K-member back about 1" to keep the front wheels from being too far forward in the wheelwells.
Comments welcome.
10-22-14, 08:11 AM
#20
Full Member
Thread Starter
Join Date: Oct 2014
Location: Smithfield, UT
Posts: 207
Likes: 0
Received 0 Likes
on
0 Posts
So a kind person in Washington, calling themself rk970, offered this:
The bottom of the FB frame rails are about 1.5" lower then the FC. When you put in the FC sub frame the front roll center will be "under ground" (on a FC at normal ride height the control arms go up hill toward the center about 5/8"). To low of a roll center equates to lots of weight transfer to the outside tire, dartness/twichy handling and bump steer problems. Now if you section the ends off of the FC subframe and plate it to fit between the frame rails in the proper location for ride height you can correct the roll center. You would also have to section the frame rail to clear the tie rods.
A roll center that is to low will give quick transitions turning left to right. Do not mistake quick transitions for good a "good" handling car.
So now I post this:
More work, but possibly more return on investment. Thank you very much for sharing that.
I guess I will check hood clearance for this V6 just bolting it to the existing pair of front bolts for the subframe, then get to sectioning as practical.
As to the rear suspension, I'm going for a 3-link, with the car's stock lower trailing arms, possibly shortened an inch or 2 so they don't attach behind the axle, that looks stupid, and a top center link, possibly the same length as the lowers, then move the Watt's link to be chassis-mounted, behind the bottom center of the axle. To attach it to the axle, I bought 2 feet of 1.5" x 1.5" x 0.1875" mild steel square tubing. I'll weld this to the leaf spring pads GM welded to the bottoms of the tubes, and have them extend far enough back to clear the diff. Speedway offers a kit for $ 70 that will help, http://www.speedwaymotors.com/Watts-...FWqCMgodciUAZw
and I got a pivot off a '98 Lincoln.
Yesterday I redrilled one rotor successfully, and made progress on the "new" axle
10-22-14, 08:49 AM
#21
i will have to look you up the next time im working in Cach Valley, i would like to see your progress.
i lived in Logan while in school years ago and by brother lives in Smithfield.
here is mine
Hunters Next Project
i lived in Logan while in school years ago and by brother lives in Smithfield.
here is mine
Hunters Next Project
10-22-14, 04:37 PM
#22
Full Member
Thread Starter
Join Date: Oct 2014
Location: Smithfield, UT
Posts: 207
Likes: 0
Received 0 Likes
on
0 Posts
i will have to look you up the next time im working in Cach Valley, i would like to see your progress.
i lived in Logan while in school years ago and by brother lives in Smithfield.
here is mine
Hunters Next Project
i lived in Logan while in school years ago and by brother lives in Smithfield.
here is mine
Hunters Next Project


 10-22-14, 07:25 PM
#24
Interesting project, but why the 'yota axle with the 5.0? With the short little tires these cars need, even the best available 'yota gear, 3.54:1, will be too much, even with an AOD or a T5-Z. The 'yota axle is great for the rotary guys, with gears up into the 5.xx:1 range. I'd sell it and do a 2.79:1 Ford 8" from a '74-'78 Mustang 2, But it's your car. Anyway, good build thread.
It will be just a burnout/ auto cross car
10-23-14, 07:44 AM
#25
Full Member
Thread Starter
Join Date: Oct 2014
Location: Smithfield, UT
Posts: 207
Likes: 0
Received 0 Likes
on
0 Posts
So yesterday I went after a 3.08:1-geared Explorer 8.8 for my 4-cylinder non-turbo S-10, and I already have the complete 8.8 assembly from an '01 Mustang GT for my Camaro. The 2 couldn't be much more different, the Explorer version has so much extra mass. Mass no car needs. Big Daddy Dwayne Gutridge pushed his Mustang into the 6s in the quarter mile with the Mustang housing. I got the Explorer version more for the payload than anything else, and that was by far the heaviest deadlift of my life. I solemnly declare it a sin of stupidity to put it in a car. Transfer its 31-spline guts into the Ranger 8.8 before you leave the yard with 50% more mass than is useful.