82 GSL Build
 08-06-17, 08:15 PM
#201
Full Member
Thread Starter

Did a little more testing today, I'm getting .9 volts AC maximum out of the gutted ignitor. I hear the GM ignitors need around 1 volt to trigger. It makes more voltage if I can spin it faster, by hand. So that says to me my solder joints are good, and it's making contact,. the next order of business, is sorting out the 4-pin modules. 
 08-07-17, 07:23 AM
#202
Rotary Enthusiast
Did a little more testing today, I'm getting .9 volts AC maximum out of the gutted ignitor. I hear the GM ignitors need around 1 volt to trigger. It makes more voltage if I can spin it faster, by hand. So that says to me my solder joints are good, and it's making contact,. the next order of business, is sorting out the 4-pin modules.
The VM will give you a sense of the voltage but not the accurate peaks and valleys. For that you need to use an oscilloscope with a decent sampling frequency.
The good news is that your peak reading of .9 is probably artificially low (the handheld VM won't overestimate, it will underestimate).
Interesting info here: https://forum.allaboutcircuits.com/t...ference.15417/
08-07-17, 09:04 PM
#203
Full Member
Thread Starter
I have a nice Klein, but I bet it's using RMS methodology. I totally forgot about the curve being non -sinusoidal and looking all funny on a scope. But that's good to know that the meter may be un-representing the output signal. That means stuff's working. I get all sorts of different resistance reading on one of the 4-pins, compared to the one that I haven't touched. That tells me one of them is the odd-duck out. I think I'll replace it, then try this again.
08-07-17, 11:13 PM
#204
Back when I was first testing my direct fire system, I noticed that while spinning the dizzy by hand, it took a little more speed to get two ignitors to fire compared to just one. Had me worried until I realized that even a very slow cranking starter with a weak battery still spins the dizzy way faster than I can turn it by hand. In other words it was nothing to worry about.
08-20-17, 05:22 PM
#205
Full Member
Thread Starter
Hey It's been a while! But I've been busy. I got the driver's side RX8 seat bolted in and wired up. I love the comfort of the seat. All I had to do was weld on the tabs from the rx7 seat 'inboard' so that the holes lined up.
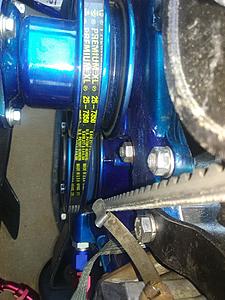
I went ahead and got a Pace-setter header, mostly because I needed a large single outlet, so i can fit a cat. The RB system with 2 outlets isn't going to work. I was surprised at the quality of the PS unit, good looking welds and decently thick metal. Only gripe is that it's a 2-inch outlet not 2.5 as spec'd. The collector is actually 2.5, but it necks down. I'll have the shop cut off the 2 in section and weld on a little extension to the 2.5 for the rest of the system.
I've got the new un-fried igniters in and am getting spark! The car is really close to actually running, but is a little off. I've been an idiot this entire time, this diagram is super helpful. Basically, the red and green are refrences to the red and green from the reluctors, which made everything make sense.
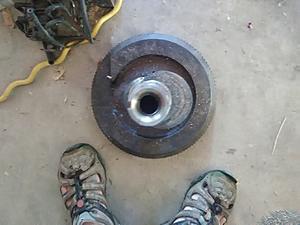
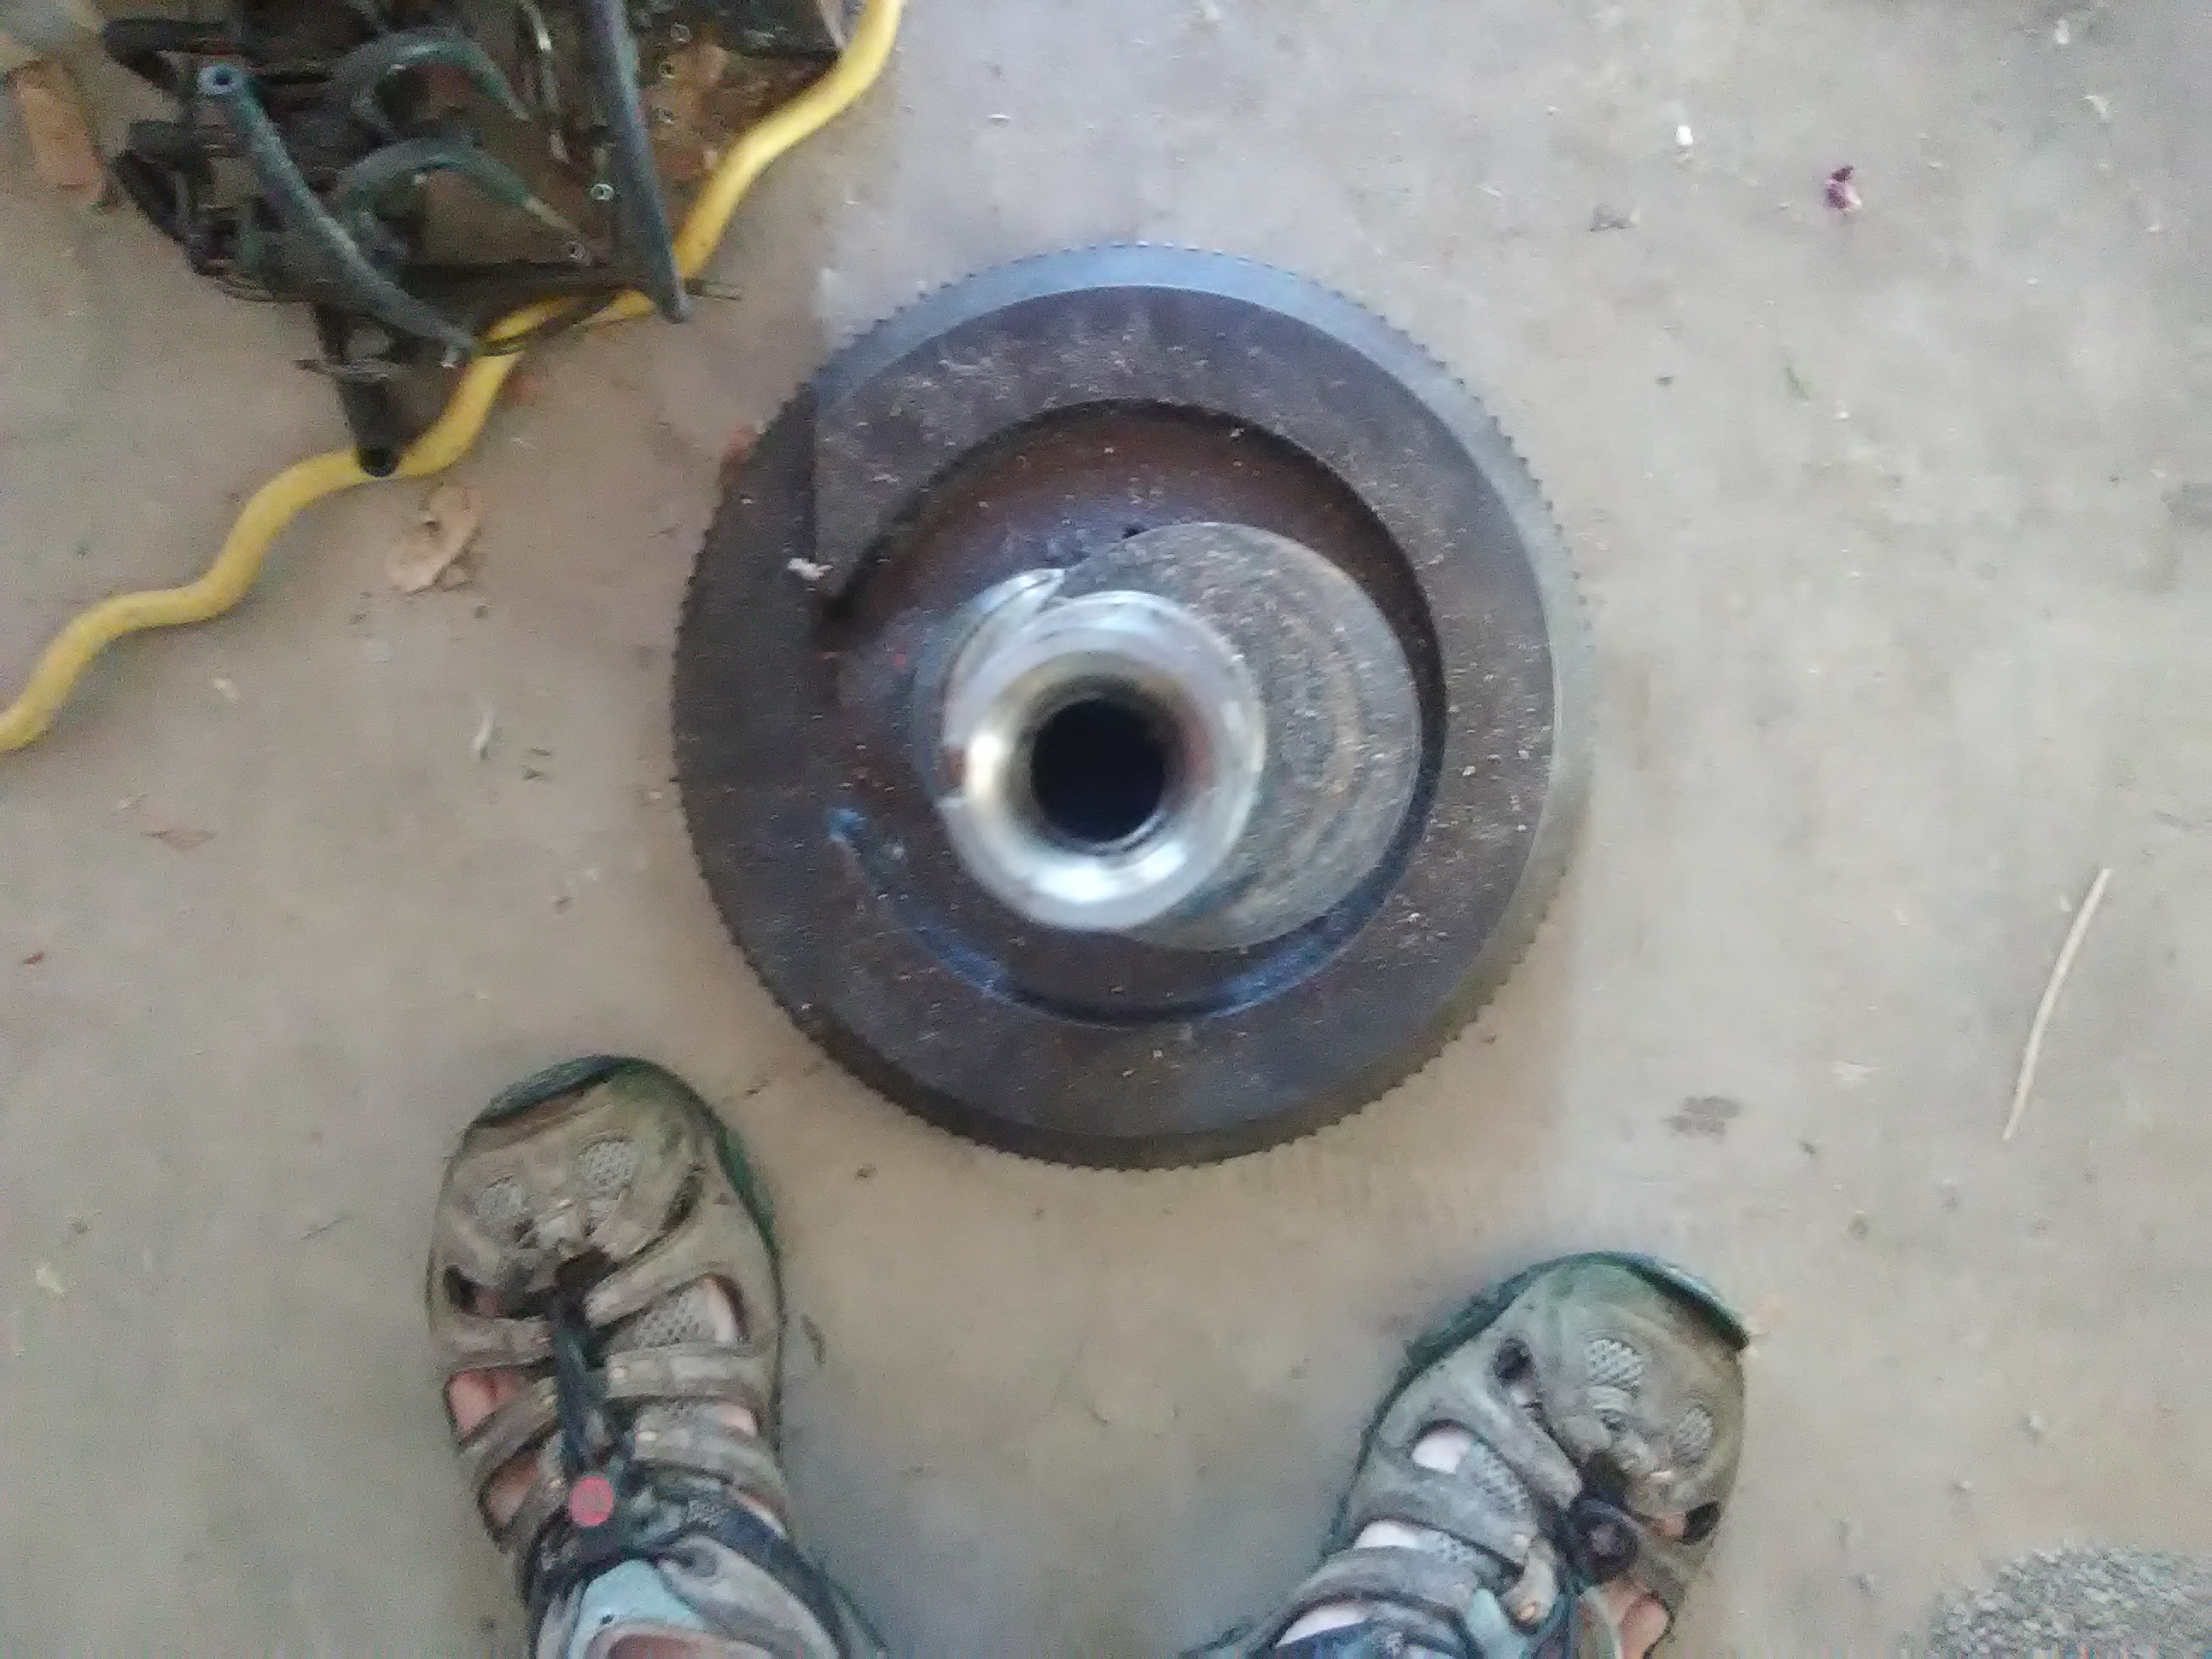
Oh yeah and looking at my spare crank stopped my confusion on timing.
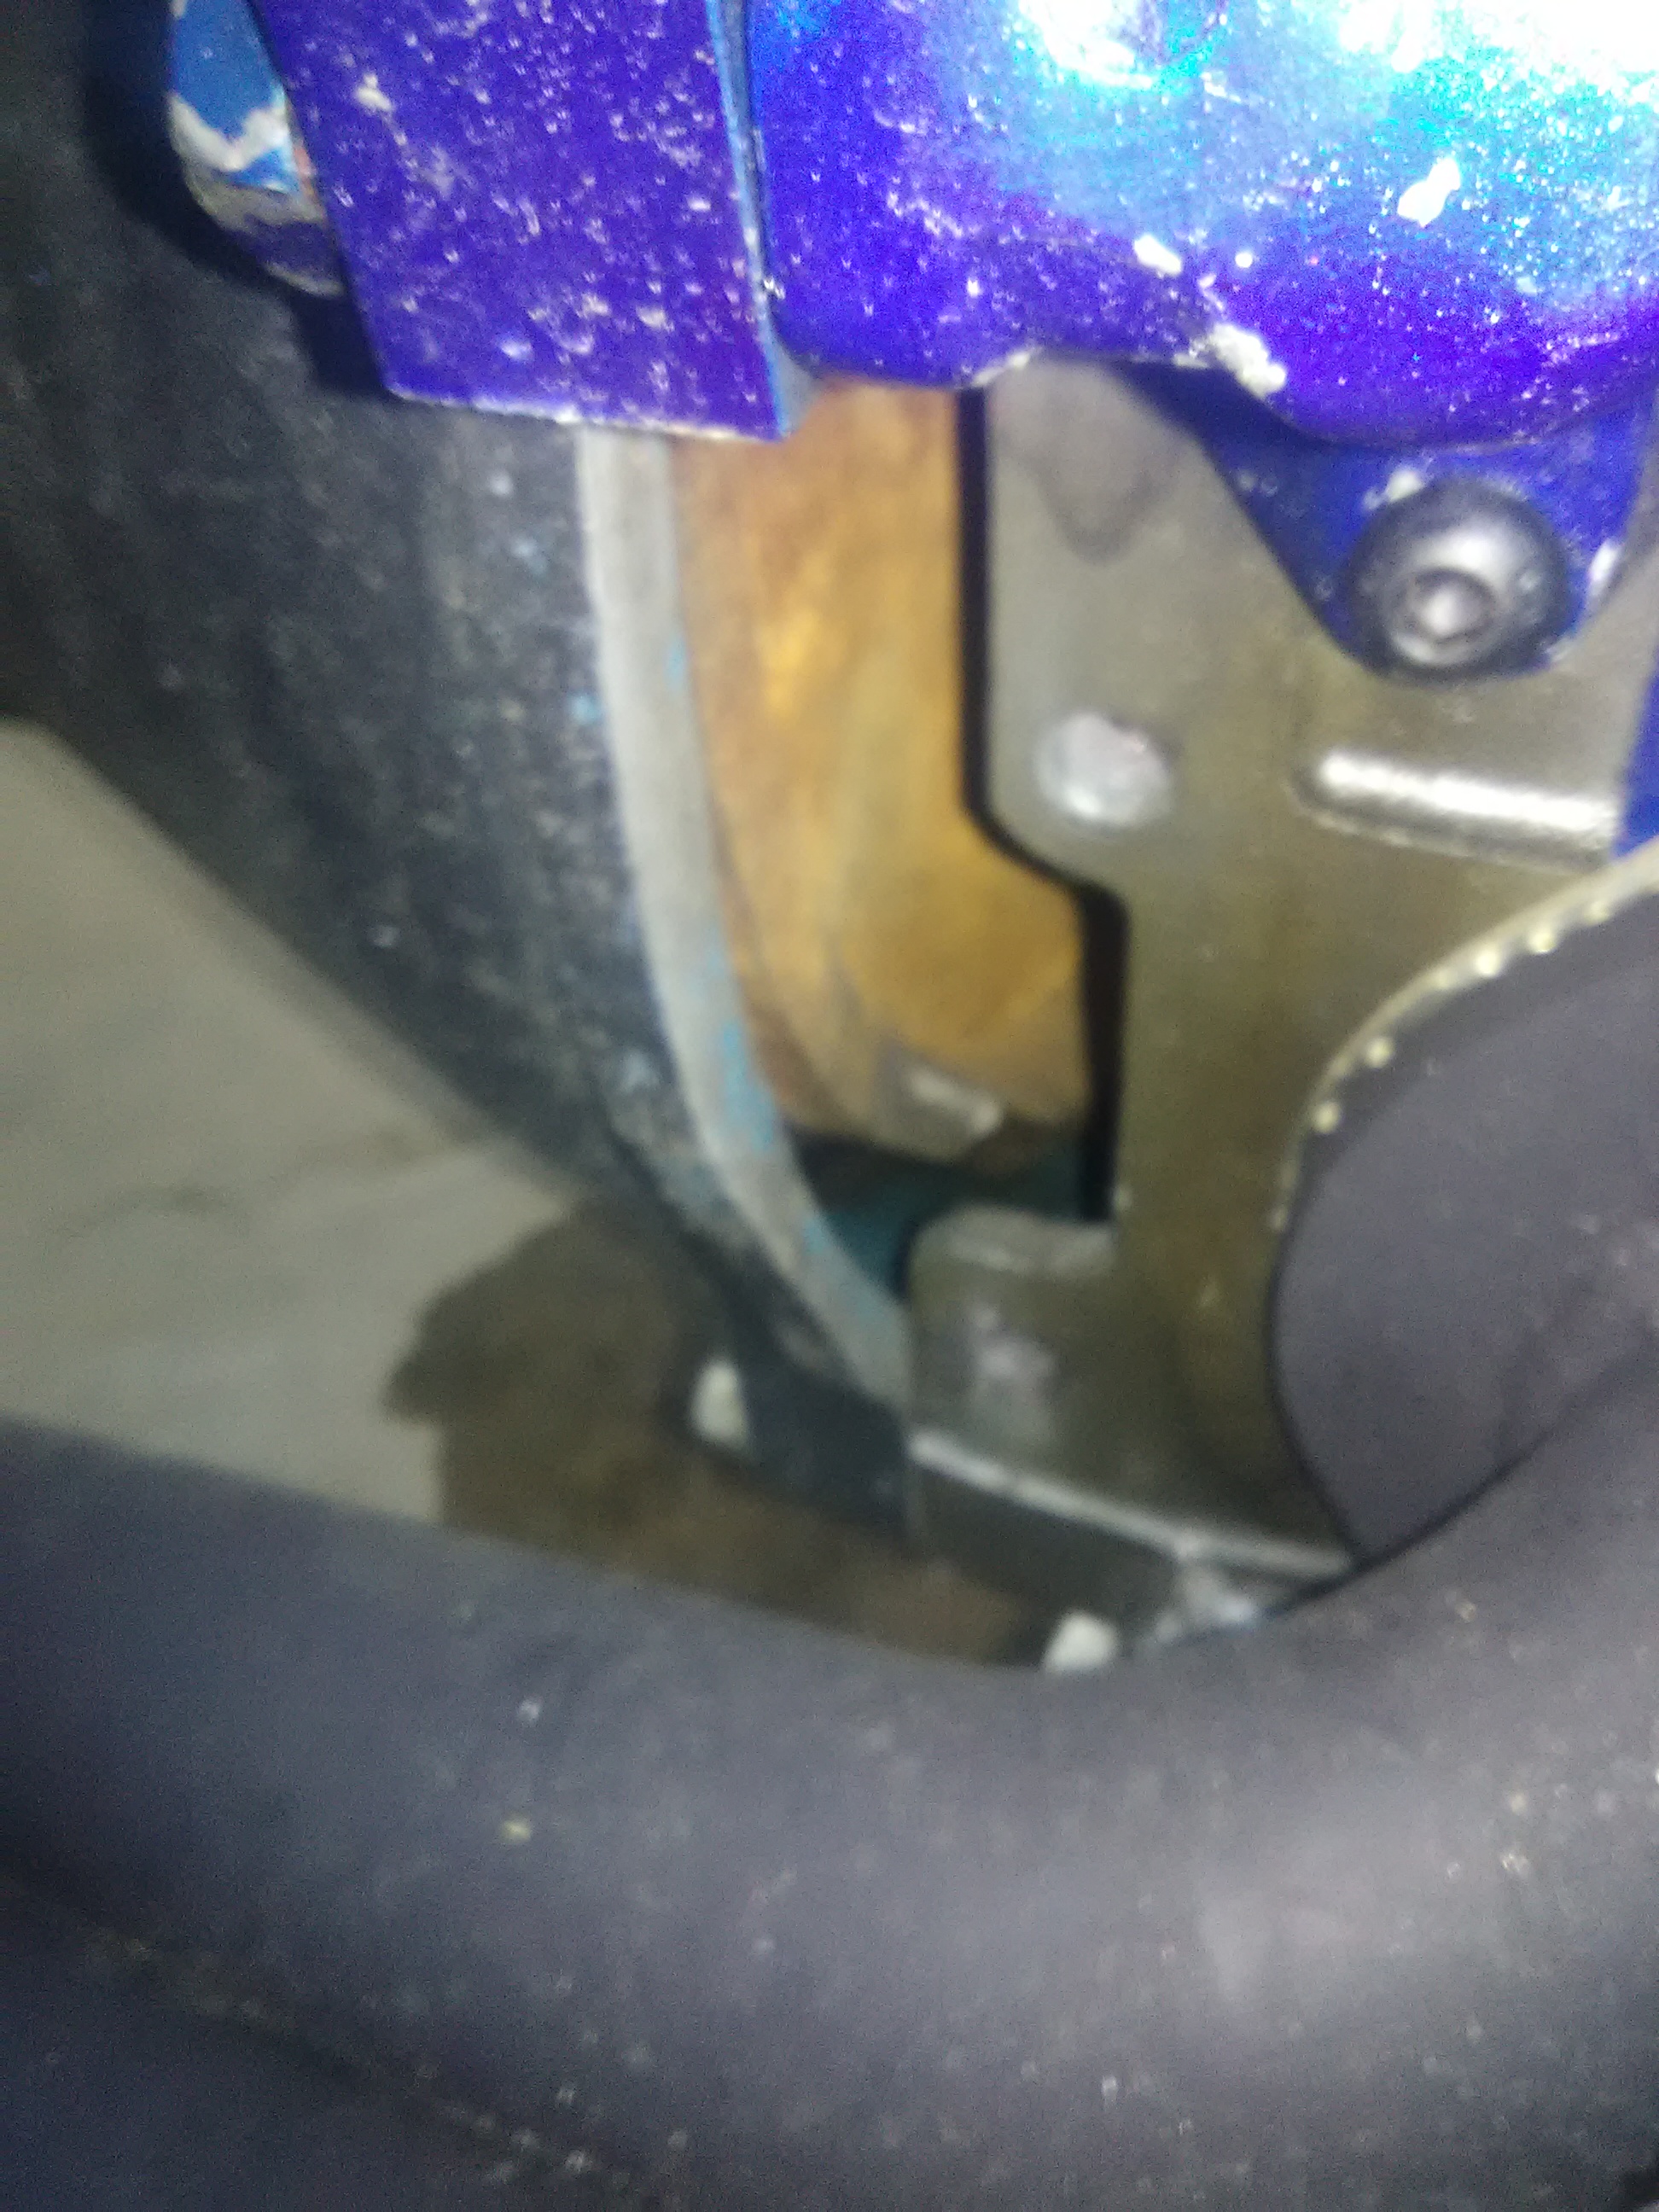
What's also bugging me is the fuel leak from what appears to be the throttle shaft?!?
It;s not easy to see, but the area is somewhat wet. With fuel. I checked the glass sights, they're dry and so are the bolts that let you access the fuel jets. the bowls don't drain if I let the car sit, like I suspect it would if the sights/bolts were leaking.
I assume then that it's the throttle shafts?
I'm in the process of opening the carb again, and putting all new seals on everything. Bleh.
I went ahead and got a Pace-setter header, mostly because I needed a large single outlet, so i can fit a cat. The RB system with 2 outlets isn't going to work. I was surprised at the quality of the PS unit, good looking welds and decently thick metal. Only gripe is that it's a 2-inch outlet not 2.5 as spec'd. The collector is actually 2.5, but it necks down. I'll have the shop cut off the 2 in section and weld on a little extension to the 2.5 for the rest of the system.
I've got the new un-fried igniters in and am getting spark! The car is really close to actually running, but is a little off. I've been an idiot this entire time, this diagram is super helpful. Basically, the red and green are refrences to the red and green from the reluctors, which made everything make sense.
Oh yeah and looking at my spare crank stopped my confusion on timing.
What's also bugging me is the fuel leak from what appears to be the throttle shaft?!?

It;s not easy to see, but the area is somewhat wet. With fuel. I checked the glass sights, they're dry and so are the bolts that let you access the fuel jets. the bowls don't drain if I let the car sit, like I suspect it would if the sights/bolts were leaking.
I assume then that it's the throttle shafts?
I'm in the process of opening the carb again, and putting all new seals on everything. Bleh.
08-20-17, 05:30 PM
#206
Full Member
Thread Starter
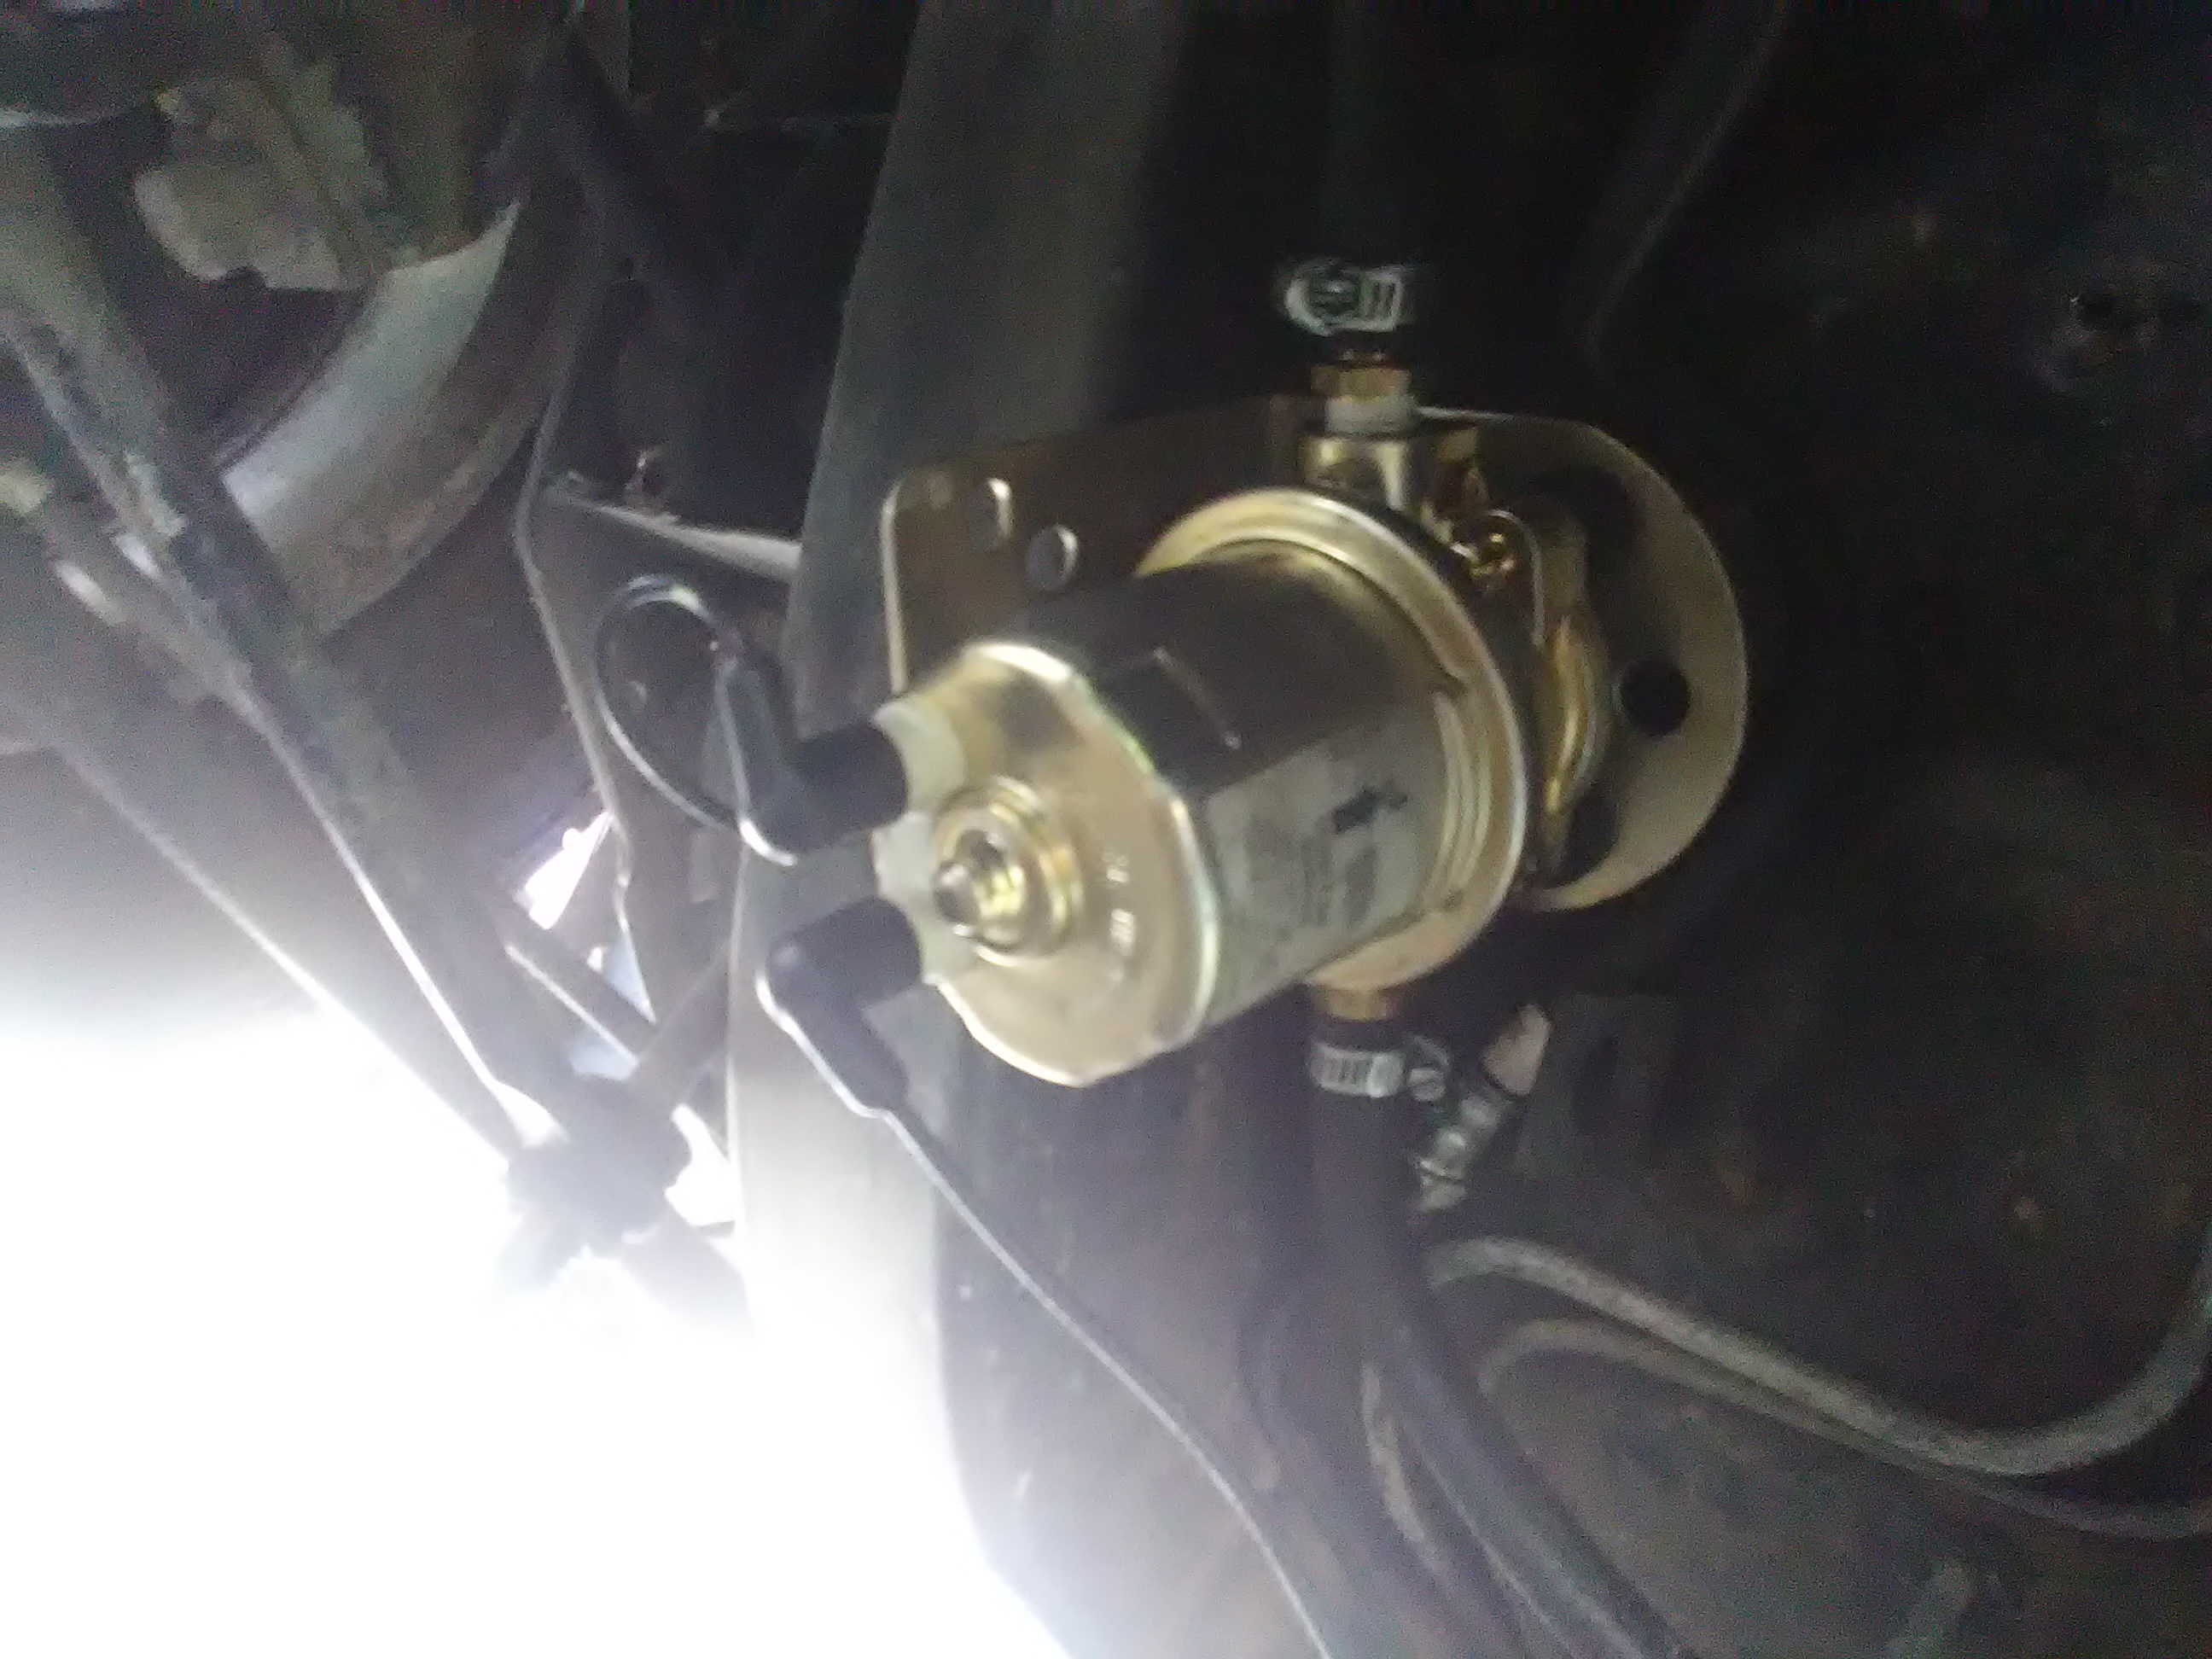
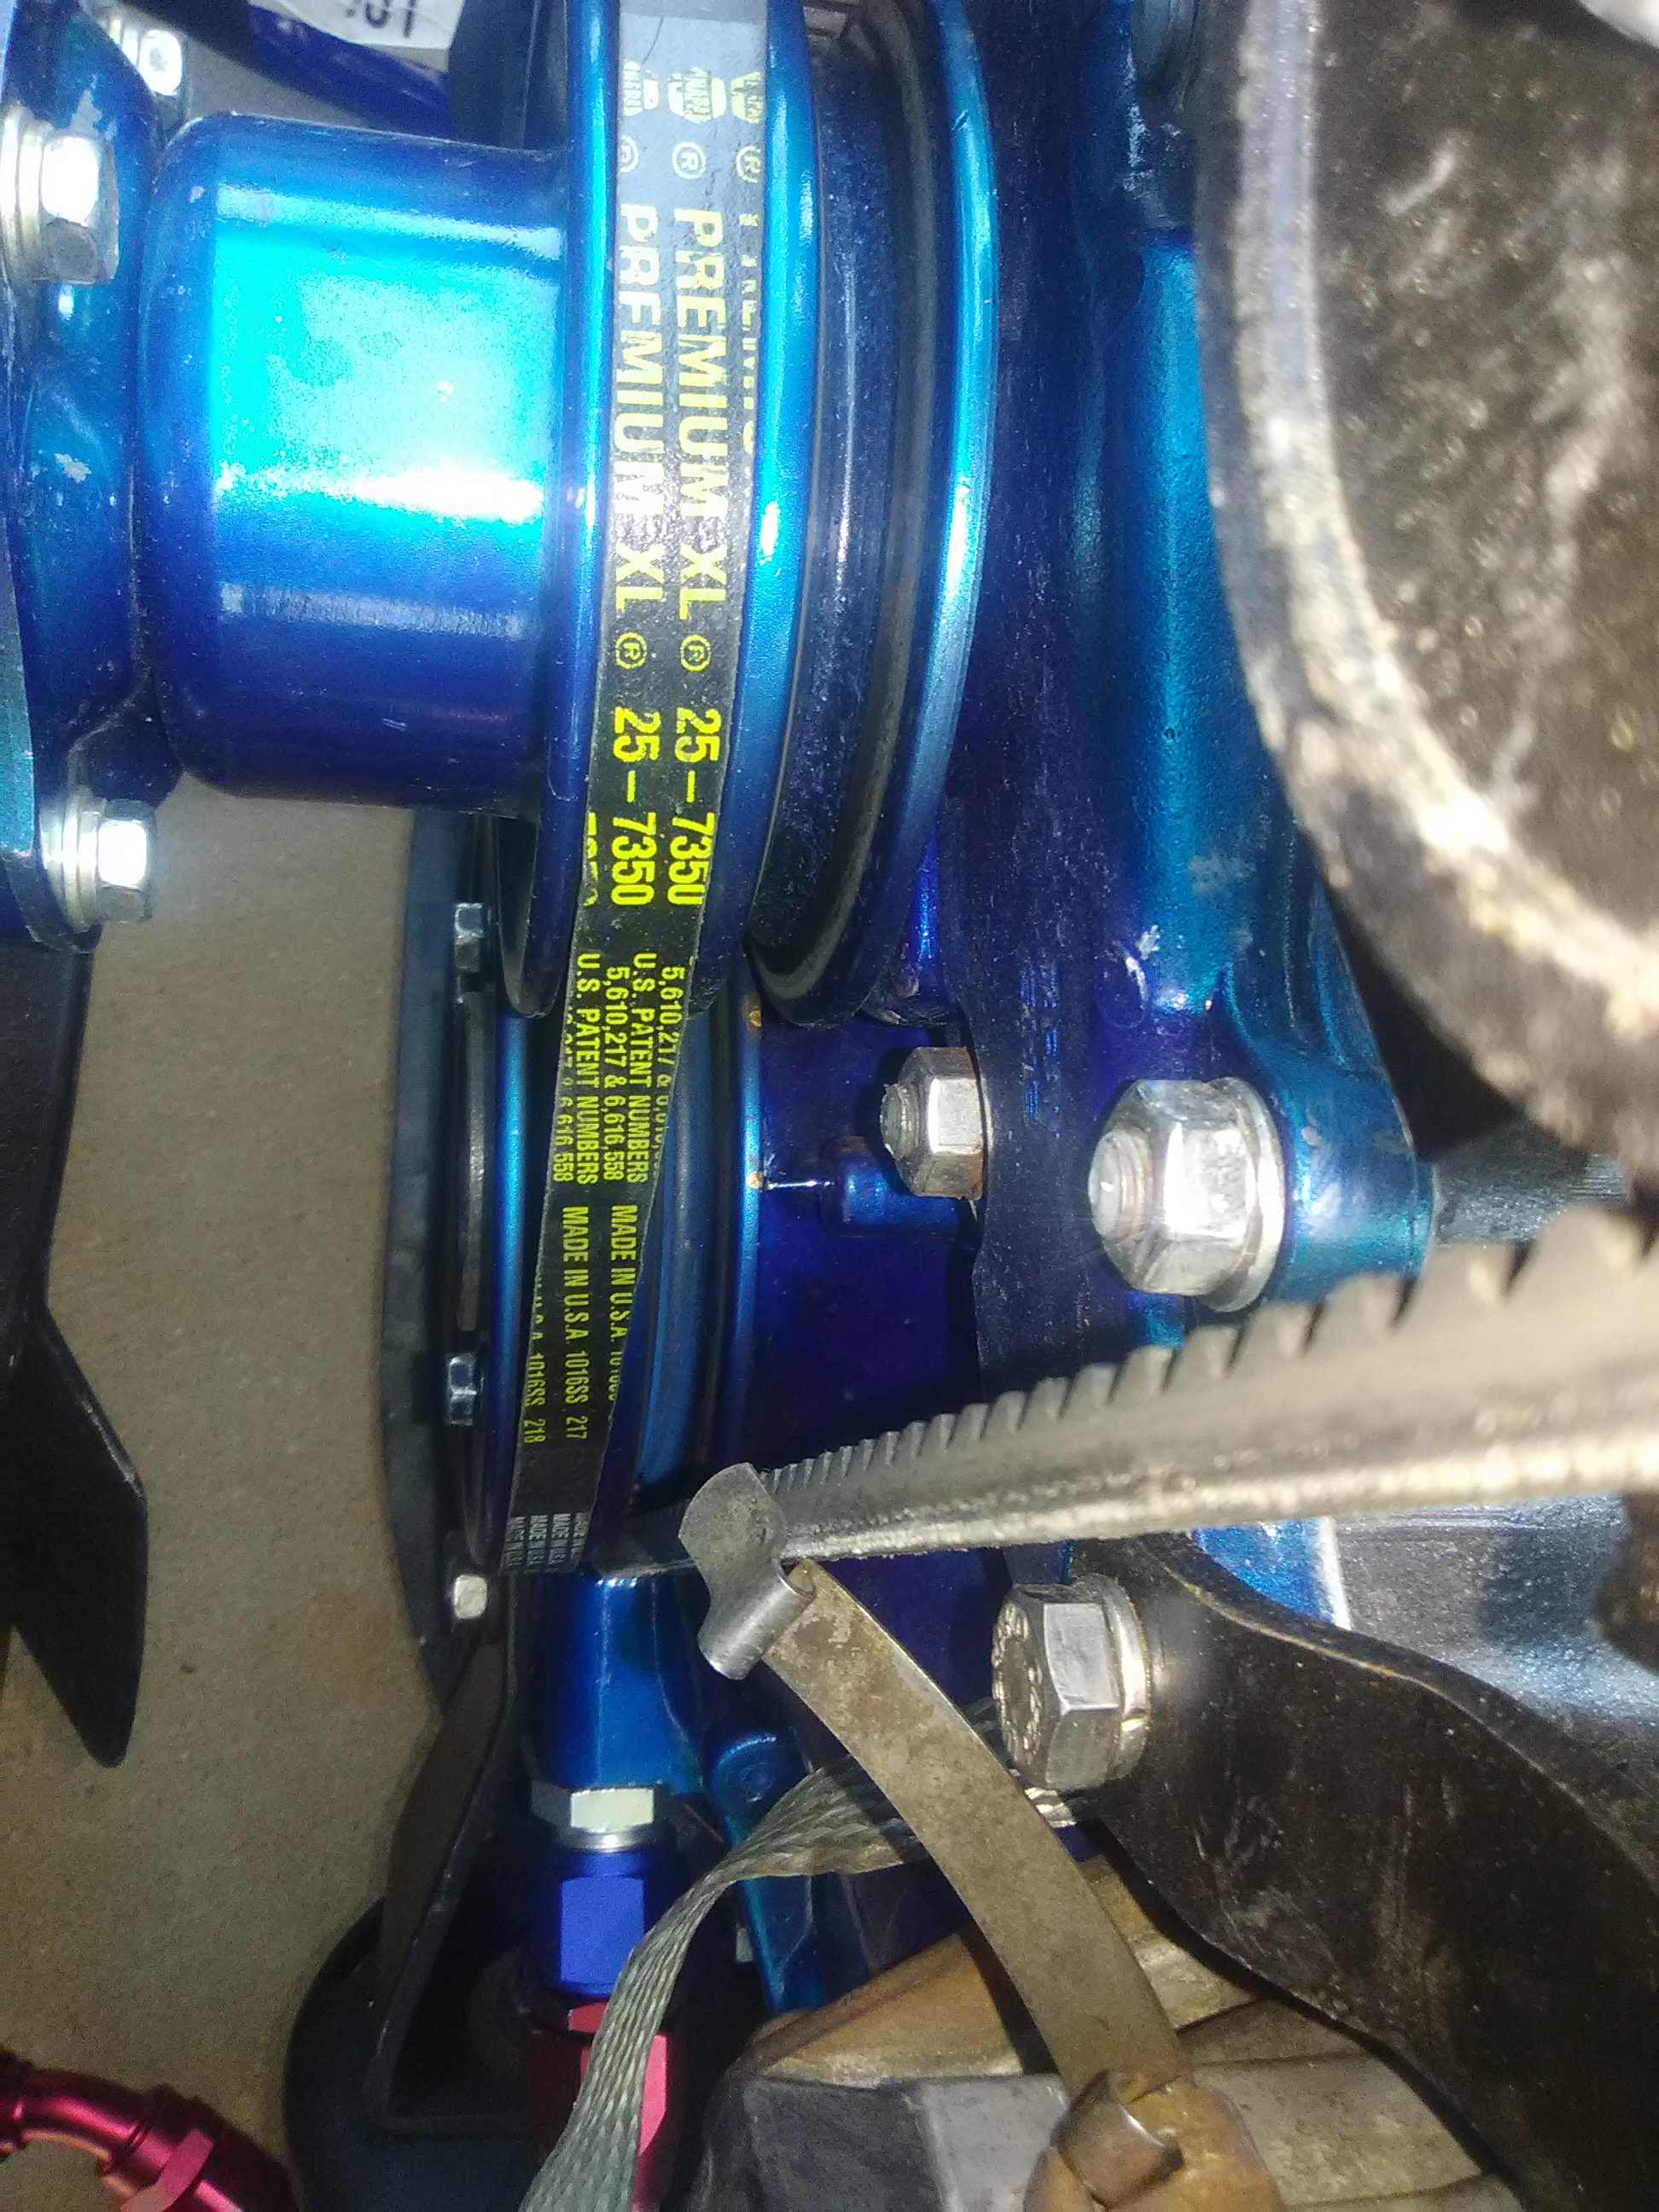
Oh yeah Also got this bad boy installed. Nice new Carter Carb fuel pump.

Not very hard to install. Only real gripe is the connectors to the leads on the pump need to be 'crimped' a bit to fit snugly, or they just sorta fall off! It's a bit buzzy, but much better sounding than the old one.
Once you remove the check ball thingy, the pump fits nicely on the frame rail.
Oh yeah I'm running a regulator down to 2 psig a the carb.
08-20-17, 06:20 PM
#208
Full Member
Thread Starter
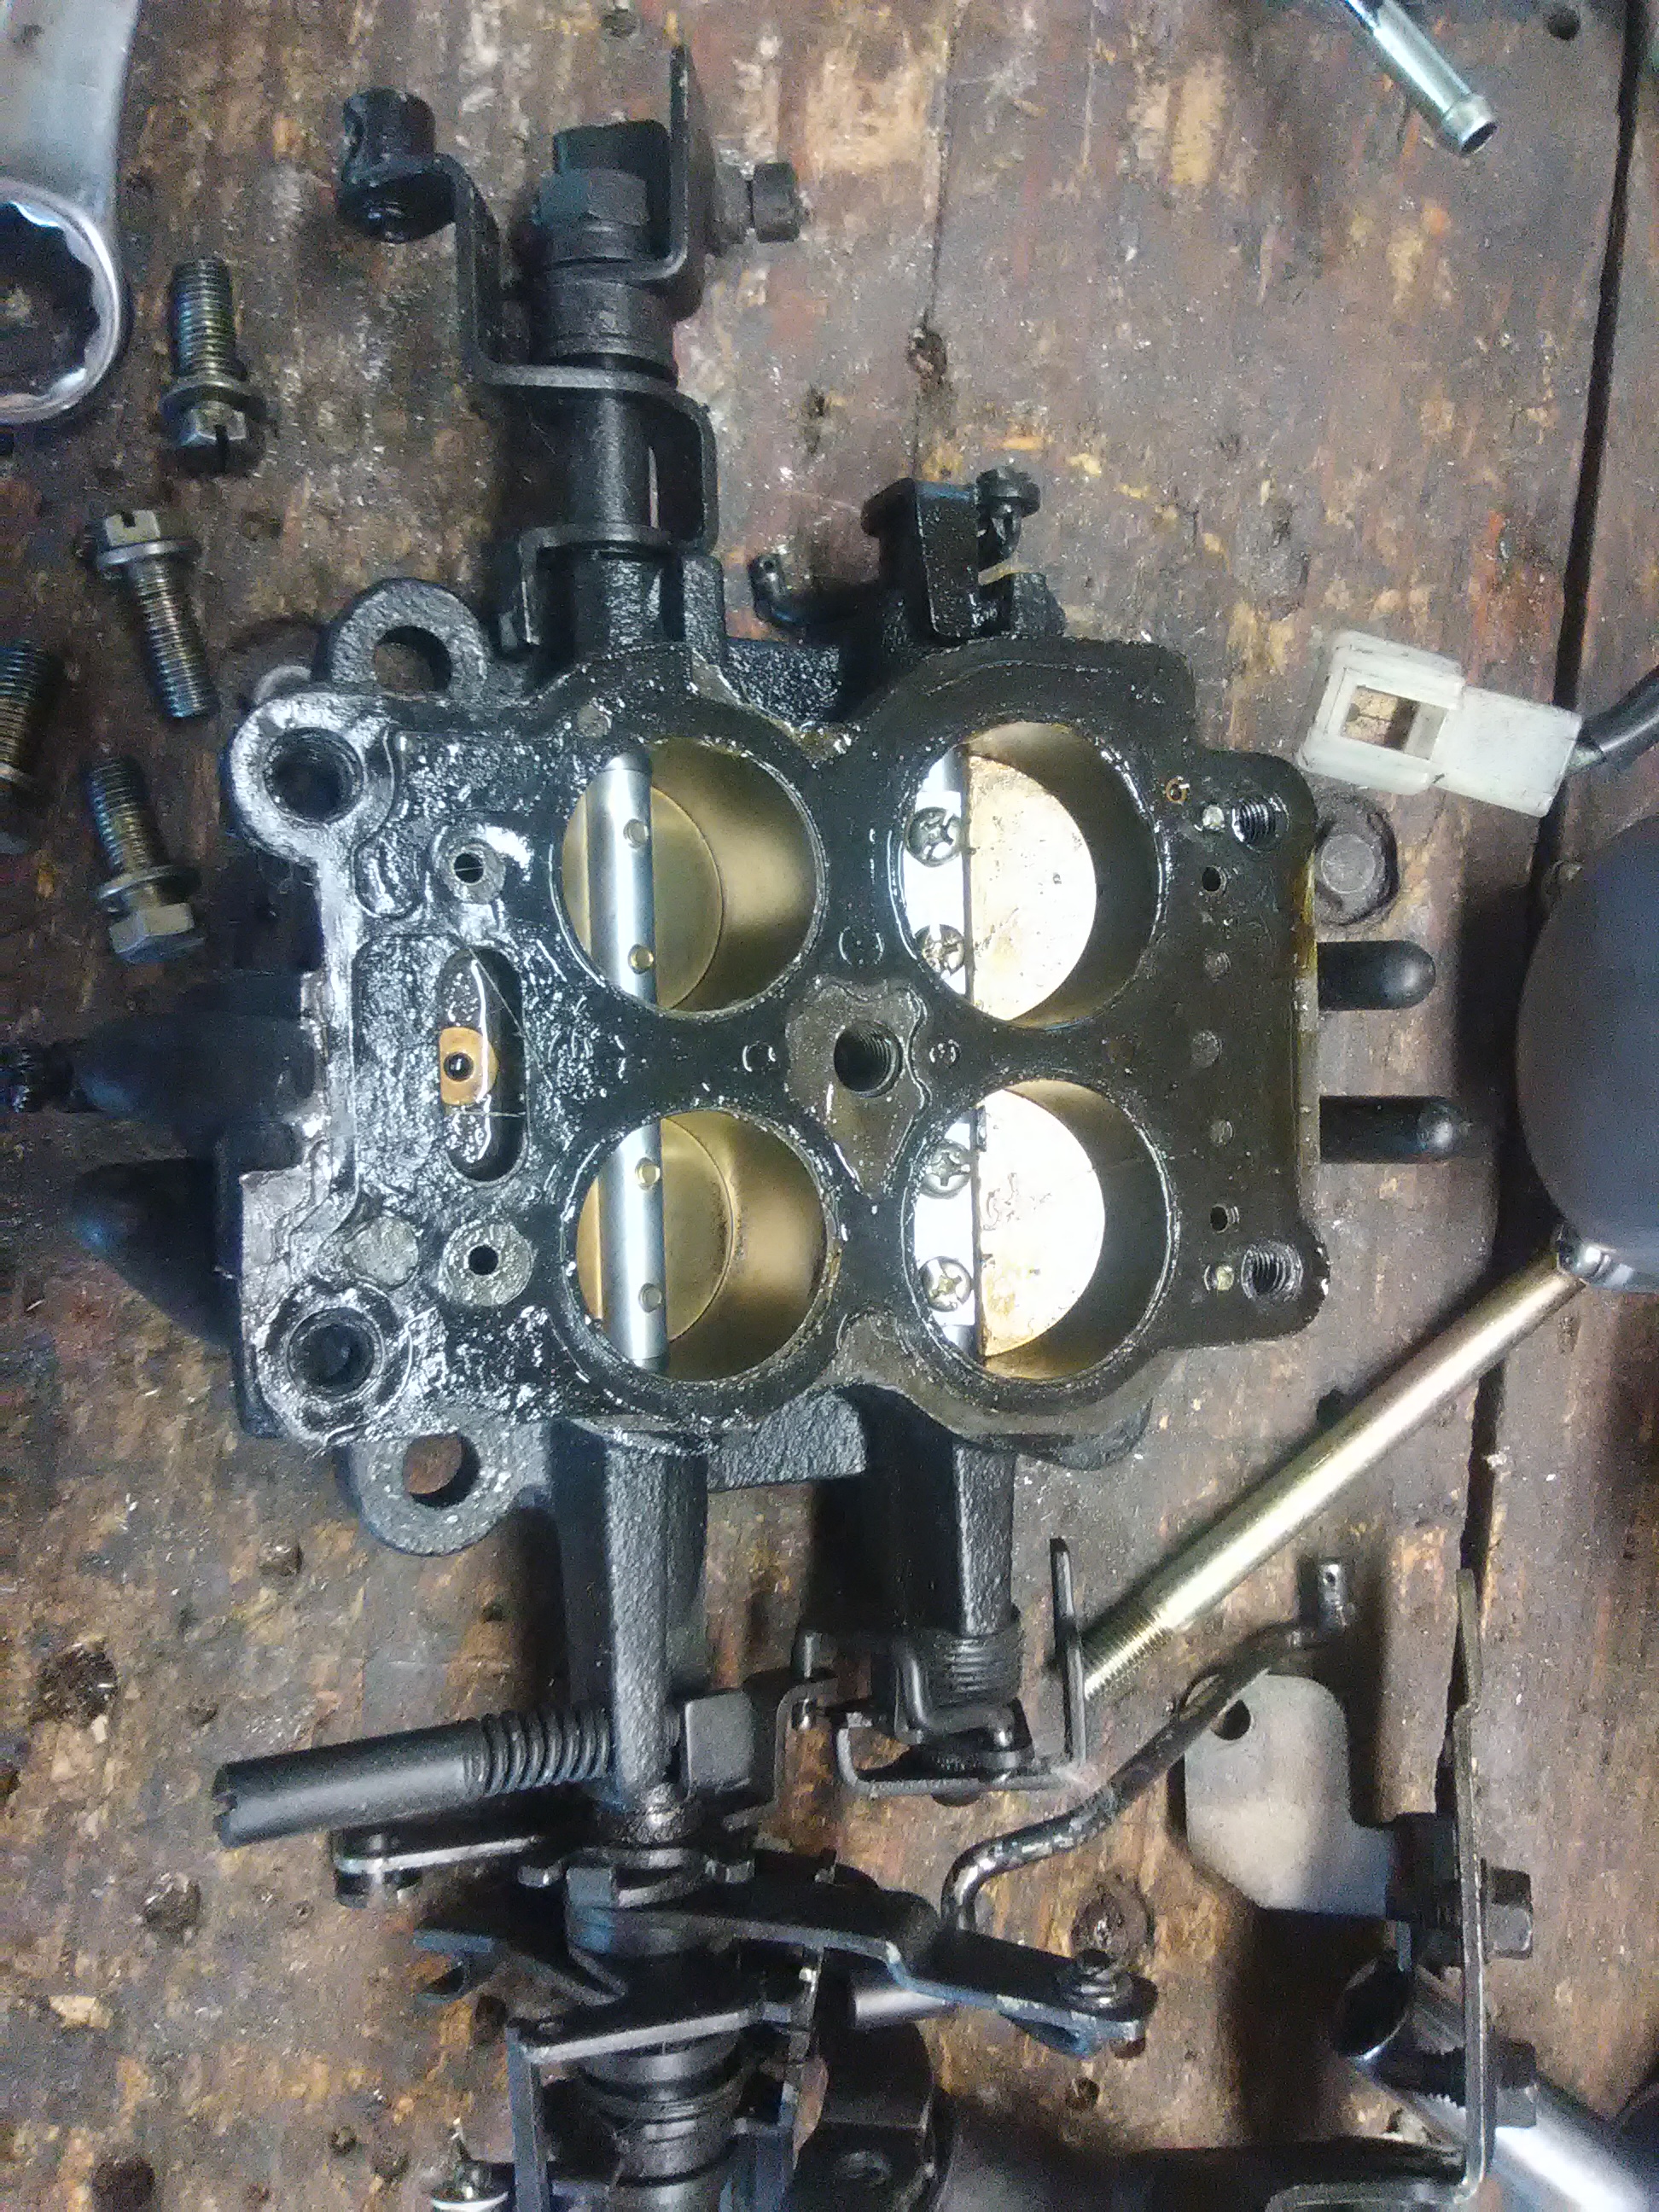
Hmm, not it's not the AP gasket. It's dry. The leak is from just about the throttle shaft area, and soaks the throttle shaft itself.
Here's some shots from inside the carb:
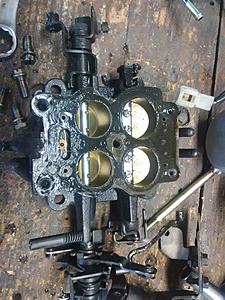
Totally soaked! So were the throttle plates. I'm not sure what's causing this. I checked my float bowl vent solenoid and it works correctly.
Here's some shots from inside the carb:
Totally soaked! So were the throttle plates. I'm not sure what's causing this. I checked my float bowl vent solenoid and it works correctly.
08-20-17, 06:43 PM
#209
Yeah, that's pretty wet. Sure you are not flooding?
The gaskets on my car tend to absorb the fuel out of the air fuel mix. They tend to look pretty wet, but those look pretty wet. Metal gaskets are the business, but I can't find any for my many gasket needs. I had metal gaskets on my edelbrock.
The gaskets on my car tend to absorb the fuel out of the air fuel mix. They tend to look pretty wet, but those look pretty wet. Metal gaskets are the business, but I can't find any for my many gasket needs. I had metal gaskets on my edelbrock.
08-20-17, 06:50 PM
#210
Full Member
Thread Starter
Yeah I'm pretty sure it IS flooding, but now I have no idea why! I've only got 2 psi! Maybe stuck needles? I have brand new needles and seats.
Does the little spring tab on the needle go over the tab on the floats?
If I do get the car to start, it'll rev to 1-2k, for about 20 seconds, then die. I'm so confused!
Does the little spring tab on the needle go over the tab on the floats?
If I do get the car to start, it'll rev to 1-2k, for about 20 seconds, then die. I'm so confused!
08-20-17, 07:45 PM
#211
Yeah I'm pretty sure it IS flooding, but now I have no idea why! I've only got 2 psi! Maybe stuck needles? I have brand new needles and seats.
Does the little spring tab on the needle go over the tab on the floats?
If I do get the car to start, it'll rev to 1-2k, for about 20 seconds, then die. I'm so confused!
Does the little spring tab on the needle go over the tab on the floats?
If I do get the car to start, it'll rev to 1-2k, for about 20 seconds, then die. I'm so confused!
Burnish the needles with some laping paper or something very fine. The rebuild kit's needles came from the factory with poor finishing. Just smooth it up a wee bit and you'll do fine.
That's probably why you're dying so soon after start up.
08-20-17, 09:11 PM
#212
Full Member
Thread Starter
I found some 2k grit from my painting days, and just very carefully rubbed the viton needles on that, rotating while I did it. Now they have a mildly 'distressed' surface. I assume that's what I'm going for?
08-20-17, 09:16 PM
#213
You just need them to slide smoothly in and out of the seats.
If I were in your shoes I'd take the needles and assemble the carb top with floats and all. Then I'd make sure under normal float operation the needles move properly.
Do you still have access to your original needles and seats? Re-using the old ones is the easiest solution.
If I were in your shoes I'd take the needles and assemble the carb top with floats and all. Then I'd make sure under normal float operation the needles move properly.
Do you still have access to your original needles and seats? Re-using the old ones is the easiest solution.
08-21-17, 05:20 PM
#214
Full Member
Thread Starter
Ah I see now, when I move the needle inside of the seat assembly it seems to 'catch' a bit. That makes sense why it wouldn't work right. 2000 grit to the rescue!
I do have a spare set of needles and seats in the horribly modded Nikki I have on a desk. I'll see if they're salvageable. The ones in the rebuilt carb were pretty mangled by the PO.
Either way I think I'll try bench testing the floats and needles in a large tub of water to make sure everything works right, before sticking the airhorn back on.
08-22-17, 08:53 PM
#215
Full Member
Thread Starter
OK, after much burnishing iside of the seats, needles, inside of the needles, ect. I can now have floats that move correctly! Roughly 2 psi (I'm a good fuel pump yay!) opens them and just a little nudge from my fingers closes them. But now one of the bowls if overfilling! I checked the levels of the floats (After mis-assembling the carb linkage 3 times (damn I'm tired). I get 16-17 mm upside down(Including gasket) and 51-53 mm drop. Seems to be in specs no?
I think the little tabs that catch the needles may bit a bit off/bent. I tweeked one just slightly! Otherwise there was not enough room for the needle to move up and down in the seat. Other needle and seat assembly worked fine. I may try bending it a tiny bit backin the opposite direction to fix the flooded bowl?
I think the little tabs that catch the needles may bit a bit off/bent. I tweeked one just slightly! Otherwise there was not enough room for the needle to move up and down in the seat. Other needle and seat assembly worked fine. I may try bending it a tiny bit backin the opposite direction to fix the flooded bowl?
08-22-17, 09:04 PM
#216
All I can say is get ready for the fight of your life. If the floats are nackered they are the devil to get straitened back out.
Not impossible but just tedious. Set it try it... rinse repeat.
I don't get it either. I've set dozens of float heights on motorcycle carbs; and they never gave me as much trouble as these RX7 floats. Maybe its just because of the dozen screws you have to loosen to get the top of the carb off.
BUT before you go bending stuff. Try tapping on the top of the carb with the blunt end of a screw driver. The needles might just be getting stuck still. Just a few rapps will do it. Once you get you car operational 100% they don't really ever flood.
08-23-17, 07:30 PM
#217
Full Member
Thread Starter
I got the floats! Amazingly, on the second try! Now the bowl's half full, and the flooding stopped.
OK next step is settign the timing, it's tryign to run, but isn't. When I turned the dizzy all the way Counter-clockwise, it sorta-ran. I think I have the timing 20 degrees or so bit off. When I line up the dimple on the gear with the line on the diizzy shaft, then set it in, the whole thing moves a bit counter clockwise. Is it supposed to do that?
A quick pic of the proper position of the reluctor in TDC #1 firing would be really helpful.
08-23-17, 08:06 PM
#218
ancient wizard...

Man,i thought we did all this and you had it running awhile back..? When lined up properly,dist will drop right in and rotor should be oriented same as pic.
Here you go...
Here you go...
Last edited by GSLSEforme; 08-23-17 at 08:24 PM.
08-25-17, 09:46 PM
#219
Full Member
Thread Starter
Woo, got some stuff figured out. Basically the whole problem occurred with the timing due to me following 2 different diagrams regarding the wiring of the bypass inside of the j109. I flopped the hot and negative and now my timing is spot on! The timing light is saying I'm about 3 degrees before TDC. Yes! Finally.
So I can get it to run now, but briefly. I'm not flooding, the float might be a tiny bit low actually, but I'm not running the bowls dry in 20 seconds right? I'm going to pop the airhorn off and double check the float actuation, before messing with anything else.
I wish I had more time to mess with the car but 30 minutes a day is it. I'm working 12 and 14 hours shifts right now so, yeah it's not fun.
08-27-17, 06:22 PM
#220
Full Member
Thread Starter
I think work is trying to kill me...20 hours this weekend.
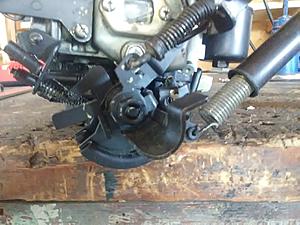
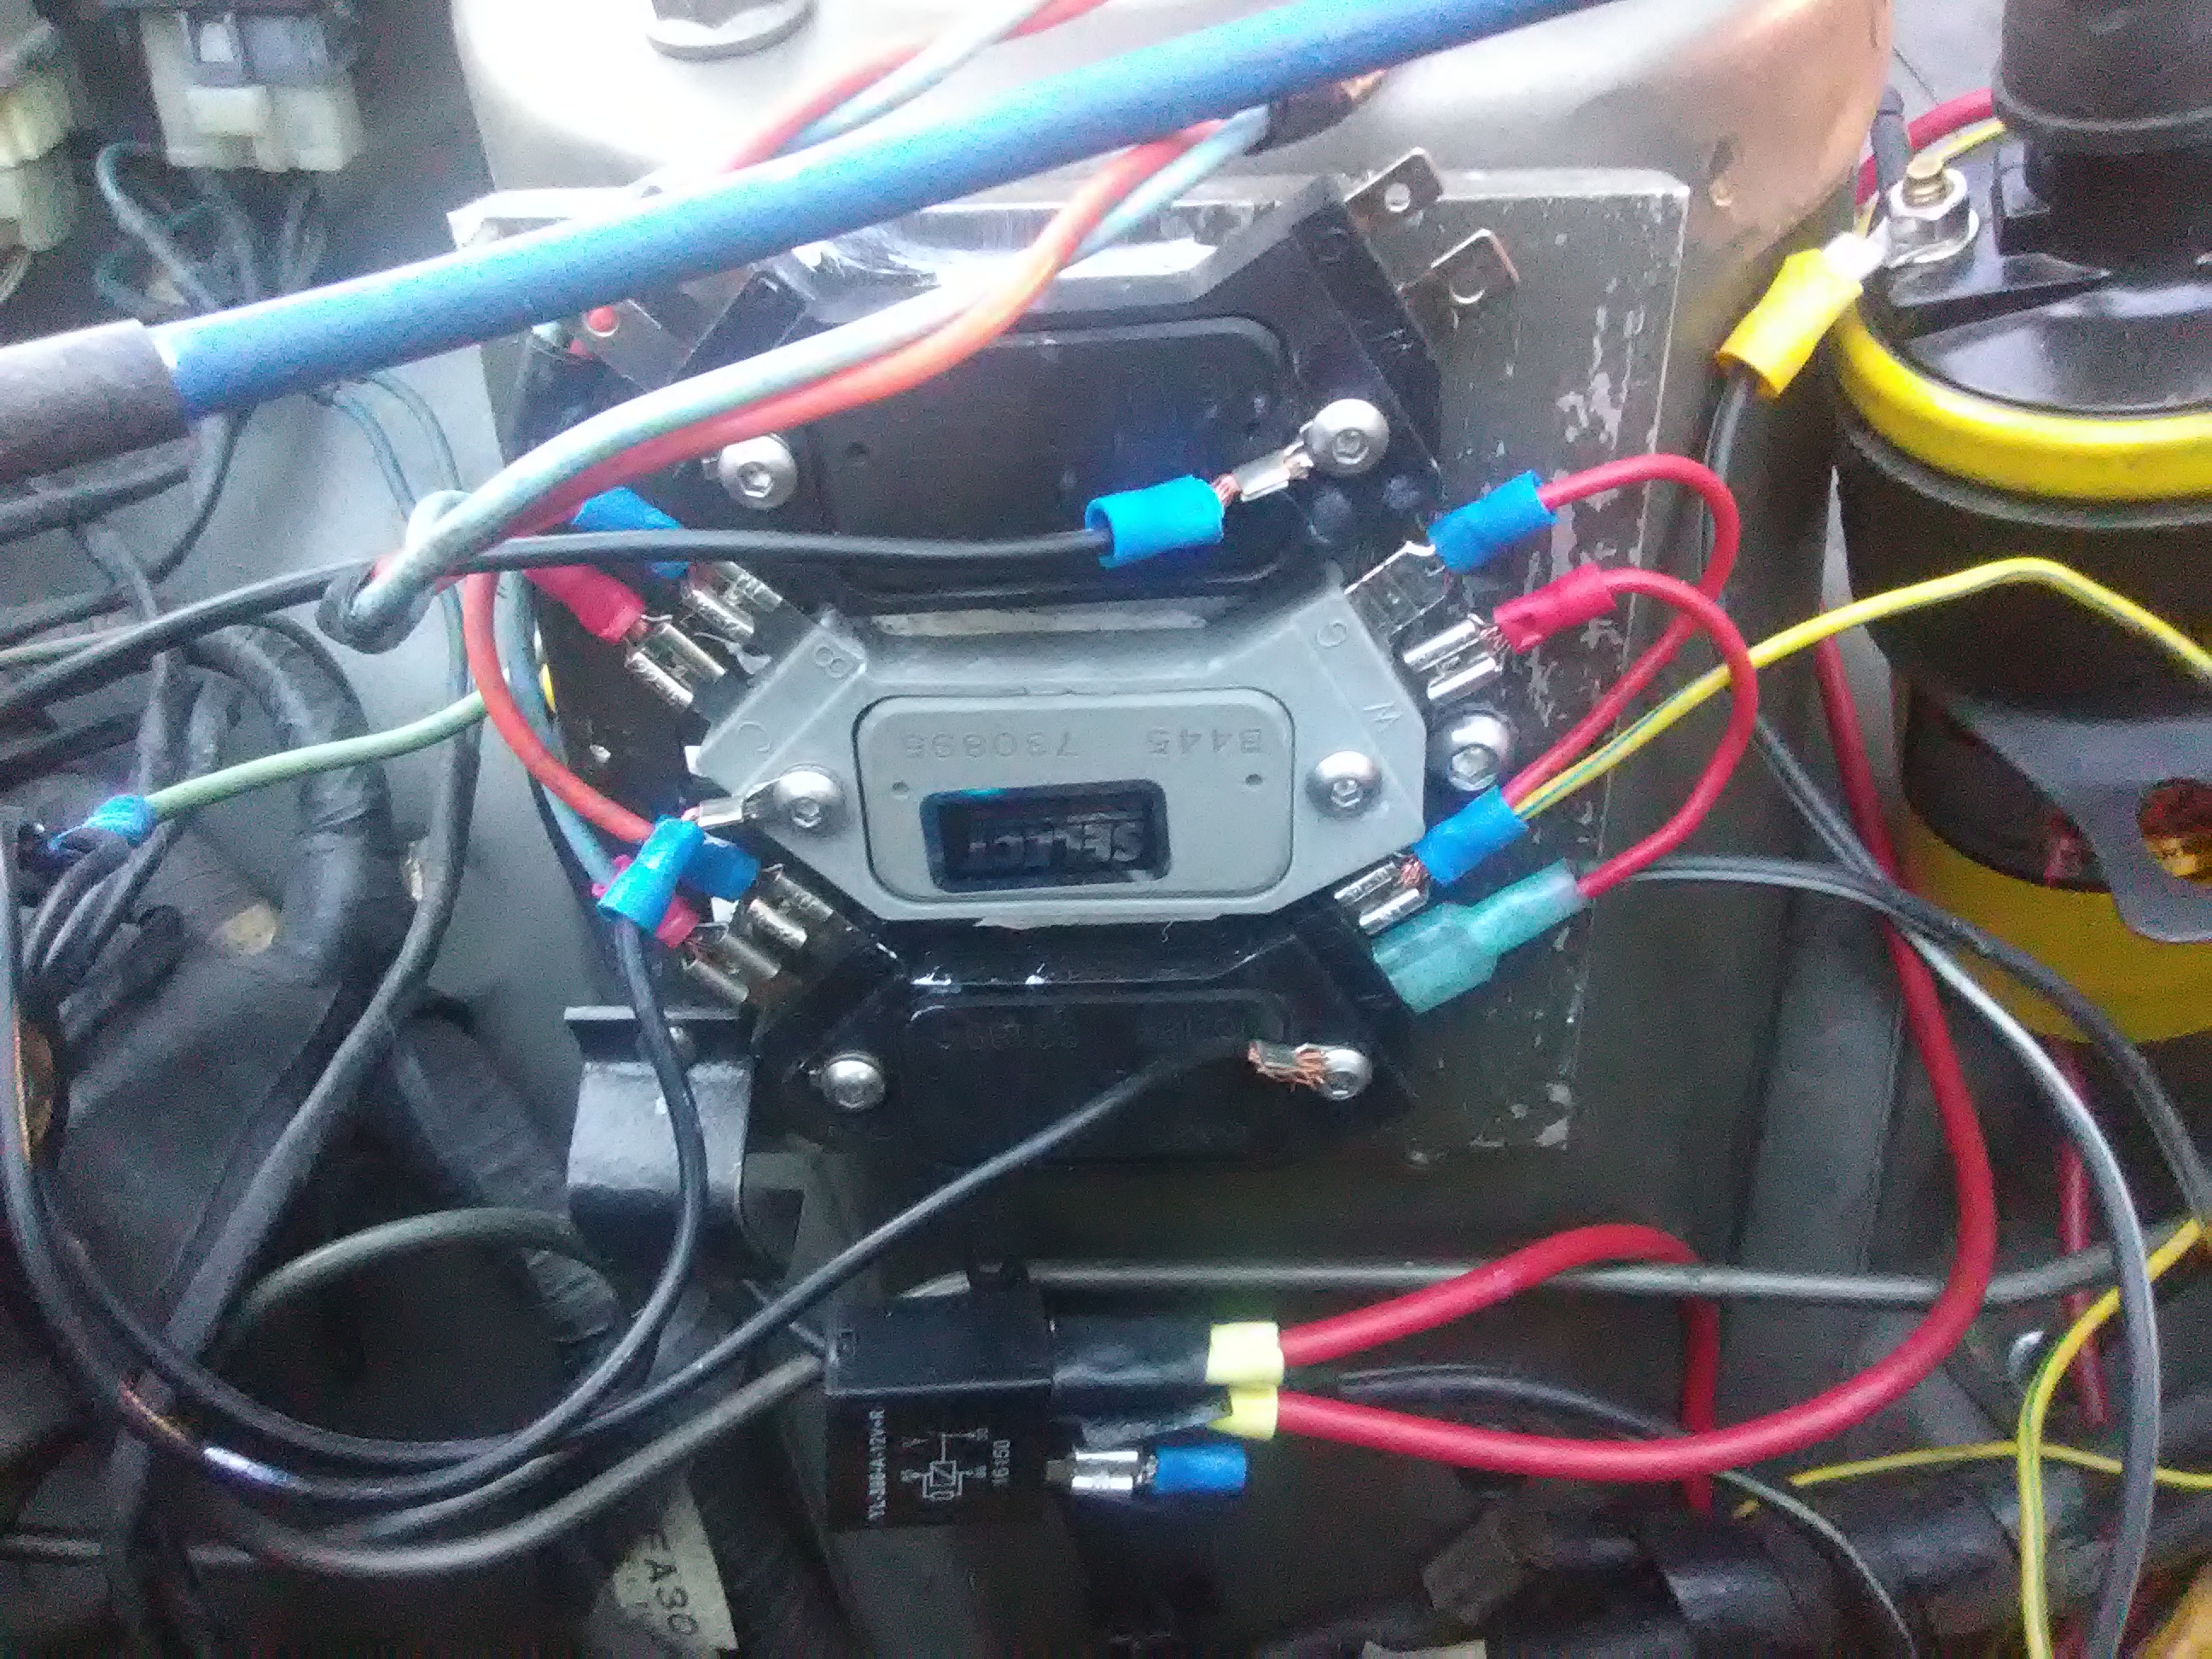
Anyway, the car WILL NOT start. I'm totally lost now. I've gone through all my wiring, I'm sure the red wire from the reluctor is the one that hits the G terminal on the GM HEI 4-pin. The green is on the W terminal. The B is going to my coil positive, and the C to the negative. I've got spark, checked both plugs by jumper cables to the body, both sparked well enough. Lots of red-blue sparks between the electrodes. Ohmed out the coils at 1.4 primary and 9.4 secondary, which is spot on to the Accel Super Stock specs. Cut back spark plug boots on coil side to make sure I'm getting full contact with coil lead.
Plugged all vacuum ports on carb, except float bowl vent. Solder filled the .40 in the airhorn too. Disconnected the vacuum advance on the dizzy.
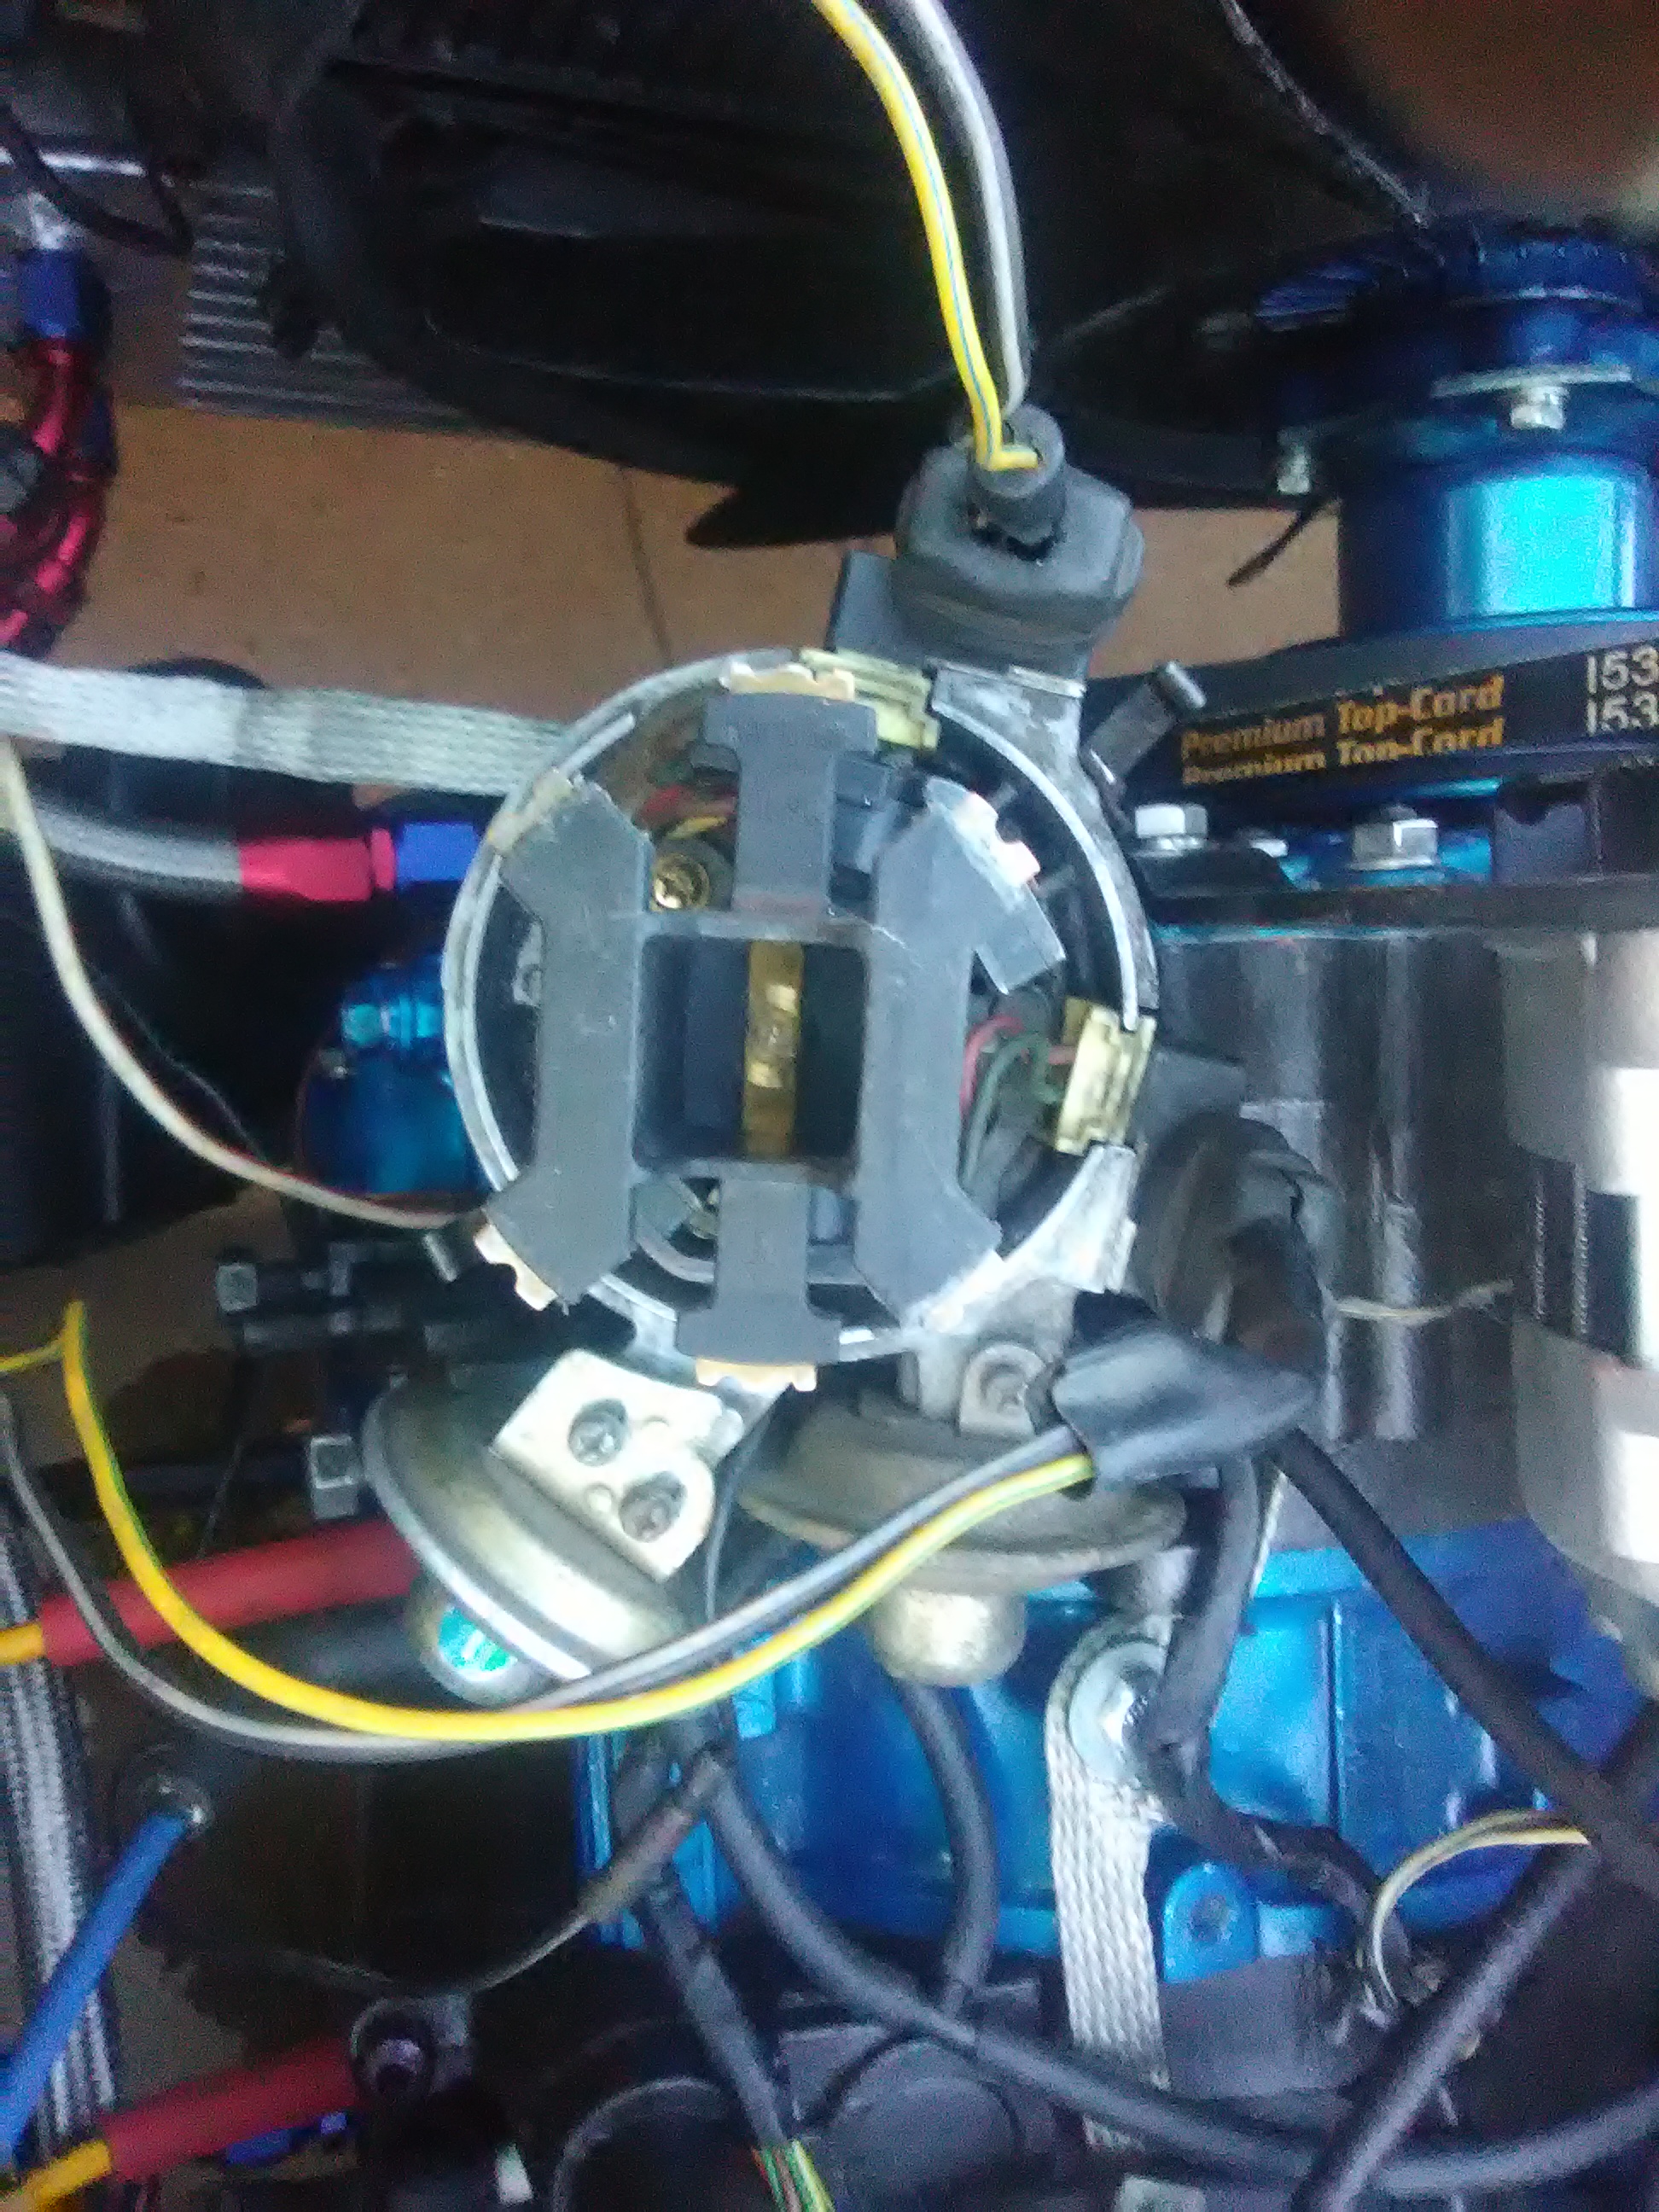
Can you guys sanity check these pics? This is what I'm seeing when I'm at TDC.

No more flooding. But I am sure I'm getting gas into the chambers, as the plugs come out wet eventually. I also have 25 psi cranking oil pressure, if that matters. I thought maybe it was the battery, so I used jumpers to a truck, and it made no difference in cranking speed, and the shop that tested it says the battery is fine. Still seems a tiny bit slow compared to my Honda cranking.
I'm just totally lost now. I've been through every system I can think of, and it's not working. Wondering if this car is worth $1k or so?
Anyway, the car WILL NOT start. I'm totally lost now. I've gone through all my wiring, I'm sure the red wire from the reluctor is the one that hits the G terminal on the GM HEI 4-pin. The green is on the W terminal. The B is going to my coil positive, and the C to the negative. I've got spark, checked both plugs by jumper cables to the body, both sparked well enough. Lots of red-blue sparks between the electrodes. Ohmed out the coils at 1.4 primary and 9.4 secondary, which is spot on to the Accel Super Stock specs. Cut back spark plug boots on coil side to make sure I'm getting full contact with coil lead.
Plugged all vacuum ports on carb, except float bowl vent. Solder filled the .40 in the airhorn too. Disconnected the vacuum advance on the dizzy.
Can you guys sanity check these pics? This is what I'm seeing when I'm at TDC.

No more flooding. But I am sure I'm getting gas into the chambers, as the plugs come out wet eventually. I also have 25 psi cranking oil pressure, if that matters. I thought maybe it was the battery, so I used jumpers to a truck, and it made no difference in cranking speed, and the shop that tested it says the battery is fine. Still seems a tiny bit slow compared to my Honda cranking.
I'm just totally lost now. I've been through every system I can think of, and it's not working. Wondering if this car is worth $1k or so?
Last edited by Repuguy; 08-27-17 at 06:28 PM. Reason: Forgot info
08-27-17, 06:38 PM
#221
For what its worth I used this guide....
https://www.rx7club.com/1st-generati...fidfis-894669/
I used the very first post. The only change is I charged the positive wire for the coils. I think that was omitted by mistake.
https://www.rx7club.com/1st-generati...fidfis-894669/
I used the very first post. The only change is I charged the positive wire for the coils. I think that was omitted by mistake.
08-27-17, 06:51 PM
#222
Full Member
Thread Starter
Hey Qingdao, thanks for that. I'm making an assumption here, and I don't like doing that, but in Jeff's post, it looks like he's running the Green wire to the G post and the Red (White in his diagram) to the W? By Green and Red I'm referring to the wires as they are colored in the little plug that the J109 plugs into. That would be the opposite of what I've got. Is that what you've got going on?
08-27-17, 09:35 PM
#223
Full Member
Thread Starter
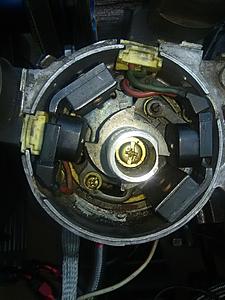
More useless pics! Just kidding, these hopefully will help distinguish what's going on in here. As a side note, I have the Red wire from the reluctor routed to the Negative, G terminal and the Green wire to the W. At TDC, the reluctor vane lines up directly with the center of the magnet pickup. I can photo that tomorrow. I'm curious if this is right/wrong as aren't some of these a rising rate signal vs falling rate?
If it's rising, I think I'm a tooth off, on the dizzy.


If it's rising, I think I'm a tooth off, on the dizzy.

 08-27-17, 10:08 PM
#224
I think I see your issue; or at least I have a hunch.
The only difference I did from what you did (although I doubt it changes anything) is I split the wires in the distributer. I didn't attach W for rotor one to W for rotor two. Another words I led two separate wires from the distributer to give equal signal to both.
Like I said its just a hunch, but that's all I got.
08-28-17, 08:32 AM
#225
ancient wizard...
Looked at all your pics,wiring from what i can see is correct. Good color quality,equal spark on both leading plugs verifies this. The reluctor vane relationship is about where it should be,what changes that dimension is where the distributor body is turned(adjusting timing),after setting timing with timing light and putting to tdc it will never be perfectly aligned as a function of base timing adjustment. Every engine is a bit different and is why that dimension is not a constant. It is close enough that engine will start and run and allow you to set timing to spec.
What i can't see in your pic,and it may be the angle the pic was taken from,but i can't see the flats on your flywheel in the inspection window showing e shaft at tdc...if it's not at tdc position then neither is your pulley/dist timing correct. If flywheel is positioned correct,then the others are correct also.
Polarity of your pick up wiring is correct,plugs being fired at right time. That leaves low compression/flooded engine/gas fouled plugs as cause of no start. Deflood engine,@ 20cc oil down thru open throttle in each primary venturi & turn engine thru several revolutions by hand to distribute in housings.This will help seal and assist compression. Clean/dry/replace plugs(what plugs are you using?) fully charged battery important also. Try starting again.