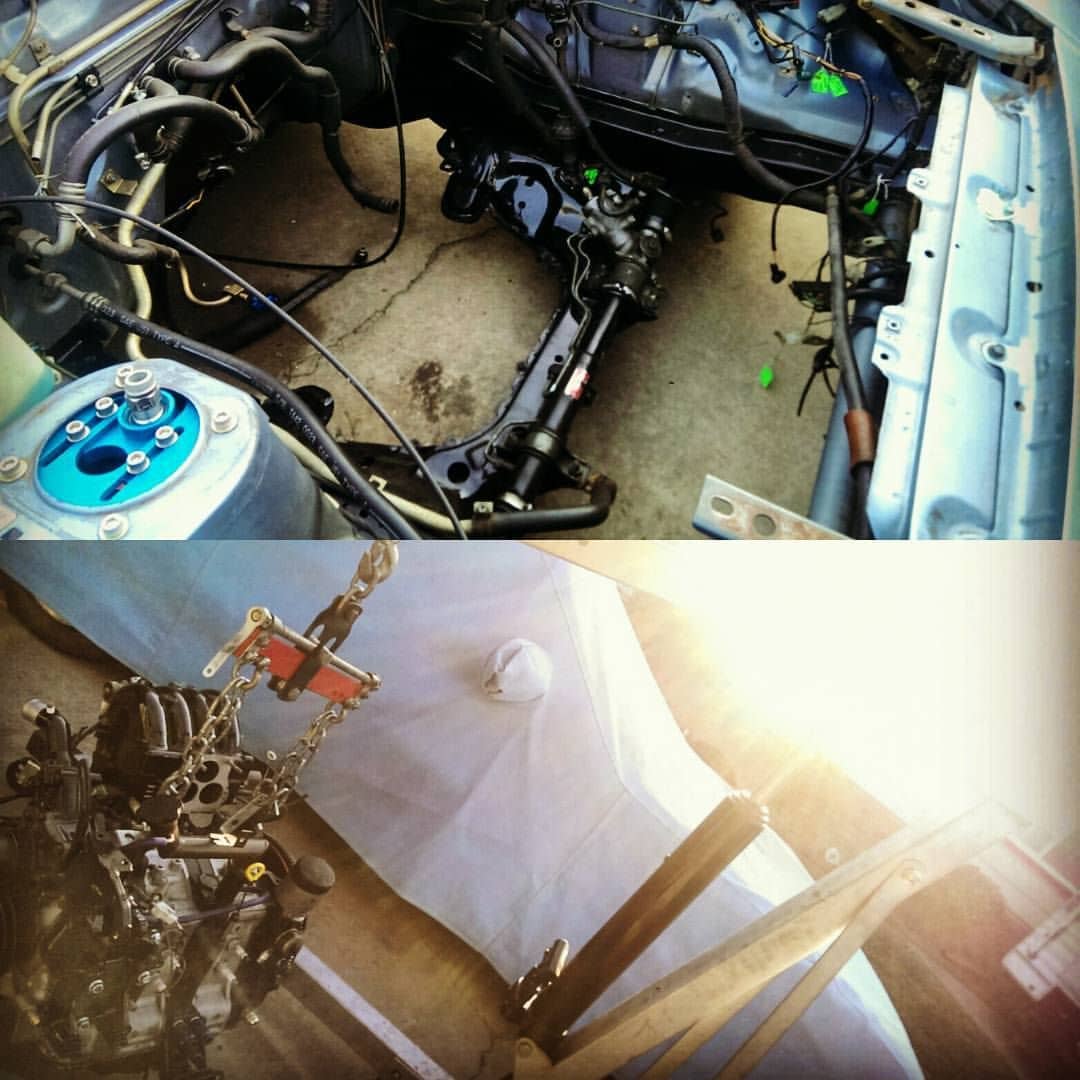
81 custom widebody
#326
Axle
Yea not a great experience but it's over now and I'm ready to move forward. The worst part was the constant lying. Be upfront with people. If he would have told me how long it was going to take I would have done something different. Then like you said I still had to fabricate brackets.
If if you can do it I would save yourself the hassle and do it yourself.
So forward. I hope to have it installed this weekend. Then I get to wait on the drive shaft.
If if you can do it I would save yourself the hassle and do it yourself.
So forward. I hope to have it installed this weekend. Then I get to wait on the drive shaft.
#329
axle and stuff
thank you Sir!
I got the torque arm pivot in last night. What a headache that was. If the bolts were even a 1/4 inch longer it would have been so much easier. it's a bracket that mounts up in the trans tunnel with two sandwiched rubber bushings. you have to compress the bushings to get the nuts on. I ended up putting the bolts in from the underside and using my floor jack with an extension to push the bolt up and compress the bushings from the bottom. hopefully I never have to remove it!
so now all I need are the lower control arm bushings and I can install the axle. the rest should be easy. (hopefully)
#332
axle
Well, it's under the car. Torque arm is installed. I had to grind a bit off the watts center link to clear the torque arm but it fits. Won't be vertical because it would interfere. It will work though. Now I can measure for the Driveshaft. I still have to get it centered and the watts links welded. should be in by the end of the weekend then it's waiting on the driveshaft. it looks good under there.
#333
almost
Got a lot done over the weekend. some highlights:
the coil overs were fun. They were made for the factory mounts to push the lower mounting rearward to clear the shock pocket. Since I raised my shock pockets they still hit. I trimmed the sheet metal on the outside in the wheel well to clear. then the T3 brackets didn't fit the Granny's bracket. His is slightly different than factory, and moved my axle center forward about a quarter inch. I bolted the front up with the lower control arm and drilled new holes. Seems to work. It was off by a little. I will eventually change this setup as I'm not crazy about the geometry.
I started to put the rear brakes on but the pads literally wouldn't fit the calipers. They came with the rotors and are probably cheap China crap. I decided to go with quality pads and ordered Hawk front and rear and OEM Mazda hardware.
I was able to order the driveshaft so another month or so. in the meantime I have to work on the steering, the exhaust and some other small details but it's close. first time the rear wheels have been on there in like a year.
#336
Senior Member
#338
axle
So yet another snag. The upper watts link is going to hit the center section of the axle because my car is so low. I'm going to have to fabricate something to clear. the lower (shorter) arm works except I had to change the angles because his was way off. So I have month until the driveshaft gets here. Thought I was done fabricating on this thing for awhile! 

#339
Build a Panhard bar for it at the level of the bottom of the diff... That way you get rid of the funky high and right roll center.. Roll center on the rear is were the whatt link mounts.
So yet another snag. The upper watts link is going to hit the center section of the axle because my car is so low. I'm going to have to fabricate something to clear. the lower (shorter) arm works except I had to change the angles because his was way off. So I have month until the driveshaft gets here. Thought I was done fabricating on this thing for awhile! 

#340
They make 9" Ford rear ends for 3rd and 4th gen camaros so maybe you could study how they do that. The cool thing is that you can weld easily to the OE rear end housing because it is mild steel, The mount would need to be reinforced and care needs to be taken to avoid warping the axle housing.
#342
Bars and such
So it's all in. I had fun getting the rear brake pistons screwed in but managed that after two days of WD-40. The emergency brake isn't going to work without some major modification. Winter project.
The drive shaft is supposed to ship Aug 21st. I should have everything else finished by then.
#343
never ends
So the reman rack I just installed has a broken fitting boss and spilled fluid all over the driveway. so I get to deal with that again. They obviously didn't pressure test this rack before shipping it out. At least I'm good at swapping it out now. I did get a cooler plumbed into the power steering lines. I also swapped the flow valve to one with less flow. hopefully that works.
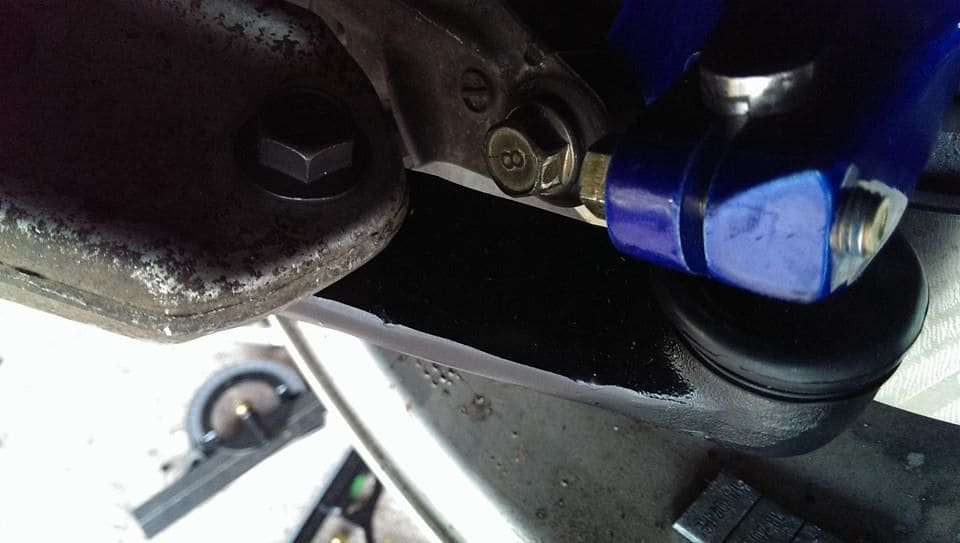
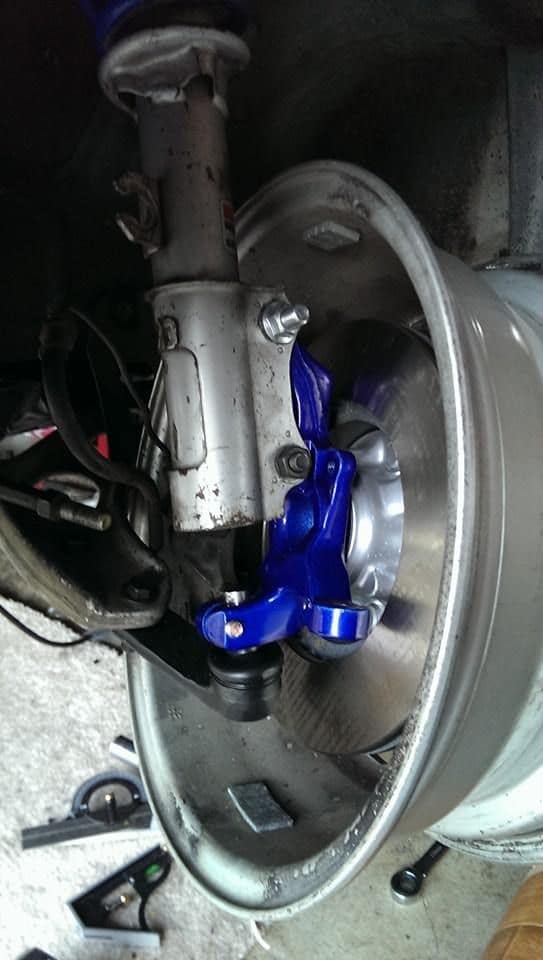
another snag I ran into is that even with the coil overs adjusted for maximum camber it has none. Zero. not sure if my strut towers are farther apart than a second gen or what or the coil overs just have bad geometry. so the fix for that is going to be elongating the spindle holes in the coil over bracket and welding washers on so it can't move around. not sure at this point if I can just do it to the top or bottom hole or if I'll do both top and bottom. Guess I'll figure that out while I'm waiting for new rack. I'd like to be able to go at least 2 degrees neg camber.
another snag I ran into is that even with the coil overs adjusted for maximum camber it has none. Zero. not sure if my strut towers are farther apart than a second gen or what or the coil overs just have bad geometry. so the fix for that is going to be elongating the spindle holes in the coil over bracket and welding washers on so it can't move around. not sure at this point if I can just do it to the top or bottom hole or if I'll do both top and bottom. Guess I'll figure that out while I'm waiting for new rack. I'd like to be able to go at least 2 degrees neg camber.
#344
Senior Member
So the reman rack I just installed has a broken fitting boss and spilled fluid all over the driveway. so I get to deal with that again. They obviously didn't pressure test this rack before shipping it out. At least I'm good at swapping it out now. I did get a cooler plumbed into the power steering lines. I also swapped the flow valve to one with less flow. hopefully that works.
another snag I ran into is that even with the coil overs adjusted for maximum camber it has none. Zero. not sure if my strut towers are farther apart than a second gen or what or the coil overs just have bad geometry. so the fix for that is going to be elongating the spindle holes in the coil over bracket and welding washers on so it can't move around. not sure at this point if I can just do it to the top or bottom hole or if I'll do both top and bottom. Guess I'll figure that out while I'm waiting for new rack. I'd like to be able to go at least 2 degrees neg camber.
another snag I ran into is that even with the coil overs adjusted for maximum camber it has none. Zero. not sure if my strut towers are farther apart than a second gen or what or the coil overs just have bad geometry. so the fix for that is going to be elongating the spindle holes in the coil over bracket and welding washers on so it can't move around. not sure at this point if I can just do it to the top or bottom hole or if I'll do both top and bottom. Guess I'll figure that out while I'm waiting for new rack. I'd like to be able to go at least 2 degrees neg camber.
What coilovers do you have? Do you have the S4 control arms with the separate ball joint? Maybe you could make a piece that extends the arms there
#345
Coil overs
i have ISC coilovers. I like the quality. Not sure why they aren't the proper geometry. I do have the control arms with the removable balljoints. They are the same length. It has to be the strut towers.
I worked on on one of the coilover brackets this evening and was able to get a lot more camber by elongating the top hole. I'm going to bolt them back together with thick washers and tack them in place. Then I'll take them back off and weld them all the way around. Should be fine. I can get about 4 degrees now max which is more than enough.
I worked on on one of the coilover brackets this evening and was able to get a lot more camber by elongating the top hole. I'm going to bolt them back together with thick washers and tack them in place. Then I'll take them back off and weld them all the way around. Should be fine. I can get about 4 degrees now max which is more than enough.
#346
Banned. I got OWNED!!!


#348
camber
so here is my solution finished and installed. I have a total of 4 degrees of camber and straight up they are at 1.5 which is probably where they will be most of the time.
I also got the new muffler installed. Flowmaster HP2 muffler.
so I have a more minor details to get to and it's a waiting game for the another rack and the driveshaft.
I also got the new muffler installed. Flowmaster HP2 muffler.
so I have a more minor details to get to and it's a waiting game for the another rack and the driveshaft.
#349
driveshaft
Driveshaft is in! That completes the drivetrain. I decided to go with a steel shaft instead of the aluminum one. over a hundred bucks less. It was rough getting it in around the torque arm. Had to disconnect the shocks and drop the rear as low as the watts linkage would let it go but it slid in. I have the front rack so now I have to get that in, bleed the brakes and fingers crossed it's ready for a shakedown cruise. I plan to be driving this thing by the end of the weekend.
#350
Rotary Enthusiast
That's great, I know it's been a long time coming. It sure seems worth the wait, nice work.

