
48 IDA 12A 1985 AE86 Coupe build in the Lonestar State

Picked this rolling chassis up about 2 - 3 years ago in San Antonio. I'll keep the dialogue to a minimum for the time being.
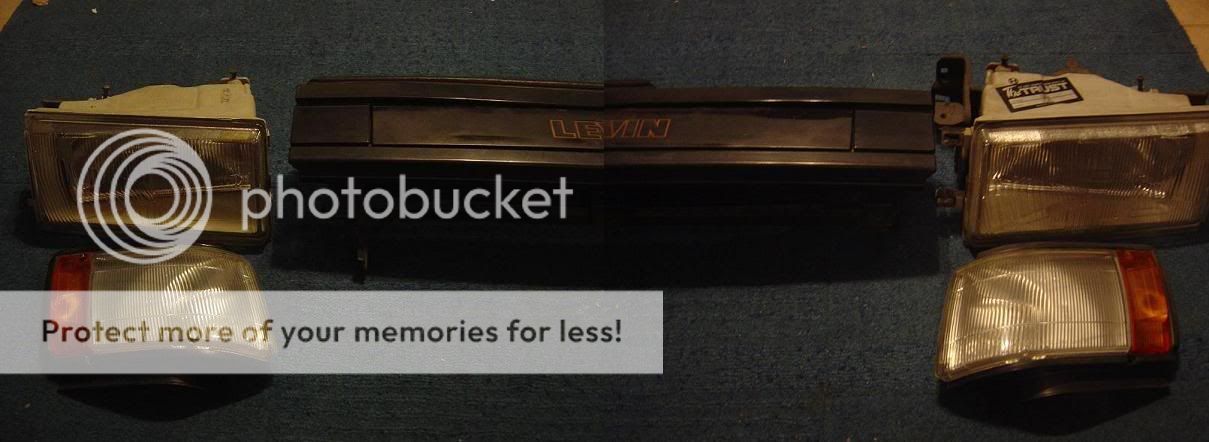
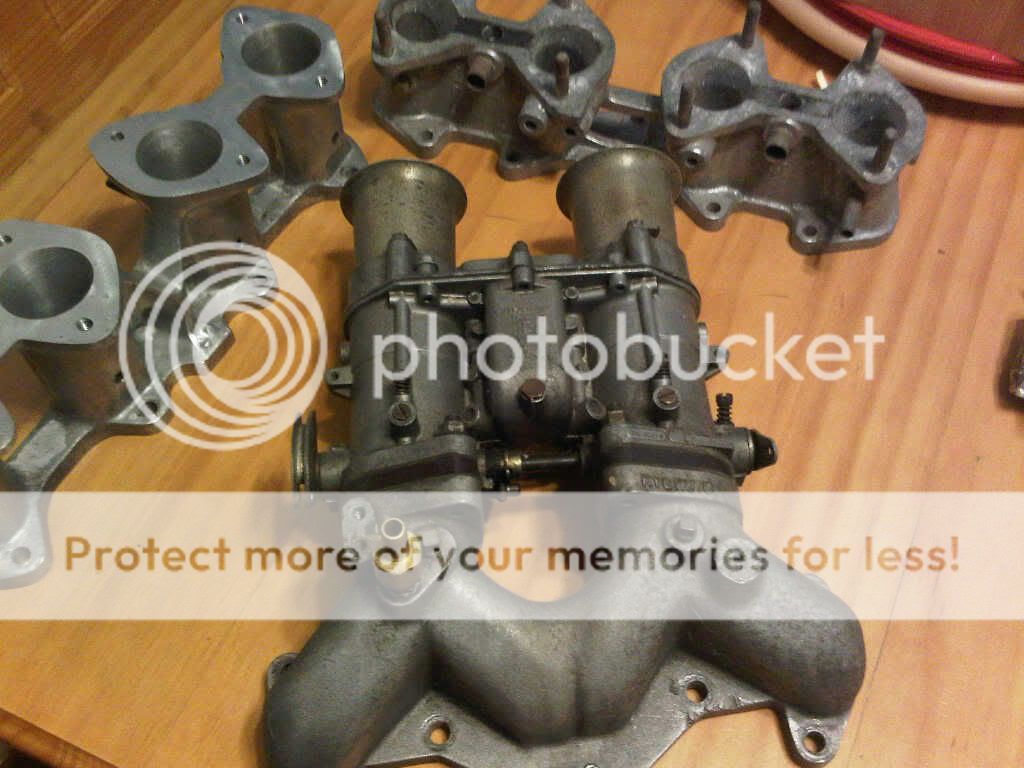
These cars never came to the States in a Levin format so here are snippets of parts to convert the US Trueno to a Levin.

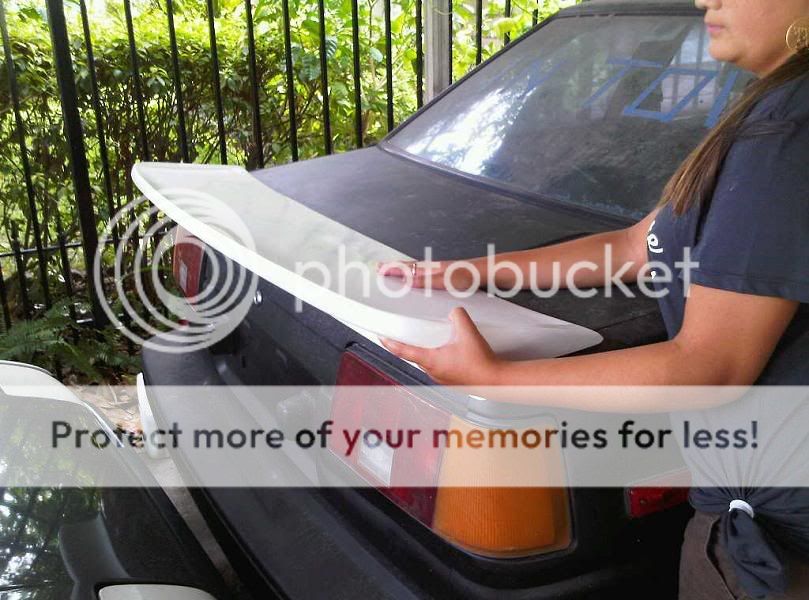
The TRD replica Group A/N2 wing my daughter is holding is obviously just a luxury.
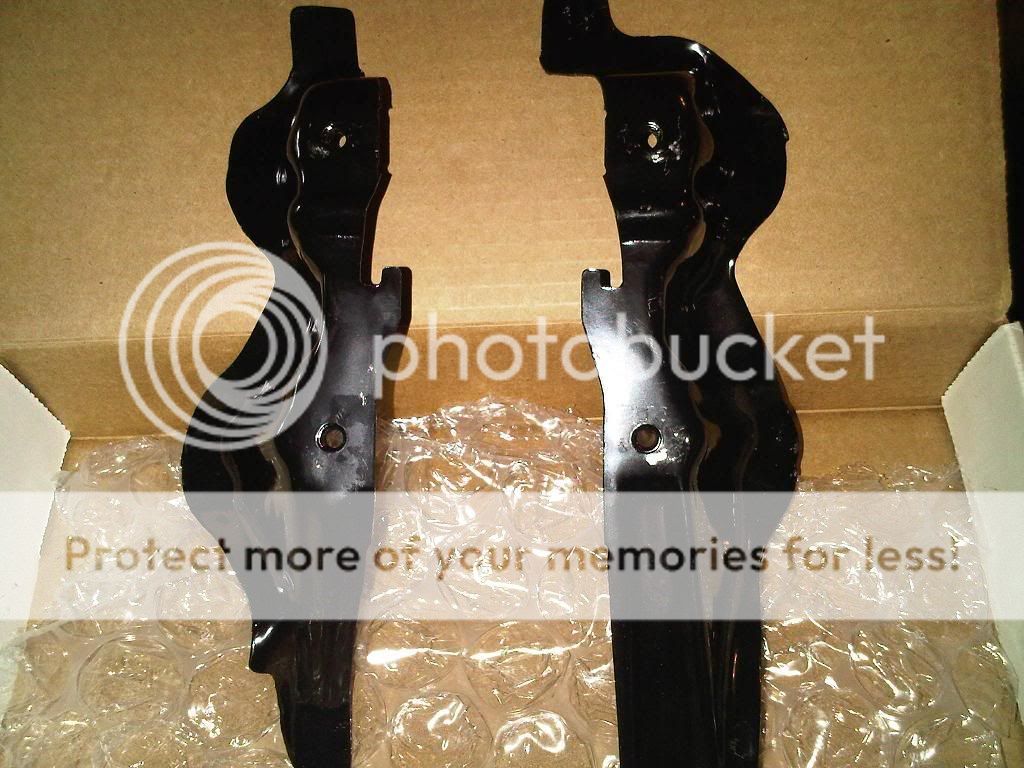
The factory Toyota brackets needed to mount the headlights accordingly graciously provided by a buddy (Aaron Rue a.k.a. Hondarue).
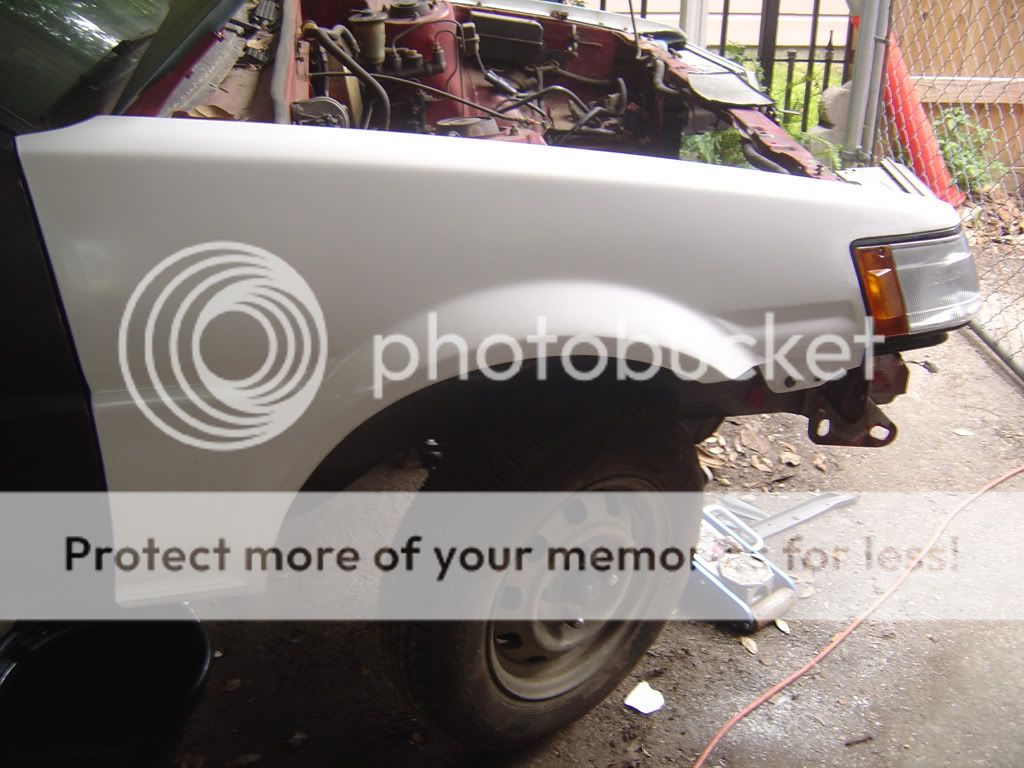


Some of the parts mounted.
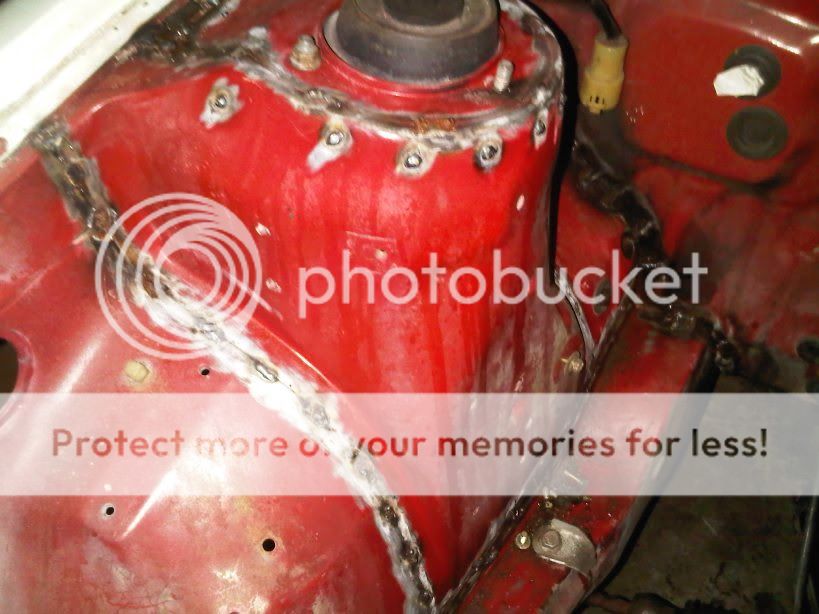
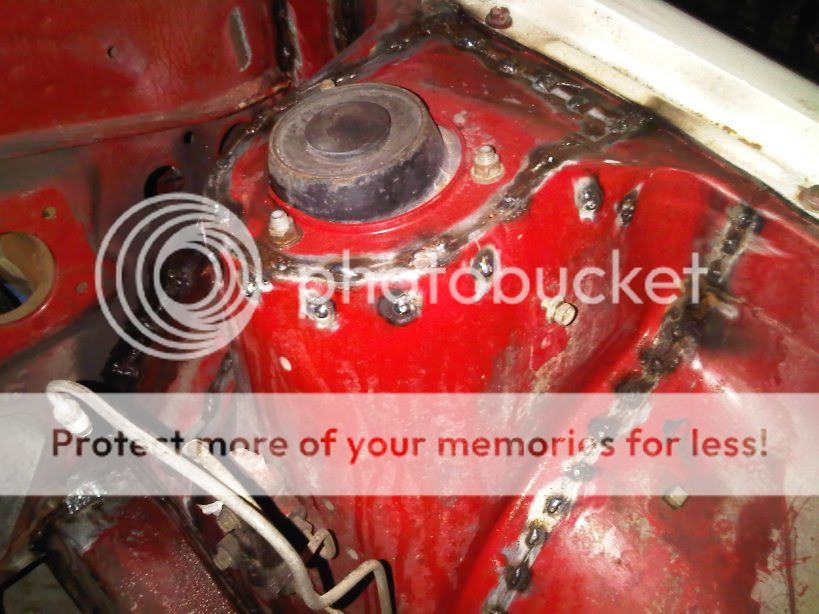
I'll be the first to tell you I'm horrible with welding. I'm especially worse when it's with a cheap Harbor Freight wire mig welder.
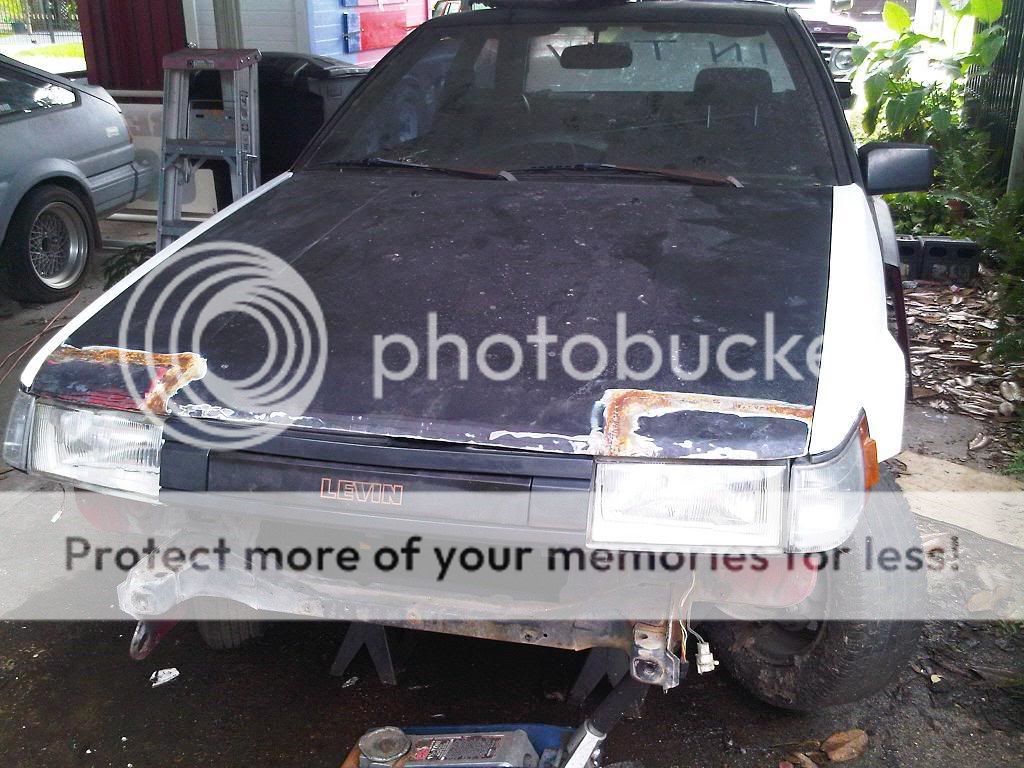
I decided to try and rig up a hood by using spare flip up head light covers to weld up an appropriate hood. It's going to seem some bondo if I do go with the hood.
These cars never came to the States in a Levin format so here are snippets of parts to convert the US Trueno to a Levin.
The TRD replica Group A/N2 wing my daughter is holding is obviously just a luxury.
The factory Toyota brackets needed to mount the headlights accordingly graciously provided by a buddy (Aaron Rue a.k.a. Hondarue).
Some of the parts mounted.
I'll be the first to tell you I'm horrible with welding. I'm especially worse when it's with a cheap Harbor Freight wire mig welder.
I decided to try and rig up a hood by using spare flip up head light covers to weld up an appropriate hood. It's going to seem some bondo if I do go with the hood.
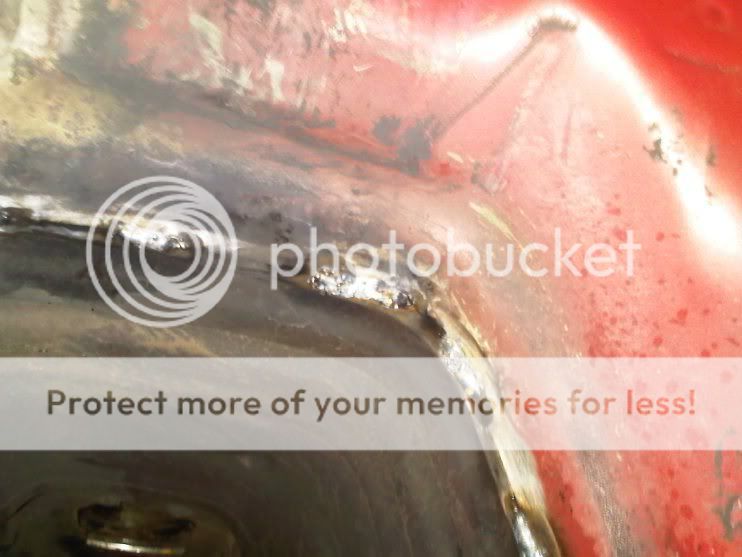
More turd welding.
Picked this up for $200 from the same kid I got the chassis from.

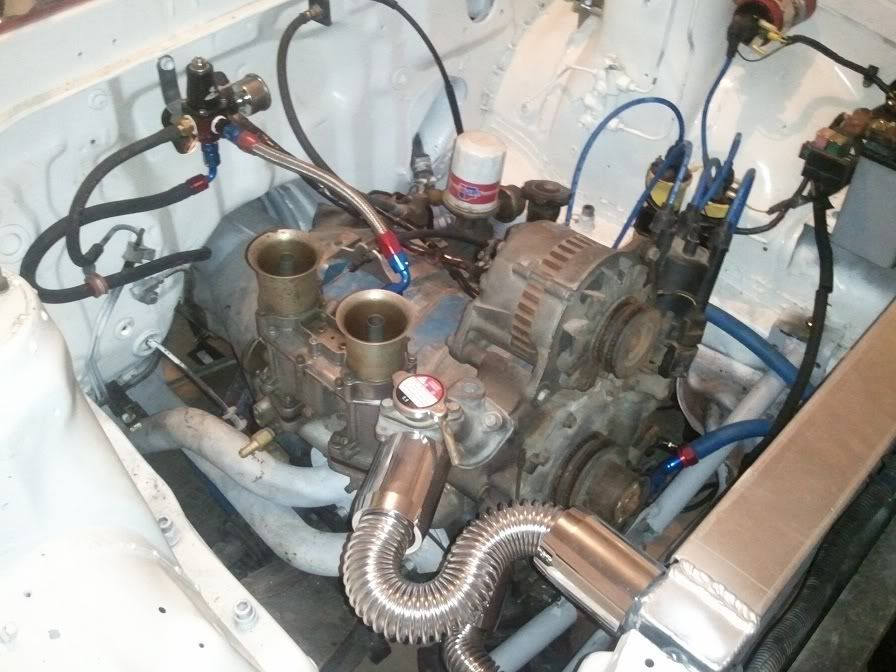
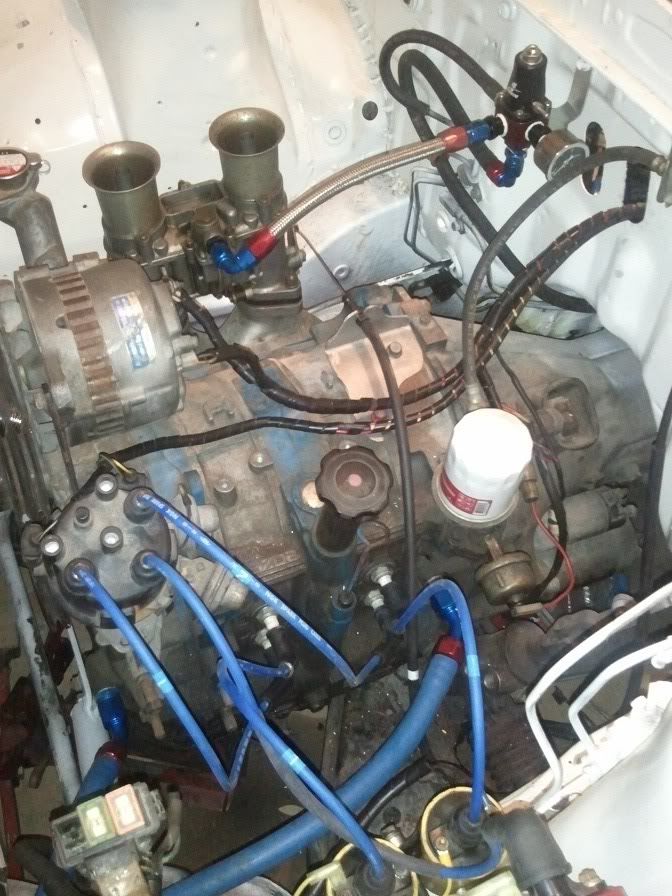
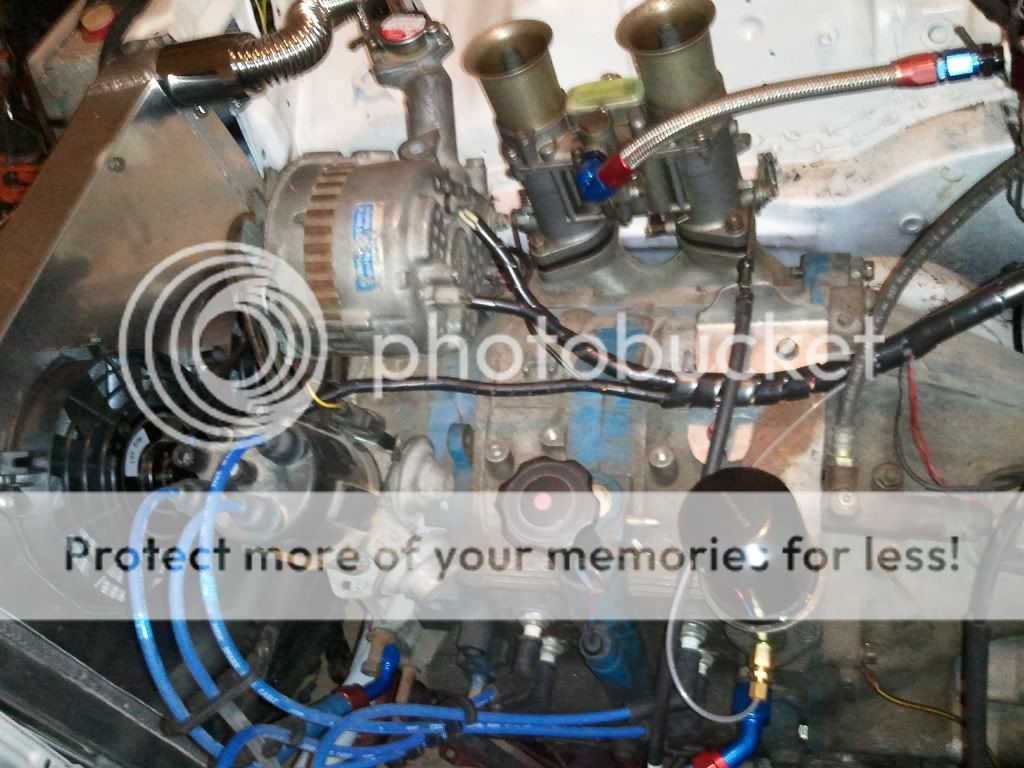
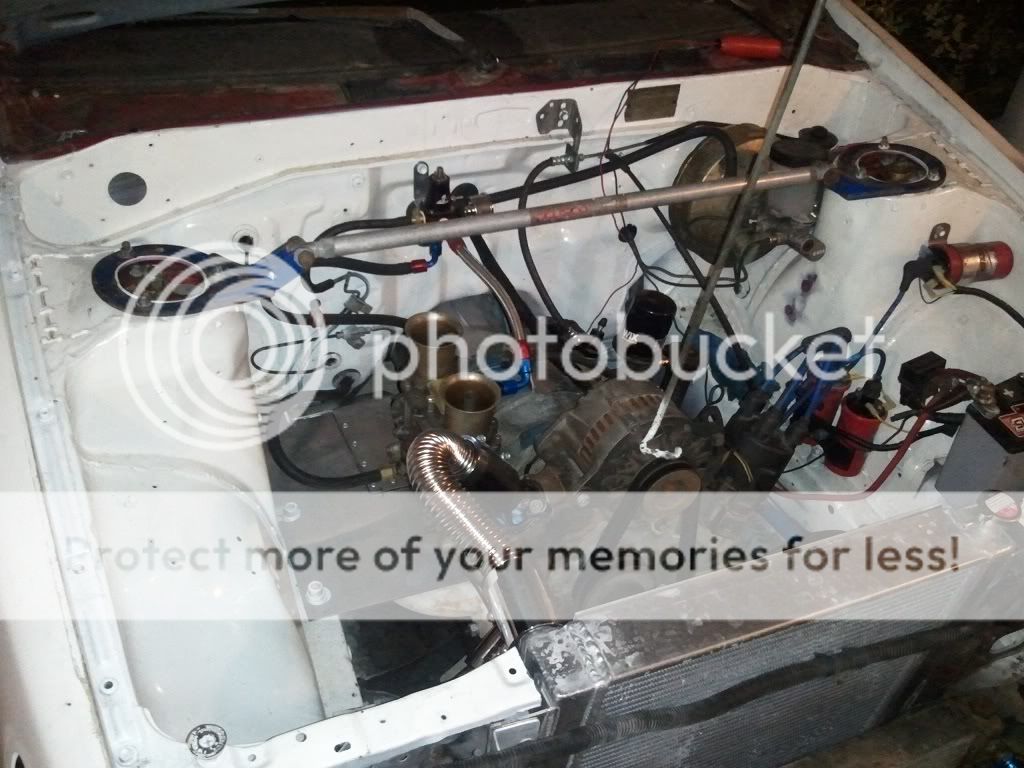
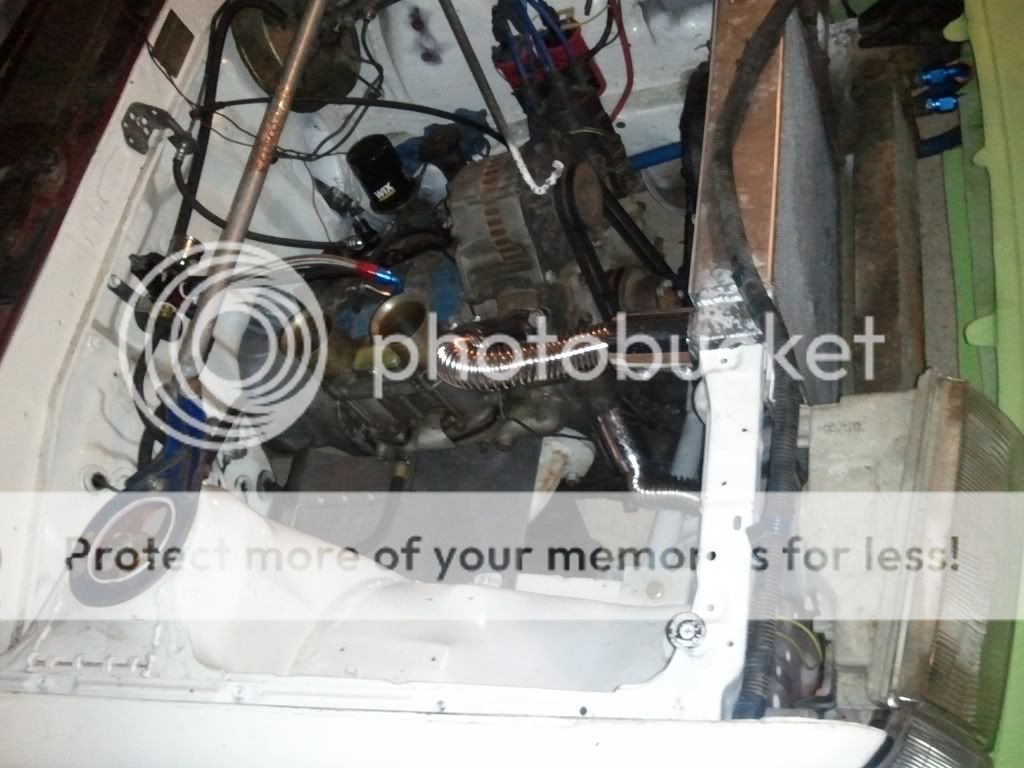
Engine bay rattle canned.
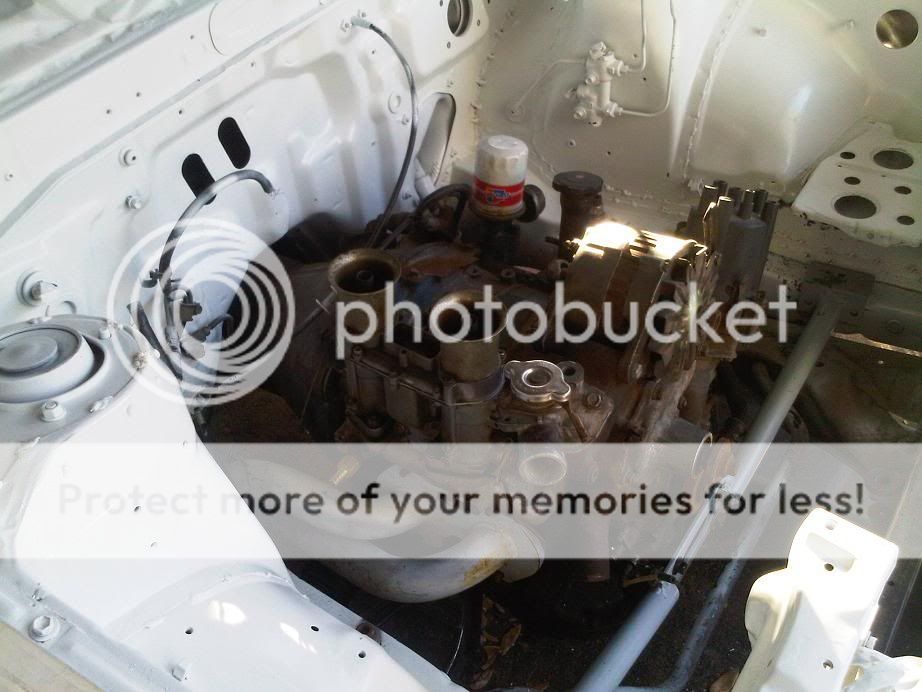
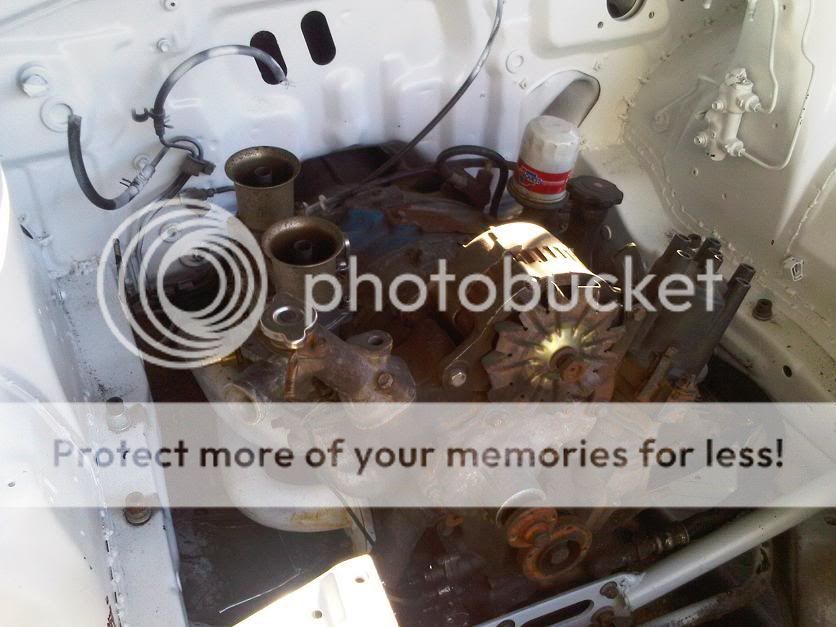
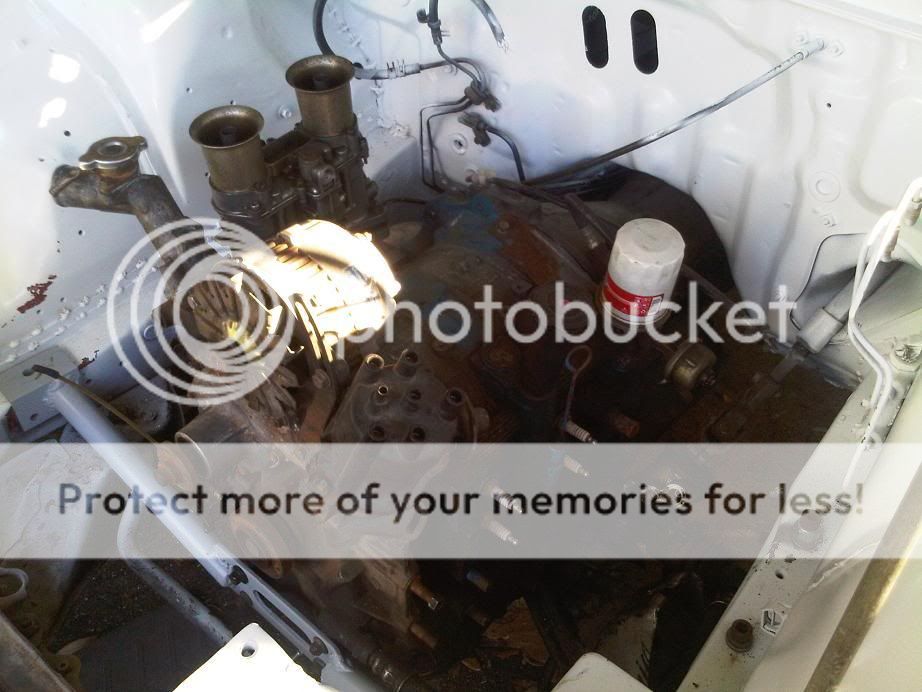
Power plant in.
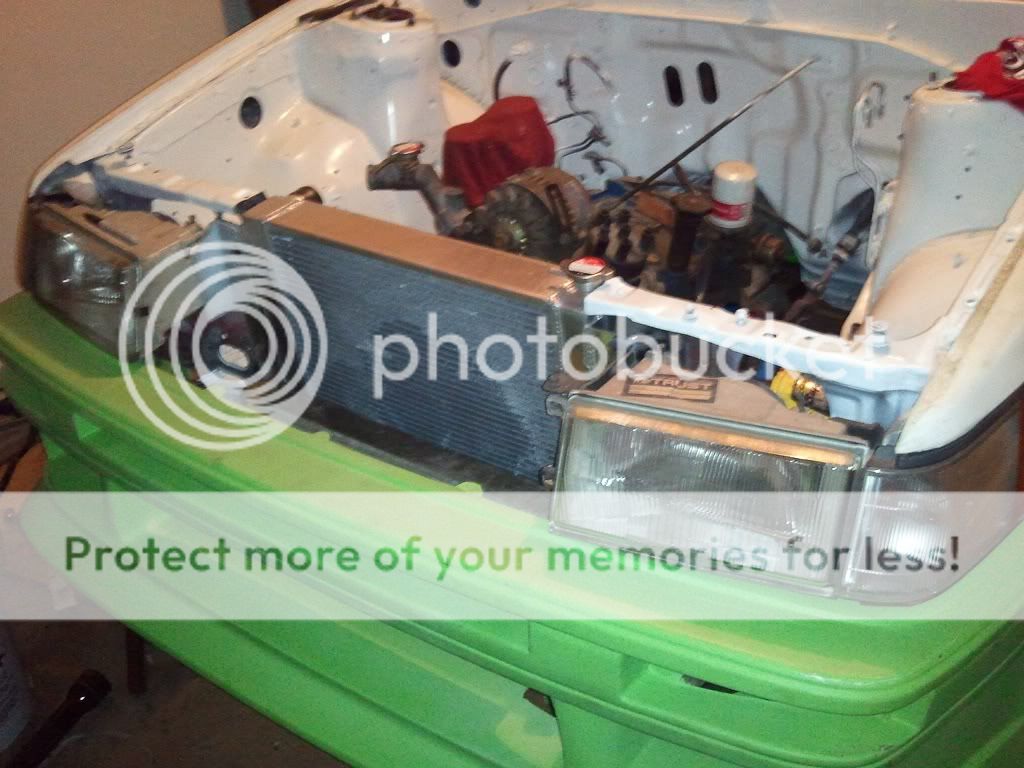
Aero mounted. You rotary guys have some killer affordable rads!
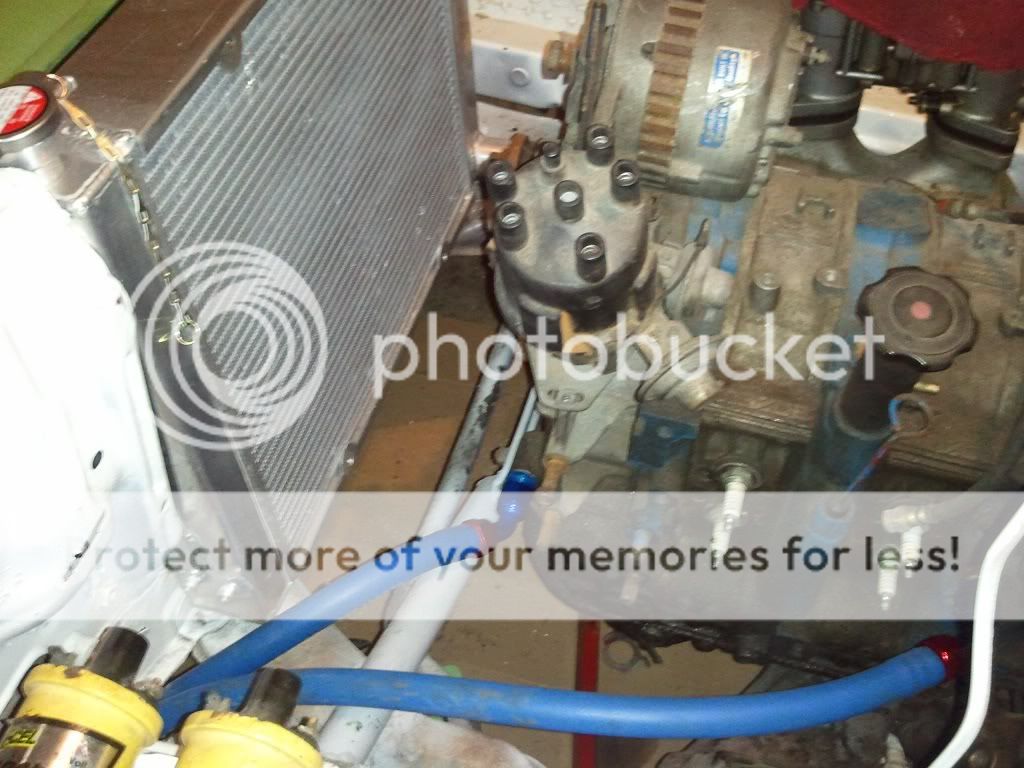
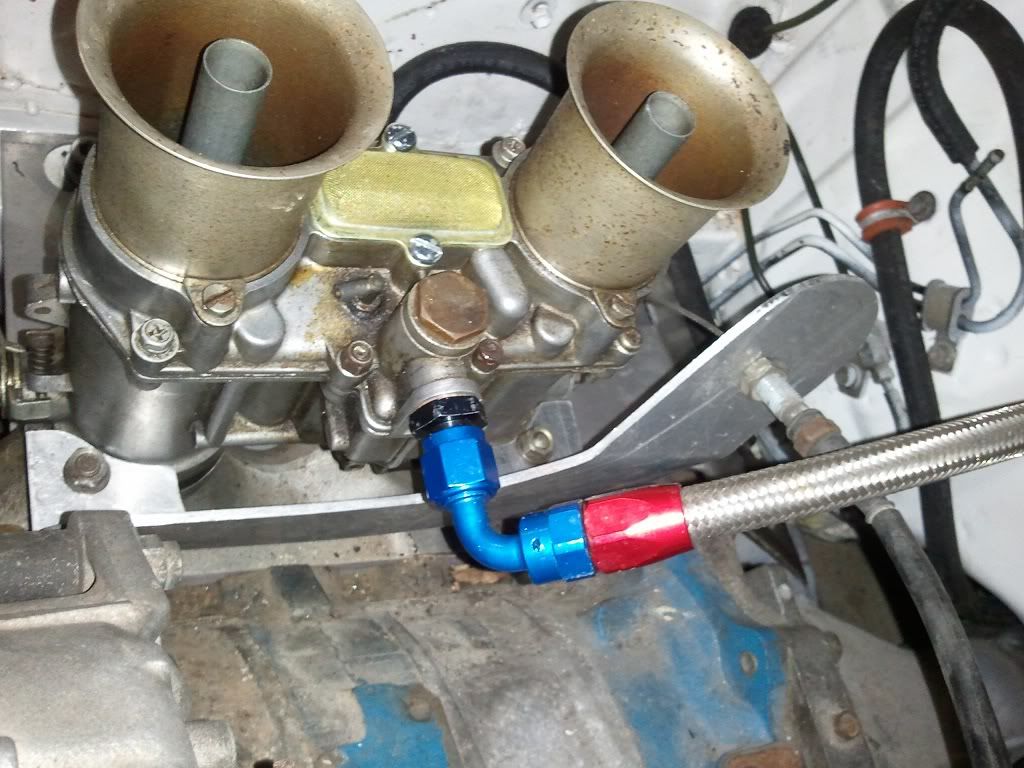
Oil lines ran...the rear oil line I later hooked up to the correct port directly below where it is in the picture and then plugged up that coolant port (phew!).
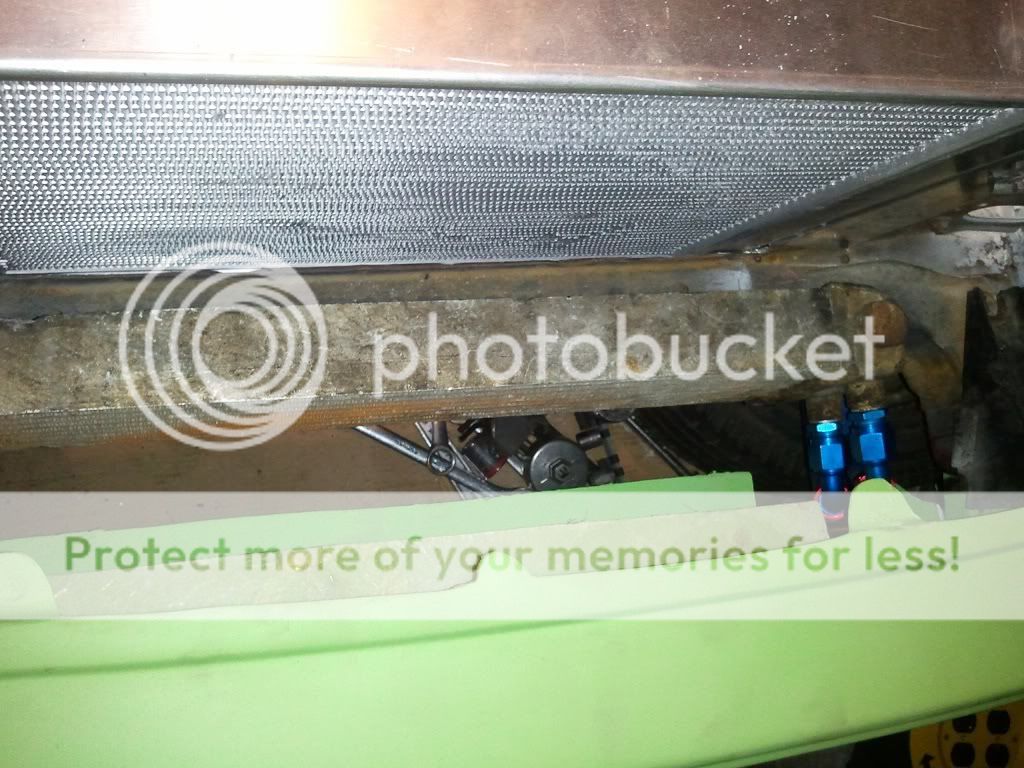
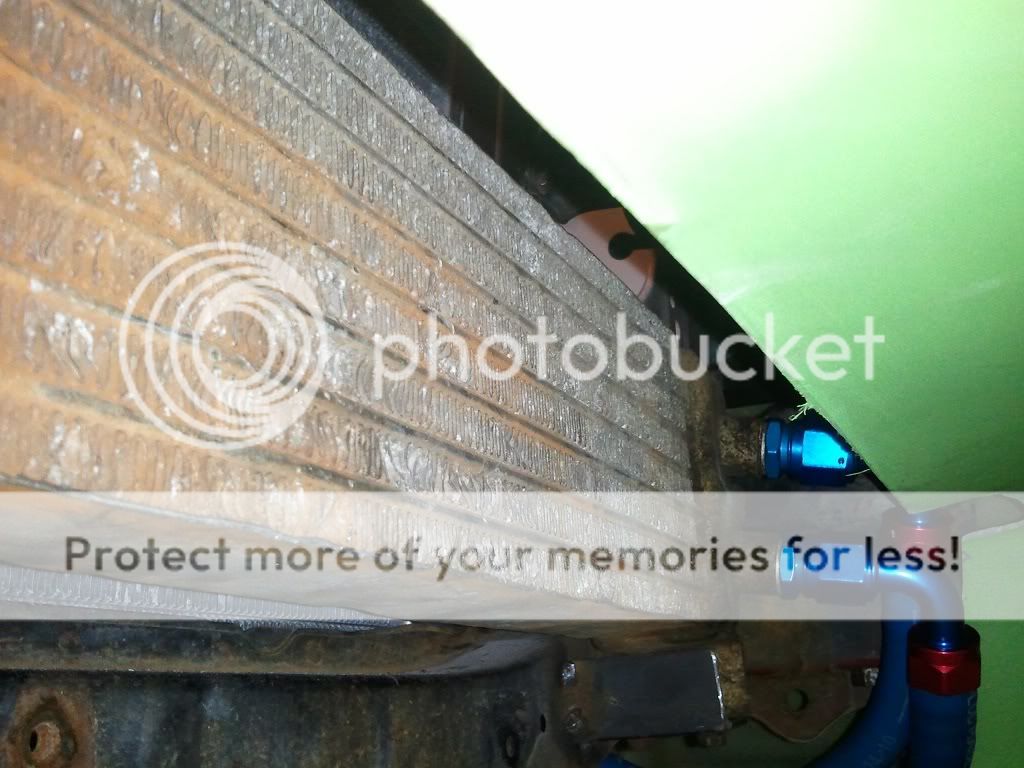
...and cooler mounted.
Then...
A big thanks to Rotary Car Club (AND RX7Club I might add to be honest) and especially Master Chief from Tulsa Turbo for the wiring and explanation of how it operates.
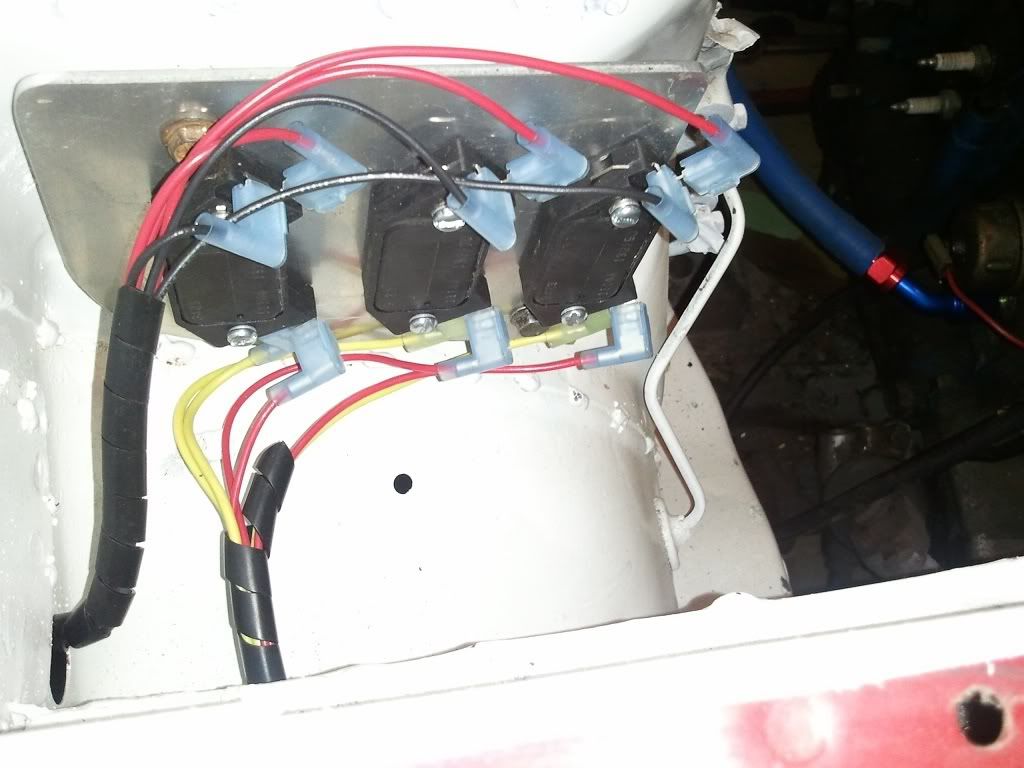
GM HEI Modules
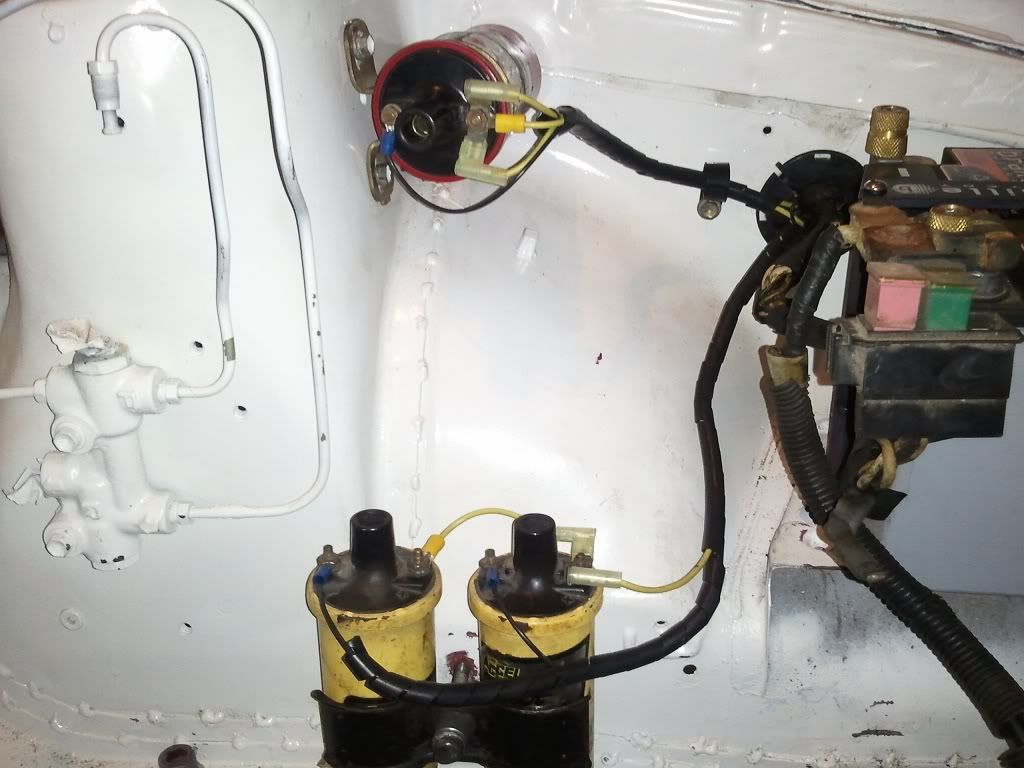
2 Accel Coils 1 for each leading plug. 1 to the distributor for the 2 trailing plugs.

The hook ups to the magnetic leads in the distributor. I finished up the alternator wiring into the SR5 harness as well as evidenced in this pic.
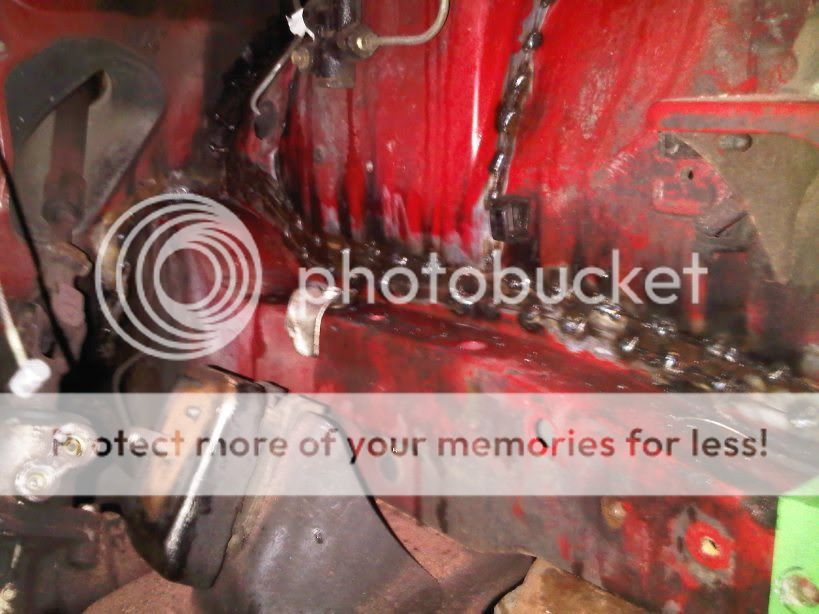
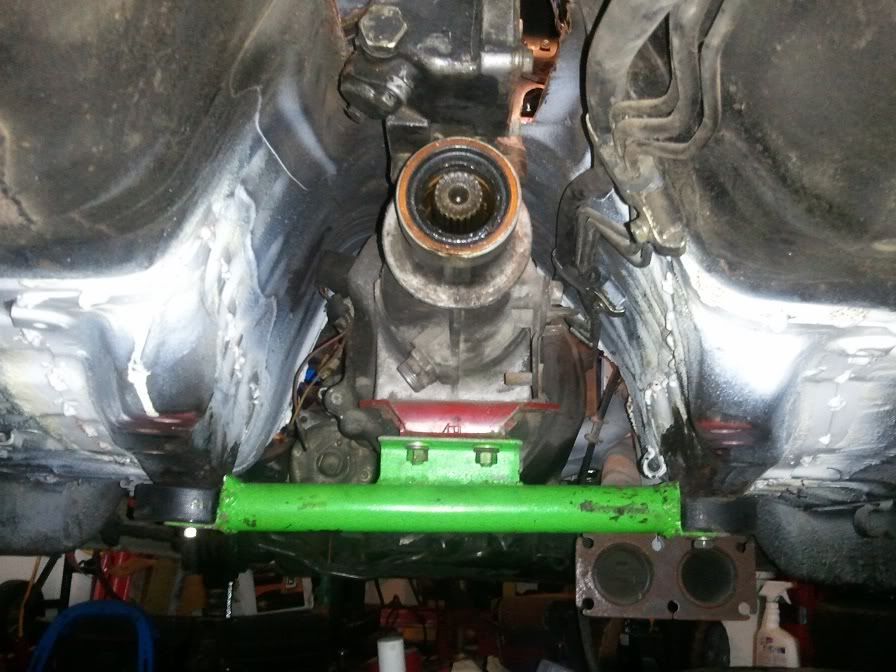
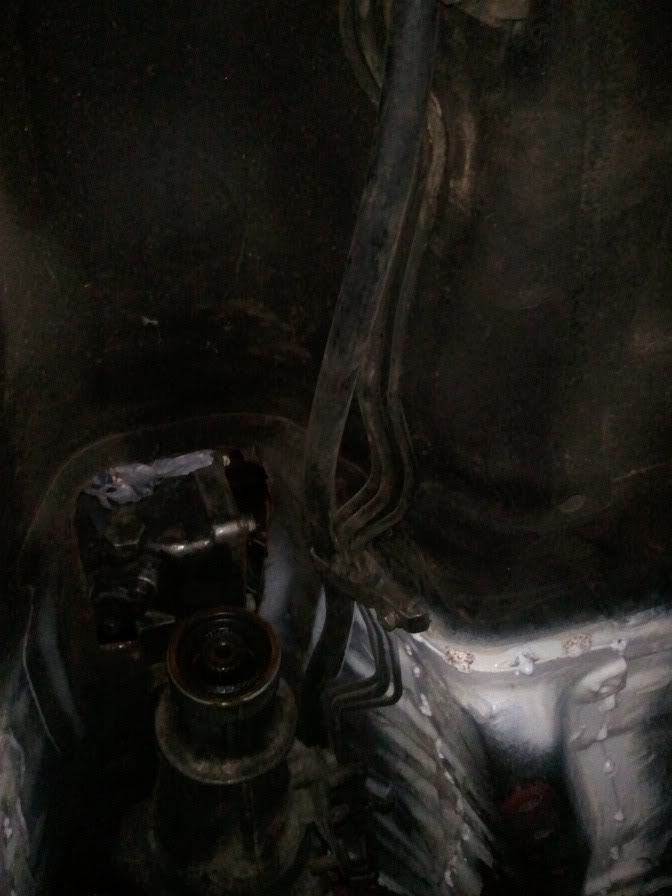
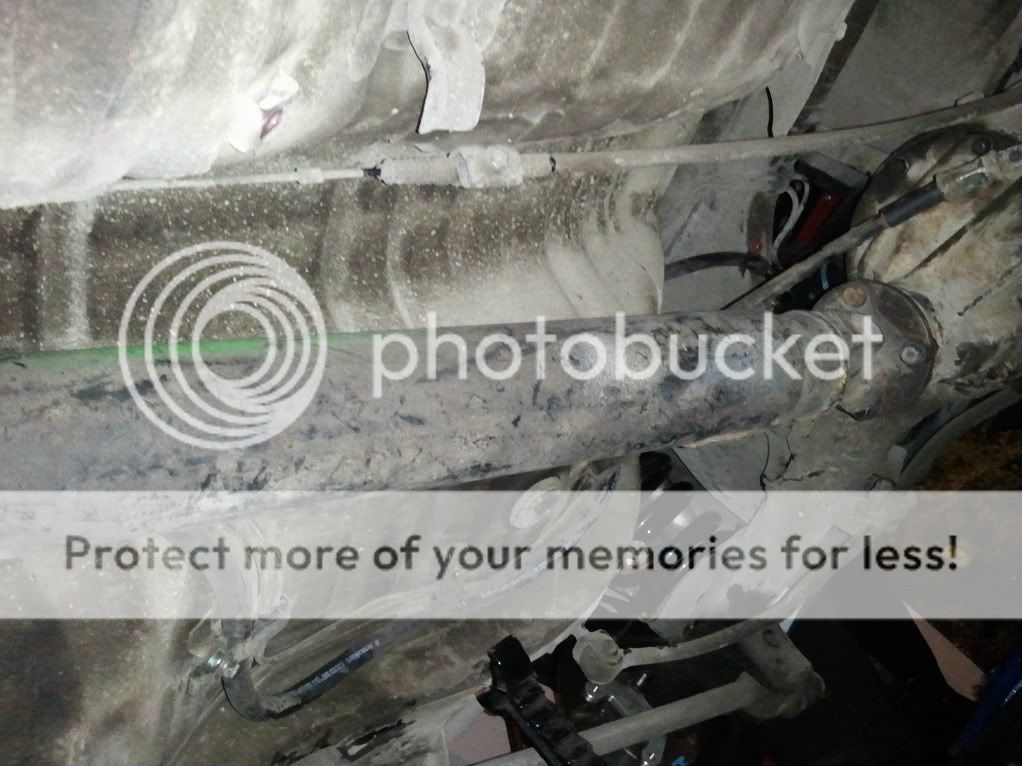
How the trans sits down under:
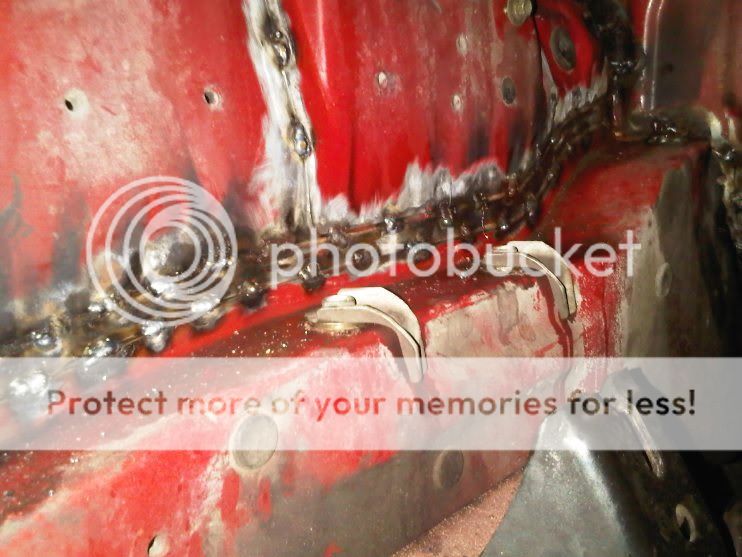
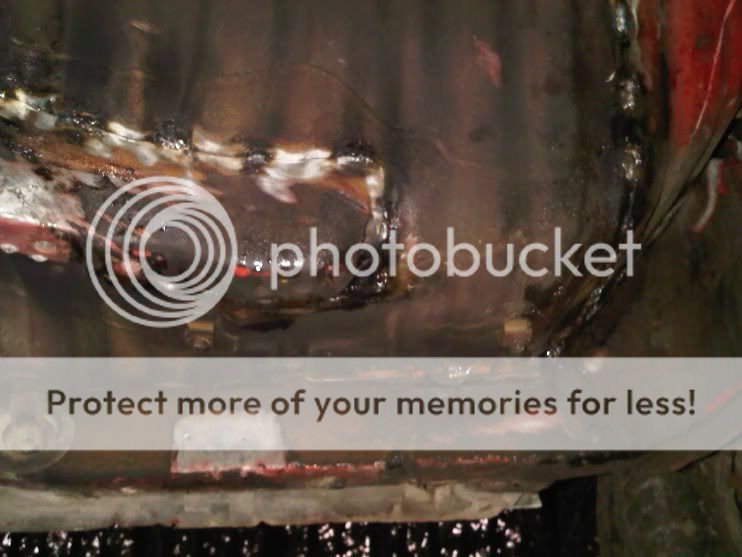
Hockey puck pieces drilled.
I drilled out the original fuel return hard line on the tank cap and welded in a 3/8 stainless 90 degree. Again, pardon the welds.
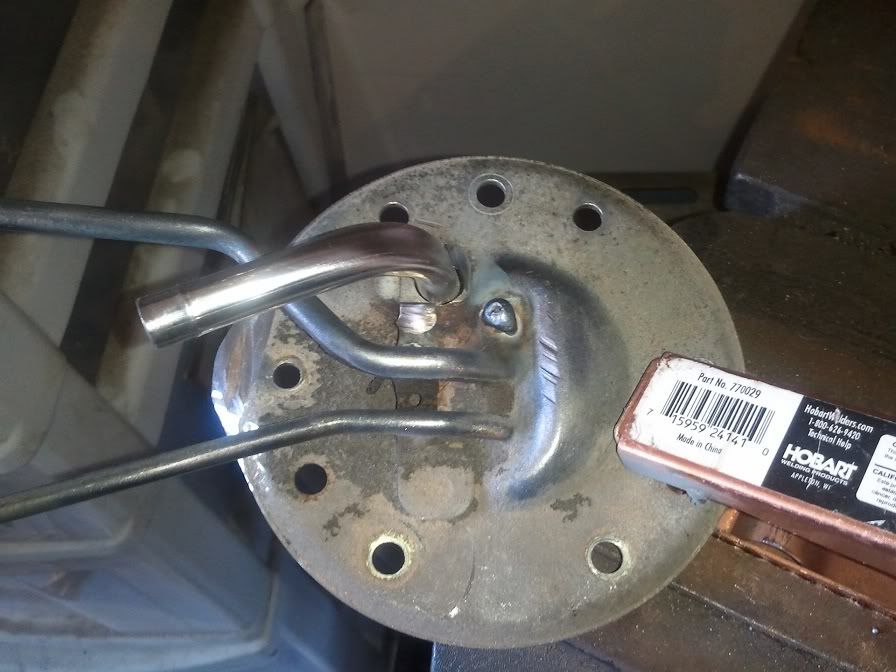

Running a Carter 4070 under my custom port-a-potty toilet lid:
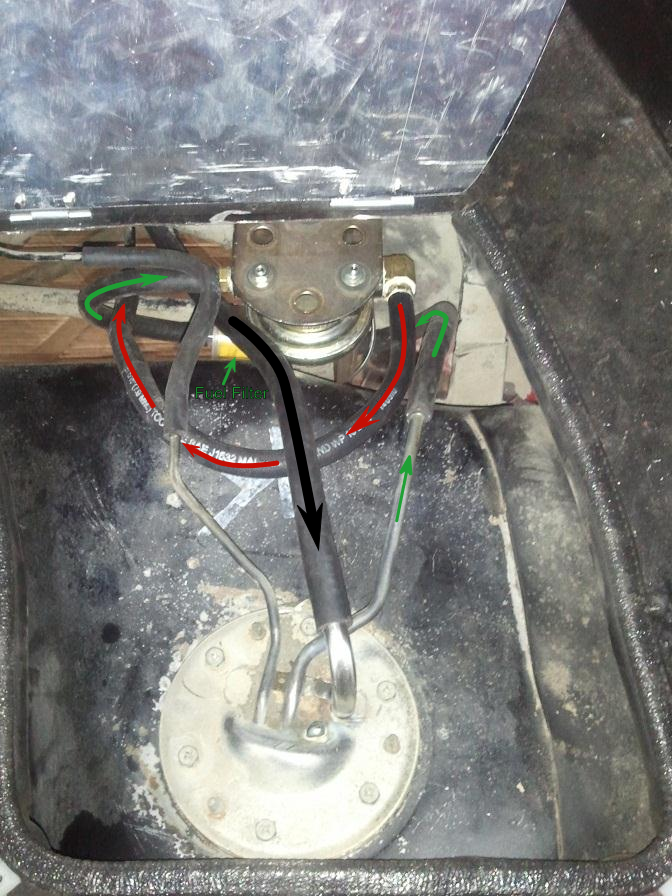
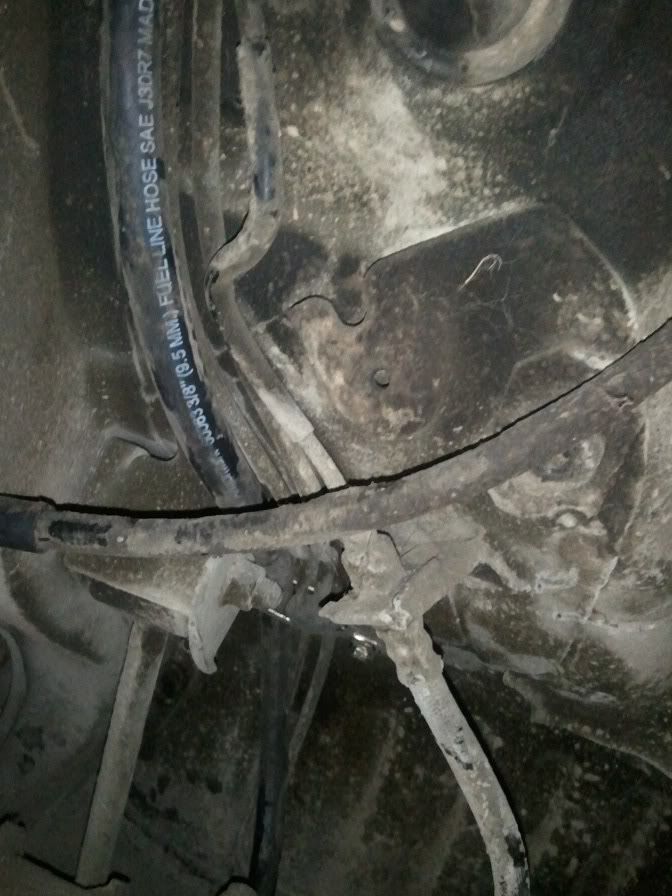
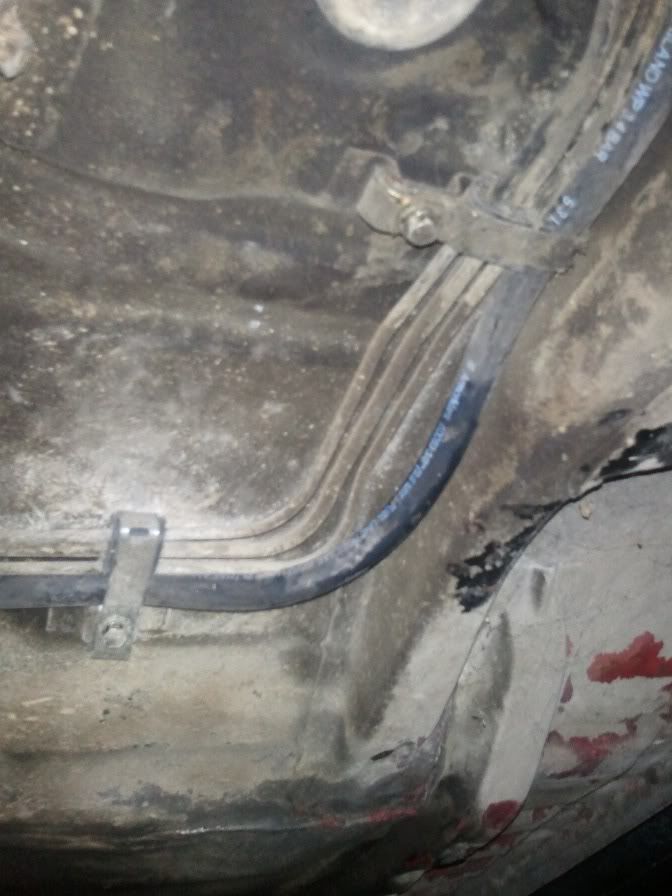
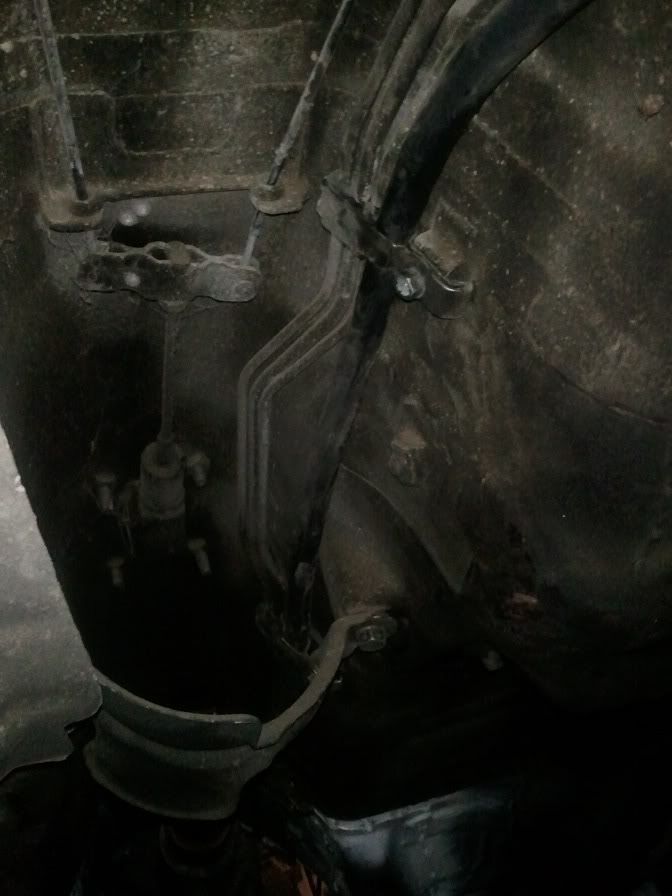
3/8 fuel return routed:
Hockey puck pieces drilled.
I drilled out the original fuel return hard line on the tank cap and welded in a 3/8 stainless 90 degree. Again, pardon the welds.
Running a Carter 4070 under my custom port-a-potty toilet lid:
3/8 fuel return routed:
Progress:
Some shots of when I was installing the mini-spool:
Here I've got the diff already out of the carrier and the ring gear and side gears & pin removed.
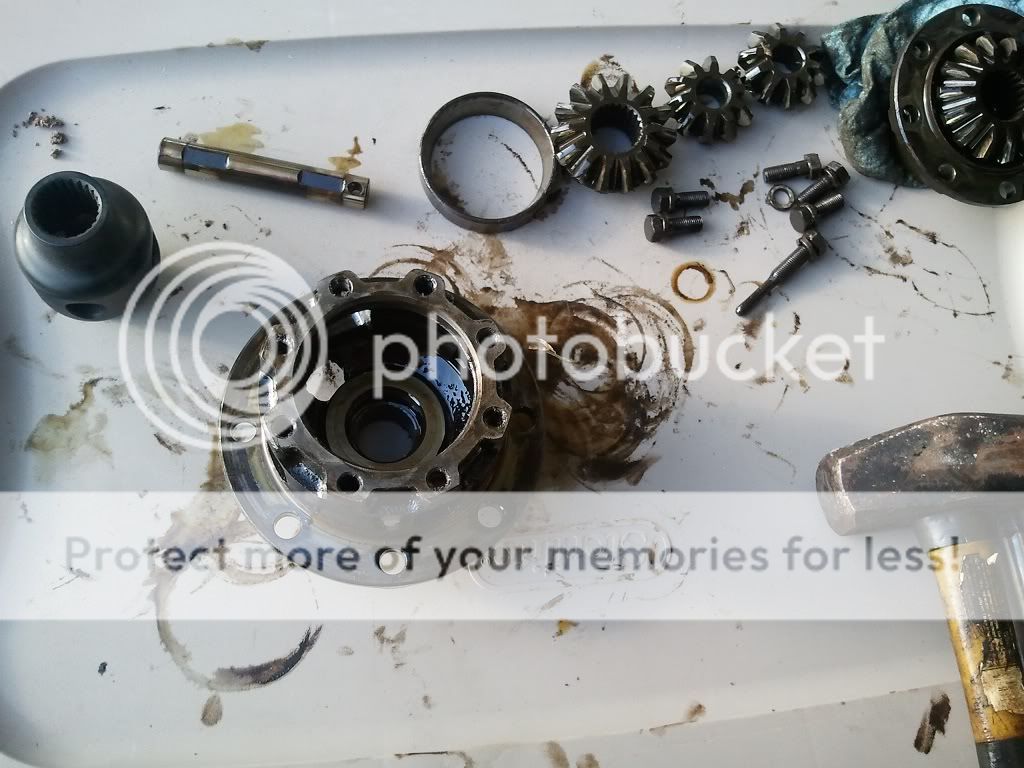
Here's the differential with the mini spool snuggly entombed in it ready to do what it was born to do: THRILL!!!
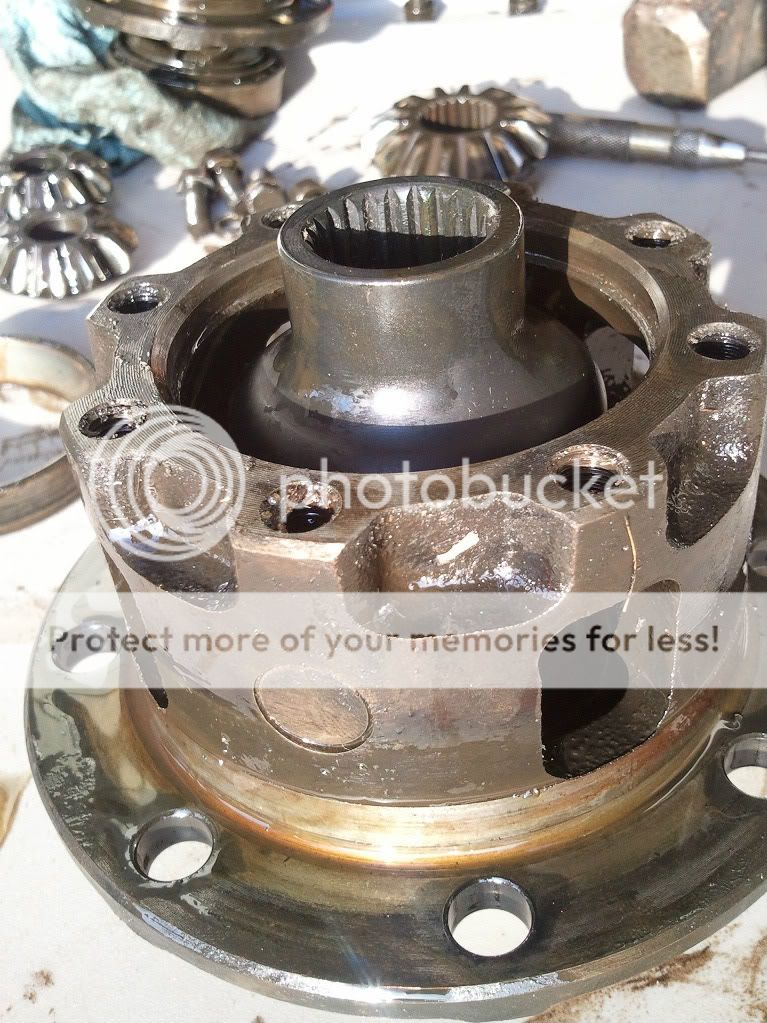
We'll have to see how the stock SR5 axles hold up to the "throttling" they're about to get .
.
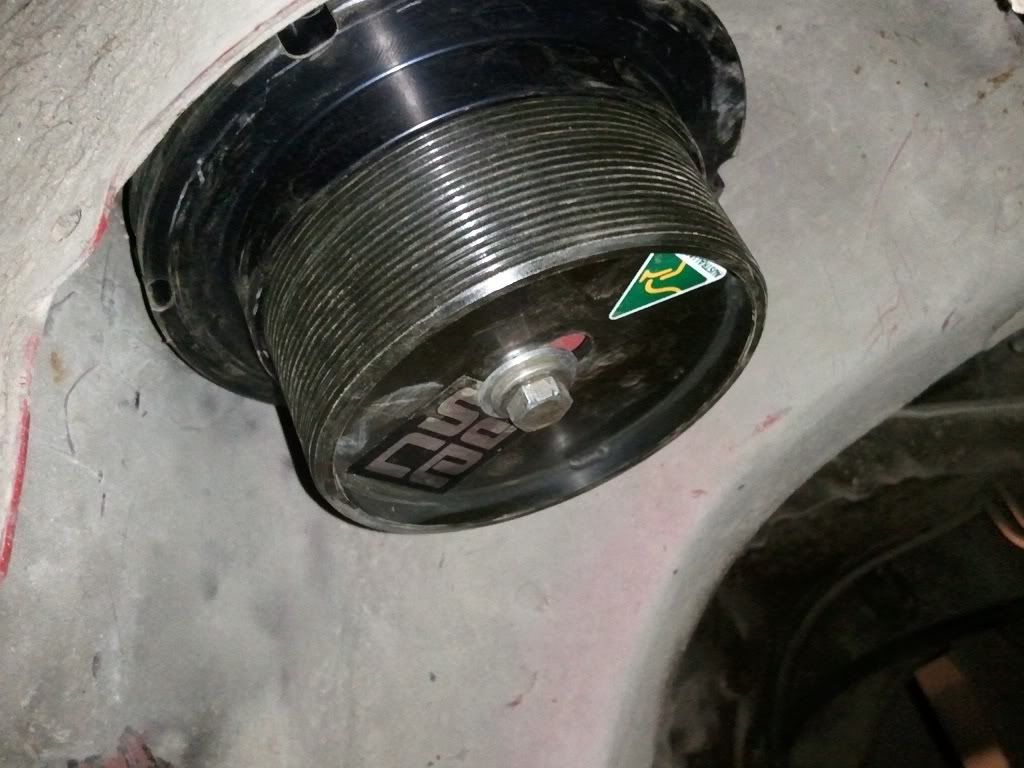
BC Racing rear springs
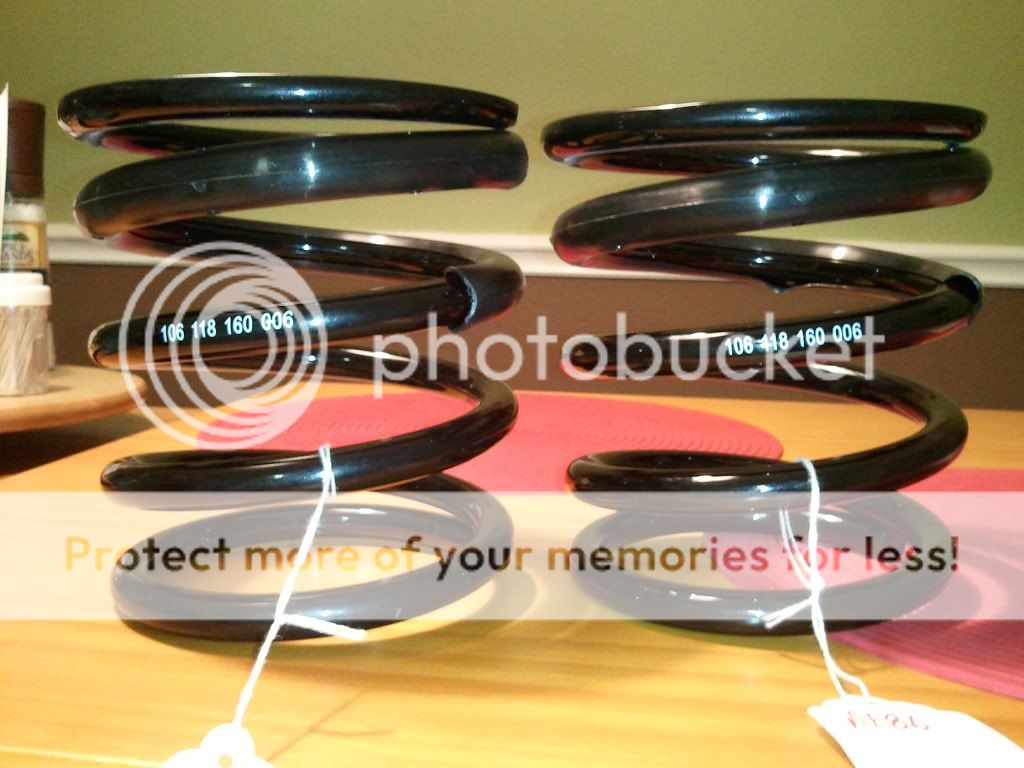
AJPS adjustable rear spring perches
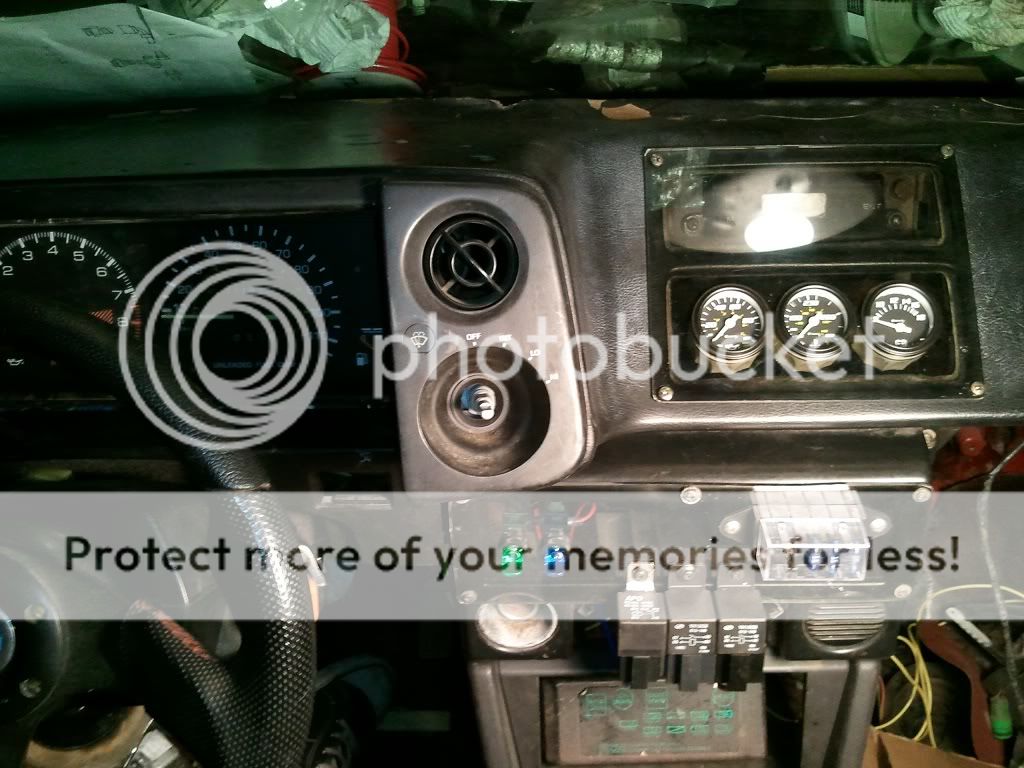
Fuel pump and fan relay & switches
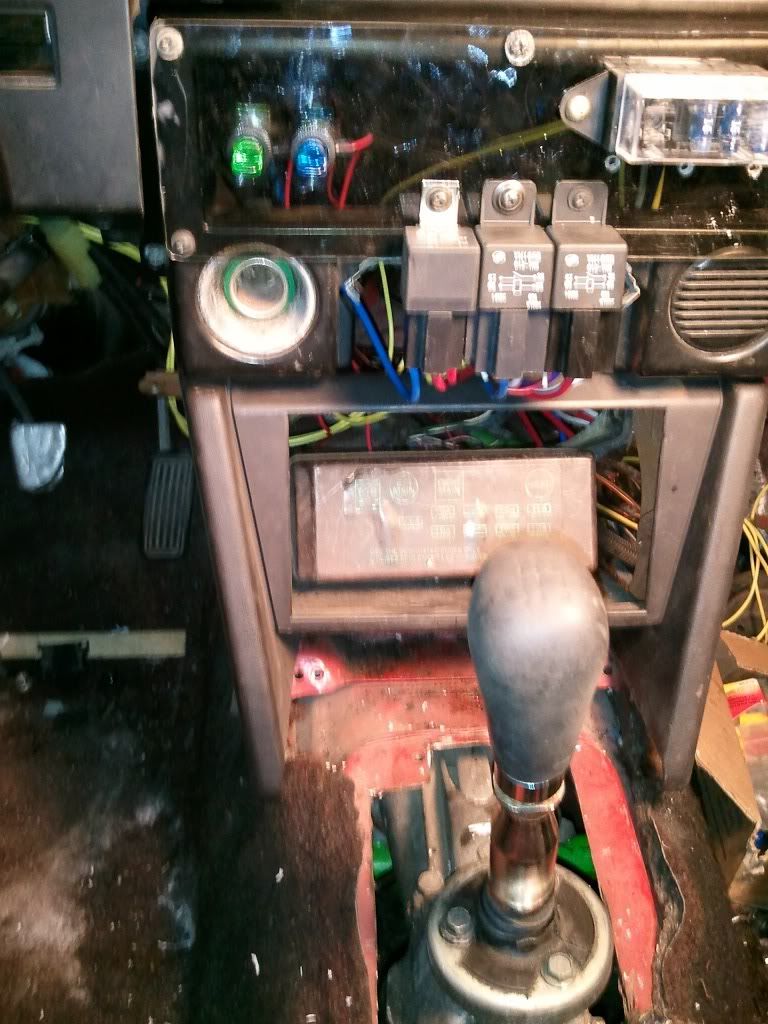
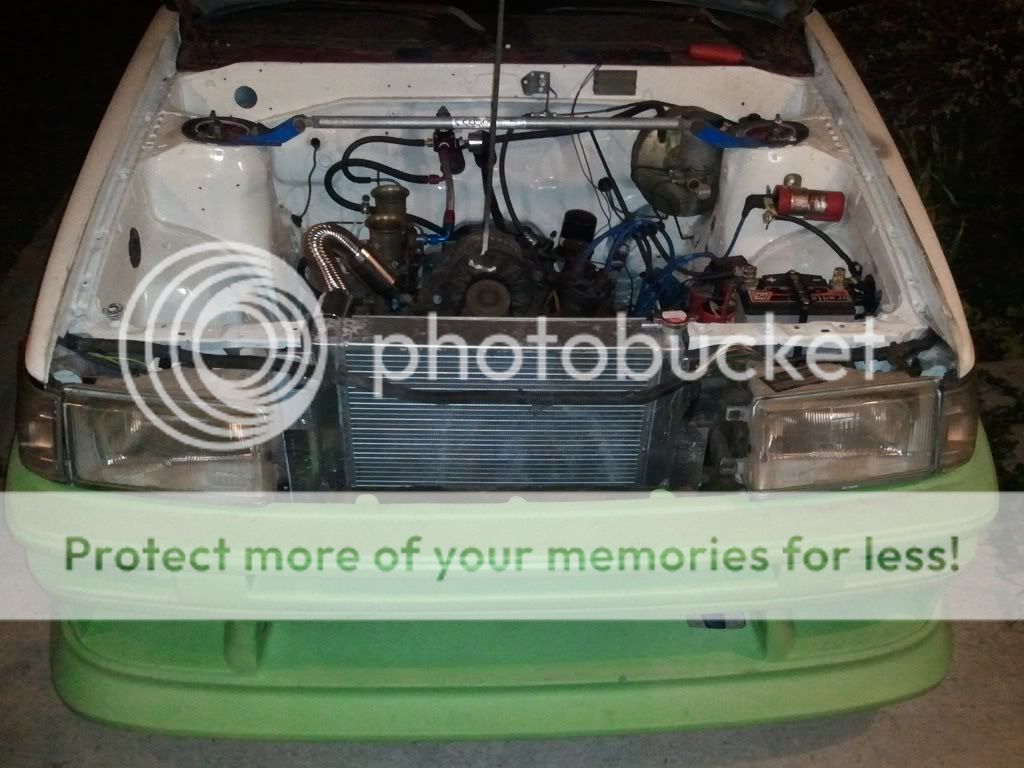
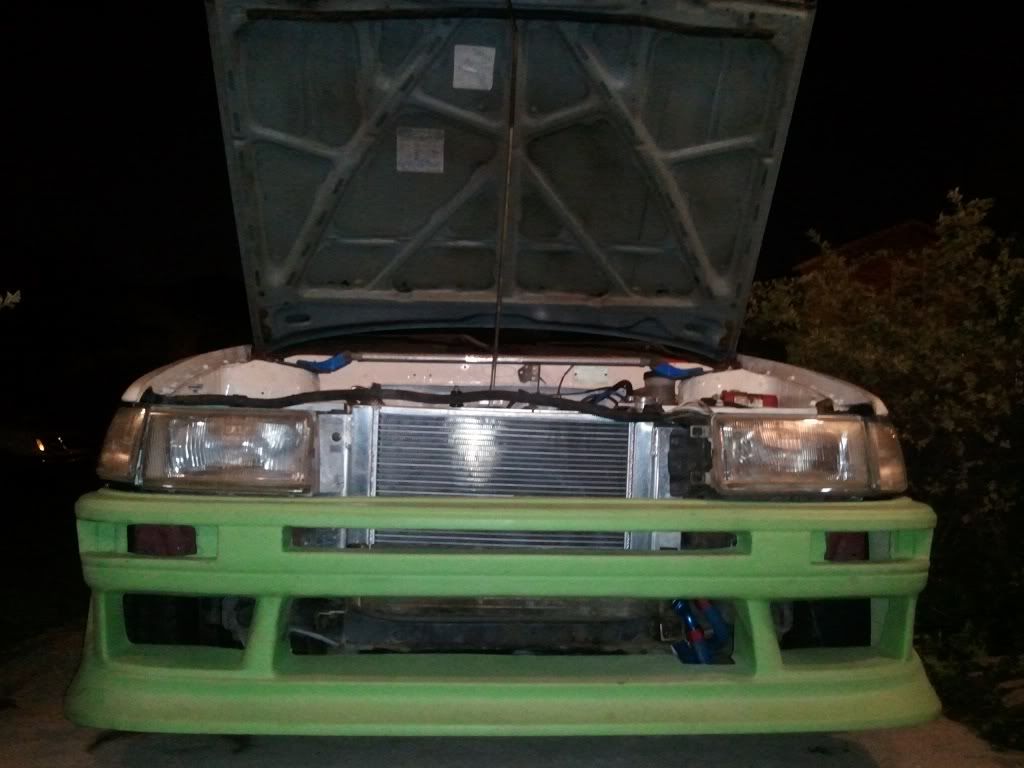
Fans and shroud mounted, wired up and running
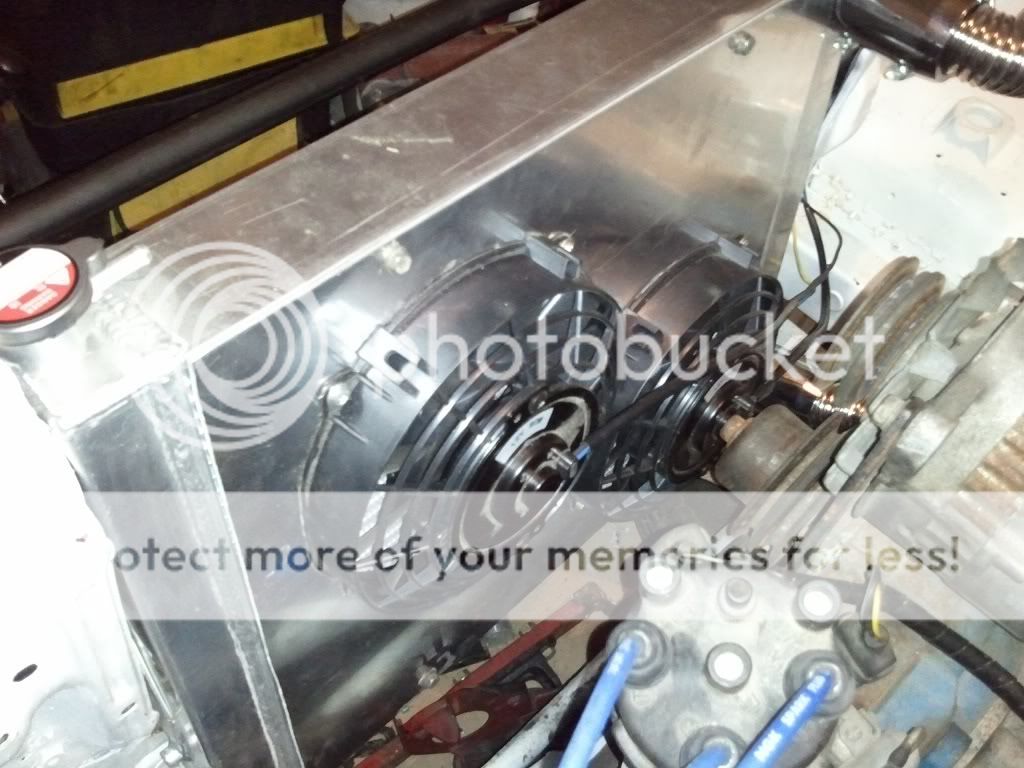
Updated furnace shot
SR5 driveshaft (lengthened by an inch) slips perfectly into the RX7 transfer case
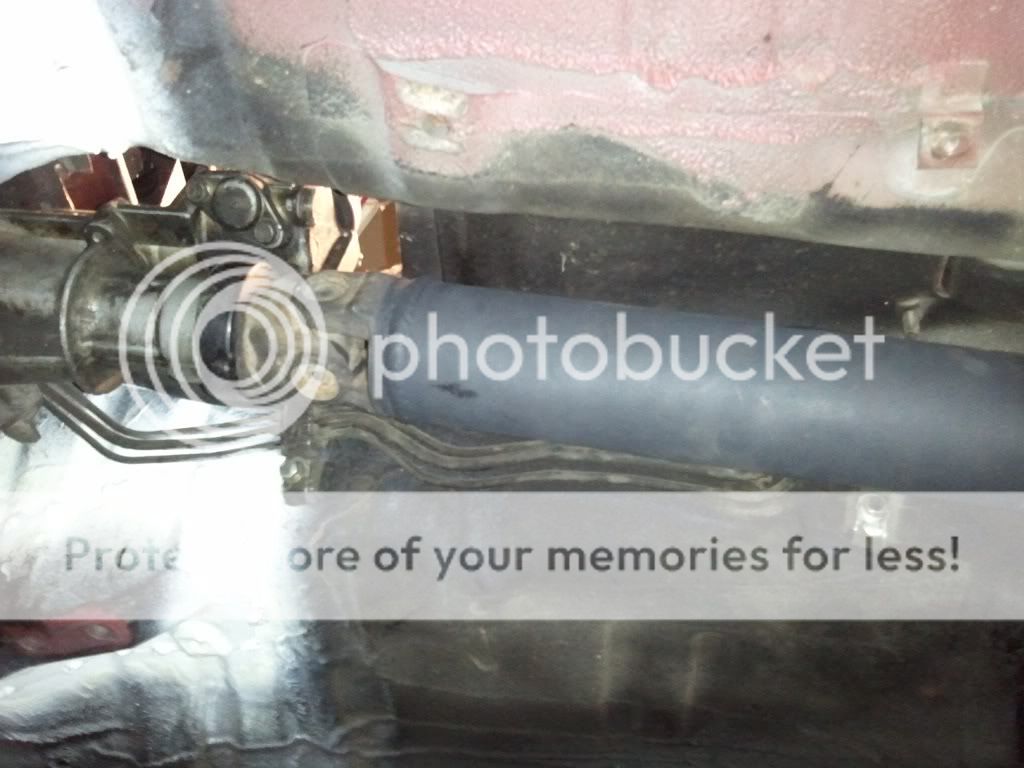
The I.D. and spline count of the split yoke are identical - 20:2 spline count.
Complete SR5 factory rear end. I installed a mini-spool into the rear end.
Some shots of when I was installing the mini-spool:
Here I've got the diff already out of the carrier and the ring gear and side gears & pin removed.
Here's the differential with the mini spool snuggly entombed in it ready to do what it was born to do: THRILL!!!
We'll have to see how the stock SR5 axles hold up to the "throttling" they're about to get
.BC Racing rear springs
AJPS adjustable rear spring perches
Fuel pump and fan relay & switches
Fans and shroud mounted, wired up and running
Updated furnace shot
SR5 driveshaft (lengthened by an inch) slips perfectly into the RX7 transfer case
The I.D. and spline count of the split yoke are identical - 20:2 spline count.
Complete SR5 factory rear end. I installed a mini-spool into the rear end.
http://youtu.be/rjQfRKpu37g
Finally got it to turn over with a can of starter fluid and 2 ounces of Valvoline VR1 20w50 down the carb throats.
Needed it to idle for a while to get some Alumaseal in the cooling system with some water. There's a good chance there's a coolant leak in the rear housing. Kentetsu from RX7Club.com had a similar issue and reported nothing but success in solving his problem with some Alumaseal.
I think I just gave myself cancer and went deaf all at the same time though.
Oh! And turn down your volume too before you play the video. You'll die if you don't.
Trending Topics


Thanks y'all. 
I ended up fumigating the family out of the house due to no catback after the RB header hence the "cancer" concerns. I guess it's time I quit goofing off and finish up the brake & clutch lines and get her to the exhaust shop.
I ended up fumigating the family out of the house due to no catback after the RB header hence the "cancer" concerns. I guess it's time I quit goofing off and finish up the brake & clutch lines and get her to the exhaust shop.
Looking good! I send my mother gagging out of her house every time I start my car, but I figure since she smokes like 2 1/2 packs a day its no big deal...lol. I had a question about your IDA set up. I know a couple of guys that run a 48 with a Carter 4070 and NO regulator. I was wondering what you have your regulator set at and if you are running a return line, since the weber I have doesn't seem to have a provision for one. Thanks. Great project!
Also, I'm using an Aeromotive 13301 bypass regulator. Holley has a "dead end" type low pressure regulator that regulates between 1-4 psi. I use that in my other Corolla that's sporting dual miks on a 16v dohc and also employing a Carter 4070.
Last edited by dr.occa; Dec 20, 2011 at 02:08 PM.


I may run a pair of custom long stacks to move the power band a little "closer" to terra firma.

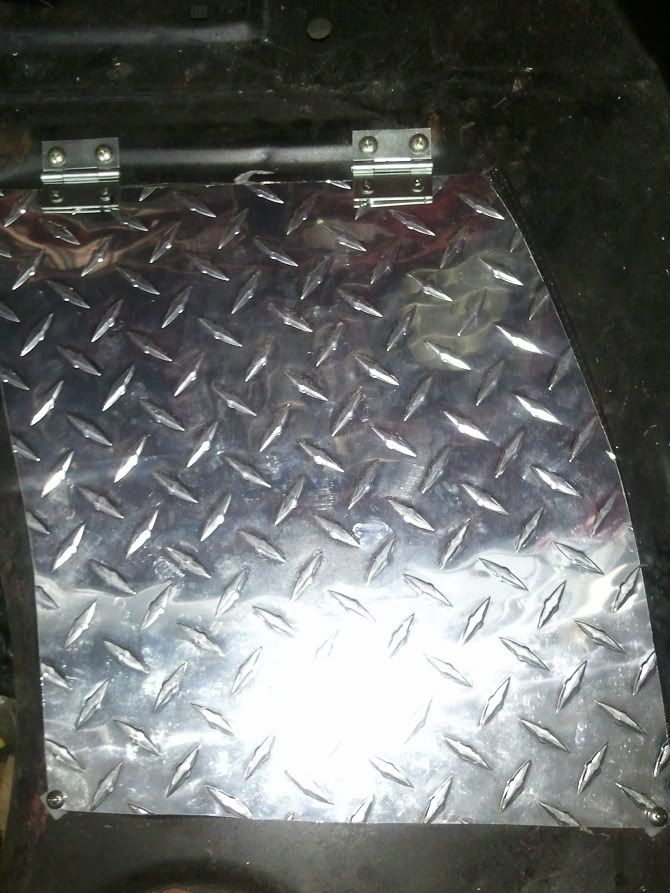
Fabbed up a heat shield to keep the heat away from the intake, carb and any fuel lines.
I didn't have enough of a single piece of aluminum to make the seamless shield per my design so I riveted another piece to complete it.
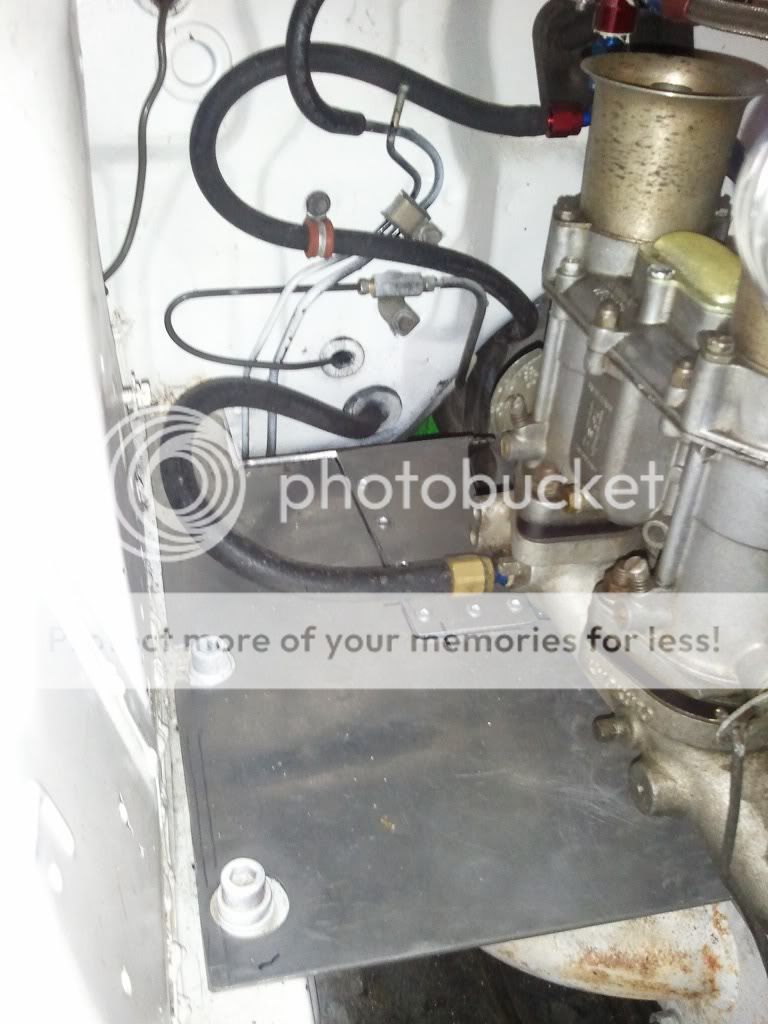
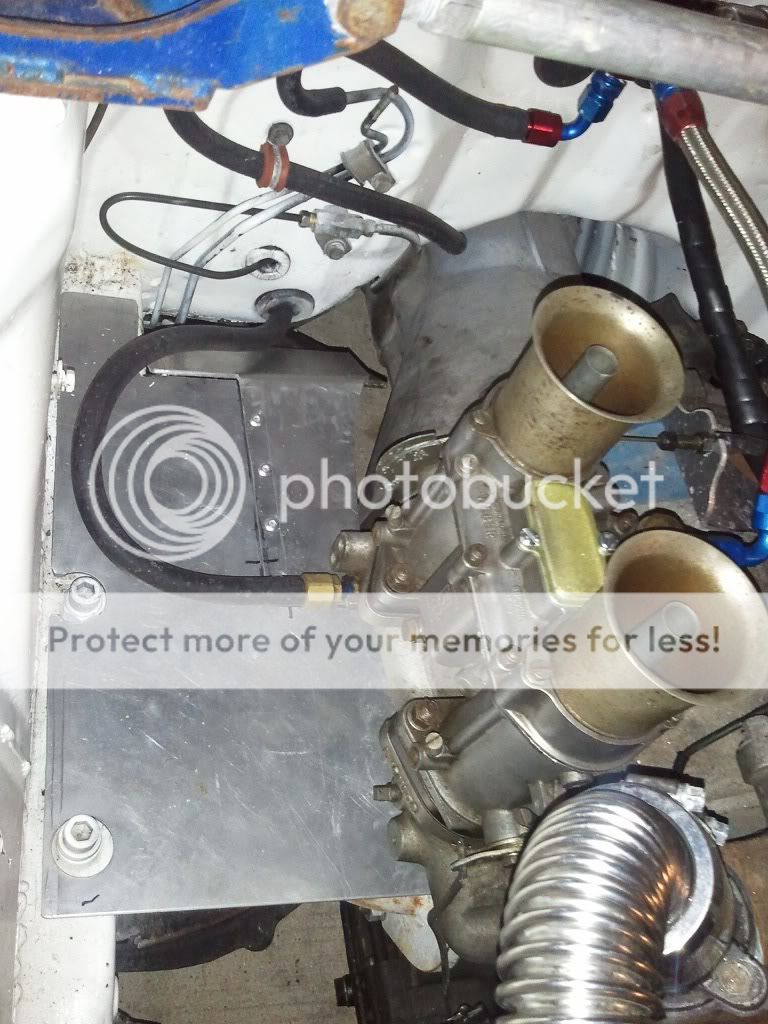
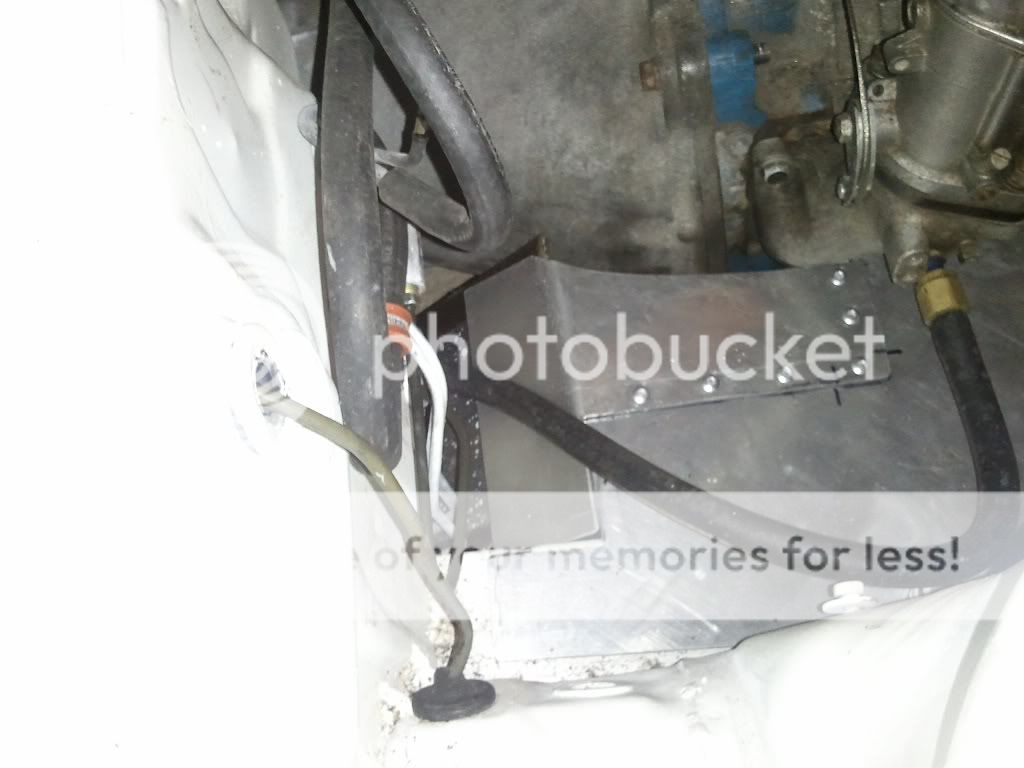
I didn't have enough of a single piece of aluminum to make the seamless shield per my design so I riveted another piece to complete it.
Joined: Apr 2006
Posts: 3,740
Likes: 6
From: Las Vegas, NV
Nice! Everytime I hear rotary ae86 I think of this..
http://www.youtube.com/watch?v=fvPfi-ZeQRM
This should be your new goal lol
http://www.youtube.com/watch?v=fvPfi-ZeQRM
This should be your new goal lol
Originally I was intending to outfit it for time attack (it may still be) but right now I'm leaning back over to the drifting side of the fence. I have my old stand-by for drifting but it wouldn't hurt to have a back up right?
I'll be using this chassis for making templates for underside diffusers. It may do double duty.
I'll be using this chassis for making templates for underside diffusers. It may do double duty.
Nice! Everytime I hear rotary ae86 I think of this..
http://www.youtube.com/watch?v=fvPfi-ZeQRM
This should be your new goal lol
http://www.youtube.com/watch?v=fvPfi-ZeQRM
This should be your new goal lol
http://www.youtube.com/watch?v=zZ42tFG6cXQ
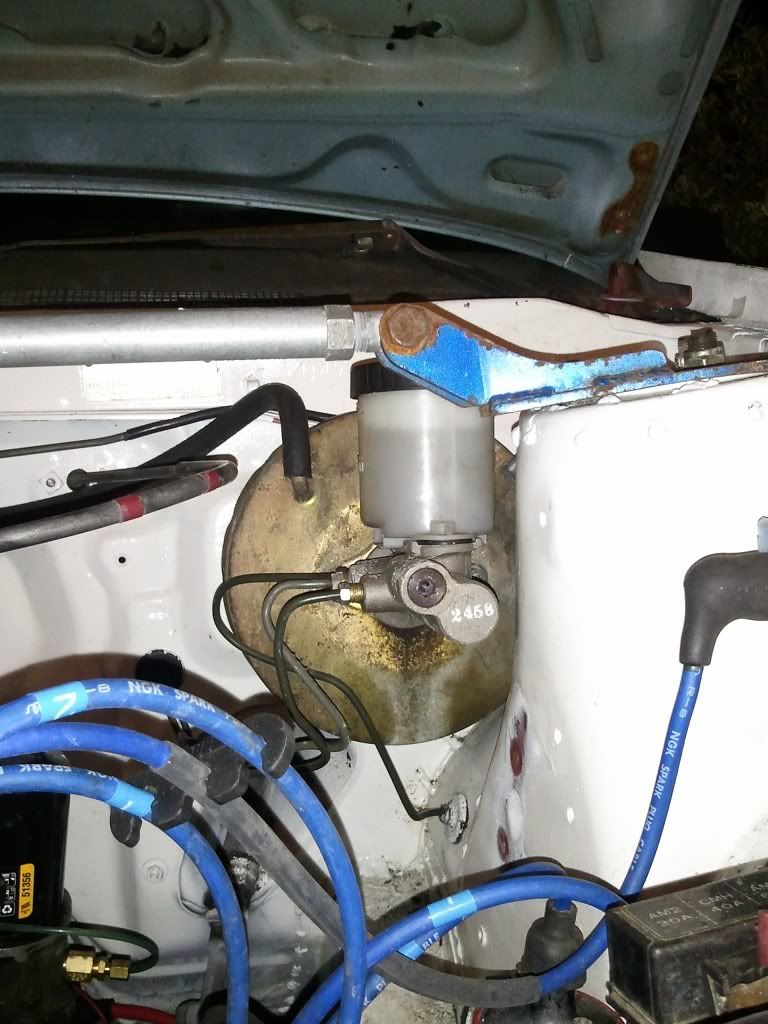
I picked up an S13 throttle/accelerator cable on a single trip to the yard this weekend. It was considerably shorter than the Tercel cable I was originally running but longer and more closer to an ideal length than the original SR5 cable. I ended up having to fab up a new cable stay out my dwindling scrap aluminum. With all the aluminum dust I'm sponging up I'm well on my way to the Alzheimer Carnival. Here's the outcome of one of many misadventures to ultimate memory loss island:
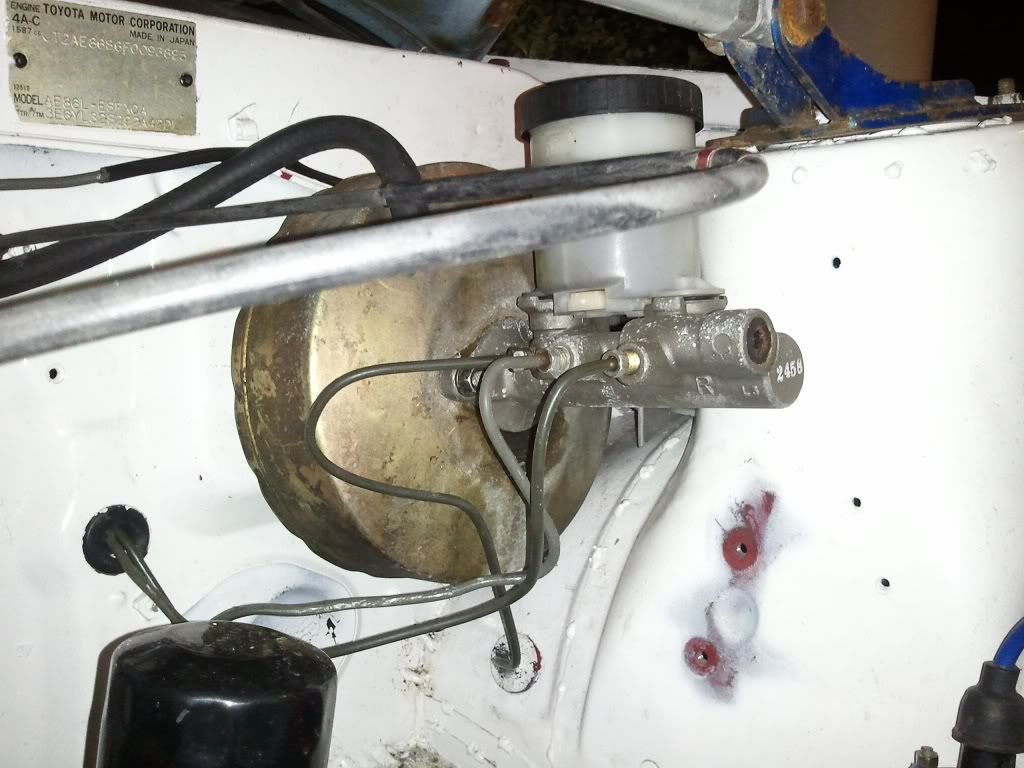
Another piece I borrowed from the S13 chassis is the slightly larger bore BMC with built-in proportioner:
and
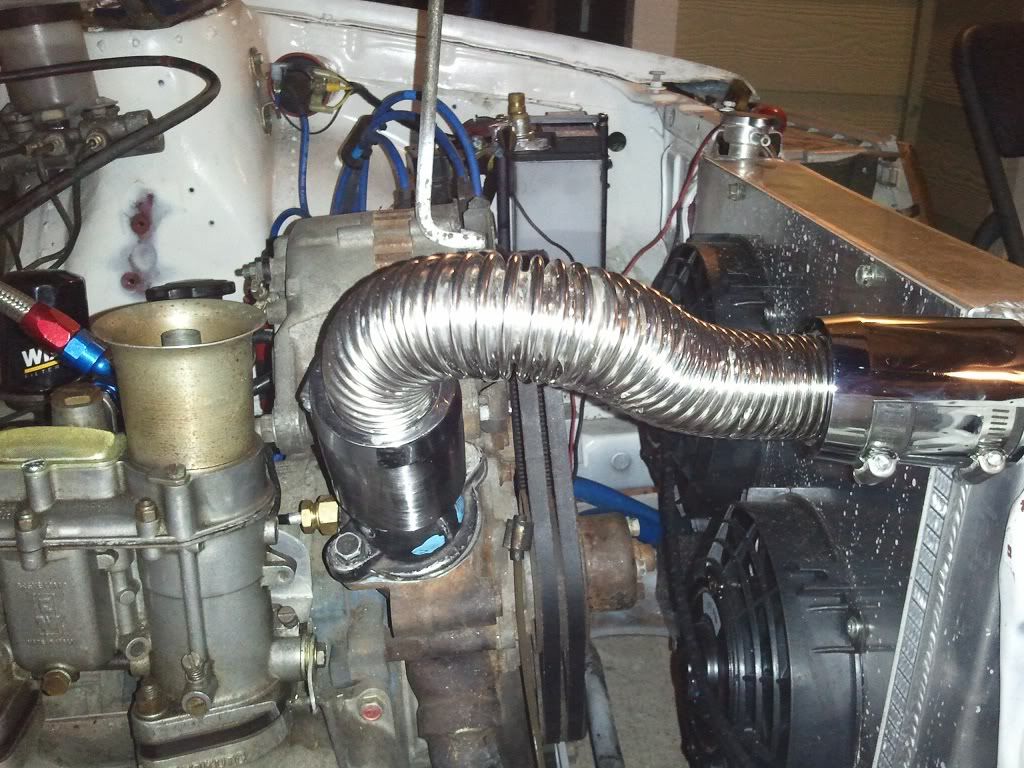
Yet another non-native puzzle piece is the thermostat water neck pulled from an 87 Ford Ranger. The one that originally came with this 12A was longer and had a coolant cap on it. If you look in the background my radiator already has a cap. I wanted one less point of pressure leak hence my "solution". Also the length and the angle at which the outlet was facing created more of a severe turn in the upper coolant hose. I was able to greatly reduce the radius and length of the hose with the new thermostat neck. I just had to bore out the mounting points equally to get them to line up. Really easy fix. Ok, too much yap: here.
I ran a new batch of coolant through her along with a bottle of alum-a-seal since I had some "suffocation" issues with the last attempt. Idled the car for about 30 minutes at 7pm. Though the car was just idling, the heat shield for the intake area is working fabulously so far. Idle is at 1400-1600. I'm sure my neighbors were thinking daggers though. What do you think: am I a turd neighbor?
A funny note: as I was recording me blipping the throttle the last "shove" took out one of my outdoor garage lights. Not only were my ears assaulted, my eyes had a little magic show too.
Exhaust wise: still just the Racing beat header and that's it.
Another piece I borrowed from the S13 chassis is the slightly larger bore BMC with built-in proportioner:
and
Yet another non-native puzzle piece is the thermostat water neck pulled from an 87 Ford Ranger. The one that originally came with this 12A was longer and had a coolant cap on it. If you look in the background my radiator already has a cap. I wanted one less point of pressure leak hence my "solution". Also the length and the angle at which the outlet was facing created more of a severe turn in the upper coolant hose. I was able to greatly reduce the radius and length of the hose with the new thermostat neck. I just had to bore out the mounting points equally to get them to line up. Really easy fix. Ok, too much yap: here.
I ran a new batch of coolant through her along with a bottle of alum-a-seal since I had some "suffocation" issues with the last attempt. Idled the car for about 30 minutes at 7pm. Though the car was just idling, the heat shield for the intake area is working fabulously so far. Idle is at 1400-1600. I'm sure my neighbors were thinking daggers though. What do you think: am I a turd neighbor?
A funny note: as I was recording me blipping the throttle the last "shove" took out one of my outdoor garage lights. Not only were my ears assaulted, my eyes had a little magic show too.
Exhaust wise: still just the Racing beat header and that's it.