2012 to Current project log for my T2 83 S

 03-18-13, 02:19 PM
#132
Lol, twist my arm... Honestly I have a long wish list of stuff for this car, but I have a number of other project cars to finish first - it'll definitely be several years before this car sees any major work again, unless of course something breaks.
I'll decide at that point which direction to go, it'll either be an FC rear subframe to compliment the FC front, or change both to Miata parts.
Again, lots of time to decide which direction to go, both have pluses and minuses, and like I said, at this point I'm very happy with the car. Once I get the Panda back together and finish building my Rotary AE86 I'll re-evaluate my life haha.
 03-29-13, 07:35 AM
#134
I like your ride height. I'm looking to throw a set of coilovers on my car. Hopefully with some stiff swaybars and poly bushings everywhere/pb&J mod to the rear links I can eliminate the binding issues everyone seems to be having. Or at least make it manageable.
Just wondering if you're running into any of that?
03-29-13, 08:13 AM
#135
Rear sway bar is stock with poly bushings and poly endlinks set fairly loose. Rear end is nicely planted for the type of driving I do (street). If I put some slicks on there and took it to a track I'd probably run into some binding issues - but that's only a guess 
I'm real happy with the ride height too, low enough to look good, but I can still get over speedbumps and into steep driveways without scraping anything. It's just a set of the NLA Eibach springs on there - they really are perfect, it's a shame they don't make them anymore
I'm real happy with the ride height too, low enough to look good, but I can still get over speedbumps and into steep driveways without scraping anything. It's just a set of the NLA Eibach springs on there - they really are perfect, it's a shame they don't make them anymore
 04-09-13, 01:44 PM
#138
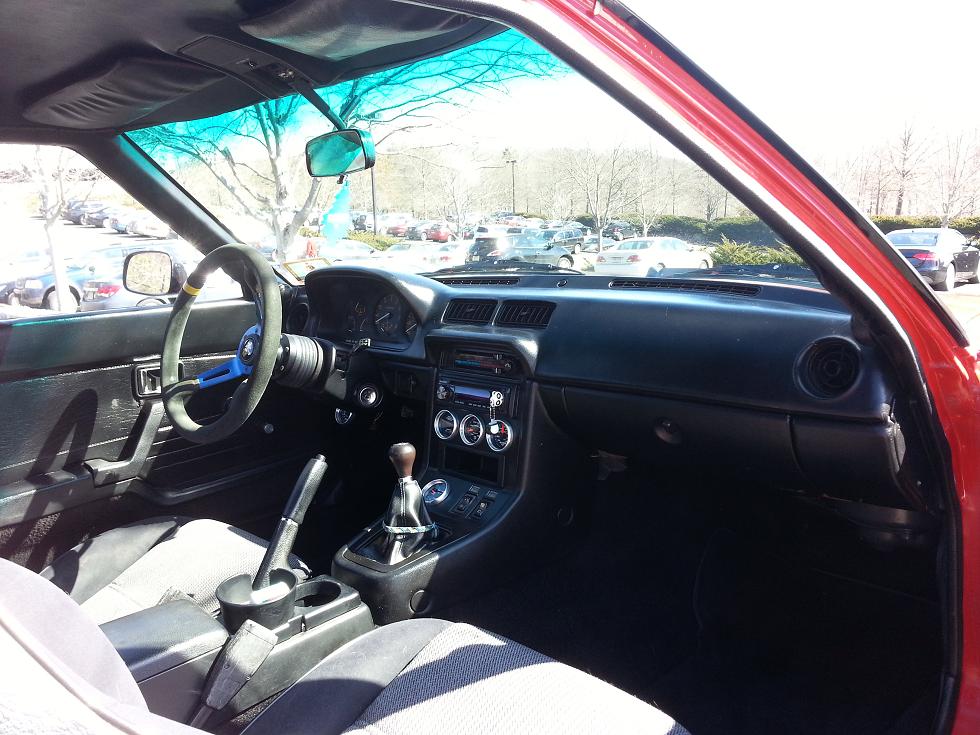
^Thanks, Some of the interior is original, but there are lots of bits and pieces in there I sourced from other cars. The worst part of it is the headliner. The original one was sagging baddly so I replaced it with a good one. Years later and that one is sagging too. I'm thinking of finding a 84/85 gray one. They are made from better material and should hold up better. I'm thinking the gray won't look too bad. Lots of new cars have it like that... Either that or just rip it out and go with no headliner lol
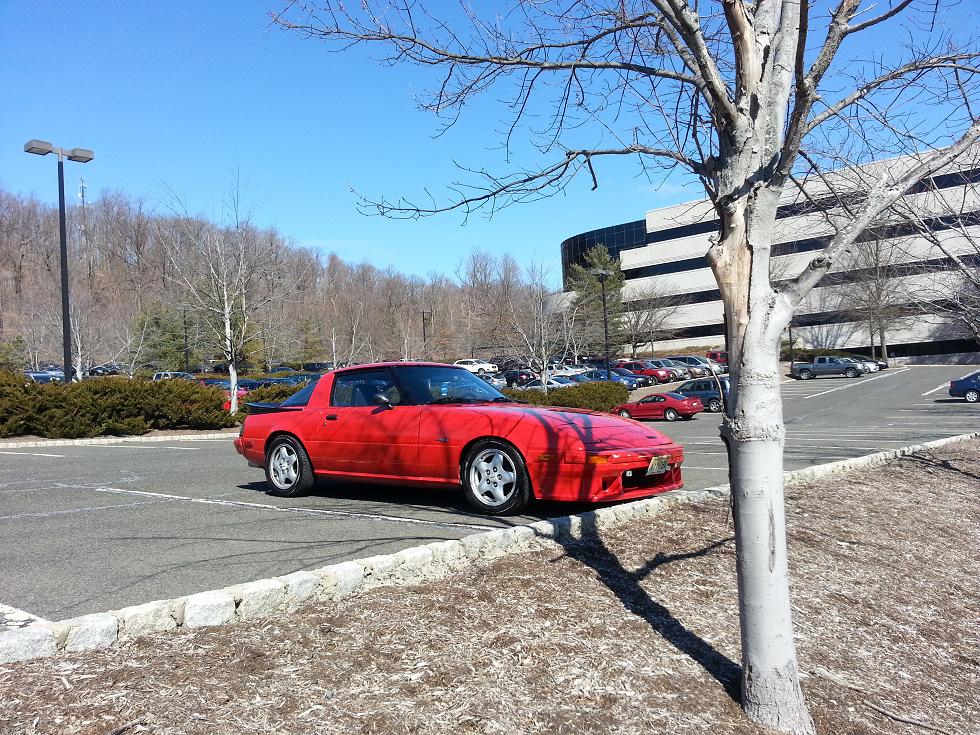
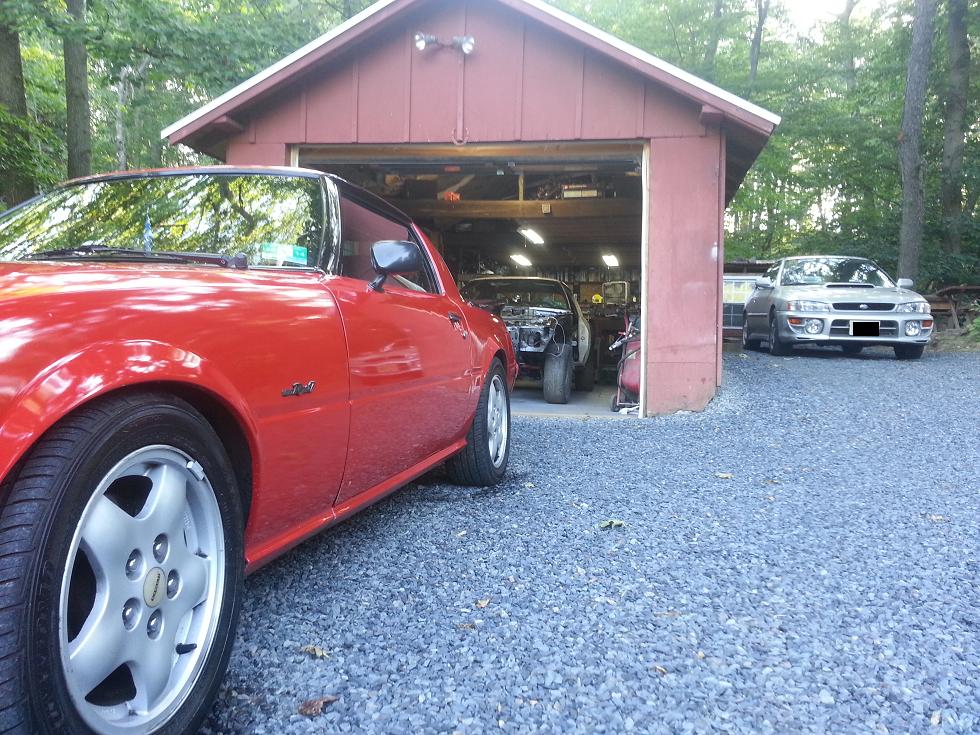
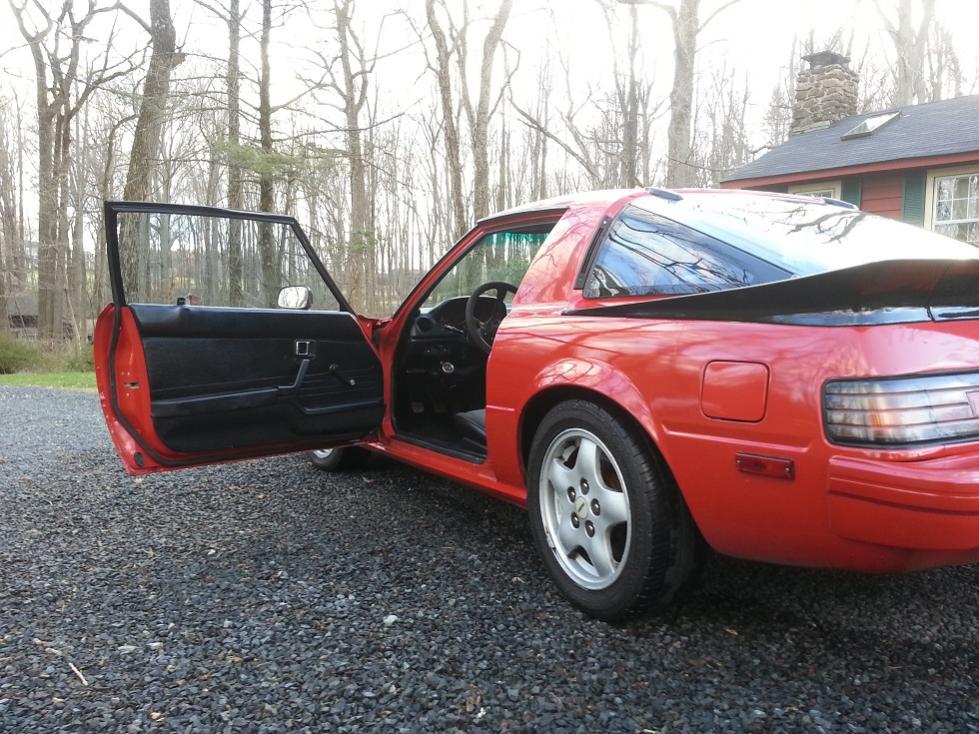
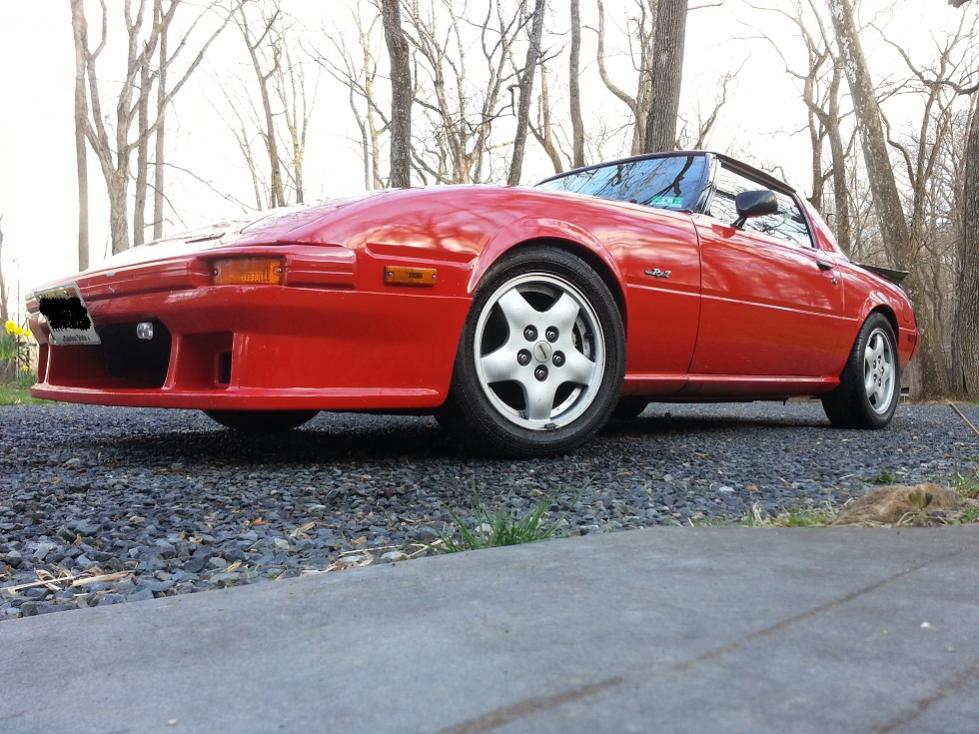
Not much new on this one right now. I did make a simple bracket to hold my palm (for the Rtek) that attaches to the driver side vent (no a/c at this time so it's an unused vent anyway) Makes it easily viewable and holds it steady enough that I can start data logging easily etc. Also took the connector for the palm apart and modded it so that you have it hooked to the engines ECU and a cig lighter charger at the same time. No need to remove it from the car to charge it anymore! Took a few pics of the car along with my daily driver (the silver impreza) and a few interior shots.
Enjoy.
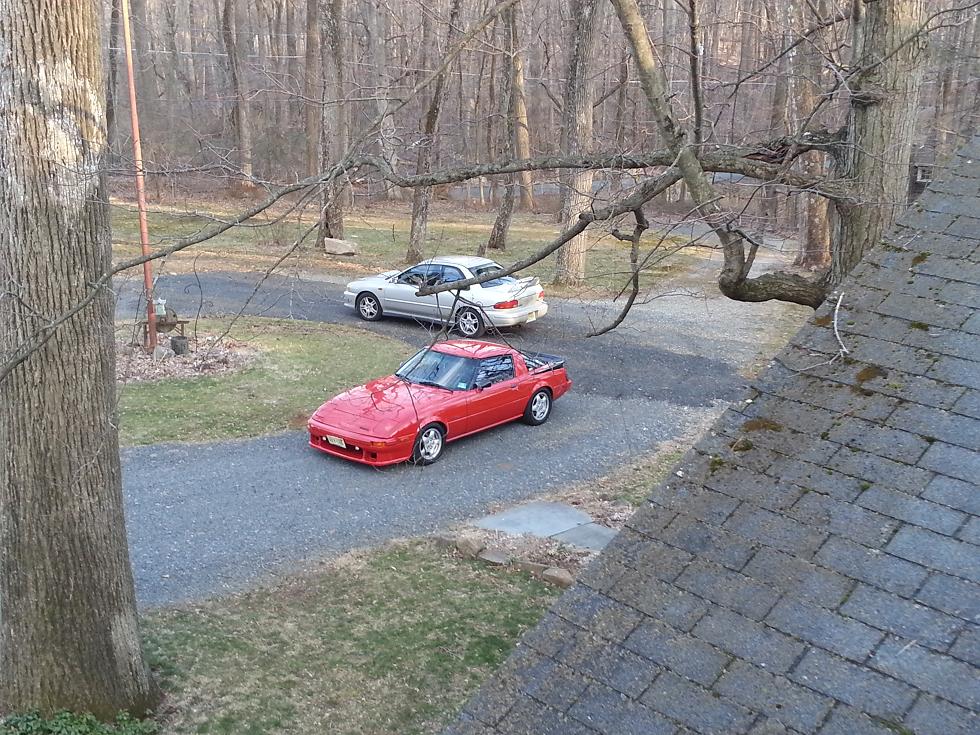
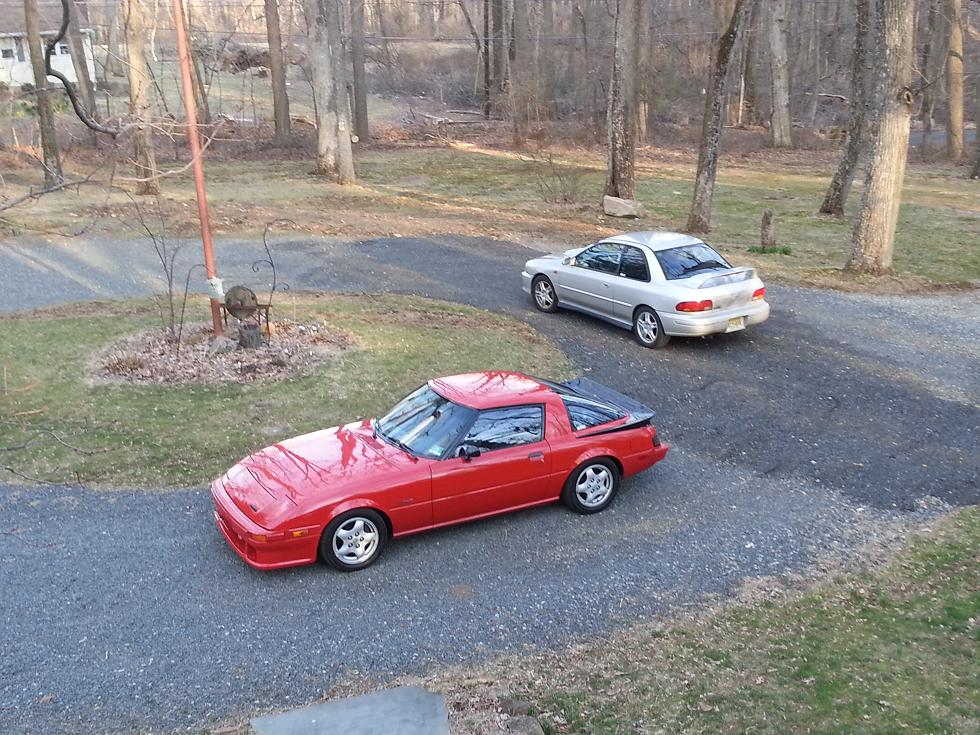
04-10-13, 10:11 AM
#139
Always loved your pics 
I gotta ask, what size is that dishy Momo steering wheel? I'm assuming 350mm? I got a 320mm flat one with an eBay hub setup for cheap just to try it out and the thing fits terribly. Covers up literally 80-90% of the gauges from my sight. I'd love to go dishy, just not sure on the size to avoid this problem.
And no boost gauge?! Is that another project in the works? One nice thing about the S3 Mazdatrix dual a-pillar setup is that it's a direct full replacement, where the S1-2 is just a dual pod that has to be screwed onto the factory pillar. Maybe I'm just missing the boost gauge, or you have that up on the Palm while running.
04-10-13, 10:35 AM
#140
Thanks man
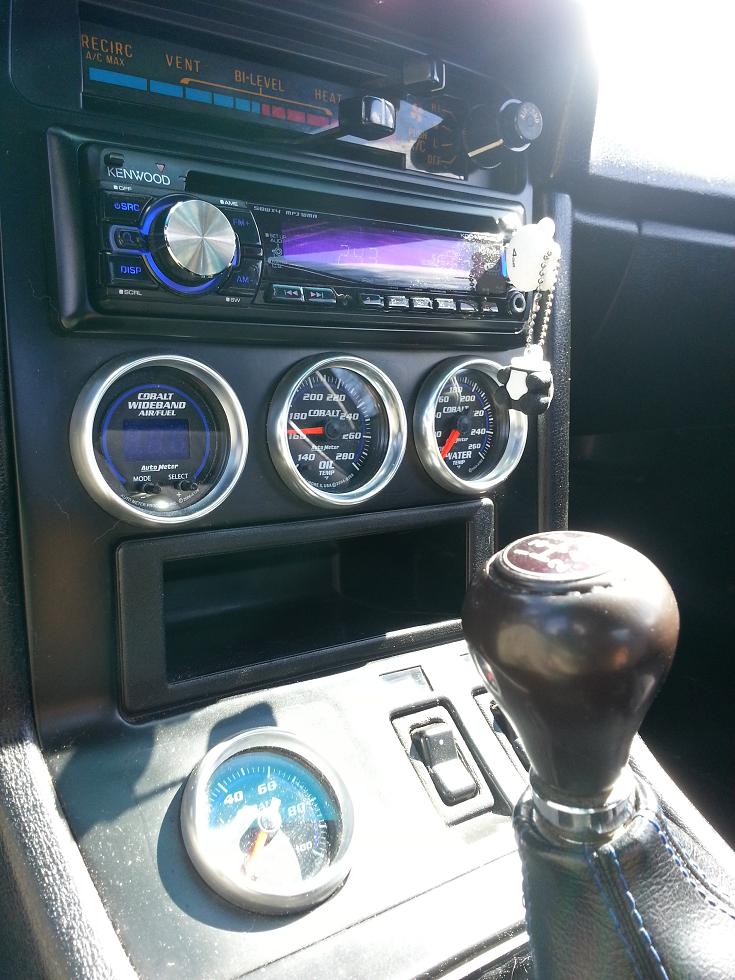
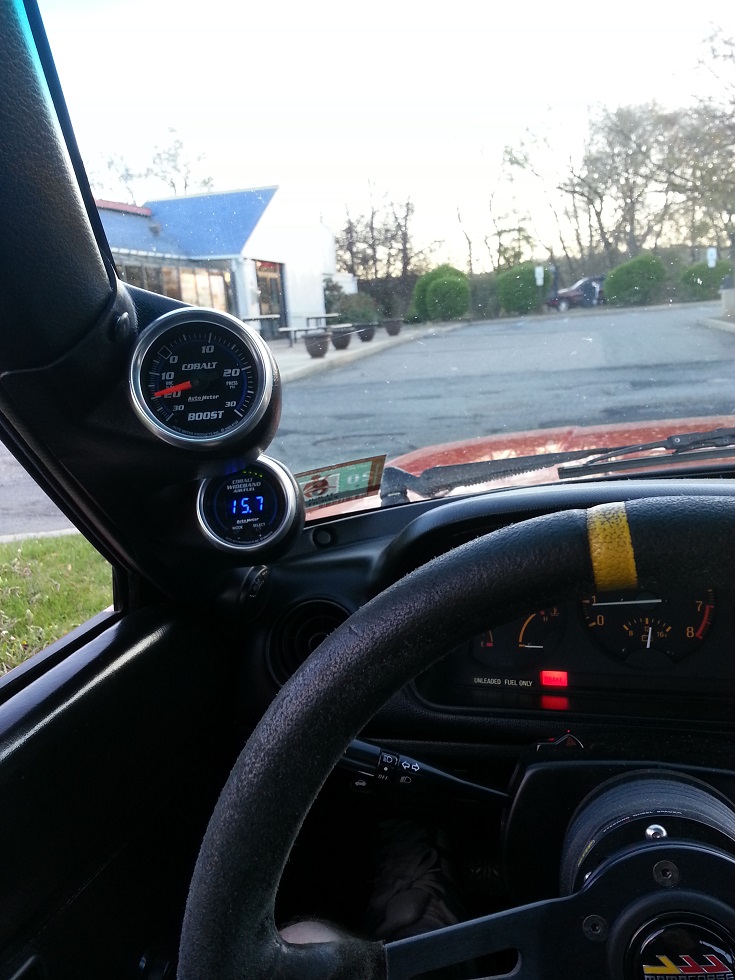
I do have a boost gauge, you can see it in a earlier pic. I'll post it again with an arrow cause it's kinda hard to see in the pic. I used to have it where the Wideband is, but when I got the wideband I moved it over to under the choke ****/gas door release area. It's not the most convenient spot, but it's visable, and I can (and do) have it as one of the log items on my palm so I can see it there too.
I've never been a huge fan of A-pillar mounted gauges so I avoided that, and I didn't want to block half of the tach and batter gauge by putting it on the steering column. This was the next best choice.
The wheel is indeed 350mm. It's got a 90 mm dish, and a 60mm spacer between it and the hub. Overall that brings it 6 inches closer to me (I'm 6'-3" and need all the knee room I can get) and since the column angles upward, that 6 inches also brings the wheel up high enough that pretty much all of the gauges are visable.
Long ago I had another momo on the car, also 350mm but not dished (but did have the 60mm spacer) and the gauges weren't cut off very badly with that one either.
04-11-13, 08:57 AM
#142
Thanks
Stereo surround is actually just rustolium satin black. I did a fair amount of cutting, jbwelding and bondoing to get the gauges to all fit how I wanted so I just sealed it up with some rustolium sandable primer and topped that with a few coats of satin black. All stuff from Lowes - nothing too fancy.
Like any paintjob the key is prep work. Make sure to clean it all really well and scuff it a bit to give the paint some tooth to stick to. If you've ever put any kind of armor all type products on that panel you have to clean it really well or the paint will fisheye...
Did all that back in 2007ish and it's held up really well. I initially tried to replicate the stock color by first painting it black and dusting it with some silver - to try and get that metallic gunmetal type finish that the stock parts have but I could never get it to look right. I'm happy with the way it looks, but someday I'd like to give replicating the stock color another shot...
04-12-13, 05:54 AM
#143
Thanks
Stereo surround is actually just rustolium satin black. I did a fair amount of cutting, jbwelding and bondoing to get the gauges to all fit how I wanted so I just sealed it up with some rustolium sandable primer and topped that with a few coats of satin black. All stuff from Lowes - nothing too fancy.
Like any paintjob the key is prep work. Make sure to clean it all really well and scuff it a bit to give the paint some tooth to stick to. If you've ever put any kind of armor all type products on that panel you have to clean it really well or the paint will fisheye...
Did all that back in 2007ish and it's held up really well. I initially tried to replicate the stock color by first painting it black and dusting it with some silver - to try and get that metallic gunmetal type finish that the stock parts have but I could never get it to look right. I'm happy with the way it looks, but someday I'd like to give replicating the stock color another shot...
Stereo surround is actually just rustolium satin black. I did a fair amount of cutting, jbwelding and bondoing to get the gauges to all fit how I wanted so I just sealed it up with some rustolium sandable primer and topped that with a few coats of satin black. All stuff from Lowes - nothing too fancy.
Like any paintjob the key is prep work. Make sure to clean it all really well and scuff it a bit to give the paint some tooth to stick to. If you've ever put any kind of armor all type products on that panel you have to clean it really well or the paint will fisheye...
Did all that back in 2007ish and it's held up really well. I initially tried to replicate the stock color by first painting it black and dusting it with some silver - to try and get that metallic gunmetal type finish that the stock parts have but I could never get it to look right. I'm happy with the way it looks, but someday I'd like to give replicating the stock color another shot...
Mazdatrix used to offer those pieces new, but shows they don't have them anymore.
Prolly end up respraying it satin black. Looks great for being sprayed 6 years ago
04-12-13, 07:59 AM
#144
Yeah most of the interior parts are NLA at this point. The satin black looks good, certainly not out of place but there is something about that stock color that looks cool too lol.
Maybe next time I'm getting paint mixed I'll bring one with me to see if they can make some.
Maybe next time I'm getting paint mixed I'll bring one with me to see if they can make some.
 04-29-14, 02:26 PM
#147
Been a while since I updated this thread. Hasn't been a whole ton of stuff going on with this car. Those who have read my other threads know I've been preoccupied with those two fb's haha. In the end though, this one is my baby. Been trying to enjoy it as much as possible lately.
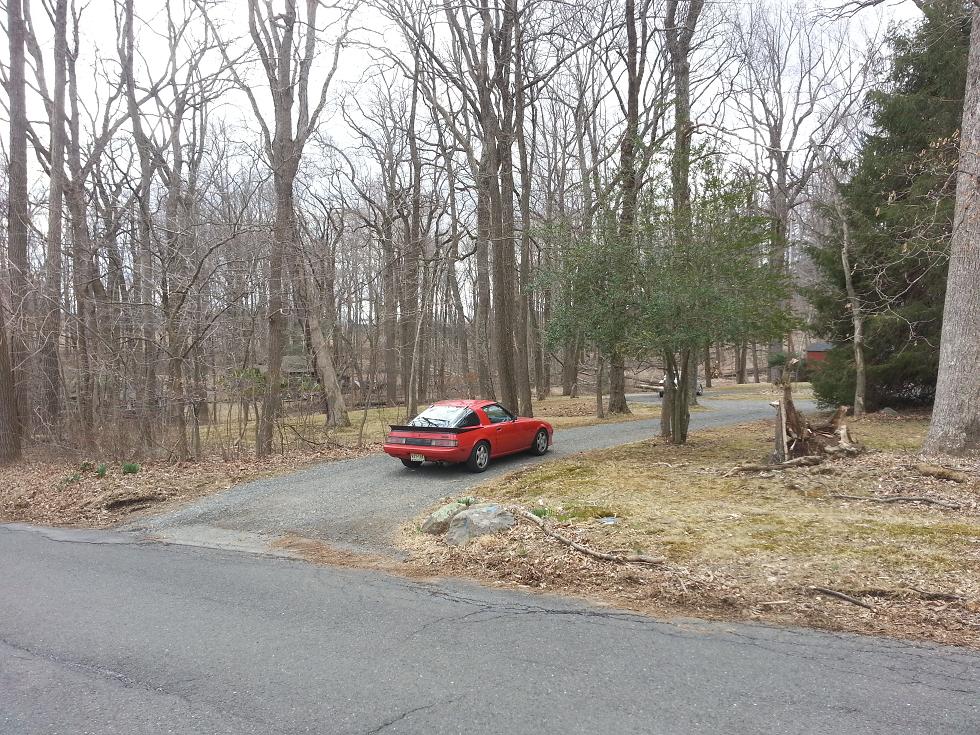
I got married in November up in Rhode Island (was fun to pretend to be rich for a few days haha) and we took this car. Figured I'd post a few shots. Prior to going I put a new radiator (that big aluminum one sucked) as well as new brakes (rebuilt calipers, stop tech pads, new rotors) and a few minor other things. Overall though the car has been running really well.
I have some plans for the near future, but I'll detail those later one.
Hopefully no one minds some more pics of this heap
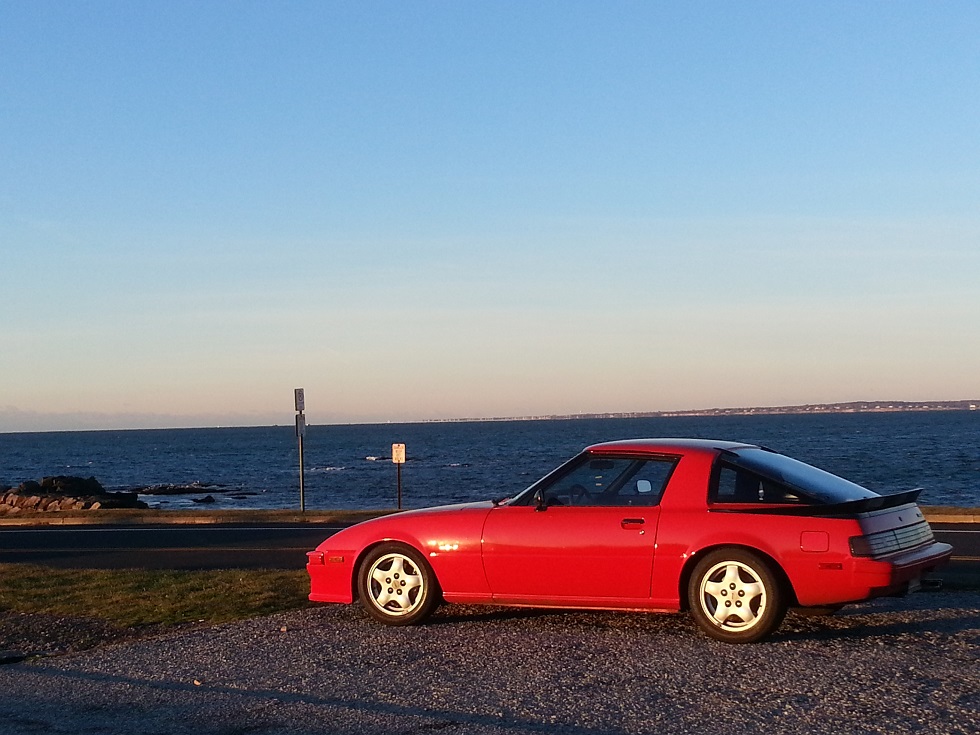
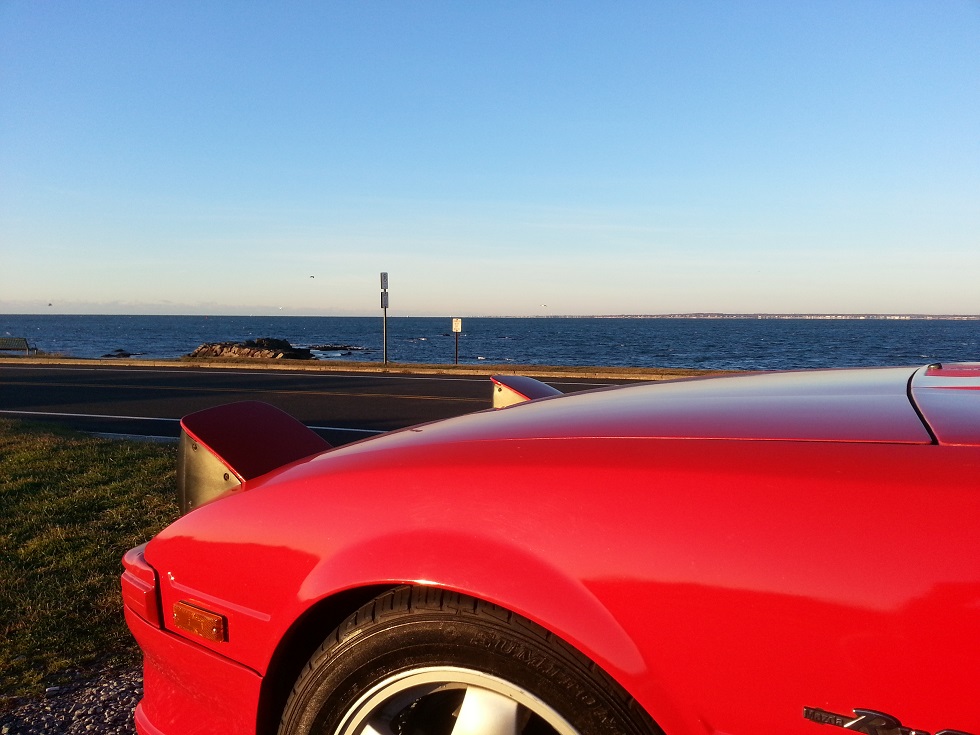
04-29-14, 02:30 PM
#148
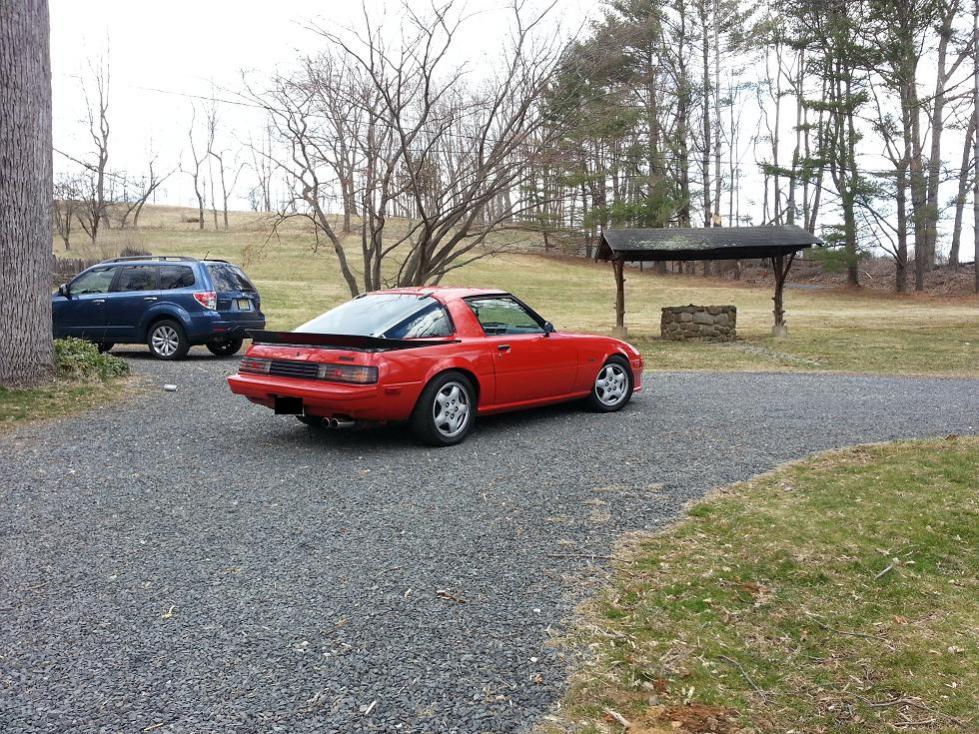
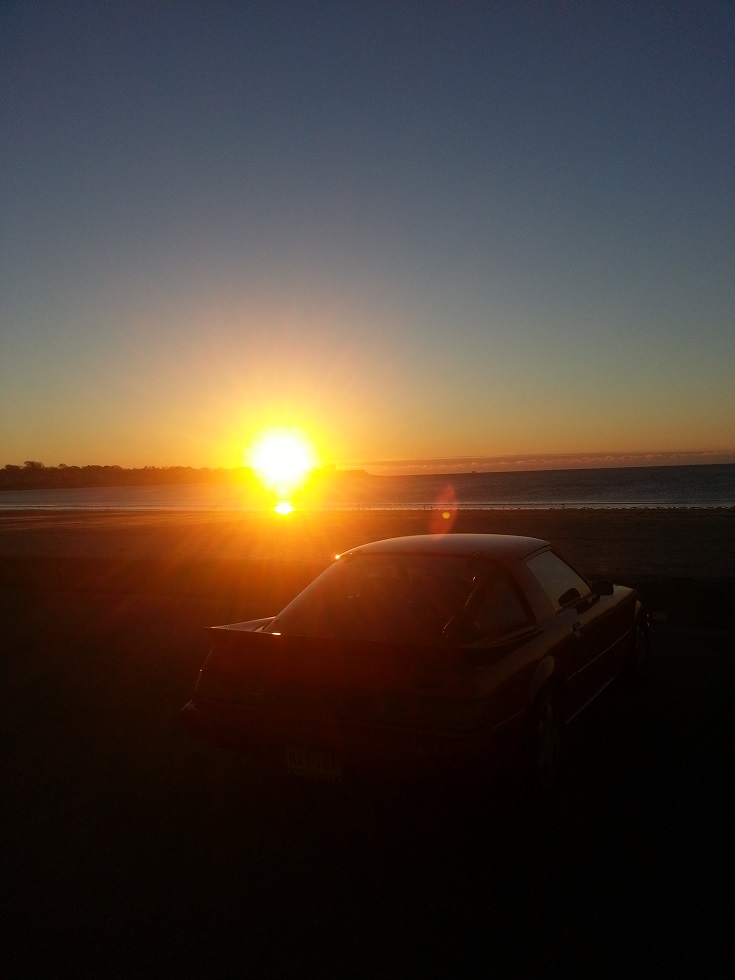
Few more pics for last week. Trying to be artsy with the water rolling down the sides etc. Whoa now...
Haven't decided 100% yet, but I'm thinking some new wheels are in order for this. I love the car to death but I'm kinda bored with it honestly. I'm also looking to put a double din head unit in and rearrange my gauges a bit. Gotta mix it up!
Haven't decided 100% yet, but I'm thinking some new wheels are in order for this. I love the car to death but I'm kinda bored with it honestly. I'm also looking to put a double din head unit in and rearrange my gauges a bit. Gotta mix it up!
05-06-14, 10:53 AM
#150
Thanks man, was good seeing you this weekend. Hopefully you can use some of that crap I gave you lol.
So as I eluded to in the previous post I need to mix it up a bit with this car, it's been too long since I modified something lol. I decided to get a double din touch screen for it, and rearrange my gauges. After putting a a pillar pod on my 85 and realizing how much I like it, I decided to do the same here. I bought the pod that Mazdatrix sells, it just screws onto the stock A pillar. I had already drilled holes in my a pillars to mount tweeters so no big deal drilling a few more. I did quite a bit of trimming to the gauge pod to get it to fit how I wanted. The pics make it look like there are large gaps, but there aren't. It actually fits quite well, I'm happy with it.
I'm going to put the remaining 3 gauges (water temp, oil temp, oil pressure) where the stock single din would go, and put the double din underneath, where the ash tray and tray were (which is where I had the gauges previously, you can see earlier pics). Still working on the stereo surround, but it's getting there. Hopefully I can finish it up this weekend.
Ordered a few other parts for this thing, but I'll keep those under wraps for now
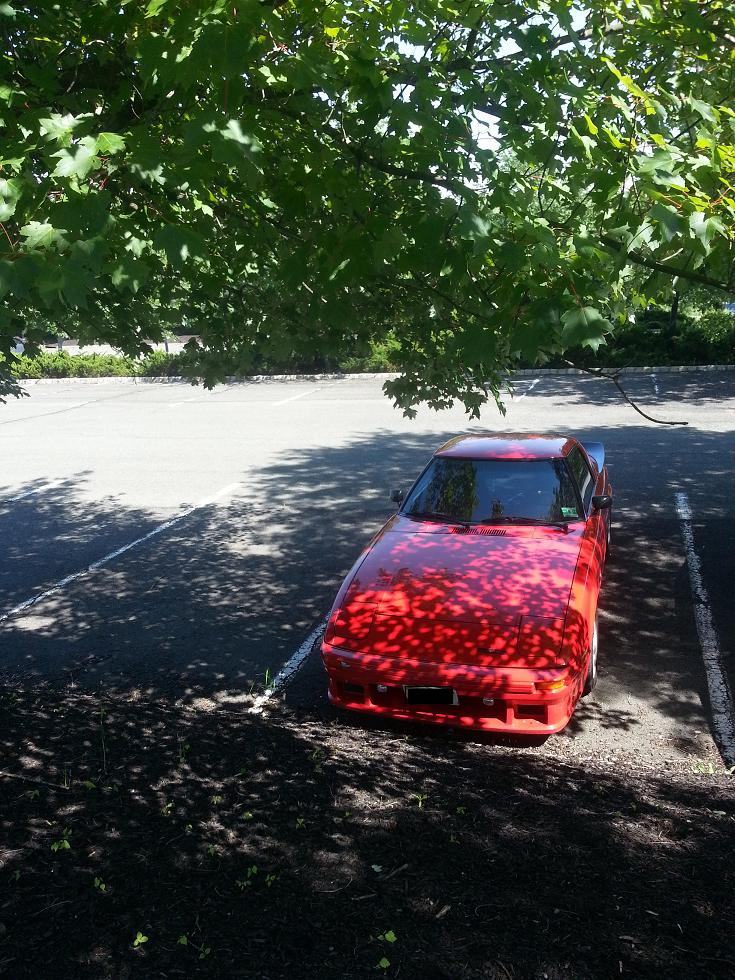
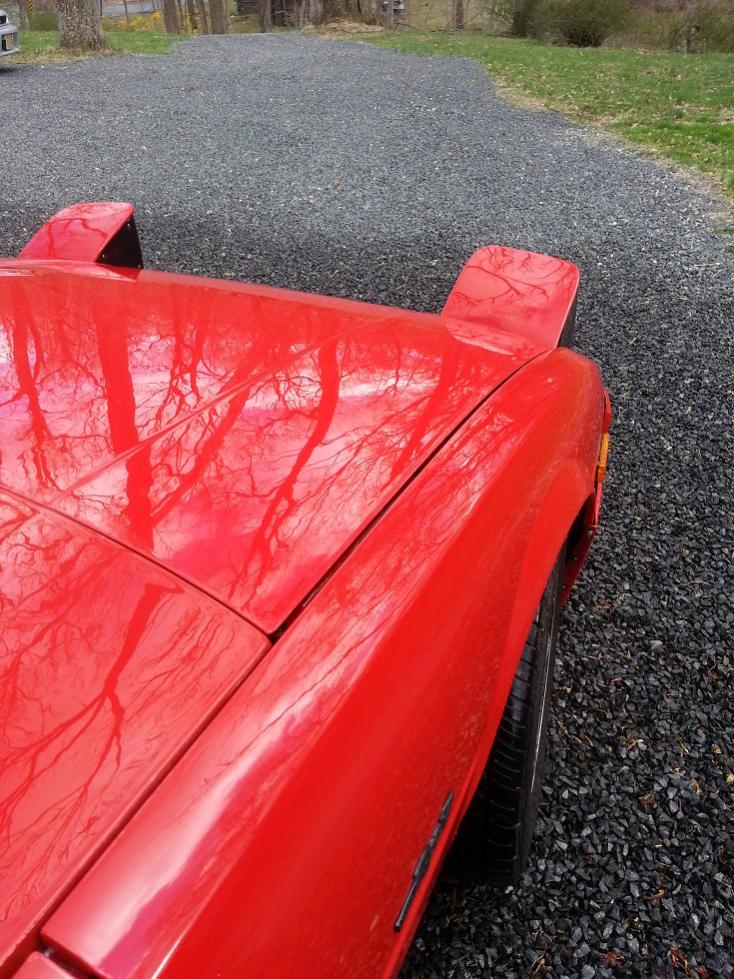
And for no reason other than to be a pic *****, a silly artsy shot of the car in the work parking lot today. woo
So as I eluded to in the previous post I need to mix it up a bit with this car, it's been too long since I modified something lol. I decided to get a double din touch screen for it, and rearrange my gauges. After putting a a pillar pod on my 85 and realizing how much I like it, I decided to do the same here. I bought the pod that Mazdatrix sells, it just screws onto the stock A pillar. I had already drilled holes in my a pillars to mount tweeters so no big deal drilling a few more. I did quite a bit of trimming to the gauge pod to get it to fit how I wanted. The pics make it look like there are large gaps, but there aren't. It actually fits quite well, I'm happy with it.
I'm going to put the remaining 3 gauges (water temp, oil temp, oil pressure) where the stock single din would go, and put the double din underneath, where the ash tray and tray were (which is where I had the gauges previously, you can see earlier pics). Still working on the stereo surround, but it's getting there. Hopefully I can finish it up this weekend.
Ordered a few other parts for this thing, but I'll keep those under wraps for now
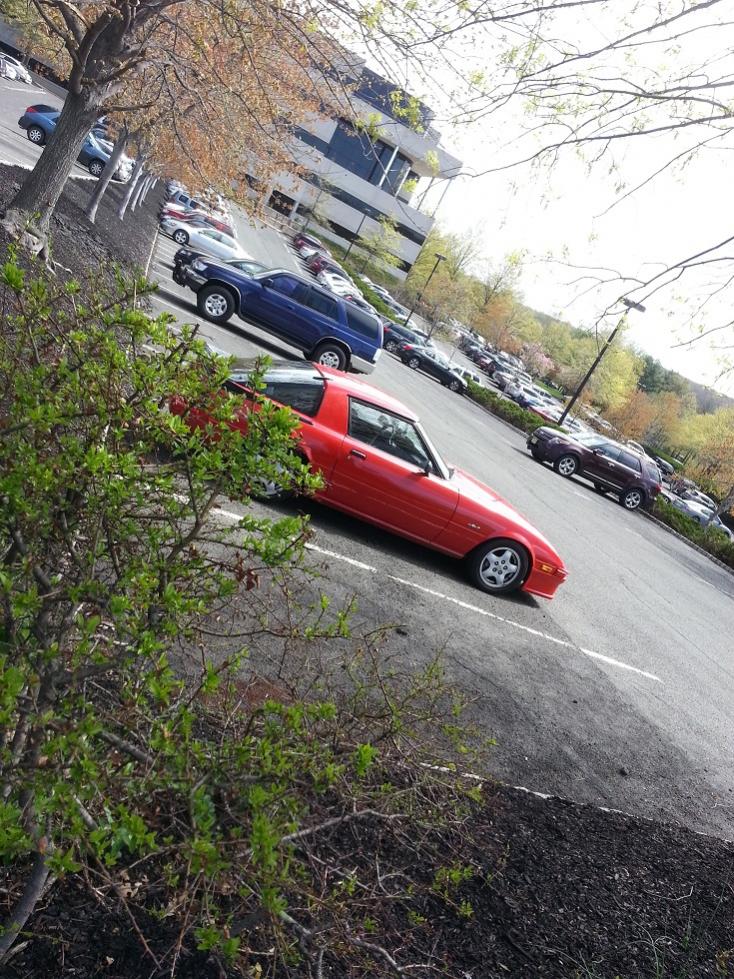
And for no reason other than to be a pic *****, a silly artsy shot of the car in the work parking lot today. woo