
1980 Chump Car/ Budget track car build


Thread Starter
Junior Member
Joined: Nov 2012
Posts: 28
Likes: 0
From: San Diego
1980 Chump Car/ Budget track car build
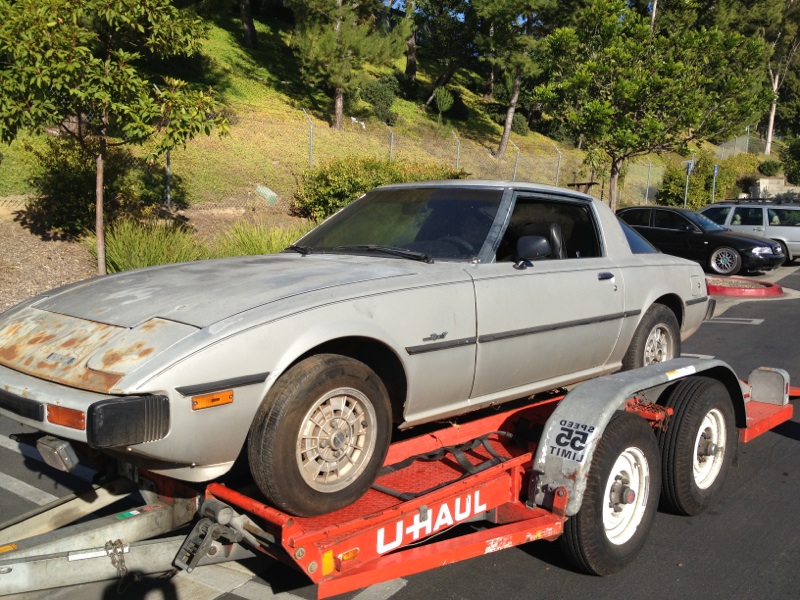
Hey guys my name is JP introduced myself on the introductory thread. Couple friends I work with at SAE Motorsport and myself decided to buy and build a cheap car for racing, mainly chump car. Was thinking a miata but was really attracted for some reason to the rotary (probably the sound and the overall idea of it). Always have dealt with piston motors and just felt like something new. I got a high hp evo, so decided something without a turbo would be best since we would be running races that last 9-10hrs on average.
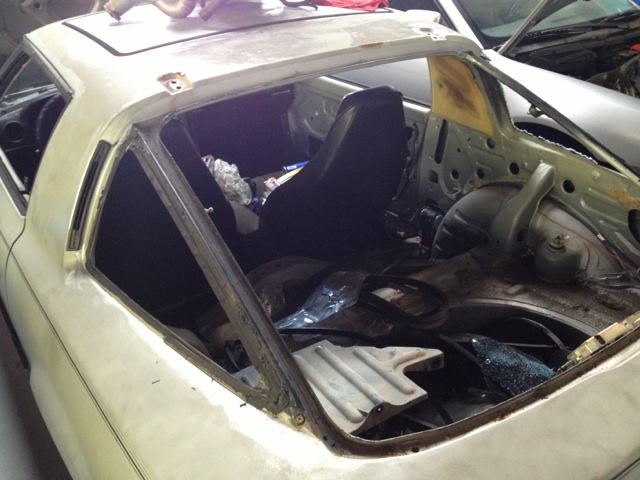
Found it from some old widow who had it parked for a long time, almost the ideal car to build, too bad we ruined it by stripping the interior and removing all the glass. Oh well only $600.
I'll add some pictures today of the build, unfortunately didn't take any step by step photos so I'll just add some of how it is now.
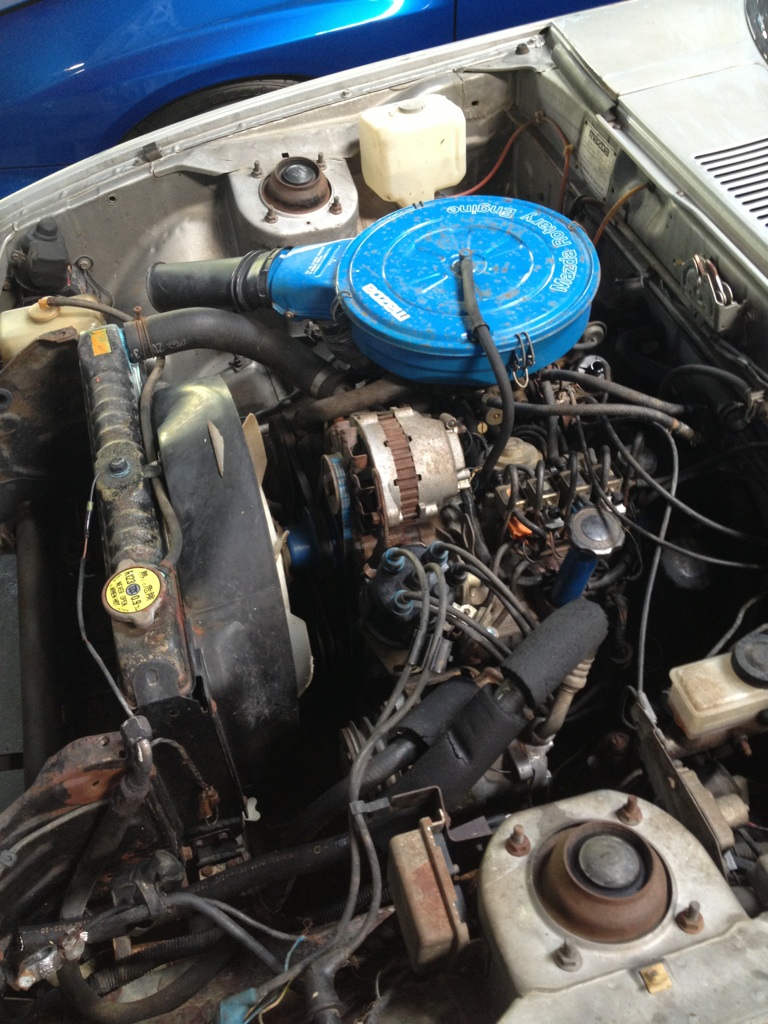
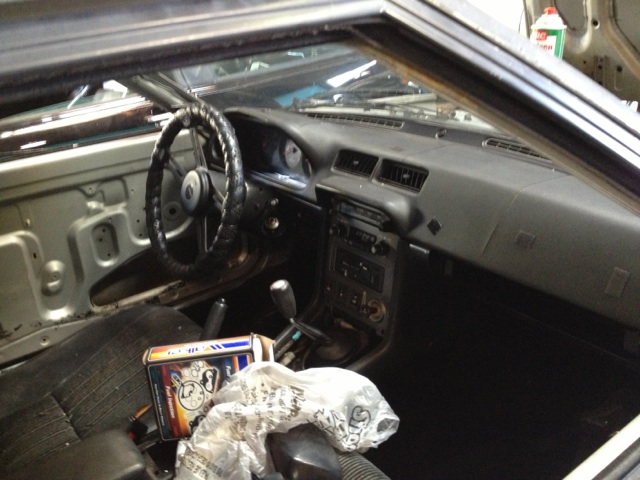
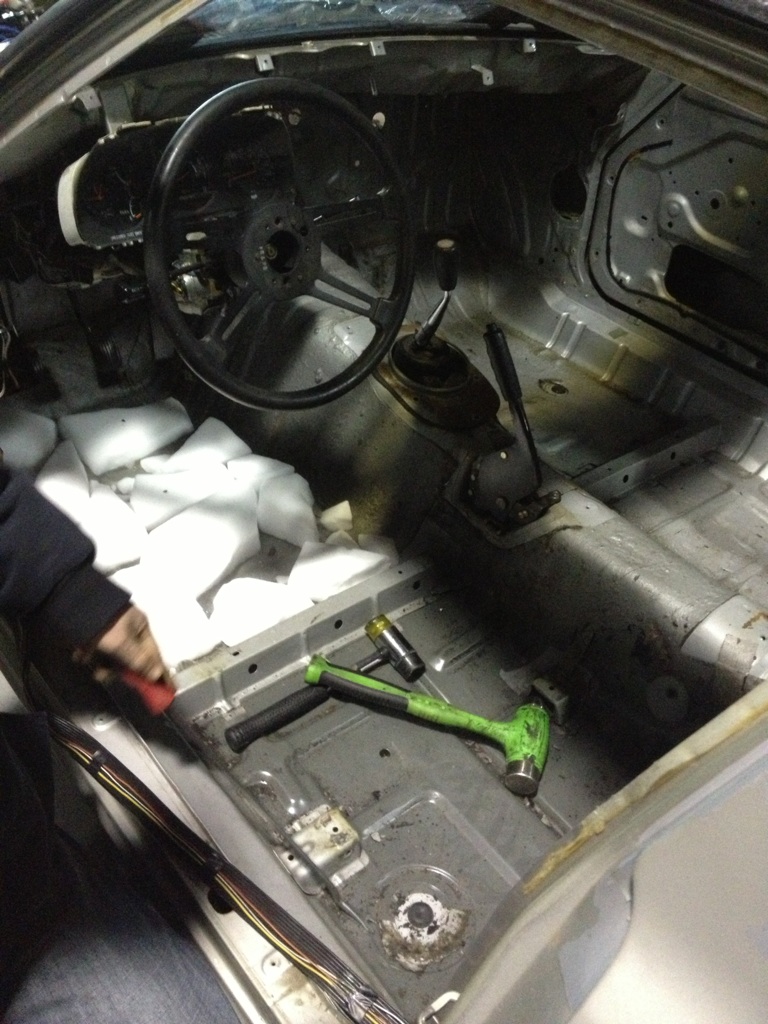
So far we've removed, and refreshed both radiator and fuel tank. Removed most the interior intact, VERY CLEAN. Glass has all been removed except the front windshield. Most major service has been done to the engine. Plug wires, plugs, oil, thermostat, water pump, etc. Exhaust has been removed up to the headers which we will probably also remove and put on some racing beat ones followed by a custom exhaust we will build here.
Was actually very curious about the stock exhaust, had what basically seemed to be a noise maker pipe that went from the header, and ran next to the exhaust all the way back to the muffler. Never seen anything like that before. Then again like I said I am totally new to rotary cars, especially old 1st gen's.
Hoping to finish stripping the interior soon so we can get it all prepped to build a really nice cage for it. Hoping to get the car to around 1900-2000lbs with cage and no driver. Figure with that low weight and about 120hp would be a fun great little endurance car. Also hope we can find a GSLSE LSD, rear disks, brake master and clutch slave. Car might possibly need a clutch since it felt glued shut until I put a bunch of pressure on it and broke lose. We'll see.
We've also removed all the vacuum solenoids, read tech thread from another member on this forum about it. Ran a breather filter for the oil filler and PCV valve. Capped most of the ports but must still have more to do because it was idling pretty high, around 3k. Got to get the block off plates from racing beat also.
If you guys have any tips please let me know! would love getting some constructive critisism.
If anybody is interested in some of the interior parts, or glass all of them for a restore they are pretty clean, PM me let me know and I can snap some pictures of it. Would be willing to sell it all for a pretty good price, exhaust isn't very rusted, have a lot of parts that are clean that I wont need so just PM me if there's anything your interested in.
Found it from some old widow who had it parked for a long time, almost the ideal car to build, too bad we ruined it by stripping the interior and removing all the glass. Oh well only $600.
I'll add some pictures today of the build, unfortunately didn't take any step by step photos so I'll just add some of how it is now.
So far we've removed, and refreshed both radiator and fuel tank. Removed most the interior intact, VERY CLEAN. Glass has all been removed except the front windshield. Most major service has been done to the engine. Plug wires, plugs, oil, thermostat, water pump, etc. Exhaust has been removed up to the headers which we will probably also remove and put on some racing beat ones followed by a custom exhaust we will build here.
Was actually very curious about the stock exhaust, had what basically seemed to be a noise maker pipe that went from the header, and ran next to the exhaust all the way back to the muffler. Never seen anything like that before. Then again like I said I am totally new to rotary cars, especially old 1st gen's.
Hoping to finish stripping the interior soon so we can get it all prepped to build a really nice cage for it. Hoping to get the car to around 1900-2000lbs with cage and no driver. Figure with that low weight and about 120hp would be a fun great little endurance car. Also hope we can find a GSLSE LSD, rear disks, brake master and clutch slave. Car might possibly need a clutch since it felt glued shut until I put a bunch of pressure on it and broke lose. We'll see.
We've also removed all the vacuum solenoids, read tech thread from another member on this forum about it. Ran a breather filter for the oil filler and PCV valve. Capped most of the ports but must still have more to do because it was idling pretty high, around 3k. Got to get the block off plates from racing beat also.
If you guys have any tips please let me know! would love getting some constructive critisism.
If anybody is interested in some of the interior parts, or glass all of them for a restore they are pretty clean, PM me let me know and I can snap some pictures of it. Would be willing to sell it all for a pretty good price, exhaust isn't very rusted, have a lot of parts that are clean that I wont need so just PM me if there's anything your interested in.

Thread Starter
Junior Member
Joined: Nov 2012
Posts: 28
Likes: 0
From: San Diego
Parts Pile #1 carptet, exhaust, exhaust shielding, door glass, hatch and quarter glass at home, window roll ups, brackers, pillar pieces, trim pieces, weather stripping, etc.
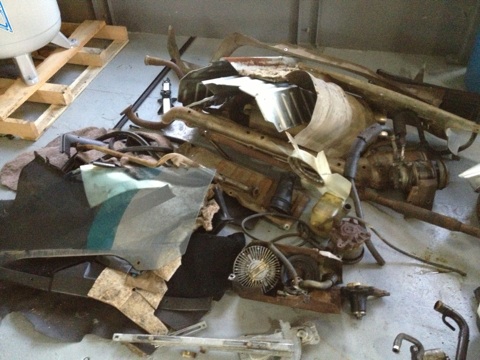
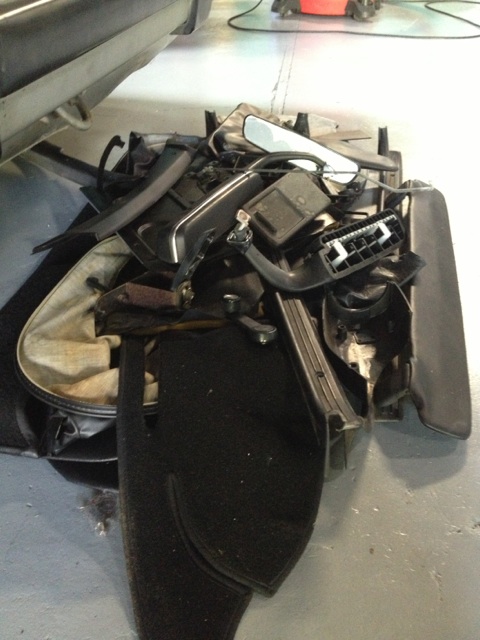
Parts Pile #2 Dash cover, door handles, door panels, headliner, rear view mirror, sun reflector, center console, steering column cover, slightly rusted ski rack.
Parts Pile #2 Dash cover, door handles, door panels, headliner, rear view mirror, sun reflector, center console, steering column cover, slightly rusted ski rack.

Thread Starter
Junior Member
Joined: Nov 2012
Posts: 28
Likes: 0
From: San Diego
For sure will at least replace all the bushings. Don't know how much we will be allowed to change on the suspension. I'd like to get some nice OE replacement sport struts with after market springs. I have to go look through the rules and see what we can get away with without going into exhibition class.
Trending Topics

ML Stephens
Joined: Dec 2012
Posts: 9
Likes: 0
From: Danbury Texas
We just bought a 1985 RX7 that we run in the chump car and Lemons races here in Texas
I am iterested in any suspension mods. you come up with.
We were at a race last weekend, there was a 86 RX7 that had some neat modifications to the front struts. He made adapter plates that moved the bottom of the strut out 1 1/4 inch.
I am iterested in any suspension mods. you come up with.
We were at a race last weekend, there was a 86 RX7 that had some neat modifications to the front struts. He made adapter plates that moved the bottom of the strut out 1 1/4 inch.
Thread Starter
Junior Member
Joined: Nov 2012
Posts: 28
Likes: 0
From: San Diego
That's cool. Yeah we'd like to do some modifications but after reading the rules, everything you change will increase the value of the car, and once it's past $500 value it can only compete in exhibition class which we are trying to stay out of for now.
The rules state only OEM replacement, even performance strut or spring replacement is considered a mod (ie. bilstiens, kyb) I think we will go with some performance shocks. I'de like to use a coil over sleeve but all depends on what the group wants to vote to do.
We might just end up doing all stock replacement bushings, performance shocks, some diamond racing 15x7's, nice cage, some seats and just mostly cockpit modifications. Roll like that for our first race just to figure out what we want to change from there.
In the future I'd like to get the racing beat adj. control arms. Chump rules state that stuff you fab doesn't count for as high of a $ value as aftermarket though so it's actually good to fab up as much as you can
Thread Starter
Junior Member
Joined: Nov 2012
Posts: 28
Likes: 0
From: San Diego
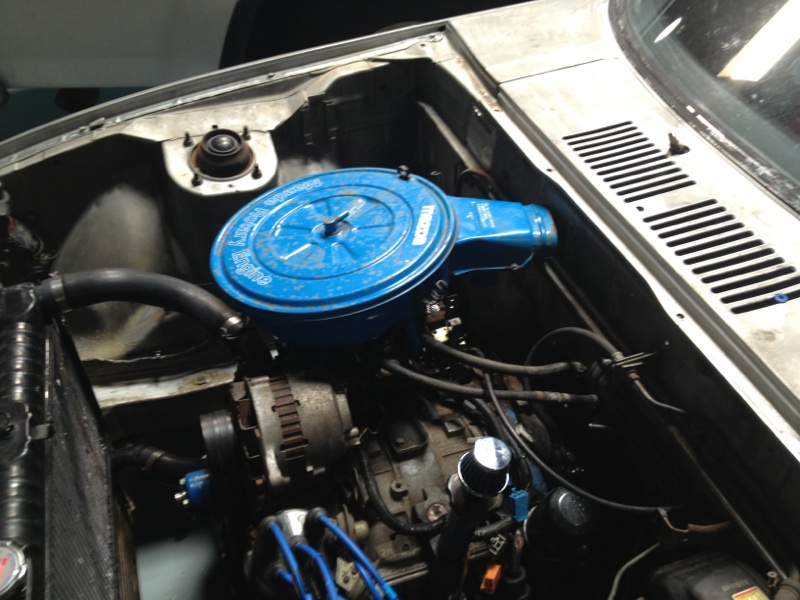
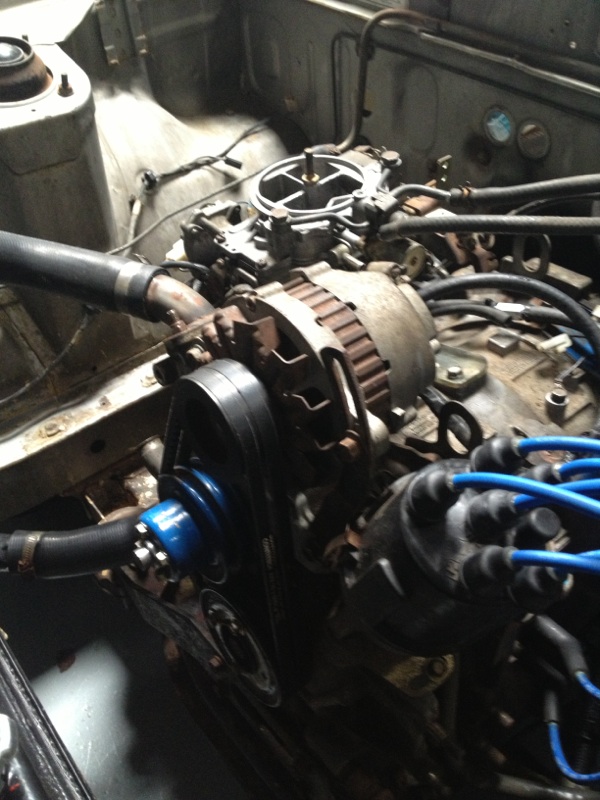
Got our racing beat block-off plates today as well as the double sheave alternator pulley so that we can run 2 belts on crank-water pump- alternator since air pump and ac have been deleted.


Thread Starter
Junior Member
Joined: Nov 2012
Posts: 28
Likes: 0
From: San Diego
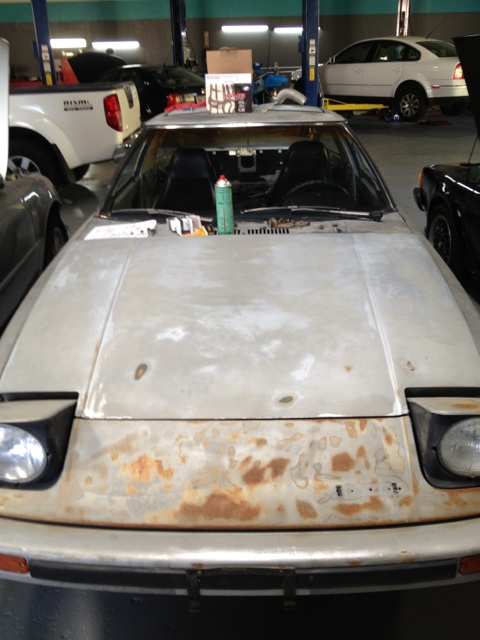
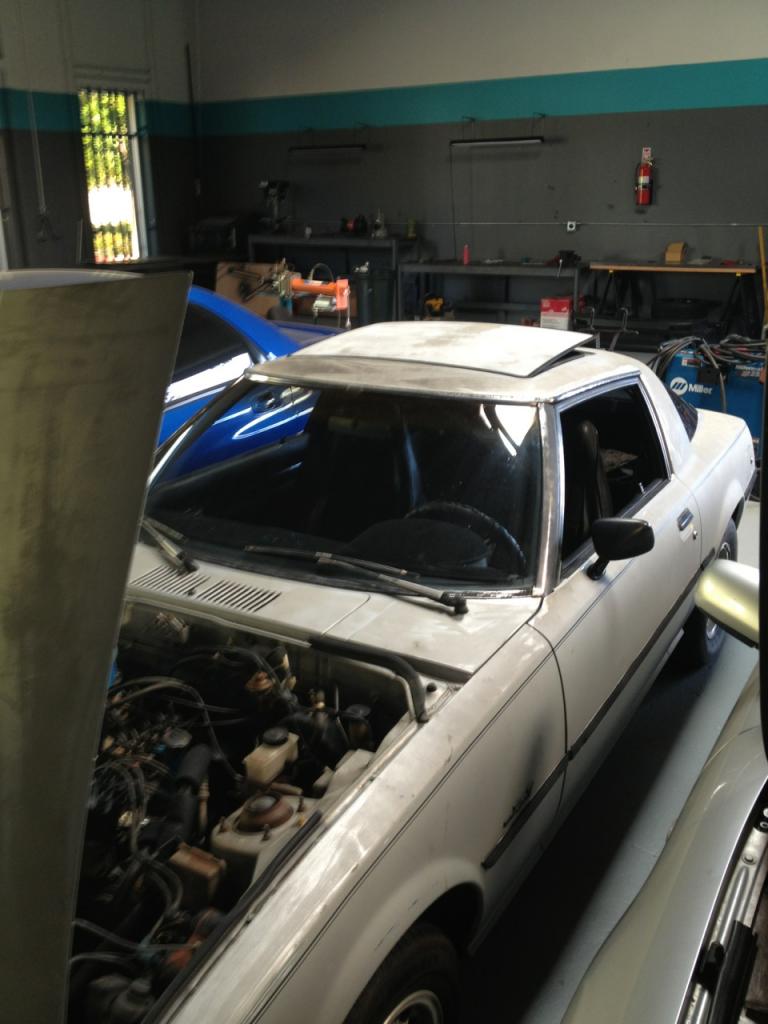
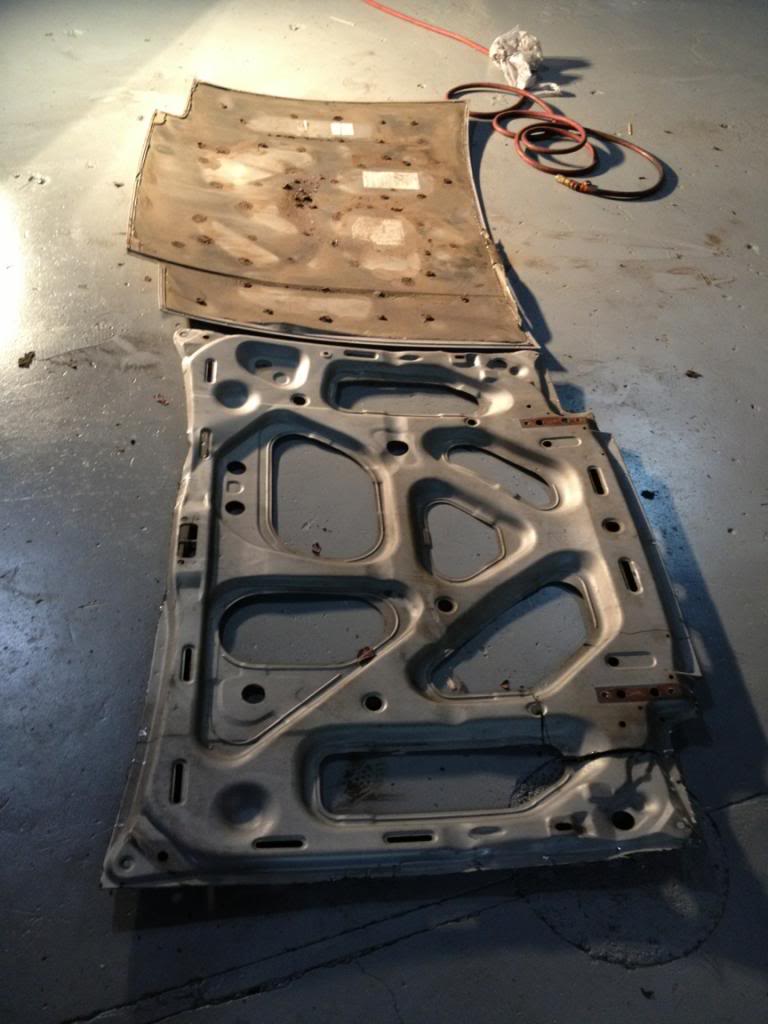
Finally got around to getting dry ice and removing all the sound deadening tar from the car. It was quite the long night but we filled up 3 large paper grocery bags. Probably around 30 pounds. Also gutted the hood and sun roof support frame, might make a little extra downforce when the hood buckles in at speed! All in all I'd say we got at least another 50lbs out of the car. Last time we weighed it was 1904lbs with the 2 stock front seats in if I remember correctly.
Also got a new clutch slave in the car, the previous one was broken so that we could finally see if it would actually move on it's own
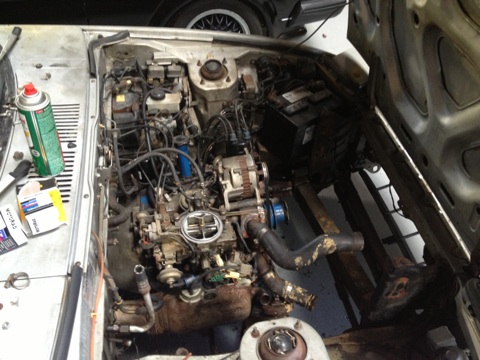
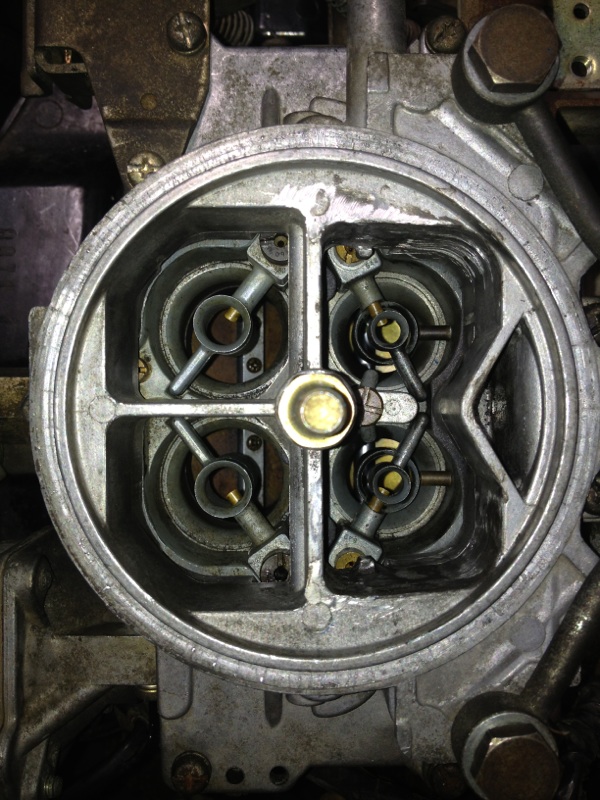
We also just finished re-building the carb, just replacing gaskets and simple stuff, not allowed to do any re-jetting or anything. However we did remove quite a bit off it. No more choke and the secondaries have been welded to the primaries so it's no longer vacuum controlled. We removed the OMP (Oil metering pump) and fab'd up a block off plate for that since we will be pre-mixing our fuel there is no longer a need for it.
Put on a Dual belt alternator pulley from Racing Beat to prevent slip or cavitation from the water pump pulley which we've read could happen in racing conditions with a single belt. We also plugged the 2 water jackets that go from the engine to the intake manifold so that hot coolant/water will not be causing a rise in IAT's. Also did a slight polish and port match on the intake manifold although there was really not much to do. Cooling system was all put back together however we need to fabricate new mounts for the oil cooler, the rubber looks a little weak and that would be unfortunate if that fell off during the race.
Also got a new clutch slave in the car, the previous one was broken so that we could finally see if it would actually move on it's own
We also just finished re-building the carb, just replacing gaskets and simple stuff, not allowed to do any re-jetting or anything. However we did remove quite a bit off it. No more choke and the secondaries have been welded to the primaries so it's no longer vacuum controlled. We removed the OMP (Oil metering pump) and fab'd up a block off plate for that since we will be pre-mixing our fuel there is no longer a need for it.
Put on a Dual belt alternator pulley from Racing Beat to prevent slip or cavitation from the water pump pulley which we've read could happen in racing conditions with a single belt. We also plugged the 2 water jackets that go from the engine to the intake manifold so that hot coolant/water will not be causing a rise in IAT's. Also did a slight polish and port match on the intake manifold although there was really not much to do. Cooling system was all put back together however we need to fabricate new mounts for the oil cooler, the rubber looks a little weak and that would be unfortunate if that fell off during the race.
Last edited by SAEJP; Jan 10, 2013 at 02:09 PM.
Thread Starter
Junior Member
Joined: Nov 2012
Posts: 28
Likes: 0
From: San Diego
Also ordered a bunch of G-Force equipment. Window Nets, Harnesses, and GM- Button style latch system for the window net. Got to order a Corbeau FX-1 seat for the car and start putting our cage together. Also have to delete the factory steering lock, so we'll have to get a quick release and racing wheel on the car. Rules classify that we have to sign up 60 days before the event so we were already too late for the February race, instead we will be going to the April 24 hour race at Buttonwillow Raceway.

Thread Starter
Junior Member
Joined: Nov 2012
Posts: 28
Likes: 0
From: San Diego
Got the car moving last night drove it around the complex, pretty fun with how light it is. It's a lively little thing. Have a 16g turbo from me evo, maybe one day throw that thing on might be a fun project for the future. Lots of fire, lots of flame. Thermal reactor is still on, can't wait to see the thing with the racing beat headers on especially with the exhaust we make. Unfortunately has to be no more than 92db so were going to use a sound trap muffler to quite it down a ton, would like the have the exhaust exit where the factory antenna used to be (rear passenger side corner of the car) or out above the rear bumper, something fun and different.
Transmission was pretty sloppy third was difficult to find, got to make a little gated panel or something so we don't miss gears out there. Car is still a ton of fun, been dying to finally drive it and it was definitely worth every penny it's been. This race is going to be a lot of fun. Was originally planning on doing time attack in my evo this year but might just put all of our focus into getting this thing ready for april. Take it to a couple track days before the big event, maybe an auto-cross or two.
Transmission was pretty sloppy third was difficult to find, got to make a little gated panel or something so we don't miss gears out there. Car is still a ton of fun, been dying to finally drive it and it was definitely worth every penny it's been. This race is going to be a lot of fun. Was originally planning on doing time attack in my evo this year but might just put all of our focus into getting this thing ready for april. Take it to a couple track days before the big event, maybe an auto-cross or two.

Thread Starter
Junior Member
Joined: Nov 2012
Posts: 28
Likes: 0
From: San Diego
Jan 9, 2013 8:01pm | Facebook
Video lost quality uploading to photobucket, here's the original off the i-phone. Car only has the factory header/ thermal reactor on there.
Video lost quality uploading to photobucket, here's the original off the i-phone. Car only has the factory header/ thermal reactor on there.
Thread Starter
Junior Member
Joined: Nov 2012
Posts: 28
Likes: 0
From: San Diego
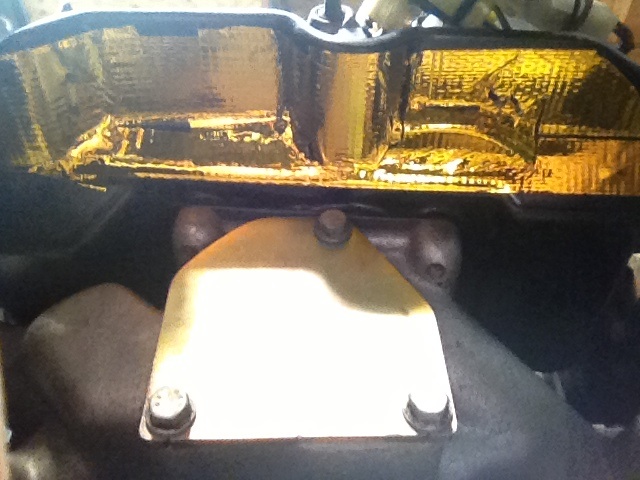
Gold DEI Heat reflective tape on bottom of heat shield, double pulley, carb, and also a reverse air box idea we came up with. Since a RAM air would probably cause problems with how the fuel acts inside the carb we came up with this idea to mount the snorkel into the little windshield wiper box behind the firewall. Could create a zone that would give the snorkel nice cold air without lots of wind. Sure somebody else out there has done this. Would be interested in knowing how it works.
Thread Starter
Junior Member
Joined: Nov 2012
Posts: 28
Likes: 0
From: San Diego
For suspension we will probably be cutting out a coil from all 4 springs to start. After reading a bunch I believe we will do rubber bushings in the upper rear suspension and poly bushings in the lower. This will add around a $125 dollar value to the car but hopefully will be worth the penalty, always more fun when the car feels nice to drive.
Thread Starter
Junior Member
Joined: Nov 2012
Posts: 28
Likes: 0
From: San Diego
We now have all our metal to start on a switch panel box and cage, we are at a bit of a stand-still with how we want to design the plates that the front bars, and main hoop will attach to. Size, etc. So until we figure that out we will just keep getting every last smudge of seam sealer or tar out of the car.
I am also in San Diego and have an ITA car, as well as being associated with a group that has 3 Chump/LeMons cars (+ many parts cars). Would love to talk some time.
I have an Autopower bolt-in cage that came from a Spec7 that I built. My ITA car also has the same cage as well as our 3 C/L cars. So obviously I think they work fine. If you are interested, I have it listed on the forum here, but could let it go for less. Want to get it in someones race car. Let me know if you are interested.
Carl
760-492-4112

Thread
Thread Starter
Forum
Replies
Last Post
rx8volks
Canadian Forum
0
Aug 13, 2015 04:55 AM
rx8volks
Canadian Forum
0
Aug 11, 2015 10:30 PM
KAL797
Test Area 51
0
Aug 11, 2015 03:47 PM