When you click on links to various merchants on this site and make a purchase, this can result in this site earning a commission. Affiliate programs and affiliations include, but are not limited to, the eBay Partner Network.
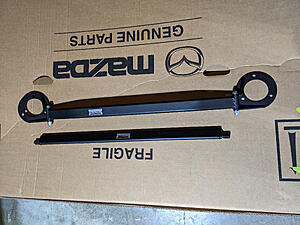
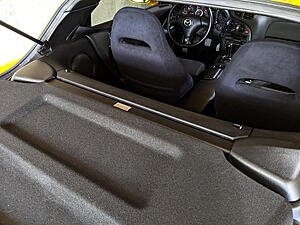
An update on the transmission brace. I removed it fairly quickly. I'm trying to keep this as a nice cruiser and the brace introduced a vibration at certain RPM that shook my OEM head unit and made a horrible buzzing noise.
If you want to give the transmission brace another try, the replacement rubber mount is Autozone #2378. I was the same as you and @SpinningDorito, I found that the brace with its supplied Poly mount introduced some unwanted NVH. Swapped out the poly for the rubber replacement and NHV returned to normal and still there is some added strength for the driveline/PPF.
If you want to give the transmission brace another try, the replacement rubber mount is Autozone #2378. I was the same as you and @SpinningDorito, I found that the brace with its supplied Poly mount introduced some unwanted NVH. Swapped out the poly for the rubber replacement and NHV returned to normal and still there is some added strength for the driveline/PPF.
Does it use the same hardware that comes with the banzai kit?
Couldn't say 100% since its been over a year since I swapped the mount, but I remember having no difficulty doing it, and not needing to replace any of the hardware that came with the mount. It is really pretty much the same as the included poly mount but made of rubber instead.
The #2378 uses the Banzai hardware. The female attachment points are exactly the same, the bracket holes on the other side were a little too close together and I wound up extending them. Mount physical size/height was exactly the same. So I'd rate it as 95% bolt in, but 100% improvement in NVH.
I just did this #2378 swap and 100% the bolts on my mount were not the same, they were smaller at 10x1.5. I think we need to reference which brand uses the same hardware as Banzai's.
I can tell you what you do not want - Mine was in a duralast box but the brand was "ANCHOR-KOREA" with 2378 on it under the brand name. The rubber coating was inside the threads and I had to drill it out just so I could chase the threads.
The 2 big outside bolts were fine and my holes lines up - dont forget to use the spacer that is under the energy suspension busing.
So can you guys look at what company actually made your replacement mounts.
Interesting. Not sure about the company maker that I wound up with, I just stopped in at a local Autozone and bought a #2378. This was about 4 years ago...they may change suppliers from time to time. In my case, the bolts from the Banzai mount threaded in but the slots in the flange side were not quite wide enough so I had to elongate the slots outward. Def need to use the spacer plate, with all that said it fit well from a height perspective and although it likely does not provide as much additional support as the original poly mount it surely provides some extra support and virtually no added NVH.
Update 8/2/2021
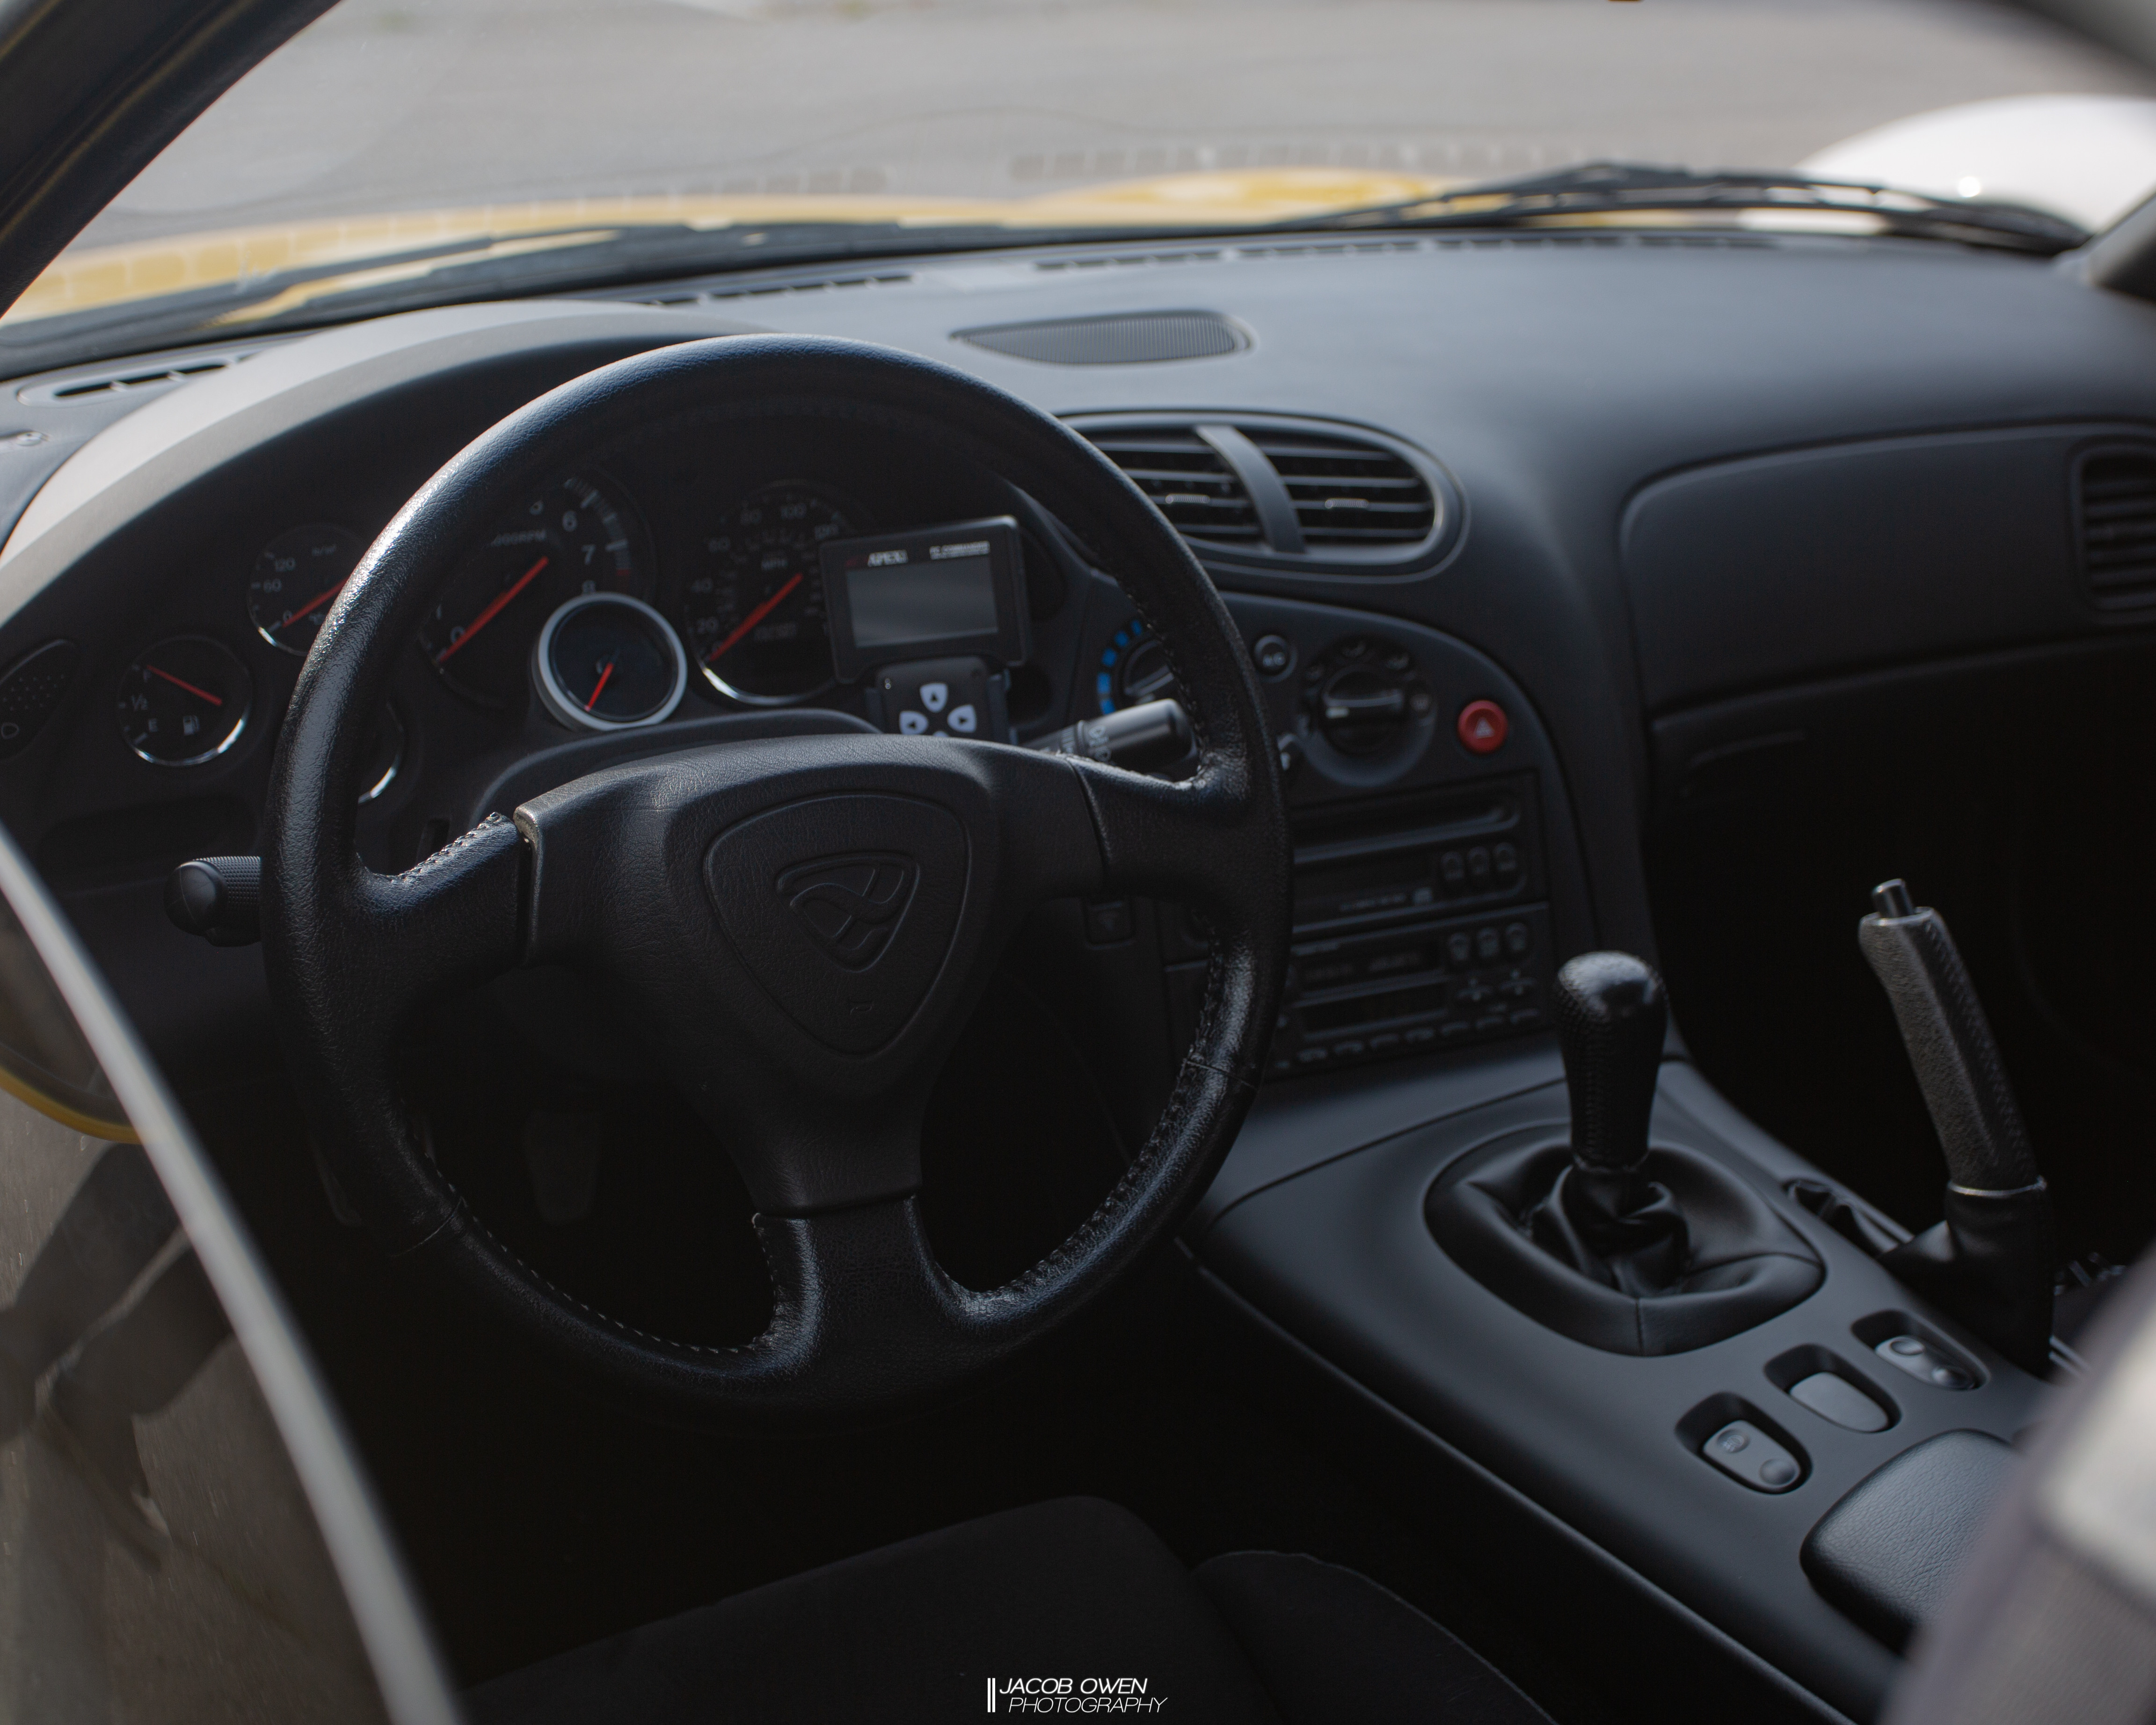
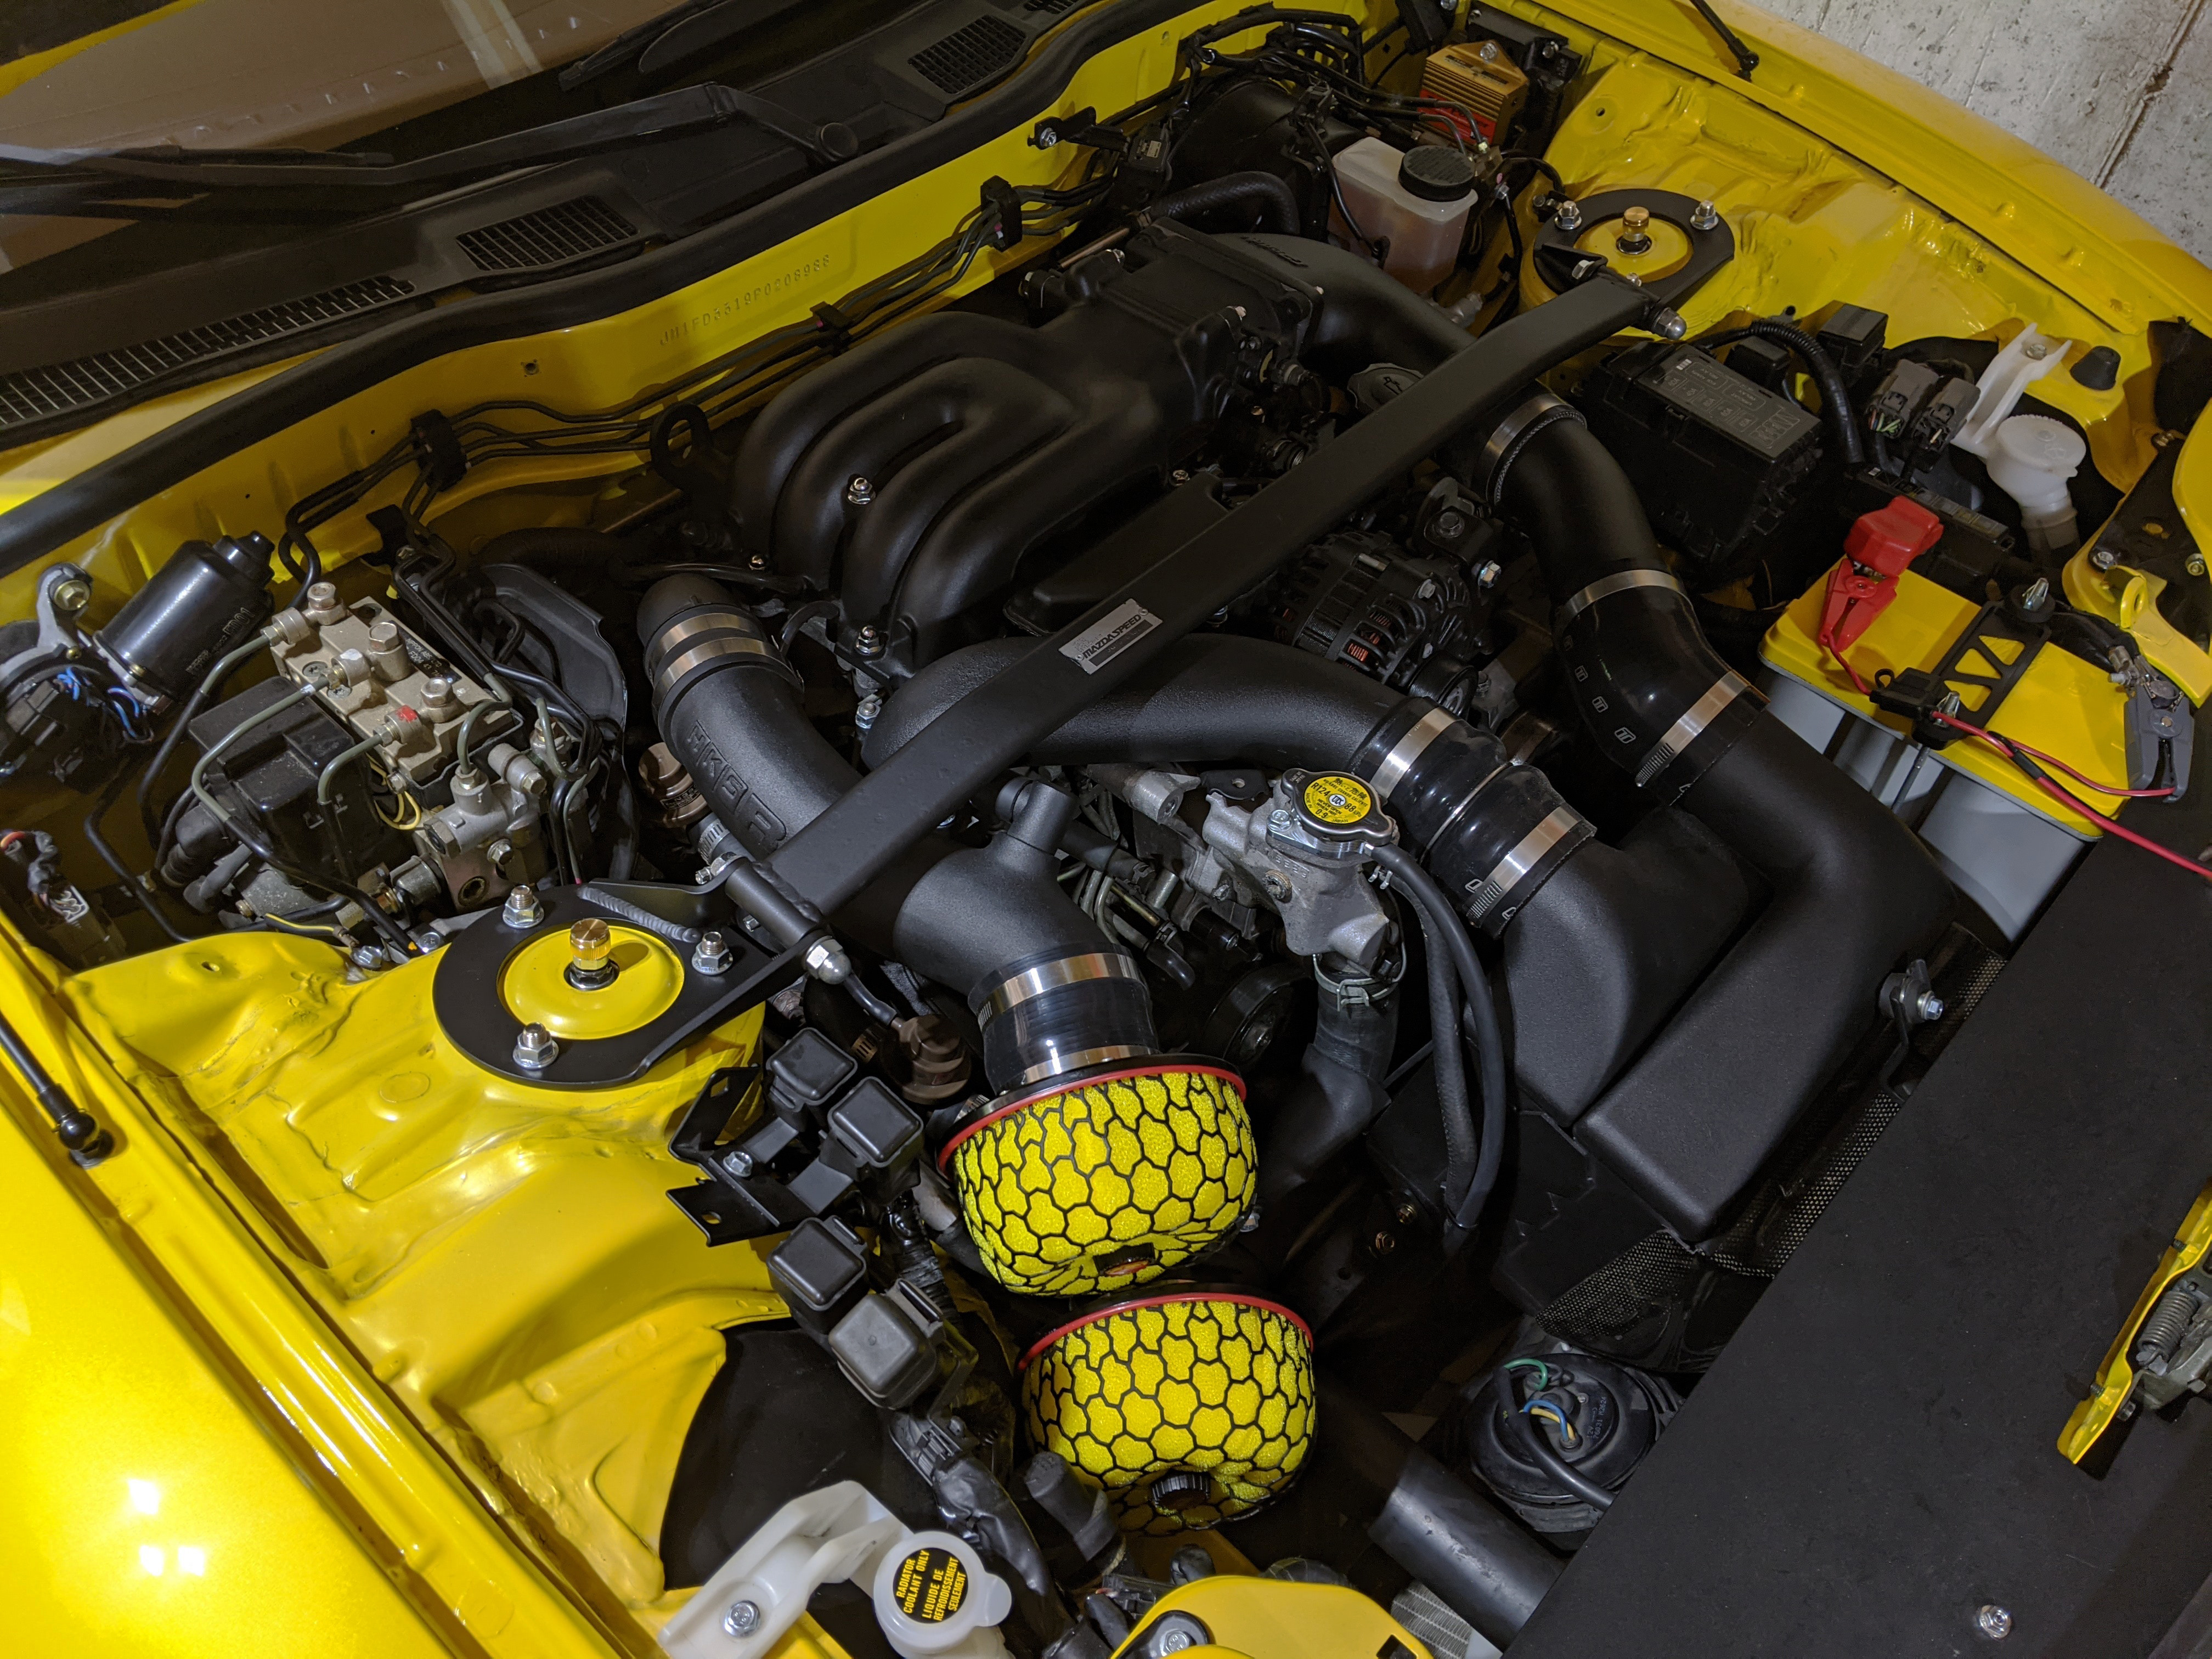
It�s been a bit! I have some updates on the car to share and some updates on life. I finally got the strut bars over to powder and was able to get them installed. They came out really nice! I was a little saddened to find out that HKS has stopped selling their yellow filters; however I was able to take the larger sized GReddy filters and trim them to fit. I really didn�t want to run the red HKS so I�m pretty happy about that.
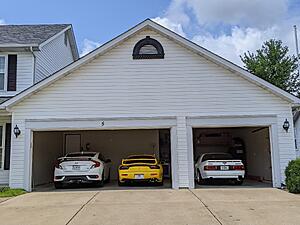
The biggest news probably of all. I have finally purchased a house! I�m so excited to finally have the room to do everything I want in the garage and have space for bigger tools (like a 20 ton press).
With the big life event out of the way I can begin concentrating a bit more on the car again. A-Spec bumper and side skirts are going to a shop to be repaired and painted mid-September. I�ll probably run the BBS wheels for a while and hold off on the MS-02. It�s difficult juggling commitments between the FD and FC currently. Looking forward to being able to show more progress. Until next time!
I'd have to find my paperwork to give you exact codes, but most of the brackets are flat black and the rest (UIM, cooling panels, etc) are texture black.
@twinturborx7pete I found the colors. Both are Cardinal Powder Coatings - Flat black is code BK247, Texture black is BK109
wow, looking nice!!!!
pandemic pricing knocked me out of house hunting here in the bay area.
I guess I was lucky to get my yellow HKS filters where I did - I think off of amazon.
congrats again !!!!
Update 10/6/2021
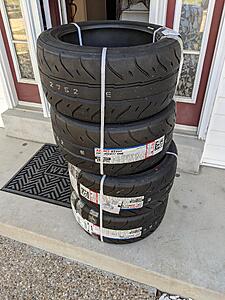
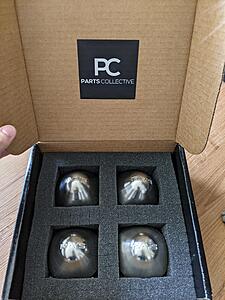
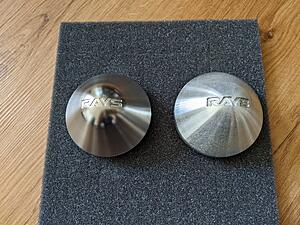
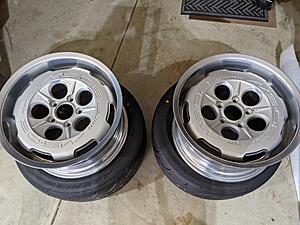
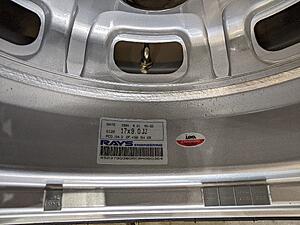
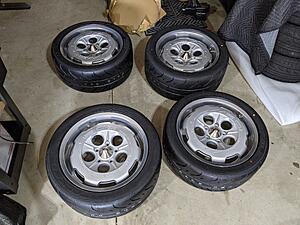
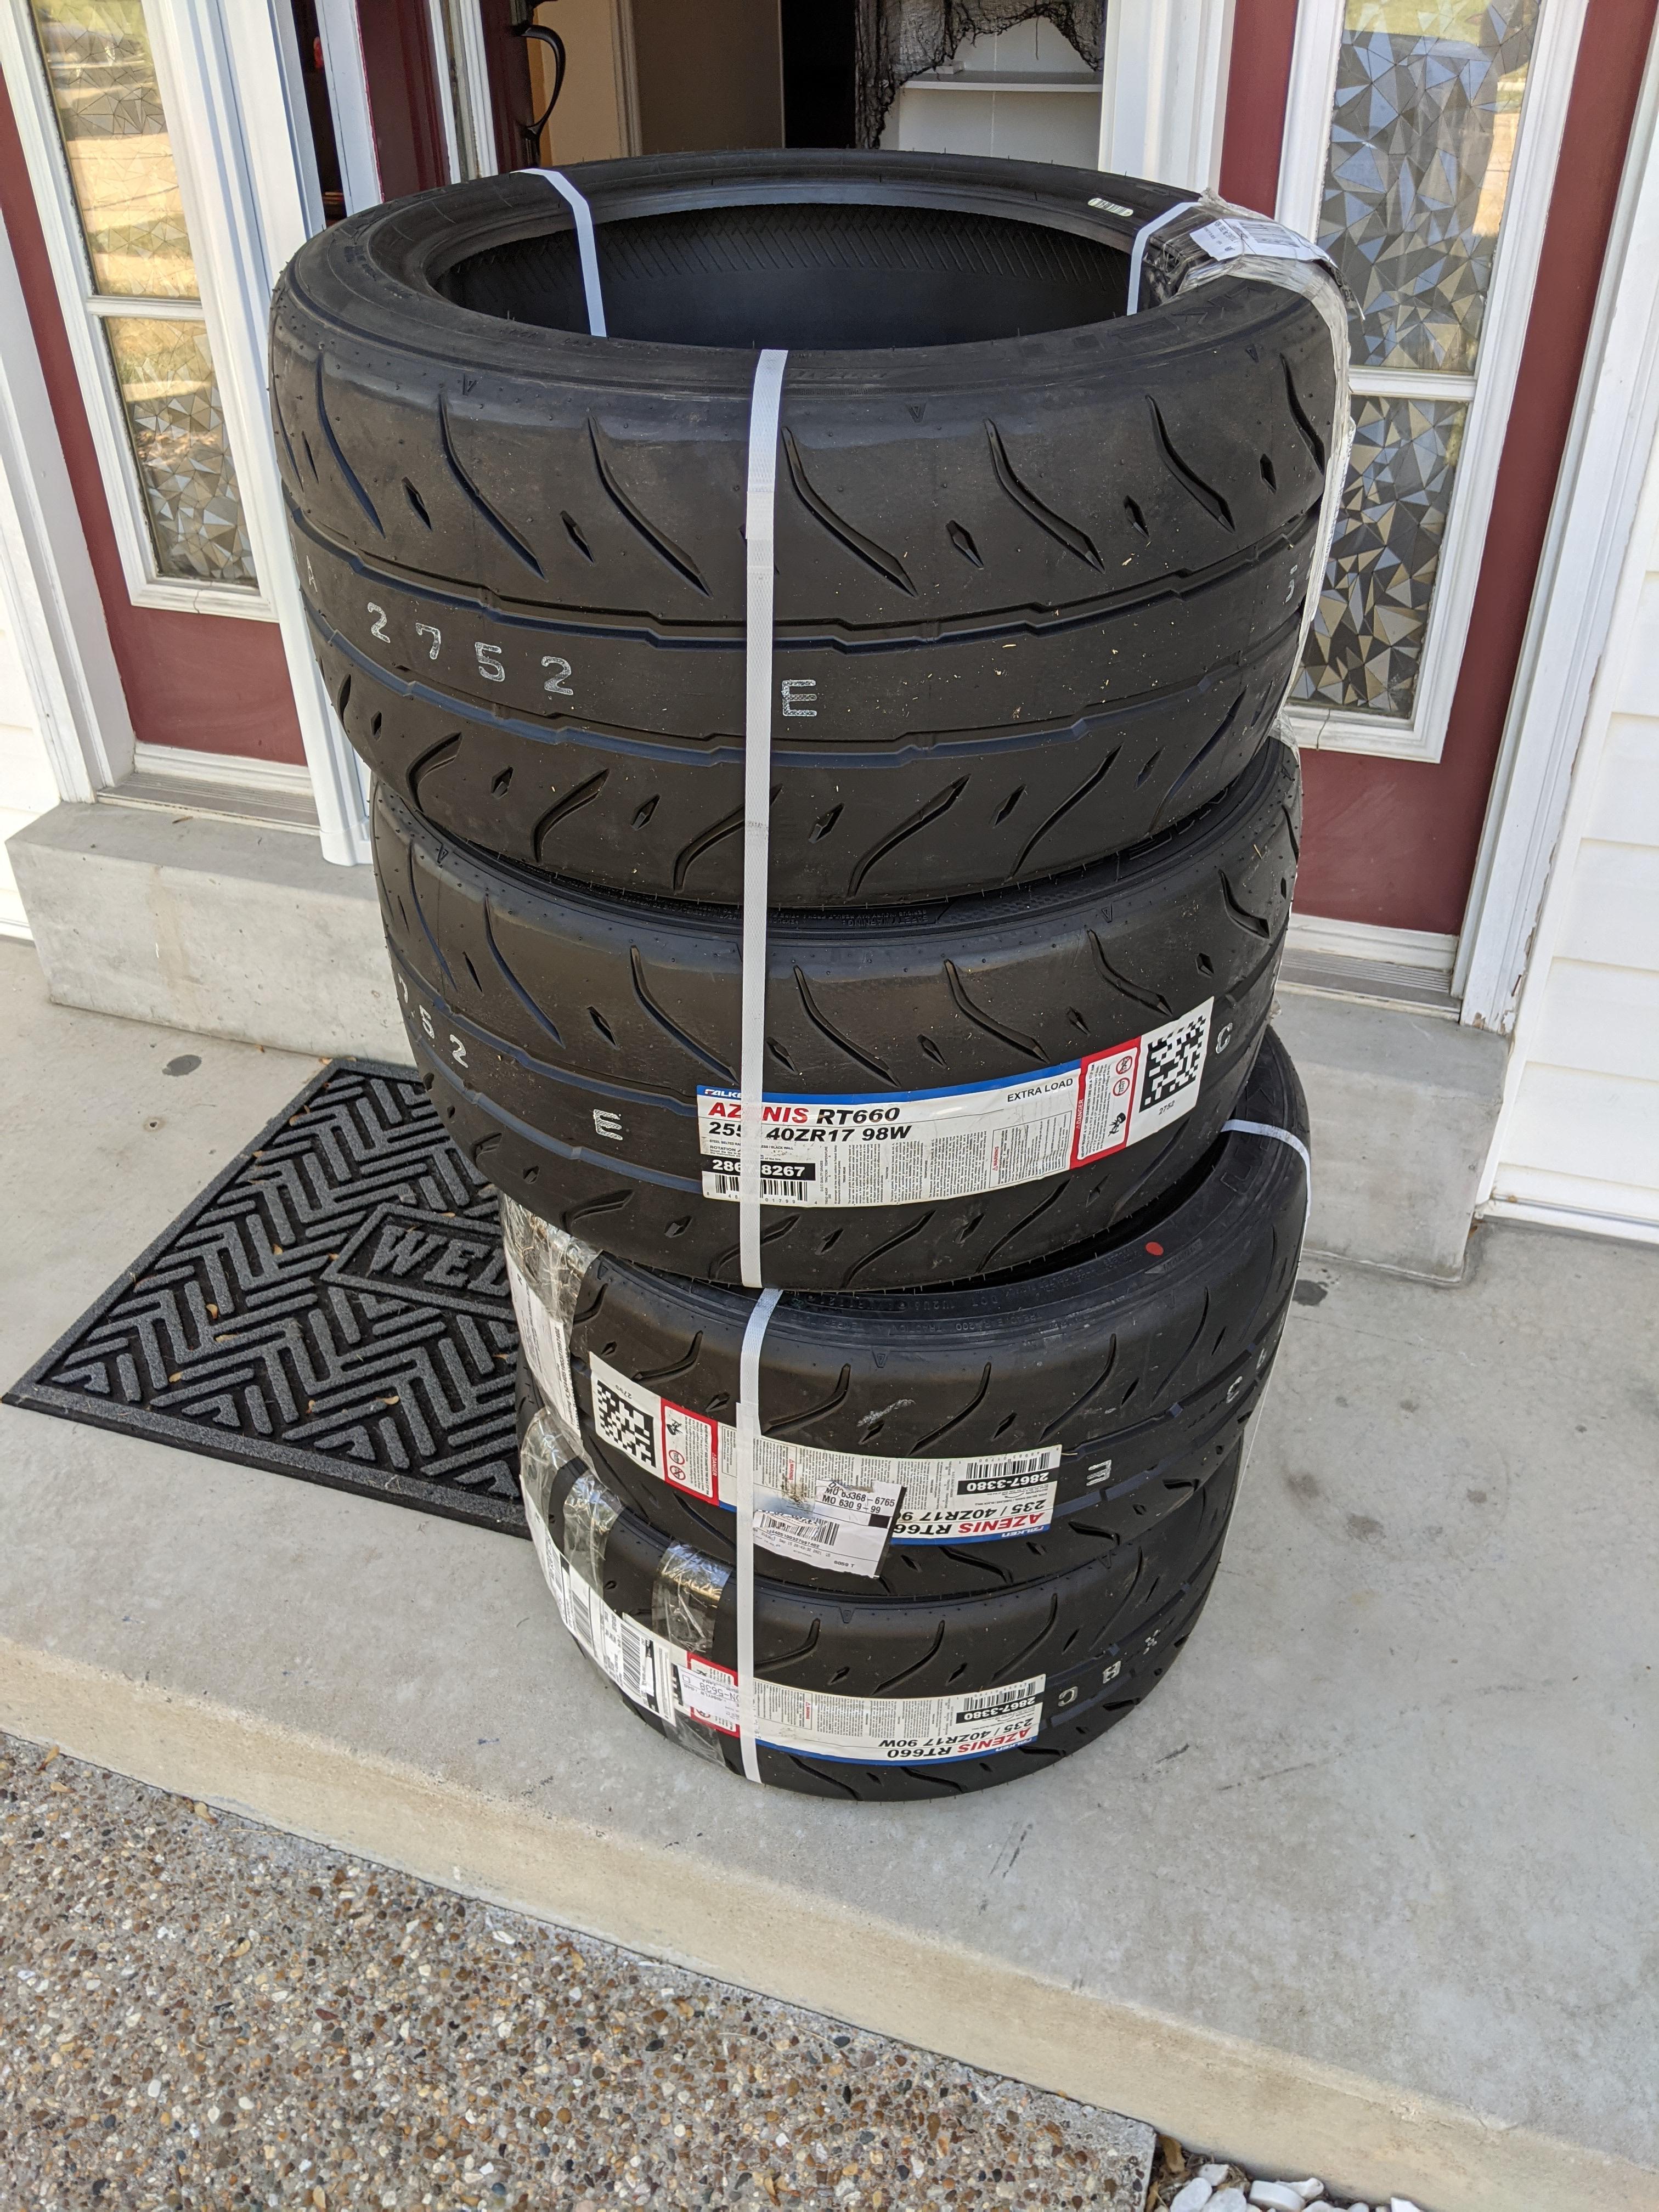
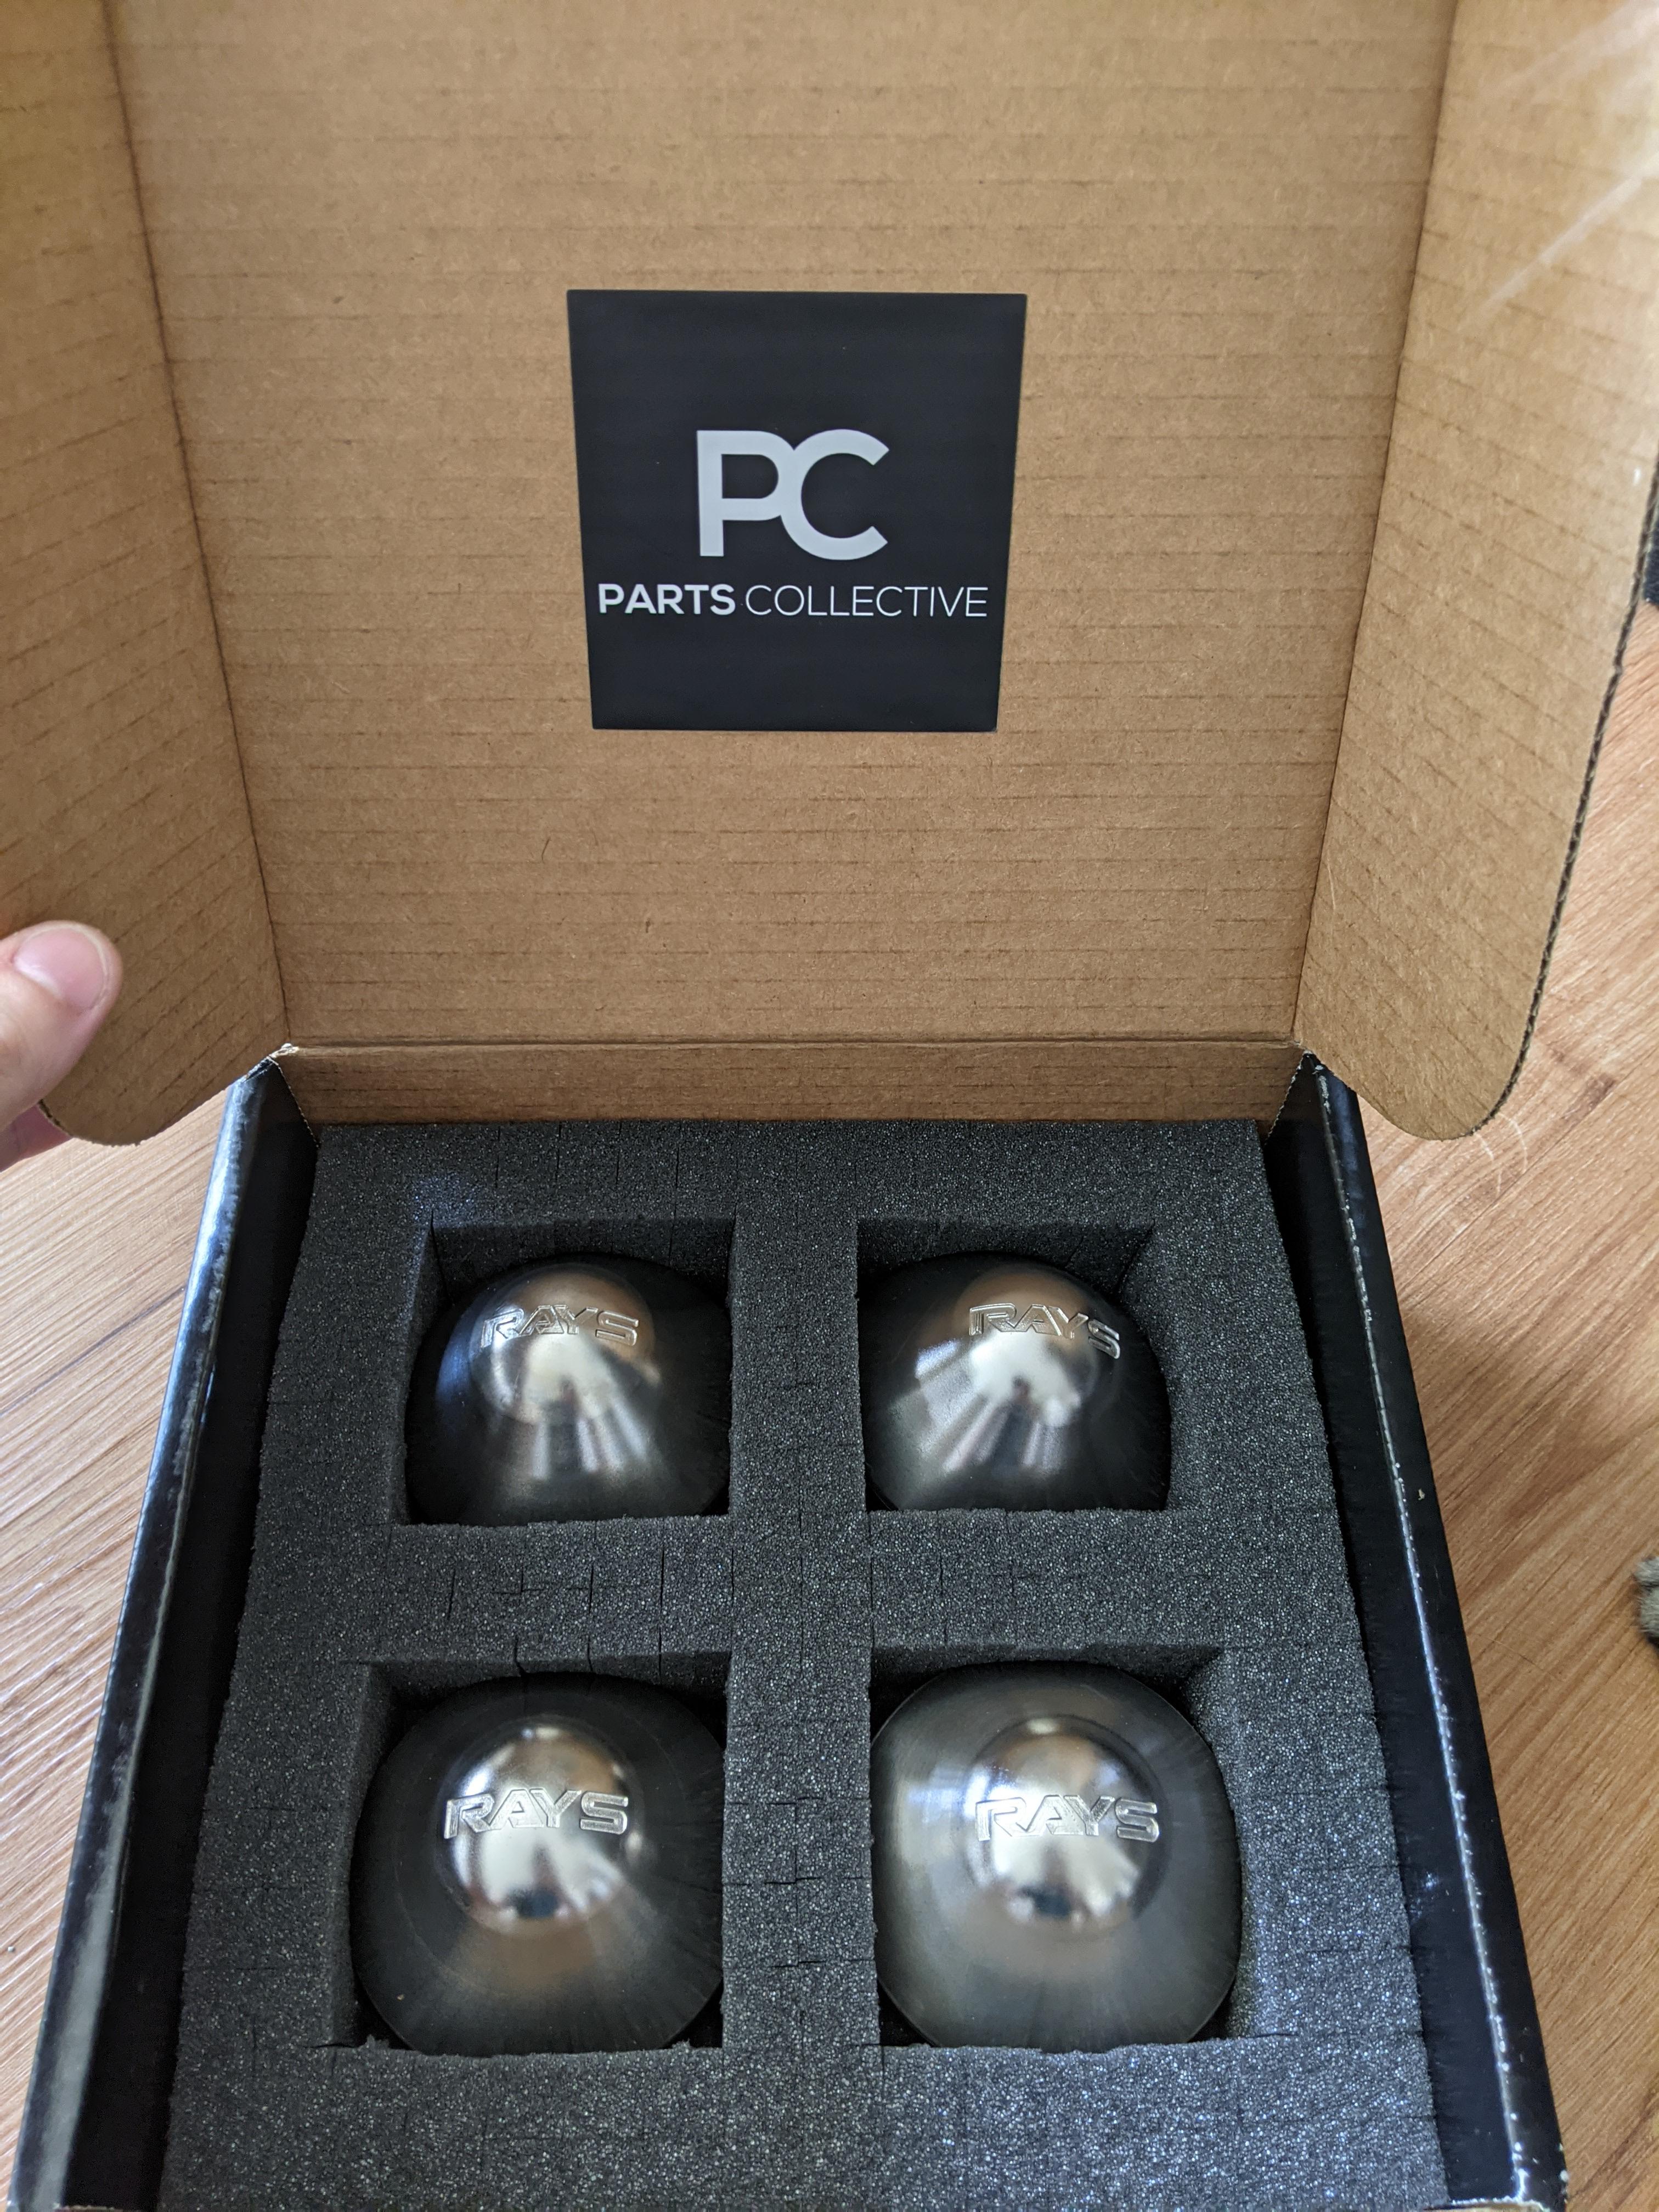
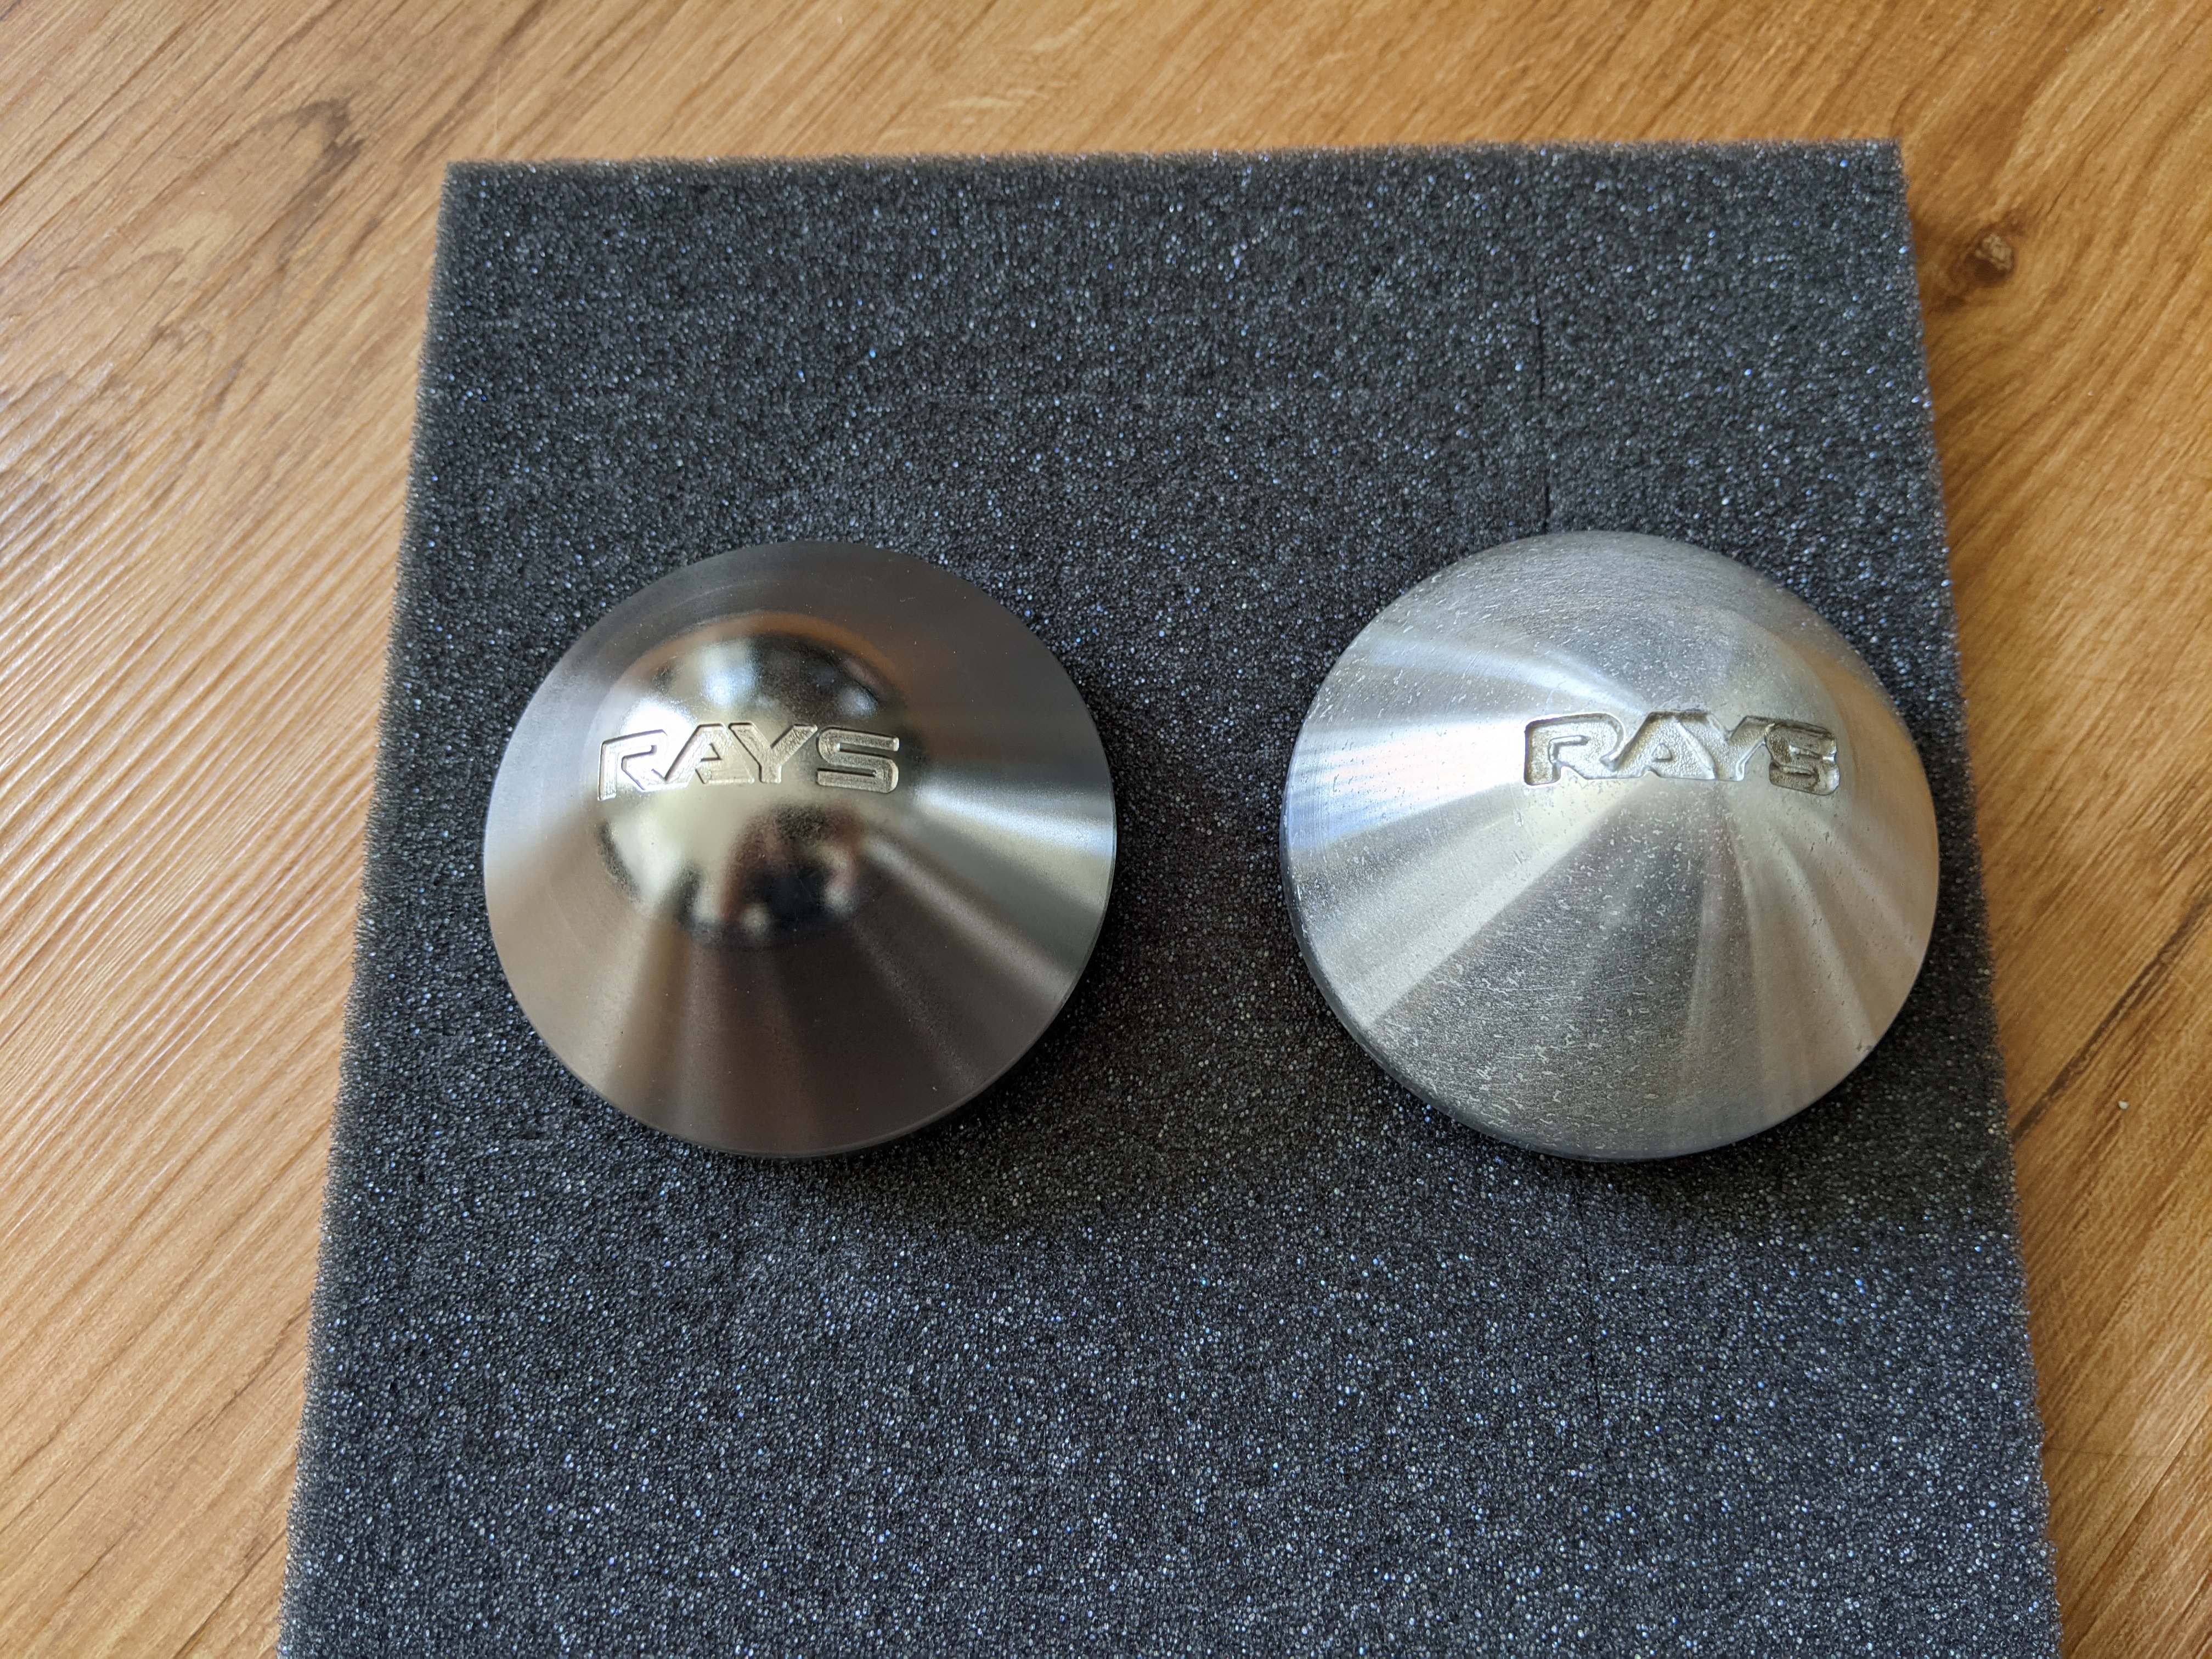
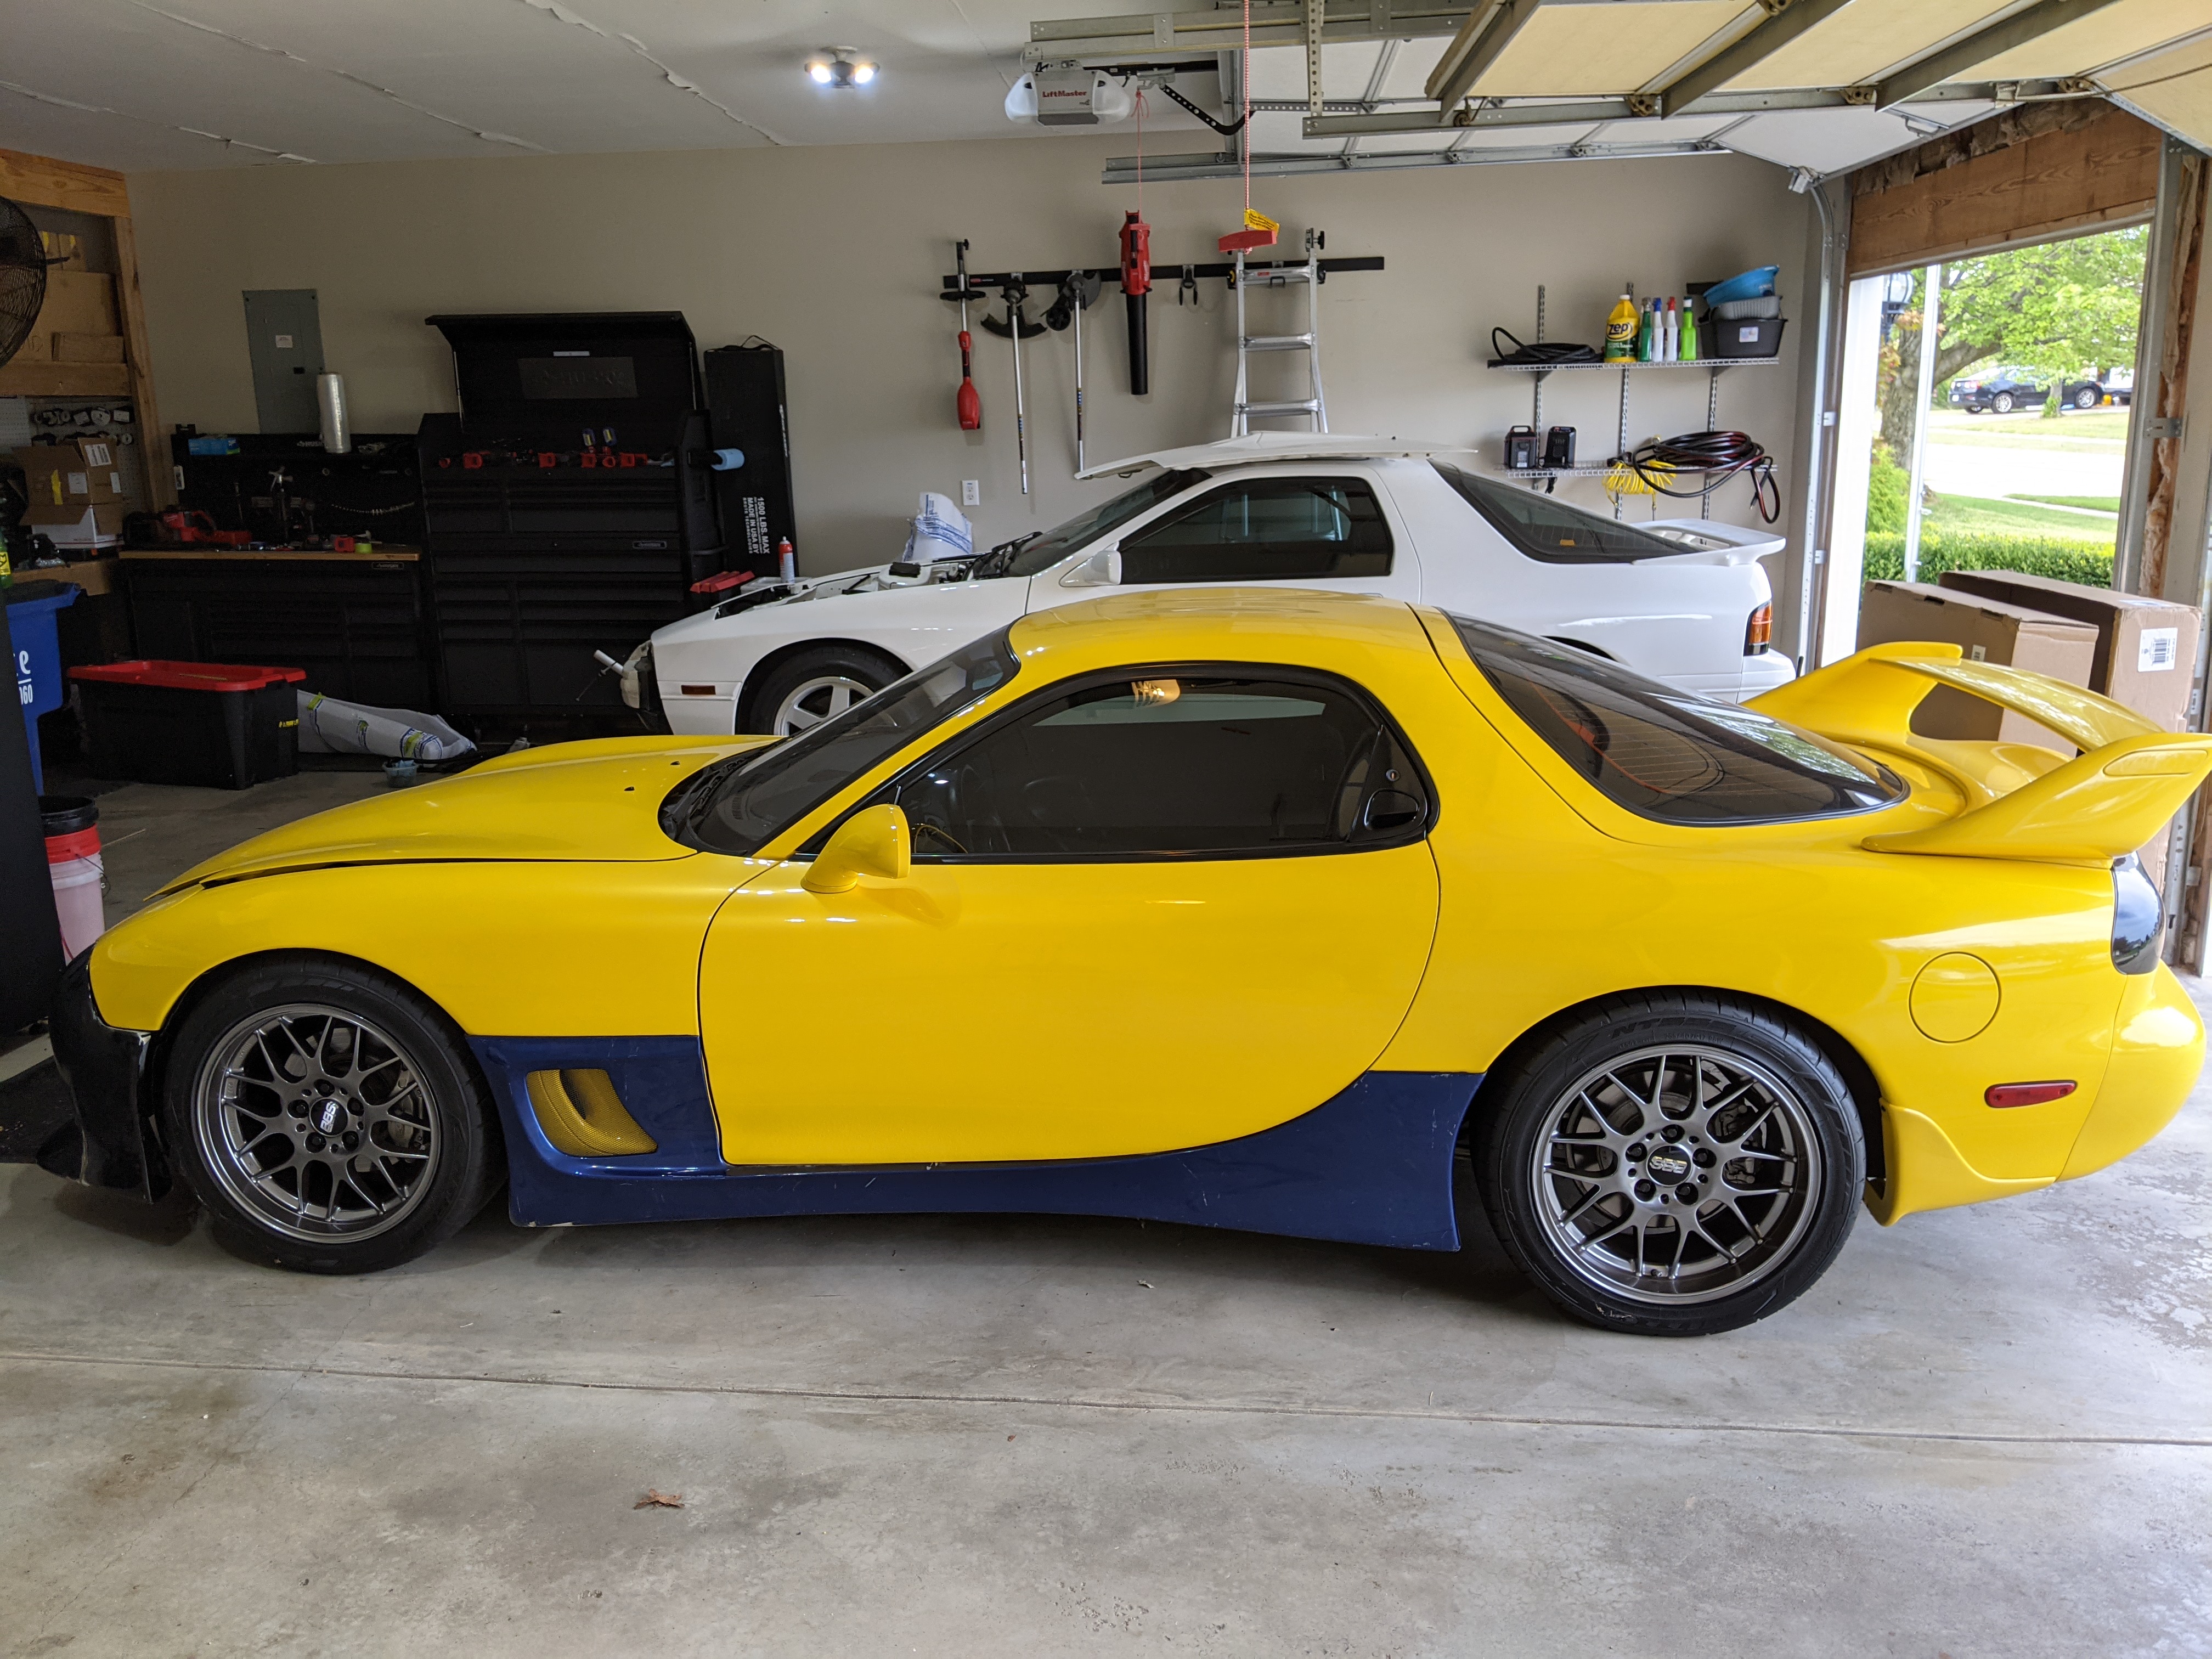
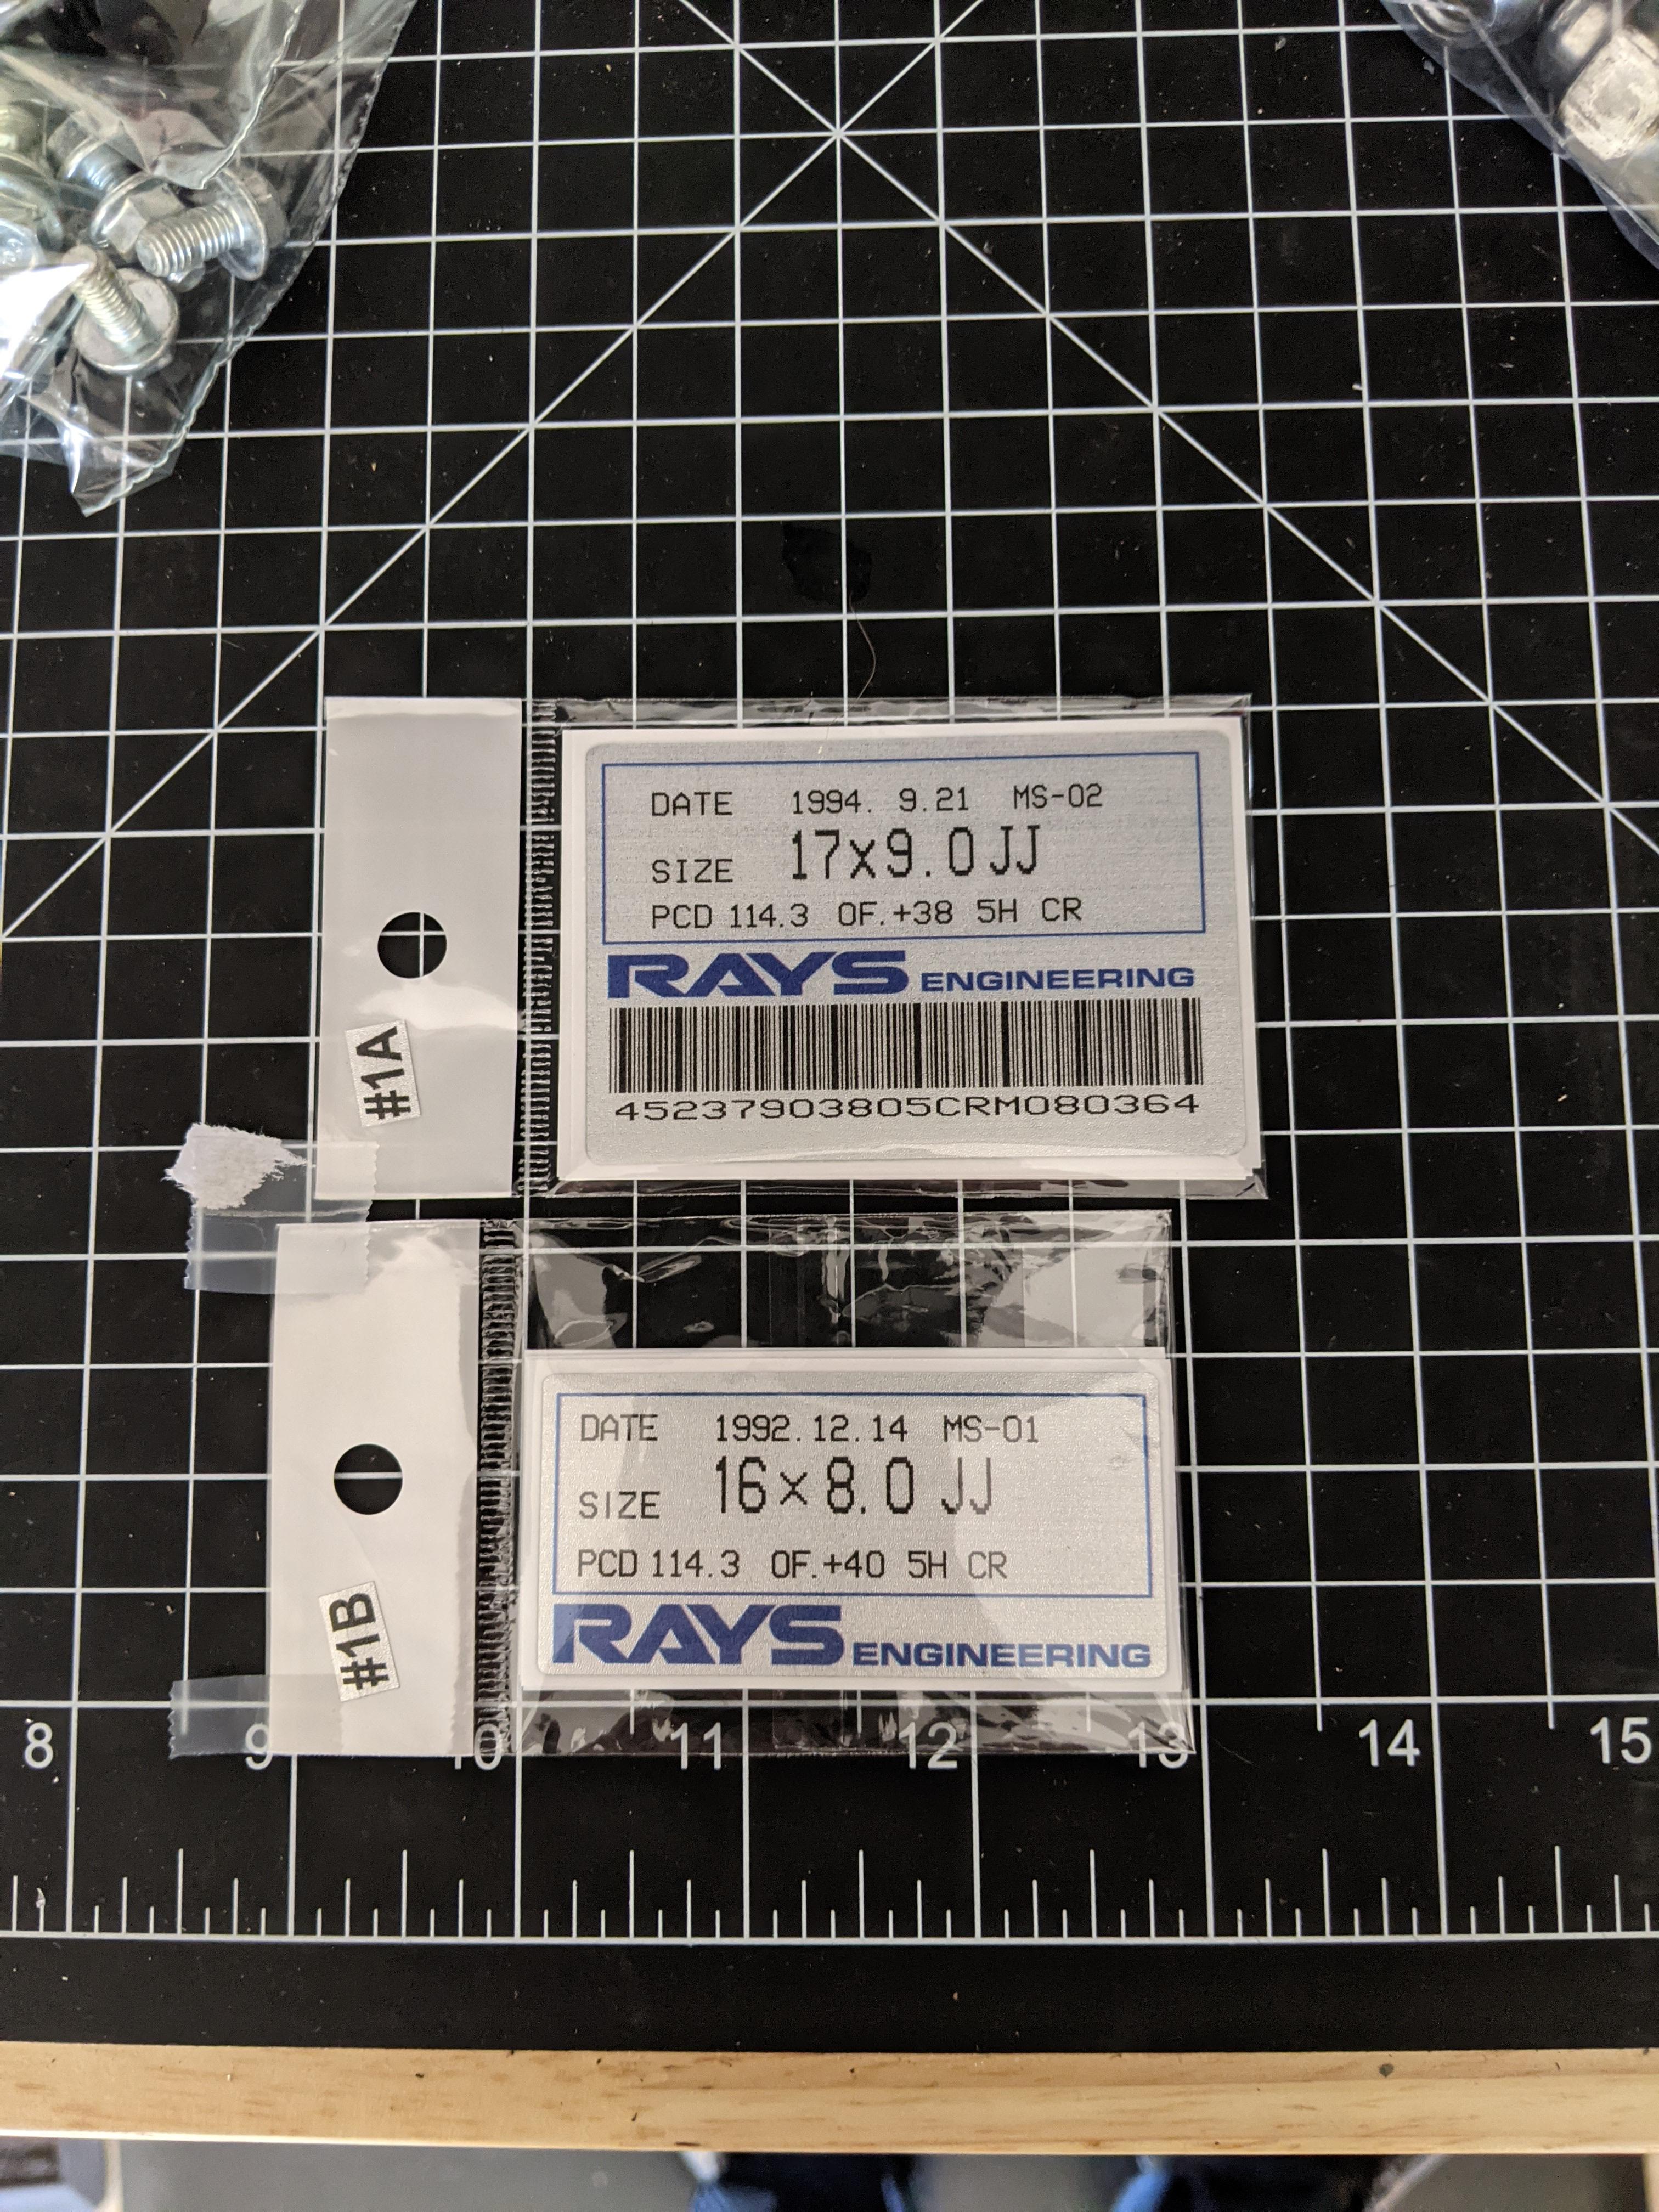
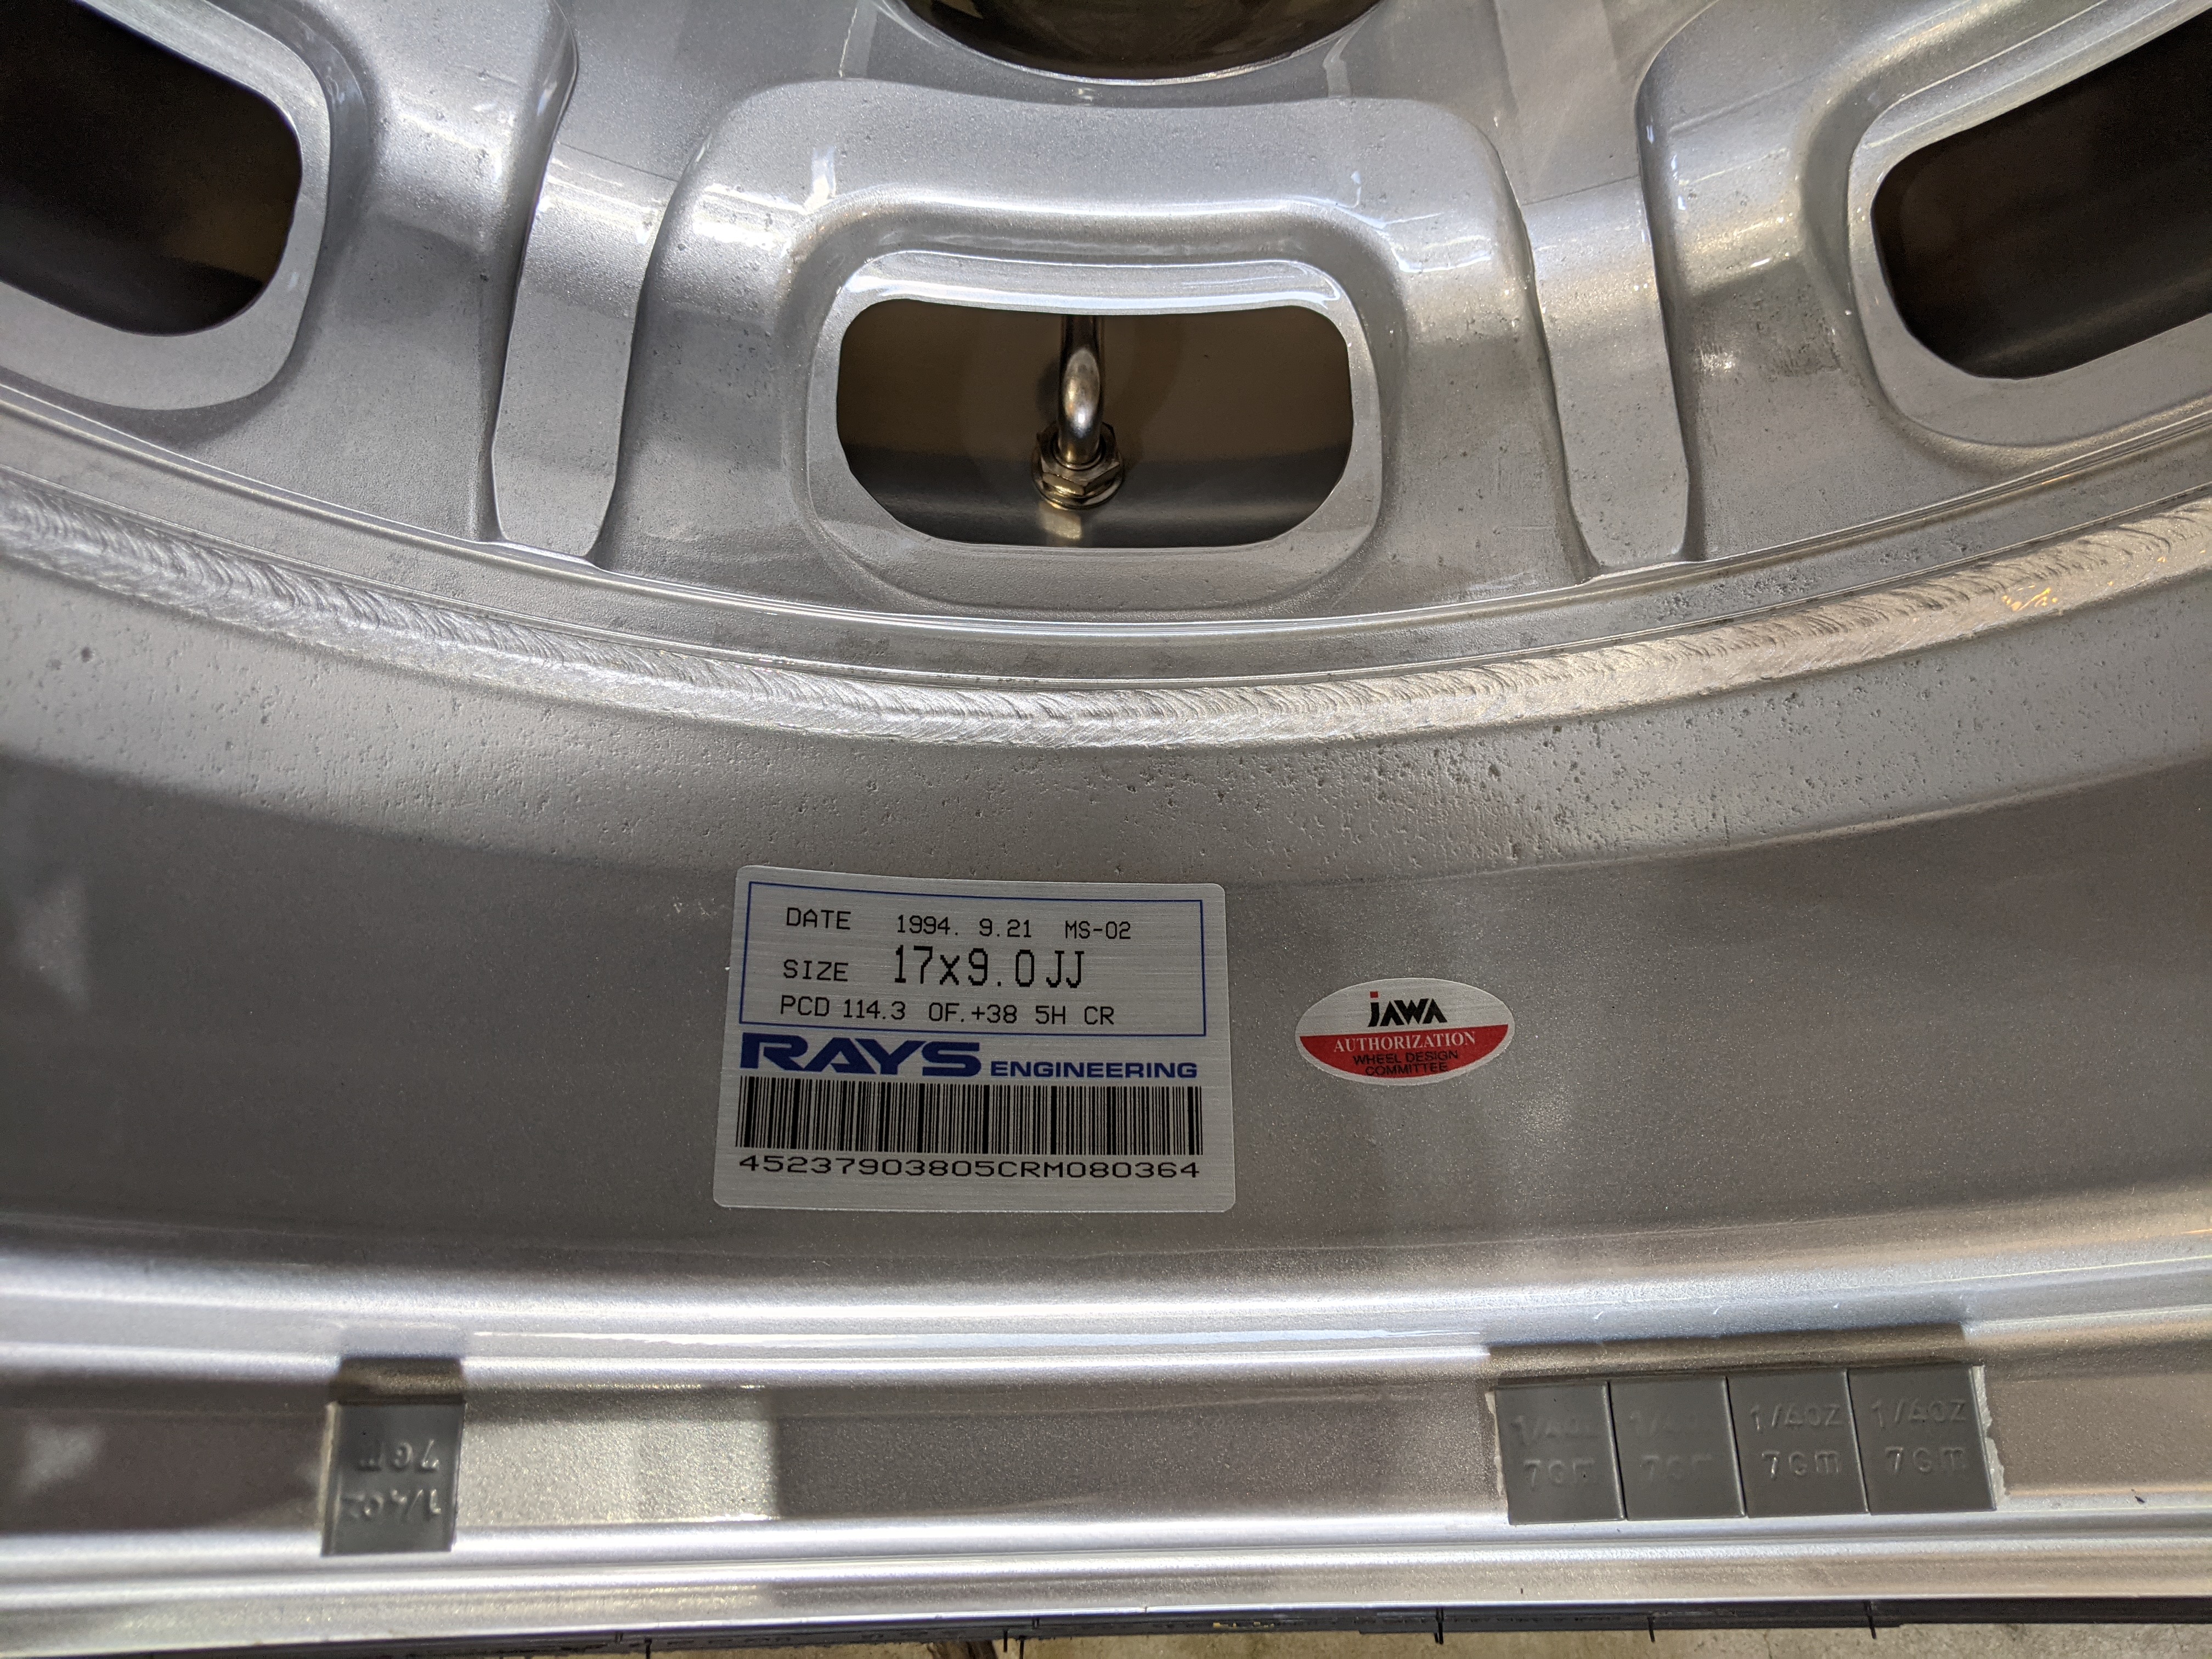
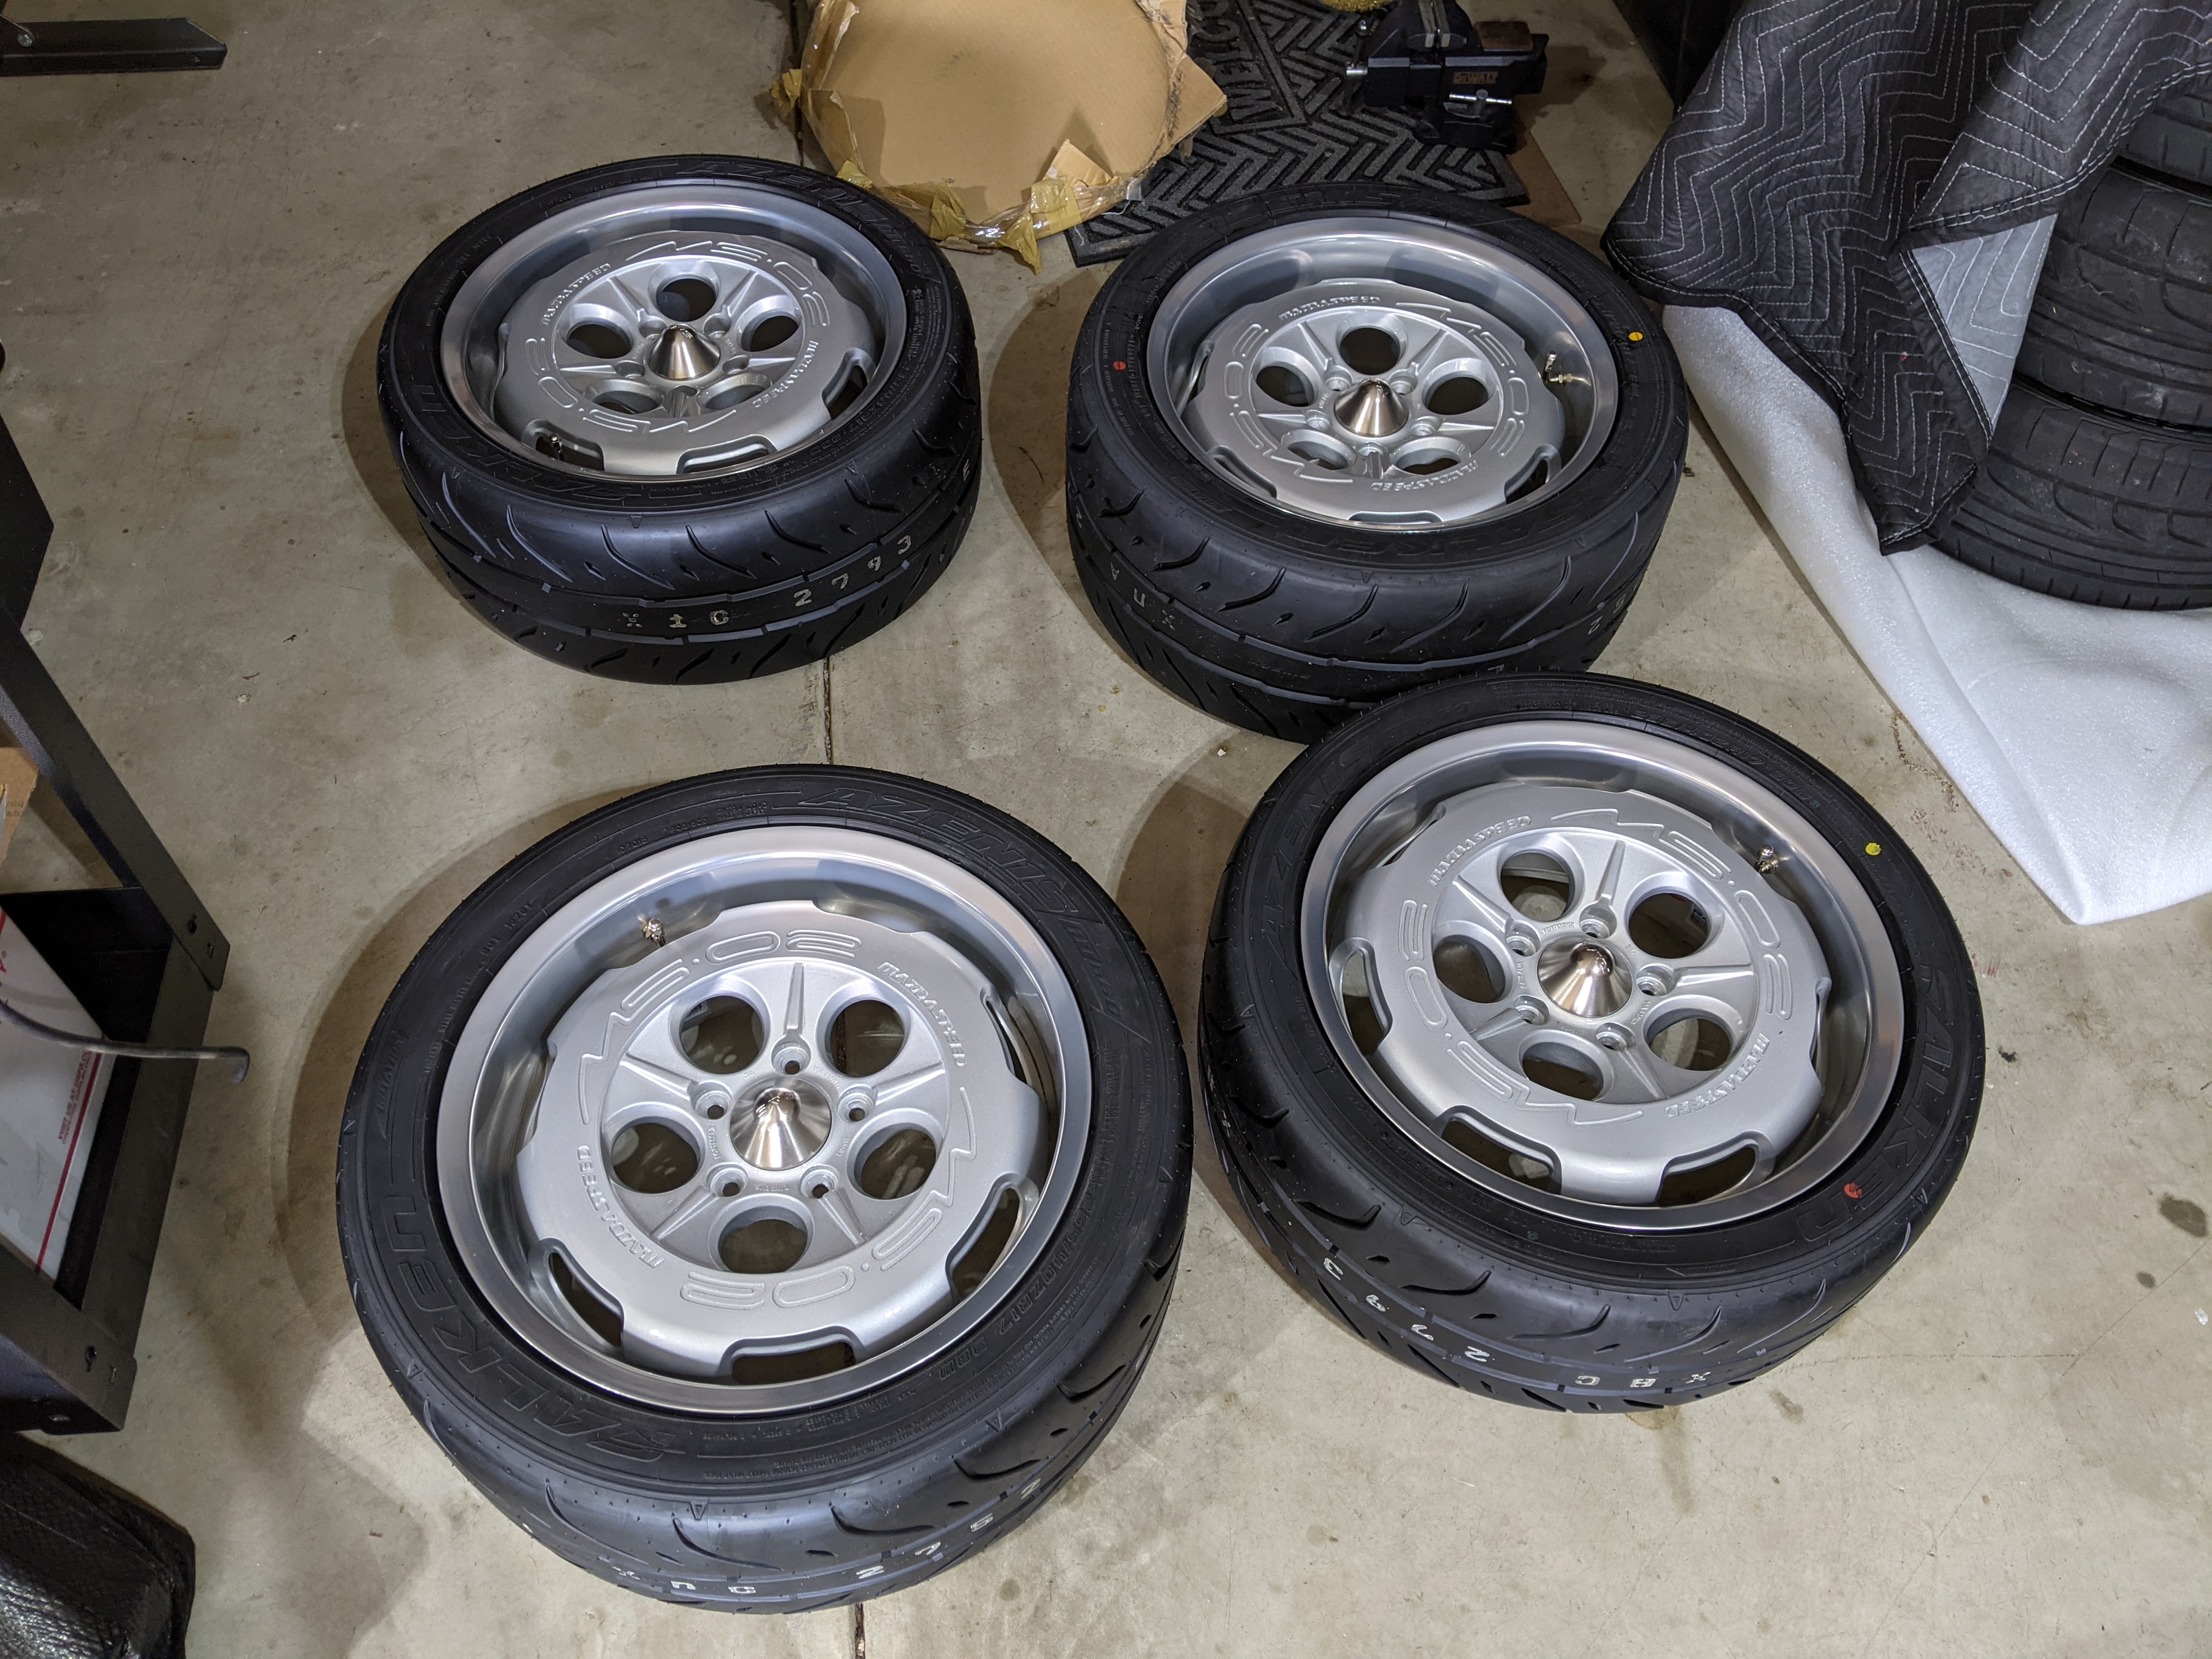
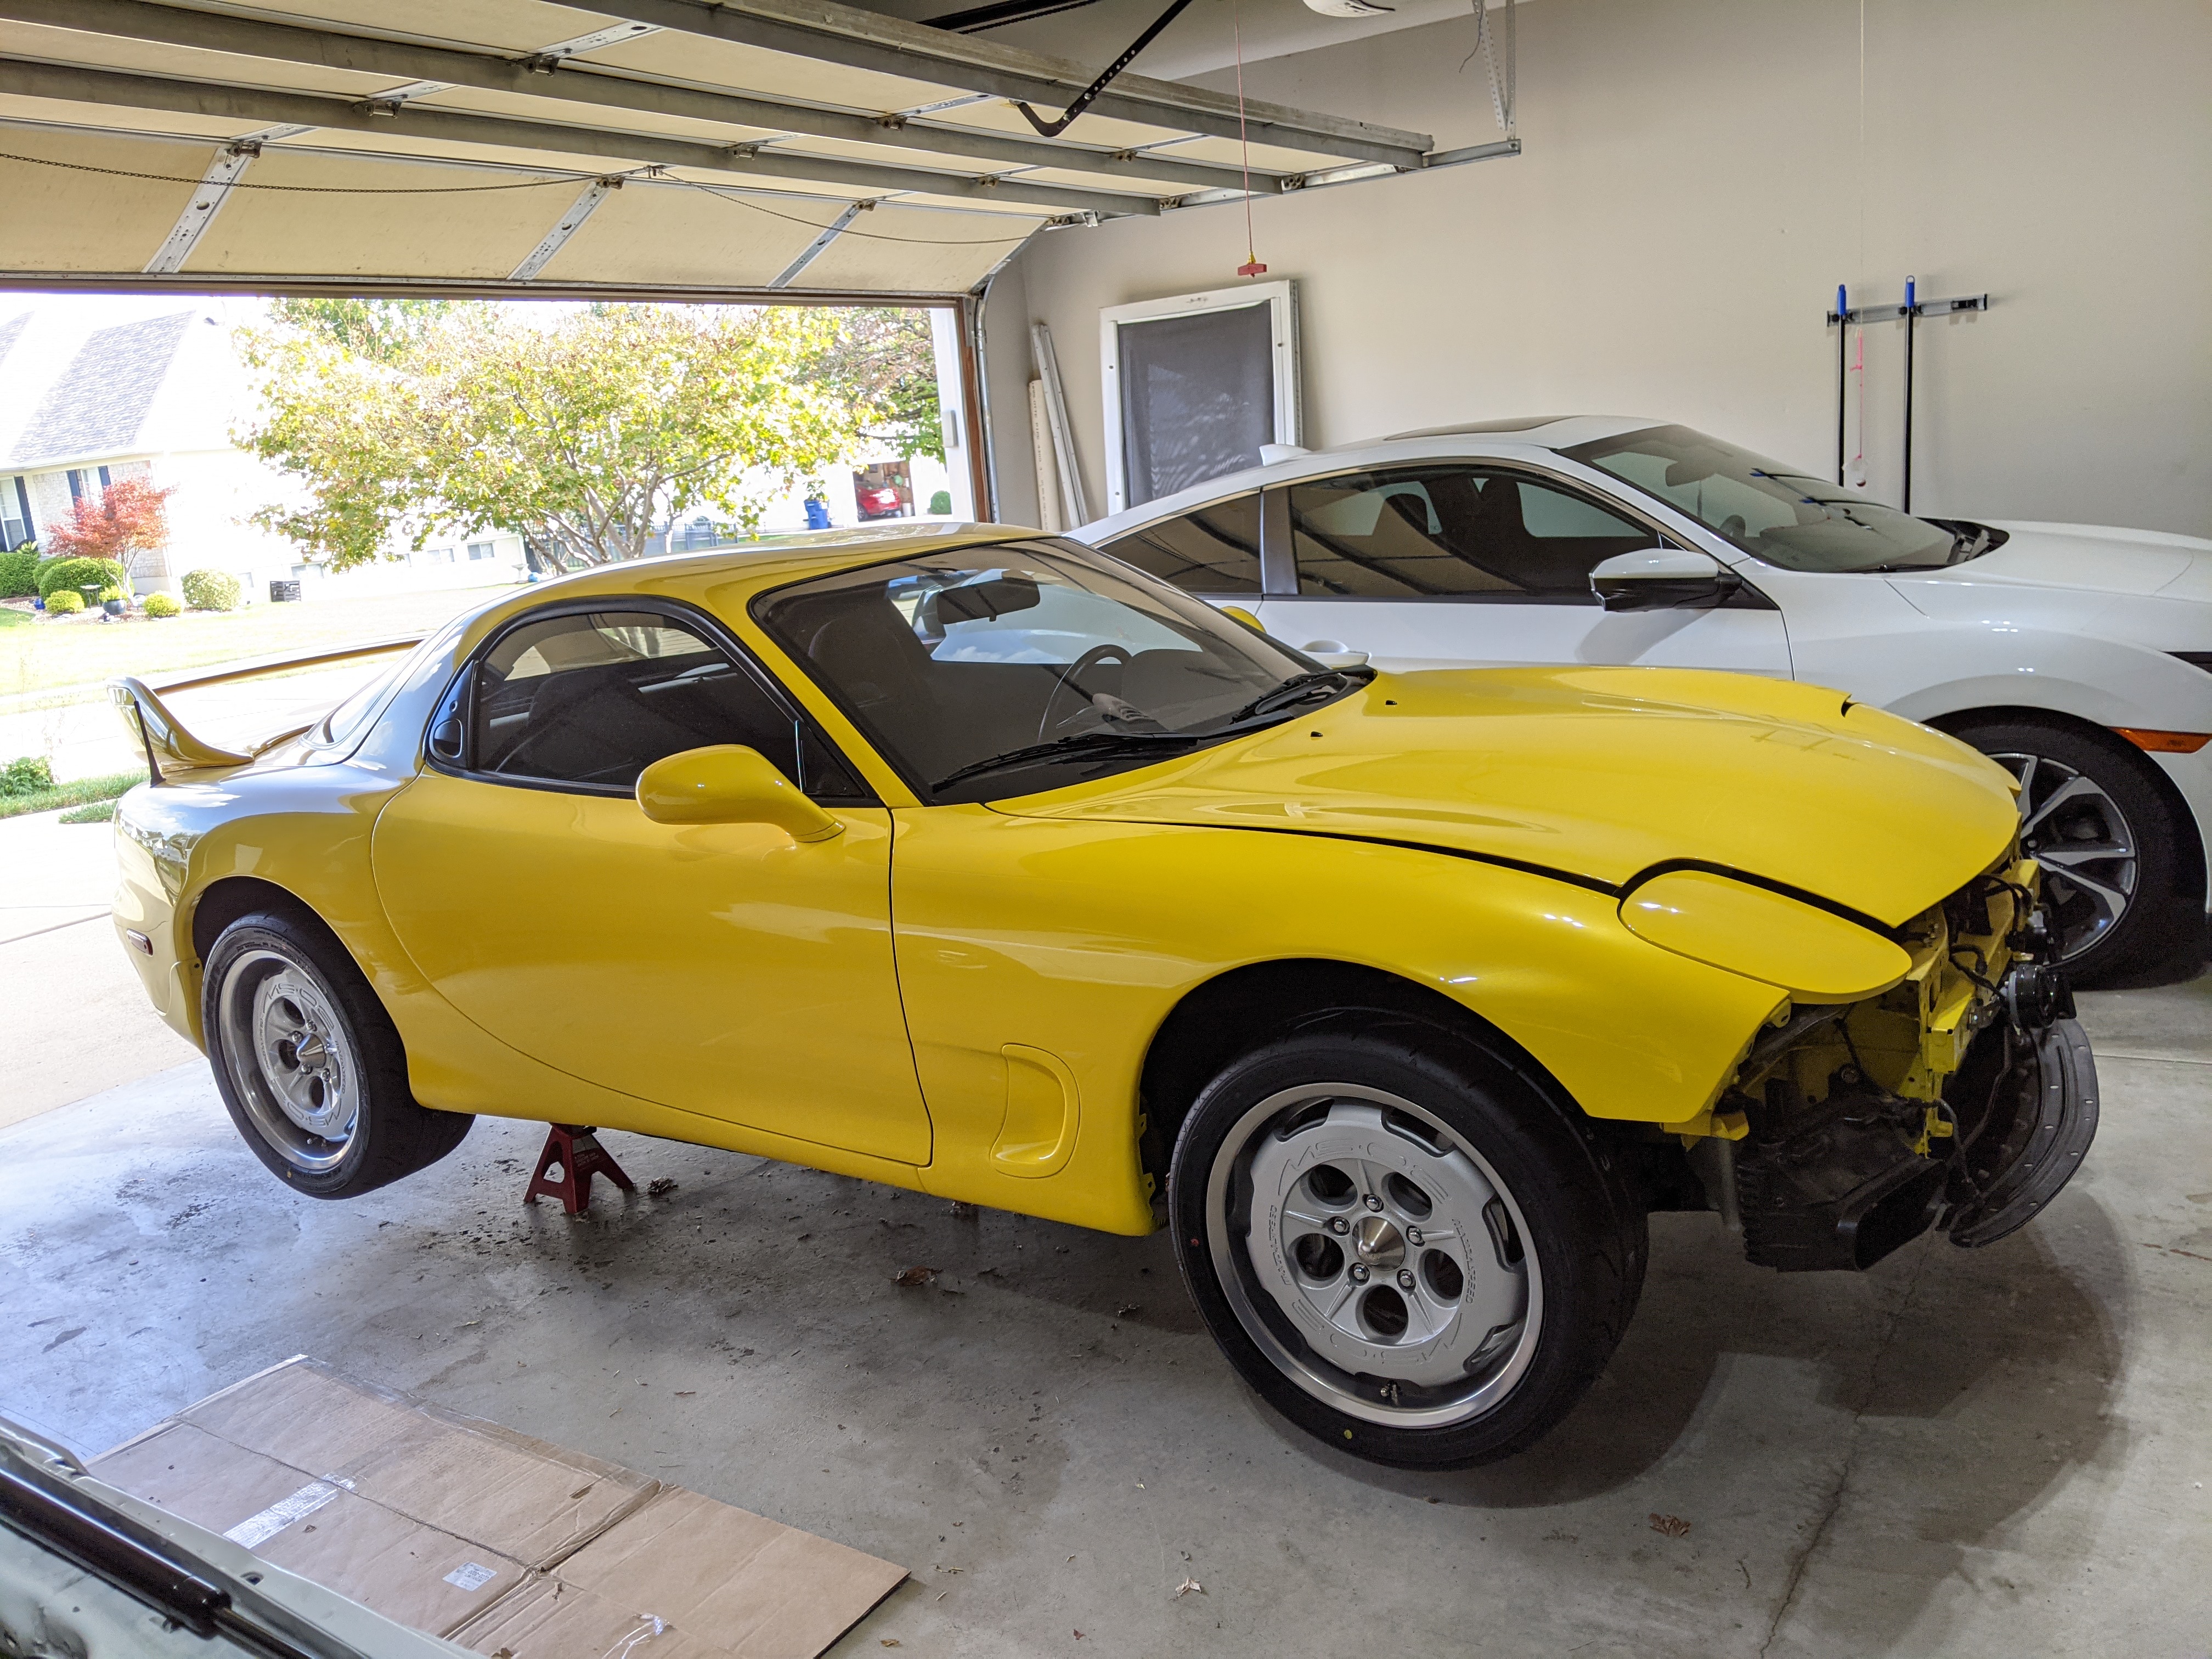
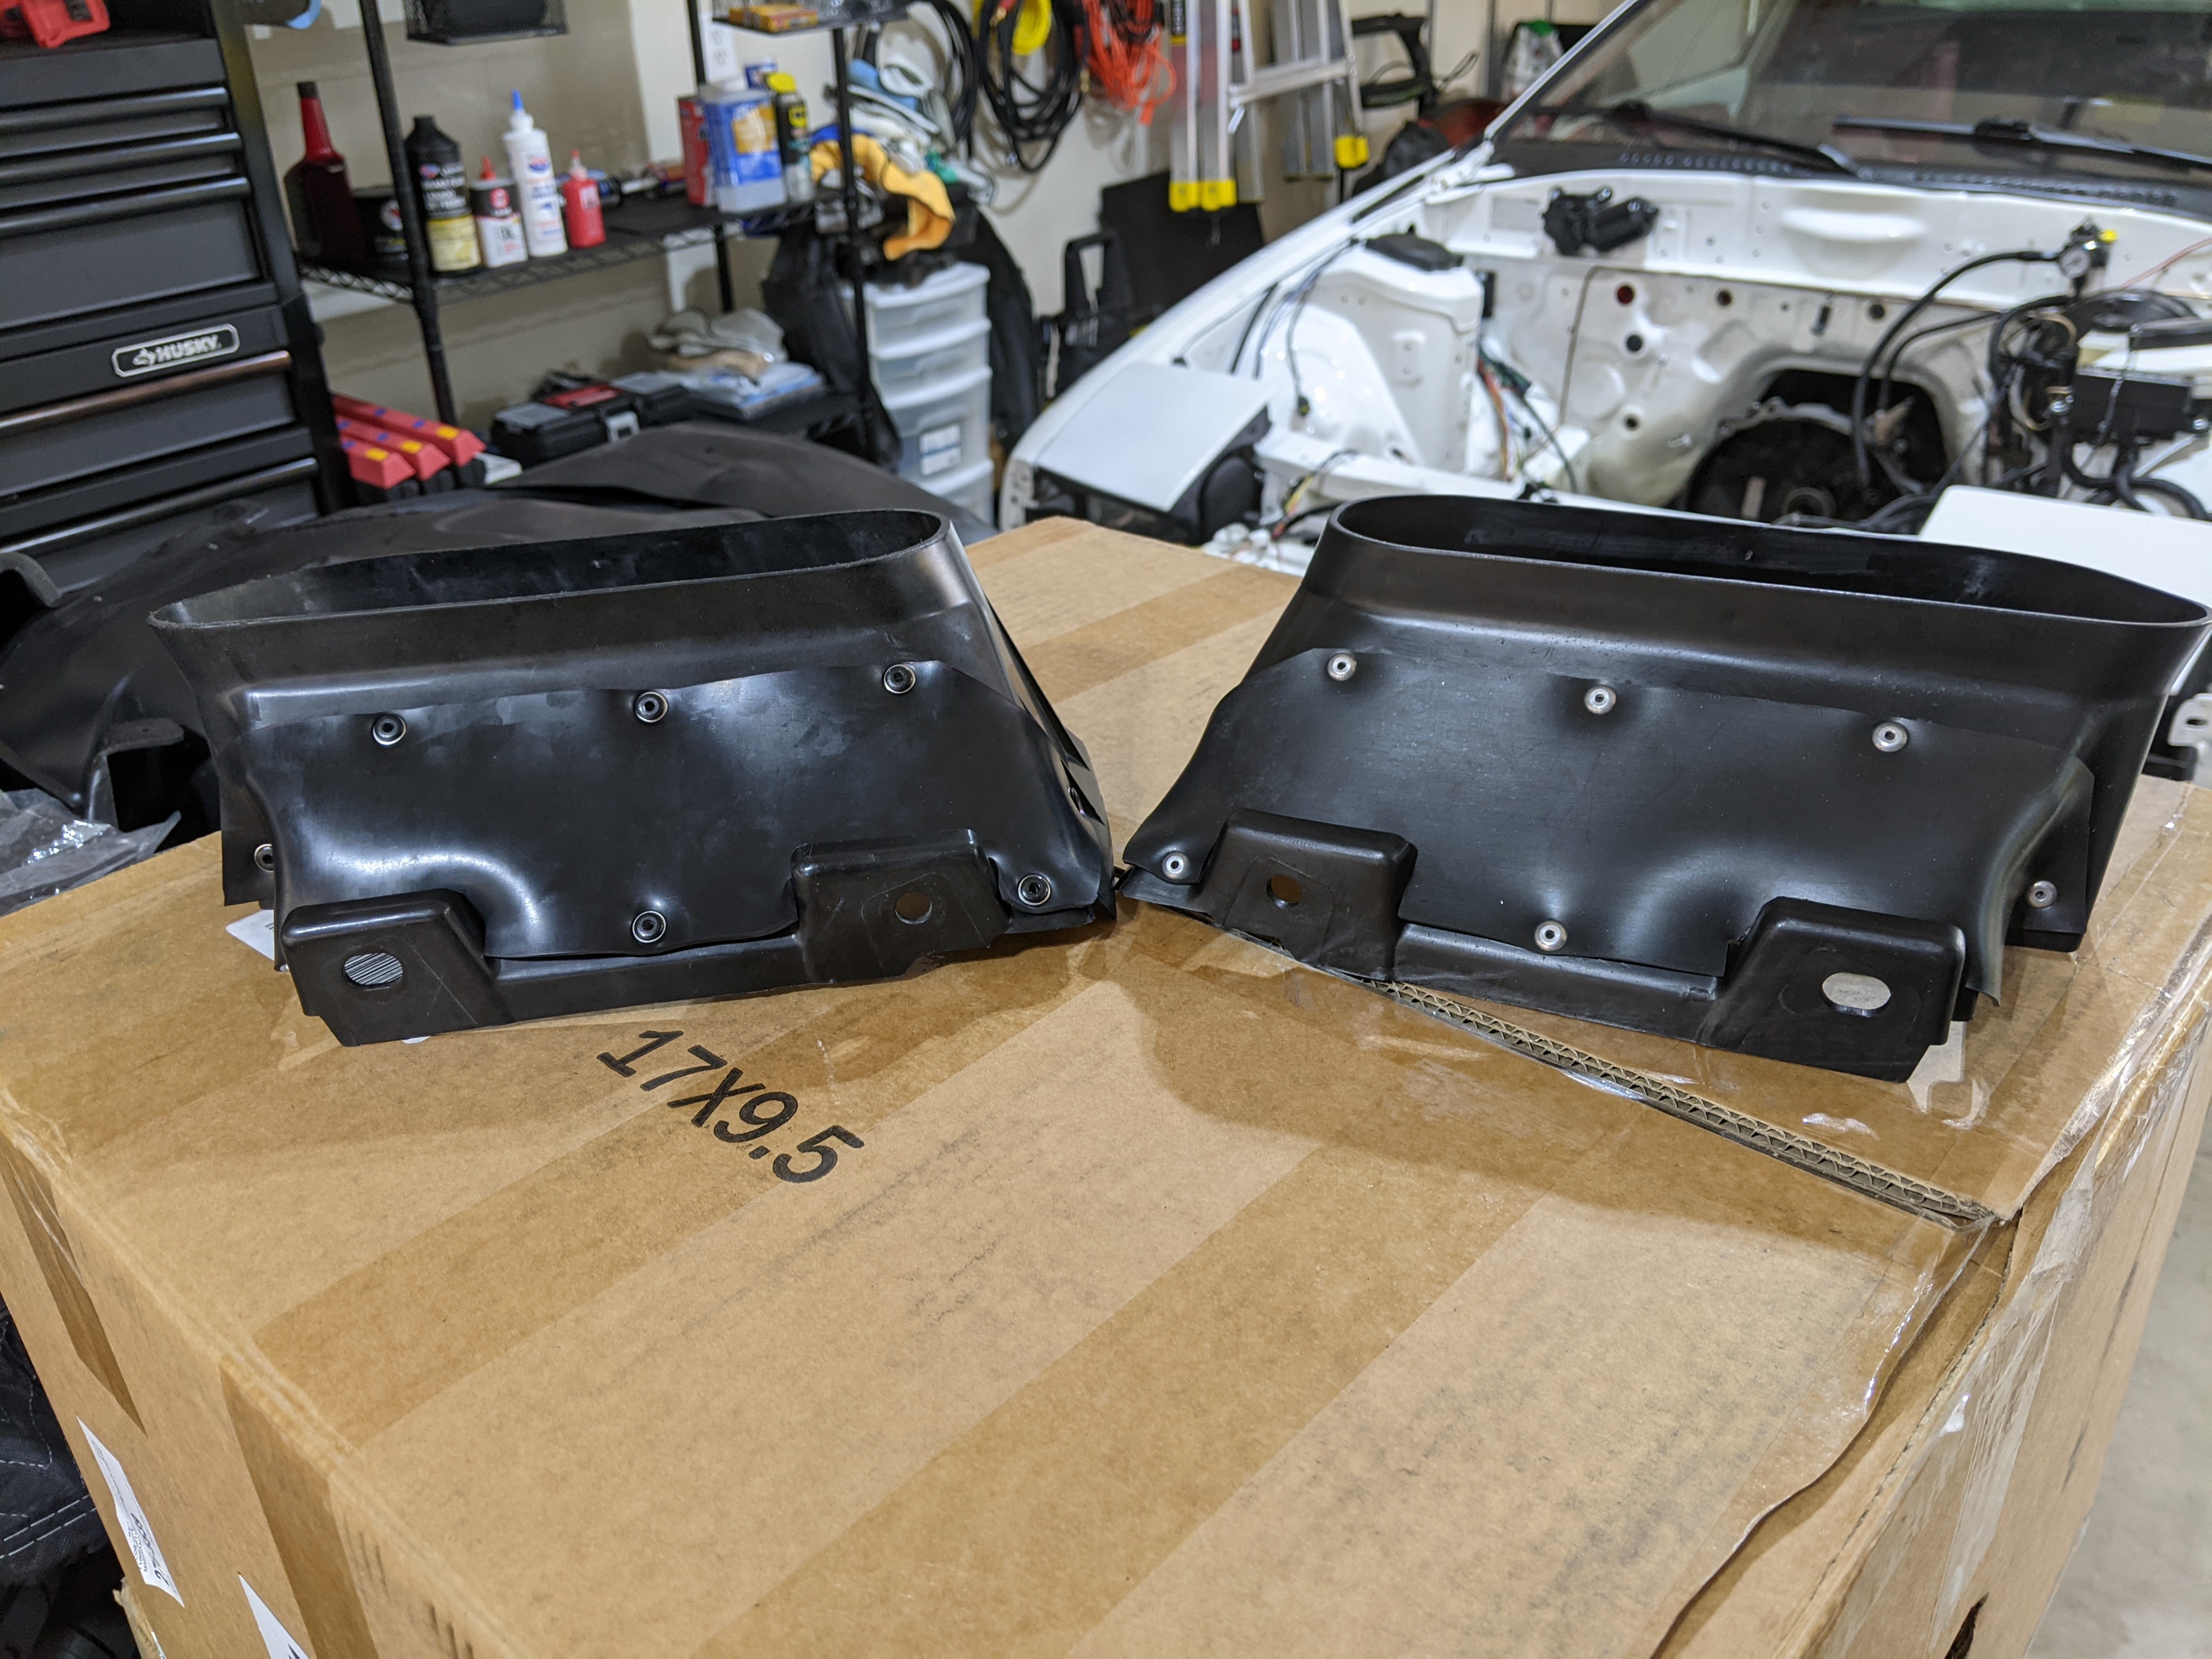
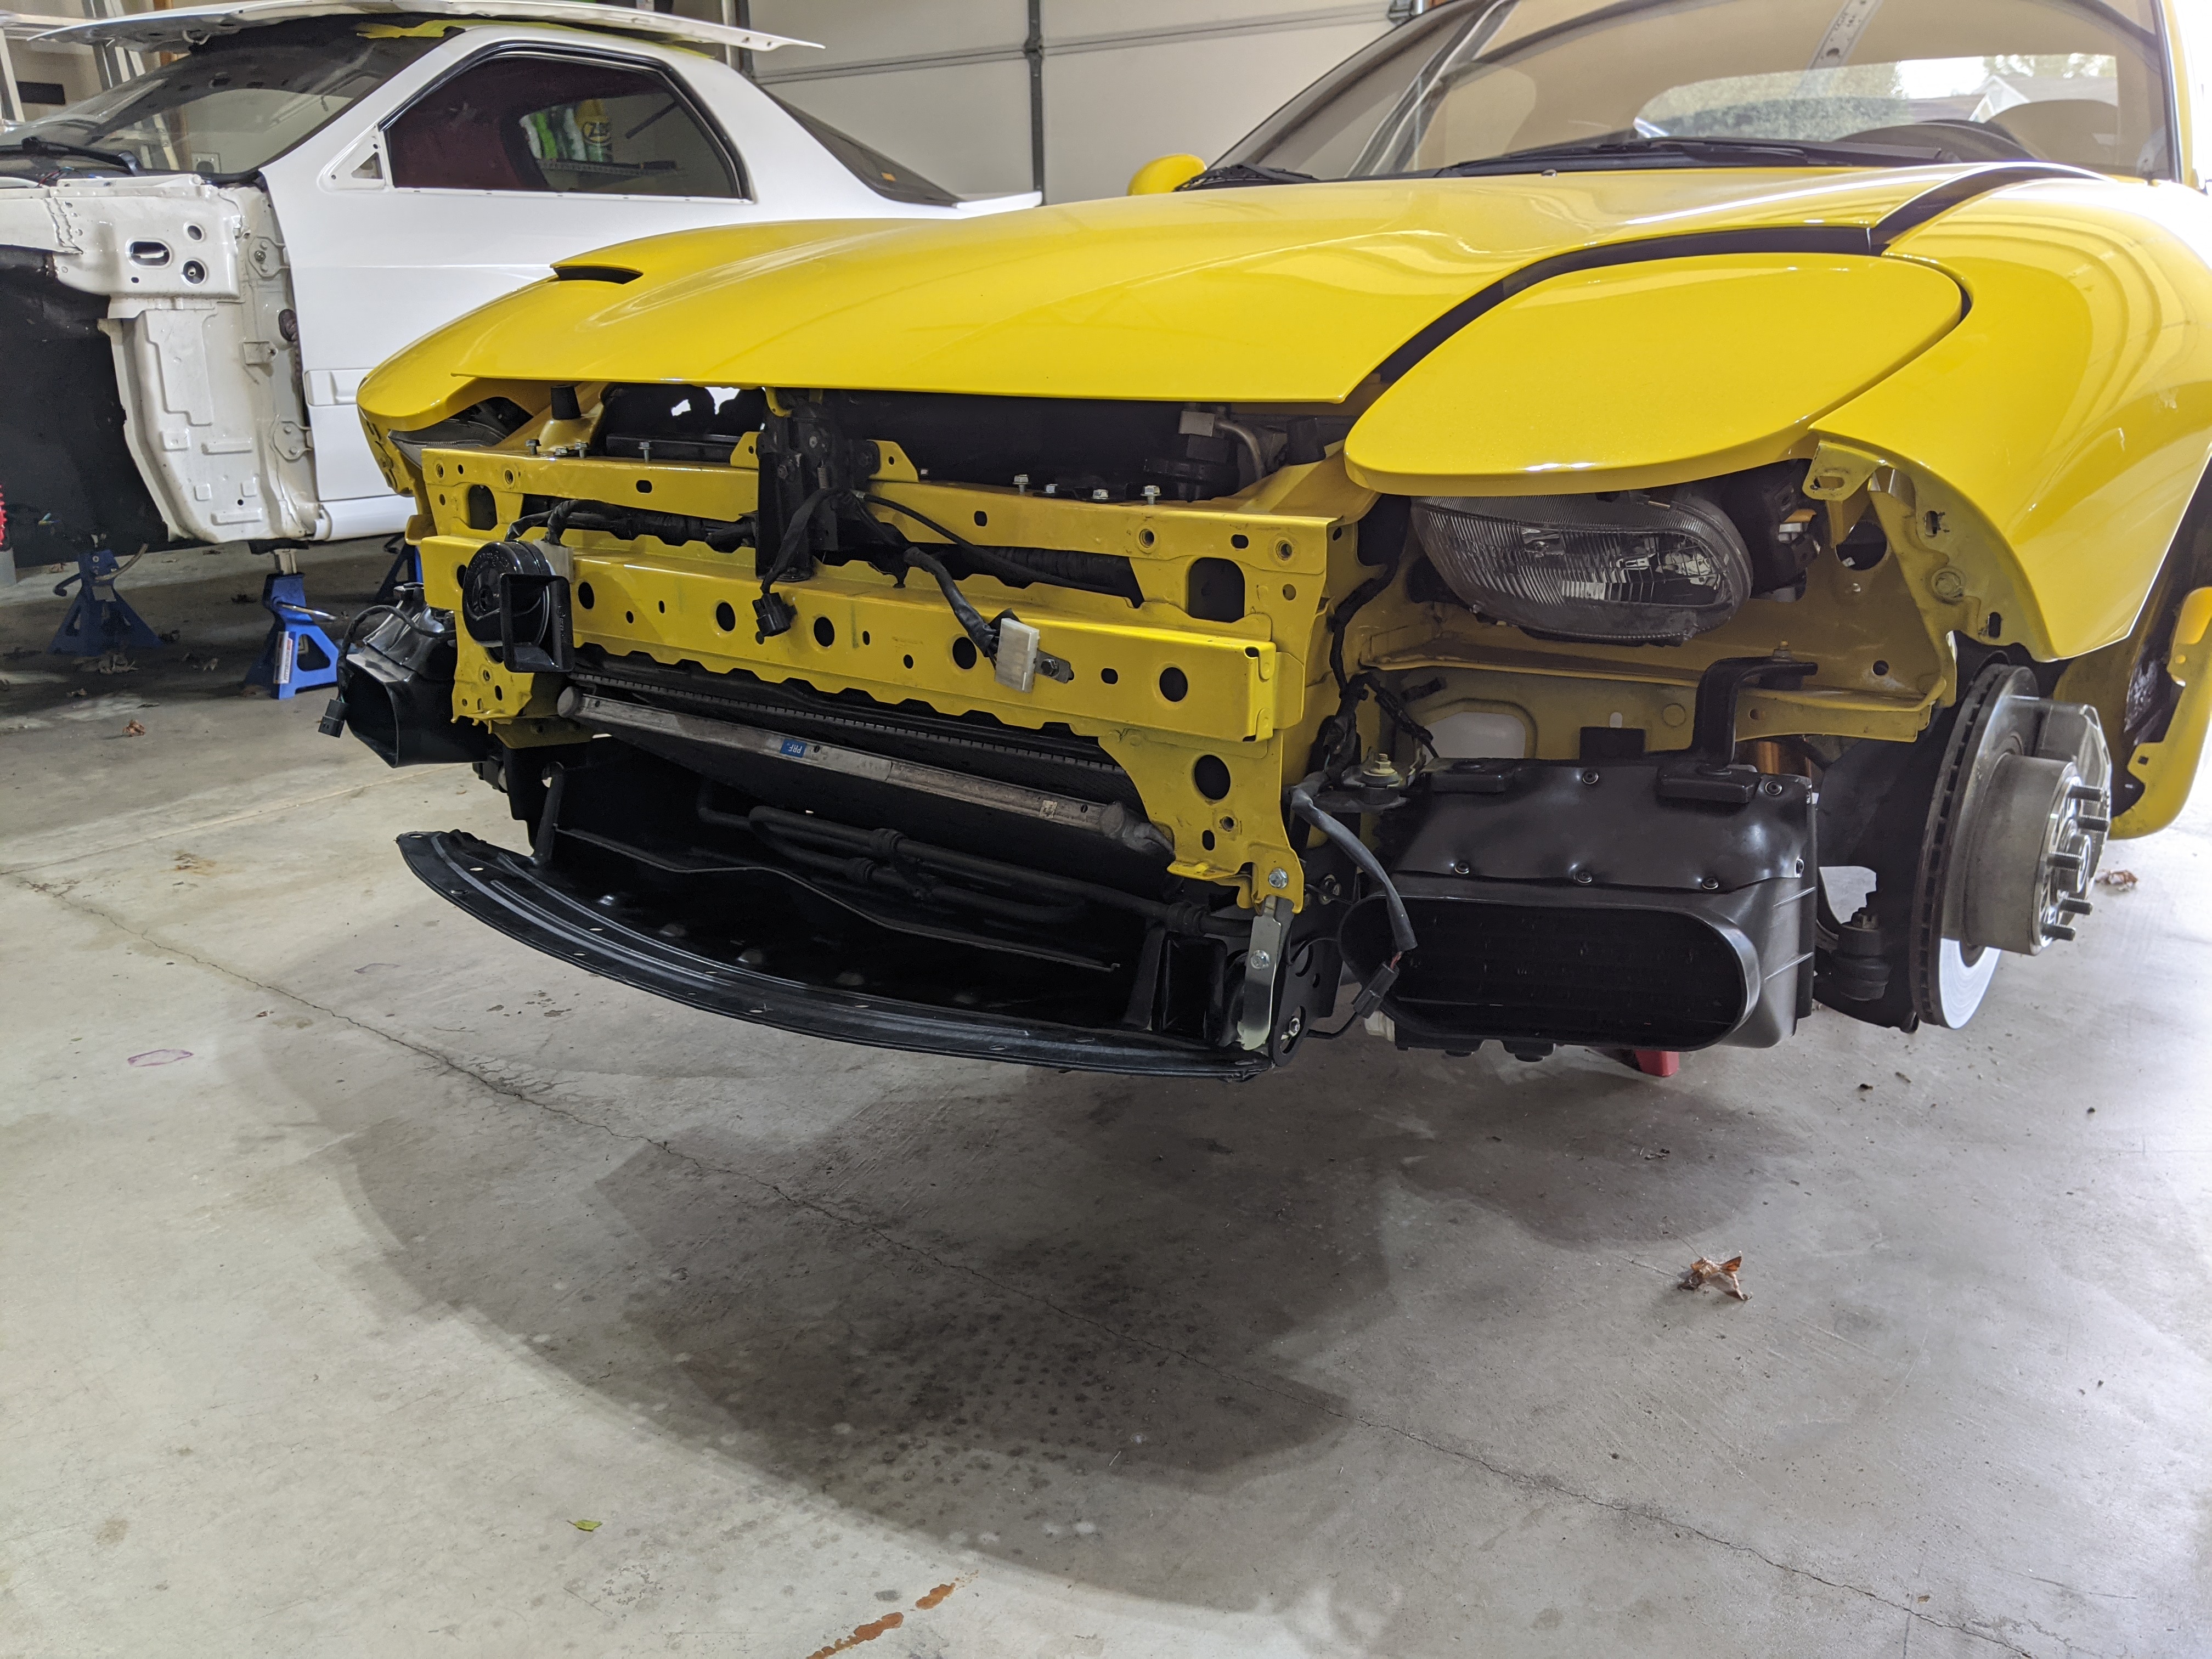
I’m happy to report a lot has happened in the past two months for the FD. I’ve finally kickstarted off Project A-Spec which started with ordering quite a few things - brand new fender liners, brake ducts, fog light switch, headlight bezels, and a driver side oil cooler duct. I was a little disheartened to discover that the passenger is NLA (probably due to only being used on the R1 models here). I have a plan for the passenger and will be able to showcase more on that next time. I test fitted the A-Spec bumper and side skirts before sending them to my body guy. They fit really well and will only require minimal work. The last thing, the MS-02s, is where the brunt of this update is. I purchased some new Ti replacement caps from Parts Collective. They do look slightly different compared to the OE aluminum/plastic caps, but I think it’s a good trade off in order to keep the OE caps in good condition. Since I wanted the entire barrel refinished I also ordered some new barrel decals from MRMDecals on Instagram. They turned out great! I also bought a set for the MS-01s for when they finally decide to start peeling. I sent the wheels to a local wheel restore place and they did a really good job on restoring the wheels. They weren’t able to get all the way down in some areas, and there are some defects still showing, but overall I’m quite happy with how the wheels turned out. I ordered some Falken Azenis RT660’s in 235/40 and 255/40 for the MS-02s. The MS-02s look great on the car and I’m so excited to keep trekking along for this latest vision of the car.
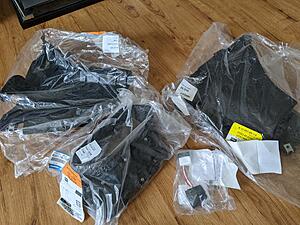
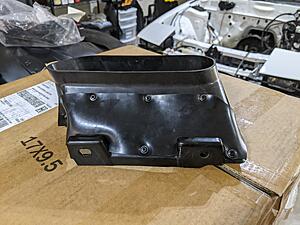
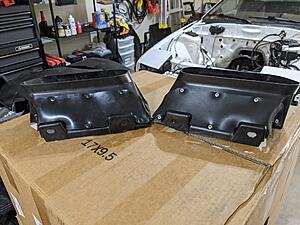
Here is all the new stuff that came in
Here is the Parts Collective Ti cap next to the OE one
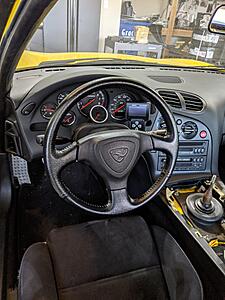
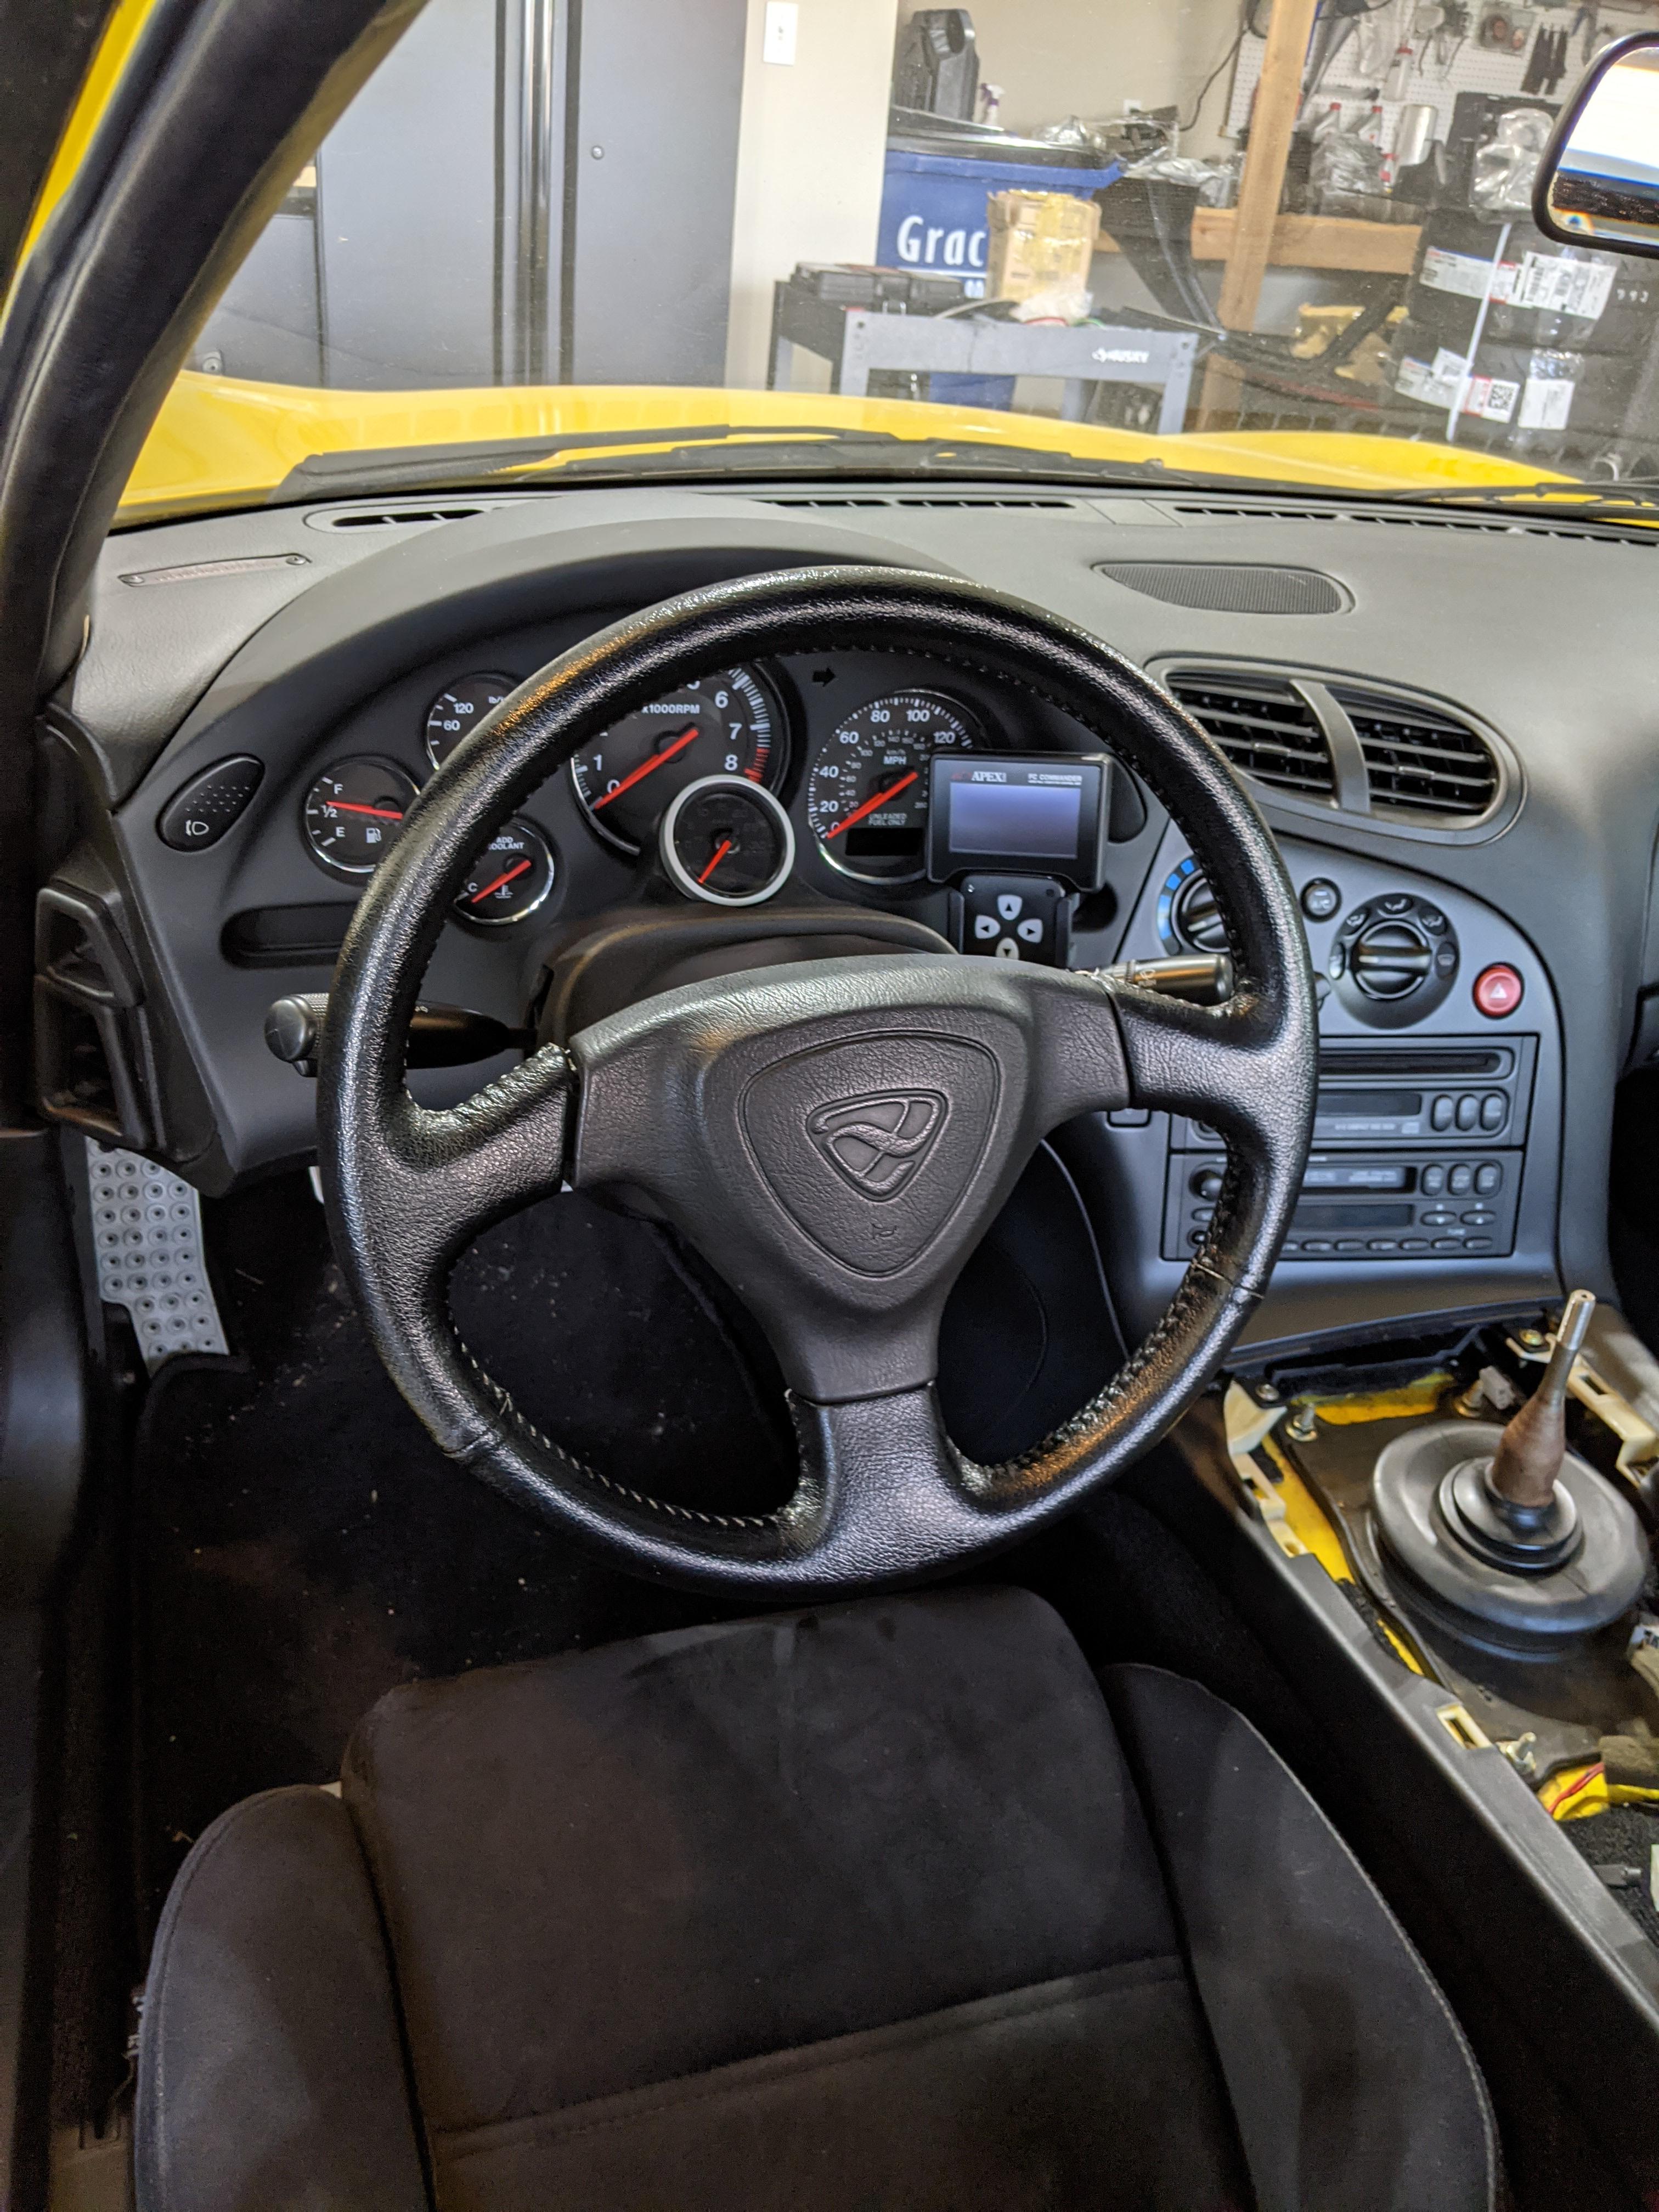
Update 10/21/2021
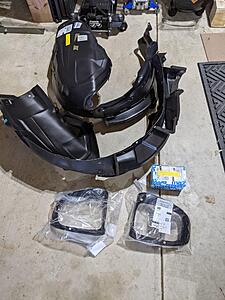
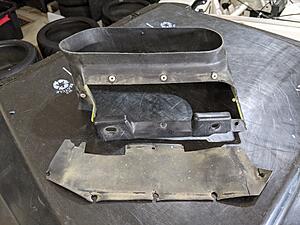
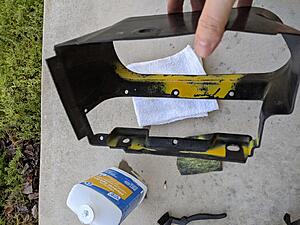
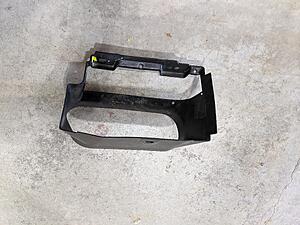
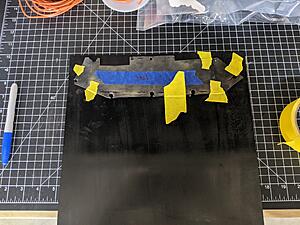
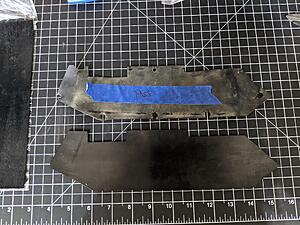
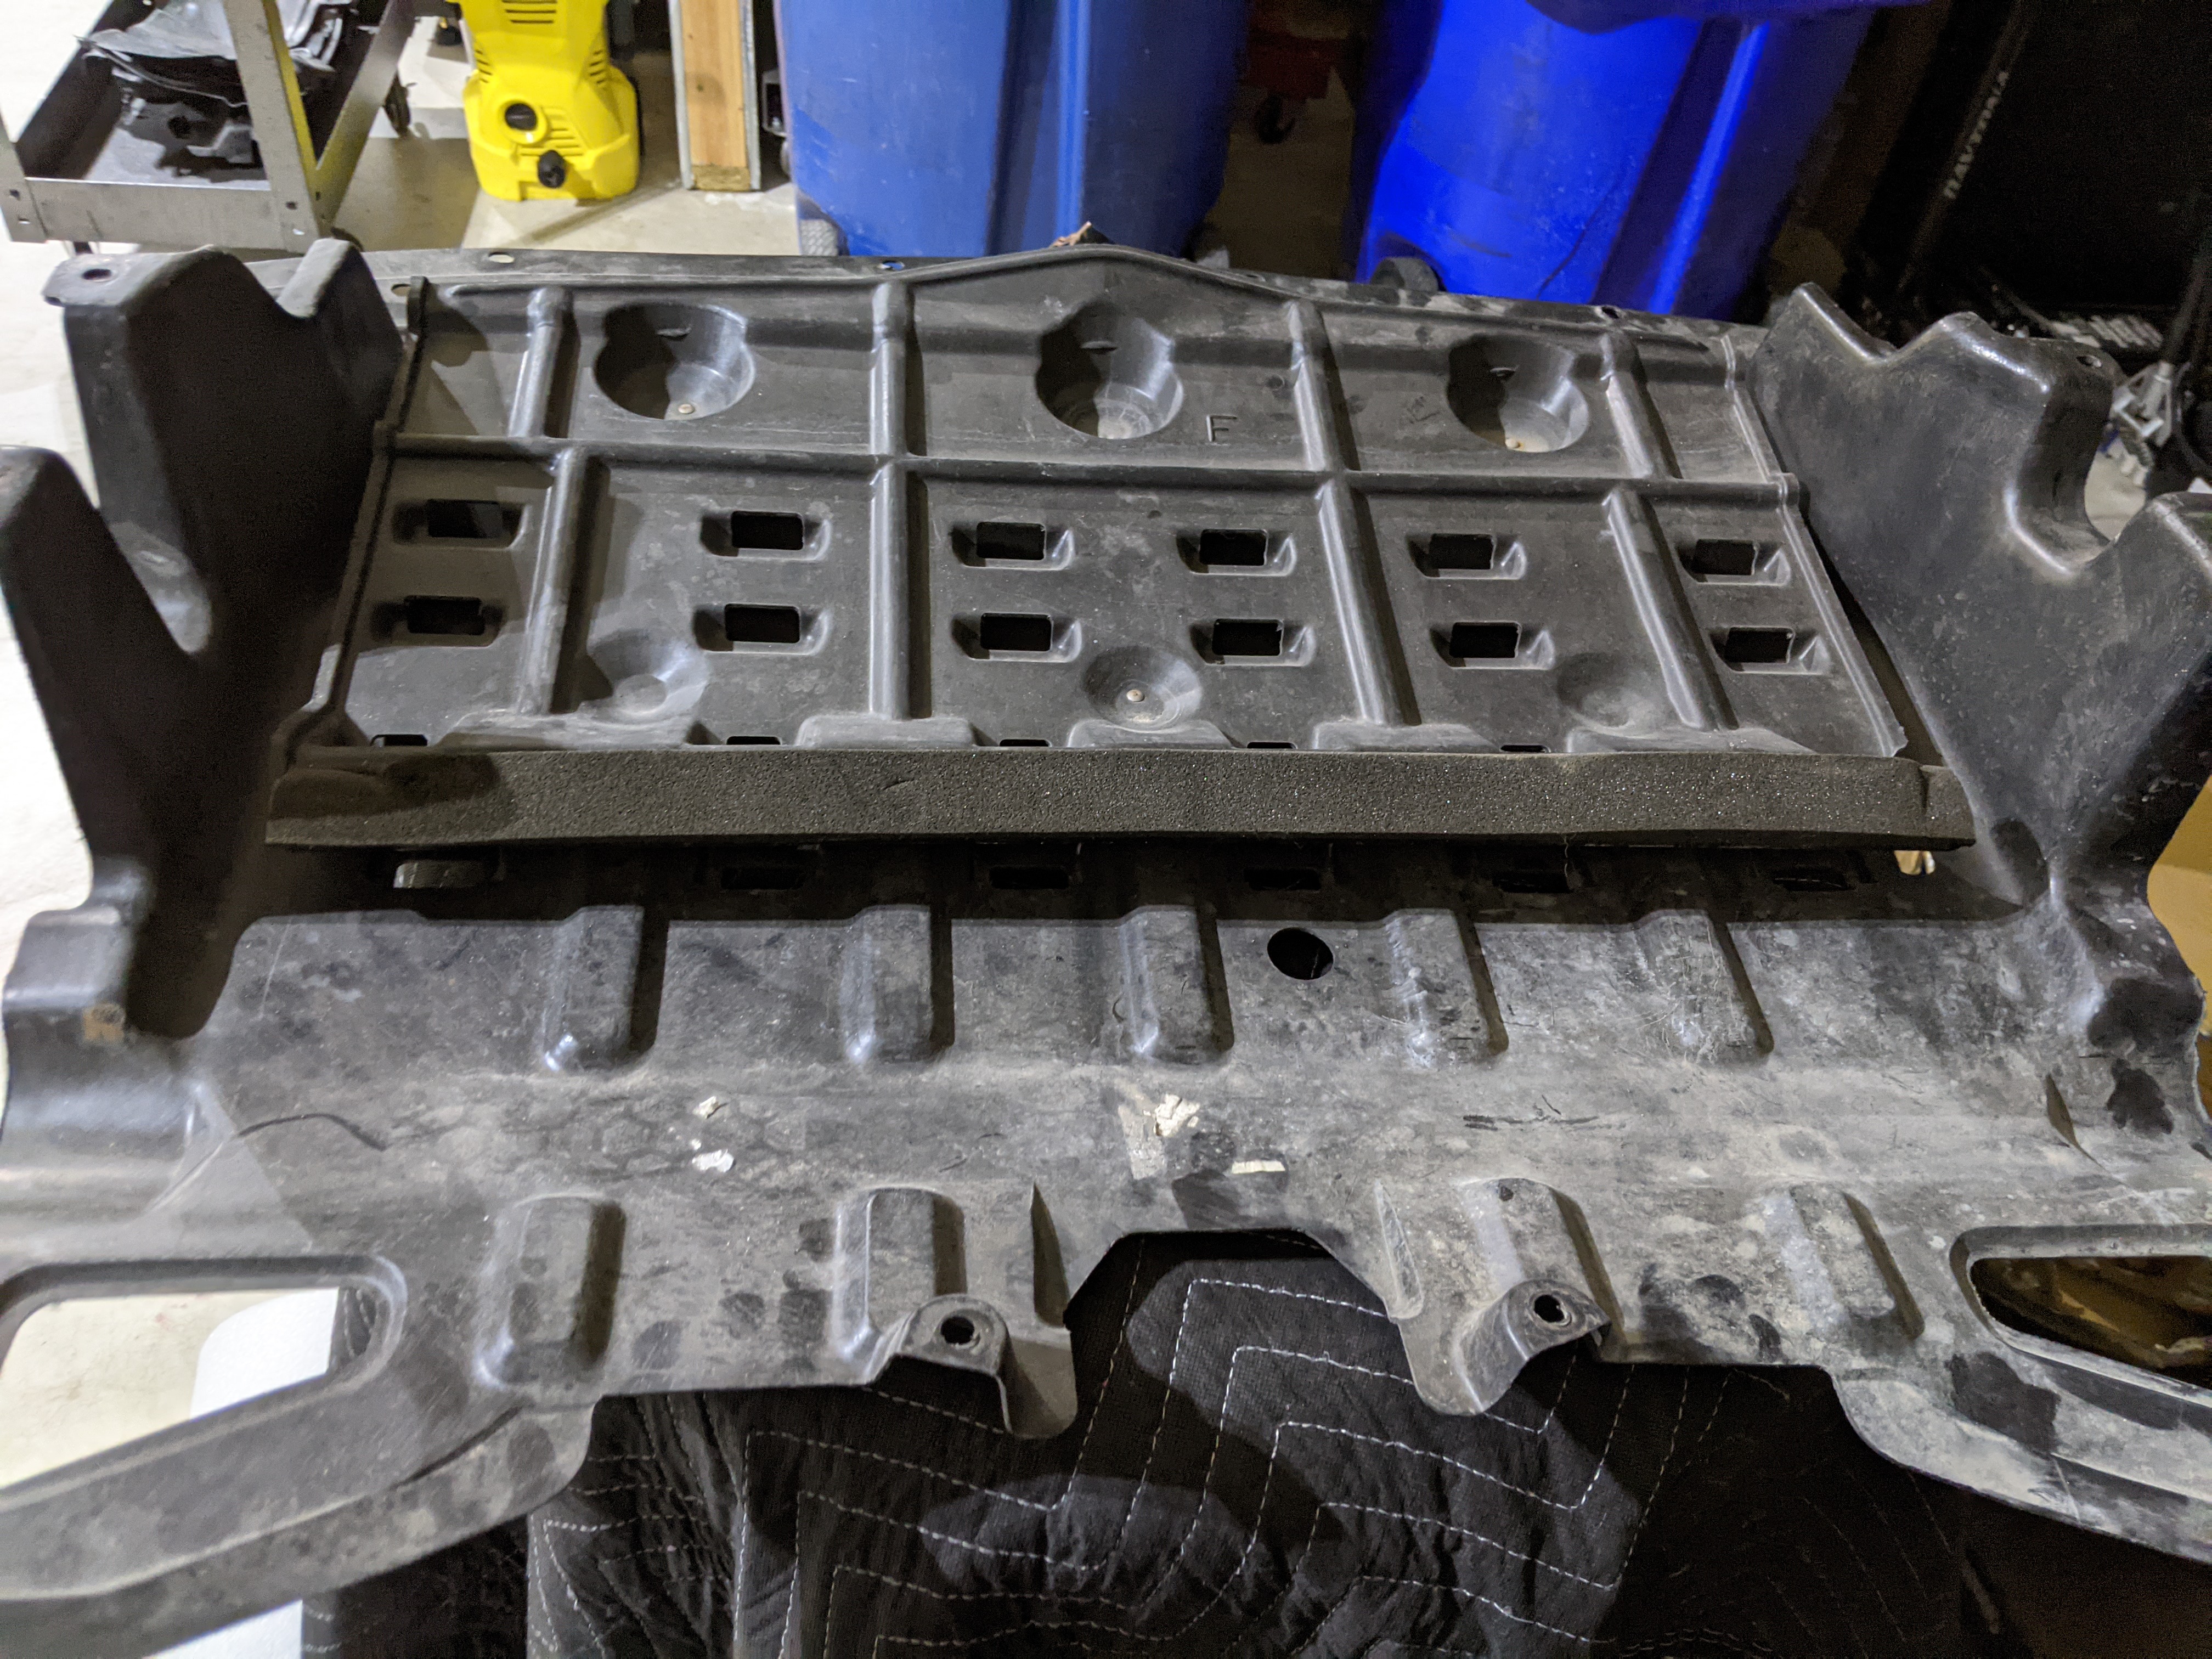
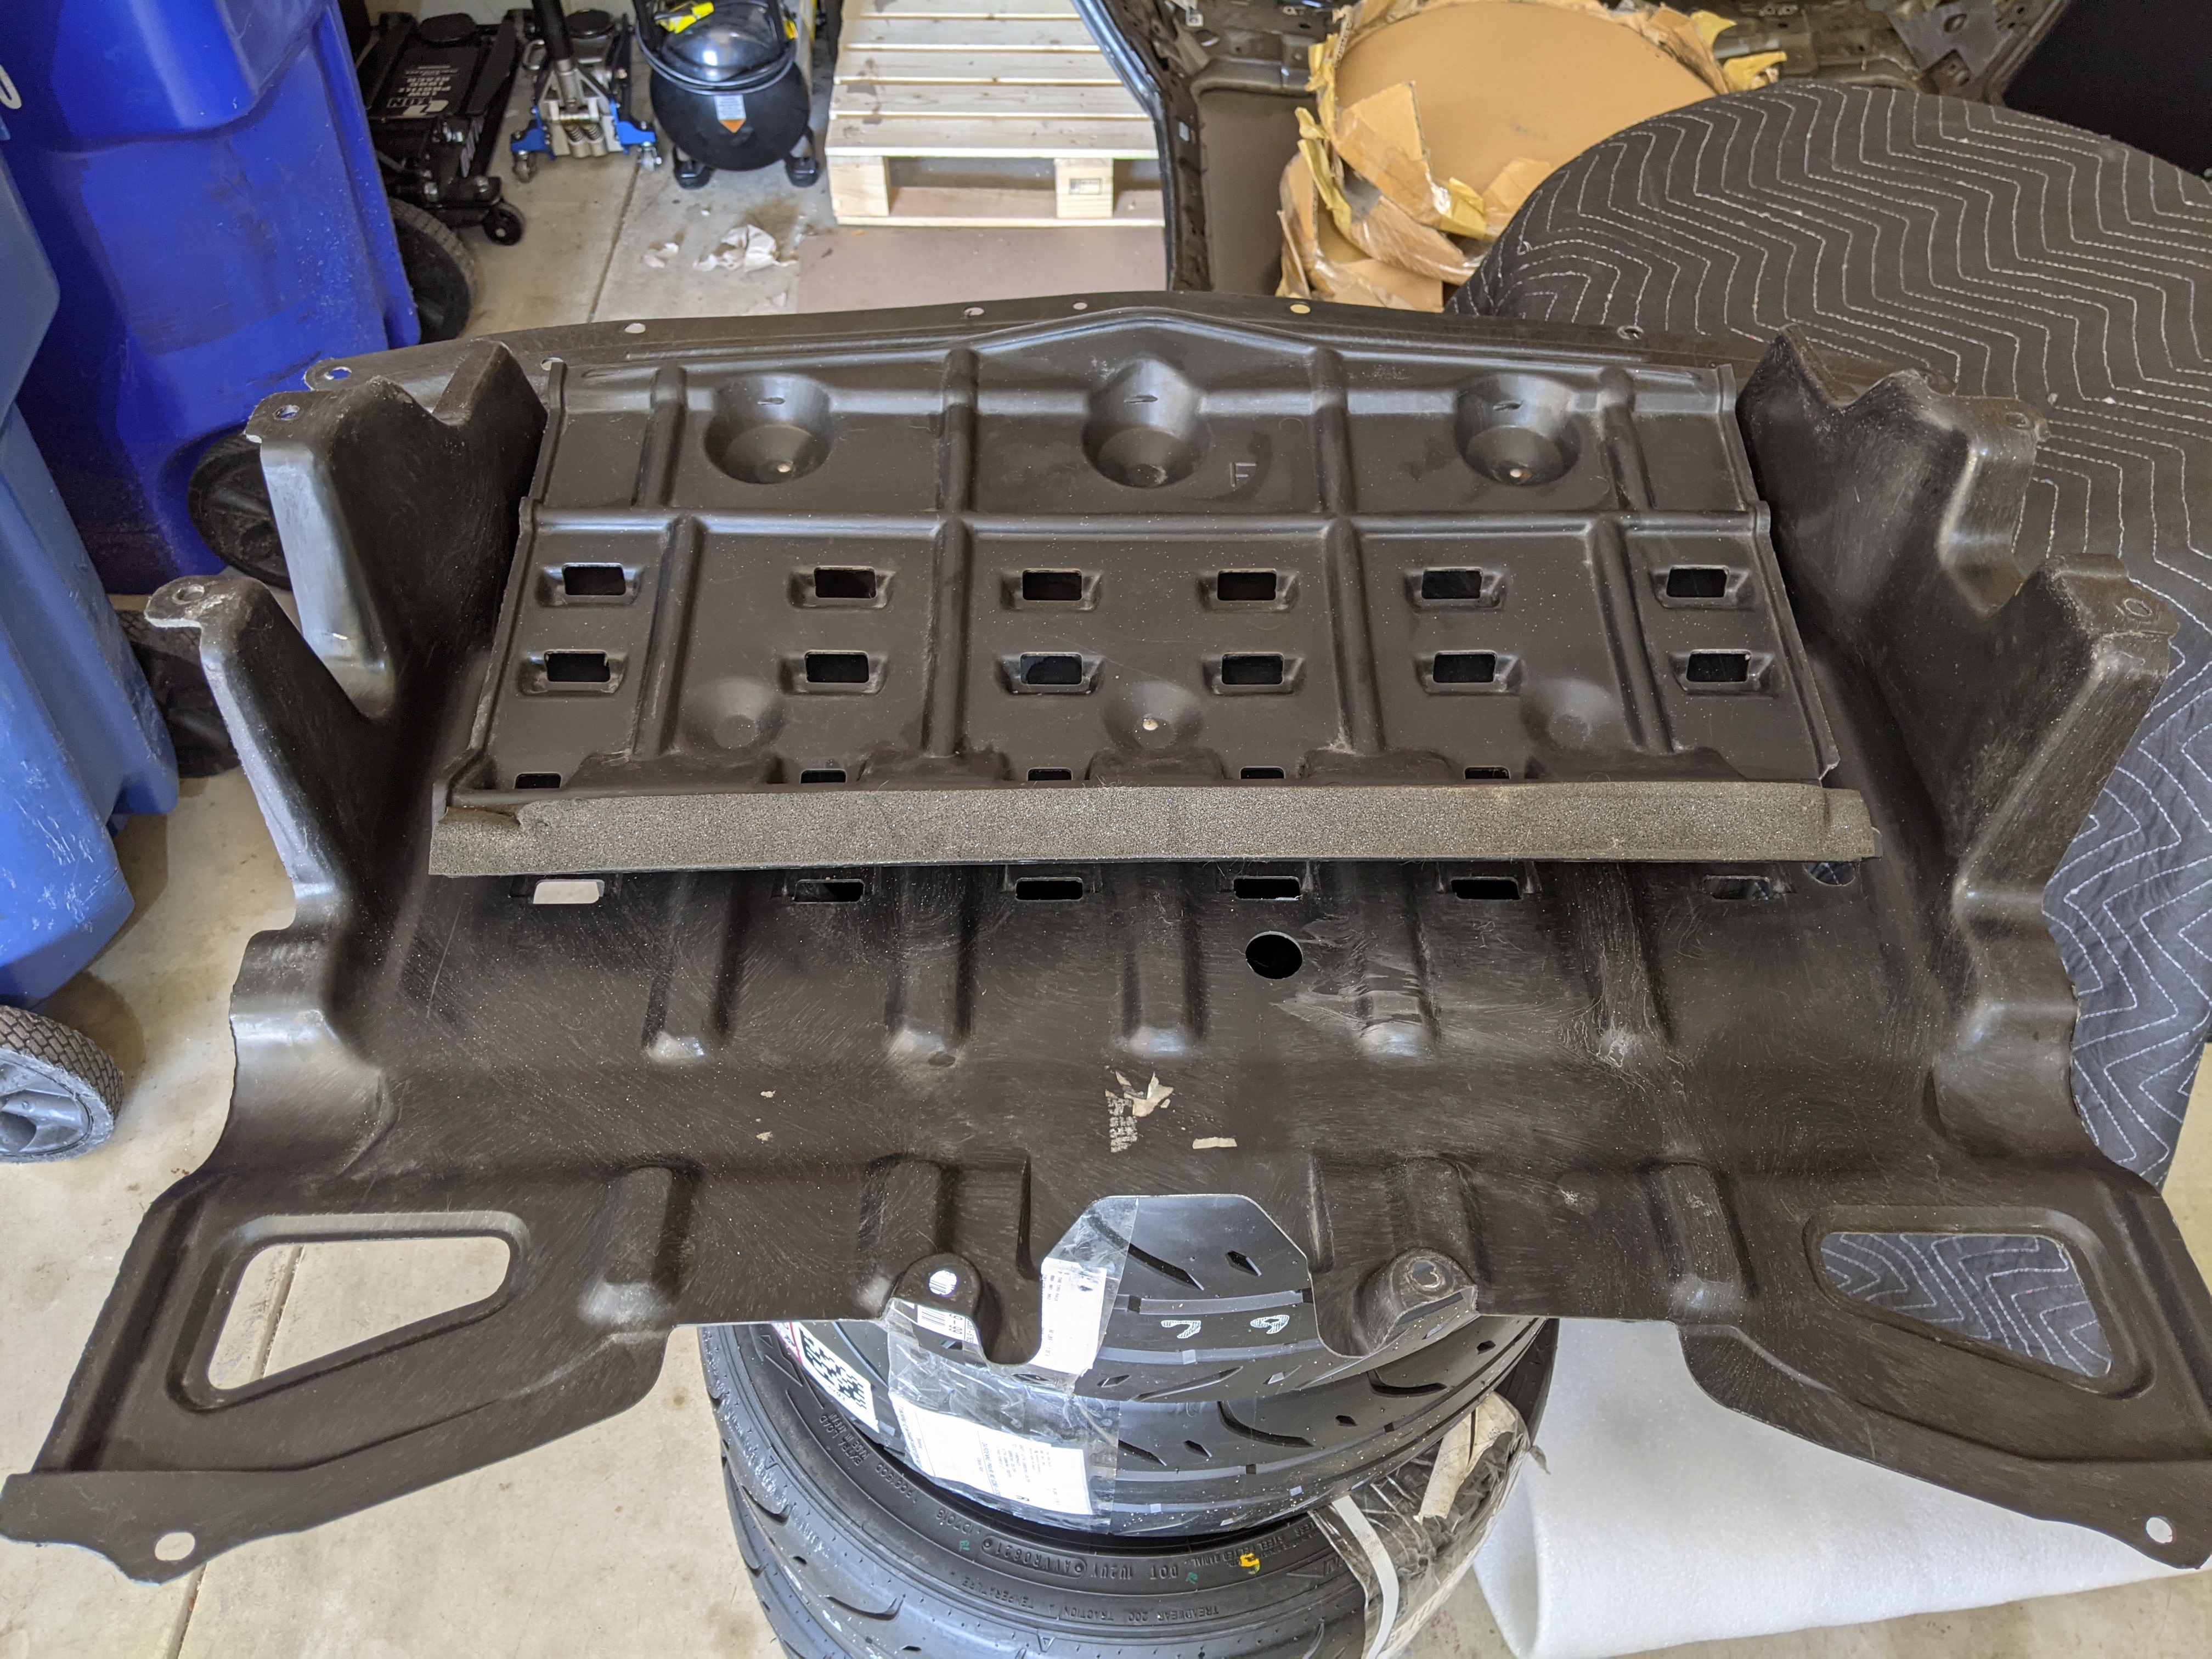
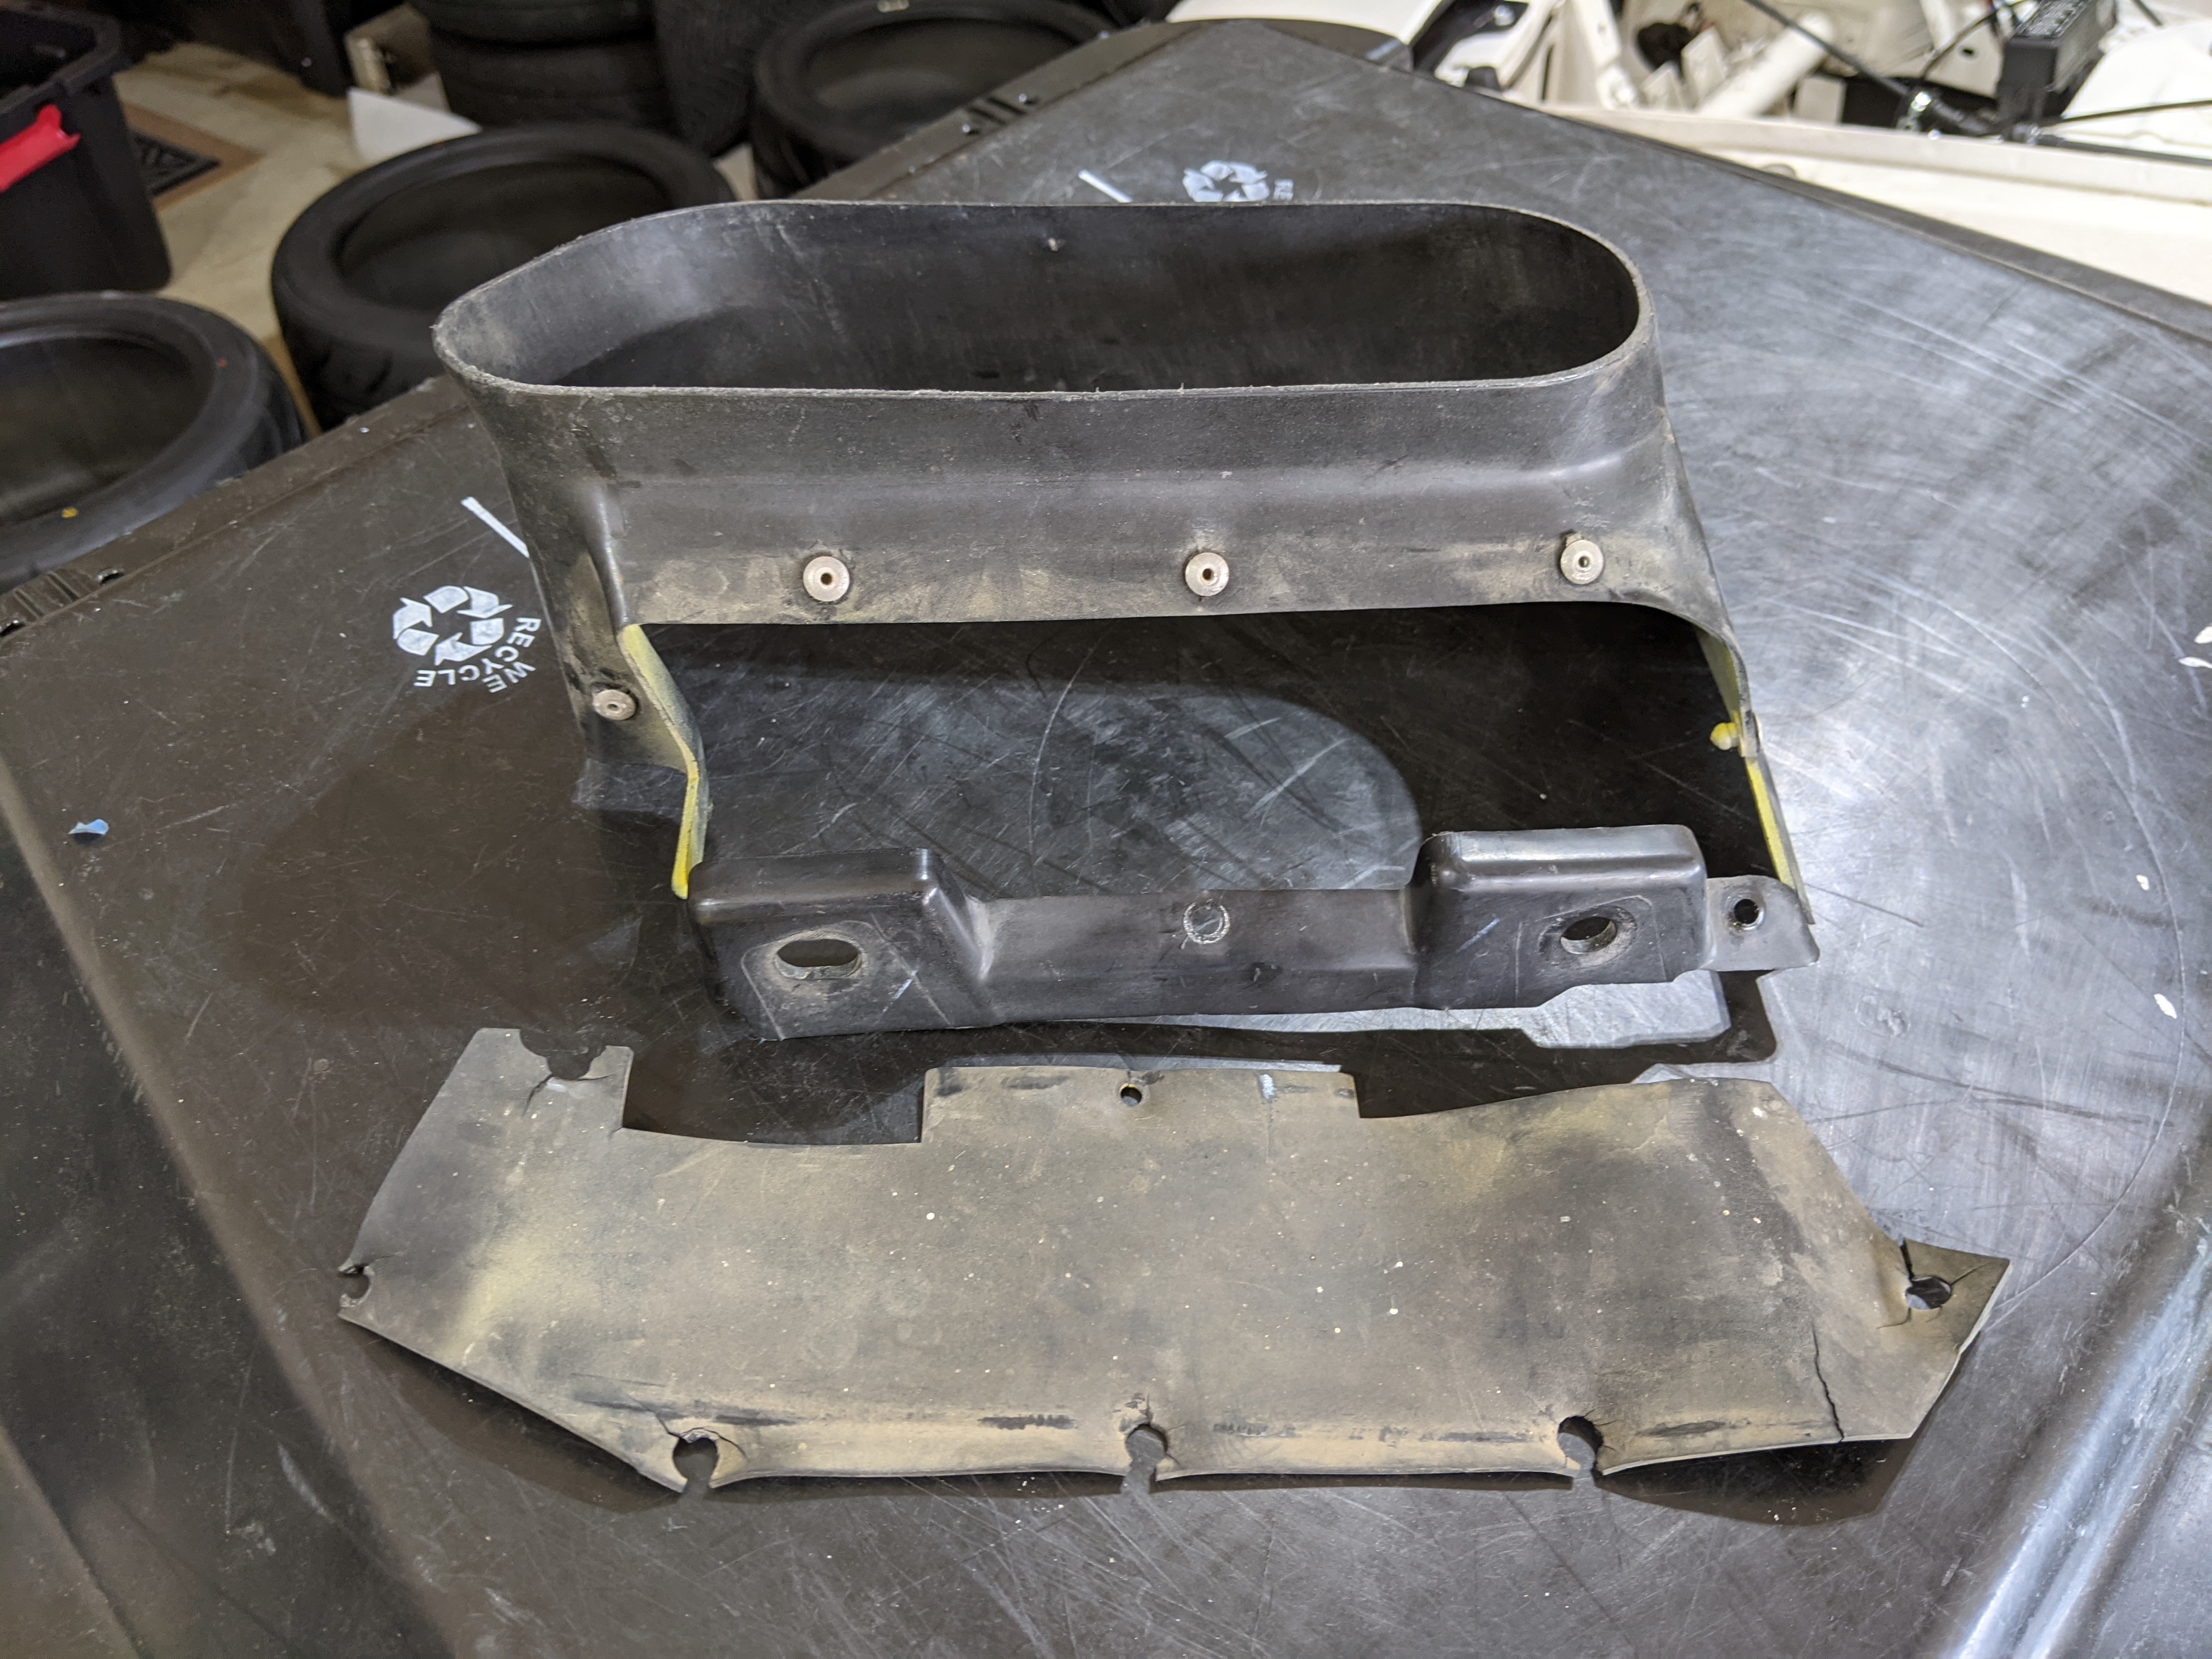
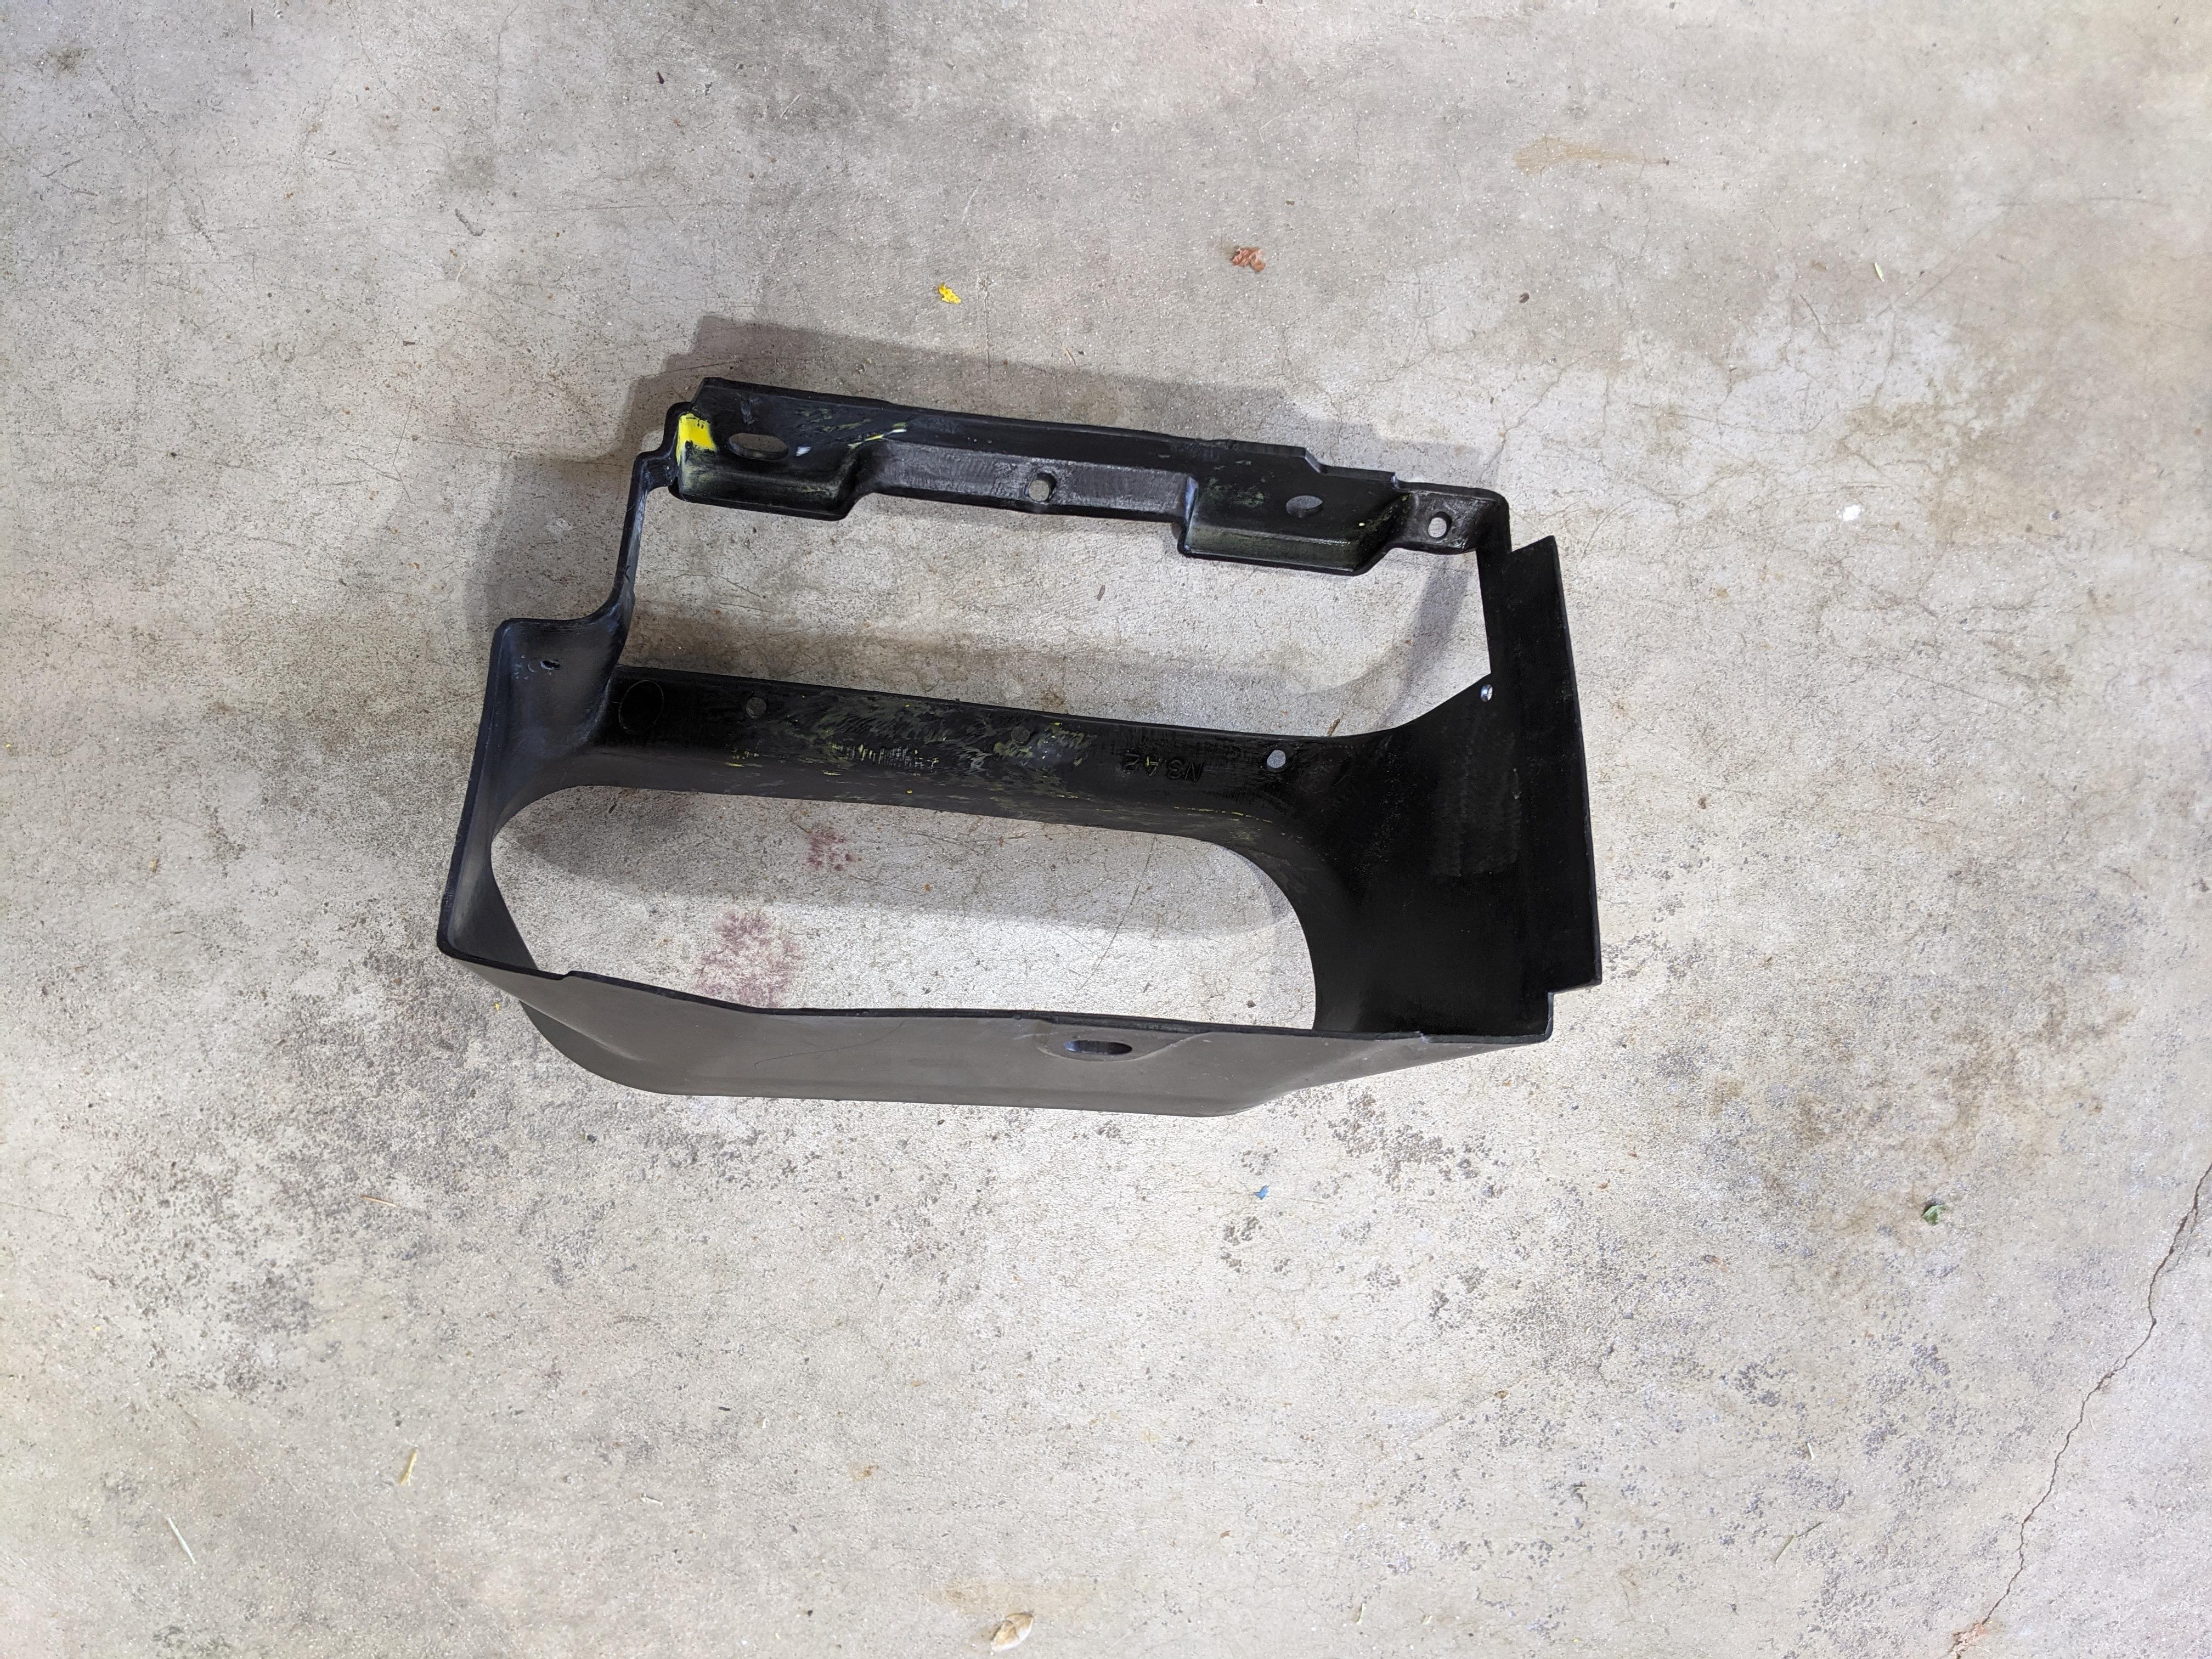
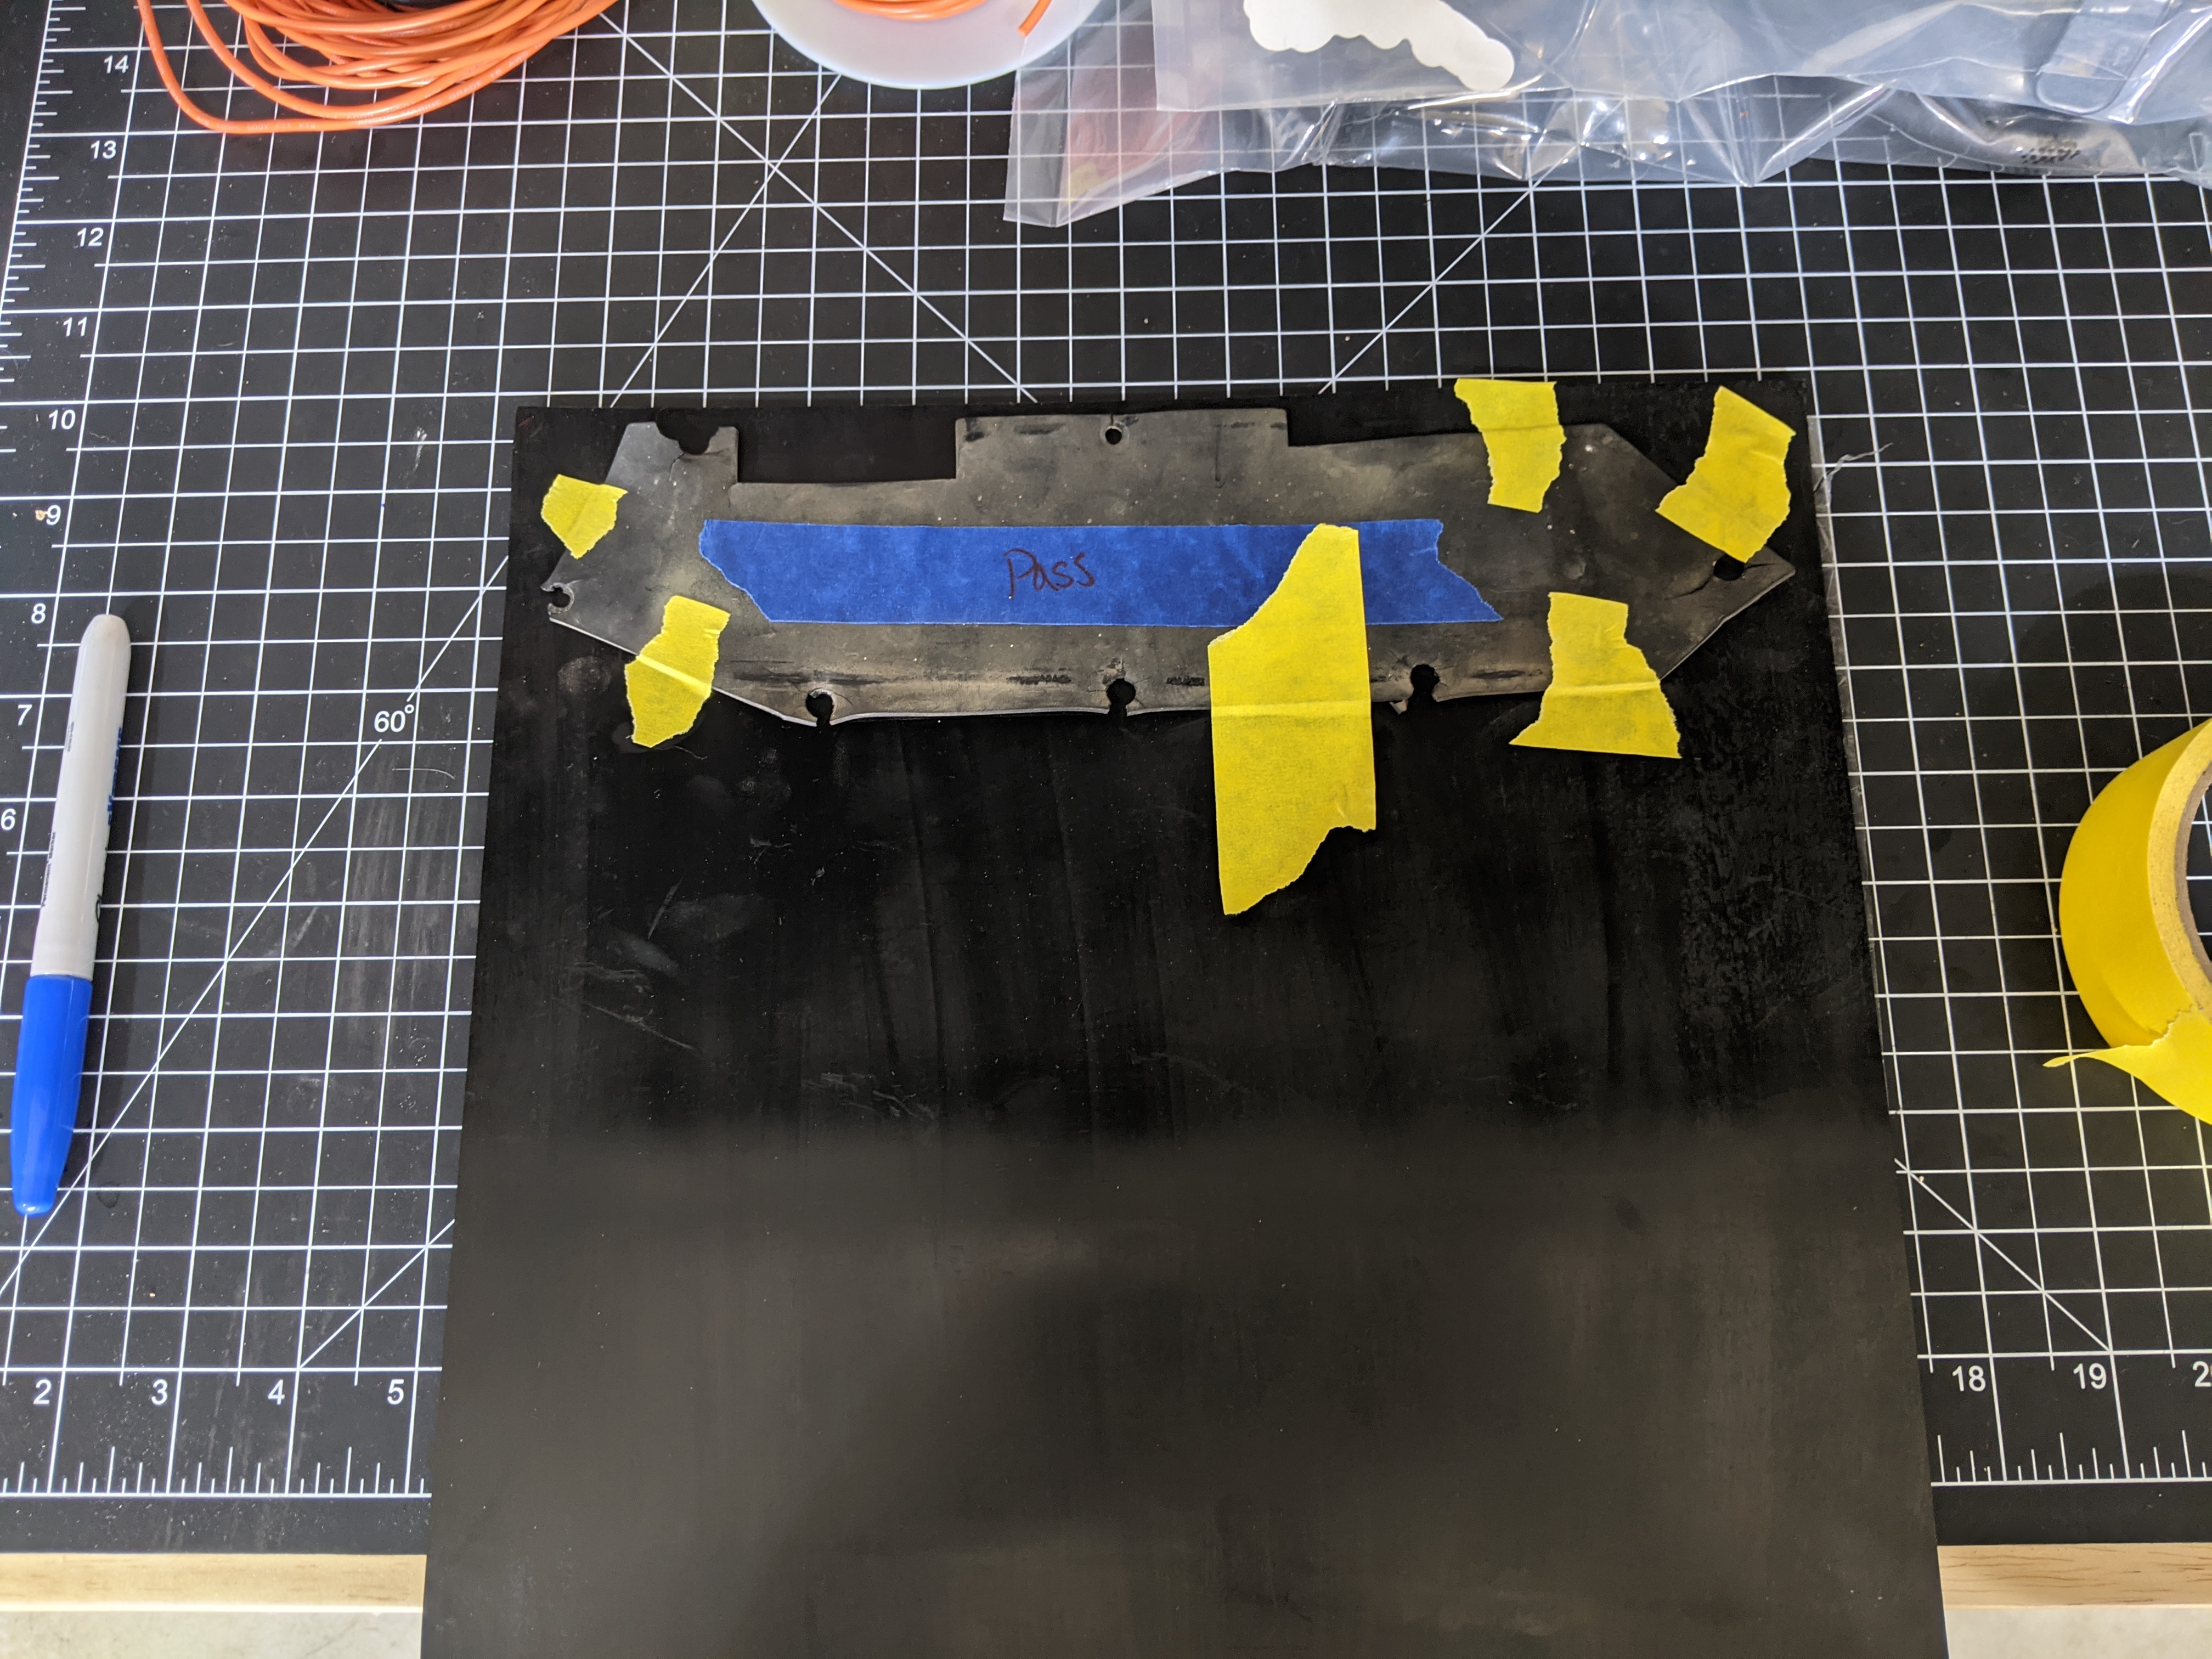
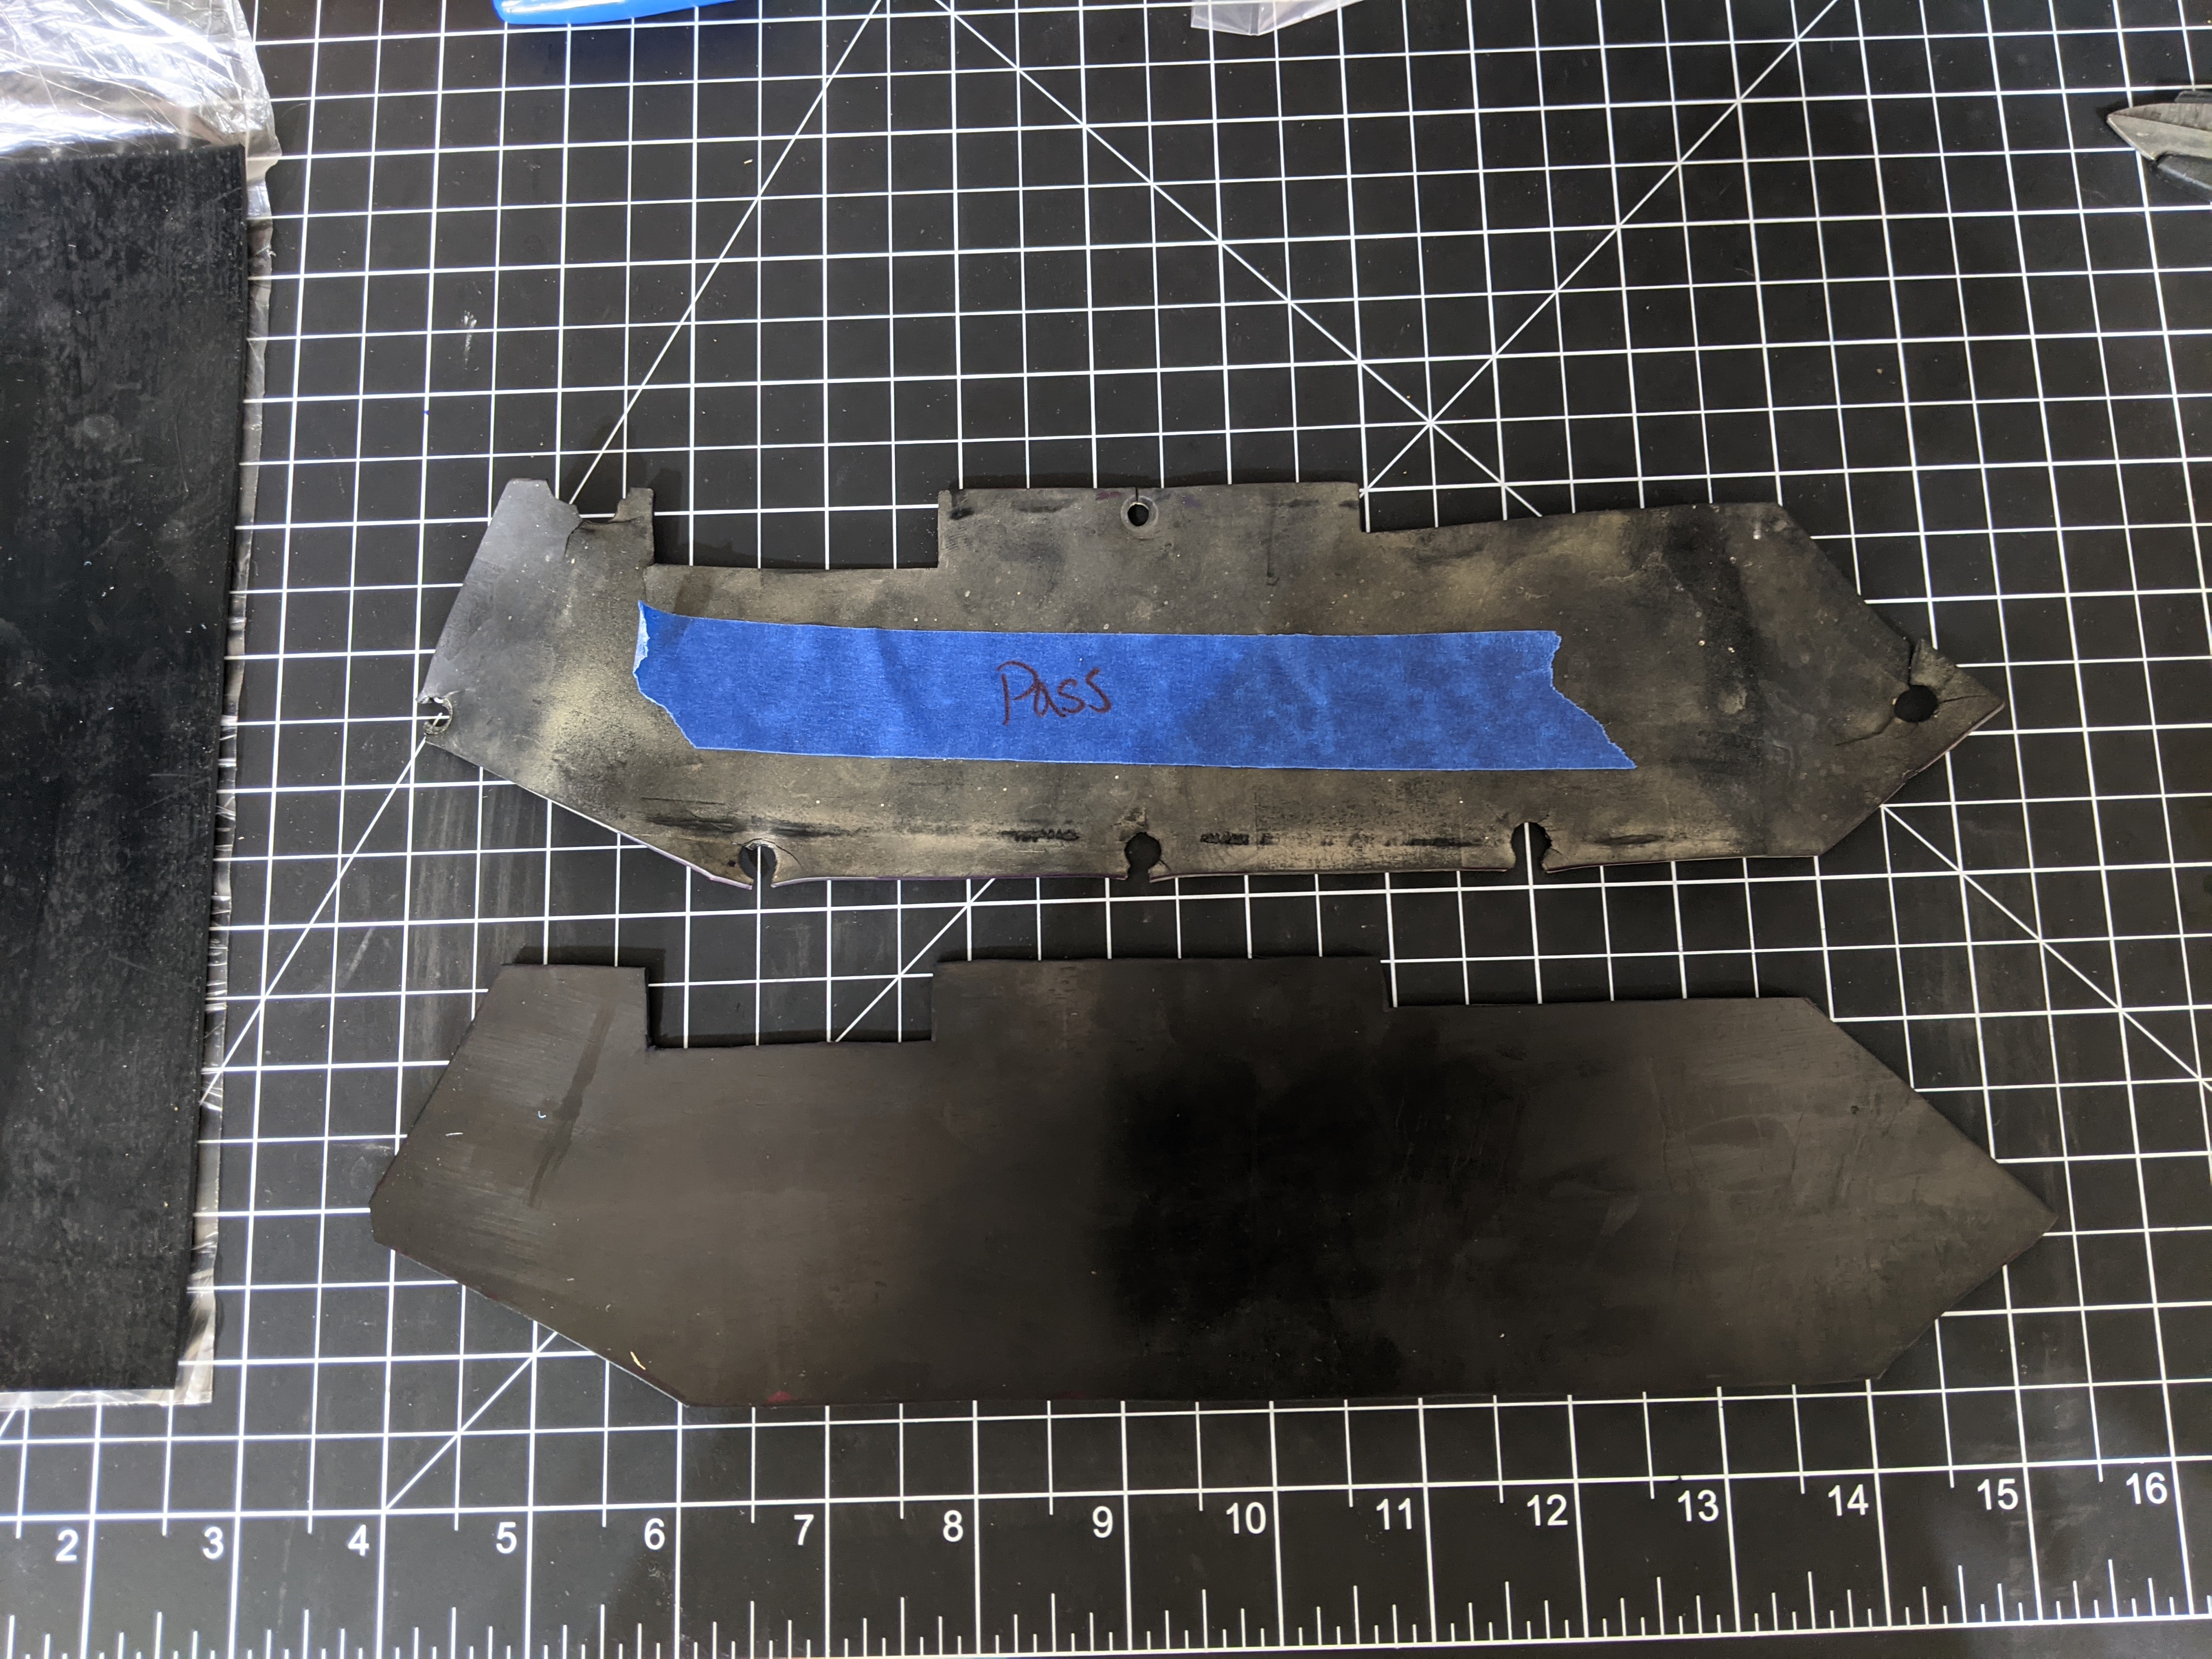
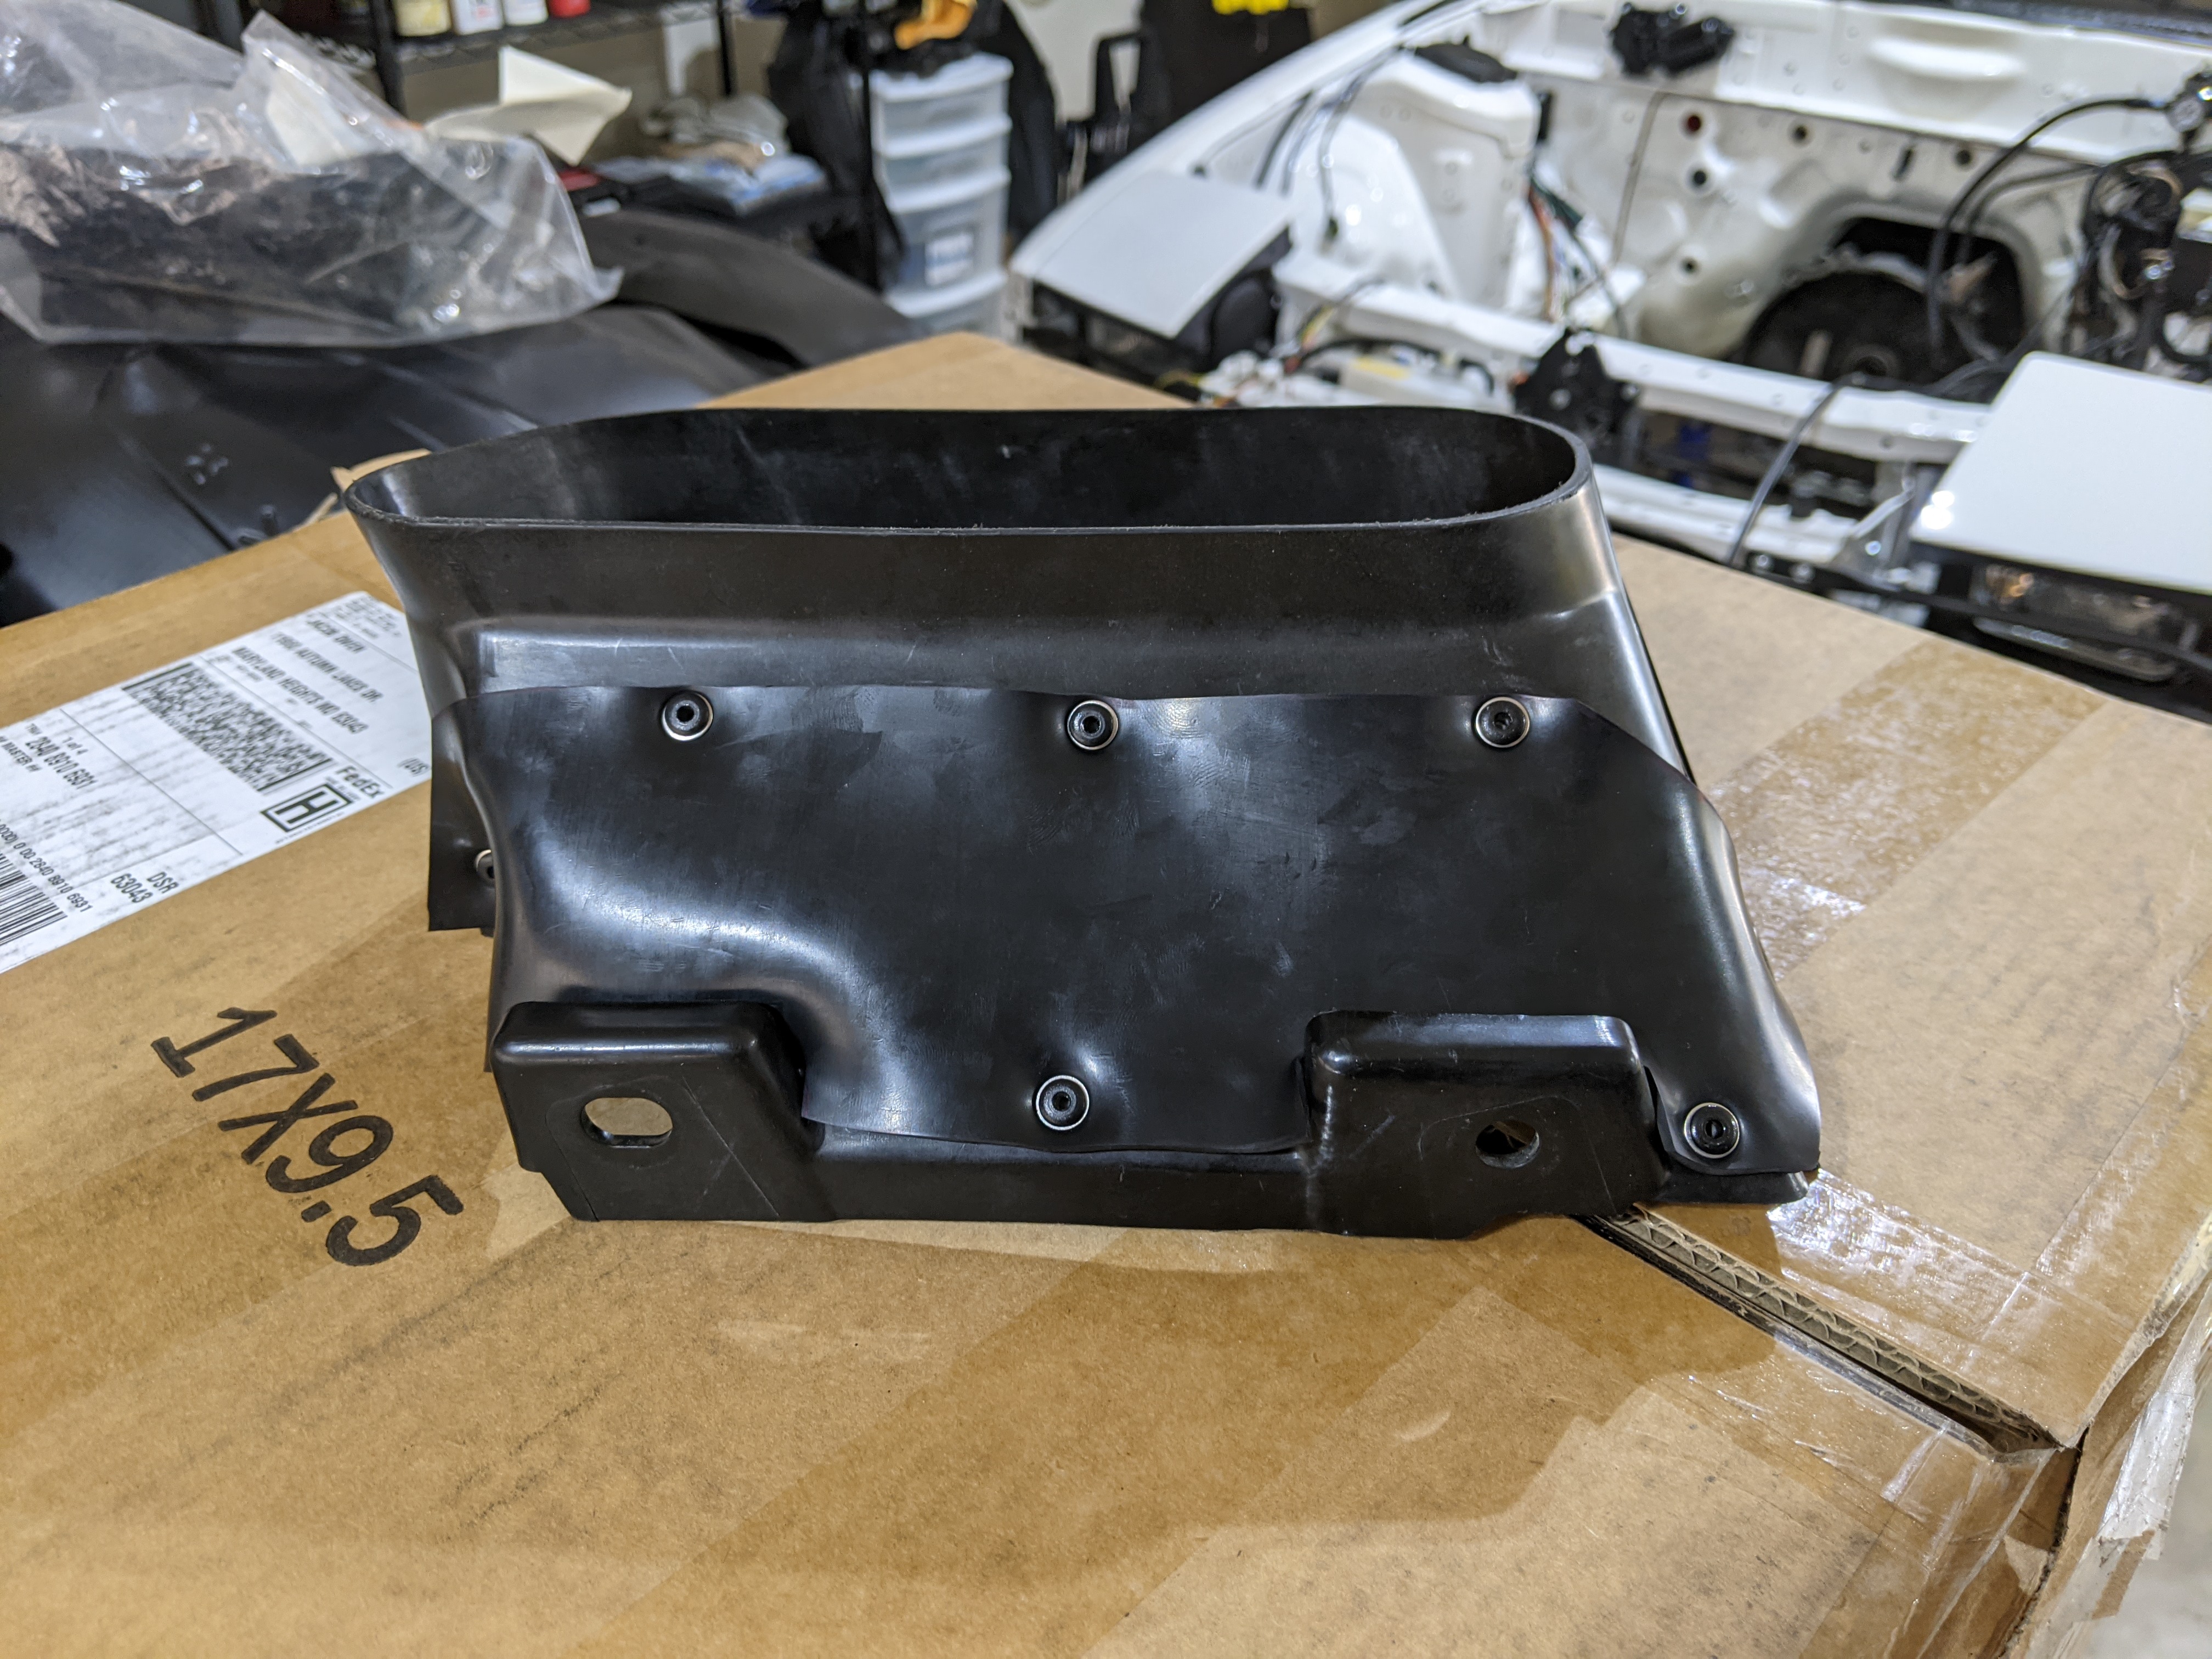
We are full steam ahead on project A-Spec. I was debating buying a new undercarriage cover, but I decided to try my luck with cleaning the one I had. It turned out pretty mint, so that saved me some money. The next big thing, since we are going back in time with the A-Spec kit, is the steering wheel. The Flying M looks slightly out of place with the older kit. I sourced a pretty good condition Efini wheel a while back and threw it on. Had to enlarge the top port to pass through the connectors. I didn’t really want to use my horn clip from the Flying M/OEM wheel so I sourced a blown airbag OEM steering wheel and stole the horn connector from it. I really like OE plug and play so I didn’t want to run a spade connector for the steering wheel. The last thing was the oil cooler ducts. I was able to buy a brand new driver side duct, but the passenger R1 duct is NLA. My ducts had some pretty ratty top rubber covers. I decided to go about fixing them. The R1 duct had some pretty bad overspray (thanks PO) so I cleaned that up the best I could. I then drilled out all the rivets and made a template for the new rubber toppers. I used 1/16 (same thickness) neoprene for the toppers and some M4x10mm rivets. I think they turned out great. So great in fact, that I decided to keep my brand new driver side ducting in the bag and re-did it the same way as I did the R1.
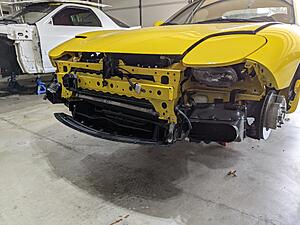
Still need to run some wires to get ready for the bumper to return, but it’s coming along quite well. Until then!
Great job on fabricating your own replacement parts !!
My MS02's on my RX8 before I sold them both. I also had a FEED style spoiler for the RX8 I made.
This was at sevenstock, forgot which one, but the car made it into the RX7 mag because they covered the event that year.
Sorry to clutter your thread Bro, but I wanted to share the MS02's and I know you have the magazine thing too, I have a copy but I have no idea where it is at.
Last edited by rotaryextreme; 10-22-21 at 04:40 PM.
The '93 dash with the no-airbag efini wheel is pure class. If we die, we die like gentlemen.
At least we have seatbelts lol
Originally Posted by rotaryextreme
Great job on fabricating your own replacement parts !!
My MS02's on my RX8 before I sold them both. I also had a FEED style spoiler for the RX8 I made.
This was at sevenstock, forgot which one, but the car made it into the RX7 mag because they covered the event that year.
Sorry to clutter your thread Bro, but the I wanted to share the MS02's and I know you have the magazine thing too, I have a copy but I have no idea where it is at.
I think the MS-02s actually look really good on the RX-8. No worries! You aren't cluttering my thread buddy. Been following your thread - coming along nicely!
Update 11/10/2021
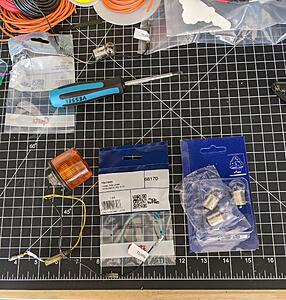
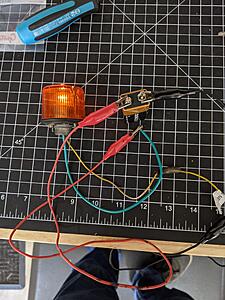
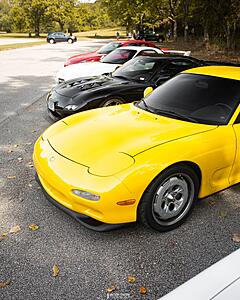
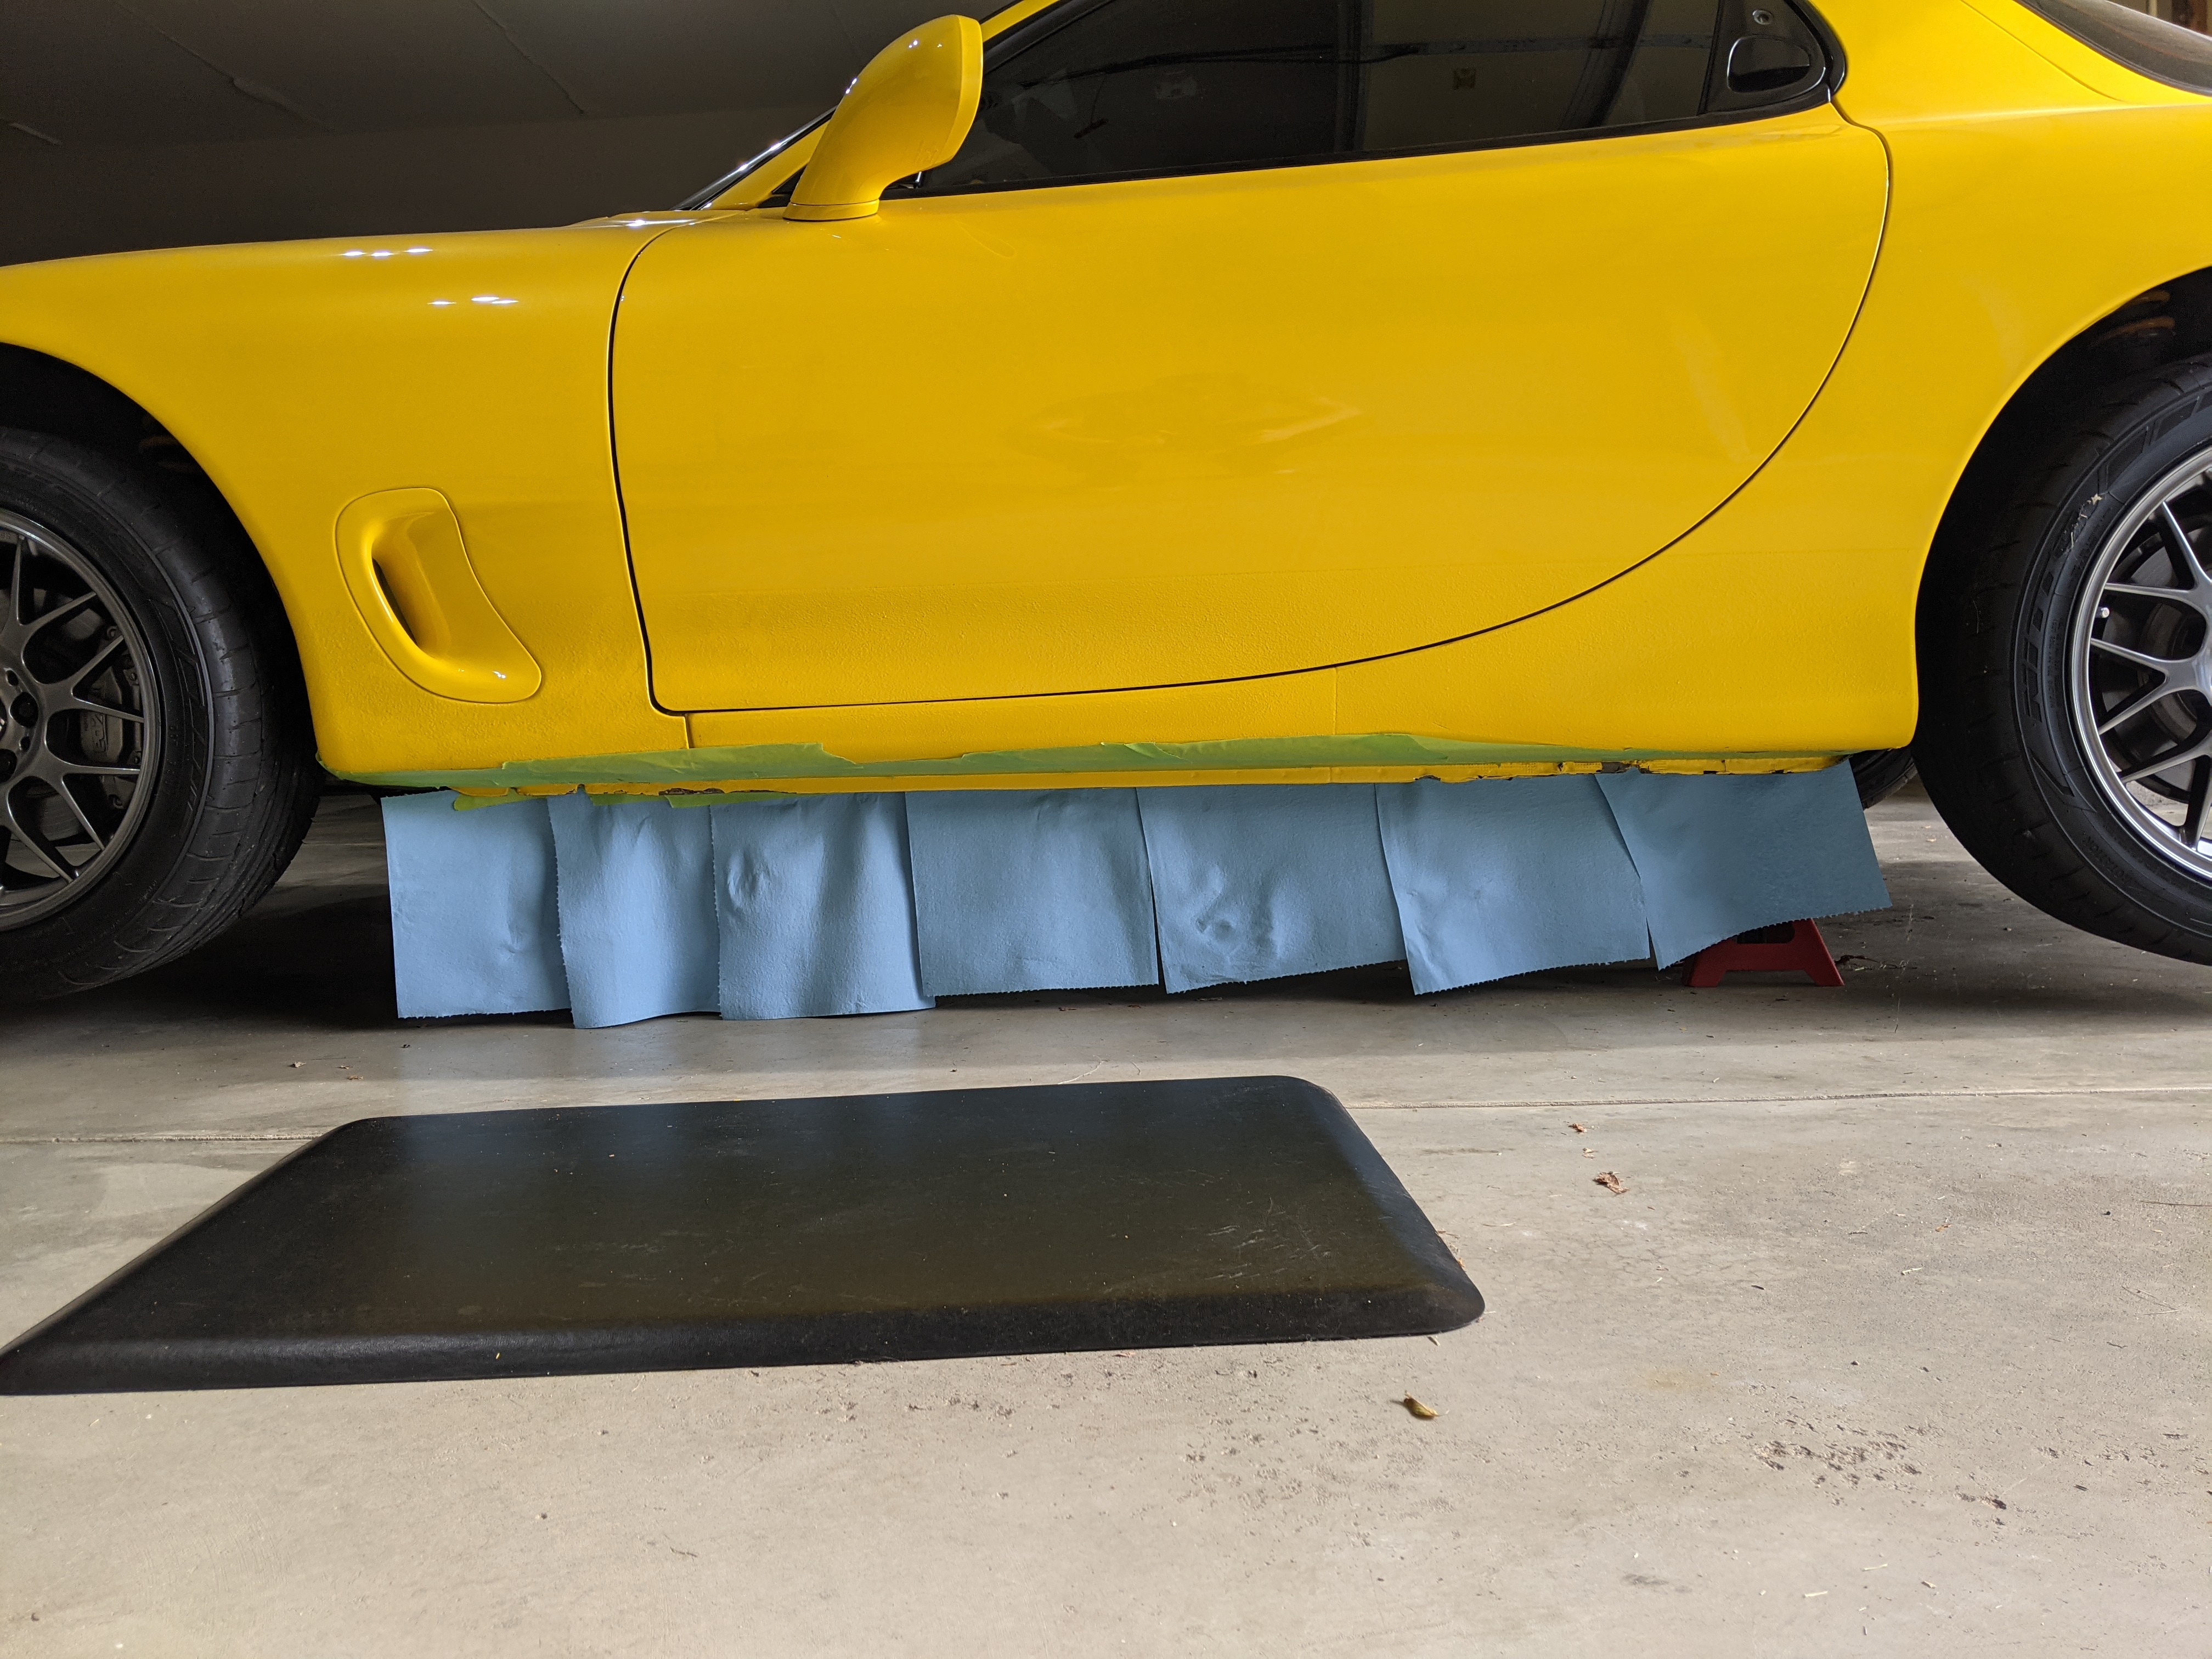
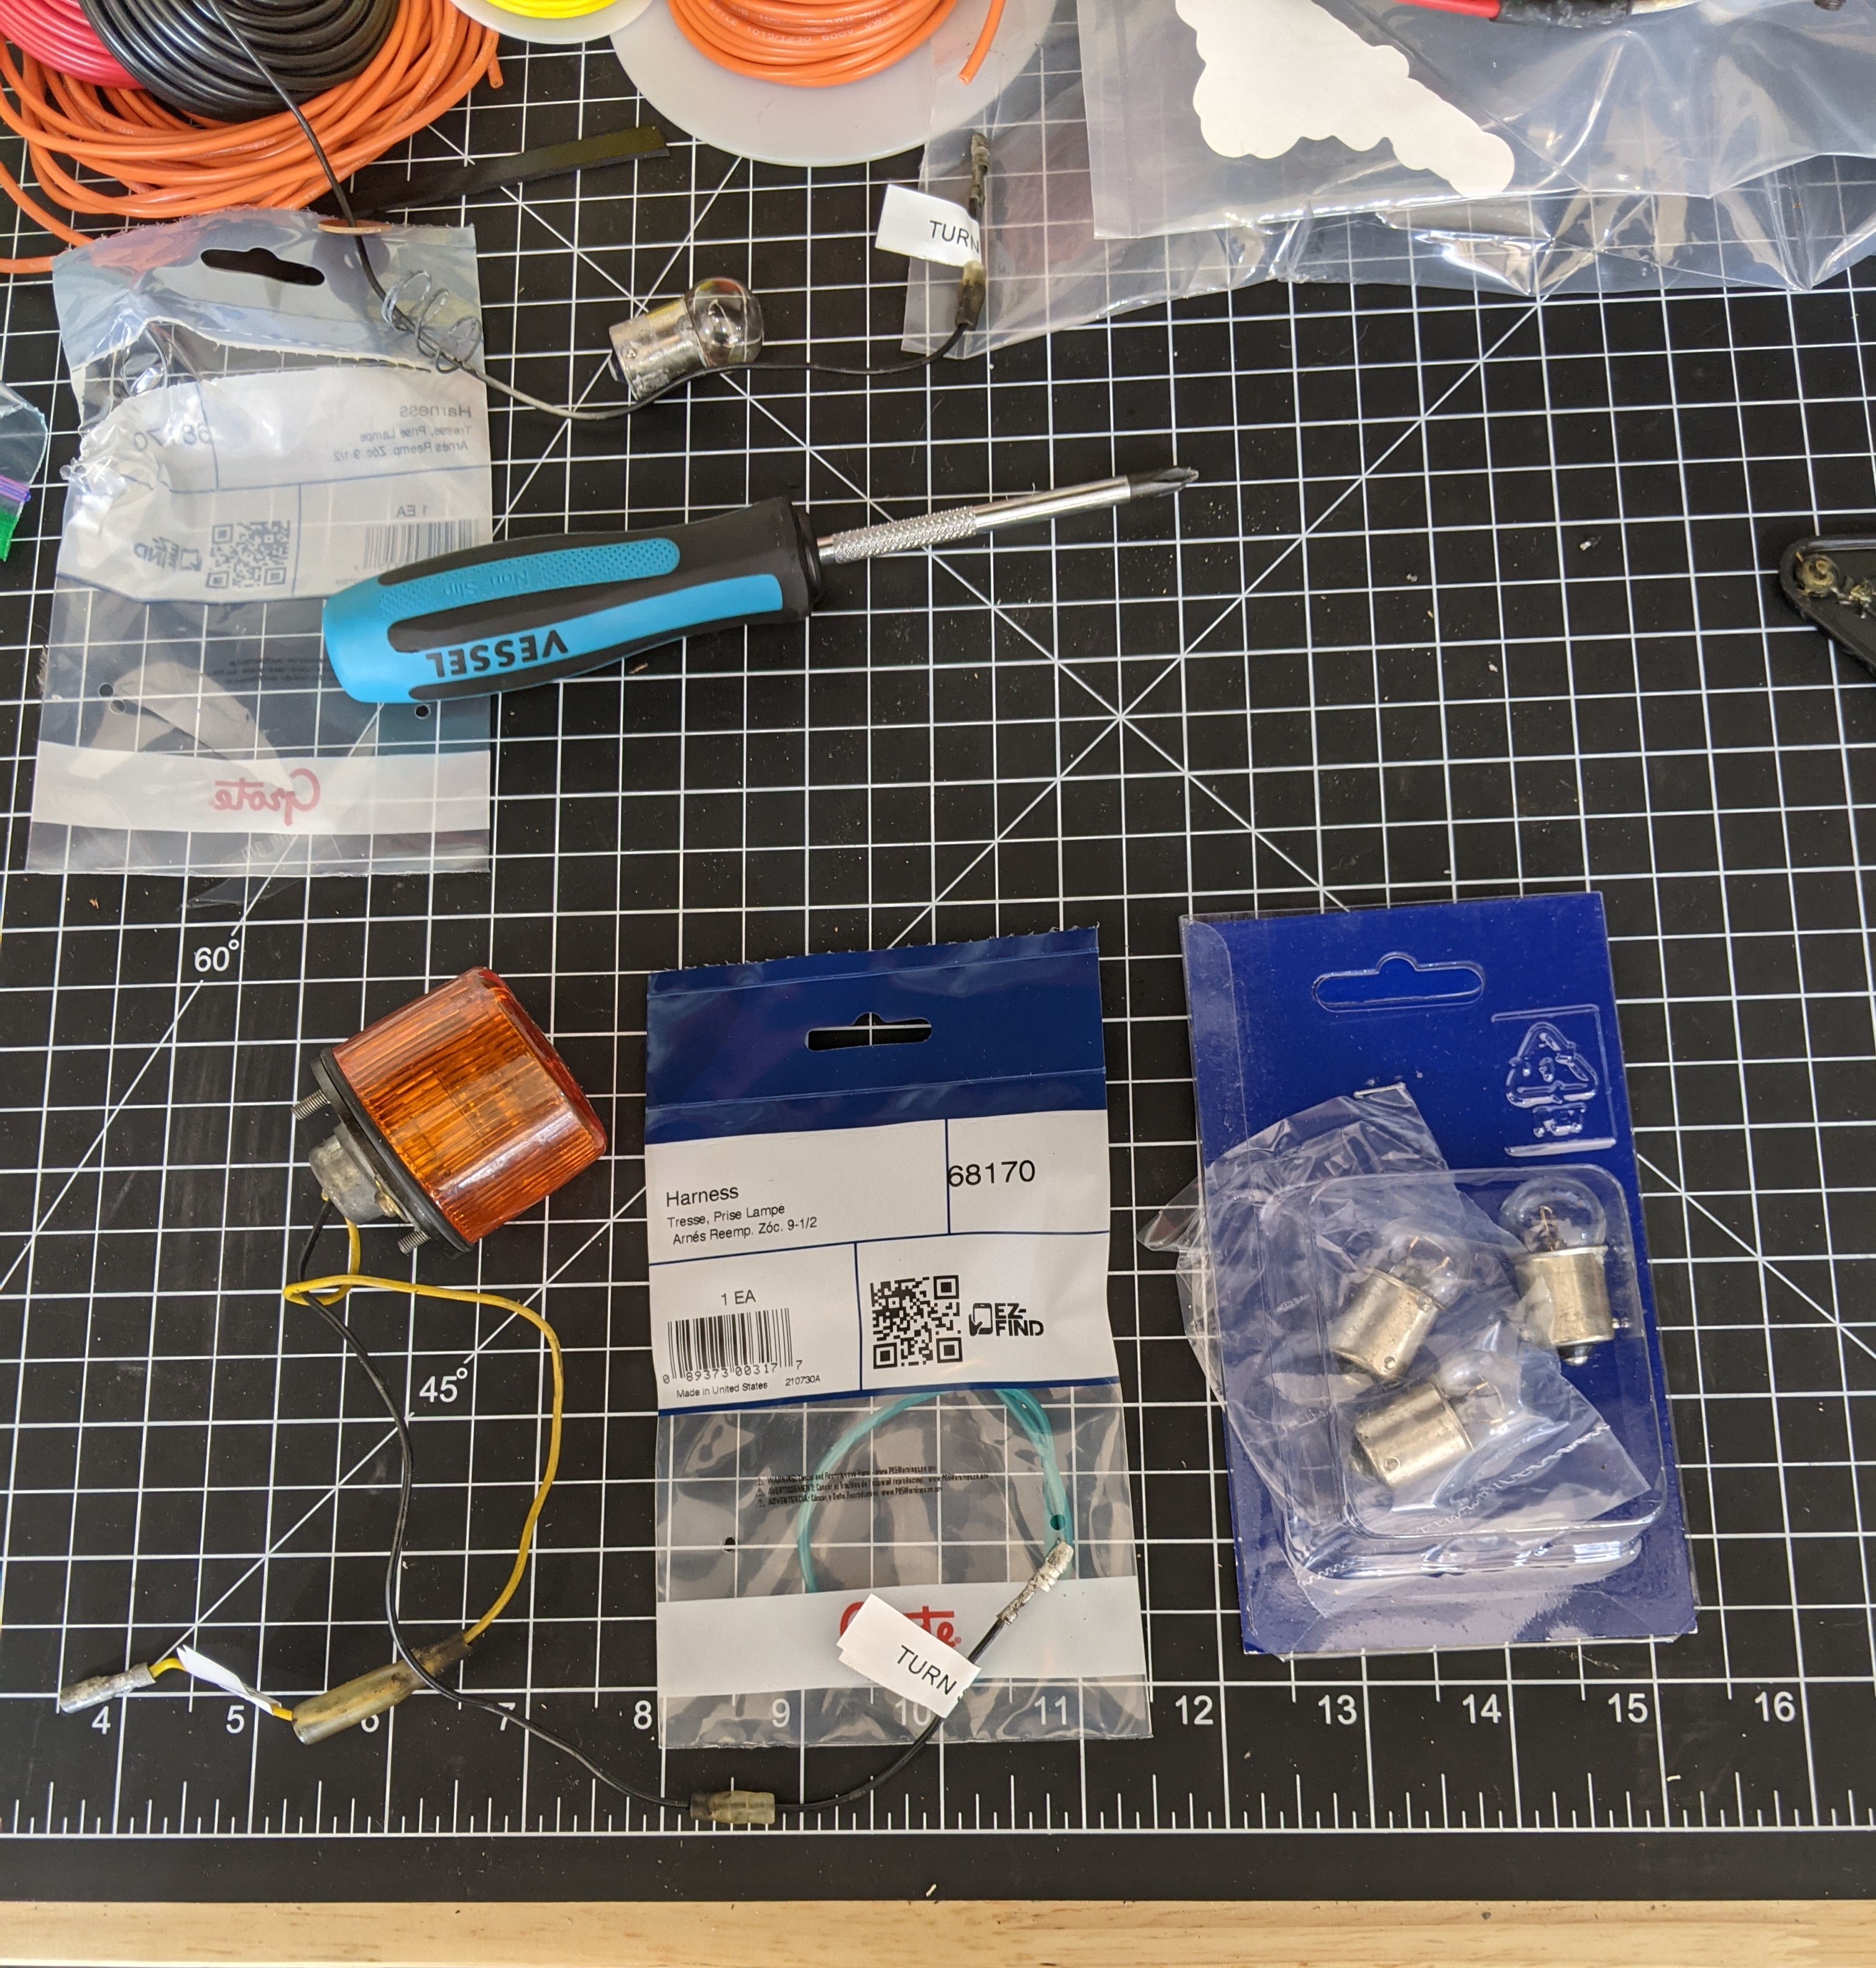
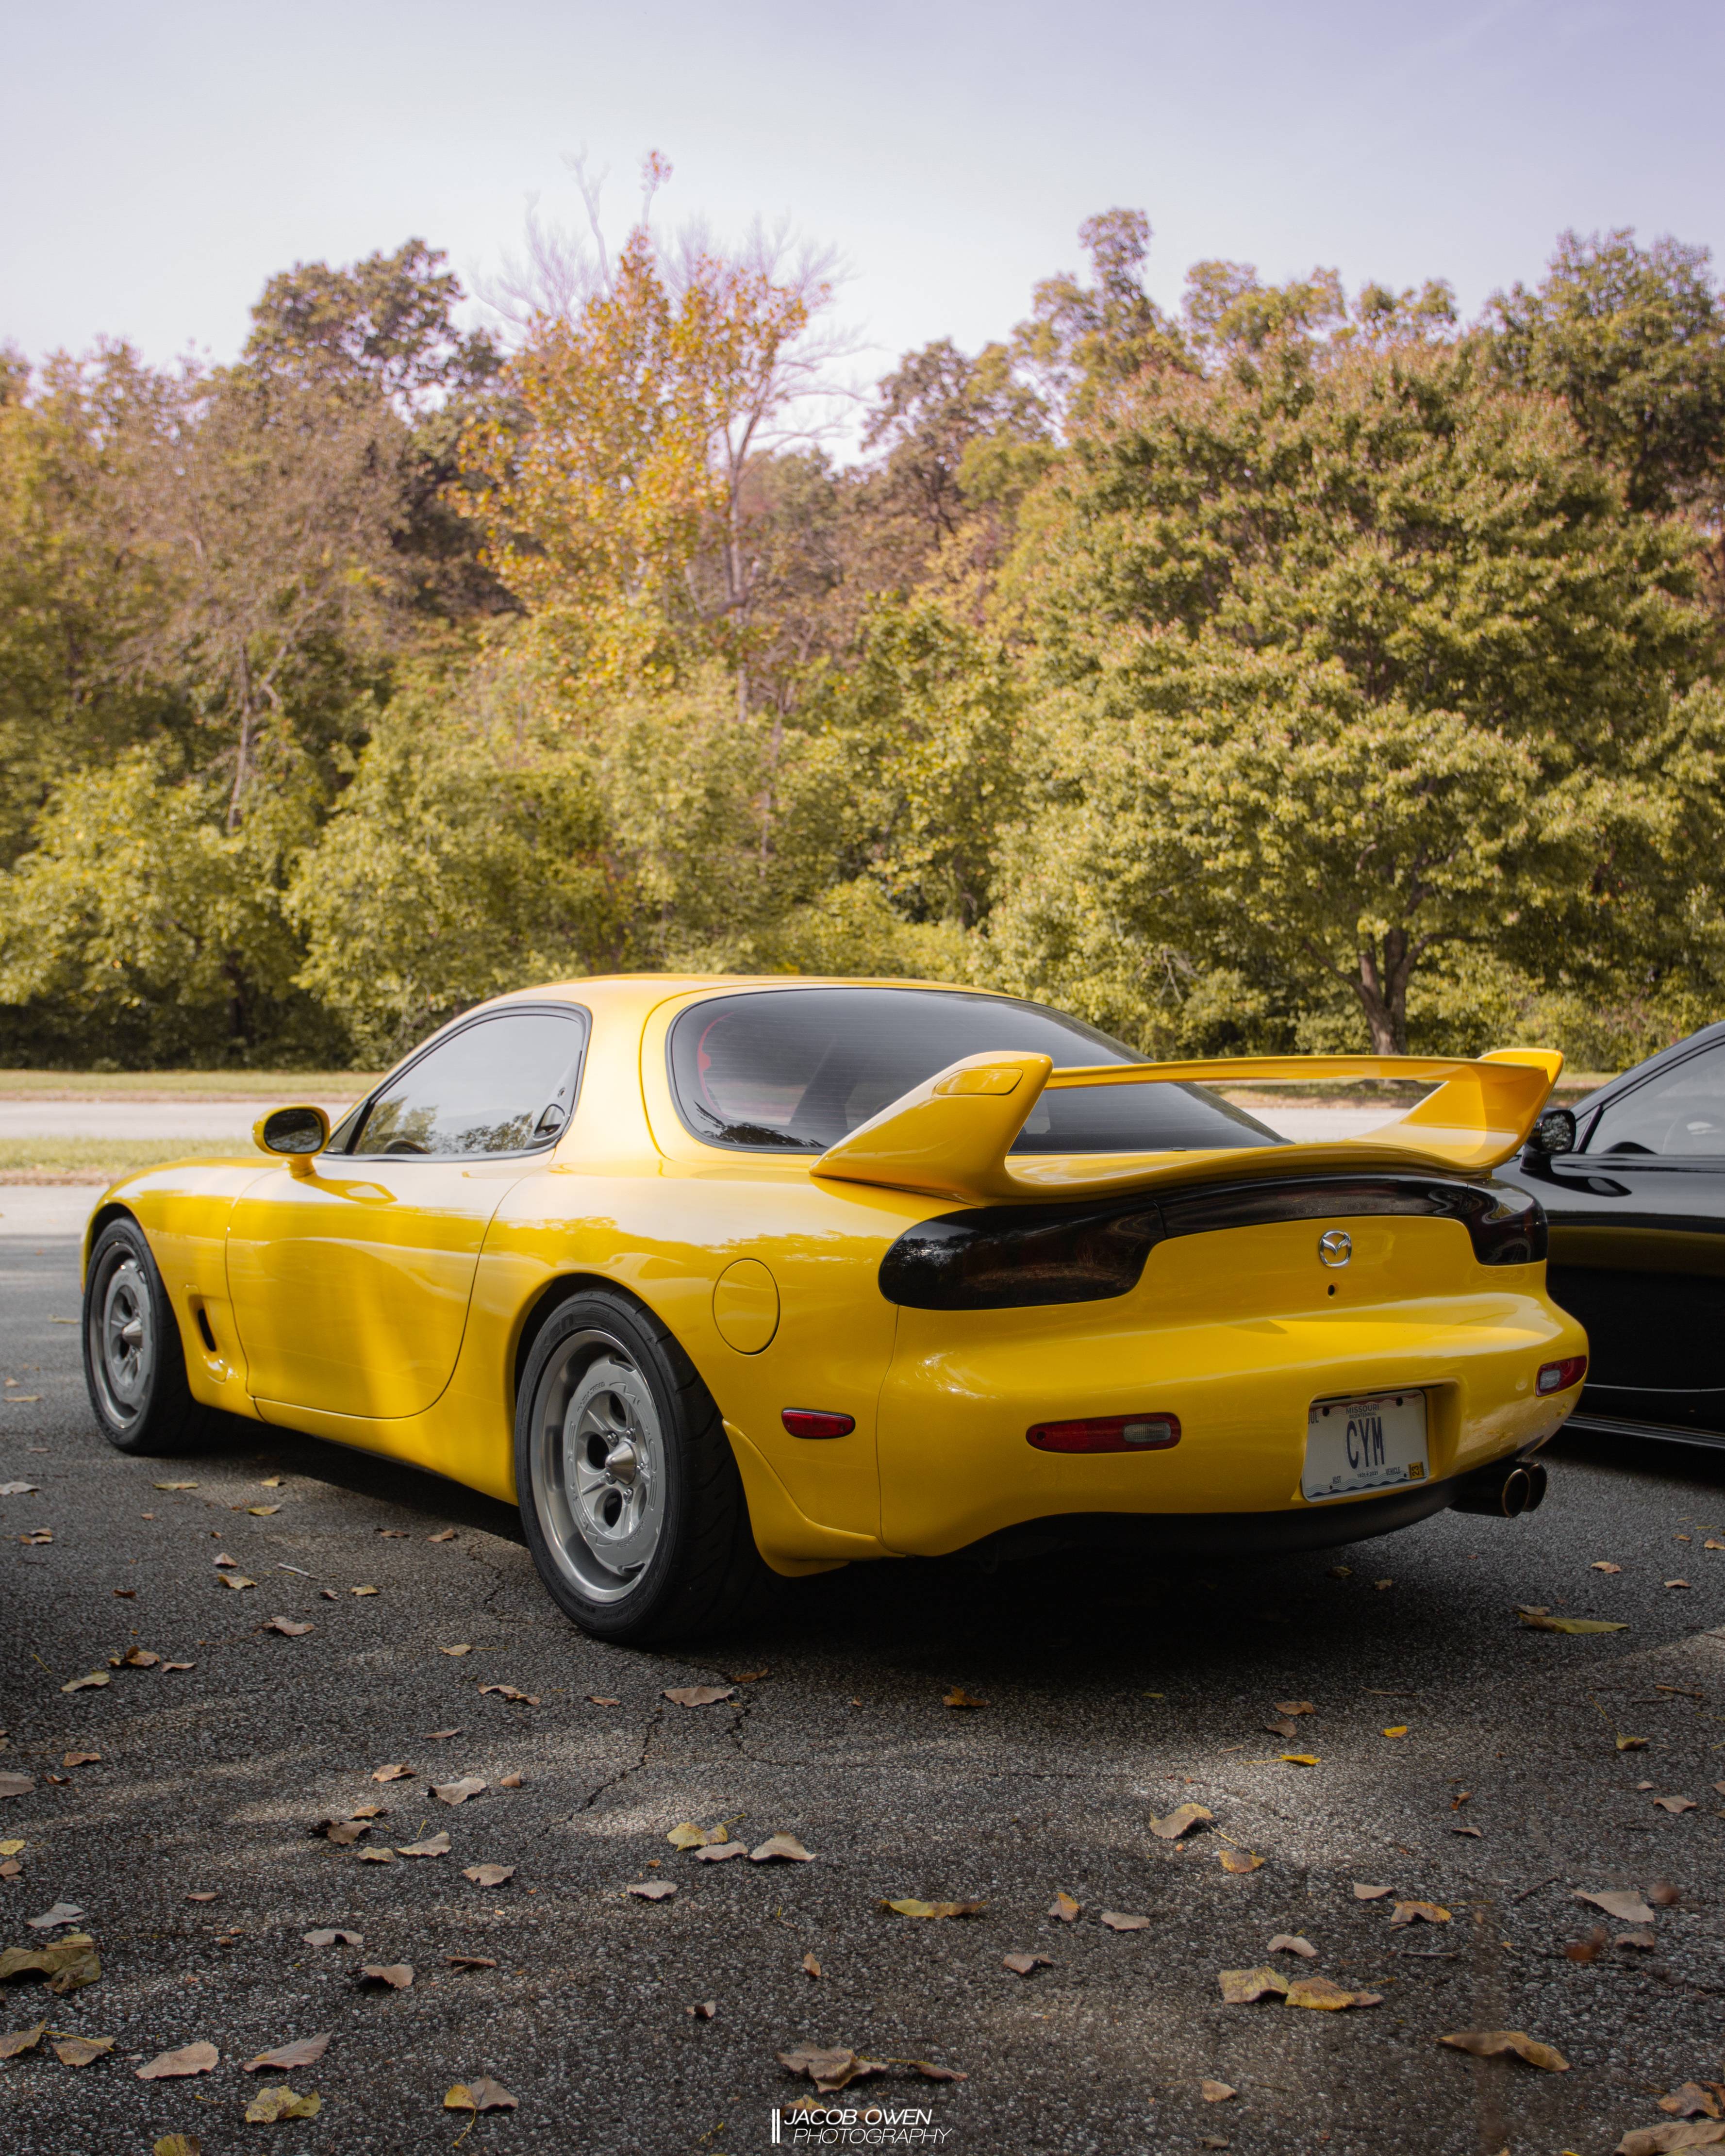
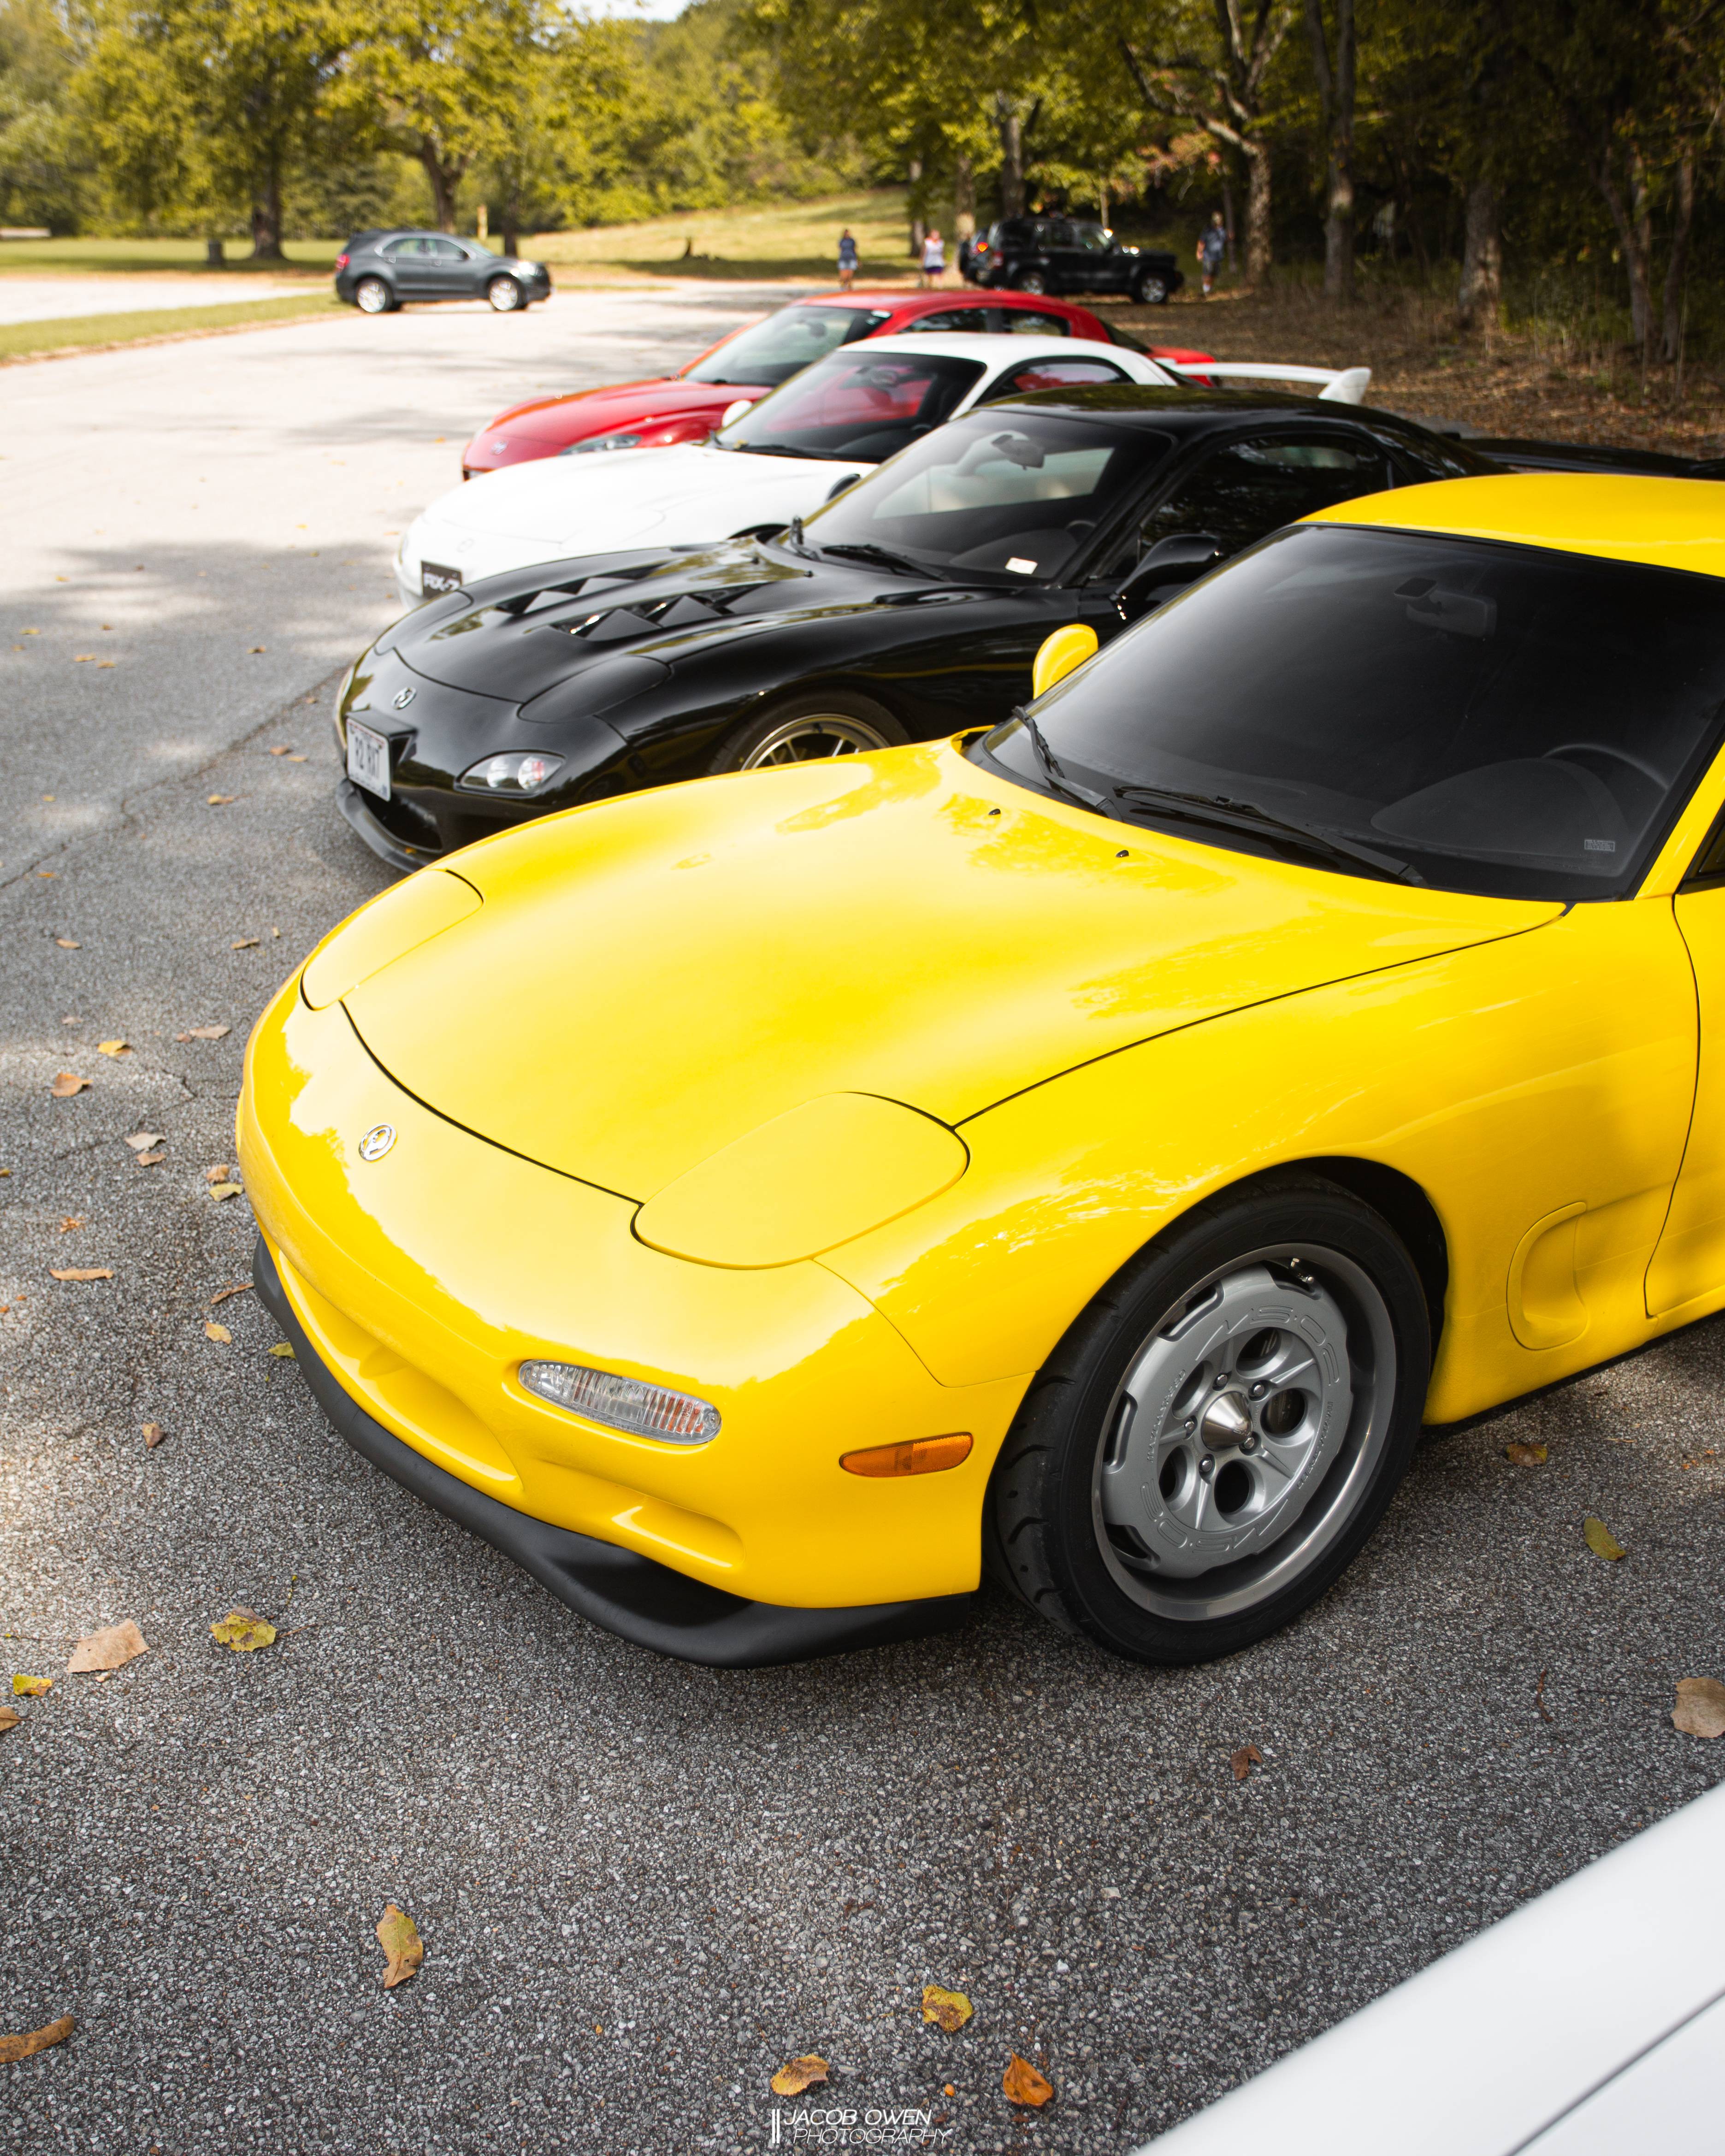
Progress has really slowed since the last update. I noticed the pinch welds on both sides had a bit of surface rust so I ground it off, scuffed it all, and sprayed it a nice satin black. I also noticed the wire providing voltage to the A-Spec turn signal lights was really...small. I upgraded that and added a brand new bulb. A last minute cruise came up - so I slapped the car back together with the 93 bumper for one last run for the year. At least I got some good pictures with the MS-02s on. The car is currently torn back apart as I await the return of the bumper and side skirts. I�m in no rush since I�m still waiting, but I may go ahead and knock out the fuel filter relocation with the JP3 relocation kit and run the wiring for the A-Spec fog lights.
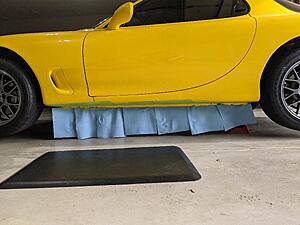
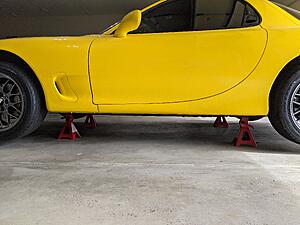
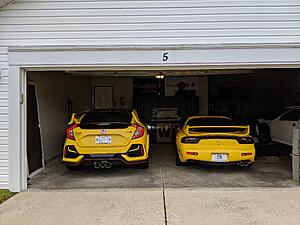
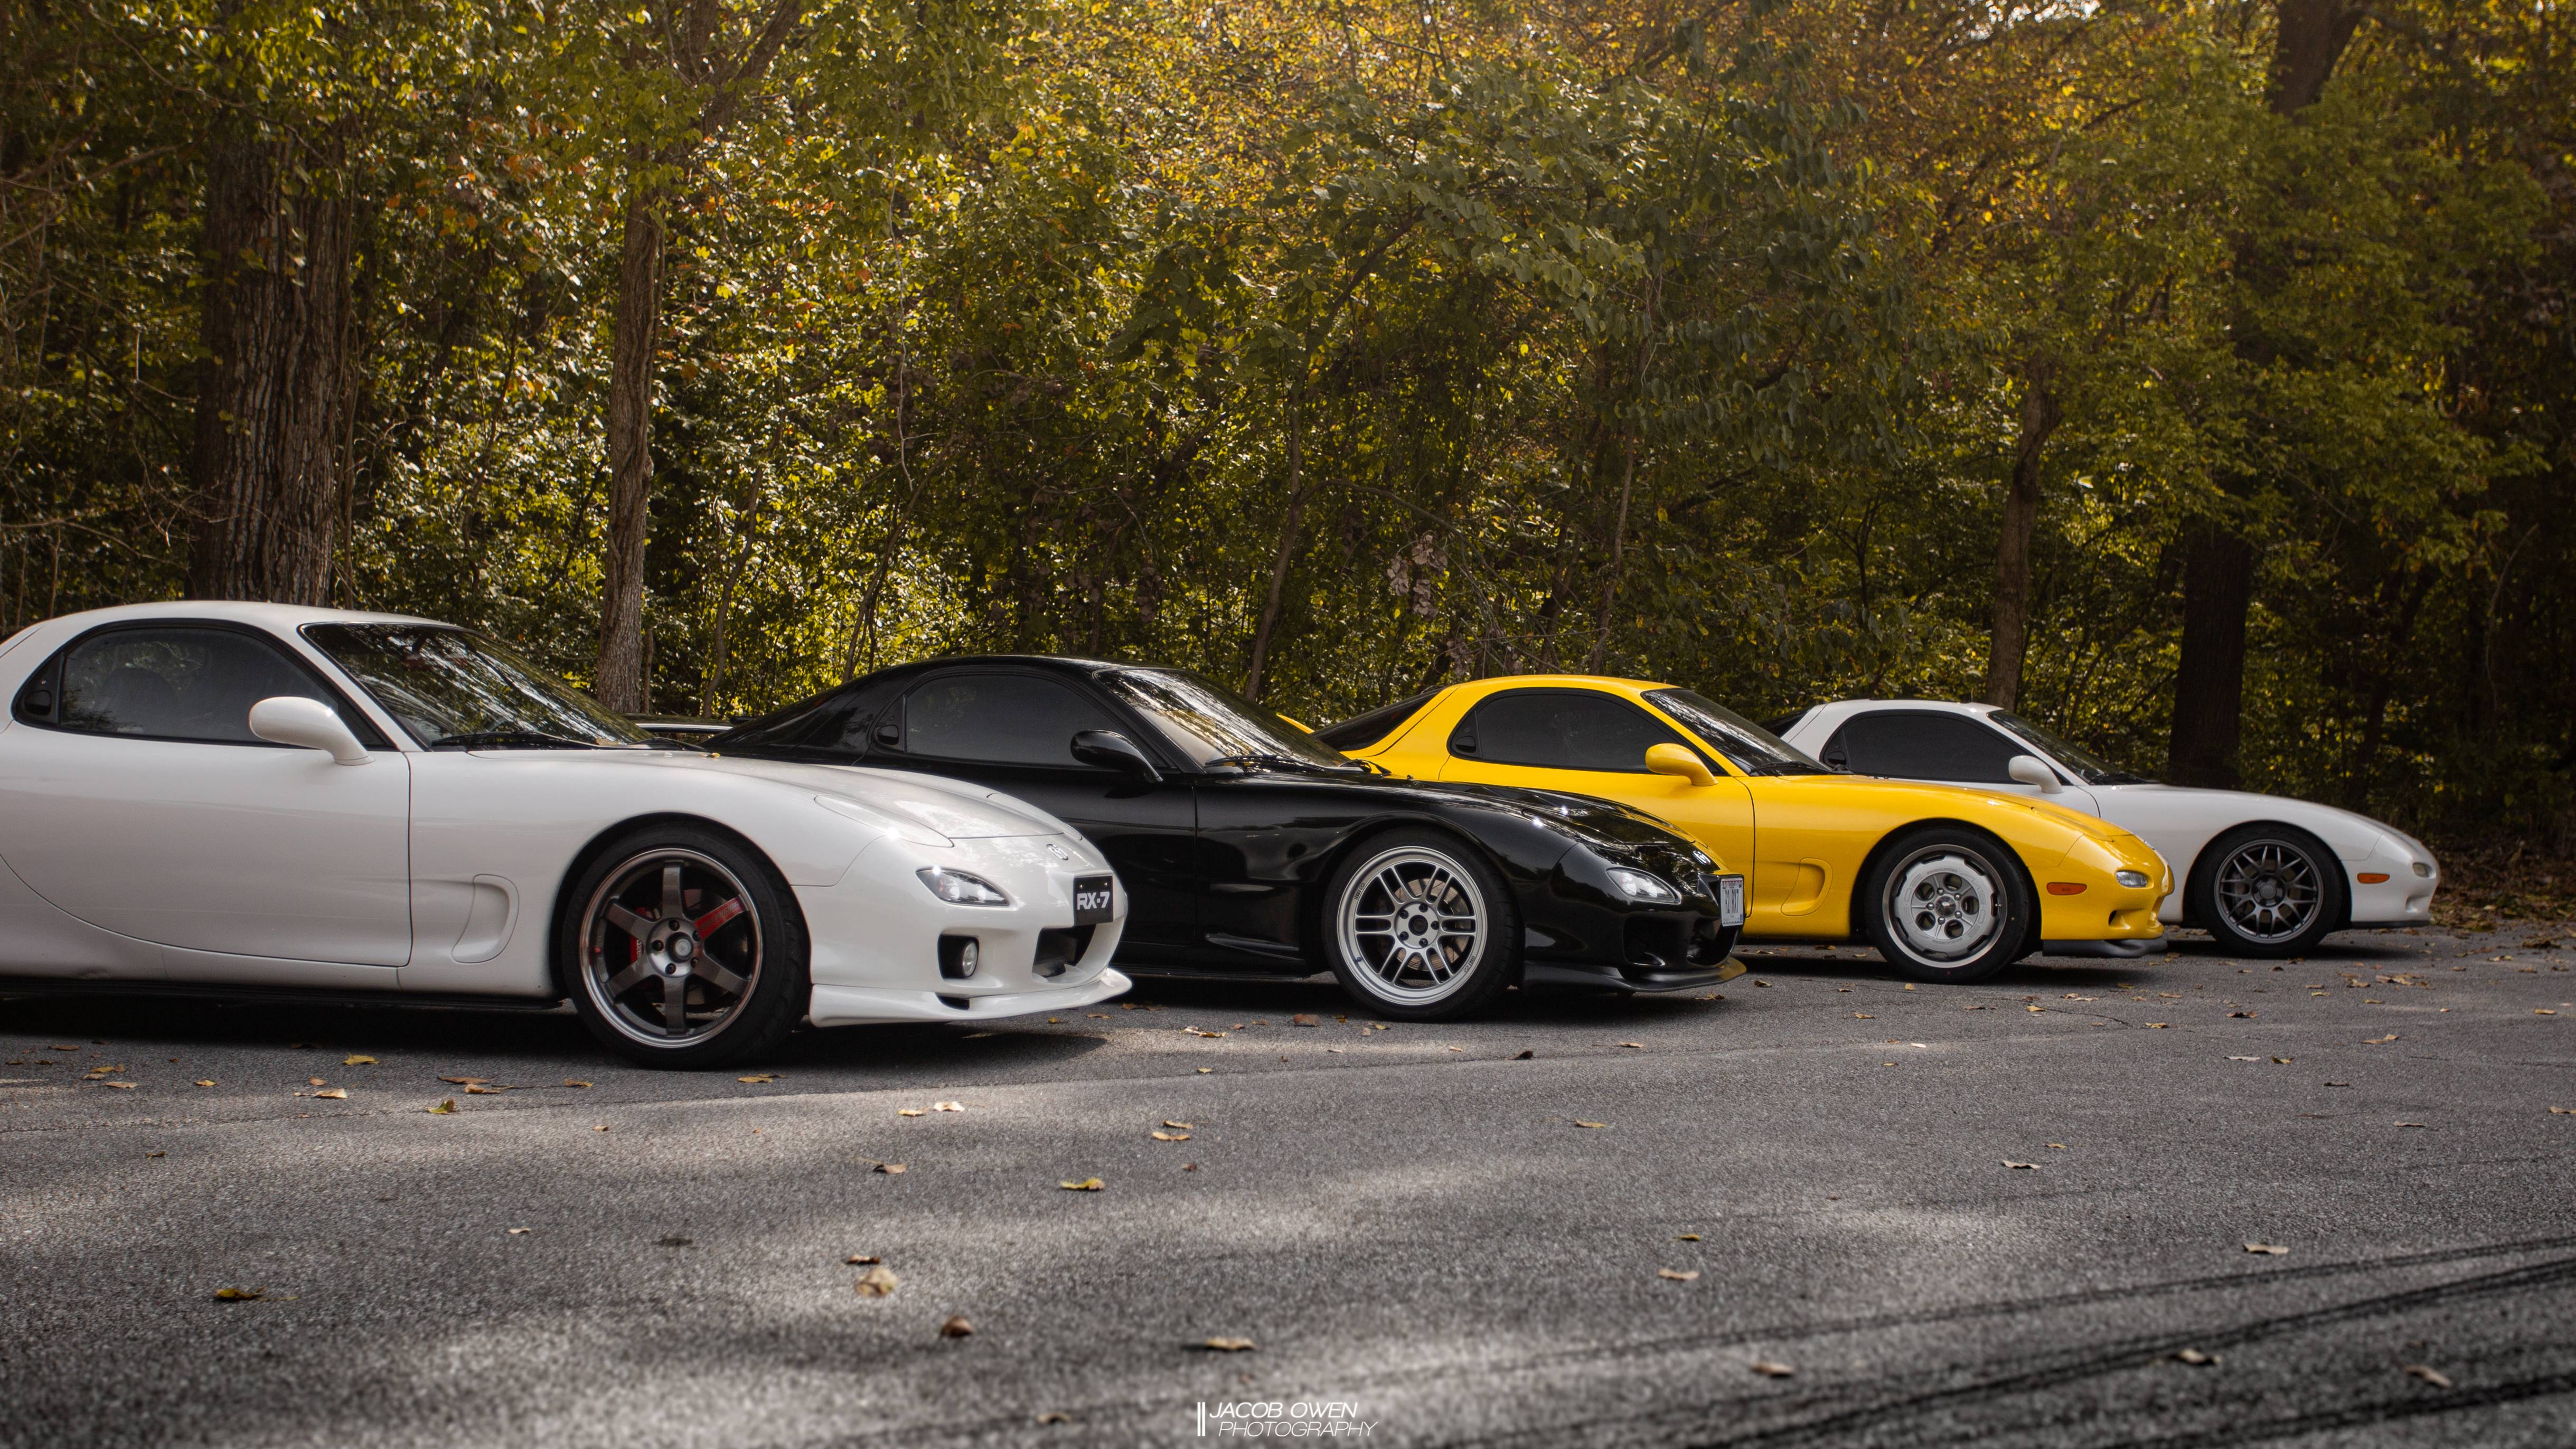
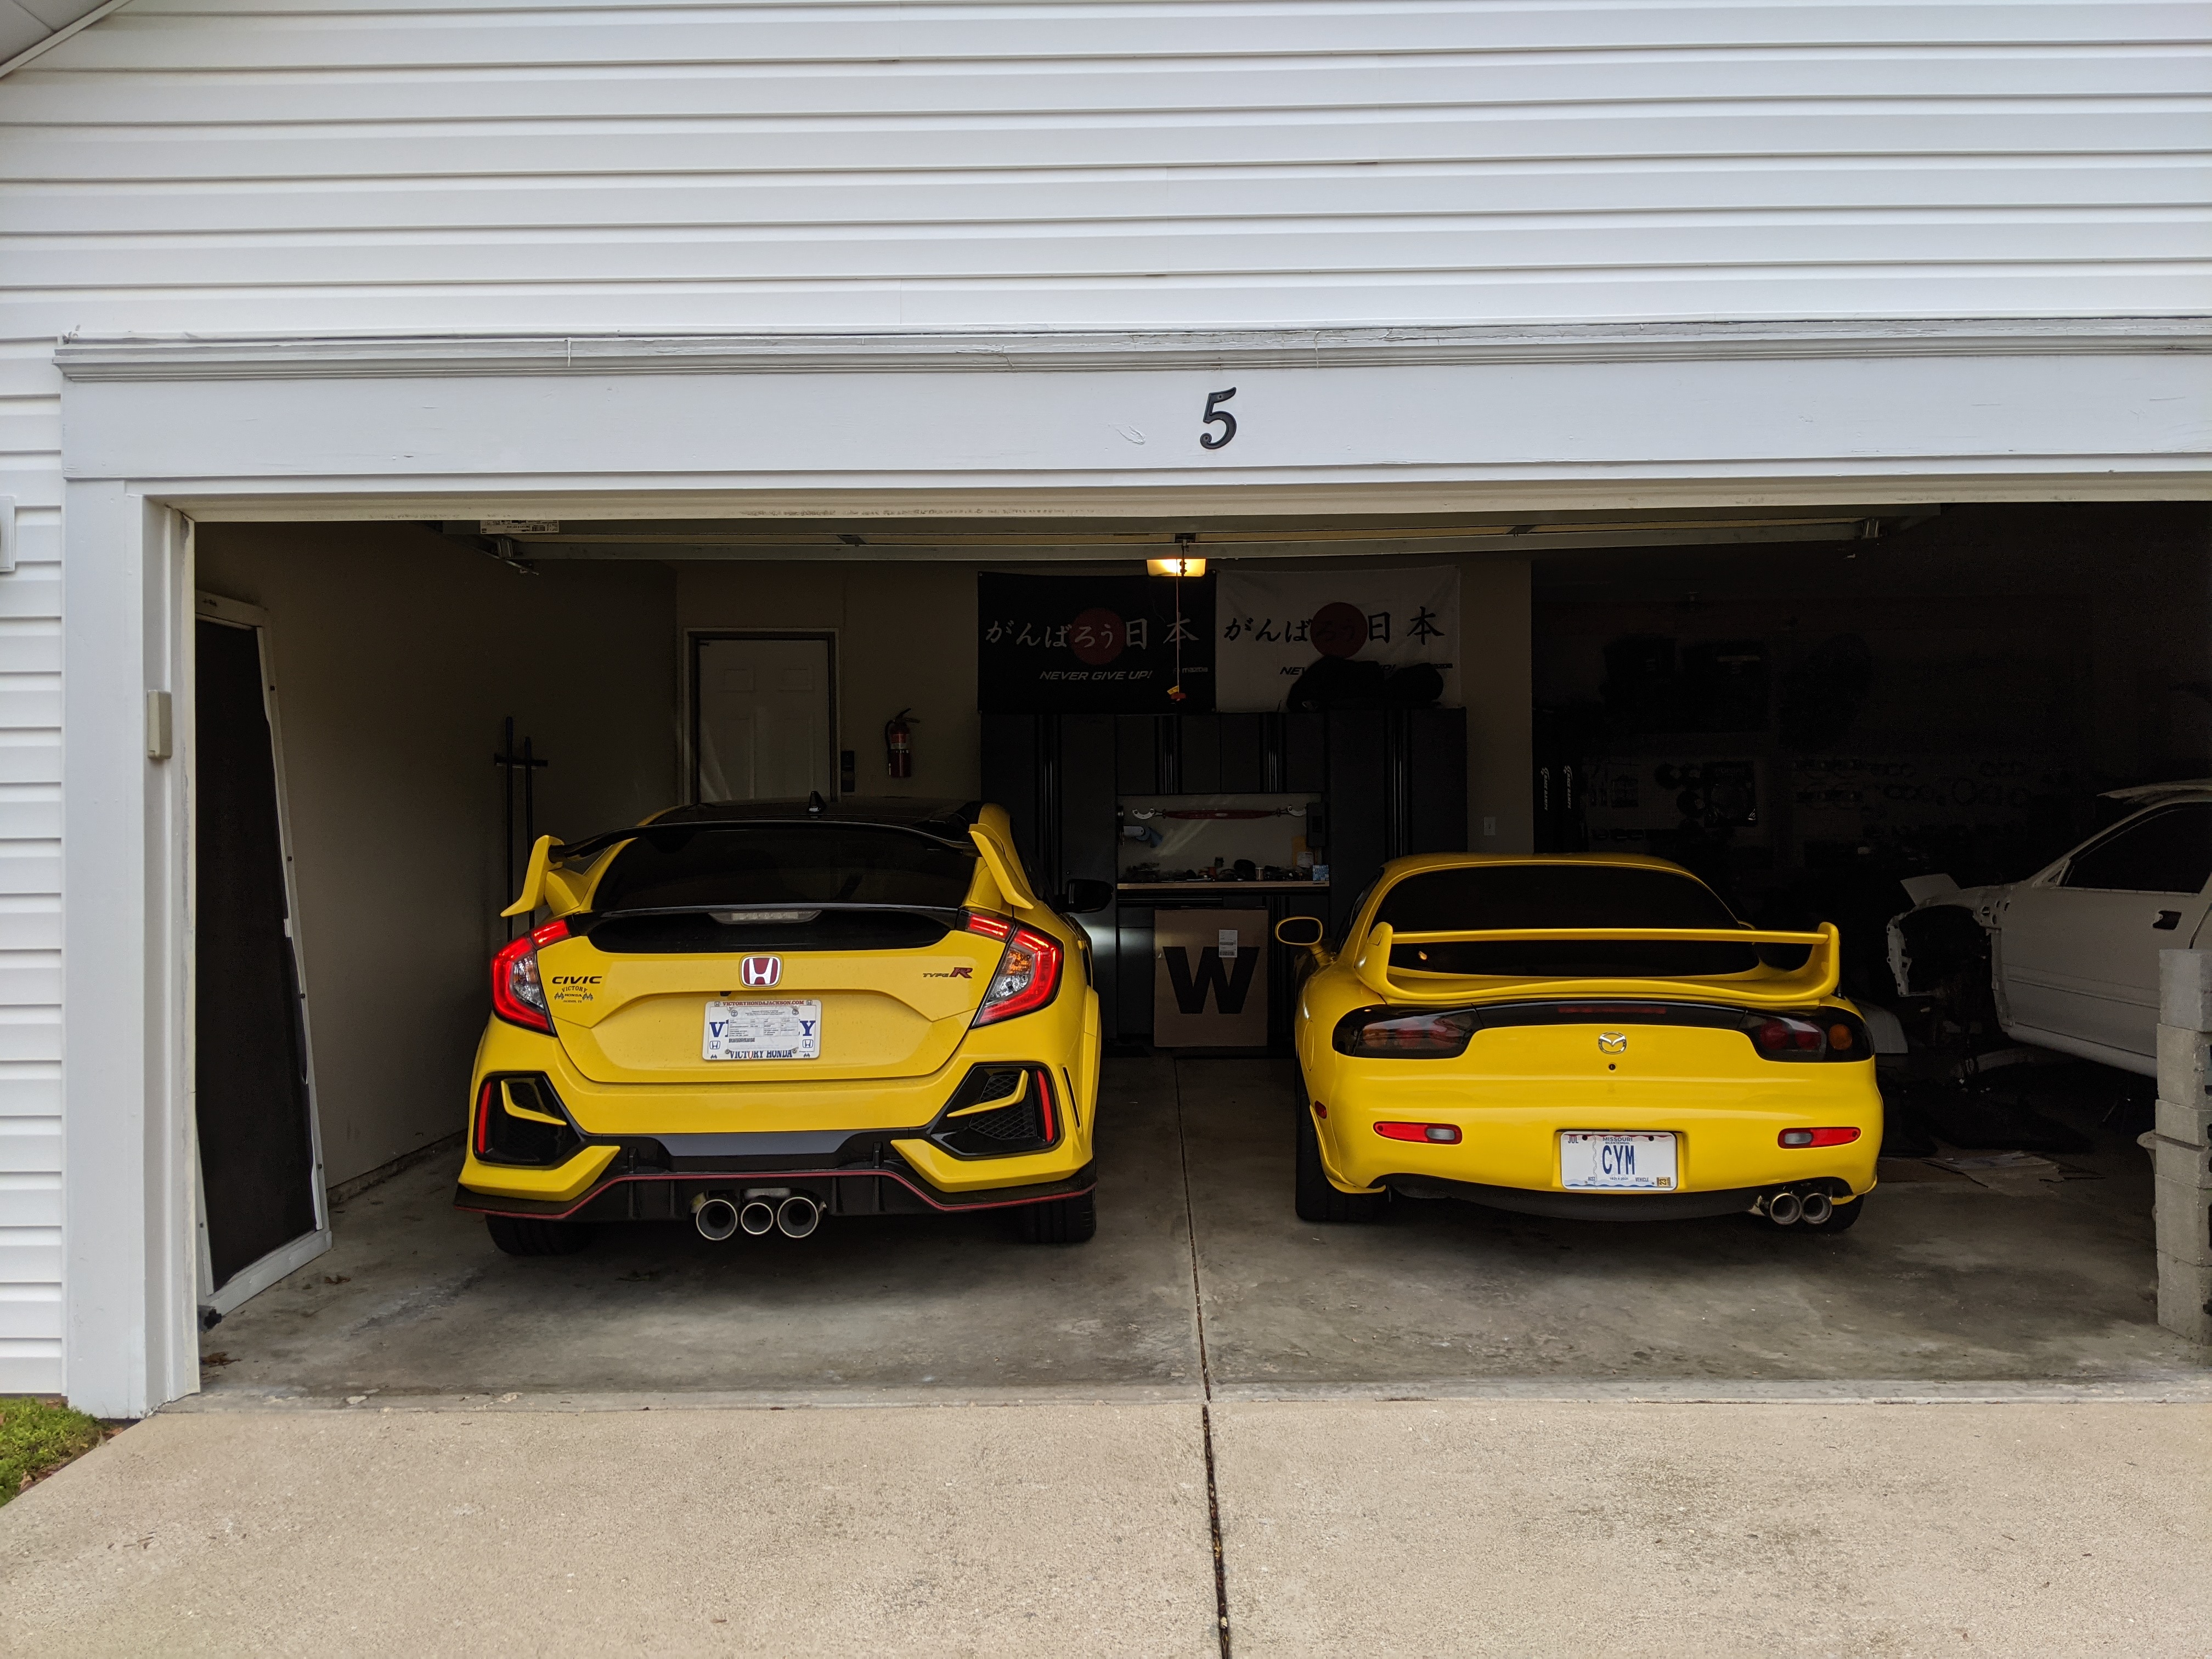
Oh - and we also added a new yellow car to the stable.
Until next time!
Here is the pinch weld fixing
Here is the A-Spec turn signal work
Here is the pics from the cruise with the MS-02s on
 04-28-21, 05:05 PM


 .
.


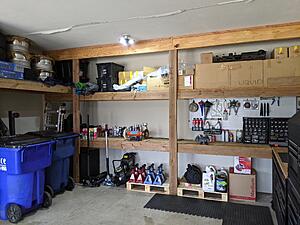
 Nice garage, I'm holding off on doing anything to the garage till I get a new house.