From Zero to Hero Vol. 2: CYM Edition

 :
: 
 11-16-19, 09:49 AM
#54
Update 11/16/19:
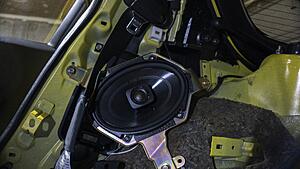
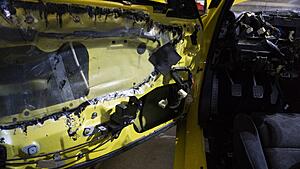
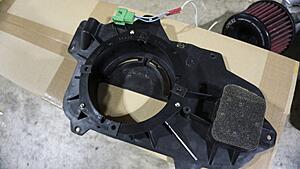
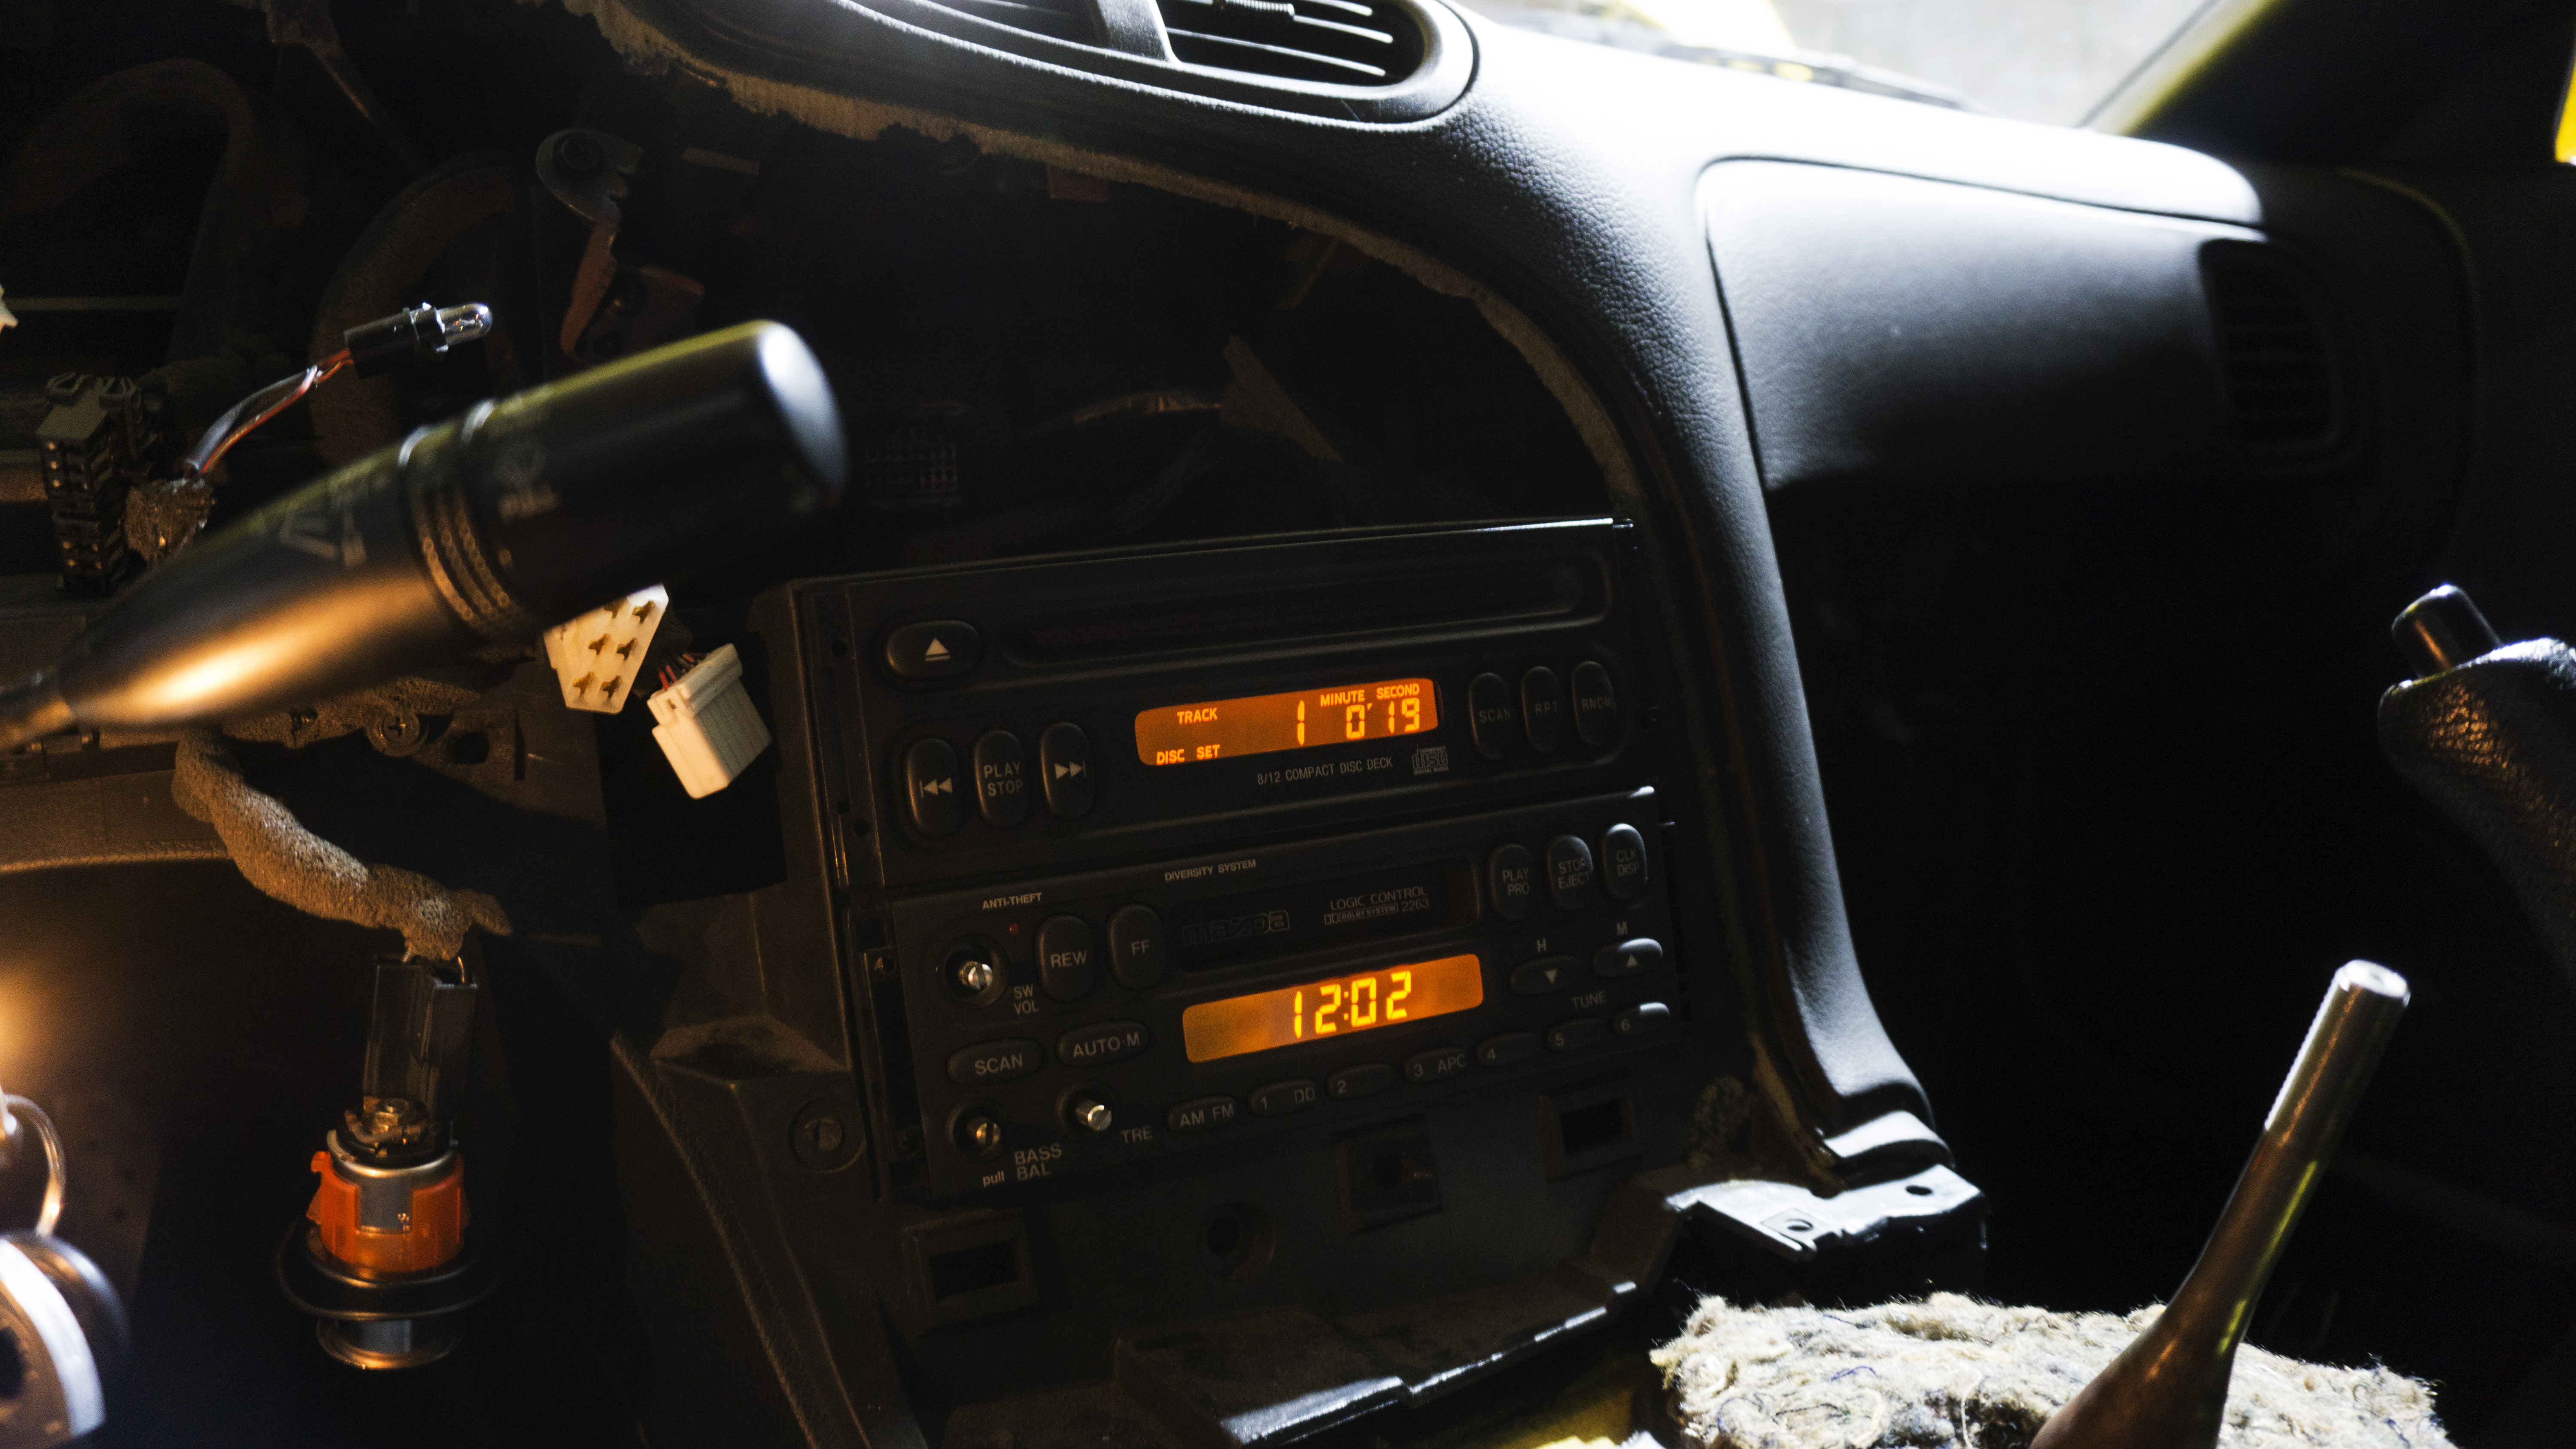
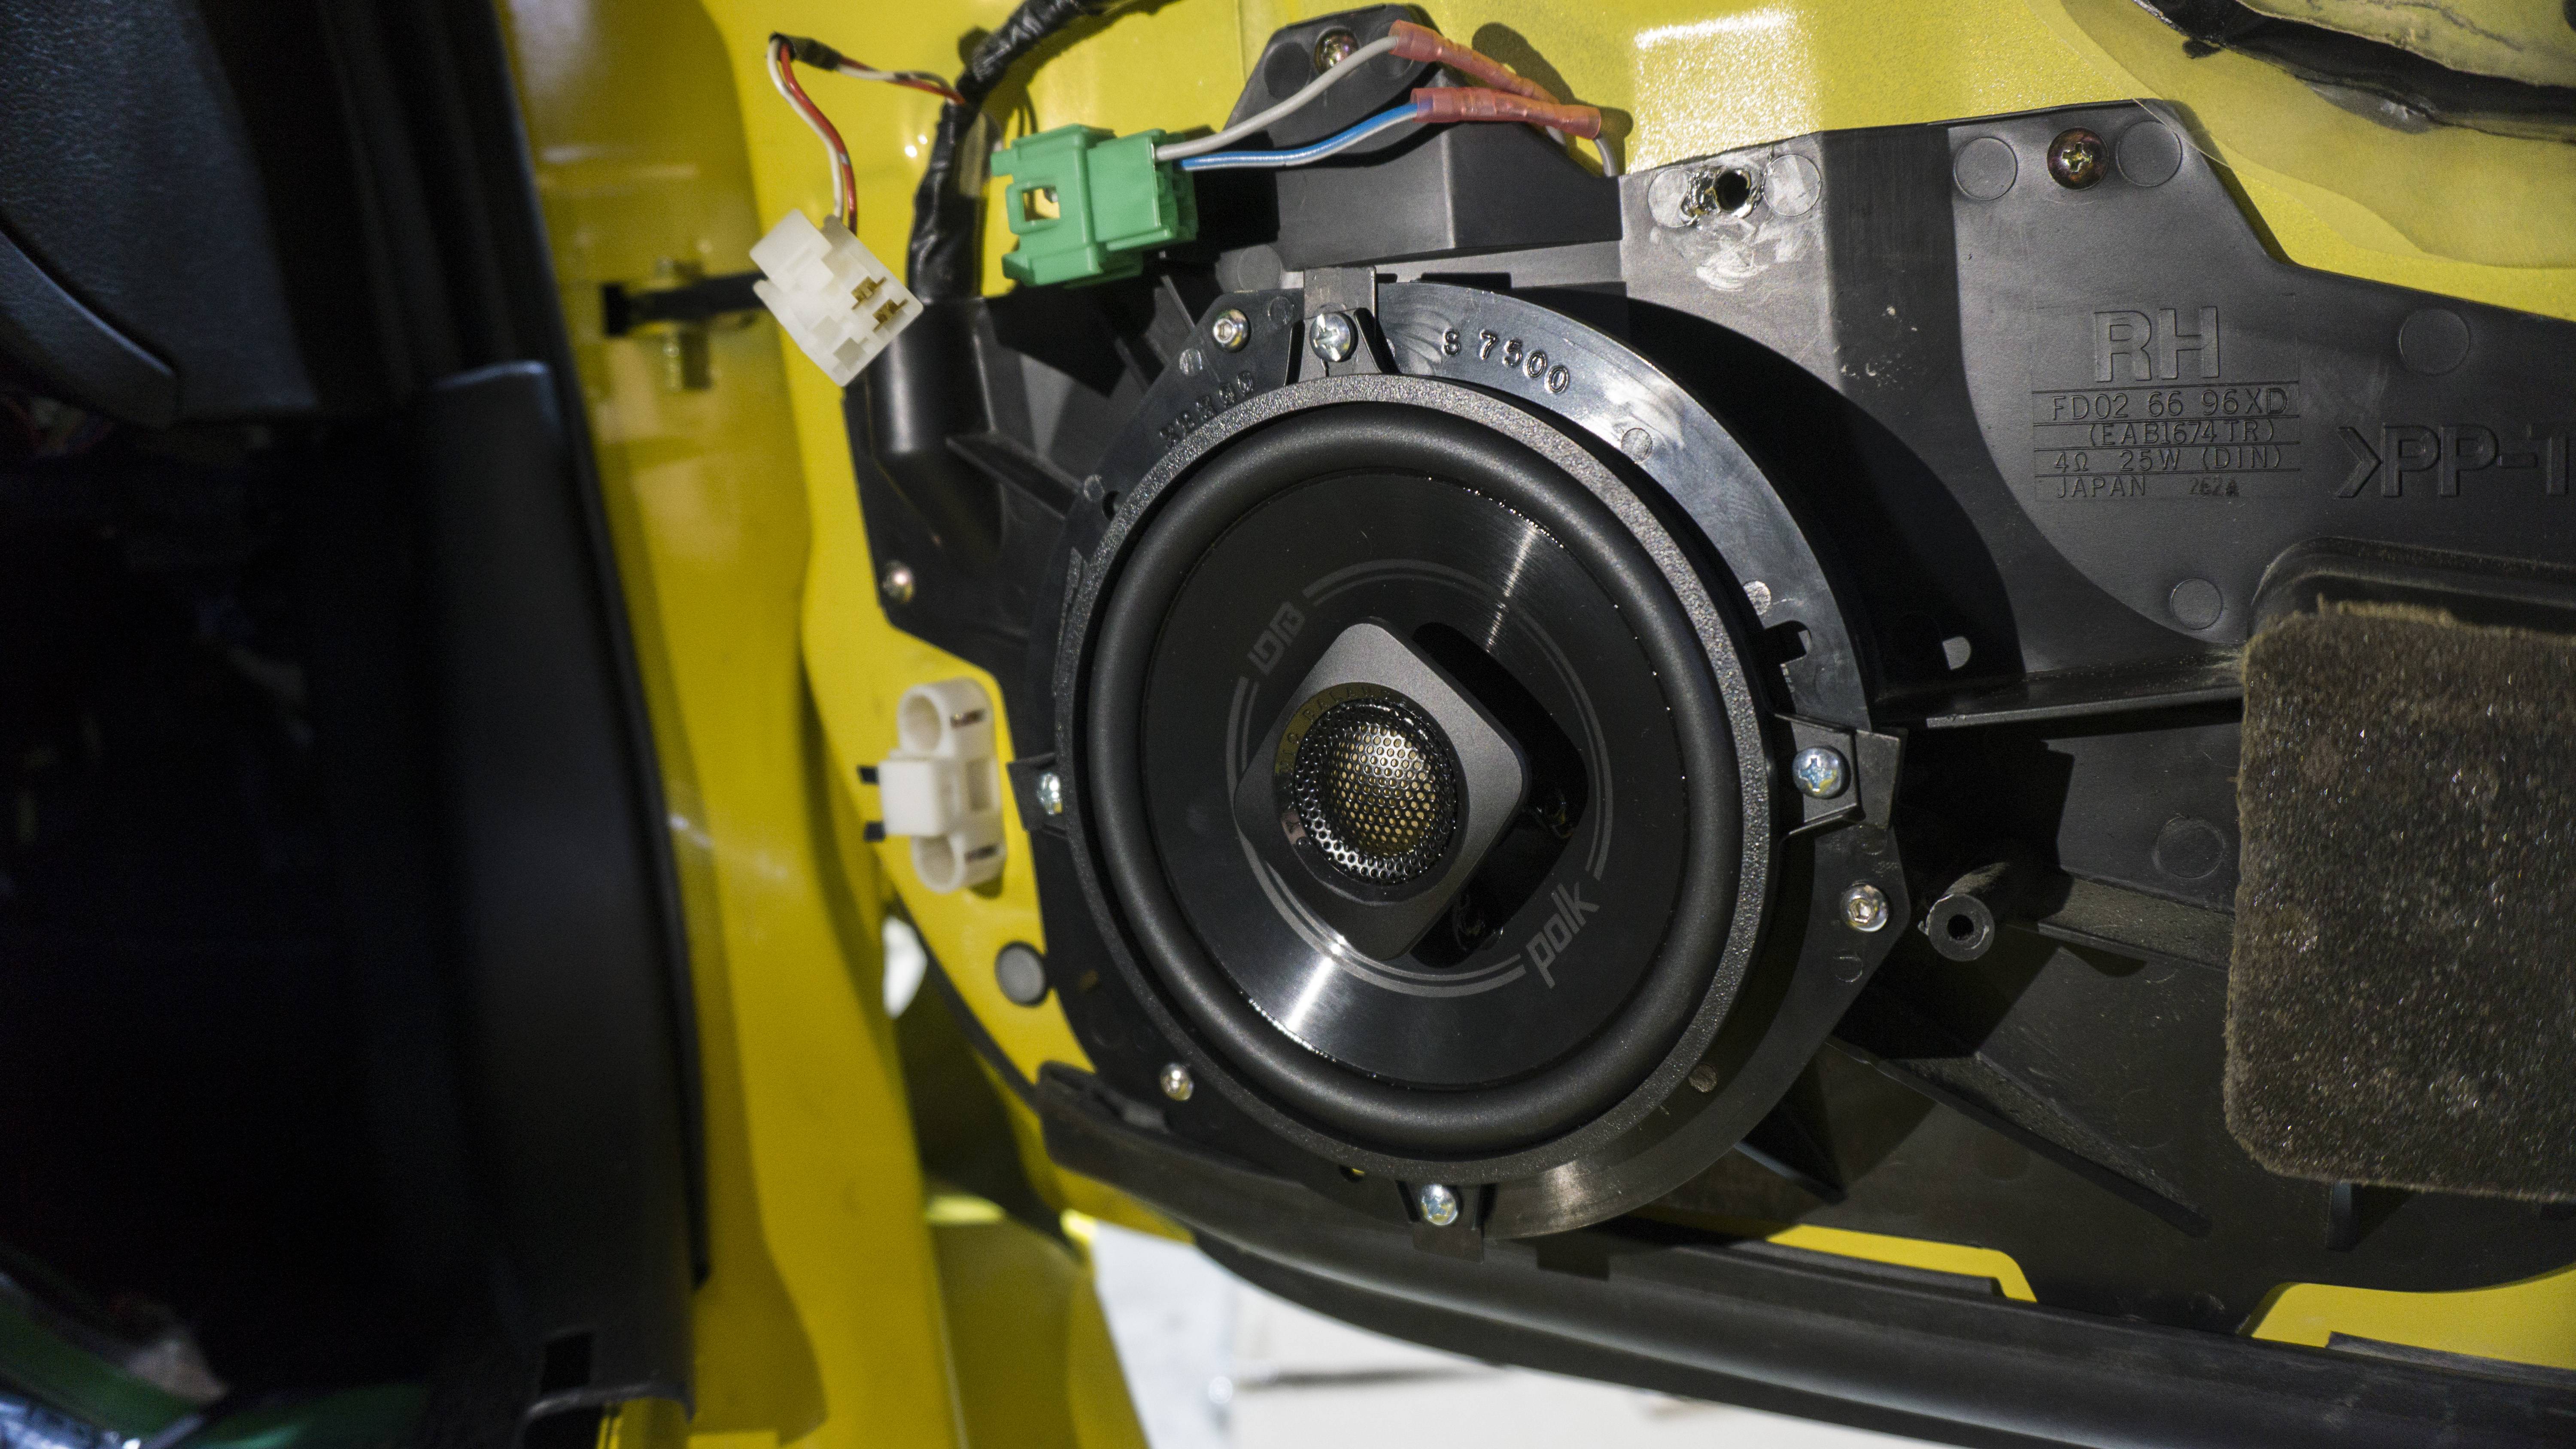
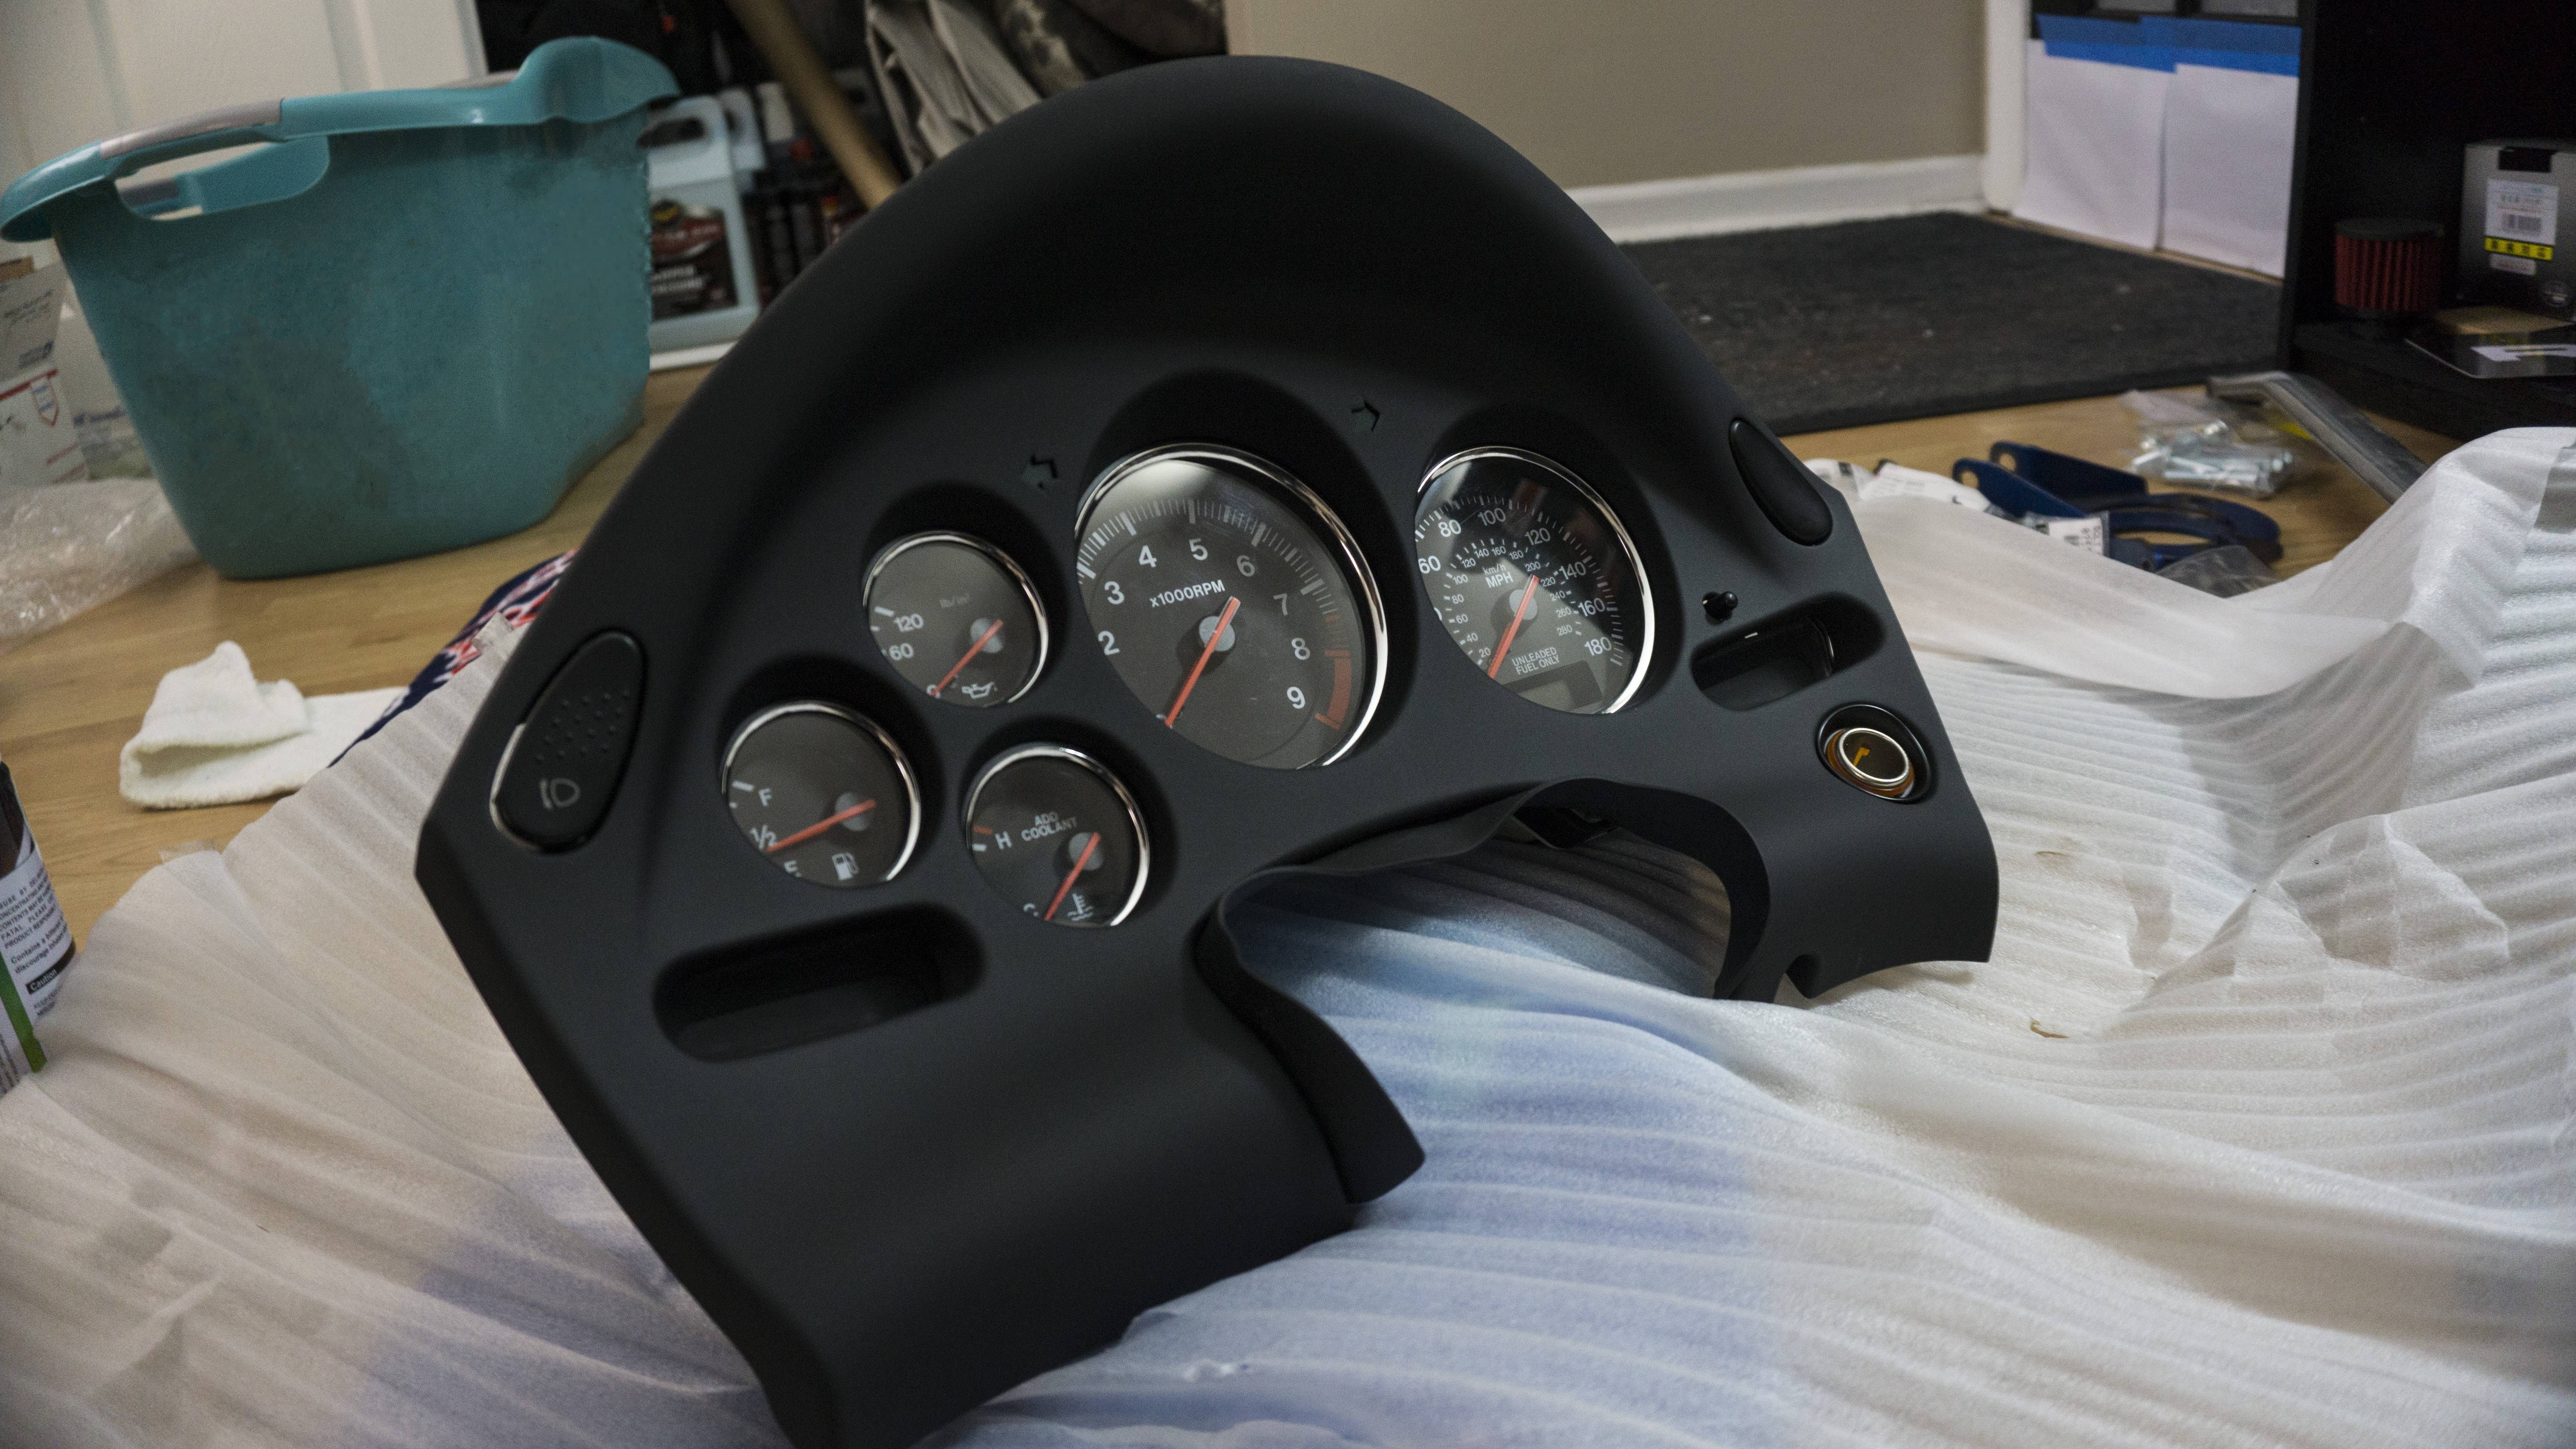
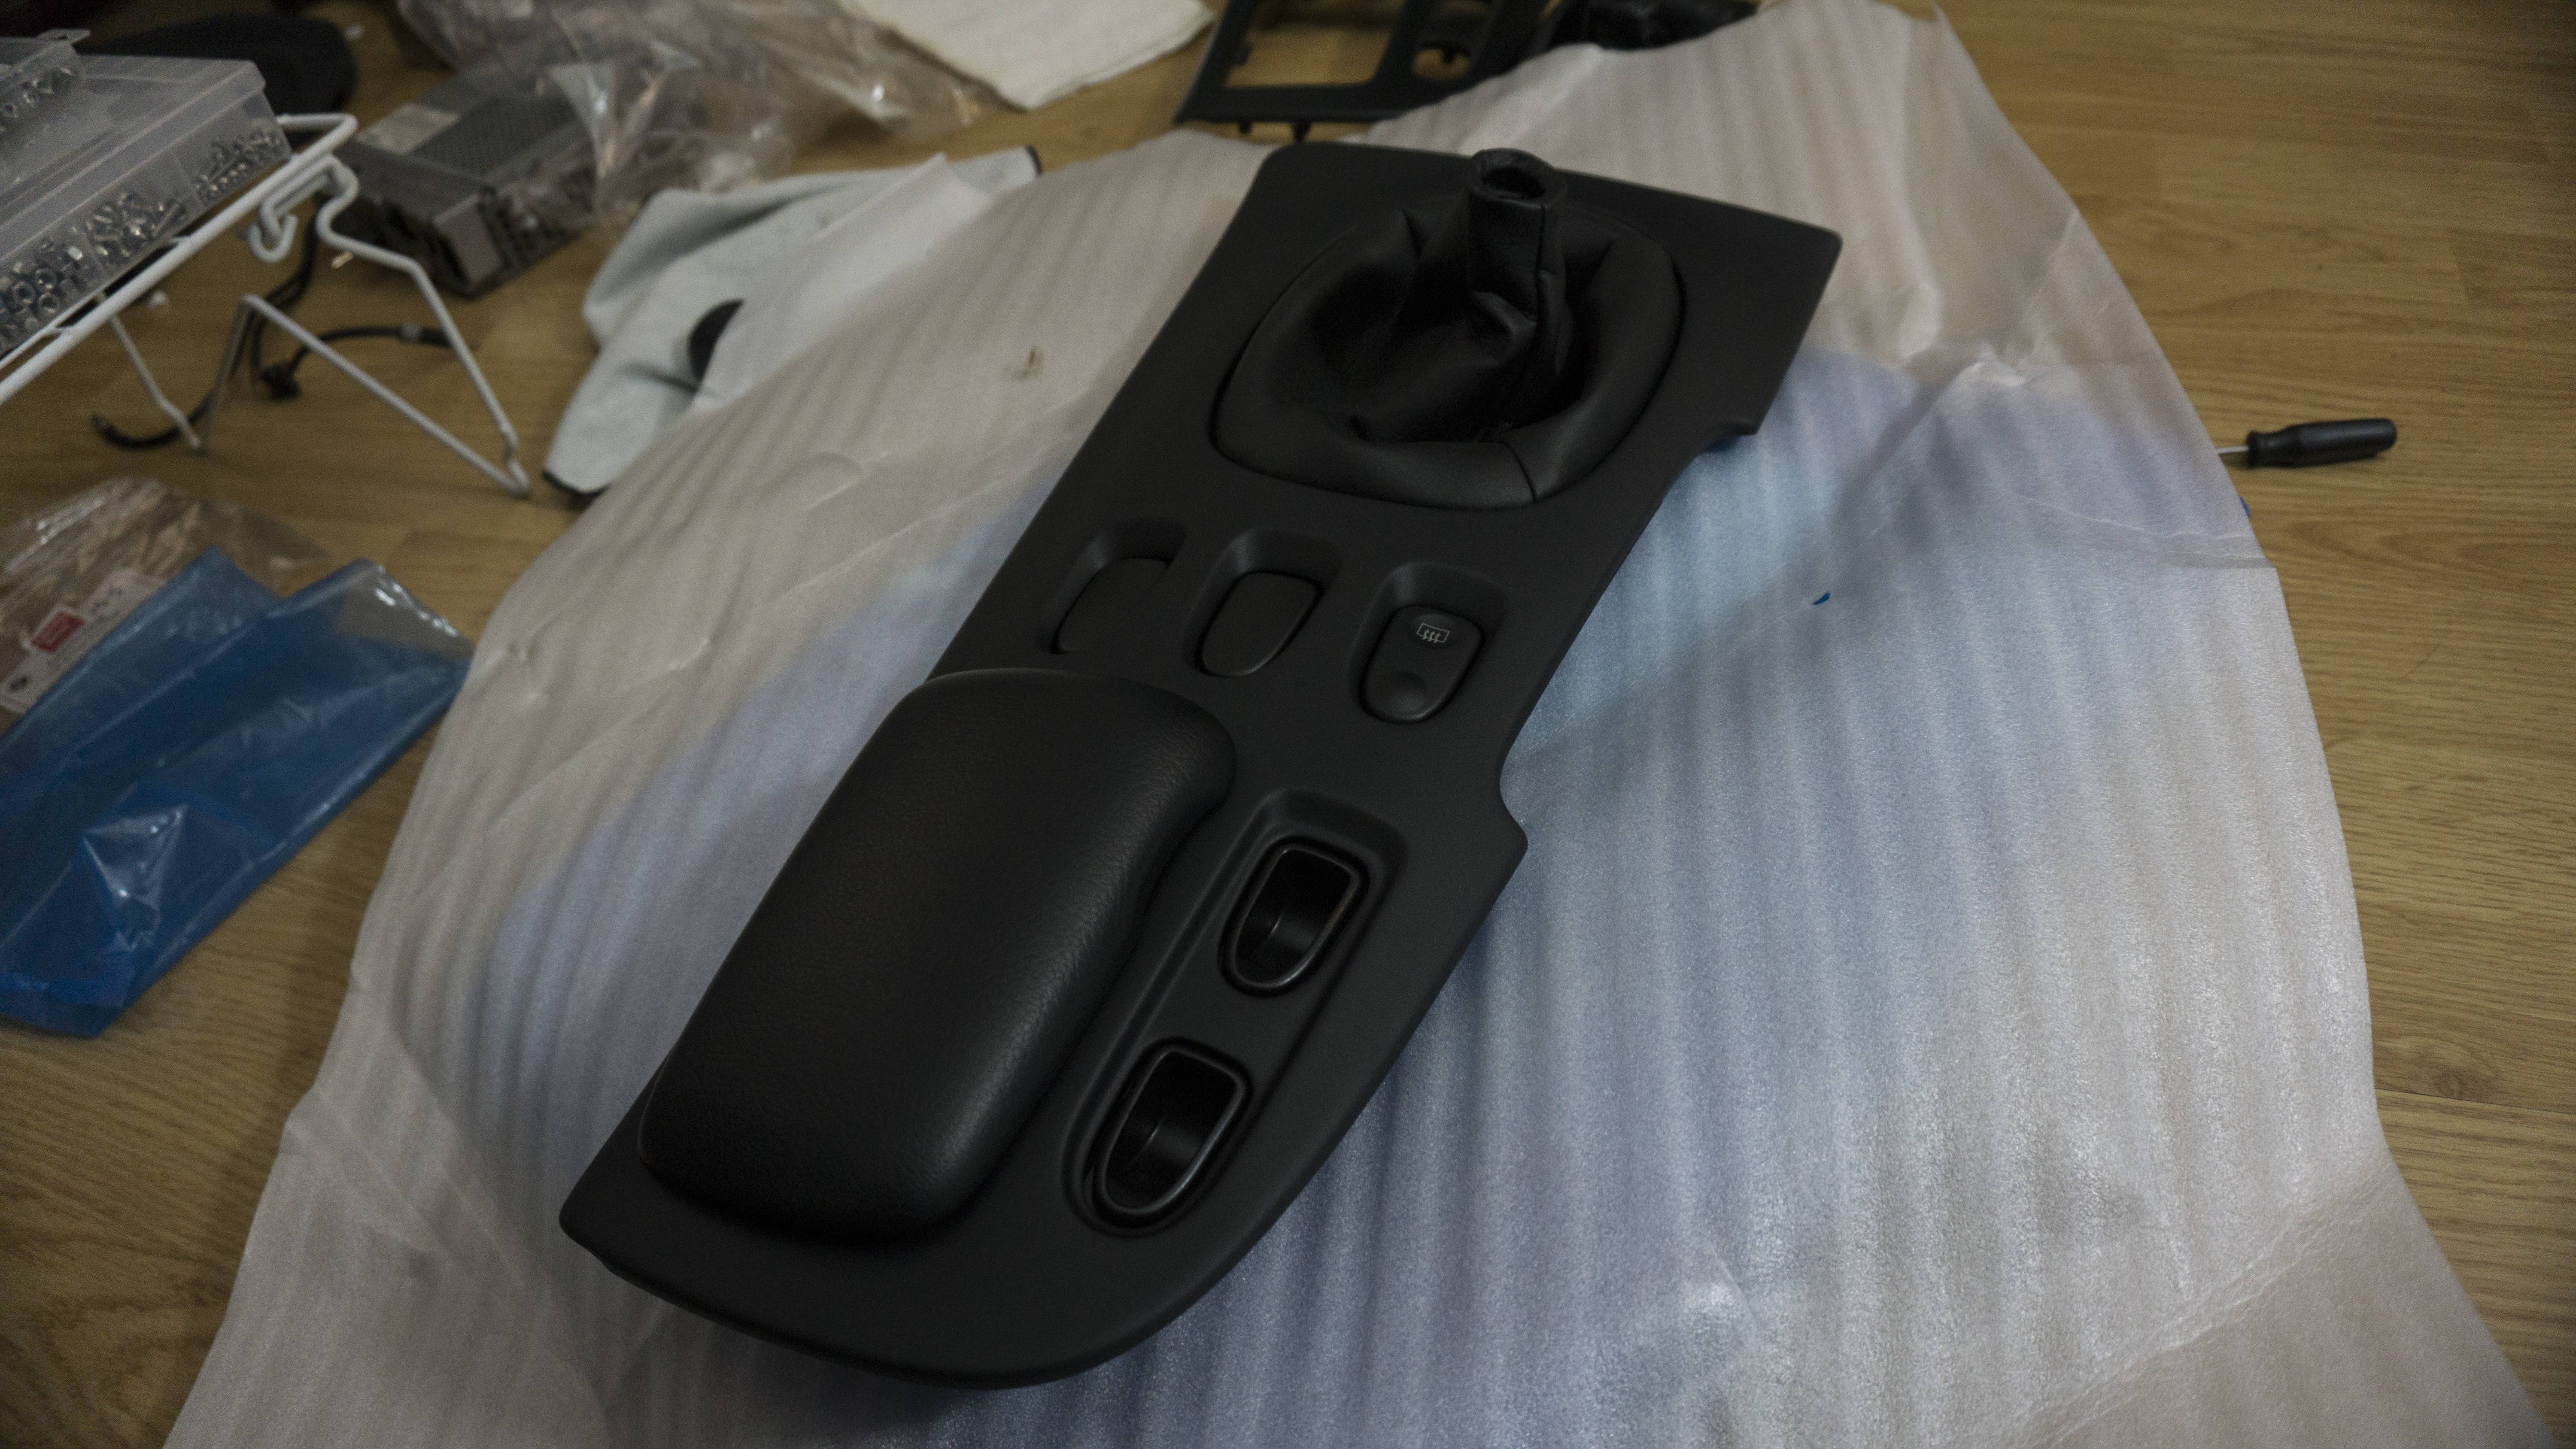
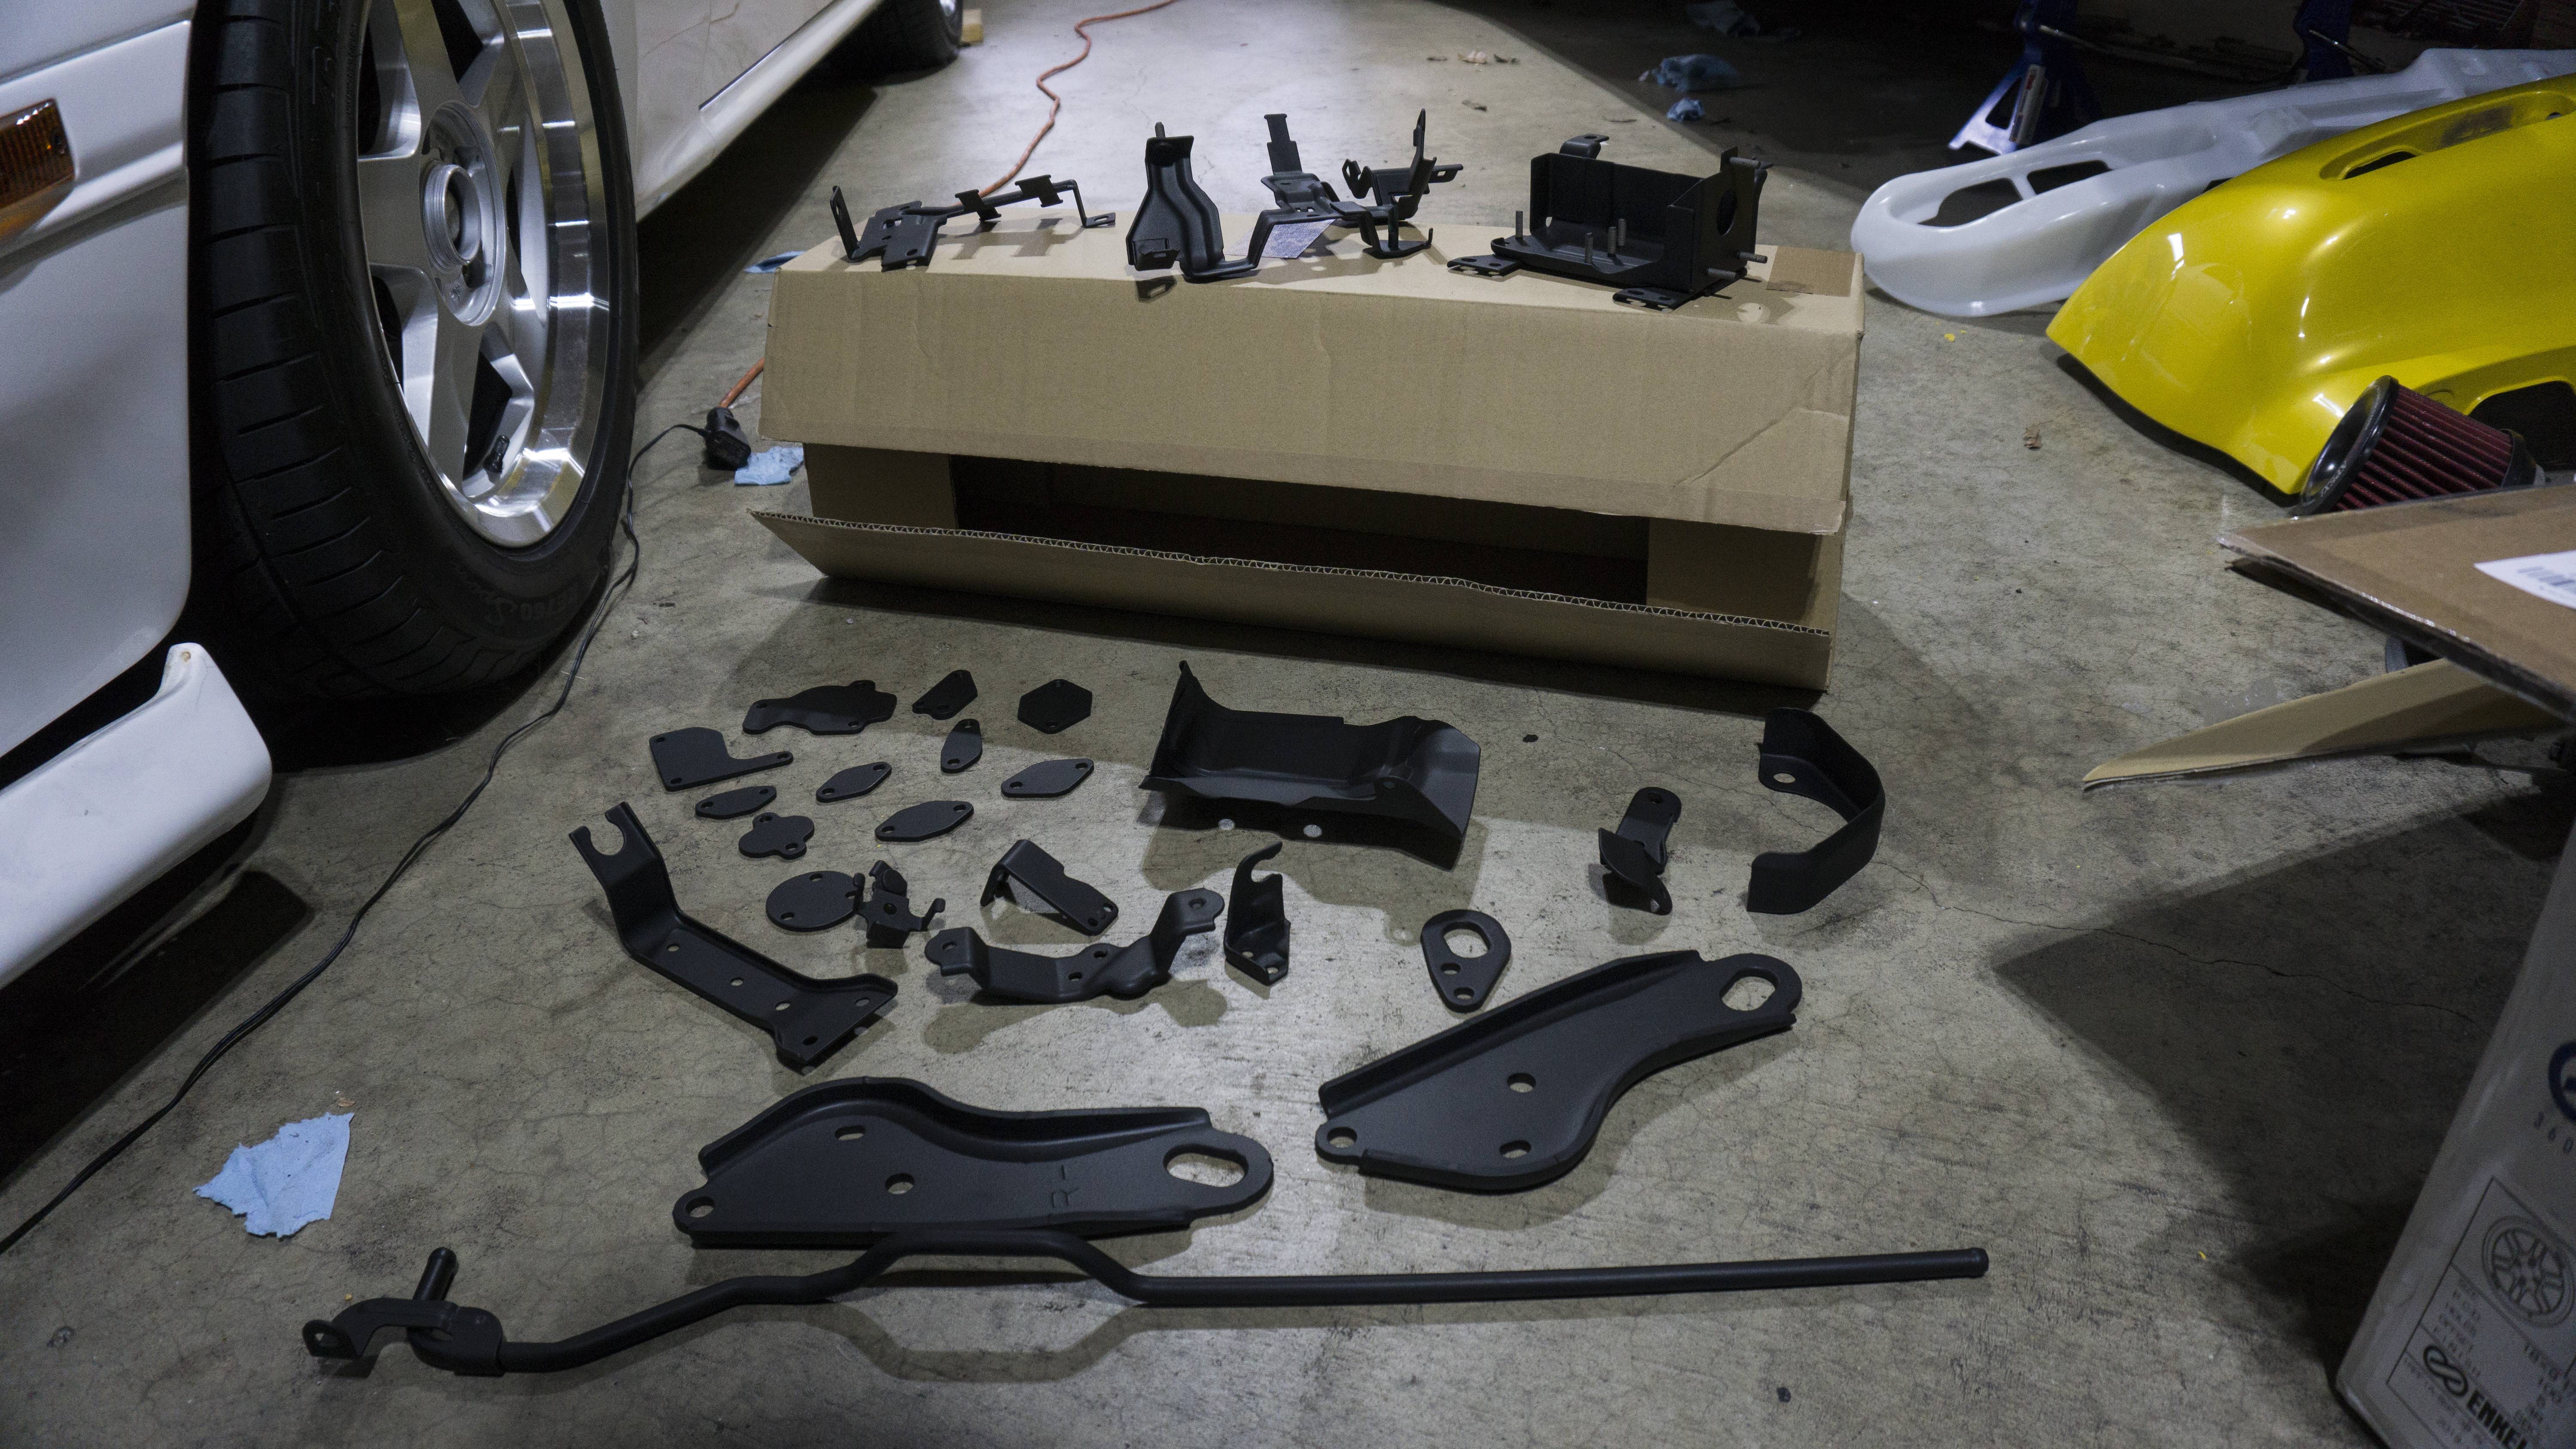
Good news! I fixed my stereo. I was able to solder the wire that twisted off. I now have both AM/FM and the CD Player working. I decided to utilize the CD player to save my Single Din pocket and keep it in good shape. It took me awhile to figure out how the audio in this system works and I�m still not sure why it�s working. For some reason a Clarion amp was plugged into the Bose Amp connector. As soon as I unplugged it all my speakers worked. I can�t find the normal Clarion Amp though - maybe stashed up under the dash. It�s certainly not under the trans tunnel cover like it should be. Either way, my stuff is working - well except one. The driver side speaker still wasn�t working and upon further investigation...it�s not there. For some reason the PO never installed it back. So I have an oem driver side speaker door bracket on the way to fix that. Since I finally have working sound I decided to overhaul the speaker system. Previous owner really went all out with some nice Wal-Mart Sony Xplodes�. I purchased some Polk Audio 5x7 and 5 � for the car. They sound great, even without an aftermarket amp. I ended up tapping the front speaker bracket for M4 to fit the bracket that Crutchfield sent. Turned out really well. It�s been cold lately so I�ve been trying to get some stuff done inside. I swapped over all my stuff to the new interior plastics. They look really good compared to my old ones. I�m debating leaving them off until after the paint. I�d cry if someone scratched them. All of the stuff I sent out for powder coating came back in as well so I�ve been slowly getting that stuff put back on the car. I made the mistake of getting the wrong UIM coated, so it�ll be a bit before I start the car and make the call for paint, but it�s definitely getting closer!
Here is the stereo and speaker work that�s been going on:


Here is all the new plastics!:
Here is all the stuff back from coating:
Here is a couple of the coated parts back on the car:

Good news! I fixed my stereo. I was able to solder the wire that twisted off. I now have both AM/FM and the CD Player working. I decided to utilize the CD player to save my Single Din pocket and keep it in good shape. It took me awhile to figure out how the audio in this system works and I�m still not sure why it�s working. For some reason a Clarion amp was plugged into the Bose Amp connector. As soon as I unplugged it all my speakers worked. I can�t find the normal Clarion Amp though - maybe stashed up under the dash. It�s certainly not under the trans tunnel cover like it should be. Either way, my stuff is working - well except one. The driver side speaker still wasn�t working and upon further investigation...it�s not there. For some reason the PO never installed it back. So I have an oem driver side speaker door bracket on the way to fix that. Since I finally have working sound I decided to overhaul the speaker system. Previous owner really went all out with some nice Wal-Mart Sony Xplodes�. I purchased some Polk Audio 5x7 and 5 � for the car. They sound great, even without an aftermarket amp. I ended up tapping the front speaker bracket for M4 to fit the bracket that Crutchfield sent. Turned out really well. It�s been cold lately so I�ve been trying to get some stuff done inside. I swapped over all my stuff to the new interior plastics. They look really good compared to my old ones. I�m debating leaving them off until after the paint. I�d cry if someone scratched them. All of the stuff I sent out for powder coating came back in as well so I�ve been slowly getting that stuff put back on the car. I made the mistake of getting the wrong UIM coated, so it�ll be a bit before I start the car and make the call for paint, but it�s definitely getting closer!
Here is the stereo and speaker work that�s been going on:

Here is all the new plastics!:

Here is all the stuff back from coating:

Here is a couple of the coated parts back on the car:

Last edited by Akomix; 11-16-19 at 10:09 PM.

 11-23-19, 09:17 AM
#59
Update 11/23/19:
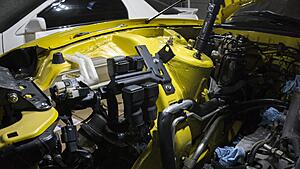
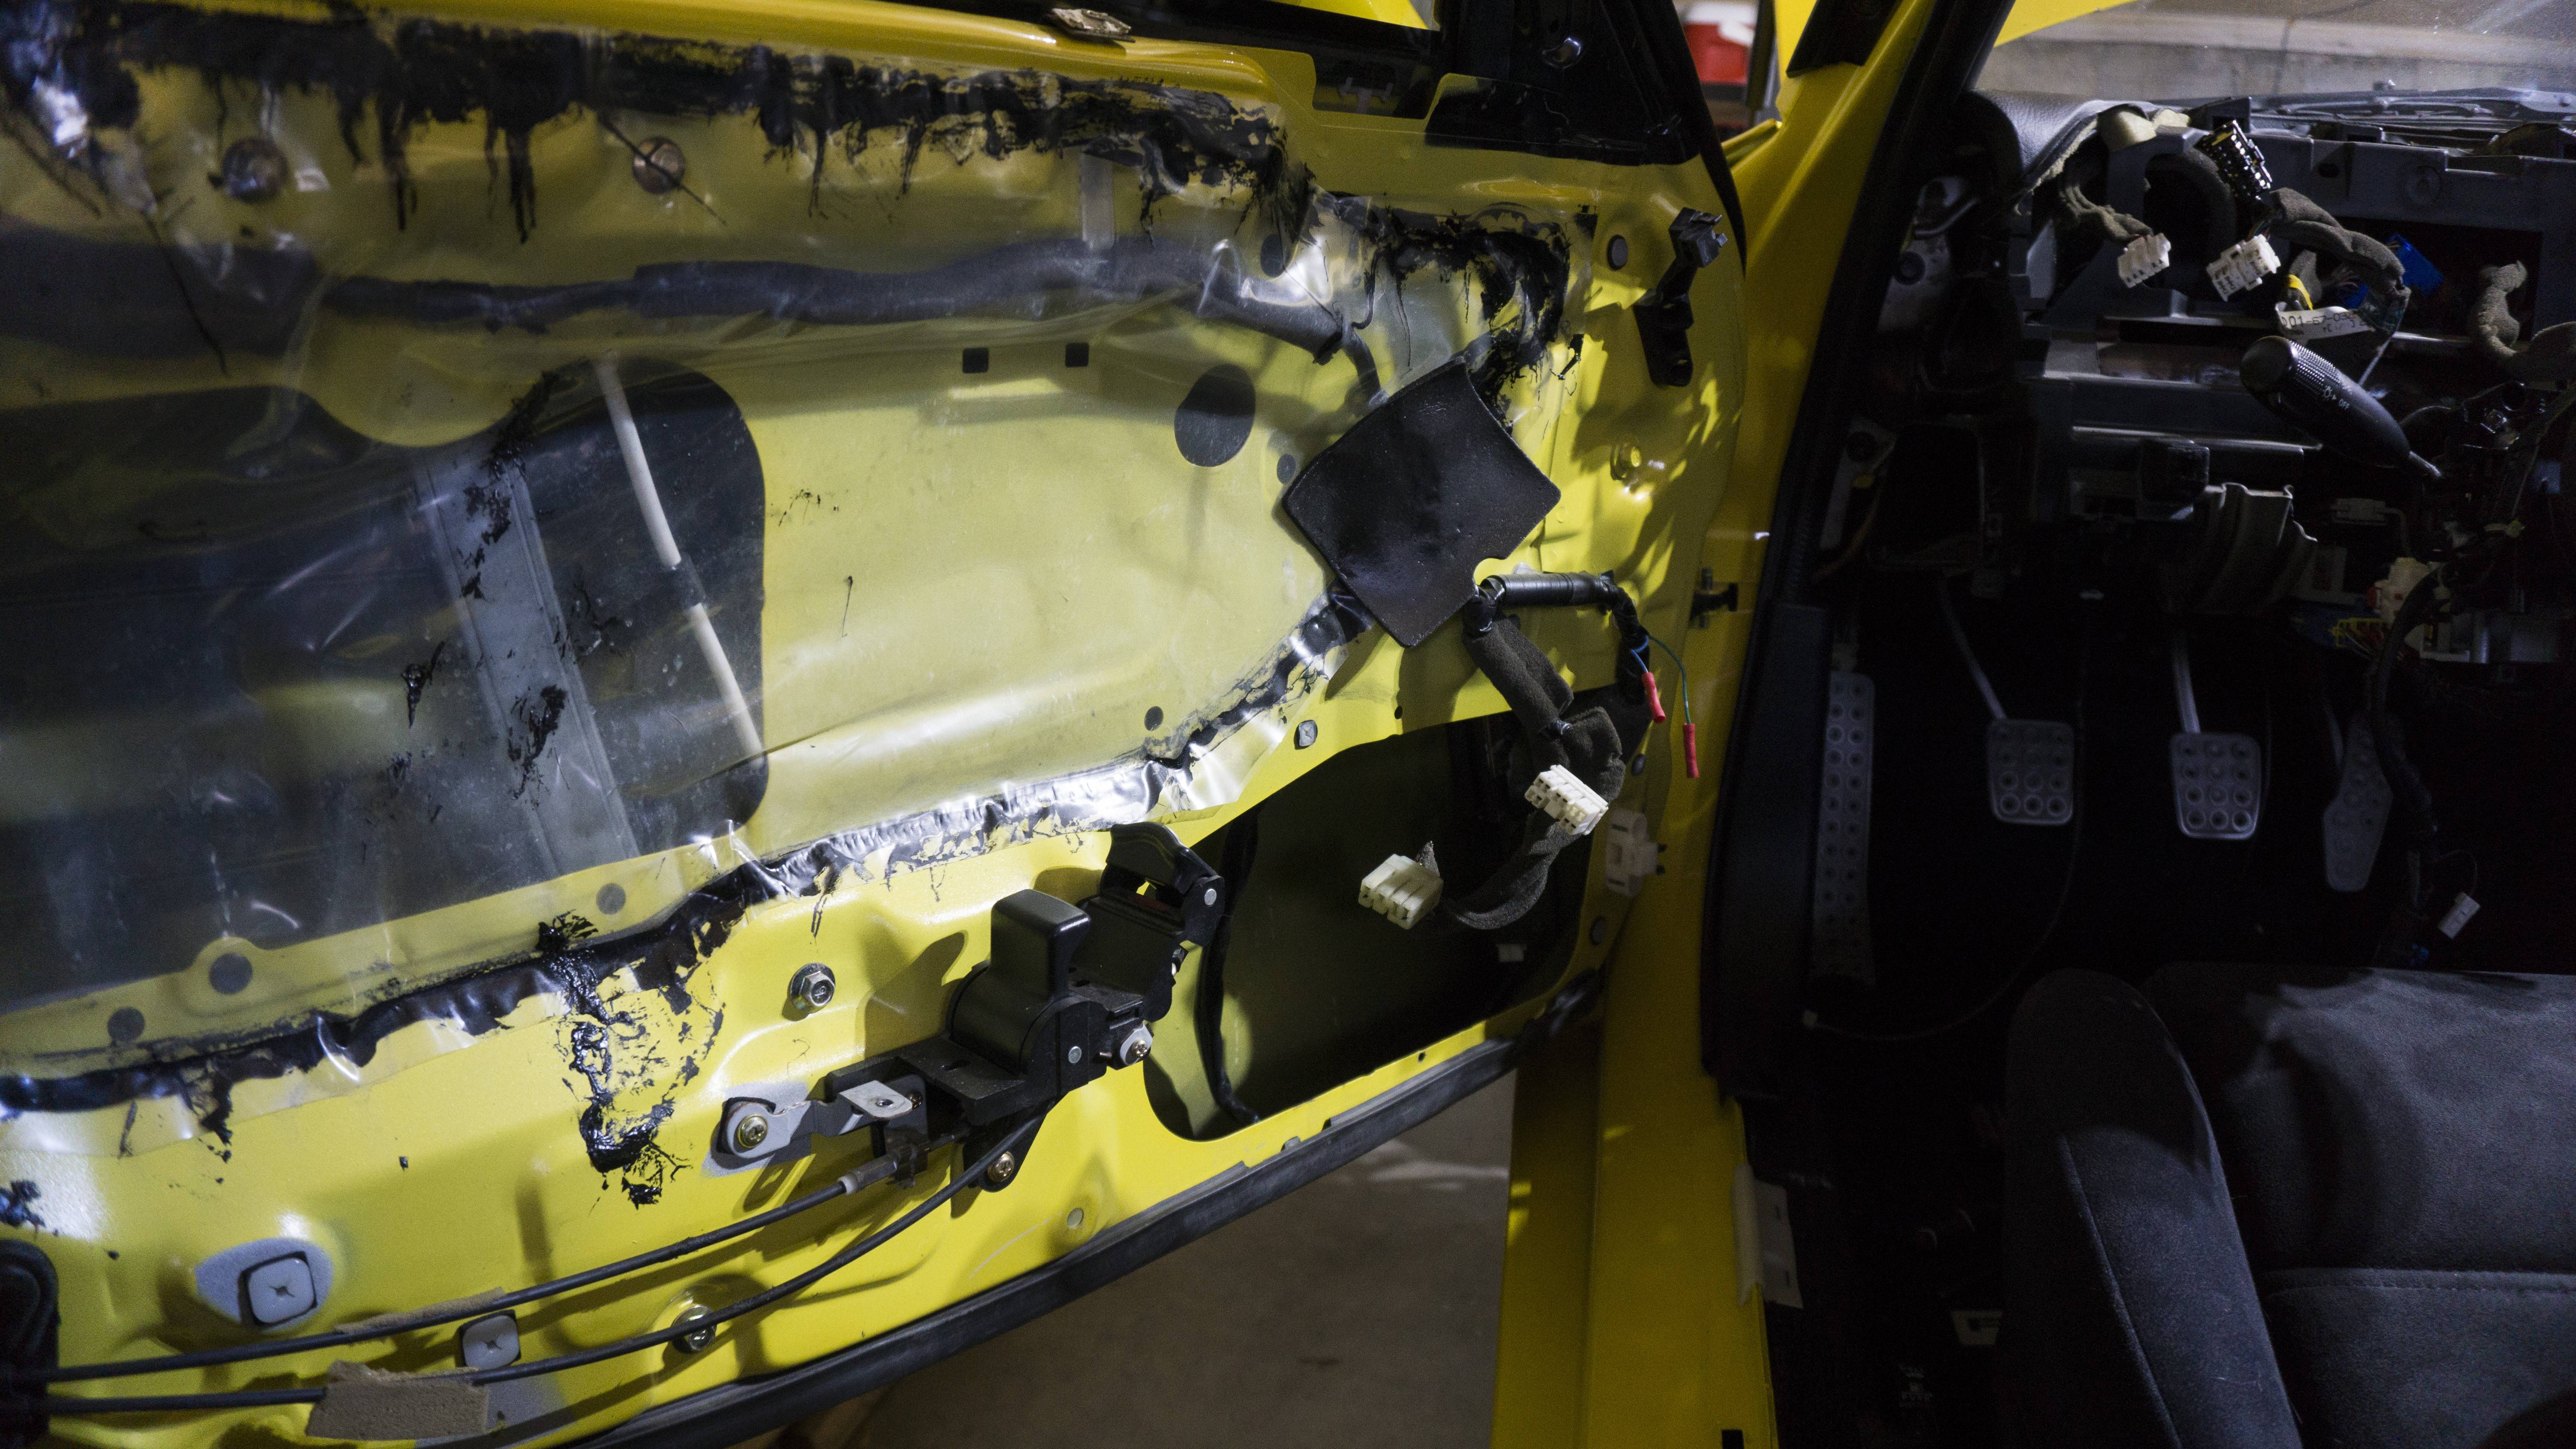
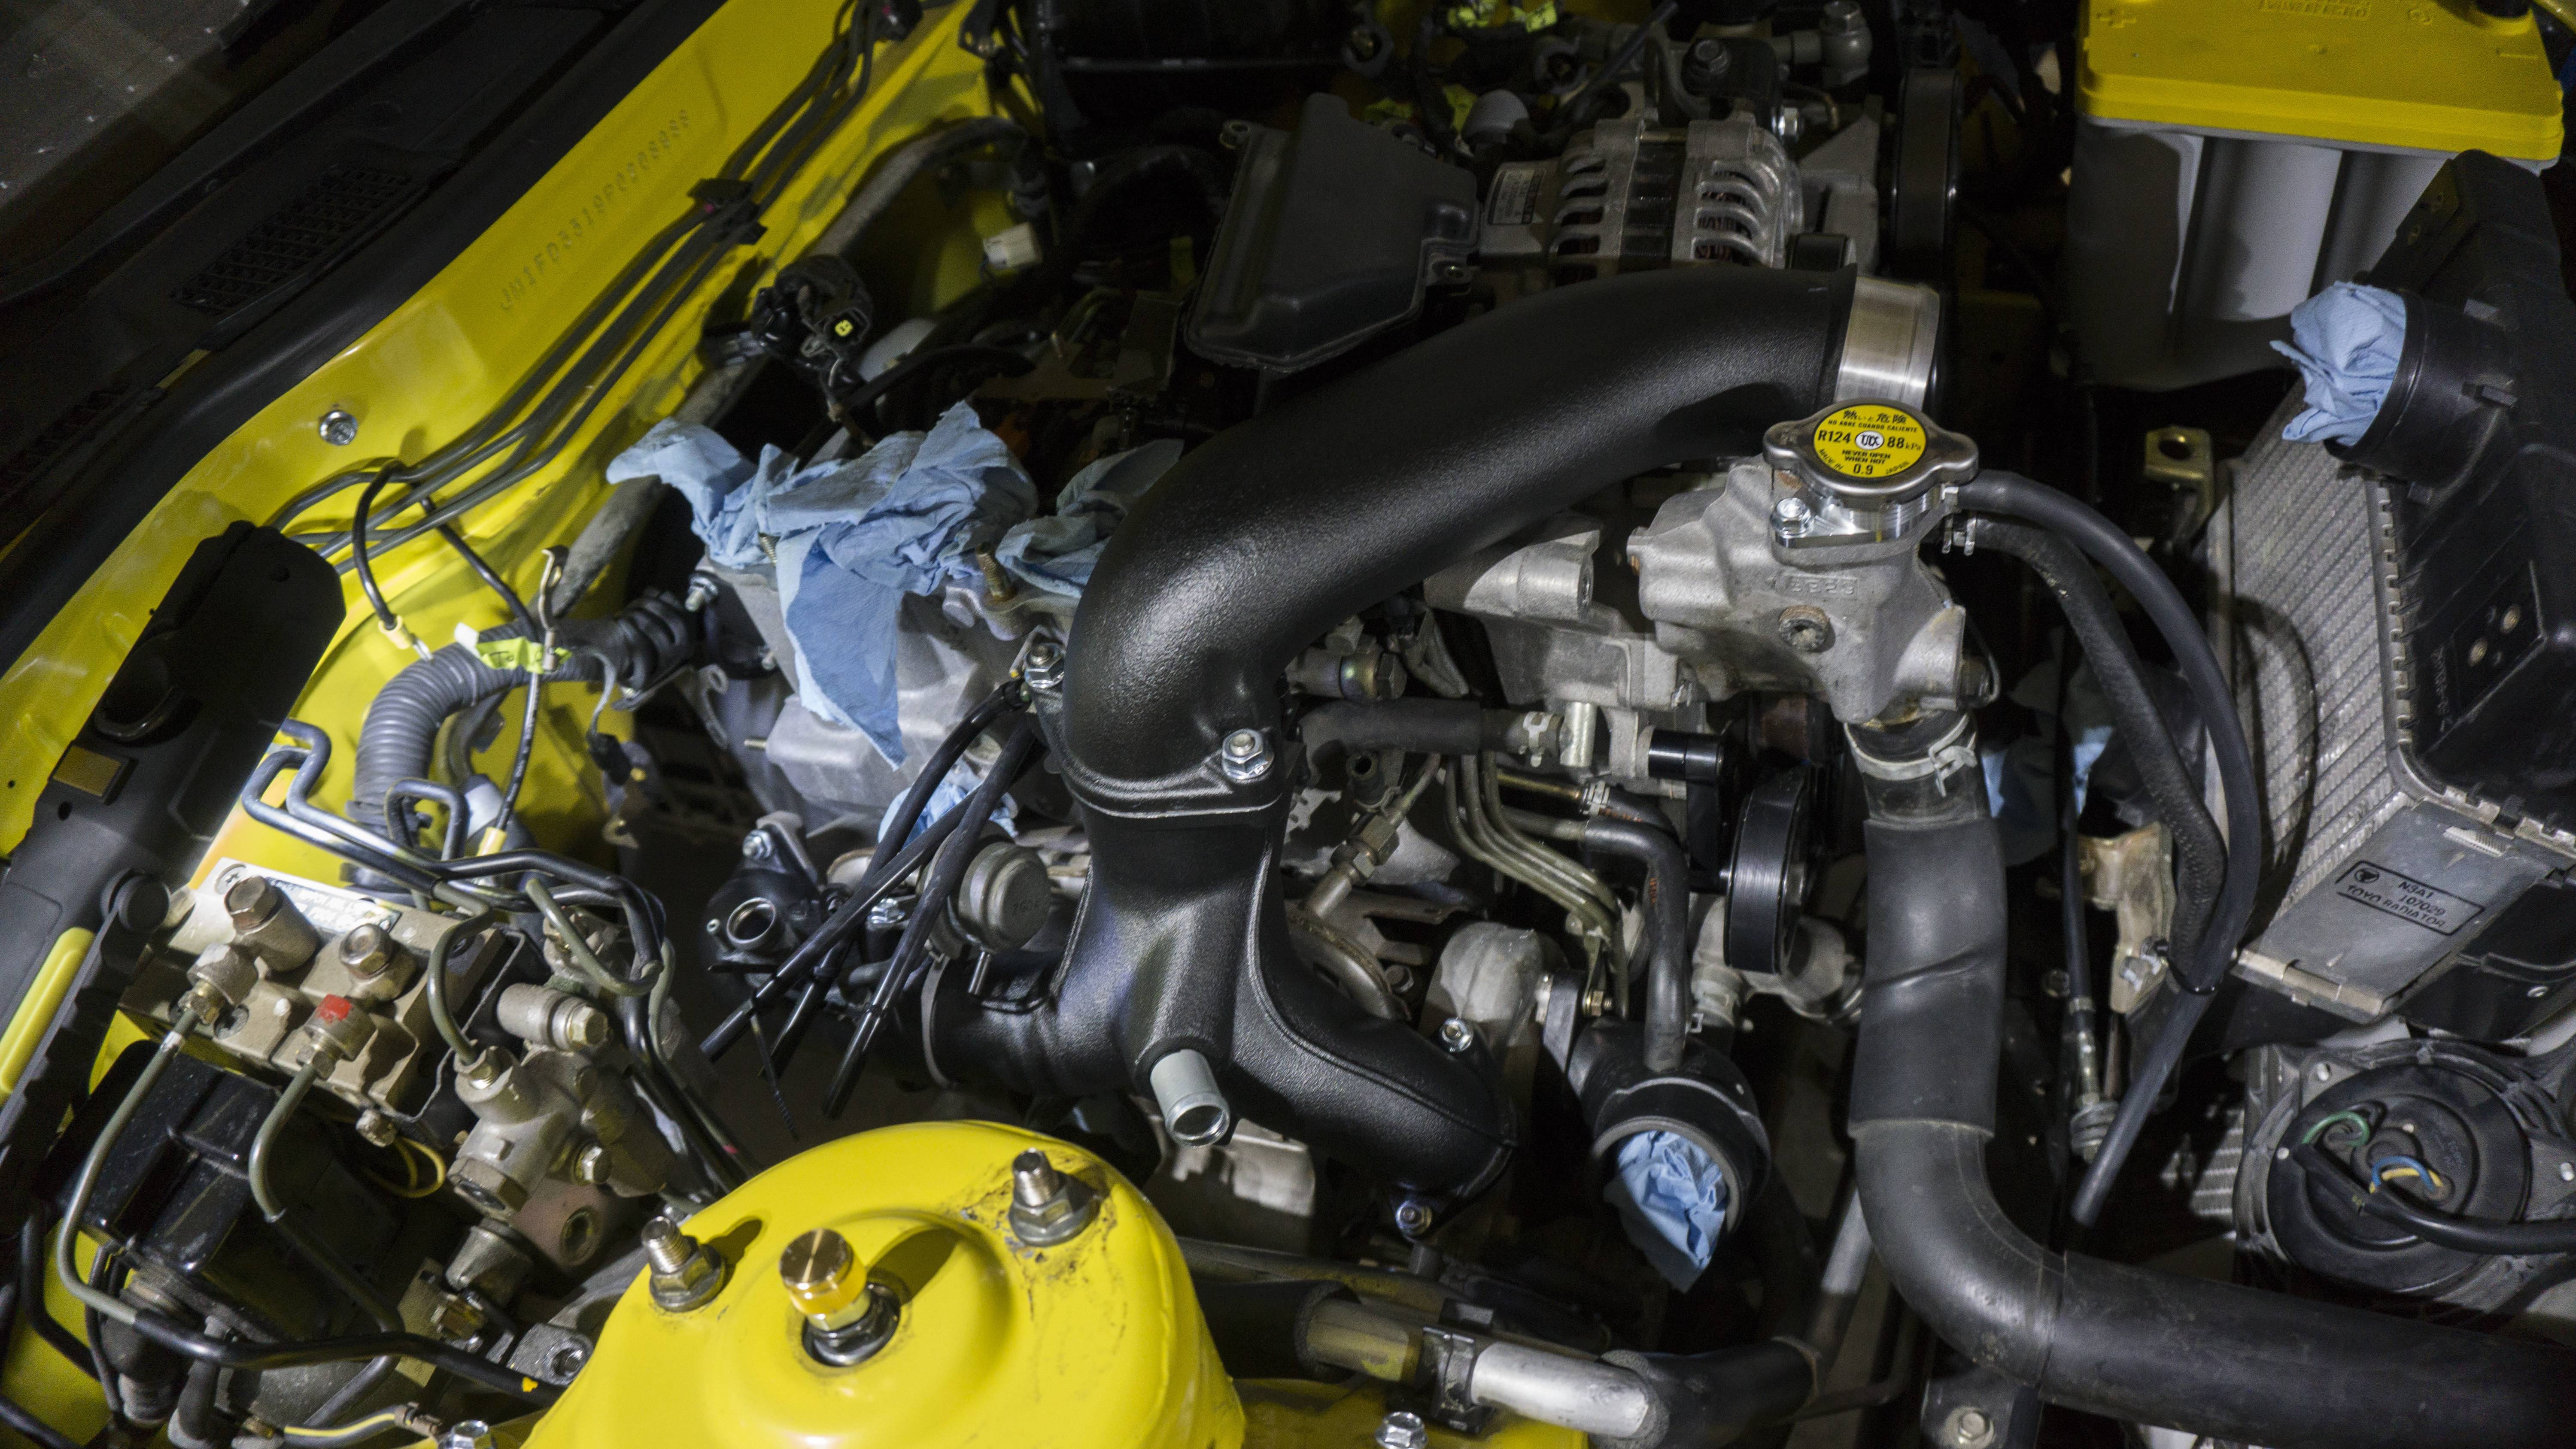
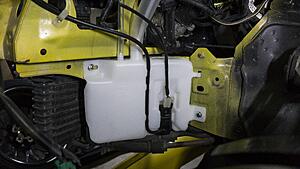
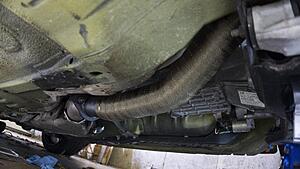
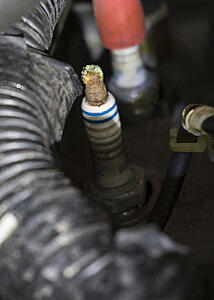
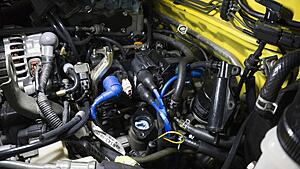
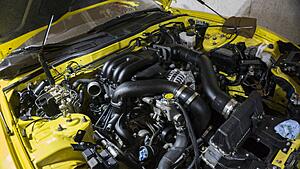
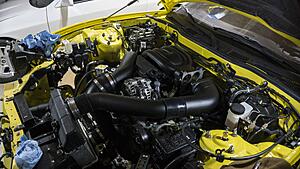
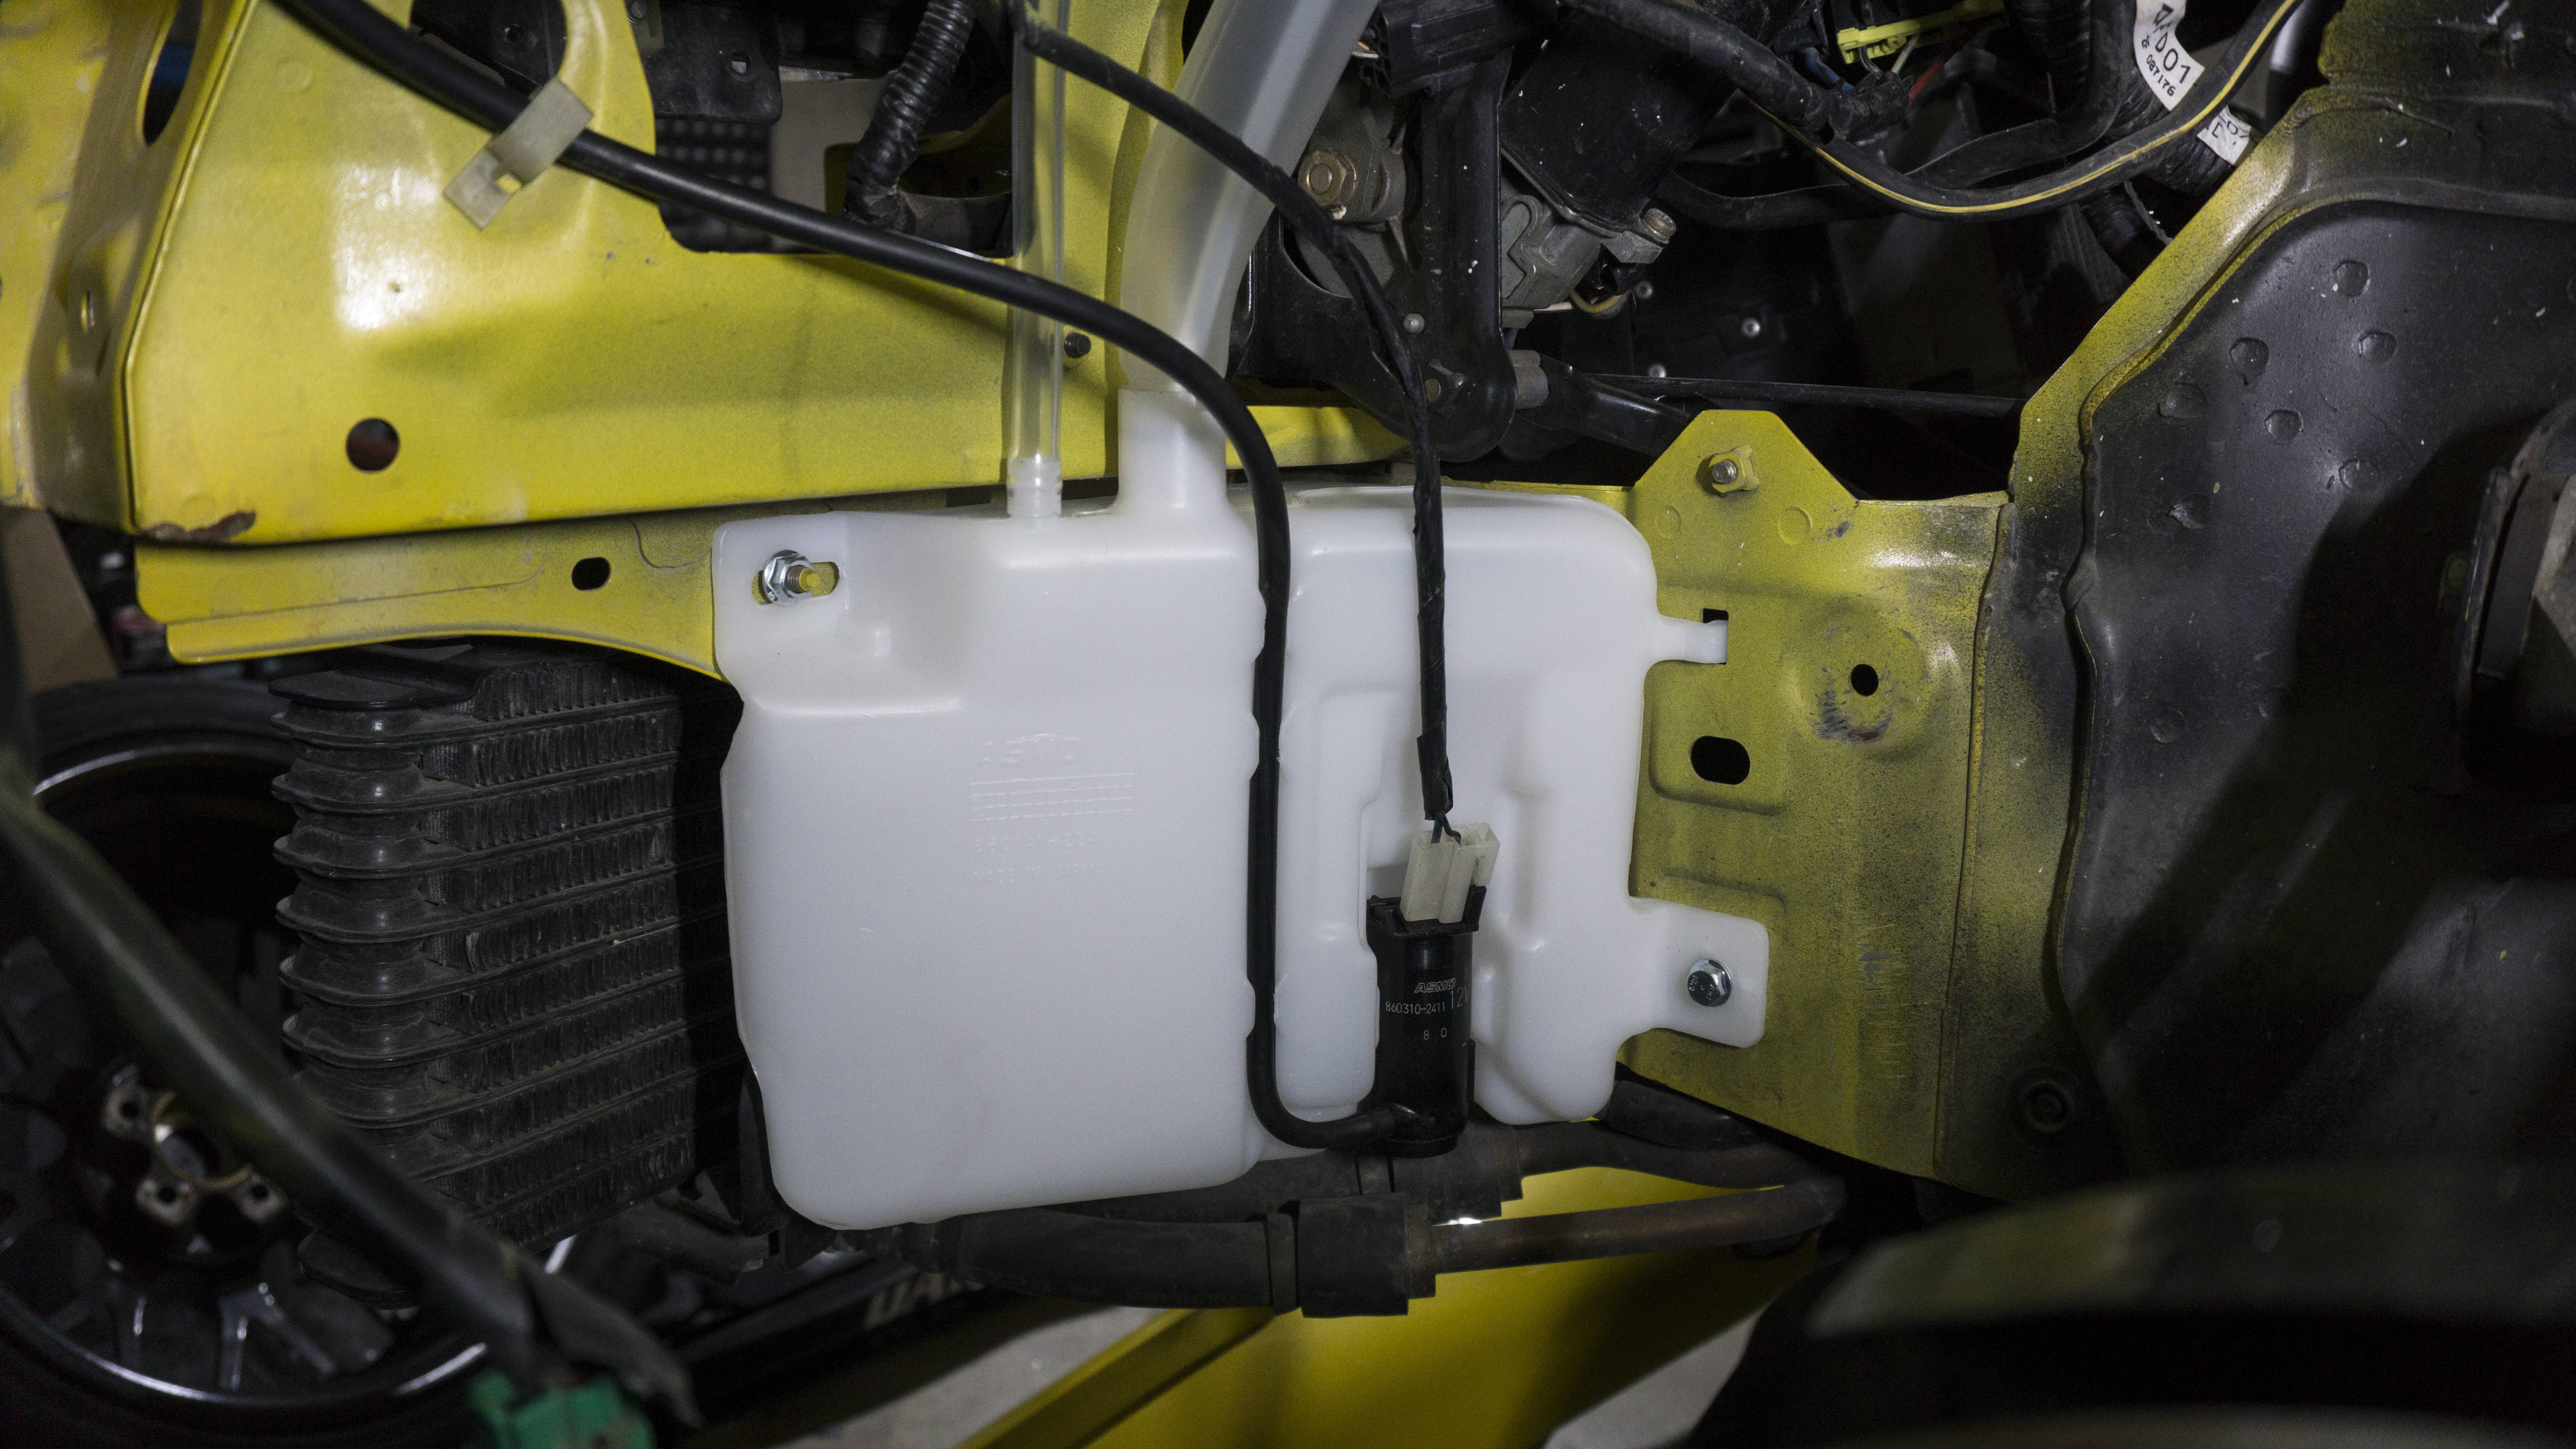
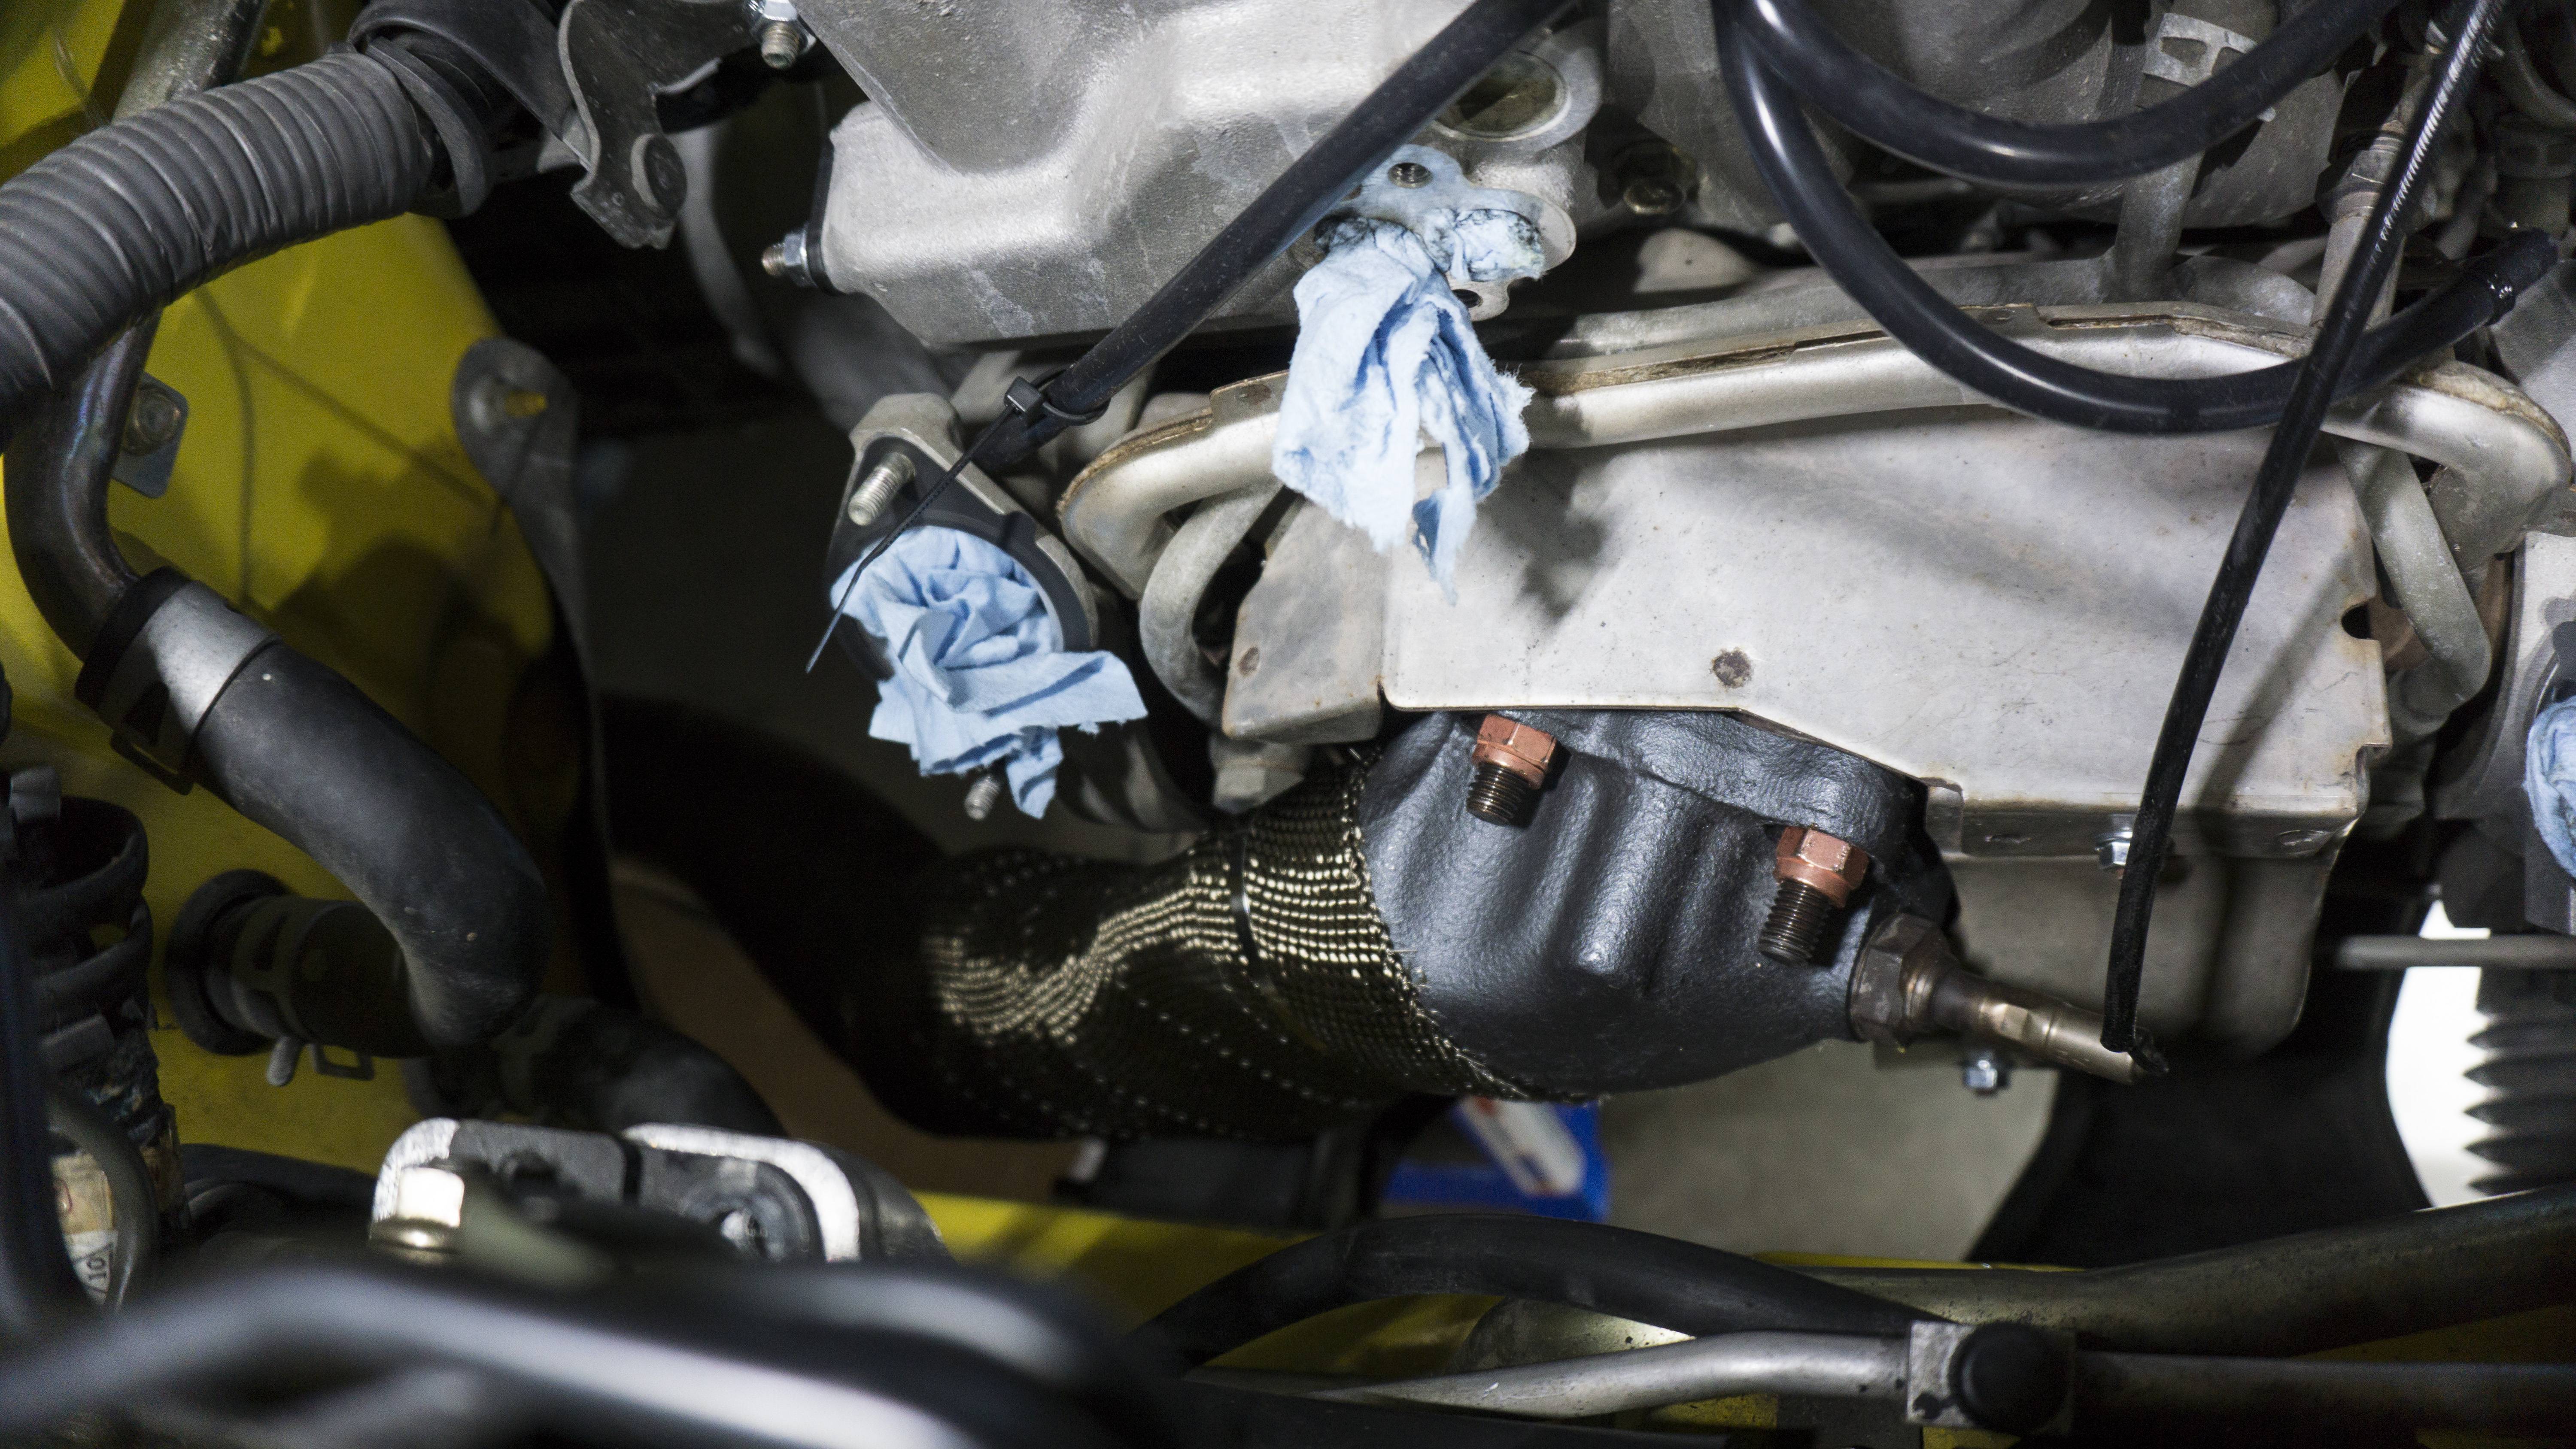
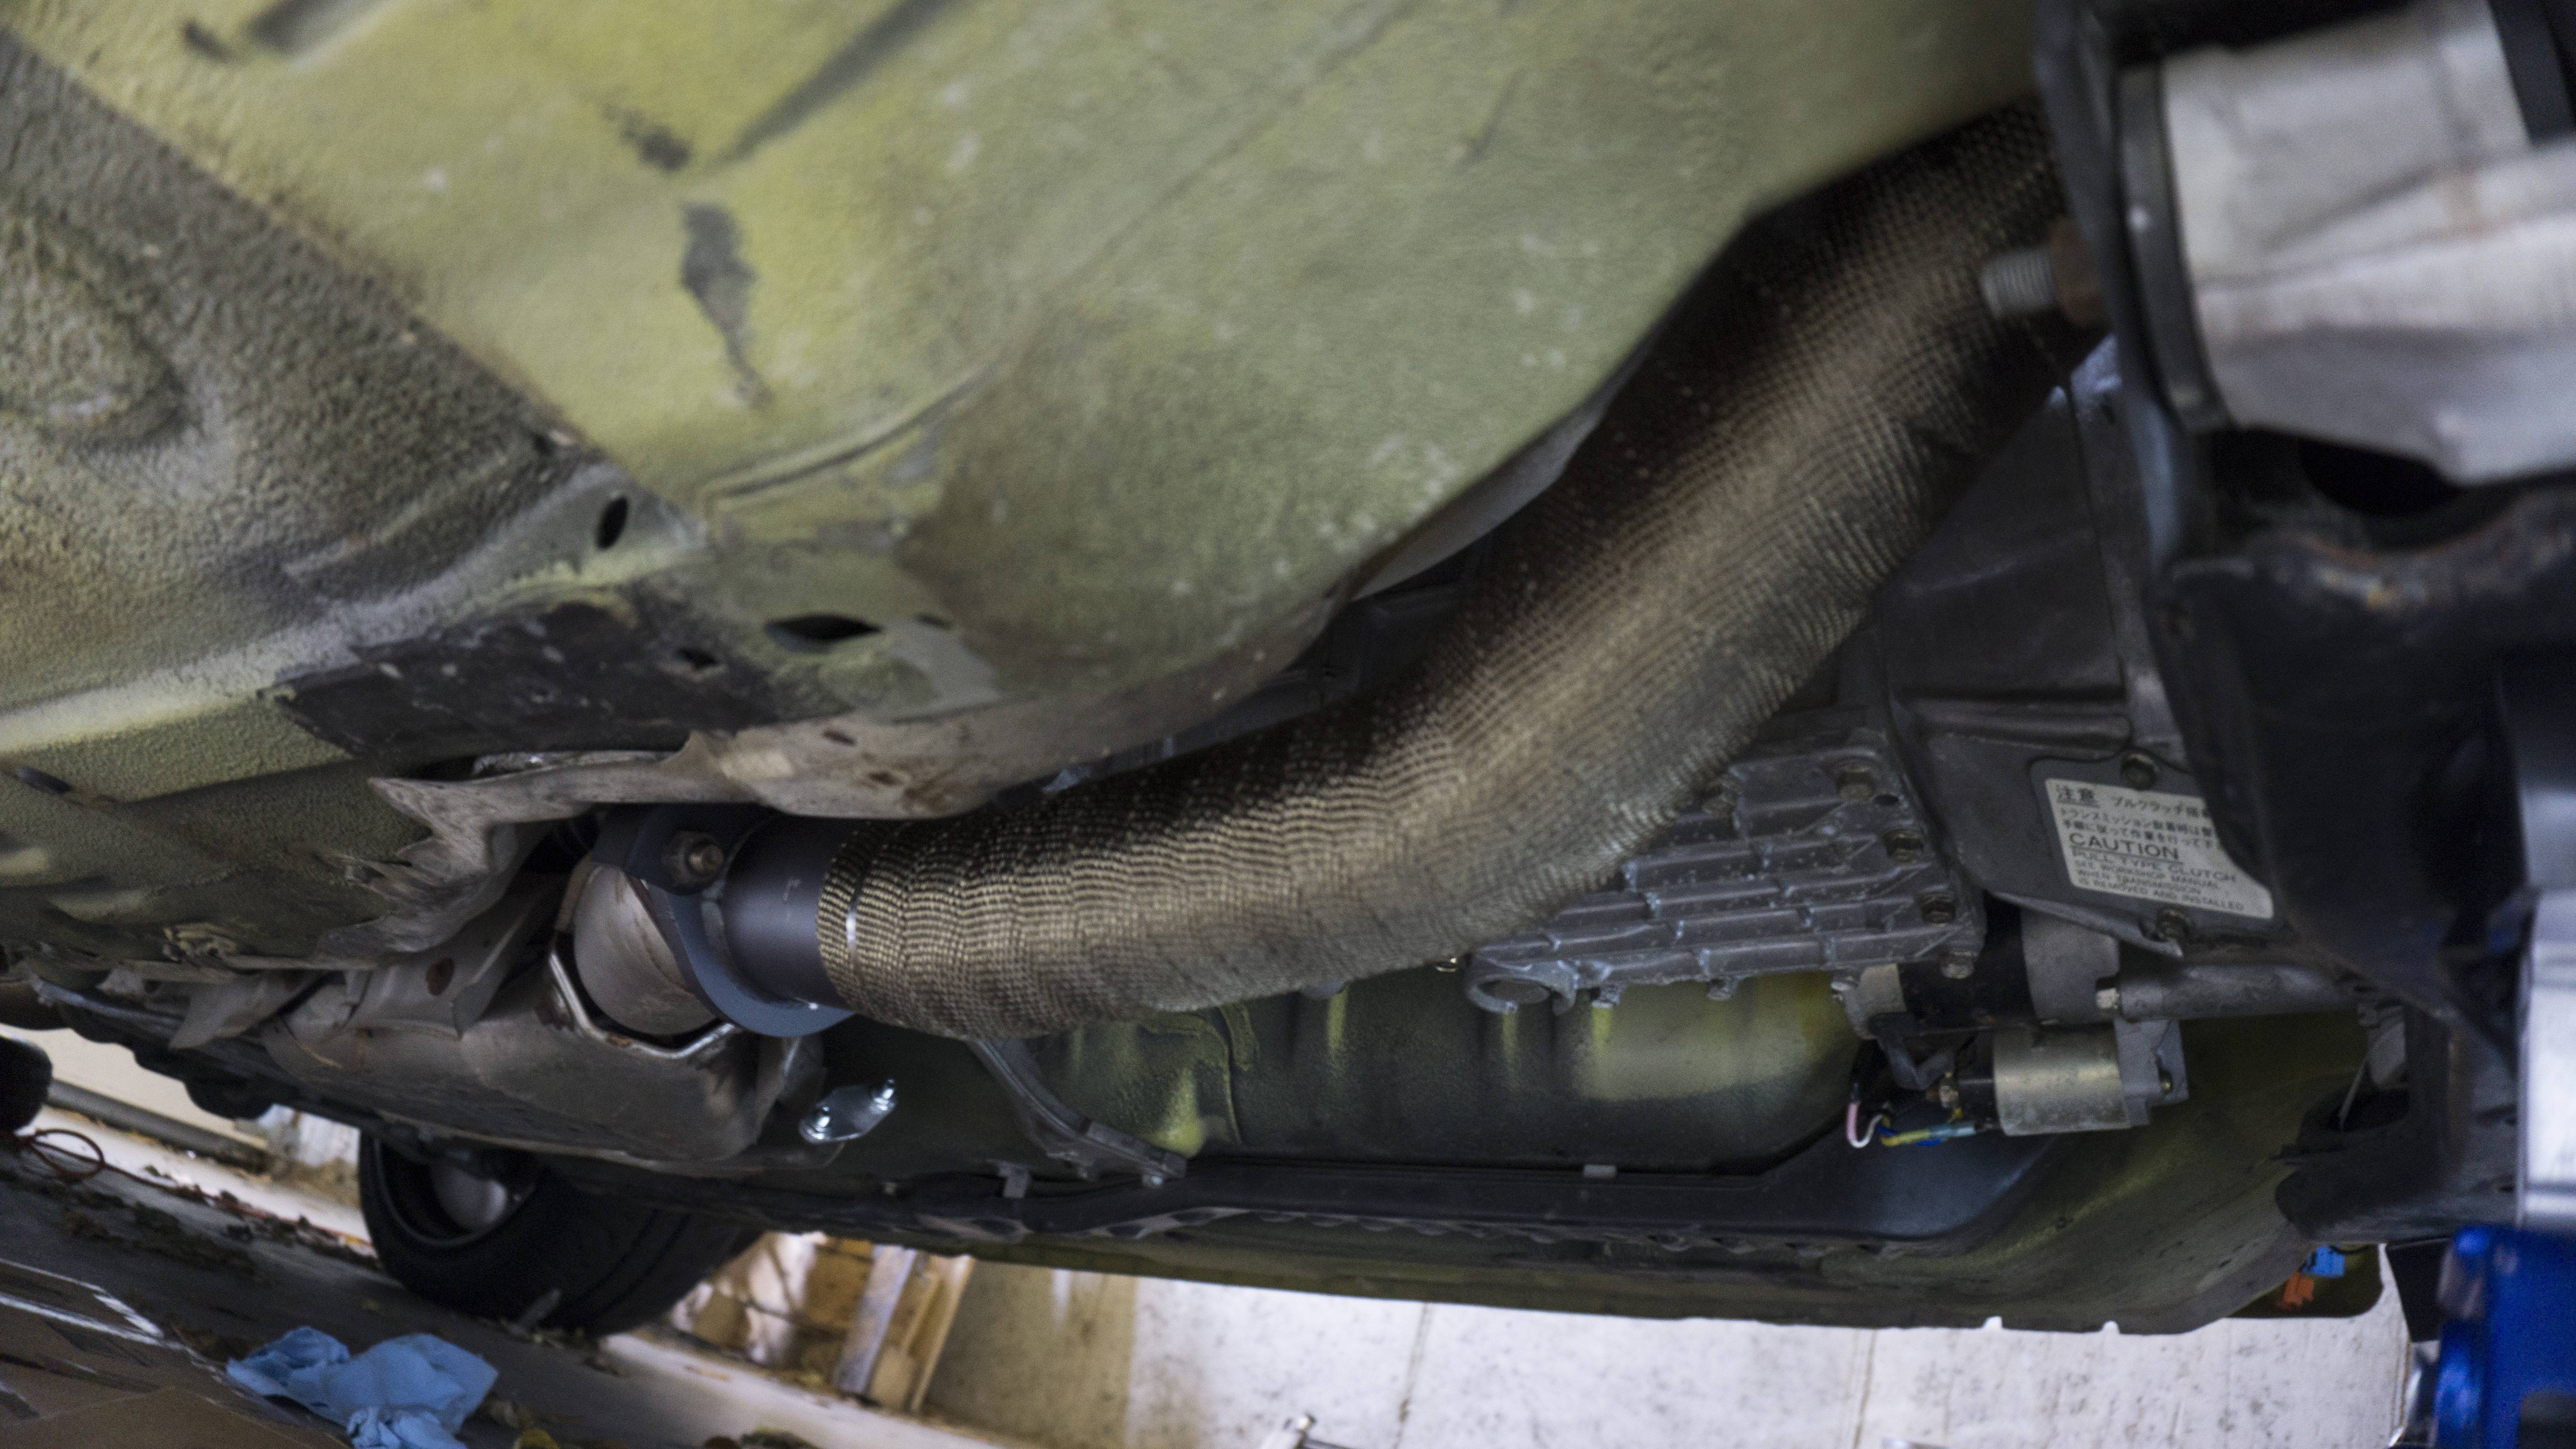
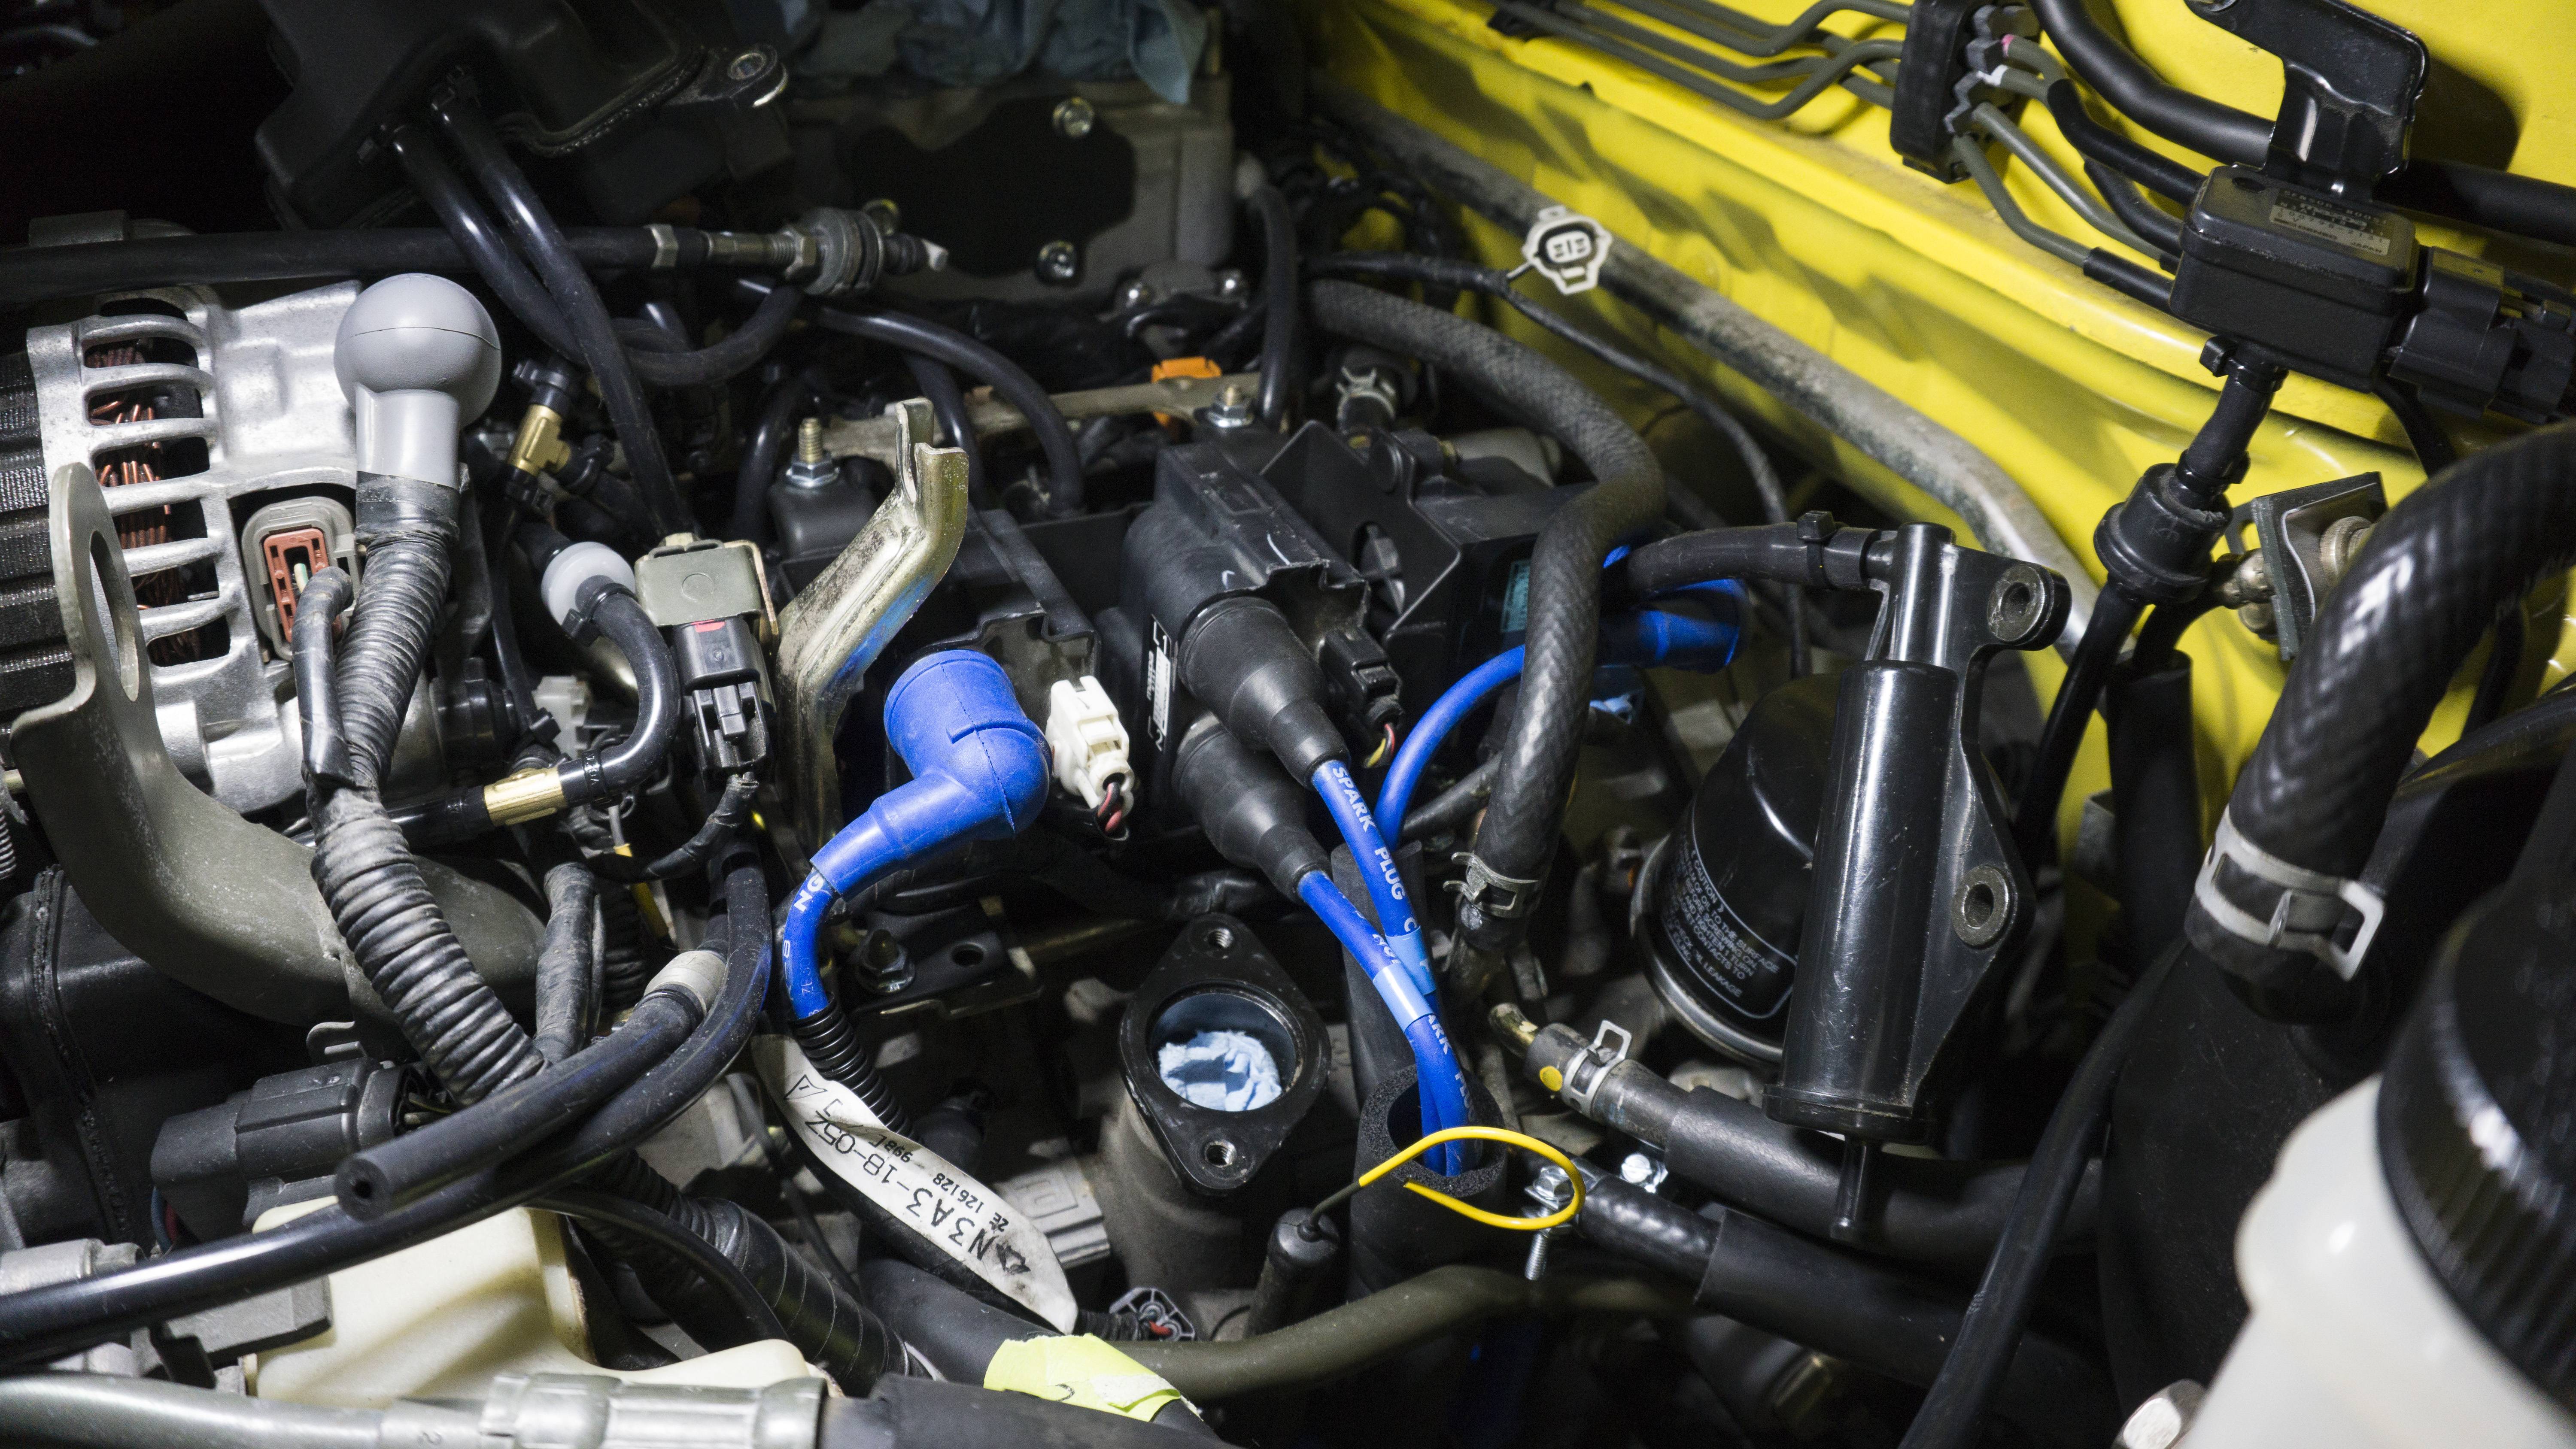
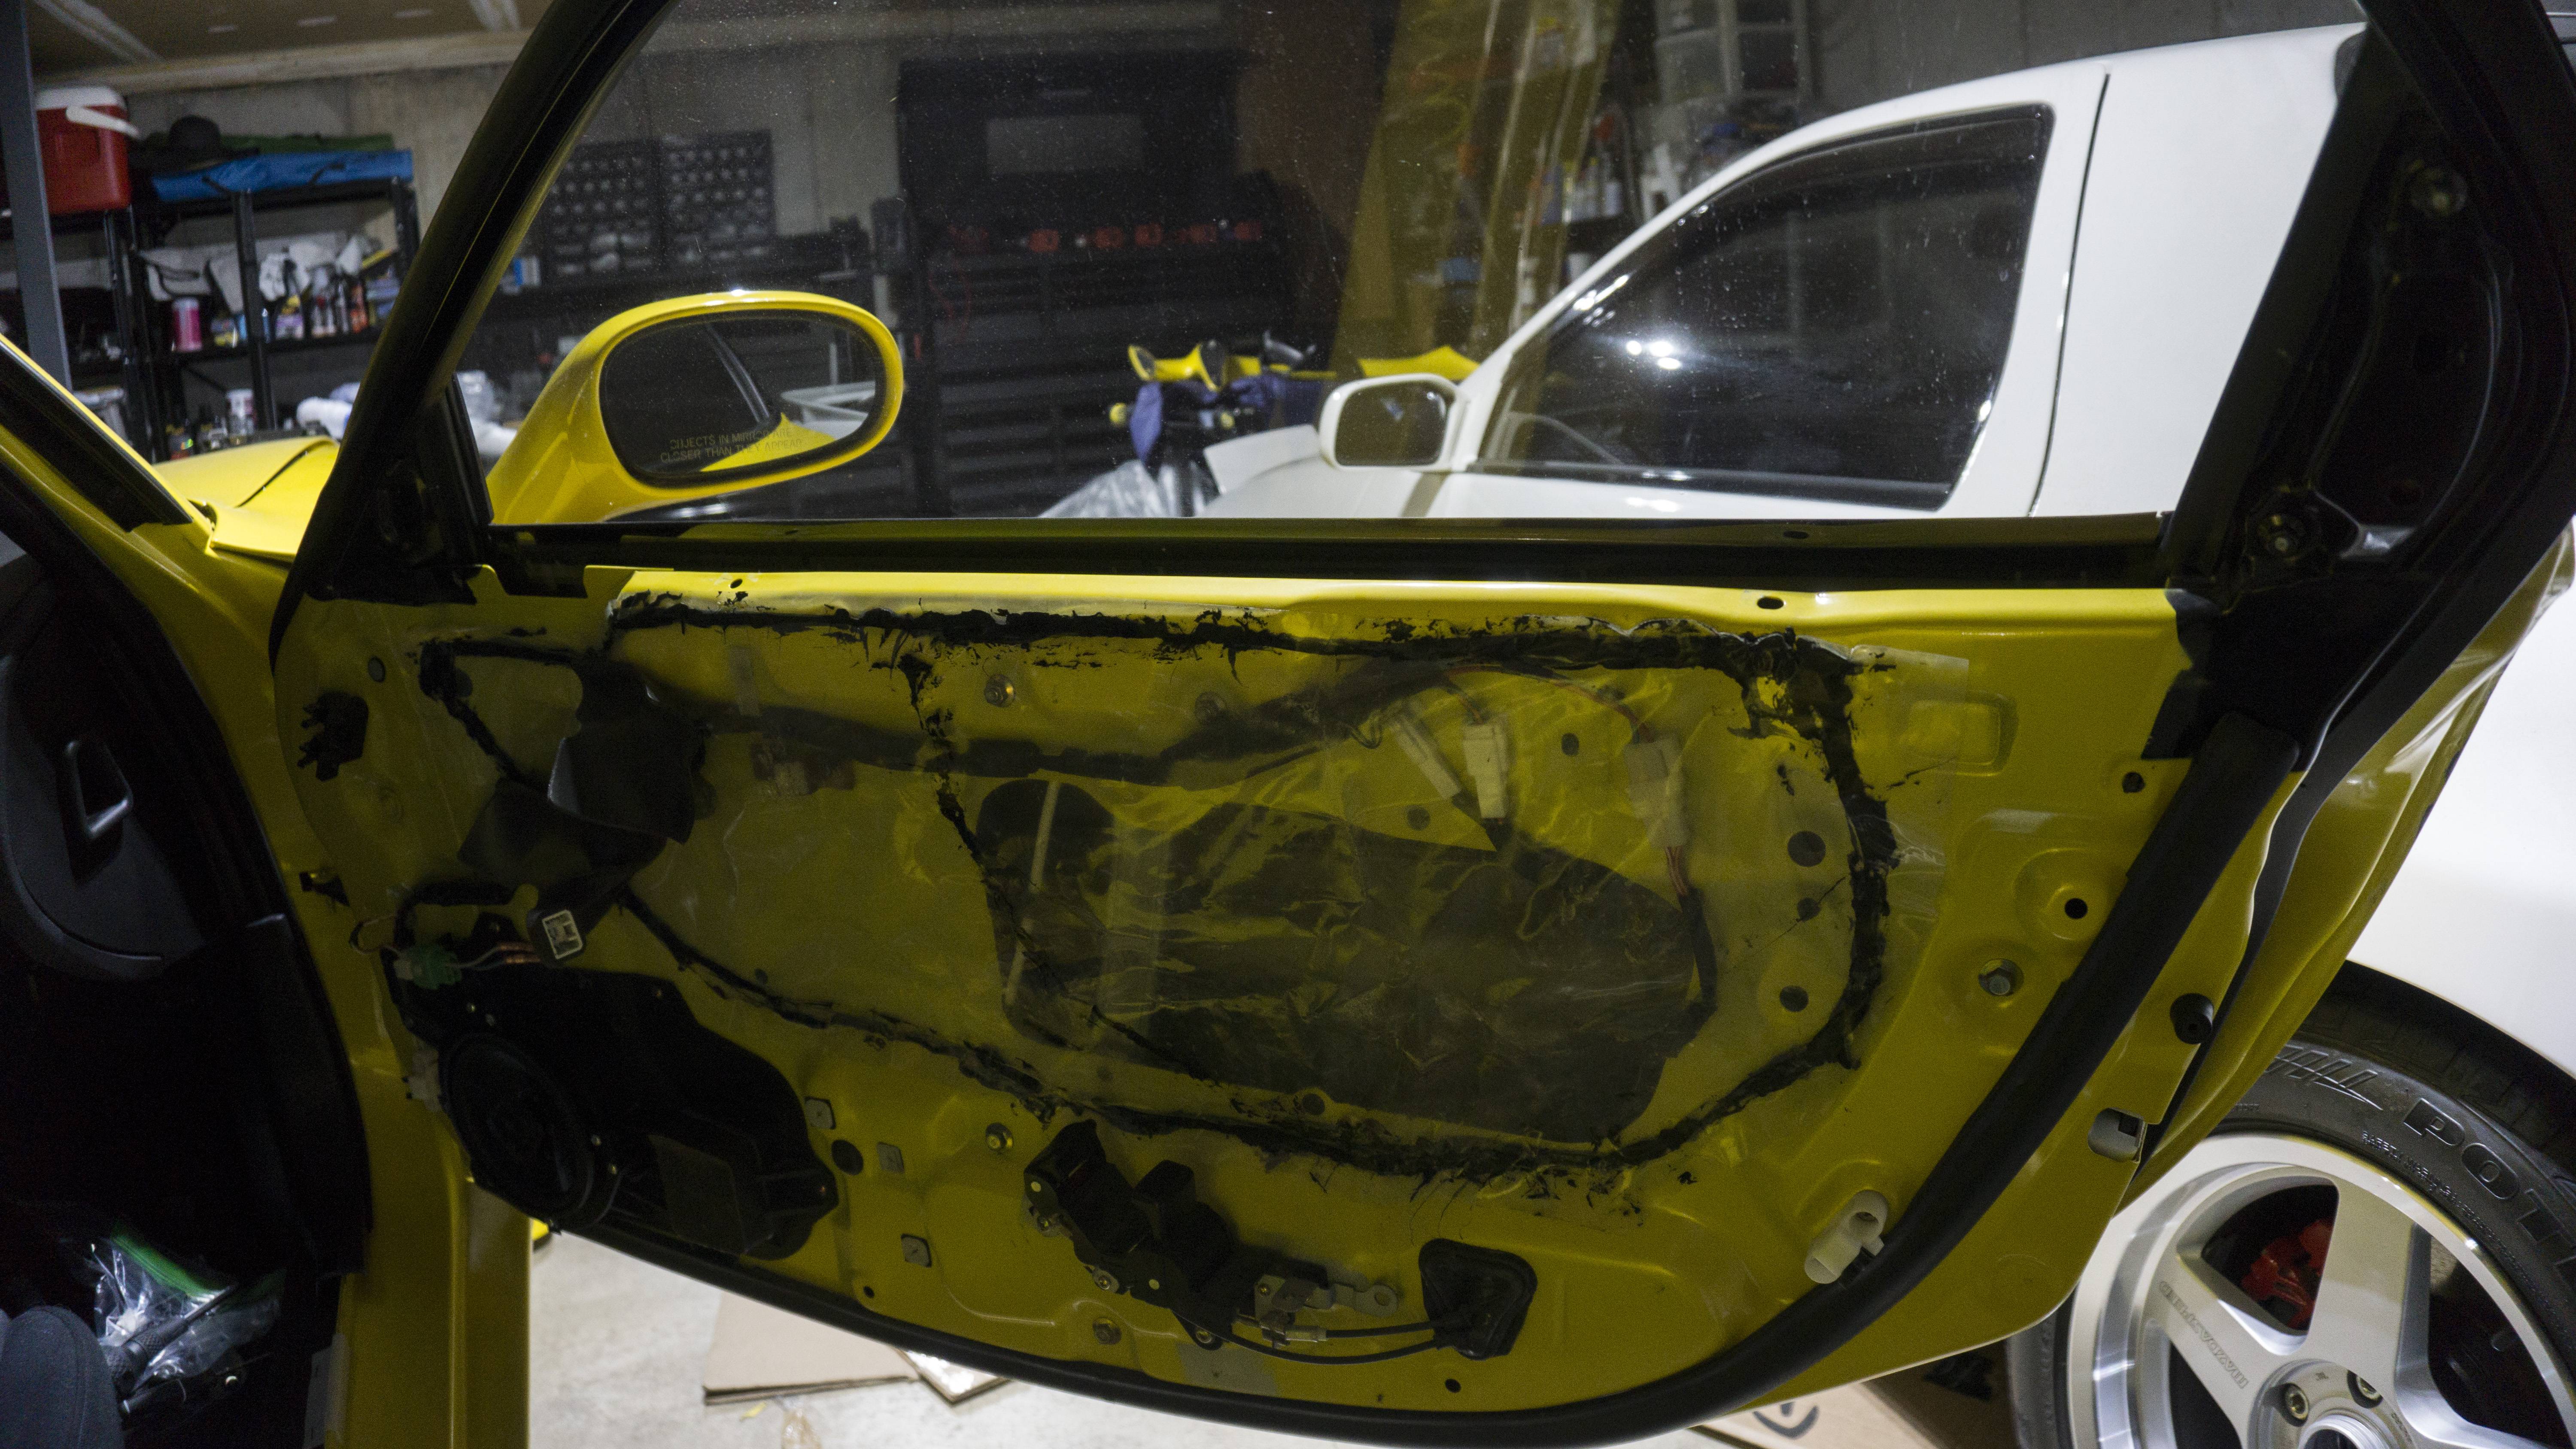
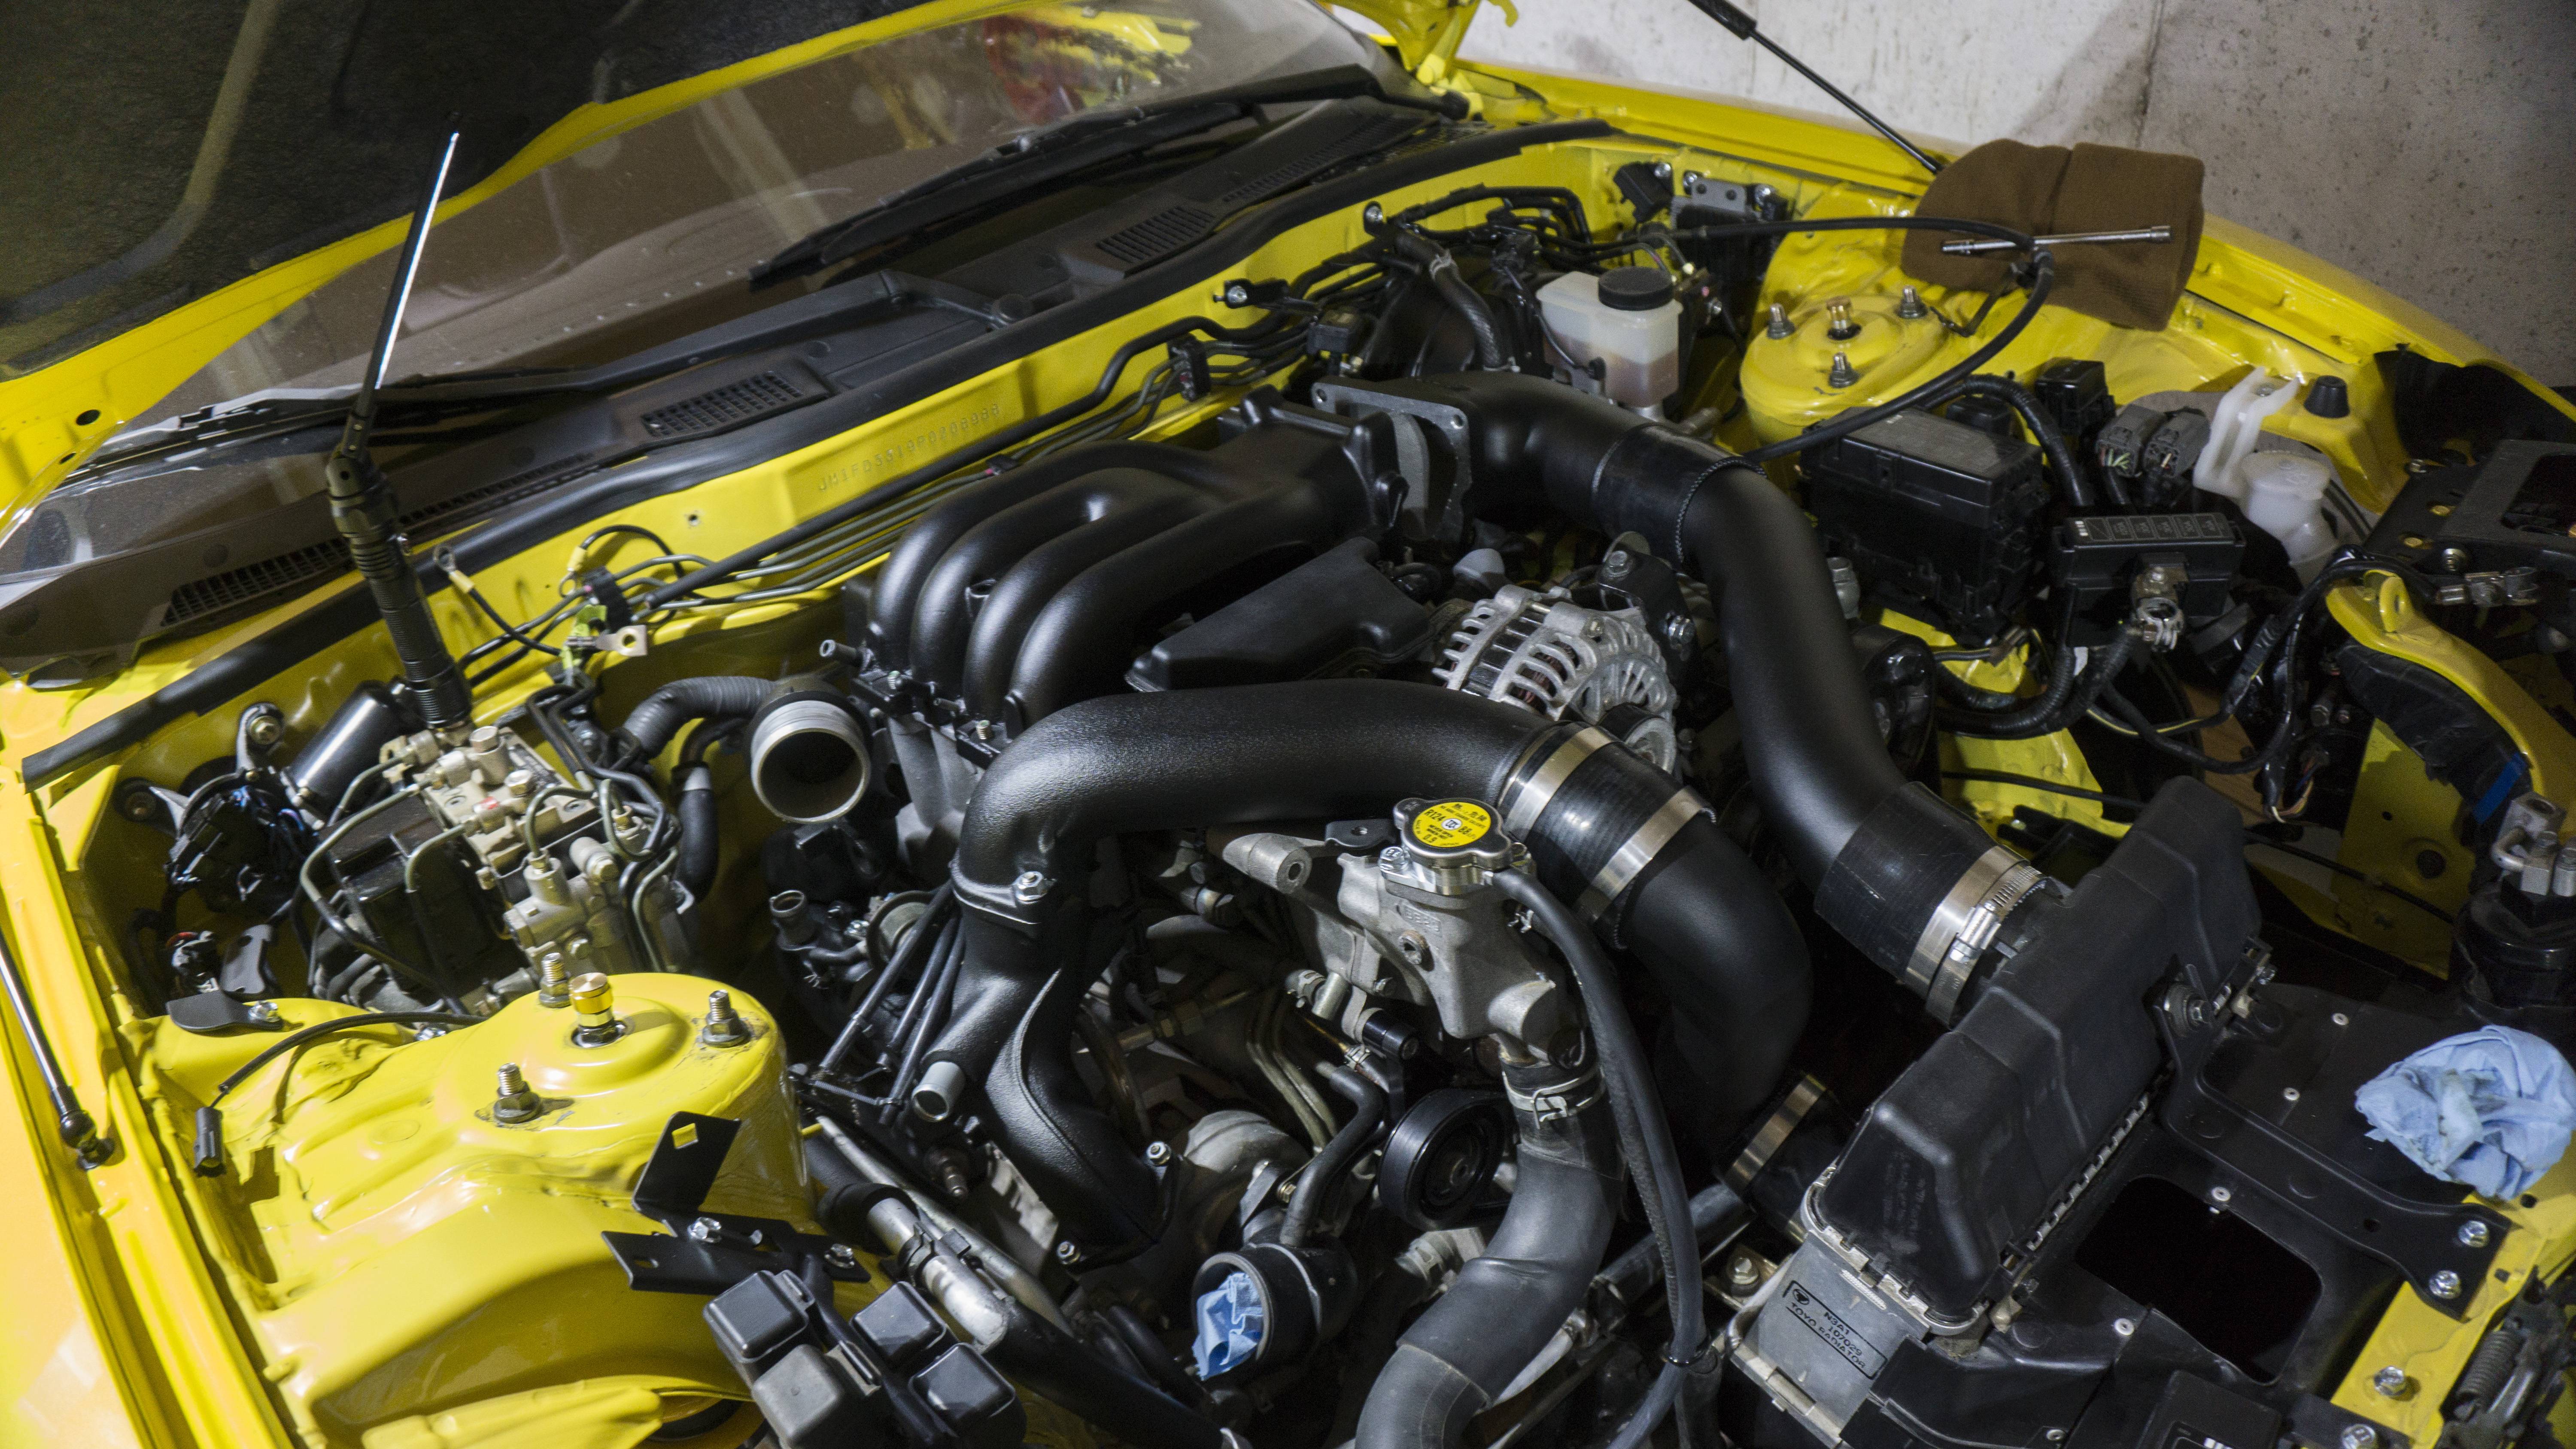
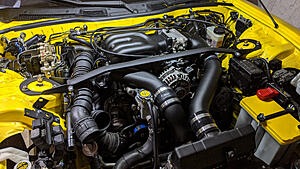
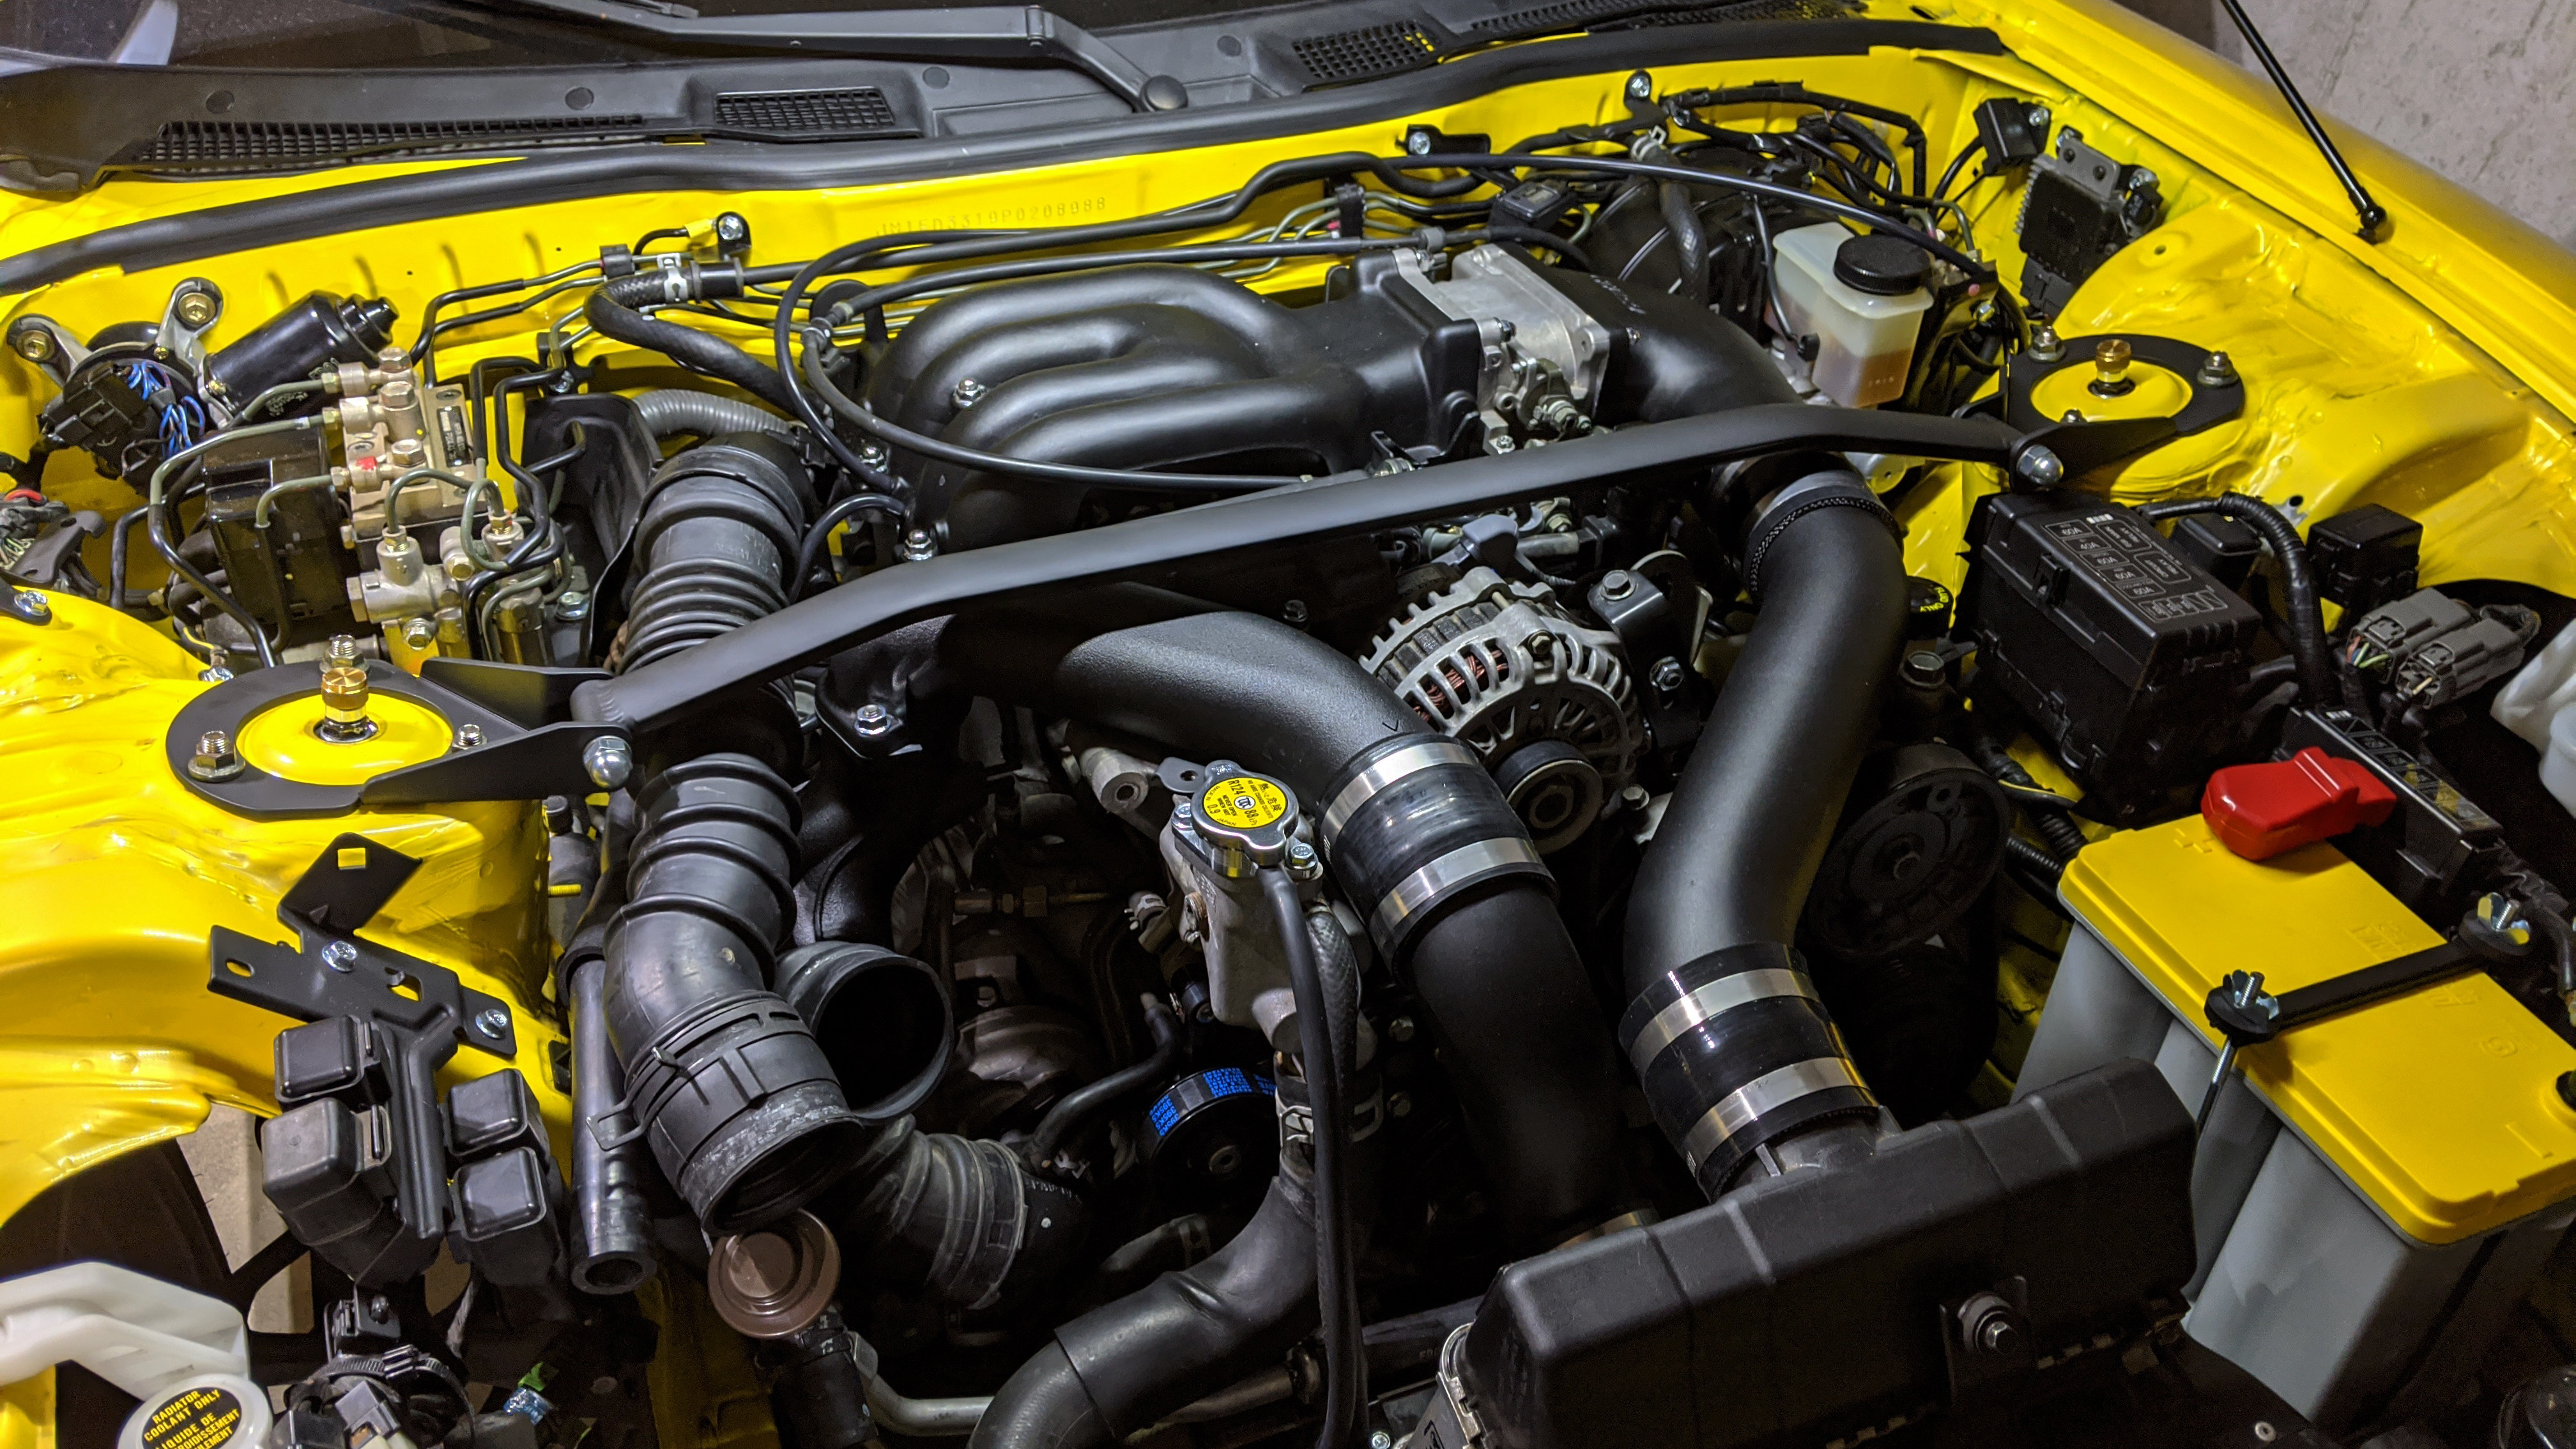
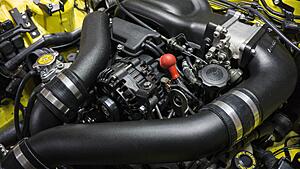
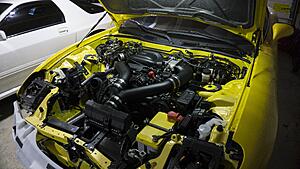
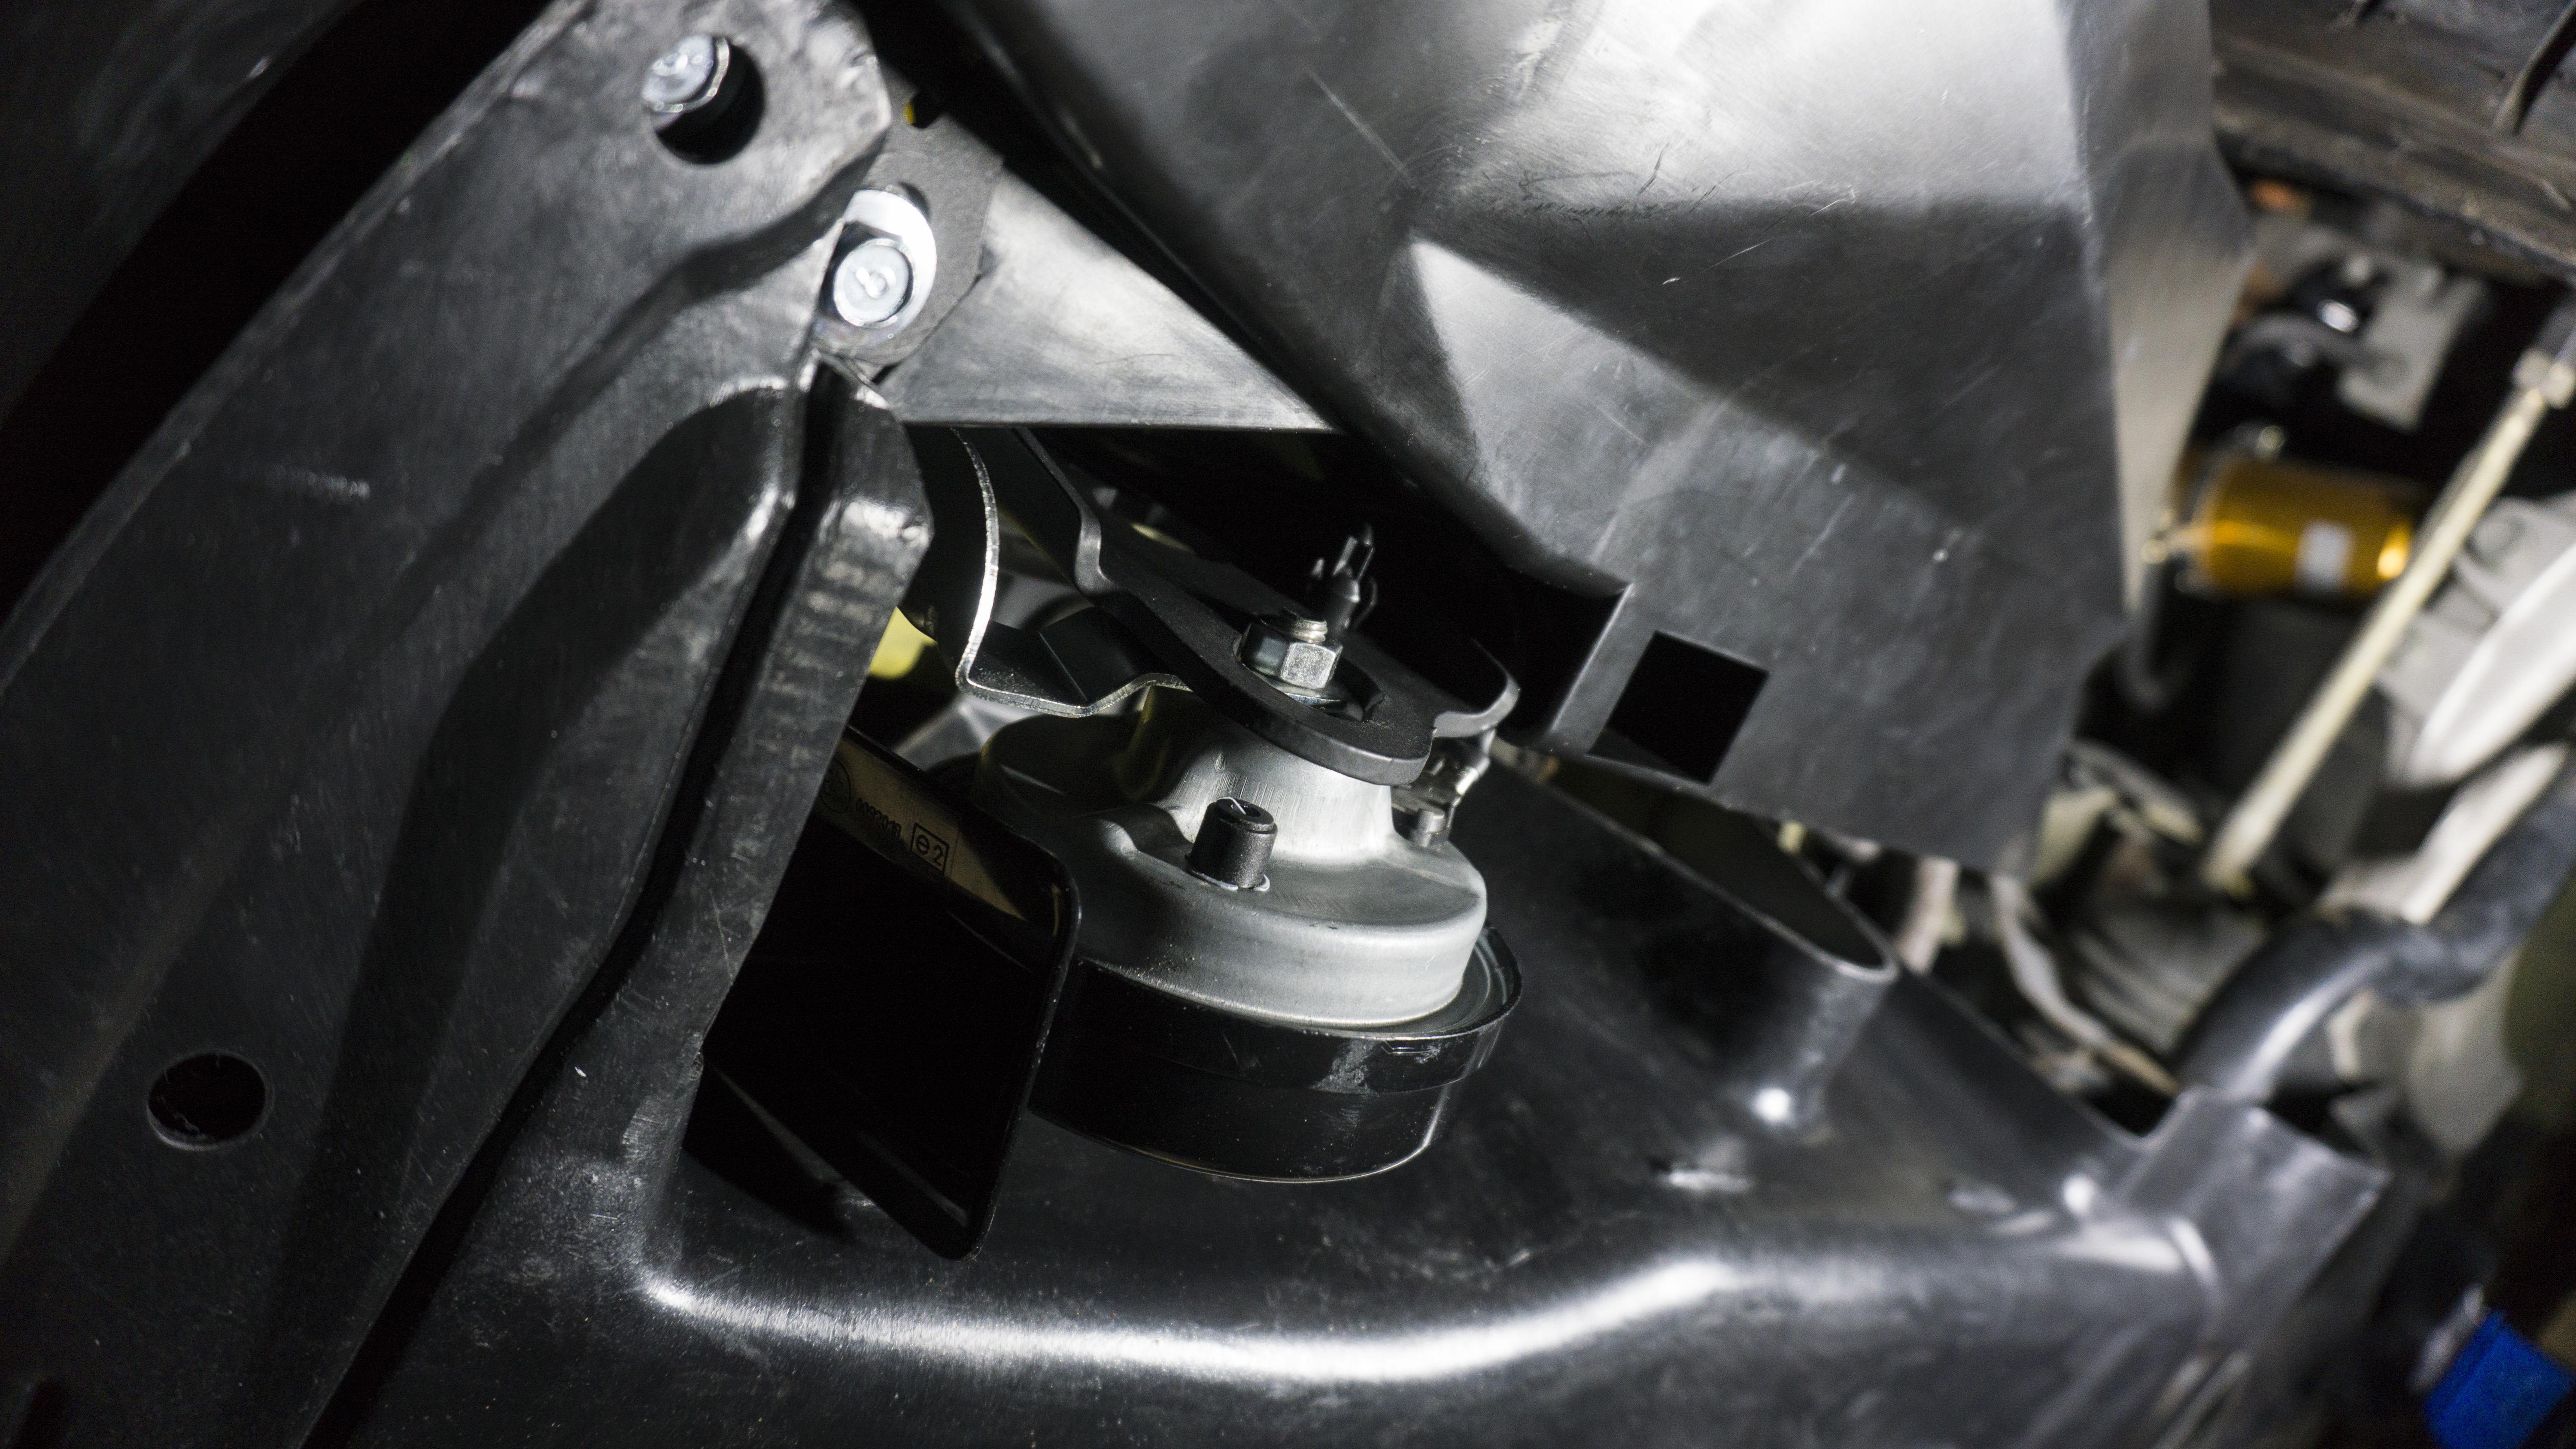
It�s been a pretty productive week. I installed my new windshield washer reservoir, pump, and ran new tubing for it. For some reason one of the previous owners removed it. I was also able to get the downpipe on and finish routing vacuum lines to the y-pipe. This allowed me to do a quick mock-up of what everything, minus the intakes, will look like. I�m extremely happy with how everything is turning out. Kind of disappointed I�m still using the OEM intercooler and radiator, but I�m fairly confident I�ll be swapping over to a GReddy v-mount before too long. Upon switching out my spark plugs I discovered that one was...corroded. I was going to replace all the spark plugs anyway, but I went ahead and replaced the spark plug cables with some NGKs. The NGKs were a little bit longer than the previous Magnacores, but I think they will do the job just fine. I also purchased some RX-8 horns to replace the RX-7 ones. I got those installed as well. I was able to keep their original locations with the 99-Rebar. I just had to bend the driver side bracket to push the horn back further. I haven�t gotten to try the horns because the battery is out of the car, but I think they should sound great. The last thing I did was re-do the buytl tape holding the door plastic on. Next update should be more focused on the interior as I�ve decided to go ahead and put that stuff back in. Since it�s not a full car respray I�m not concerned with going ahead and putting it in the car.
Here is the windshield washer tank installed:
Here is the downpipe installed:
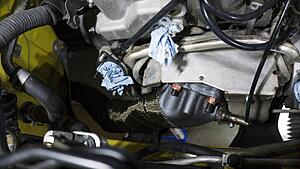
Here is the spark plug shenanigans and cables installed:
Here are the horns installed:
Here is the plastic film that was re-buytl-taped:

Here is the mock-up of everything (minus intakes):
It�s been a pretty productive week. I installed my new windshield washer reservoir, pump, and ran new tubing for it. For some reason one of the previous owners removed it. I was also able to get the downpipe on and finish routing vacuum lines to the y-pipe. This allowed me to do a quick mock-up of what everything, minus the intakes, will look like. I�m extremely happy with how everything is turning out. Kind of disappointed I�m still using the OEM intercooler and radiator, but I�m fairly confident I�ll be swapping over to a GReddy v-mount before too long. Upon switching out my spark plugs I discovered that one was...corroded. I was going to replace all the spark plugs anyway, but I went ahead and replaced the spark plug cables with some NGKs. The NGKs were a little bit longer than the previous Magnacores, but I think they will do the job just fine. I also purchased some RX-8 horns to replace the RX-7 ones. I got those installed as well. I was able to keep their original locations with the 99-Rebar. I just had to bend the driver side bracket to push the horn back further. I haven�t gotten to try the horns because the battery is out of the car, but I think they should sound great. The last thing I did was re-do the buytl tape holding the door plastic on. Next update should be more focused on the interior as I�ve decided to go ahead and put that stuff back in. Since it�s not a full car respray I�m not concerned with going ahead and putting it in the car.
Here is the windshield washer tank installed:

Here is the downpipe installed:
Here is the spark plug shenanigans and cables installed:

Here are the horns installed:
Here is the plastic film that was re-buytl-taped:
Here is the mock-up of everything (minus intakes):
 11-30-19, 06:05 PM
#60
Update 11/30/19:
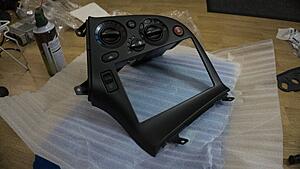
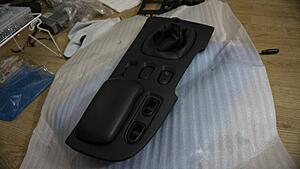
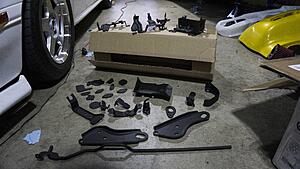
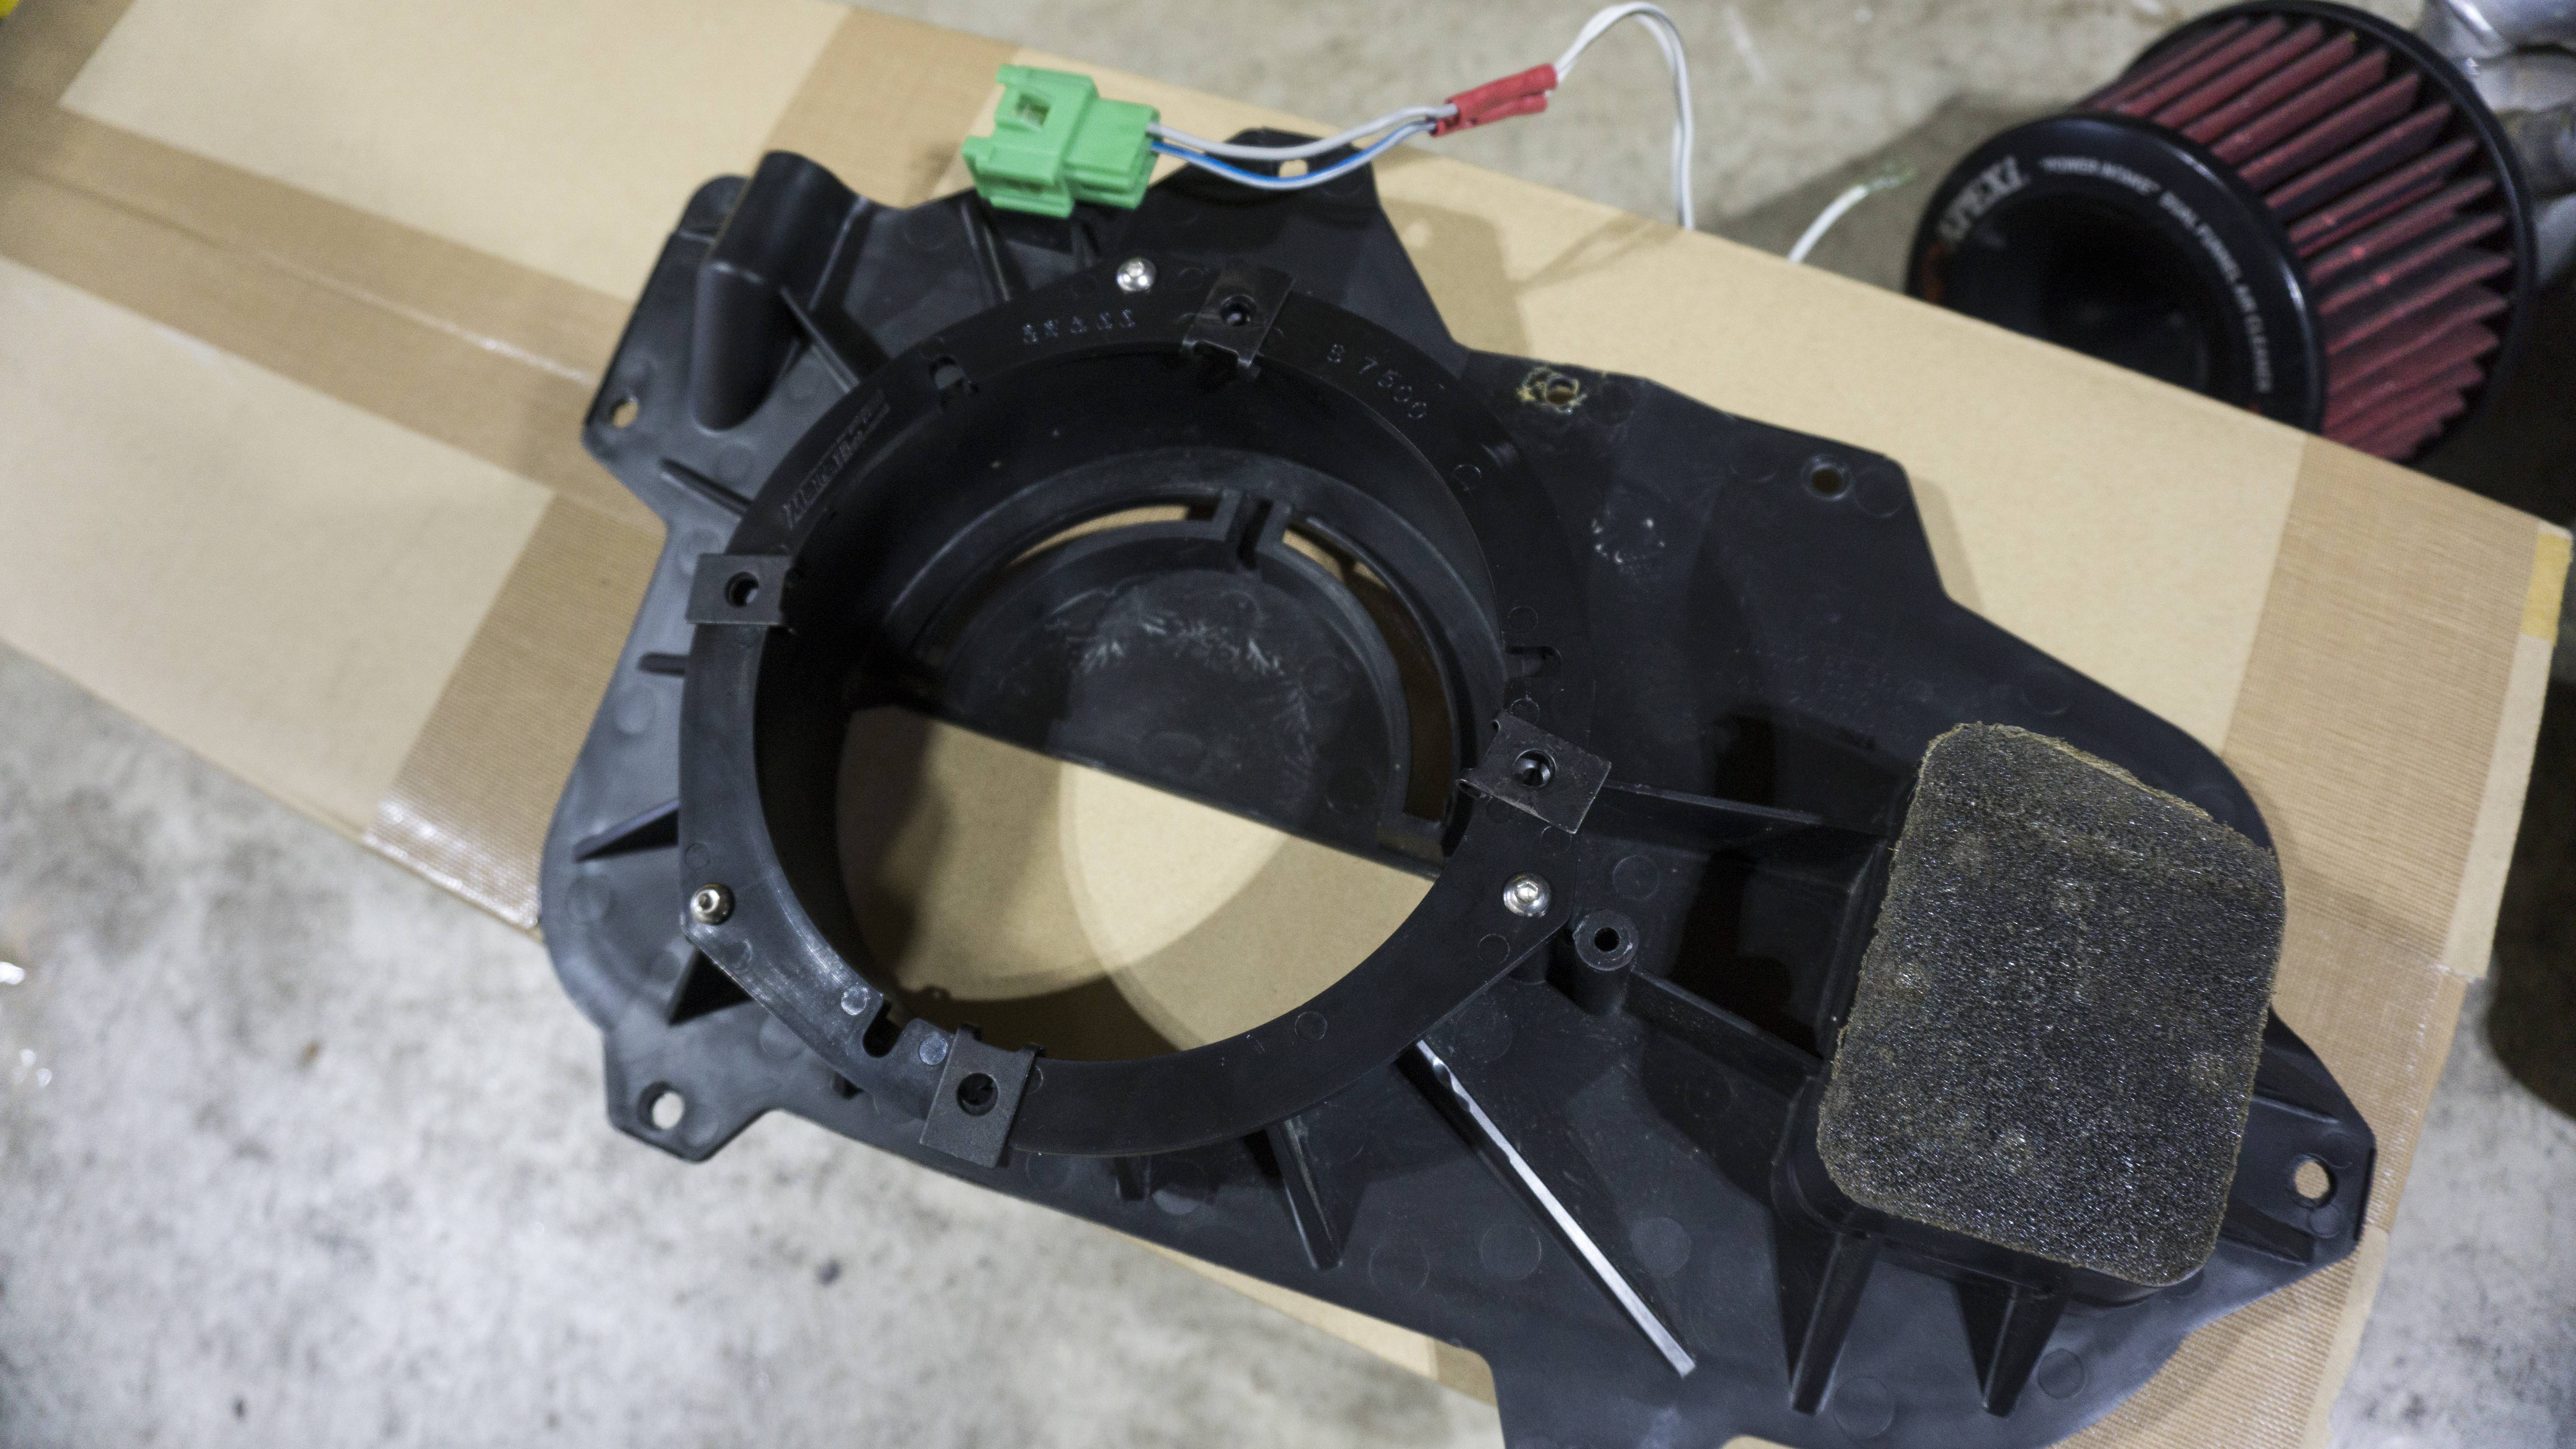
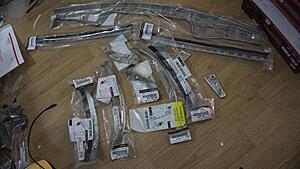
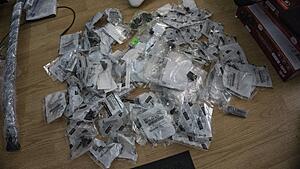
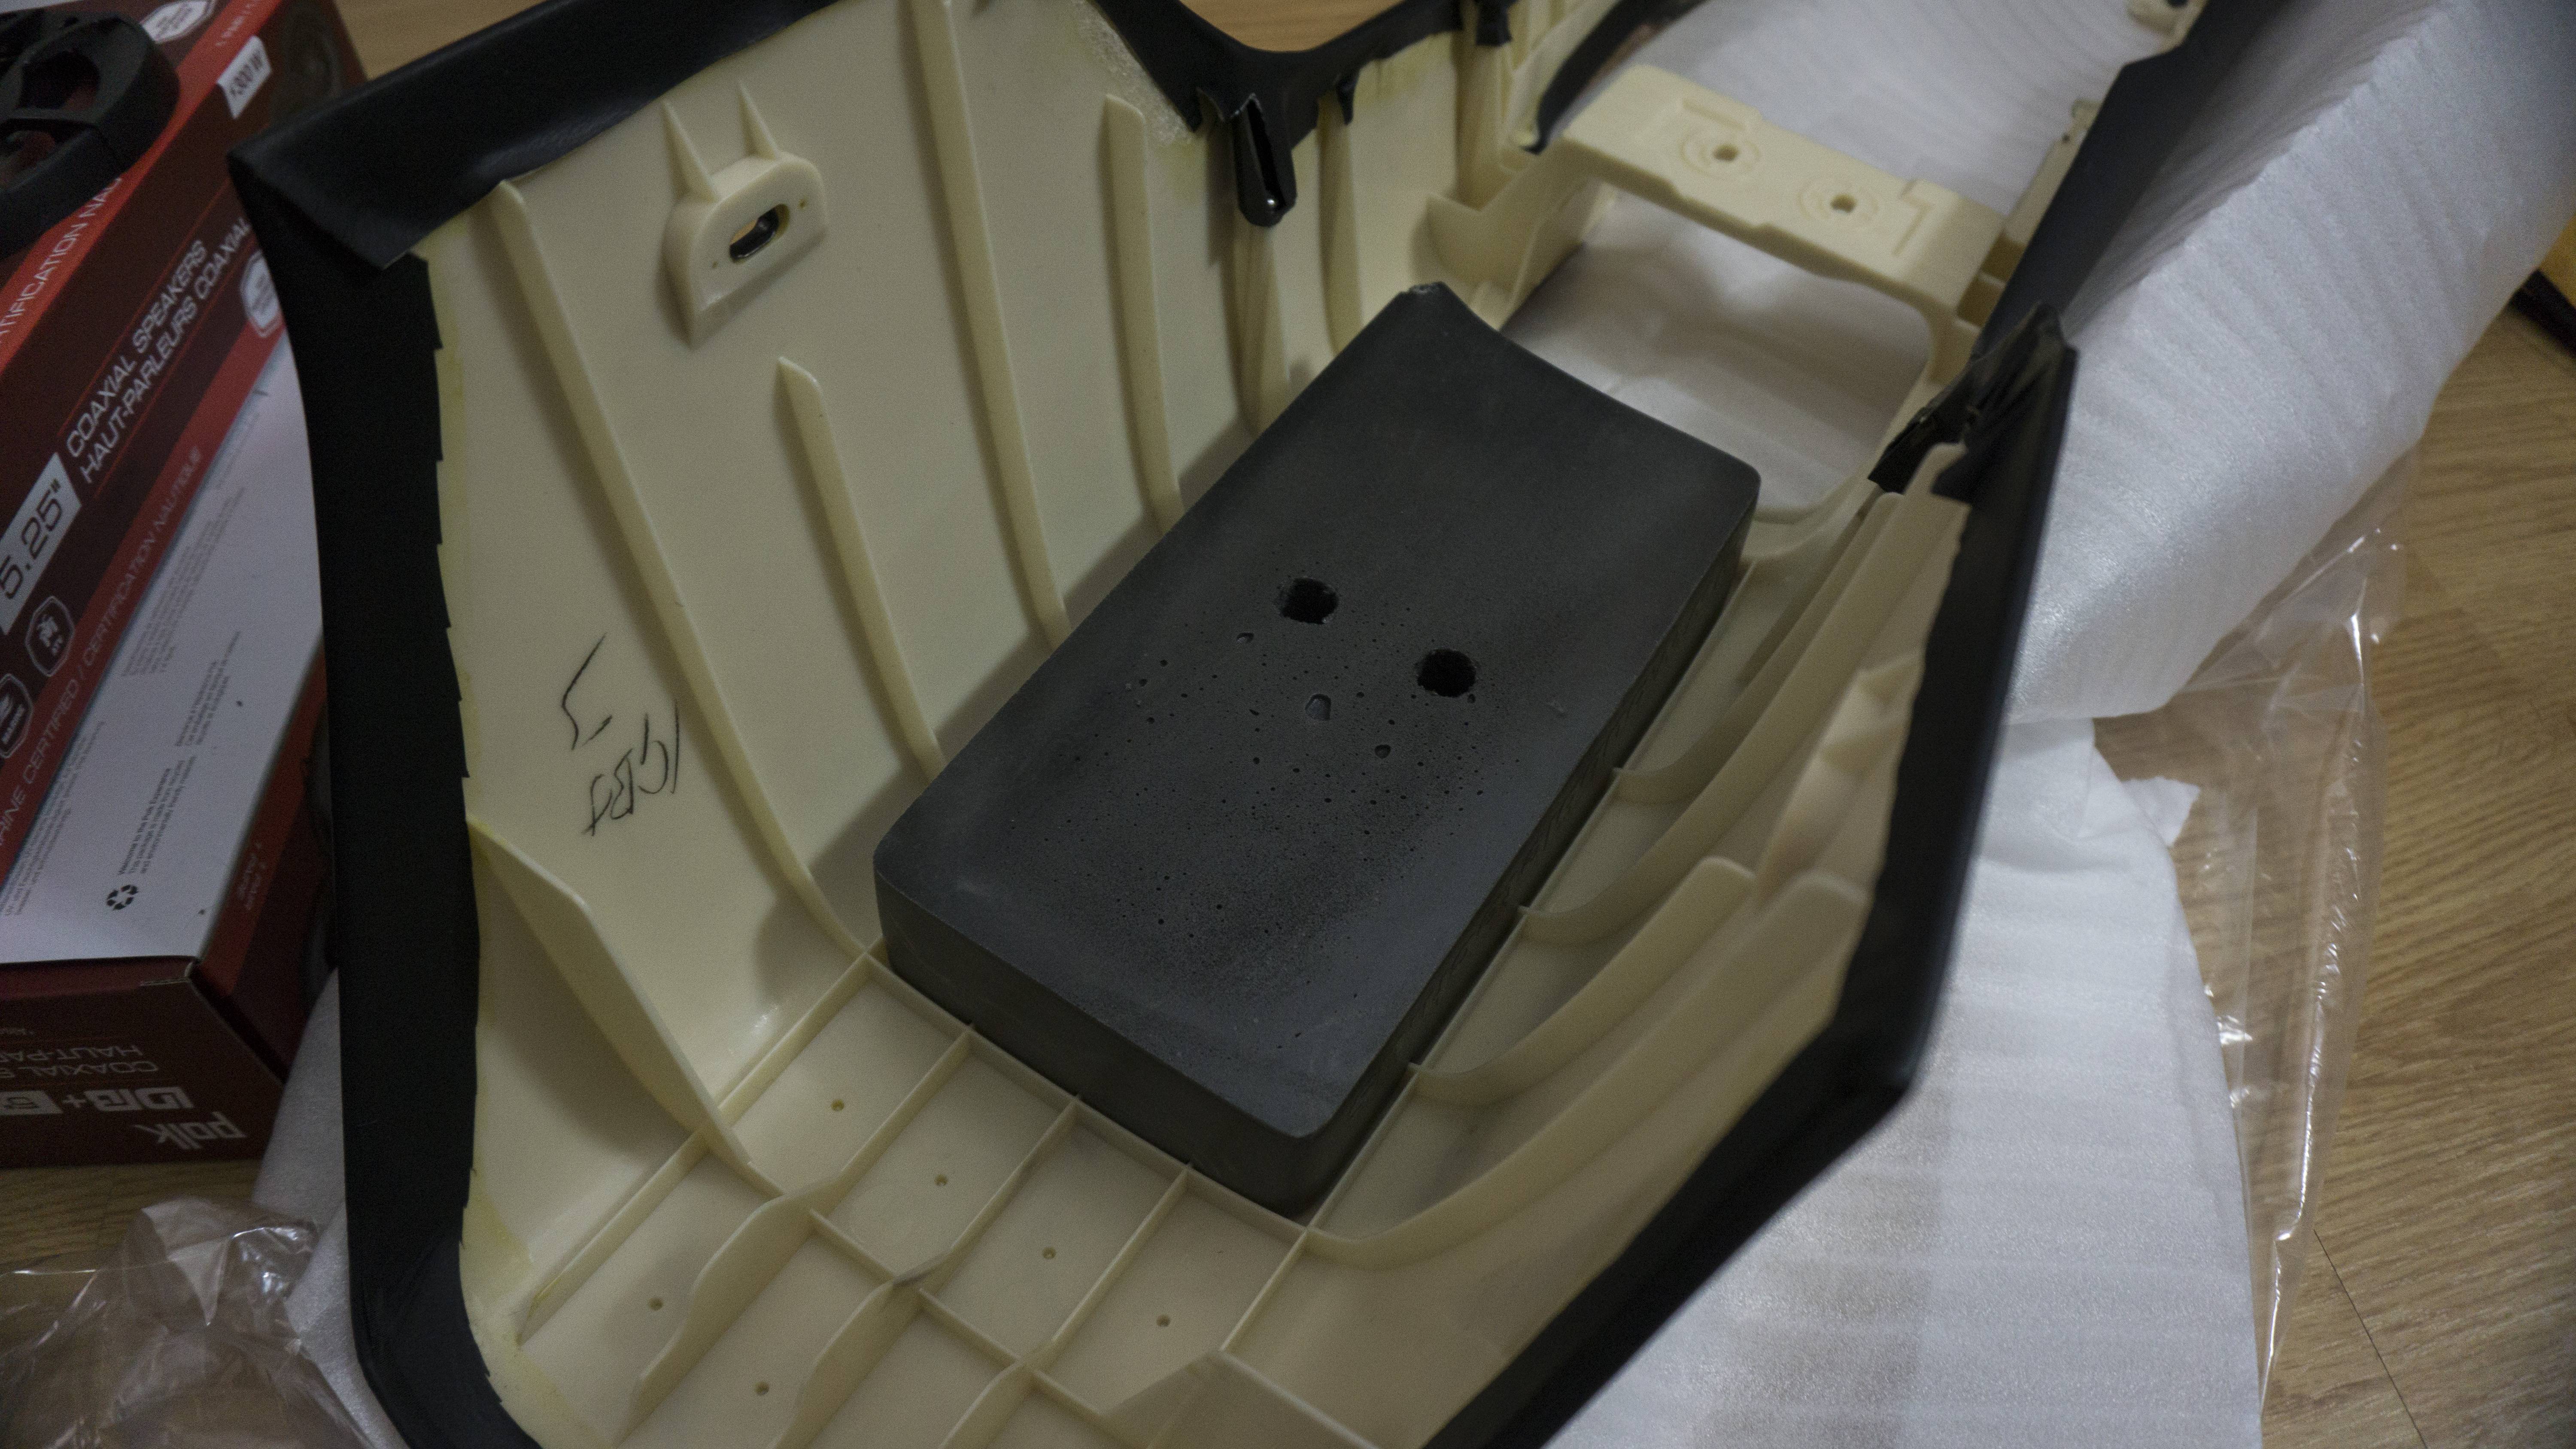
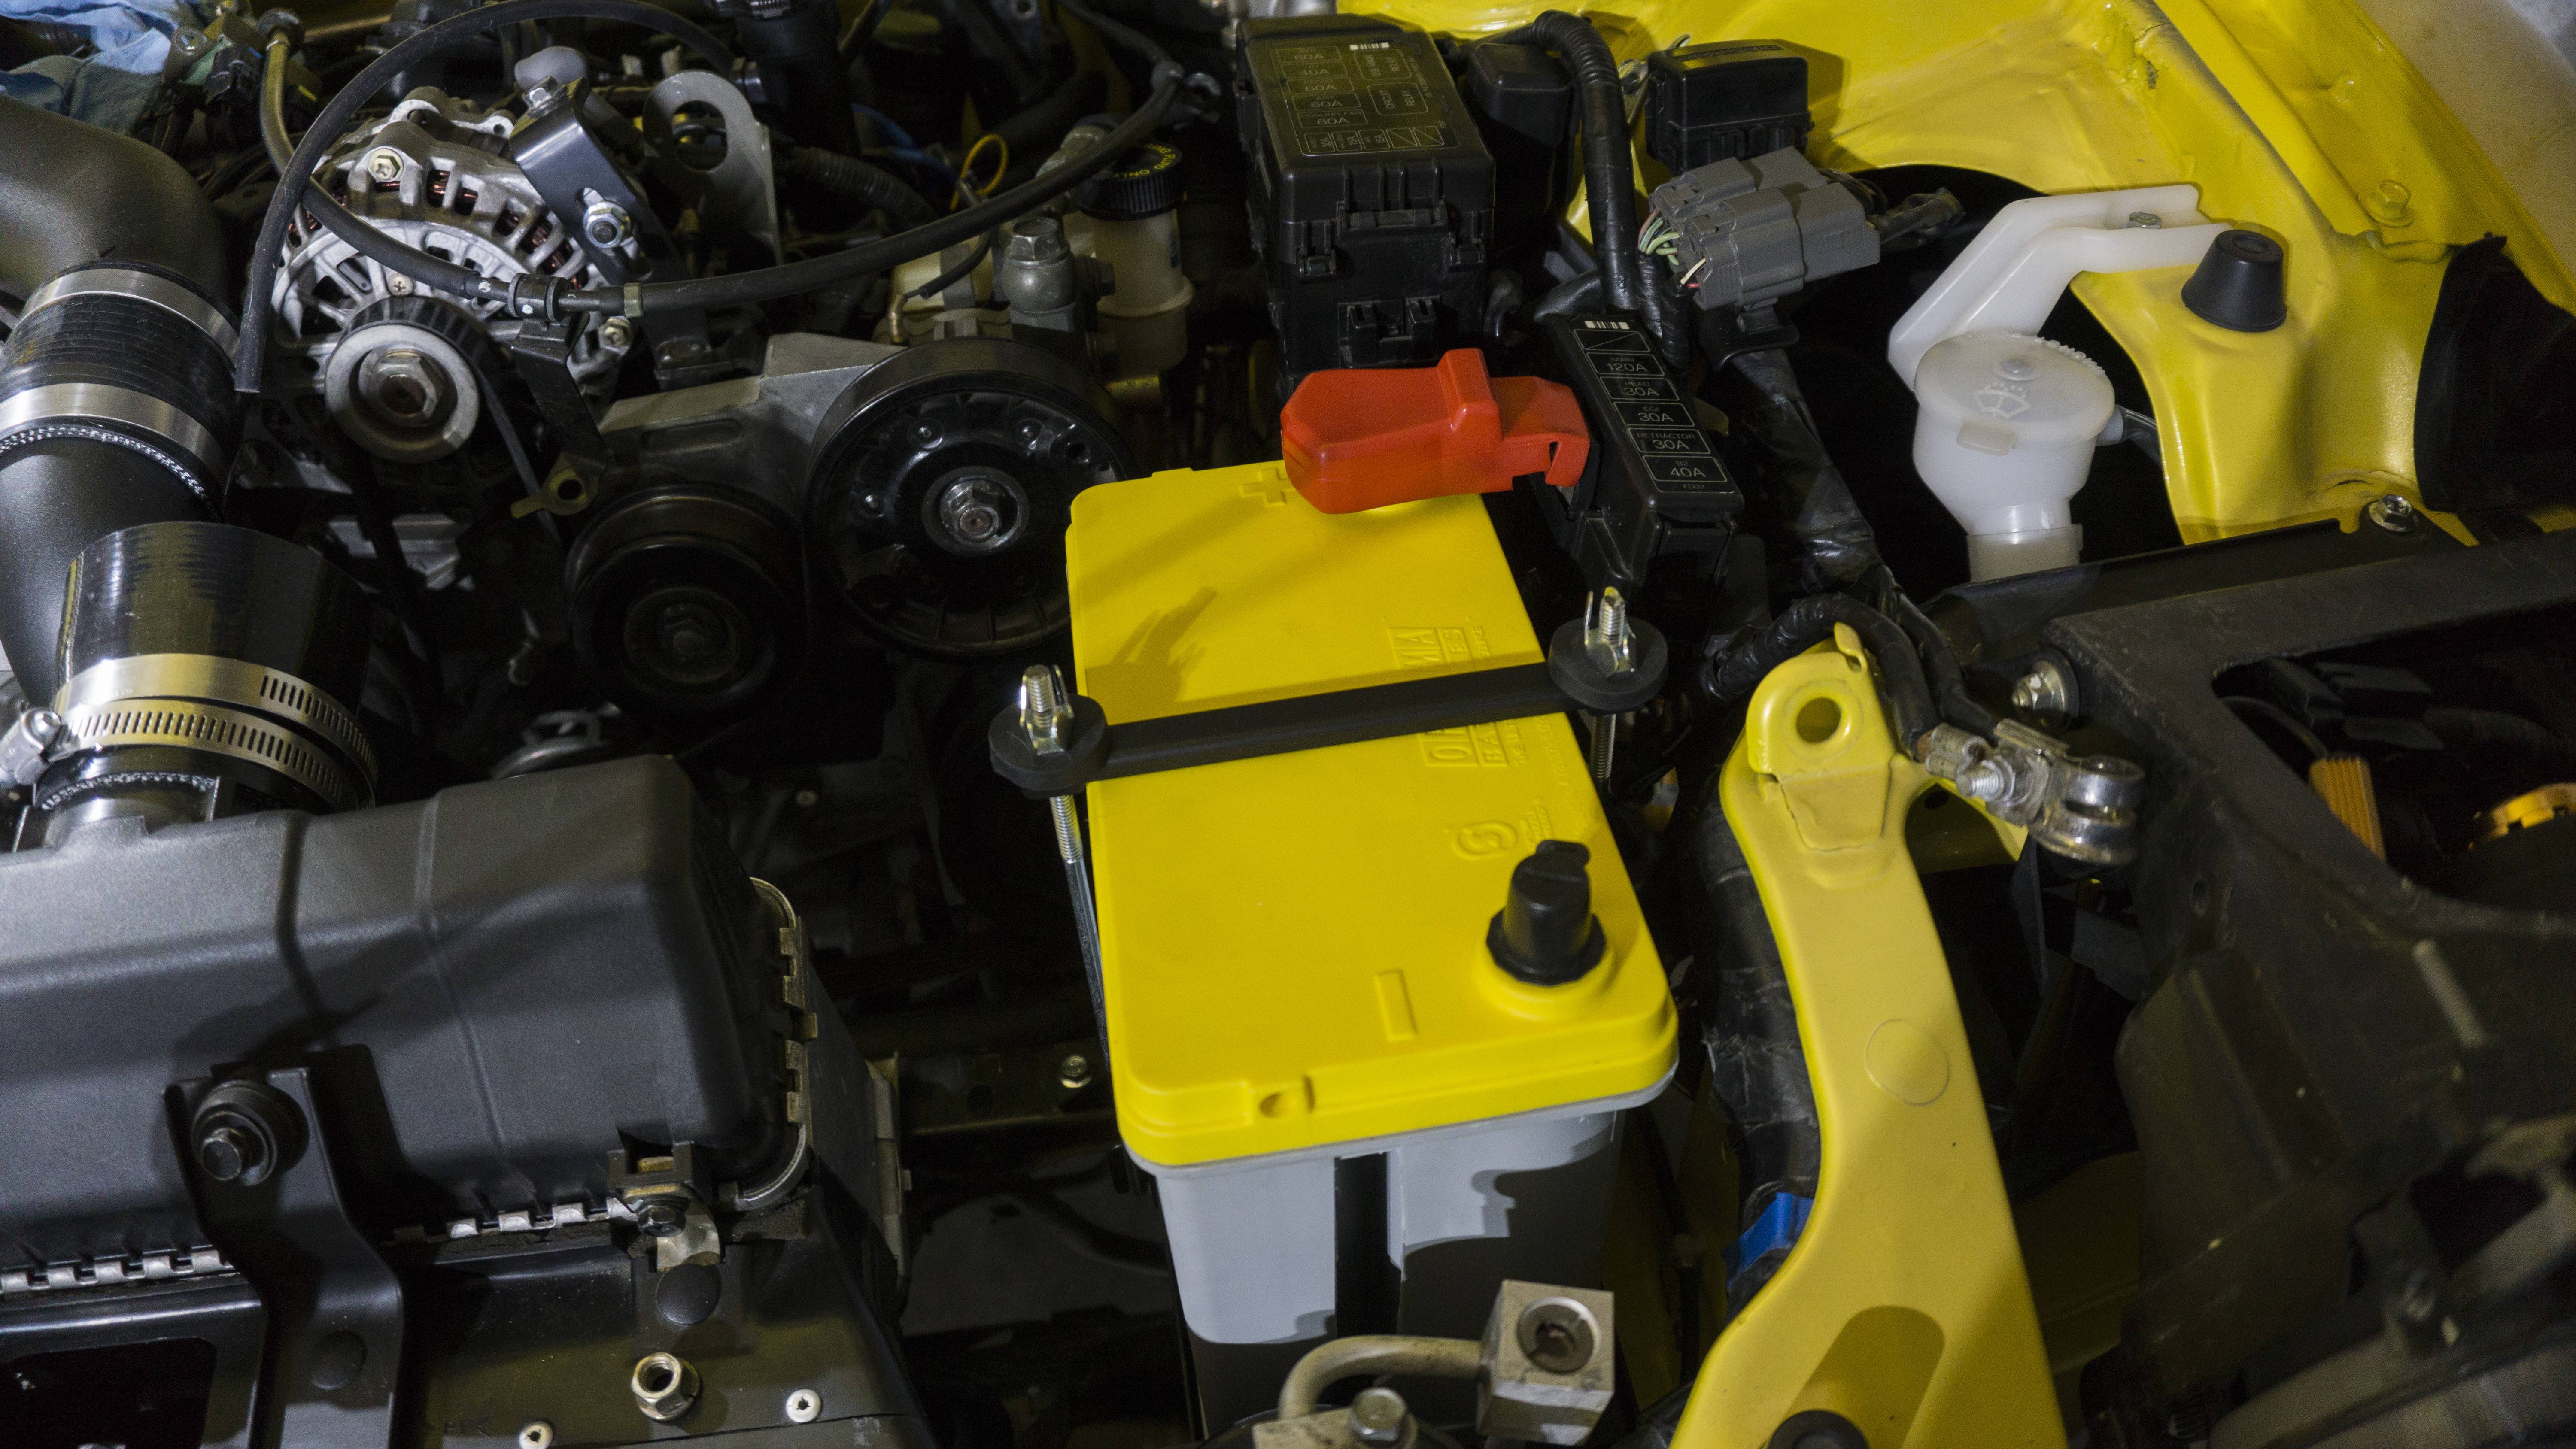
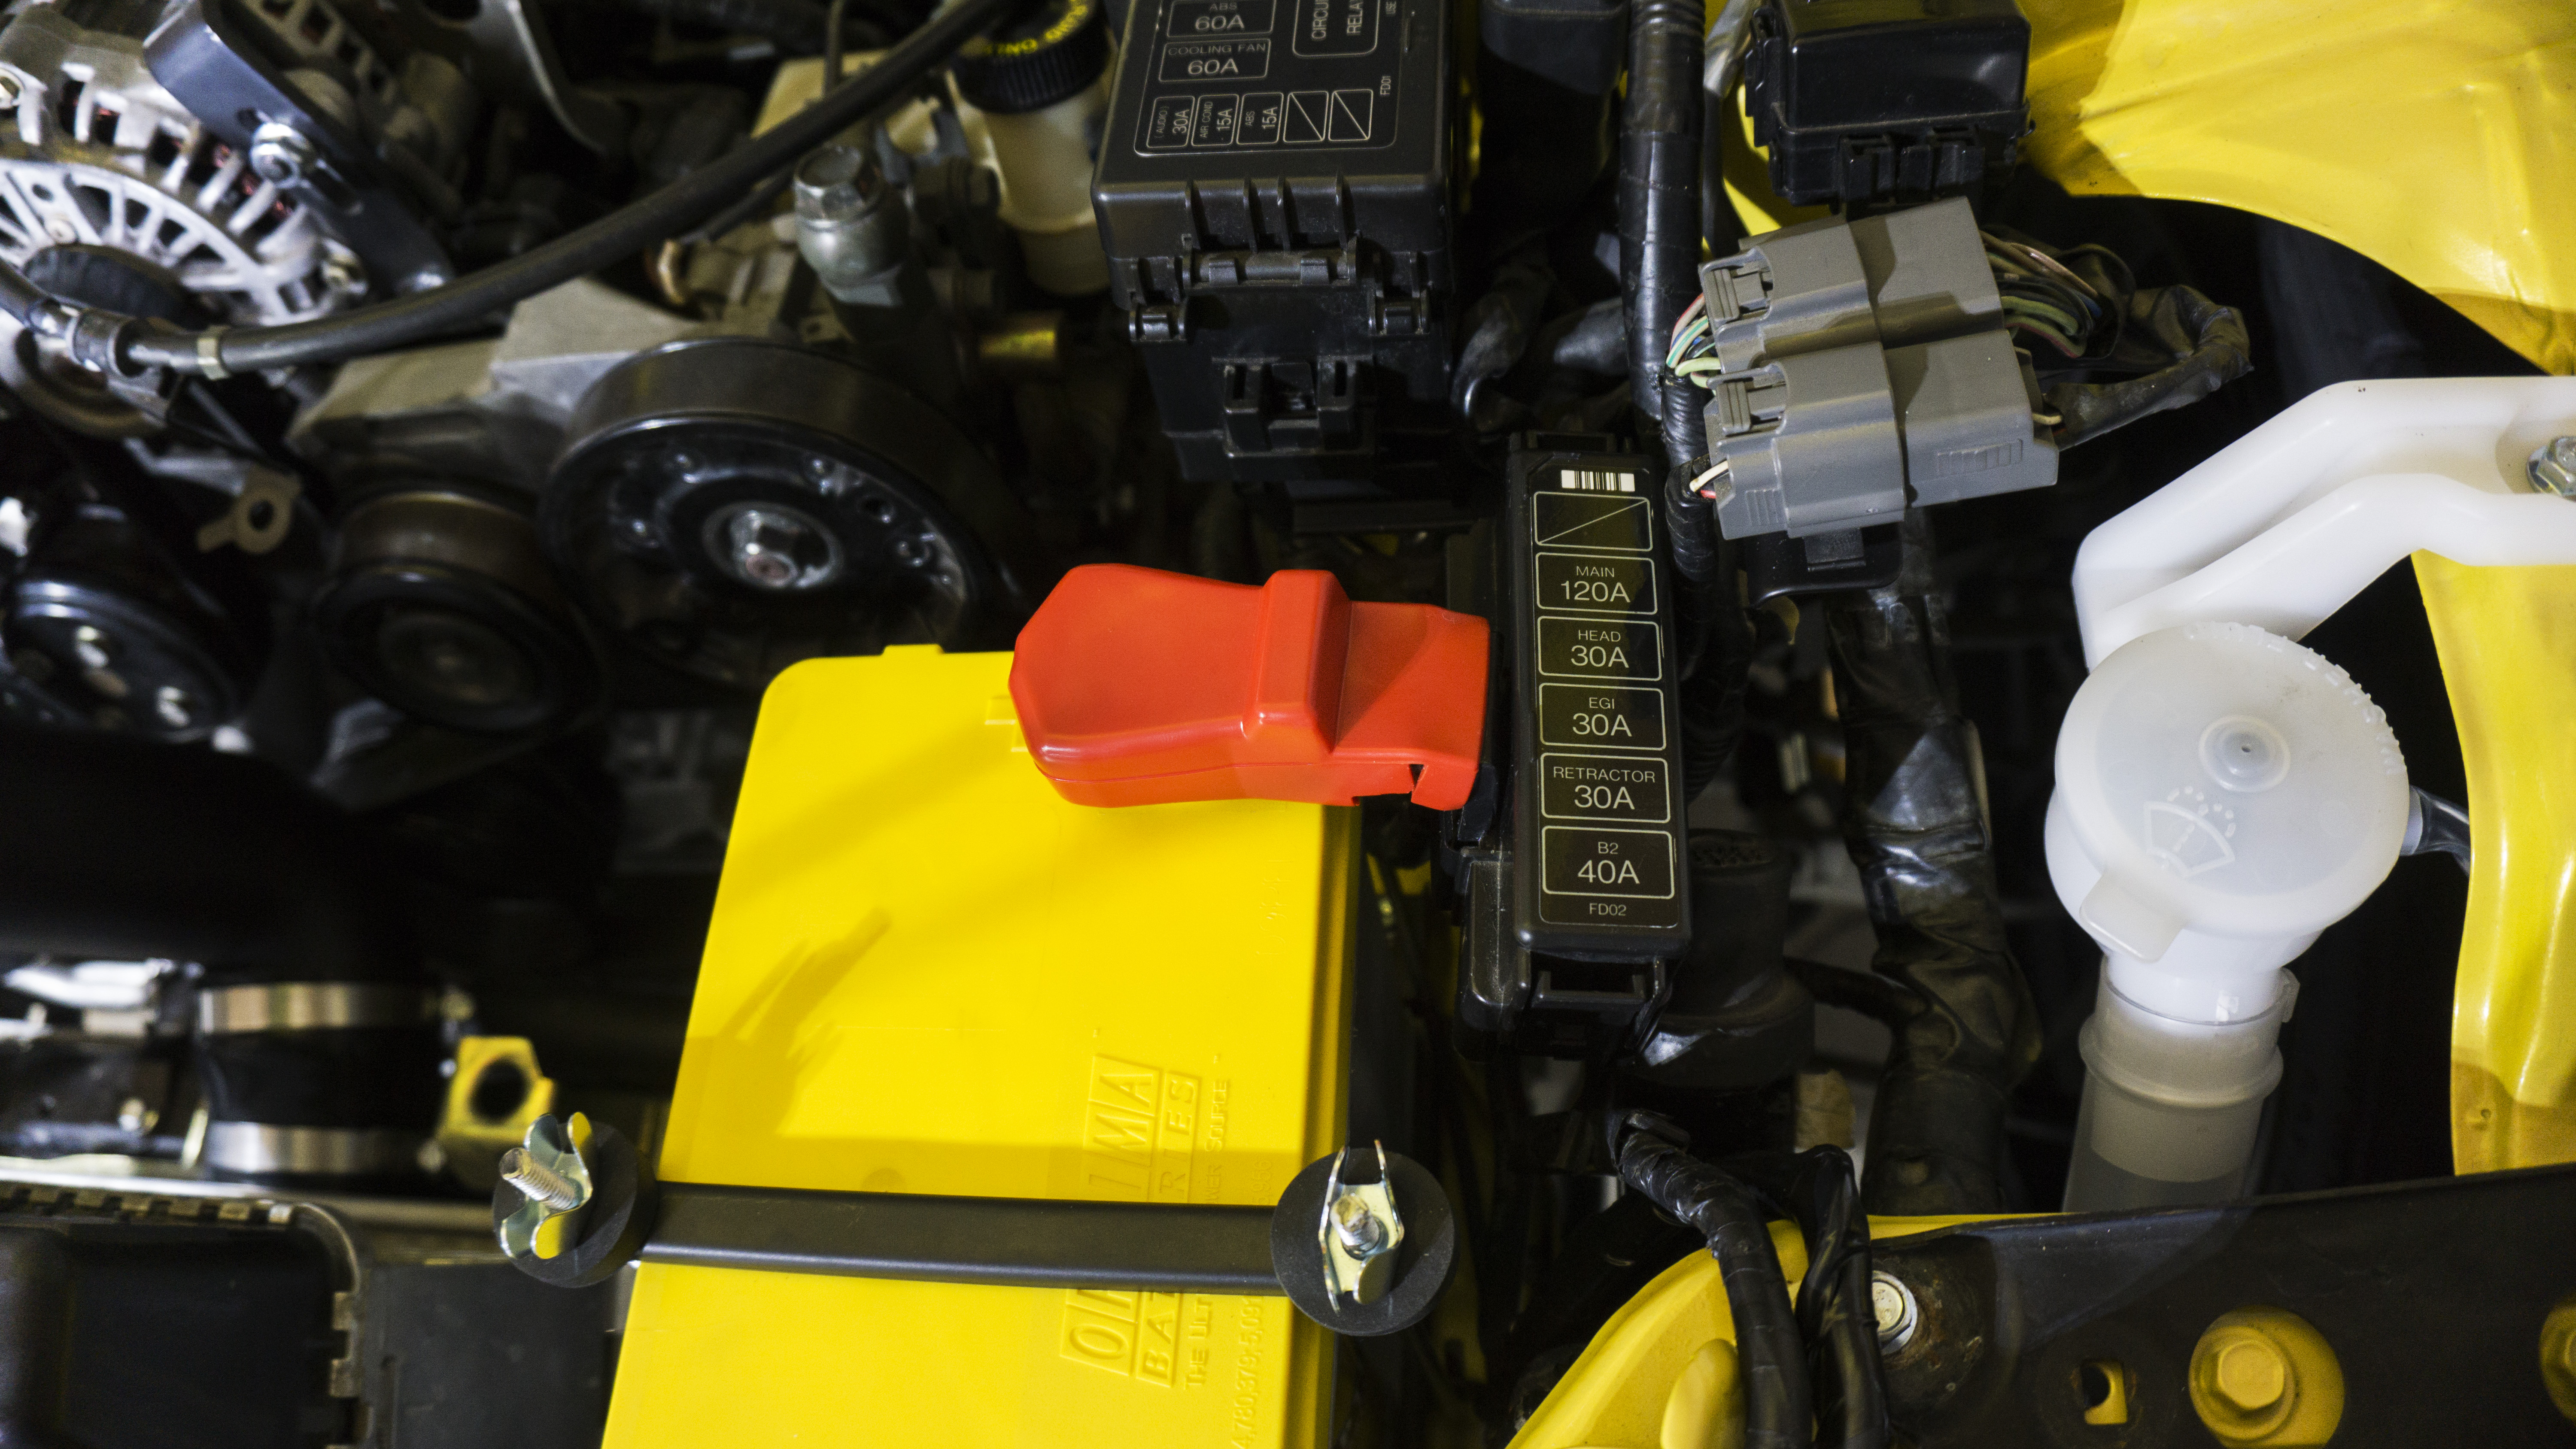
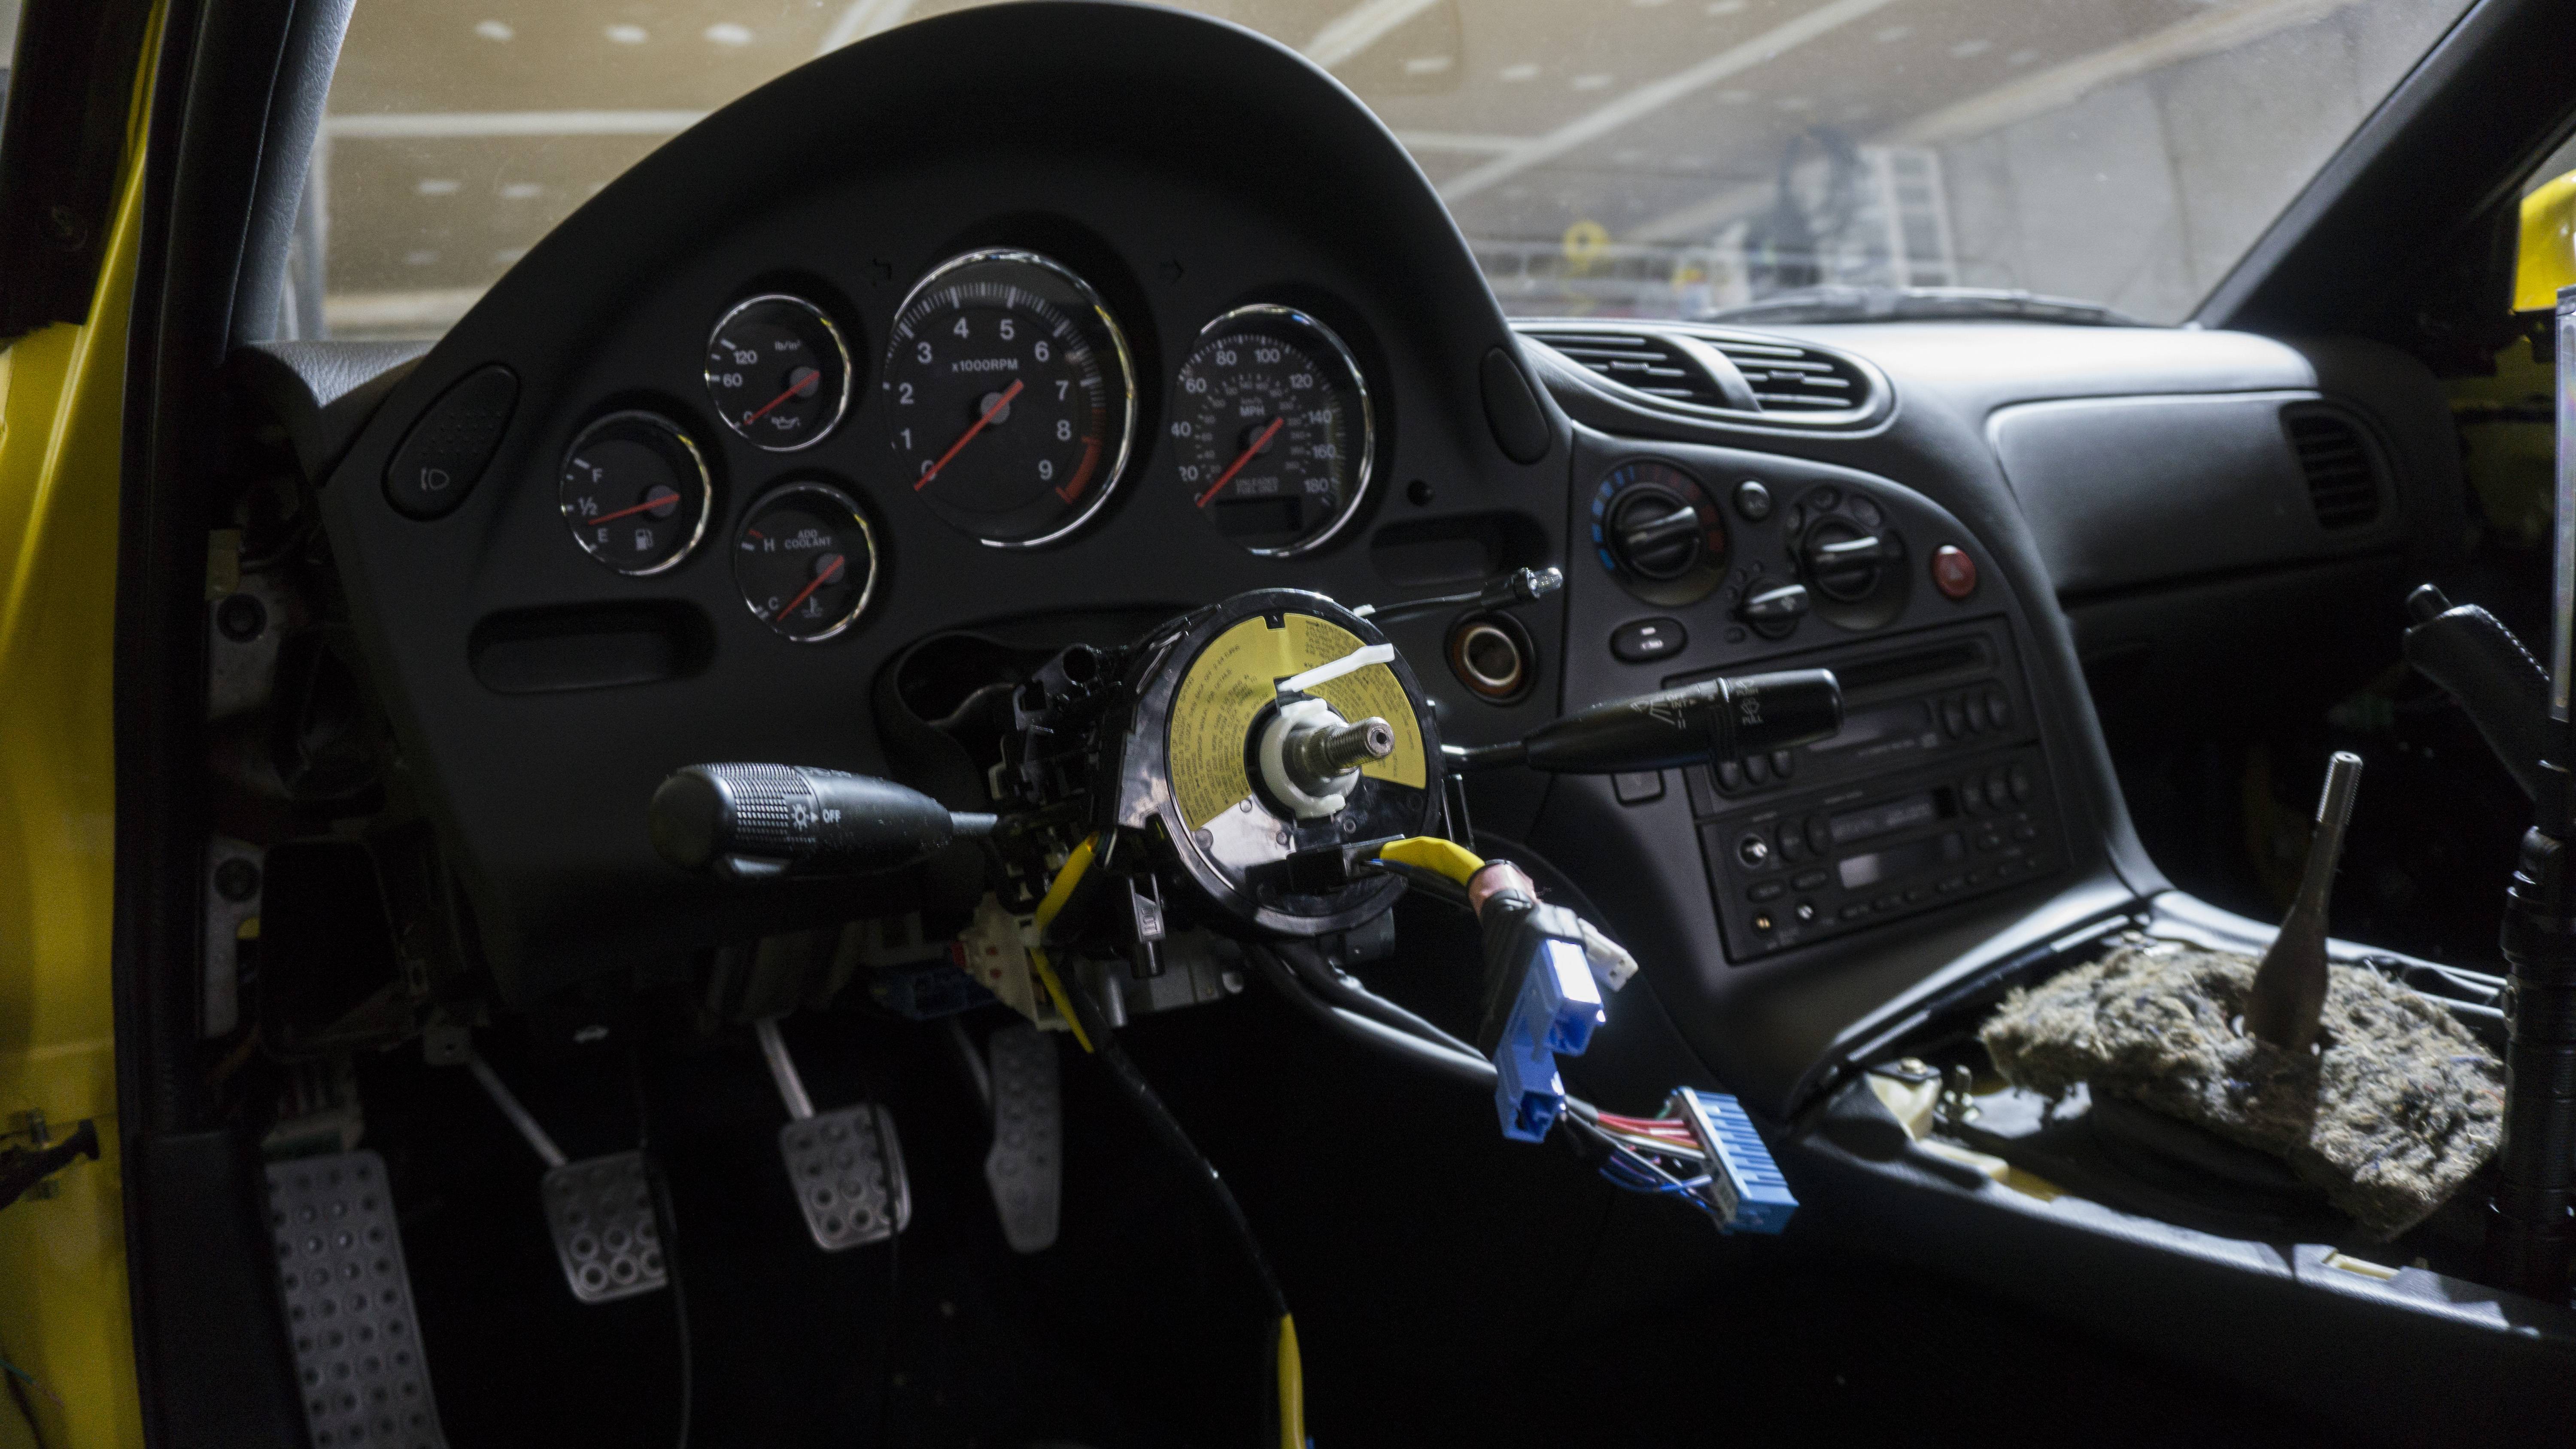
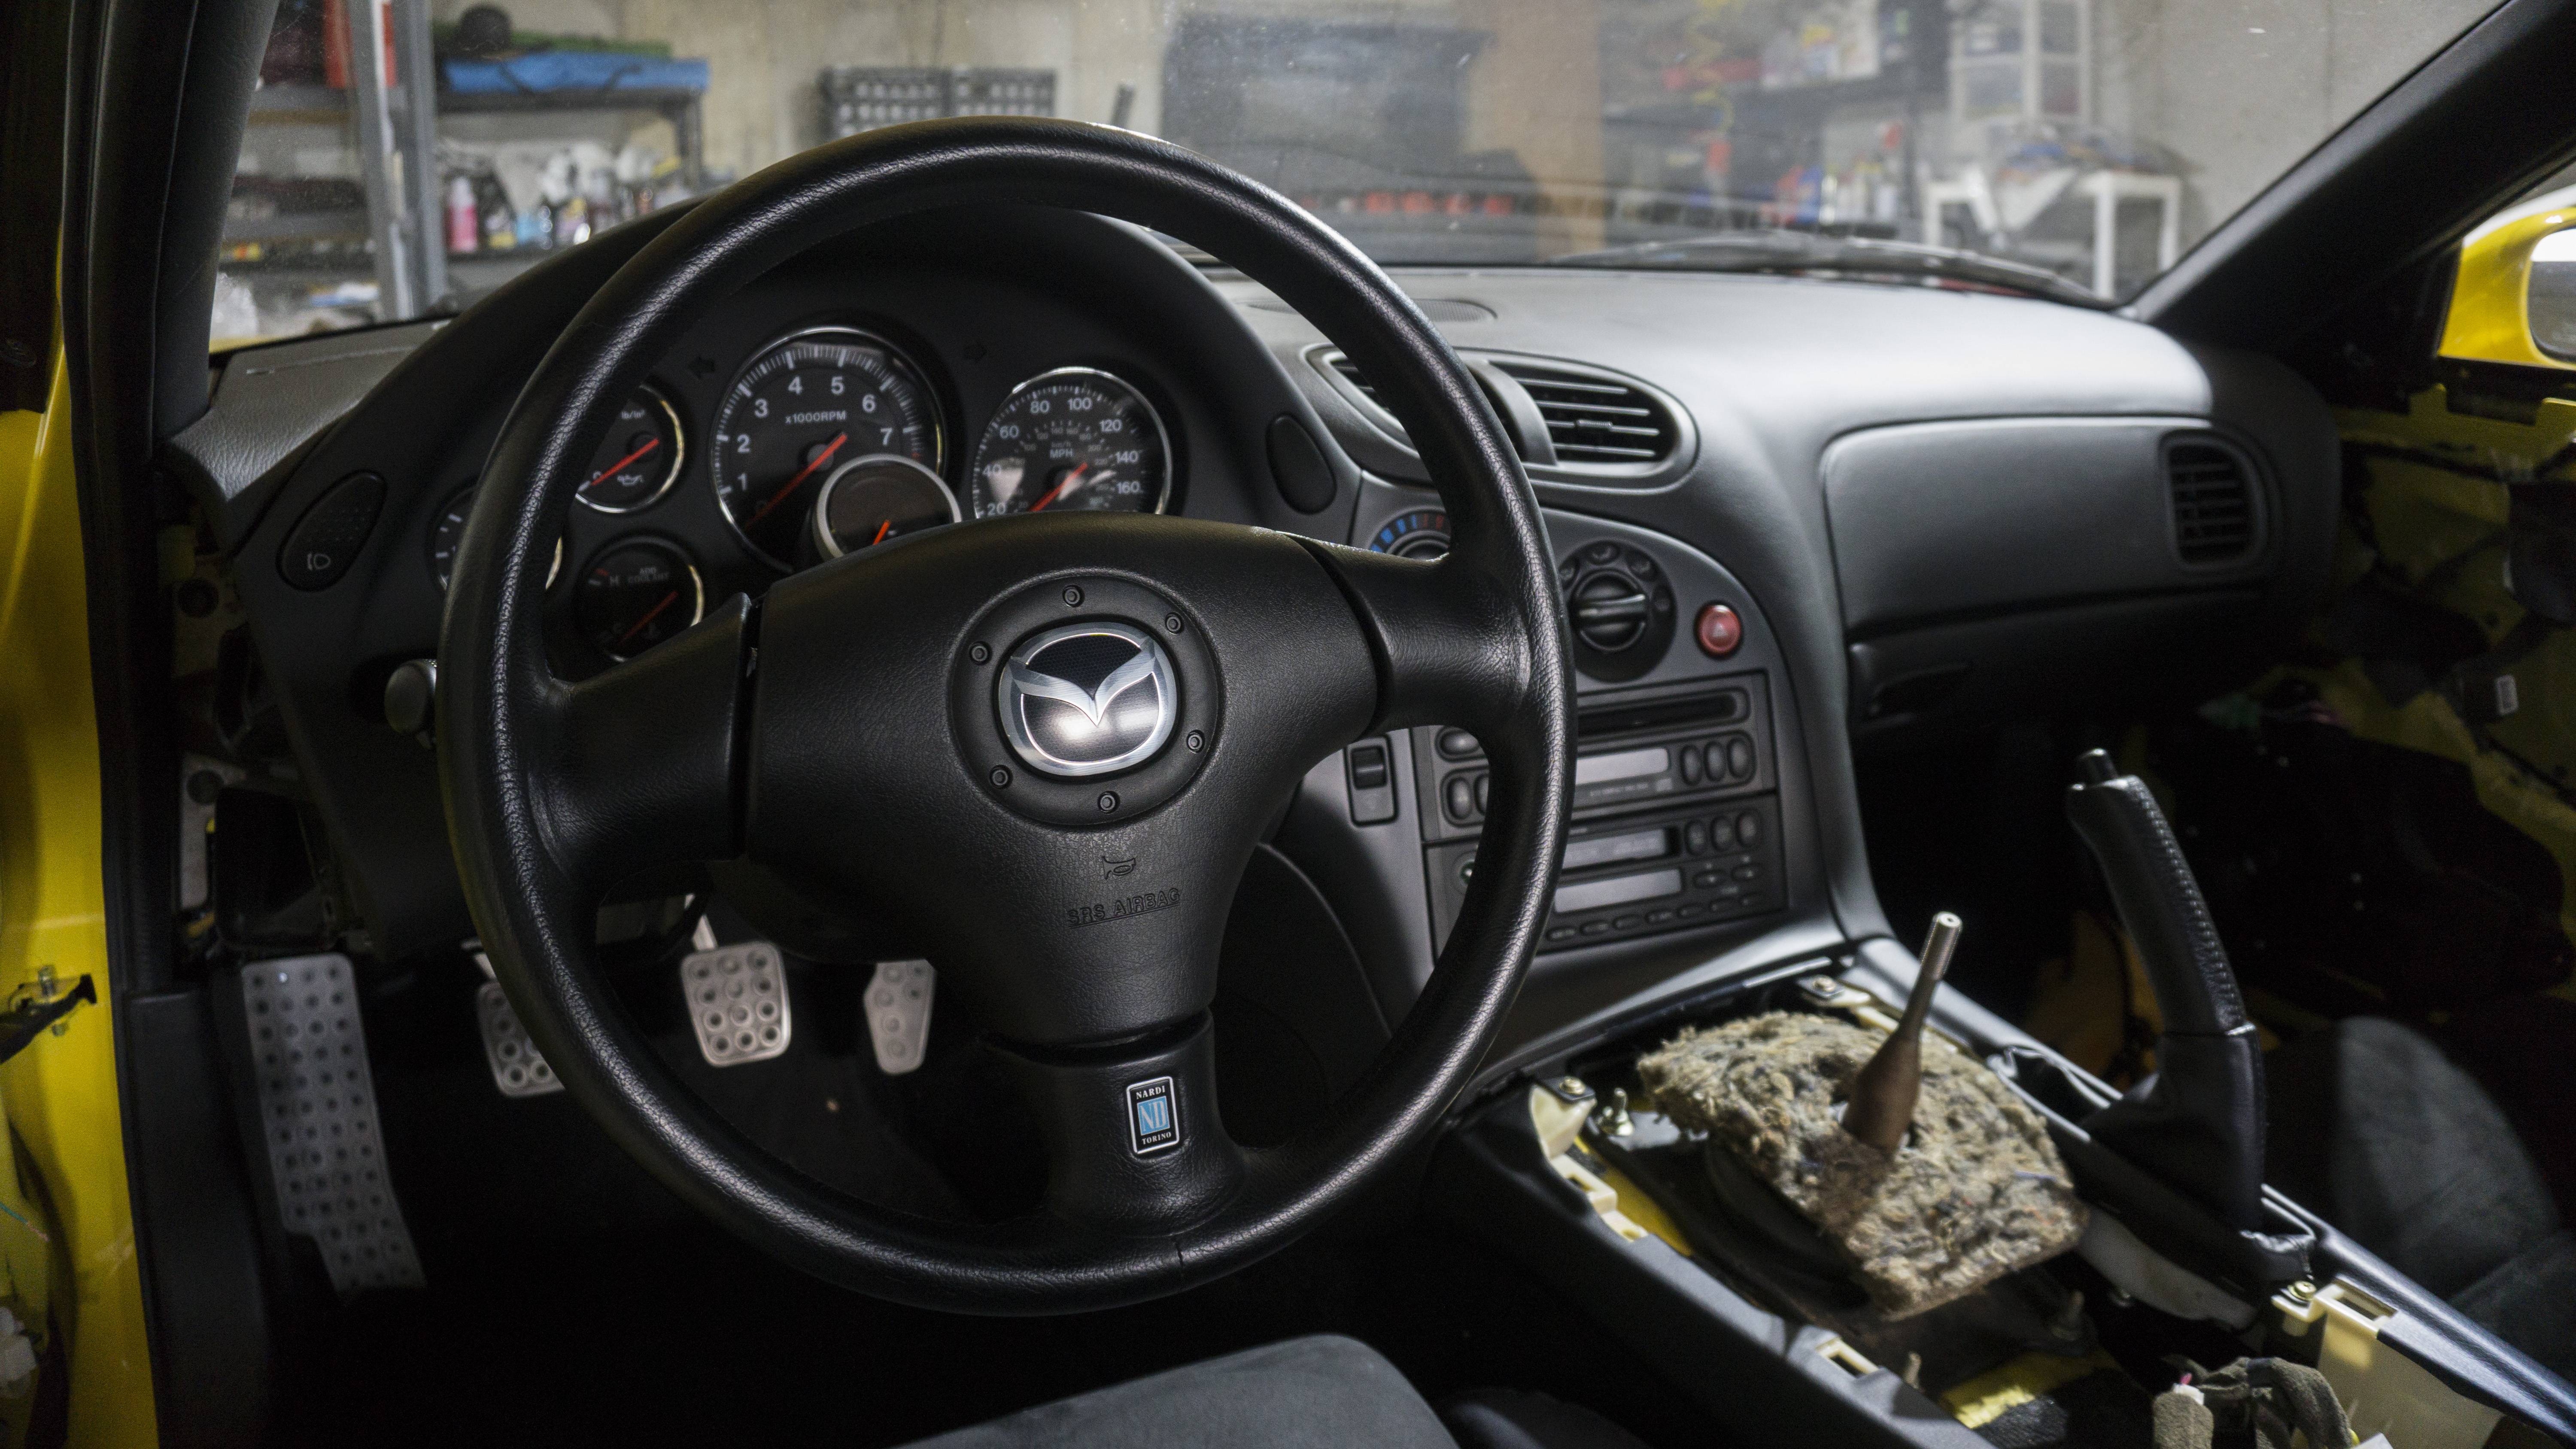
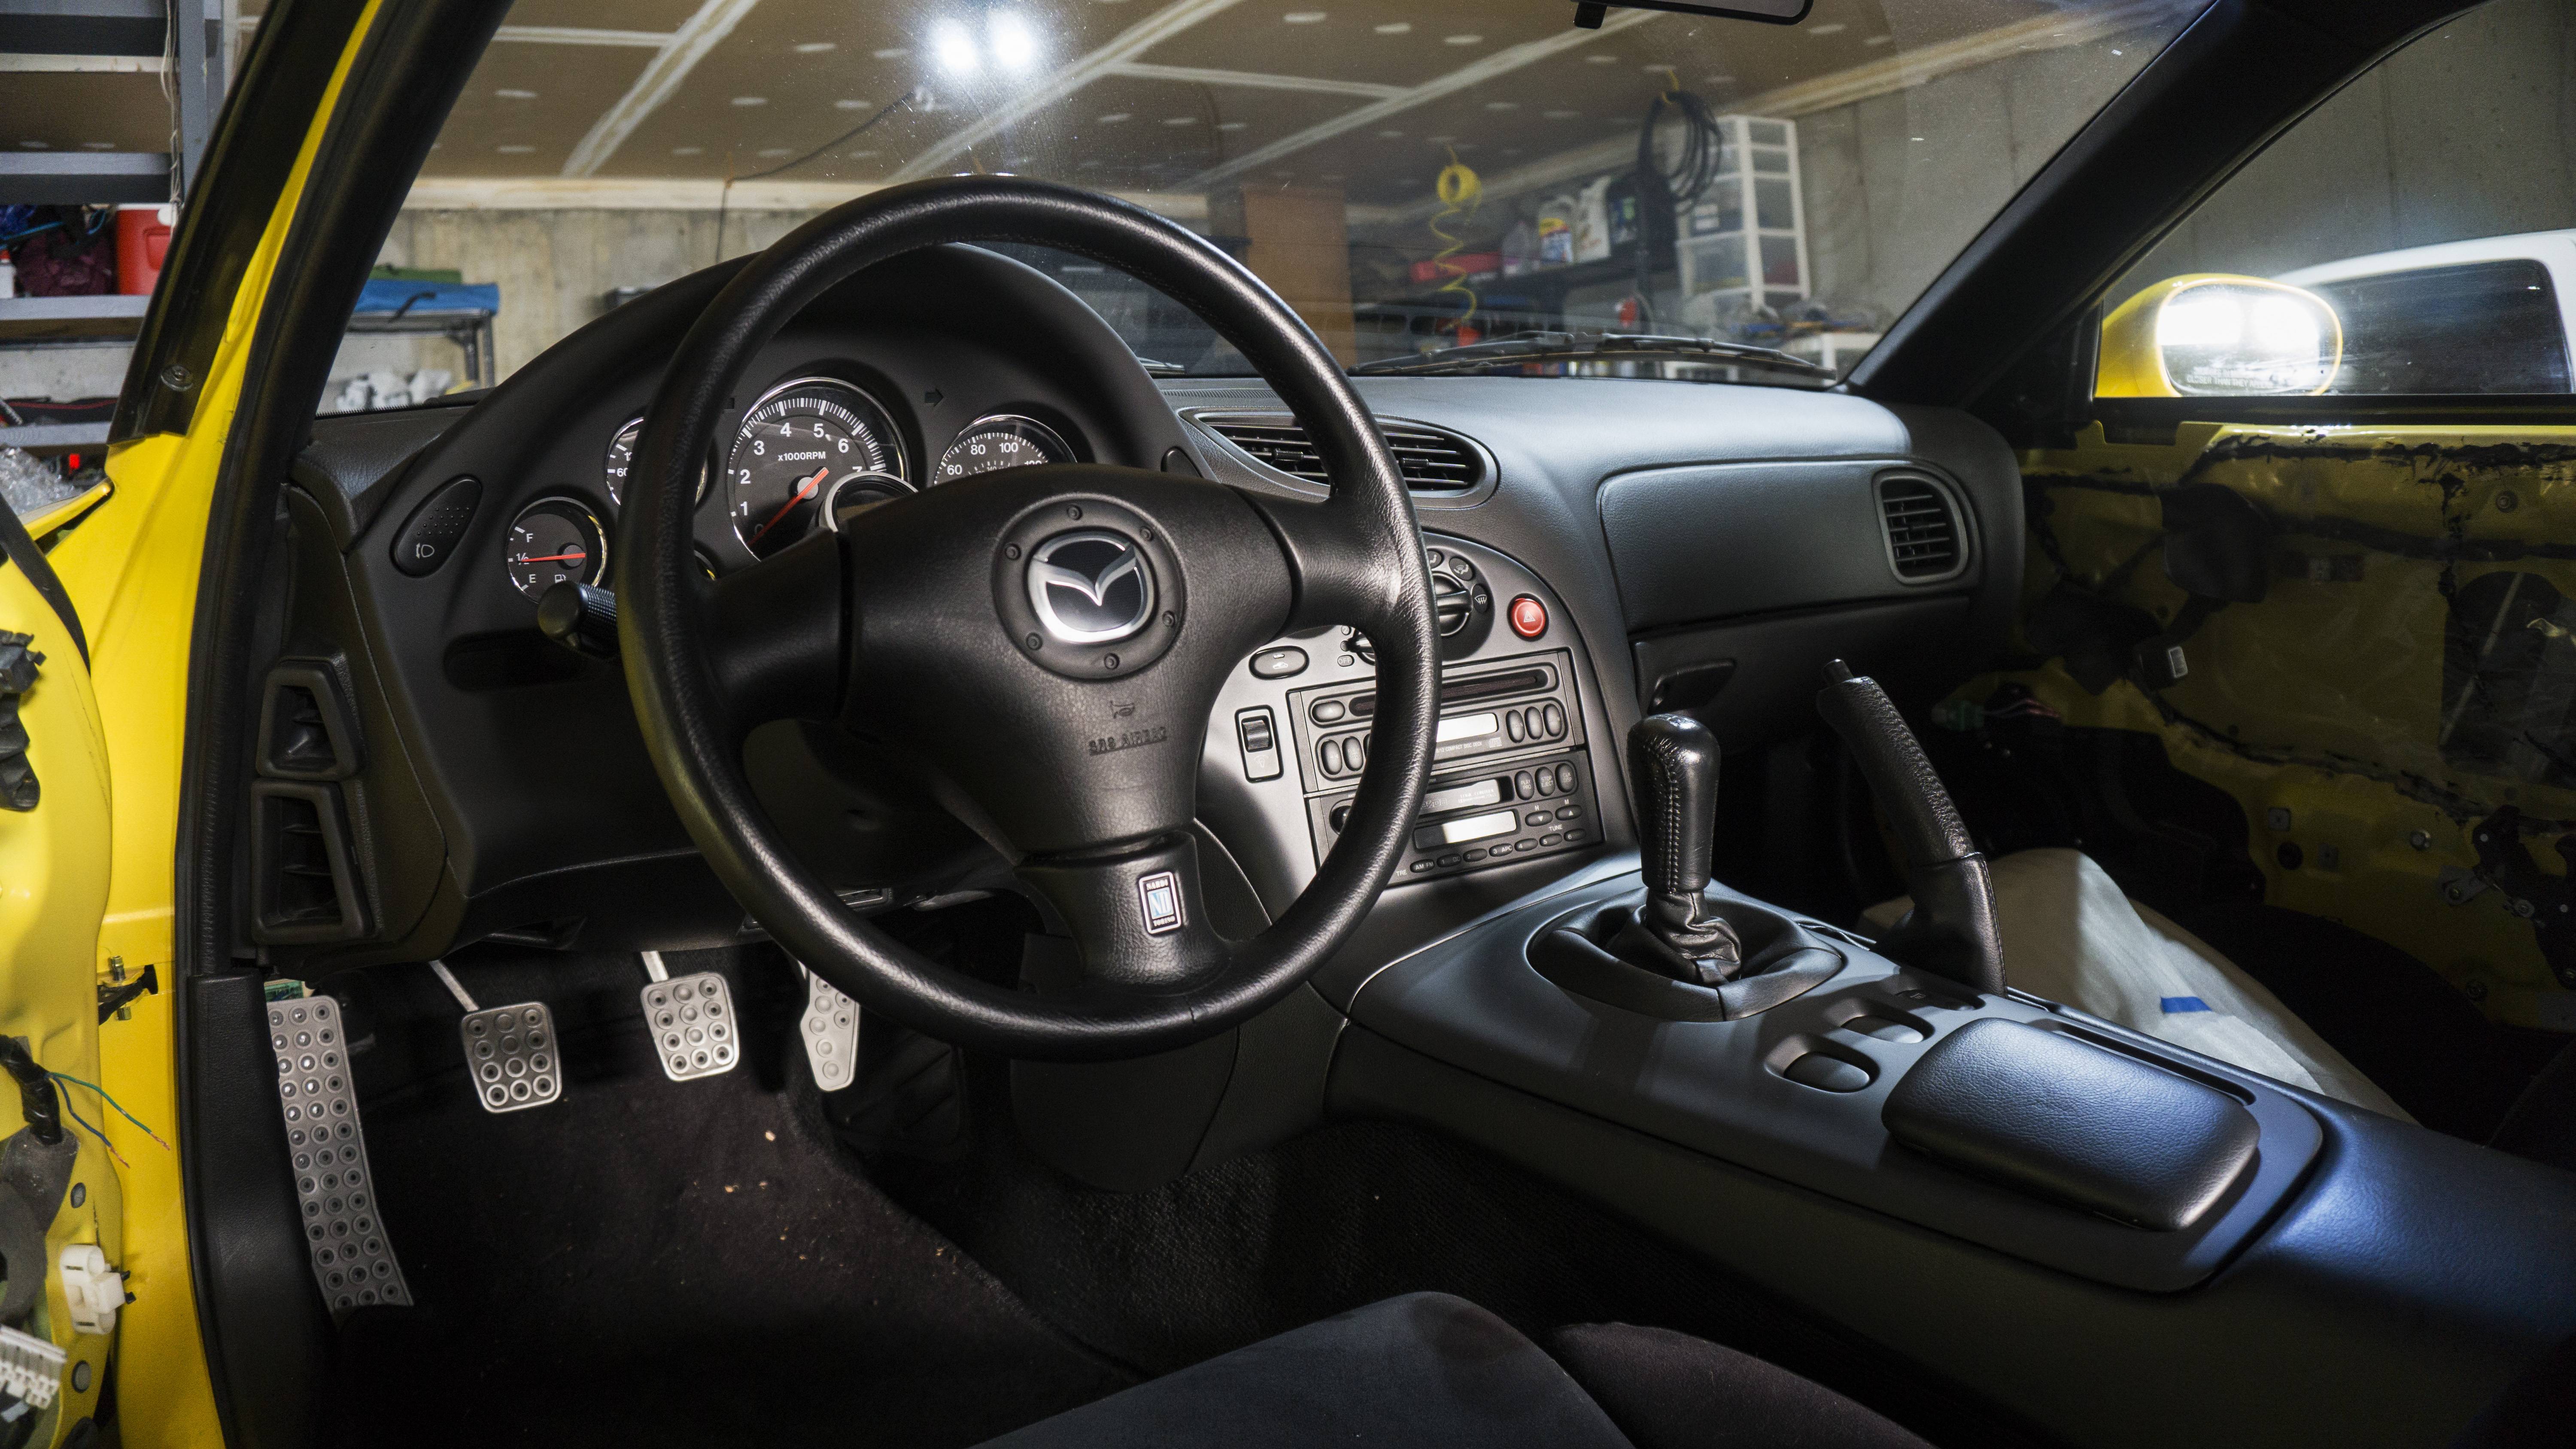
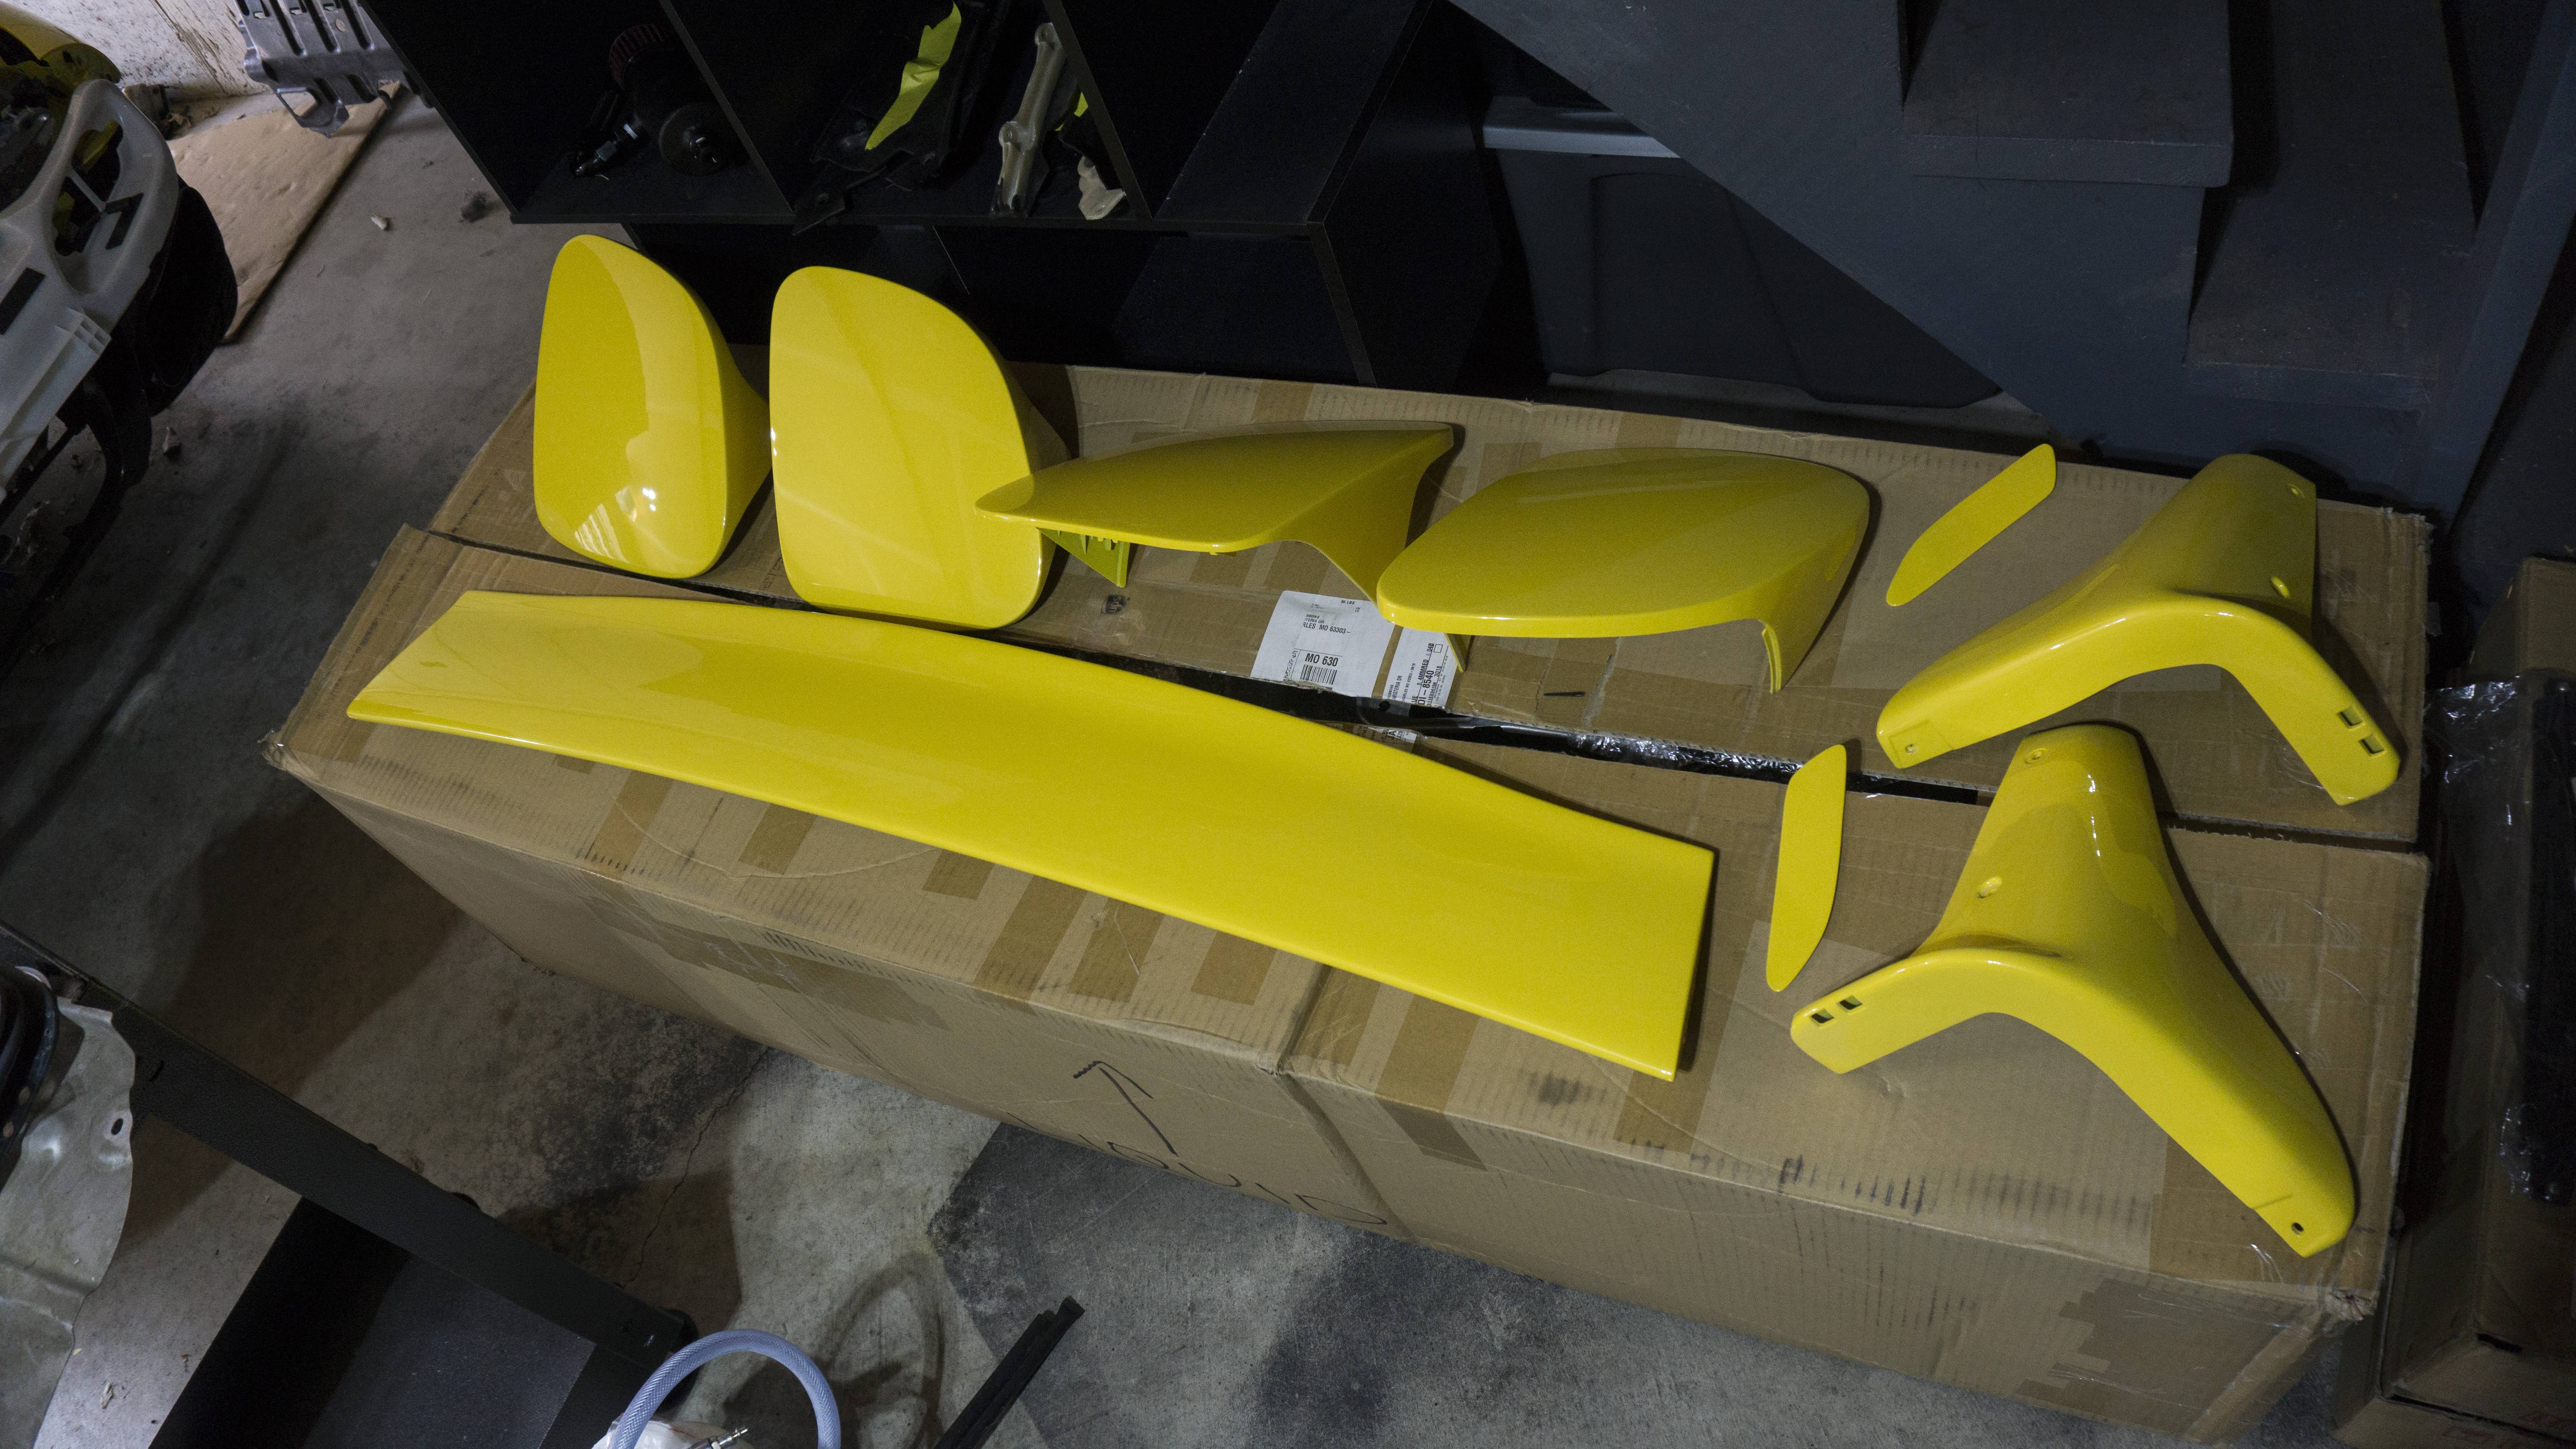
The interior is really starting to come together. I have all the new plastics in. I ended up purchasing a new transmission tunnel cover, but didn�t know the ones that are still available are a different color than the 93 one. I still plan to use it though as it�ll keep my 93 one in good condition. I went ahead and installed the Bubbletech strengthener as well so it won�t crack due to weight. I also got in the new clockspring assembly with new switches and my new steering wheel. I�m really happy with how the steering wheel turned out. I was able to keep the horn connector modular. On the OEM wheel it�s just connected via a ring terminal and a screw. I added a ring terminal to the horn wire on the new wheel and didn�t have to do any cutting. I can swap the horn connector back to my OEM wheel if I ever need to. While not pictured below, I got the driver side OEM speaker bracket in and got the speaker connected. I�m very glad to report that all my speakers work minus the center dash speaker. I�m not overly concerned about that one - I doubt it�s even there. The last thing I did was install a new red battery terminal boot from JP3 Motorsports. I think it looks really good and I�m glad I didn�t have to use the one from my new fuse box I bought a while back (I can keep that one in the bag). All the brackets for my 99-spec swap came in. I bought all the brackets required for the front bumper brand new except for two which are NLA even in Japan. I also purchased brand new bolts, clips, and screws for the 99-spec swap and the interior. I understand that can be seen as wasteful, but I really wanted the 99-spec swap to be completely OEM, down to the last bolt.
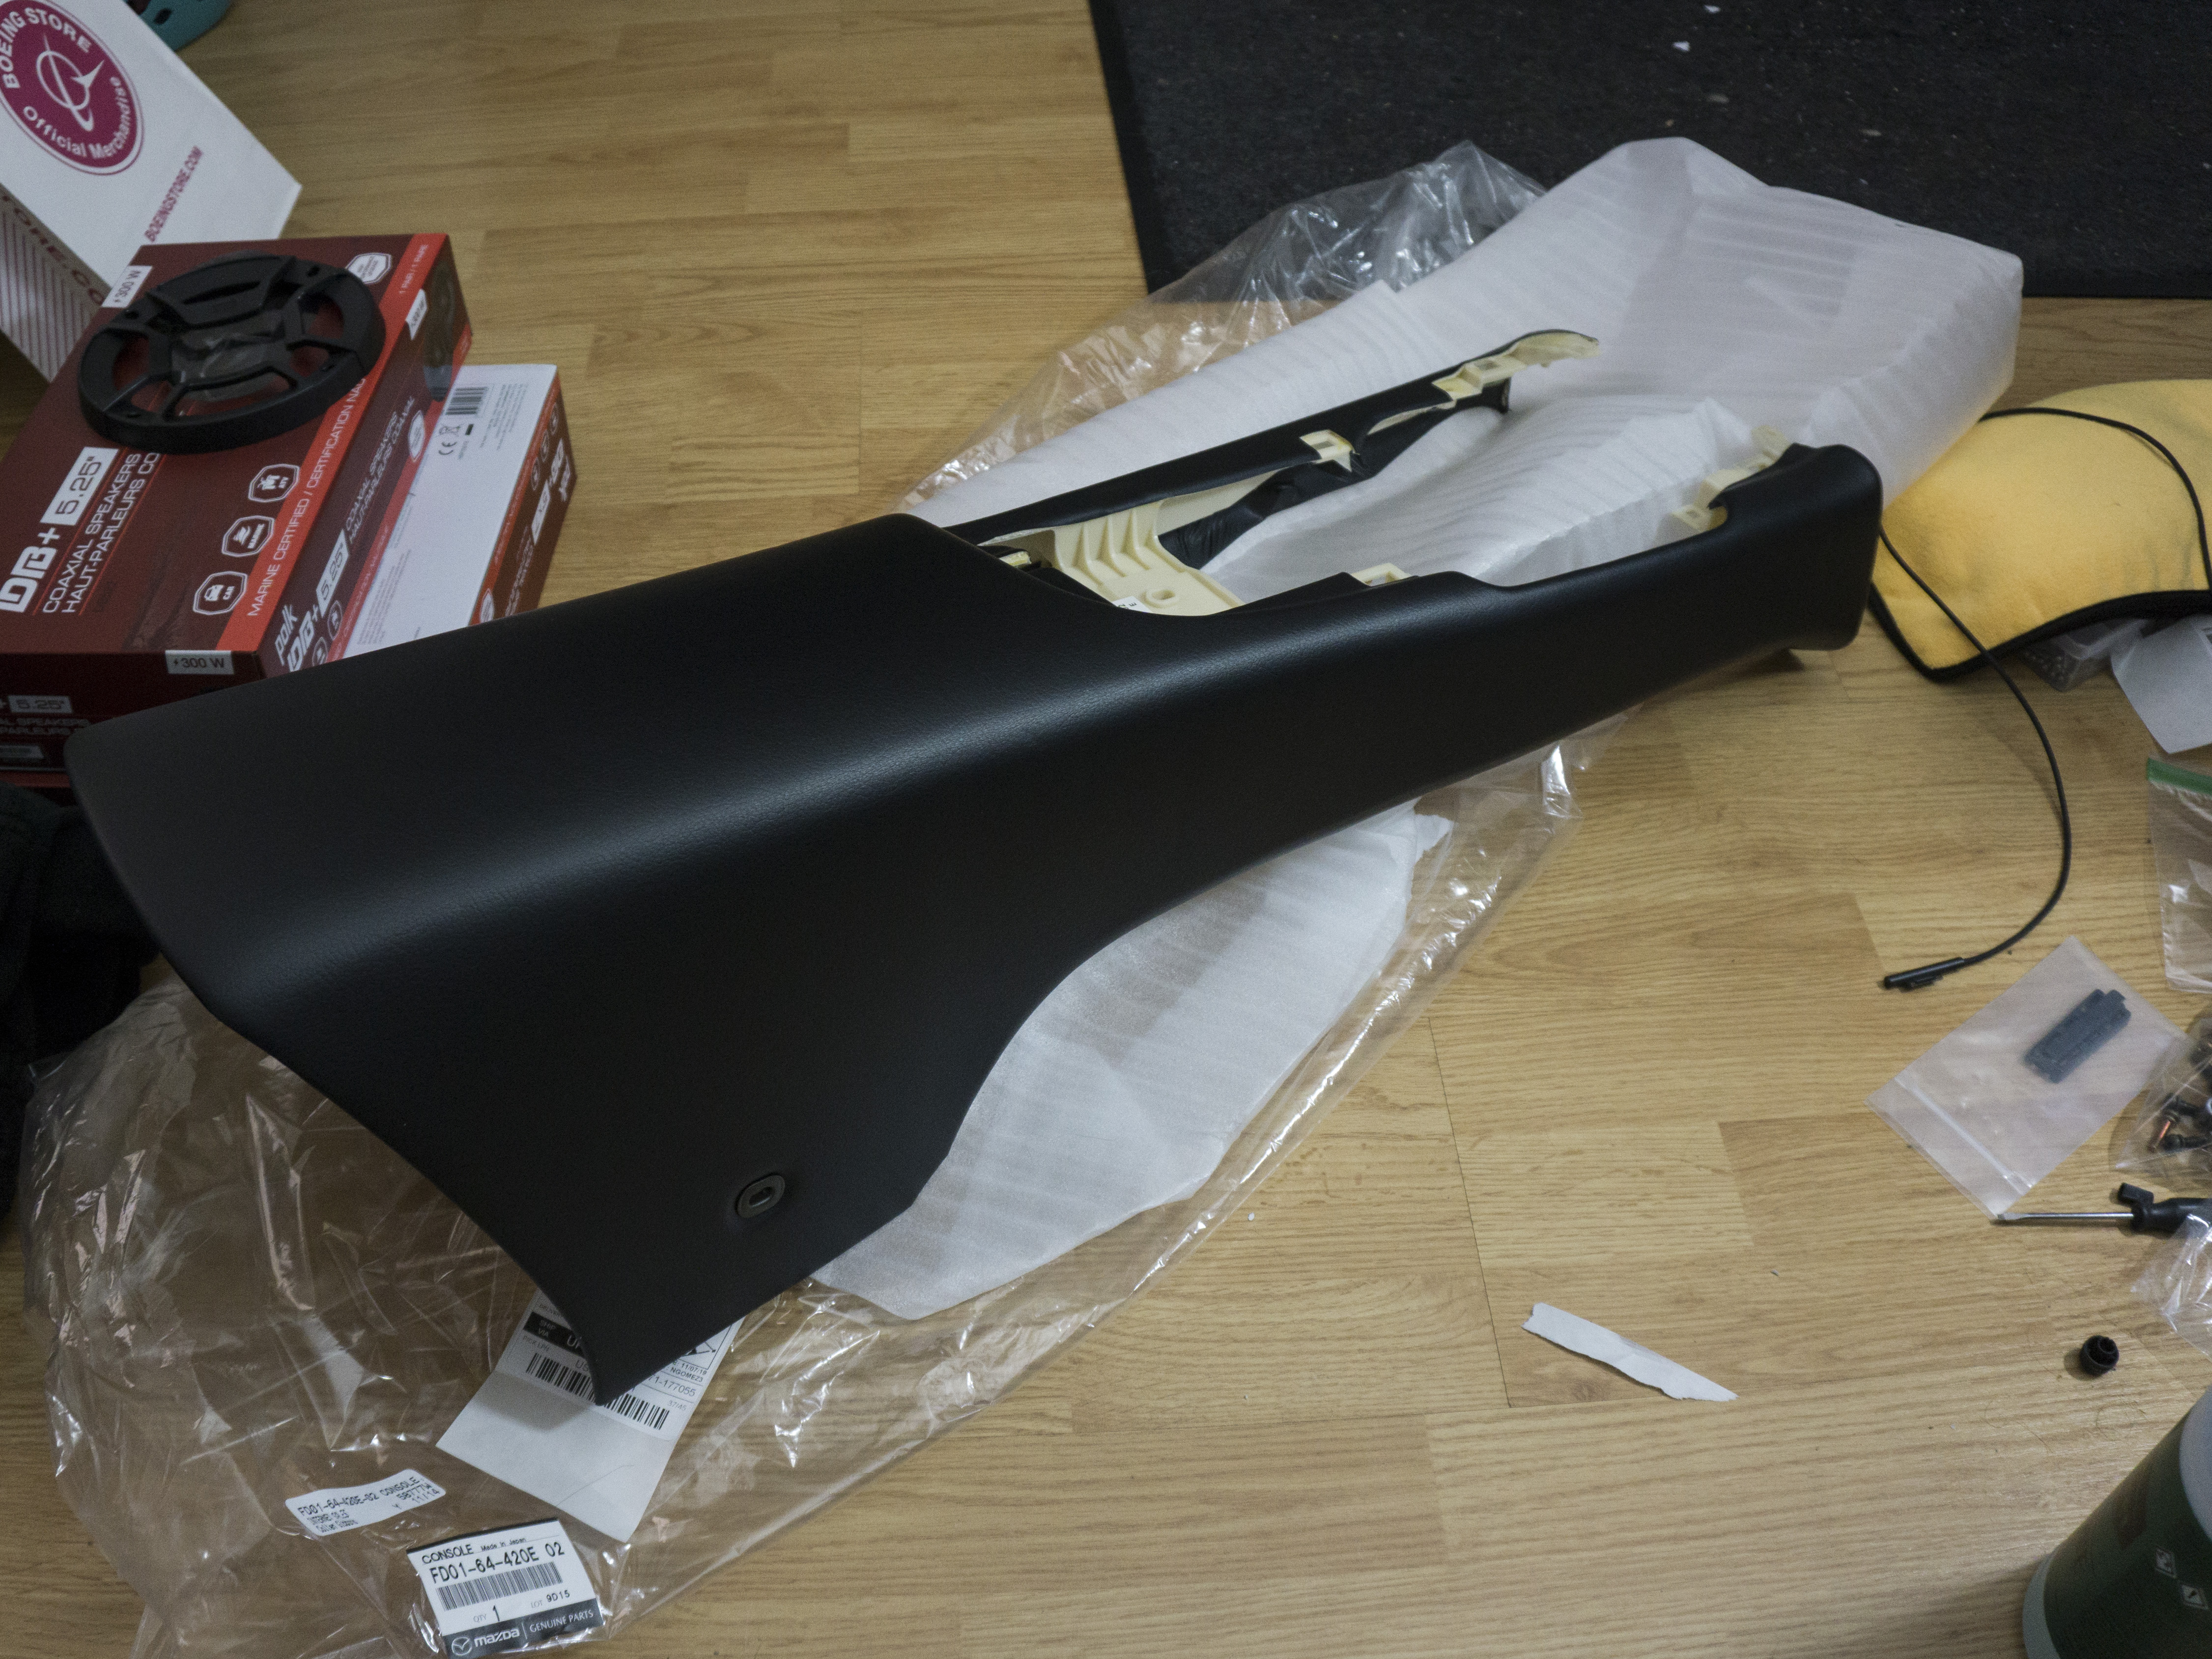
Here are some pictures of the transmission tunnel cover and the Bubbletech piece:
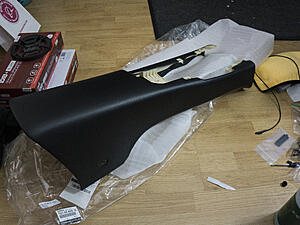

Here is all the OEM brackets and bolts that I sourced:
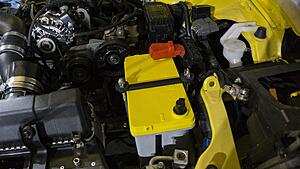
Here is the JP3 Motorsports terminal cover and battery installed:

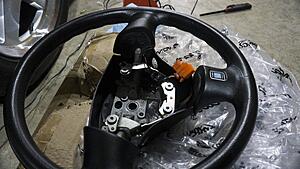
Here is the clockspring and wheel install:


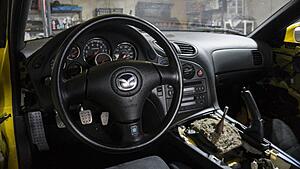
Here is one with all the plastics in:

The interior is really starting to come together. I have all the new plastics in. I ended up purchasing a new transmission tunnel cover, but didn�t know the ones that are still available are a different color than the 93 one. I still plan to use it though as it�ll keep my 93 one in good condition. I went ahead and installed the Bubbletech strengthener as well so it won�t crack due to weight. I also got in the new clockspring assembly with new switches and my new steering wheel. I�m really happy with how the steering wheel turned out. I was able to keep the horn connector modular. On the OEM wheel it�s just connected via a ring terminal and a screw. I added a ring terminal to the horn wire on the new wheel and didn�t have to do any cutting. I can swap the horn connector back to my OEM wheel if I ever need to. While not pictured below, I got the driver side OEM speaker bracket in and got the speaker connected. I�m very glad to report that all my speakers work minus the center dash speaker. I�m not overly concerned about that one - I doubt it�s even there. The last thing I did was install a new red battery terminal boot from JP3 Motorsports. I think it looks really good and I�m glad I didn�t have to use the one from my new fuse box I bought a while back (I can keep that one in the bag). All the brackets for my 99-spec swap came in. I bought all the brackets required for the front bumper brand new except for two which are NLA even in Japan. I also purchased brand new bolts, clips, and screws for the 99-spec swap and the interior. I understand that can be seen as wasteful, but I really wanted the 99-spec swap to be completely OEM, down to the last bolt.
Here are some pictures of the transmission tunnel cover and the Bubbletech piece:
Here is all the OEM brackets and bolts that I sourced:


Here is the JP3 Motorsports terminal cover and battery installed:
Here is the clockspring and wheel install:


Here is one with all the plastics in:
Last edited by Akomix; 11-30-19 at 06:24 PM.
The following users liked this post:
Macer (12-02-19)


The following users liked this post:
Akomix (12-02-19)
12-13-19, 10:34 AM
#62
Update 12/13/19:
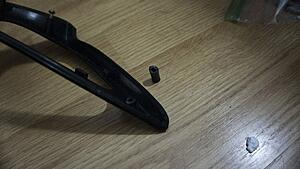
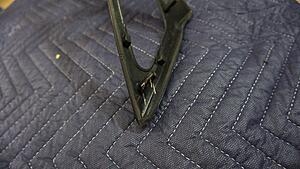
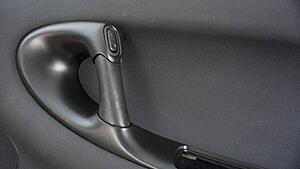
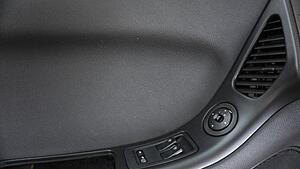
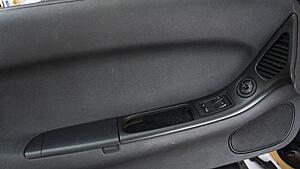
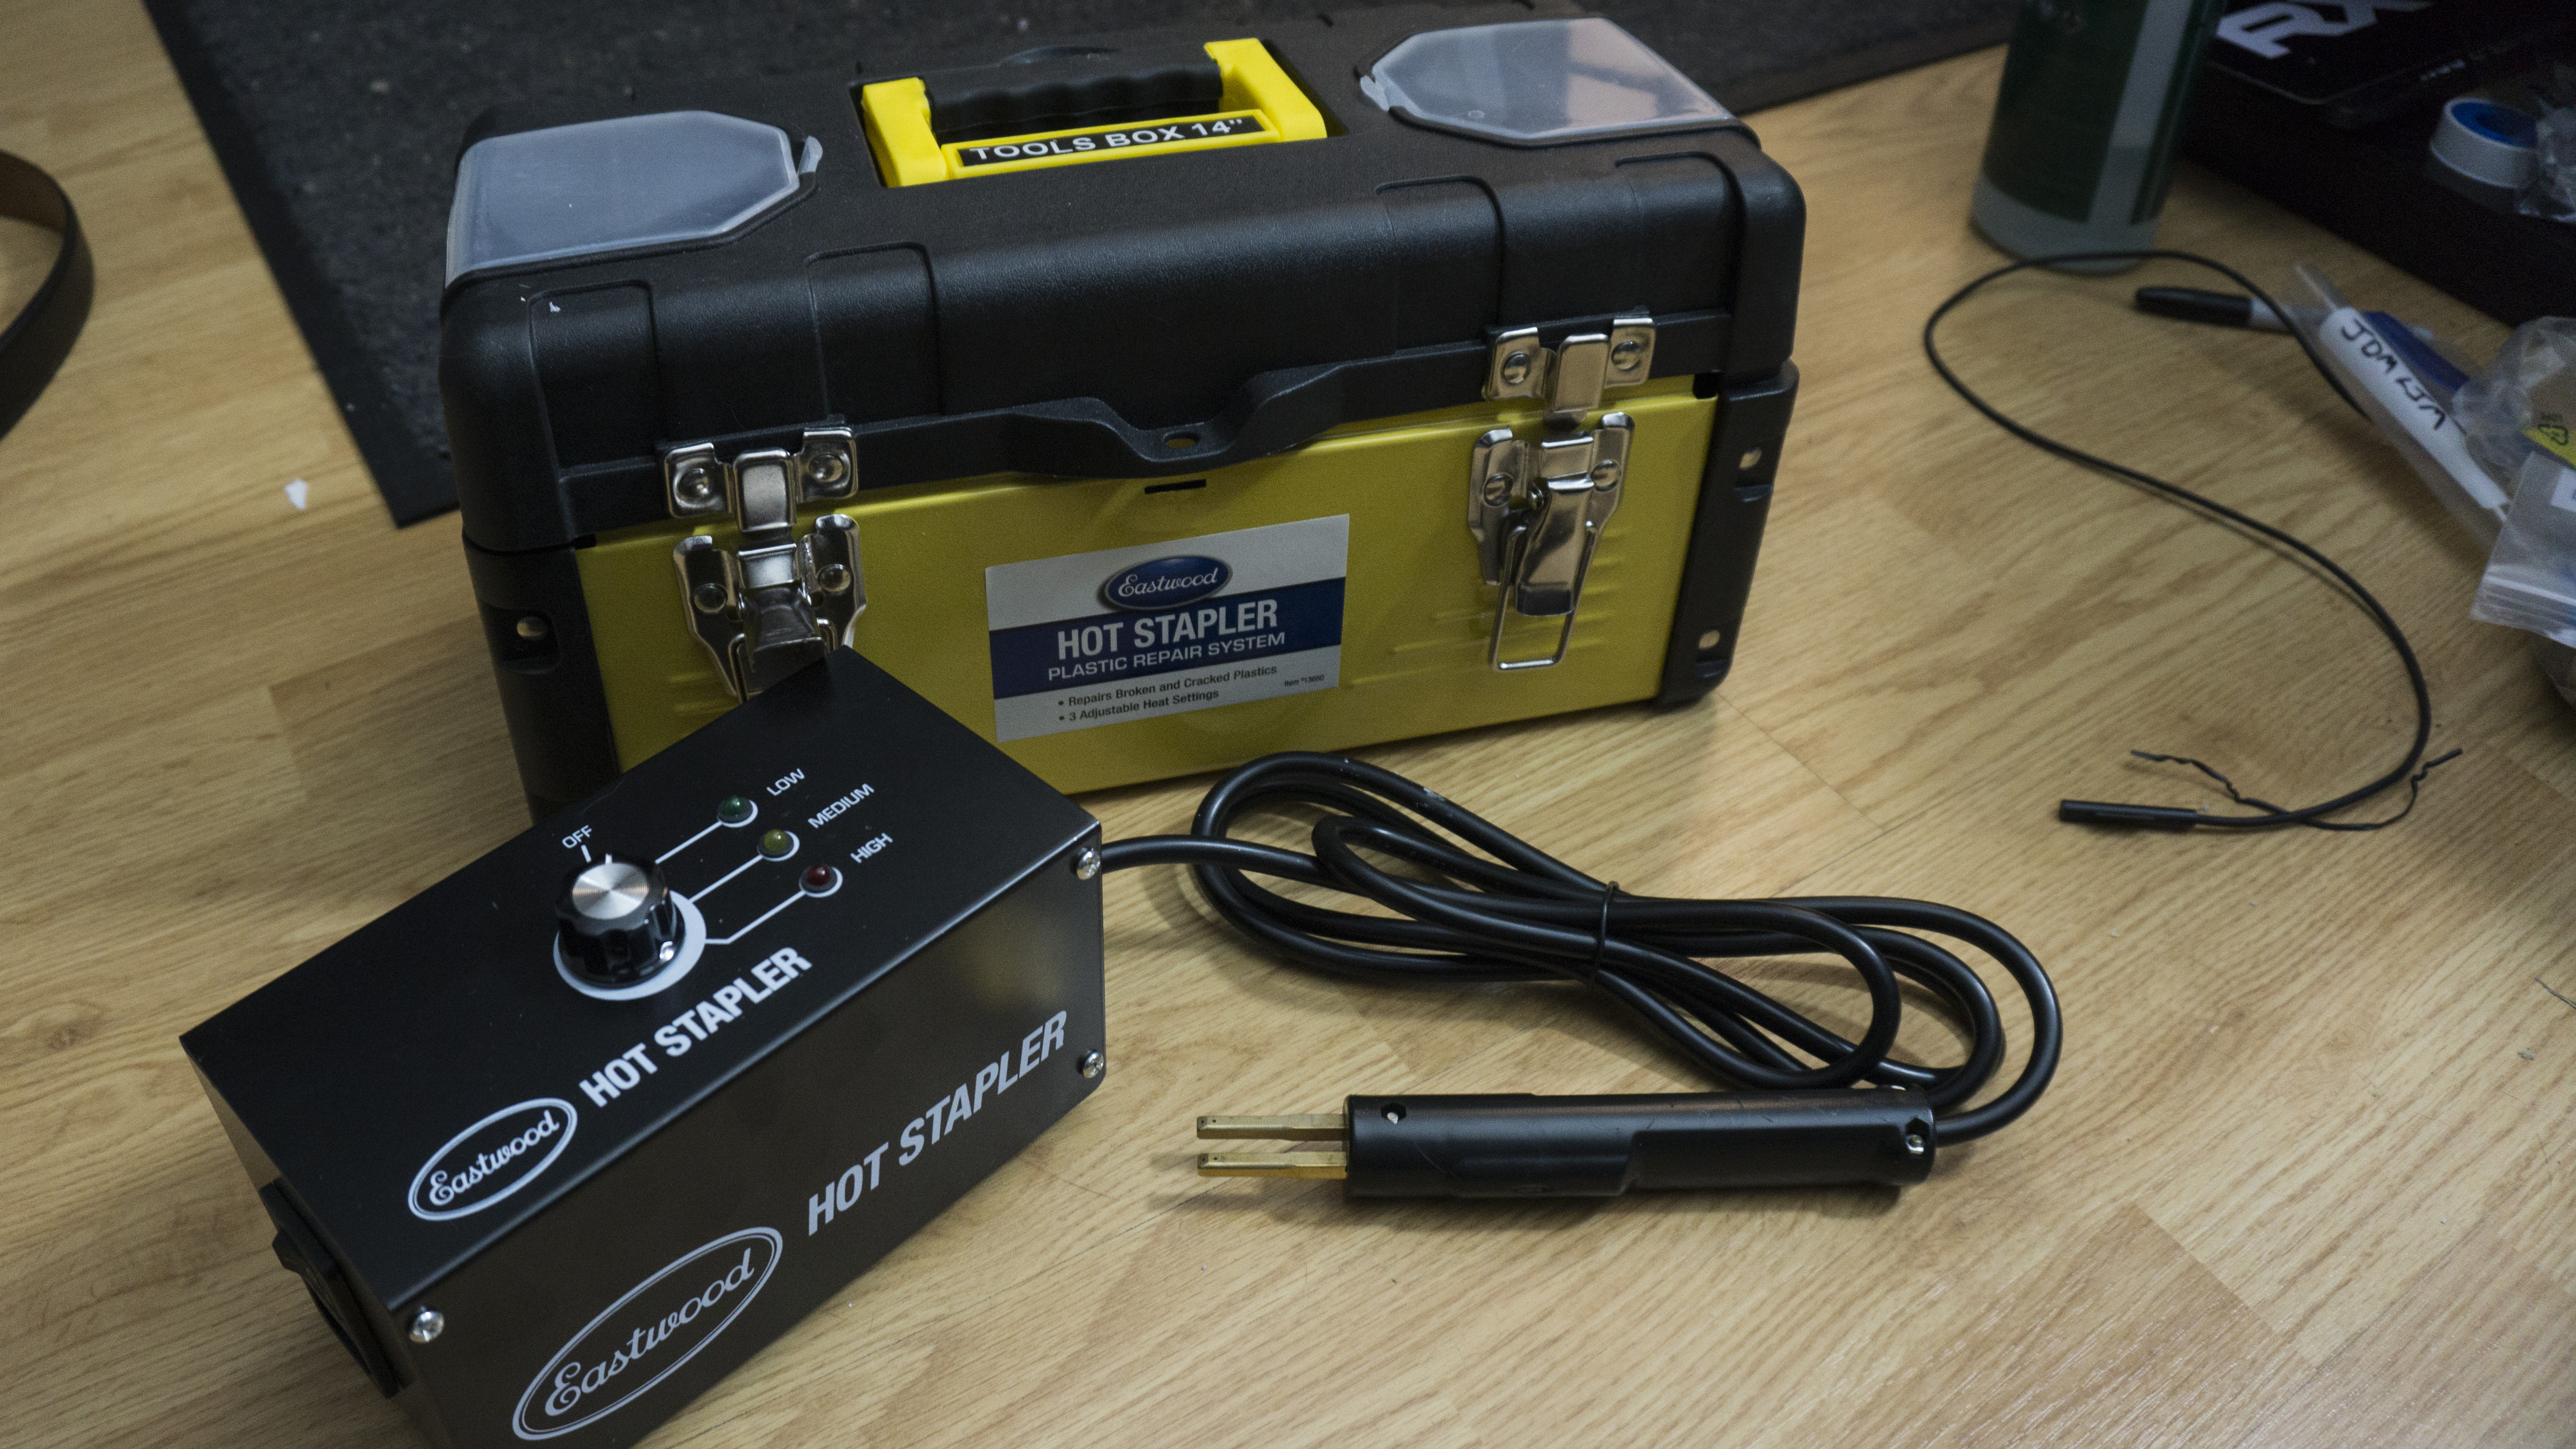
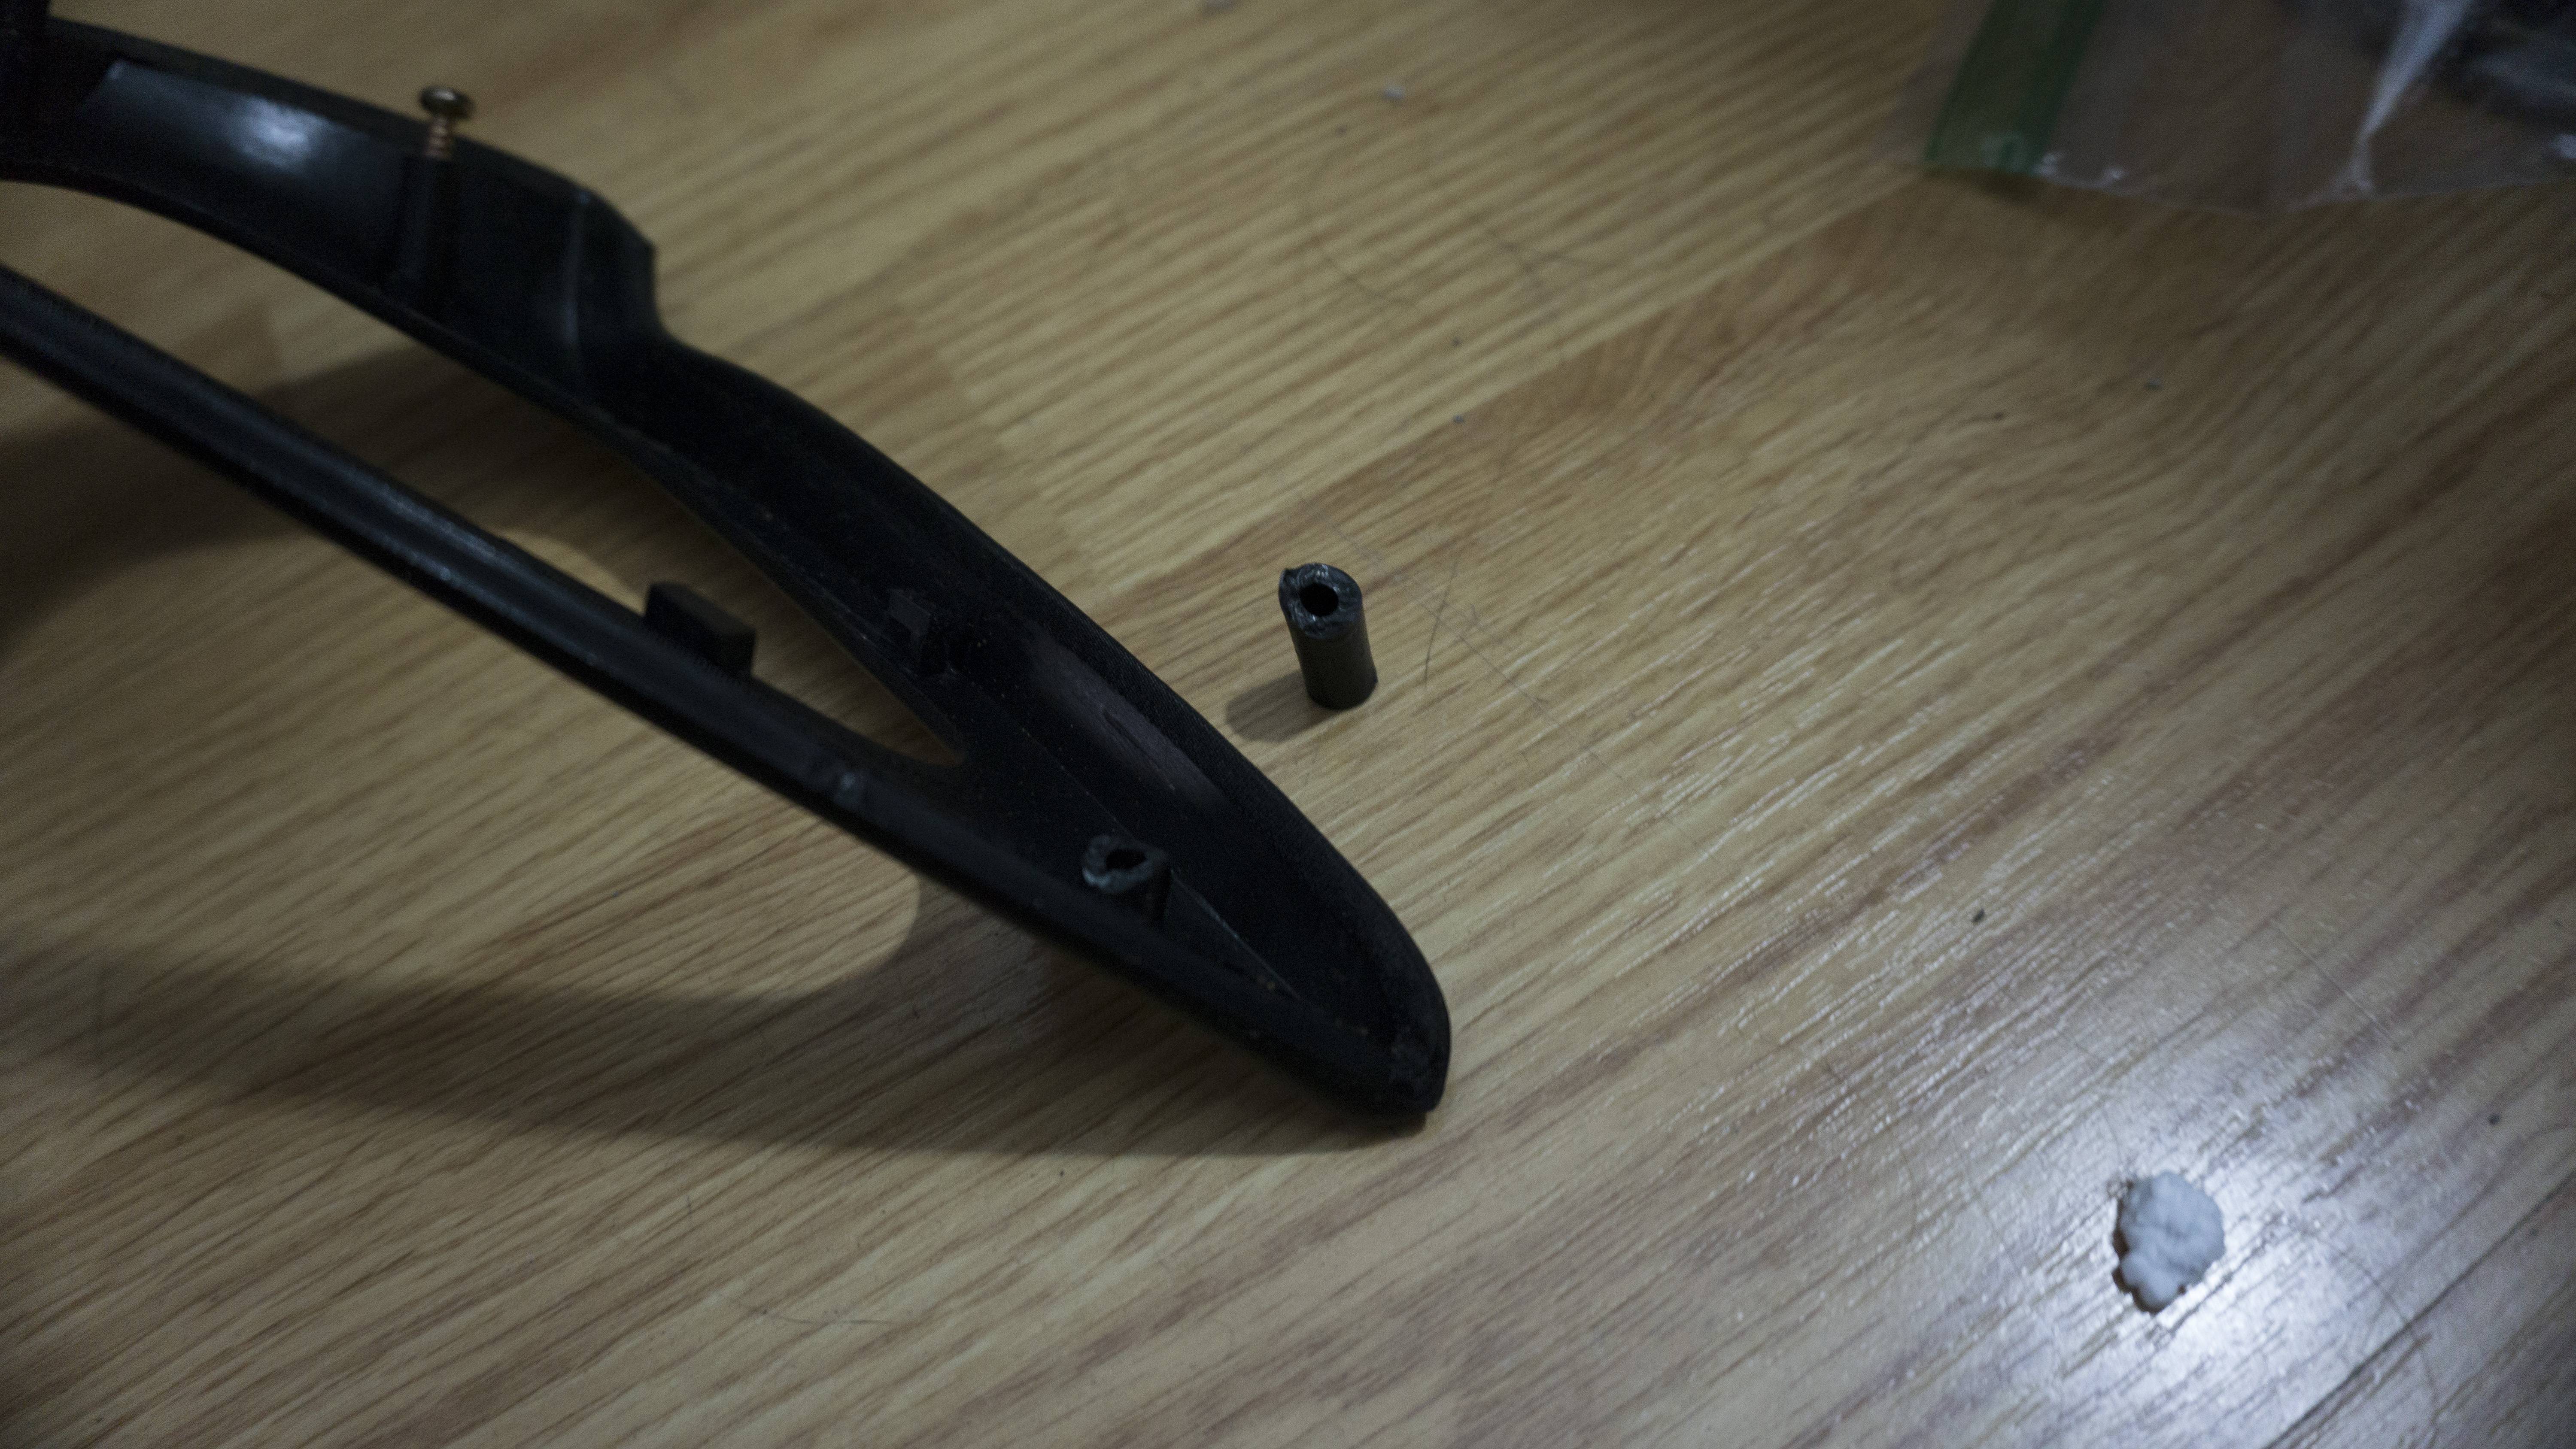
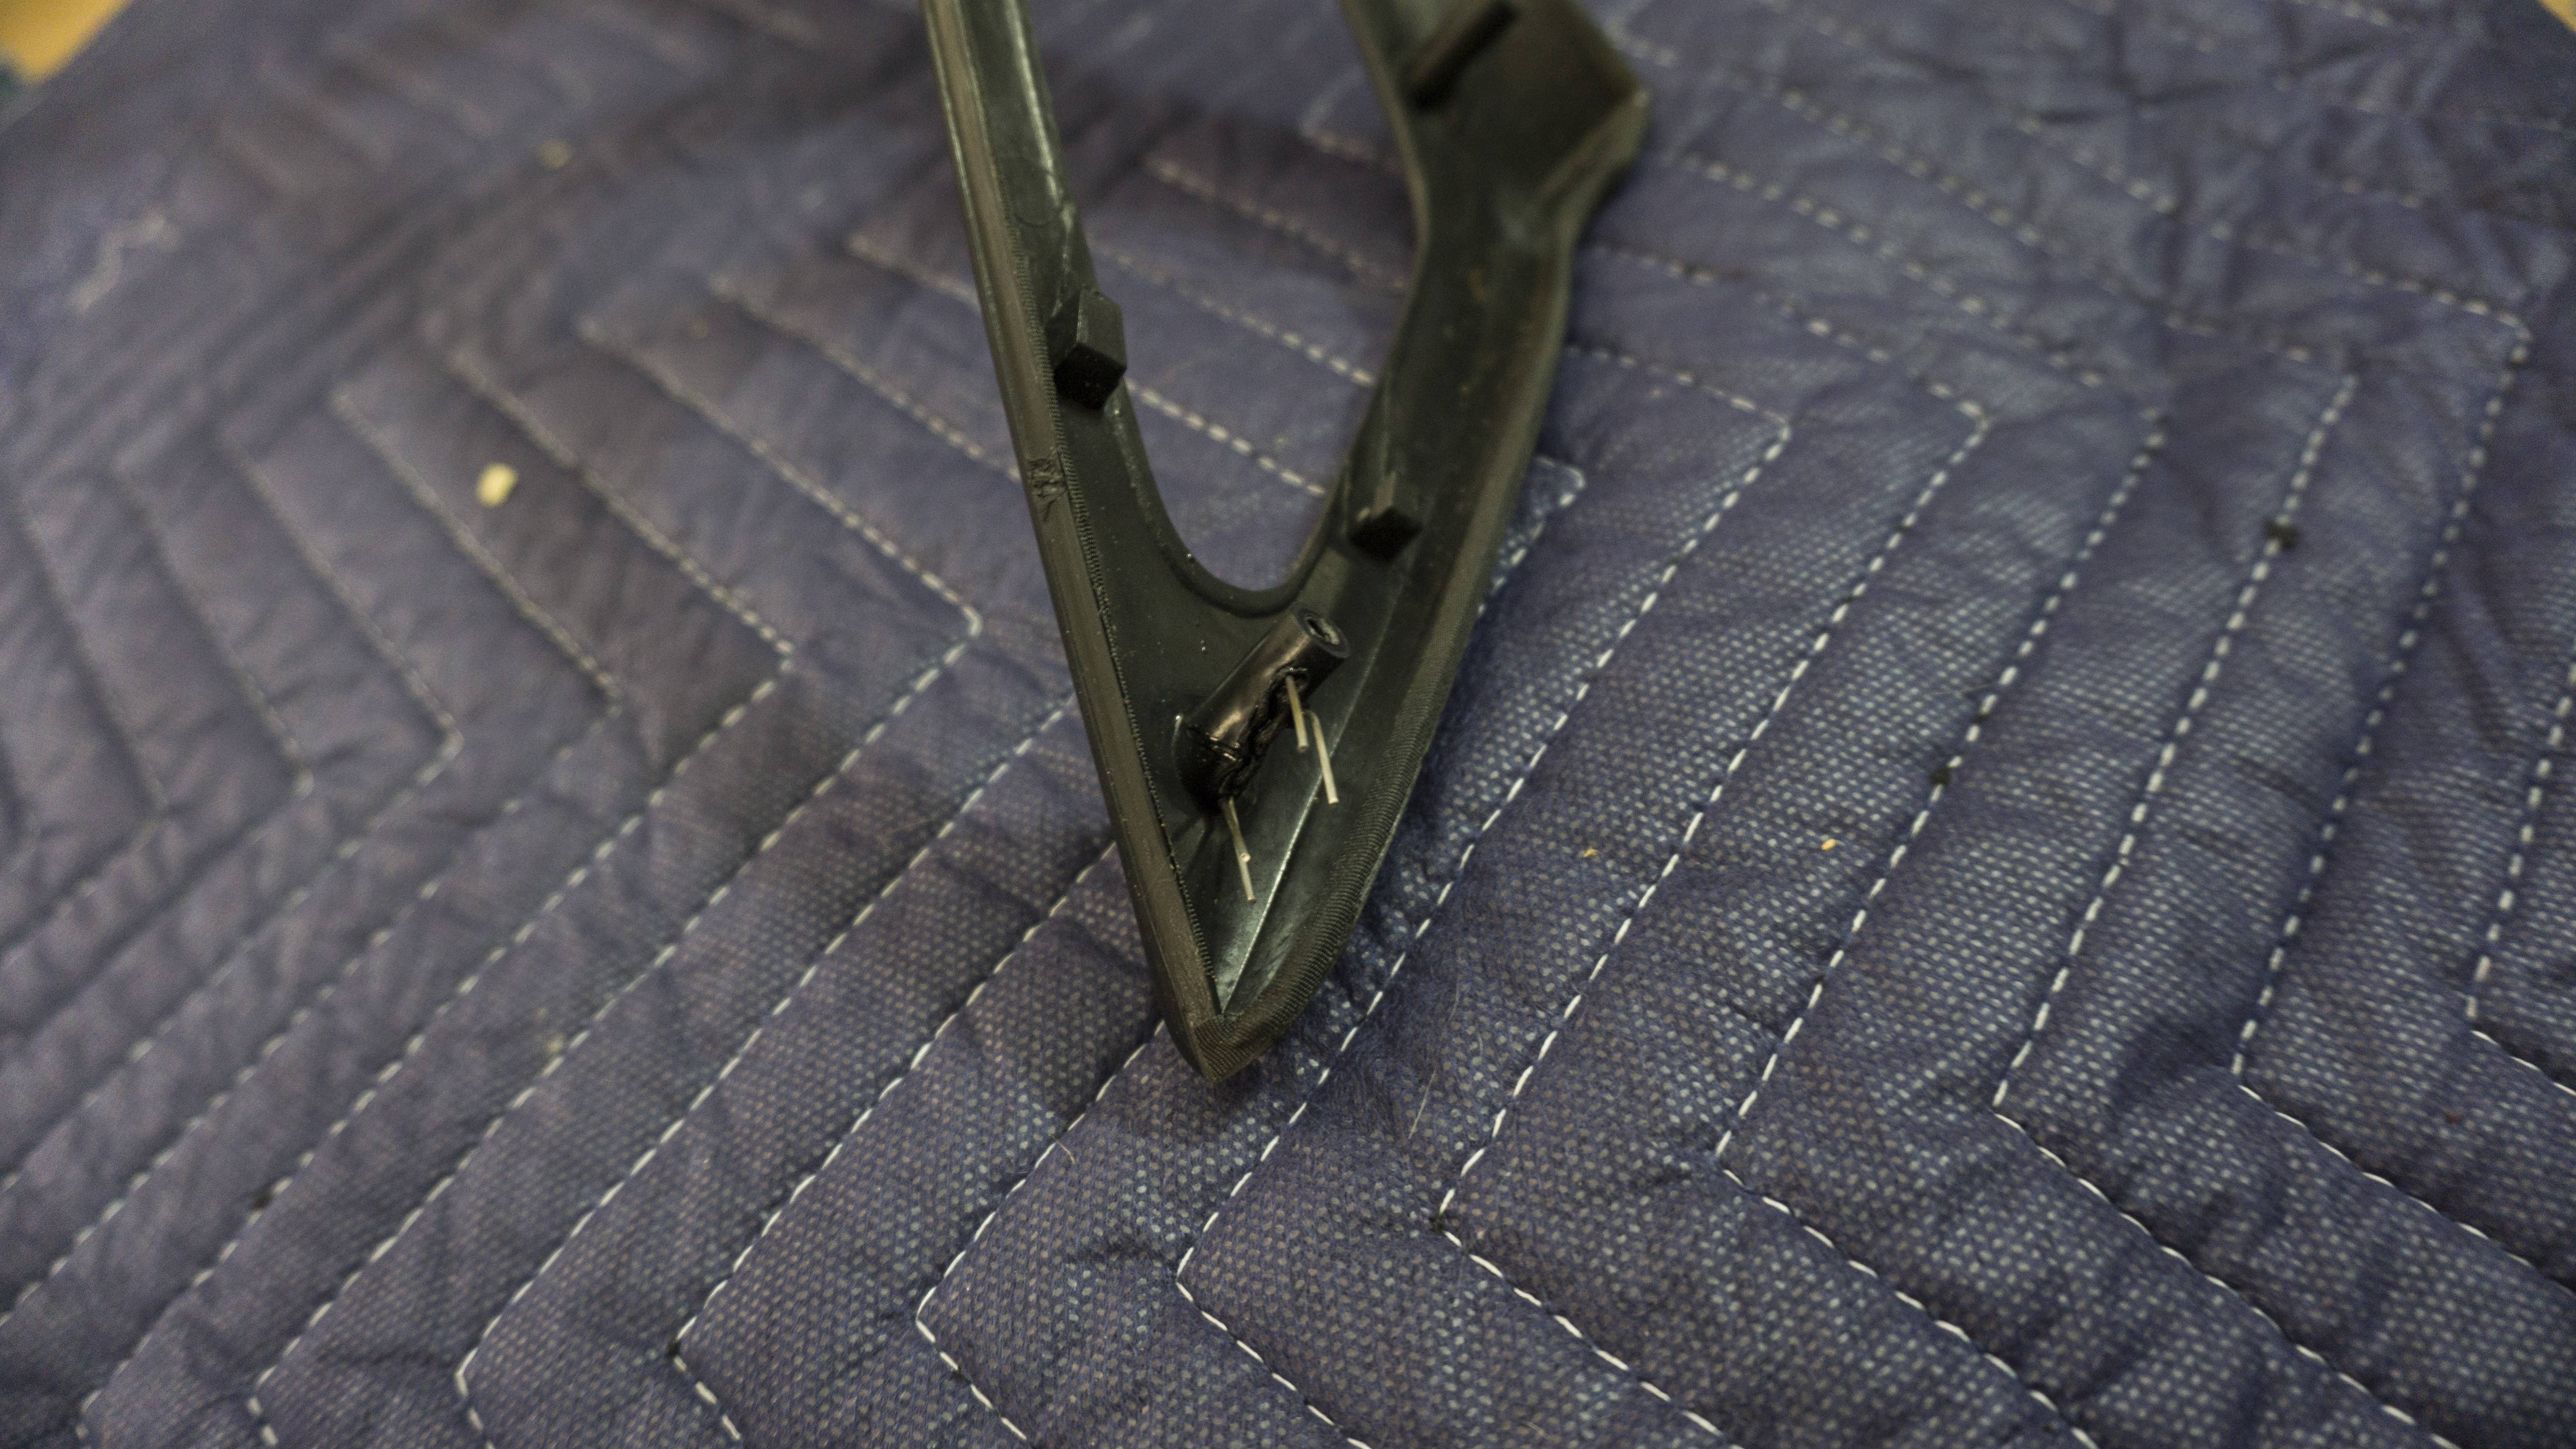
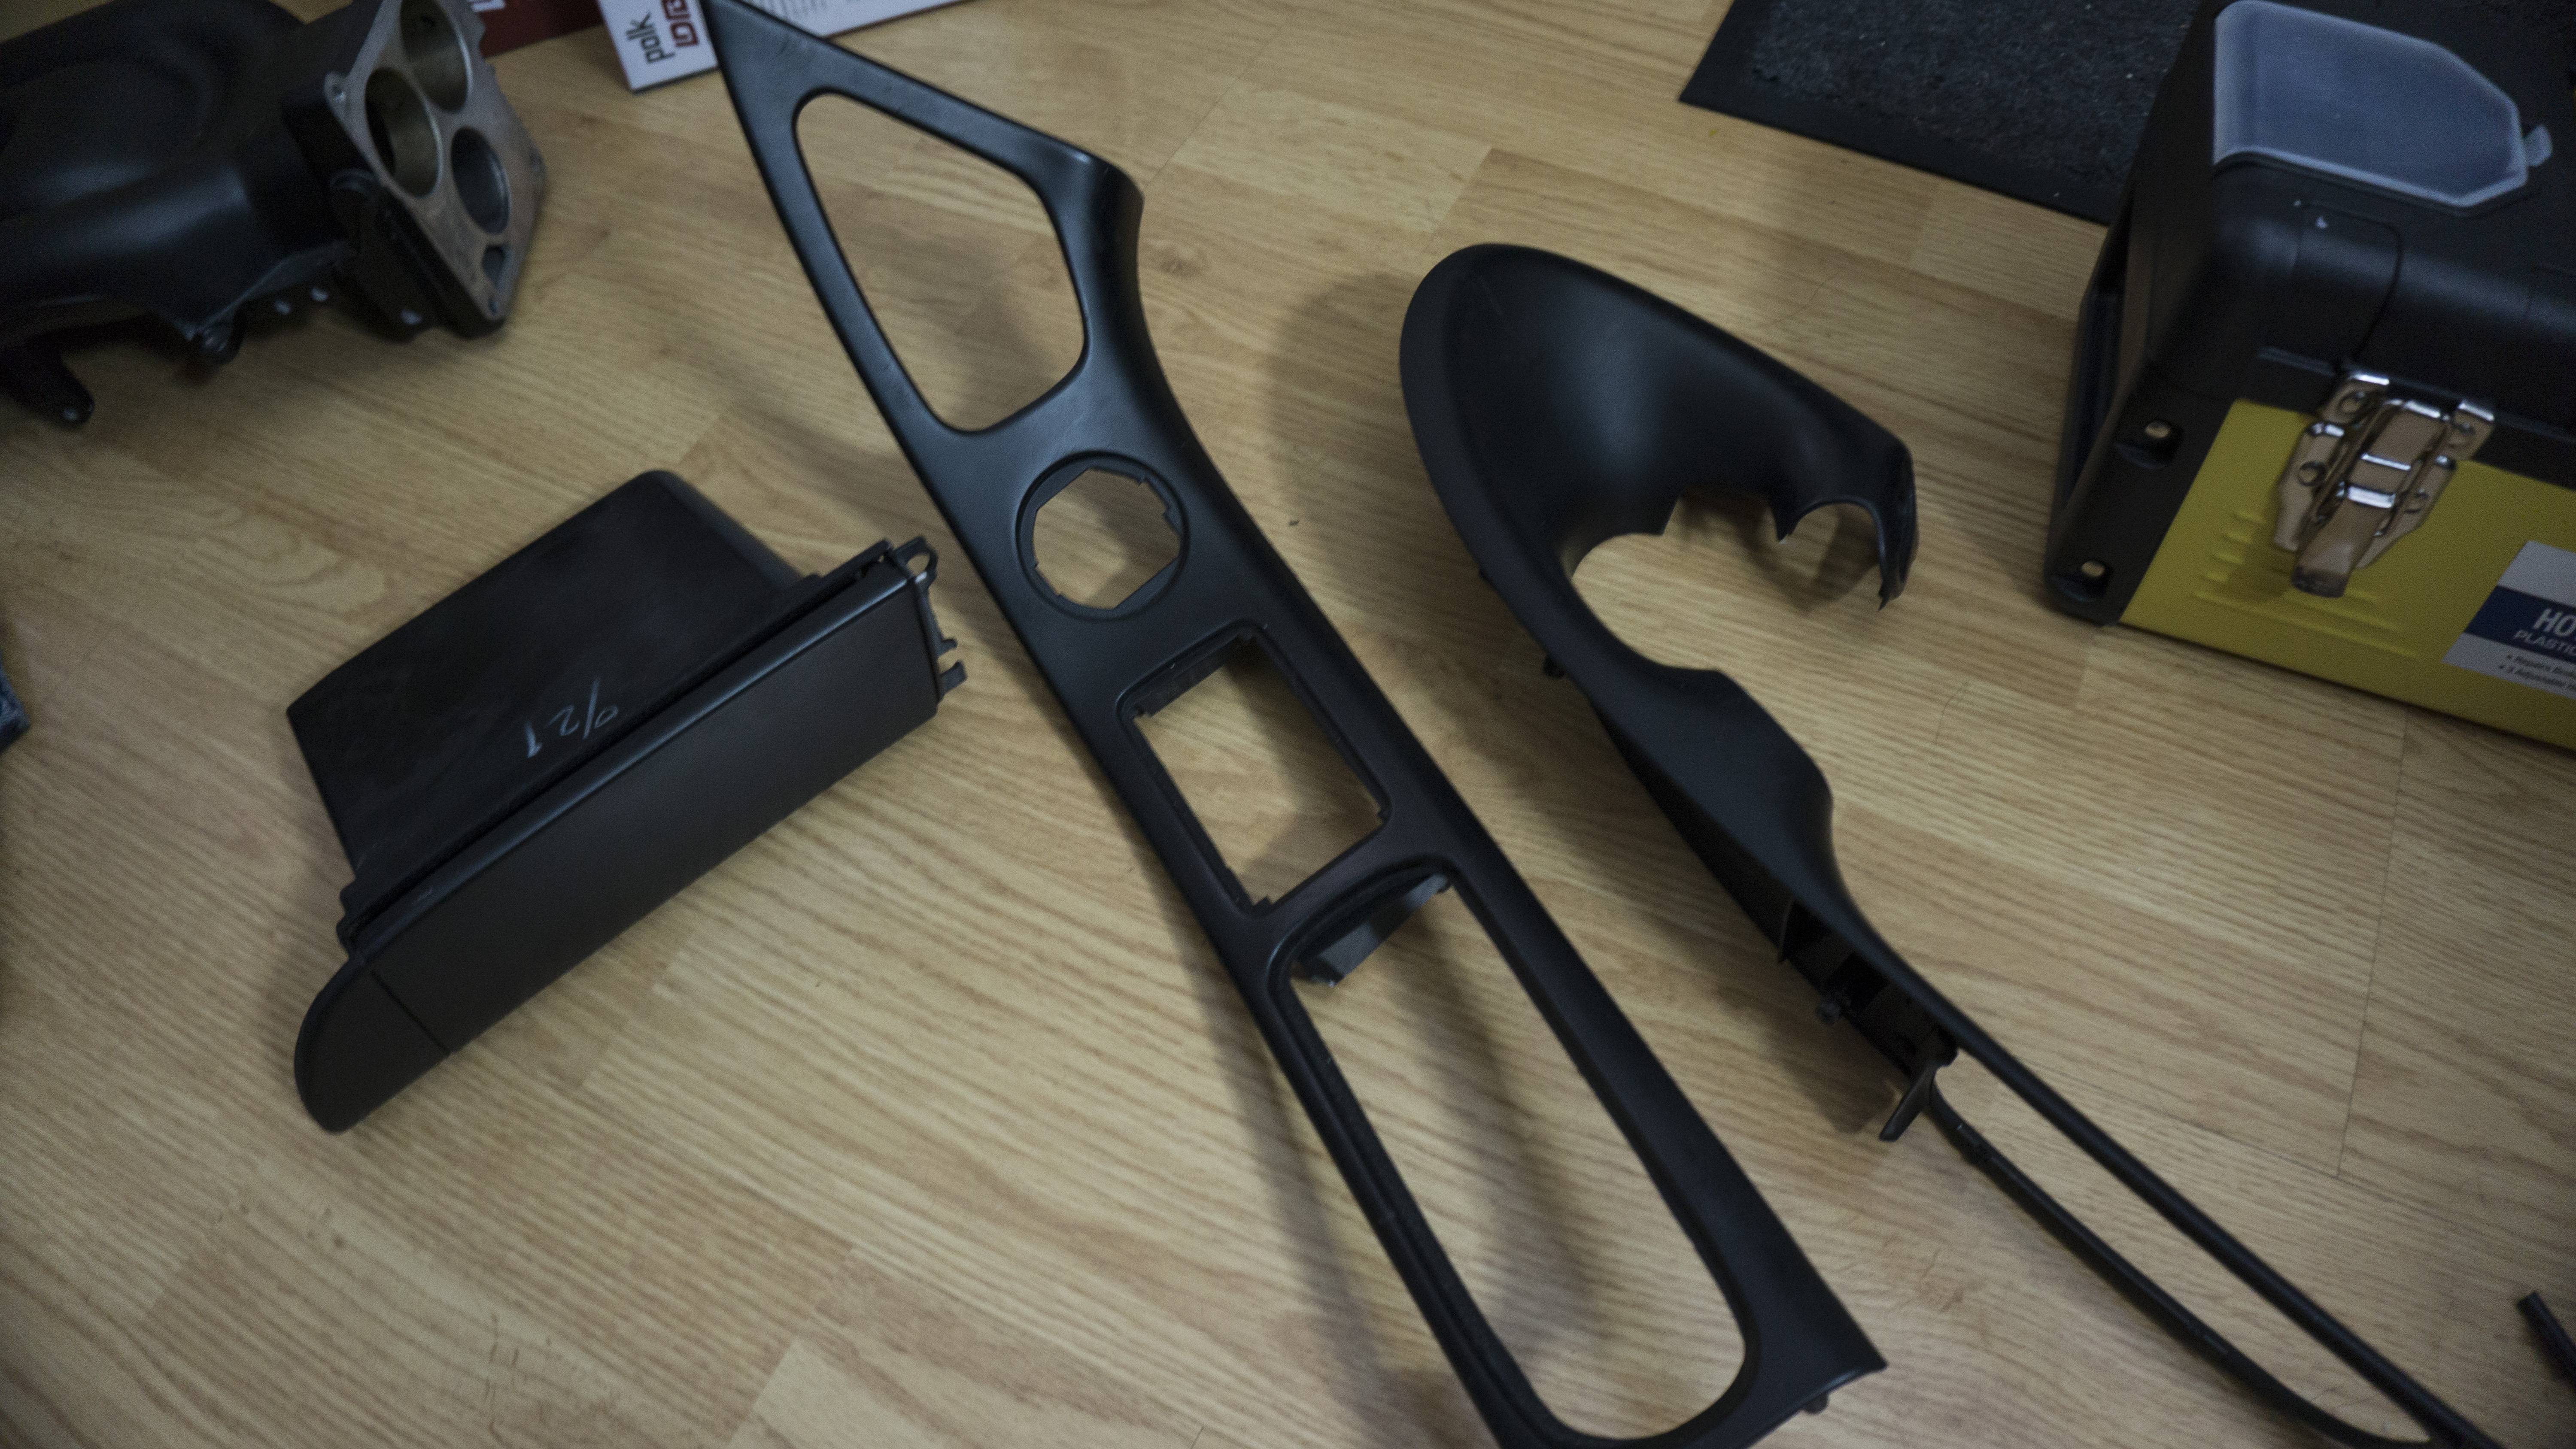
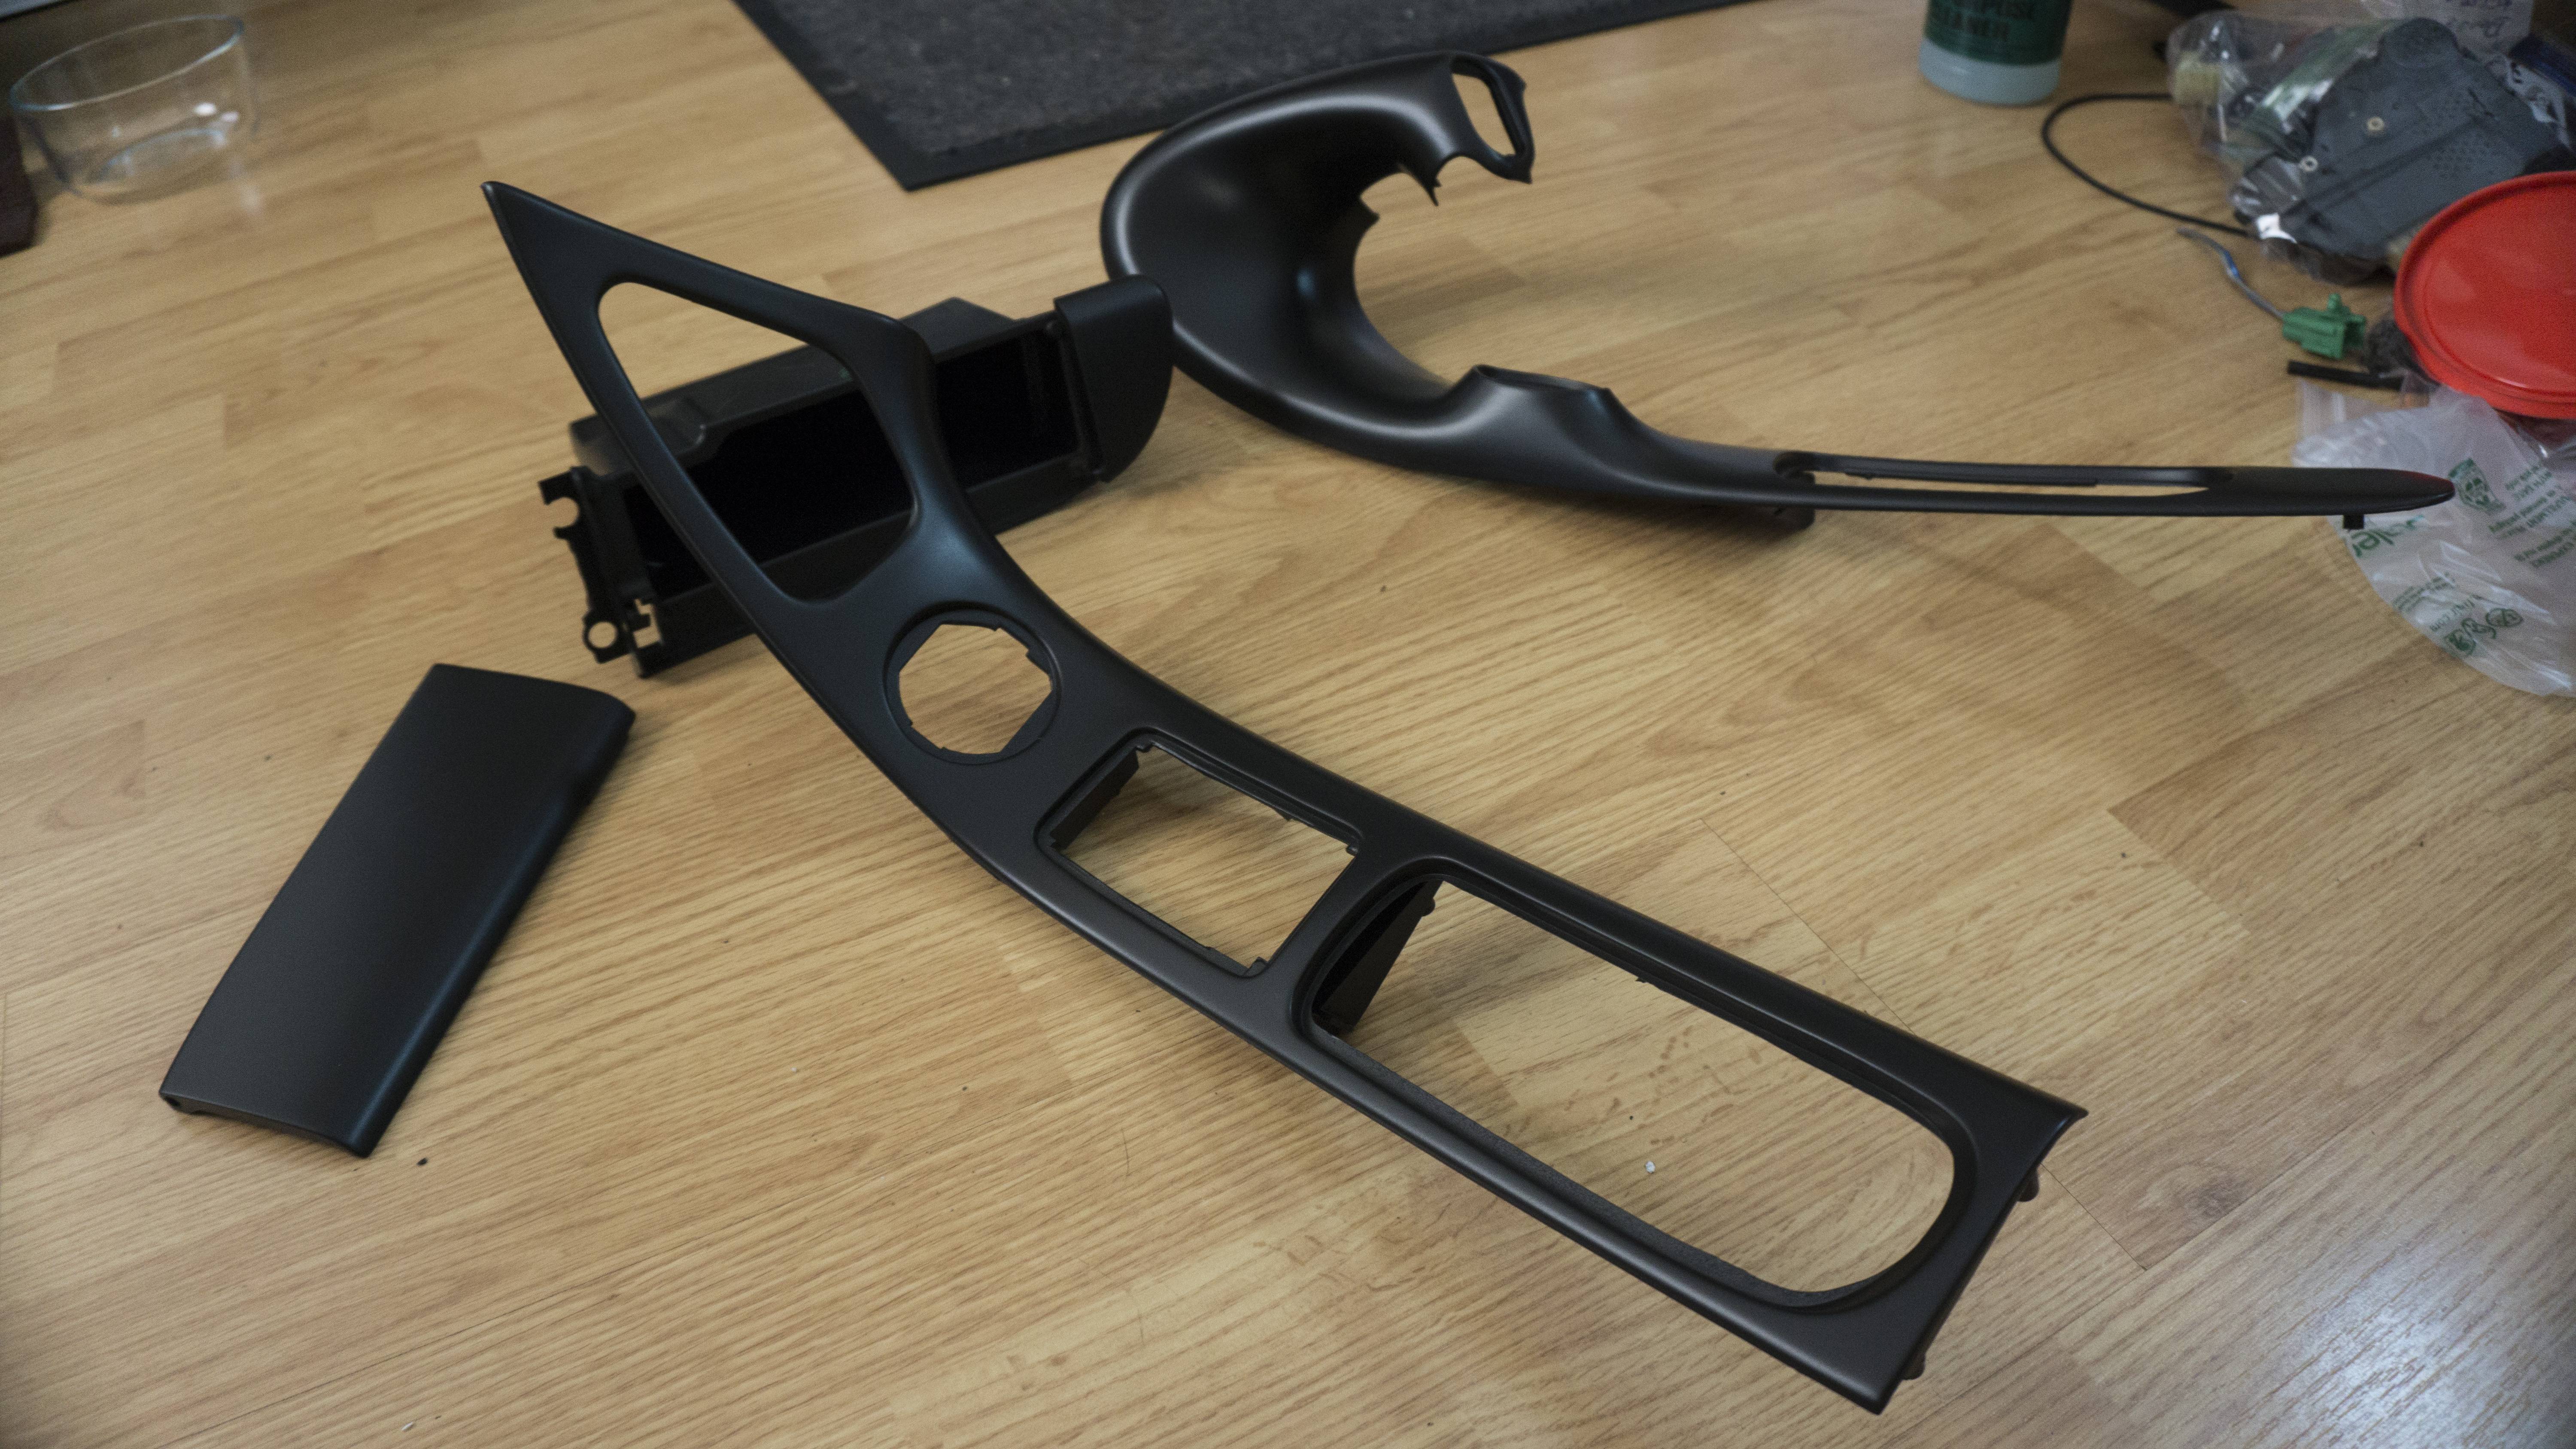
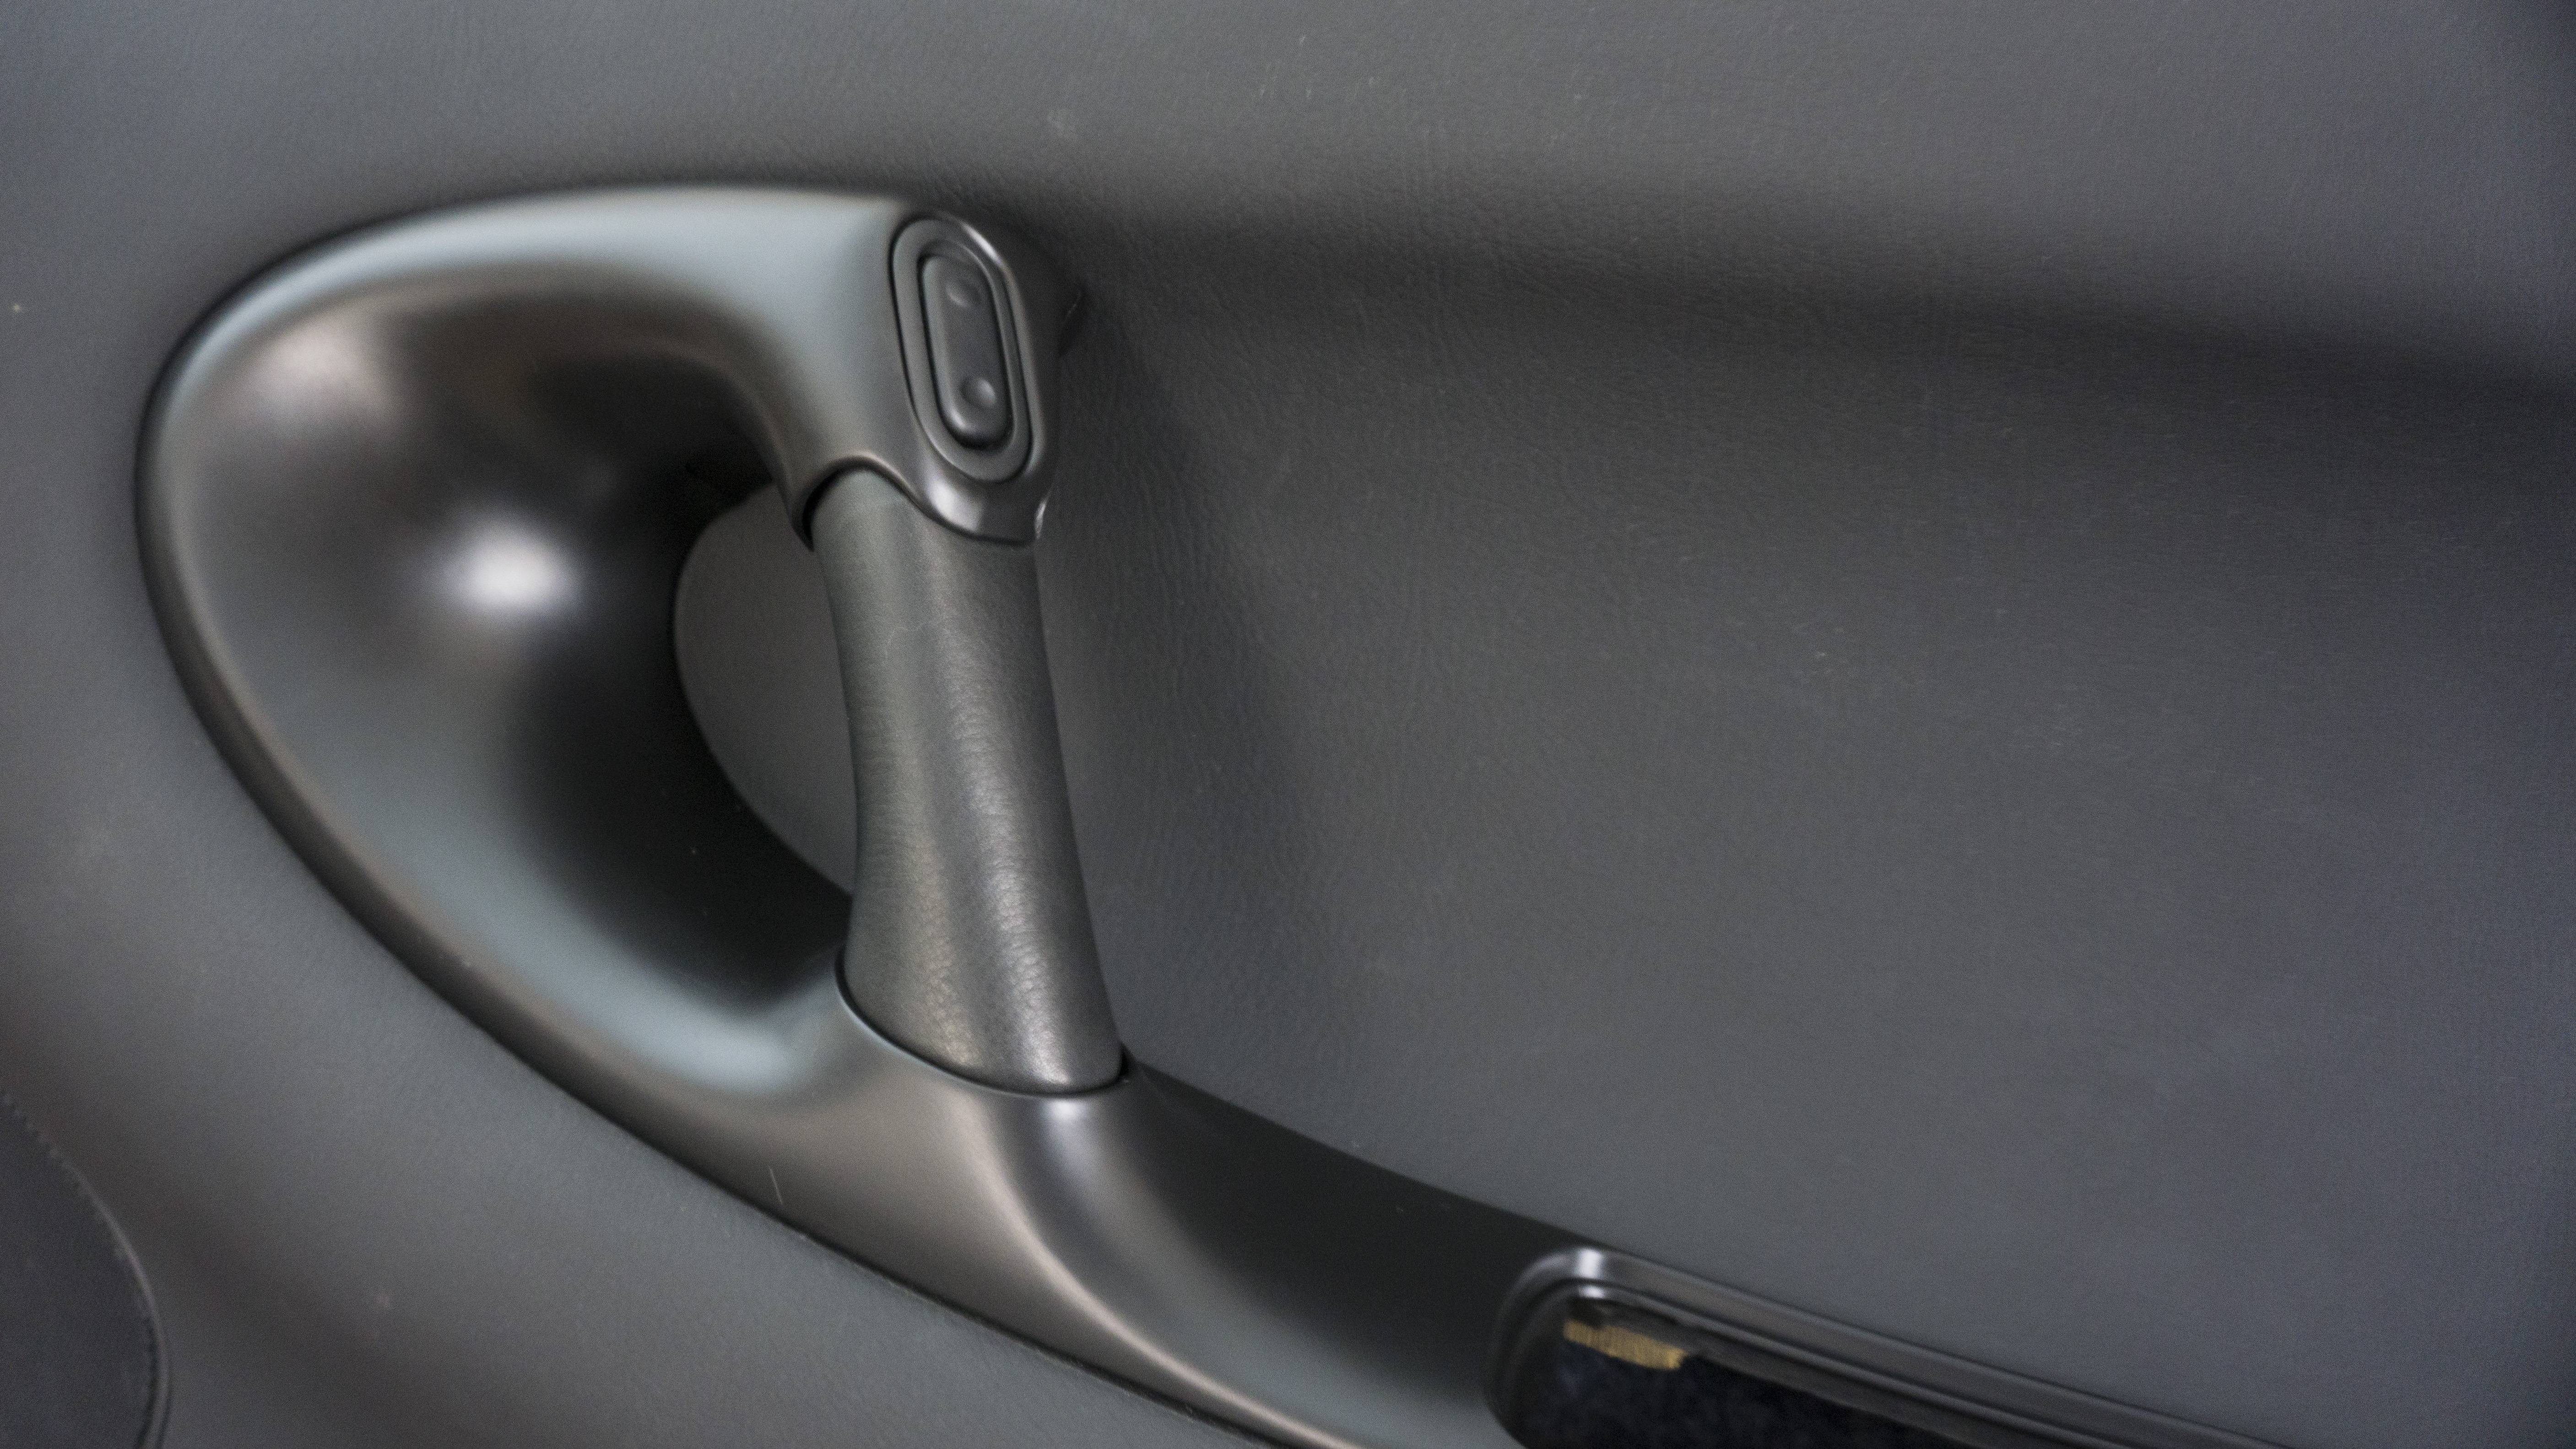
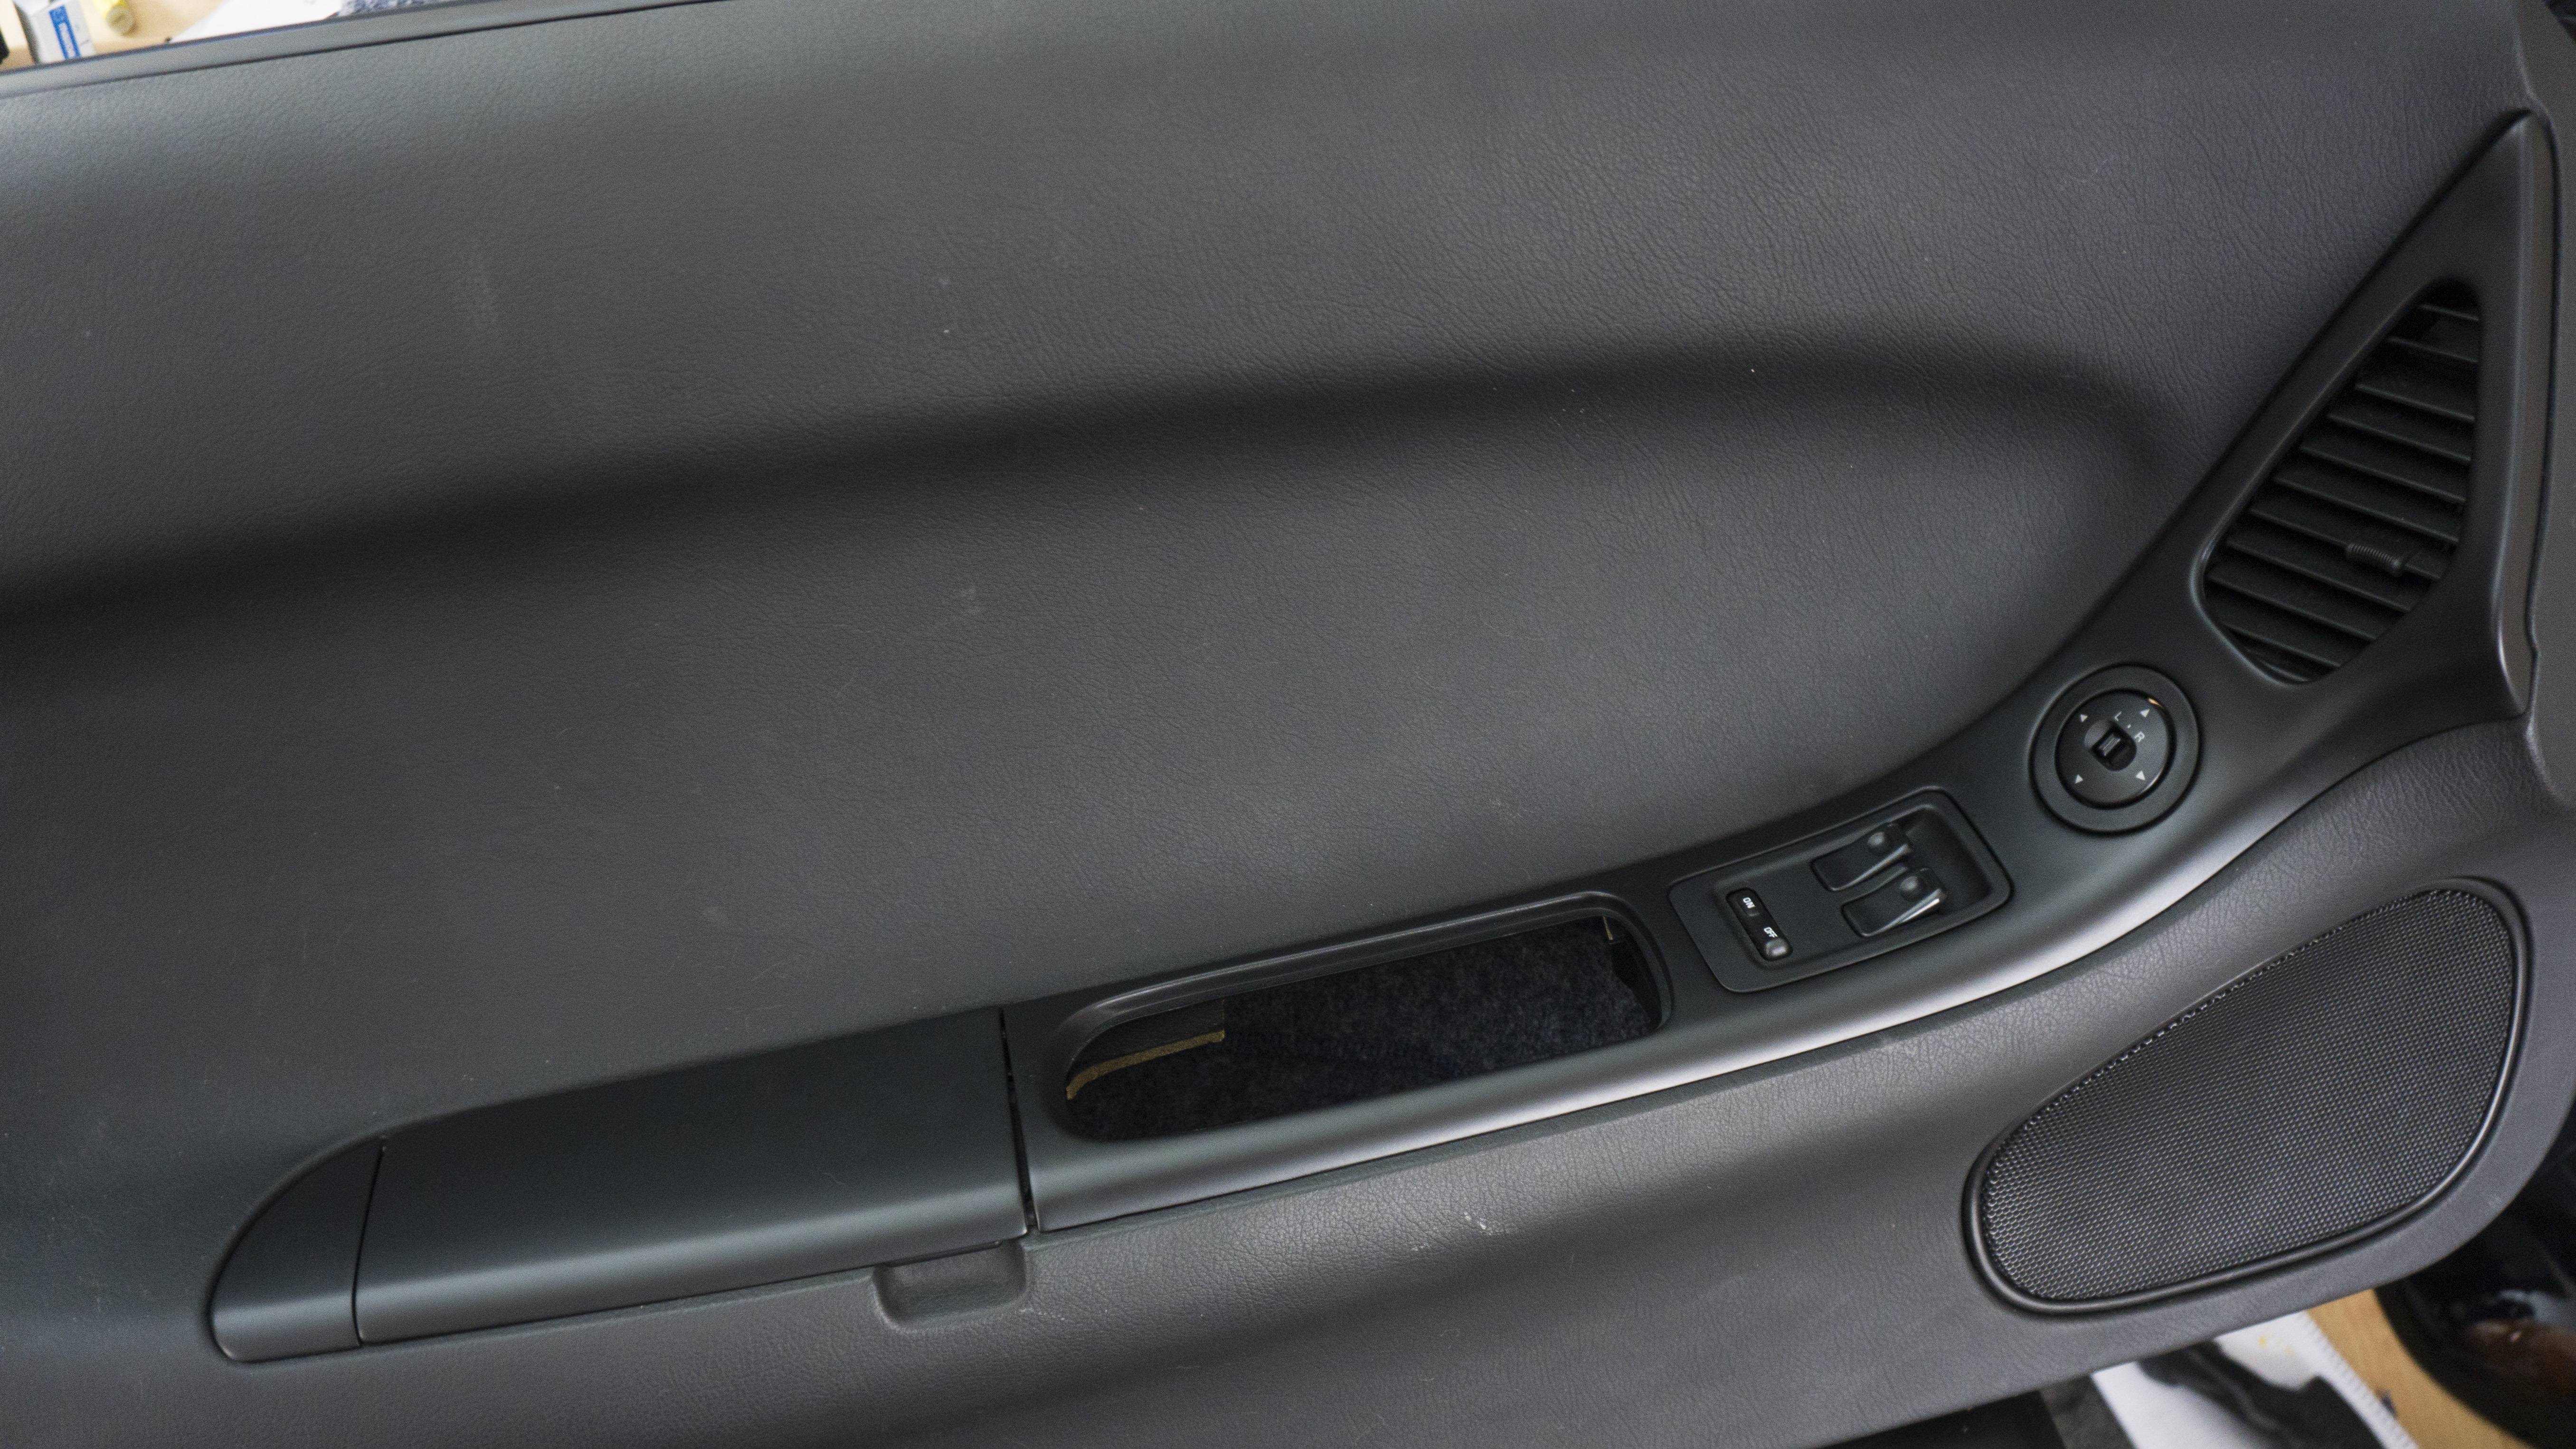
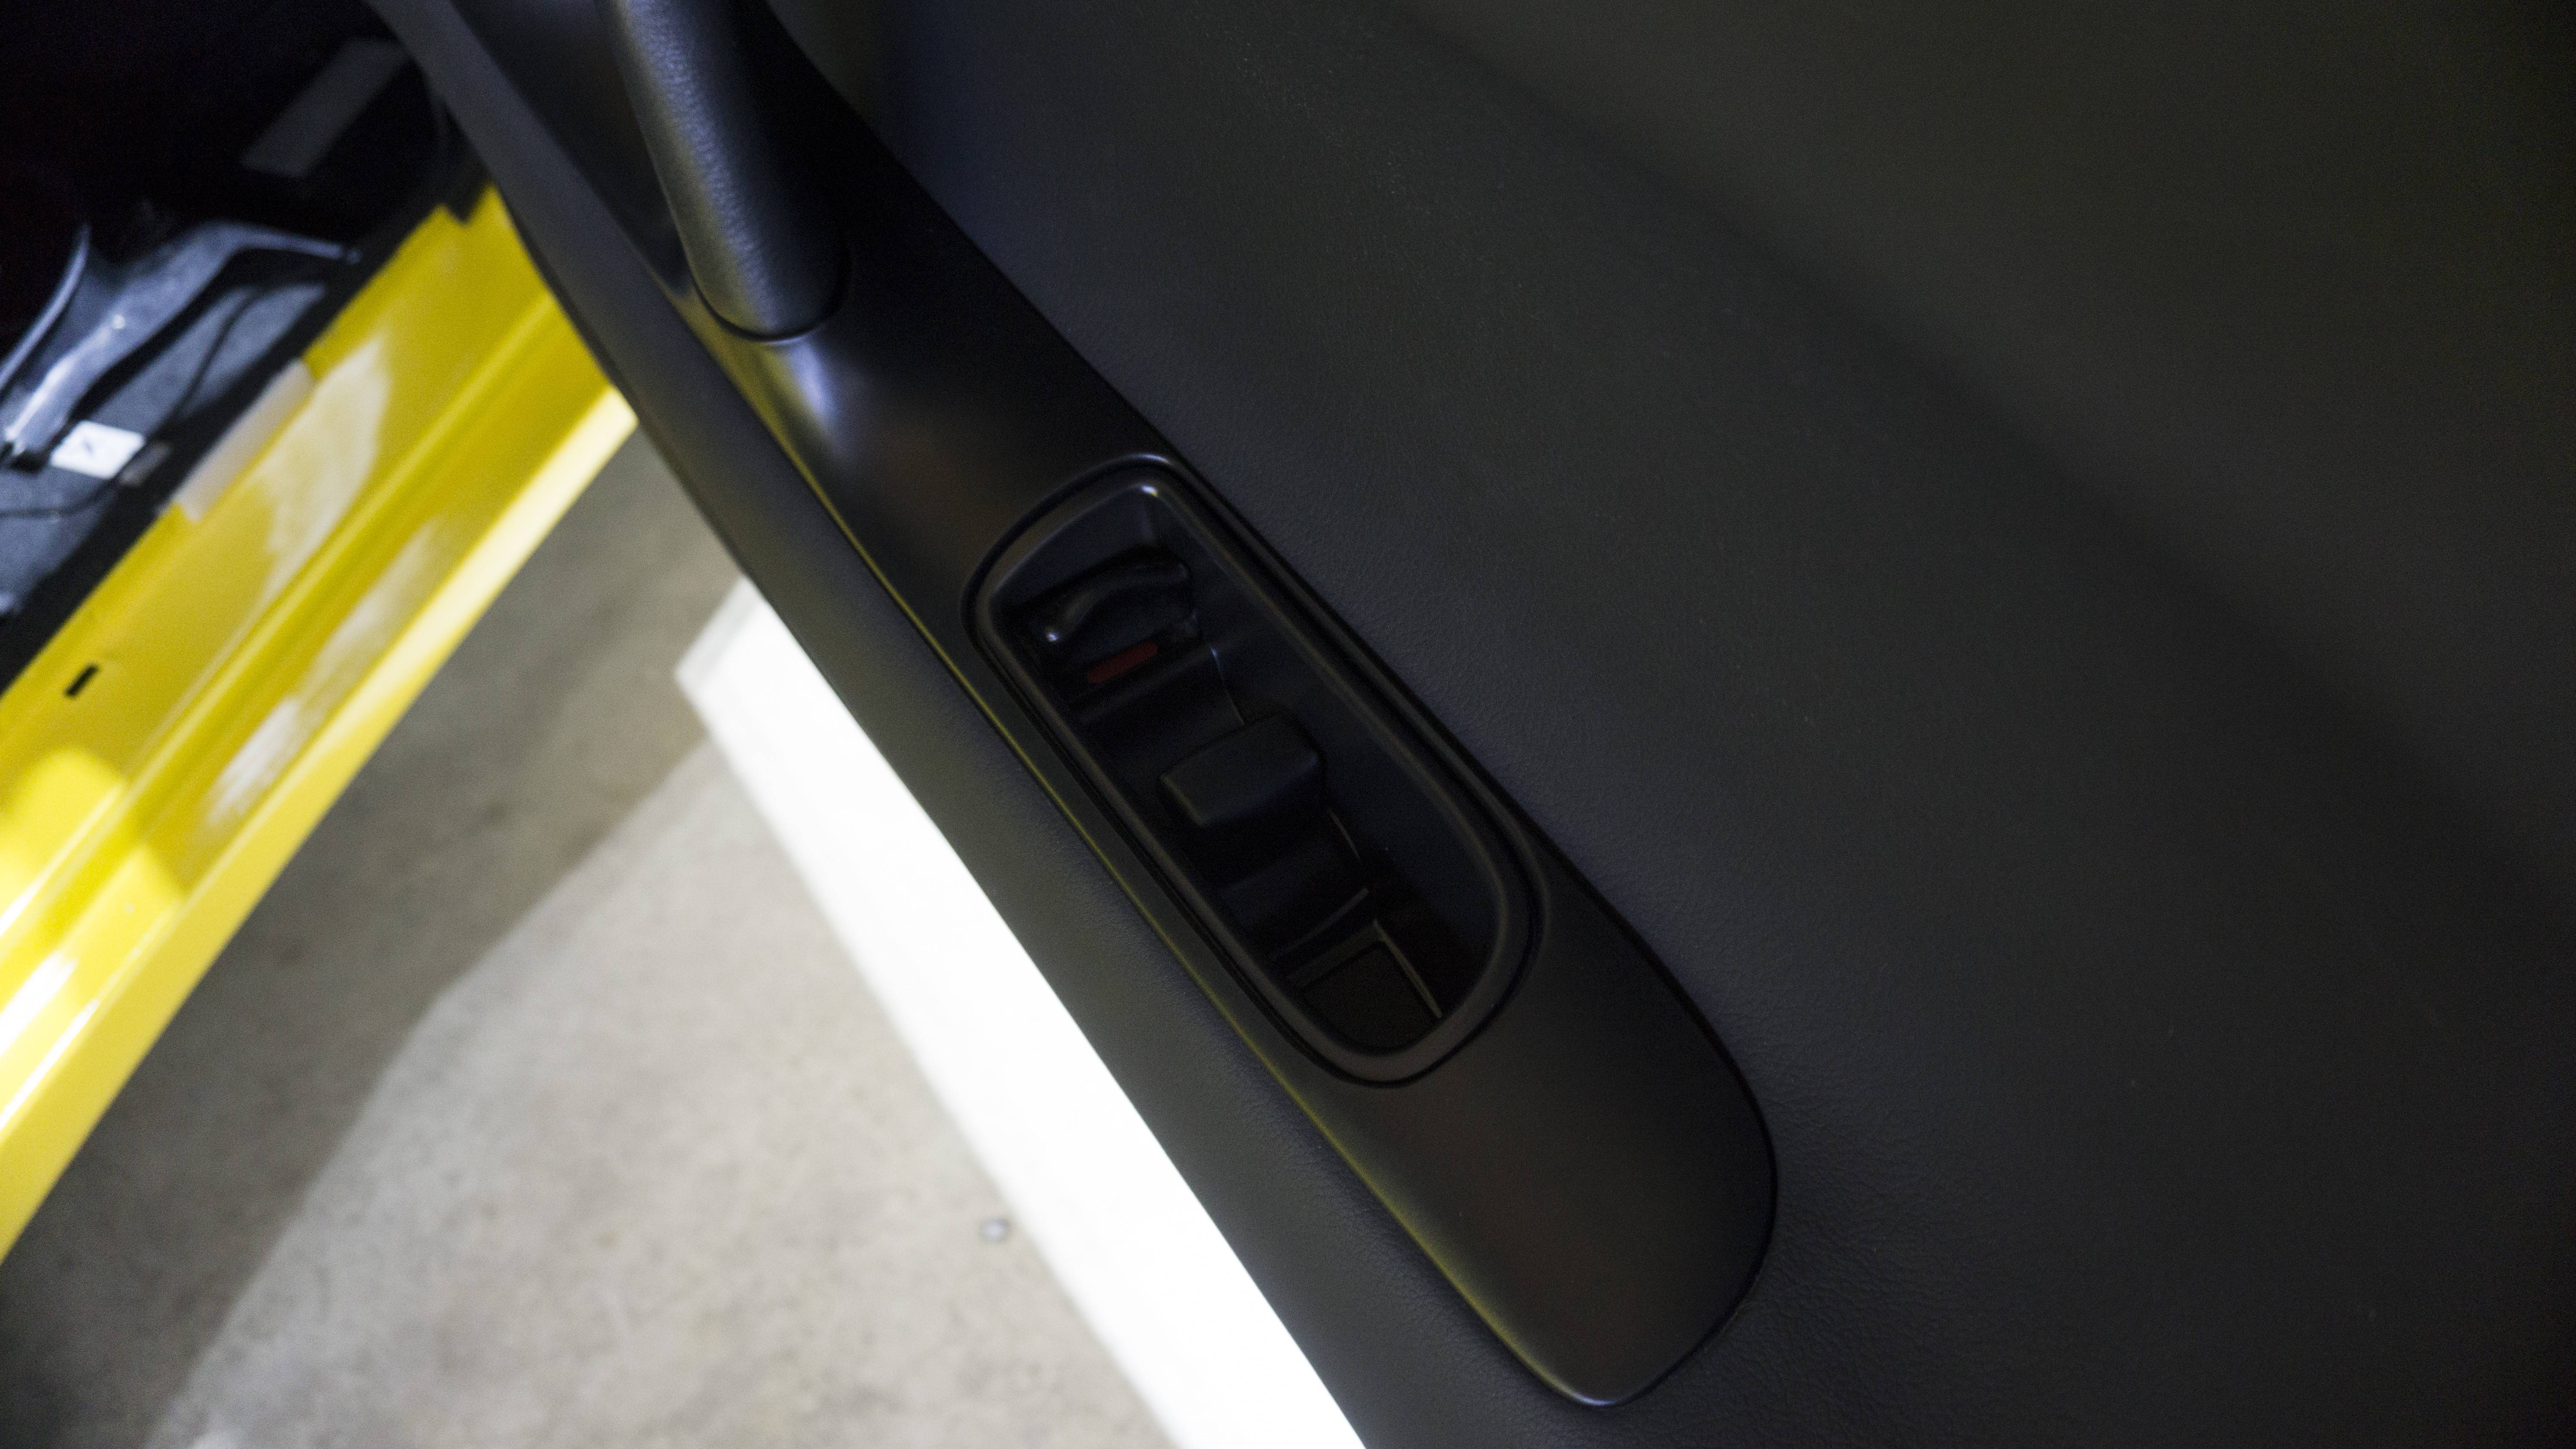
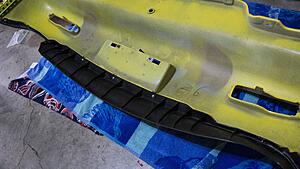
This may be the last update for the year. I dropped off all the stuff I intended for paint at a bodyshop to get some of the stuff fixed and resprayed. I�ve seen their work before so I�m pretty optimistic they will do the CYM paint color justice. They are doing some test runs to see if I will need blending. Here at the house I�ve been tackling the rest of the interior. I broke a couple of plastic pieces on the parts I removed, so I ordered a hot staple gun to fix them. I like the hot staple method since it acts as a permanent stitch to the material and gives the piece a greater structural rigidness than it originally had. I also stripped the coating on the door plastics and resprayed them. What a pain - at least compared to the FC plastics. You can almost fire and forget on the FC with zero prep and it will turn out really nice. Every little defect needs taken care of on these plastics for it to look good. It took me three attempts to get it presentable worthy. I had a lot of issues with using adhesion promoter. If I went back a fourth time I think I could have made it perfect, but I didn�t want to mess with sanding again. I�ll list below my method for painting these, if you are going in blind it can be a bit of a chore. It�s my hope that either through Mazda�s rumored heritage program for the RX-7, or someone like Bubbletech, will create these panels and I�ll just buy them from them as a replacement. I also installed my Bubbletech passenger grip handle and the Rotary13Bb1 Interior Door Cups. The cups fit �okay�. One of the sides is raised on the driver side. I�m not sure if it is a door fitment issue or an issue with the aluminum door cup fitment issue. I�ll try and fix that later. I also threw my Cusco strut bar on that I had powder coated flat black. I think it turned out really nice and it definitely eliminated my want for a Titanium Strut Bar for the moment. The rest of what I have left to do is really just waiting� Waiting for my HKS RS Intakes that are still back ordered and my stuff from paint. Once I get all of that back I should have an update again.
Mini-Guide for Re-Finishing Plastics
You will need the following:
Easy-Off Oven Cleaner
Sand Paper (800, 1500, 2000)
Red Scotch Bright Pad
IPA (Isopropyl Alcohol)
SEM Trim Black Paint
1. Spray the Oven Cleaner on the plastics and let it sit for 8-10 minutes to remove the original coating
a. You will need to do this step 2-3 times to completely remove the coating
2. Wet Sand the plastic starting at 800 until all the left-over coating is gone
3. After the coating is gone Wet Sand the plastic with the 1500 and then the 2000
4. Finish off the plastic with the Red Scotch Bright pad
b. The stepping with the sanding paper is to eliminate all the deeper scratches and get the plastic super smooth. The red scotch bright is to go back and rough it up slightly so the paint will adhere
5. Wipe the plastic down with the IPA
6. Spray two wet coats of the SEM Trim Black Paint allowing 4-5 minutes in between the coats
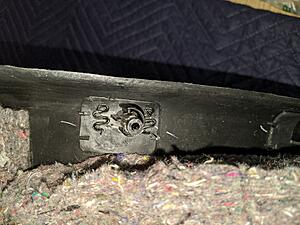
Here is the hot stapler fixings:

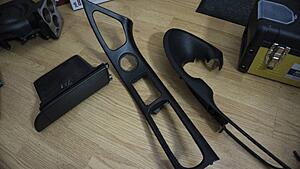
Here is a before and after of the re-finishing of the plastics:
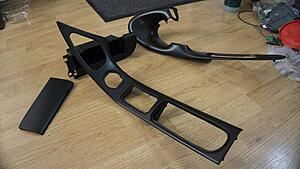
Here is the plastics installed:

Here is the strut bar installed:
This may be the last update for the year. I dropped off all the stuff I intended for paint at a bodyshop to get some of the stuff fixed and resprayed. I�ve seen their work before so I�m pretty optimistic they will do the CYM paint color justice. They are doing some test runs to see if I will need blending. Here at the house I�ve been tackling the rest of the interior. I broke a couple of plastic pieces on the parts I removed, so I ordered a hot staple gun to fix them. I like the hot staple method since it acts as a permanent stitch to the material and gives the piece a greater structural rigidness than it originally had. I also stripped the coating on the door plastics and resprayed them. What a pain - at least compared to the FC plastics. You can almost fire and forget on the FC with zero prep and it will turn out really nice. Every little defect needs taken care of on these plastics for it to look good. It took me three attempts to get it presentable worthy. I had a lot of issues with using adhesion promoter. If I went back a fourth time I think I could have made it perfect, but I didn�t want to mess with sanding again. I�ll list below my method for painting these, if you are going in blind it can be a bit of a chore. It�s my hope that either through Mazda�s rumored heritage program for the RX-7, or someone like Bubbletech, will create these panels and I�ll just buy them from them as a replacement. I also installed my Bubbletech passenger grip handle and the Rotary13Bb1 Interior Door Cups. The cups fit �okay�. One of the sides is raised on the driver side. I�m not sure if it is a door fitment issue or an issue with the aluminum door cup fitment issue. I�ll try and fix that later. I also threw my Cusco strut bar on that I had powder coated flat black. I think it turned out really nice and it definitely eliminated my want for a Titanium Strut Bar for the moment. The rest of what I have left to do is really just waiting� Waiting for my HKS RS Intakes that are still back ordered and my stuff from paint. Once I get all of that back I should have an update again.
Mini-Guide for Re-Finishing Plastics
You will need the following:
Easy-Off Oven Cleaner
Sand Paper (800, 1500, 2000)
Red Scotch Bright Pad
IPA (Isopropyl Alcohol)
SEM Trim Black Paint
1. Spray the Oven Cleaner on the plastics and let it sit for 8-10 minutes to remove the original coating
a. You will need to do this step 2-3 times to completely remove the coating
2. Wet Sand the plastic starting at 800 until all the left-over coating is gone
3. After the coating is gone Wet Sand the plastic with the 1500 and then the 2000
4. Finish off the plastic with the Red Scotch Bright pad
b. The stepping with the sanding paper is to eliminate all the deeper scratches and get the plastic super smooth. The red scotch bright is to go back and rough it up slightly so the paint will adhere
5. Wipe the plastic down with the IPA
6. Spray two wet coats of the SEM Trim Black Paint allowing 4-5 minutes in between the coats
Here is the hot stapler fixings:

Here is a before and after of the re-finishing of the plastics:
Here is the plastics installed:

Here is the strut bar installed:
 01-15-20, 06:57 PM
#63
Update 1/15/2020:
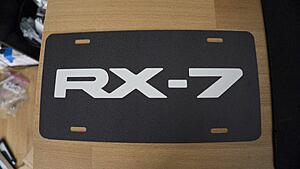
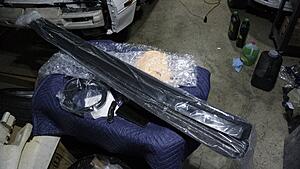
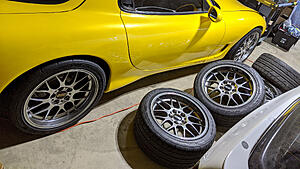
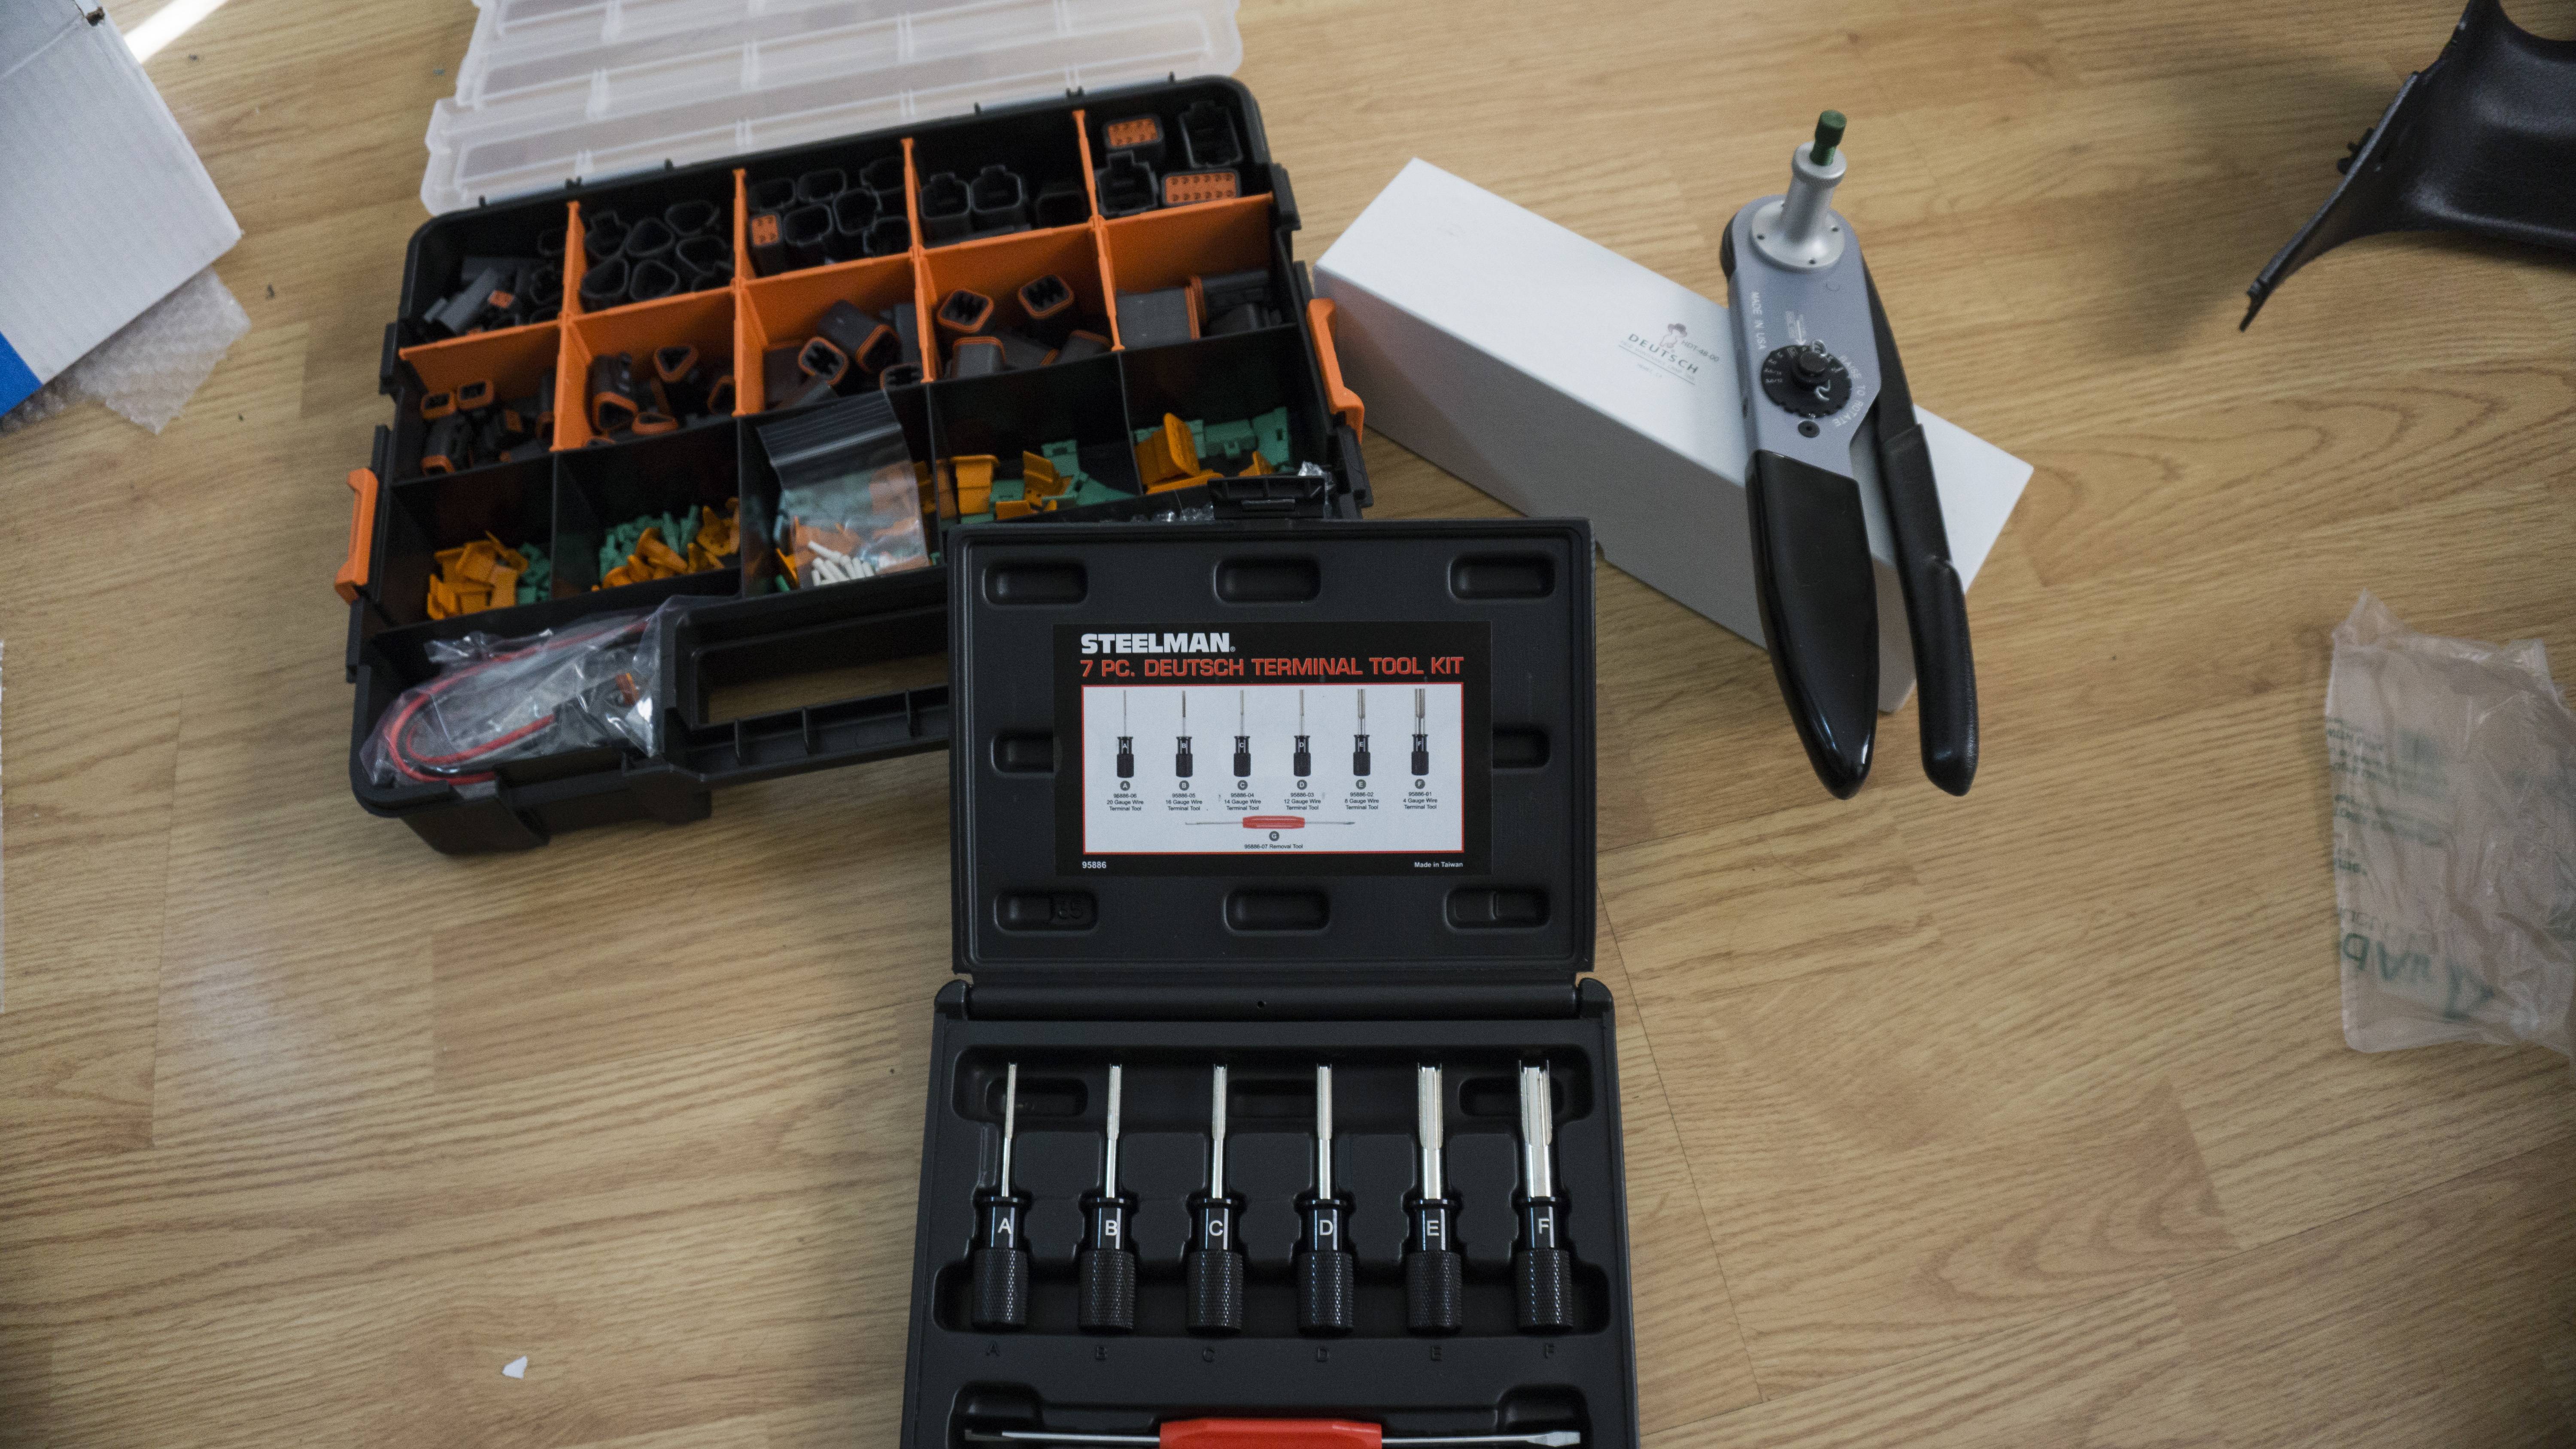
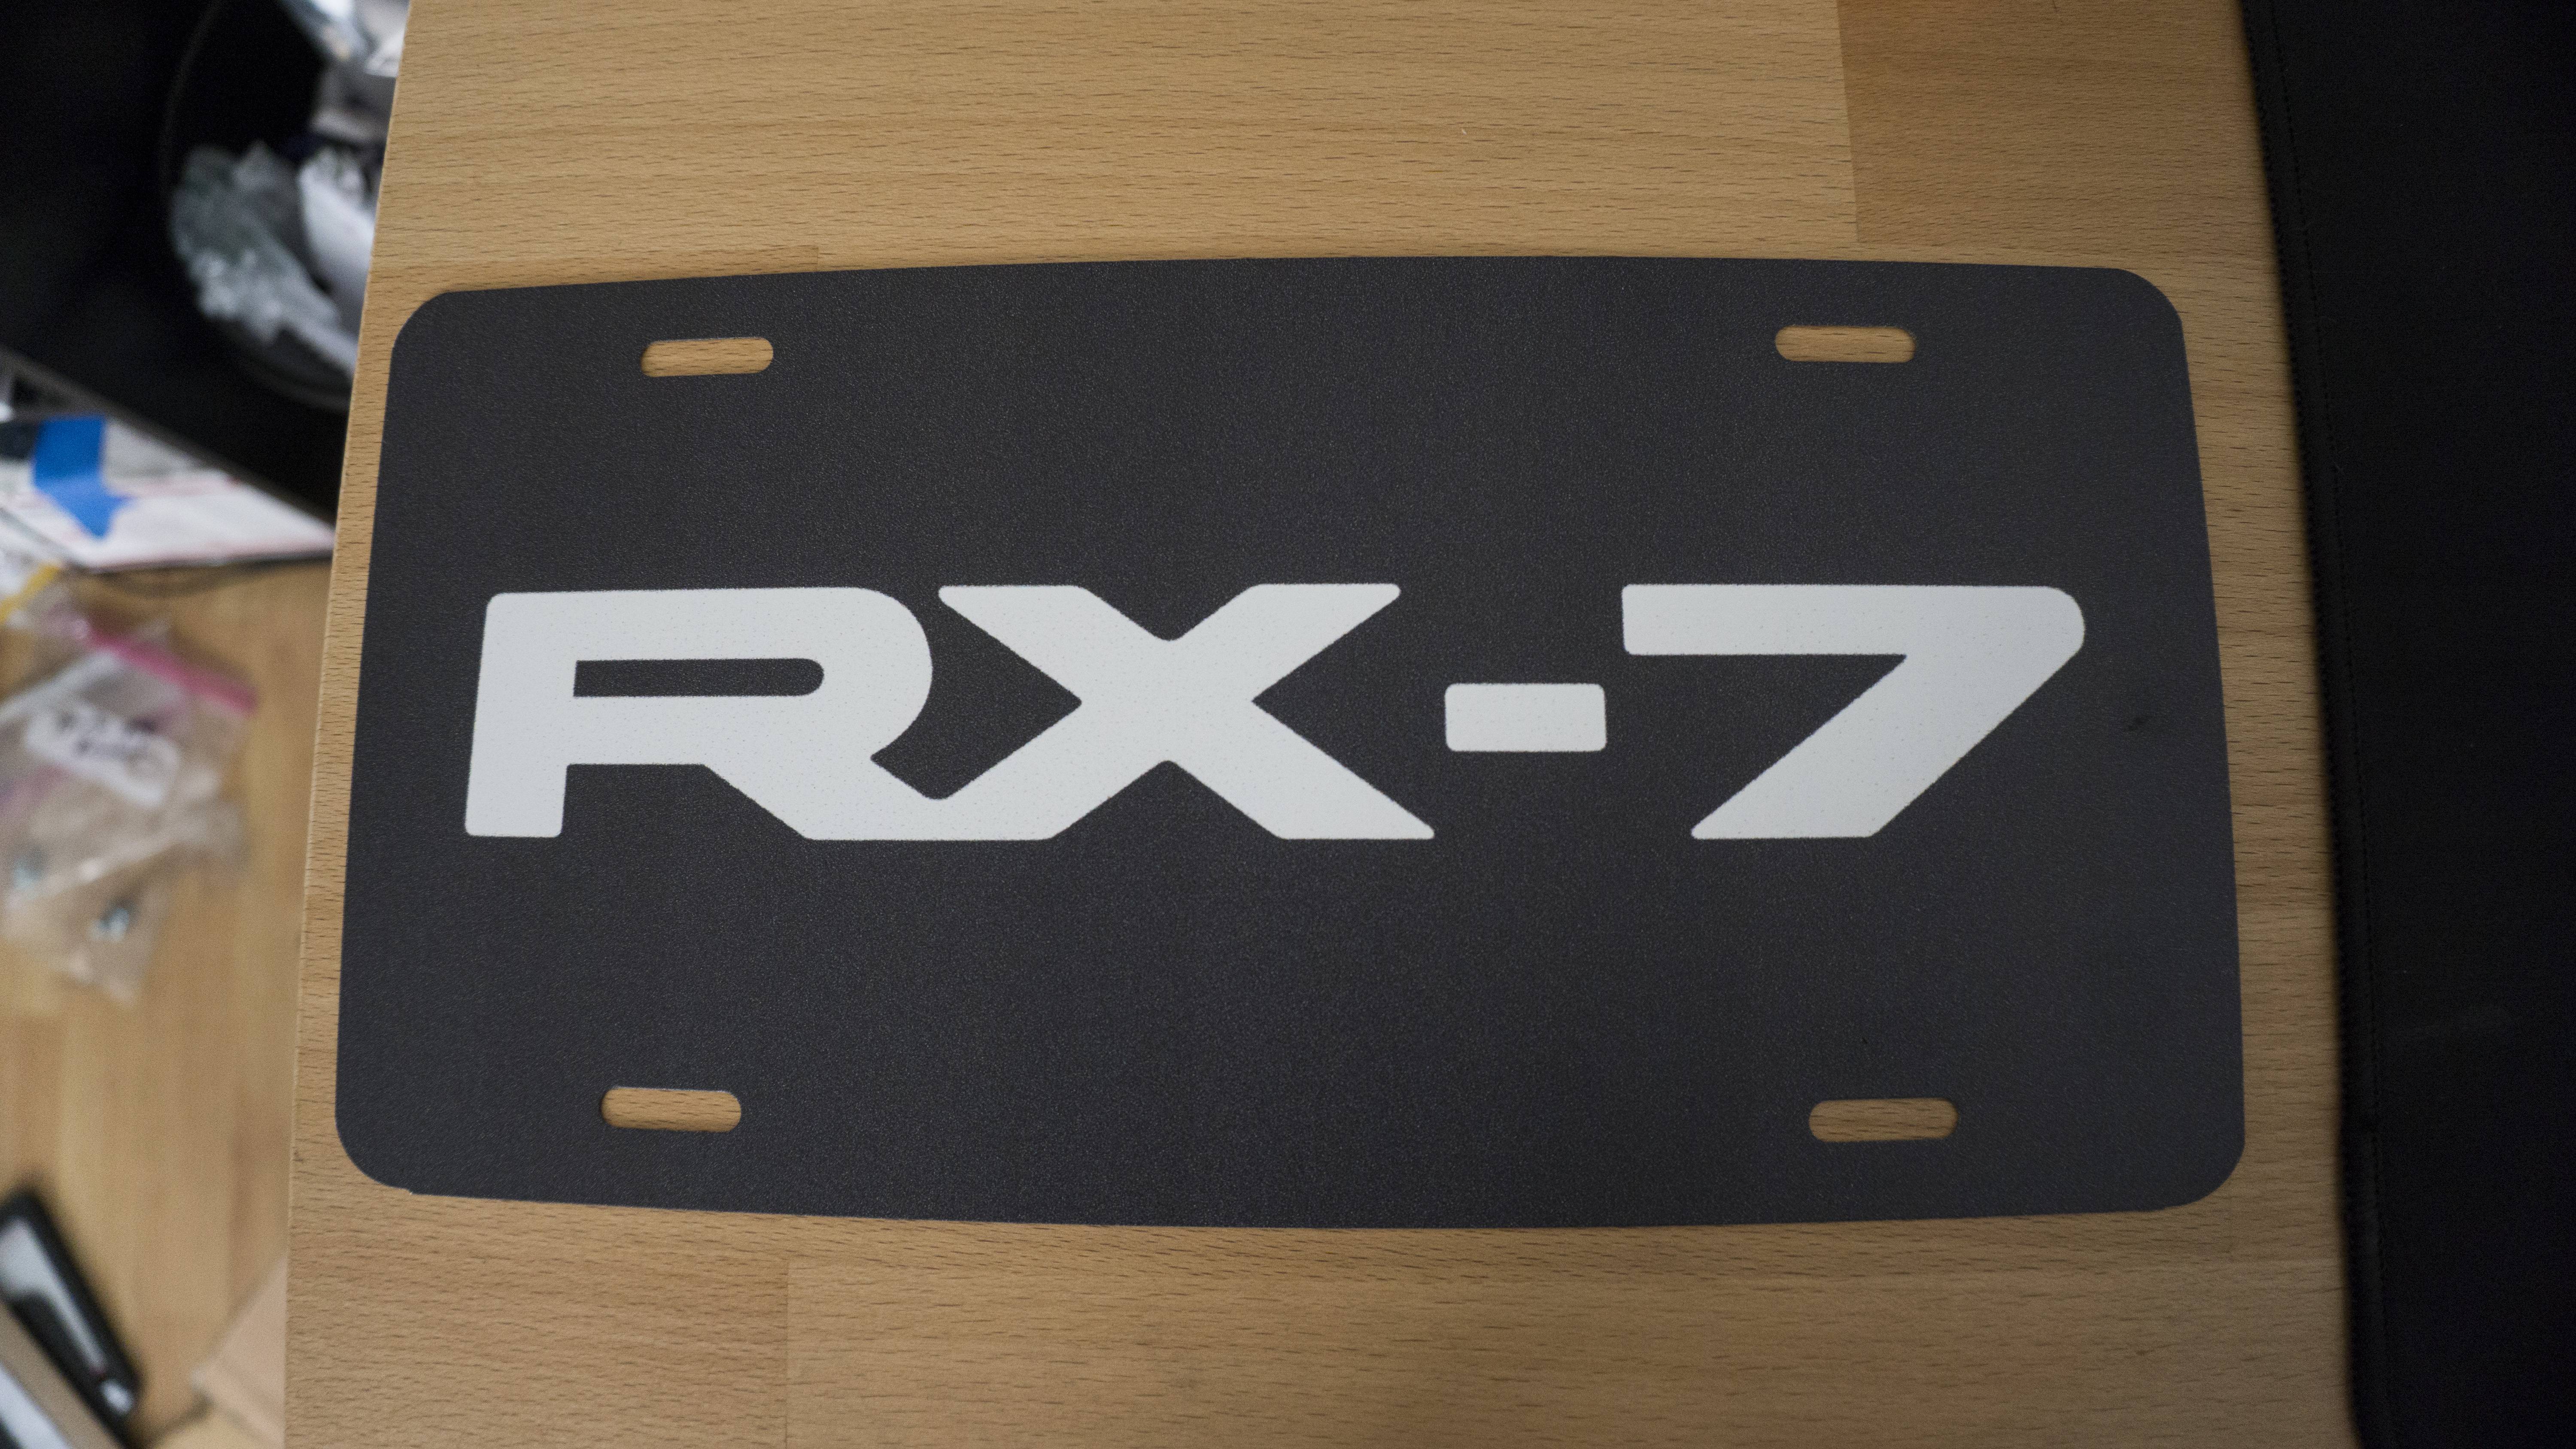
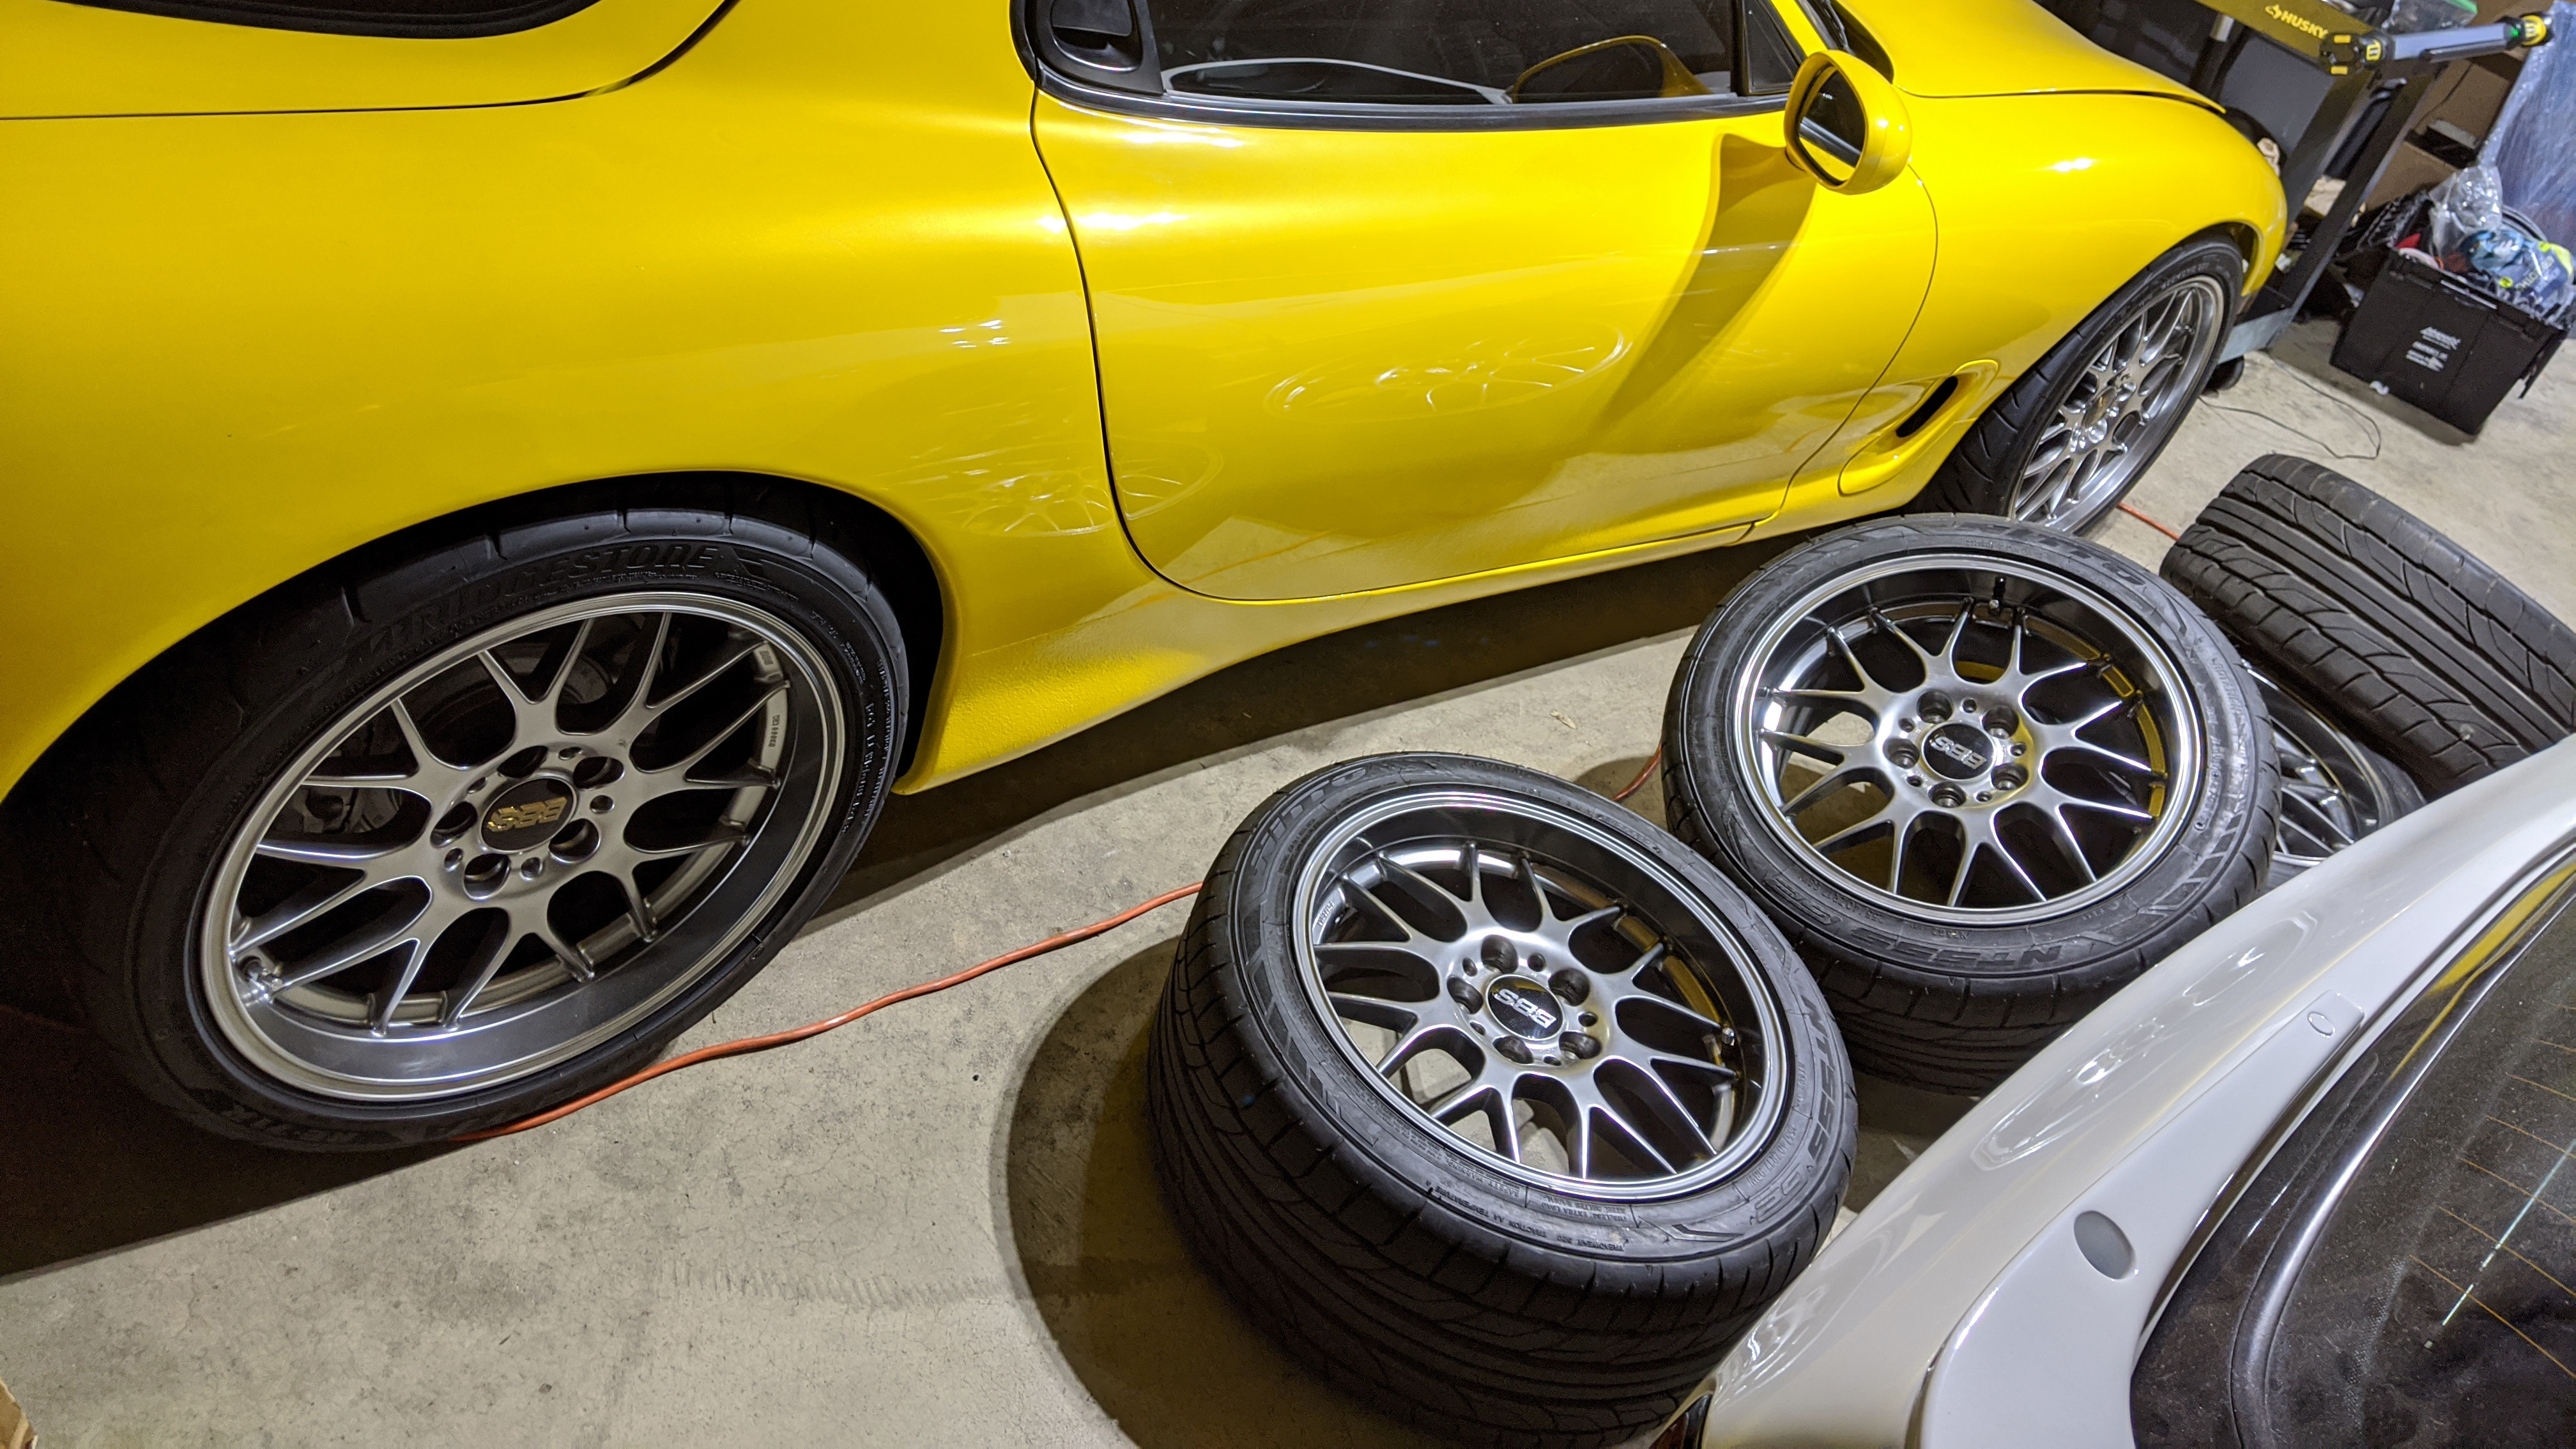
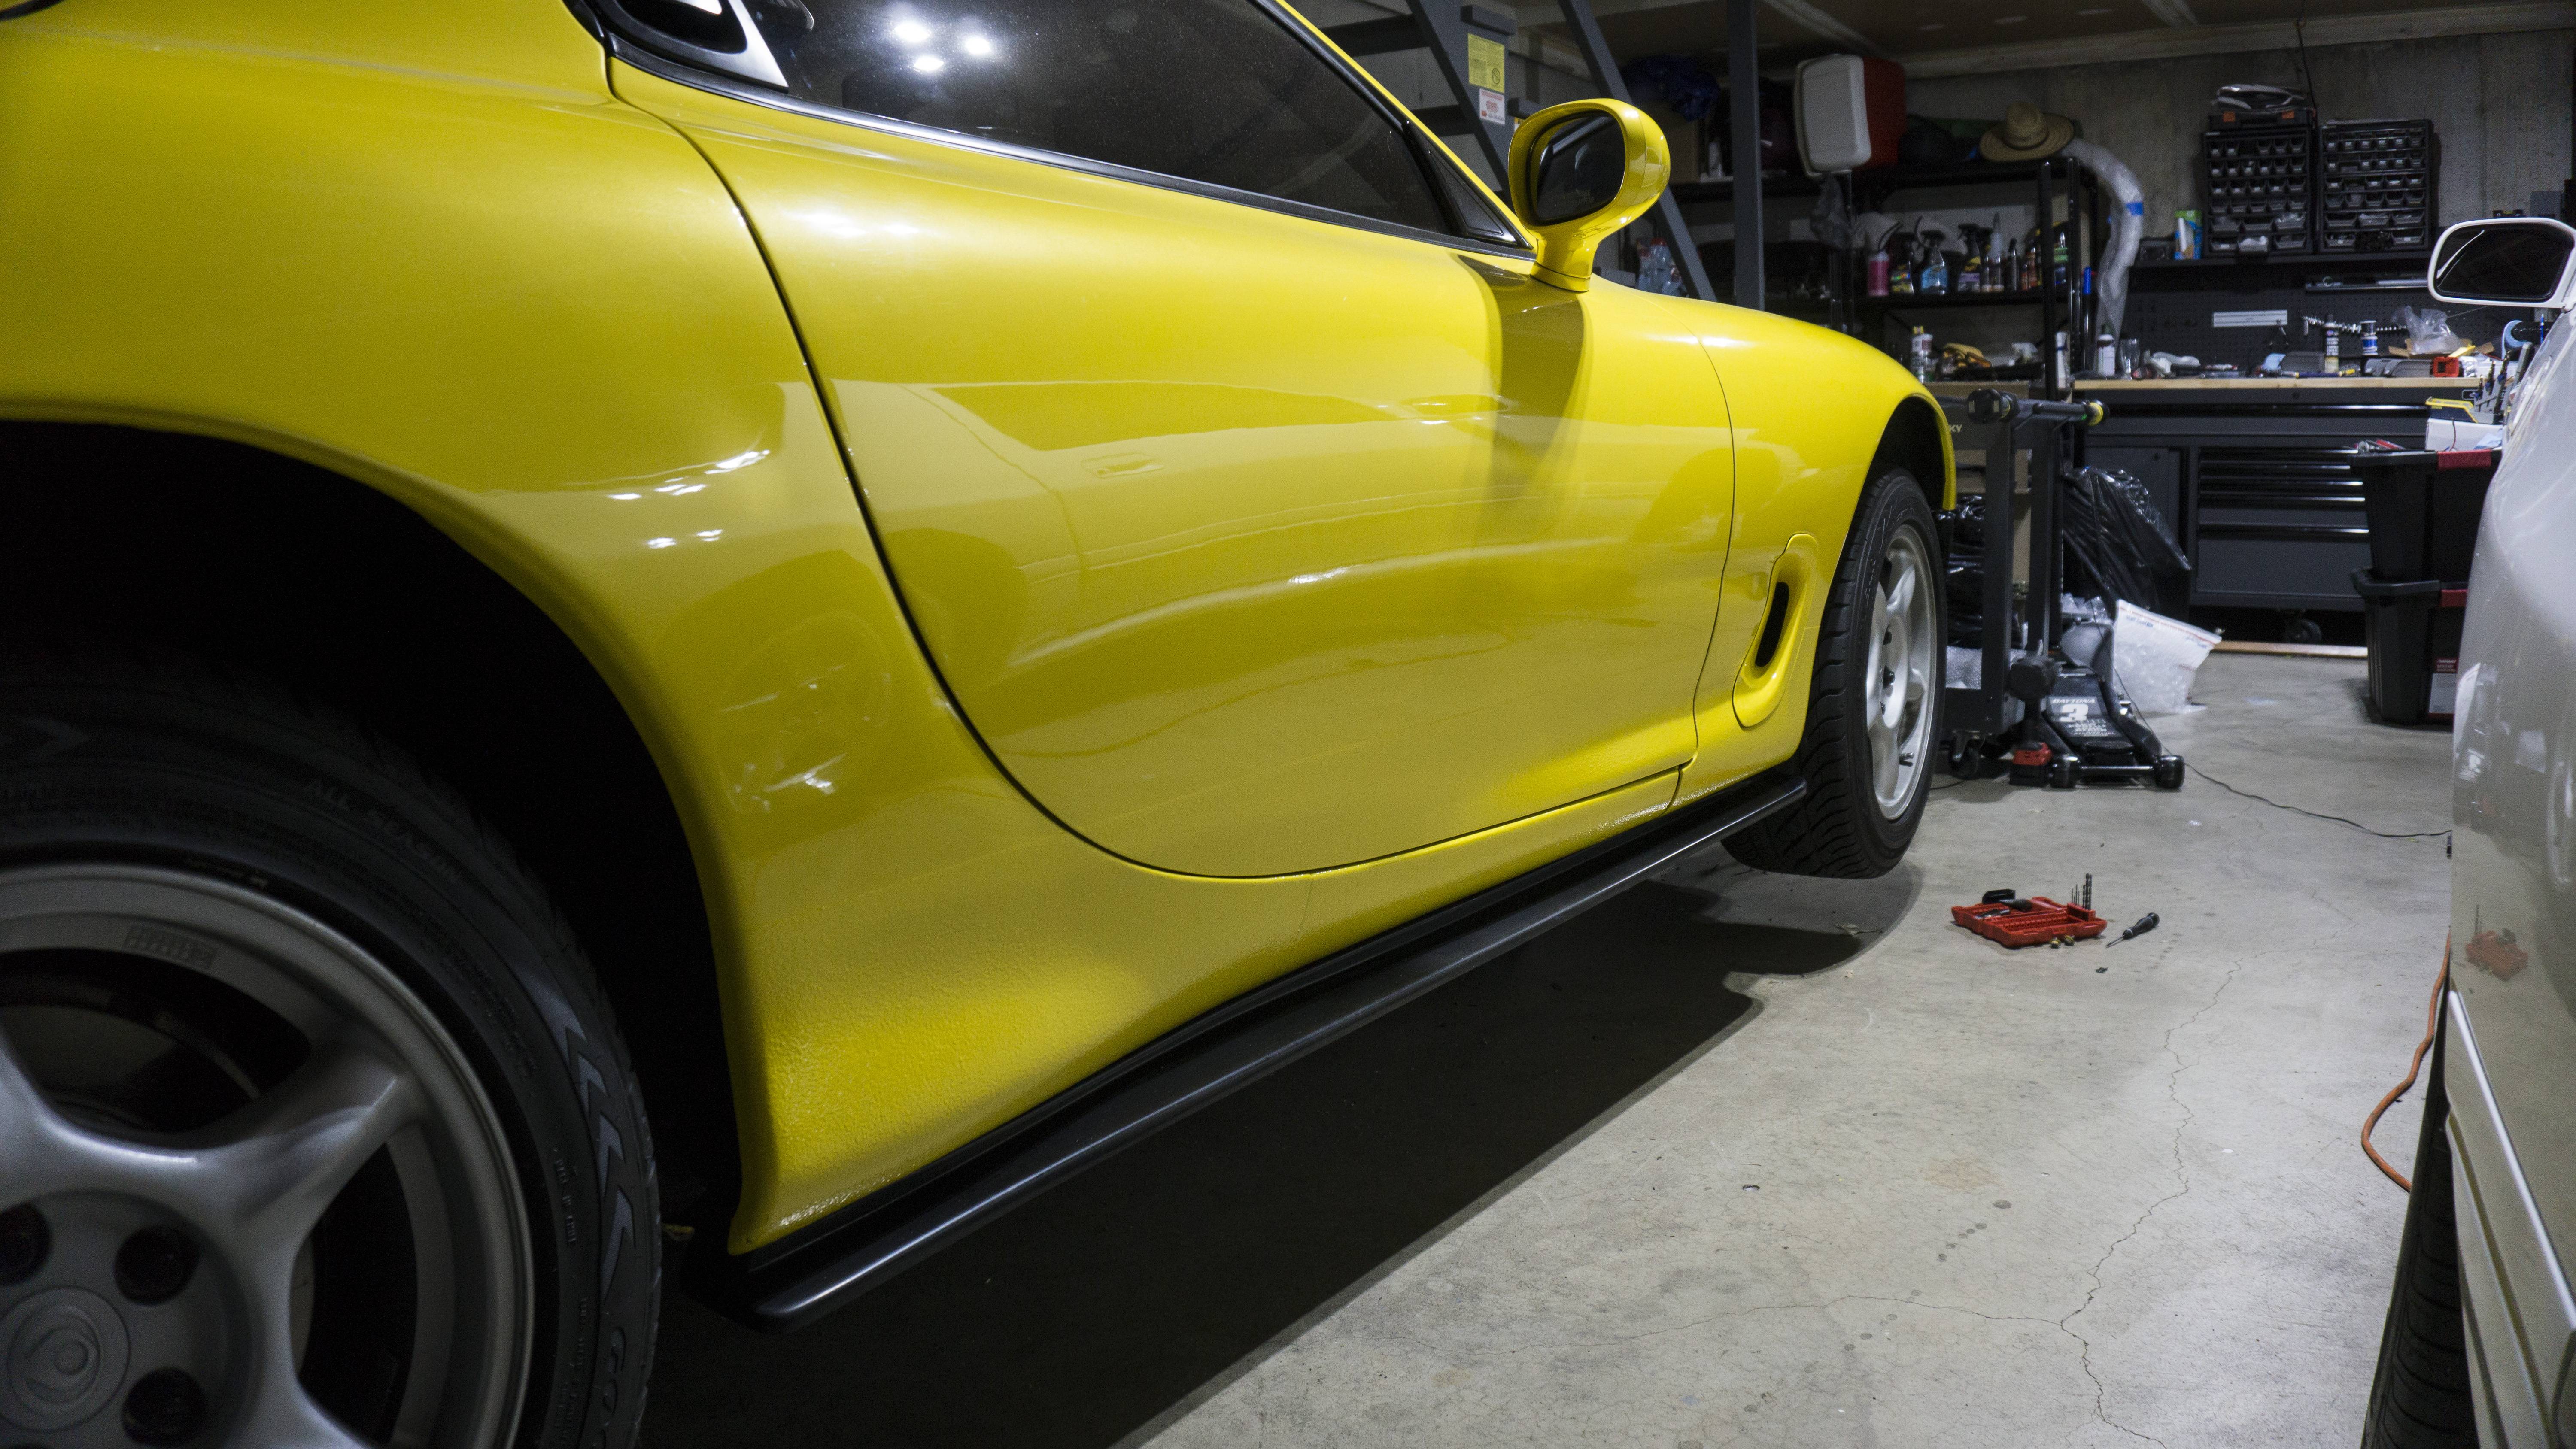
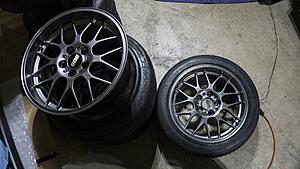
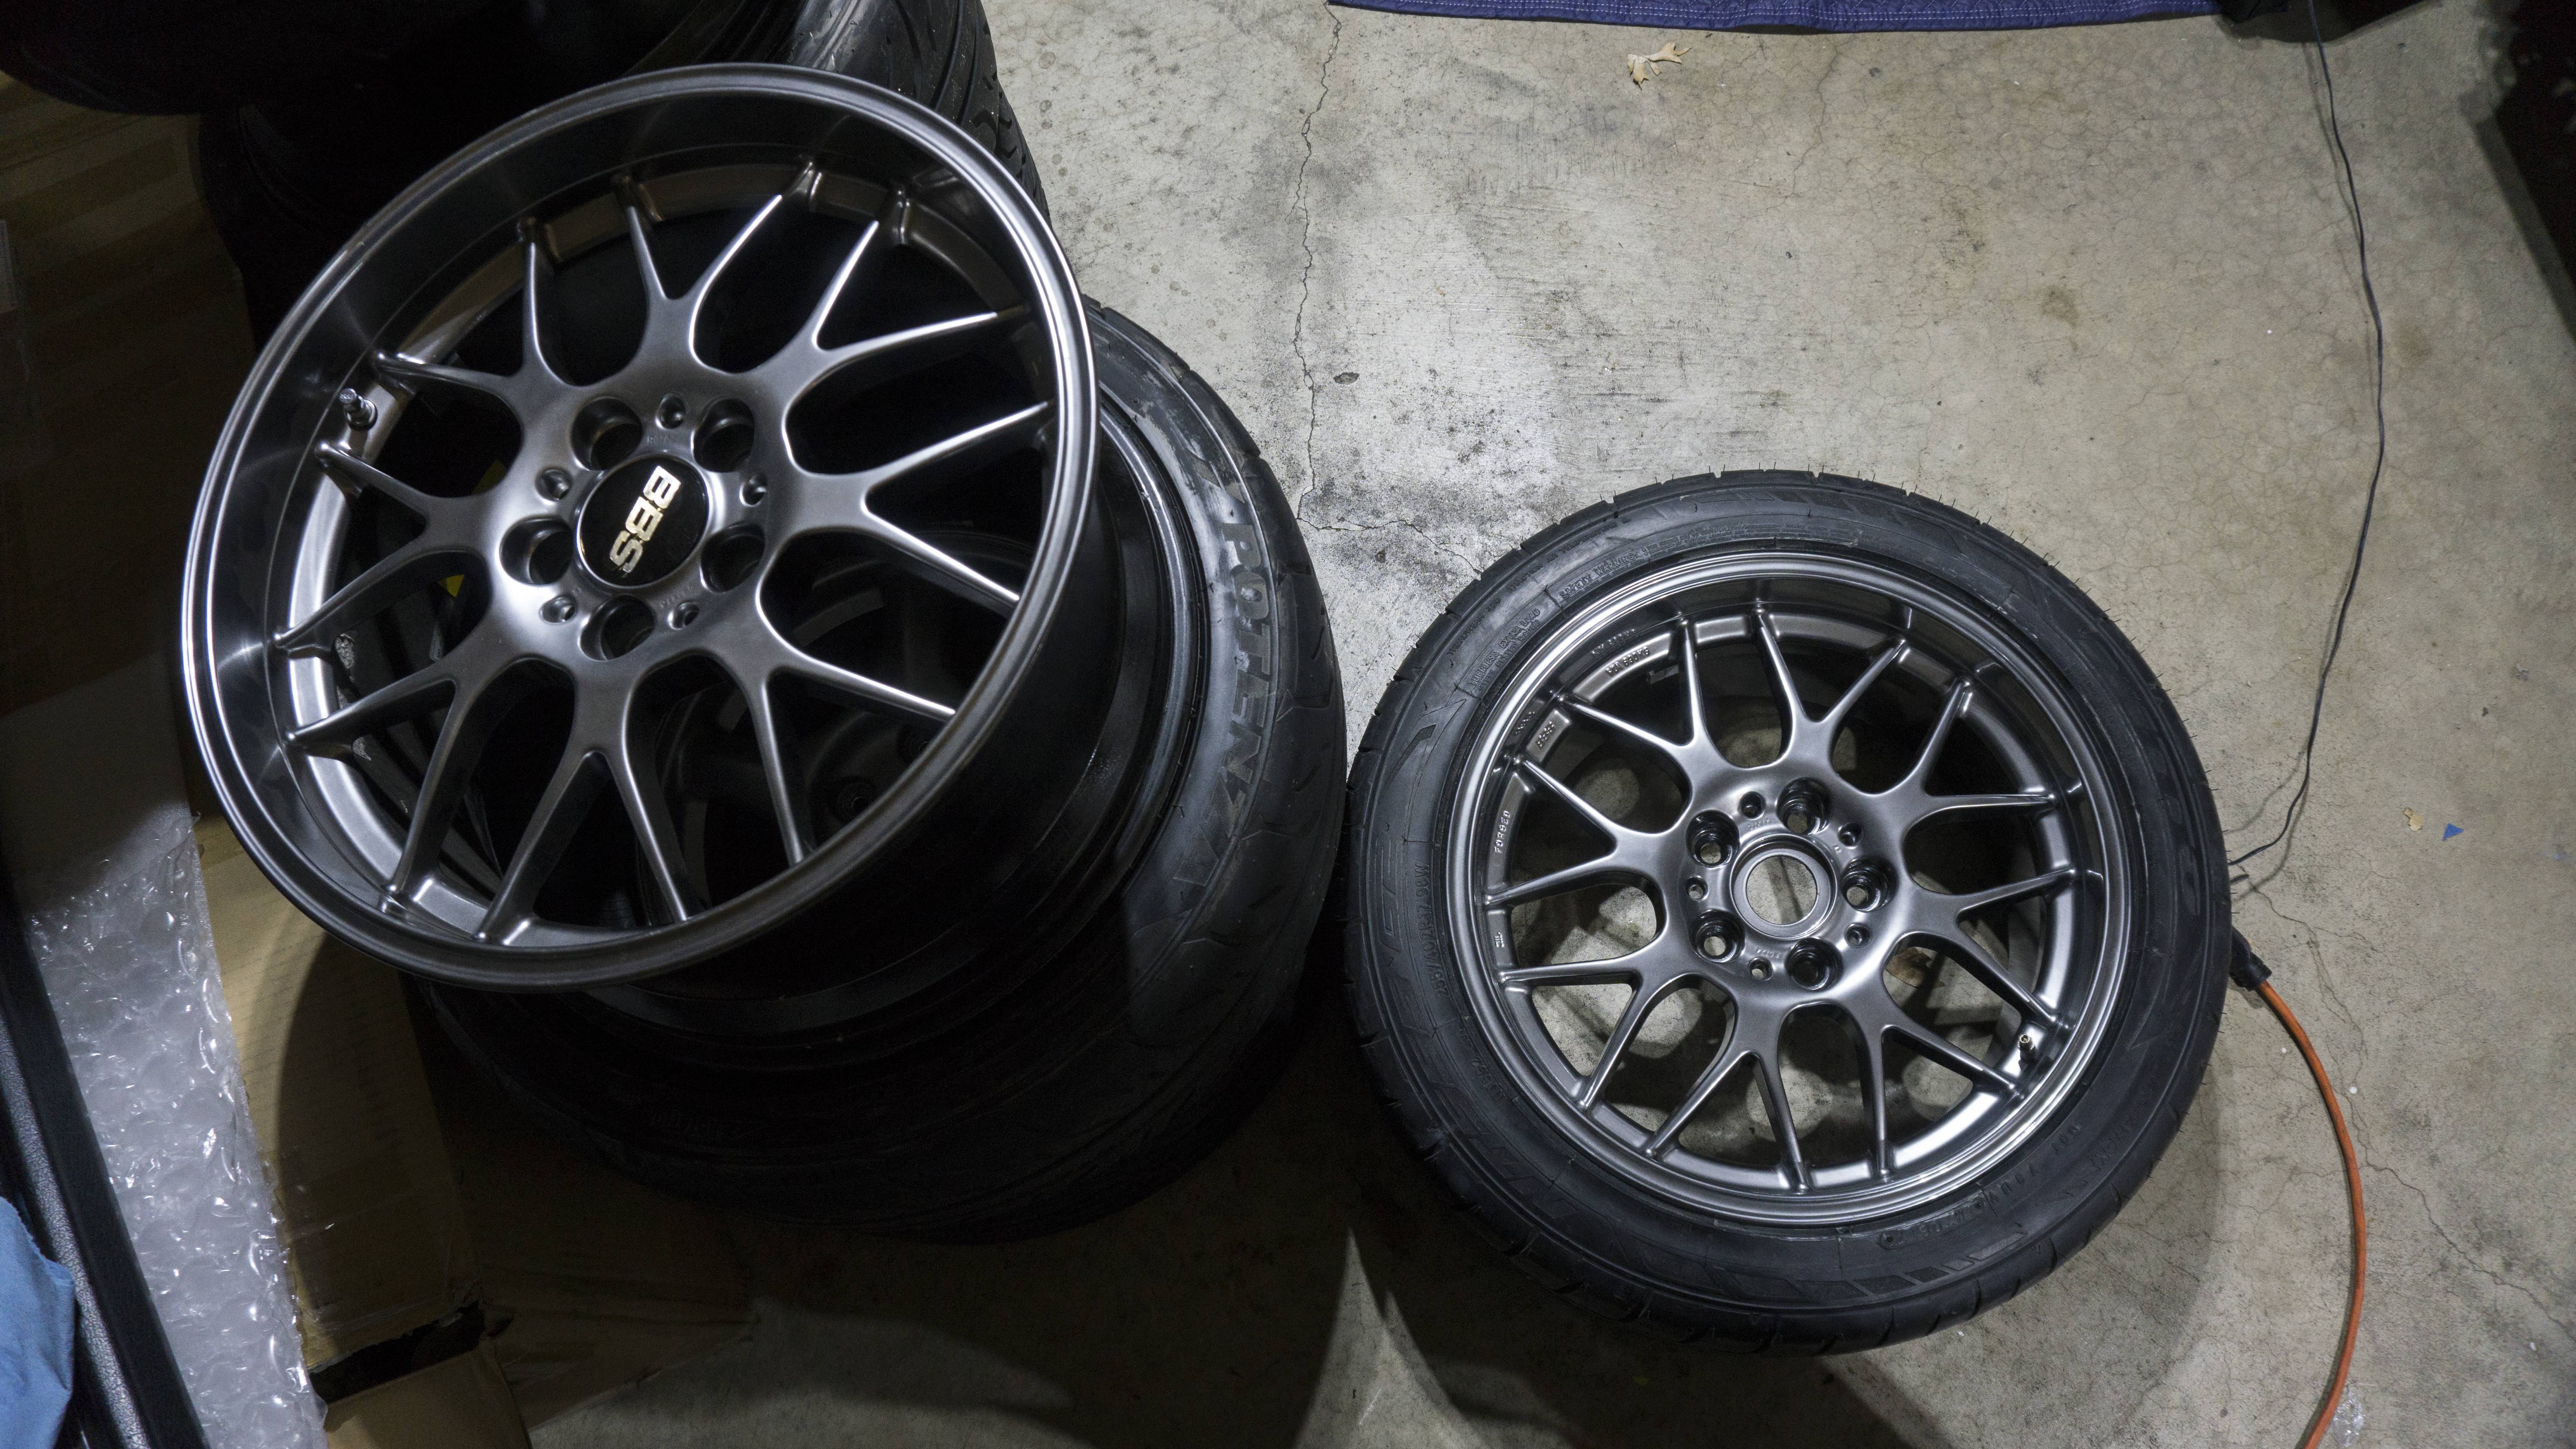
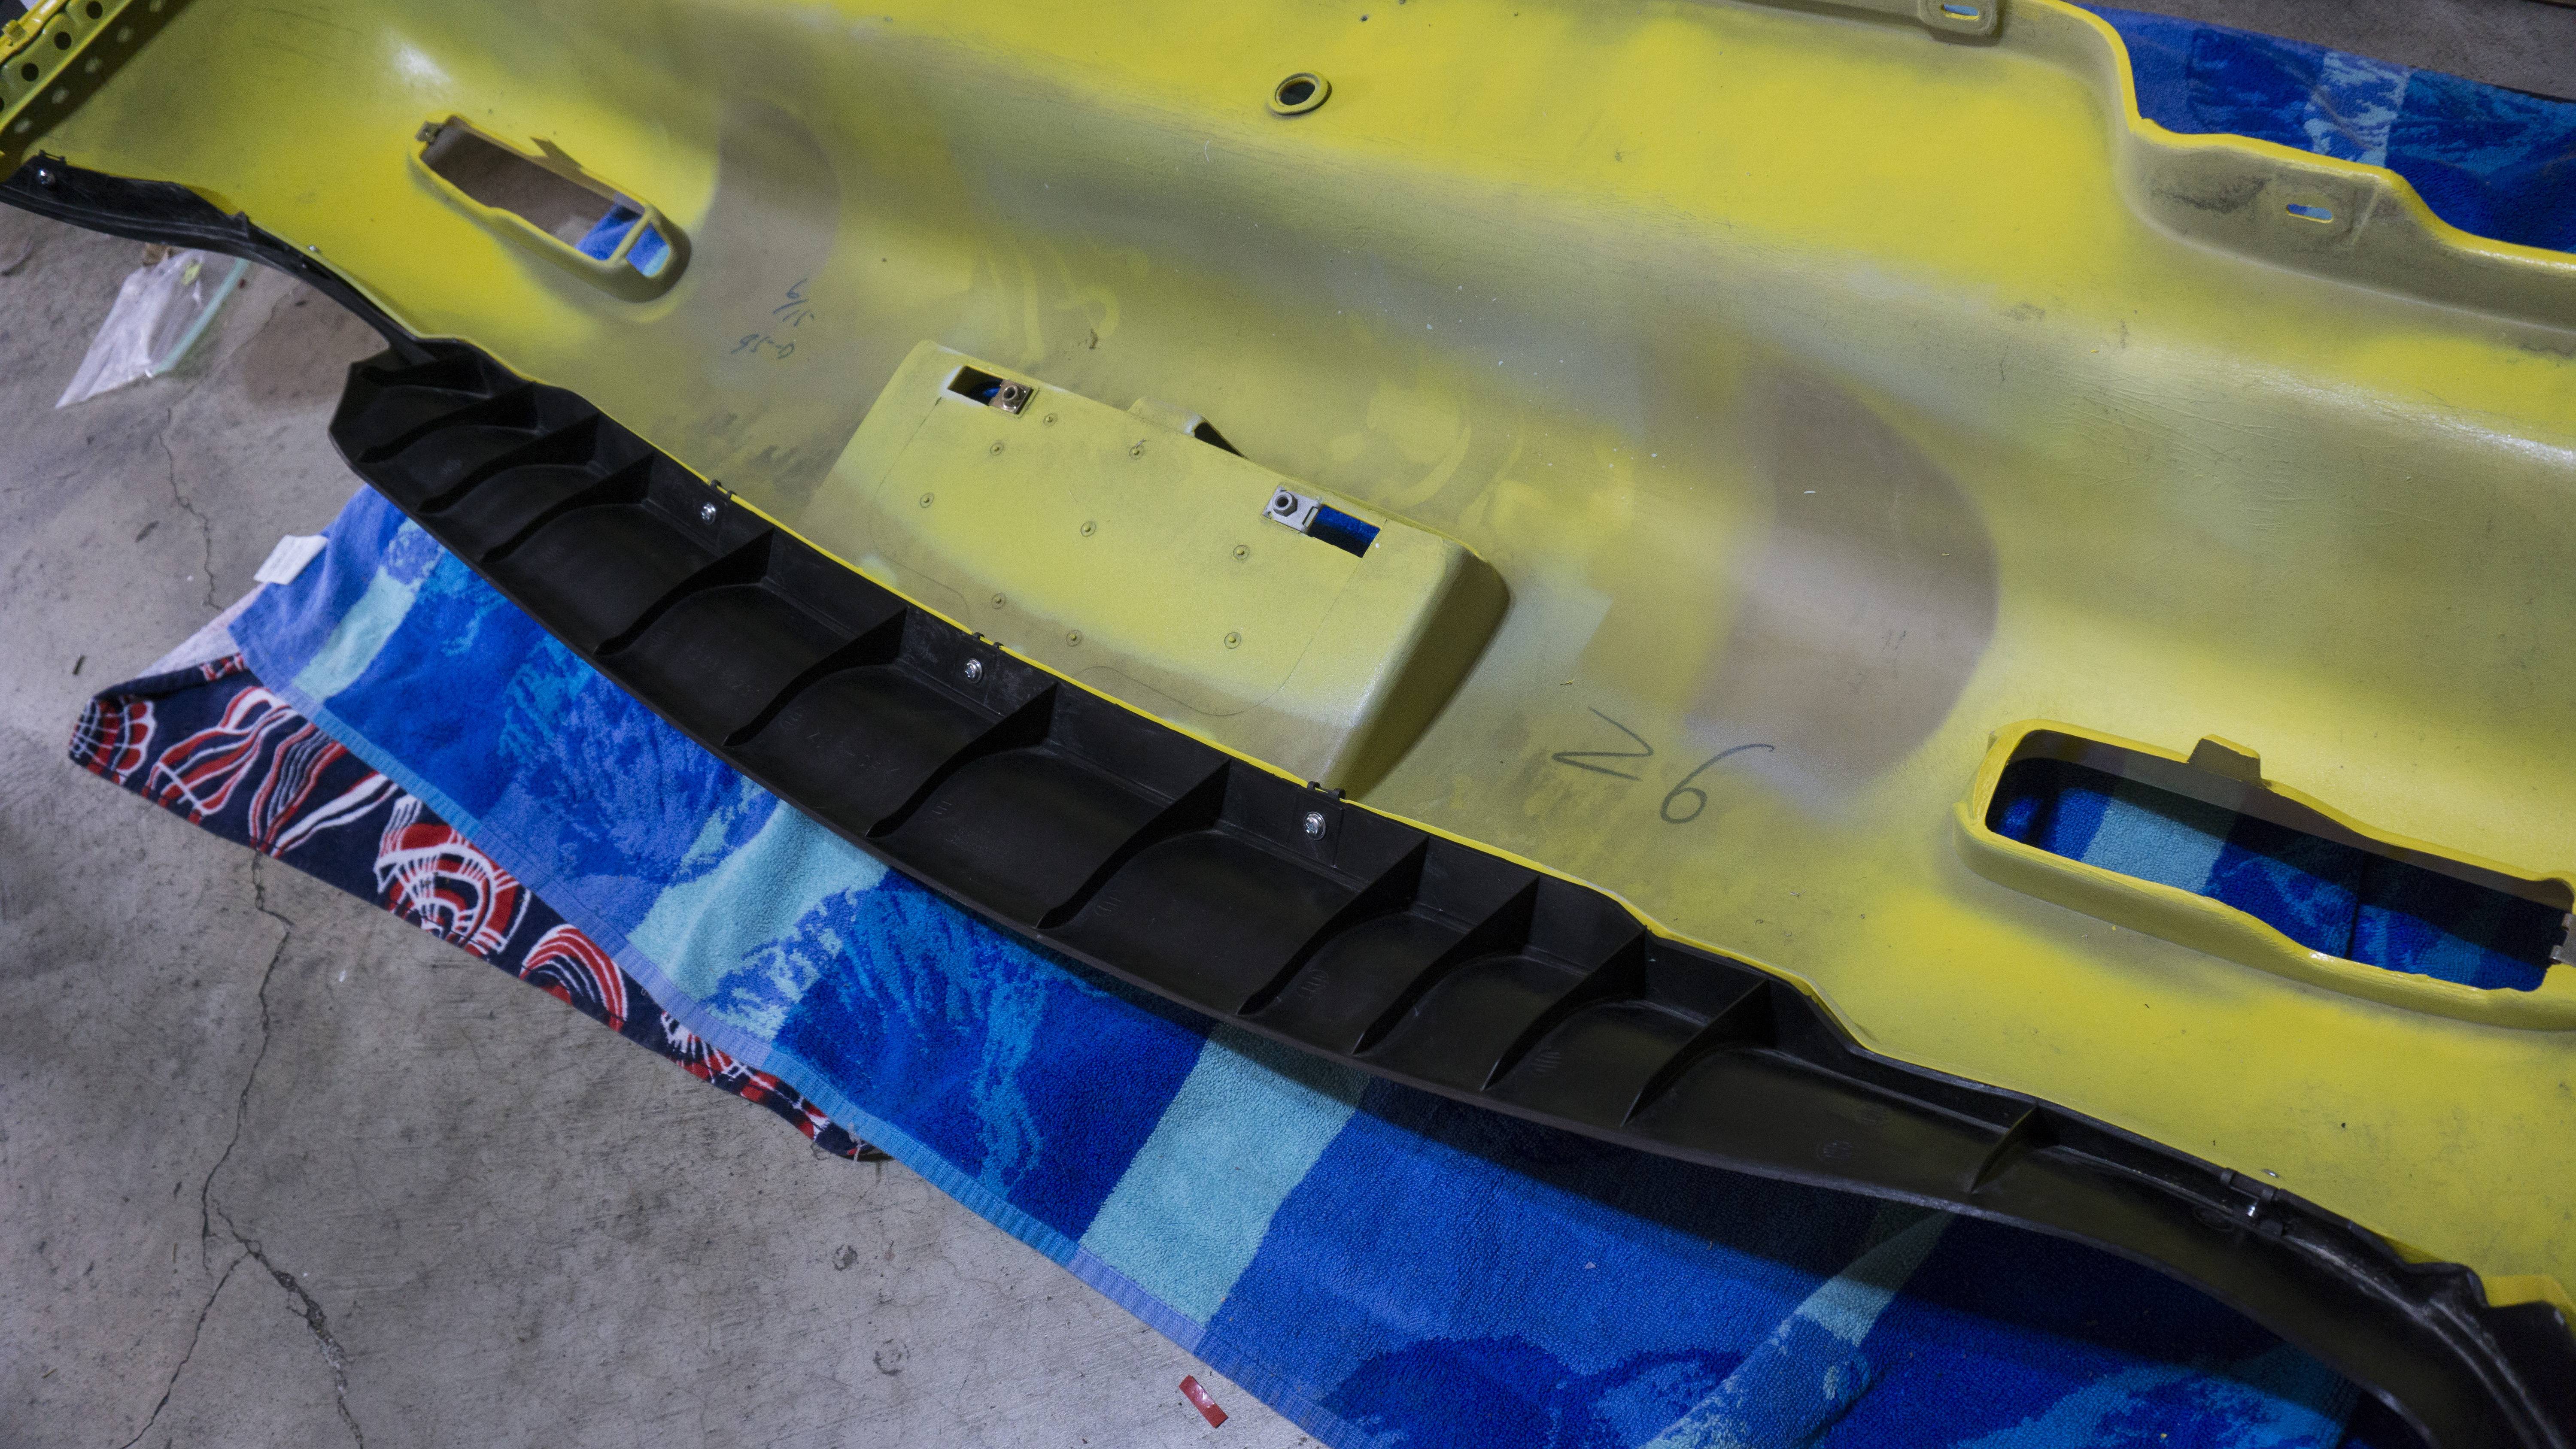
First update of the year!...and it’s unfortunately a small one. I dropped the stuff off at paint a while back and am eagerly awaiting it’s return. My intakes are still back-ordered until, as of the latest, 2-15-20. Until then, I’ve been mostly focused on the FC (Which makes it a good time to hop over to that build thread if you haven’t read it yet). I went ahead and ordered a Deutsch connector crimper (mainly for the FC, but I have some uses for it here too). I plan on re-doing the fuel pump wiring. I originally used a weather pack connector and I hate those. I also purchased a RX-7 vanity plate for the rear. I had it modelled after the showroom one from Gran Turismo. It’ll be nice to have on at events and create plate consistency between the FD and FC. For the actual fun stuff that came in - I got another set of BBS RG-Rs. This set is 17 x 9. I originally wanted 17’s, but became impatient when I bought my 18s. I think the RG-R 18s look like monster truck wheels on the car, so I think these will end up looking a lot better. I’m gearing up to have them completely refinished so there are no defects. The last thing I purchased was a set of Shine Auto Feed Style Side Skirt Extensions. I think these will really bring the look of the car together. I’m fairly positive I can install them without drilling any holes either, so I’m pretty happy about that. I can always remove them if I end up not liking them. Looking forward to getting the car back up and going at full speed. I plan to take the FD to DGRR this year since I’m not sure if I’ll have the FC fully ready. Hopefully the next update is a little more exciting.
Here is the Deutsch Crimper and Connector Kit:

Here is the vanity license plate:
Here is the Shine Side Skirt Extensions:

Here is the new BBS Wheels:
First update of the year!...and it’s unfortunately a small one. I dropped the stuff off at paint a while back and am eagerly awaiting it’s return. My intakes are still back-ordered until, as of the latest, 2-15-20. Until then, I’ve been mostly focused on the FC (Which makes it a good time to hop over to that build thread if you haven’t read it yet). I went ahead and ordered a Deutsch connector crimper (mainly for the FC, but I have some uses for it here too). I plan on re-doing the fuel pump wiring. I originally used a weather pack connector and I hate those. I also purchased a RX-7 vanity plate for the rear. I had it modelled after the showroom one from Gran Turismo. It’ll be nice to have on at events and create plate consistency between the FD and FC. For the actual fun stuff that came in - I got another set of BBS RG-Rs. This set is 17 x 9. I originally wanted 17’s, but became impatient when I bought my 18s. I think the RG-R 18s look like monster truck wheels on the car, so I think these will end up looking a lot better. I’m gearing up to have them completely refinished so there are no defects. The last thing I purchased was a set of Shine Auto Feed Style Side Skirt Extensions. I think these will really bring the look of the car together. I’m fairly positive I can install them without drilling any holes either, so I’m pretty happy about that. I can always remove them if I end up not liking them. Looking forward to getting the car back up and going at full speed. I plan to take the FD to DGRR this year since I’m not sure if I’ll have the FC fully ready. Hopefully the next update is a little more exciting.
Here is the Deutsch Crimper and Connector Kit:
Here is the vanity license plate:
Here is the Shine Side Skirt Extensions:

Here is the new BBS Wheels:
 01-15-20, 07:19 PM
#64

I installed the feed sides with the front fender bolts, and the screws with some washers in those rear side diffuser holes. I put some double sided tape on the rear area. Been on for a few months and have held on fine with freeway driving and a track day.
02-15-20, 12:59 PM
#68
Update 2/15/2020:
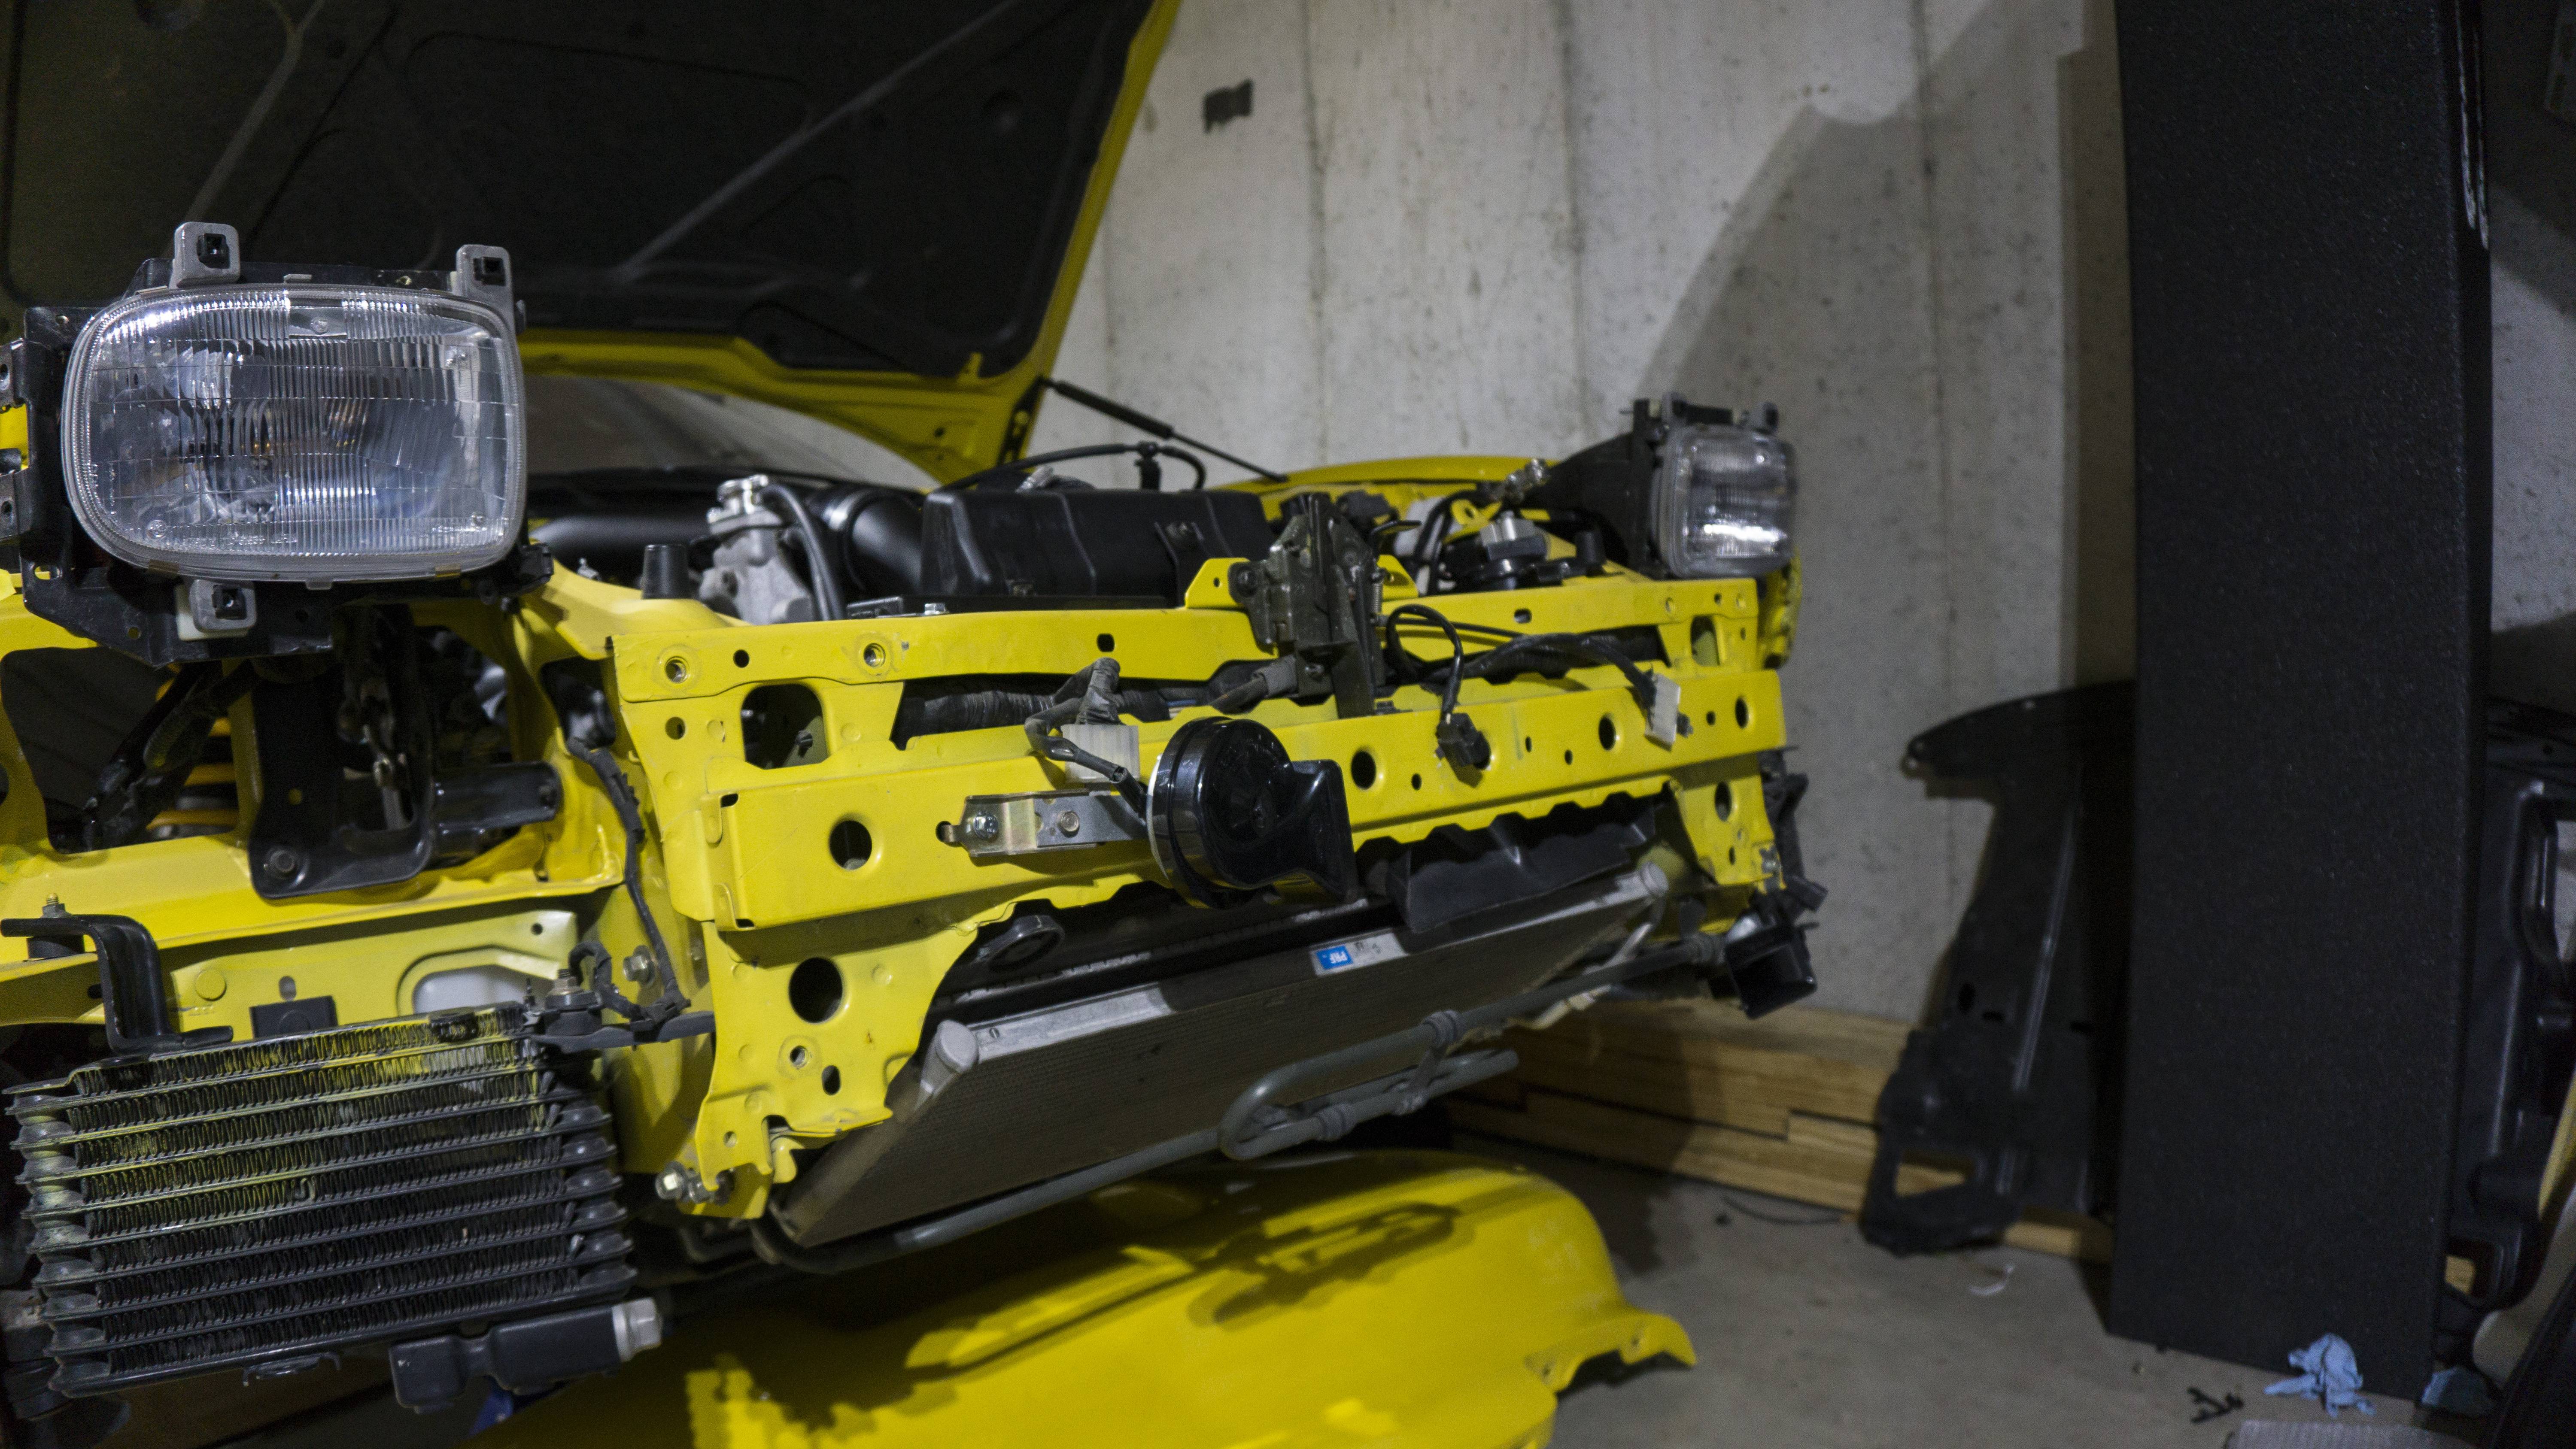
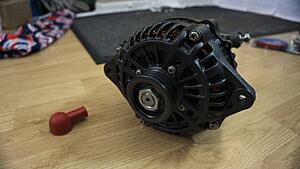
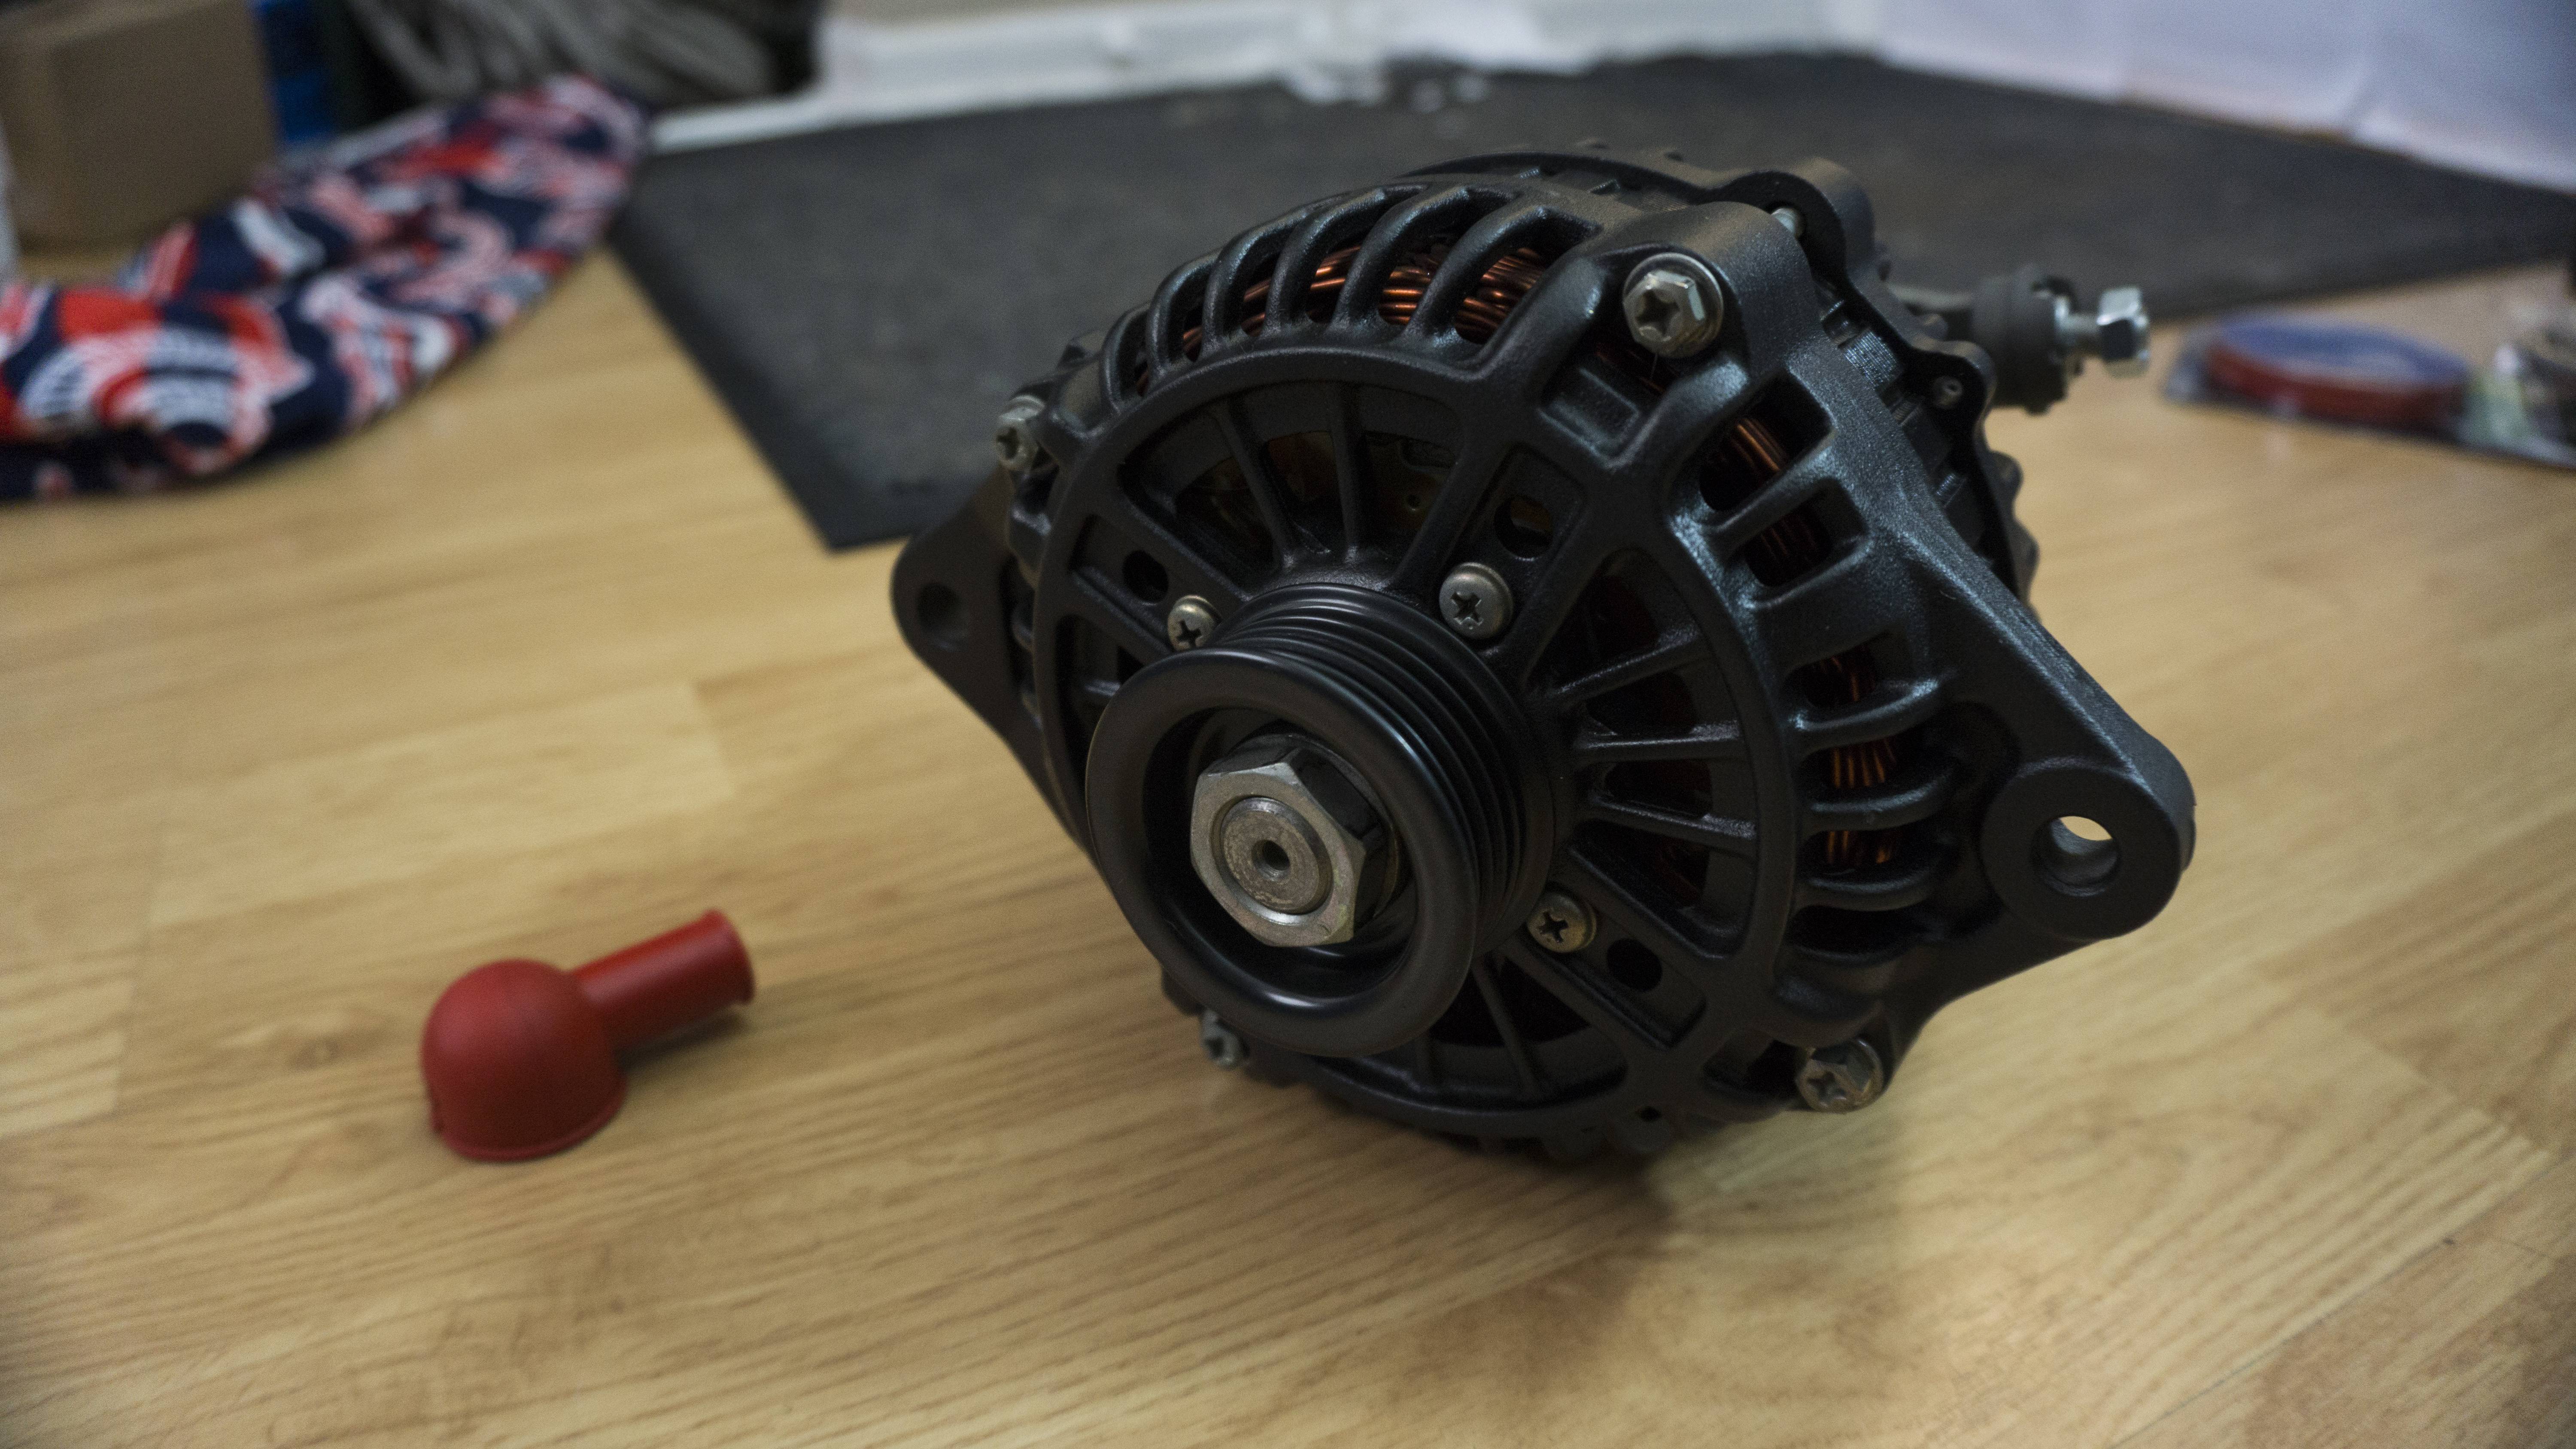
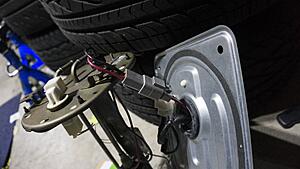
Well I finally got the FC where I want it, so I�m able to transfer attention back to the FD. If you want to see the FC build it�s HERE. My wheels are currently being refinished and my body shop guy said he doesn�t need my car to blend. I�m very interested to see how the parts turn out� I know I intend to eventually get the entire car resprayed, but I would still like things to match in the meantime. I ended up scoring another alternator for cheap and had it sent off to be rebuilt and powdered by the person that has done all of my alternators so far. It turned out really nice. I also picked up a JP3 Motorsports alternator terminal boot cover. It looks really nice and goes really well with the battery cover by them. Since my car isn�t needed for blending I started throwing on a lot of hte parts. I installed the front and rear OEM �tow� hooks that I had powdered. I couldn�t fit the driver left due to where I re-located the horn, but I was able to attach the rest of them. I know they aren�t really used for anything, but I think it�s cool to still have them. I also fully attached the front air guide, re-bar, and oil cooler guides. I finally got to break out my box with all the OEM bolts and clips for the air guide. Still a ton of baggies left I�ll have to sort through later. I should have a lot more updates coming very soon with the fun stuff starting to happen.
Here is the alternator and JP3 Motorsports battery terminal cover:
Here is the powdered �tow� hooks:

Here is the air guides and re-bar fully installed:

Well I finally got the FC where I want it, so I�m able to transfer attention back to the FD. If you want to see the FC build it�s HERE. My wheels are currently being refinished and my body shop guy said he doesn�t need my car to blend. I�m very interested to see how the parts turn out� I know I intend to eventually get the entire car resprayed, but I would still like things to match in the meantime. I ended up scoring another alternator for cheap and had it sent off to be rebuilt and powdered by the person that has done all of my alternators so far. It turned out really nice. I also picked up a JP3 Motorsports alternator terminal boot cover. It looks really nice and goes really well with the battery cover by them. Since my car isn�t needed for blending I started throwing on a lot of hte parts. I installed the front and rear OEM �tow� hooks that I had powdered. I couldn�t fit the driver left due to where I re-located the horn, but I was able to attach the rest of them. I know they aren�t really used for anything, but I think it�s cool to still have them. I also fully attached the front air guide, re-bar, and oil cooler guides. I finally got to break out my box with all the OEM bolts and clips for the air guide. Still a ton of baggies left I�ll have to sort through later. I should have a lot more updates coming very soon with the fun stuff starting to happen.
Here is the alternator and JP3 Motorsports battery terminal cover:


Here is the powdered �tow� hooks:
Here is the air guides and re-bar fully installed:

The following 2 users liked this post by Akomix:
Macer (02-17-20),
ZE Power MX6 (02-21-20)
02-22-20, 06:15 PM
#69
Update 2/22/2020:
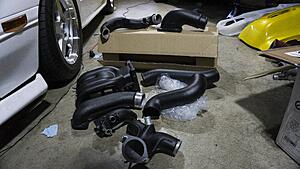
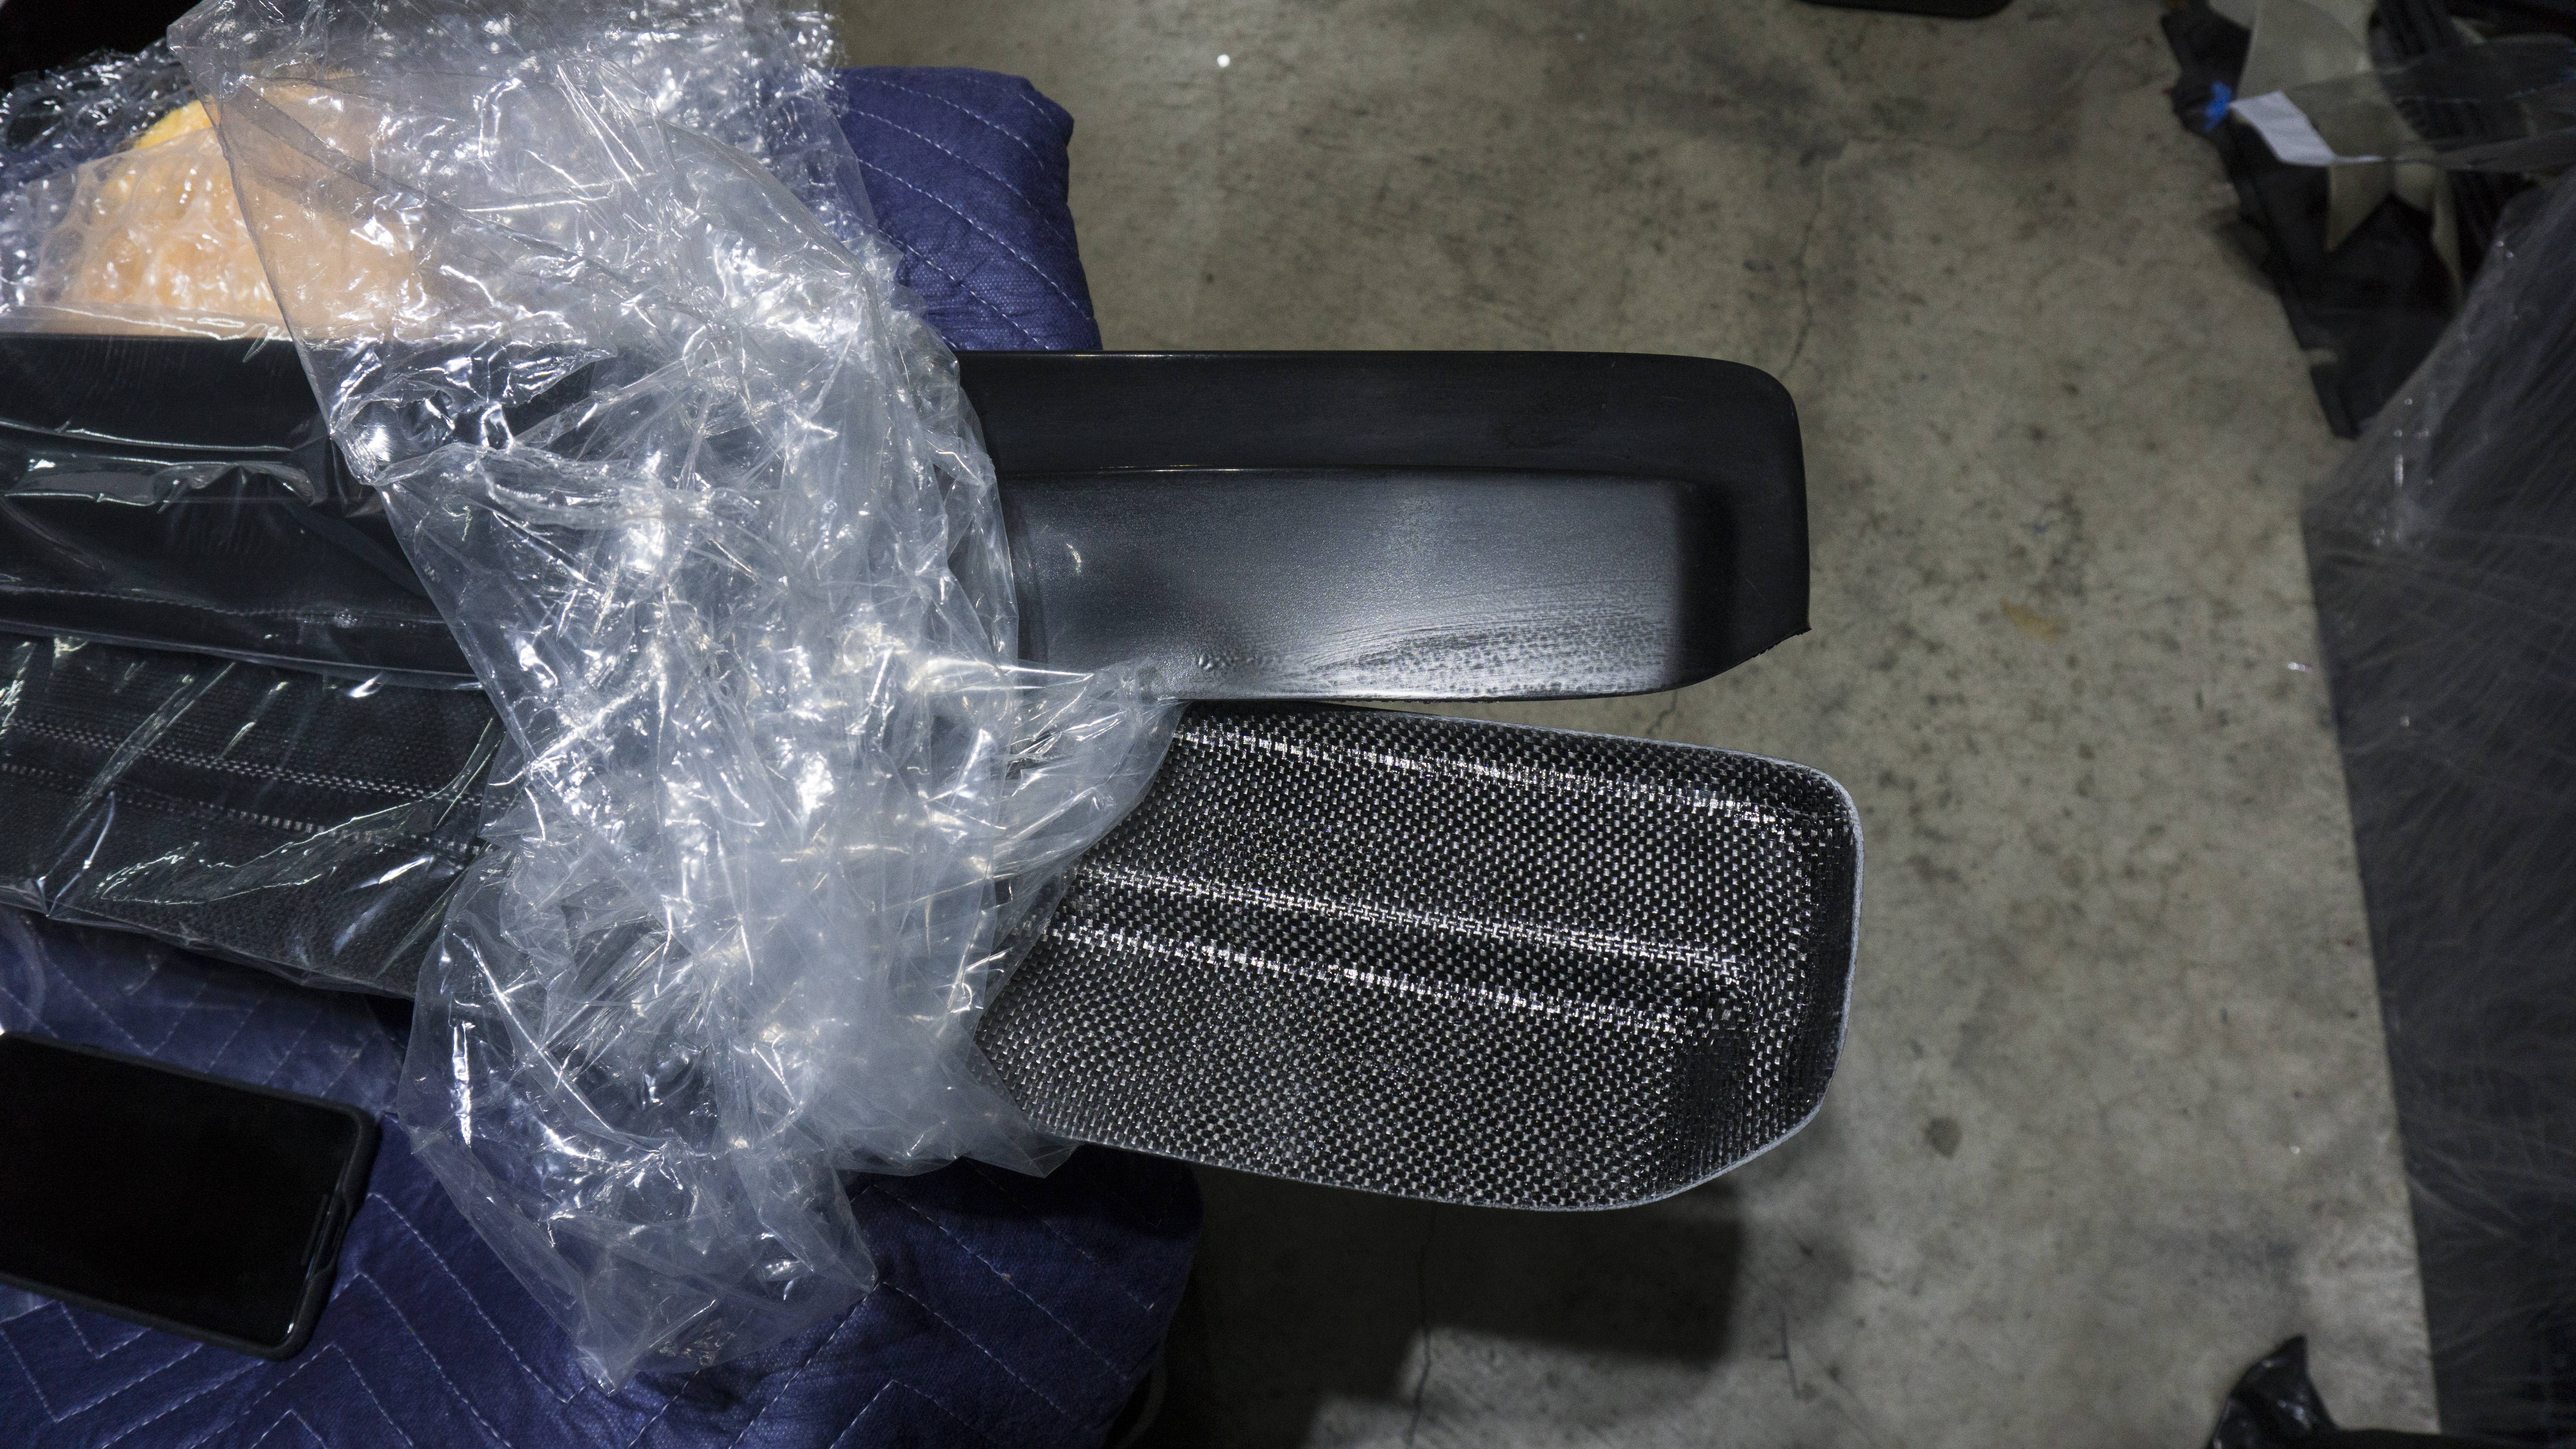
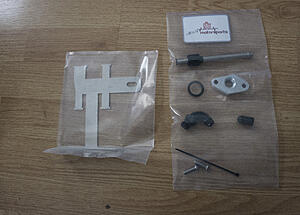
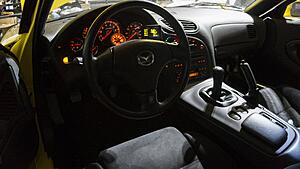
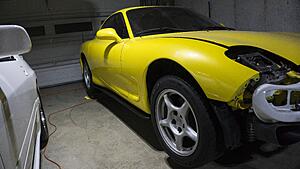
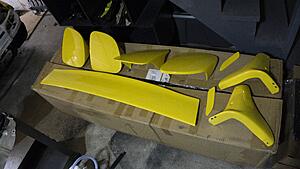
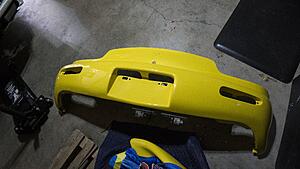
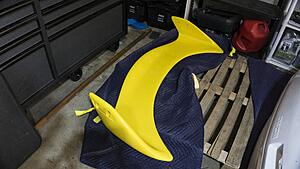
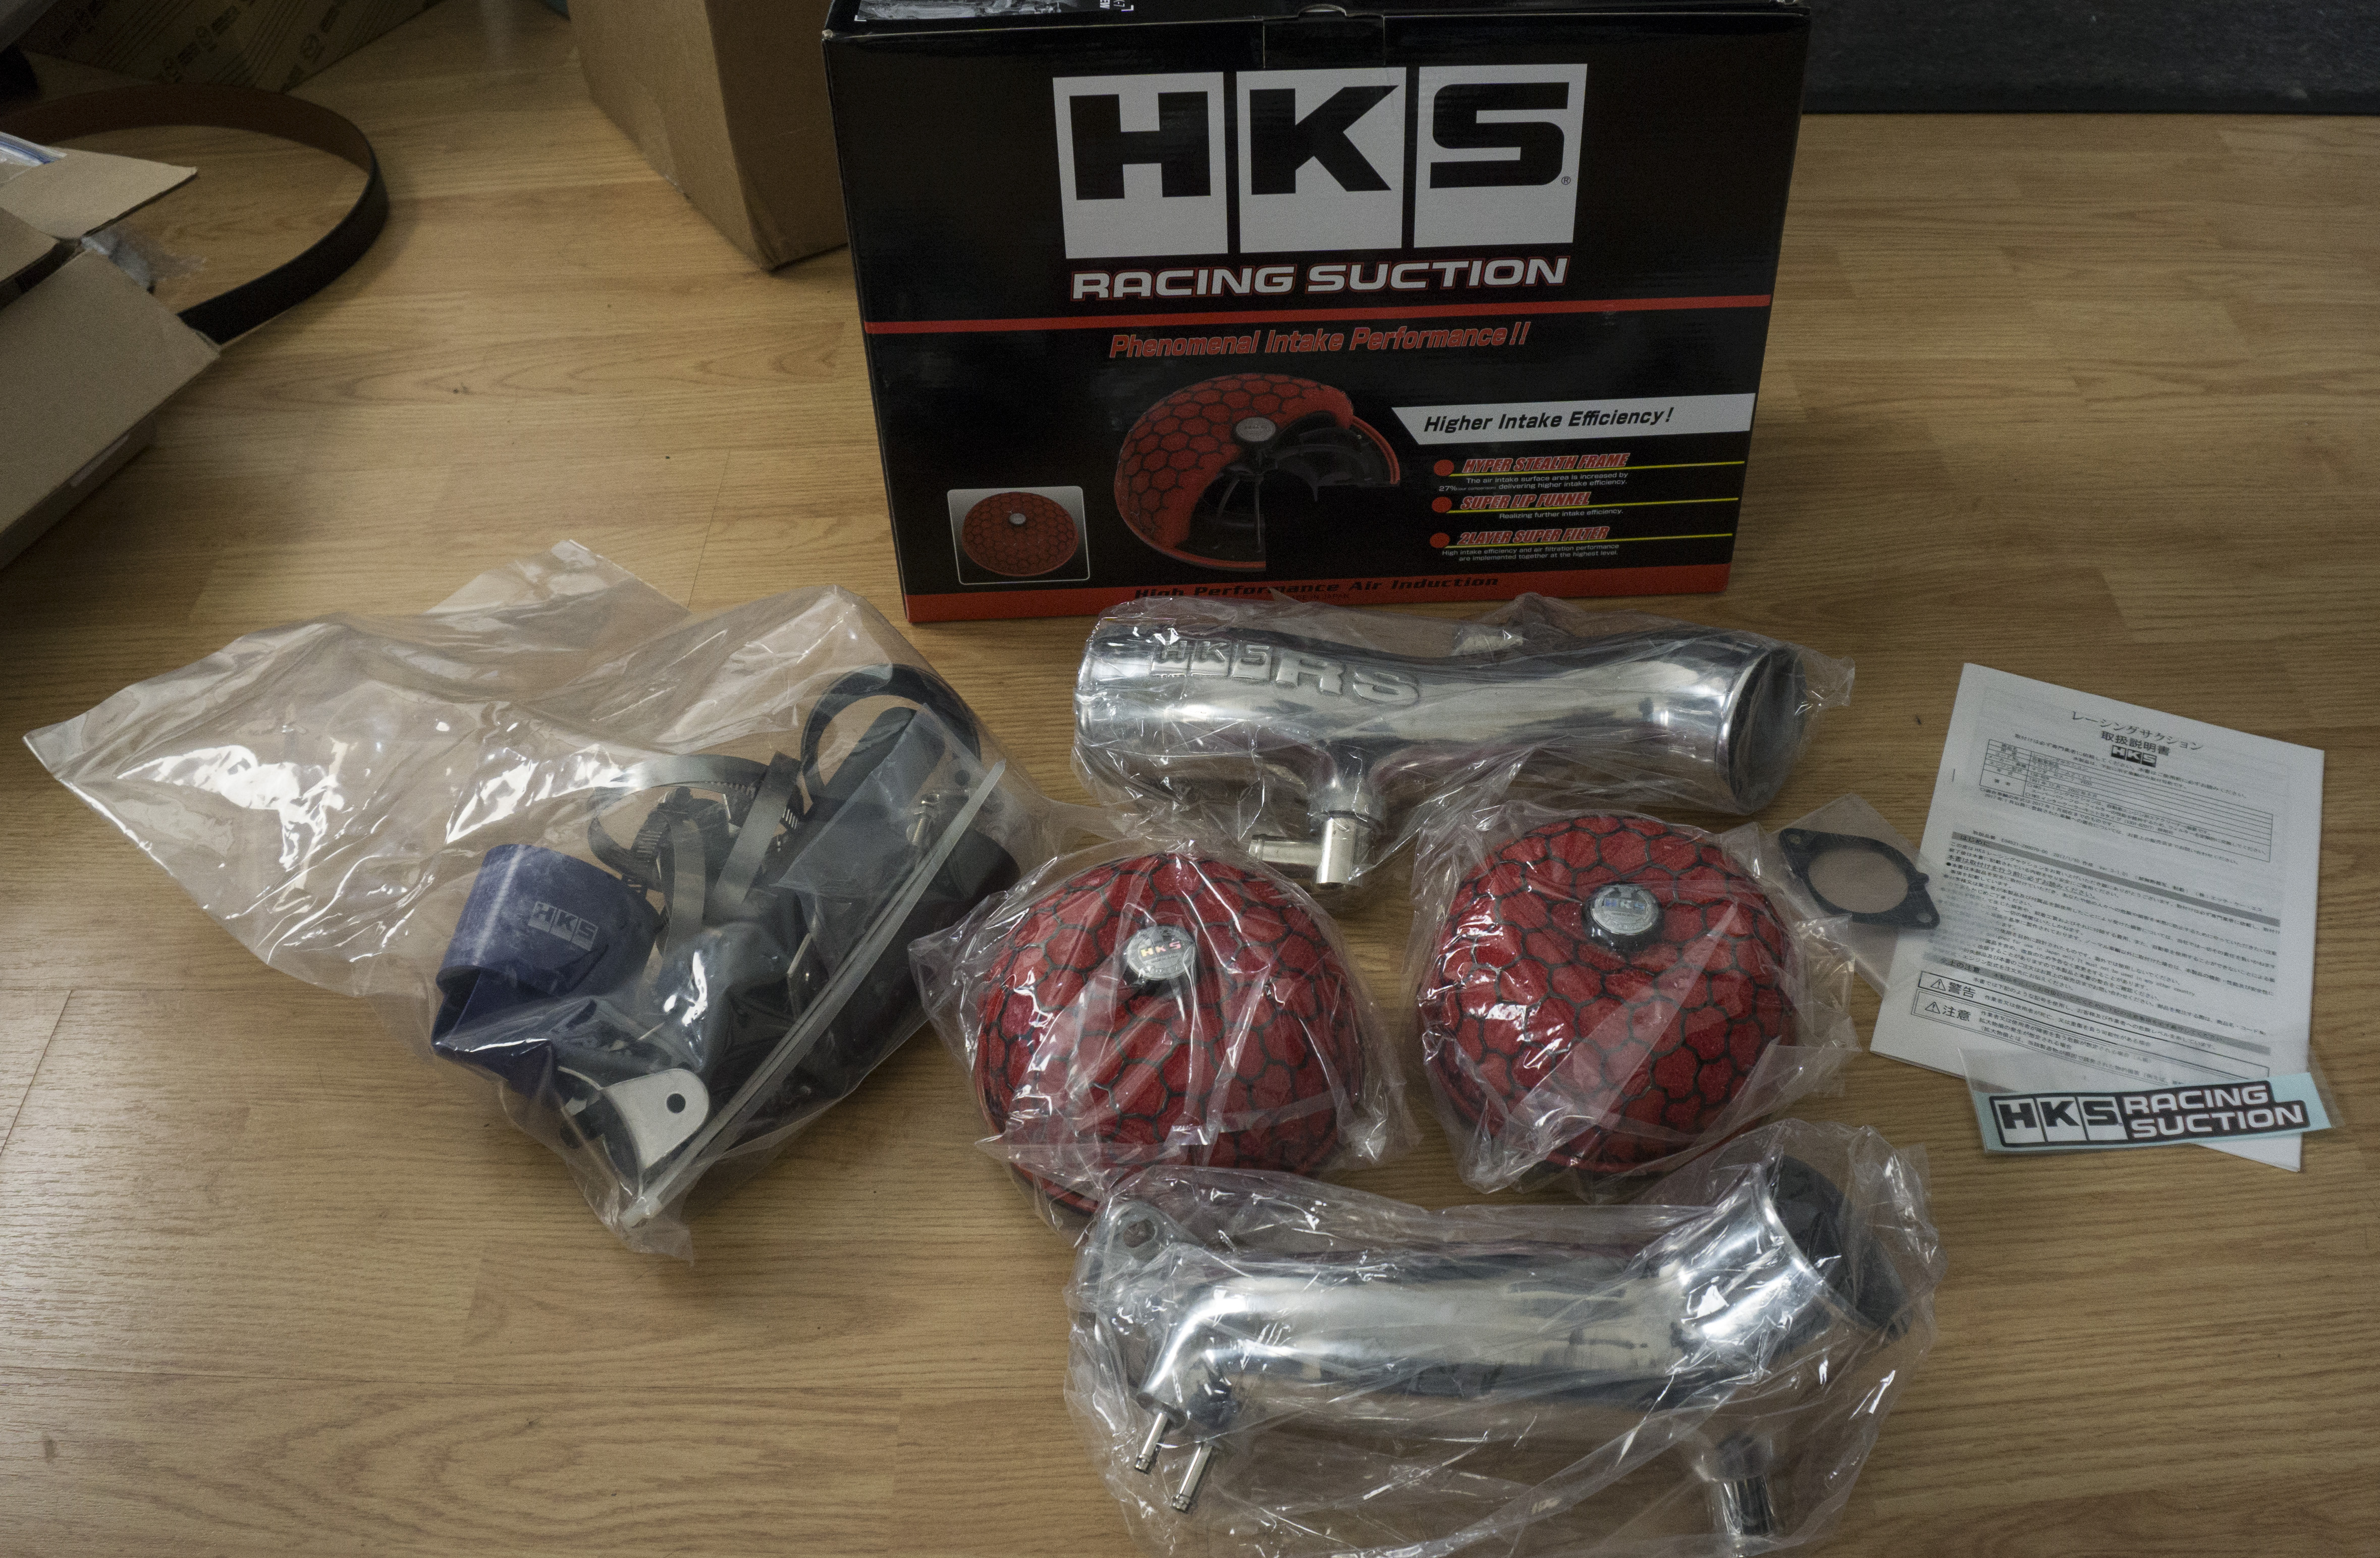
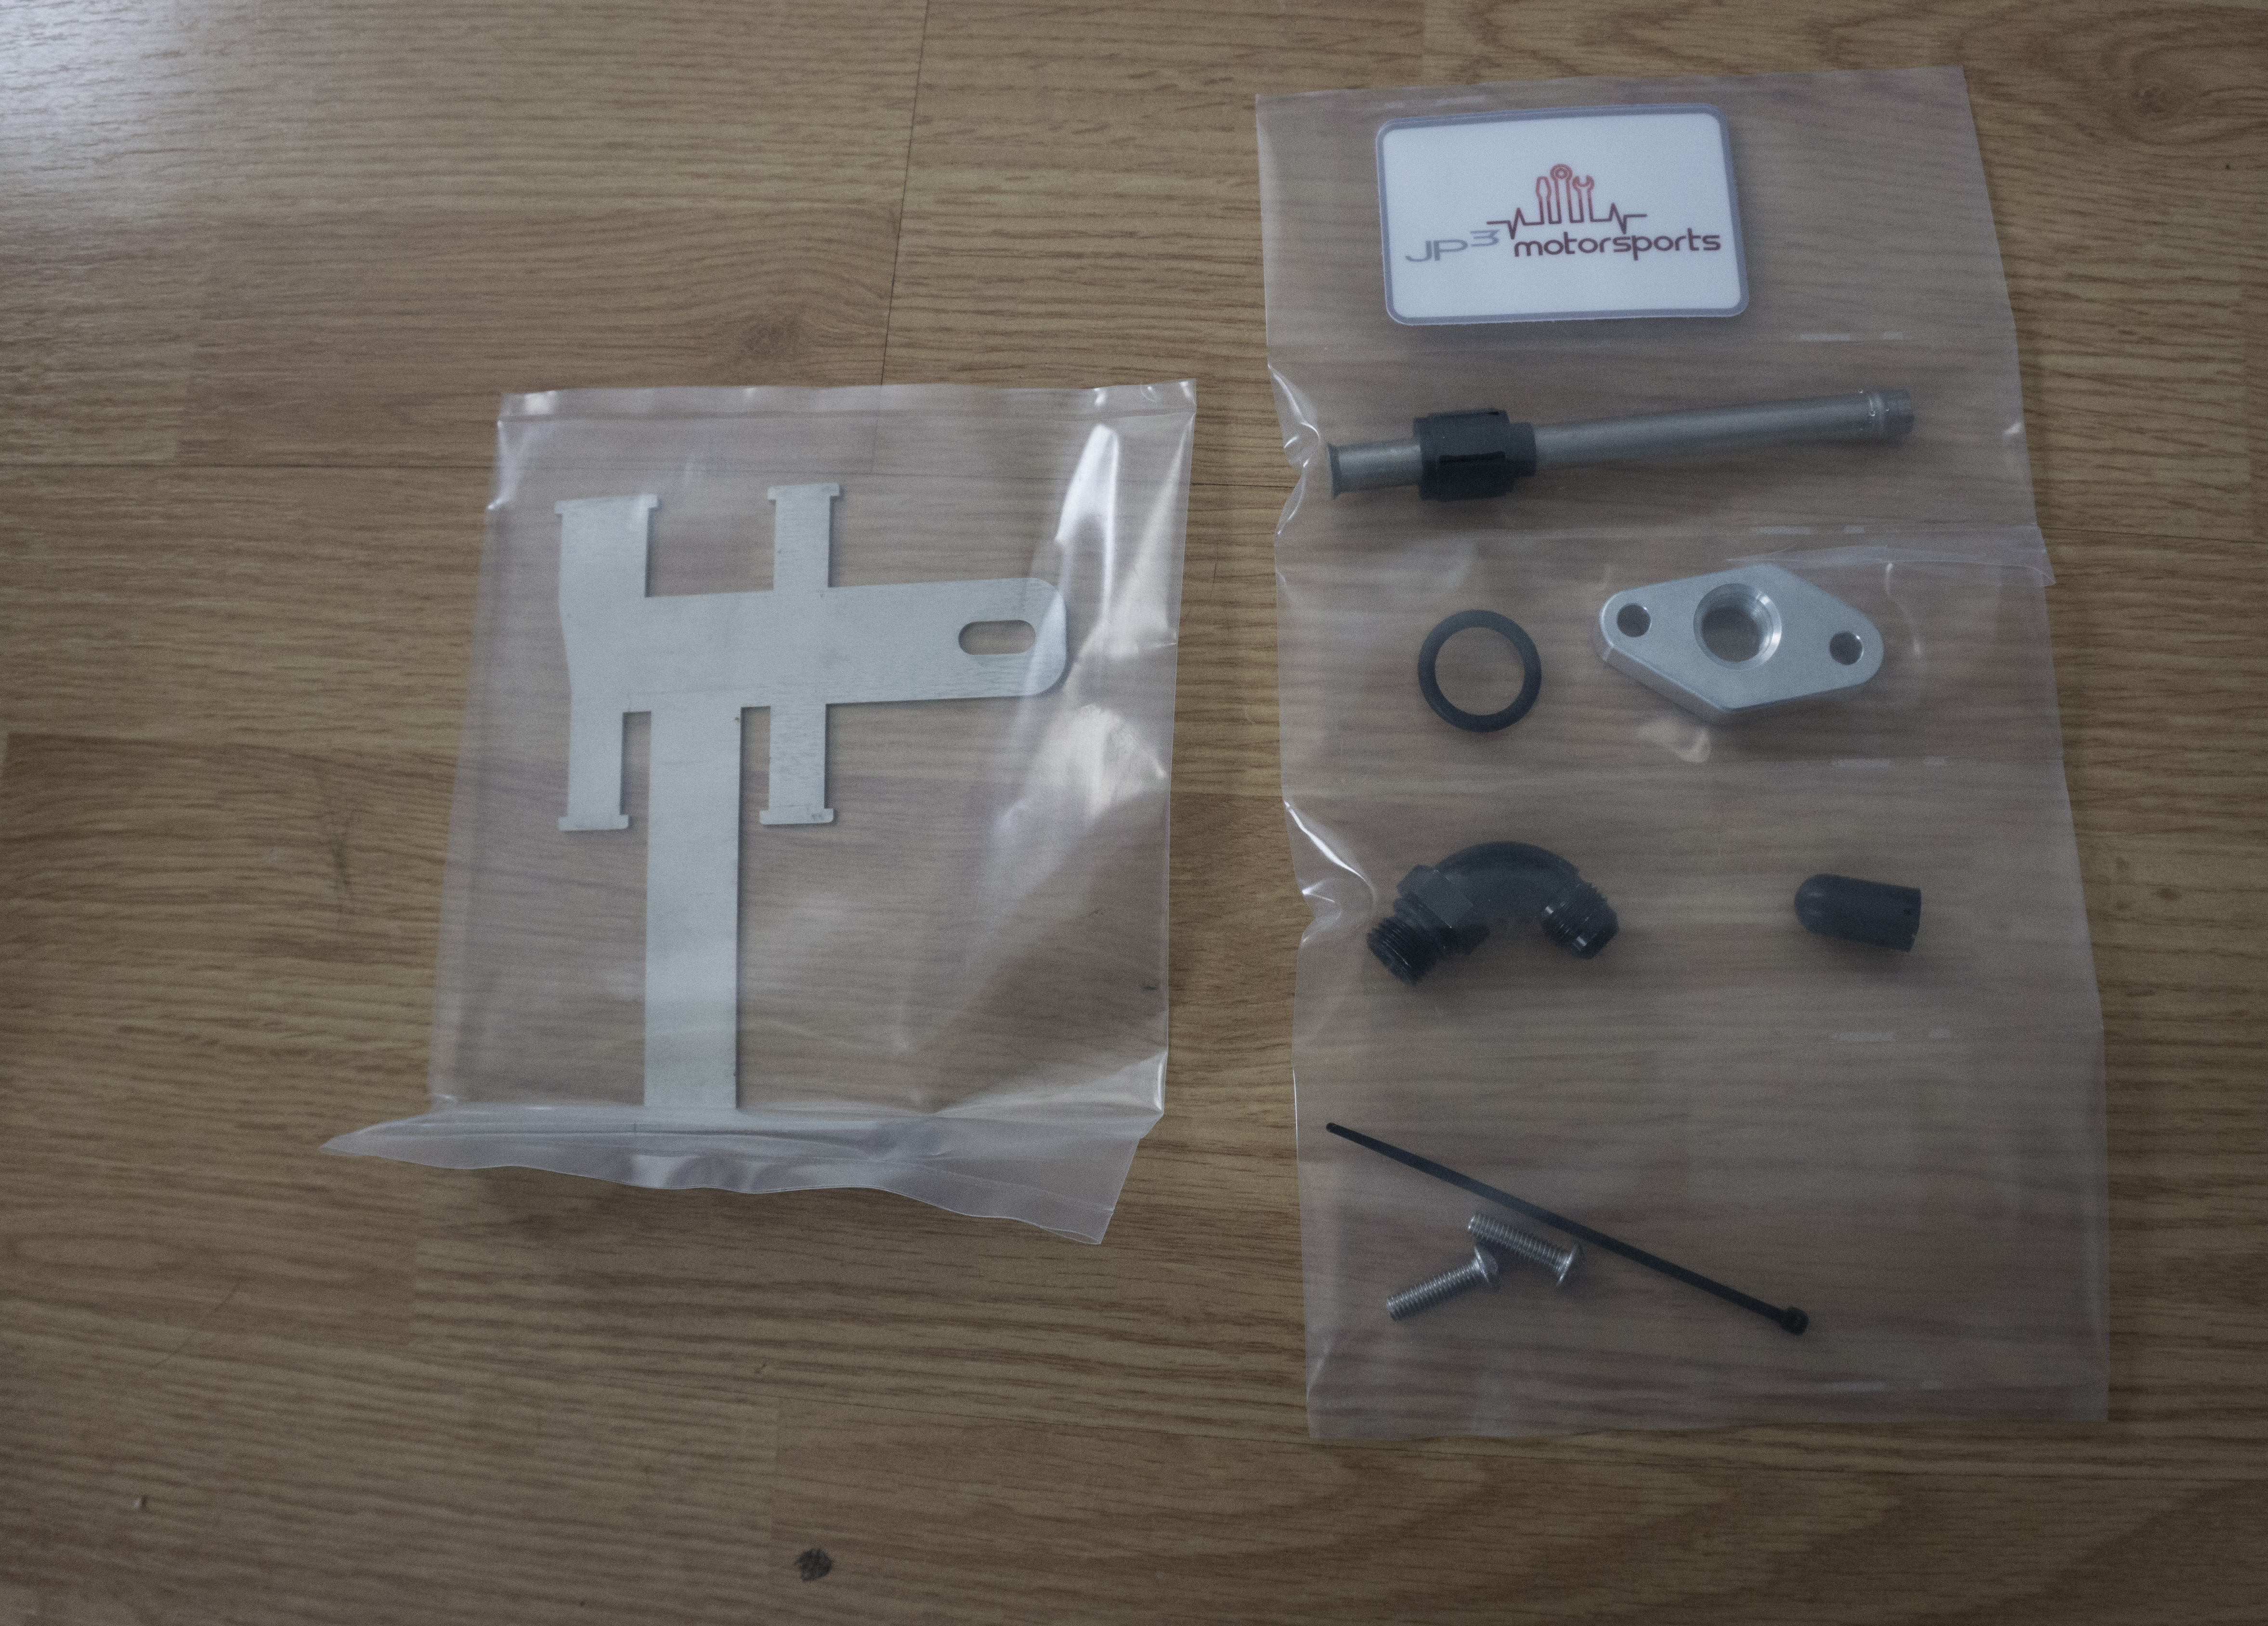
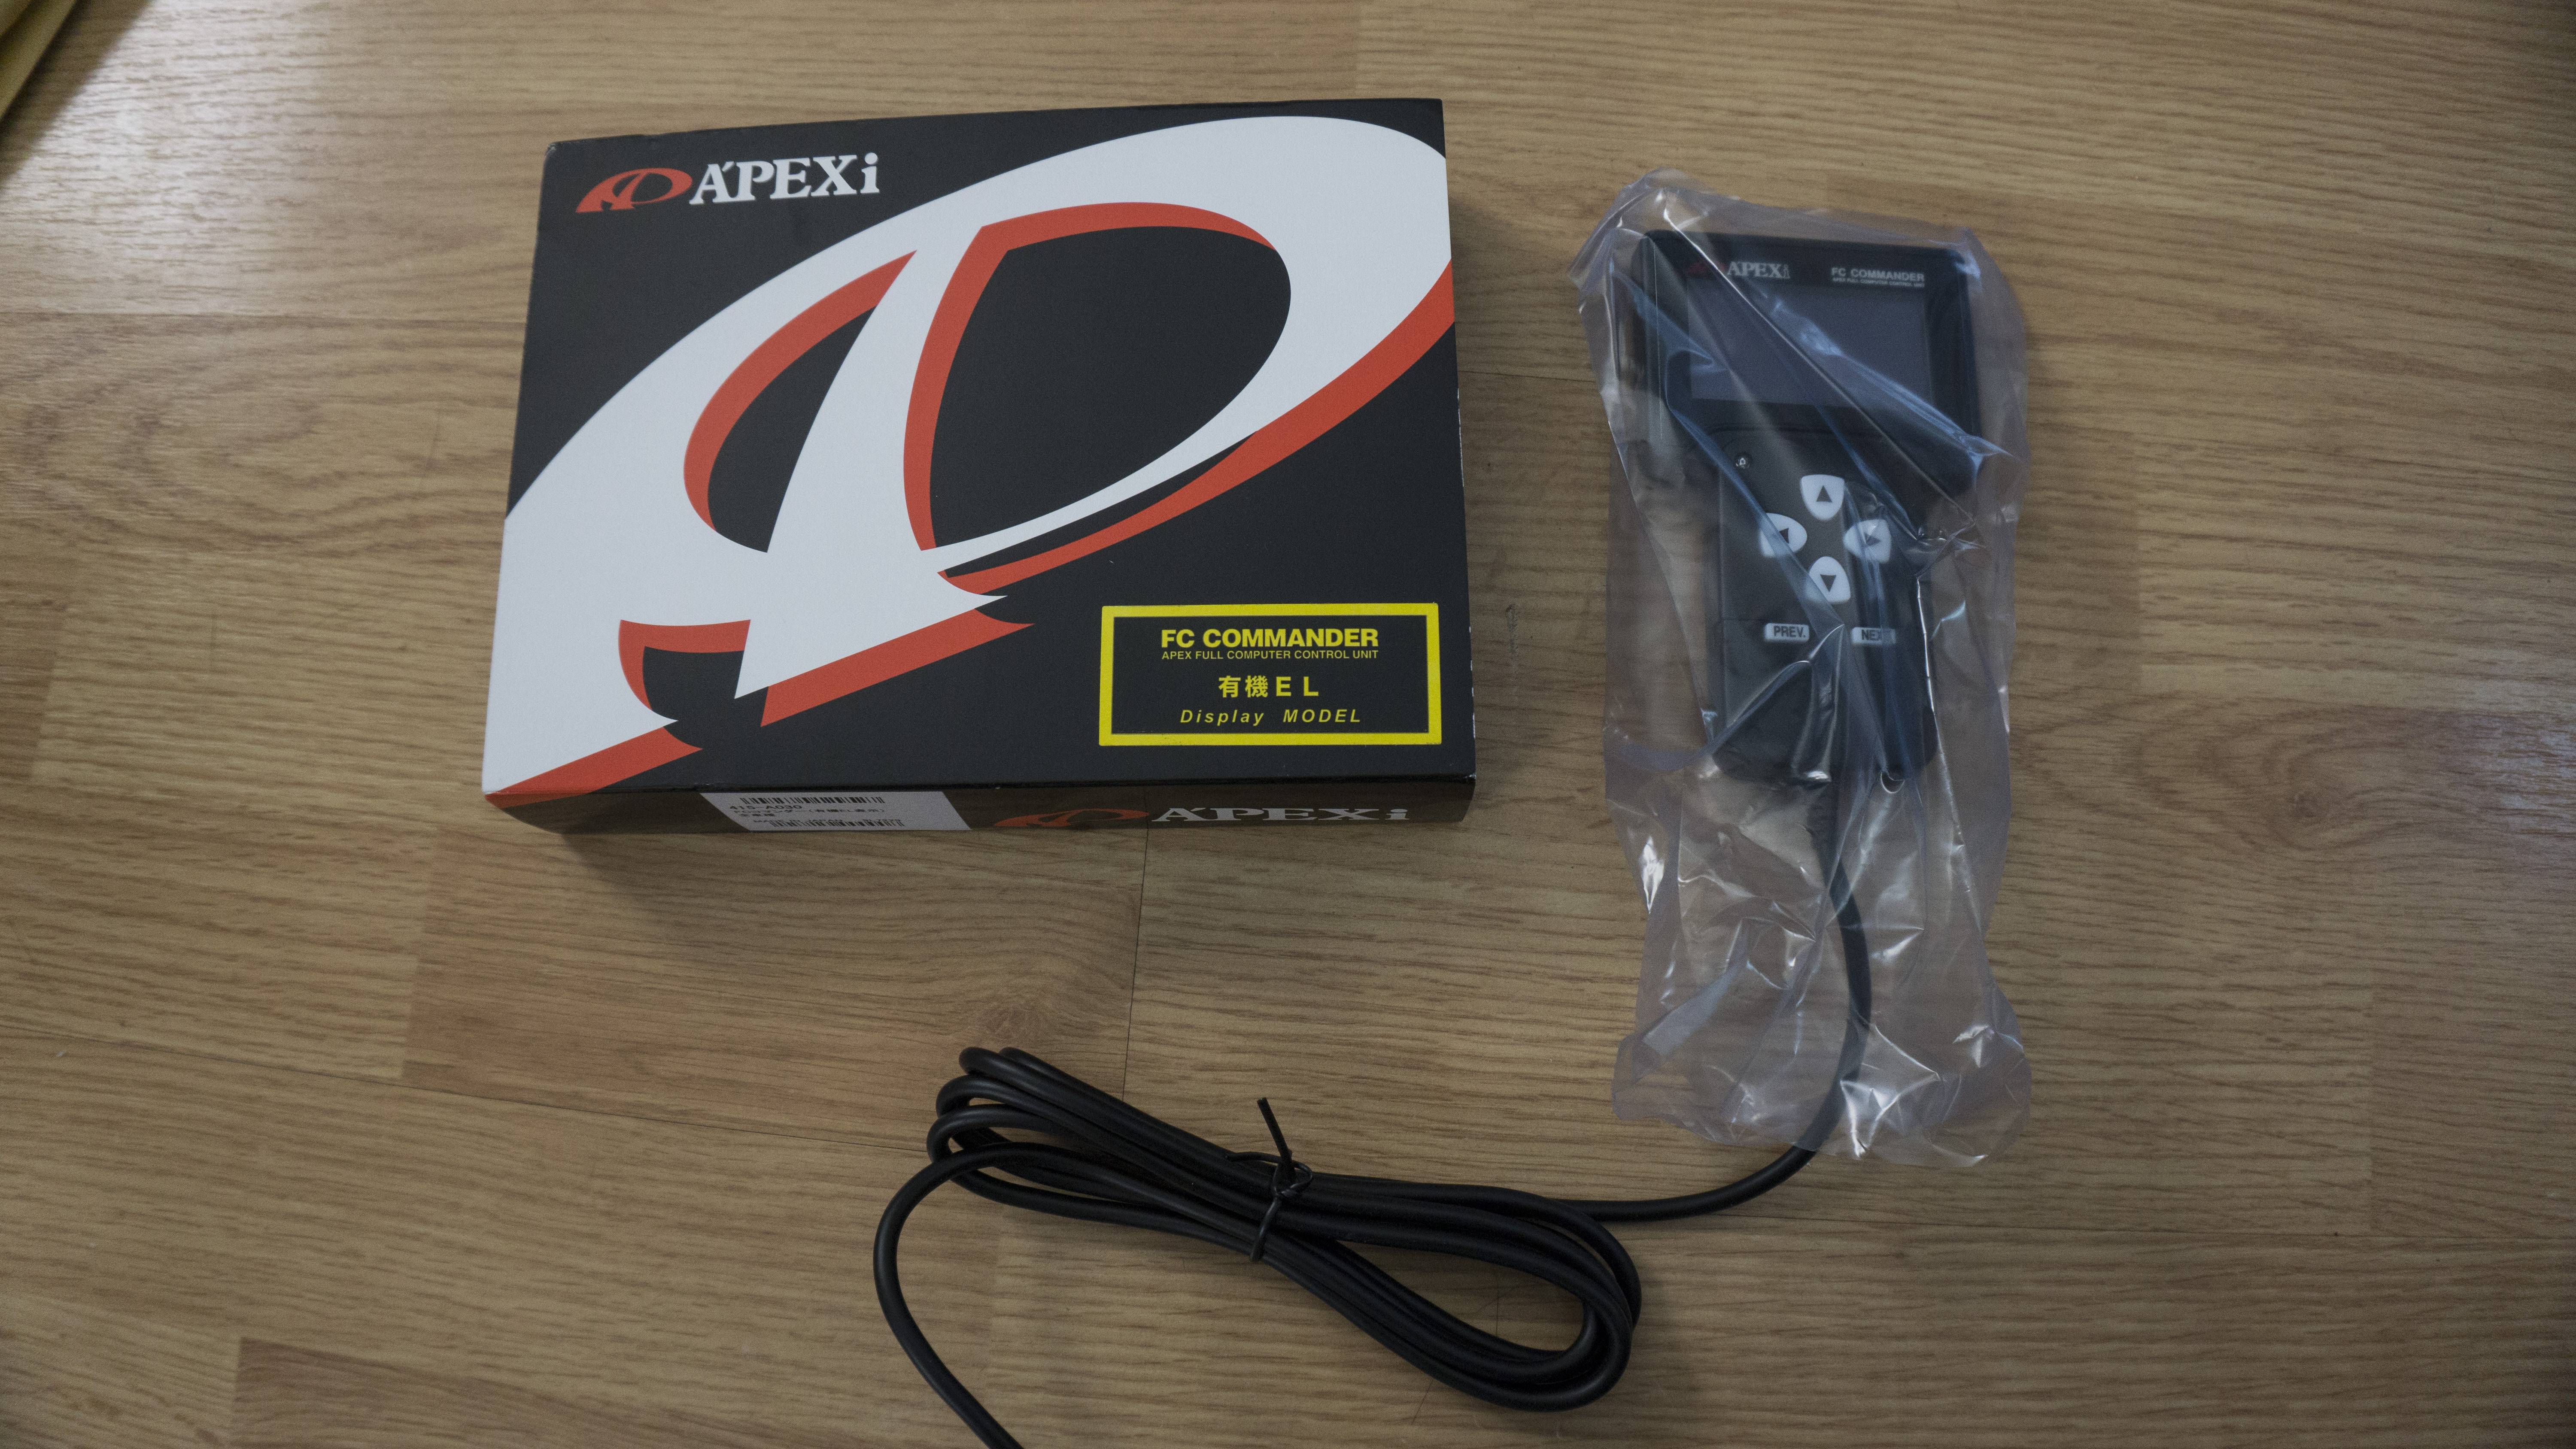
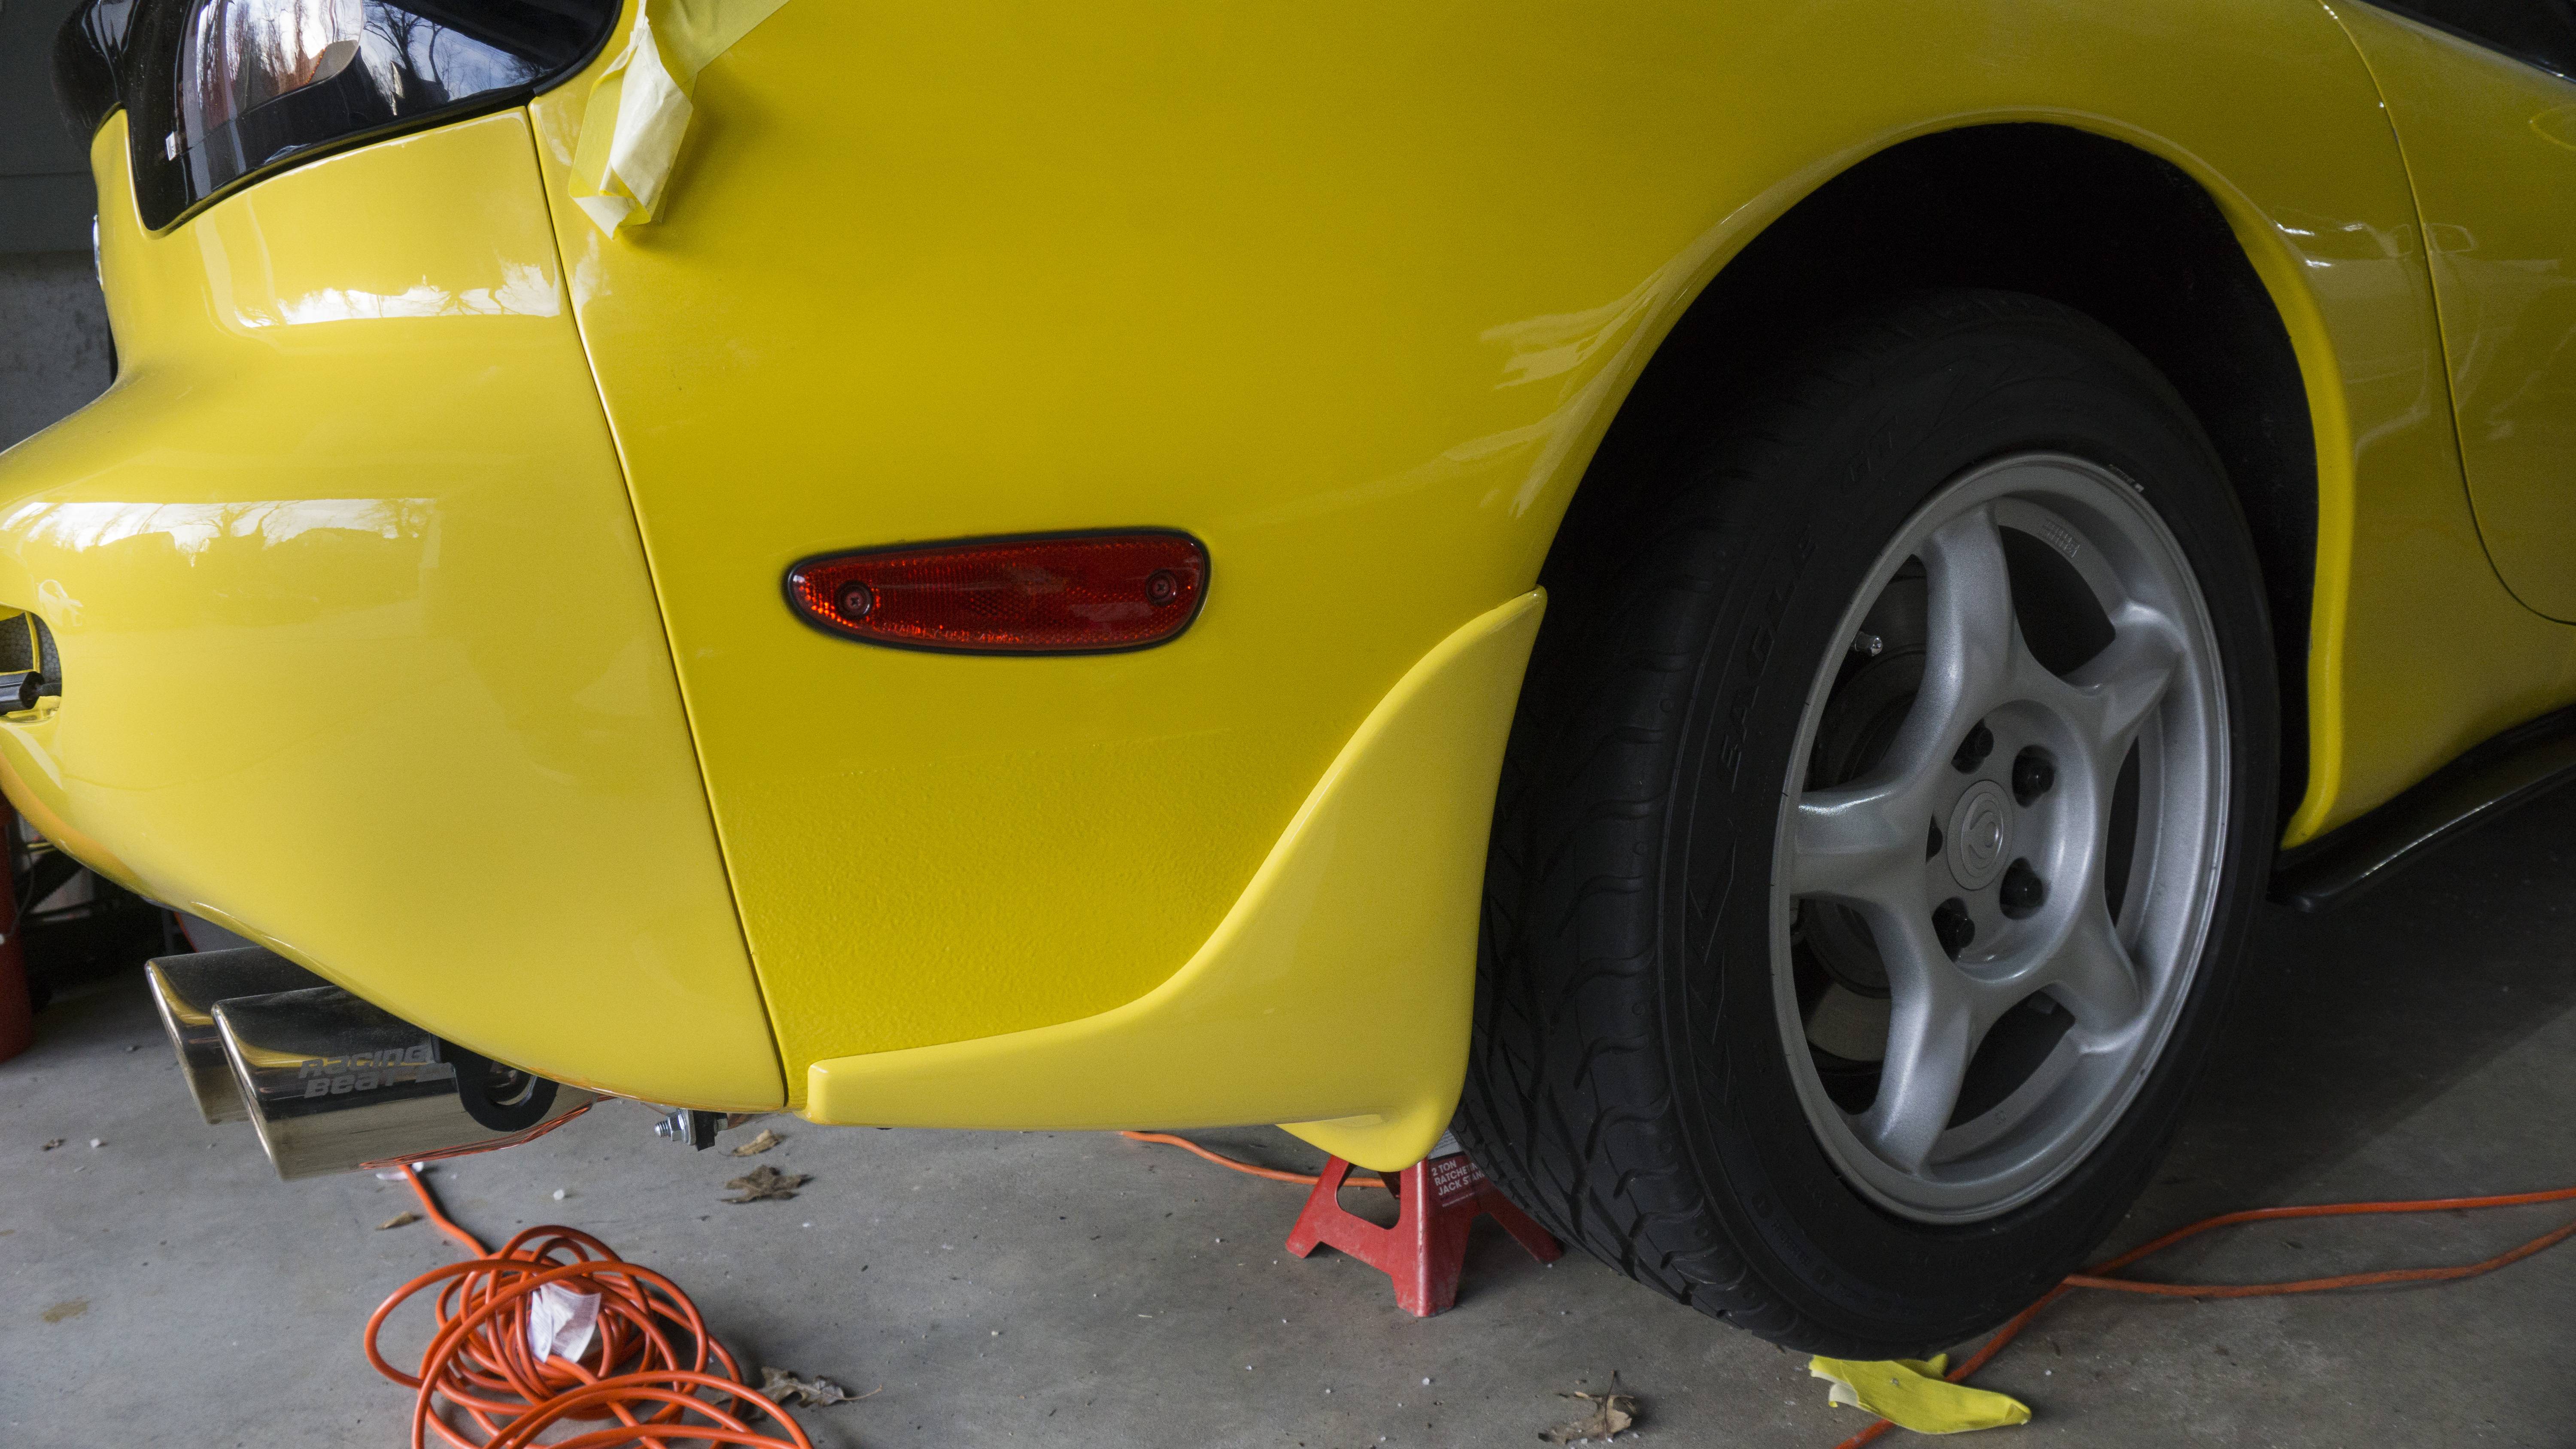
It�s been a pretty good week. A lot of stuff has gotten done and some cool stuff finally came in. My HKS intakes finally arrived from backorder. Immediately took them over to powder coating. I�m excited to get those back. I think I can officially call the engine bay complete once those go in. They came with the red filters, I went ahead and ordered yellow ones and a black/red button to tie the filter frame down. I think that will blend a lot better with the car and not look so off. I also received some cool stuff from JP3 Motorsports in the mail. A fan relay relocation bracket and a brake booster vacuum simplification kit. I also ordered an OLED Power FC, because a yellow car needs yellow text on the commander. I ended up getting that installed with my cigarette lighter mount. I�m pretty happy with it. I ran the wires for that behind the dash and they shouldn�t really be seen. I was also able to get my Shine Auto side skirt extensions installed. I noticed my passenger side was missing the little rear M4 mounting points. Fortunately, a M6 rivnut fits perfectly there and allowed me to mount as I had originally planned. I went and grabbed everything but the front bumper from paint today and I�m completely underwhelmed. It looks to be an entirely different shade from what�s on the car. I�d be less frustrated if I didn�t offer to pay more and give them my car to blend into the panels. I had a hunch what was going to happen when they said they got it �close� and wouldn�t need to blend. When I go pick up the front bumper Monday I�ll show him the pictures - it may not even be worth arguing. I did plan on having the entire car re-sprayed later on down the road, but I�d rather the car not look �okay� when it could look good.
Here is all the goodies that came in:

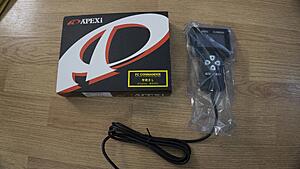
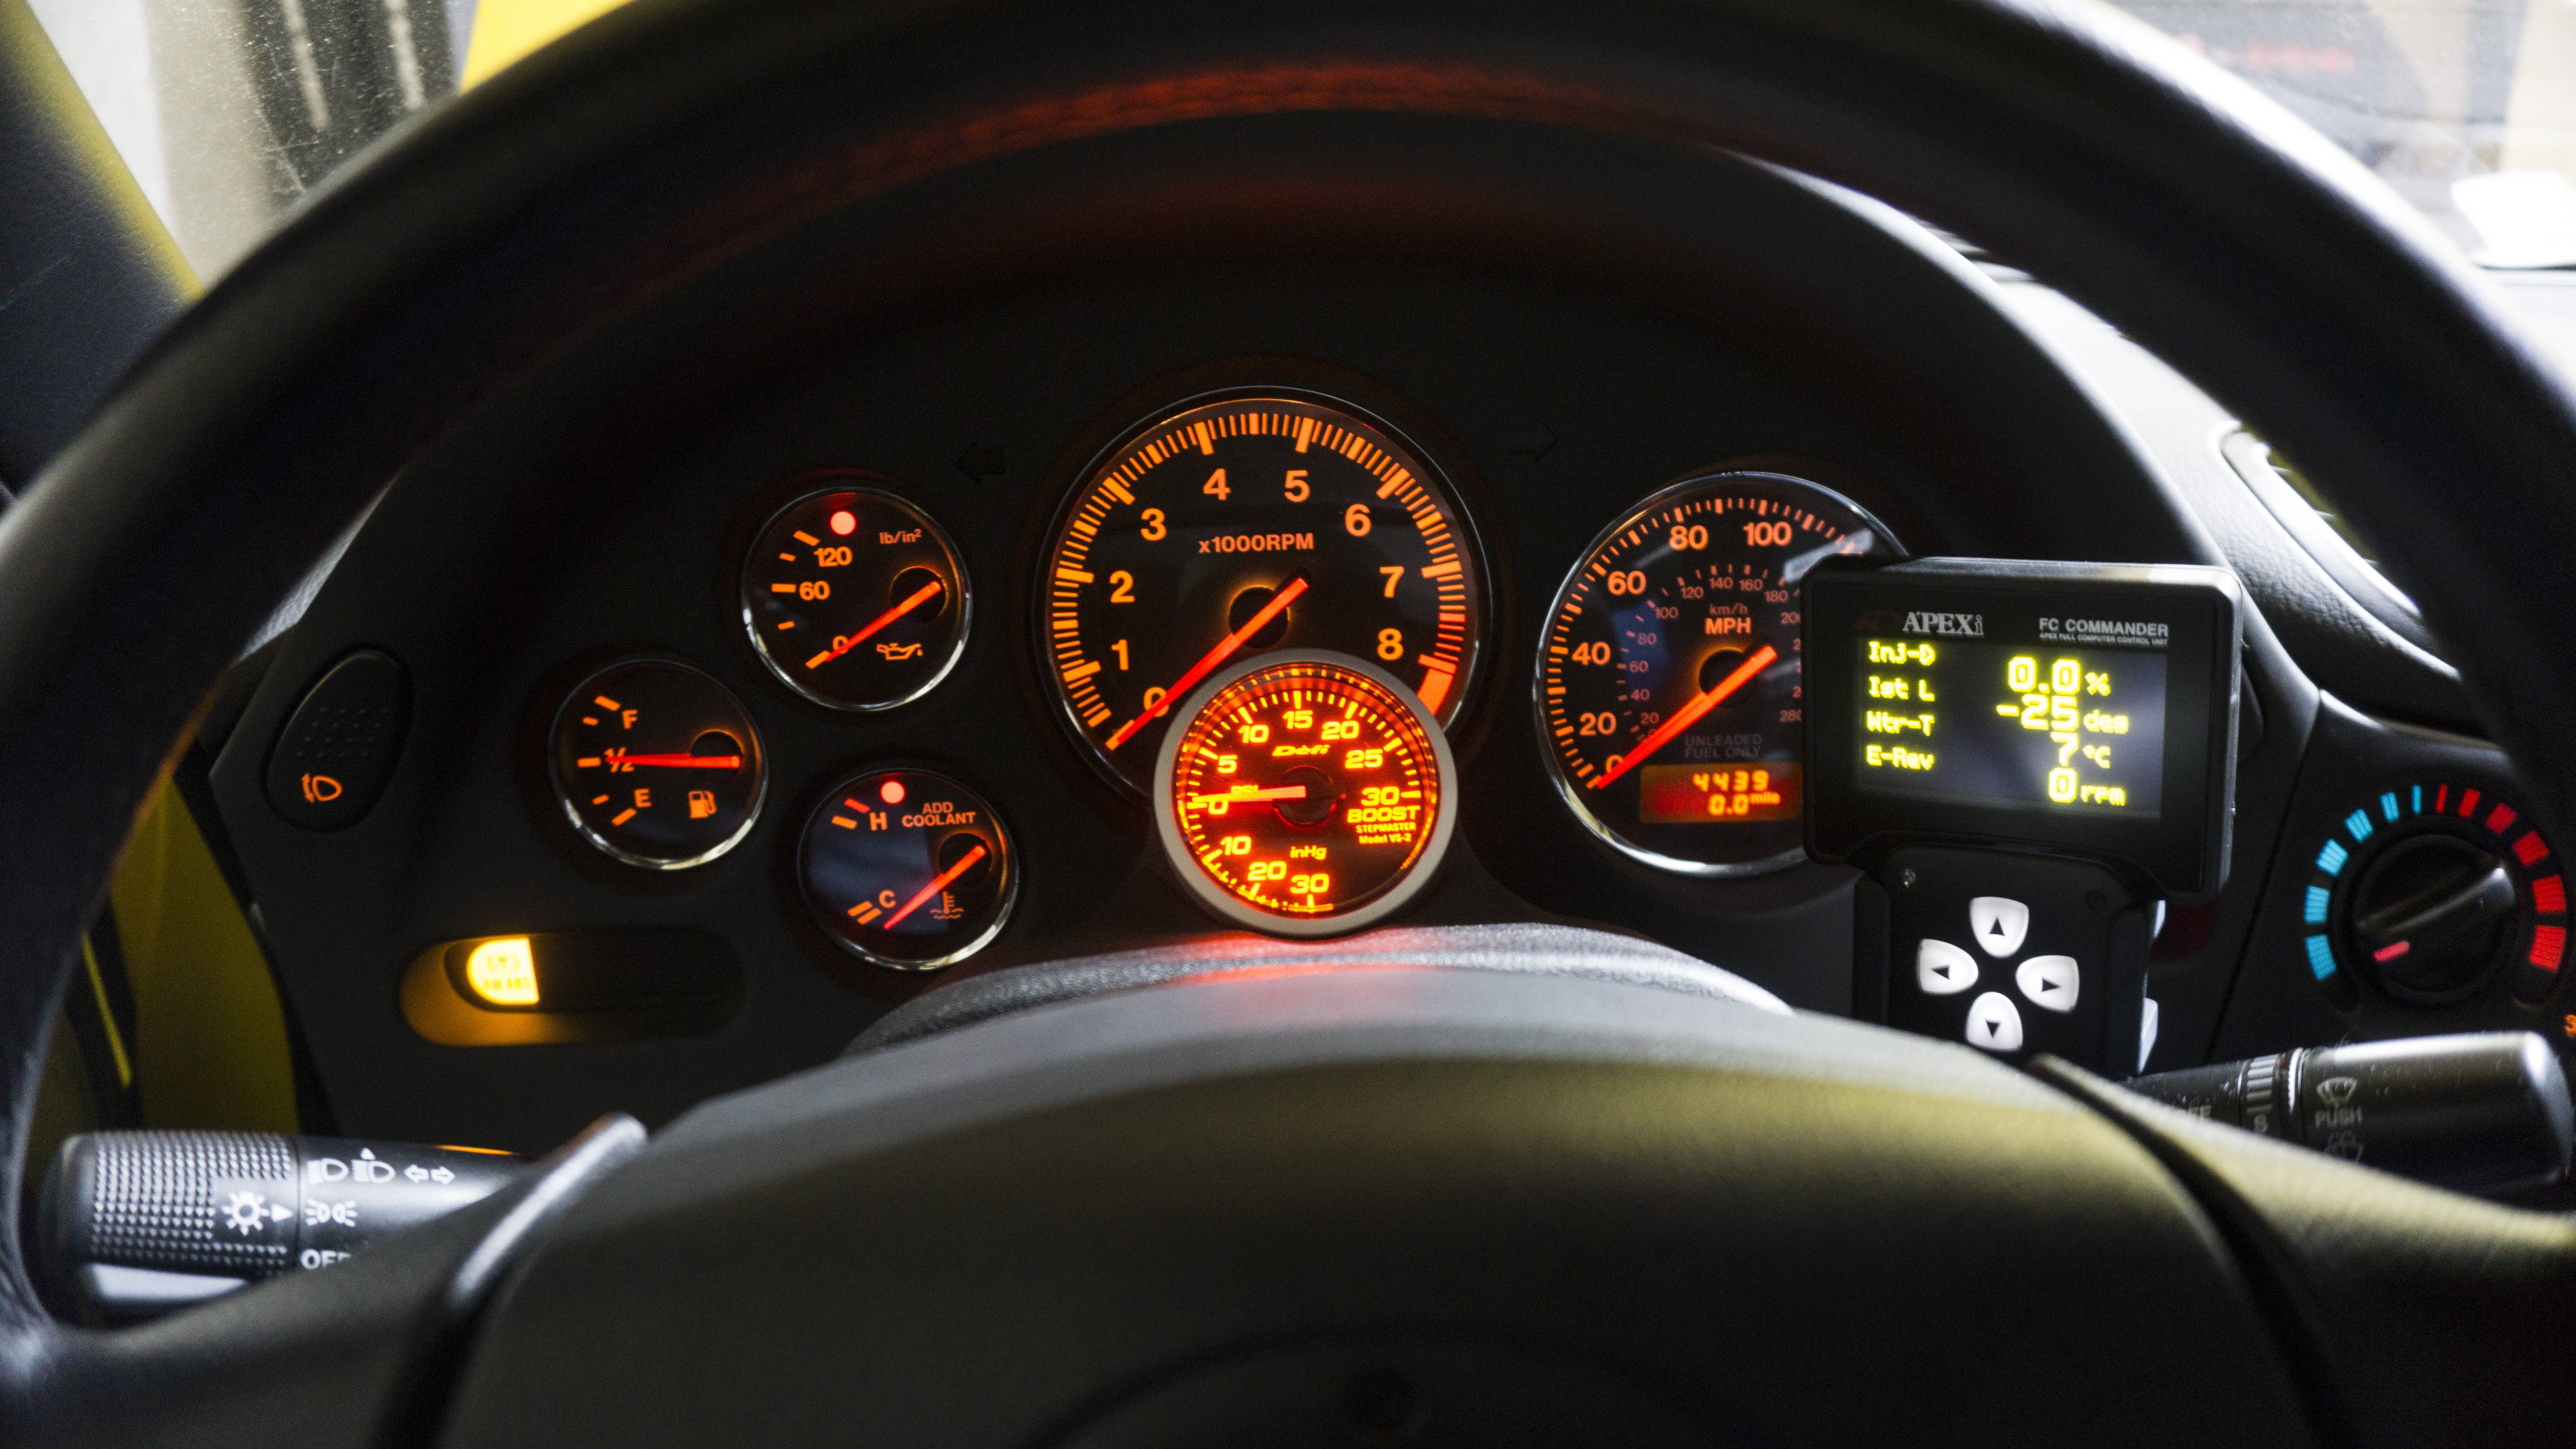
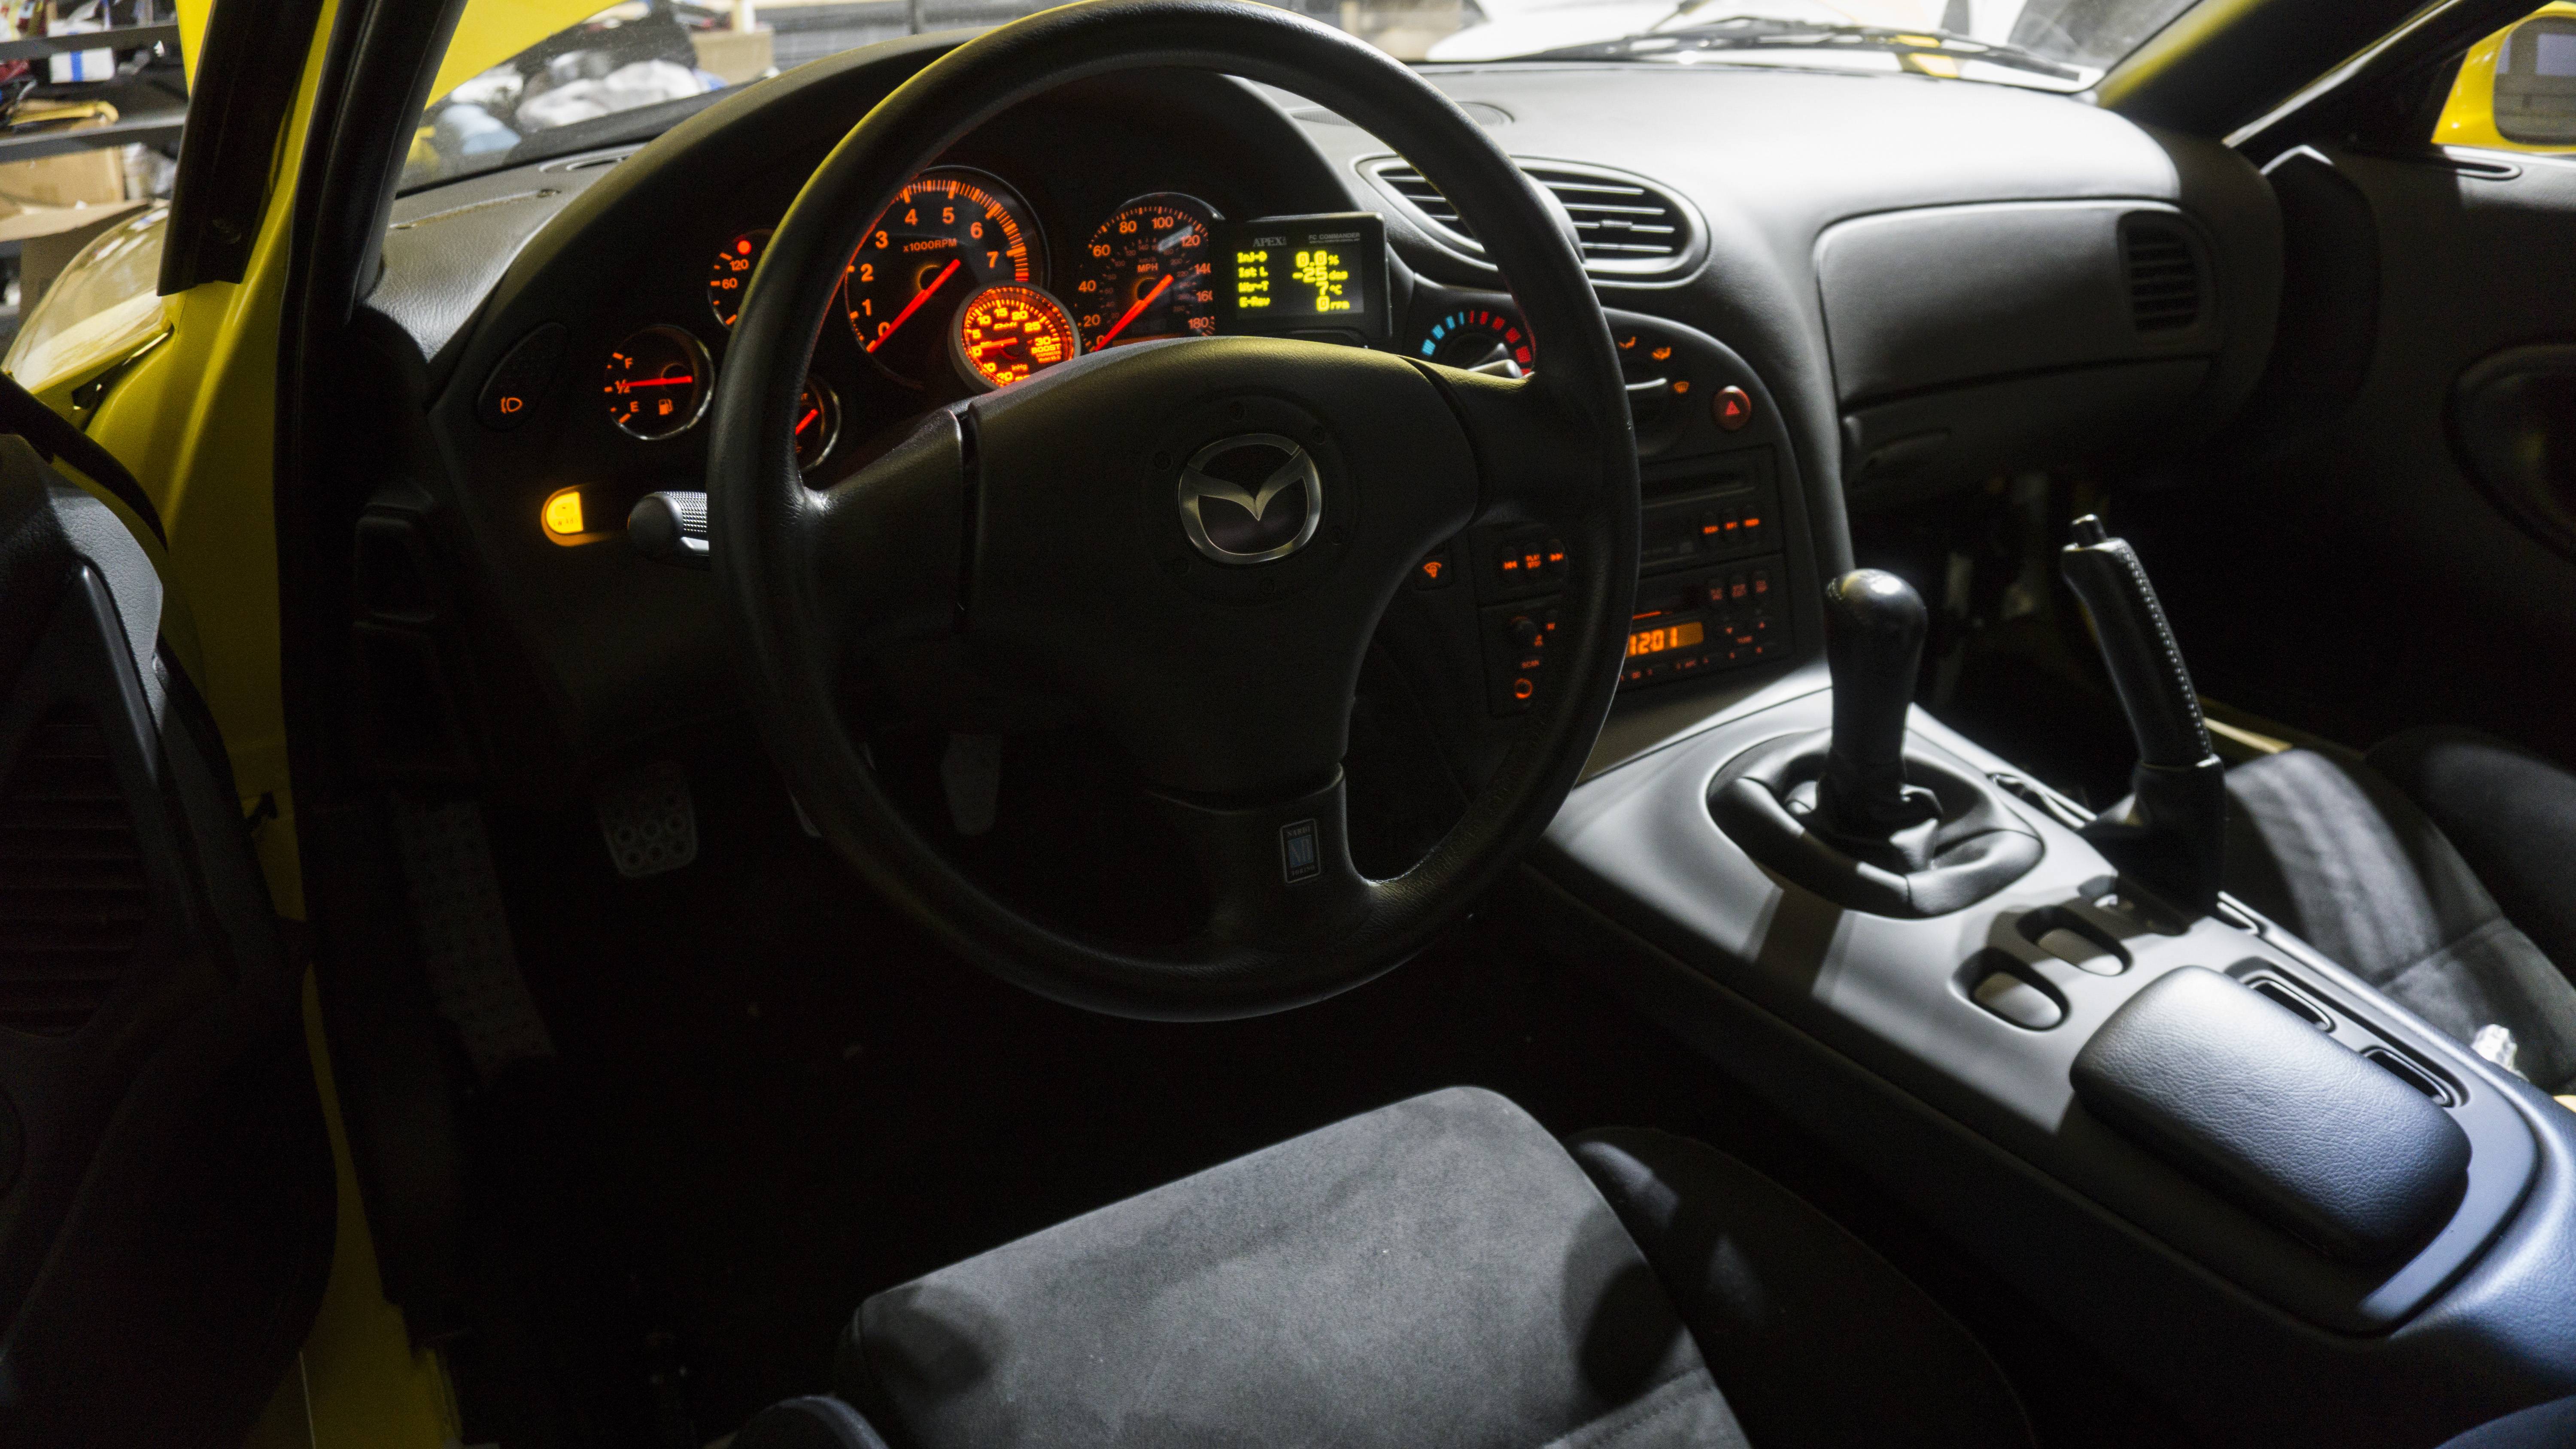
Here is the OLED commander installed:

Here is the Shine Side Skirt Extensions installed:

Here is the stuff I picked up from paint:
It�s been a pretty good week. A lot of stuff has gotten done and some cool stuff finally came in. My HKS intakes finally arrived from backorder. Immediately took them over to powder coating. I�m excited to get those back. I think I can officially call the engine bay complete once those go in. They came with the red filters, I went ahead and ordered yellow ones and a black/red button to tie the filter frame down. I think that will blend a lot better with the car and not look so off. I also received some cool stuff from JP3 Motorsports in the mail. A fan relay relocation bracket and a brake booster vacuum simplification kit. I also ordered an OLED Power FC, because a yellow car needs yellow text on the commander. I ended up getting that installed with my cigarette lighter mount. I�m pretty happy with it. I ran the wires for that behind the dash and they shouldn�t really be seen. I was also able to get my Shine Auto side skirt extensions installed. I noticed my passenger side was missing the little rear M4 mounting points. Fortunately, a M6 rivnut fits perfectly there and allowed me to mount as I had originally planned. I went and grabbed everything but the front bumper from paint today and I�m completely underwhelmed. It looks to be an entirely different shade from what�s on the car. I�d be less frustrated if I didn�t offer to pay more and give them my car to blend into the panels. I had a hunch what was going to happen when they said they got it �close� and wouldn�t need to blend. When I go pick up the front bumper Monday I�ll show him the pictures - it may not even be worth arguing. I did plan on having the entire car re-sprayed later on down the road, but I�d rather the car not look �okay� when it could look good.
Here is all the goodies that came in:
Here is the OLED commander installed:
Here is the Shine Side Skirt Extensions installed:
Here is the stuff I picked up from paint:
 02-27-20, 02:44 AM
#70
Junior Member

wow.... i just read your entire FC and FD thread in 2 days at work. i absolutely LOVE both of them. i hope one day i can build my 2 dream cars just like how you have done. you should be proud man!!
02-28-20, 08:40 AM
#71
Update 2/28/2020:
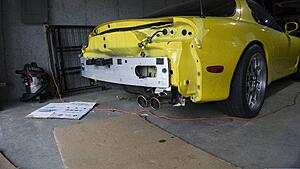
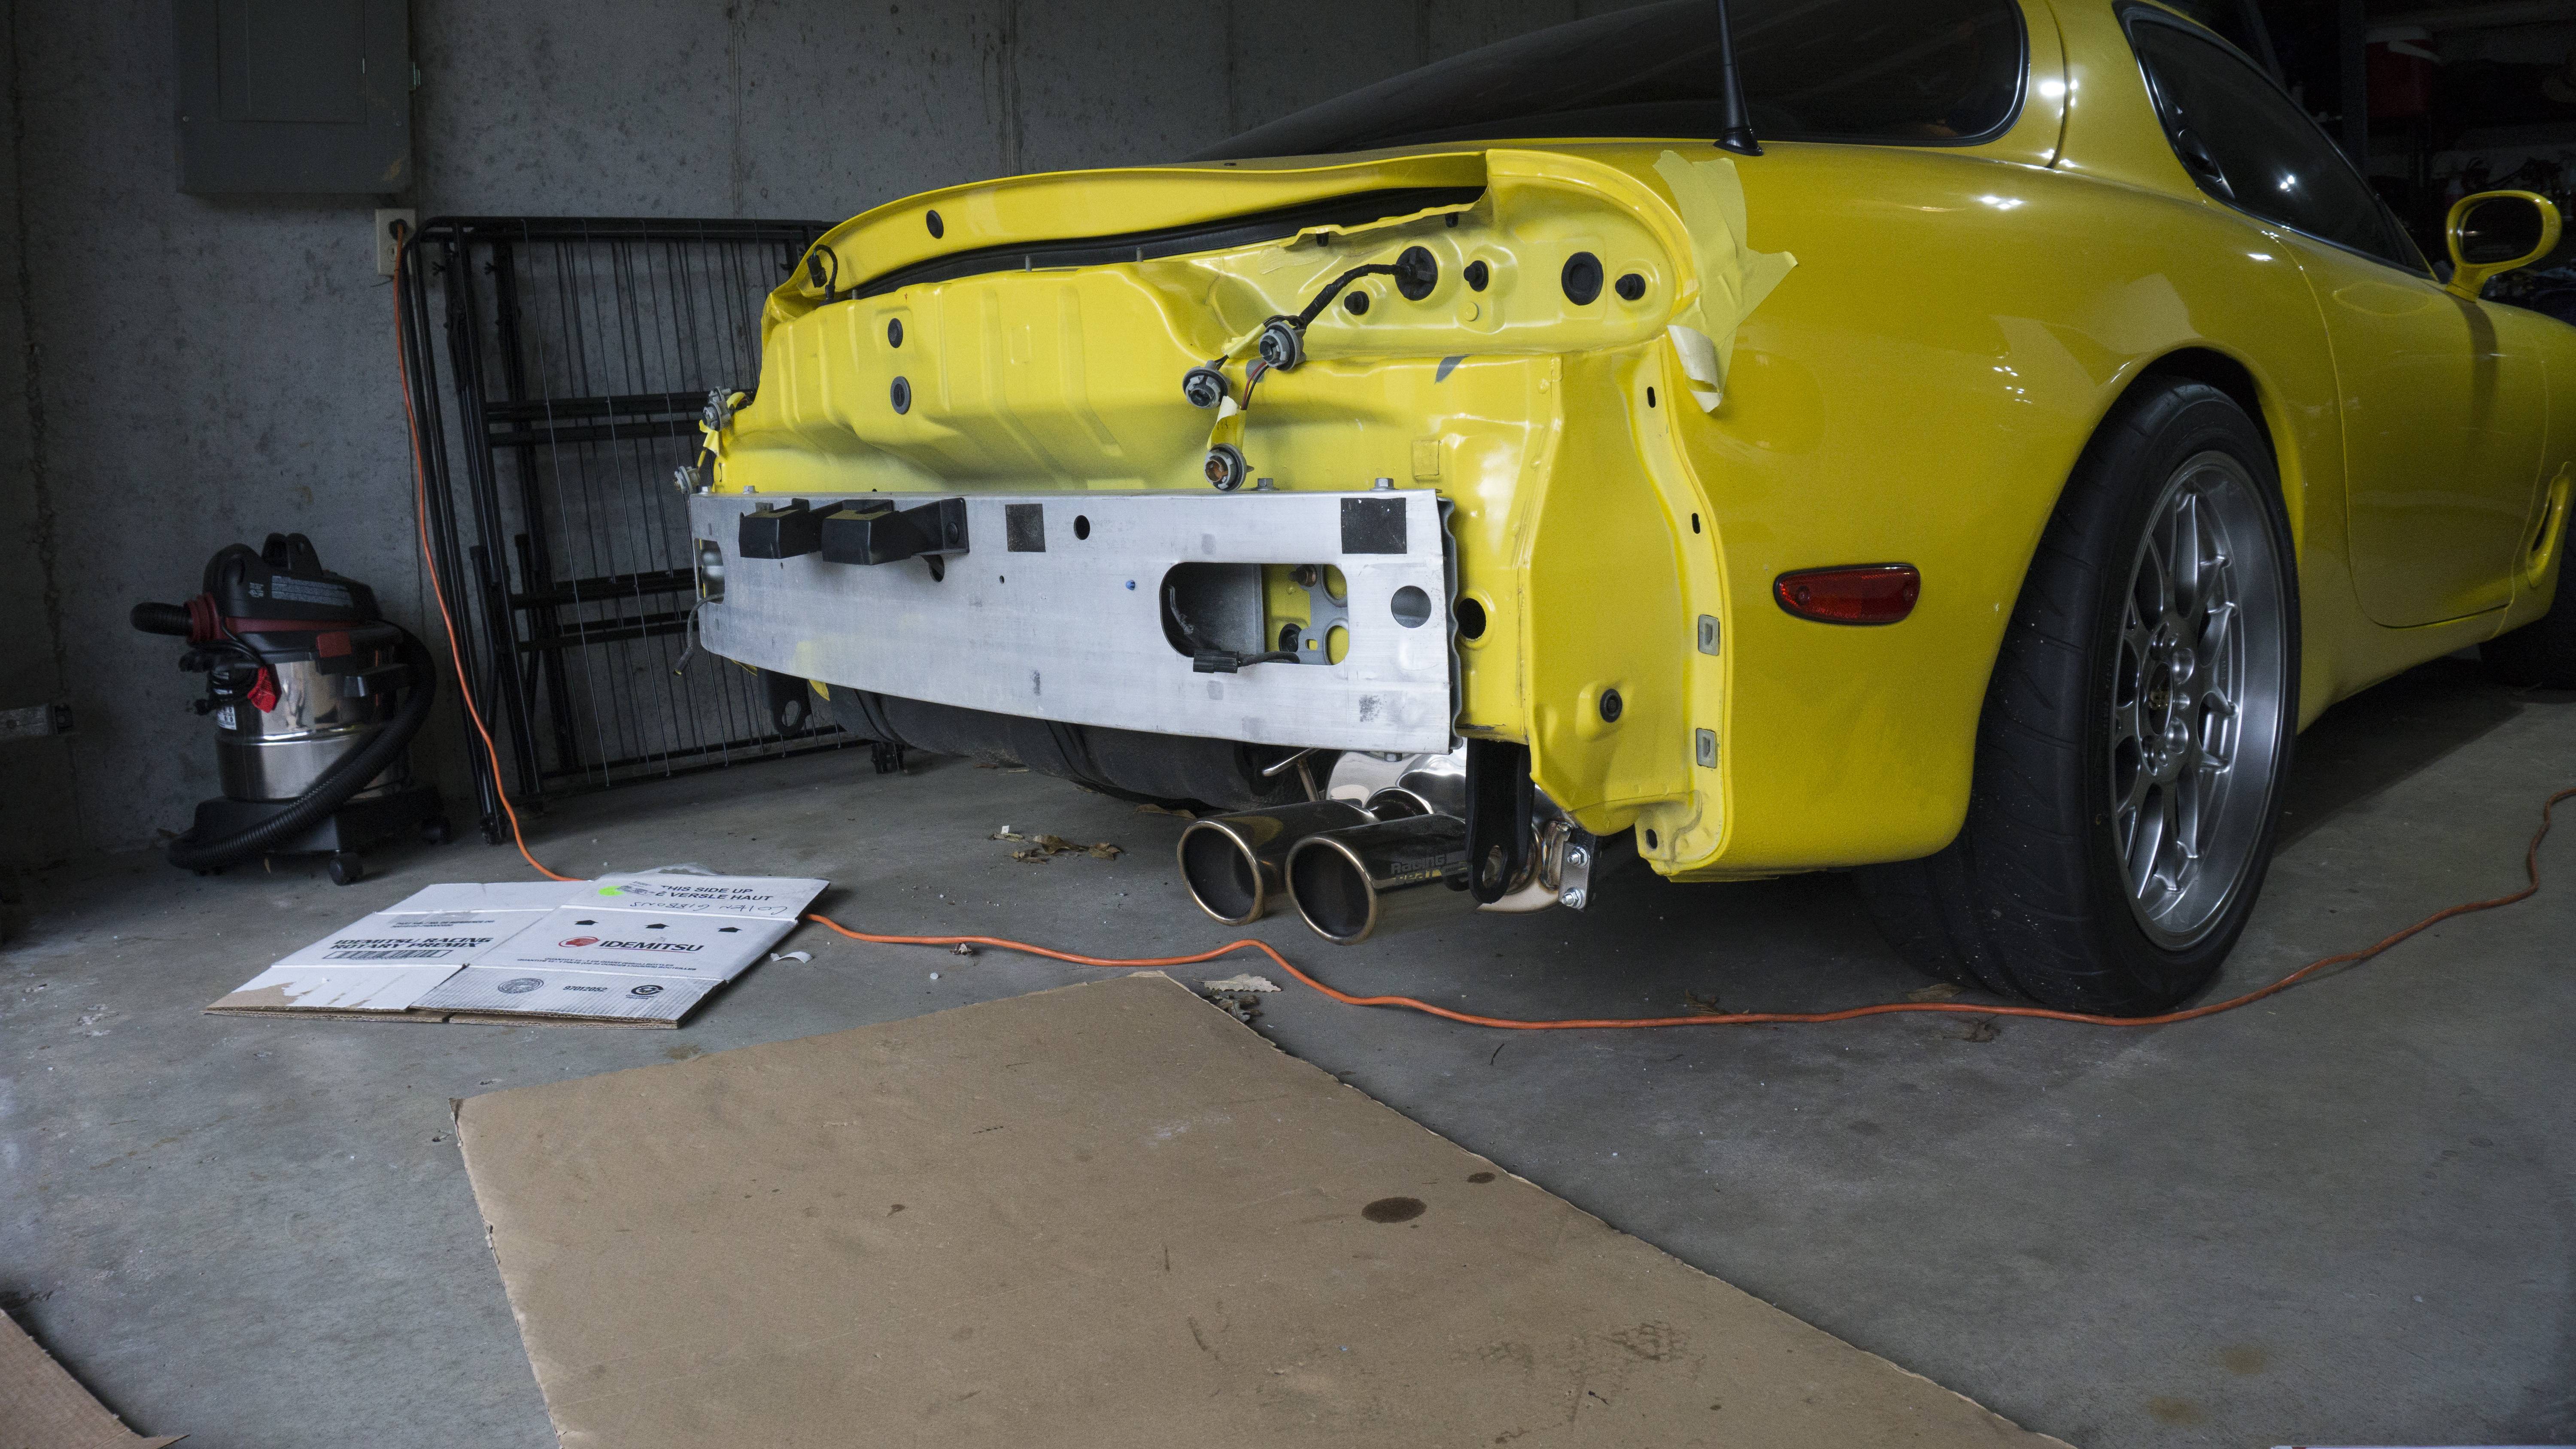
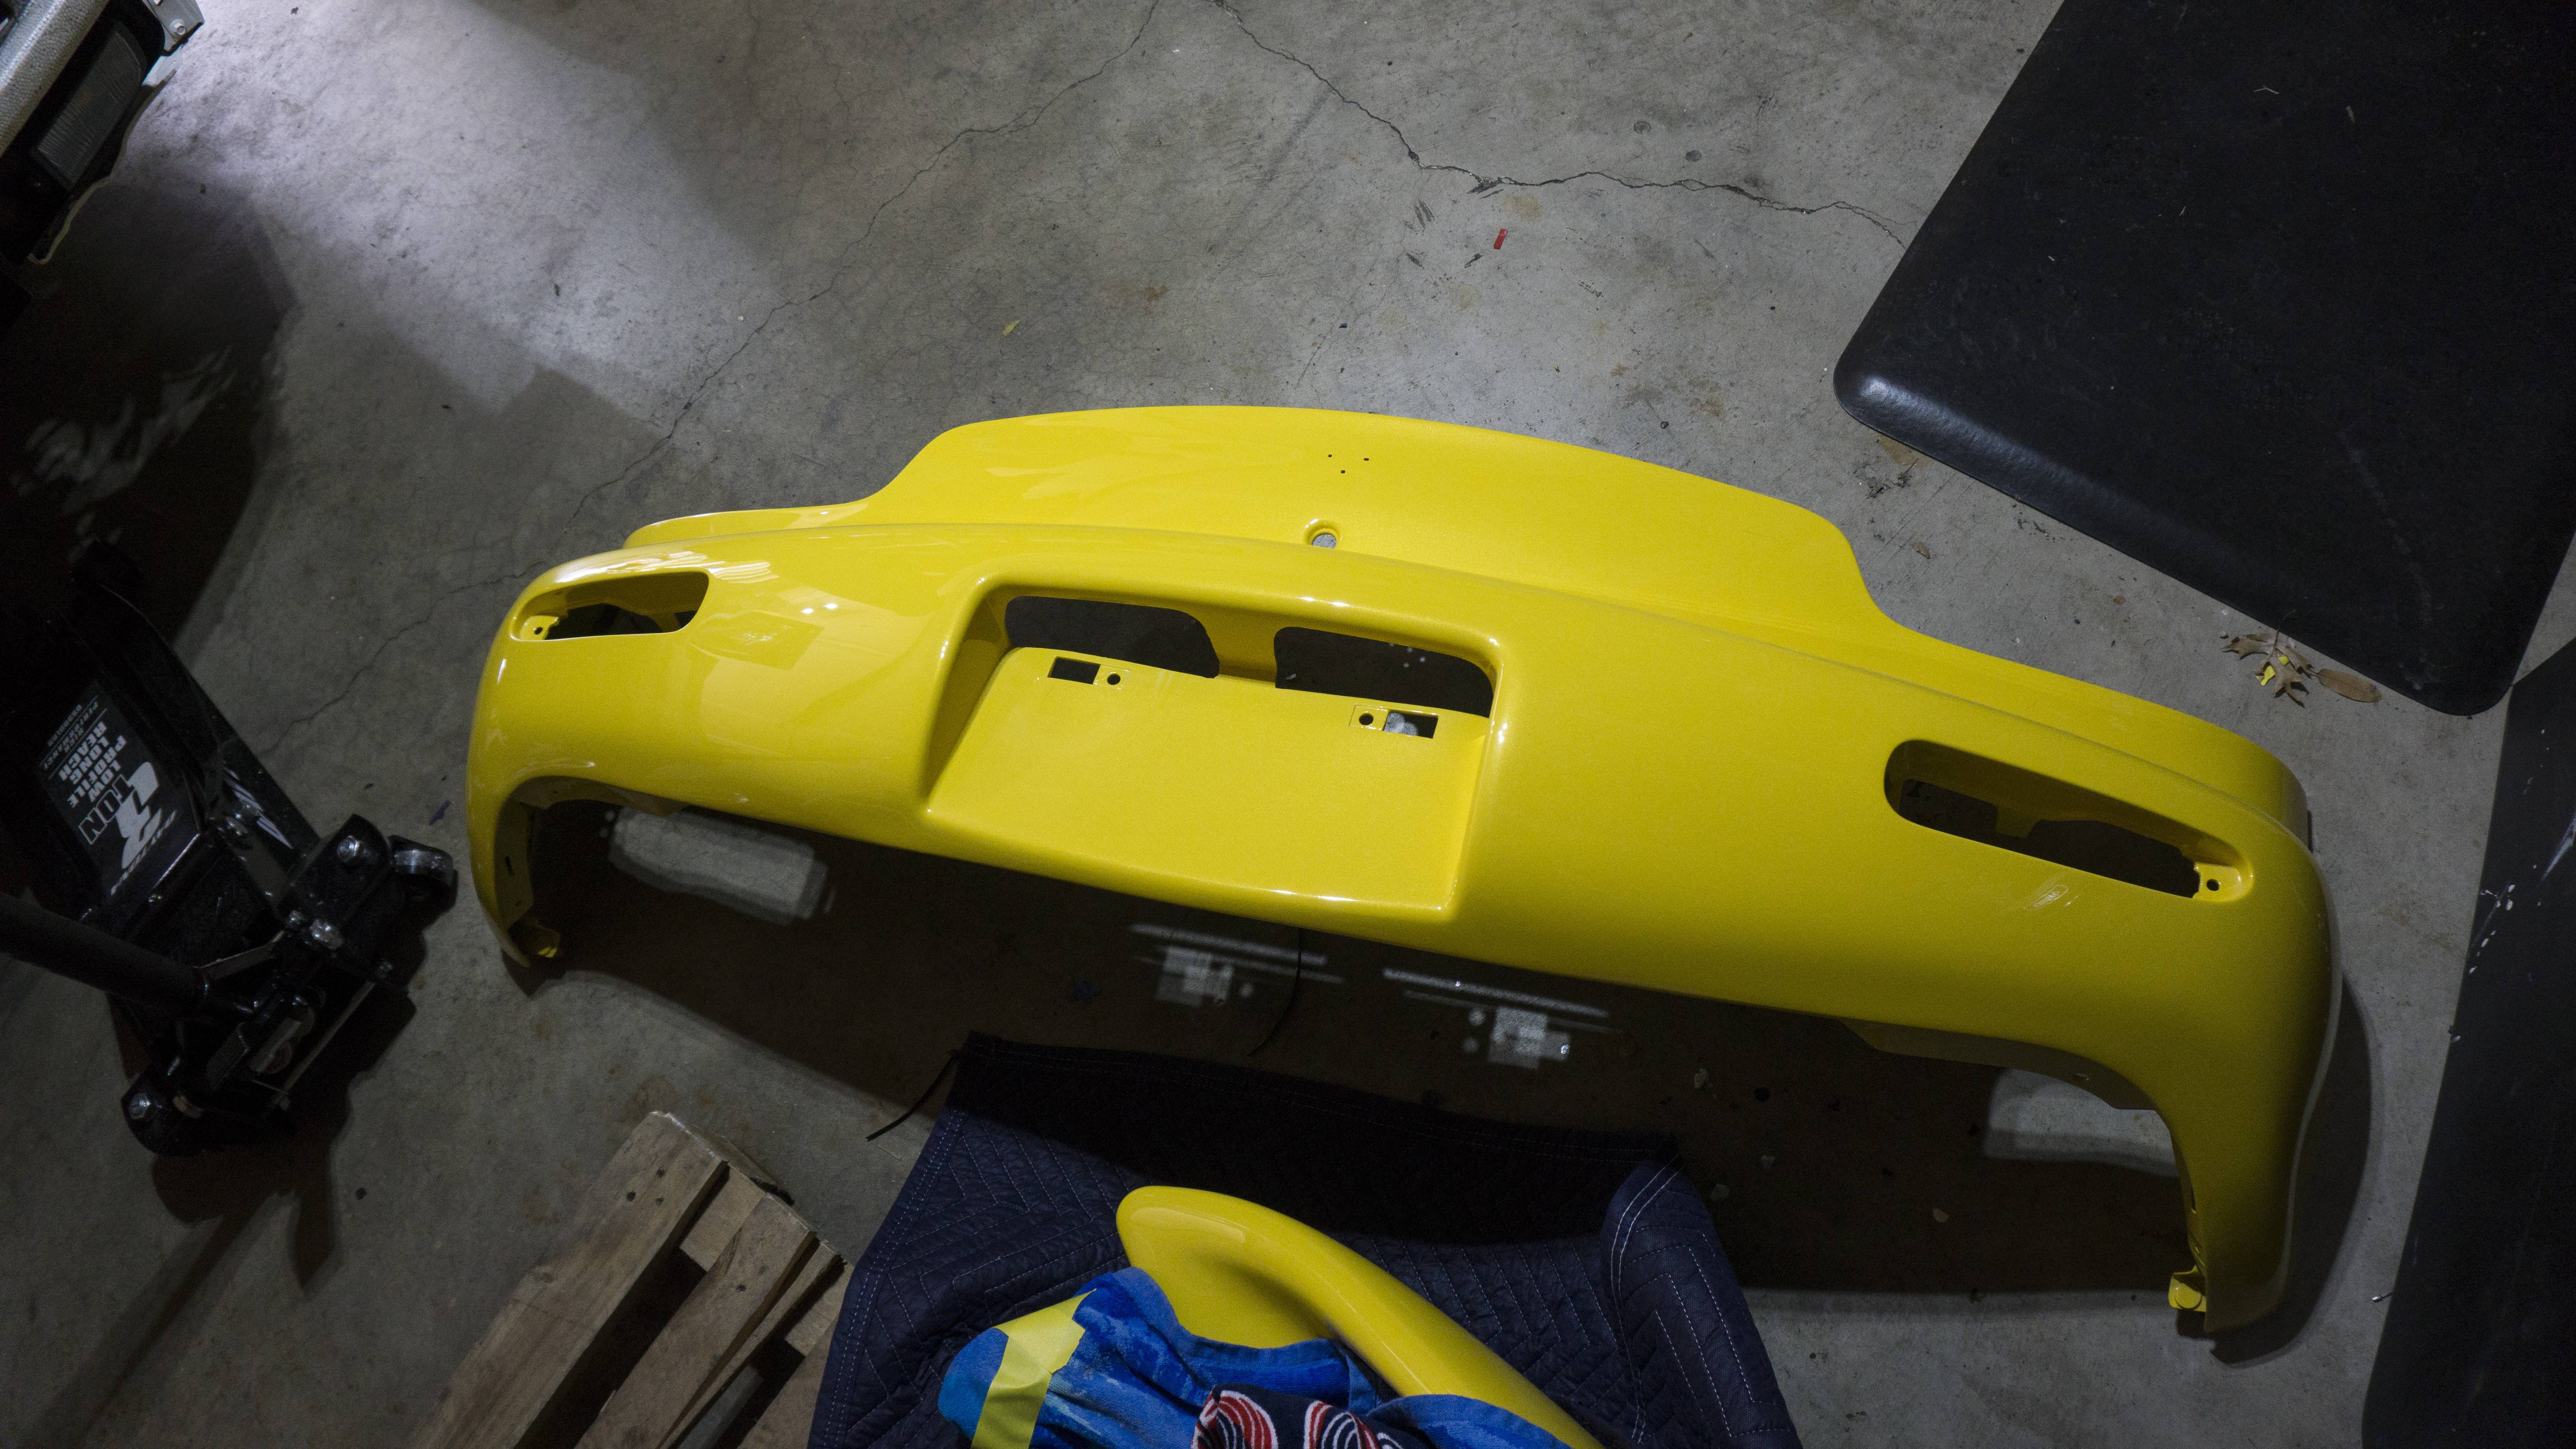
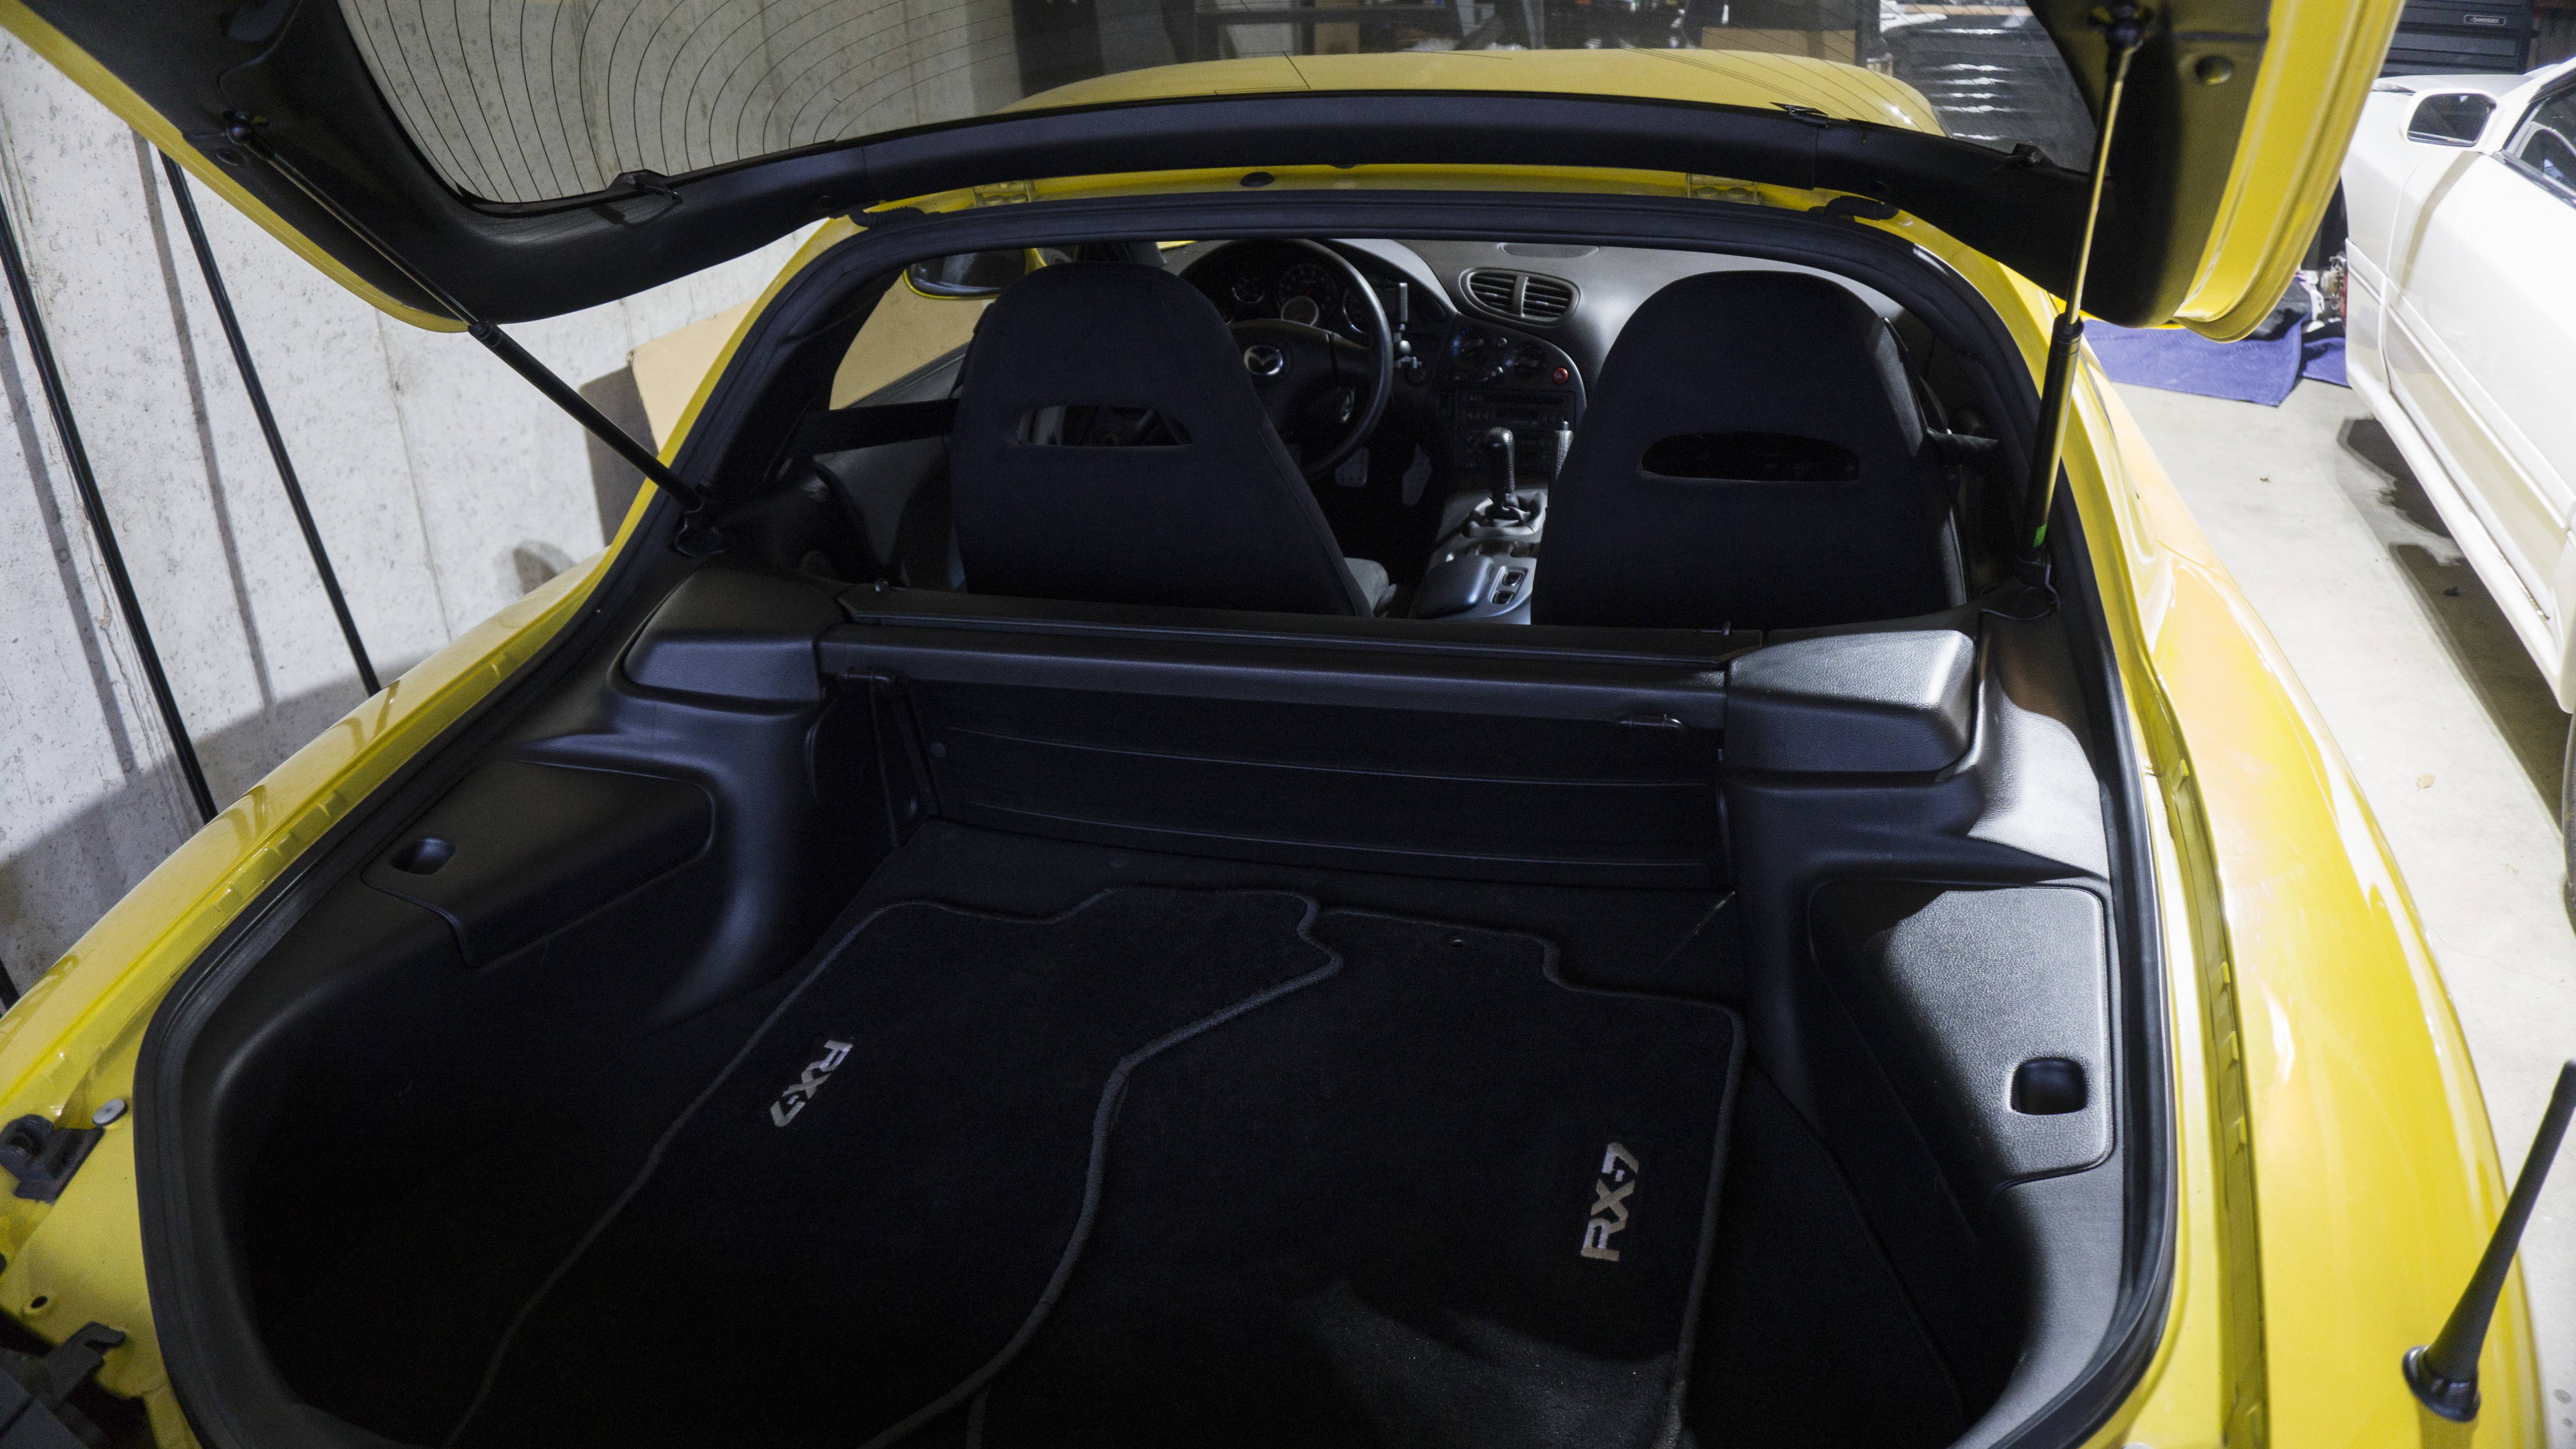
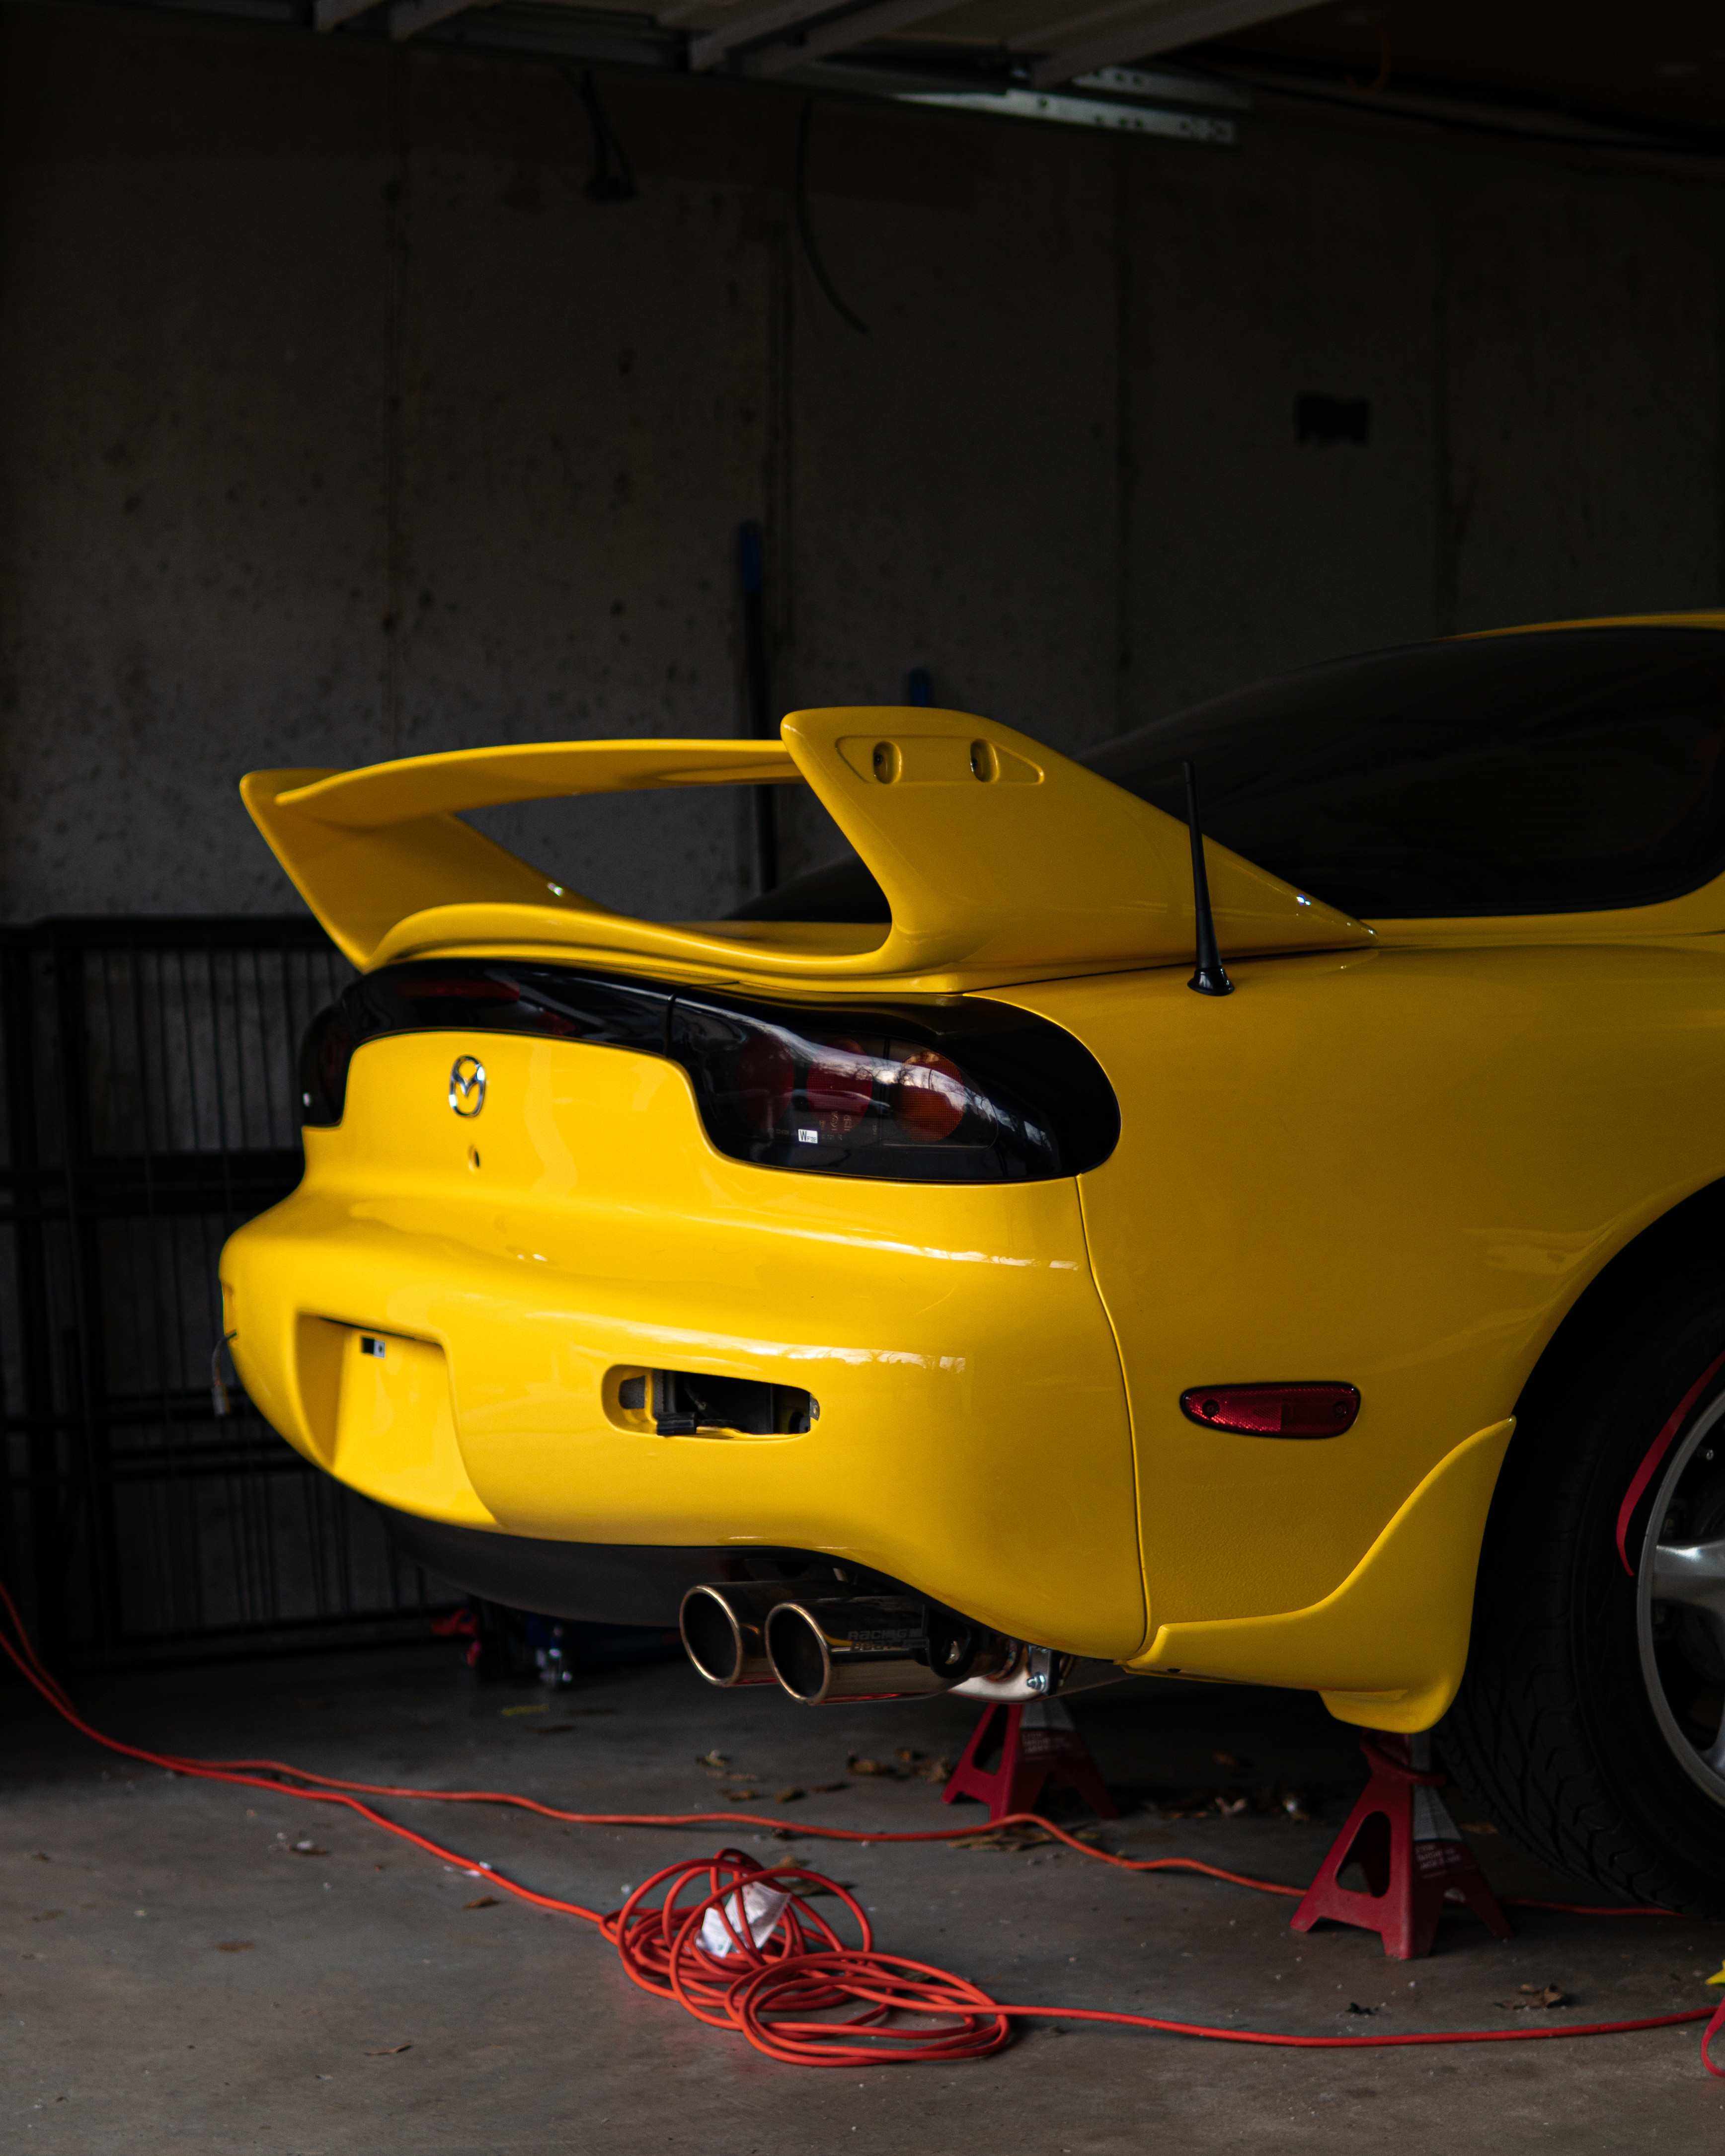
Quite a bit has been going on as we near the finish line for what I’m calling Phase 1. My 17 RGRs came back from refinishing. I’m extremely happy with them; they are incredibly close to the original color. I think they are a tiny bit darker, which I’m okay with. I started putting on all the body parts I picked up from paint. I was finally able to break out the box of brand new OEM fasteners from Mazda. I used them on the rear valance. I had the body shop fix a few problem areas that the previous owner “fixed”. Everything fit as it should. However, as I feared, the colors are different between the new sprayed parts and the original color of the car. I’ve spoken with the body shop about it and they plan to fix it for free, via blending, once I get it fully running. I noticed as I was putting on the brand new 99-spec tails and new center light it looked wet in the rear hatch area where the fuel pump wiring was running. Turns out I had fuel wicking up the lines - dodged a bullet with this one. I pulled out the fuel pump and completely re-did the wiring with sealed gas proof connectors. I also installed a Deutsch DTP connector on the outside of the tank to keep it modular. These two steps should ensure fuel wicking never happens again. Since the fuel pump was back in and the rear bumper was on I was able to re-install the entirety of the rear interior. The next update should see the front bumper on and the car all the way on the ground - exciting times.
Here is the wheels that came back from powder (right) next to an original (left):
Here is the fuel pump connector and rear interior re-installed:

Here is the bumper installation:
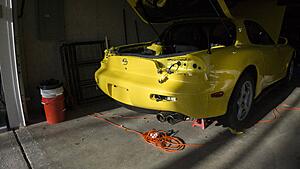

Here is the finished product:
The following 2 users liked this post by Akomix:
IMAGINETHAT (02-28-20),
Steezaah (02-28-20)
03-07-20, 04:21 PM
#75
Update 3/7/2020:
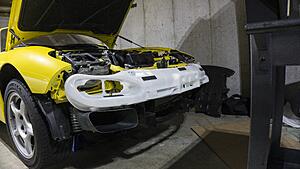
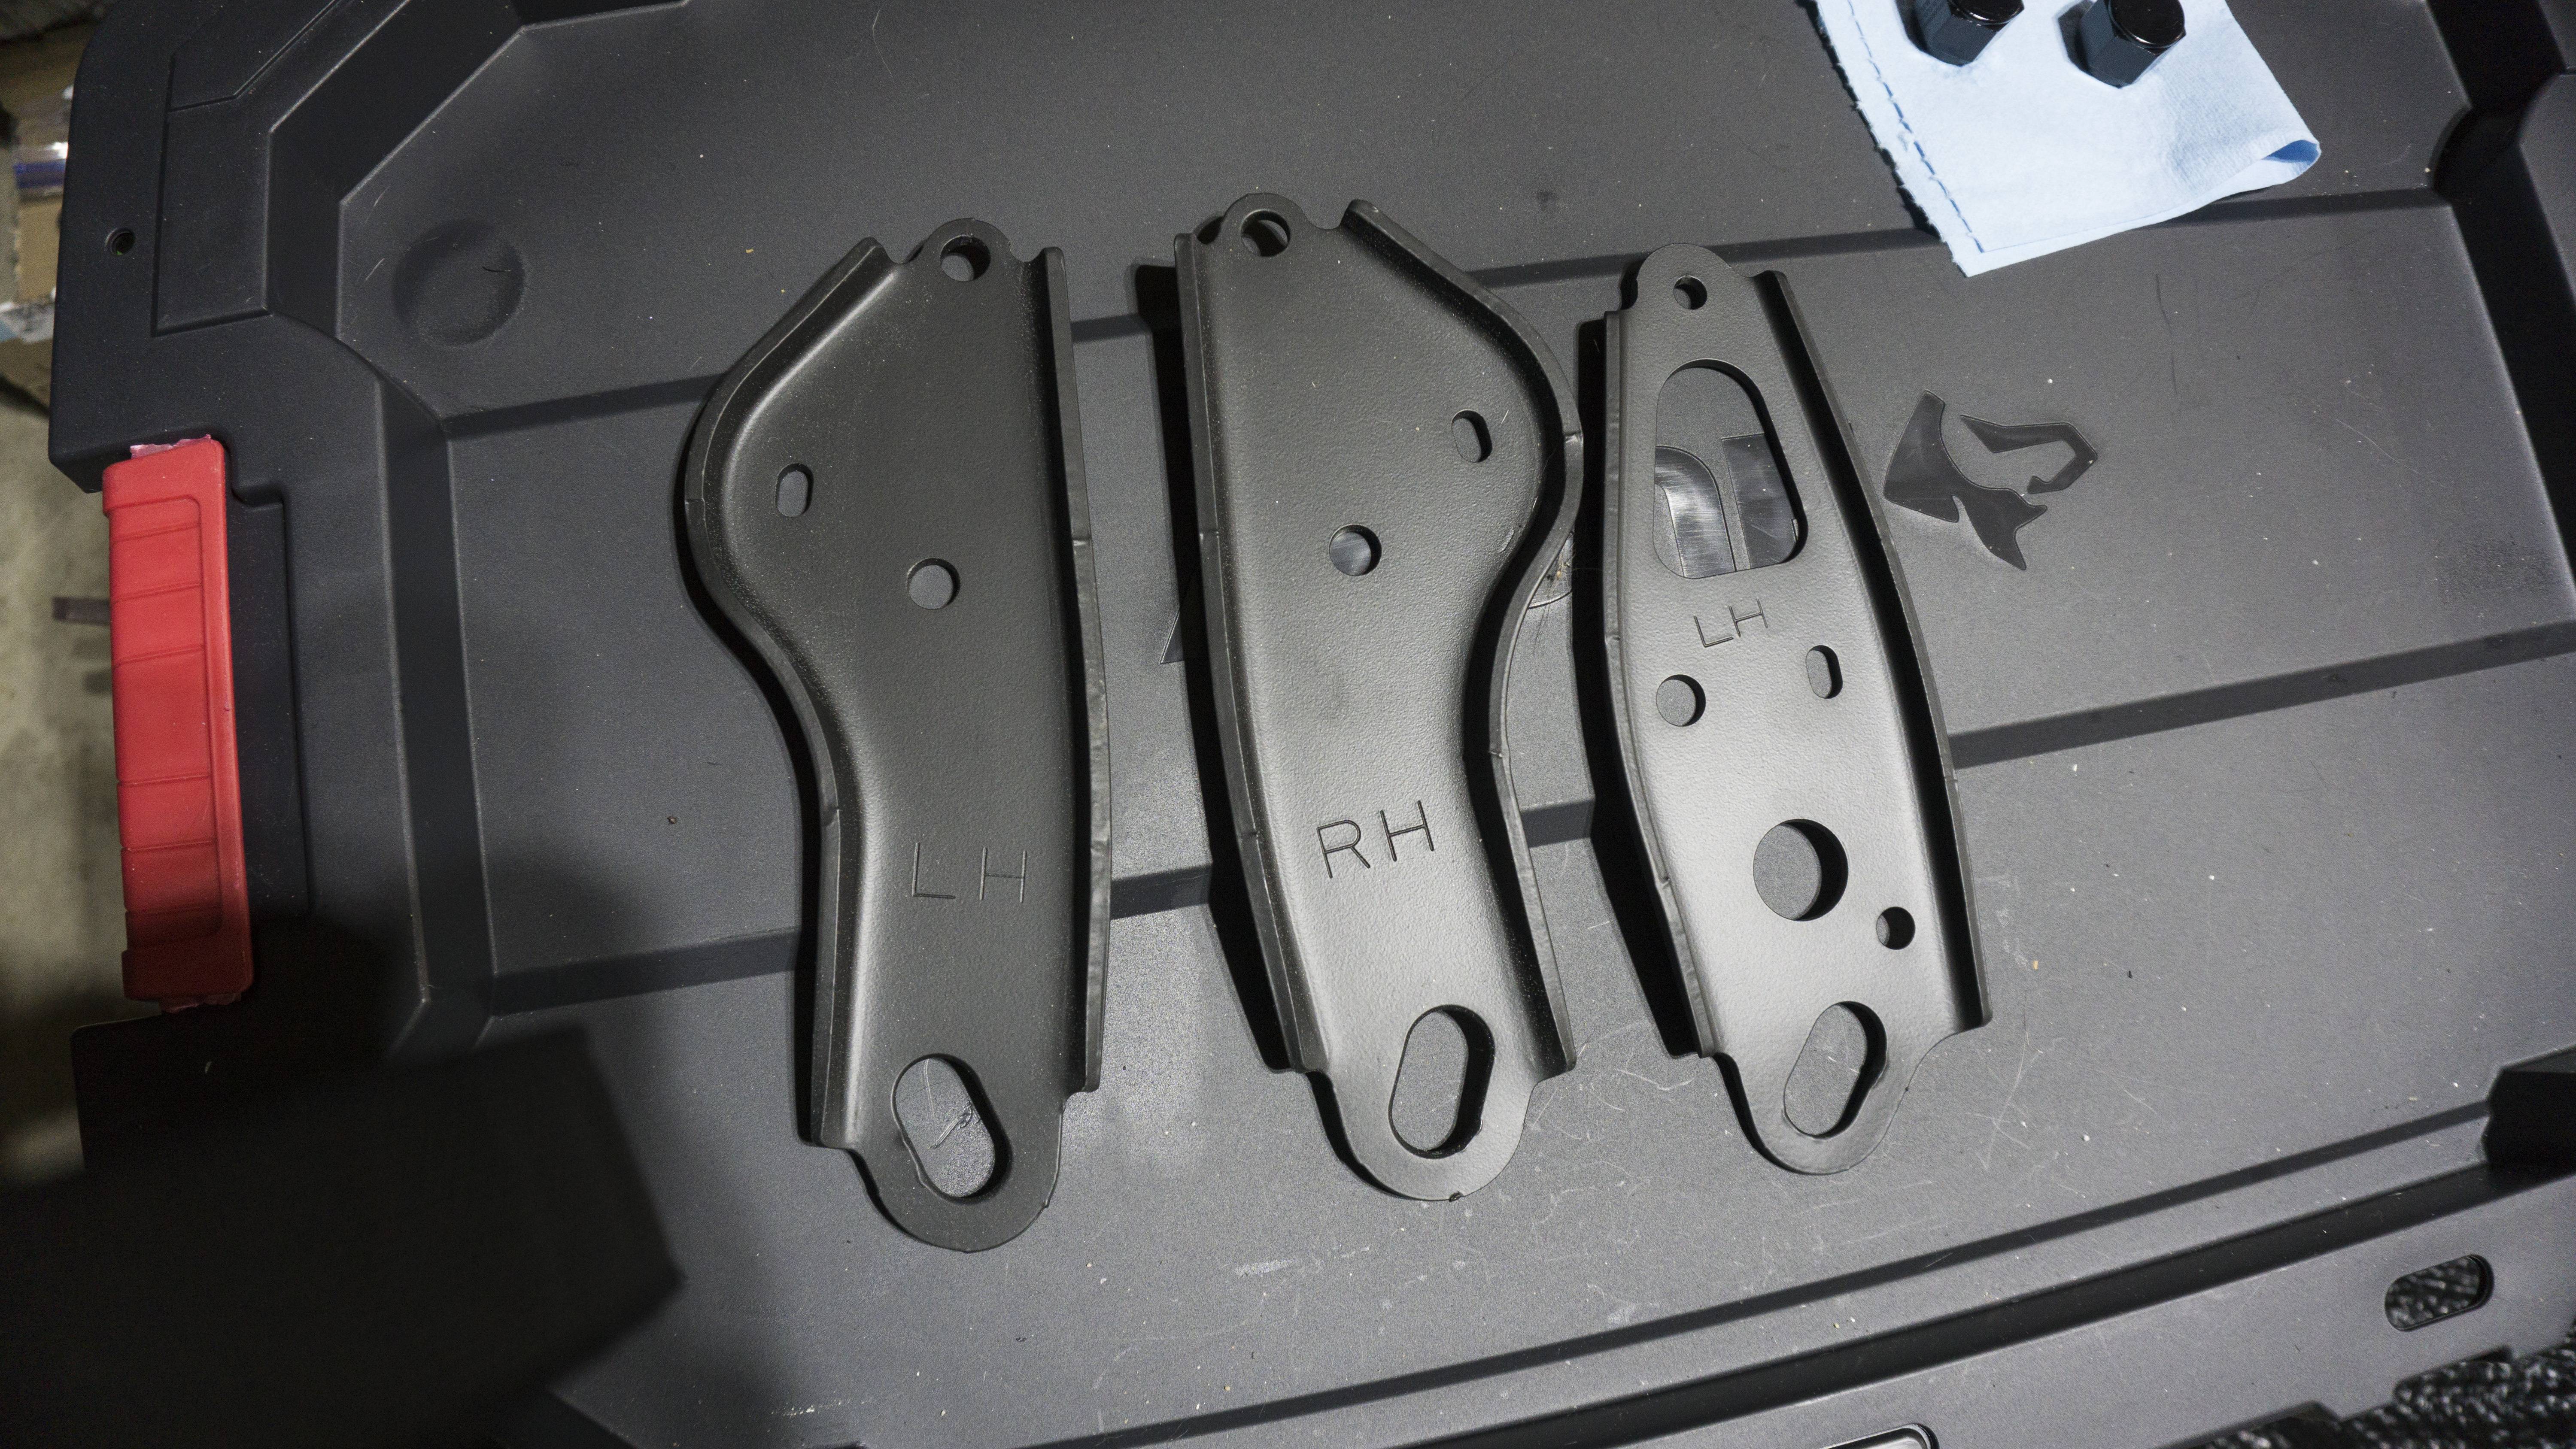
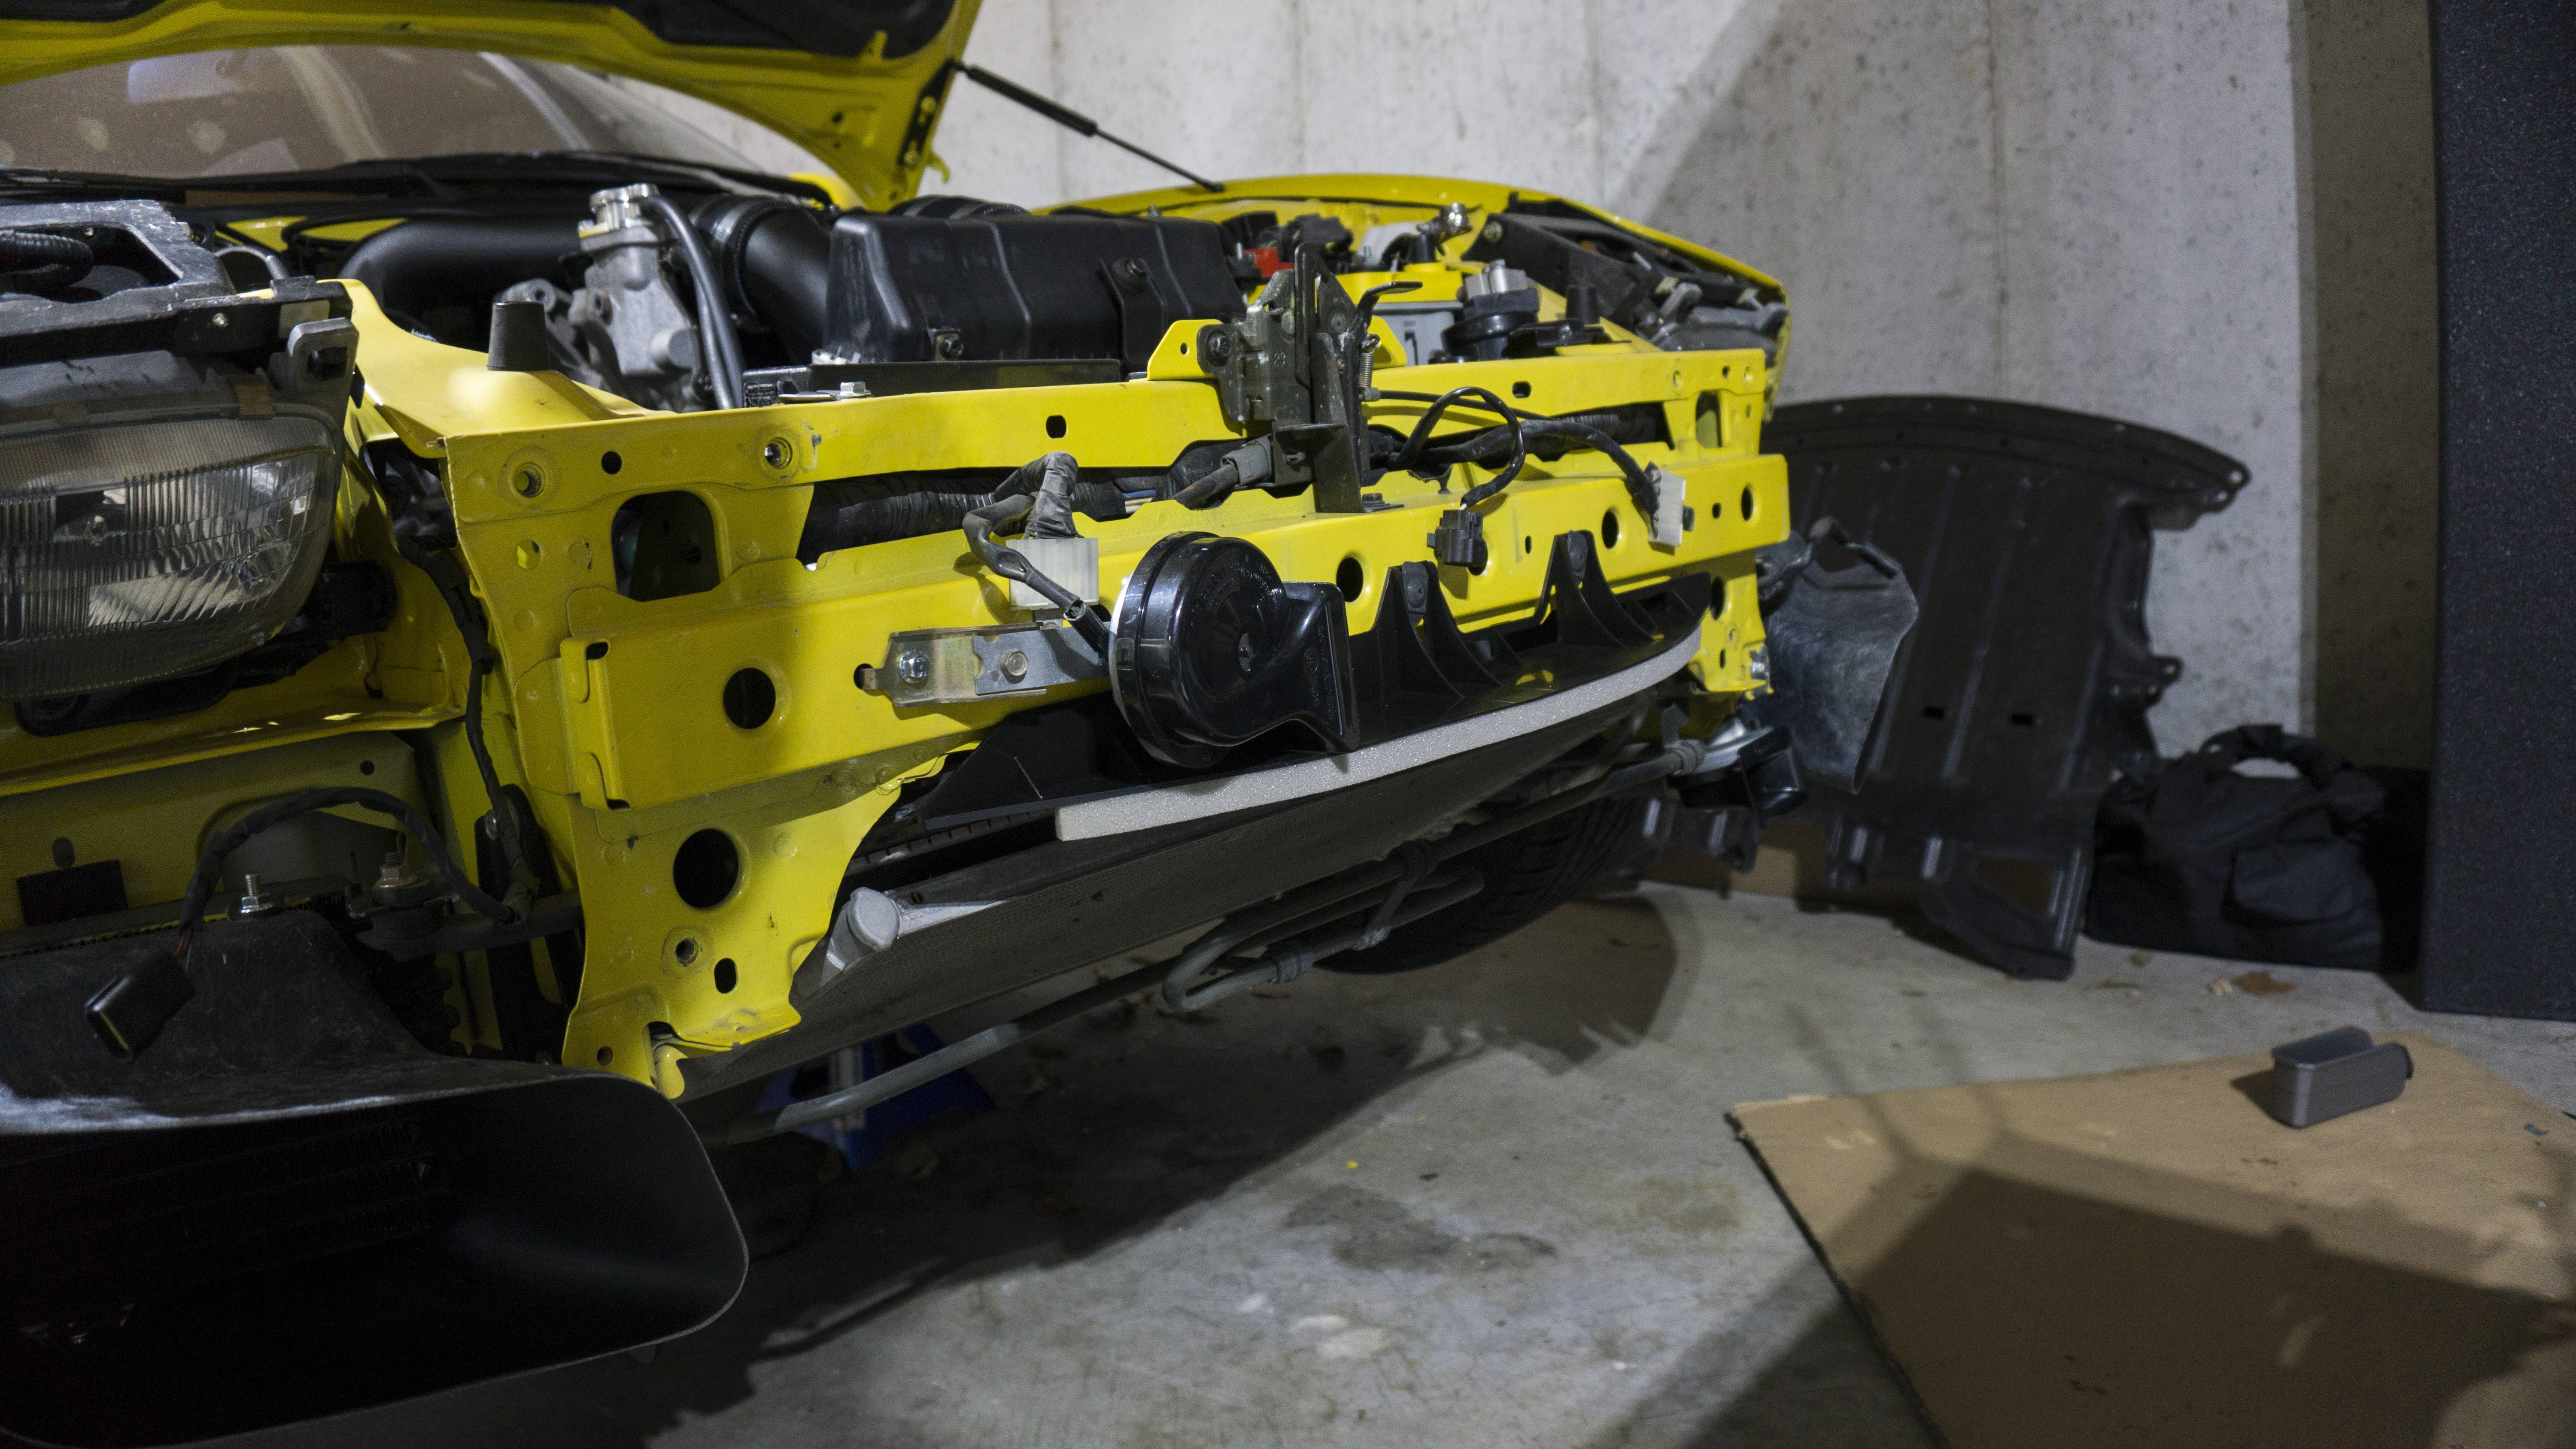
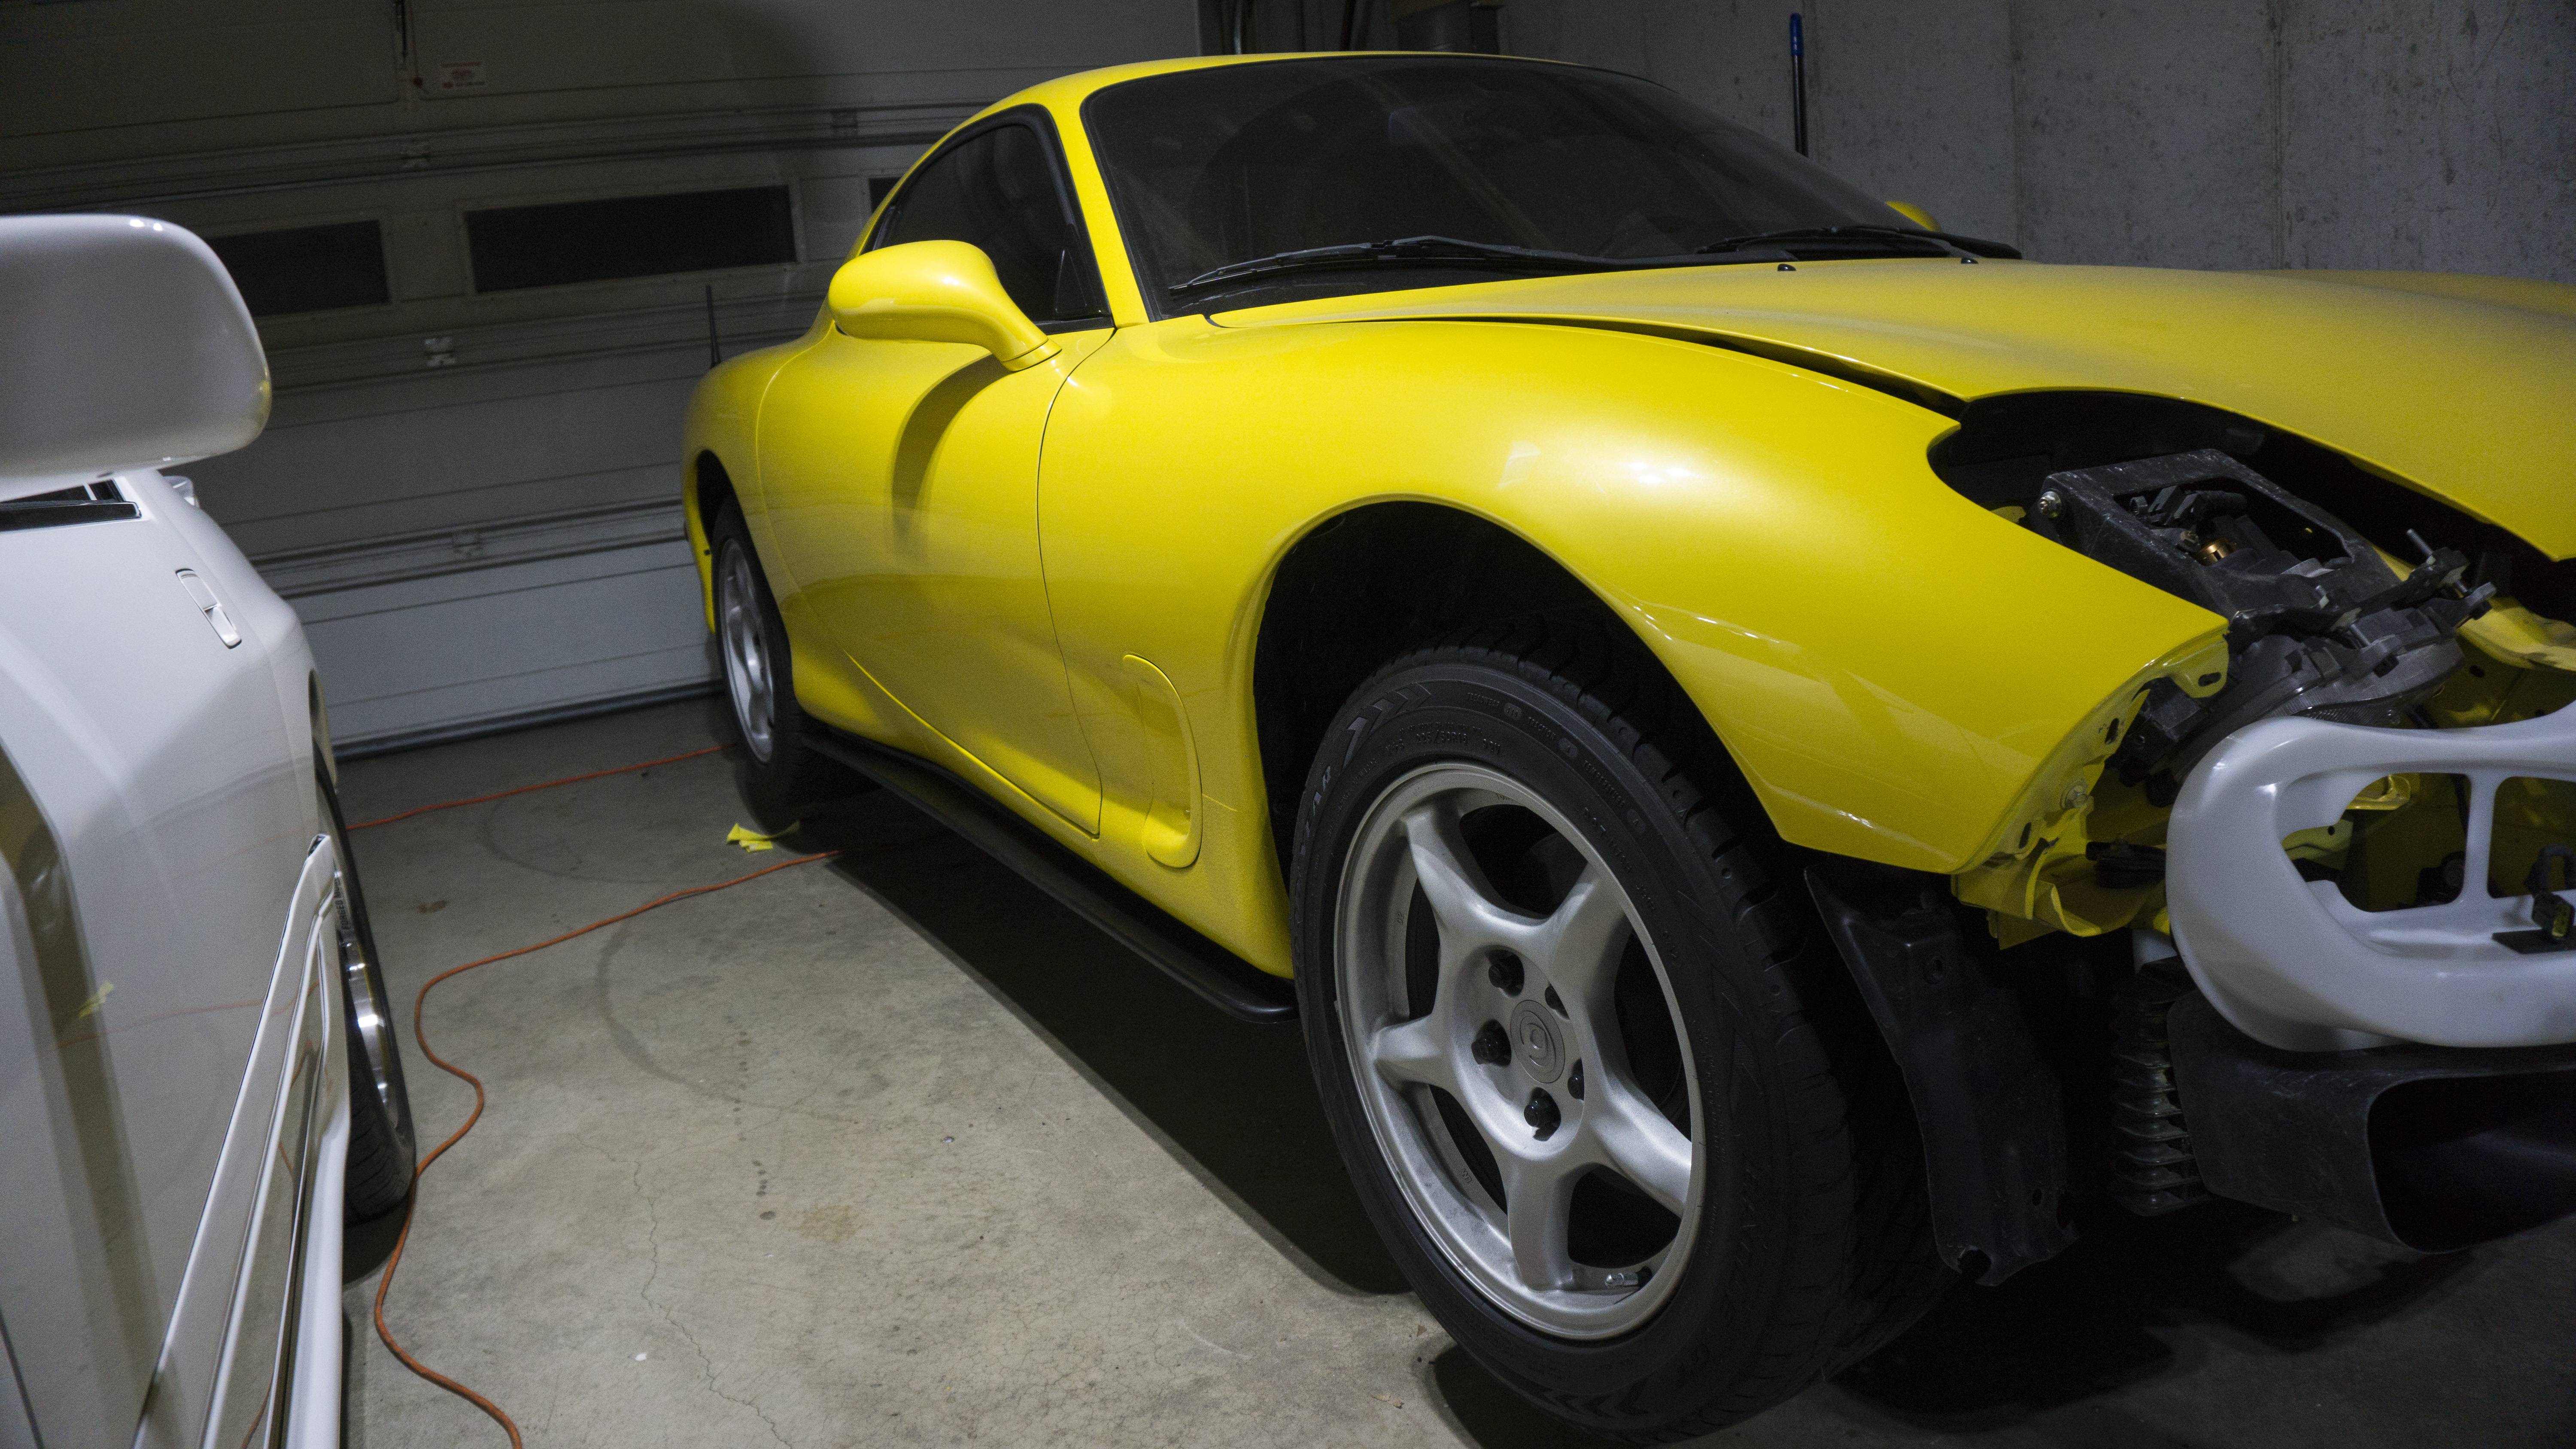
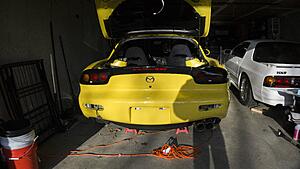
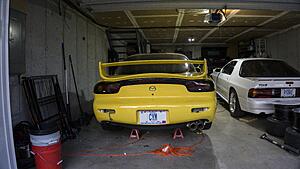
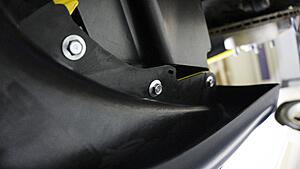
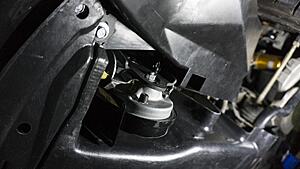
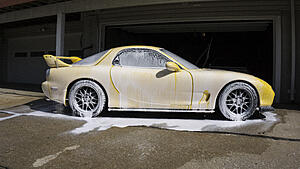
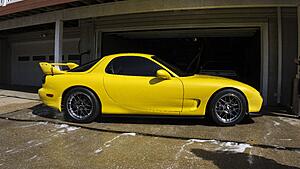
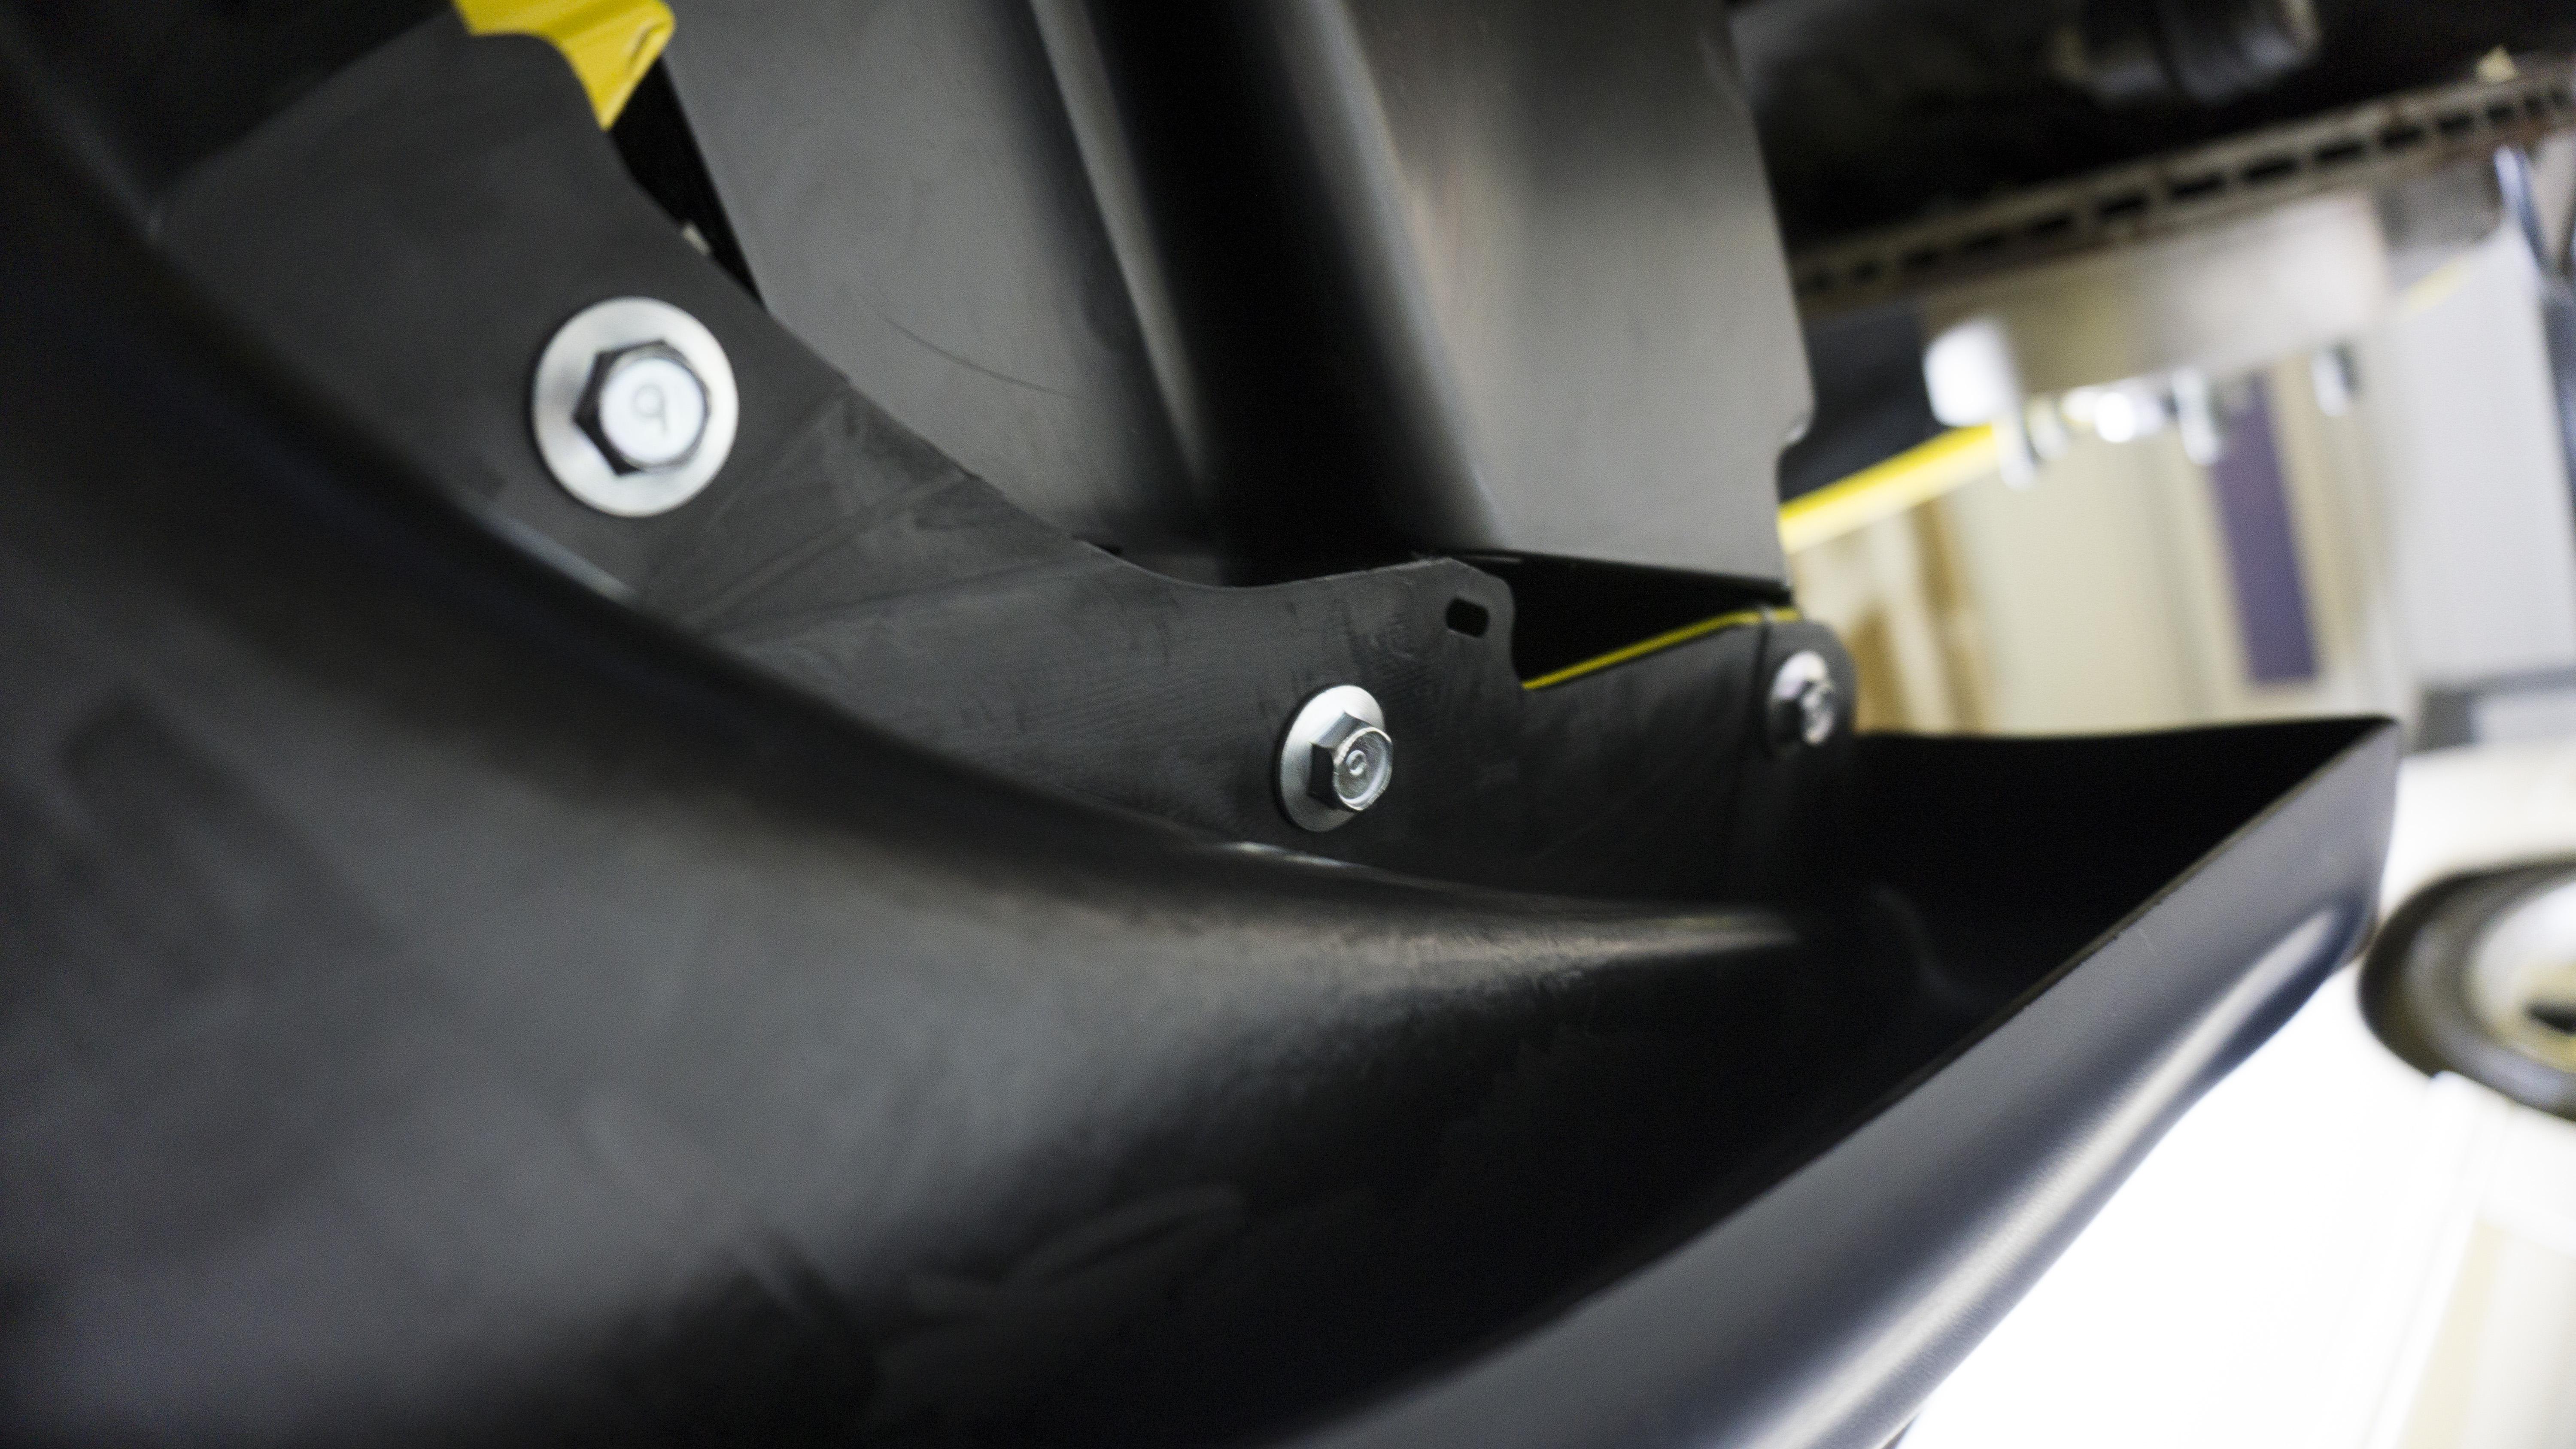
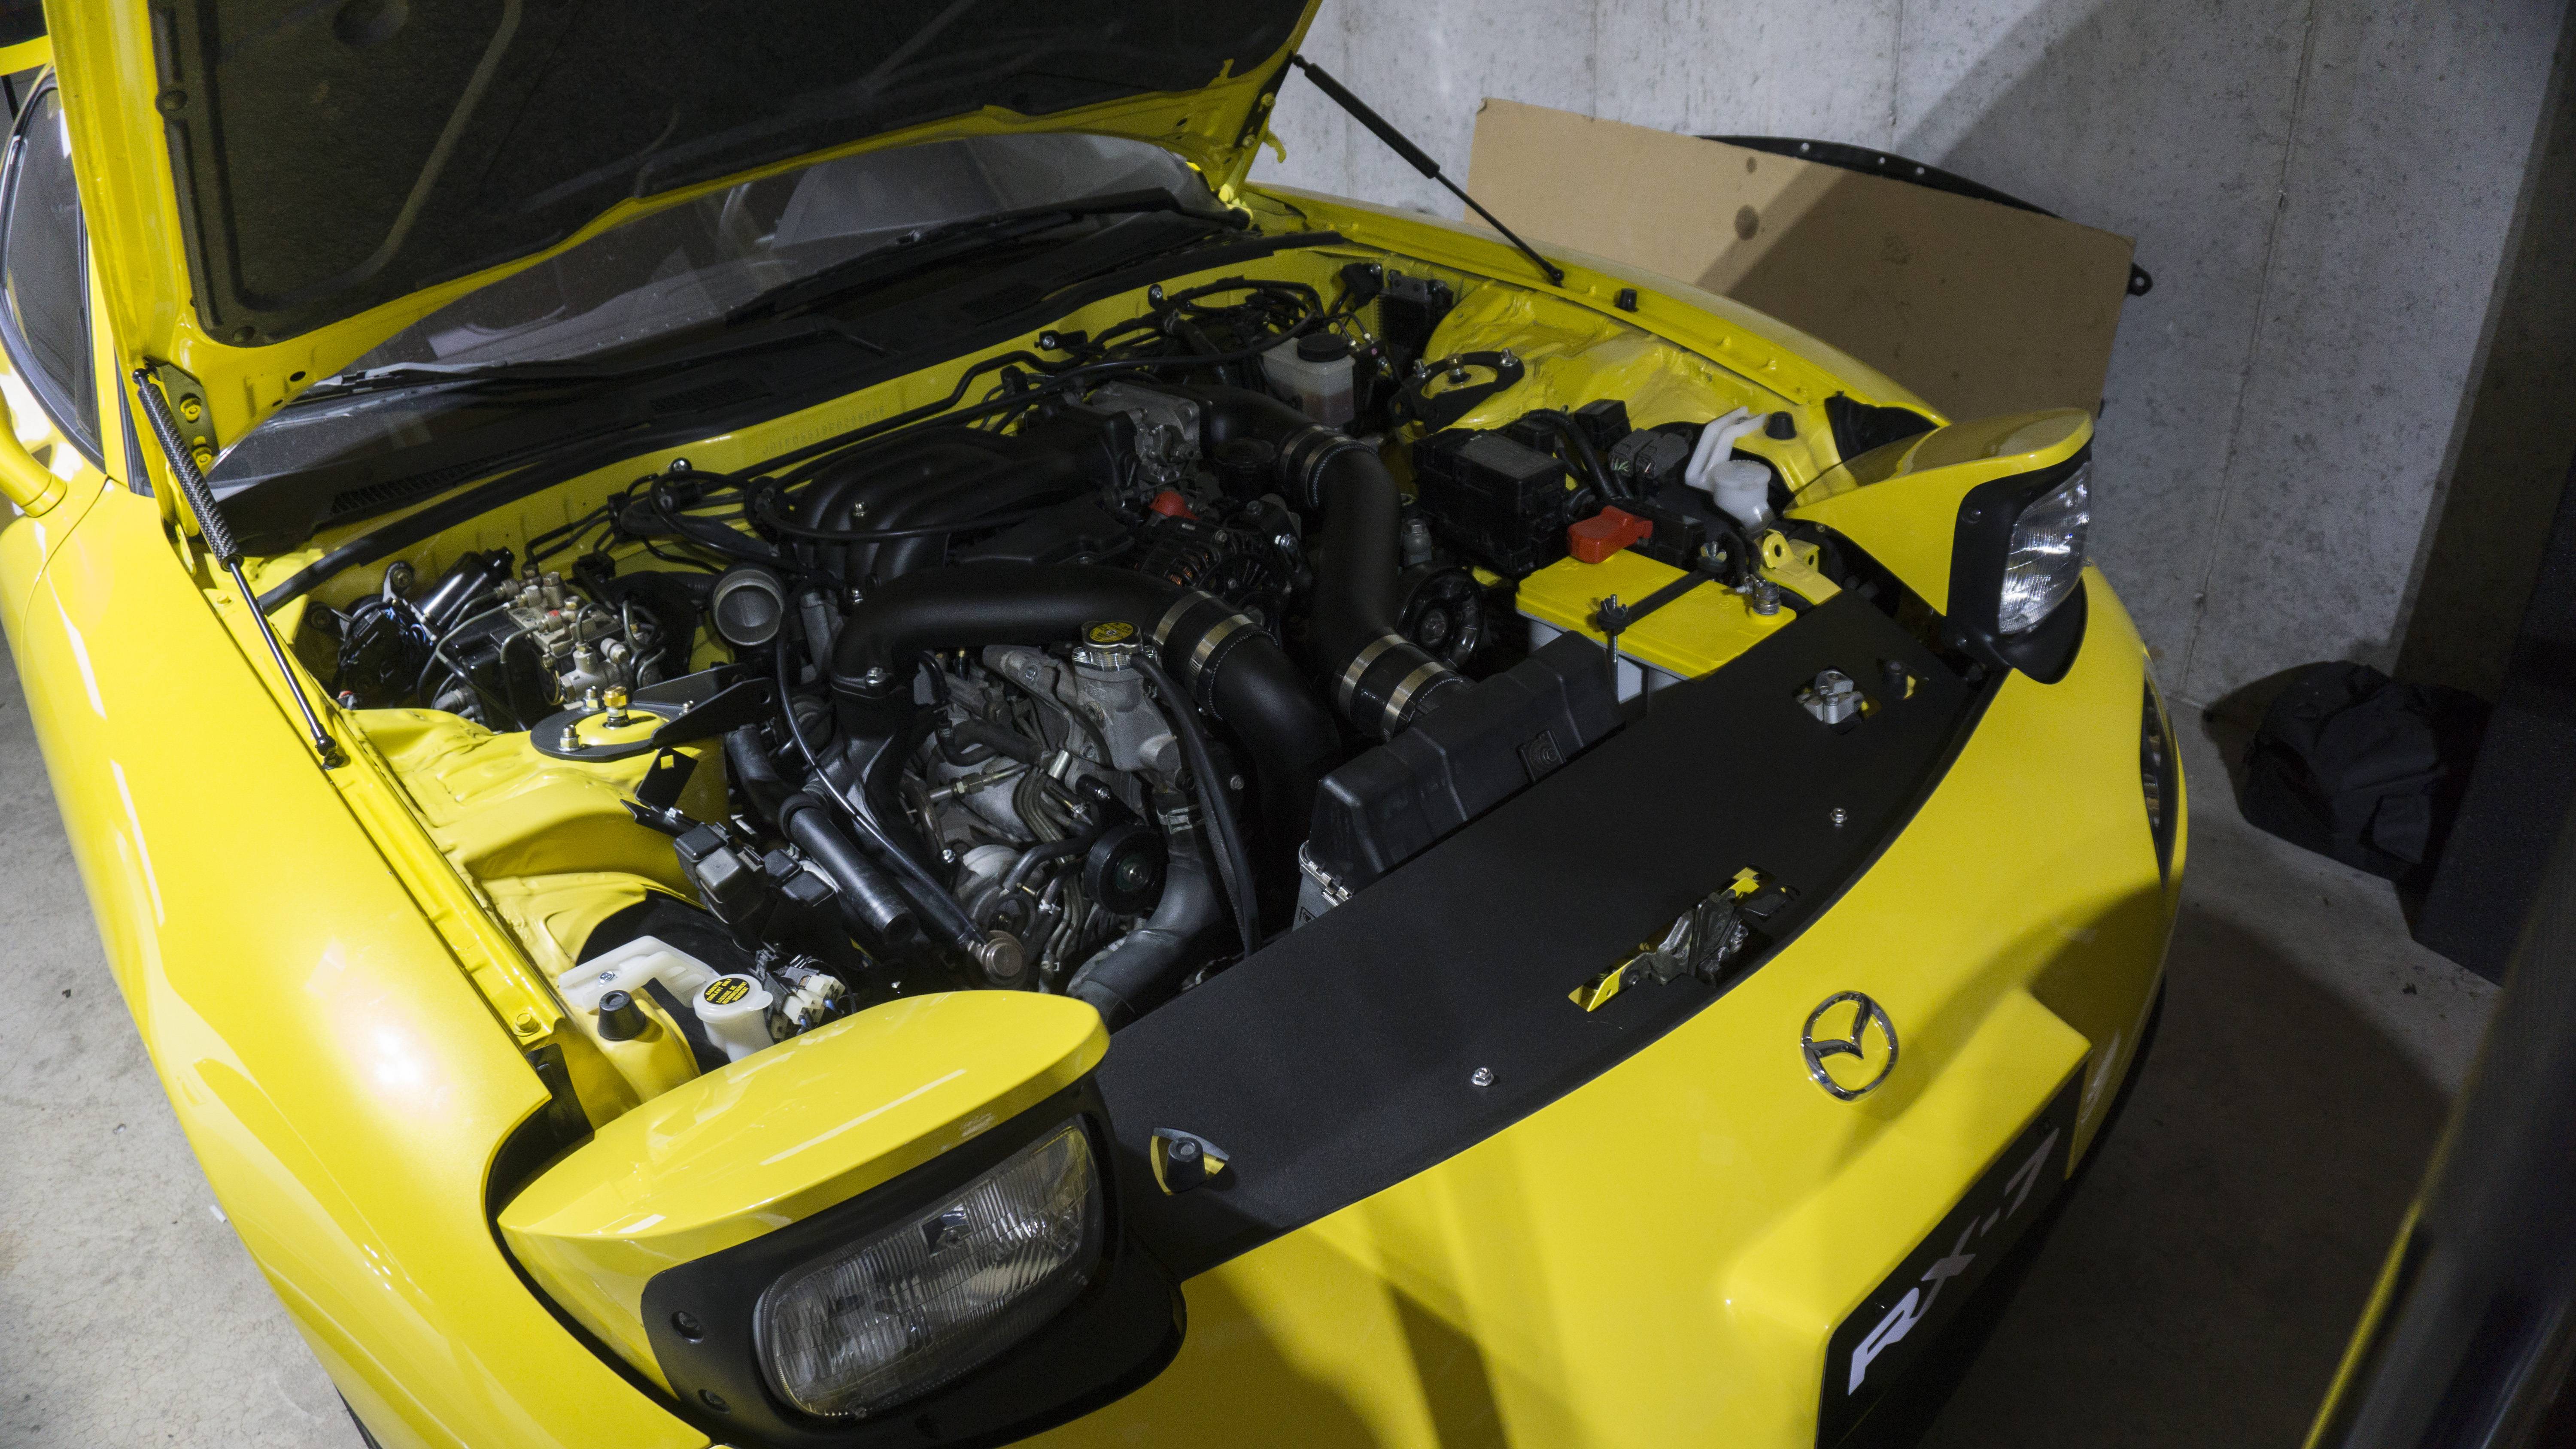
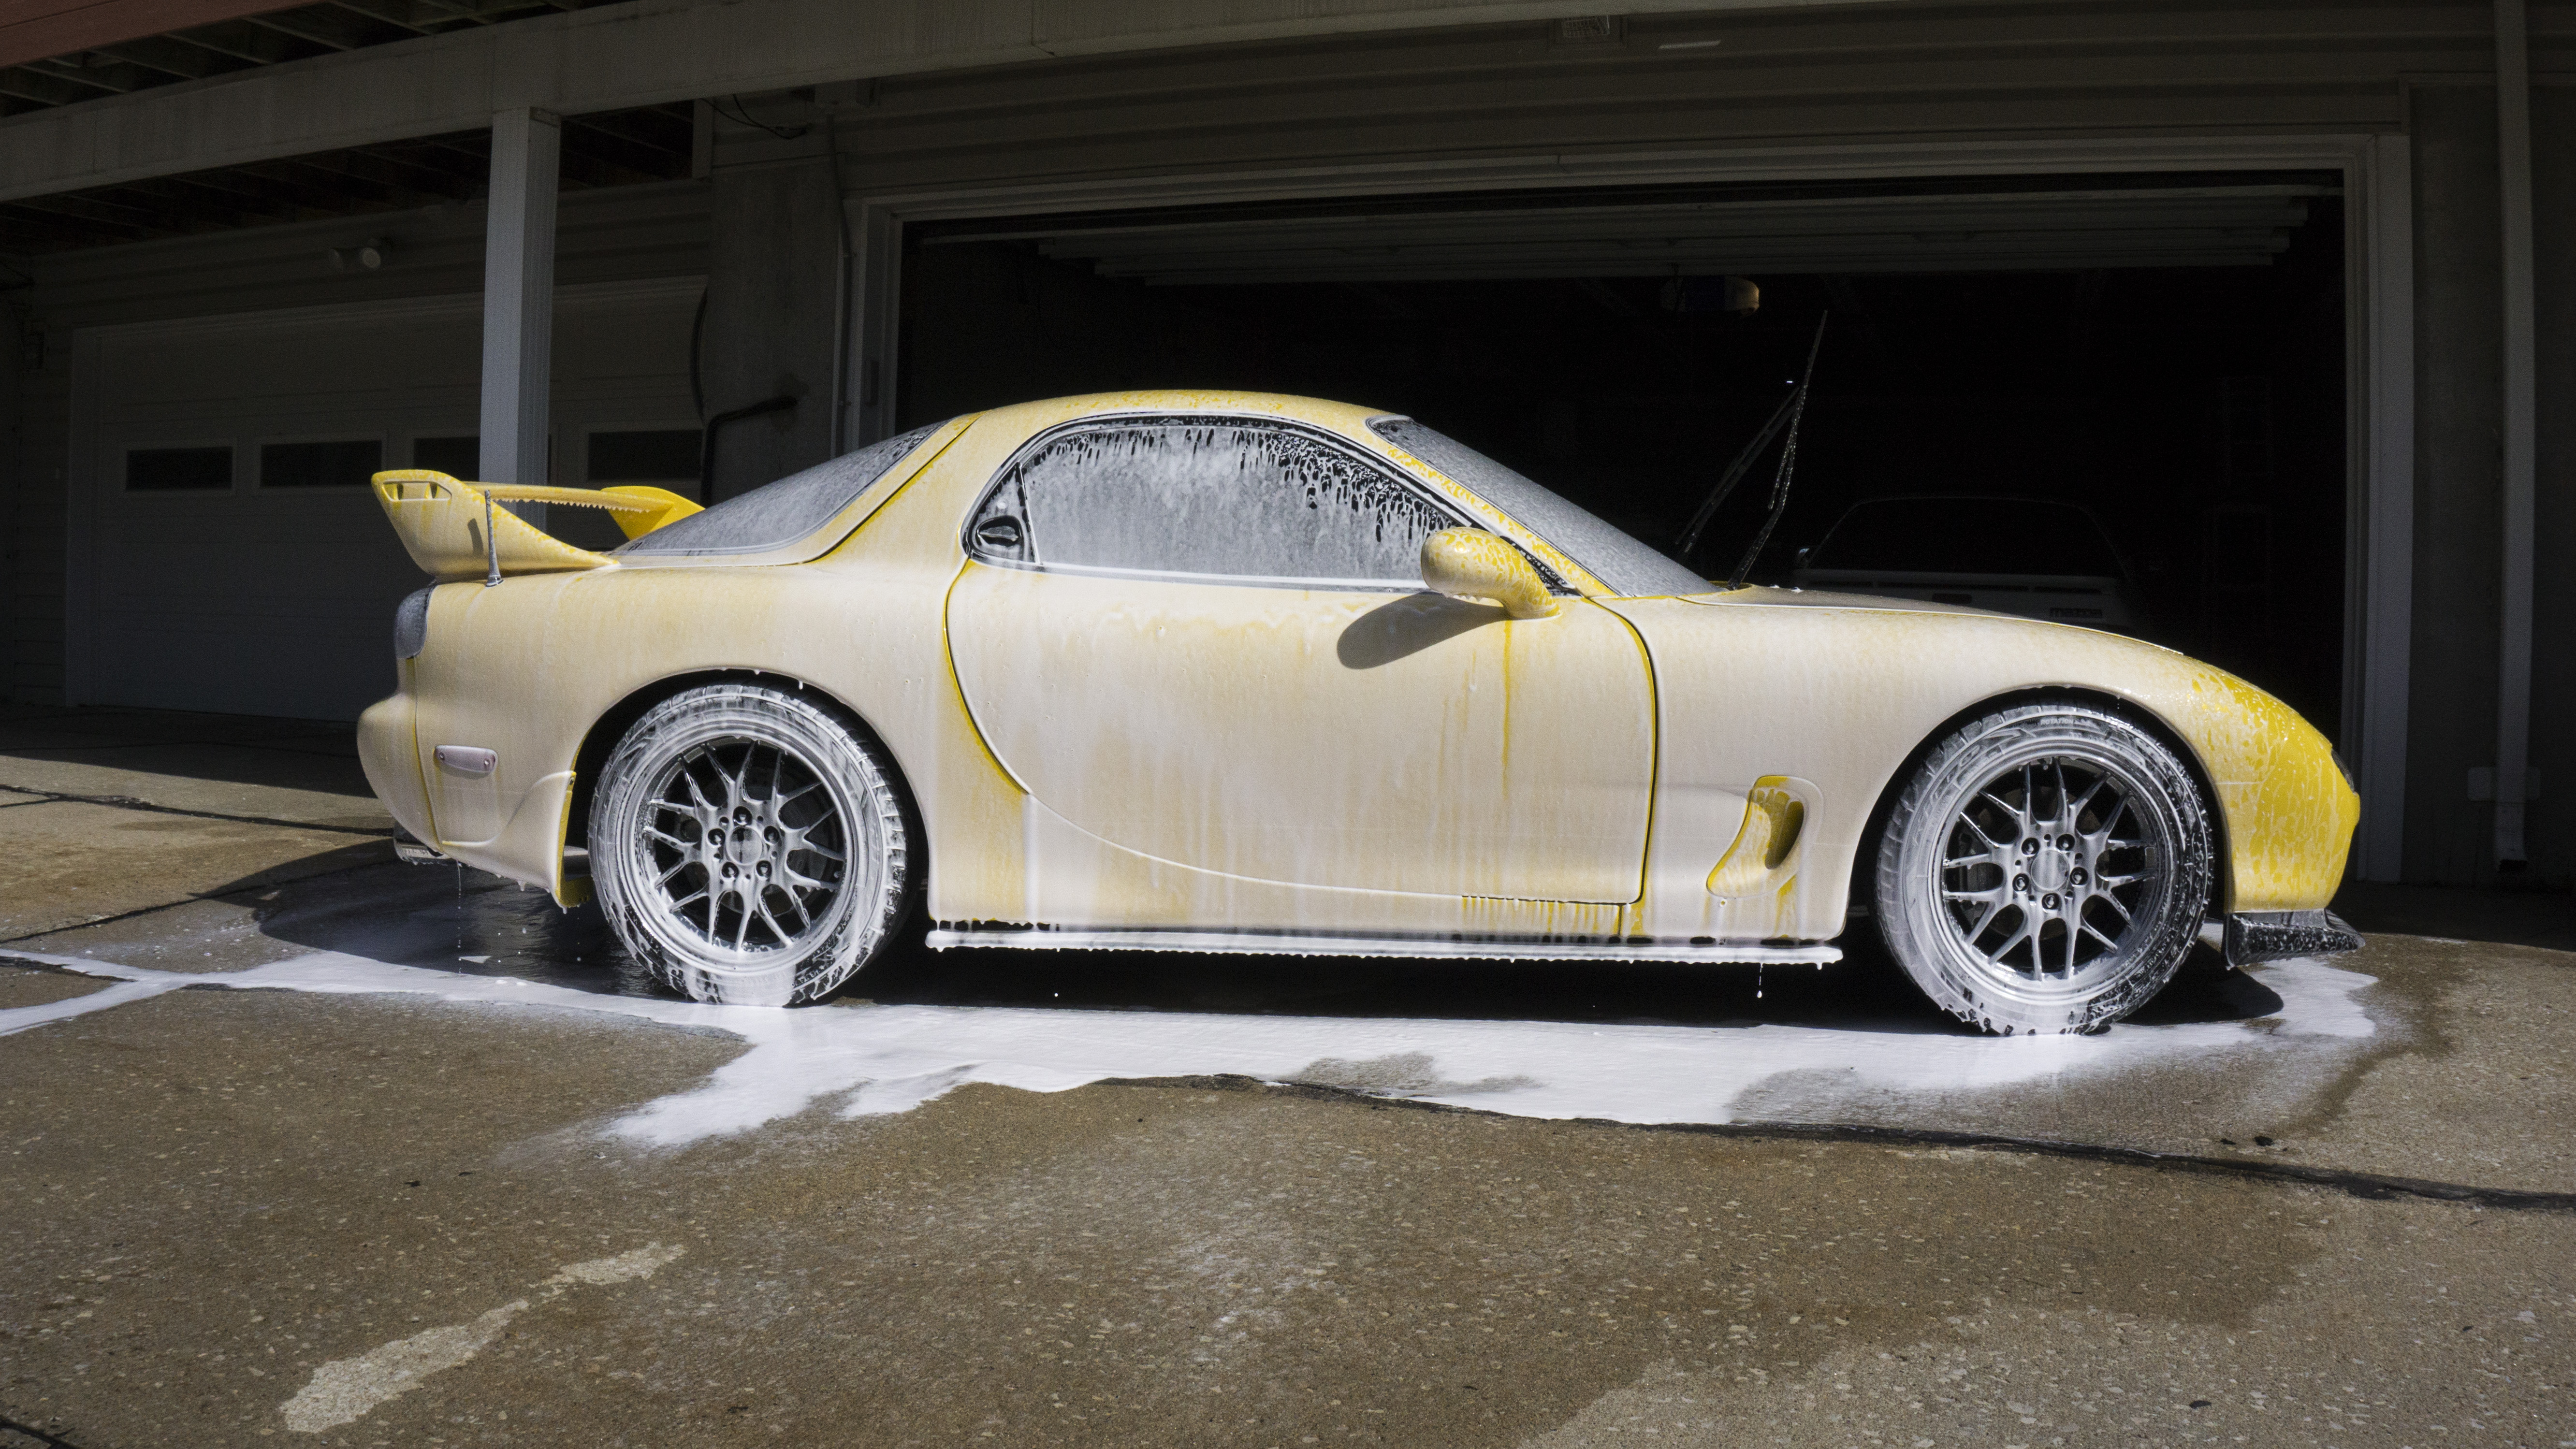
Ended up finishing getting the rest of the body stuff on. Just like the rear, I utilized all the brand new bolts from Mazda. The front 99-spec bumper required me to relocate my driver side horn. I utilized the RX-8 bracket and the RX-7 bracket to get it where it is now. I think it�s a pretty clever spot, it�s above the lip and underbody air dam - so it should be relatively safe where it is. I was hoping my intakes had come back from powder by now so I can get it over to the body shop so they can fix the mismatch, but due to some illness the powder coating place is running a bit behind. I went ahead and slapped on the cooling panel, I had to do a bit of grinding on it to clear the AC components. Hoping to get everything back this week and be able to get it over to the bodyshop. I was able to pull the car out and give it it�s first wash of the year, I also went ahead and polished out the BBS center caps for the wheels.
Here is the 99-spec bumper install:
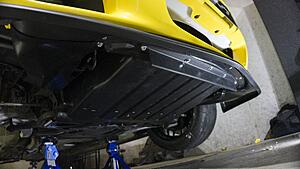
Here is the cooling panel:
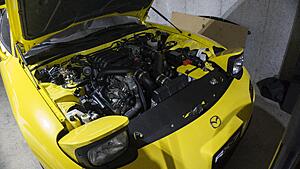
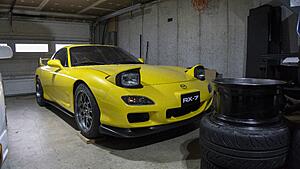
Here is the cars first car wash and the center caps polished:

Ended up finishing getting the rest of the body stuff on. Just like the rear, I utilized all the brand new bolts from Mazda. The front 99-spec bumper required me to relocate my driver side horn. I utilized the RX-8 bracket and the RX-7 bracket to get it where it is now. I think it�s a pretty clever spot, it�s above the lip and underbody air dam - so it should be relatively safe where it is. I was hoping my intakes had come back from powder by now so I can get it over to the body shop so they can fix the mismatch, but due to some illness the powder coating place is running a bit behind. I went ahead and slapped on the cooling panel, I had to do a bit of grinding on it to clear the AC components. Hoping to get everything back this week and be able to get it over to the bodyshop. I was able to pull the car out and give it it�s first wash of the year, I also went ahead and polished out the BBS center caps for the wheels.
Here is the 99-spec bumper install:

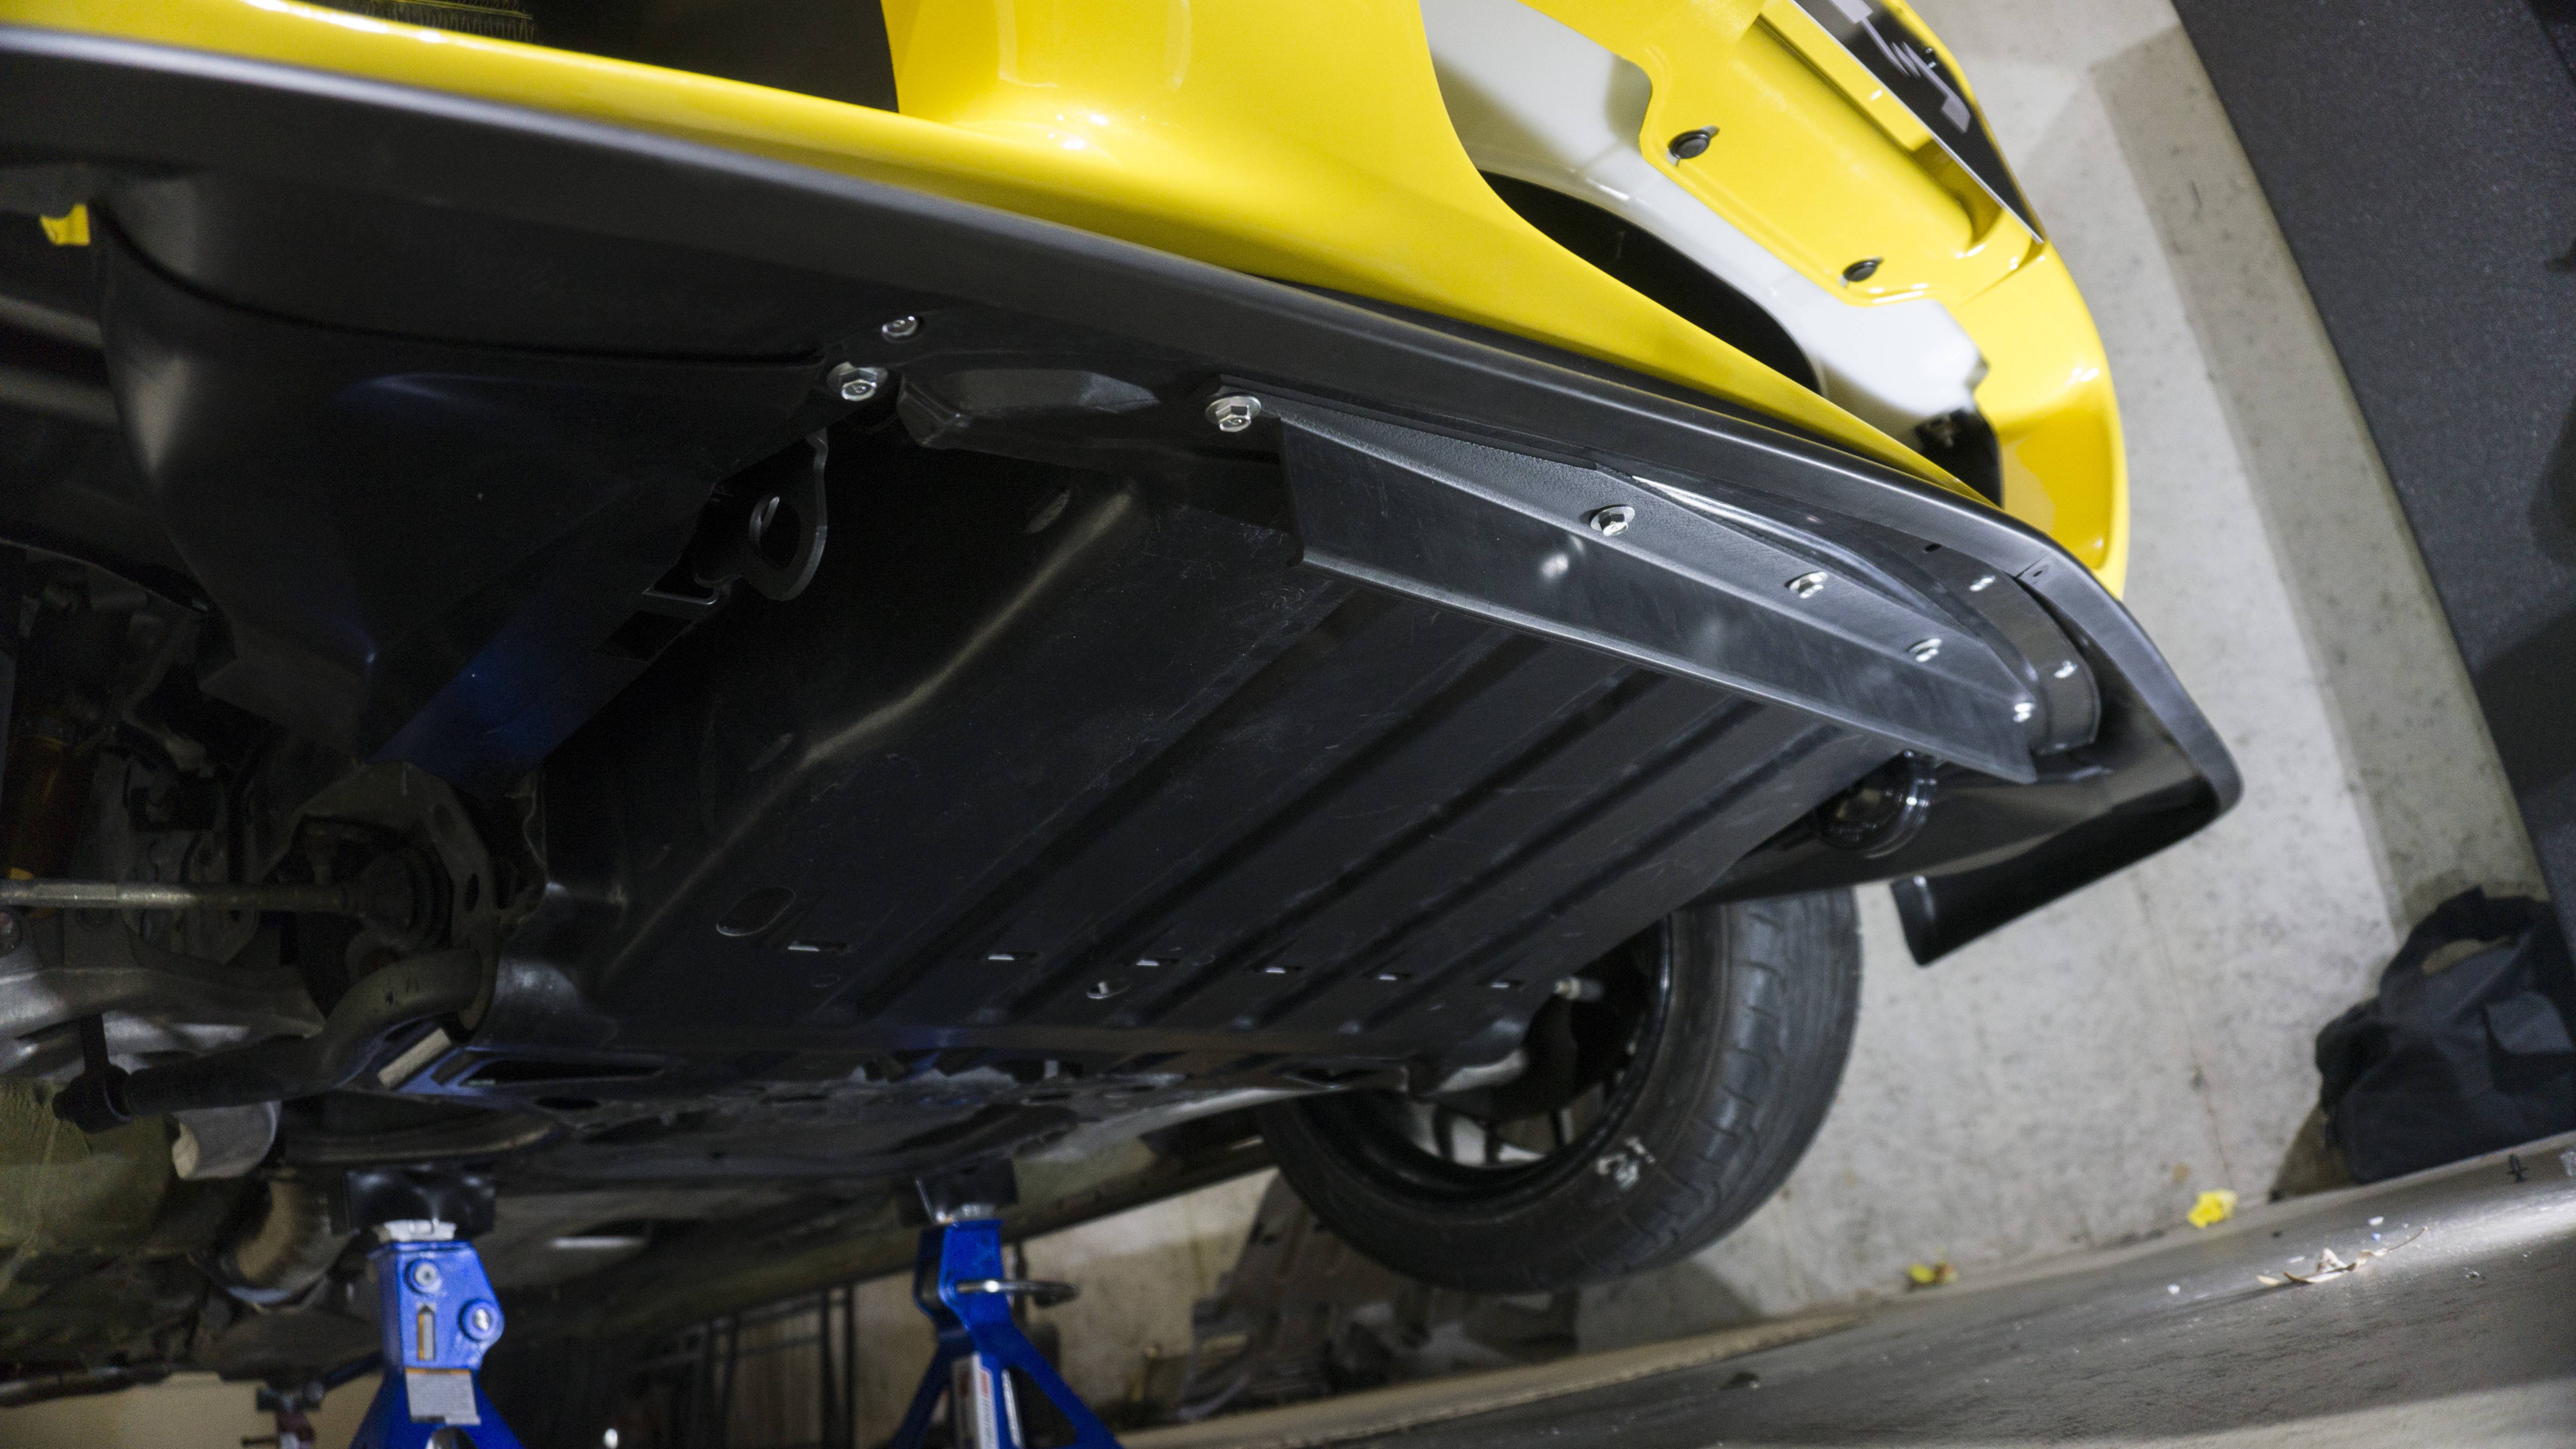

Here is the cooling panel:
Here is the cars first car wash and the center caps polished:


The following 6 users liked this post by Akomix:
DaleClark (03-10-20),
FourtyOunce (03-09-20),
ls1swap (03-18-20),
Macer (03-09-20),
Steezaah (03-09-20),
and 1 others liked this post.