When you click on links to various merchants on this site and make a purchase, this can result in this site earning a commission. Affiliate programs and affiliations include, but are not limited to, the eBay Partner Network.
I just spoke to him about it and he might be changing his tune all the sudden...but he's baked in an excuse, if his car isn't "running right" then he won't go. So, let's see if the full-time mechanic and owner of an RX-7 since '93, who has rebuilt no less than 30 engines...can fix his car by then! lol
Nick
If he doesn't he's slacking because I've seen him pull his motor on a Monday, rebuild it and be at the track on Saturday racing.
Another month of ownership, a new problem! Don't you just love RX-7's!?
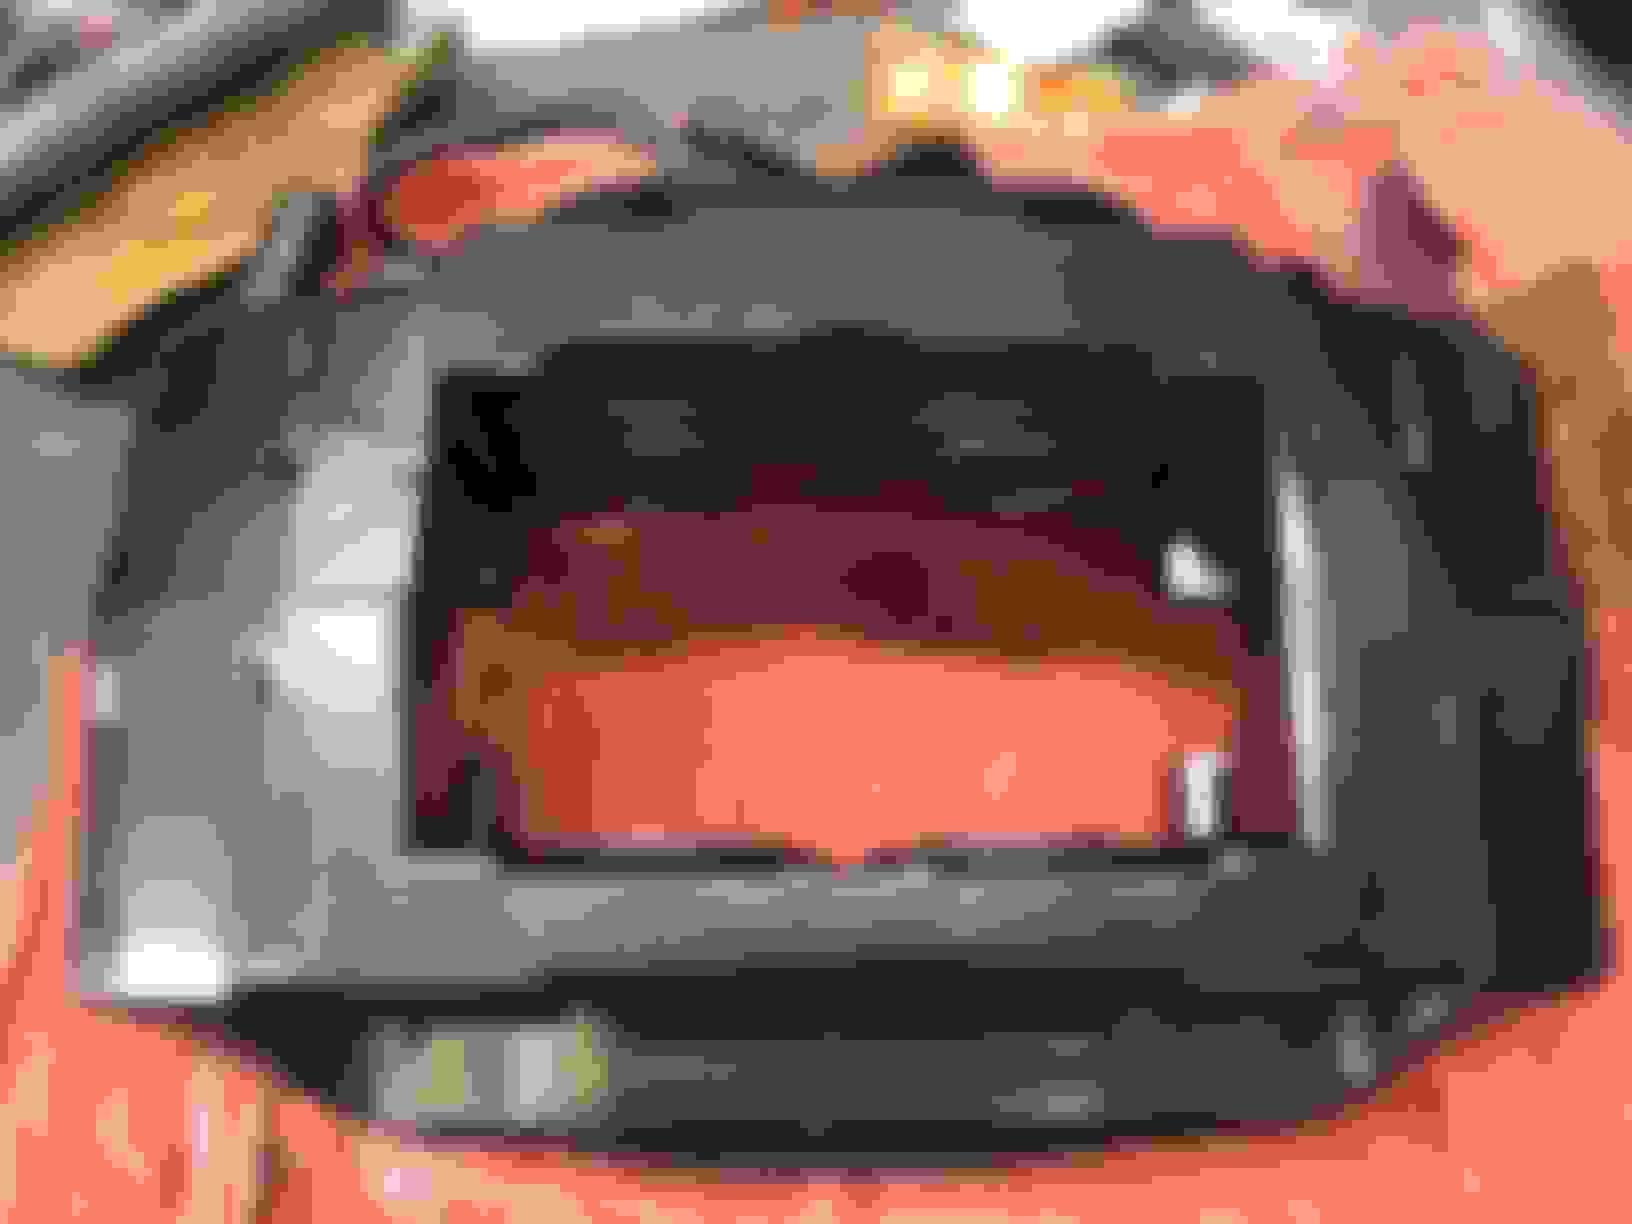
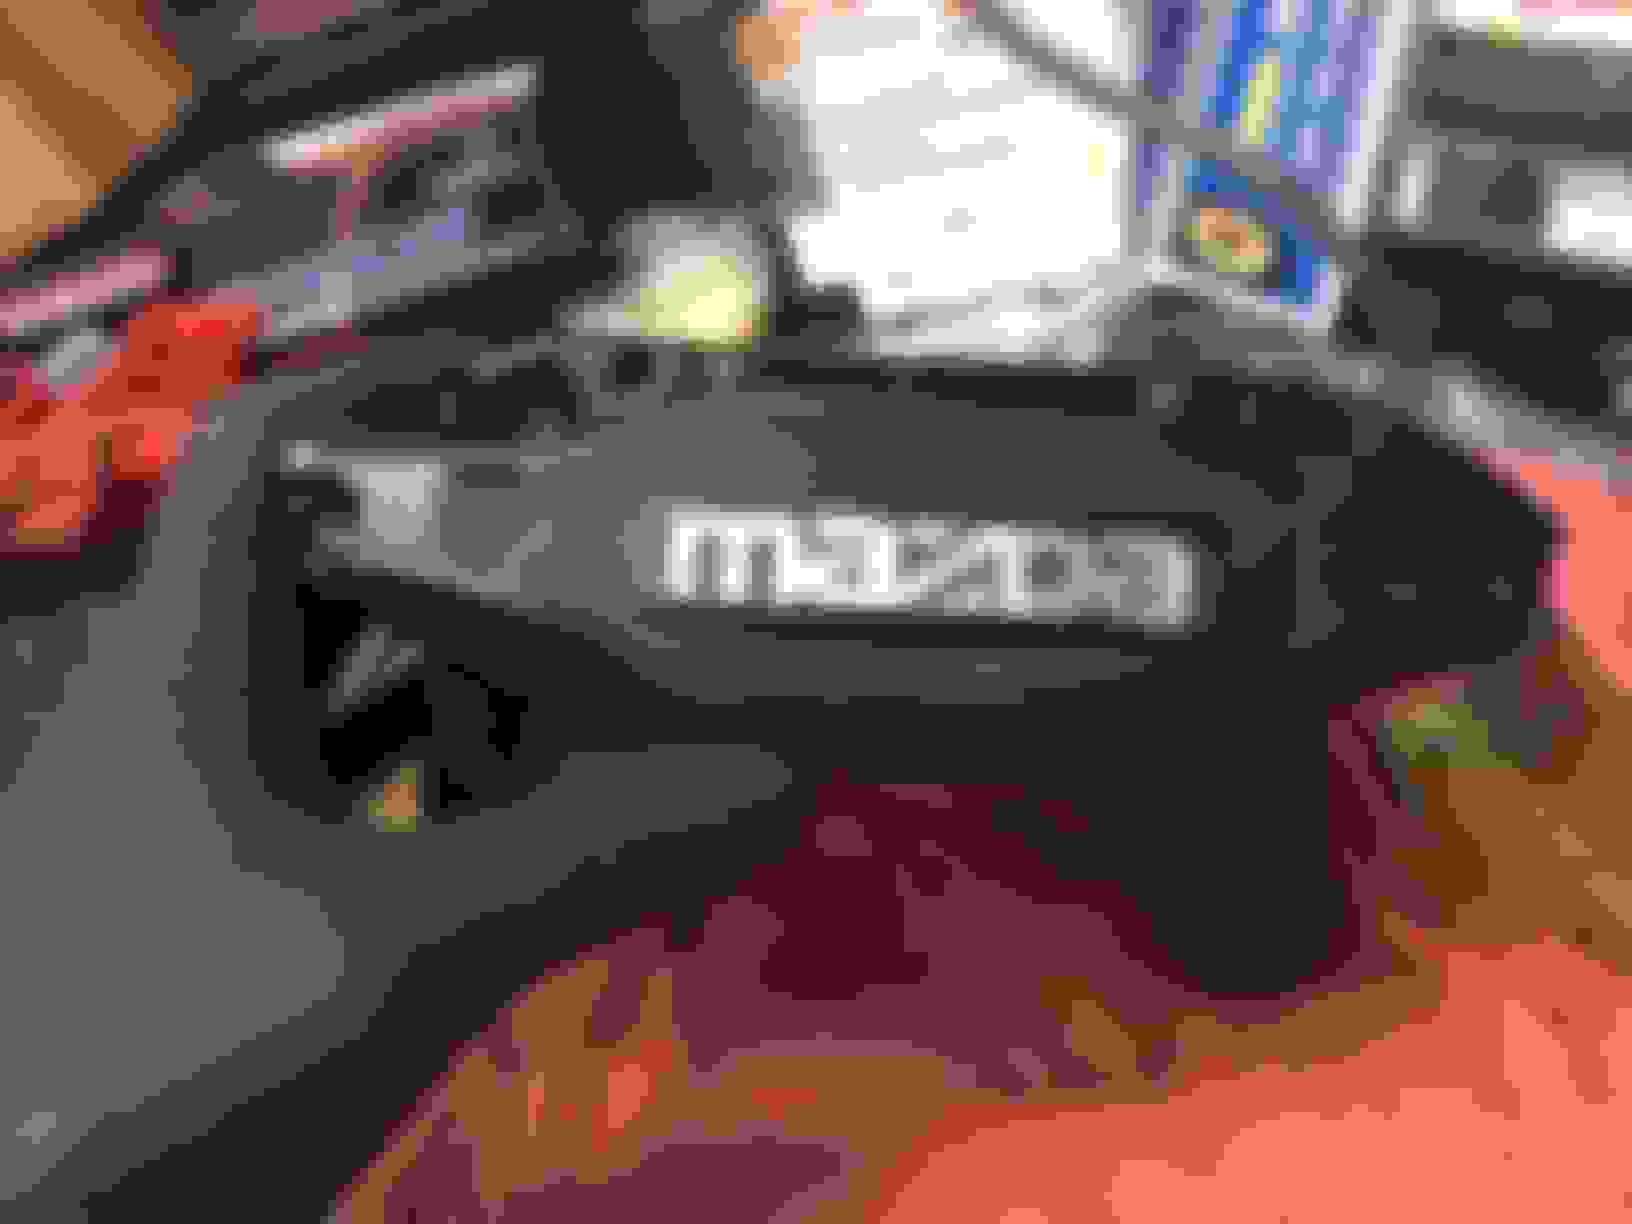
So I decided to rebuild my calipers right? Great idea! Before:
After:
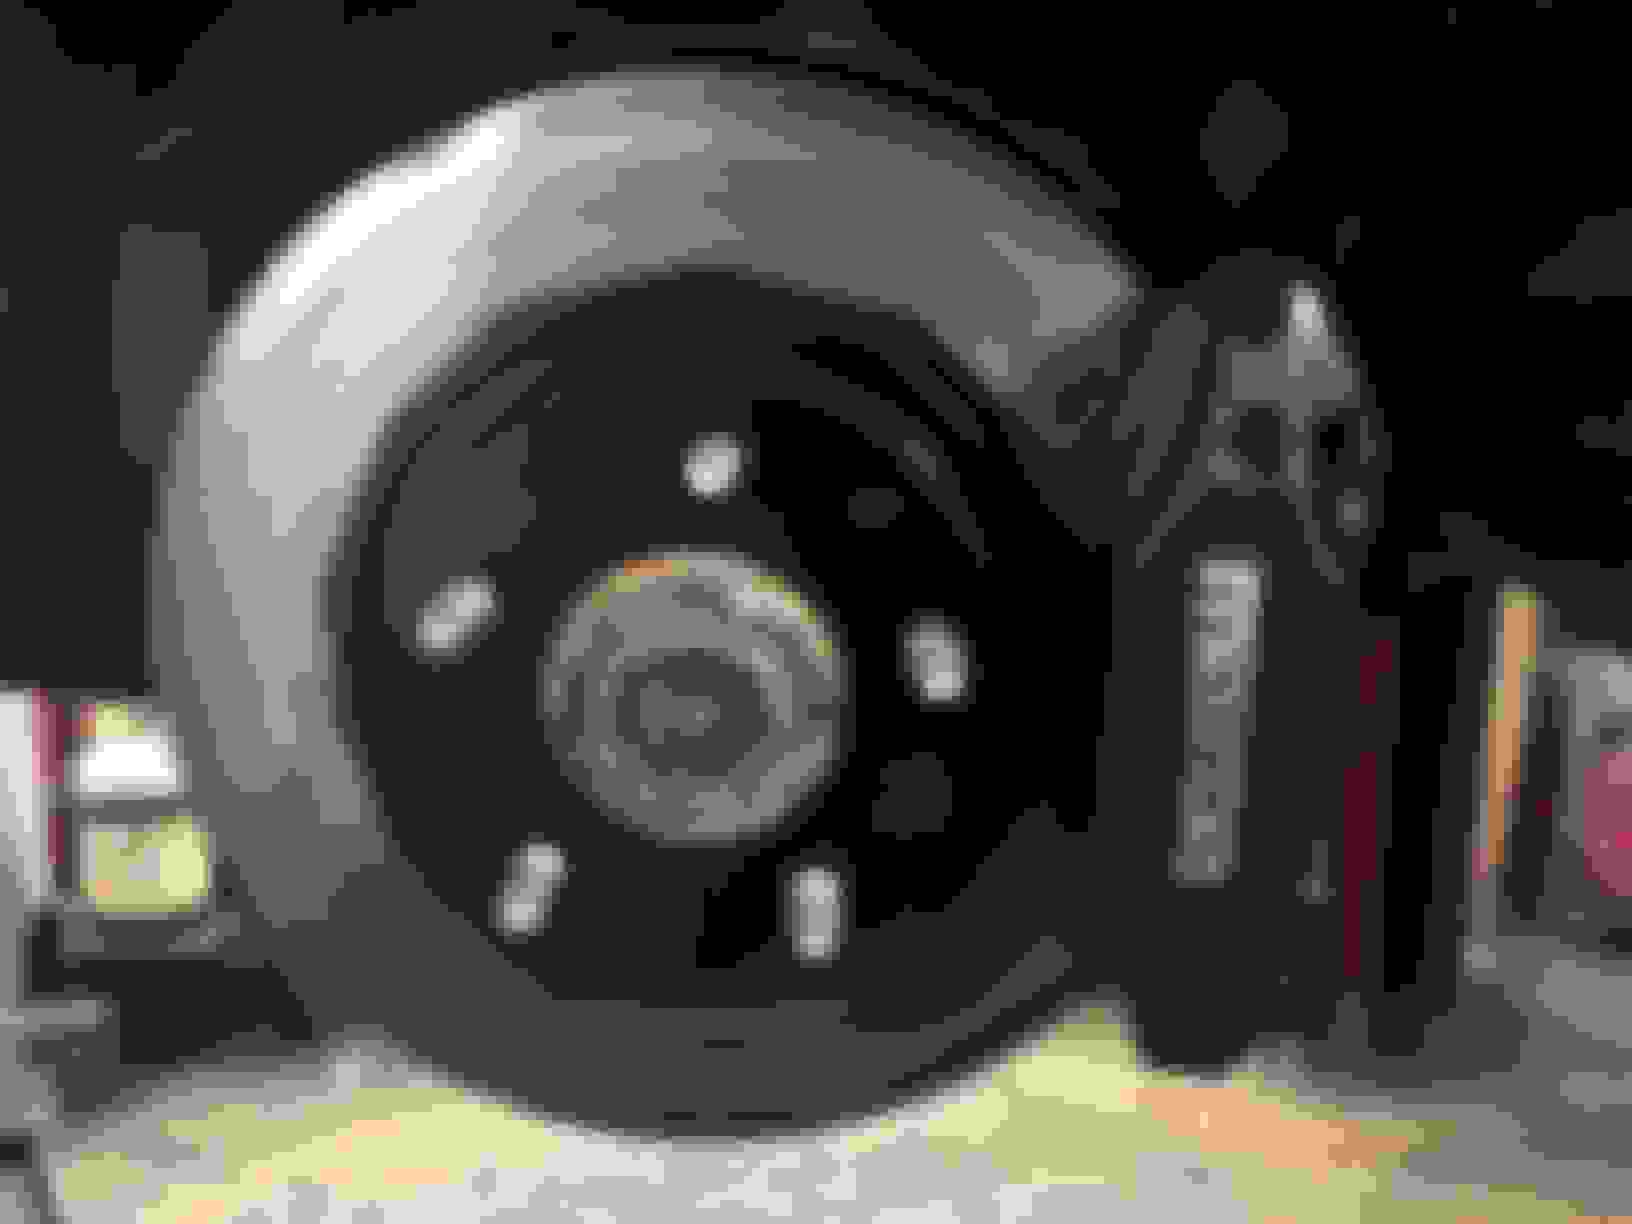
Cleaned the caliper bolts and put anti seize on them so the pads can glide easily. I also freshened up my rotors a bit.
Unfortunately, after rebuilding and bleeding the system, there's an issue...aside from a small leak I had on my right front brake line, I also had a problem with my calipers sticking. I'd press the brake and release the pedal, but there would still be pressure after I let off. After trial and error, diagnostic work and maybe a few emotional breakdowns, it was determined my ABS pump had gone bad.
To fix the problem, I tried everything. First, I removed the small proportioning valve looking apparatus on the front of the pump which is fed from the master cylinder, thinking there may be an issue there. Cleaned it out as best I could and tested to see if there were any restrictions. I installed it after it's minor overhaul, same problem. So, my friend was kind enough to let me "borrow" his to test -- same problem.
Next, I focused on the ABS pump itself. We opened it up and found the micro screens were a little bit clogged up with debris from 20+ years of service and probably a lack of flushing. Went through and cleaned up all of the screens, opened up the valves on the sides and inspected them too. Everything looks good. Reassembled the pump...same problem.
At this point, I'm faced with a dilemma; do I A: buy an ABS pump second hand that someone says is "good" and try my luck to see how long it lasts? B: buy a rebuilt one from Pettit for $650 and have an ambiguous warranty...when asked what the warranty was, he replied "I stand behind my product"... or C: delete the damn ABS and ensure that the problem gets fixed the first time.
Well, I debated this for a couple days, weighing my options out. Buying a used pump was quickly ruled out. My car has 51k miles, so the odds of me finding one with less miles or in "better" condition was low and then find out maybe six months down the road that I'm right back where I started...? Nah. The Pettit option was a real easy decision. No. So, I decided after researching extensively the improbable '99 spec 4-way ABS swap, that I will roll back the clock and delete the sucker.
Alex Rodriguez's kit was the only one I was vaguely familiar with, so I texted him and got one ordered in. I don't intend to write up a full review or speak negatively about his kit. It's race track proven and according to Alex, there's been over 300 kits that he's sold. Point being, it's got to be good.
For me though, the install was not as easy as I was led to believe and that's where my frustration came. Alex told me 30 minutes. I'm not the most talented individual when it comes to automotive mechanics. Though, I highly doubt I am more inept than the 300 people who bought the kit before me. It took me more than 4 hours from start to finish. I'm talking removing the ABS pump to bleeding the system. I have my ignition coils relocated to the firewall, so I'm sure that doesn't help things. That being said, routing the lines and connecting them is a total pain, especially the main rear line coming off the prop valve to the rear hardline. What a pain in the ***.
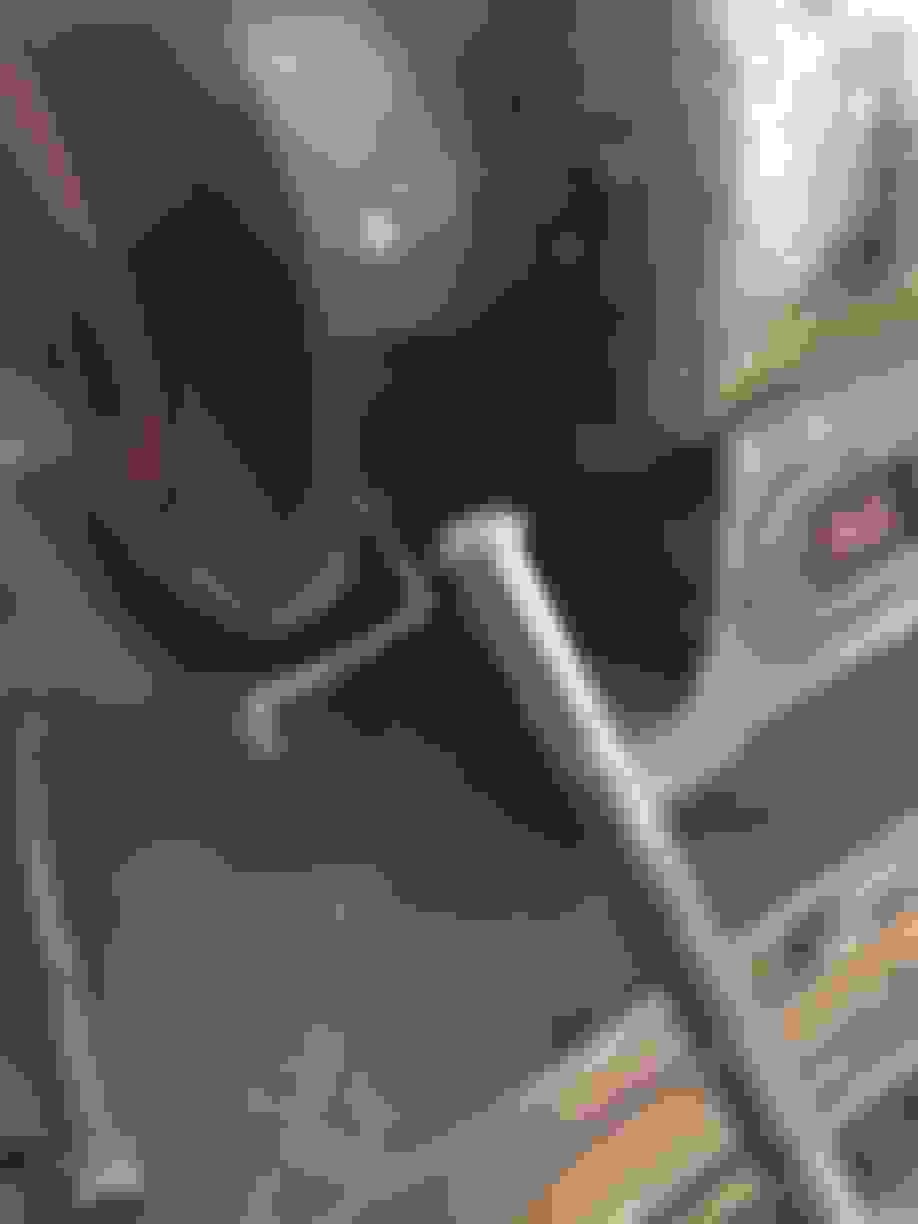
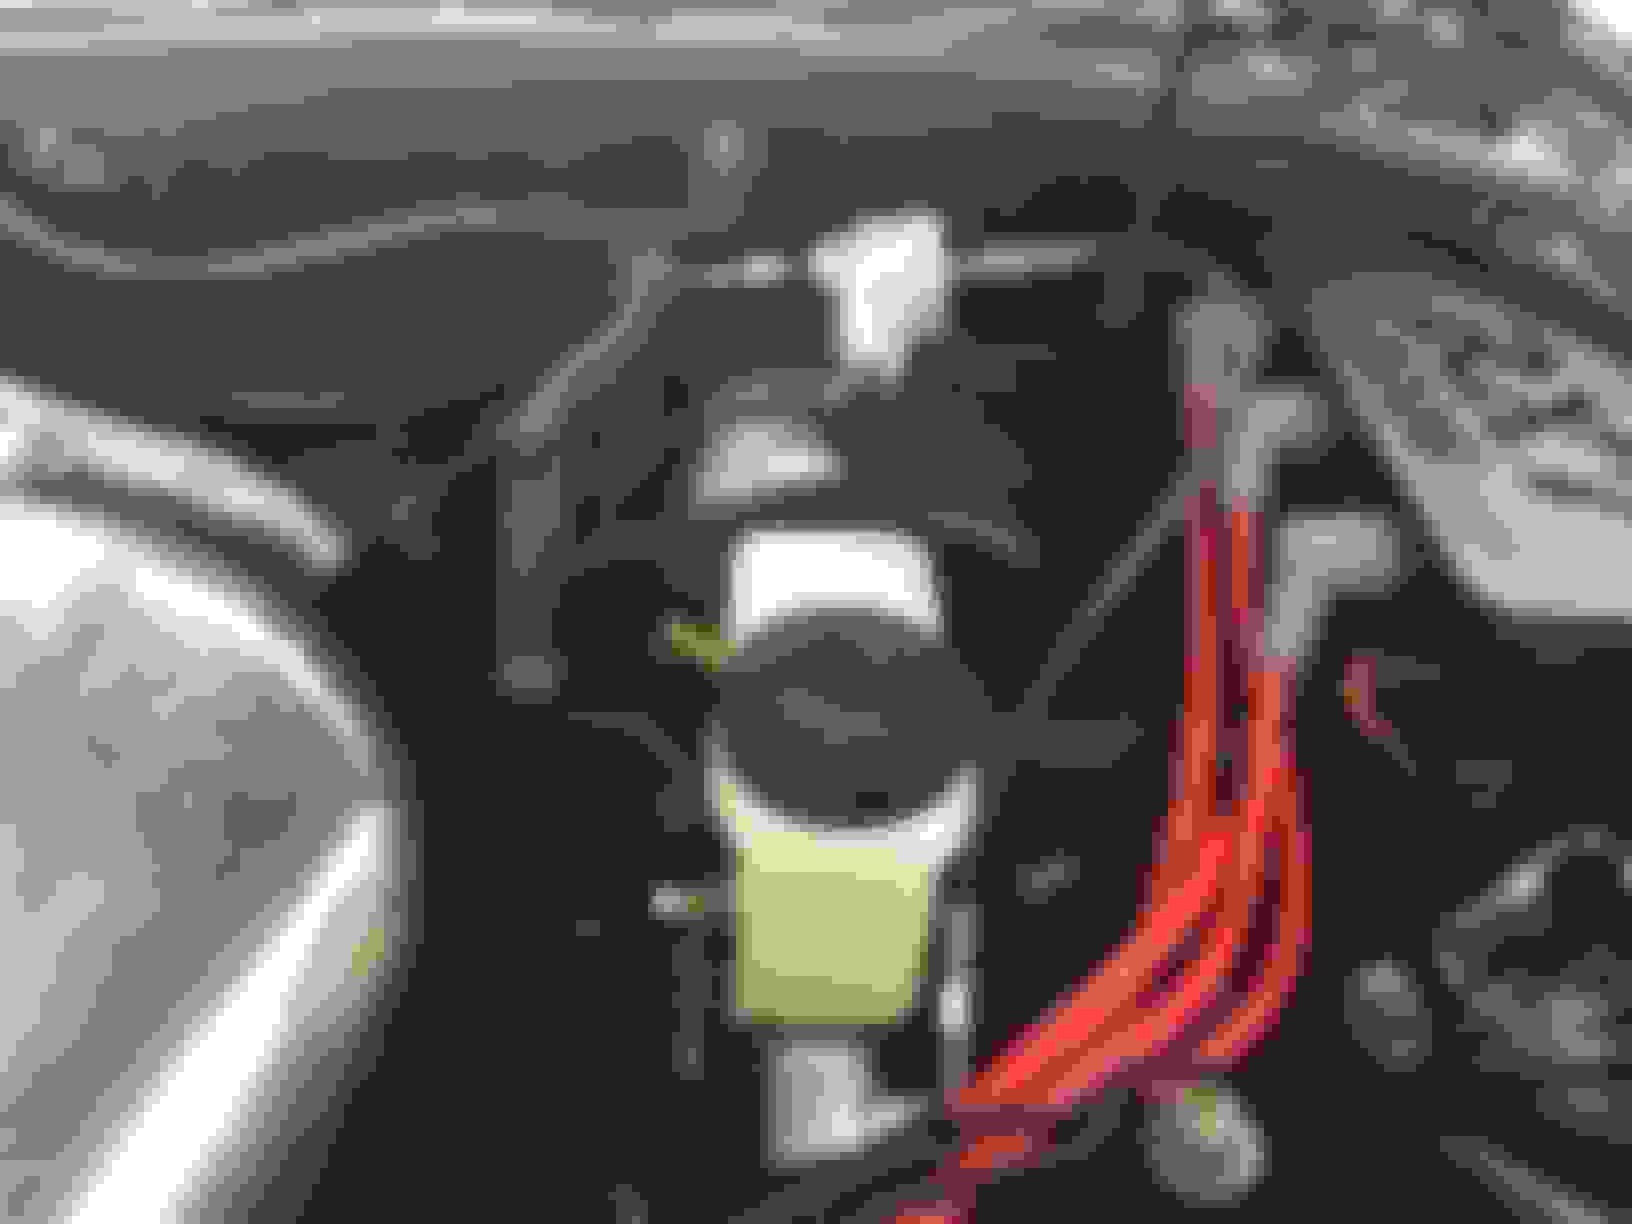
Now that the kit is installed and working, it's clean and simple which I suppose is what we're striving for, right? I need to do a little bit of tidying up with some of the wiring and vacuum lines that were routed through the ABS area, and clean up some of the areas under the pump, plus install a bracket for the prop valve. Here's where we stand:
Unfortunately, after all that, I still had some sticking from the front brakes, though the rears bled fine. I now focused my attention on the master cylinder. When I took it apart, my colleague noted there was some scoring on the internal barrel of the master. I lightly sanded it with 2000 grit and put a little bit of red rubber grease on it and the plunger and reassembled. Apparently, it was binding up a little bit and causing the master cylinder to hold a small amount of pressure in the lines. So, I had two problems with my braking system, simultaneously...very unlikely but that's the reality of it.
Last edited by Brilliant7-LFC; 04-11-17 at 03:54 PM.
Another small addition, which I'm actually really proud of, was my GReddy strut bar. I bought a strut bar off the boards for $100.00. It's seen better days, no question about it, but I knew I could make it look pretty again! The problem was the GReddy logo. It's embossed in the metal which makes it incredibly difficult to do what I wanted to; black bar, polished logo.
So, I started by stripping the blue ends and painting them with semi-gloss VHT caliper paint. I decided on the caliper paint for it's heat resistance (up to 900*F) and I love the VHT nozzle and it's ease of use. I used this same paint for the calipers and rotors too. Highly recommended!
After I stripped the paint, I sanded the nicks and scratches out of the bar with 2000 grit and a lot of elbow grease. Once the scratches were mostly smoothed over, I scuffed up the entire bar with 2000 grit sand paper and then masked off the GReddy logo with masking tape. The next step, I have no pictures of but trust me when I tell you; it was a major pain in the ***. You see, after you lay down the masking tape, the only way to get the outline of the GReddy logo and keep it polished is to cut out the logo's shape. So, I took a pencil, traced the logo on the masking tape, got out a nice sharp box knife and began to slowly carve it out.
The end result isn't perfect, but it looks a hellulva lot better than I thought it was going to and again, I'm really proud of the fact that I pulled off exactly what I wanted to do. Those of you who work on your own cars know that feeling of wanting something to look a certain way and then having to compromise and settle for something slightly different. You're still pleased, but there's a part of you that wishes you could have done it the "other way". In this case, I nailed it and I'm so happy!
Before:
After:
In the end, I'm very pleased with it, despite it not being perfect. Perhaps, one day down the road I'll touch it up or re-do it so it's perfect. But for now, I'm happy!
Lastly, I attempted to fix an exhaust leak I had ever since I switch out my Magnaflow midpipe for a straight pipe. I bought two oversize metal gaskets from GrimmSpeed, as I knew the gaskets weren't in the best of shape. In the end, despite spending about $50 on gaskets, the leaks have been lessened but are still there. I need a new midpipe it seems, as this one's flanges are warped.
The gaskets themselves though look real nice and with a proper flange, would most certainly never leak.
The ABS/brake fiasco was unexpected, so don't anticipate too much in the way of upgrades in the near future. All told, between the fluid I bought and the delete kit, I probably spent $350! Hopefully, I'll find a pot of gold, so I can get to some of the more fun items...
Thanks for reading!
Nick
Last edited by Brilliant7-LFC; 04-11-17 at 04:02 PM.
Another month of ownership, a new problem! Don't you just love RX-7's!?
So I decided to rebuild my calipers right? Great idea! Before:
After:
Cleaned the caliper bolts and put anti seize on them so the pads can glide easily. I also freshened up my rotors a bit.
Unfortunately, after rebuilding and bleeding the system, there's an issue...aside from a small leak I had on my right front brake line, I also had a problem with my calipers sticking. I'd press the brake and release the pedal, but there would still be pressure after I let off. After trial and error, diagnostic work and maybe a few emotional breakdowns, it was determined my ABS pump had gone bad.
To fix the problem, I tried everything. First, I removed the small proportioning valve looking apparatus on the front of the pump which is fed from the master cylinder, thinking there may be an issue there. Cleaned it out as best I could and tested to see if there were any restrictions. I installed it after it's minor overhaul, same problem. So, my friend was kind enough to let me "borrow" his to test -- same problem.
Next, I focused on the ABS pump itself. We opened it up and found the micro screens were a little bit clogged up with debris from 20+ years of service and probably a lack of flushing. Went through and cleaned up all of the screens, opened up the valves on the sides and inspected them too. Everything looks good. Reassembled the pump...same problem.
At this point, I'm faced with a dilemma; do I A: buy an ABS pump second hand that someone says is "good" and try my luck to see how long it lasts? B: buy a rebuilt one from Pettit for $650 and have an ambiguous warranty...when asked what the warranty was, he replied "I stand behind my product"... or C: delete the damn ABS and ensure that the problem gets fixed the first time.
Well, I debated this for a couple days, weighing my options out. Buying a used pump was quickly ruled out. My car has 51k miles, so the odds of me finding one with less miles or in "better" condition was low and then find out maybe six months down the road that I'm right back where I started...? Nah. The Pettit option was a real easy decision. No. So, I decided after researching extensively the improbable '99 spec 4-way ABS swap, that I will roll back the clock and delete the sucker.
Alex Rodriguez's kit was the only one I was vaguely familiar with, so I texted him and got one ordered in. I don't intend to write up a full review or speak negatively about his kit. It's race track proven and according to Alex, there's been over 300 kits that he's sold. Point being, it's got to be good.
For me though, the install was not as easy as I was led to believe and that's where my frustration came. Alex told me 30 minutes. I'm not the most talented individual when it comes to automotive mechanics. Though, I highly doubt I am more inept than the 300 people who bought the kit before me. It took me more than 4 hours from start to finish. I'm talking removing the ABS pump to bleeding the system. I have my ignition coils relocated to the firewall, so I'm sure that doesn't help things. That being said, routing the lines and connecting them is a total pain, especially the main rear line coming off the prop valve to the rear hardline. What a pain in the ***.
Now that the kit is installed and working, it's clean and simple which I suppose is what we're striving for, right? I need to do a little bit of tidying up with some of the wiring and vacuum lines that were routed through the ABS area, and clean up some of the areas under the pump, plus install a bracket for the prop valve. Here's where we stand:
Unfortunately, after all that, I still had some sticking from the front brakes, though the rears bled fine. I now focused my attention on the master cylinder. When I took it apart, my colleague noted there was some scoring on the internal barrel of the master. I lightly sanded it with 2000 grit and put a little bit of red rubber grease on it and the plunger and reassembled. Apparently, it was binding up a little bit and causing the master cylinder to hold a small amount of pressure in the lines. So, I had two problems with my braking system, simultaneously...very unlikely but that's the reality of it.
Get the Angel Motorsports Catch can and it will fill that area where the ABS use to be very nicely.
Get the Angel Motorsports Catch can and it will fill that area where the ABS use to be very nicely.
I had never seen their catch can before. It's a nice piece but to me it's way too big and bulky. As it stands, I have a small catch can next to my power steering reservoir, under the strut bar that does the job just fine.
I was planning on "filling" that space with maybe Nagisa braces or an engine torque brace. The problem with the Nagisa strut brace is that my coils are relocated to the cruise control location, so I'd have to reinvent that, in order to accommodate the Nagisa strut brace on the driver's side.
I've done a fair bit of research into relocating my coils to other locations and aside from stock, there's very little proven options. The best solution is from LMS-EFI, but his kit replaces power steering and A/C. I could live without the power steering, but you live in Miami too...you know the A/C is non-negotiable!
I used to have issues filling my catch can regularly. I had a GReddy catch can that was probably three times the capacity of the one I have now and filled it up like every couple weeks. I re-engineered the catch can with a smaller, vented catch can and it made a huge difference. Changing my oil also contributed hugely, as I was having some fuel dilution issues also.
Word to the wise: change your oil regularly and vent your catch can!
Just wanted to share a quick video from the track last time out. This was my best run of the night where I did an 8.5 @ 90 mph. It was a 1/8 mile of course.
I was spinning pretty badly with a 2.2 60' time, but might have a set of drag radials next time around.
The Evo in the video had a slightly better time than me, but I beat him at the light and had about 5 more mph, so in the 1/4 I should have had a better time than him. Stands to reason I guess...
You might want to try Remflex exhaust gaskets. They are thicker than normal but they crush down when you tighten up the flange.
Also, it should be fairly easy to see if the flange is warped or off. Some midpipes just have the flanges welded at the wrong angle and they will leak no matter what you do, the Ebay mid pipes are famous for that. If the flanges are just slightly warped or nasty you can take them to a muffler shop, they can hit them on the belt sander for a few bucks, that will flatten it down REAL quick and make the surface true.
Dale
Thanks for the advice Dale. I'll have to give that a try. Was considering just replacing the mid pipe. I have bigger fish to fry right now though...
great thread! Loved reading thru it, looking forward for more updates!
Thanks dude. Money is tight so updates will be few and far between at the moment!
In saying that... I am working on a set of retrofit headlights I picked up for an AMAZING price (thanks Phil!) and once they are refurbished, I'll post some pics and updates then. Also have some new slotted rotors on order, waiting for those...and a big decision on brake pads.
I want the Endless MX72 brake pads, but they're so damn expensive. I don't know if I can justify it. Just the front's are over $300, but from everyone I've spoken to, it's money well spent.
Then, I've got to figure out my intercooler situation and my fuel. I've got some kind of custom SMIC with a PFS duct, but they don't fit well. My plan is to buy a Pettit duct and buy a core and have my father-in-law weld some end tanks for me. But, that again is more dough that I don't have. Once the intercooler is sorted, I'd get new fuel lines and install my CJ Motorsports rails and new primary injectors that I bought about six months ago and are sitting in a box! With a good tune, I should be able to maybe put down 475 whp or so. I'll have 1,000cc primaries and 2,000cc secondaries. Should do it, I think.
Hopefully, I'll get to all this within the next year or two and won't need a rebuild before then!
I've been using remflex with my GReddy Ti catback because the flange is too thin and bends easily. They really work, but I'm not sure how re-usable they are so I keep a couple laying around.
So, I'm lining up a couple of projects now...decided to pull the trigger and get some of this done. Currently in the works is a new intercooler setup, all new fuel lines, rails and new primary injectors, and a retune. Plus, cleaning up a set of custom retrofit headlights that a friend of mine sold me for a hell of a price...
I am torn with the fuel setup though. You see, I bought CJ Motorsports rails and had planned to basically just buy his hose kit he sells for $150 and be done. Problem is, the feed and return line don't use PTFE lined hose, and I don't really like the worm-gear clamps that he uses to mate up to the soft line, coming off the hard lines running to and from the tank.
So, I decided to price it all out using a quality brand, not the best but a brand I haven't heard any real negative feedback on; Fragola. Using all Fragola PTFE fittings and lines, it will come out to about $315. So, basically double. When I asked CJ about the quality of their lines and fittings, seeming as how the Fragola stuff will be twice the money, I began to wonder how good the lines were he was selling and he didn't really do much to persuade me they were of a high quality. He basically said that there's no guarantees and it's all on me as the installer to do a quality job and make sure they don't leak.
I can understand that, and I don't begrudge him but with that sort of reply and this big of a gap in cost, I'm thinking just do the damn thing in Fragola, bite the bullet and pay twice the money to ensure I never have to worry about this in the future. From what I understand, PTFE lined hose is basically lifetime and would stand up to E85, no problem. I don't know if I'll even do E85 but all of our fuel has some ethanol in it and may eventually break down a non-PTFE lined hose.
It's going to be hit or miss even with decent brand, I have had Fragola fitting leak new out of the box. Personally I like Mr. Gasket fitting which is re-badged Aeroquip, but I think they are no longer available, this site XLR8 recommended have some good quality fittings as well BAT - MOCAL Oil Control Systems. Can't go wrong with Earl's or Russell either, and you can get them from Summit, for the line I would stick with Aeroquip/Earl's/Russell.
Regardless of which brand you go with, the most important part is to check for leaks once you have everything assembled, if you have a bad fitting you'll have to redo the line.
Given the cost of everything else, go with Fragola.
Originally Posted by ZE Power MX6
It's going to be hit or miss even with decent brand, I have had Fragola fitting leak new out of the box. Personally I like Mr. Gasket fitting which is re-badged Aeroquip, but I think they are no longer available, this site XLR8 recommended have some good quality fittings as well BAT - MOCAL Oil Control Systems. Can't go wrong with Earl's or Russell either, and you can get them from Summit, for the line I would stick with Aeroquip/Earl's/Russell.
Regardless of which brand you go with, the most important part is to check for leaks once you have everything assembled, if you have a bad fitting you'll have to redo the line.
Originally Posted by TomU
Epic builds aren't cheap
So, 2 out of 3 board members say Fragola! lol - sounds like an advert!
Tom, you're so right man how can I make an epic build without costing a crap ton of money?? Biting the bullet and going with Fragola...
OK guys, so I'm about to place my order through Summit. I've opted for all Fragola wherever possible with the exception of the 5/16" to -6 adapter from the hard lines. After doing a bit more research, I discovered I was mistaken about the specifications of the rails from CJ Motorsports. It turns out, the only -8 fitting in the whole system is the inlet on the secondary rail. All other fittings are -6...so I had to change everything in my cart on Summit's site to reflect that. In the end, it saves me money, but I don't have as much head room in my setup as I originally thought. The -6 fittings and lines will be more than adequate for my current power goals, so I'm content.
I have also decided through all of my research to reinvent the routing to more easily incorporate my fuel pressure sensor which feeds in to my digital SPA gauge in the car. I was trying to figure out a way to mount it to the front of the FPR without it looking out of place and just couldn't think of an elegant solution. So, I decided to instead use a -6 fitting cap to 1/8 NPT on the integrated y-port on the secondary rail. This will allow me to thread the fuel pressure sensor into that y-port and keep the sensor tucked in under the UIM and leave everything nice and neat.
In addition, I'll be purchasing some insulated P-clamps to help with keeping everything nice and tidy, as well as one or two hose separators to do the same job.
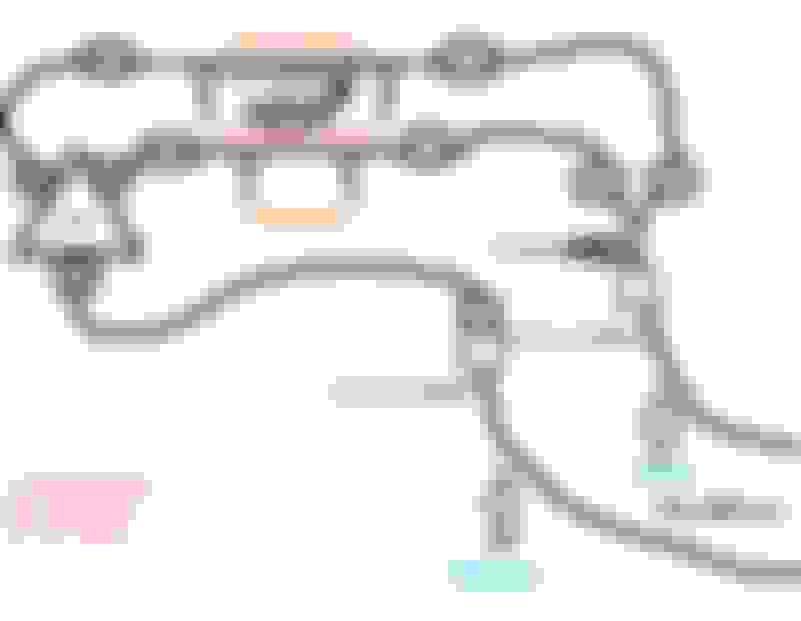
Here's a rough sketch of how the system will be plumbed:
It's a terrible illustration and I'm not totally convinced that the feed and return are even correctly oriented, but you get the idea
After my exhaustive research, I think this is the absolute best option for me and should work for 90% of guys out there. Maybe someone will stumble on this one day and it will help them visualize because for me having never done a fuel system, this was a struggle.
Nick
Last edited by Brilliant7-LFC; 06-29-17 at 10:27 AM.
Every time I run that road course, I have trouble at the FPR chicane...
Touche`...any words of advice? I am planning on using all those 90's and 45's to the FPR to keep everything nice and tight. I've seen many setups where the line sticks out past the alternator over the water pump housing, or past the left-most edge of the UIM and hovering over the turbo. I plan to keep all the FPR lines within the area directly in front of the UIM, before the alternator and water pump housing and definitely not hanging over the turbo. I think it will be tight, but doable.
One of the reasons I'm going with that 45* fitting out the bottom is not have all the lines traveling on similar planes and hopefully allow the return line to find it's way out on a diagonal and not intersect with the primary and secondary lines leading to the FPR.
Nick
here are *my* unsolicited words of advice:
use aeroquip pushlok hose and fittings for the fuel system. cutting/assembly/lack-of-finger-bleeding/etc. is SO much better with this stuff. I love it.
Why parallel? And I strongly suggest you to mount the rails and FPR on the car, then determine how much space you have and what fittings you need. You'll have to account for the size of the fittings too as that push things closer together/further apart and changes the angle, things are actually a lot closer together than you imagine. Like the 90� from FPR to the 30� at primary rail, might work better with a 120� if you don't want to bent the line. I like to keep these line straight and not bent them too much, let the fittings do the pointing.
I went through pretty much the same thing when I upgrade my fuel system few years ago, I had the rails on the car and with a bunch of different angle fittings to try on, and I couldn't come up with a clean routing I like running both FFE rails in parallel. I ended up going back to serial, kept the OEM primary and run the FFE banjo bolt adapter to connect the two rails, have a 90� feed to secondary near firewall, 180� out of the primary to the FPR 120�, and a 90� return. I ordered a lot of extra fittings to test with, find the angle that work best and return the rest.
Also, grab one of those AN fitting assemble tool and the aluminum vise block if you don't already have one, makes the assemble process a lot quicker.
Thanks for the advice dude!
I've chosen to go with parallel because through my research, it provides both rails with equal pressure and is the "best" way to route your lines. Running them in series would certainly be a lot easier but I'm less concerned with easy and more concerned with optimal results. Running the lines parallel with PTFE lines and fittings means I'll never have to redo this project for any reason. I like permanent, borderline overkill solutions. Do it once, do it right. It's just how I view it.
As for the mocking up advice, I totally agree with you. Thanks to Fragola, they put me in touch with a local shop who gave me better pricing than Summit and has tons of fittings in stock. So, I'm going to start tearing everything down next week and will pay them a visit, buy two of every fitting and go mock everything up to see how it shakes out.
here are *my* unsolicited words of advice:
use aeroquip pushlok hose and fittings for the fuel system. cutting/assembly/lack-of-finger-bleeding/etc. is SO much better with this stuff. I love it.
Yeah you're probably right. But, the added cost just isn't worth it. A box of bandaids after all is only like $5.
 03-16-17, 02:40 PM