
Silver_7's 94 RX-7 build

Thread Starter
Senior Member
Joined: May 2005
Posts: 646
Likes: 0
From: Pensacola
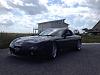
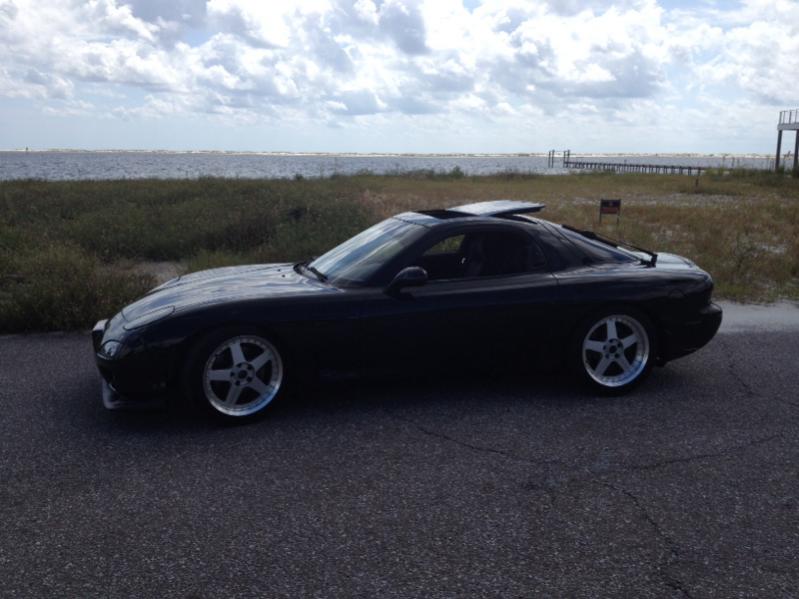
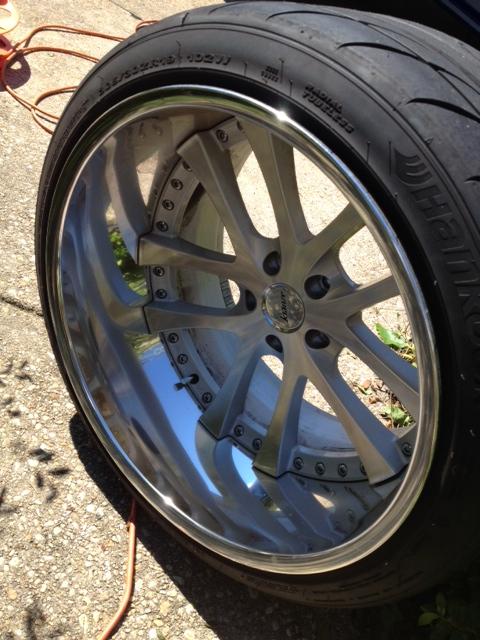
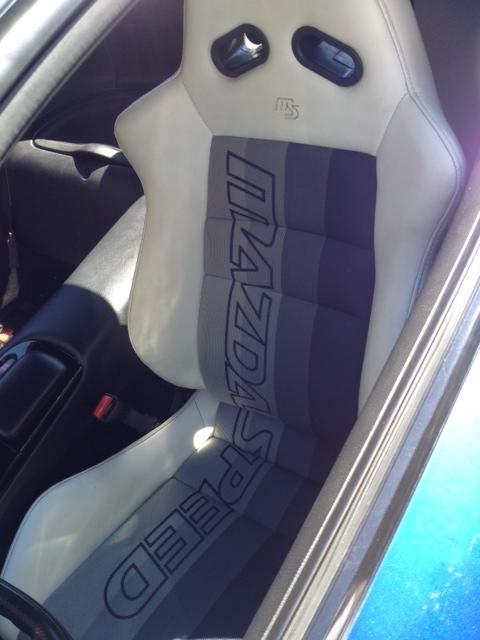
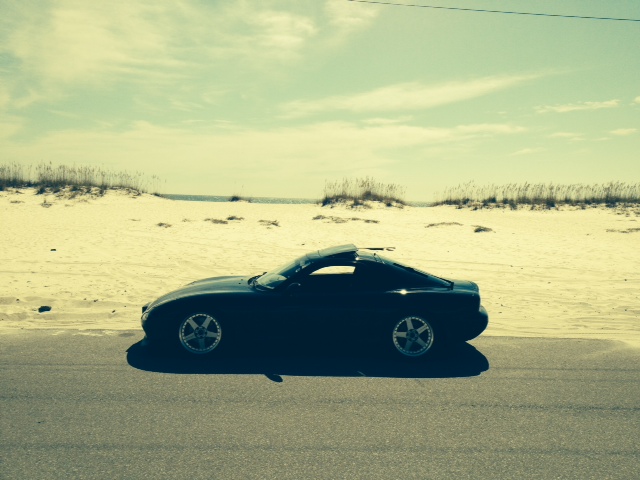
The wheels are the Mazda speed ms-01
Thread Starter
Senior Member
Joined: May 2005
Posts: 646
Likes: 0
From: Pensacola
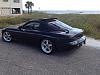
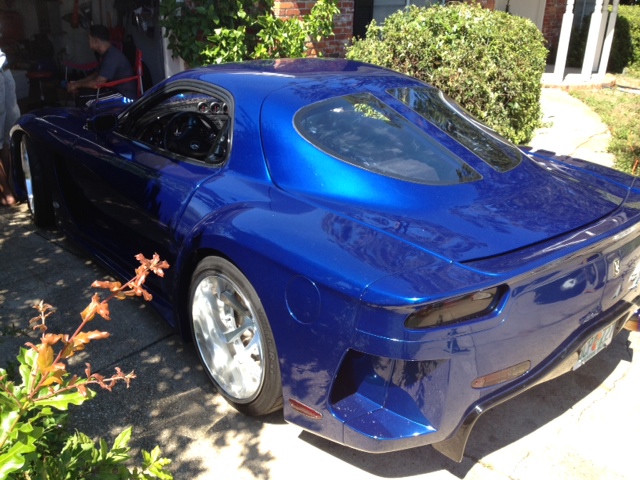
Just some new pics. Got about 300 more miles for break in. Gonna get ready to pull a few small pieces like the windshield wipers and cover for paint. Still need to get a few more things to make her a little more happy once it's broken in. More to come soon....


Thread Starter
Senior Member
Joined: May 2005
Posts: 646
Likes: 0
From: Pensacola
Thanks man. Still have a lot to do. 
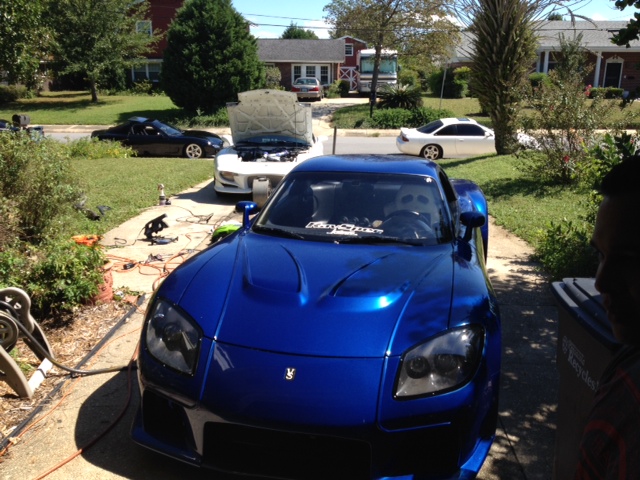
Not really an update on my 7...but some of the guys had a mod day last Saturday and I have been too lazy to update pics. I did clean the 7....but u probably wont see much of mine in the pics...lol Thanks Dale for having us.
Fixing a rear diff leak. Bad seal.
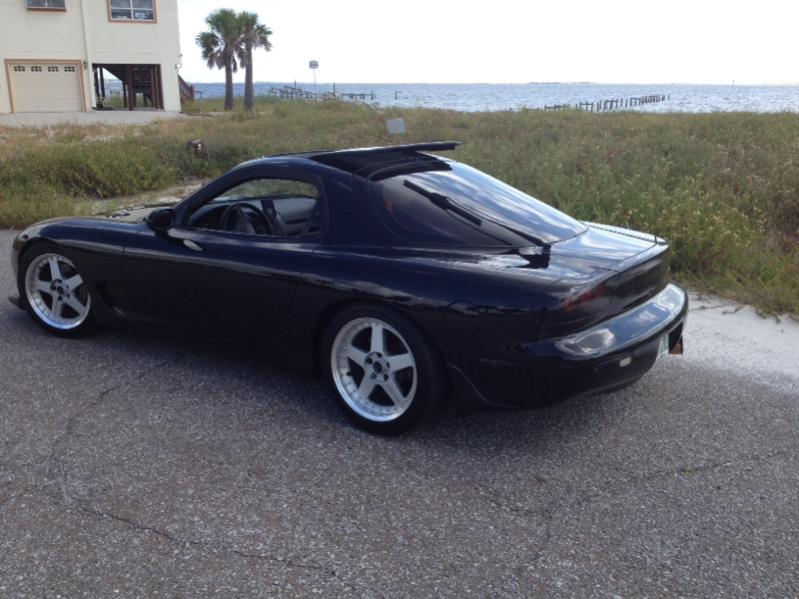
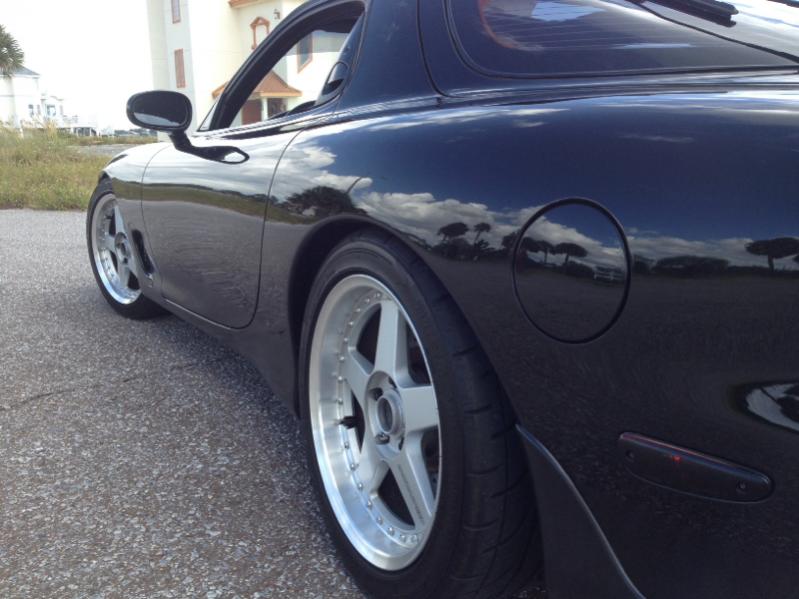
19"x12.5" ...drool
Fixing a radio issue as well
Not really an update on my 7...but some of the guys had a mod day last Saturday and I have been too lazy to update pics. I did clean the 7....but u probably wont see much of mine in the pics...lol Thanks Dale for having us.
Fixing a rear diff leak. Bad seal.
19"x12.5" ...drool
Fixing a radio issue as well
Thread Starter
Senior Member
Joined: May 2005
Posts: 646
Likes: 0
From: Pensacola
Took her out a few days ago to finalize my break in.
Motor is finally broken in...but now its time for some maintenance and to get a few more things before I decide to turn the boost back up (safety first)
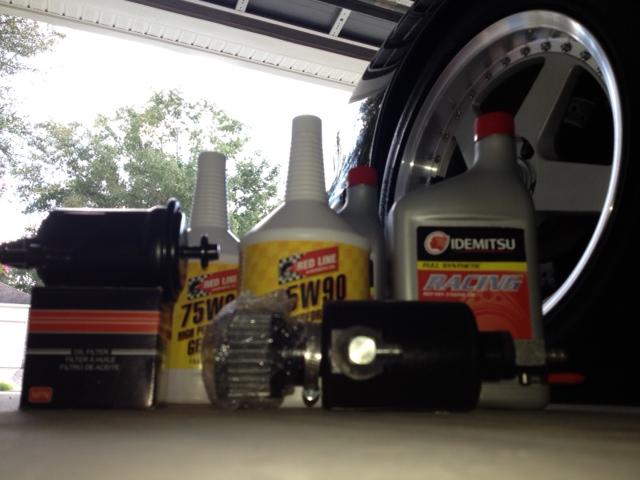
Time for another oil change w/filter, decided to go ahead and change rear diff fluid and fuel filter as well. Finally got my oil catch can in also.
Motor is finally broken in...but now its time for some maintenance and to get a few more things before I decide to turn the boost back up (safety first)
Time for another oil change w/filter, decided to go ahead and change rear diff fluid and fuel filter as well. Finally got my oil catch can in also.
Thread Starter
Senior Member
Joined: May 2005
Posts: 646
Likes: 0
From: Pensacola
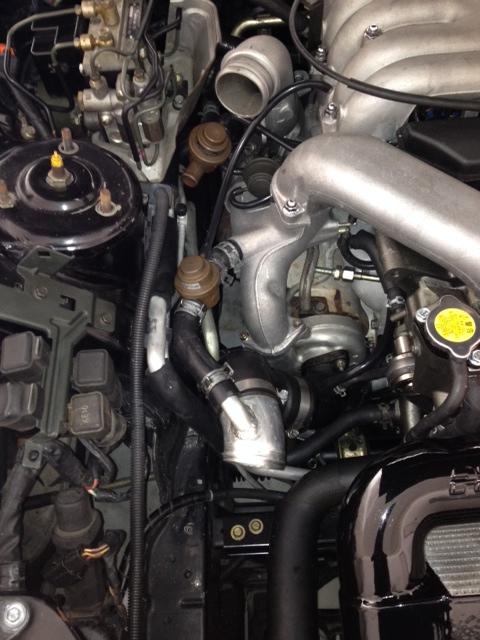
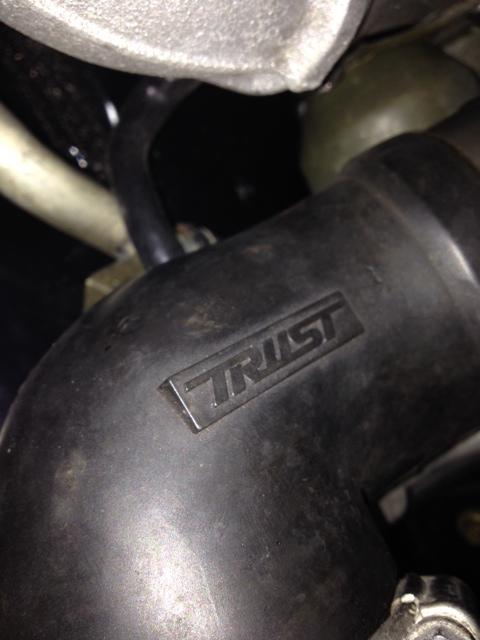
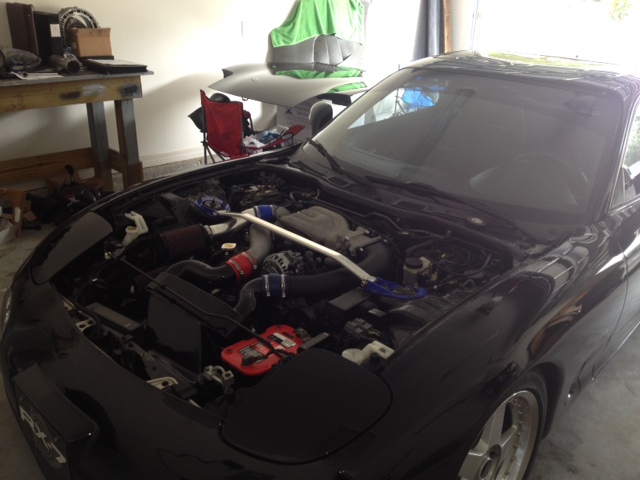
So got a little bored today and decided to change the intake setup on the car. The current Peter Farrell intake works great, I just hated how big and bulky it was and the fact that you had to use the stock rubber intake pipes. Plus in order to clean the filter the intercooler needed to be unbolted and moved to the side. One of the local guys upgraded his intake system and I was able to get his Greddy intake for my car...score.
Pulled off the old intake which like I said up top...was a pain in the @$$.
This stuff works wonders. Took me two days to clean these filter. Yes they were pretty bad. I still may get new filters later...but for now these are good.
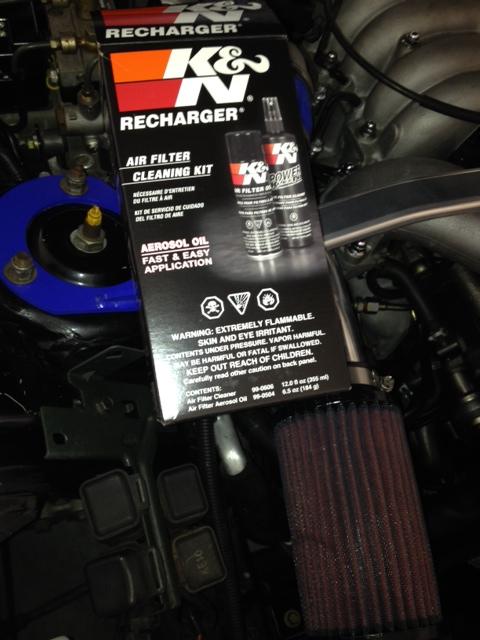
Fits great. Takes up less room. And a crap load easier to clean the filters if needed.
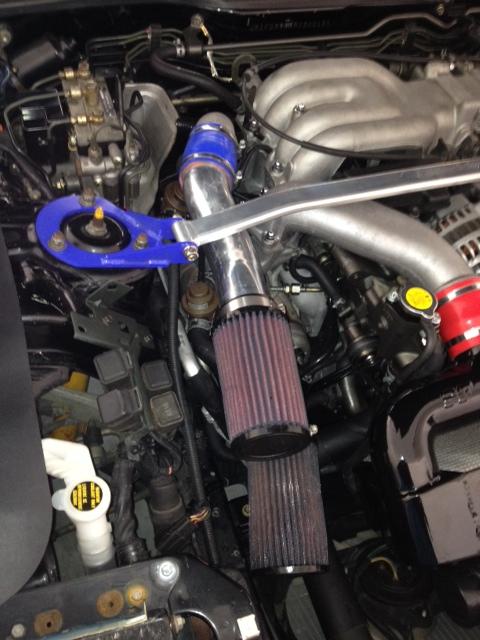
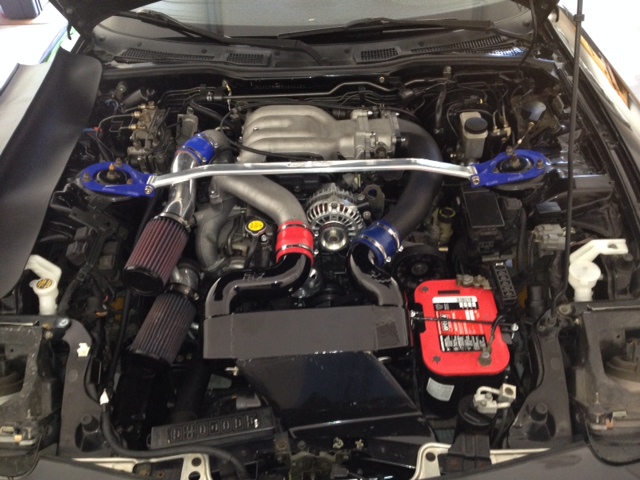
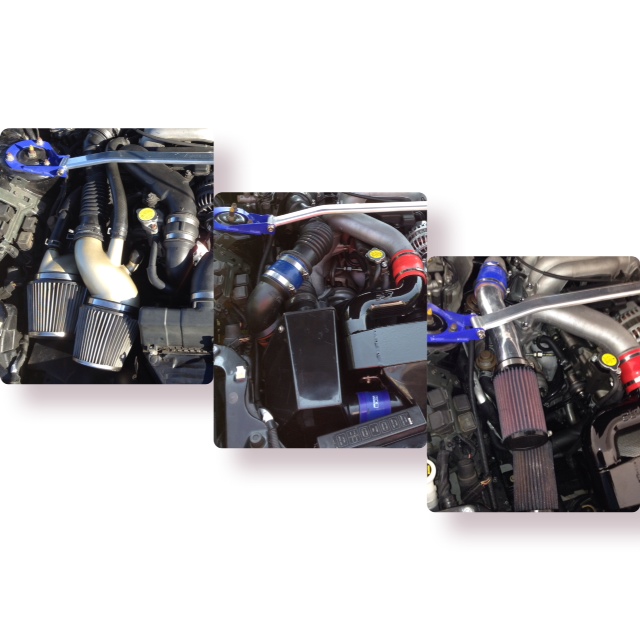
Before/after/current
Pulled off the old intake which like I said up top...was a pain in the @$$.
This stuff works wonders. Took me two days to clean these filter. Yes they were pretty bad. I still may get new filters later...but for now these are good.
Fits great. Takes up less room. And a crap load easier to clean the filters if needed.
Before/after/current


Thread Starter
Senior Member
Joined: May 2005
Posts: 646
Likes: 0
From: Pensacola
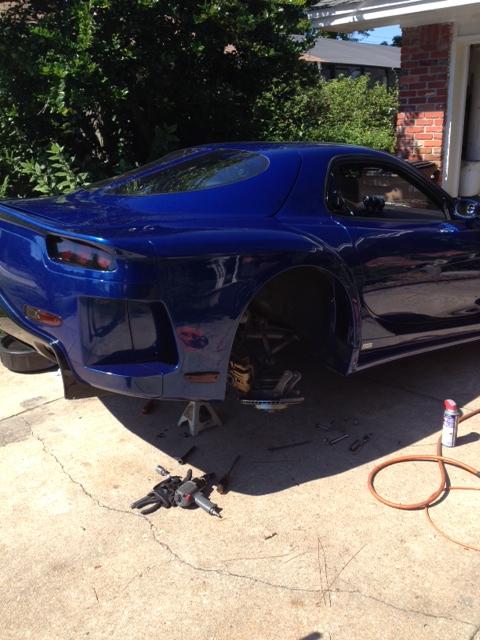
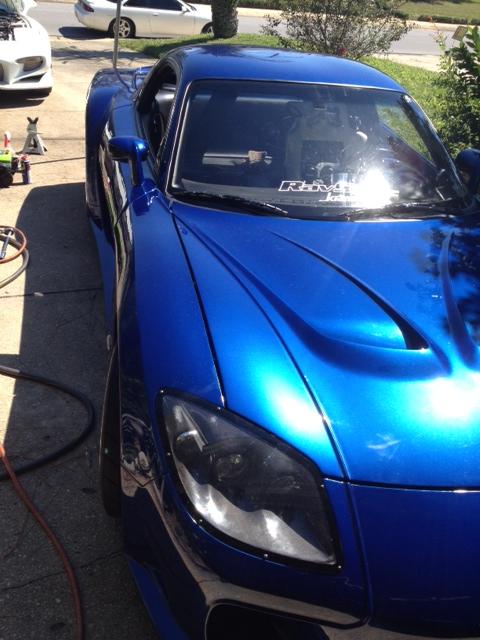
It's a blue metallic from the Porsche 911. Not sure the exact name of the color or what year Porsche
Thread Starter
Senior Member
Joined: May 2005
Posts: 646
Likes: 0
From: Pensacola
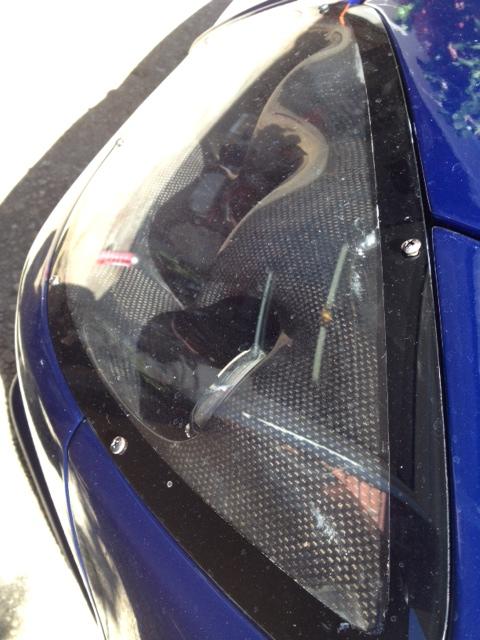
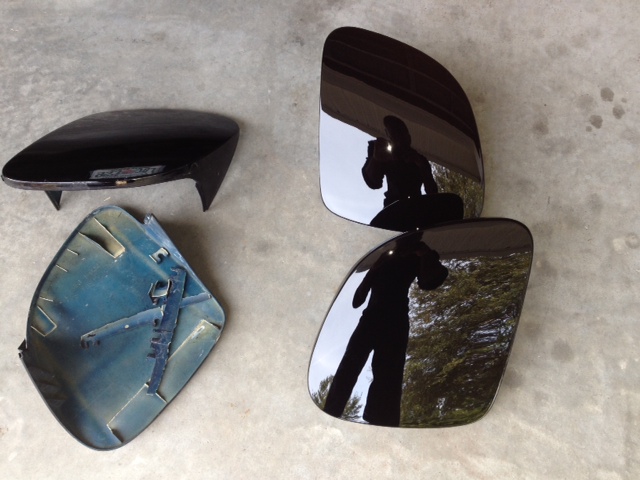
Update 10/29/13: Finally got in and dropped off my new Headlight covers to be painted last Friday. Picked them up yesterday and I must say they did an amazing job. Also the first time Ive driven the car since the oil filter, oil, fuel filter and diff fluid....feels like a whole new car.
Covers after pick up.

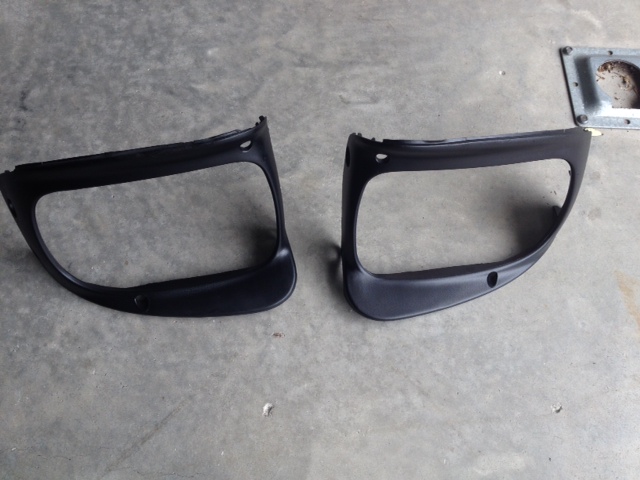
Old broken covers on the left.....New hotness on the right.
Cleaning and adjusting the headlight assembly
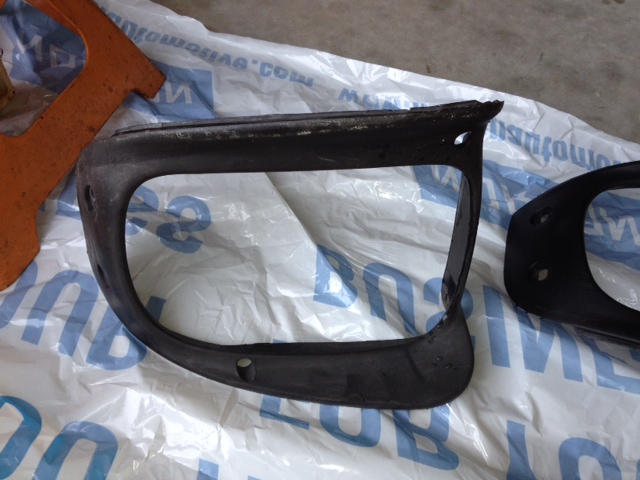
After seeing how good the covers looked and how crappy the headlight shrouds looked, I decided I needed to paint those as well.
Before
After some cleaning and first coat....Left them to dry after the second coat.
Covers after pick up.
Old broken covers on the left.....New hotness on the right.
Cleaning and adjusting the headlight assembly
After seeing how good the covers looked and how crappy the headlight shrouds looked, I decided I needed to paint those as well.
Before
After some cleaning and first coat....Left them to dry after the second coat.
Thread Starter
Senior Member
Joined: May 2005
Posts: 646
Likes: 0
From: Pensacola
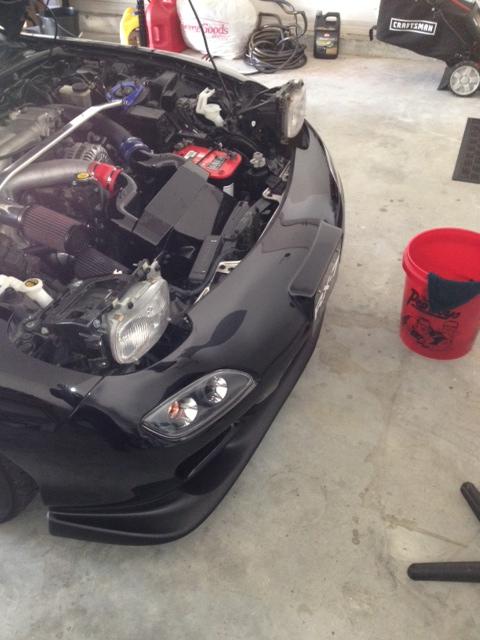
Update: Today I finished up the headlight shrouds and installed them with the new covers on the car. Unfortunately, I decided that there were a few more thing that also needed painting and kinda went a little crazy. Decided to pull the windshield wipers and the covers for paint as well. Had to do some cleaning while I was doing that as well.
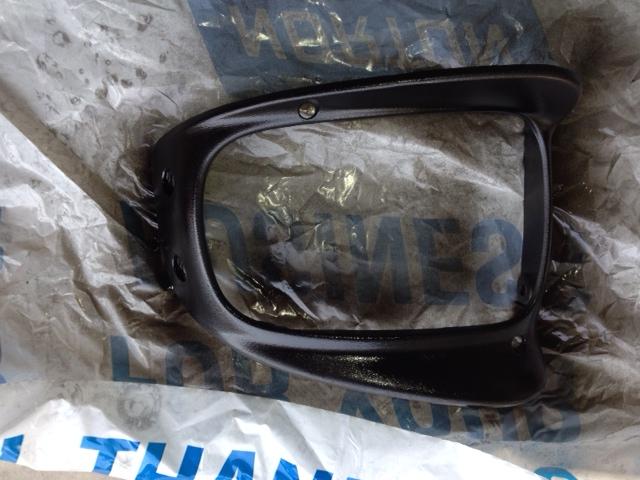
Headlight shrouds after paint.
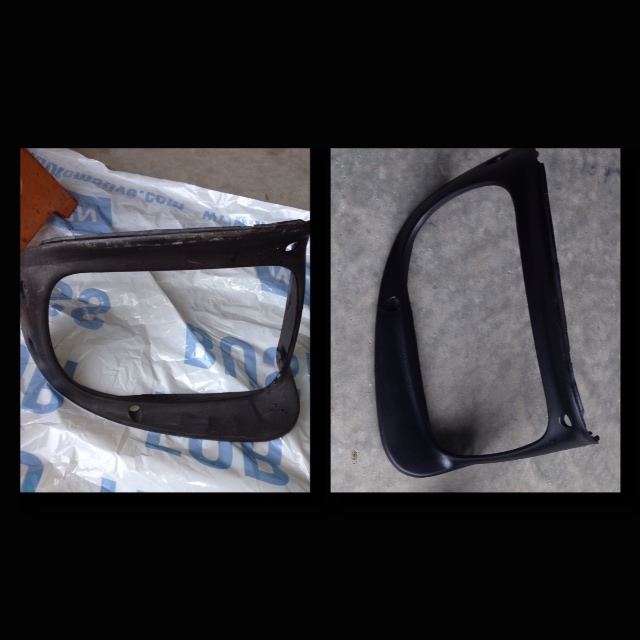
Before on the left. After on the right. I think they came out very well.
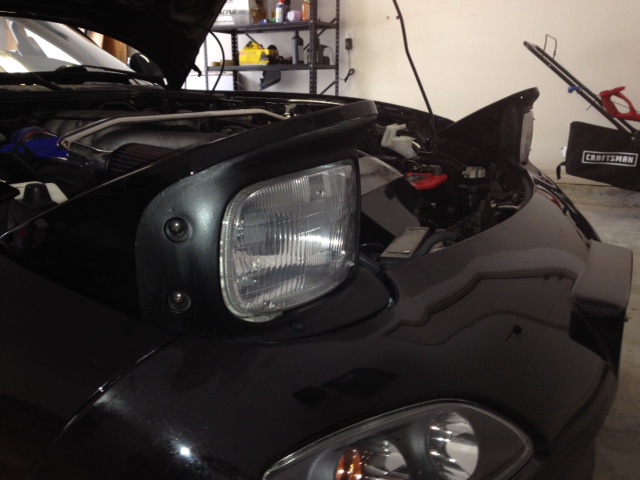
After install
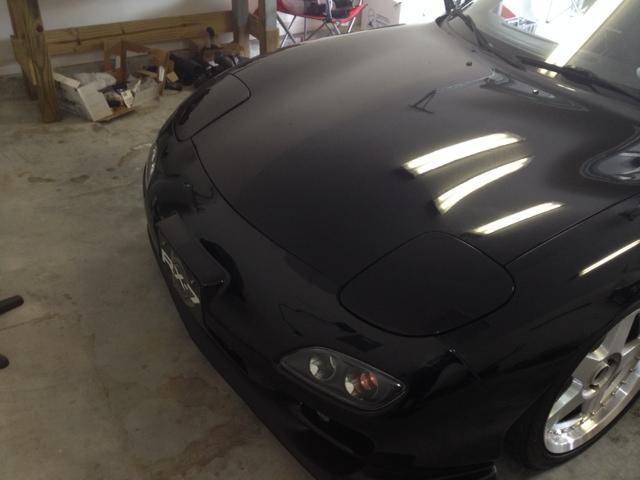
After some minor adjustment
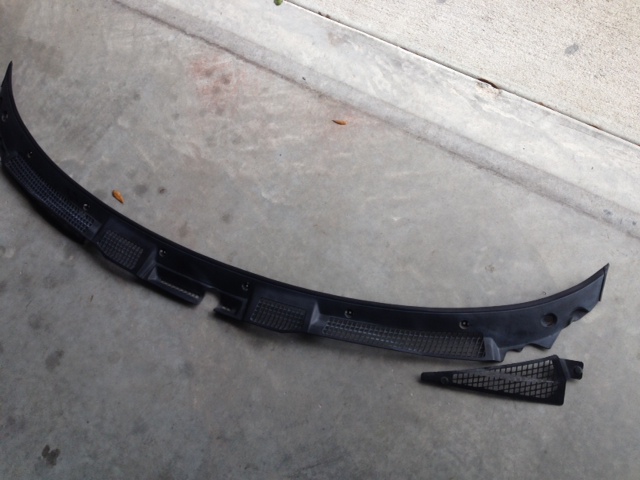
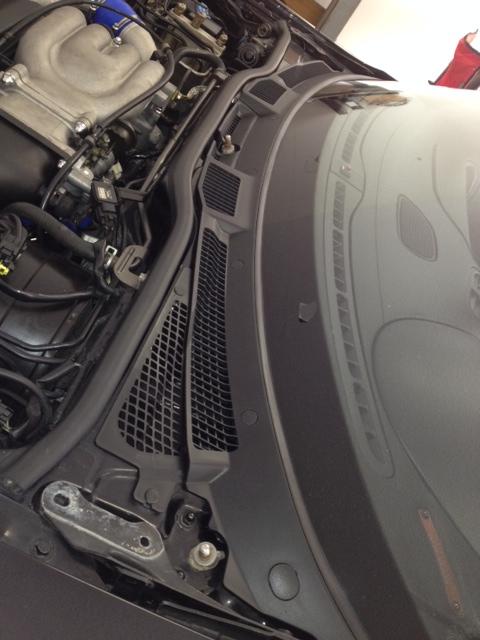
This is where I decided to pull the wipers and covers for those.
I guess its been a while since this area was cleaned.
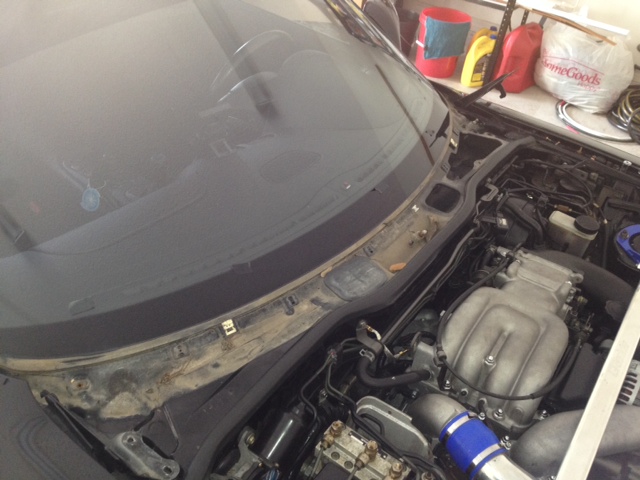
After a few minutes of cleaning. Looks waaaaay better.
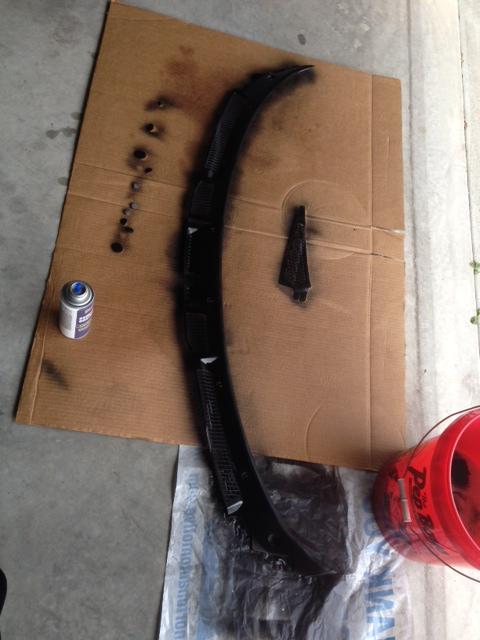
Currently cleaning and painting the wiper covers. Should have an update on those tomorrow.
Headlight shrouds after paint.
Before on the left. After on the right. I think they came out very well.
After install
After some minor adjustment
This is where I decided to pull the wipers and covers for those.
I guess its been a while since this area was cleaned.
After a few minutes of cleaning. Looks waaaaay better.
Currently cleaning and painting the wiper covers. Should have an update on those tomorrow.


Glad you finally have headlight covers!
BTW, you don't have to remove the hood to remove the wipers and cowl. Also, if you need some of the little plastic screw covers for the cowl I think I have some.
Dale
BTW, you don't have to remove the hood to remove the wipers and cowl
. Also, if you need some of the little plastic screw covers for the cowl I think I have some.Dale
Thread Starter
Senior Member
Joined: May 2005
Posts: 646
Likes: 0
From: Pensacola

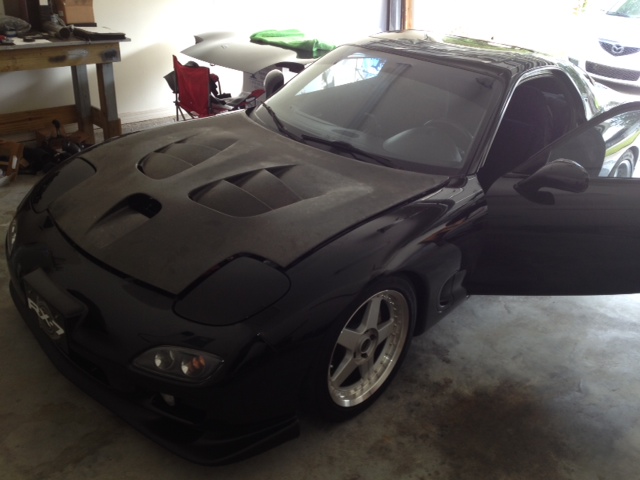
I kinda figured I didnt have to remove the hood but I really didnt want to scratch/chip the paint on it, and since its off I decided to see how much I like the aftermarket hood on it.
Ill probably keep the stock hood a little longer and get he other hood painted w/hood pins after deals gap. Really not sure cause I like the clean look.
 Eh, we will see.
Thread Starter
Senior Member
Joined: May 2005
Posts: 646
Likes: 0
From: Pensacola
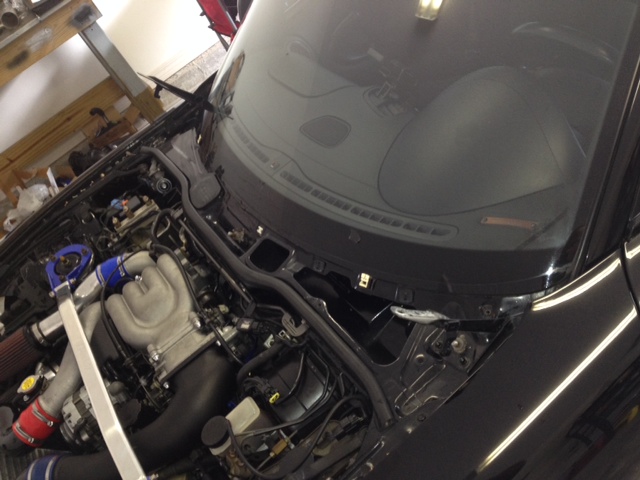
Update: Pulled and cleaned the windshield wiper covers yesterday and was able to get a few coats of paint on them. Left them over night to dry and installed them today. Also played around with the idea of putting a different hood on the car....but decided I wanted to keep the clean look for a little longer before going more aggressive.
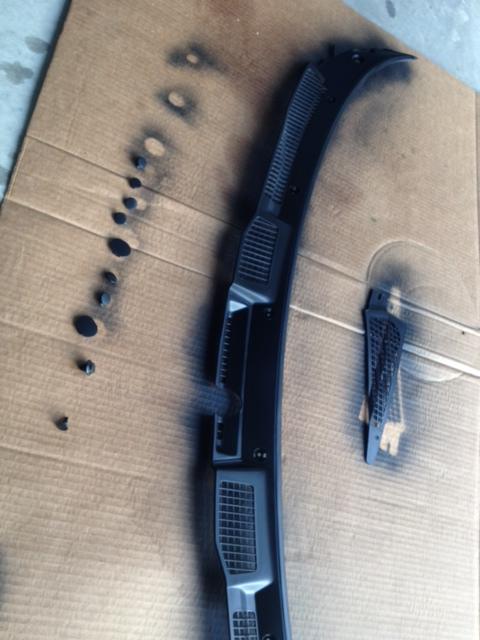
After pulling the covers off of the car
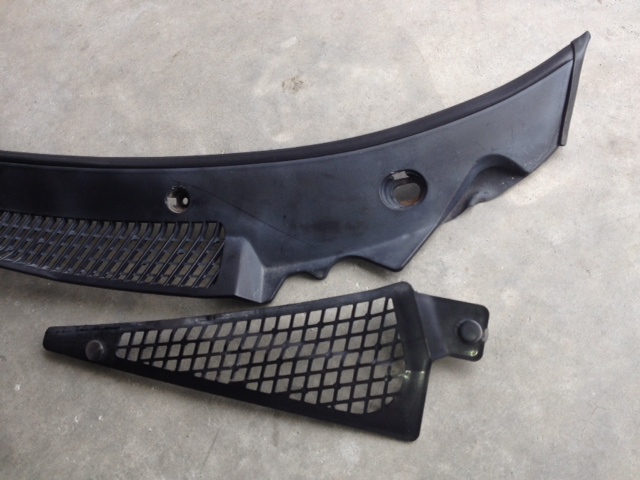
Cleaned and first coat of paint
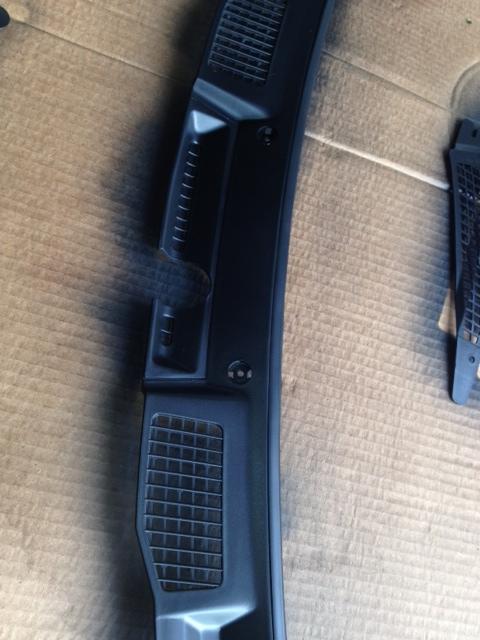
After a few coats...all dry and ready for install this morning
Sooo much better
This is a teaser shot for next year I guess. Still have to get the hood restored and painted. Need hood pins and a few other stuff painted, so decided to do everything at one time after deals gap.
After pulling the covers off of the car
Cleaned and first coat of paint
After a few coats...all dry and ready for install this morning
Sooo much better
This is a teaser shot for next year I guess. Still have to get the hood restored and painted. Need hood pins and a few other stuff painted, so decided to do everything at one time after deals gap.


has a Full Member

Joined: Jan 2008
Posts: 95
Likes: 7
From: Southern California
Thread Starter
Senior Member
Joined: May 2005
Posts: 646
Likes: 0
From: Pensacola
You are def correct. Probably better if I tracked the car, but for what I do locally and just my normal driving I haven't noticed a big diff. Plus will be adding meth before the summer months come back around. I honestly just like the hard pipes, easy removal if necessary, filter is easy to clean and opens up the engine bay a bit more. I really wanted the HKS-RS intakes but the GReddy will do. I also hated that I had to move the intercooler just to remove the intake box.
Junior Member
Joined: Jul 2013
Posts: 10
Likes: 0
From: honolulu
This is an awesome build man, I am looking to build one myself in the future. I ran through your whole thread am thoroughly impressed. Funny thing is, I had no idea that you were from Pensacola , Im from Gulf Shores!
Thread Starter
Senior Member
Joined: May 2005
Posts: 646
Likes: 0
From: Pensacola
Thanks I appreciate it. Its pretty much on hold until after the holidays....so Im just having a little fun with it here and there and taking it out every now and then.
Gulf shores...nice. If you are ever back this way there are quite a few of us here, as u can tell from a few of the picks. Usually we do regular mod days and once a month we meet up for a cruise and breakfast.
Gulf shores...nice. If you are ever back this way there are quite a few of us here, as u can tell from a few of the picks. Usually we do regular mod days and once a month we meet up for a cruise and breakfast.
Junior Member
Joined: Jul 2013
Posts: 10
Likes: 0
From: honolulu
That's cool, I didn't know that there were that many FD enthusiasts back home, idk when I will be home yet (I'm in the Air Force, stationed on Pearl Harbor) but I will definitely have to get up with y'all when I come around!
