
Silver_7's 94 RX-7 build

Thread Starter
Senior Member
Joined: May 2005
Posts: 646
Likes: 0
From: Pensacola
Finally received my first set of parts. Should have more coming in between now and Saturday to start putting the motor together.
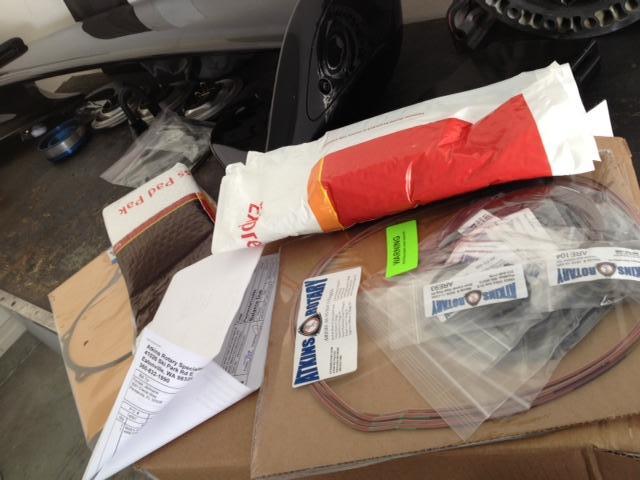
Atkins Rotary: Gaskits, O-rings, rotor bearings and other misc seals and stuff
Atkins Rotary: Gaskits, O-rings, rotor bearings and other misc seals and stuff

Thread Starter
Senior Member
Joined: May 2005
Posts: 646
Likes: 0
From: Pensacola
Thank you. I still have a lot of work to do...just glad Dale is assisting me with it and making this build go faster. So far waiting for parts is the long part. As for cleaning the rotors....Dale has some cleaner that we used to clean a lot of the parts and basically lots of elbow grease. The motor didn't have as much carbon as we thought it would thank goodness.


On rotors, hit them with some Castrol Super Clean and a nylon brush, scrub it in, then pressure wash. That will get the oil and big junk off. Then, wire wheel on a bench grinder takes the carbon off the combustion surface SUPER quick. I used to do it by hand, took for damn ever. Make sure to wear goggles and gloves, though!
Then, you have to manually clean the side seal grooves, apex seal grooves, etc. out with an old seal to make sure it's carbon free. After cleaning, spray down thoroughly with WD-40 to keep surface rust away.
We'll be working on stuff tomorrow, I did some cleaning today on parts. My new favorite cleaning item is the pressure washer - I'm getting stuff far cleaner with it than I ever had manually. I just have a cheapie electric pressure washer too, it works amazing!
Jermaine will be surprised with all the clean parts tomorrow .
.
Dale
Then, you have to manually clean the side seal grooves, apex seal grooves, etc. out with an old seal to make sure it's carbon free. After cleaning, spray down thoroughly with WD-40 to keep surface rust away.
We'll be working on stuff tomorrow, I did some cleaning today on parts. My new favorite cleaning item is the pressure washer - I'm getting stuff far cleaner with it than I ever had manually. I just have a cheapie electric pressure washer too, it works amazing!
Jermaine will be surprised with all the clean parts tomorrow
.Dale
Thread Starter
Senior Member
Joined: May 2005
Posts: 646
Likes: 0
From: Pensacola
Update for 8/11/13: Dale did an amazing job on a lot of the parts that were there...looked almost new...lol. We cleaned and pained more parts including the engine bay. Cleaned up the engine harness and installed a few little things just to do it. Still waiting on more parts to show up this week so that hopefully we can start assembling the motor.
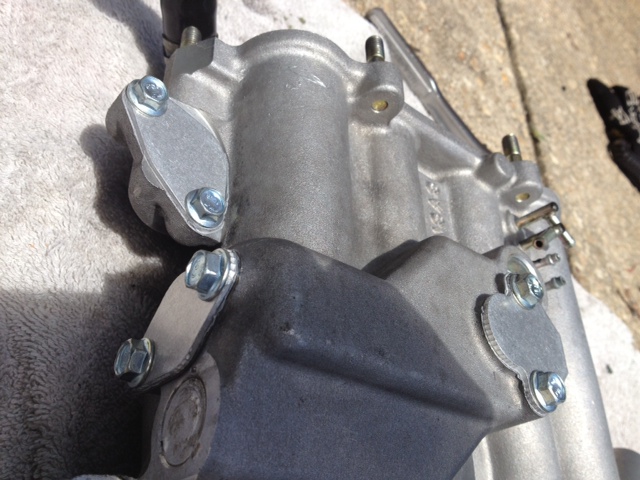
Installed the Banzai block off plates for emissions delete (No body have time for dat!!!)
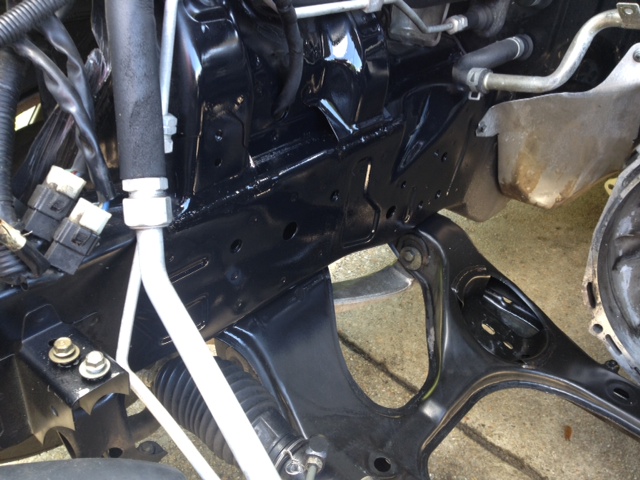
Got some of the engine bay painted.
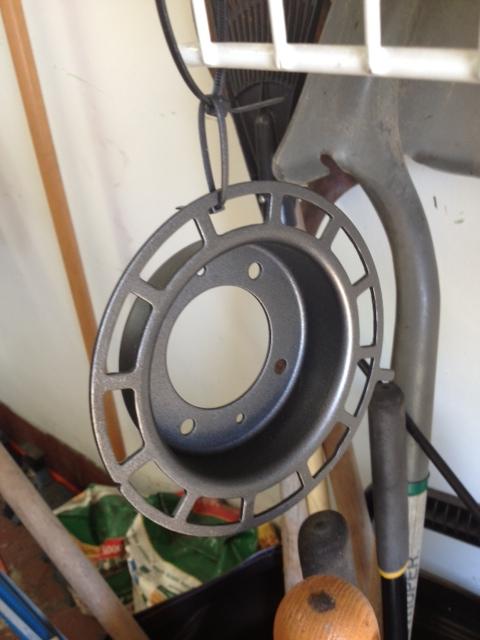
Painted the A/C compressor pulley. Was rusty and chipped all over.
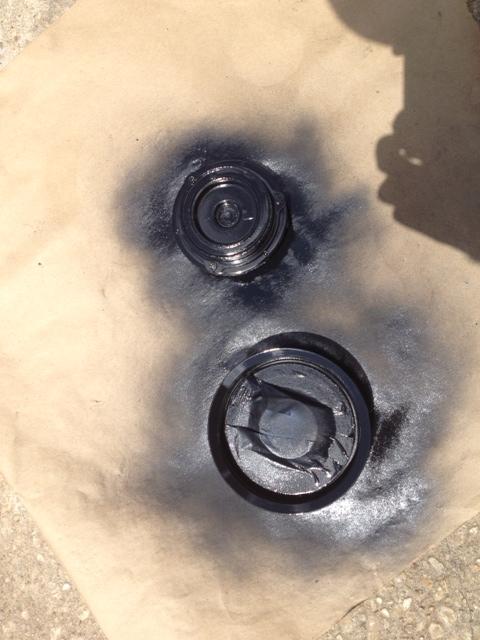
Painted a few other misc parts and A/C lines
[IMGhttp://i229.photobucket.com/albums/ee205/supra_7/Bat%20mobile/z27_zps063623c3.jpg[/IMG]
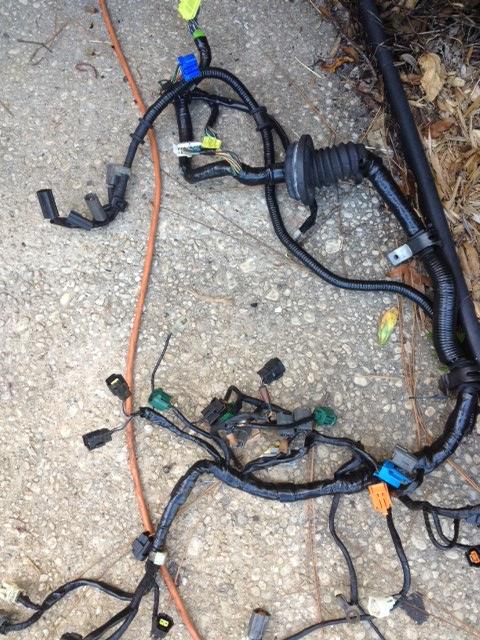
Wiring harness falling apart and needing some love.
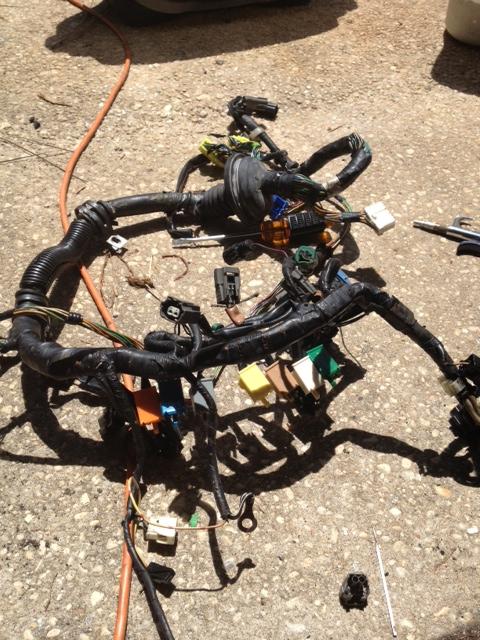
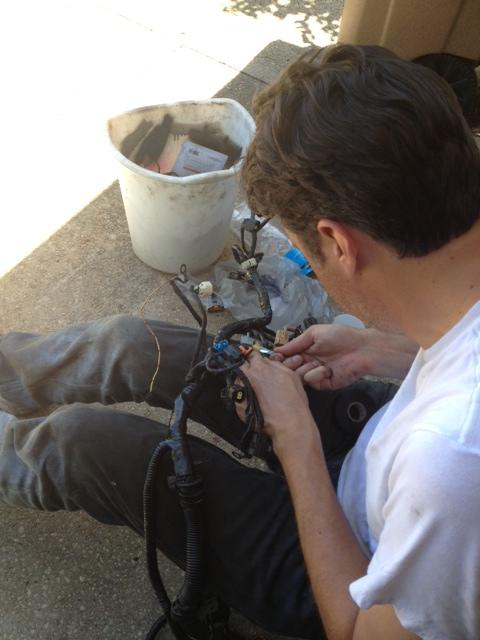
Dale going through the harness...also deleted a few things we will no longer be using.
All cleaned up and pretty again
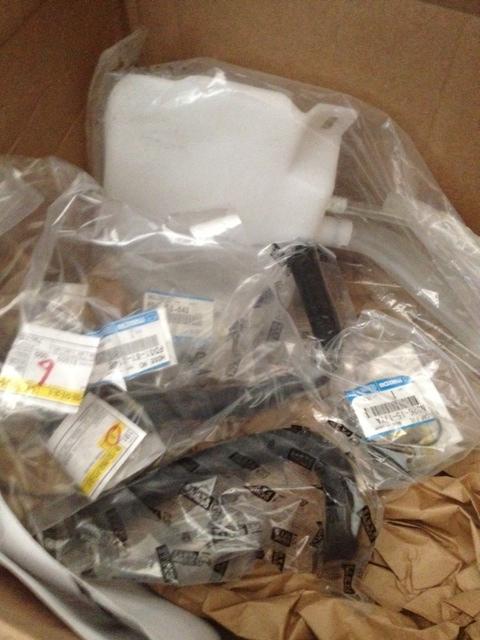
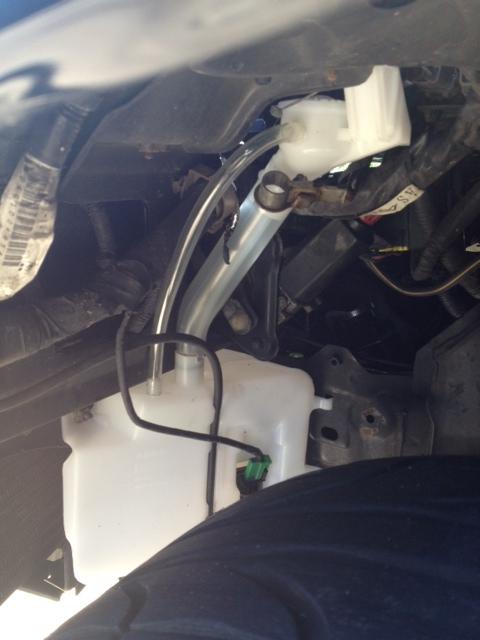
New windshield washer and coolant overflow tanks...the other ones were yellow and cracked.
 Soon
Soon
Still waiting on more parts. If they all come in this week...we can start putting the motor together by the weekend. Fingers crossed.
Installed the Banzai block off plates for emissions delete (No body have time for dat!!!)
Got some of the engine bay painted.
Painted the A/C compressor pulley. Was rusty and chipped all over.
Painted a few other misc parts and A/C lines
[IMGhttp://i229.photobucket.com/albums/ee205/supra_7/Bat%20mobile/z27_zps063623c3.jpg[/IMG]
Wiring harness falling apart and needing some love.
Dale going through the harness...also deleted a few things we will no longer be using.
All cleaned up and pretty again
New windshield washer and coolant overflow tanks...the other ones were yellow and cracked.
SoonStill waiting on more parts. If they all come in this week...we can start putting the motor together by the weekend. Fingers crossed.
Thread Starter
Senior Member
Joined: May 2005
Posts: 646
Likes: 0
From: Pensacola
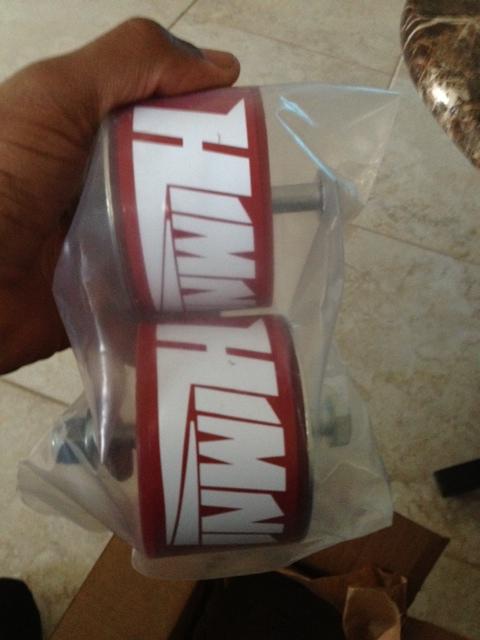
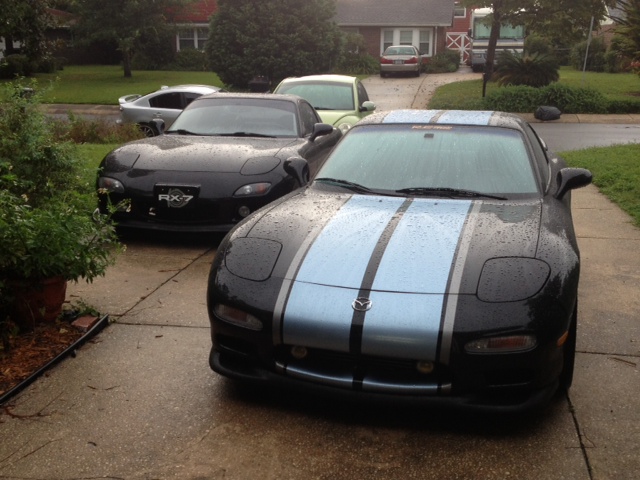
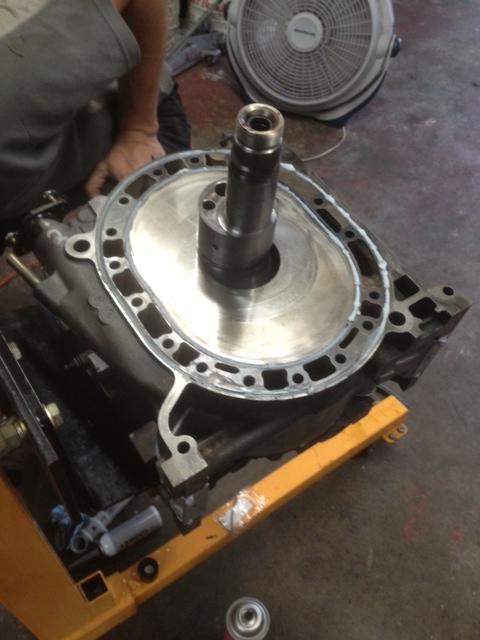
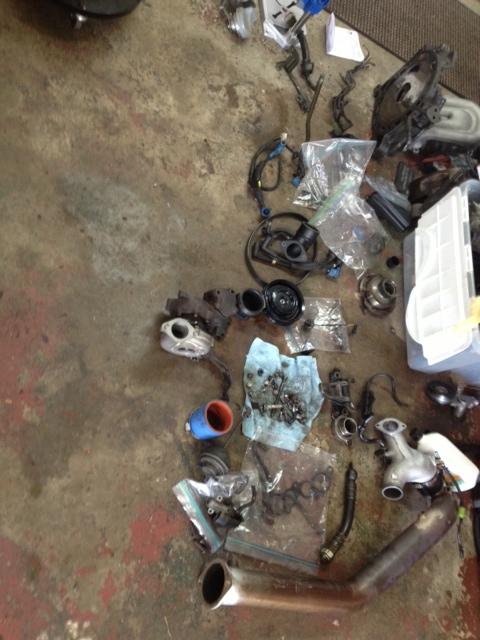
Update for 08/18/13: I got the new rotor I was waiting on...but it seems that during shipping they may have dropped the box. The corner where the seals goes were out of round and the rotor was out of spec. Got in touch with another local rx7 owner and lucky enough he had two motors that he was taking apart to make one good motor, so I made a deal to break down both his motors to get the part I needed. We pretty much did that all Sunday. Dale did an awesome job painting and cleaning up more of my stuff while I was out of town. The motor is officially going back together this week and hopefully we can have it in the car by the weekend. On to the pics.
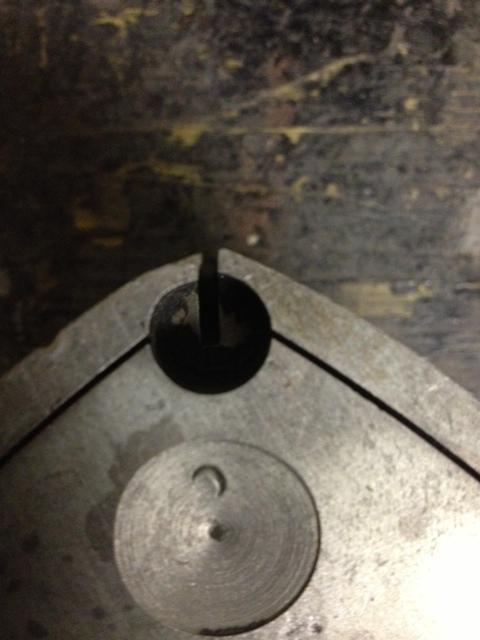
The bad rotor. The corners are usually round...this is just one of the corners.
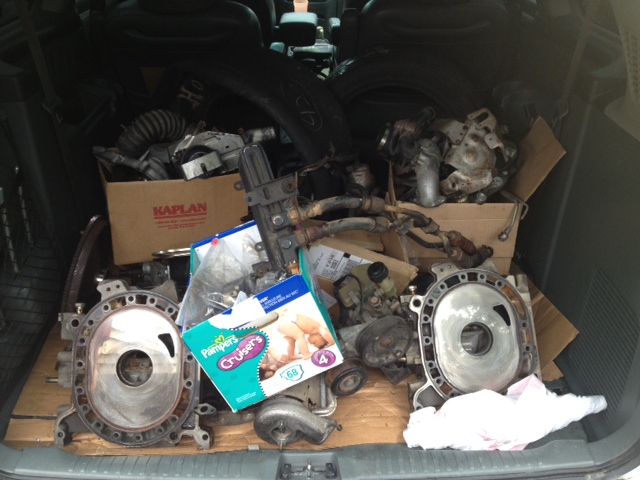
What two broken down 13B motors look like in a minivan lol.
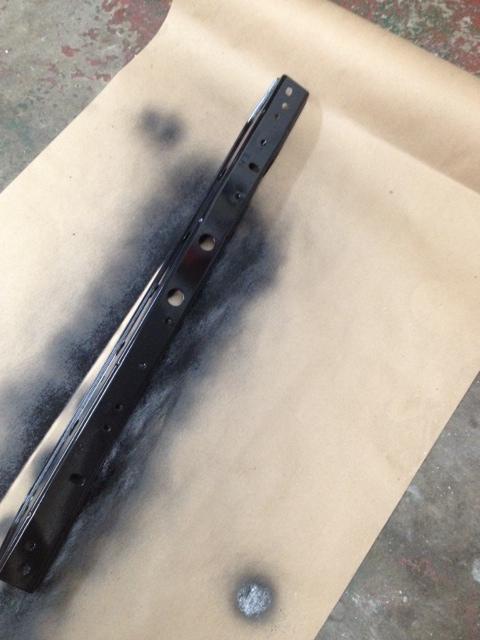
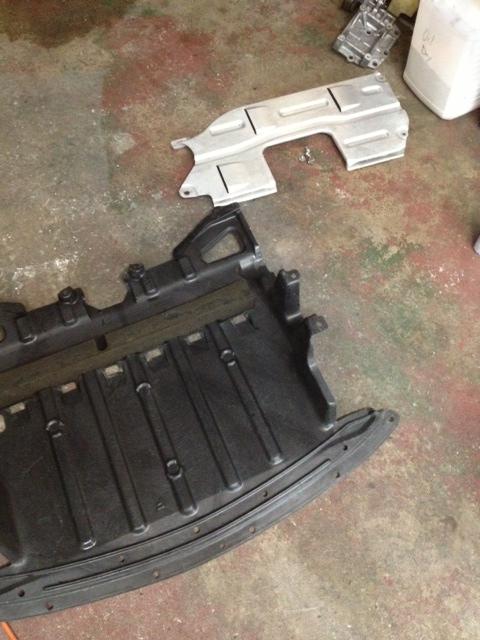
Painted and cleaned a few more parts
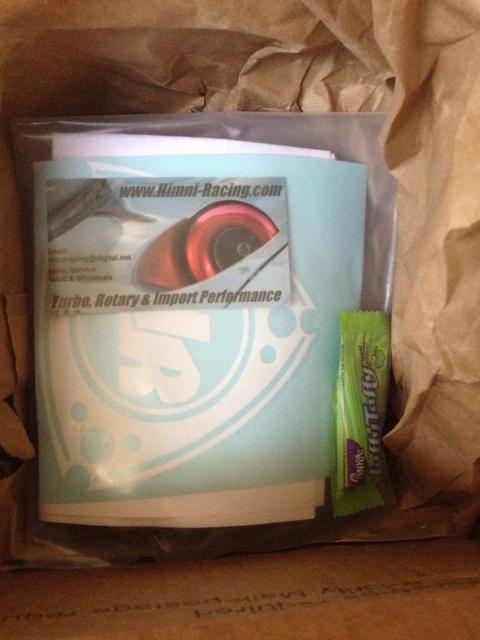
Got my motor mounts today. First time ever receiving candy with my car parts. Hmmm...lol
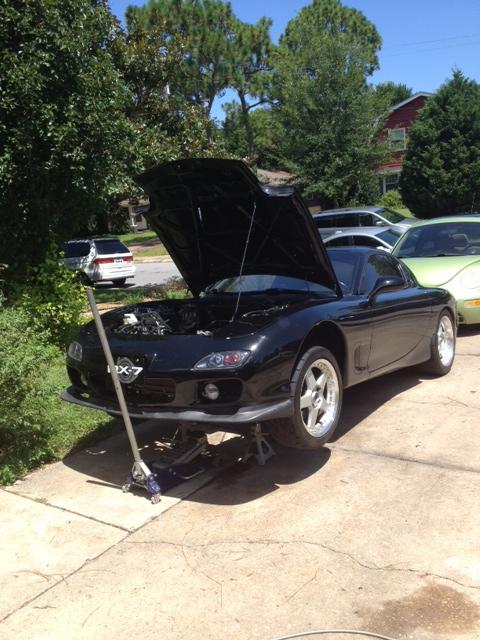
Dales car and mine in the back ground.
The bad rotor. The corners are usually round...this is just one of the corners.
What two broken down 13B motors look like in a minivan lol.
Painted and cleaned a few more parts
Got my motor mounts today. First time ever receiving candy with my car parts. Hmmm...lol
Dales car and mine in the back ground.
Thread Starter
Senior Member
Joined: May 2005
Posts: 646
Likes: 0
From: Pensacola
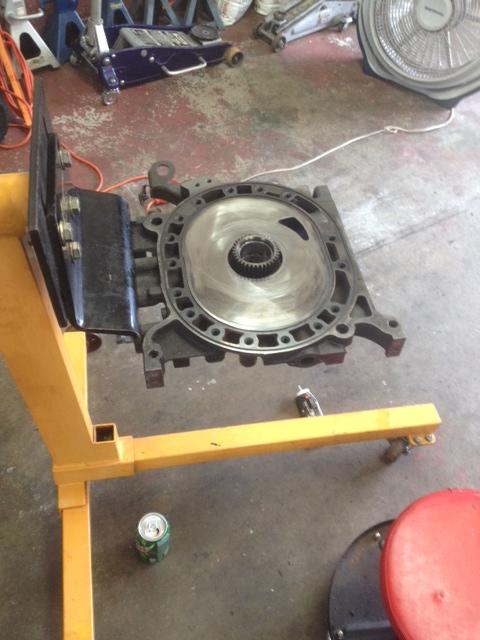
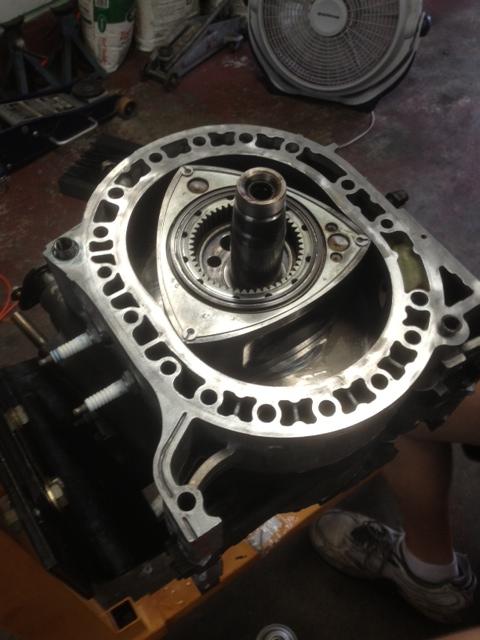
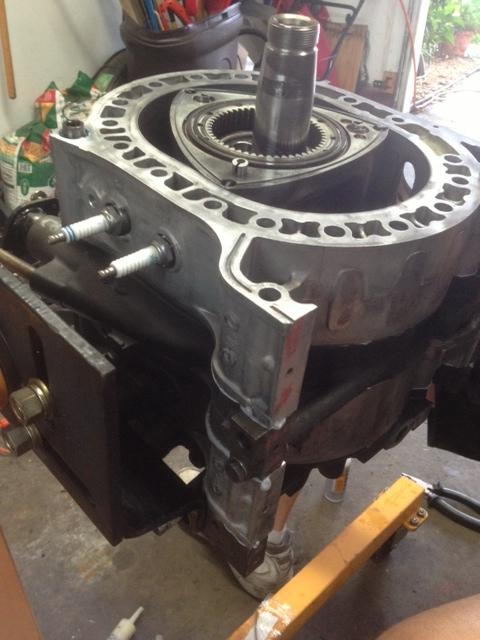
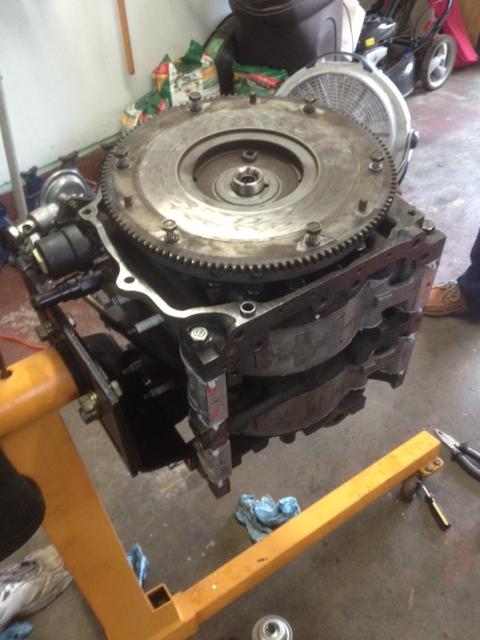
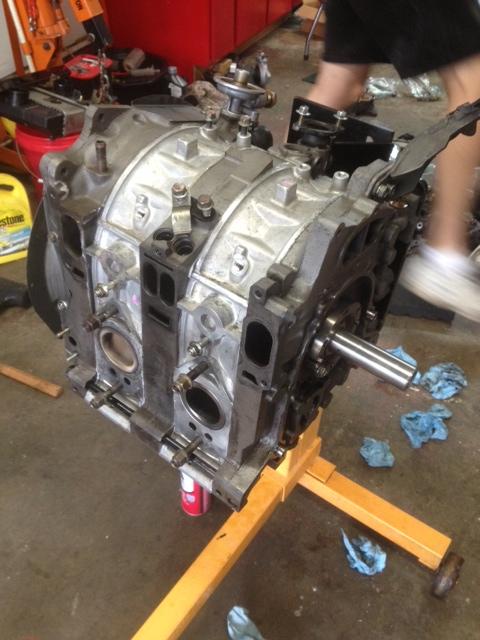
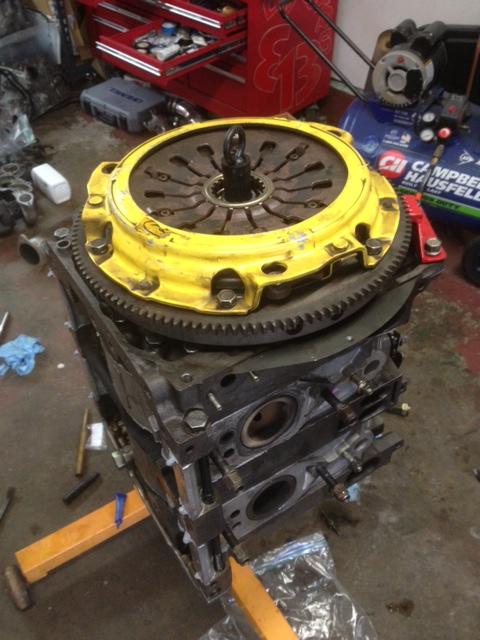
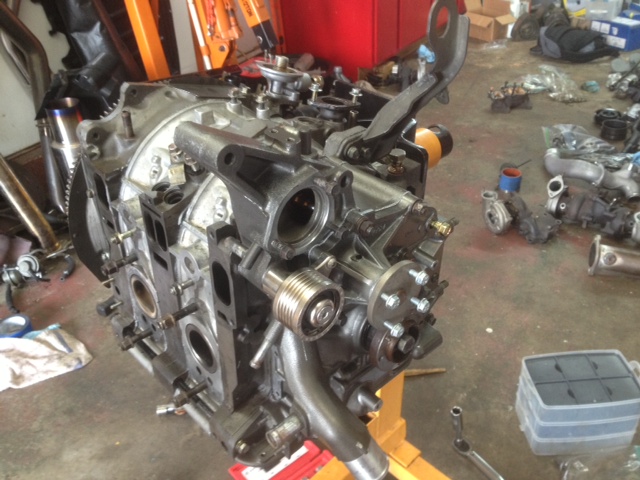
Update 08/24/13 and 08/25/13: Dale got all the rotor seals and springs installed this week....so we went ahead and started putting the motor together this weekend. On to the pics:


Thread Starter
Senior Member
Joined: May 2005
Posts: 646
Likes: 0
From: Pensacola
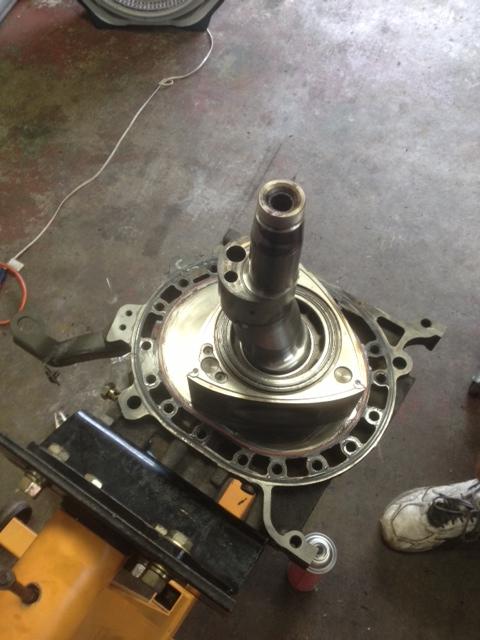
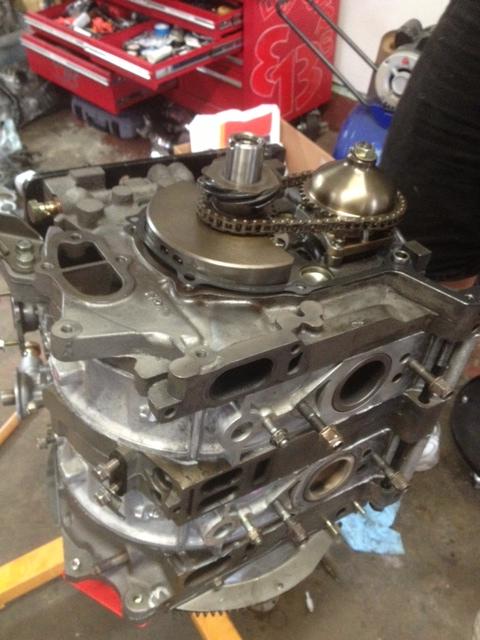
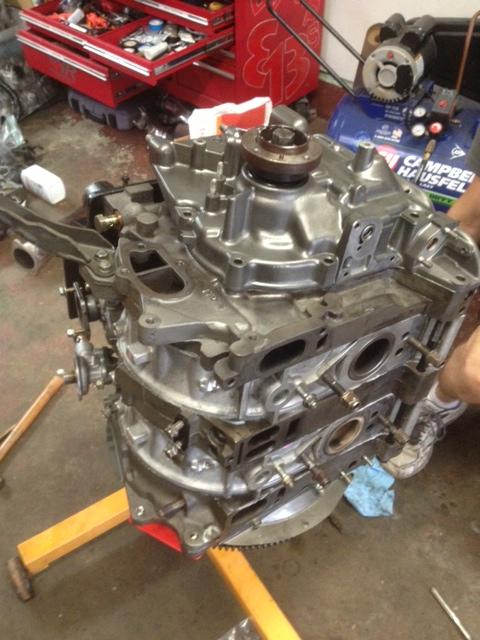
Sunday 08/25/13: Long day today. Got a lot closer than I thought we would. Had a few more things to fix on the harness and started routing the new vacuum lines. More pics:
The Guru checking the vacuum line diagram
Less parts...woohoo
The Guru checking the vacuum line diagram
Less parts...woohoo
Thread Starter
Senior Member
Joined: May 2005
Posts: 646
Likes: 0
From: Pensacola
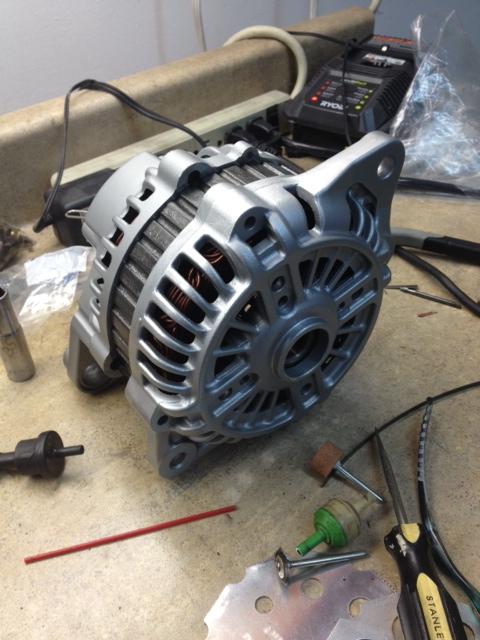
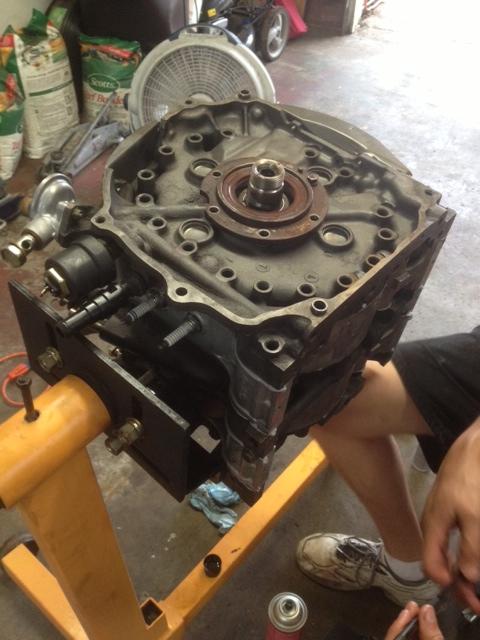
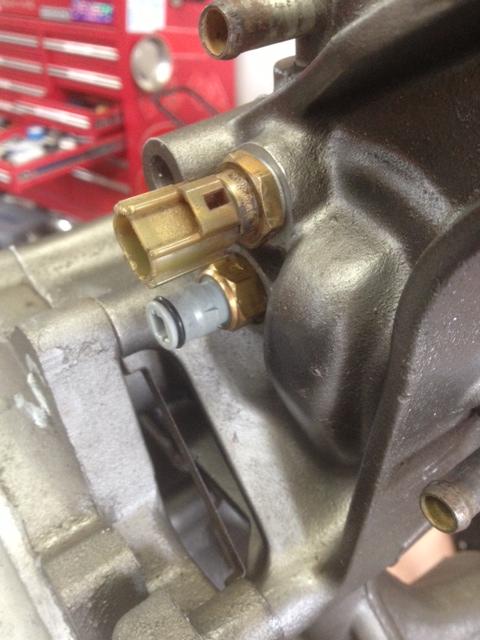
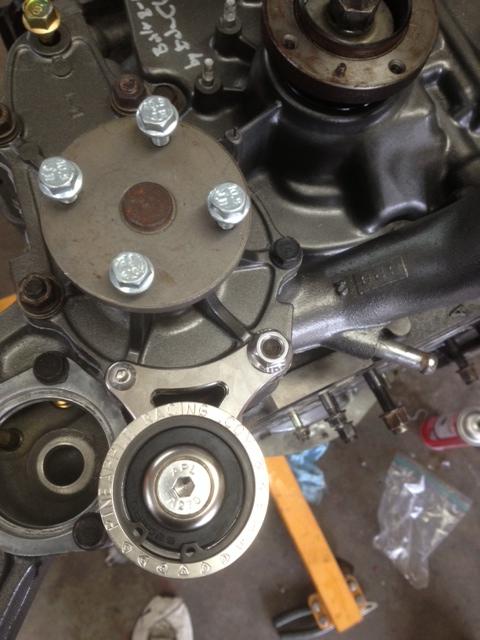
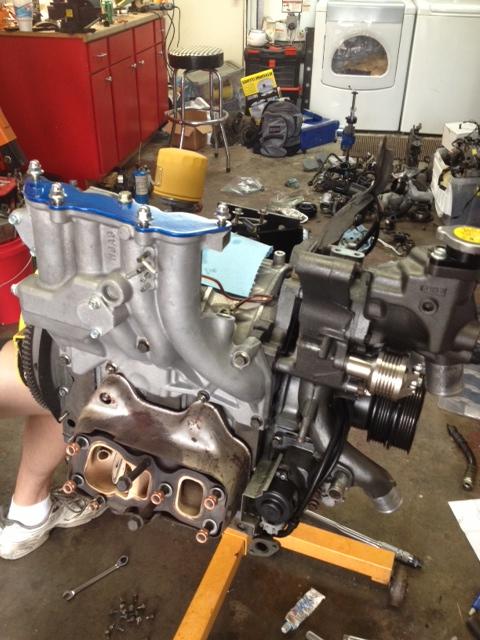
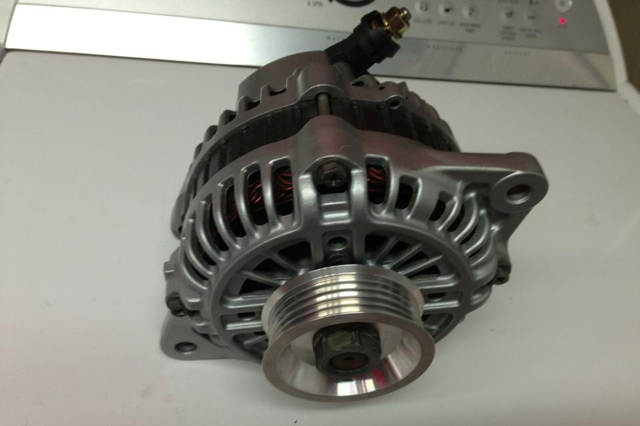
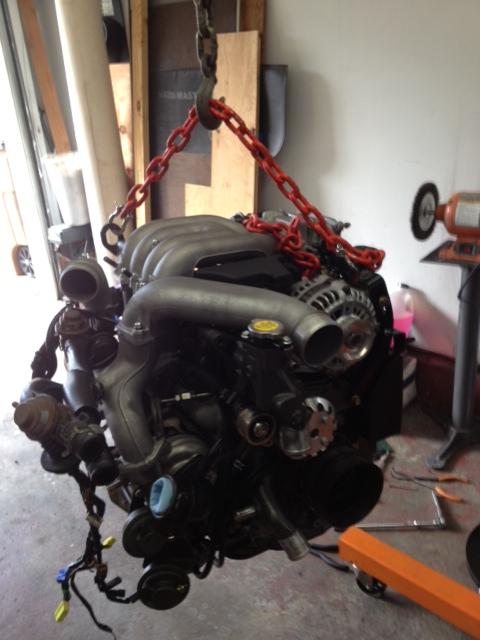
Mid week update. Got the alternator back from B&M and the motor is fully ready to be installed. Dale worked on it some more to finalize it yesterday. Now we just need time to put it in.
Ready for install

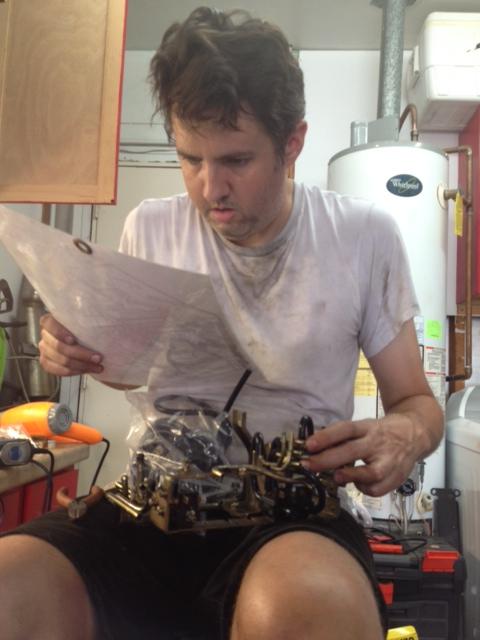
DALE is the man....or mad rx-scientist.
Ready for install
DALE is the man....or mad rx-scientist.
Thread Starter
Senior Member
Joined: May 2005
Posts: 646
Likes: 0
From: Pensacola
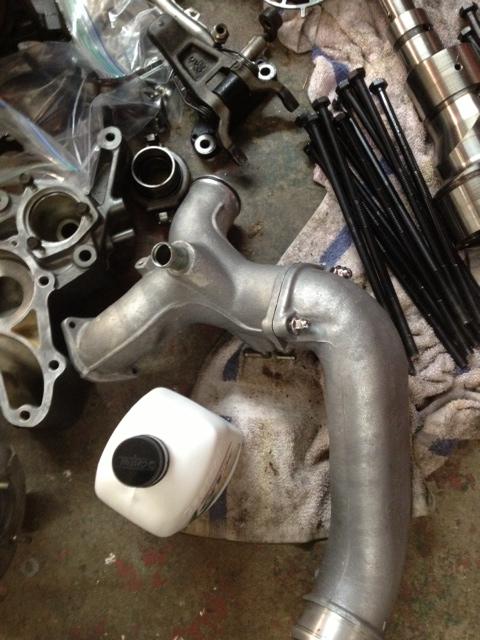
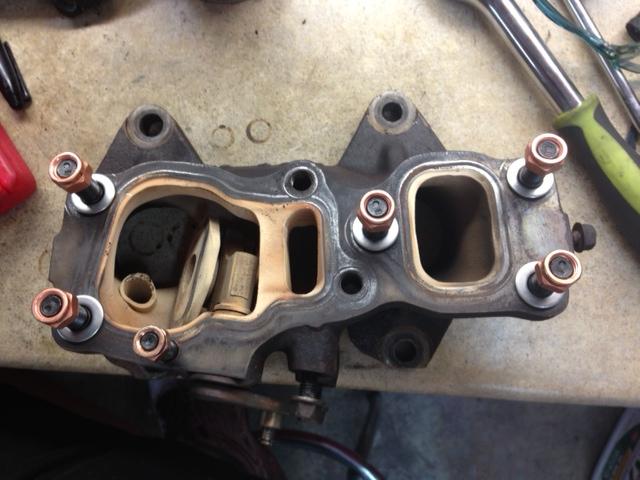
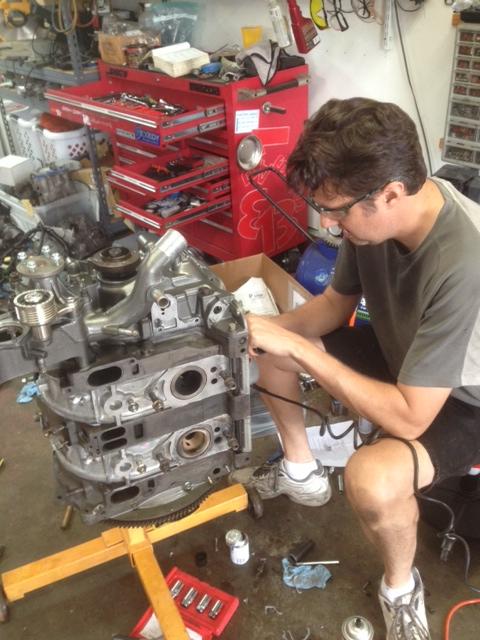
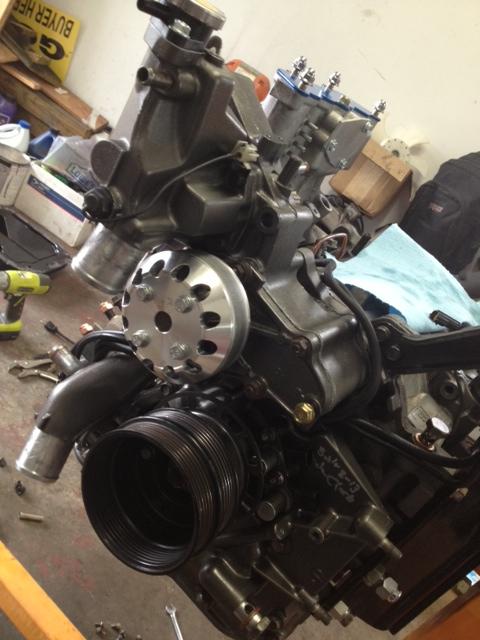
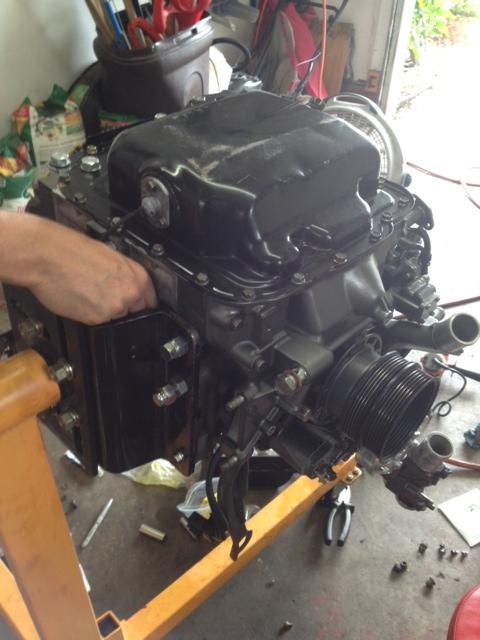
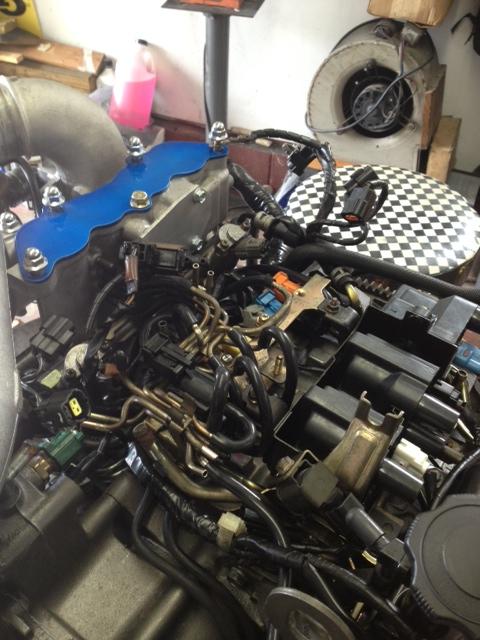
Update 09/02/13: Dale went over the motor one more time to make sure we were not missing any important stuff, new plugs and wires installed, dropped the motor in, downpipe/exhaust installed (pain), harness installed and buttoned up a few more things before we both ran out of steam. Still have to install Apexi-FC ecu, intercooler, all fluids, intake and start/tune car. Wednesday we may go at it again and hopefully get a few more things crossed off the list. Getting closer.
Finally off the engine stand
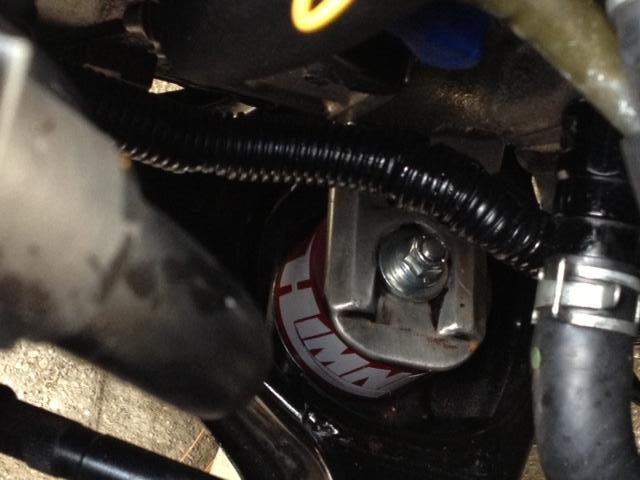
New Viton check valves installes
New NGK spark plugs and wires installed.
Ready to drop in
All snuggly and junk
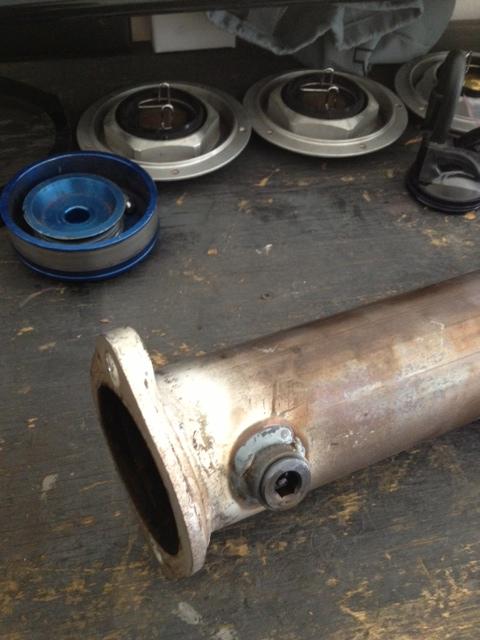
Belts and everything from the Tranny, down pipe, up to the intercooler installed and buttoned up.
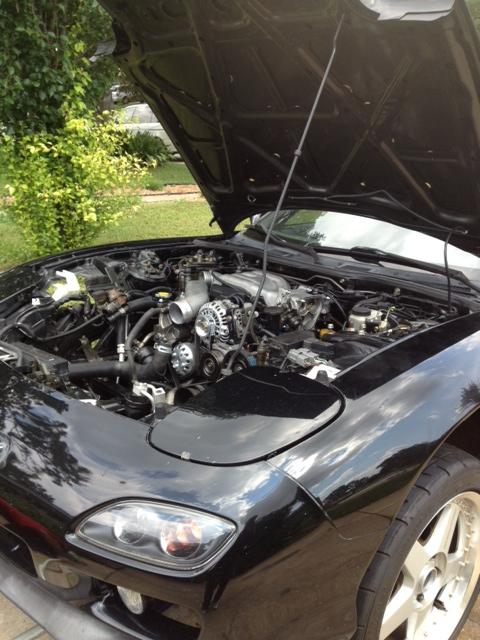
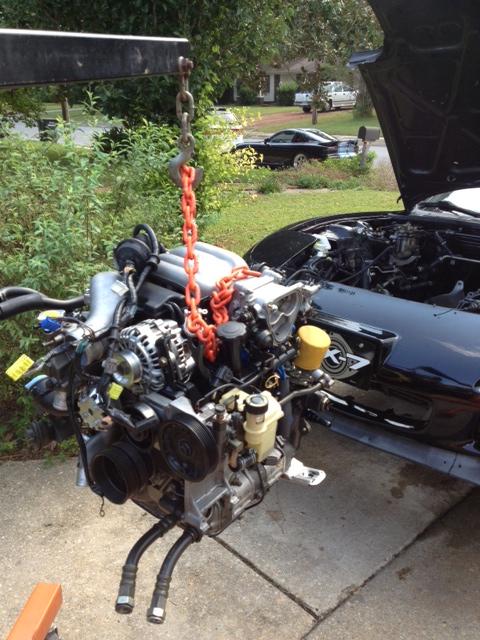
Motor in. Front suspension should settle a little more and sit lower.
Finally off the engine stand
New Viton check valves installes
New NGK spark plugs and wires installed.
Ready to drop in
All snuggly and junk
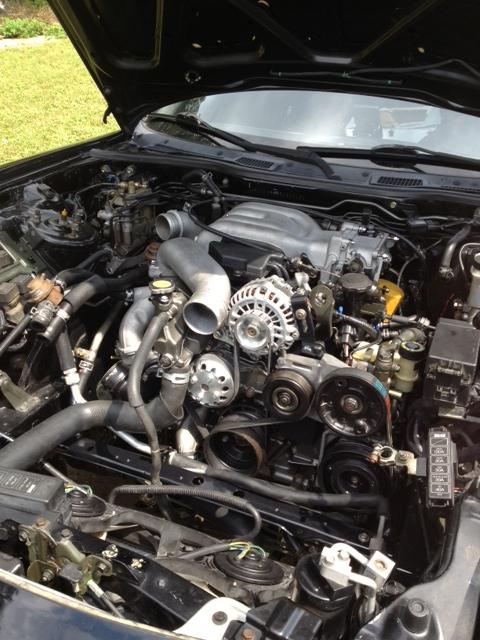
Belts and everything from the Tranny, down pipe, up to the intercooler installed and buttoned up.
Motor in. Front suspension should settle a little more and sit lower.
Thread Starter
Senior Member
Joined: May 2005
Posts: 646
Likes: 0
From: Pensacola
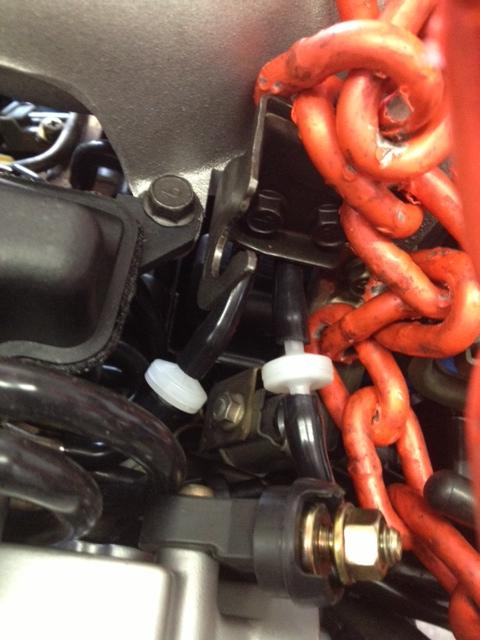
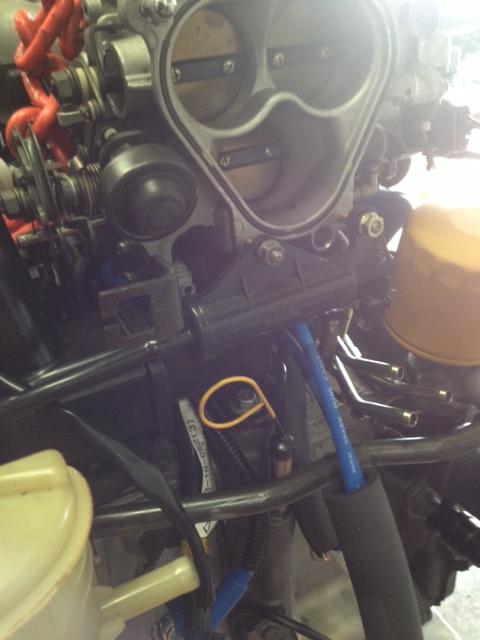
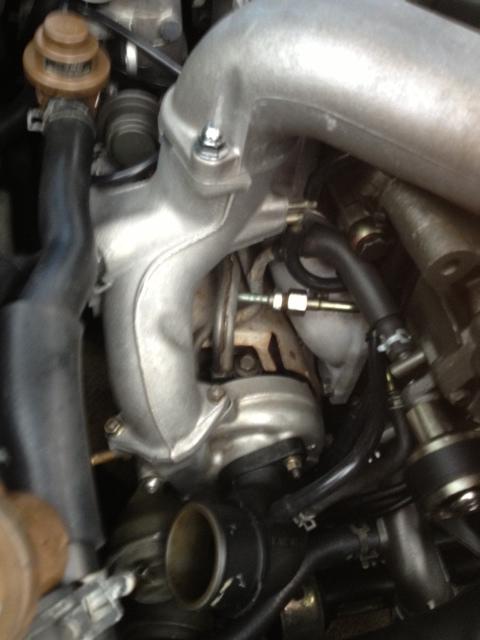
Update for 09/05/13: Ok so Dale did a little extra work to the car to make sure we had no leaks. Still have a few extras to do, but as of now, nothing major. The car has officially started. He had already pressure tested the fuel system and cranked to build oil pressure. Those ALS seals seat VERY nice on startup, starts nice and easy, no flooding/hard start issues. Needless to say, I am very excited.
Test fitting the intercooler and getting fluid in the motor.
Twins all snuggly. Probably never see them again with the intake in the way.
The first official start video

Getting her up to temp.
Soon Soon....cant wait to drive her.
Thing left to do: Fully install intercooler. Install intake. Change oil after initial road test. Install a few fittings. Adjust the power FC.
Test fitting the intercooler and getting fluid in the motor.
Twins all snuggly. Probably never see them again with the intake in the way.
The first official start video
Getting her up to temp.
Soon Soon....cant wait to drive her.
Thing left to do: Fully install intercooler. Install intake. Change oil after initial road test. Install a few fittings. Adjust the power FC.

Thread Starter
Senior Member
Joined: May 2005
Posts: 646
Likes: 0
From: Pensacola
Thanks, I appreciate it.
Hahaha...tell me about it. Im glad he was here to help me with it...that's for sure.
Hahaha...tell me about it. Im glad he was here to help me with it...that's for sure.
Thread Starter
Senior Member
Joined: May 2005
Posts: 646
Likes: 0
From: Pensacola
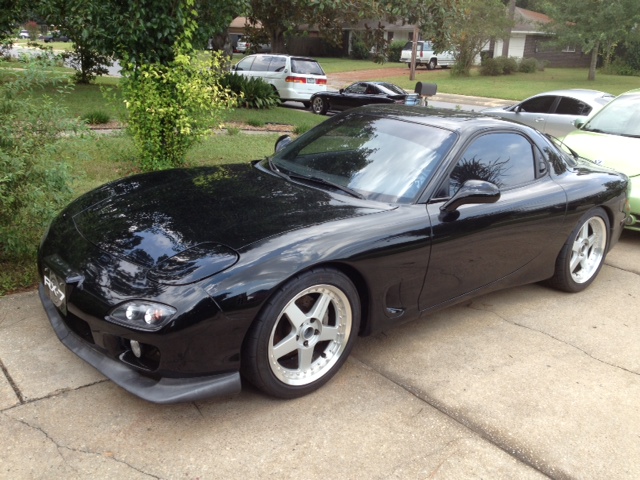
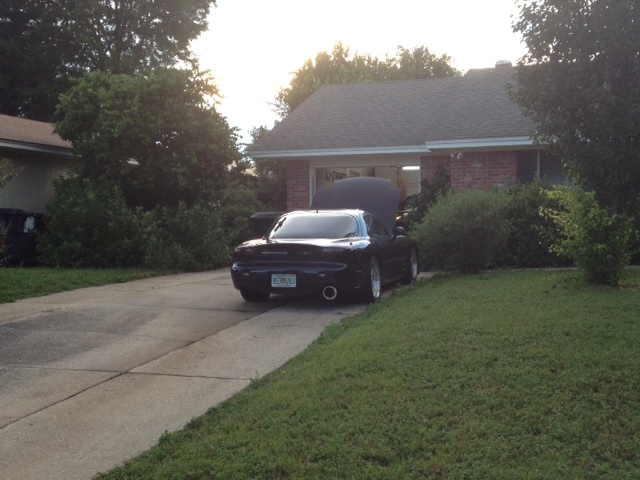
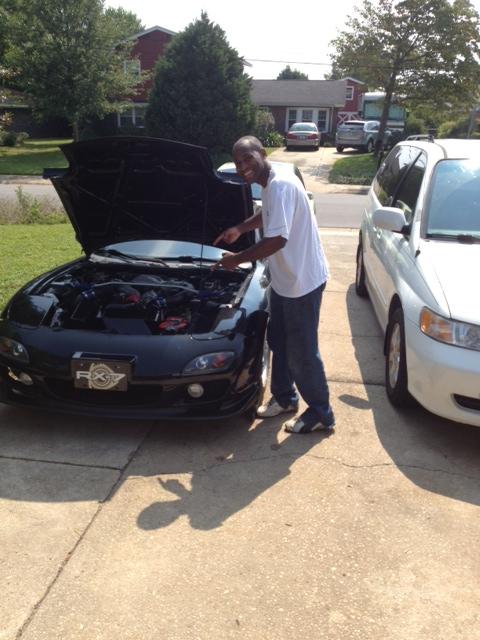
So as some of you know I have been driving the car this weekend trying to put some miles on it to break in the motor/seals. Everything is working very well so far (knock on wood), still no leaks, temps are better than normal and its very fun to drive . I have more stuff that I will be ordering and working on....but for now Im just gonna drive it and enjoy it. 1k mile break in takes forever.
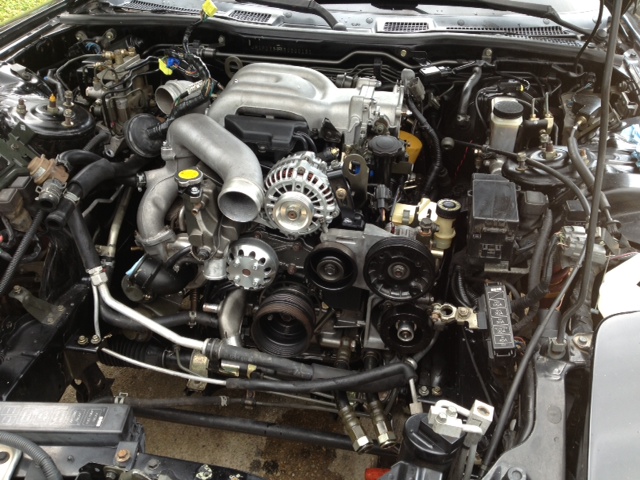
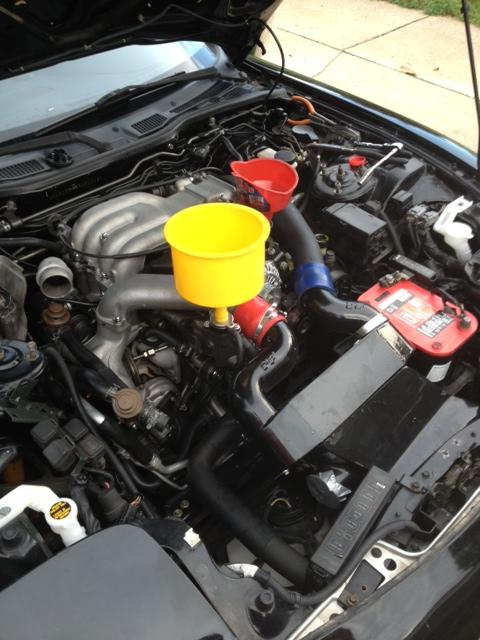
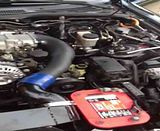
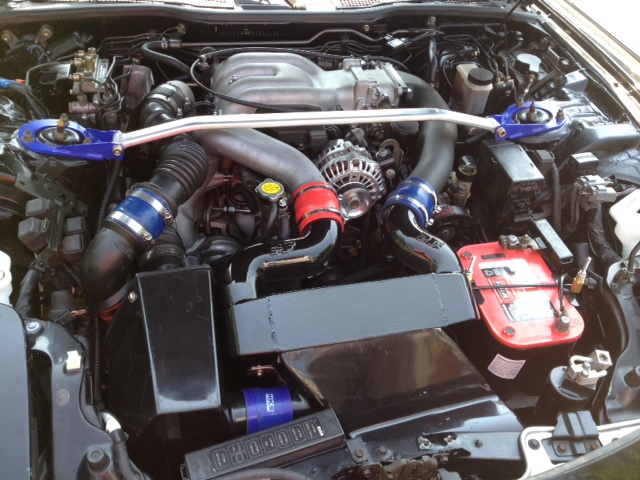
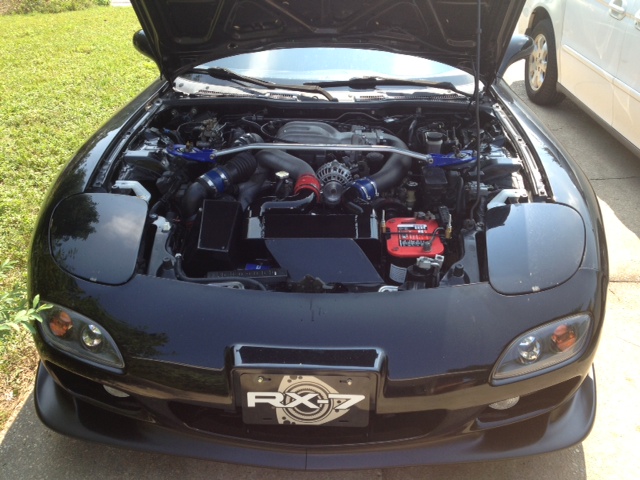
Update for 09/07/13: Installed intercooler, intake (pain in the @$$), temporary couplers, checked and triple checked for leaks or just anything out of the ordinary and then went for a couple test drives. After that we decided it was time to really start putting on the miles to break in the motor. On to the pics:
Motor mount pic
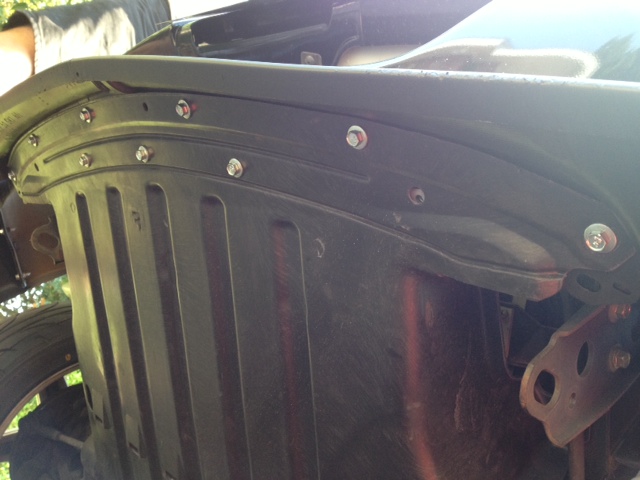
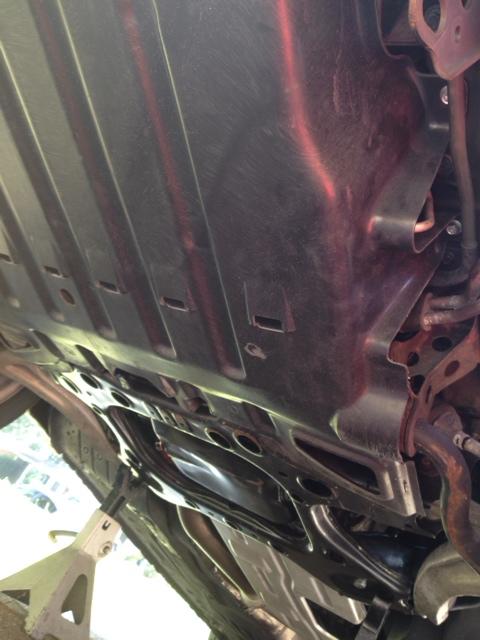
New hardware for the lip and undertray.
Very clean...and NO LEAKS
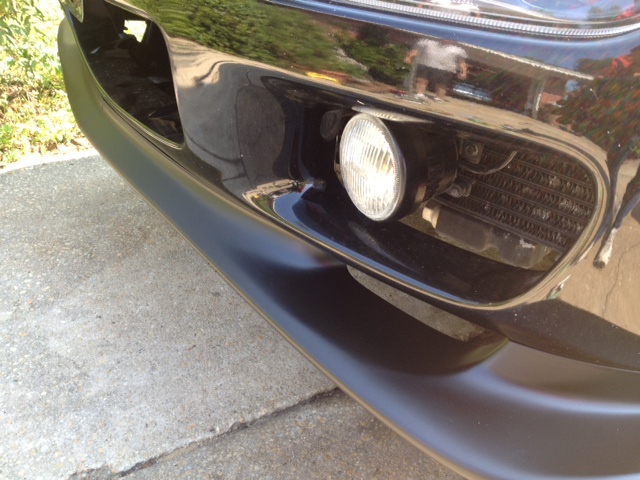
Painted the lip....doesn't look gray anymore.
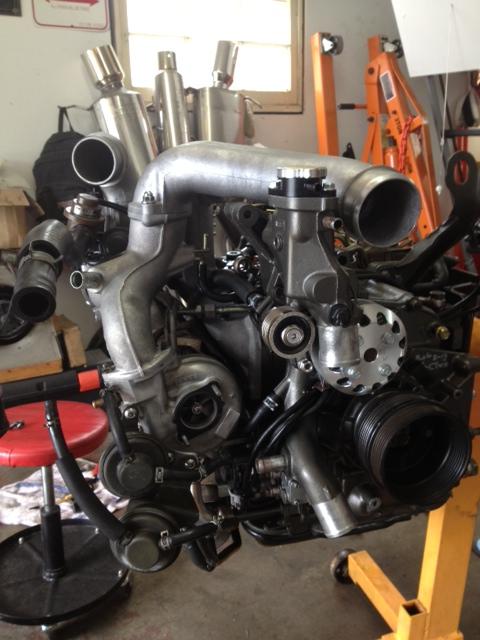
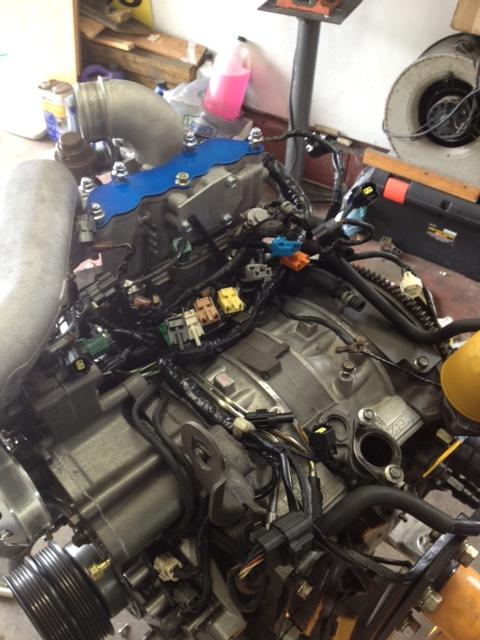
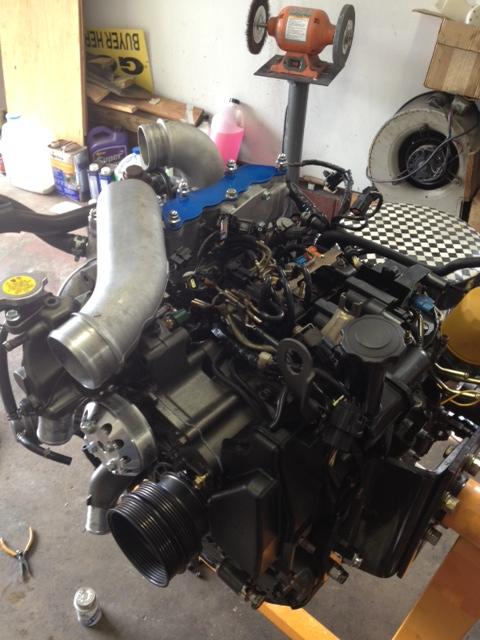
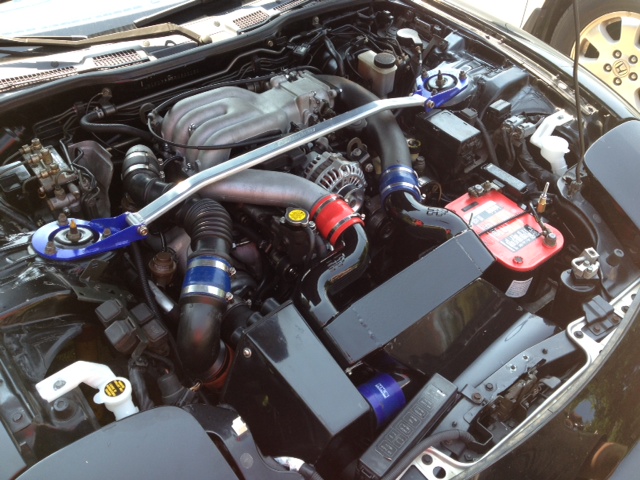
Some engine pics.
Yep...we were very excited.

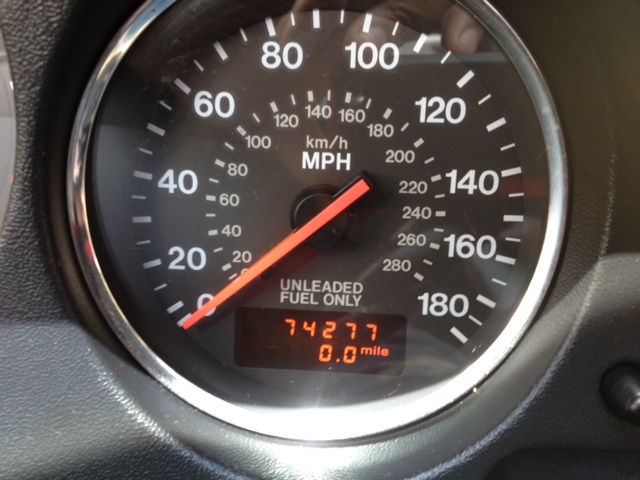
The official start mileage for breaking in the motor.
. I have more stuff that I will be ordering and working on....but for now Im just gonna drive it and enjoy it. 1k mile break in takes forever. Update for 09/07/13: Installed intercooler, intake (pain in the @$$), temporary couplers, checked and triple checked for leaks or just anything out of the ordinary and then went for a couple test drives. After that we decided it was time to really start putting on the miles to break in the motor. On to the pics:
Motor mount pic
New hardware for the lip and undertray.
Very clean...and NO LEAKS
Painted the lip....doesn't look gray anymore.
Some engine pics.
Yep...we were very excited.
The official start mileage for breaking in the motor.


Thread Starter
Senior Member
Joined: May 2005
Posts: 646
Likes: 0
From: Pensacola
Thank you. The undertray is an a 99 also. I have heard that the 93 undertray can be made to fit with some tweaking, but not sure.