When you click on links to various merchants on this site and make a purchase, this can result in this site earning a commission. Affiliate programs and affiliations include, but are not limited to, the eBay Partner Network.
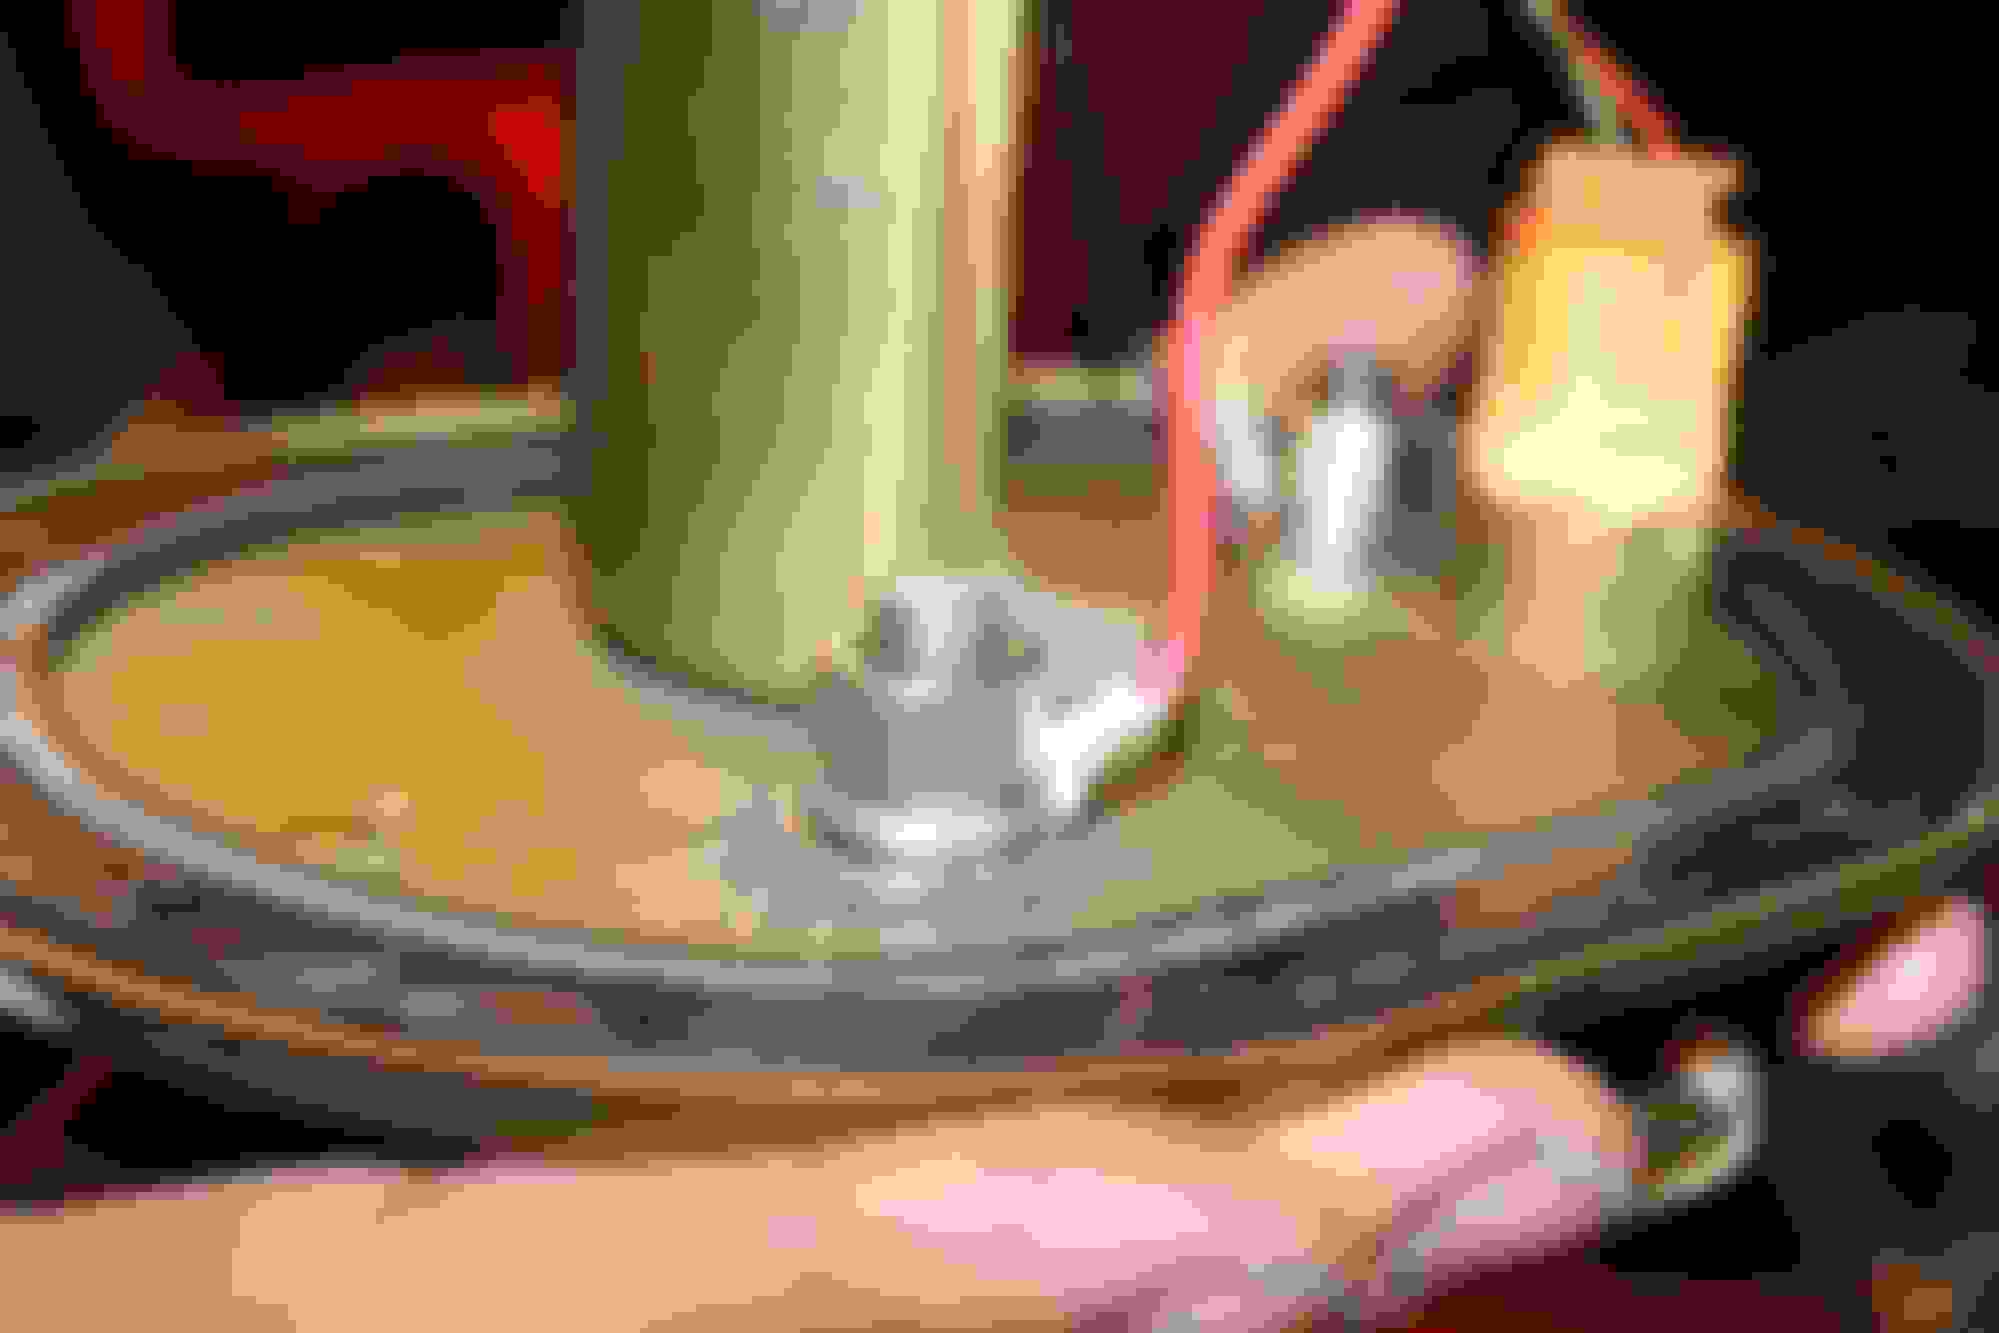
I did use that write-up for a bit of inspiration. In order to mount the battery, I scribed the mount bracket holes on the bottom of the bin and drilled through. I then drilled through the bins and through the floor board. Using SS 2.5" #10 bolts, aluminum spacers in a variety of sizes, bonded sealing washers, and SS nylon lock nuts, I mounted the battery through the bin to the chassis. It was VERY tedious using the spacers in all sizes to try and shim the mount bracket level but it ended up with a very sturdy mount to the chassis. The bonded sealing washers will keep the rain and weather away from it as well.
Matt
I didn't realize you'd seen that write up already. What an awesome level of detail wasn't it? I was so impressed with his work. I bought the auxiliary circuit, I just need to get it all wired up.
As for your mounting solution, would I be annoying if I asked you to put that together for me somehow? I'd be happy to pay you a few extra if you could supply me with the right size spacers etc to make it easy and straightforward. I'm not looking forward to mounting my battery properly...
So the last few days of my performance increasing project, I installed the TGS Exhaust from the group buy and I installed and rewired a Supra Fuel pump.
Here is the passthrough system i used to rewire the pump, a 1.5" threaded SS rod, PTFE shoulder washers, and SS locking washers/nuts/ring terminals.
I sealed it up with an aircraft fuel tank sealant called B 1/2. It dries in just 30 minutes to a fuel/pressure safe rubbery seal.
Next time I would use longer threaded rod to be able to double nut the terminal so it's more "removable". The in-tank wires are mil spec 12AWG PTFE insulated wires.
The completed product. I also rewired the fuel pump with a relay triggered by the stock power wires. I made a jumper for the resistor using some left over pins I had as well. The fuel pump resistor connector looks just like an air pump connector. I'm going to order a connector for it to make a plug-in jumper for it as opposed to wires just hanging out.
When I did my fuel pump re-wire, I used a different product that was way more difficult to use! I probably would have preferred your simpler wiring method. Good work!
As for the catch can, do you have the longer neck with the two barbed nipples? If so, just use a vented can with both of those lines and you should be fine. I had an unvented GReddy can that gave me trouble. This new setup has worked much better.
I tried to keep the rewire simple. I was looking at Summit Racing and they offer a bulkhead pass through, however they seemed...big. This was a bit smaller and easier to mount. Much smaller holes to be drilled. I later came across a set of fuel tank pass throughs on an Australian racing site. They were o ringed fittings too but they would not have been here in time. Next time though! I have enough spare hardware that I might put together some "rewire passthrough" kits if anyone would like to try these. I can just order some longer rods and more shoulder washers and we're set to go
I took her to Arizona Motorsports Park last weekend and was only able to do two sessions. The first session went AMAZING. At 87*F outside, coolant temps never went above 87*C and intake temps were at 54*C. A SIGNIFICANT change from my previous issues of going into 220*F-230*F. I feel like I can attribute some of that blame to my thermostat that I discovered was basically trash, but mostly to my new V mount set up. I am super pleased with the results. The second session I finished and my temps were much hotter at 95*F. When I pulled back into my parking location temps began to rise and I discovered my cooling fans had quit working . The 60AMP cooling fan fuse was popped so I swapped it with the defog fuse. One fan would run on low and the other was off. I kicked the AC on to increase fan usage and it instantly popped the fuse. I shut her off and let her cool down quite a bit. The track was only 14 miles from my house [12 being highway] so I drove her home with the heater on full blast [97*F outside at the time FML LOL]. But she made it all the way home with coolant temps at a happy 83*F thanks to a streak of good luck with no red lights. I disconnected my fan motors and ops checked them good at all three speeds each. I took my multimeter and shot black and blue w/orange to ground; both good. All power signals to the fans from the relays checked good with no short to ground, all power from the fuse to the relays good with no short to ground. I pulled all four relays and it turns out cooling fan relay #4 kicked the bucket. Reads continuity over the coil, however it does not actuate with 12V applied to it and does not close the circuit on the other side. So I went ahead and ordered 4 new relays for the cooling fans, seeing as how I kept tearing the boots and junk trying to disconnected them . Either way, new OEM fuses and relays are on their way and will be here later this week.
I'm definitely not the fastest guy on the track, but I go out there to have fun and improve my skill, not to go 4 off and skid out of control. :P For this session, I also had my father in the passenger seat. He had a blast.
Next track event is in June. It'll be even hotter and an even bigger test for the Greddy V Mount
Got it a new daily driver so I was able to polish the ol girl up and leave her in the garage. It makes me kinda sad to not drive it everyday, but I kept 3k miles off of her the last 8 months :P I also was unable to really do any maintenance or track events due to a back issue I needed to get surgery for :/. However I have since had my surgery and I�m back on track!
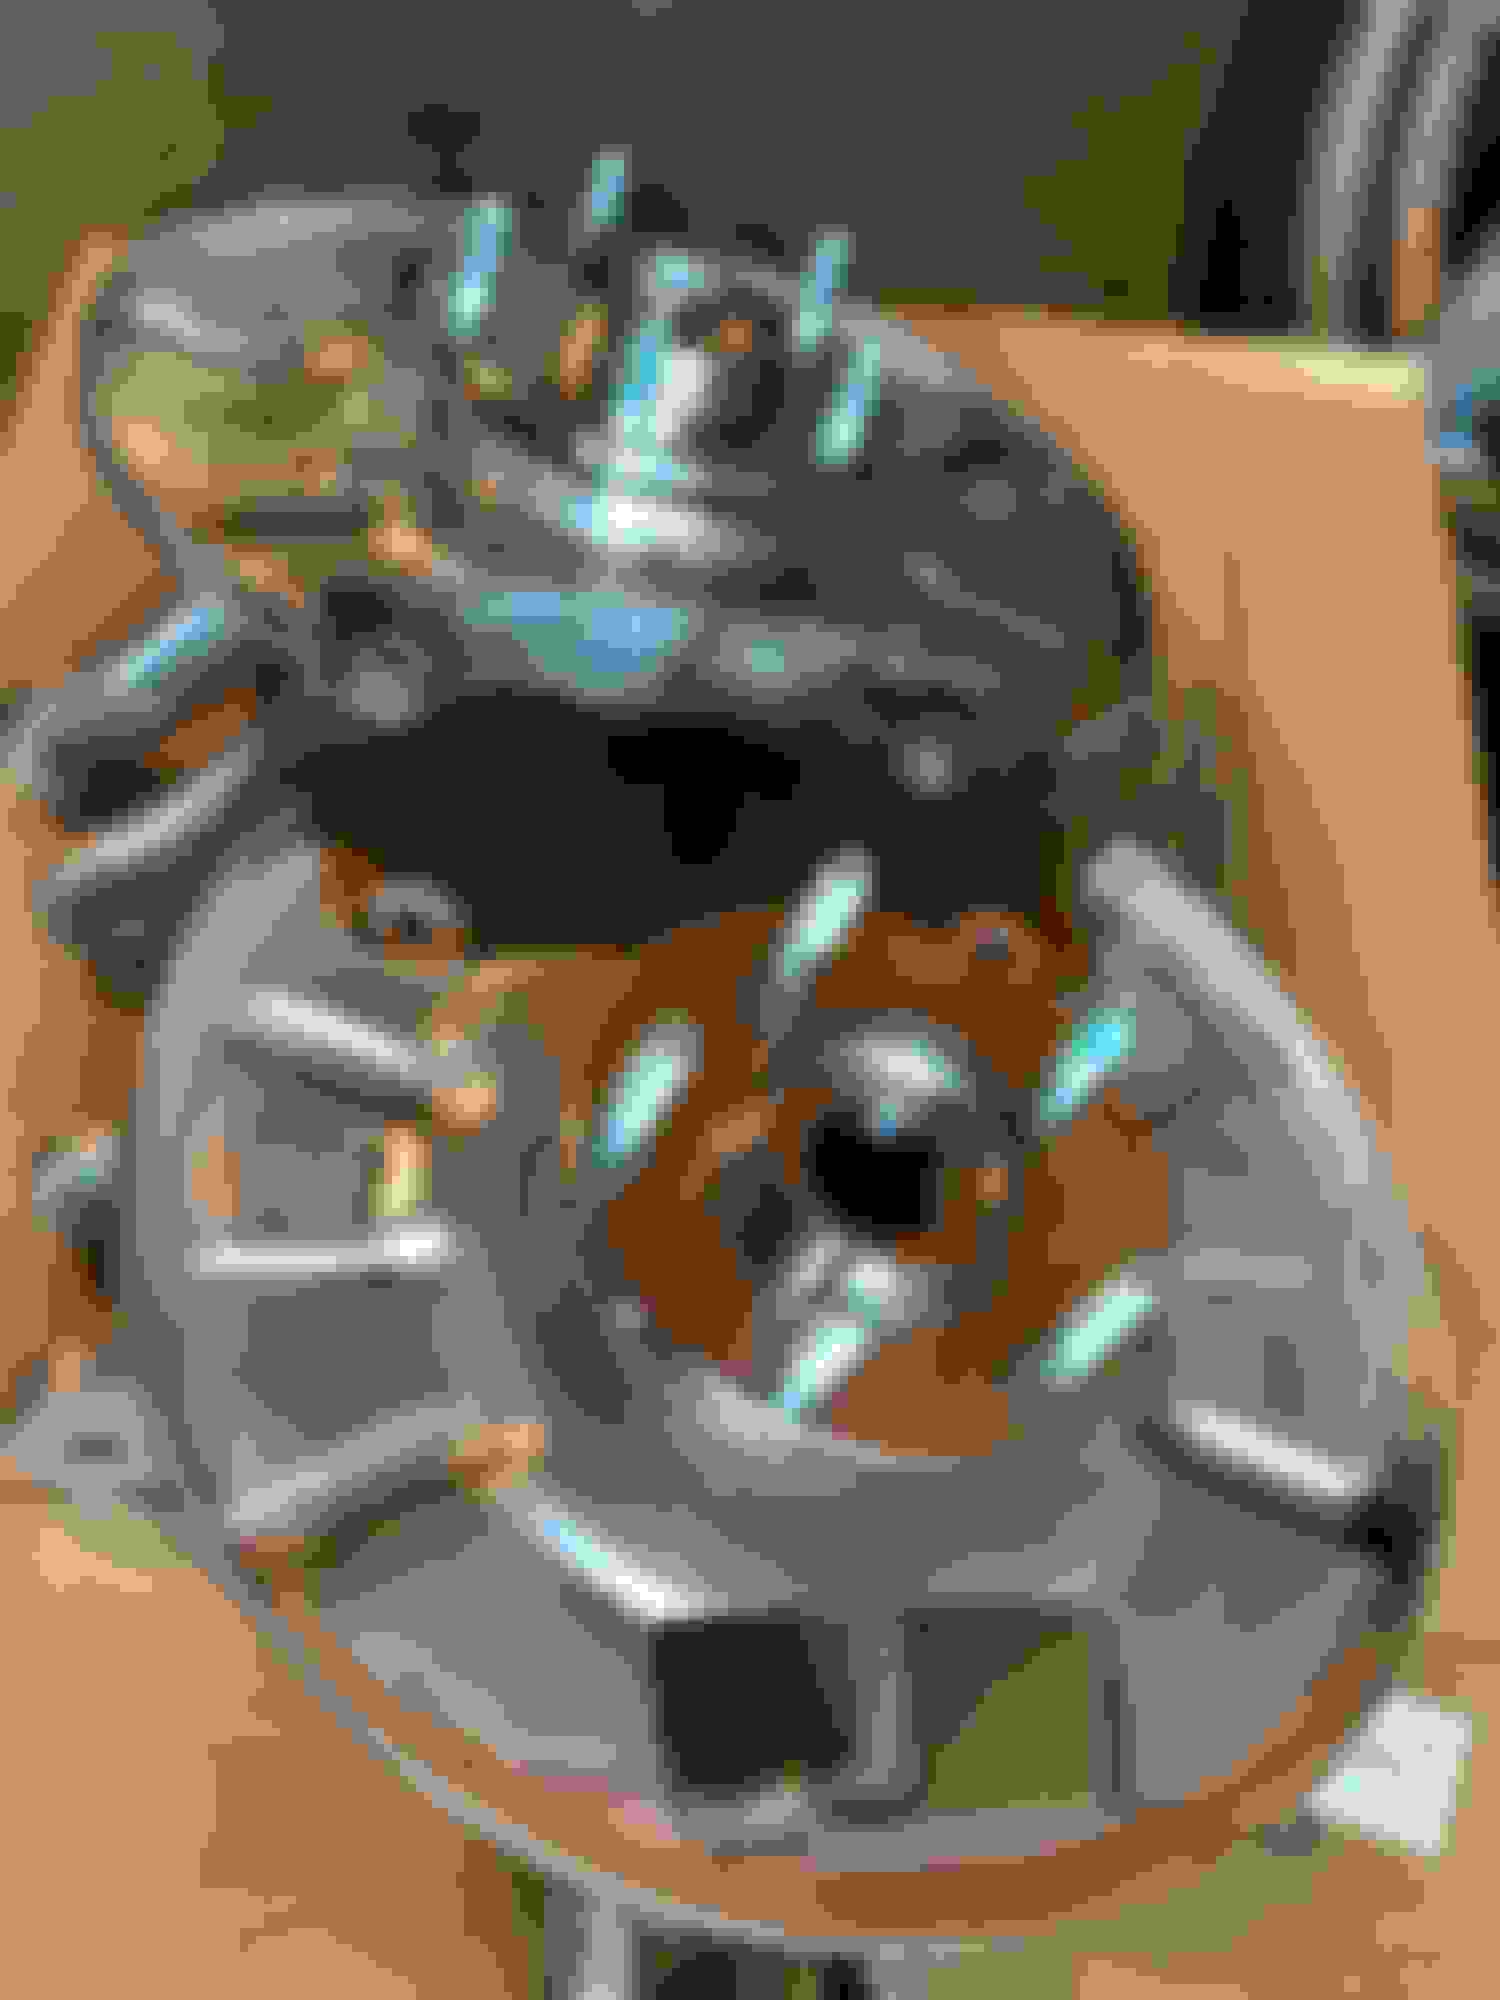
About a month ago I decided to take it to one of my doctor appointments and immediately noticed that the brake light stayed on with the Ebrake down. Turns out my ABS pump started leaking again! I had purchased a used replacement over a year ago that I swapped in and used the spare leaking one to tear down and mic everything for new packing sizes. There is a thread in the tech forum breaking all this down but I�ll just post pictures :P Long story short, pulled the pump, rebuilt it, and bled some fresh Motul RBF600 through the system. About 80 miles of driving and no leaks! The real test will be tomorrow when I take it to the track.
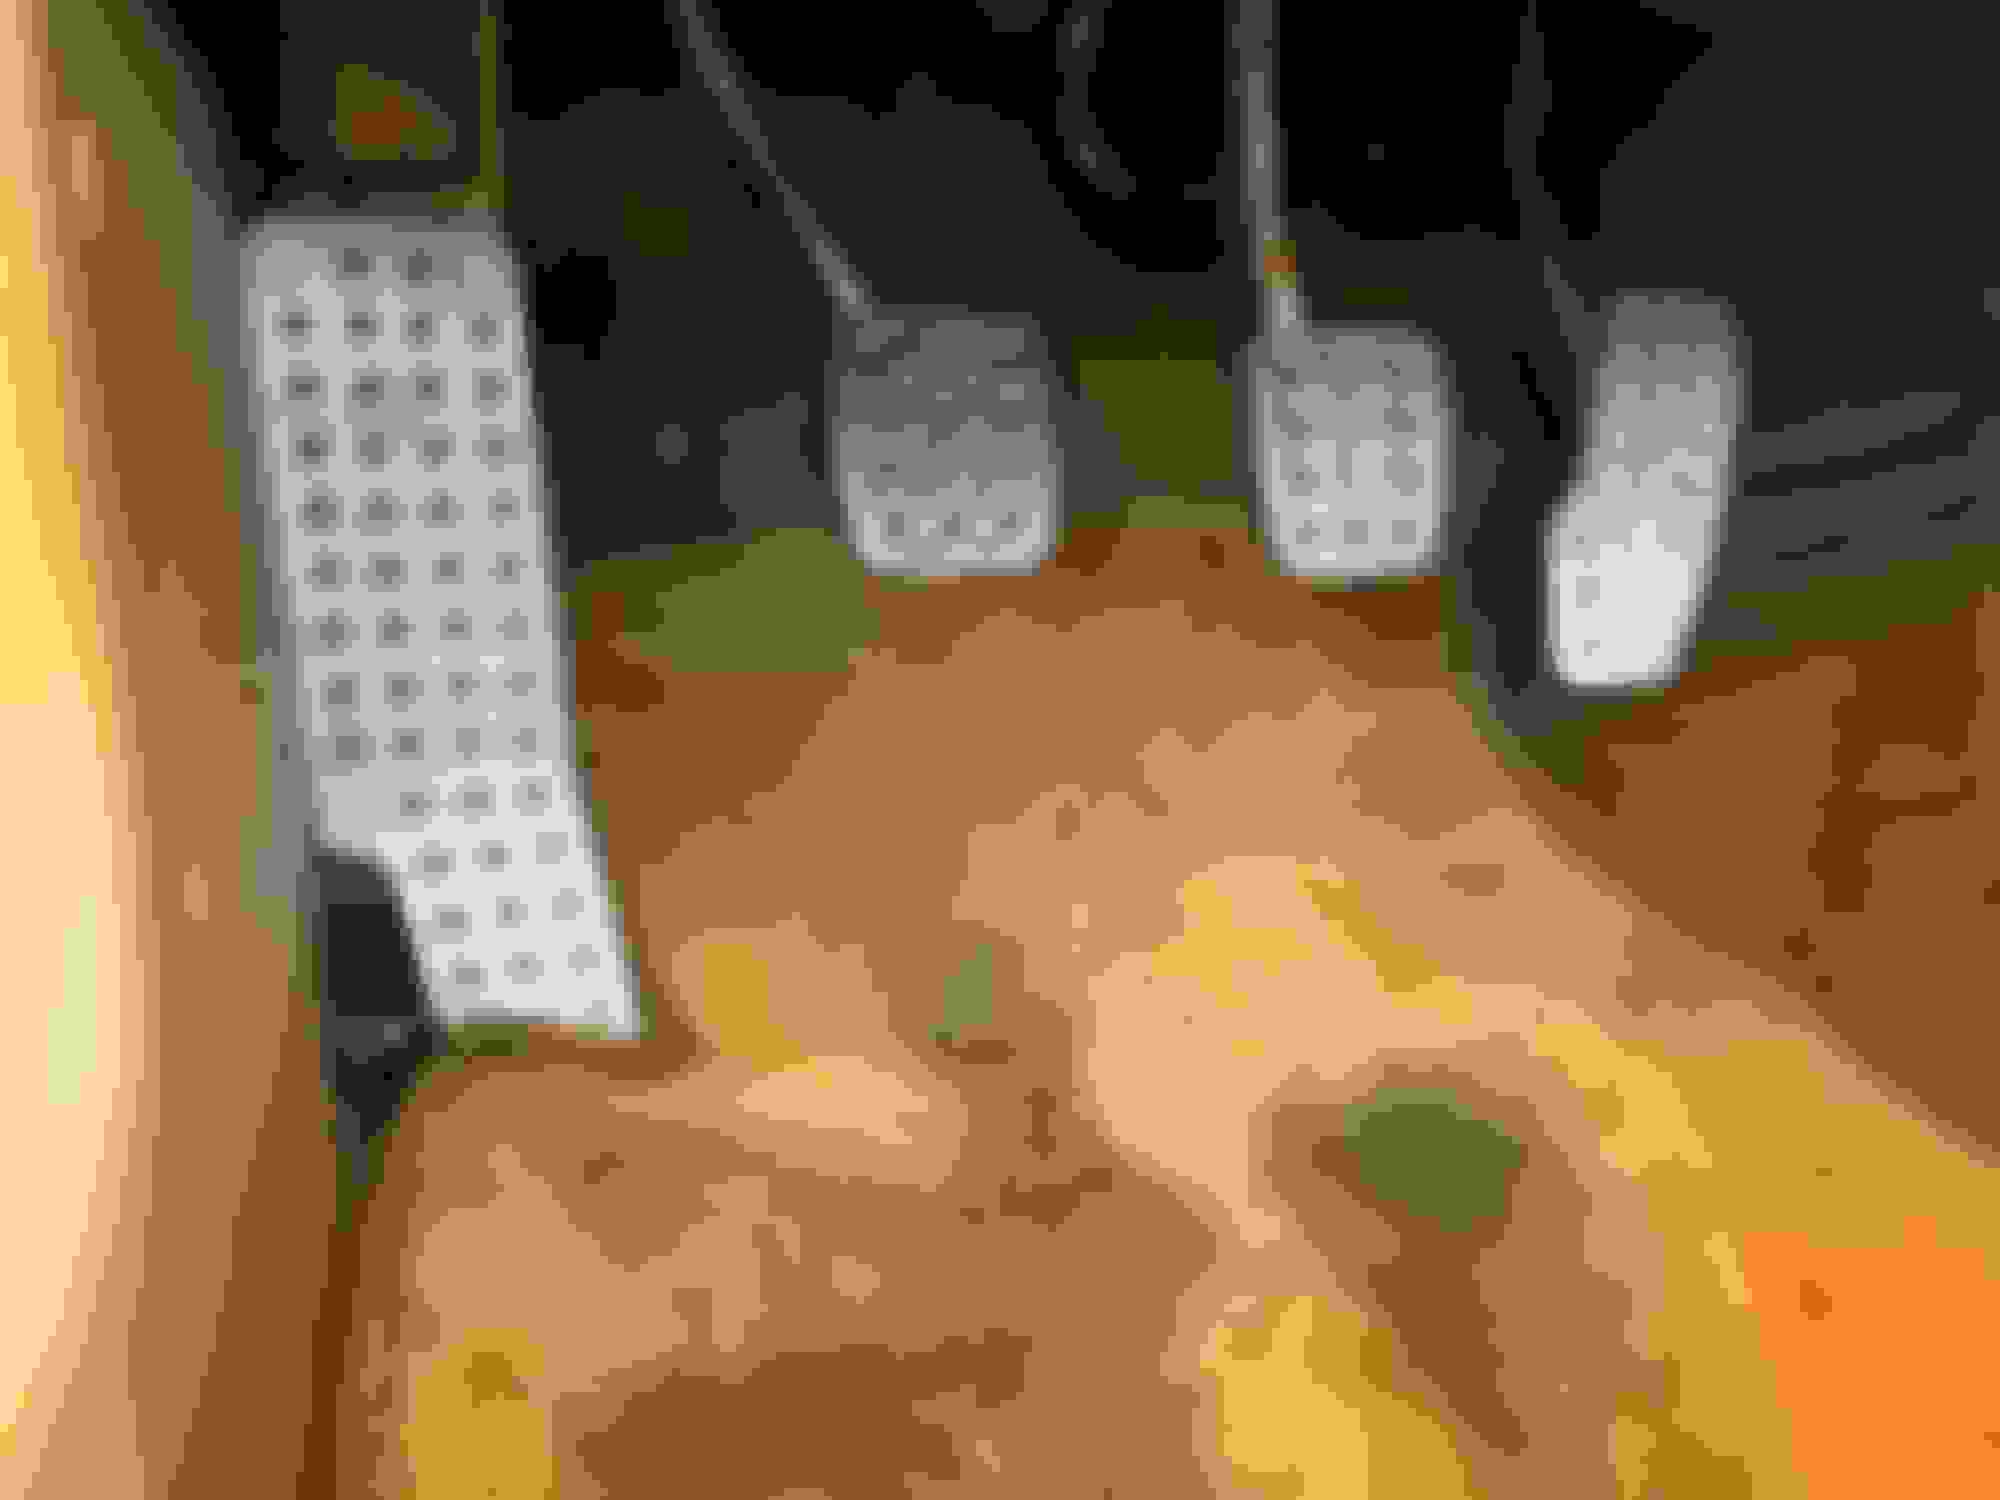
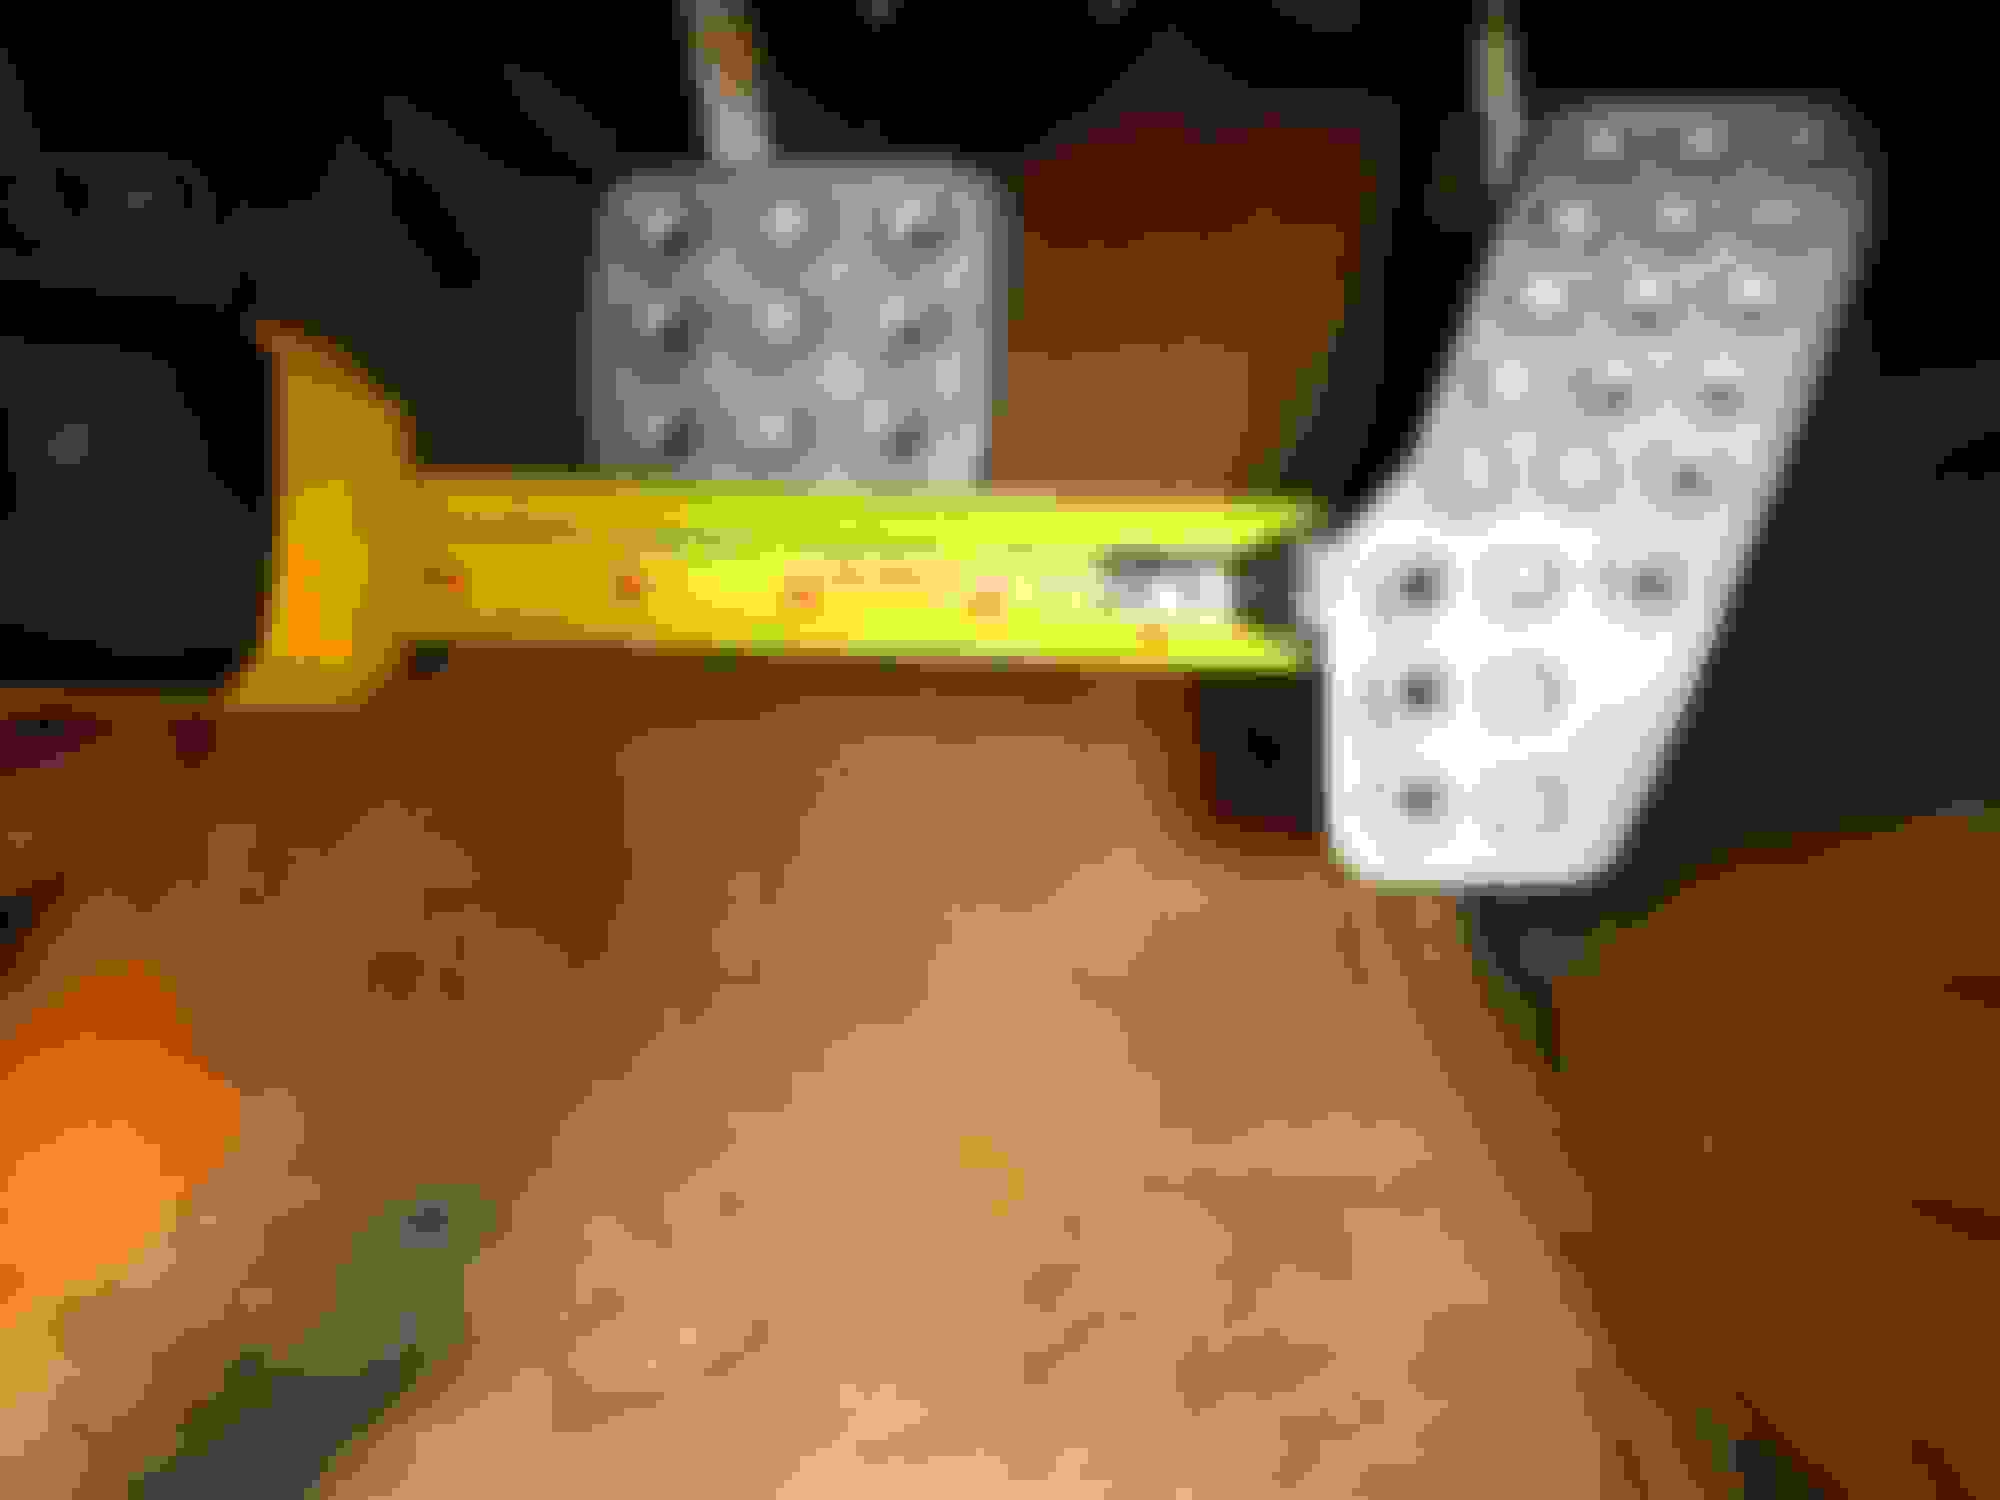
Also so had a chance to finally install the aluminum dead pedal and wide pedal.
Excuse my ugly floor mats >< my clutch master sprung a leak awhile ago that has since been fixed. But it kinda ruined the mats first.
I�ll have pictures and videos of the track as always.
Been awhile since I posted anything in here but I got an itch to buy a part for the seven and get it installed.
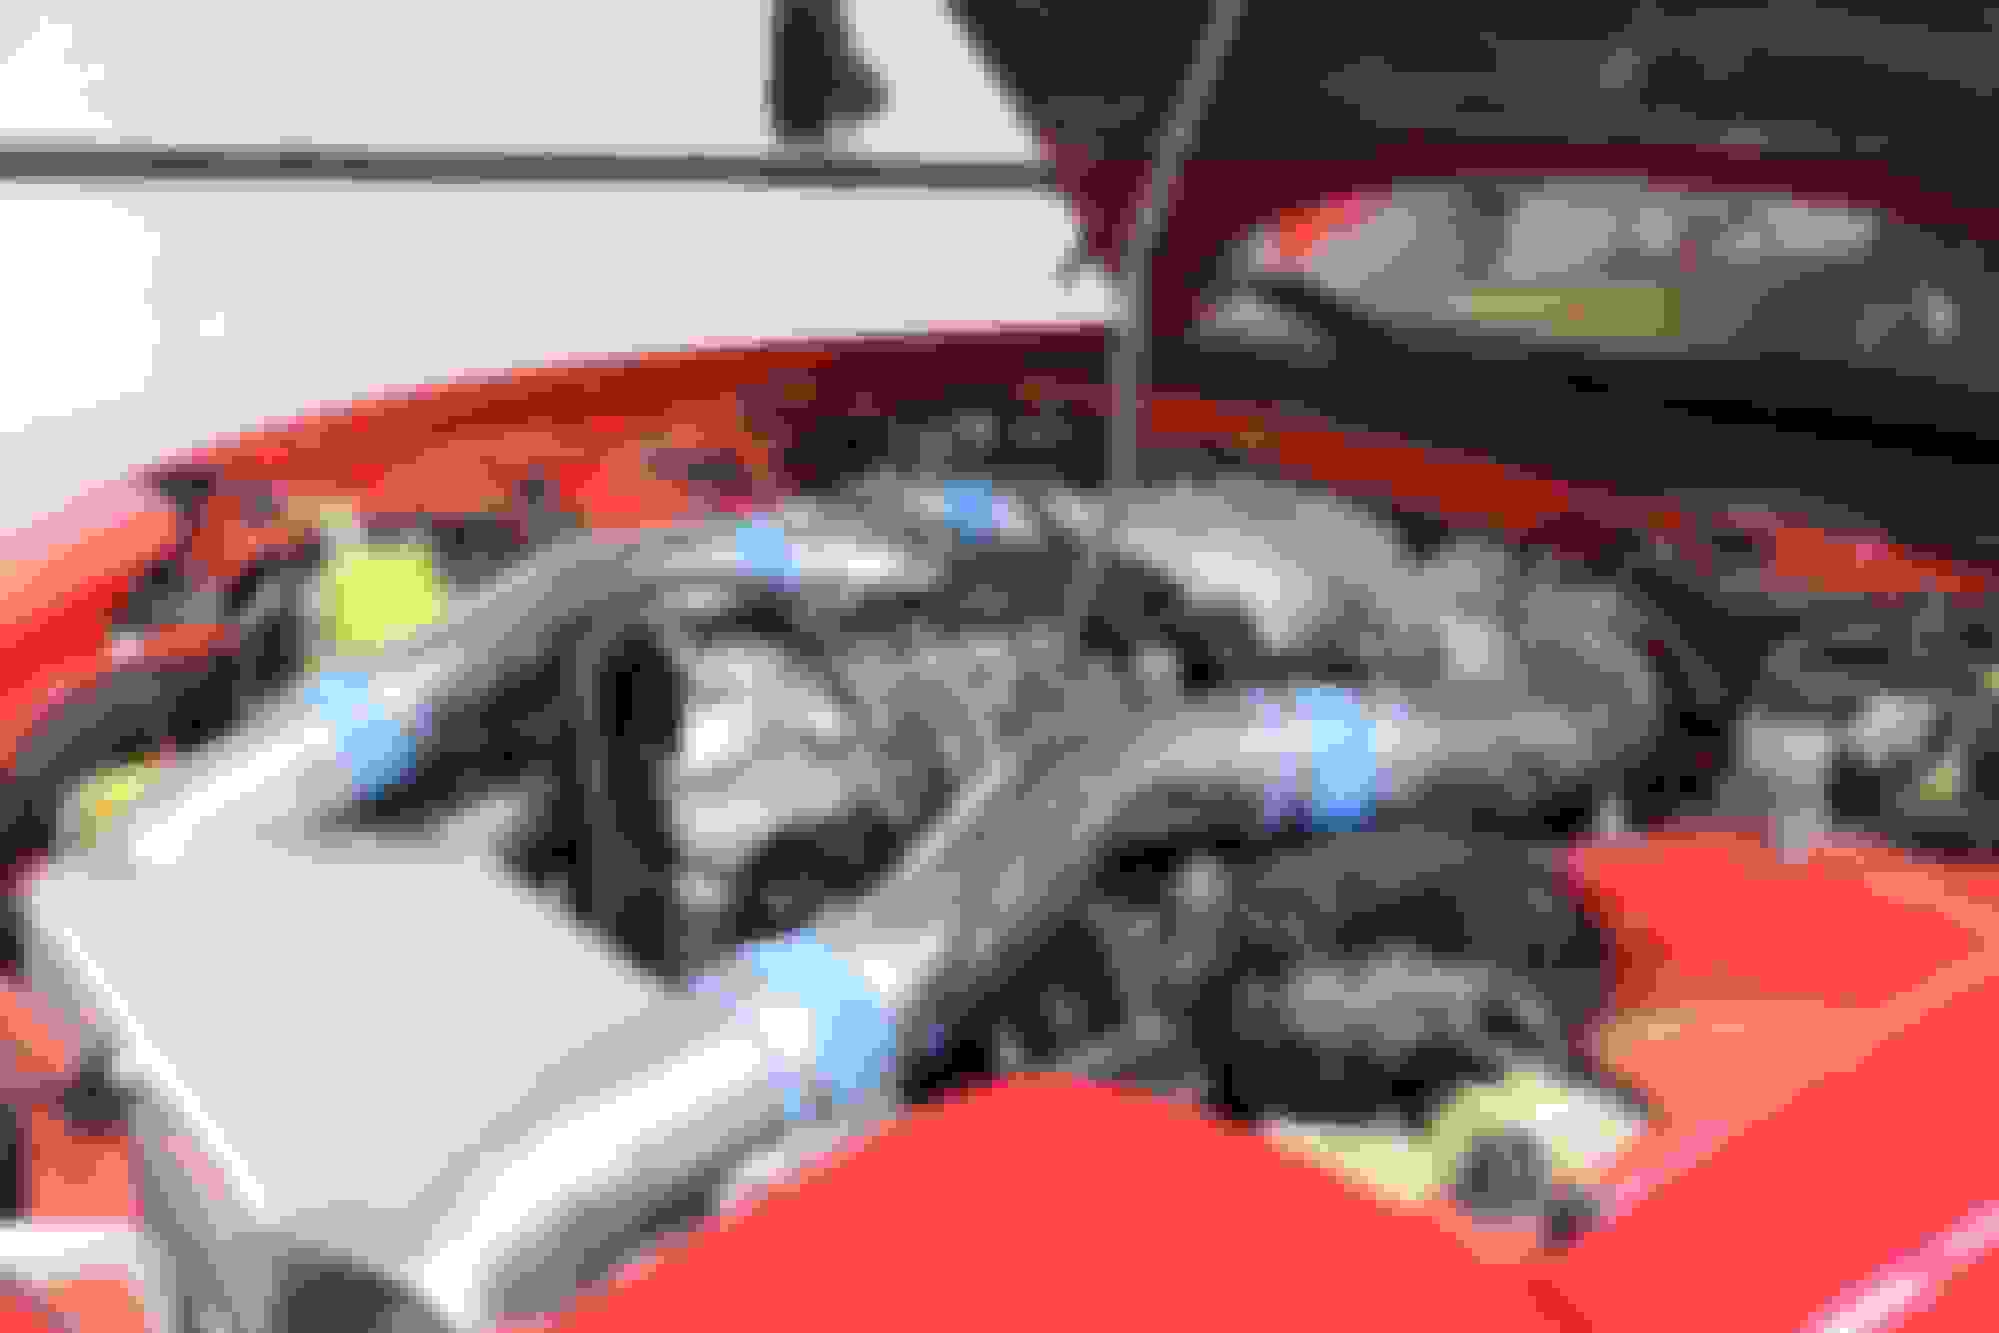
Not too crazy just a new R1 lip to replace the boring base/touring lip. While I was under there I changed the oil and figured I should finally work my undertray situation. Since I installed the Greddy V-Mount, I never ran an undertray because i never trimmed the stock one to fit. The instructions for the V-Mount kit just have you trim it and install it IIRC, but I decided to take it one step further to make it more functional.
I had to trim around the edges to clear the radiator support brackets, trim the sides for an AC line, and remove a big plastic plate in the middle that was riveted on. Once I did all that, I measured and cut the center pan out for the fans to have somewhere to blow. But rather than have a gaping hole there, I picked up some mesh and some rivets and riveted the mesh to the undertray. I think things turned out okay!
Have a session reserved next weekend to get it professionally detailed. I'll post pictures of the results.
Good thinking on the mesh! A lot of guys just don�t run anything and it�s a recipe for disaster if you ask me. Good job in trying to find a better way!
Hmmm, let me know how your design works out Matt. I'm a little leary of the amount of undertray you've removed. The purpose of the tray (in addition to protecting the rad) is to enclose the radiator and force air through it at highway speeds. I suspect you may encounter slightly warmer freeway temps with this design, but I can't say for certain. I know of several who've run their cars without undertrays for years with no reported cooling issues. I created a custom one out of aluminum that you can see this Saturday!
Hmmm, let me know how your design works out Matt. I'm a little leary of the amount of undertray you've removed. The purpose of the tray (in addition to protecting the rad) is to enclose the radiator and force air through it at highway speeds. I suspect you may encounter slightly warmer freeway temps with this design, but I can't say for certain. I know of several who've run their cars without undertrays for years with no reported cooling issues. I created a custom one out of aluminum that you can see this Saturday!
I would 100% agree with you that having that much undertray cut and removed on an OEM set up would be a terrible idea. However, now that I run a V mount, the air entering through the mouth of the bumper is ducted and force fed through the radiator and intercooler. The purpose of chopping the gaping hole in the undertray was to allow a path for the air to exit the radiator, as well as a path for the air pulled through the radiator via the fans. Can�t wait to hang out this Saturday!
I would 100% agree with you that having that much undertray cut and removed on an OEM set up would be a terrible idea. However, now that I run a V mount, the air entering through the mouth of the bumper is ducted and force fed through the radiator and intercooler. The purpose of chopping the gaping hole in the undertray was to allow a path for the air to exit the radiator, as well as a path for the air pulled through the radiator via the fans. Can�t wait to hang out this Saturday!
Matt
The logic is sound on the cooling front. Has anyone given consideration to how much air is being channeled underneath the car and what that does for aerodynamics and high speed stability?
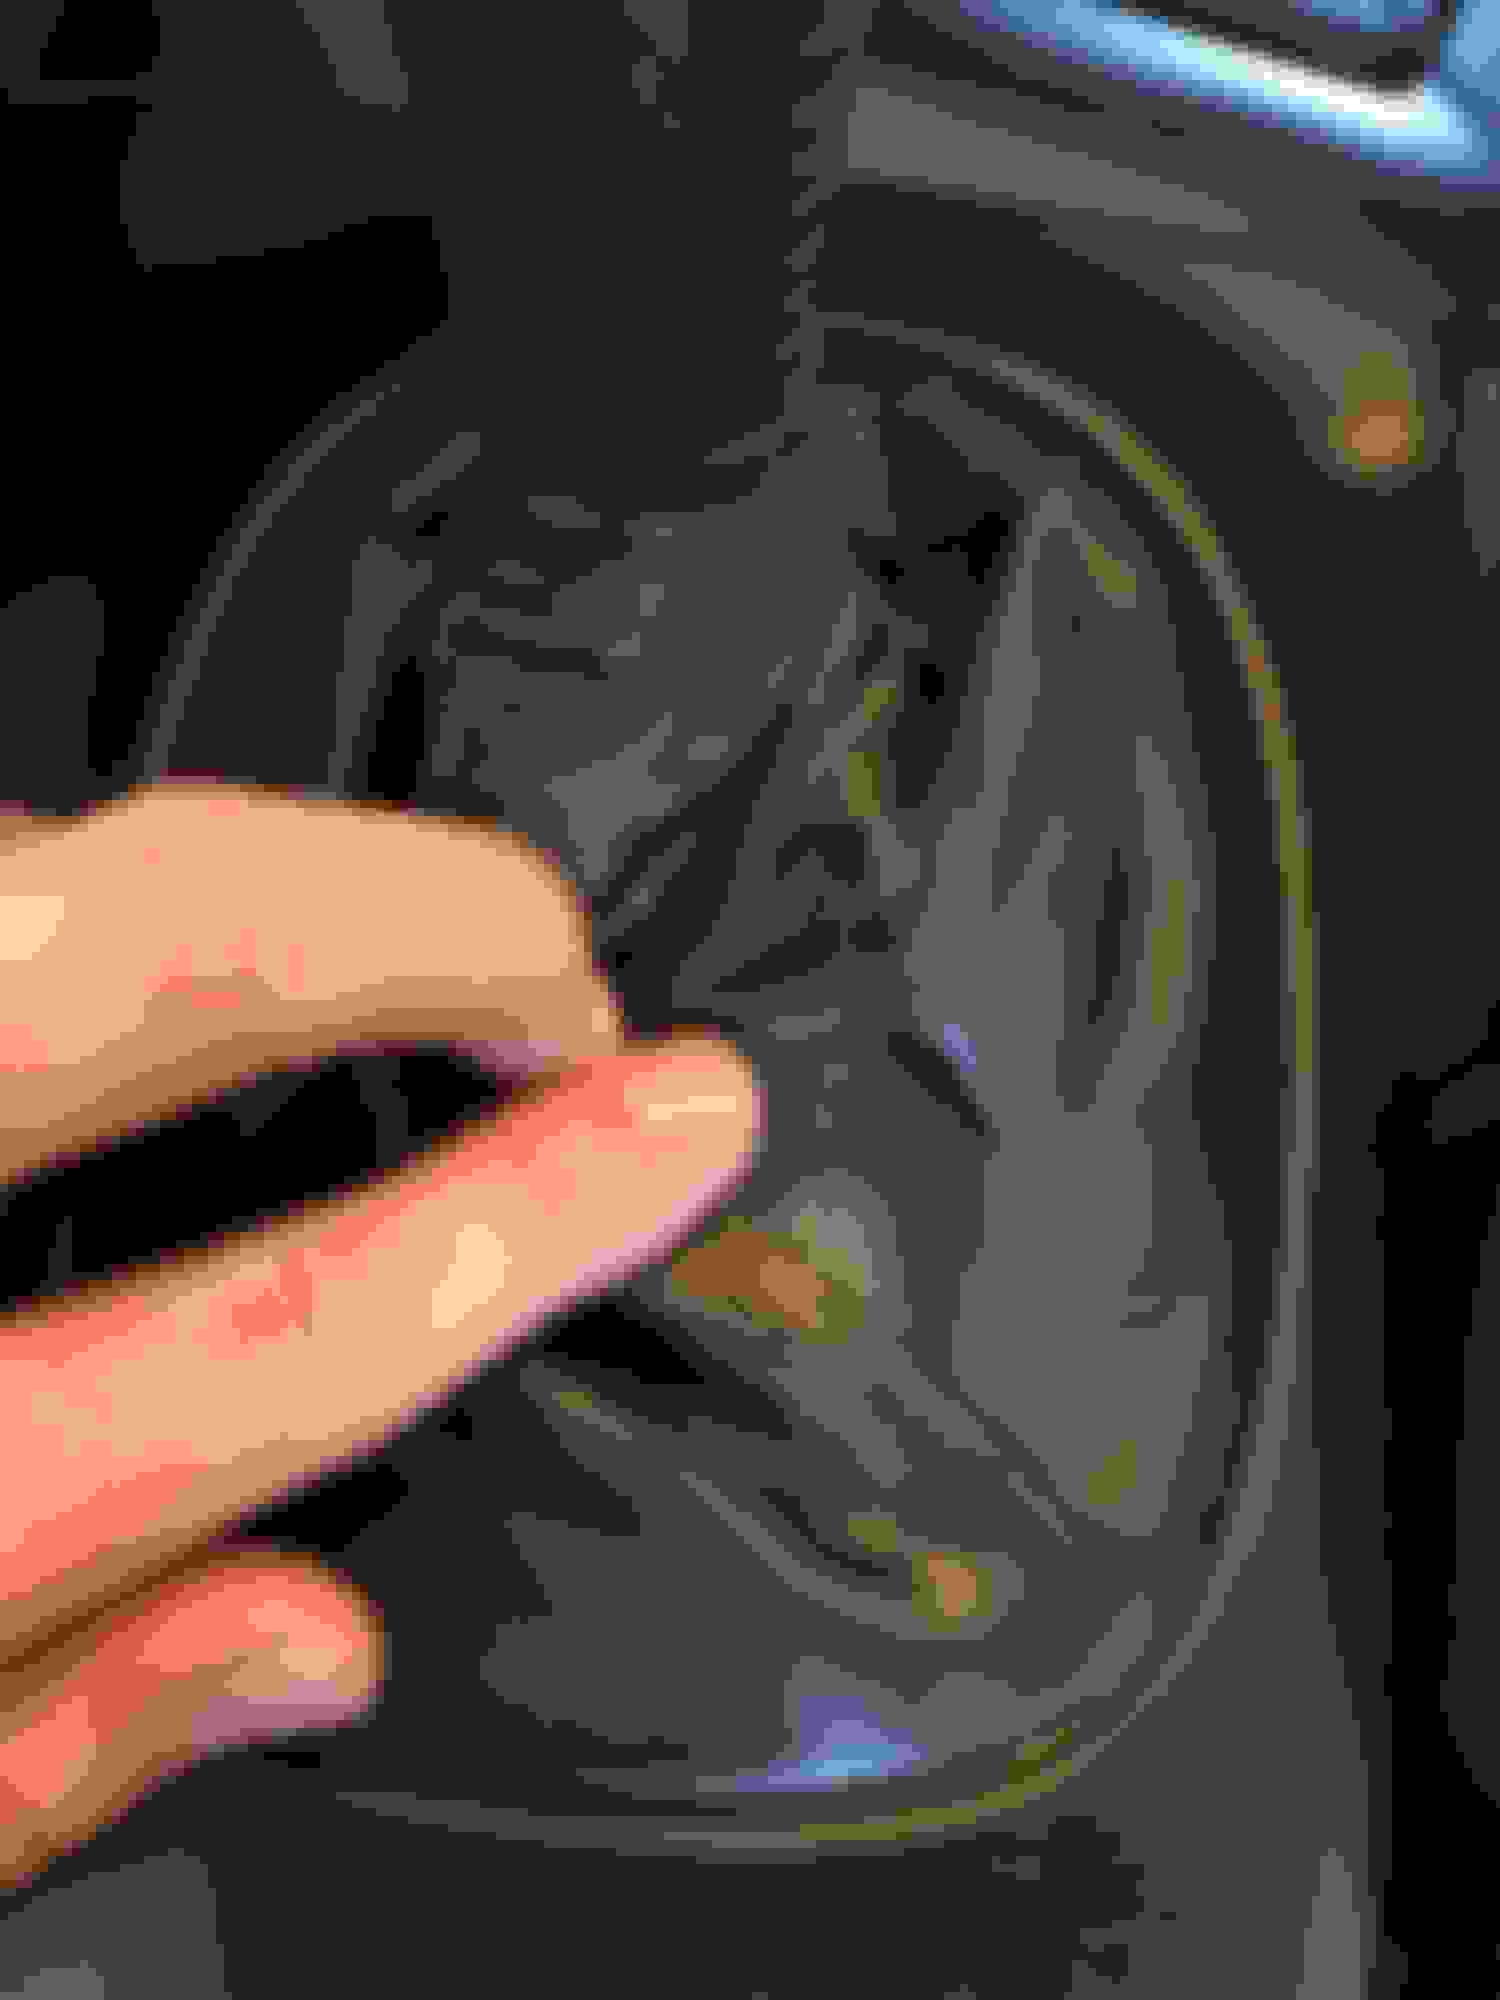
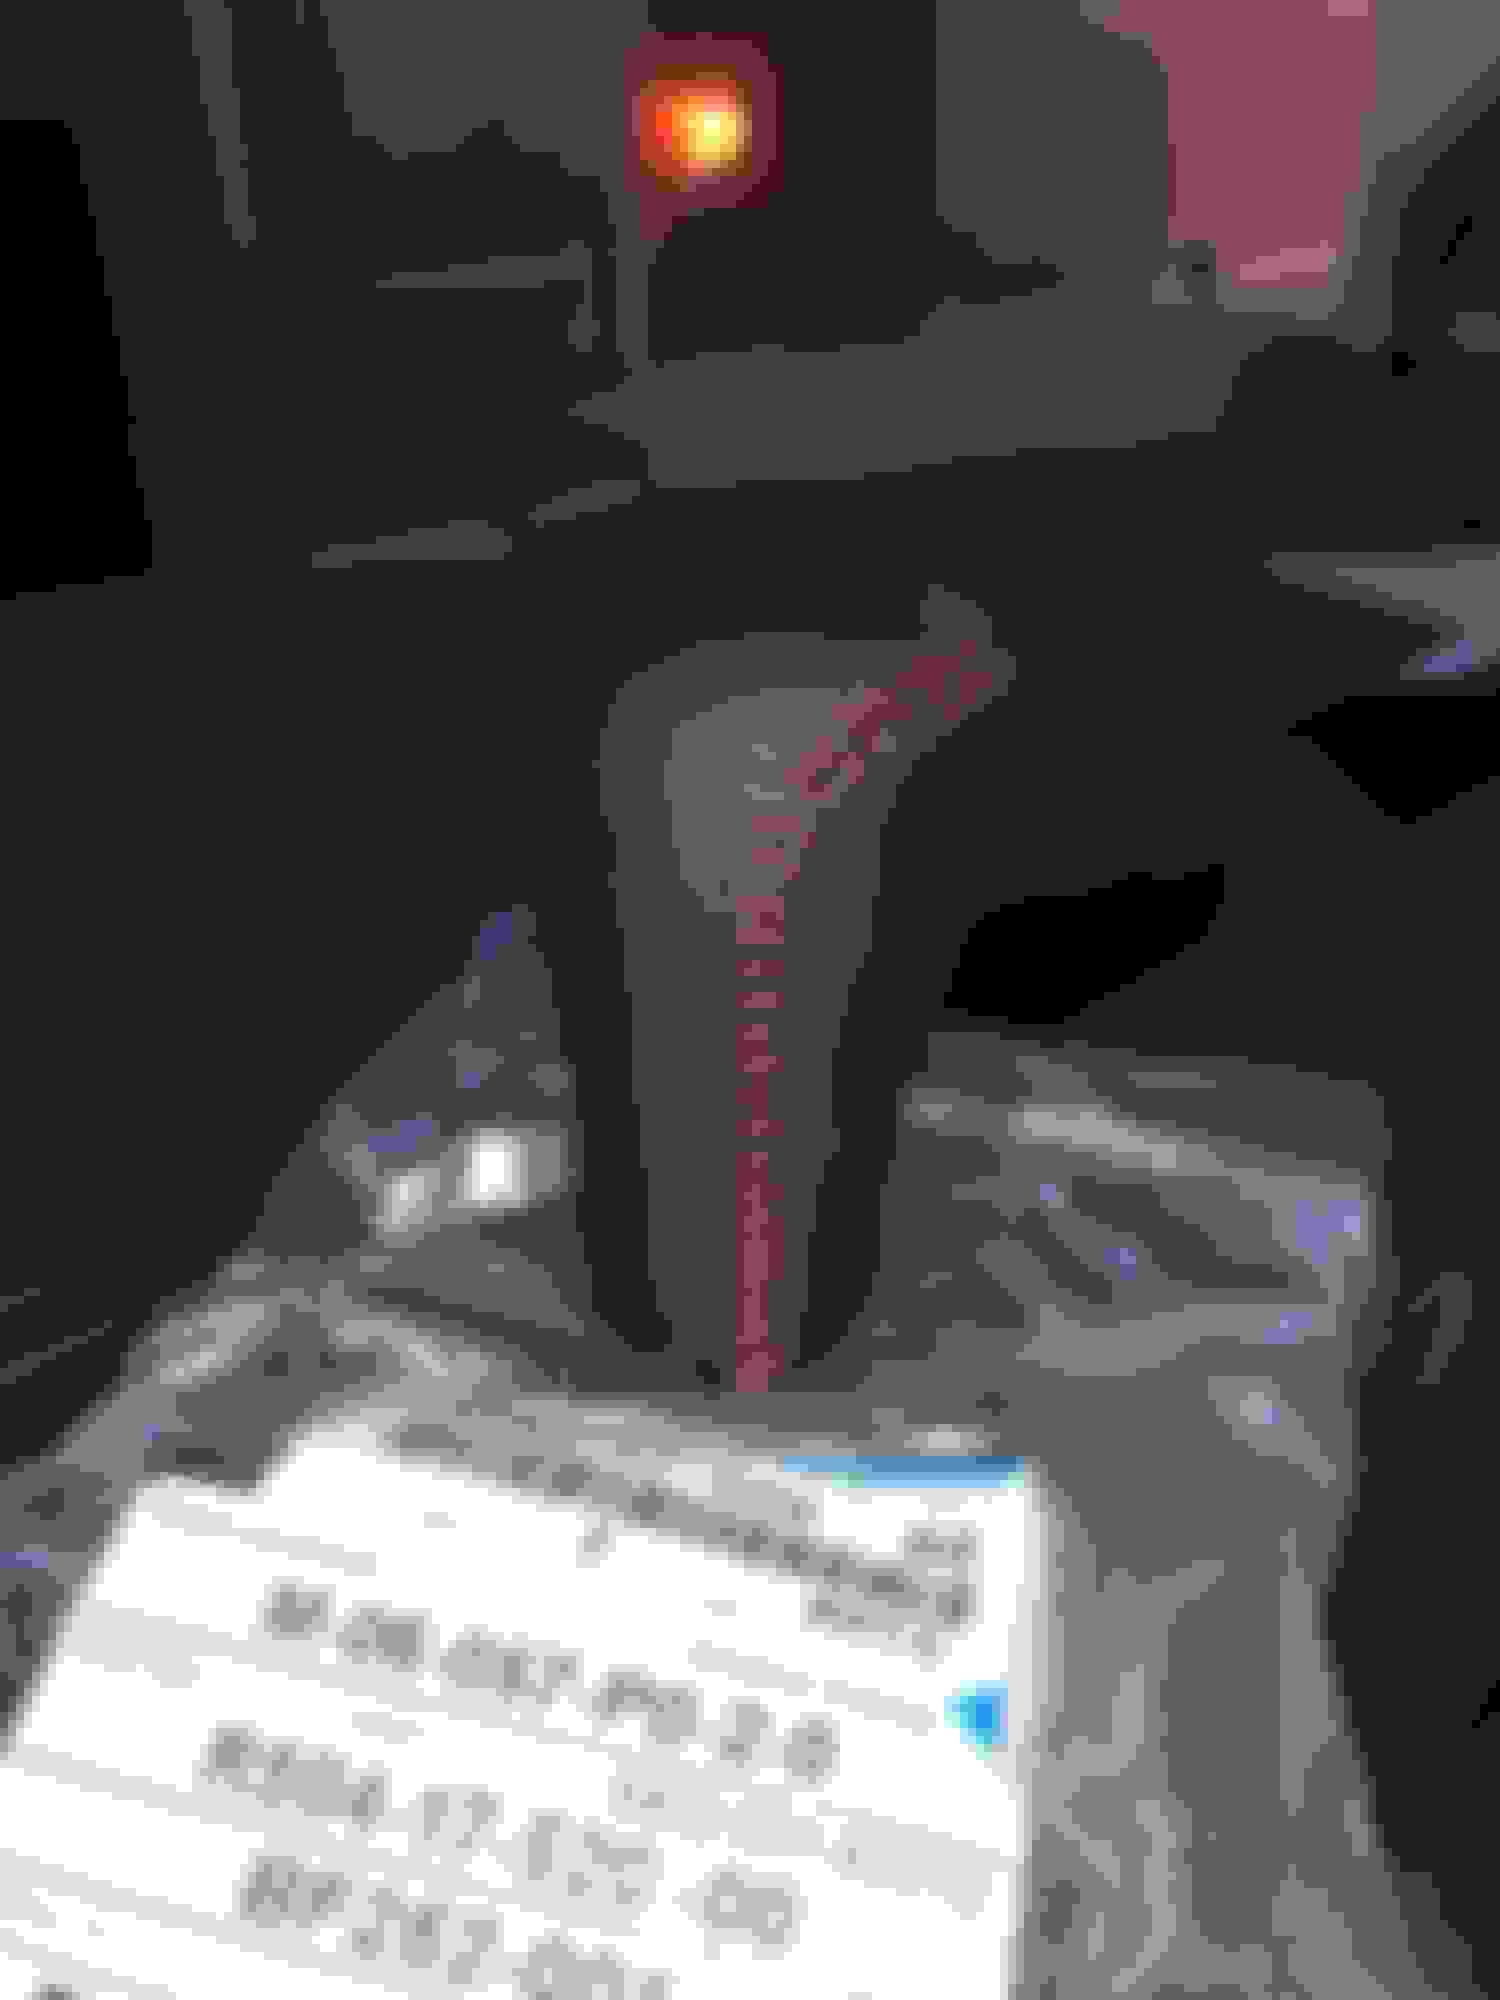
I took the 7 to RCCAZ_1's place last month since he was hosting a detail day. Always a great time chatting with him! Detailers did a great job! While I was there we were discussing various things and I ended up picking up a set of redline goodies for an awesome price. My shift boot has been super sad looking since I got the car and this was an excuse to finally do something about it. In order to match the new boots. I also ordered a REALLY nice **** that took 3 weeks to arrive. On the way home from the detail day, my idle was sticking and my cruise control wouldn't turn off when I hit the clutch. I basically knew exactly what was wrong with it before I got home. The spring for the clutch switch broke. Replaced the spring with the new one from a ball point click pen and off I went [another fantastic tip from this forum!]. A while ago I ordered the dust shutter rebuild kit as well from the for sale section and I finally got around to putting those on. A small detail but well worth the small amount of money for it!
So after all the smaller aesthetics, I started to splurge a bit. MattGold offered up a set of his new prototype for some testing
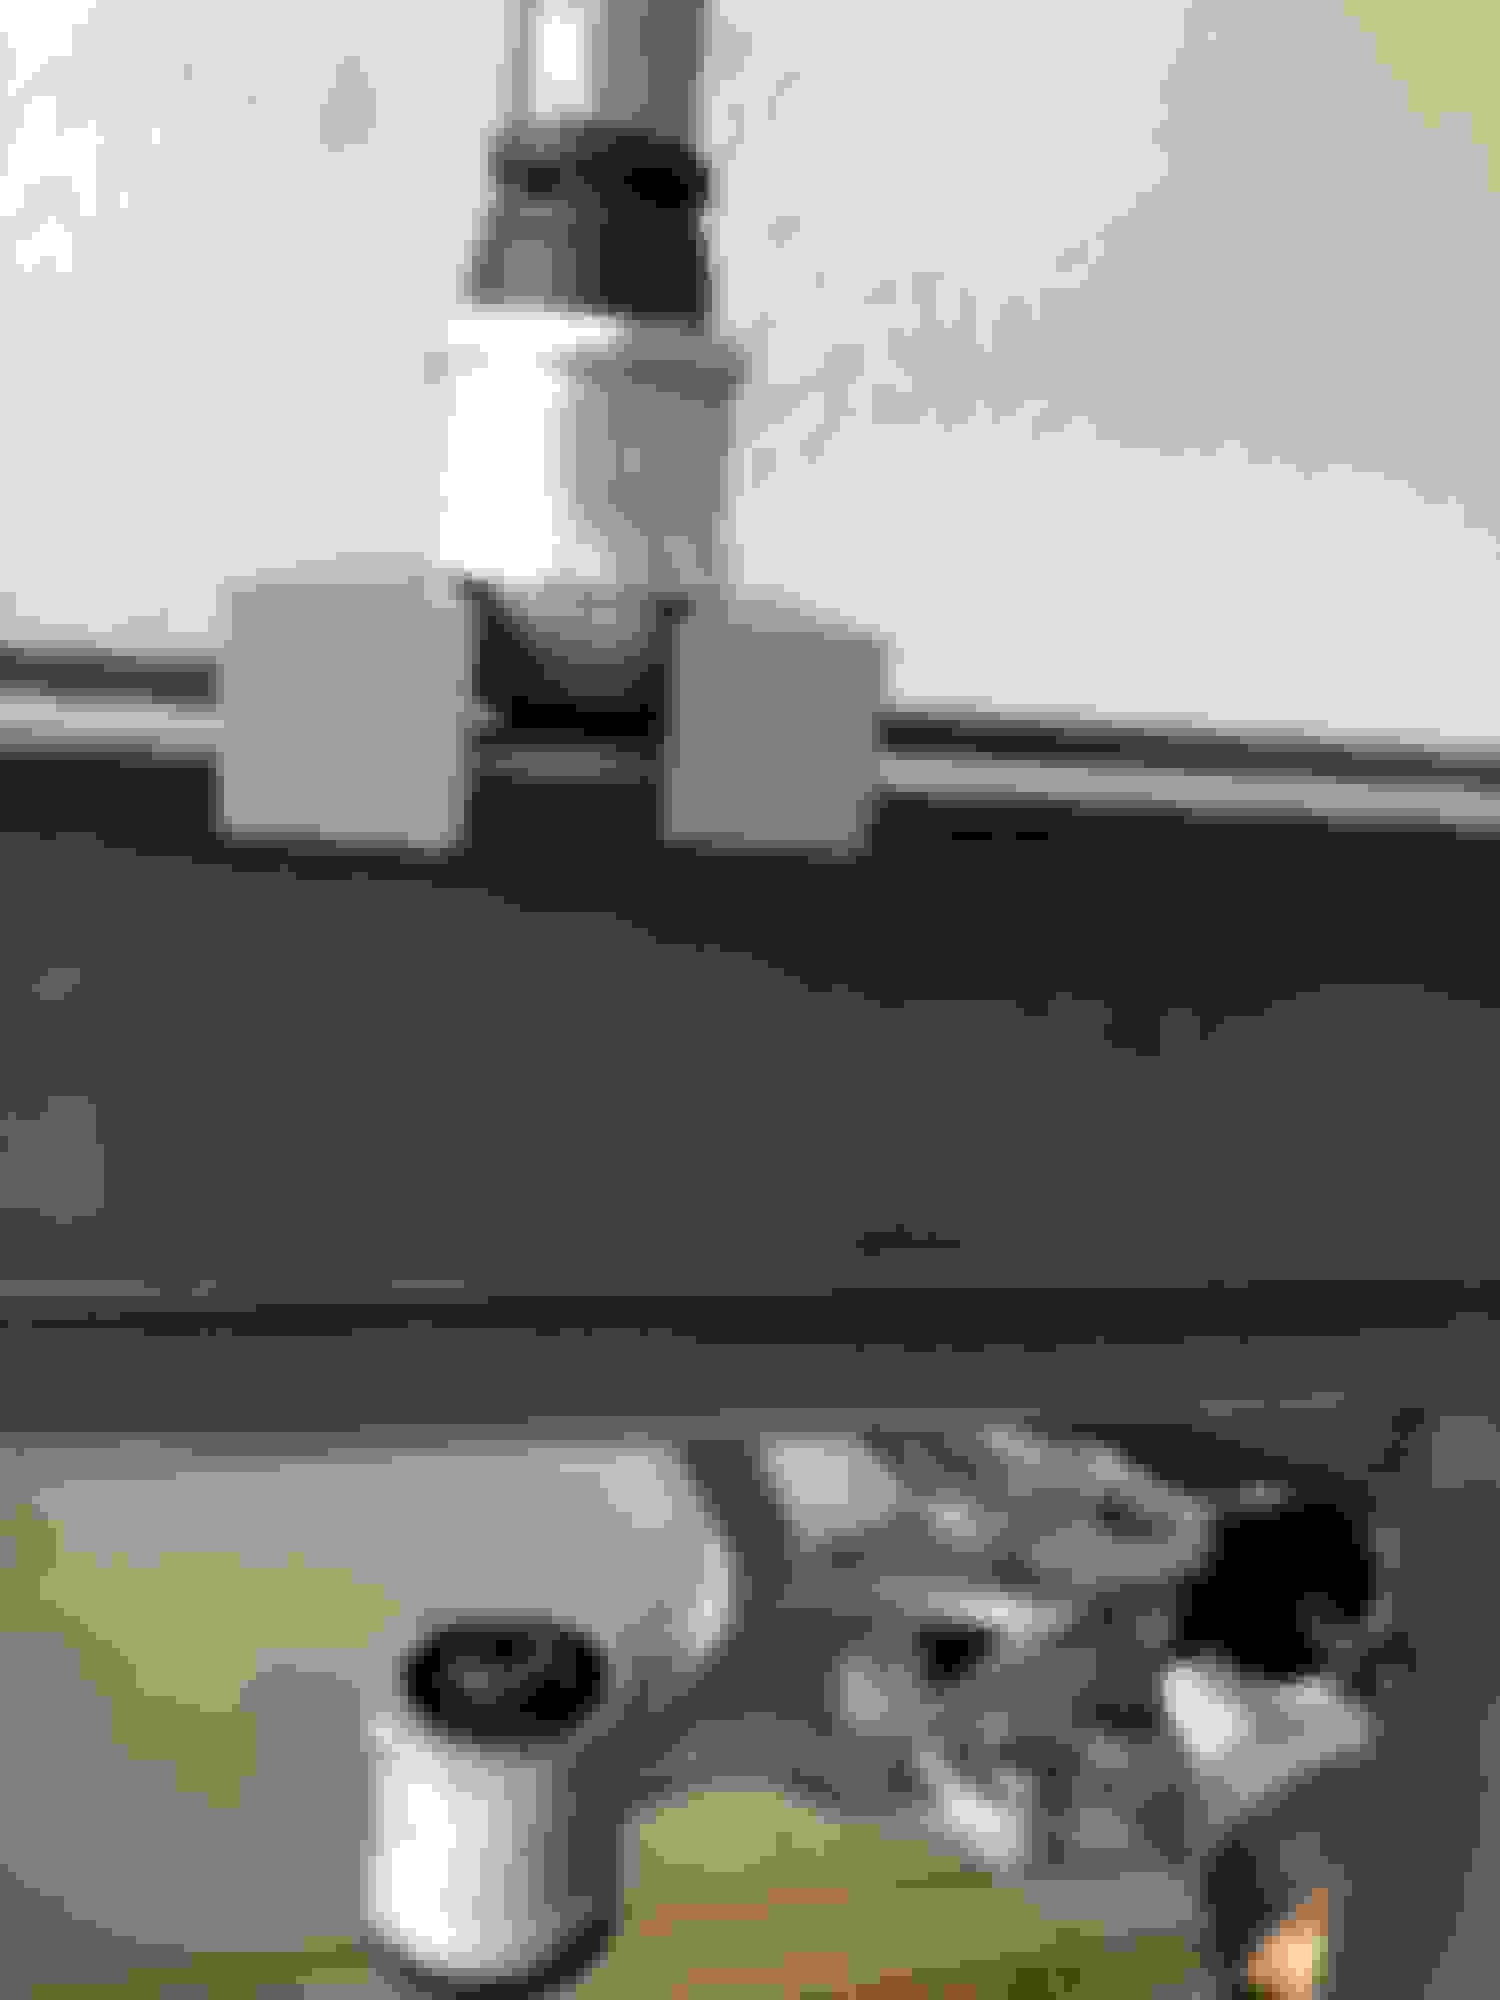
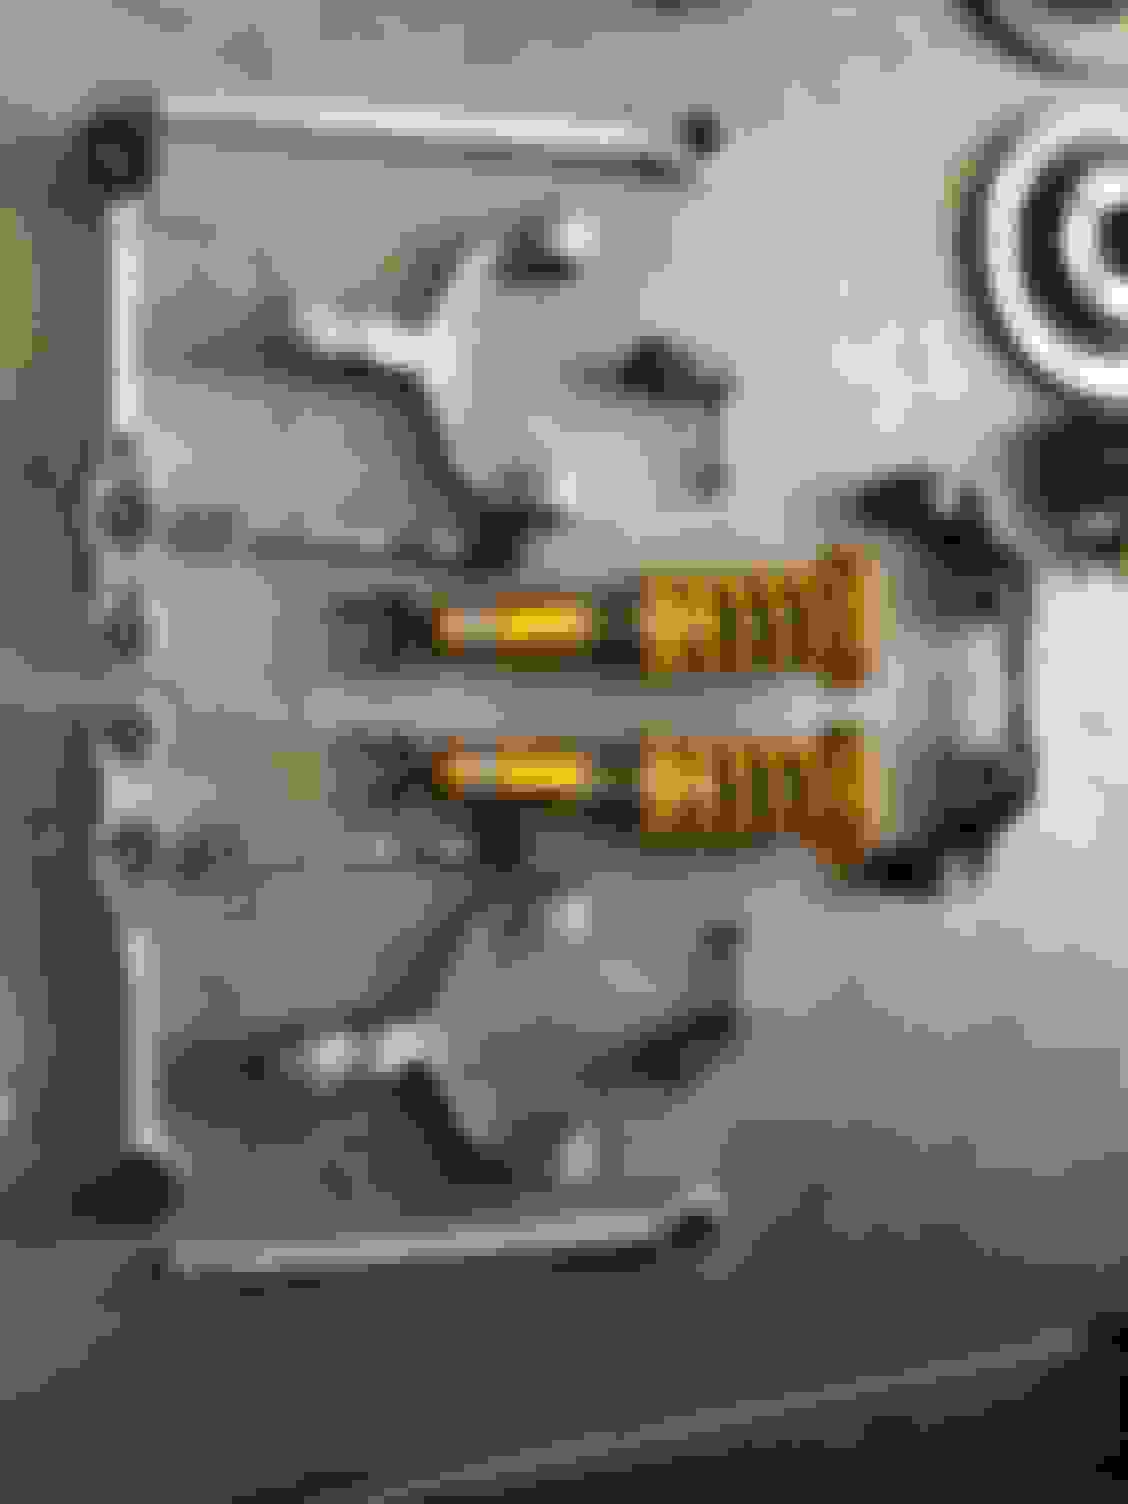
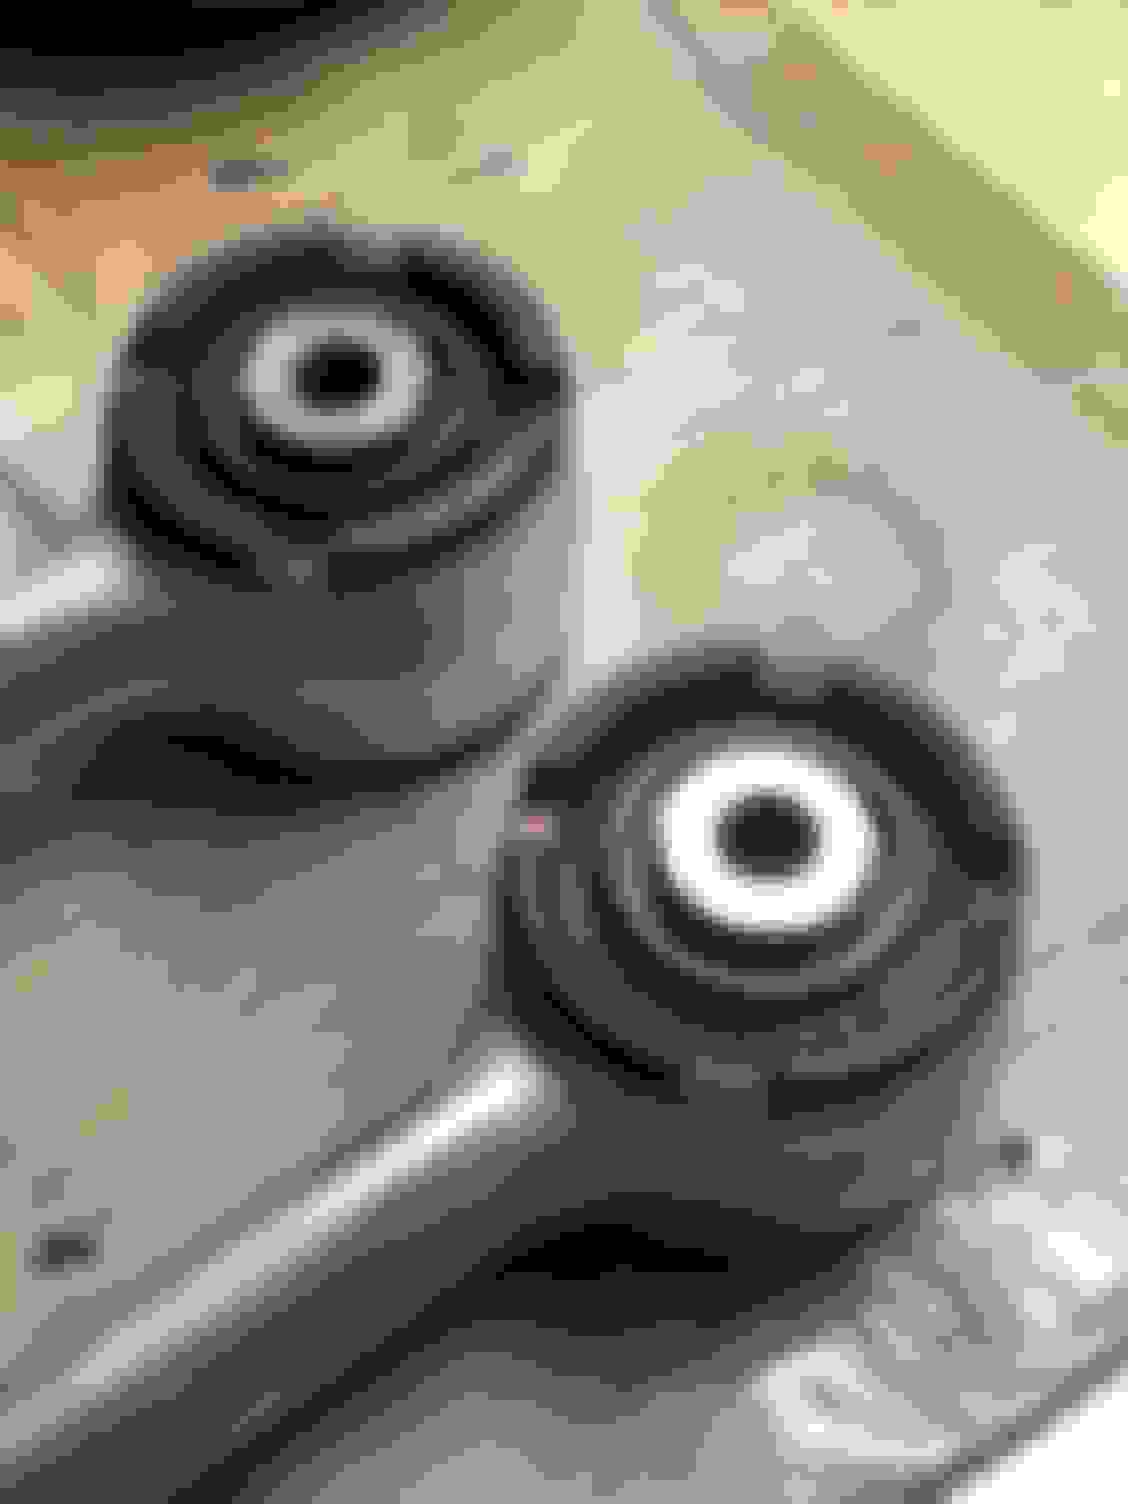
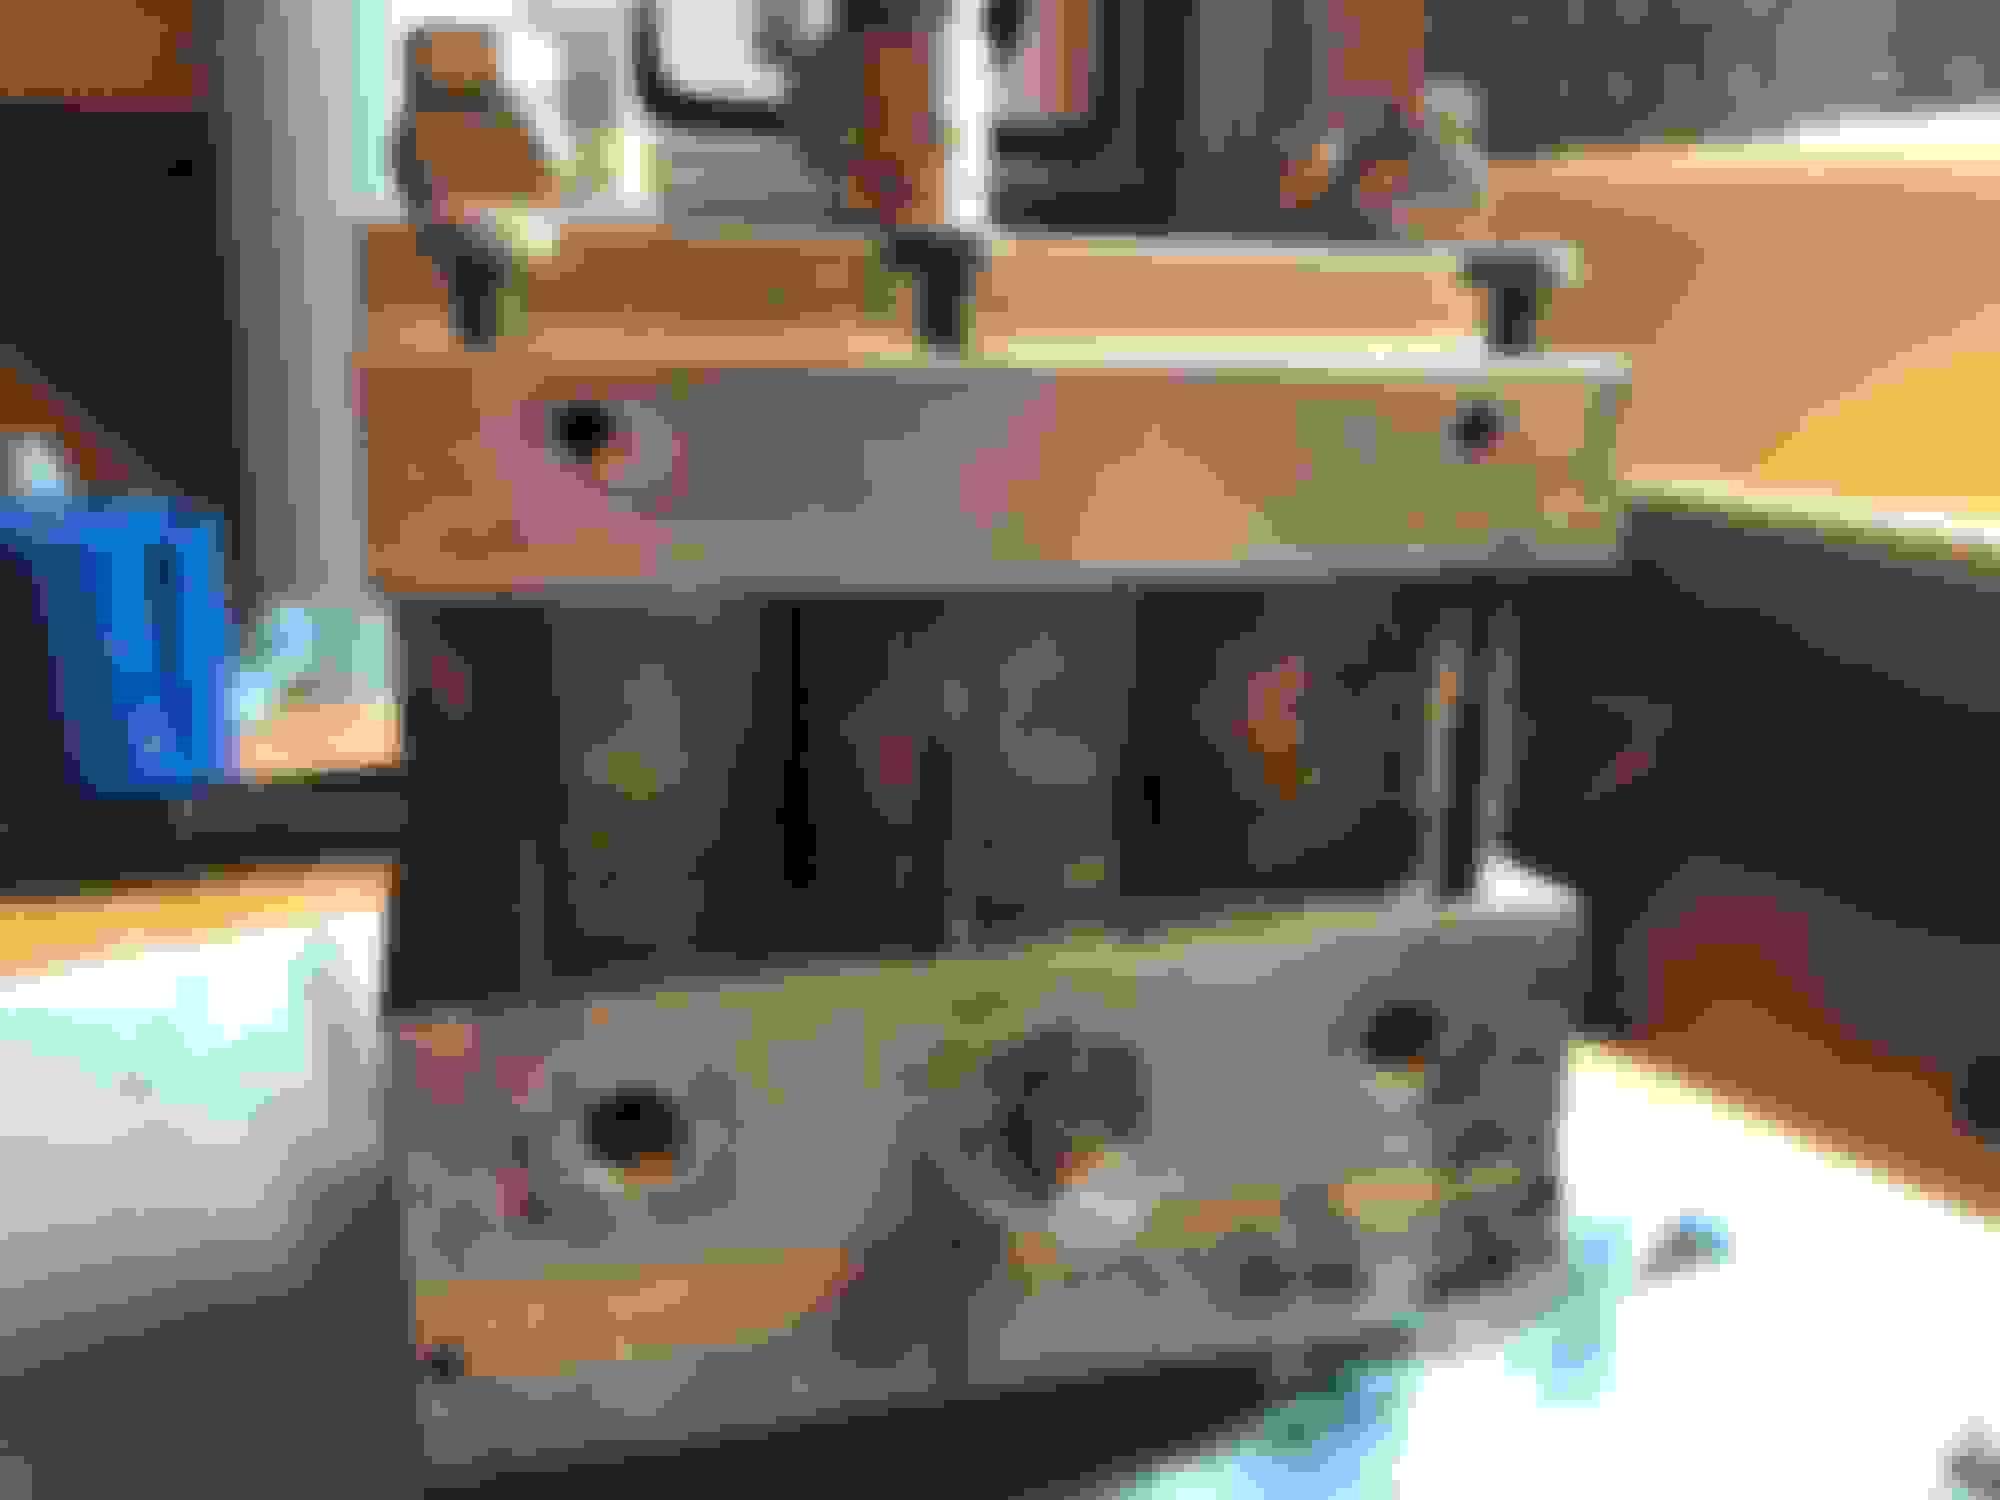
He ended up sending off a set of the RE-Amemiya subframe collars to get measured and reproduced. A sweet deal for an overpriced product when purchased from him. The collars really lined the subframe up differently and I could feel a smaller change in rigidity akin to adding a strut bar. I can tell the subframe was aligned differently as my steering wheel is now aligned about 1/16th of a turn off center. Some collars I was happy with the fitment on and some I questioned a bit. I was anticipating them "filling out" the holes in the structure a bit more, but I guess the purpose of them is to "crush lock" into place. The ones in question are the ones that look like they break in half. They actually DO break in half so that you can fit them on either side of the studs when the subframe is dropped since you wouldn't be able to install those unless the subframe was completely removed. The other collars where the bolts are fit the bolts tight and filled out the holes in the structure well and then lined right up with the chassis. Speaking of chassis/suspension upgrades; I ordered a full set of Mazda Competition bushings for the car. They were NOT cheap but I'm super excited about them. About 95% of them have come in and I'm waiting on the trailing link bushings and one rear upper A arm bushing as they are currently on back order. I order bought the 20 ton shop press from harbor freight since they had a super coupon for it :P
Track update before the bushings though!
Took it to the track yesterday and it performed awesome as always. Had one minor issue: I lost my air pipe AGAIN for the Bonez HFC . This is the second time that that pipe has popped loose and fallen off the car. The big problem with it is that it's a straight 24" piece of stainless tubing with no bead rolls on it and even though I clamp it down tight, it just can't take the boost :/ Anyway, highest my coolant temps hit were 93C on a 95*F day. That greddy V mount is still one of my favorite purchases for the car. The first session and a half were really nice. Towards the end I could start to feel my brakes getting weak. The pads are getting thin and the heat is getting to them. They definitely won't survive another track day. I used the Endless MX72 pads and I really liked them at first, but I felt like they weren't as good towards the end of their life. Now I get that that should be obvious however, but I'm considering trying a different pad for this next go around. My DE3 leader has been telling me about a pad he offers that everyone likes and they're also much cheaper than the Endless at around $200 for the set. I'm gonna give em a shot and if I end up not liking them I'll probably get the Endless pads again. Now that the track day is over, I'll be putting the car up on jack stands and the suspension refresh will begin. Plans include undercoating the wheel wells with bed liner, all new Mazda Competition Bushings, new rear wheel bearings [fronts were done last year], new pads, potentially taking the Ohlins out and sending them off to be rebuilt, potentially getting all the bolts zinc coated with yellow chromate for bling bling, and tons and tons of pictures. Plan is to get it aligned and corner balanced after everything is said and done but I probably won't wrap up the suspension rebuild for a few months as I'll be undergoing surgery that will put me out for a while.
Last but not least, a video from the first session. If you listen close towards the middle of the video, you might be able to here the air pump pipe clanking around and hitting the ground. I ended up getting flagged and by the time I left the track she was gone gone :/ But the session was super good!
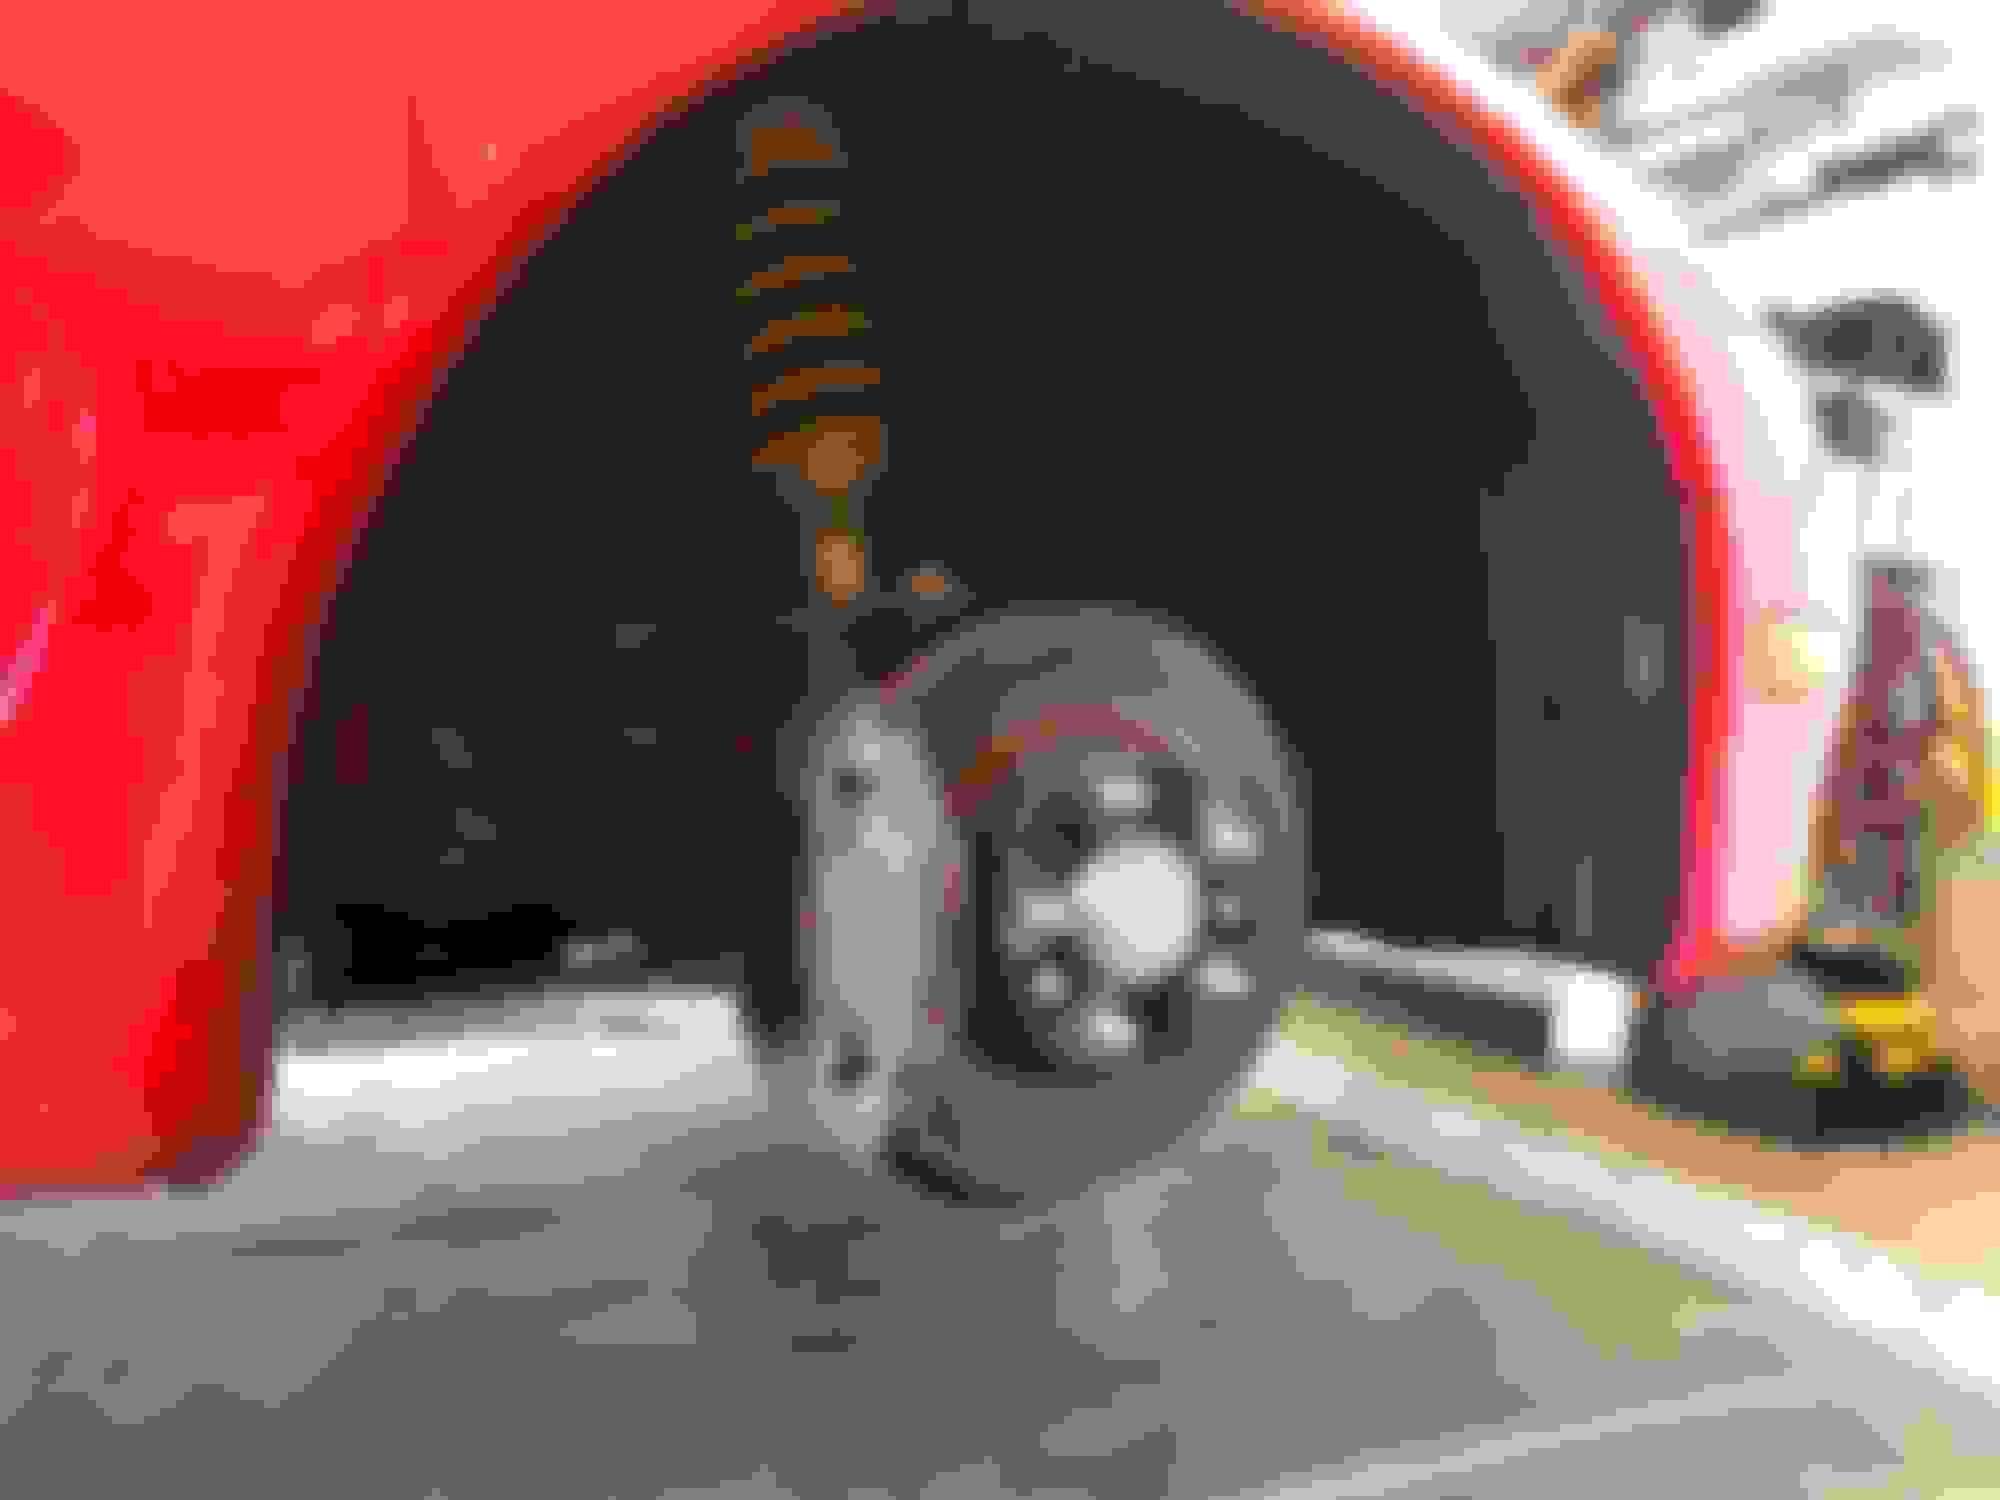
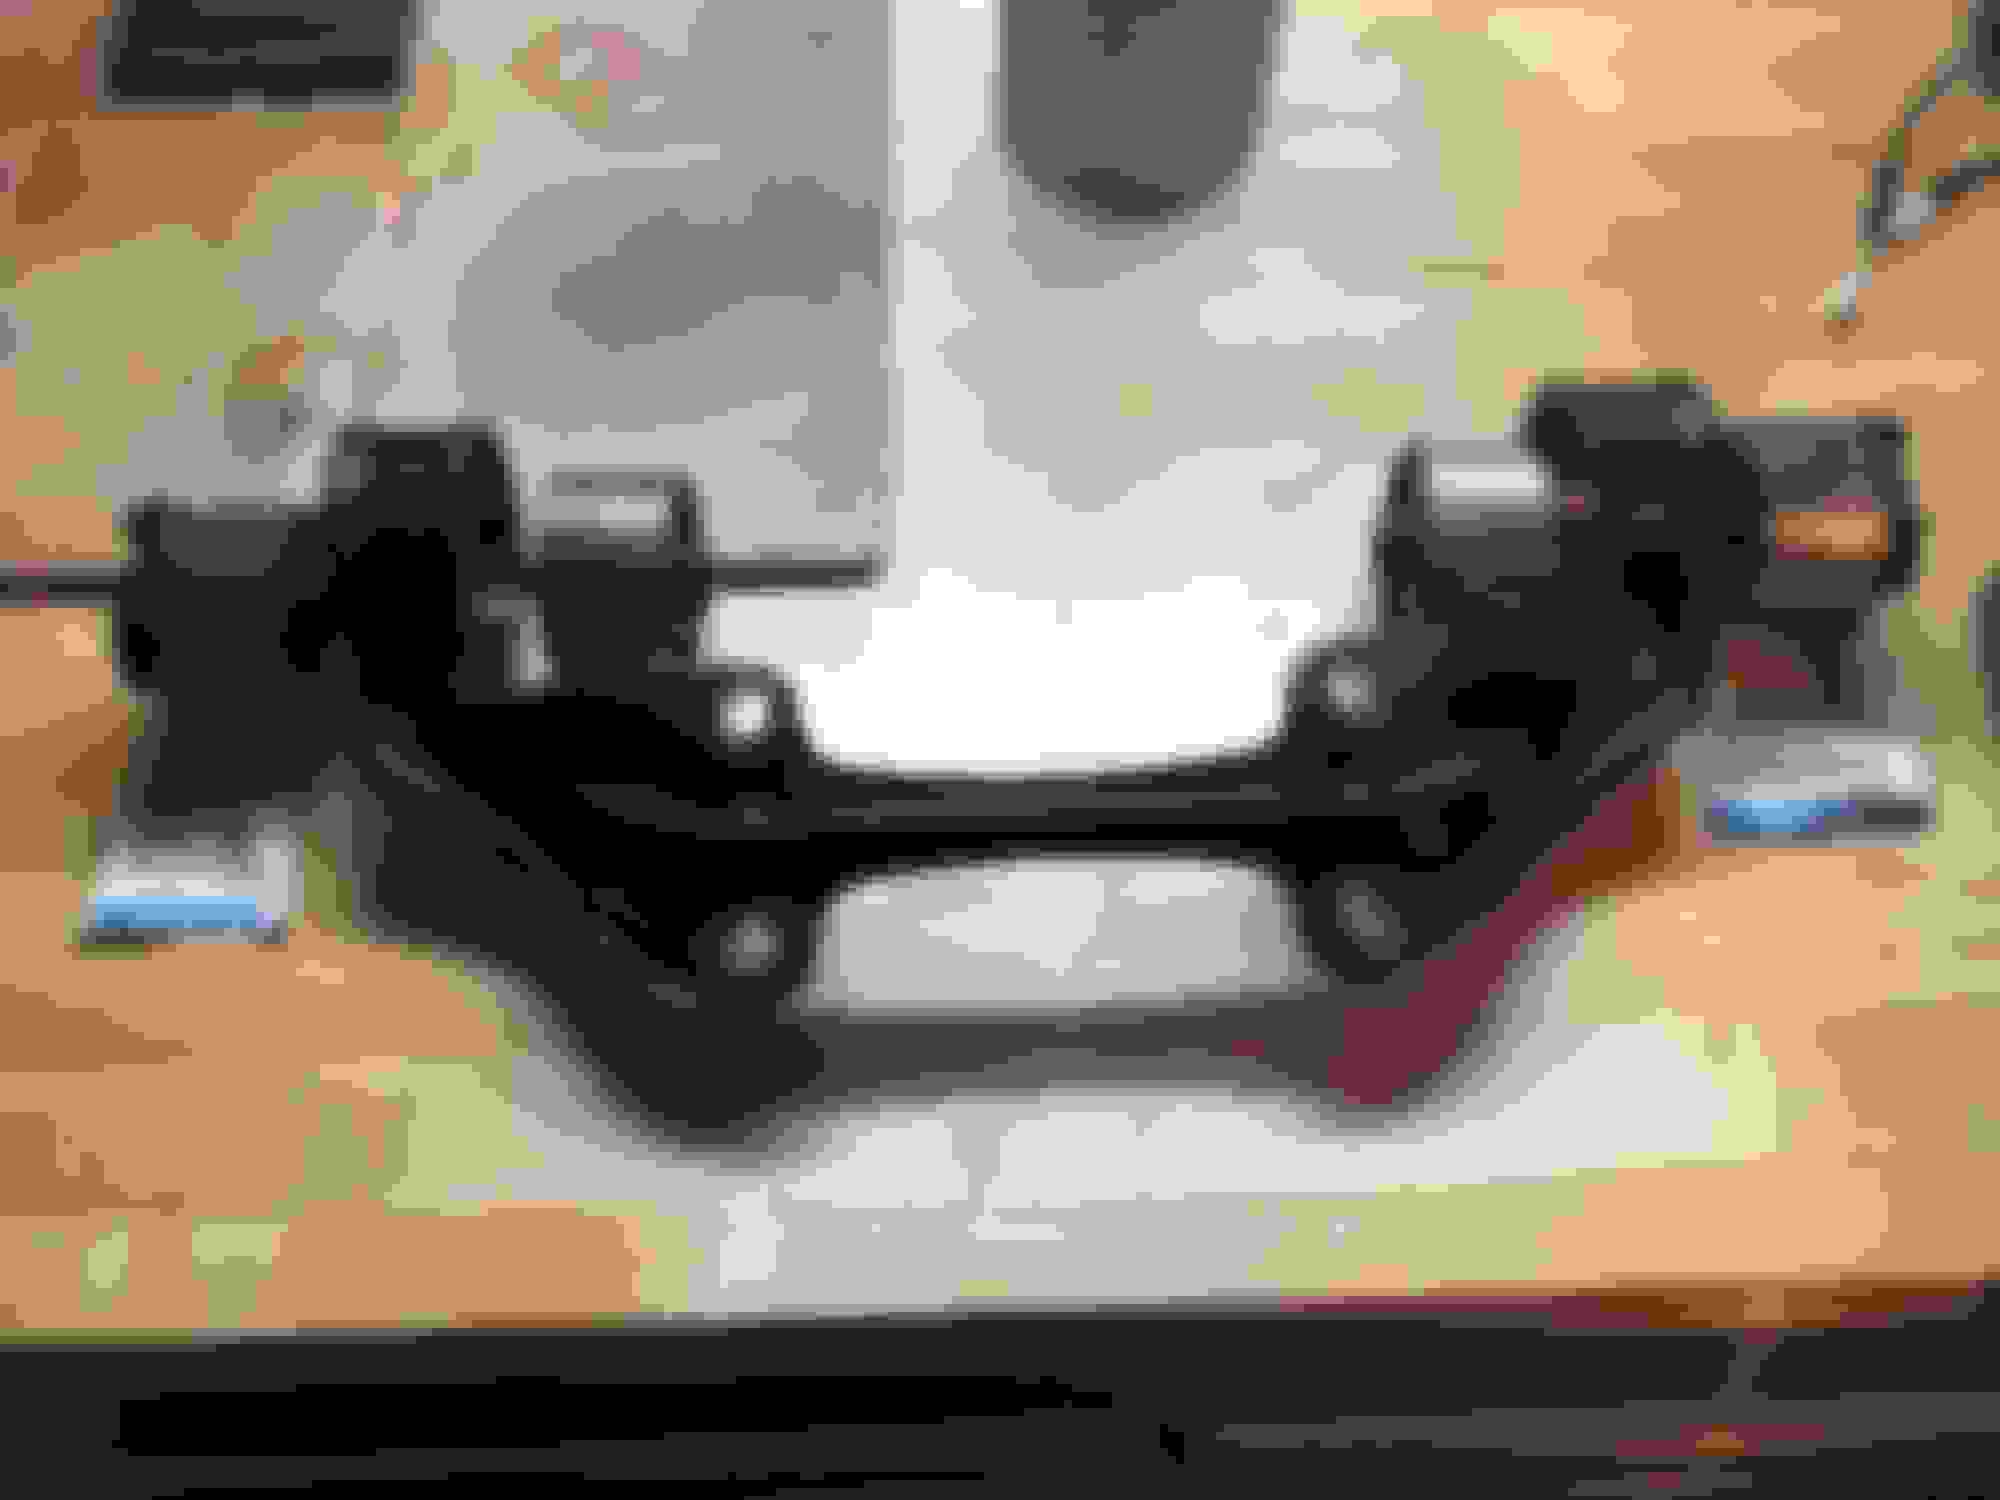
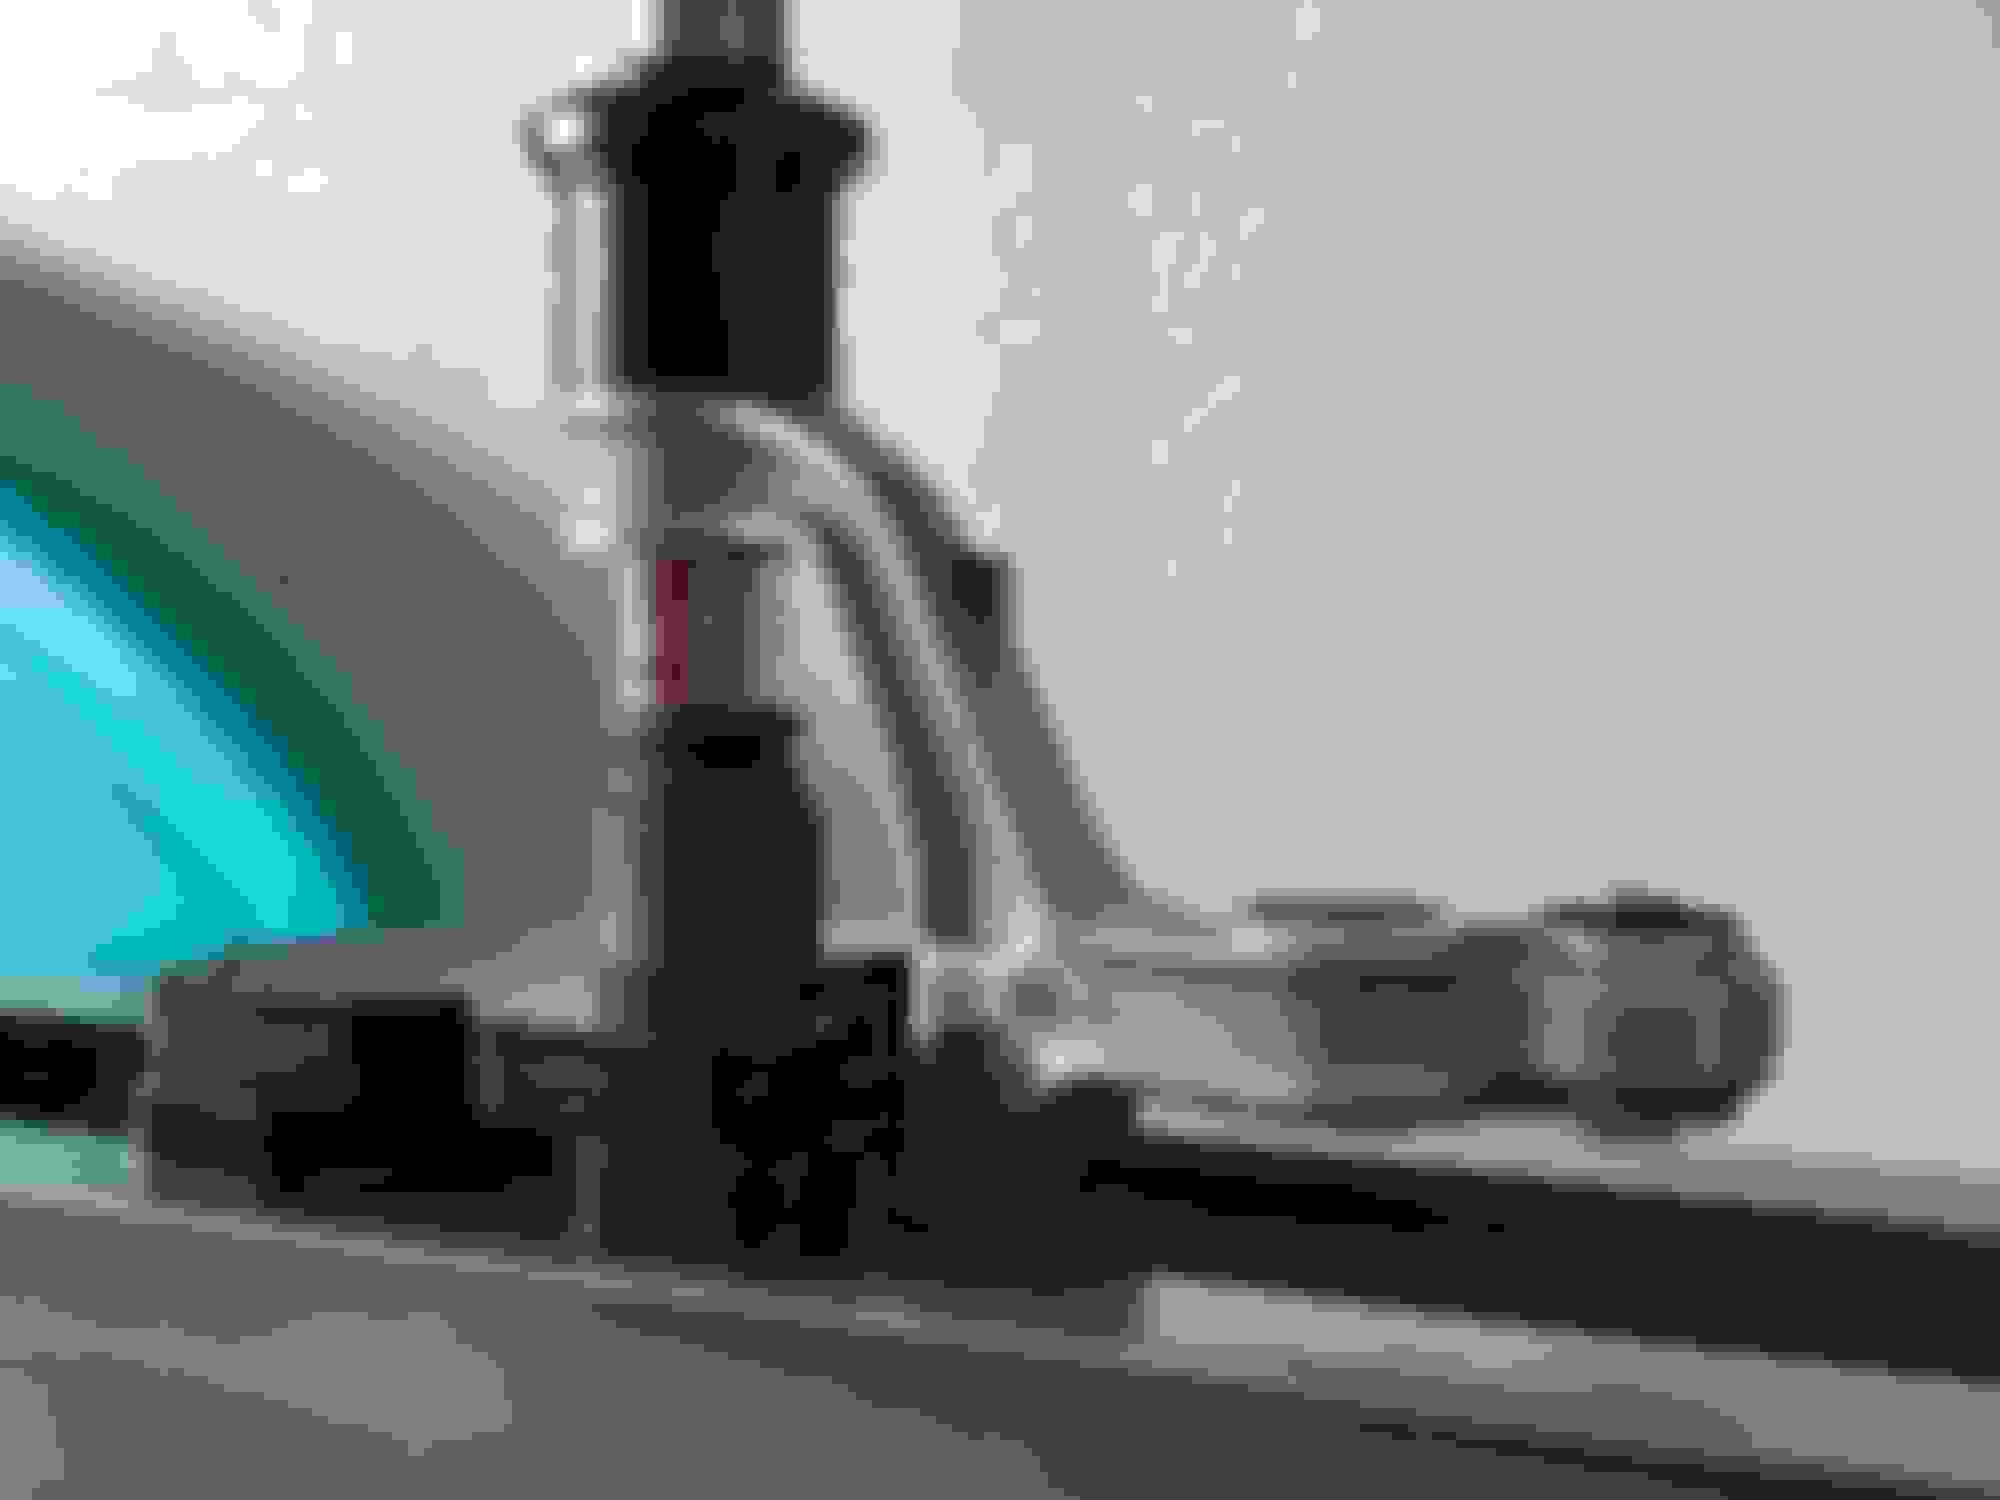
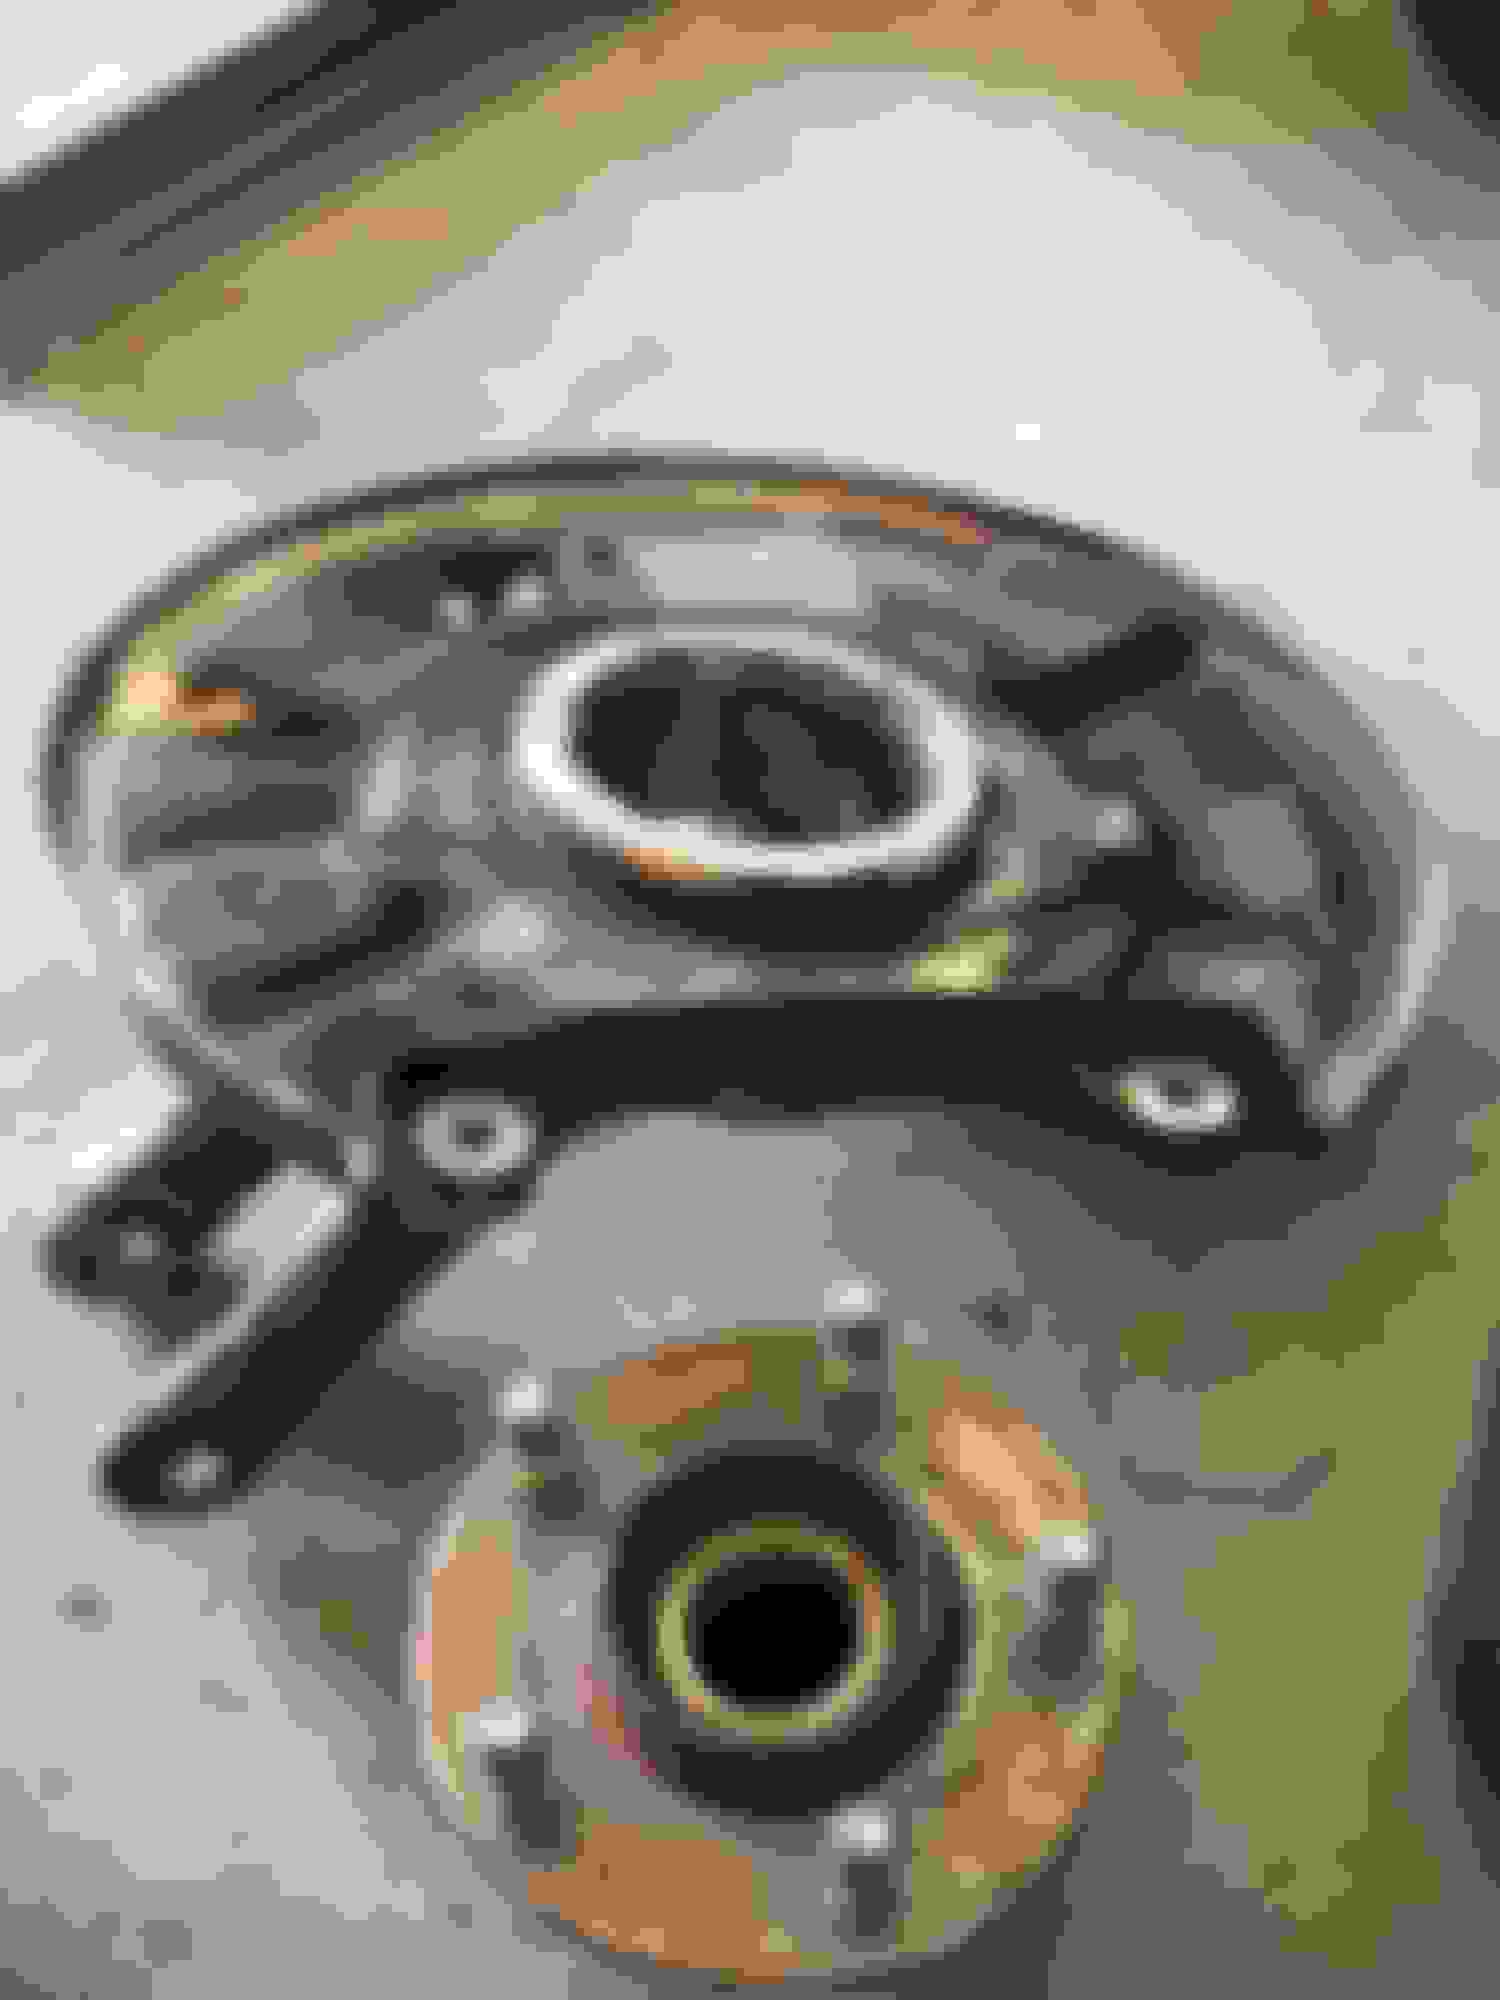
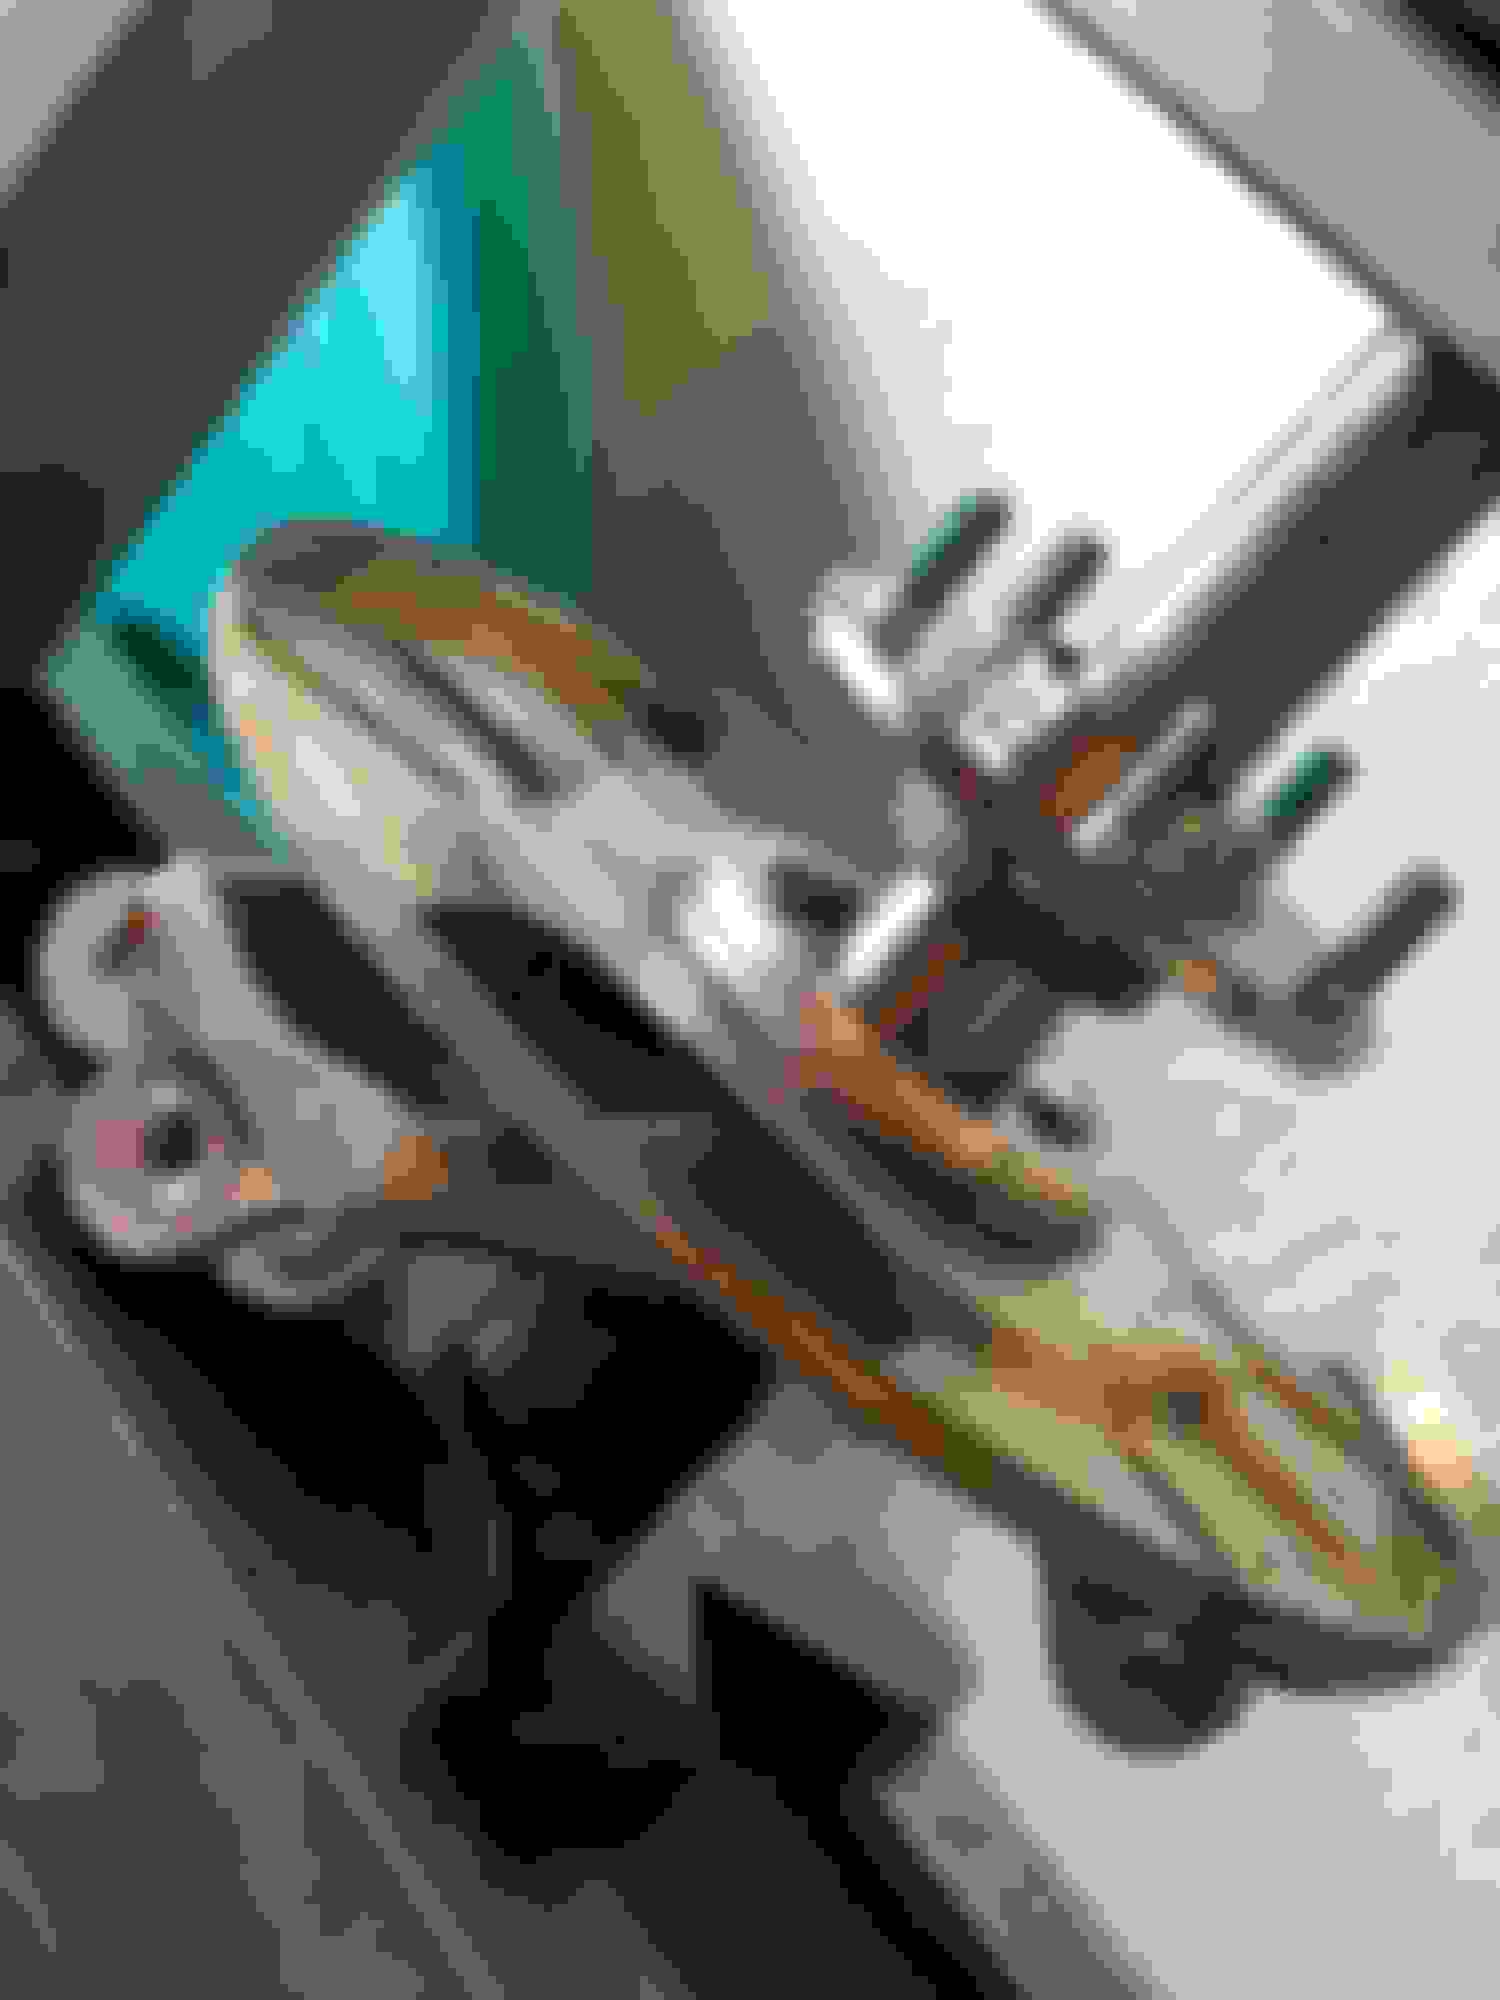
It's a four day weekend and I'm sure as hell gonna spend some time on the seven this weekend. I got home and got the car up on jacks and went to work. I tore the front suspension completely out and cleaned the arms, hub, coilovers, end links, and hardware up. I had a small and a large pitman arm puller and they worked perfectly for popping the joints on the tie rod ends and the lower ball joint. Zero fuss. I finally got to use my new press too!
The rears will be removed tomorrow. Taking my time with this since the next track day I'll be attending is in October. I'll post up more pictures tomorrow!
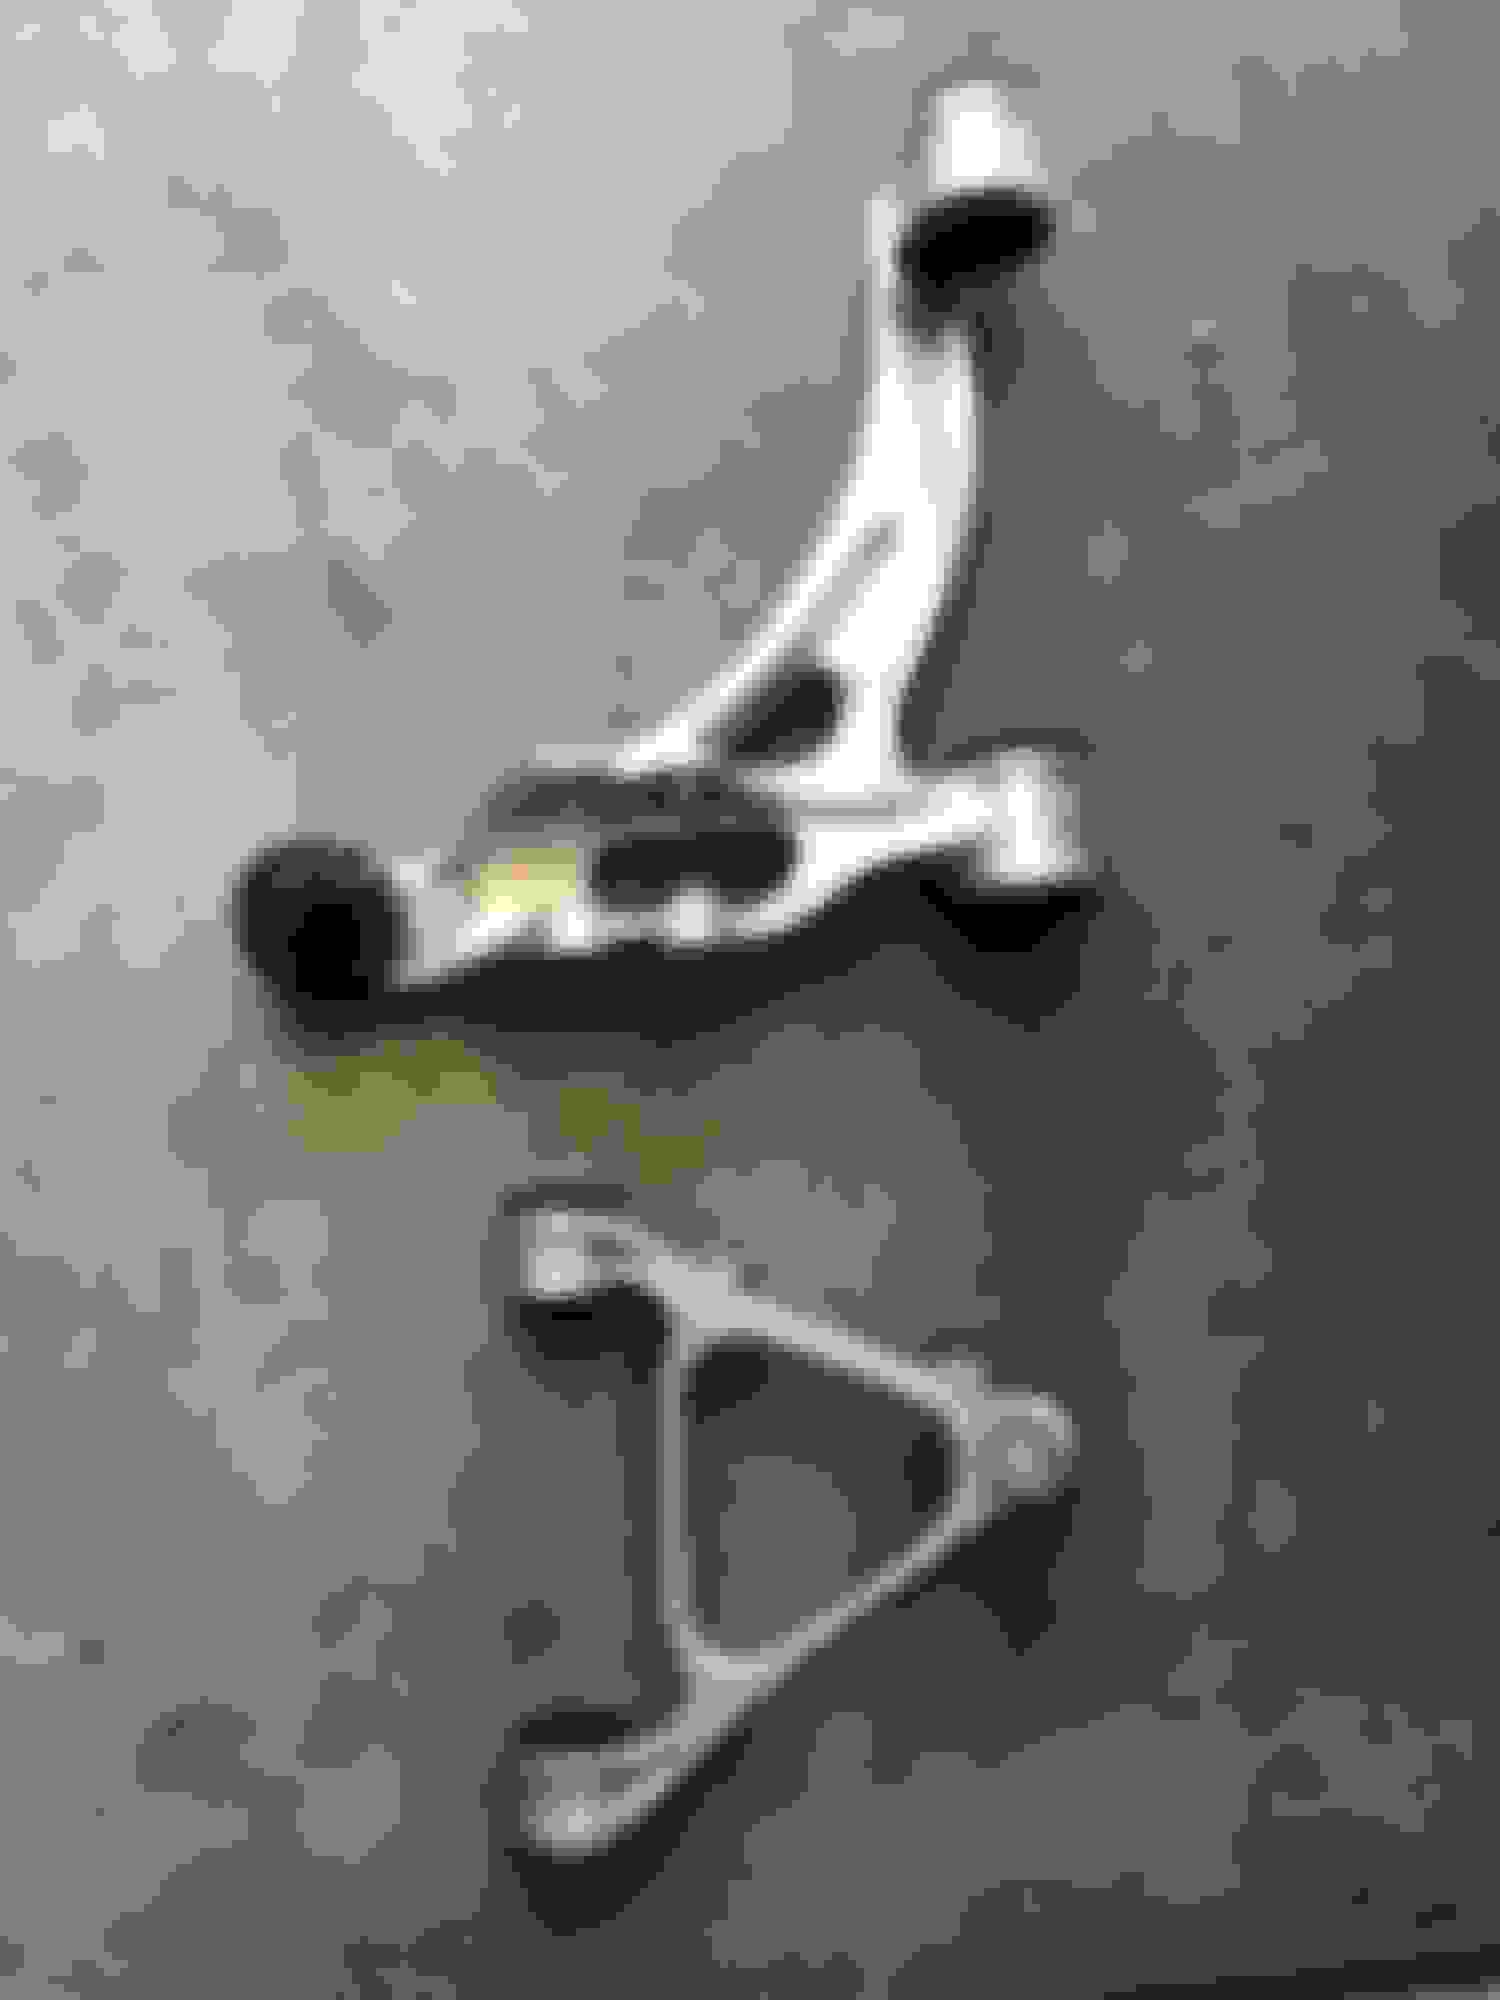
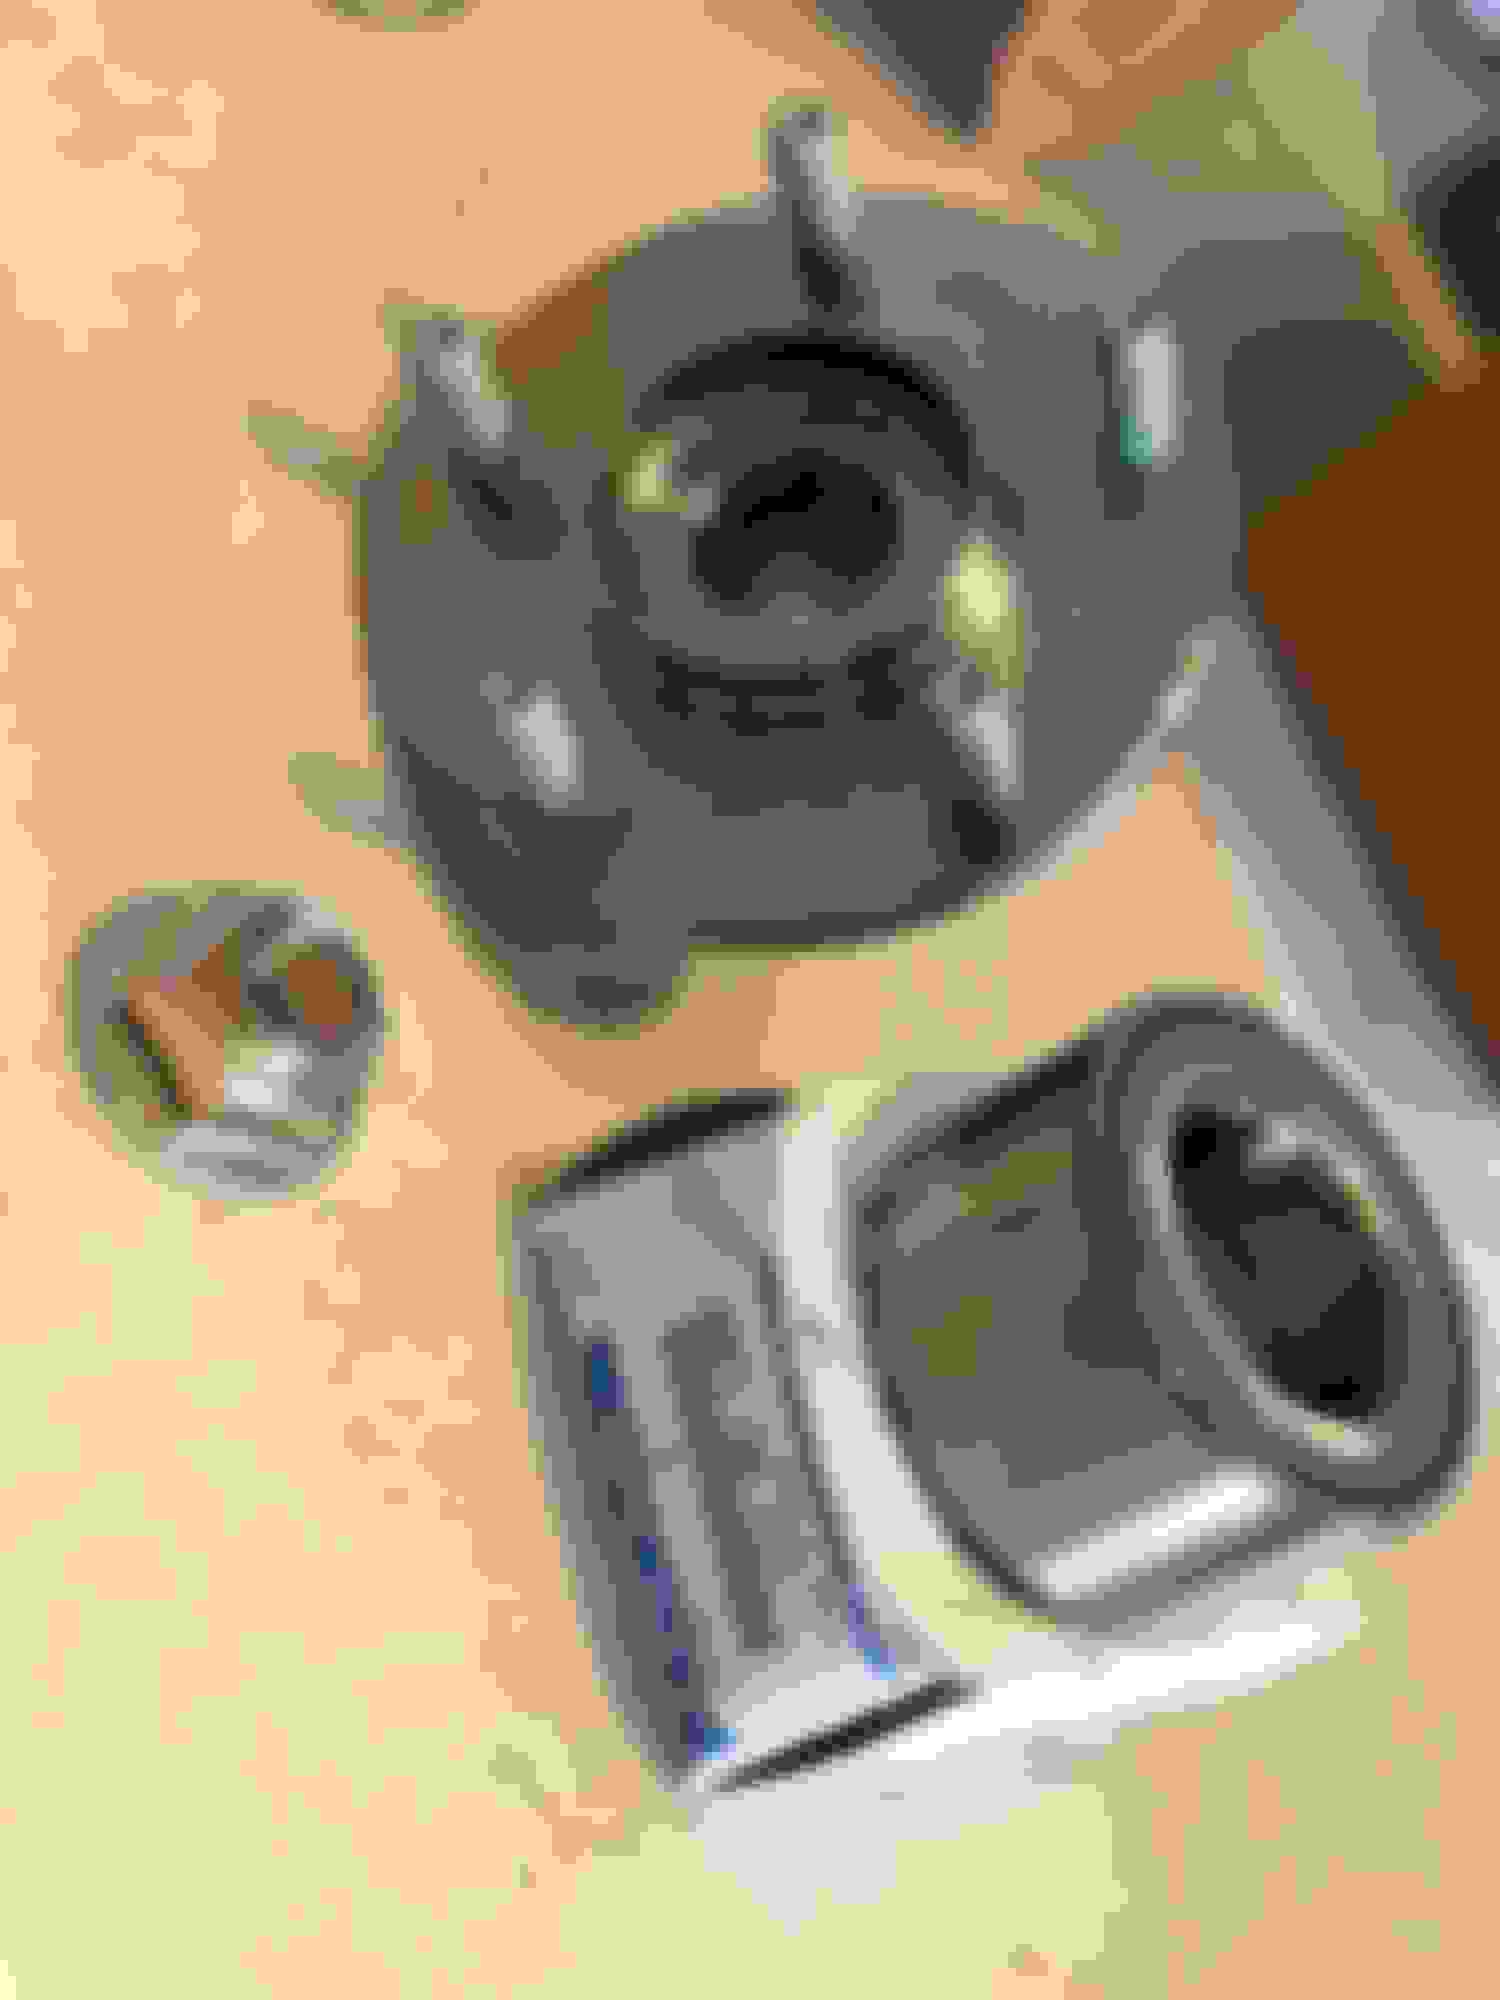
Rear suspension is out, cleaned up, and I have almost all the bushings pressed in and out. Only ones left are the rear upper A arms. I need to pick up a 1/2� drive 32mm socket to do those. The Ohlins are boxed up and will be going to PSI in California for a rebuild.
Having back surgery tomorrow so I won�t be able to work on the car for a few months. So this will be my last boring update for awhile. Ordered new rear wheel bearings and hubs. Got all that cleaned up and pressed in. I wrecked an LCA bushing so I�m waiting on a new one to come in. If I had to do this again, I would probably go with a poly kit. The Mazdacomp bushings are just too expensive and if anything happens, they�re expensive to replace. A poly bushing won�t mushroom and blow up if you press it in wrong :P


 . The 60AMP cooling fan fuse was popped so I swapped it with the defog fuse. One fan would run on low and the other was off. I kicked the AC on to increase fan usage and it instantly popped the fuse. I shut her off and let her cool down quite a bit. The track was only 14 miles from my house [12 being highway] so I drove her home with the heater on full blast [97*F outside at the time FML LOL]. But she made it all the way home with coolant temps at a happy 83*F thanks to a streak of good luck with no red lights. I disconnected my fan motors and ops checked them good at all three speeds each. I took my multimeter and shot black and blue w/orange to ground; both good. All power signals to the fans from the relays checked good with no short to ground, all power from the fuse to the relays good with no short to ground. I pulled all four relays and it turns out cooling fan relay #4 kicked the bucket. Reads continuity over the coil, however it does not actuate with 12V applied to it and does not close the circuit on the other side. So I went ahead and ordered 4 new relays for the cooling fans, seeing as how I kept tearing the boots and junk trying to disconnected them


 On the way home from the detail day, my idle was sticking and my cruise control wouldn't turn off when I hit the clutch. I basically knew exactly what was wrong with it before I got home. The spring for the clutch switch broke. Replaced the spring with the new one from a ball point click pen and off I went [another fantastic tip from this forum!]. A while ago I ordered the dust shutter rebuild kit as well from the for sale section and I finally got around to putting those on. A small detail but well worth the small amount of money for it!