When you click on links to various merchants on this site and make a purchase, this can result in this site earning a commission. Affiliate programs and affiliations include, but are not limited to, the eBay Partner Network.
Reboot: My NEW 93 Rx7's upkeep and OEM reliability build
It's been 2 years since my last Rx7 met its doom at the Tail of the Dragon.
A Brief Flashback
I purchased a 1993 VR on tan touring with 40k miles back in late 2011. I immediately went to work on it and performed all reliability mods and replaced many parts with new OEM. She met her end at the Tail of the Dragon after a cruiser entered my lane around a corner. Luckily, I had no passengers and I made it out unscathed. I was paid out from insurance and sold the wrecked Rx7 to Fritz Flynn.
After a cool down from sports cars and getting bored with my truck, my wife and I decided it was time for another Rx7. After some searching on the forums for a few months, one finally appeared.
It was a 1993 VR on tan base with 62k miles. All stock, no accidents, and super clean. Being still overseas, I had my wife travel to Southern California to check it out and eventually drive it home. And so it begins...
The Plans
The intent of this build will be a reliability and upkeep thread with minimal aftermarket modifications. This will be a daily driver in the hot Arizona heat for several months before a new daily for my wife can be had. The current shopping list of purchased parts includes:
Aftermarket
-Bonez downpipe to be Jet Hot 2000 coated
-Koyo Radiator [48mm high fin density model]
-Defi Racer Boost and Water temp gauges with the Tripower dual gauge dash pod
-Silicone vacuum hose job with Hiperformancestore vacuum hose in black
-Dale Clark viton diaphragm check valves
-Efini Y pipe with all new gaskets
-Fast reacting IAT with PnP harness from wannaspeed
OEM
-R1 dual oil coolers sent off to American Cooler Service to be refurbished
-Radiator, heater core, AST, throttle body, and turbo coolant hoses
-NEW Air separator tank
-Fuel line recall kit
-Updated coil harness
-Fuel pulsation dampener
-Fuel filter
-Injector grommets and diffusers
-ACV, UIM to LIM gaskets
-OMP nozzles, lines, and gaskets
-Turbo control rats nest solenoids
-Throttle Dashpot
-FC Thermoswitch
Maintenance and Fluids
-Idemitsu Premix
-Amsoil MTG for trans/diff
-Castrol 20w-50 with new OEM filter
-Goodyear Gatorback belts
-NGK platinum plugs and wires
Wow. I've ripped through the Tail about fifty times by now, and while it's an absolute blast what happened to you always lingered in the back of my mind.....
Glad you're alright, best of luck with the new build
Good solid list of mods here. Big plus to the Jet-Hot coated downpipe - this needs to be on EVERY RX-7, getting that coating done is a HUGE difference in underhood temps. It's not that pricey or anything either.
It was your suggestion on the jet hot coated downpipe that pushed me towards it. I submitted a quote to jet hot and they suggested I go for the 2500* coating as it offers superior heat management. I have opted for that coating to mitigate heat from the downpipe. I look forward to all the parts arriving in the coming week.
Looking at my list of parts I've concluded that I am basically replacing everything under the UIM. Hoses, some solenoids, o rings, diffusers etc. During the replacement process I will thoroughly document how deteriorated parts actually are on a 62k mile rx7. From all my research, it seems that the most reliable rx7 is one with the most care given to it; the one with the least shortcuts, the most research in decided modifications, and most of all in simplicity. What I DO NOT aim to do with this build is OVER simplify. I cannot stand when people delete unnecessary things because it might be unreliable. It strikes a nerve when owners delete coolant lines, actuators, and factory systems because it might be unreliable. I like the sequential turbo system and feel going non sequential is bastardizing one of the main points of why this car is so different and cool. To me, going non sequential is a cop-out to troubleshooting when disguised as a "reliability" mod.
Minimal aftermarket will be the key to success here.
Welcome back, trucks ARE boring. I like your ideas about keeping the twins in good working order, they truly are what makes the power delivery so much fun on the street. There are a few items on the intake manifold worth deleting and cleaning the area under there like the AWS valve. But you're gonna need a PFC to do stuff like that, so, just keep it stock and use the 1st gear startup trick.
Also, You should probably consider refreshing that engine with a rebuild. At 60,000 miles on the original motor the coolant seals are looking for any reason to give out.
I am holding out hope that it won't need a rebuild in the next few months. The compression test showed great results. As soon as it decides to let a seal go I'd like to undertake the rebuild myself using mostly mazda OEM parts. I've been looking at a LOT of different apex seals and so far there is only one set that has seriously got my attention. Rice Racing in Australia has developed a Steel Science rotor seal kit and it looks damn impressive. If I can afford to shell out the cash for those, I will, otherwise I will probably proceed with OEM 2 piece seals and upgraded water seals.
TONS of parts have come in. The hiperformancestore hose looks GREAT. Really impressed with the wall thickness and kink resistance. Pictures will be coming soon.
The mountain of OEM goodness. Assistant #1 completing inventory for me in my absence.
On my previous RX7 I purchased a Pettit downpipe. I opted for the Bonez this time around and I am more satisfied with the craftsmanship on this than I was with the Pettit. This is being sent off to Jet Hot today.
Here is a shot or two of the oil coolers before being sent to be refurbished.
I'll see about getting pictures of the vacuum hose at a later point. The tear down begins at the end of July!
Matt
Last edited by Mrmatt3465; Jun 4, 2015 at 11:00 AM.
So while I was away I ordered a TON of parts. From the pictures, I was impressed with the bones downpipe. Upon closer inspection when I got home, I was slightly disappointed by something; The turbo side flange does NOT allow for OEM hardware!
I'm HAPPY that I was provided hardware with the downpipe and I'm happy with the overall quality of the unit. I'm just a bit disappointed that I am unable to use OEM hardware [especially since I bought new stuff and its NOT cheap]. I just hope the provided hardware is good quality stuff.
The hi performance store hose is SUPER thick and EXCELLENT quality. I highly recommend their hose.
I finally got to take it out for a drive
So I finally got to see her in person for the first time. She could use some attention. The map pocket lid is cracked and broken, the backing on the floor mats is deteriorated and leaving gross looking stuff on the carpet, and the shifter feels like...a floppy mess. I fire her up and take her down the road; the pillow ***** are shot and need to be replaced. Lots of clunking! After a good warm up, I put it in 3rd and put the pedal to the floor. Surprisingly, the boost works! And sequentially! Very impressive.
After I took a nice baseline of how she drove, it was time to tear her apart and replace everything.
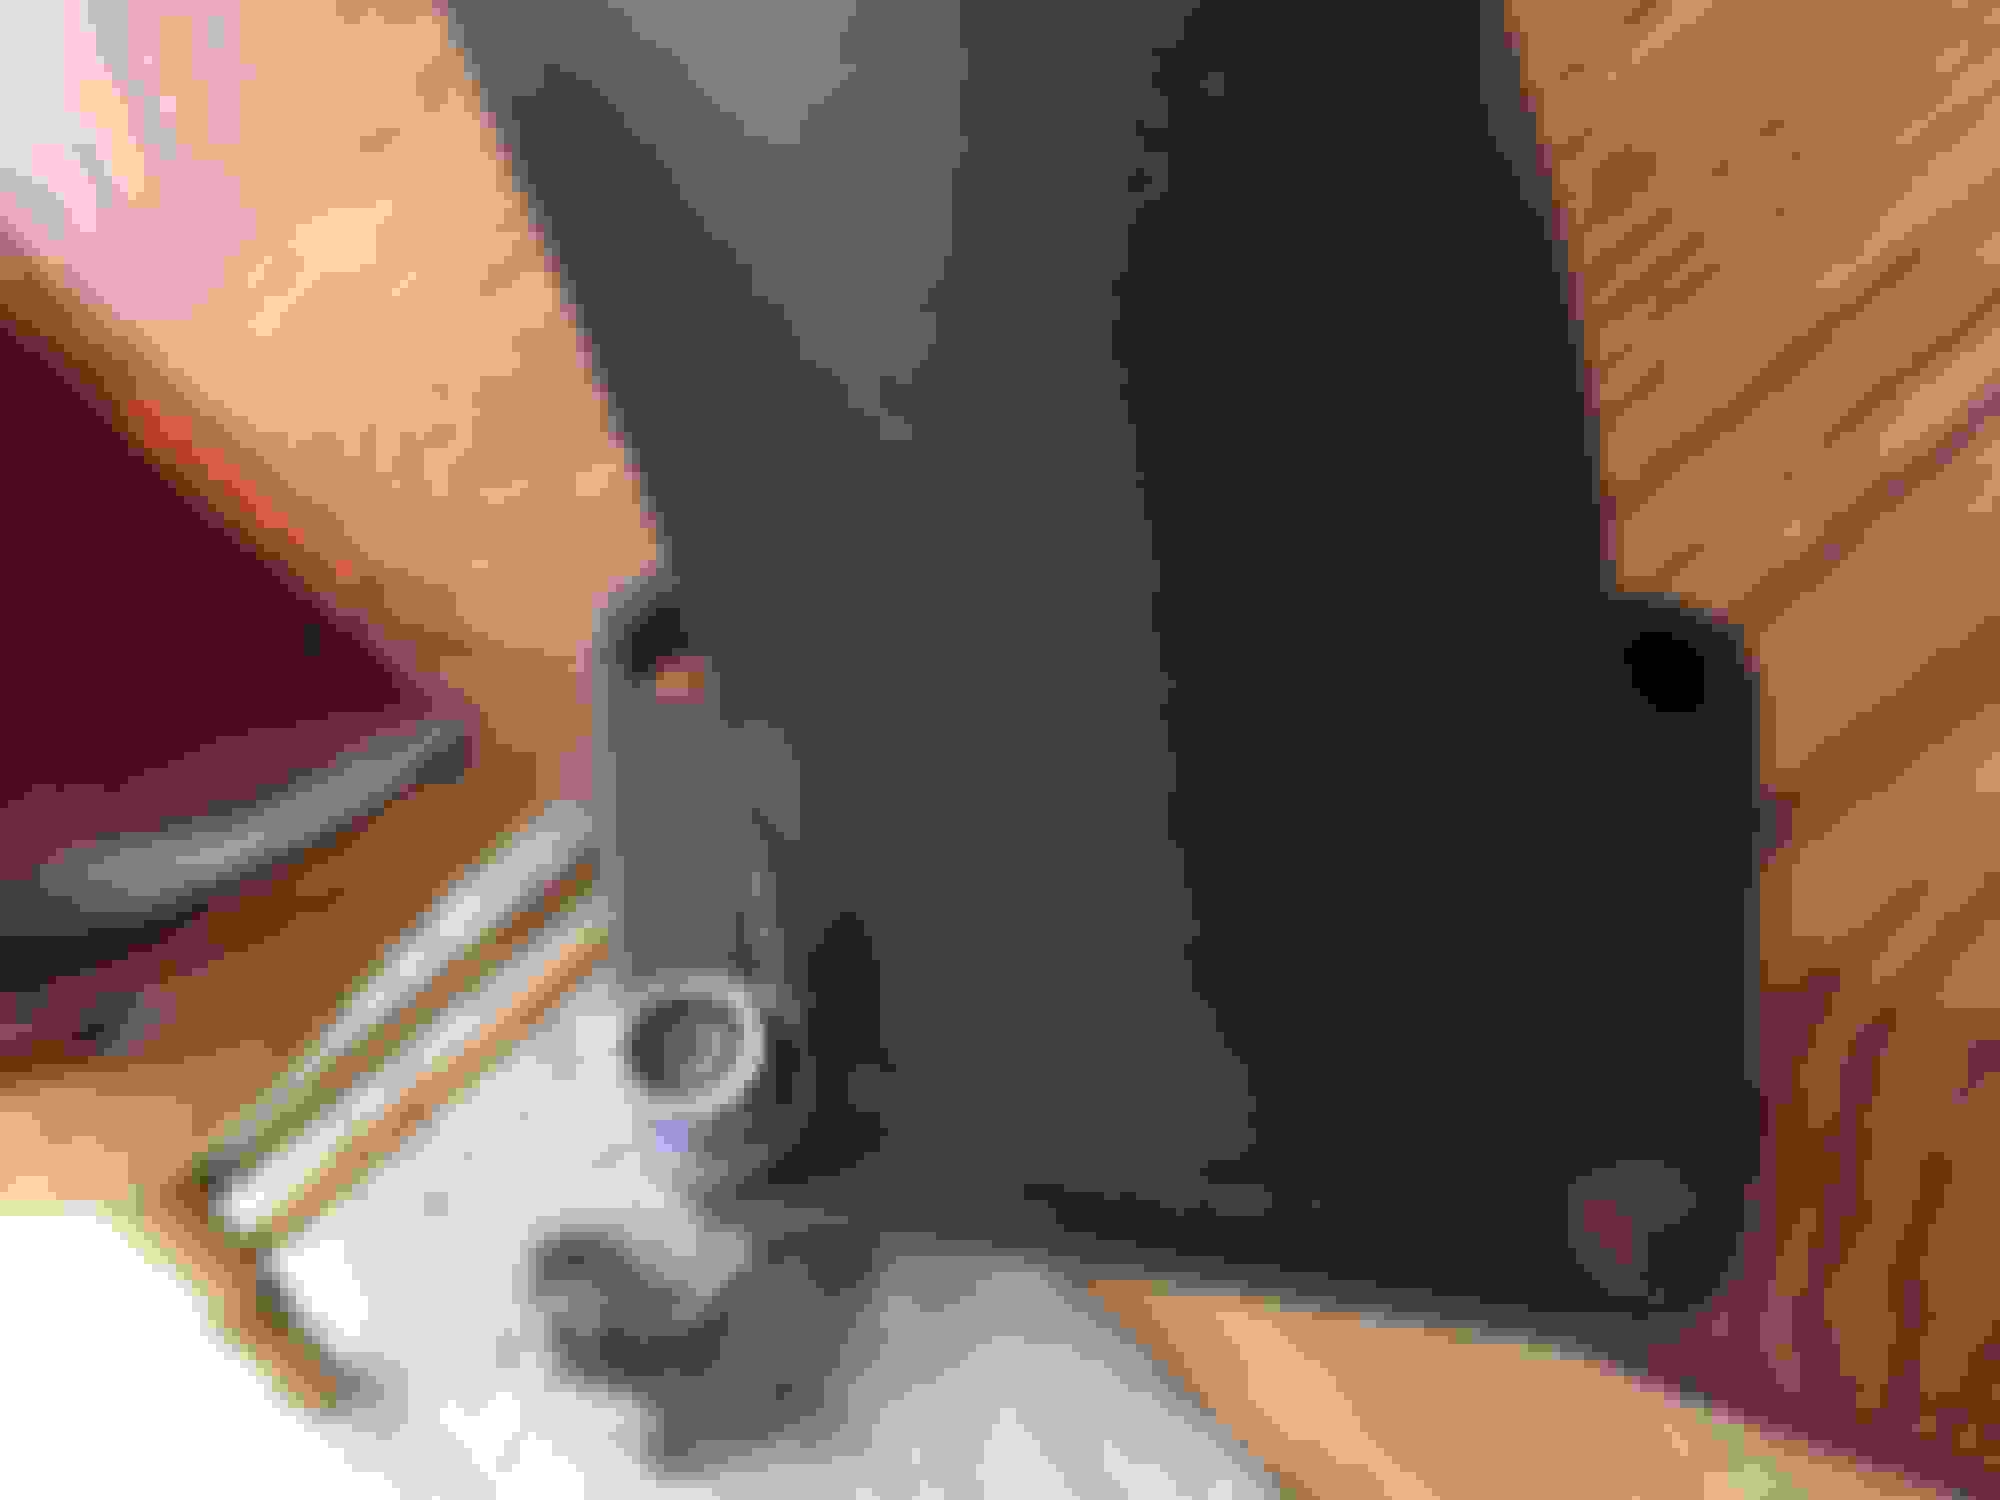
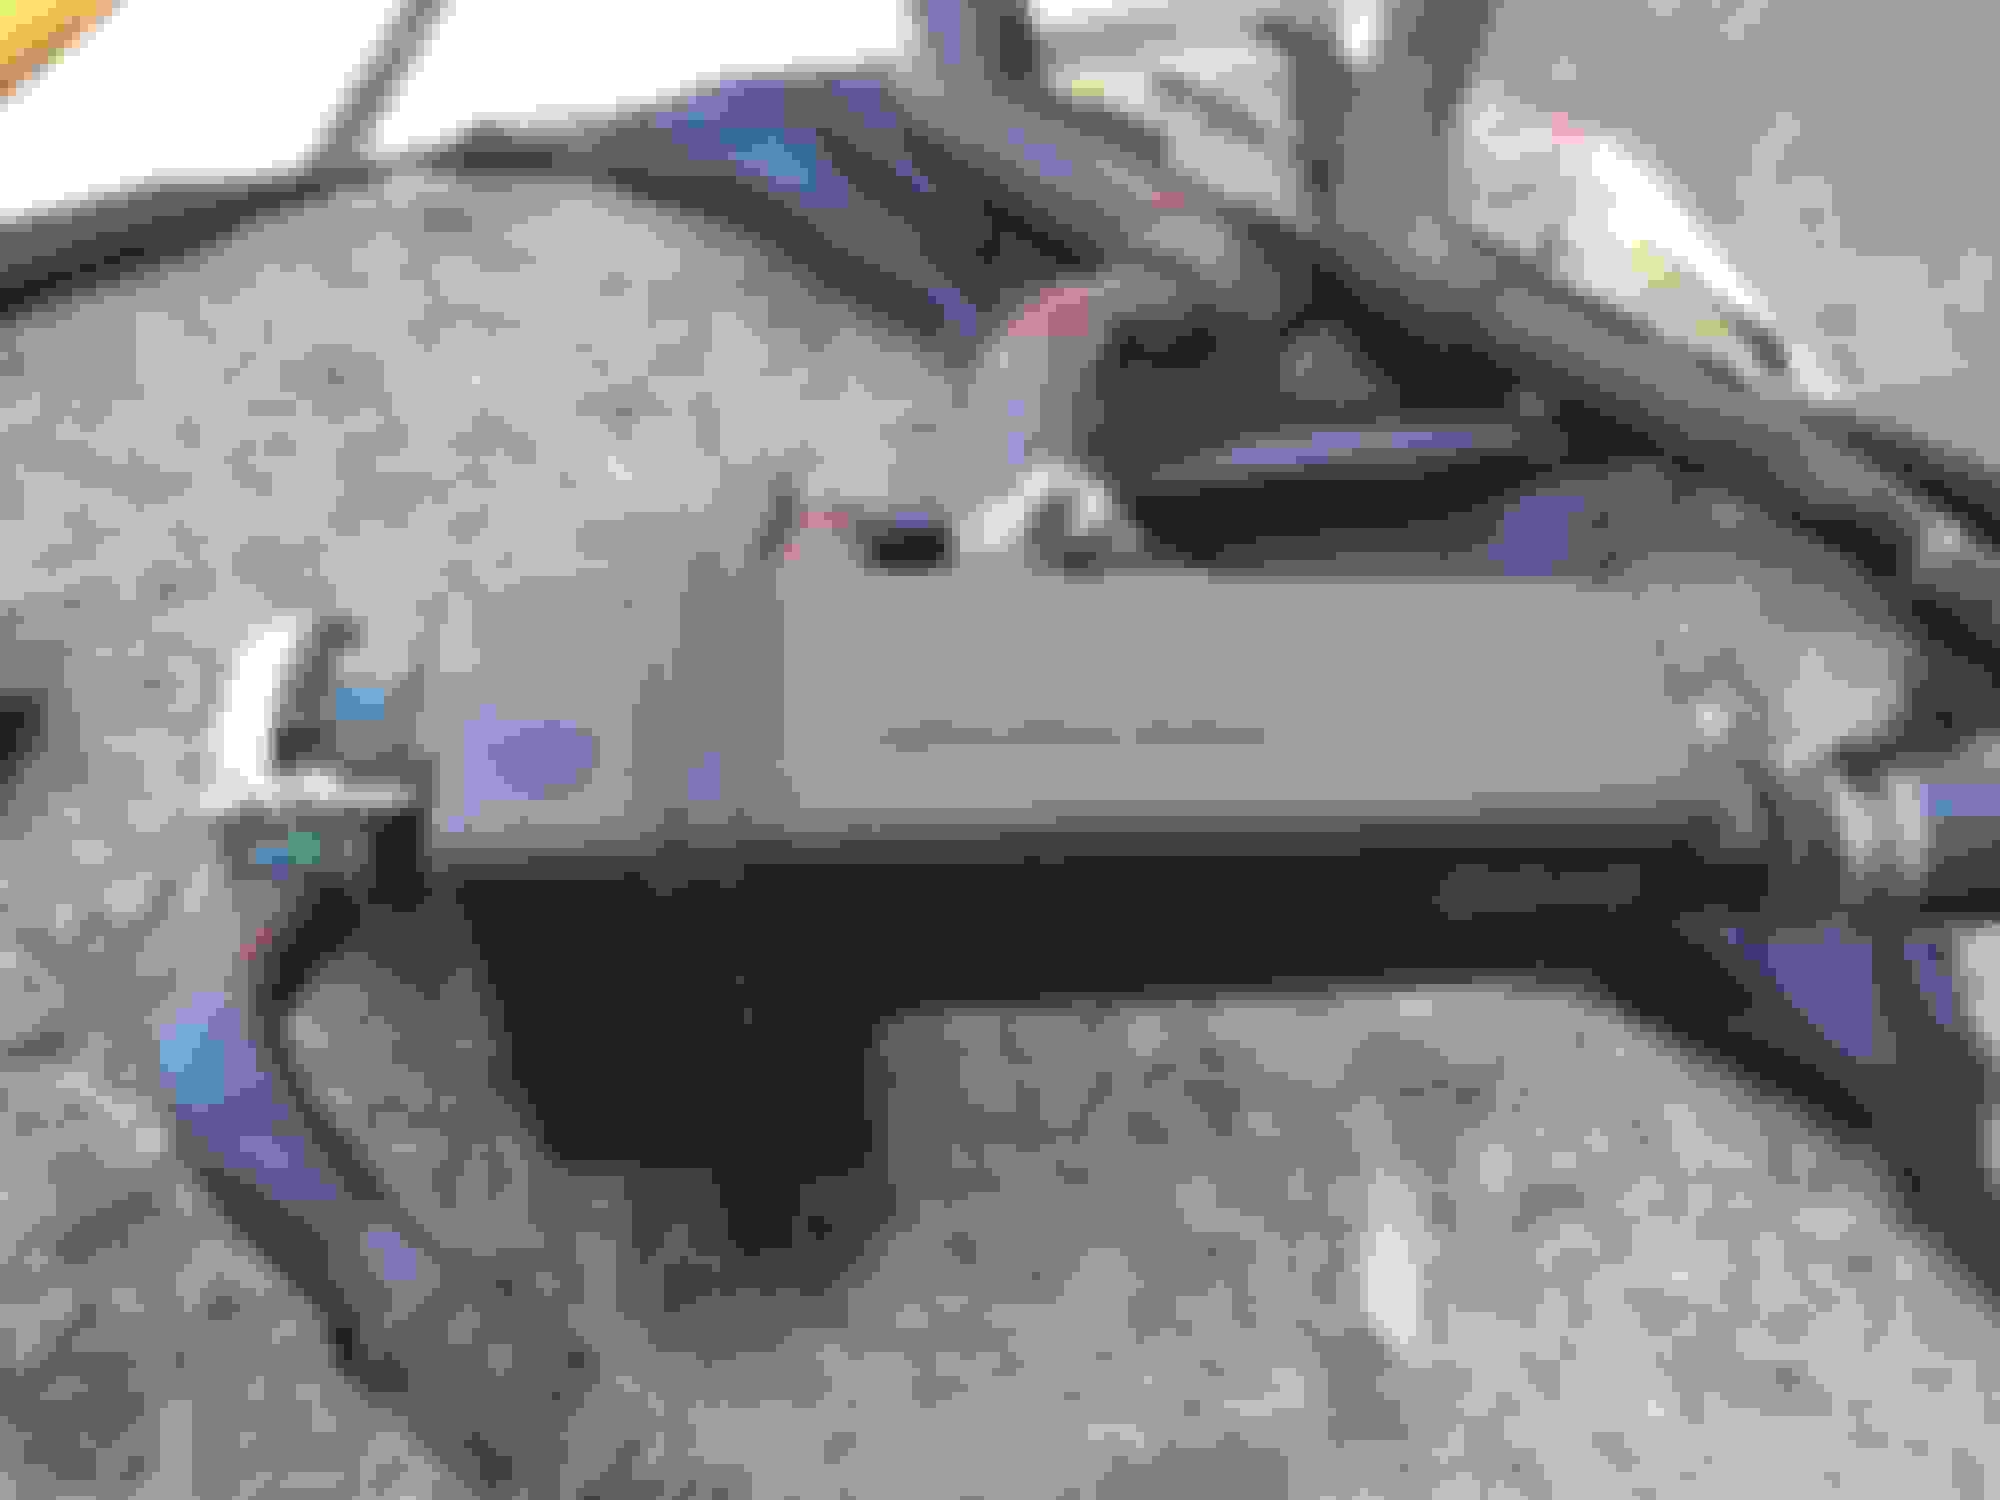
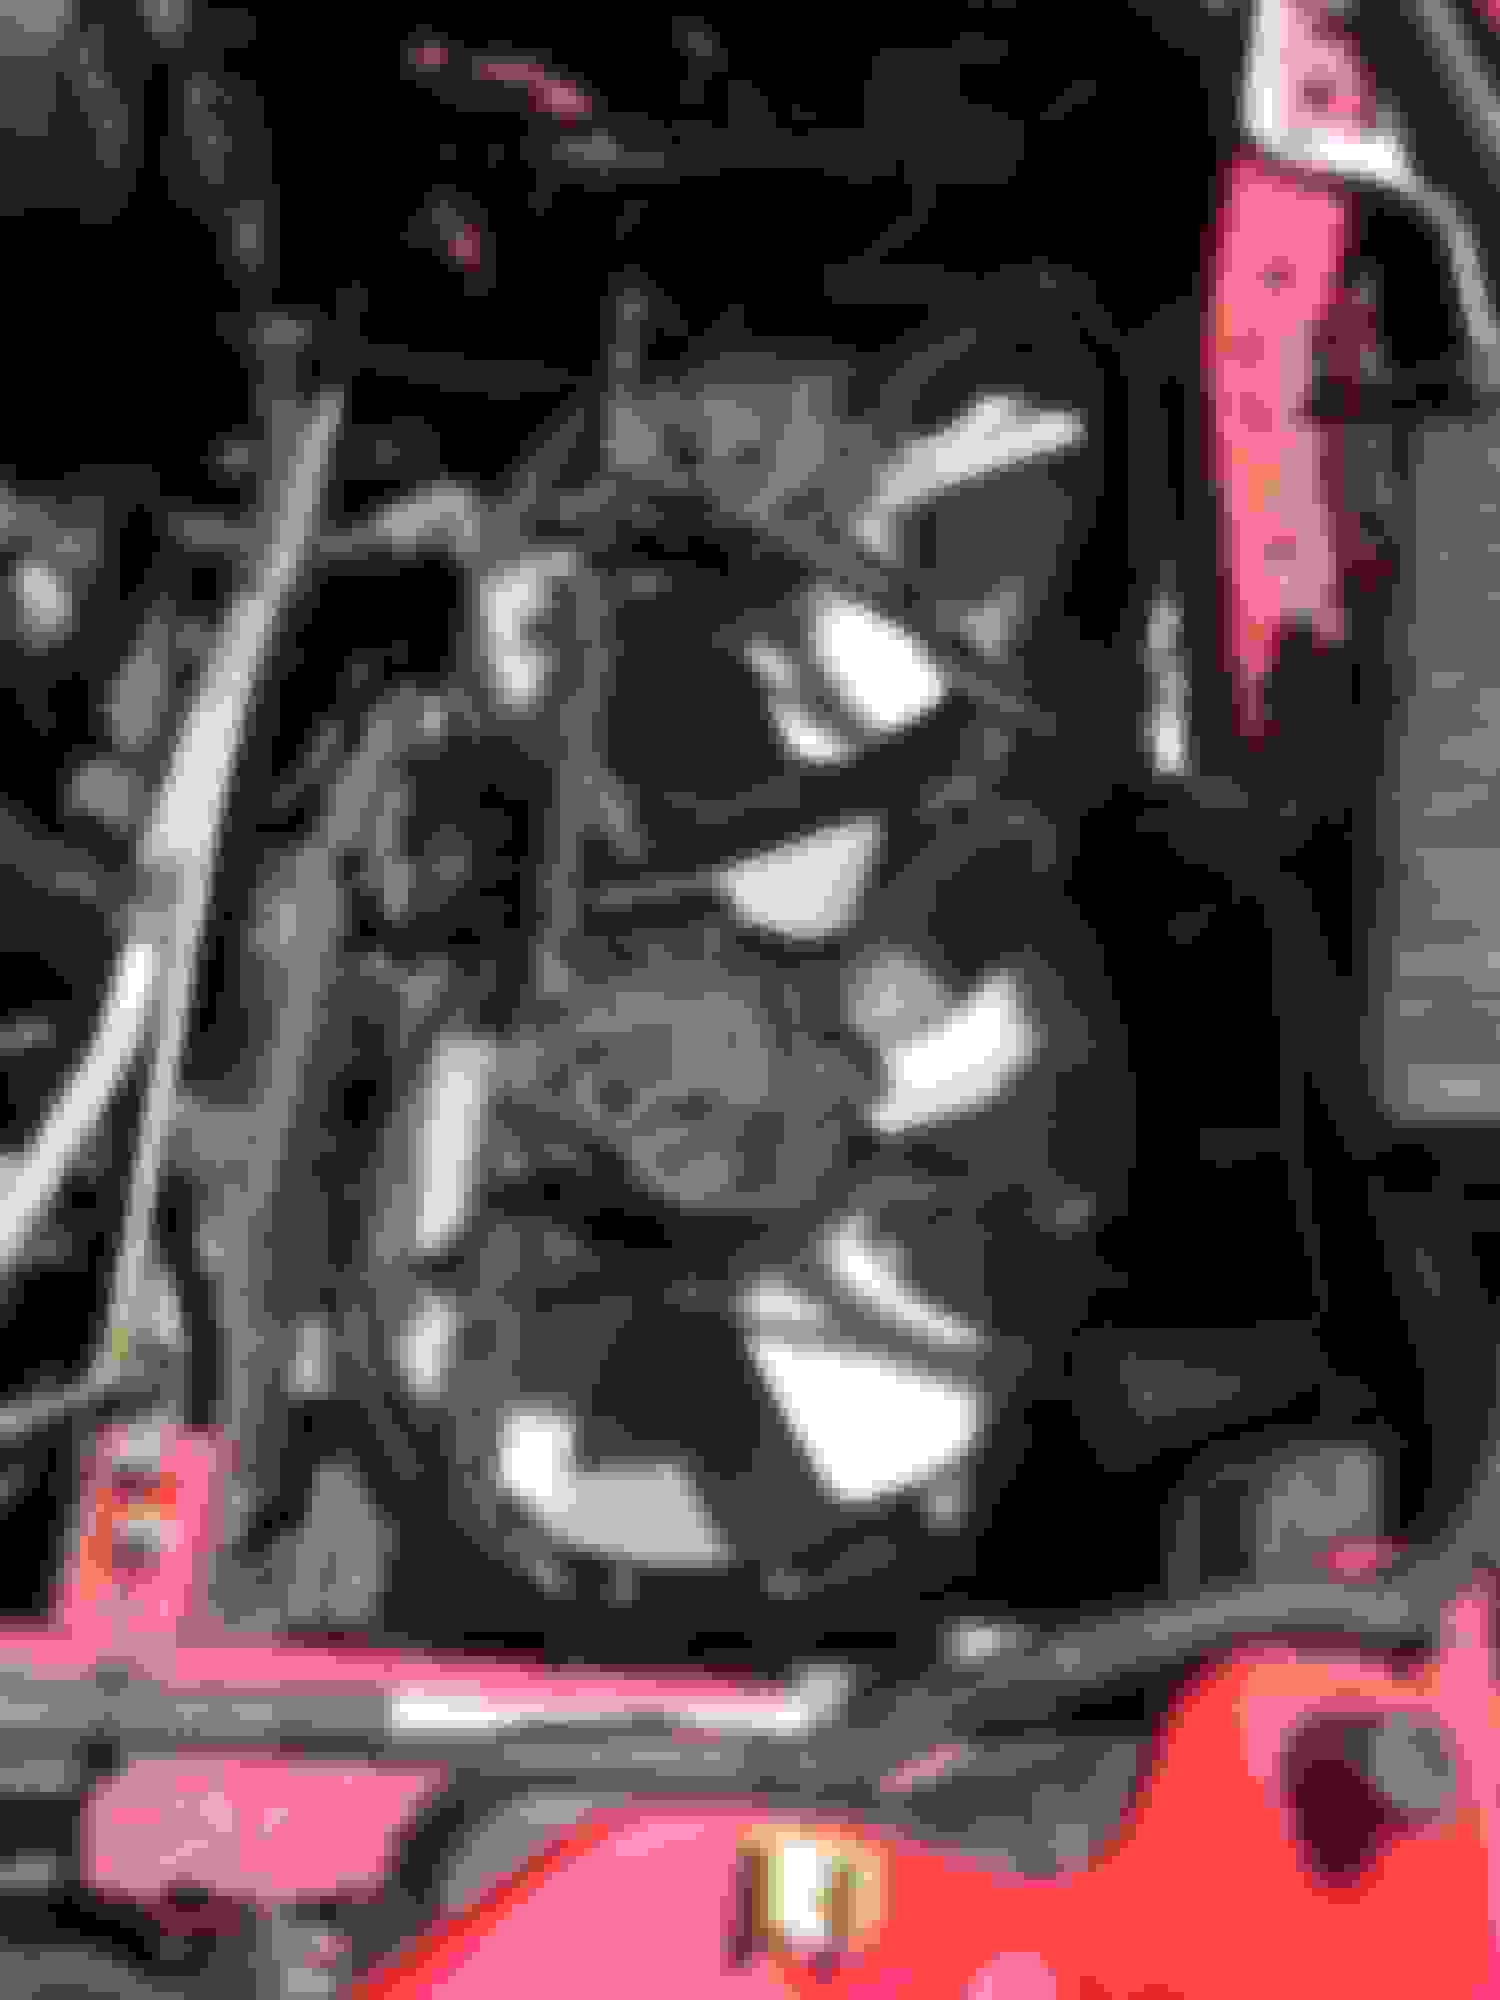
The AST was looking sad. I feel that she has been cared for though. The water hoses were not hardened and didn't crack. Also, the clamps I found all over the place are NOT OEM.
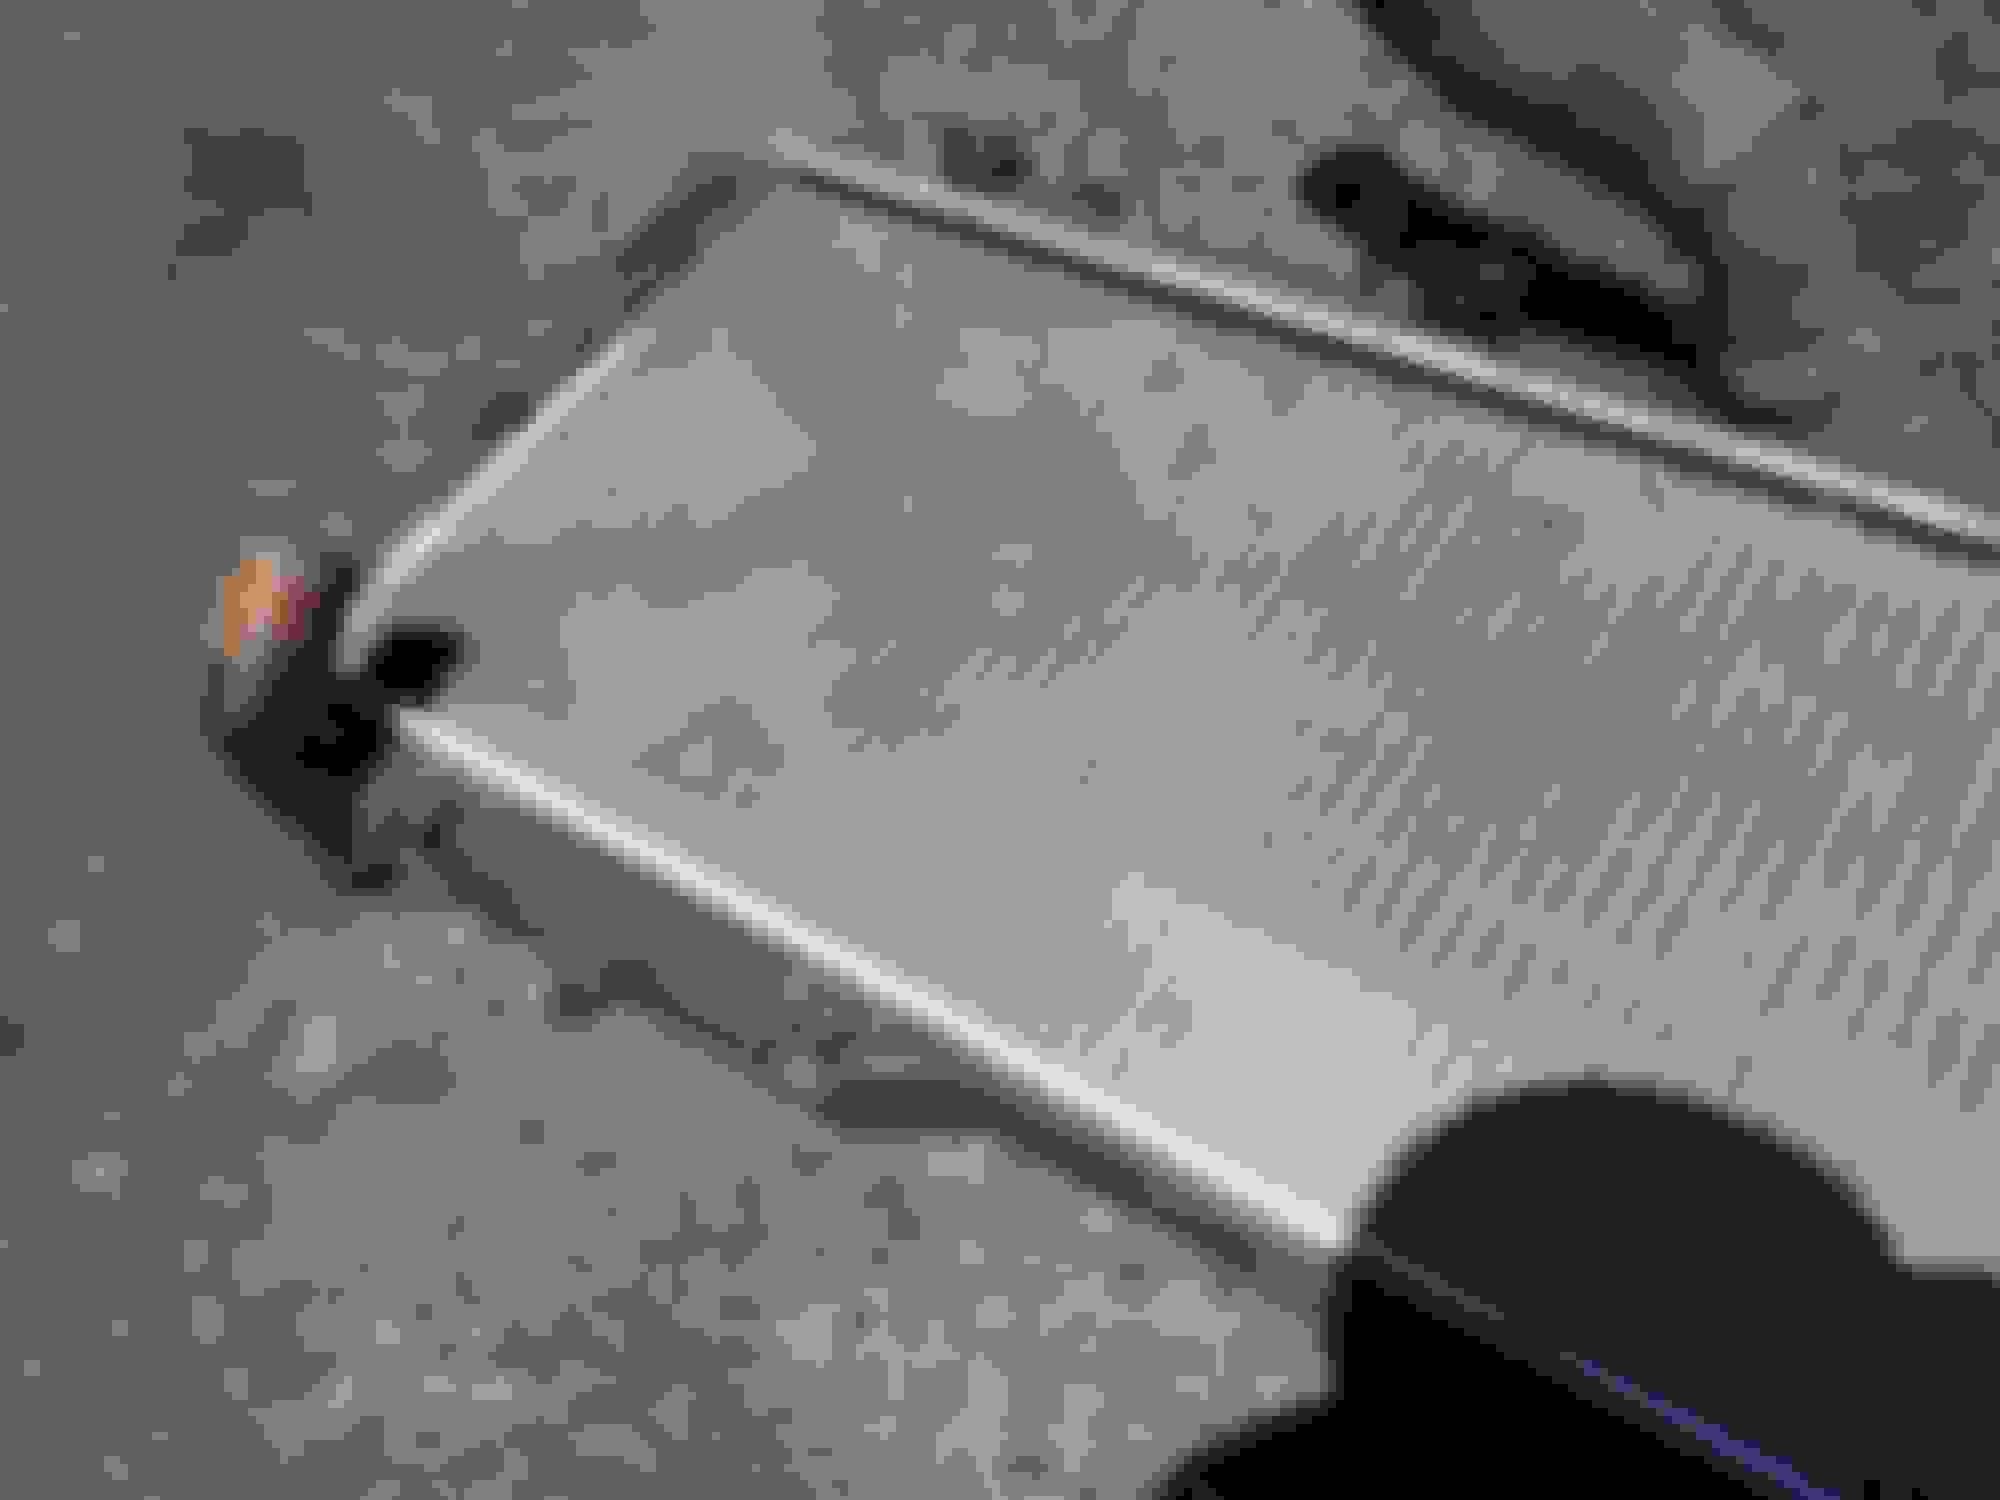
Those radiator end tanks are VERY discolored
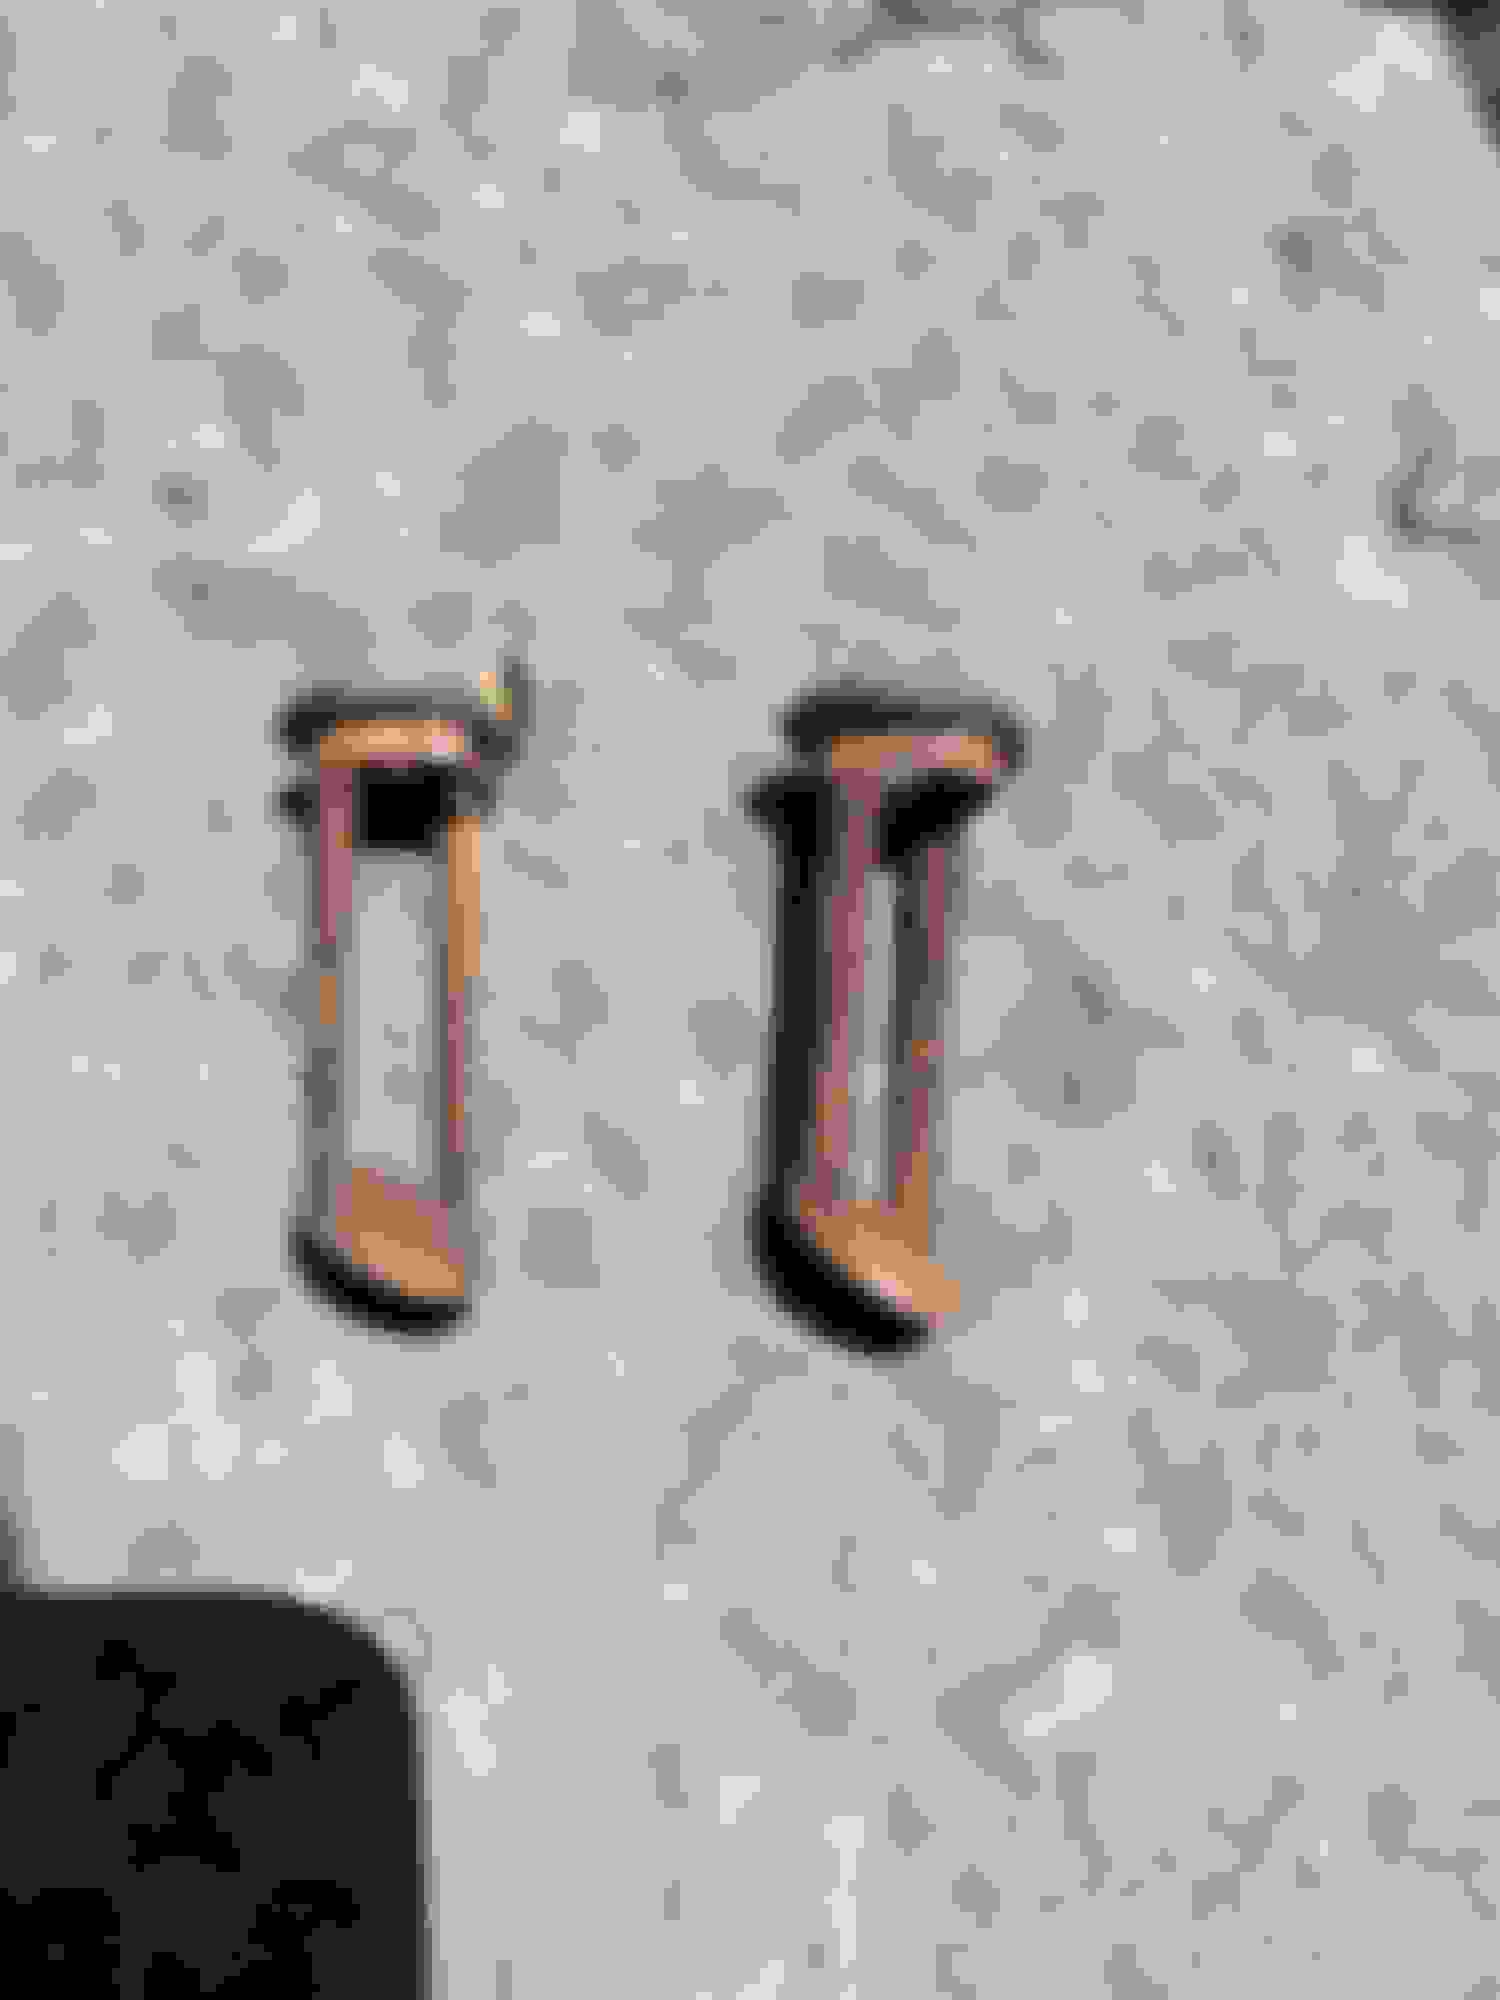
Here's a comparison between a NEW AST and the one that was installed
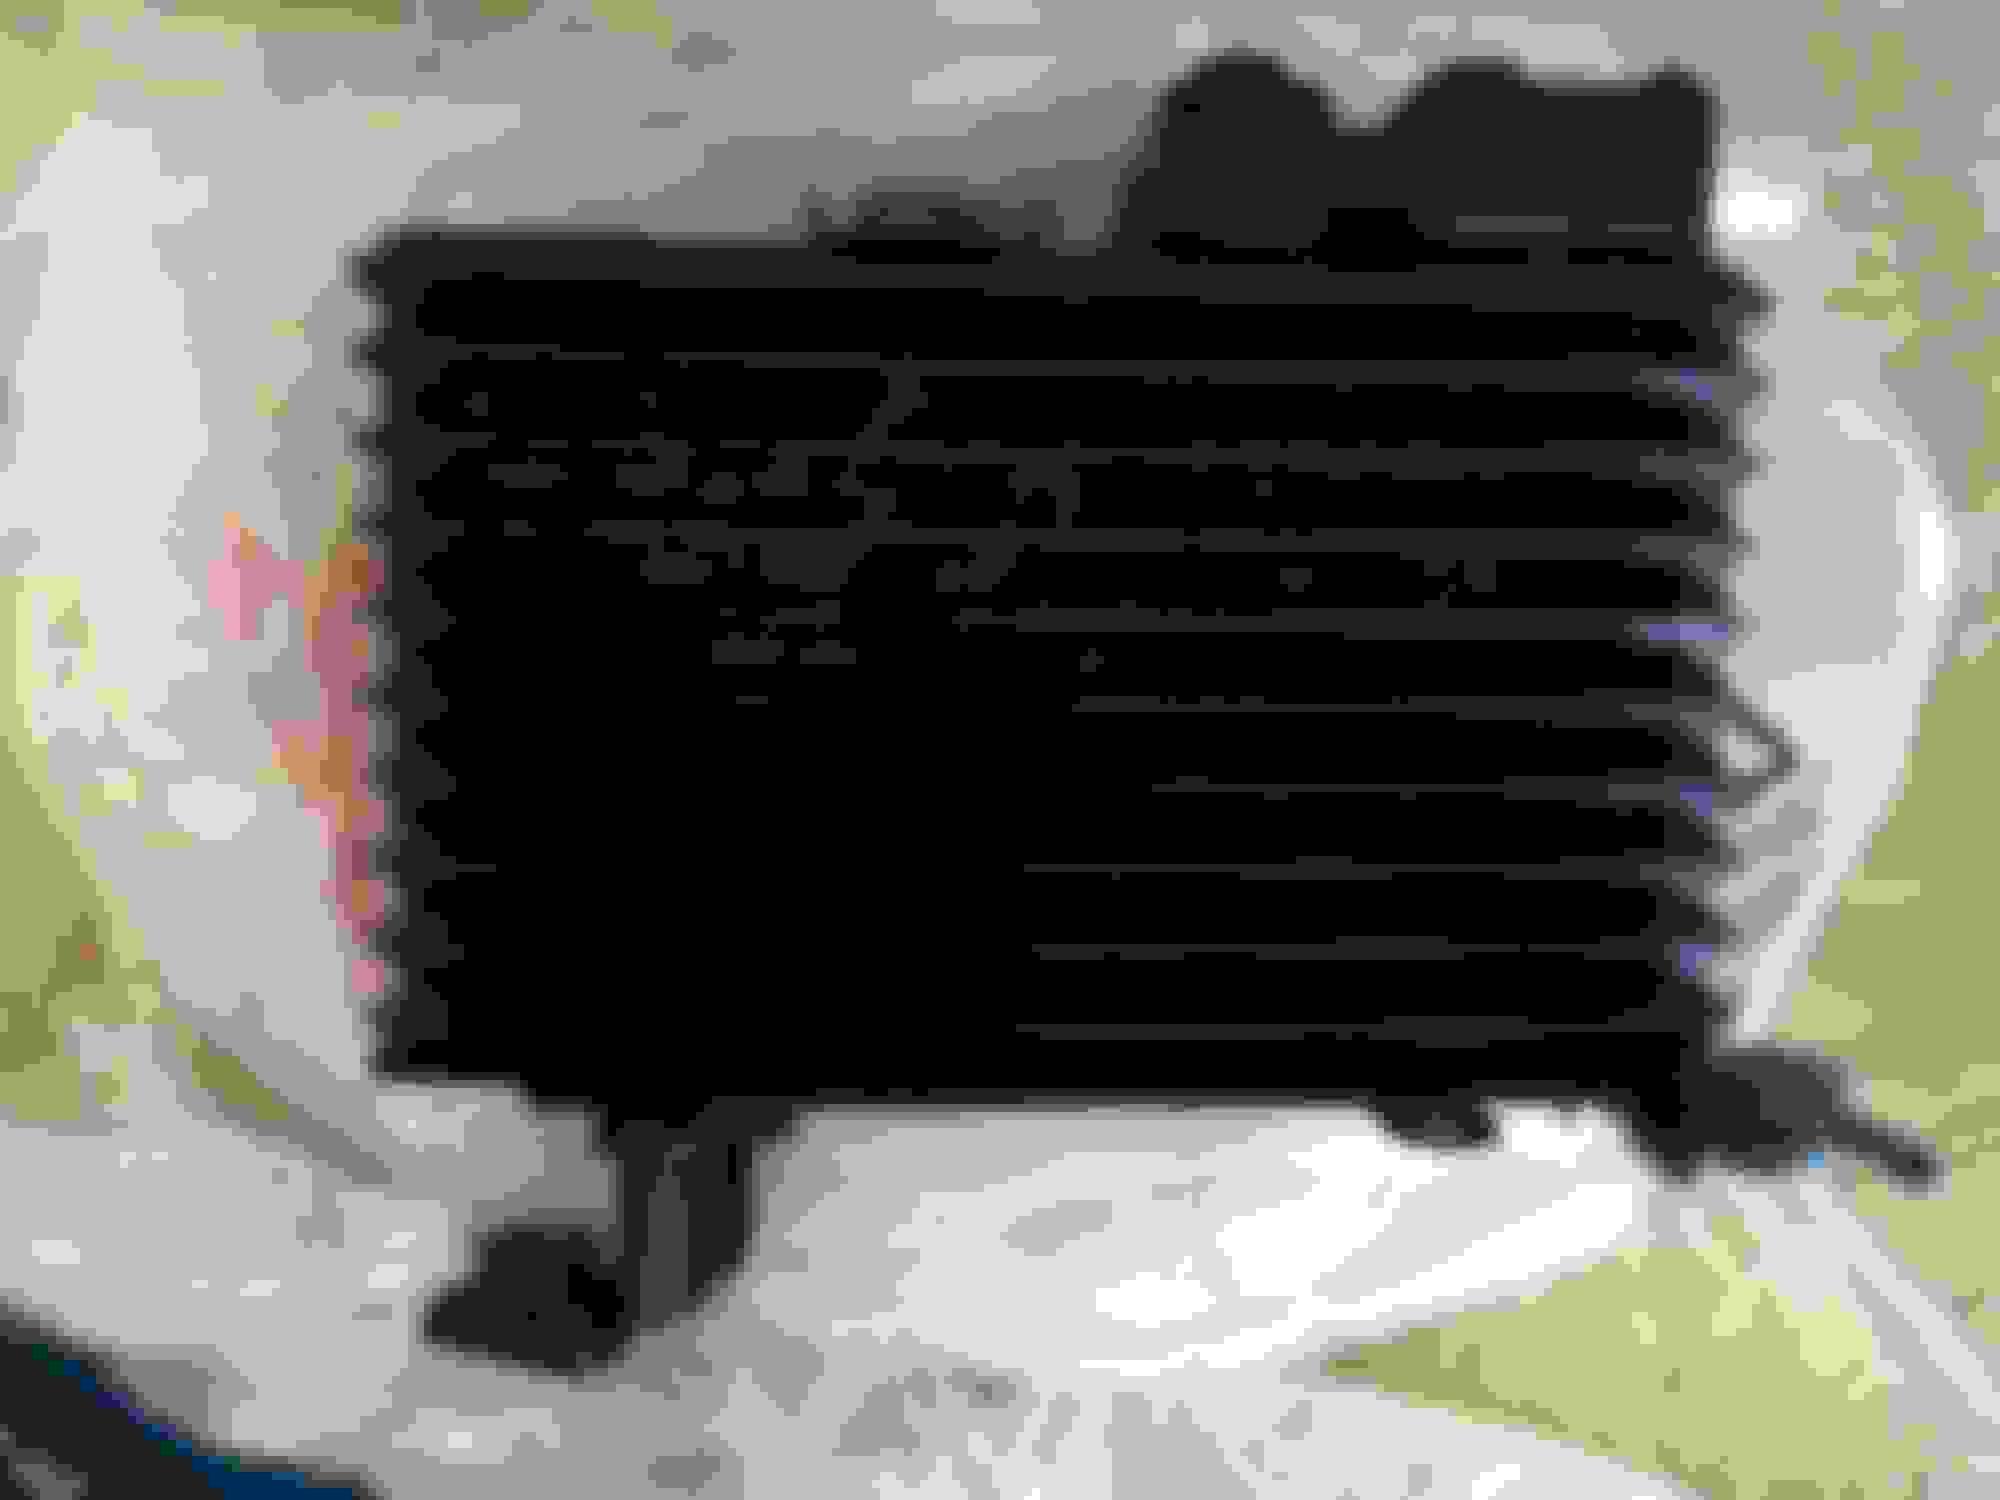
The ever famous Koyo radiator install!
I read and read and read and had mixed replies on whether or not the Koyo "drops right in". I attempted just that! I bent the sway bar mount brackets originally and tried to drop it in to no avail. The passenger side would not sit all the way down.
So I removed the passenger upper condenser bracket and low and behold. She sat right down and in she went.
More work to be put in tomorrow! I got the new plug wires and new coil harness installed as well as the UIM removed. I will be rebuilding the rats nest with new silicone hose, replacing the omp nozzles and lines, repacking the injectors, new diffusers, new fuel lines. etc stay tuned!
My only problem was waiting too long to install my injectors so they were stuck closed and had to be sent out again, so if you're getting them cleaned while you're in there (which you should) just don't wait too long and make sure you test them before installing.
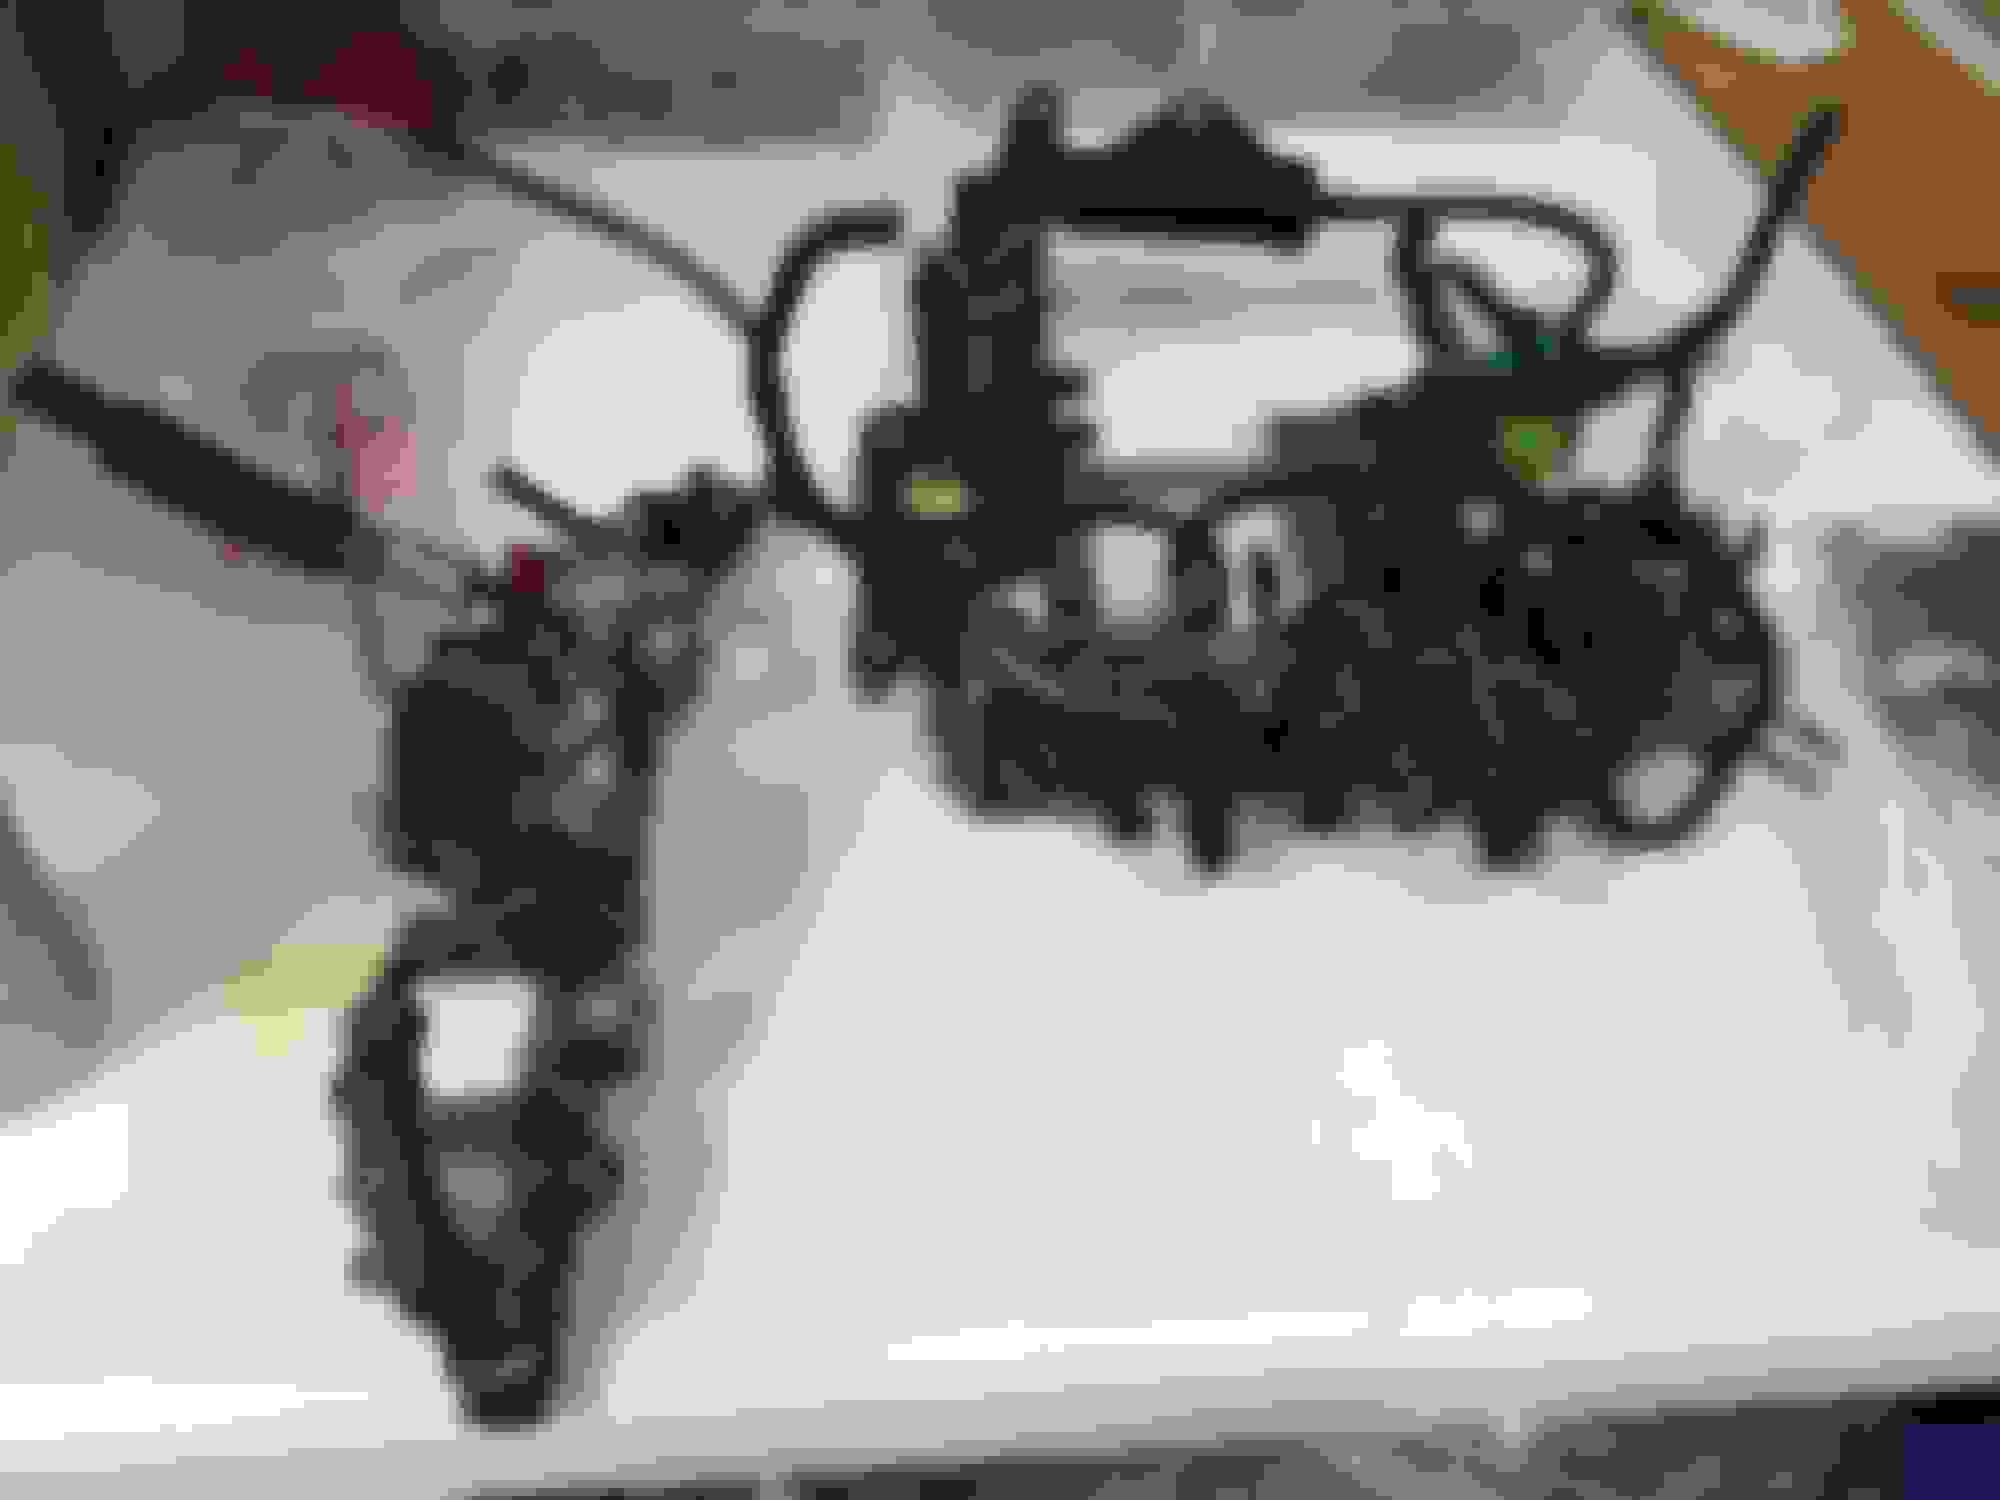
So today was spent removing the rats nest and repacking the injectors. I pulled the alternator, the filler neck, and unsecured the coil bracket. Once I got the rats nest, ACV, and injectors out, I installed new injector diffusers and grommets.
I got the grommets out using a scribe. They were surprisingly not brittle like I anticipated and came out in one piece [same with the secondaries]
Laid everything out ready to get to work
This fuel line recall kit is AWESOME. New EVERYTHING.
I'm glad I repacked the injectors. They were beginning to dry out and spiderweb.
All repacked, new pulsation dampener installed and ready to go!
I snapped an OMP line like an old twig. I was replacing them anyway.
This is where I left off. New OMP nozzles and lines installed, FC thermoswitch is in, injectors and ACV are reinstalled.
Plans for tomorrow
Tomorrow I plan to rebuild the rats nest. I've got all new silicone vacuum line, some spare solenoids, and I'm ready to get that guy thrown back in there. I'll see if I can get to the efini Y pipe installed, downpipe, and fuel filter done next week. I haven't even had a moment to get the Defi gauges in. I'm also going to be waiting on some parts. I sheared the plastic quick disconnect for the heater hose on the rear iron. A new one is en route from Ray along with shifter bushings, oil pedestal o rings, and a headlight relay.
Today was spent almost entirely on the rat's nest. I replaced all the vacuum lines, tested each solenoid, and reinstalled the rack. I'm happy to say that only one solenoid was bad and I sheared the nipple off of only one. Glad I ordered three new spares. I tested all of them using a car battery and it was a breeze. I saw what some people said about them sticking from staying on the shelf. I had one that when I first applied voltage, I didn't get any operation or feedback. After I applied it the second time it popped open and was perfect after that. Here come the pics!
And this is how it was left for the day. Rats nest is back in, all fuel lines plumbed, coils remounted. More to come next week!
Last edited by Mrmatt3465; Jul 24, 2015 at 07:22 PM.
Yes. I read a post from Banzai that said that's all they do to drop Koyo's in is remove that bracket. The welded on nut and protruding screw threads bump into the koyo. All the other mounts for the condenser are different. This is the only odd ball.
It would be great if you could list the part numbers of all the parts you are getting - Especially looking at the first pic with the OEM parts.
Anyways great thread, subscribing now and keep up the great work and pictures.
I just bought a 1993 with 55k and have a personal interest in your work as this is what I will be doing in a few weeks
Here's a handful of them.
It's running!
So I got the rest of the vacuum hoses replaced, down pipe is installed, shifter bushings are in, efini y pipe installed, etc.
Only things I have left are the gauges and the oil coolers.
I had broken a few things doing work on the car. When it comes to changing heater hoses, I highly suggest getting the quick disconnect for the rear iron and NEW CLAMPS. New clamps were a fantastic suggestion. Made things painless. The shifter bushings we WRECKED.
After it was put back together, I took it to my buddy's place and we went to town. Washed, clay barred, compounded, polished, then waxed it.
I began by pulling the seats and doing some vacuuming a few weeks ago. After I had cleaned the outside, the inside needed the same love.
The backing on my floor mats is beginning to disintegrate. That's where all the powder comes from. When I pulled the passenger seat I was SUPER excited. I though I had stumbled upon a sweet nudie mag from the late 90's!
It wasn't what I thought it was :/ regardless, I needed to freshen up the windshield cowl and a few other things.
This stuff is some SERIOUS magic. STILL looks good weeks later BTW. After all that was said and done, it was time to pack her up for the move.
So now she sits in a garage. Just how it should be.
As I've been driving it to and from work I've been noticing a few issues: it's got a nasty stumble at 2.5k rpm that turns into bucking until I increase rpm or push the clutch in. I solved that today by cleaning all the grounds, pulling the fuse block bracket, then cleaning and making sure it gets good ground with the chassis. There was Mazda bulletin that highlighted all this. I took her for a drive after and I couldn't get it to buck if I tried. Isn't it great when things are easy?
Speaking of easy....my drivers side door lock was being SUPER lazy. I would put the key in and turning it felt like a combination of a vague effort of trying to move some linkage and the door lock painstakingly attempting to unlock itself. I pulled the latch out and found my cable for the lock was all bound up. I went to a bike store and found some cable lube and worked it into the cable and it freed right up. After I freed that up, I replaced the bulb for the door lock light and painfully widdled a new key hole flapper out of plastic using a knife. Now when I turn the key, I get a nice solid feedback of linkage meeting its stops and the lock snaps smartly into its lock and unlocked positions.
Next week, I hope to get the oil coolers in! I'll see if I can post a video of the lock cable binding as well.