My take on the perfect road going FD

Don't worry, Be happy
Joined: Sep 2010
Posts: 166
Likes: 0
From: where the fish fly and the birds swim, (Ga)
are you a tech for a living? :o
 .
.
Thread Starter


Joined: Mar 2008
Posts: 2,213
Likes: 283
From: Somerset, England
Thread Starter
Joined: Mar 2008
Posts: 2,213
Likes: 283
From: Somerset, England
I used:
Plasti-kote super primer - grey.
Plasti-kote super satin - black.
Plasti-kote super laquer - clear.
I'll take a better pic when they're installed...For some reason they look gold in the picture...
Cheers
Highwayman
Joined: Nov 2008
Posts: 570
Likes: 0
From: Houston
Great info, thanks. Looking forward to more pics. I'm a big fan of the satin black ever since previously owning an RX-8.
Did notice the gold color in previous pics but just figured it was the lighting
Did notice the gold color in previous pics but just figured it was the lighting
They're the '93 plastics, so I had to sand off the smooth film finish. I probably laid on 4 coats of primer with sanding between each coat to check the repaired areas we're 100% smooth. Two coats of satin black & one coat of satin lacquer. I did the same process on my last plastics & it resulted in a really durable finish. The finish didn't damage/mark at all with two years daily driver usage.
I used:
Plasti-kote super primer - grey.
Plasti-kote super satin - black.
Plasti-kote super laquer - clear.
I'll take a better pic when they're installed...For some reason they look gold in the picture...
Cheers
I used:
Plasti-kote super primer - grey.
Plasti-kote super satin - black.
Plasti-kote super laquer - clear.
I'll take a better pic when they're installed...For some reason they look gold in the picture...
Cheers
Thread Starter
Joined: Mar 2008
Posts: 2,213
Likes: 283
From: Somerset, England
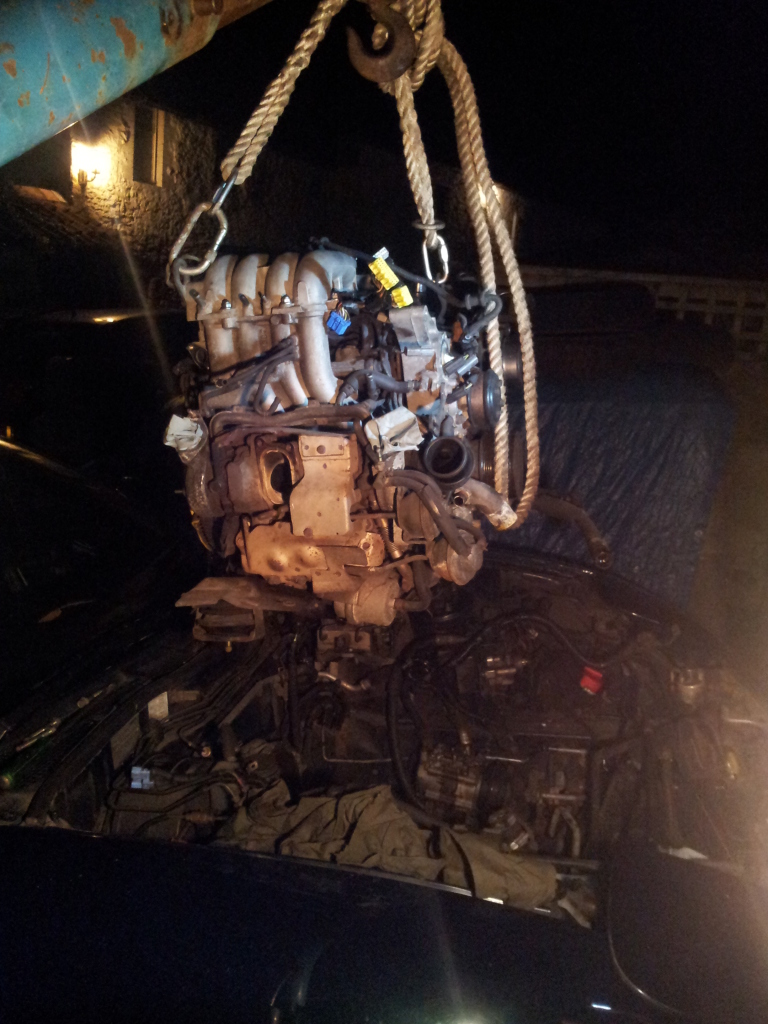
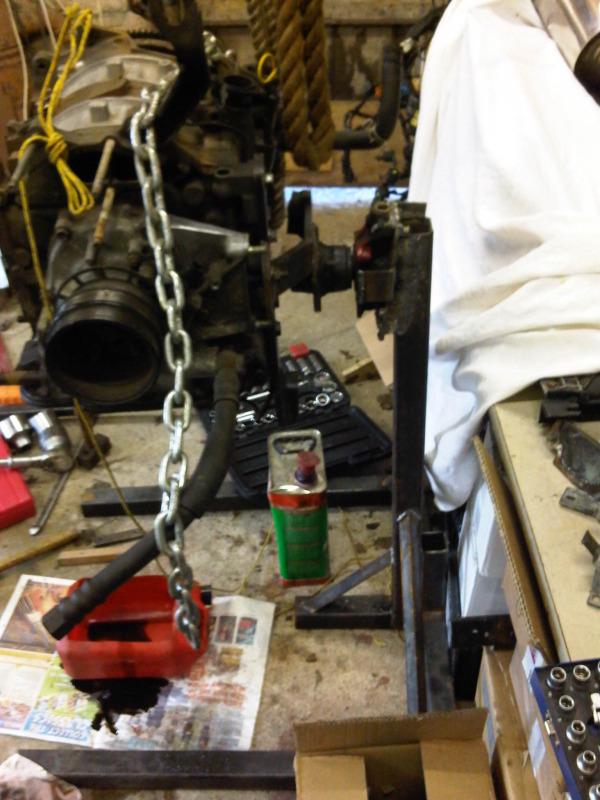
She's out!
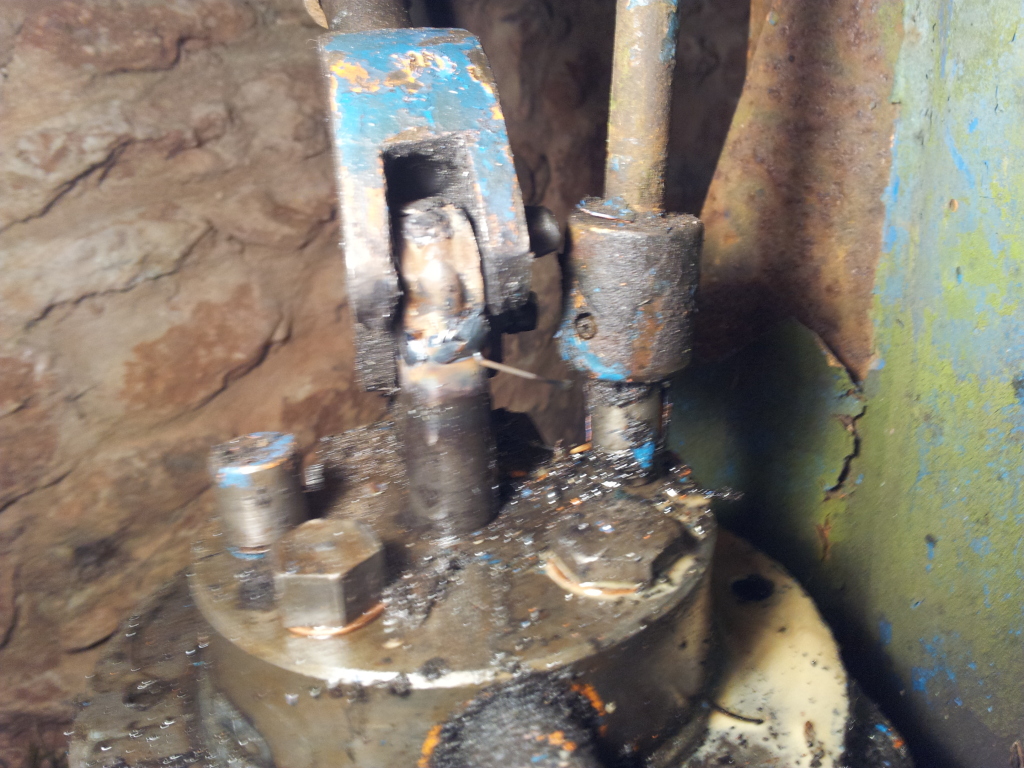
My friends engine crane gave out just when we we're tying to pull the engine, spewing hydraulic fluid everywhere. To add to that, the pump push rod decided to snap, therefore needed welded up. After about 2 hours of modifications the pump was back up and running! However, it was now dark...
Sweet nectar...
In the trusty wheel barrow...

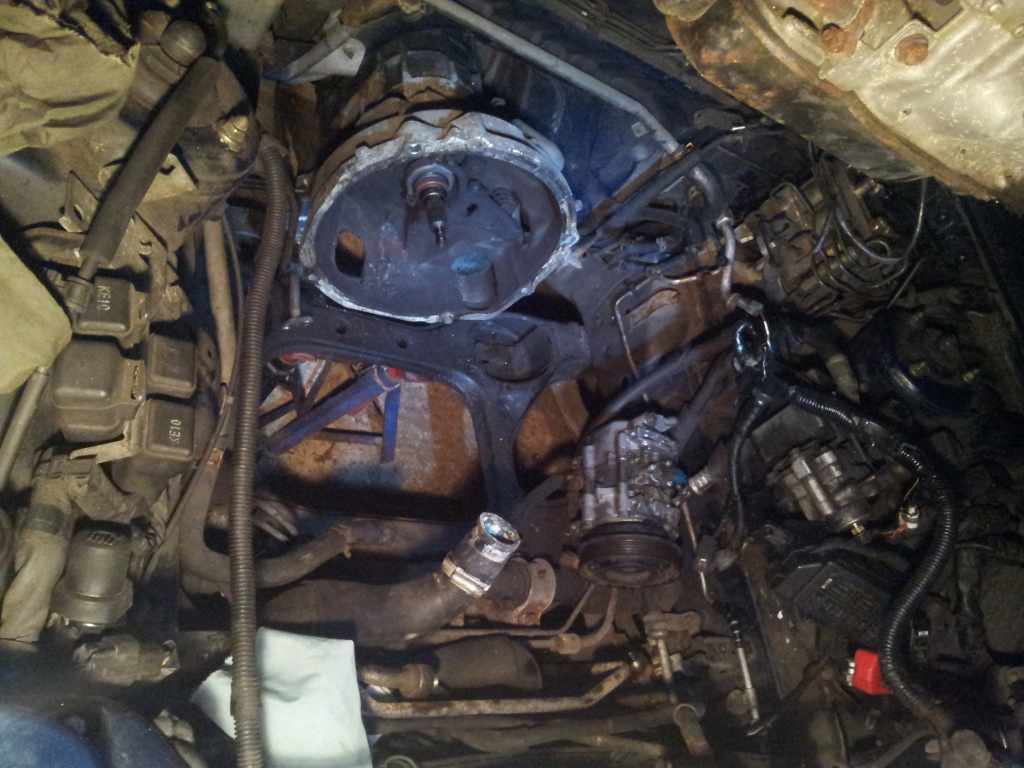
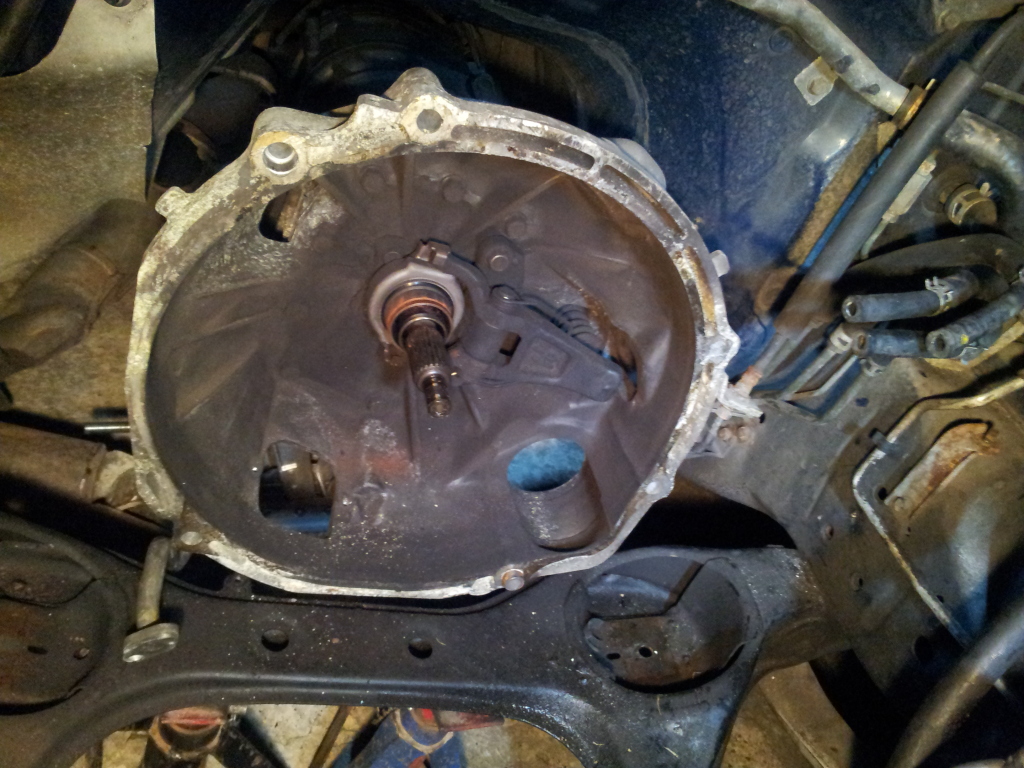
Not the best weld..But it was done at speed in the dark on a very underpowered mig. We ended up dismantling the pump so we could weld it from all sides to get the strength required. As we just couldn't get the penetration dep enough to be strong enough. Typical . This pictures is with the casing off..As it would no longer fit. I'll fix her properly with a more powerful welder tonight
  .
.
My friends engine crane gave out just when we we're tying to pull the engine, spewing hydraulic fluid everywhere. To add to that, the pump push rod decided to snap, therefore needed welded up. After about 2 hours of modifications the pump was back up and running! However, it was now dark...
Sweet nectar...
In the trusty wheel barrow...
Not the best weld..But it was done at speed in the dark on a very underpowered mig. We ended up dismantling the pump so we could weld it from all sides to get the strength required. As we just couldn't get the penetration dep enough to be strong enough. Typical
. This pictures is with the casing off..As it would no longer fit. I'll fix her properly with a more powerful welder tonight .

Thread Starter
Joined: Mar 2008
Posts: 2,213
Likes: 283
From: Somerset, England
Glad I decided to replace the vacuum hoses, they're very brittle & quite a few have visible cracks. The one on the front housing oil injector was broken off entirely!
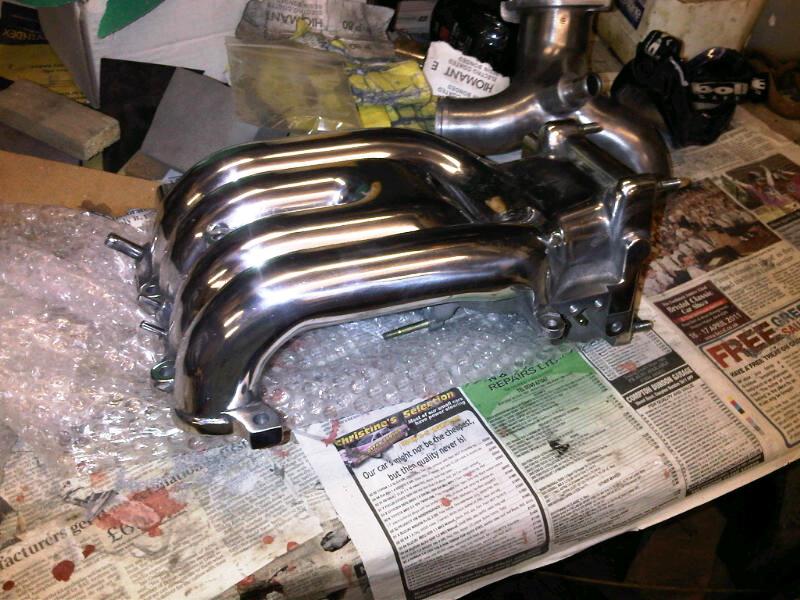
Started work on the polishing...
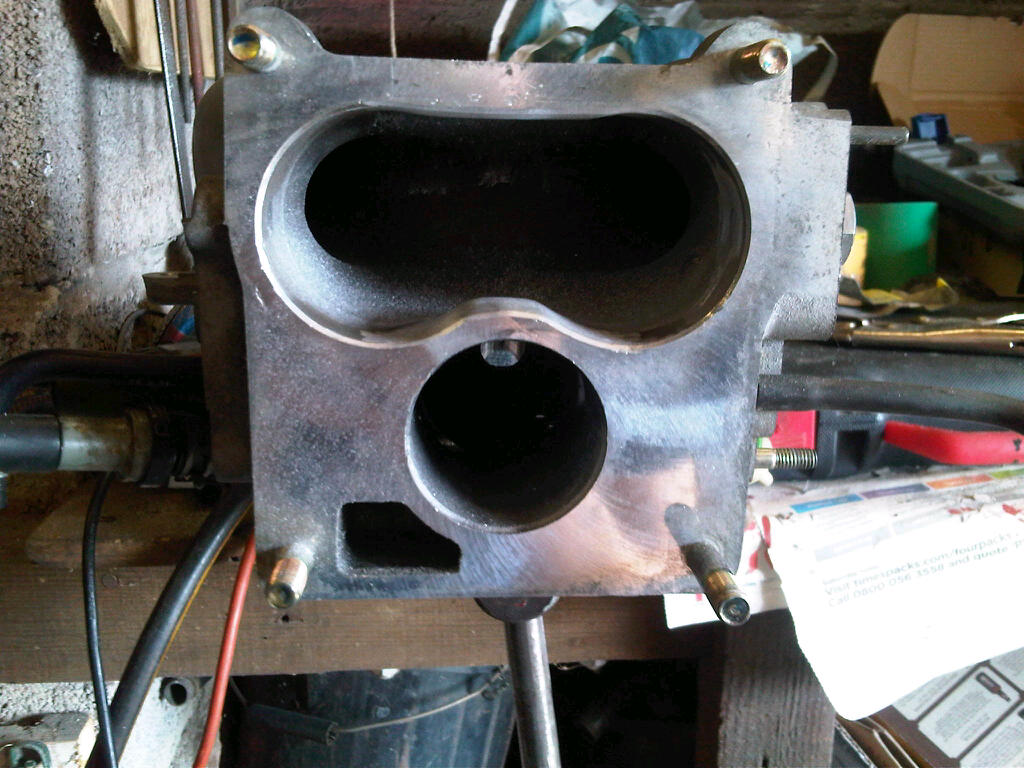
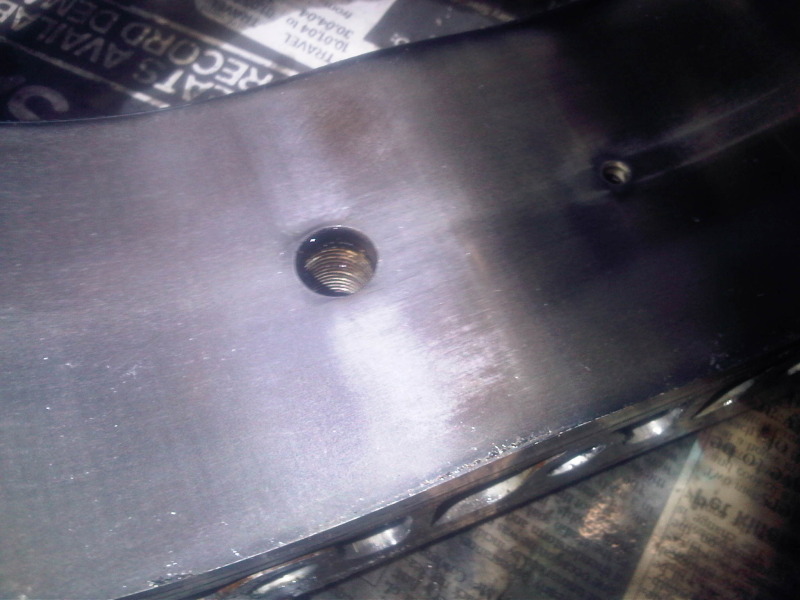
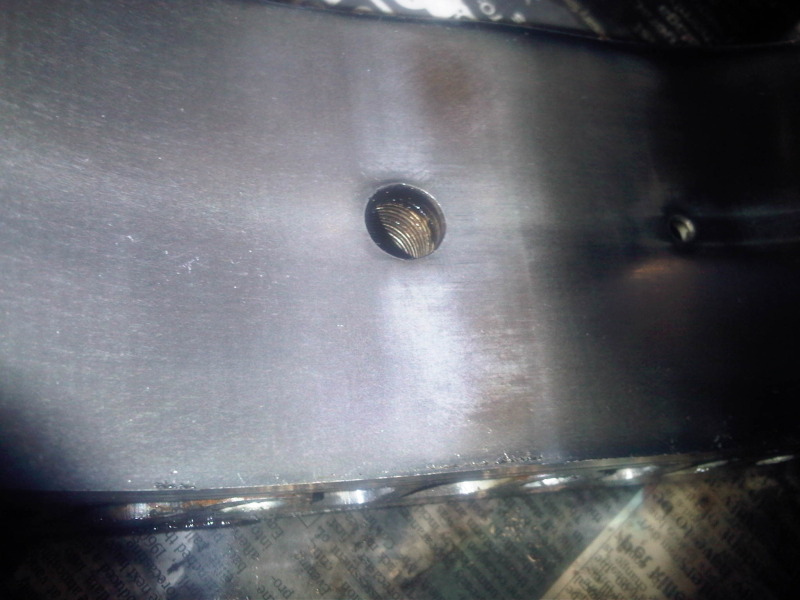
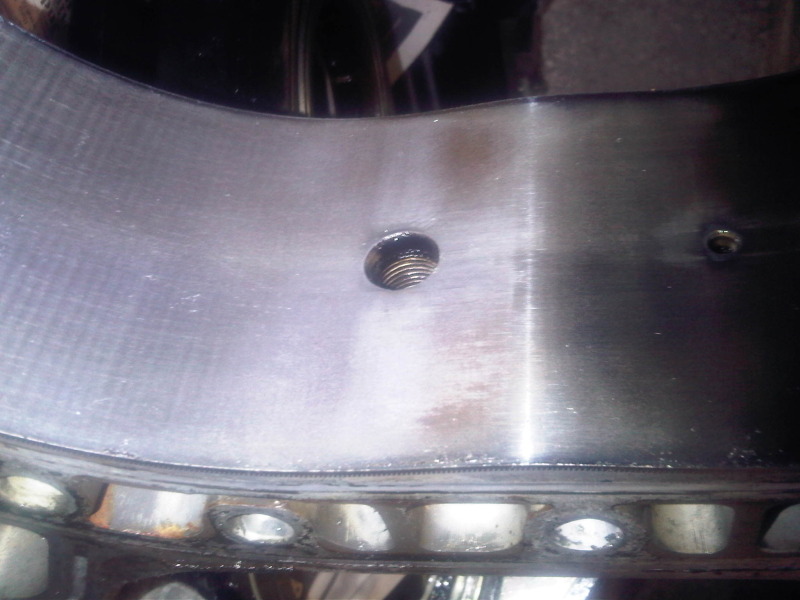
Removed the double throttle butterflies/controls, drilled & tapped the hole left behind. Decided to port it out a little while I was there.
Part way through the polishing process....Still a long way to go!
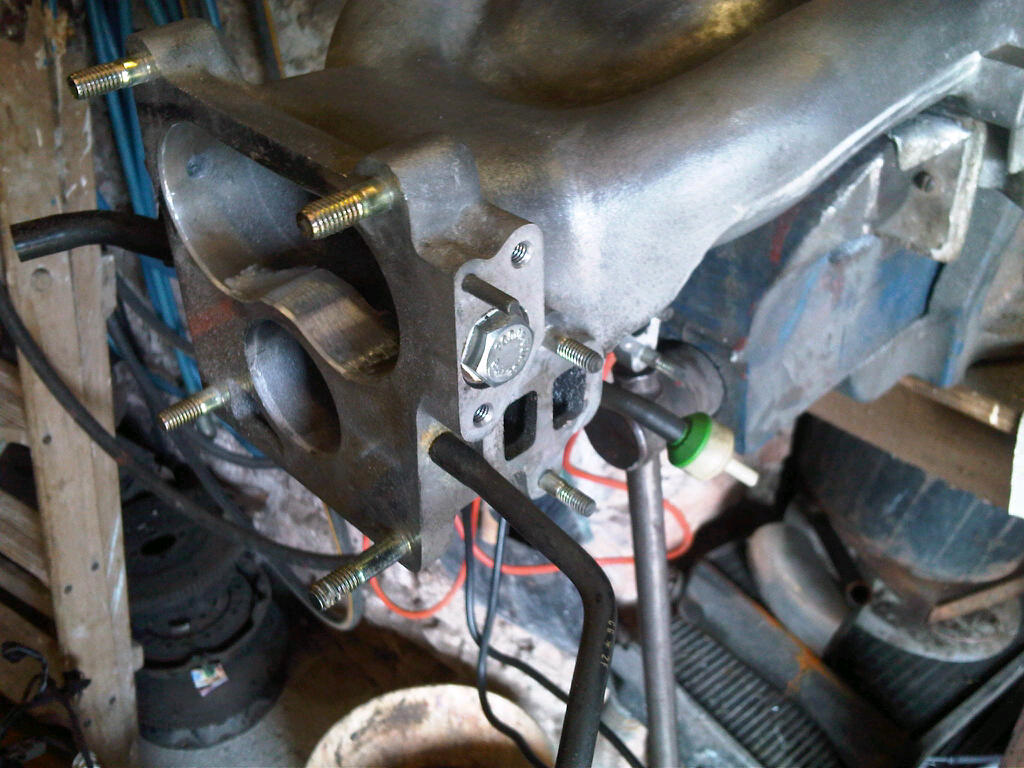
Heres a before pic of an efini y-pipe I picked up (Previous owners pic):
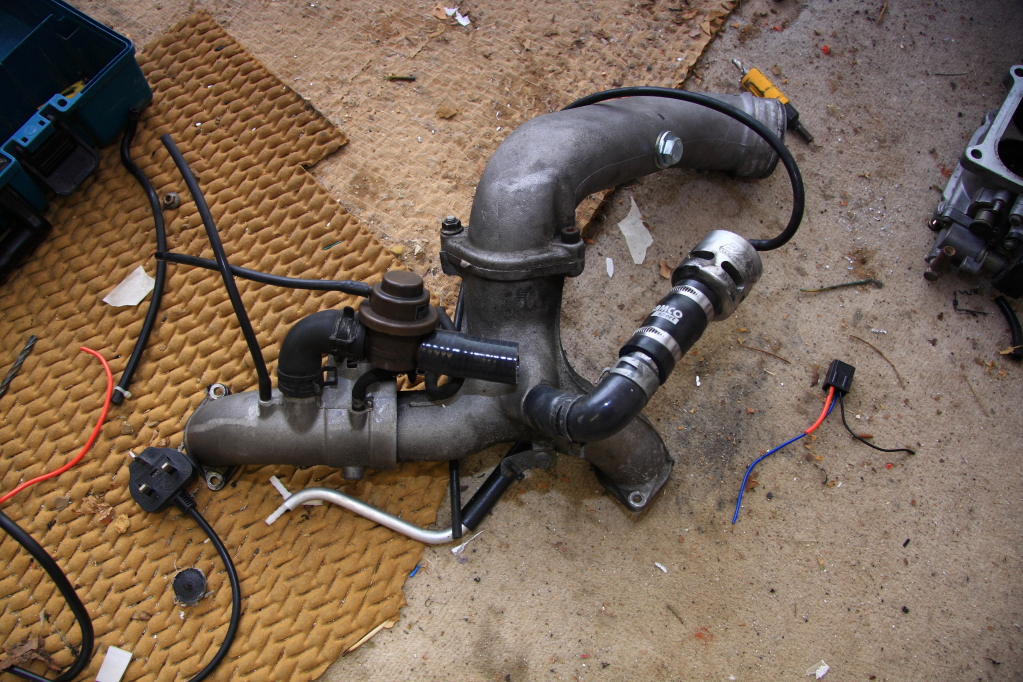
It needs some cleaning up. The previous owner tapped a hole for a sensor in the pipe, so that needs to be tigged up. One of the studs has been replaced by a bolt..So I'll put that back to stock also.
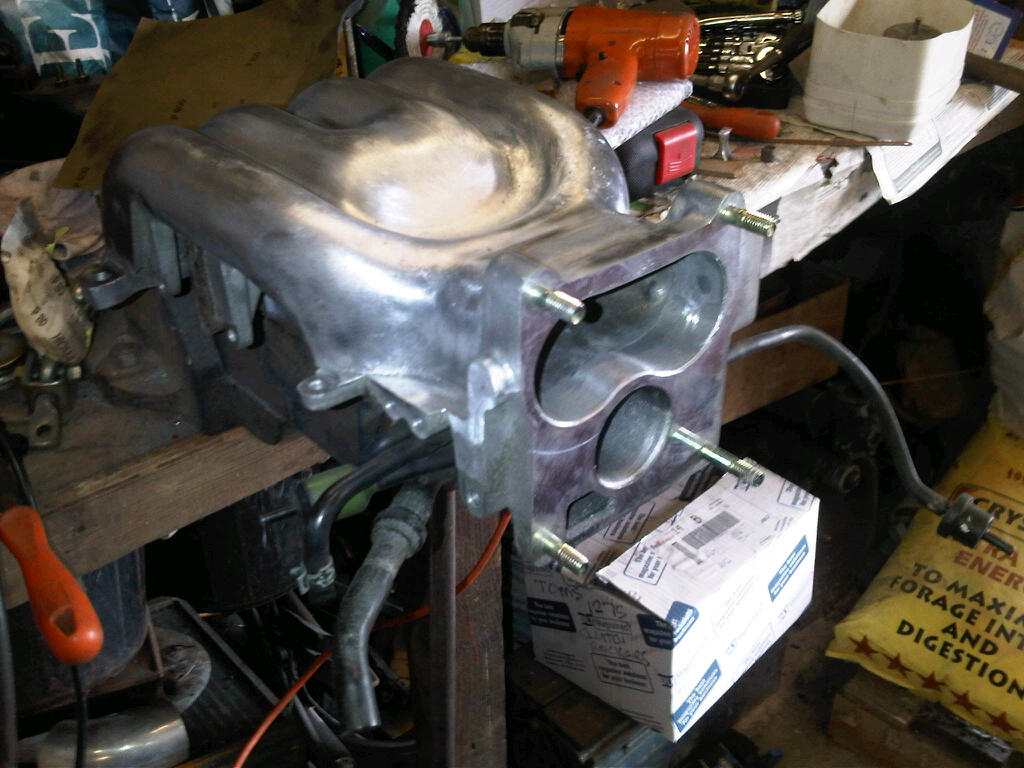
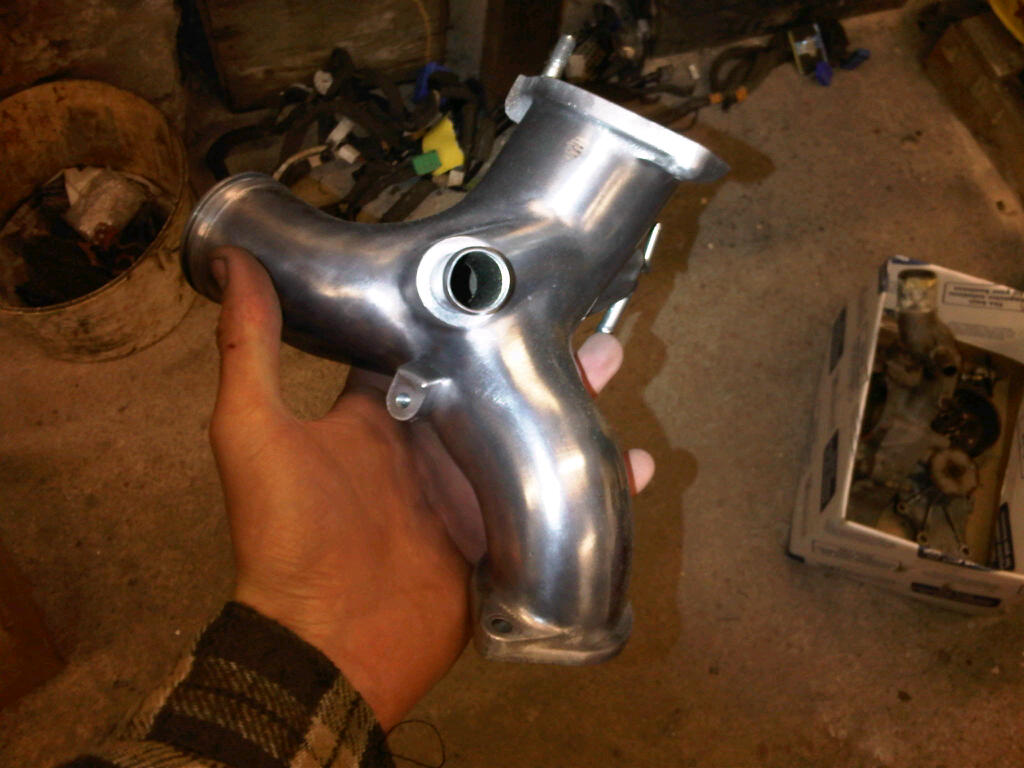
How it looks currently...Nearly finished the front section:
Picked up an re-a AST & an r-magic torque damper, both need a little polishing prior to fitting .
.

Back to polishing...
Started work on the polishing...
Removed the double throttle butterflies/controls, drilled & tapped the hole left behind. Decided to port it out a little while I was there.
Part way through the polishing process....Still a long way to go!
Heres a before pic of an efini y-pipe I picked up (Previous owners pic):
It needs some cleaning up. The previous owner tapped a hole for a sensor in the pipe, so that needs to be tigged up. One of the studs has been replaced by a bolt..So I'll put that back to stock also.
How it looks currently...Nearly finished the front section:
Picked up an re-a AST & an r-magic torque damper, both need a little polishing prior to fitting
.Back to polishing...
Thread Starter
Joined: Mar 2008
Posts: 2,213
Likes: 283
From: Somerset, England
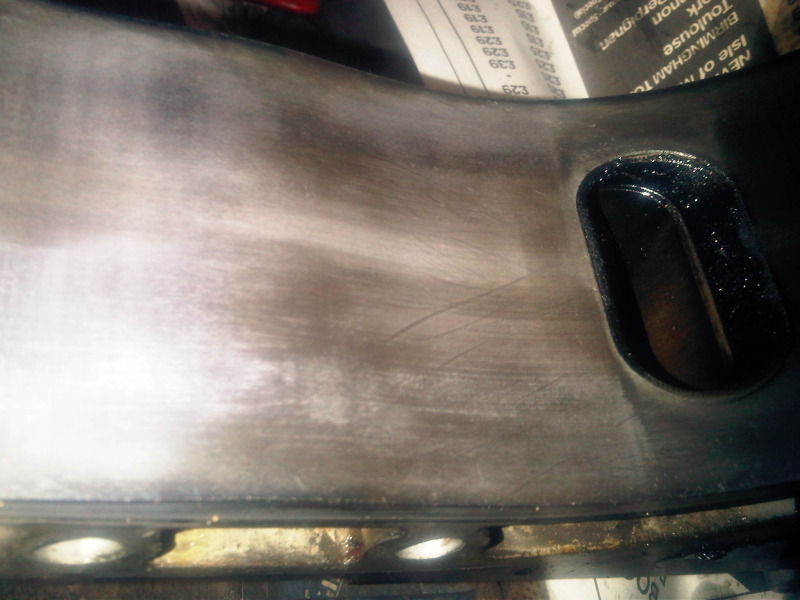
Decided to take the lap disk to the UIM. Removed all the ugly mounts etc that I'll no longer need. Smoothed off the edges to match the LIM. Cut a slot out of the centre too because...its looks cool?

Nearly finished...
Gave the engine bay a serious clean with Jizer, I'd highly recommend it. My bay is really really clean now. You could eat food off my ABS unit. I'll post up some pics tomorrow.
Nearly finished...
Gave the engine bay a serious clean with Jizer, I'd highly recommend it. My bay is really really clean now. You could eat food off my ABS unit
. I'll post up some pics tomorrow.

Thread Starter
Joined: Mar 2008
Posts: 2,213
Likes: 283
From: Somerset, England
Thanks
Decided to rebuild the motor while shes out. It was rebuilt just under 30k miles ago by WGT which included a new rotor housing & rotor. As this was done back in 2002, I'd be happier knowing that I don't have to pull the motor again anytime soon.
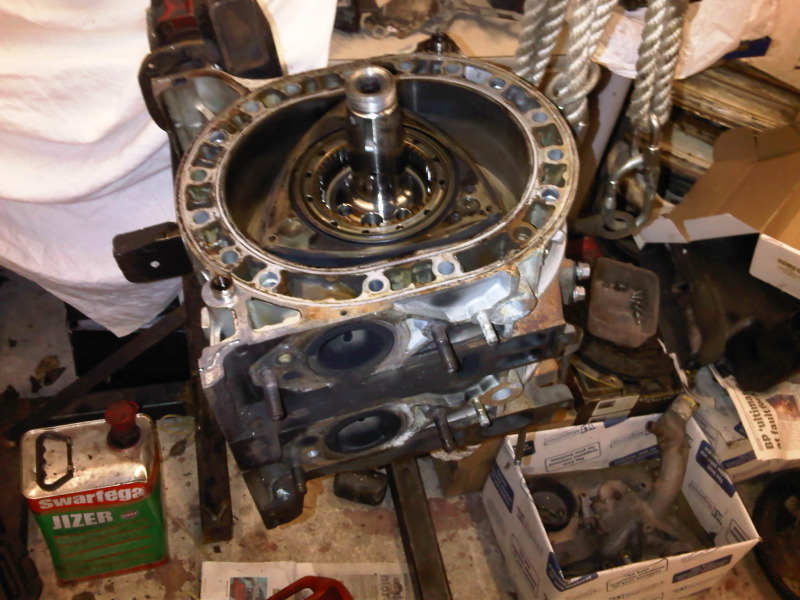
I didn't have an engine stand, so I've fabbed one up out scrap, box section & an Austin Healey wheel hub
Apologies for the blurry pics...My work phone is not the best camera...
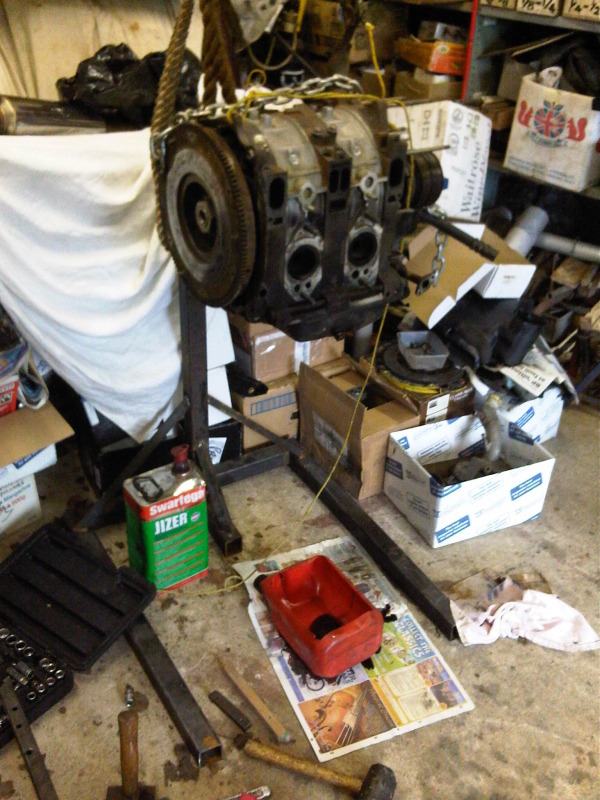
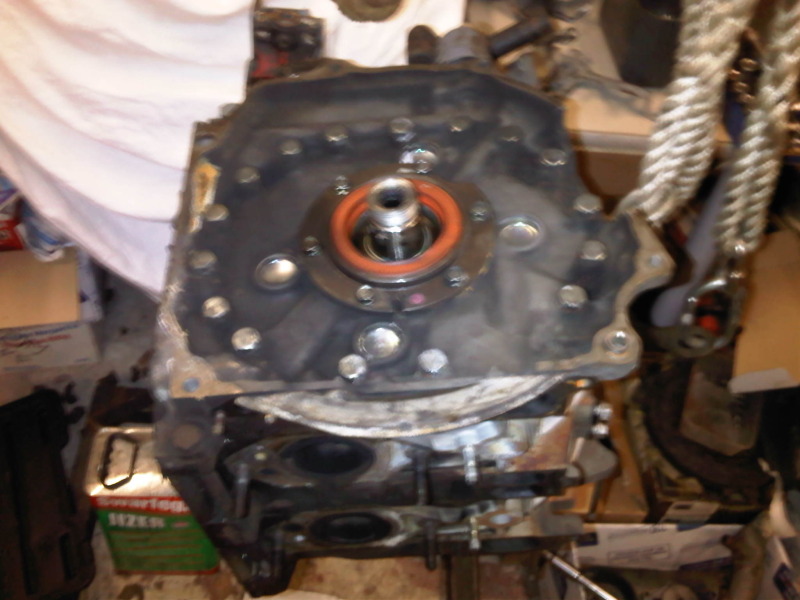
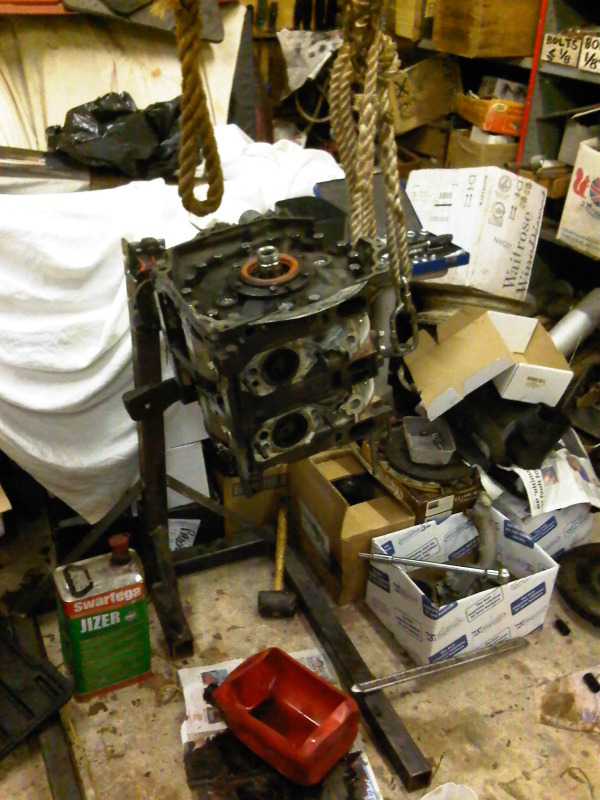
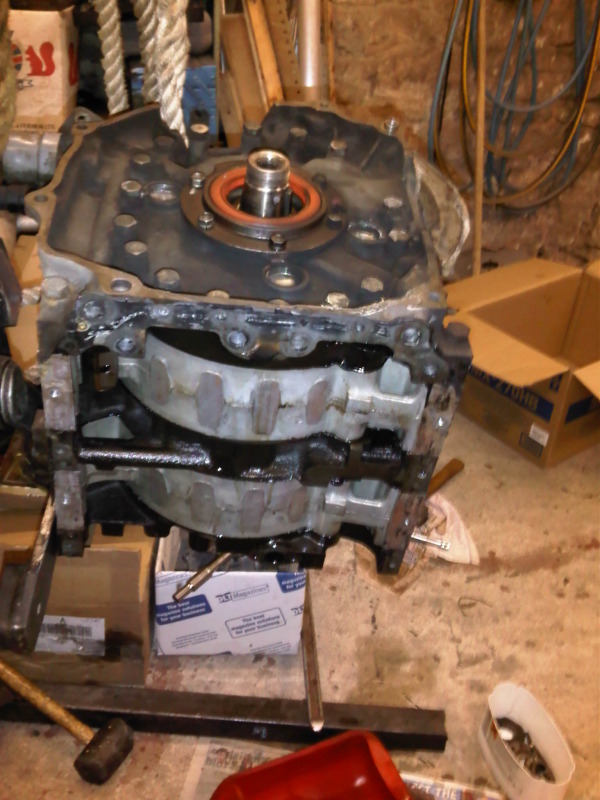
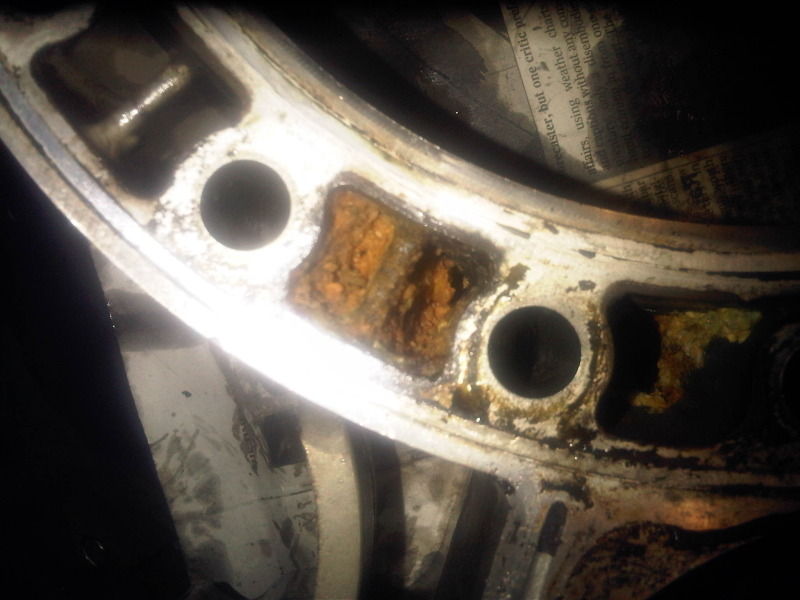
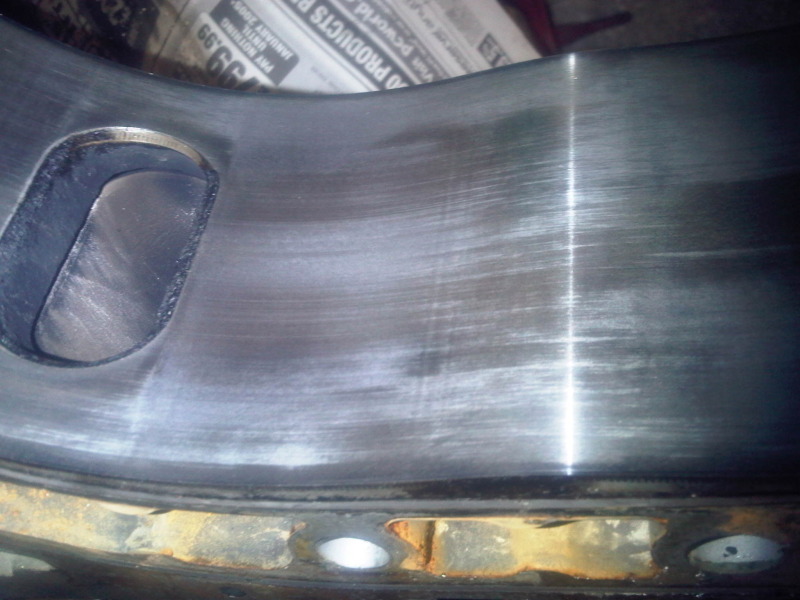
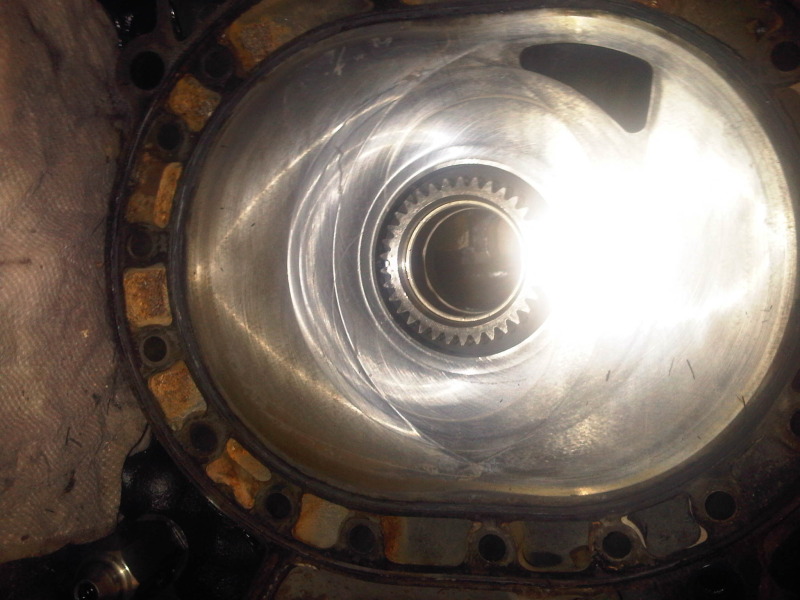
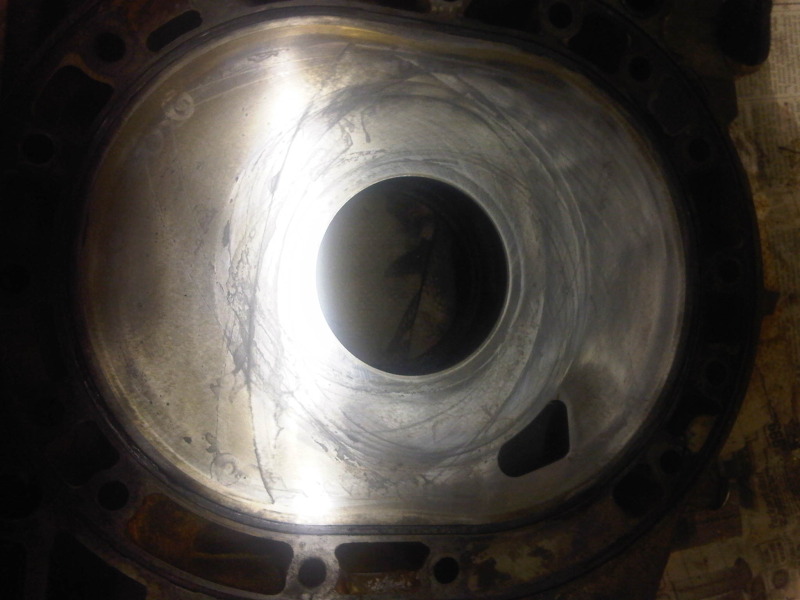
Rear iron...Don't think this one will be going back in. The coolant passage wall is pretty thin.
Decided to rebuild the motor while shes out. It was rebuilt just under 30k miles ago by WGT which included a new rotor housing & rotor. As this was done back in 2002, I'd be happier knowing that I don't have to pull the motor again anytime soon.
I didn't have an engine stand, so I've fabbed one up out scrap, box section & an Austin Healey wheel hub
Apologies for the blurry pics...My work phone is not the best camera...
Rear iron...Don't think this one will be going back in. The coolant passage wall is pretty thin.
Thread Starter
Joined: Mar 2008
Posts: 2,213
Likes: 283
From: Somerset, England
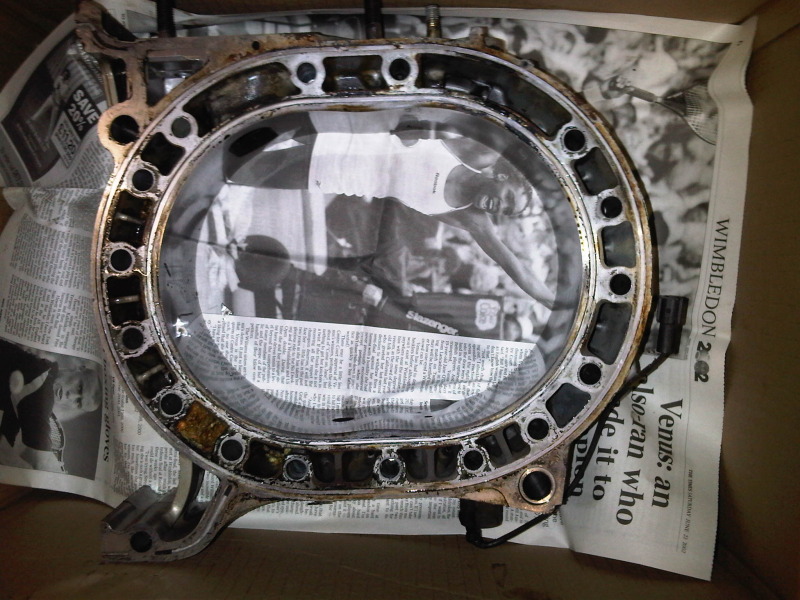
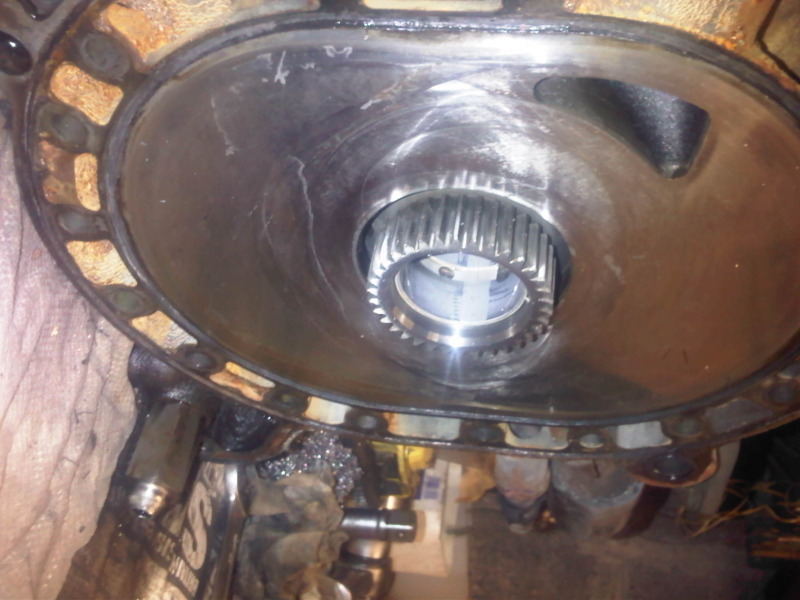
All but the rear iron seems fine to re-use (From what I can see). I'll know for certain when I've cleaned the parts up & checked the surfaces of the plates properly.
Thread Starter
Joined: Mar 2008
Posts: 2,213
Likes: 283
From: Somerset, England
Cheers lads
Couple of new parts:
HKS racing super uber pownage suction reloaded intakes:
Assembled:
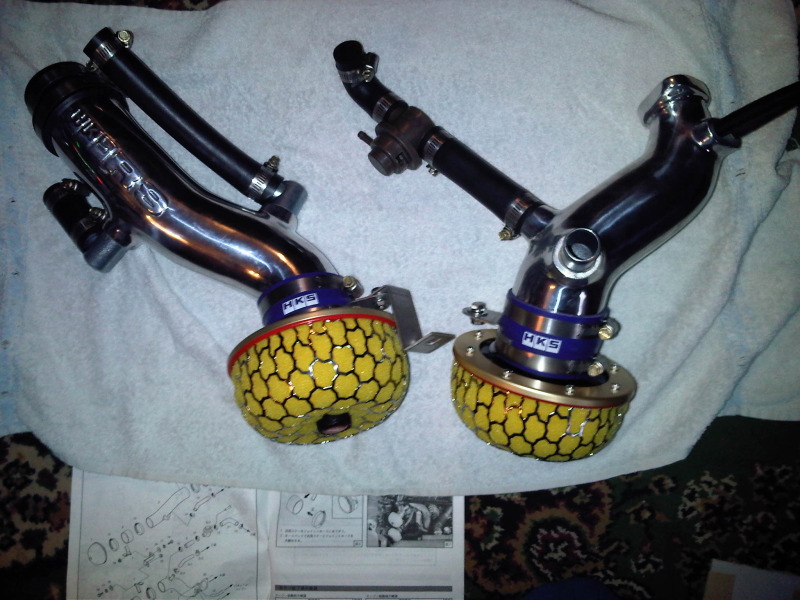
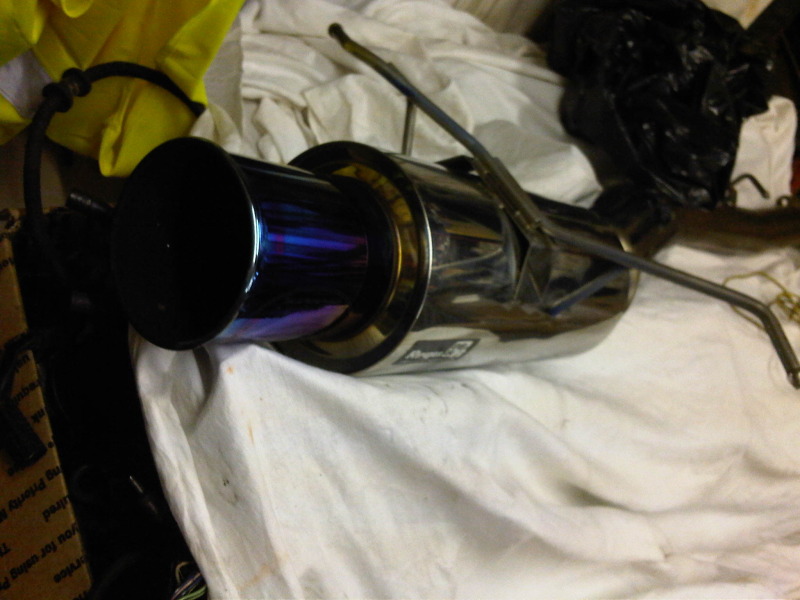
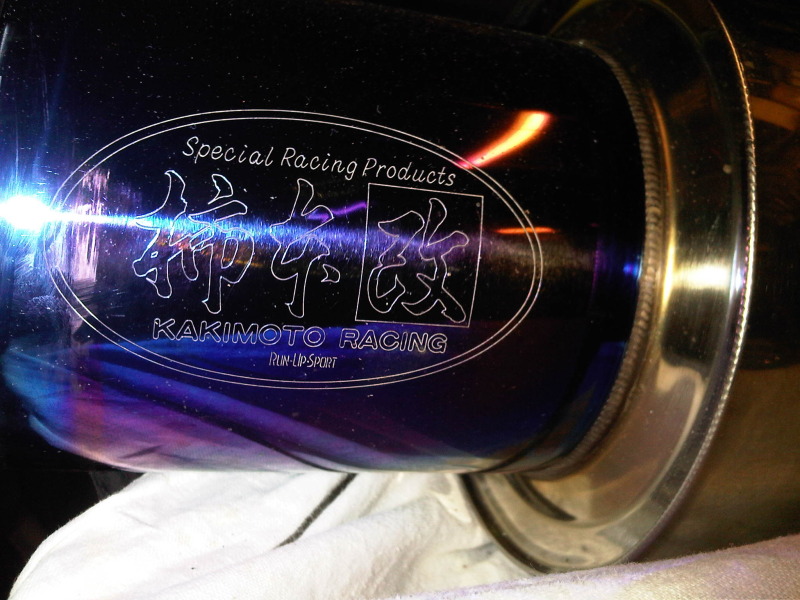
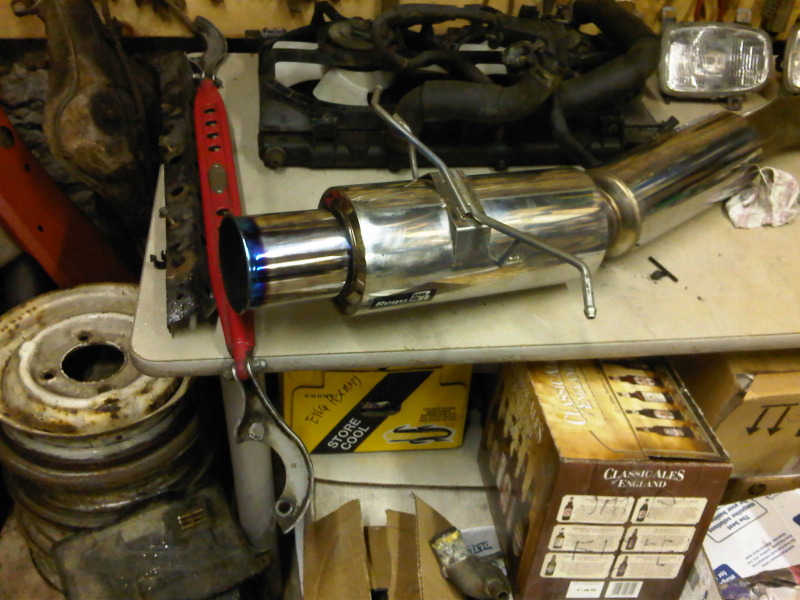
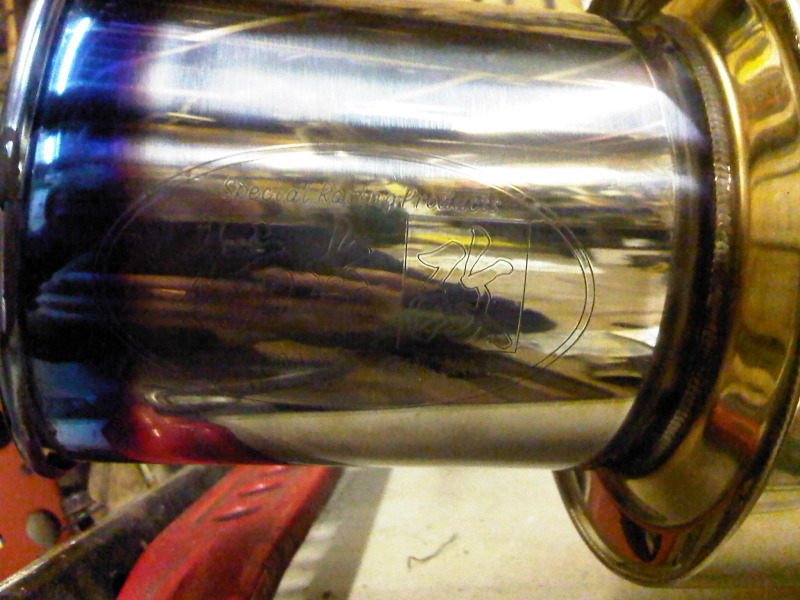
A Kakimoto I picked up locally, might strip the blue off the tip..What do you think?
Couple of new parts:
HKS racing super uber pownage suction reloaded intakes:
Assembled:
A Kakimoto I picked up locally, might strip the blue off the tip..What do you think?


Thread Starter
Joined: Mar 2008
Posts: 2,213
Likes: 283
From: Somerset, England
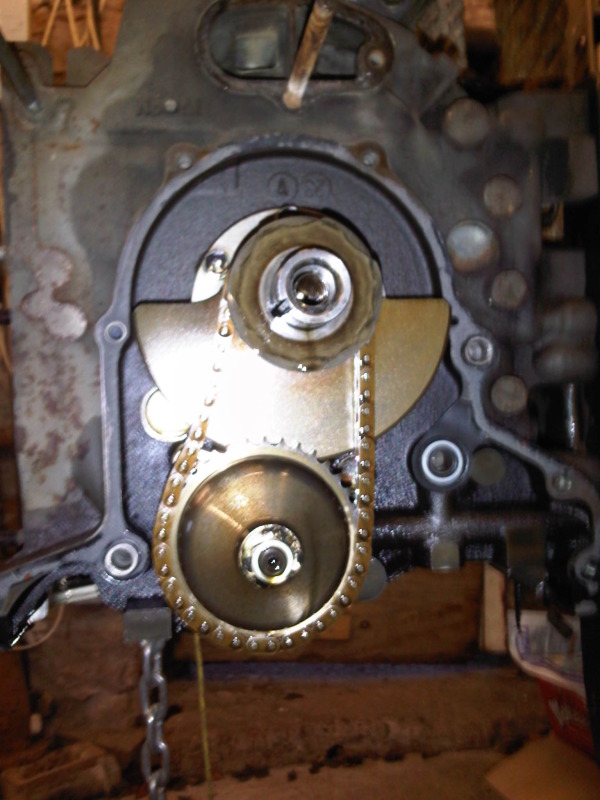
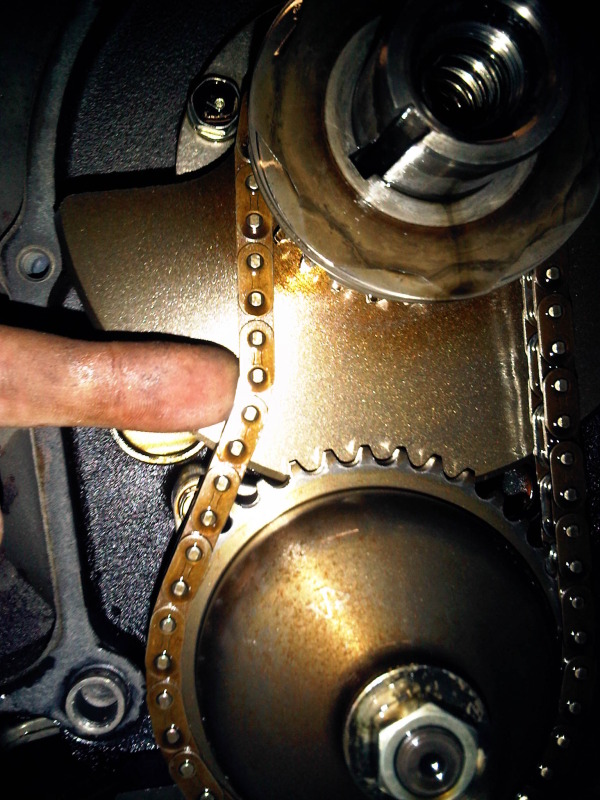
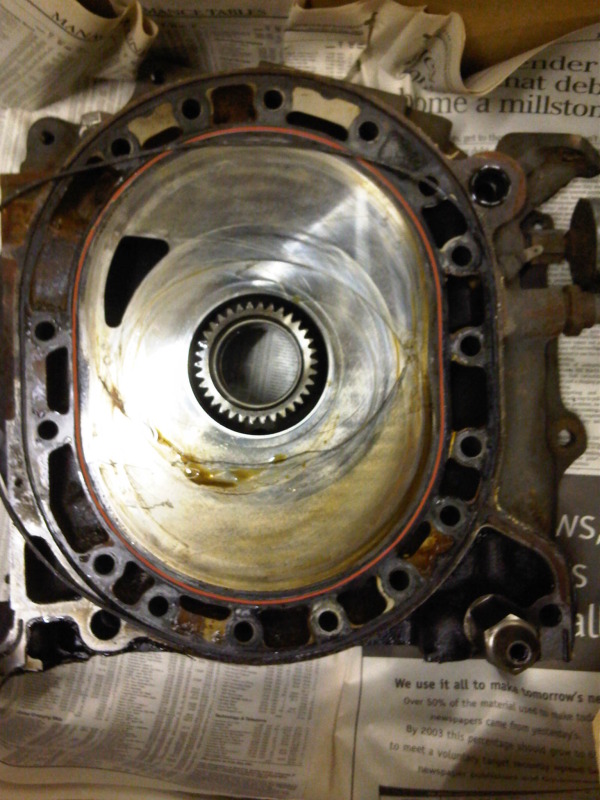
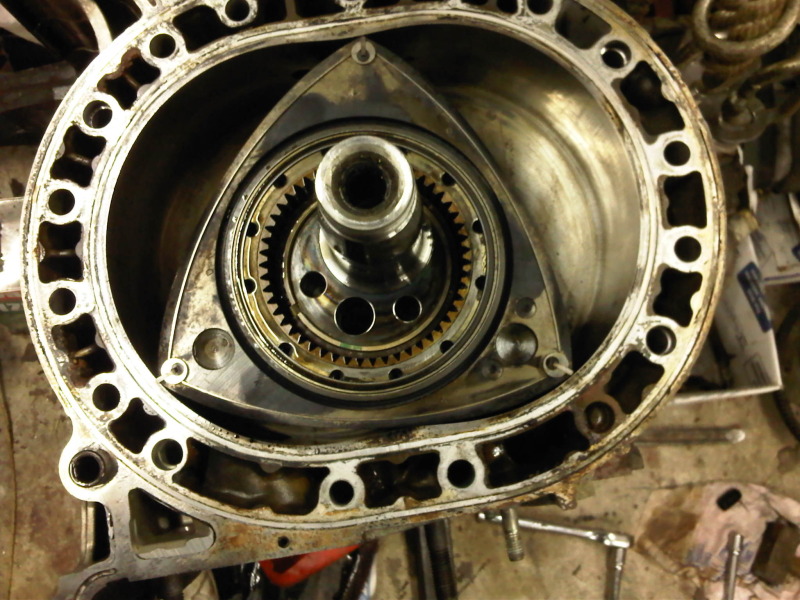
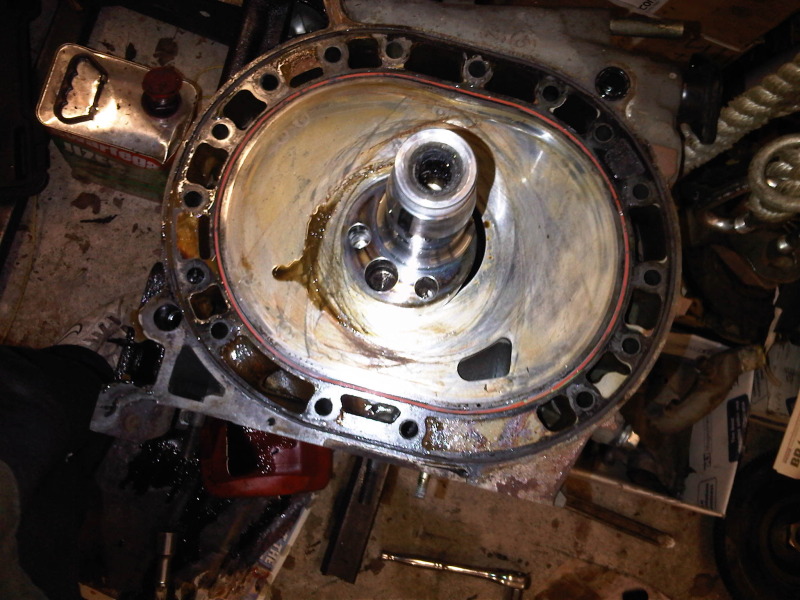
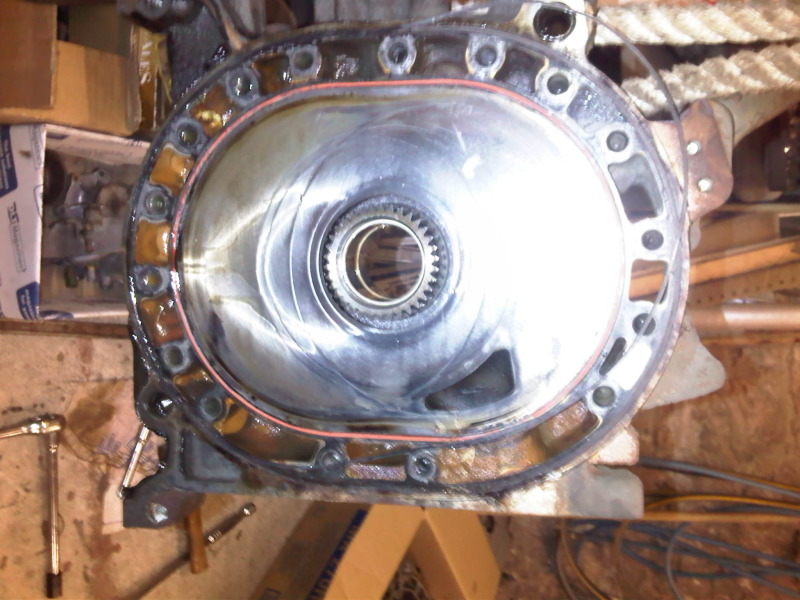
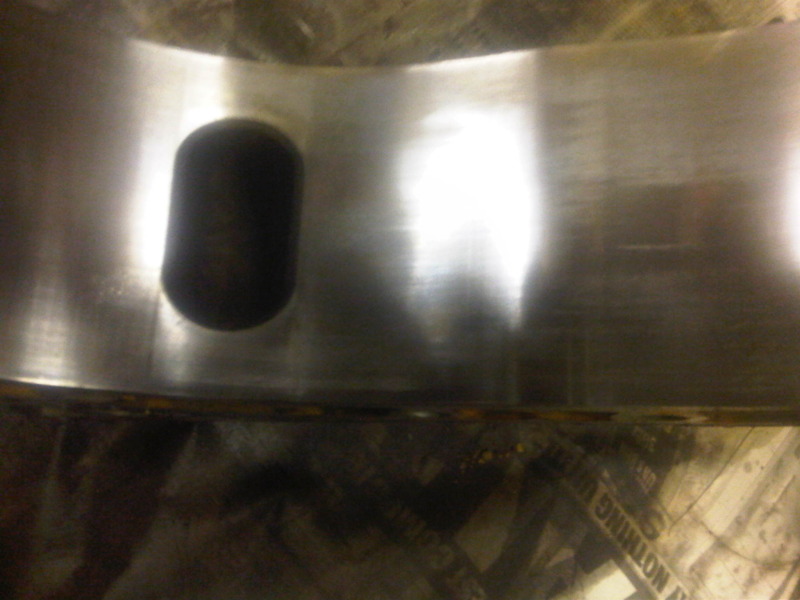
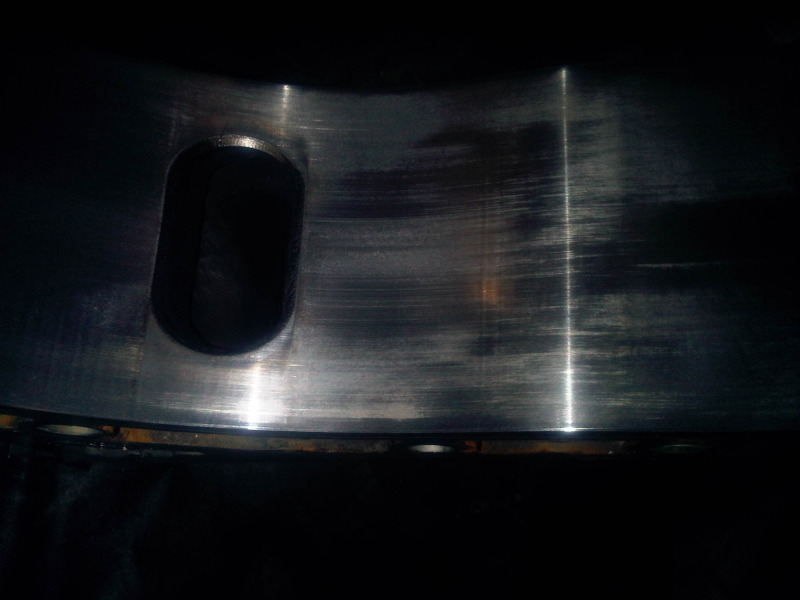
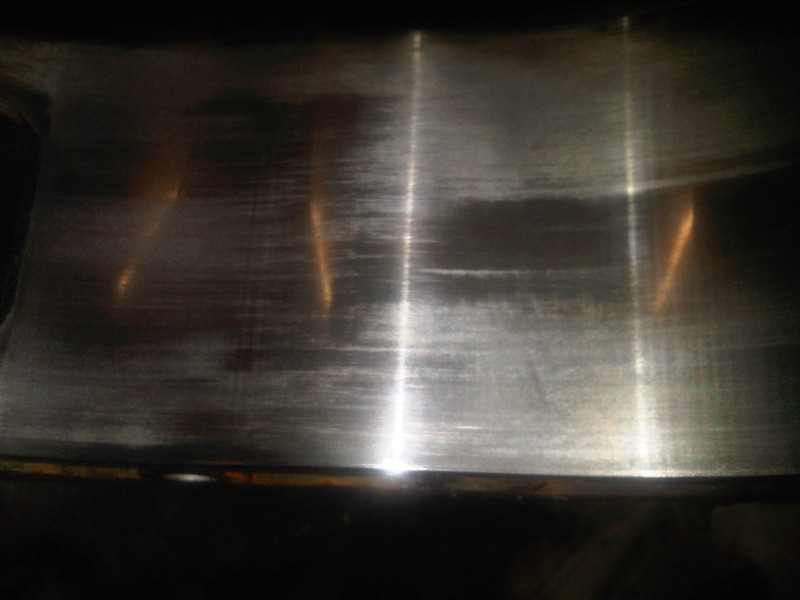
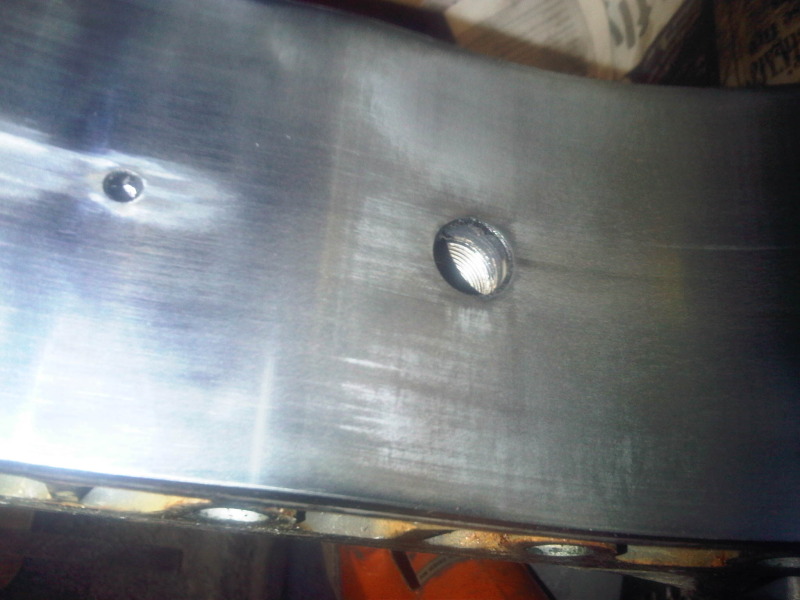
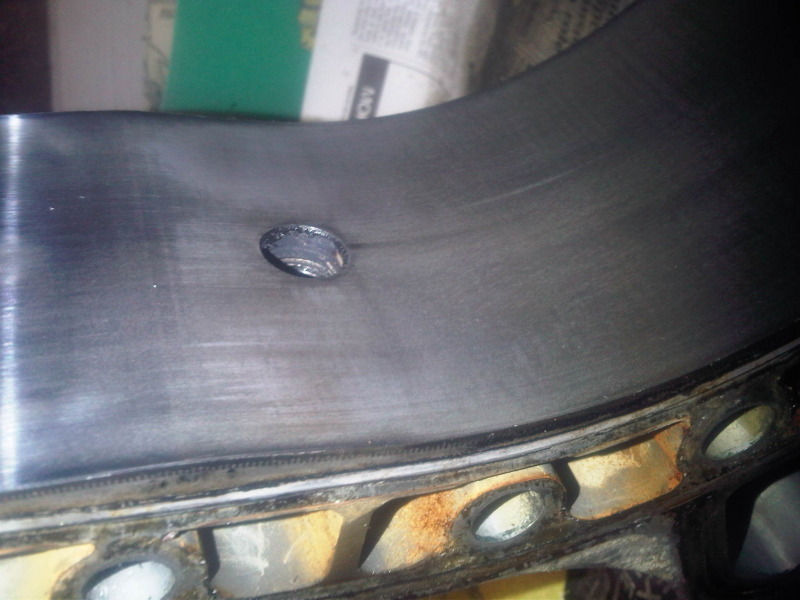
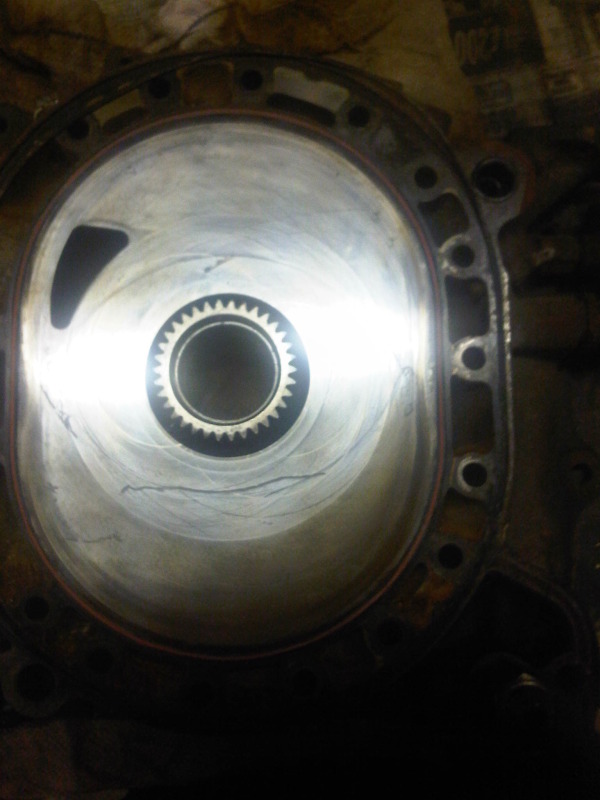
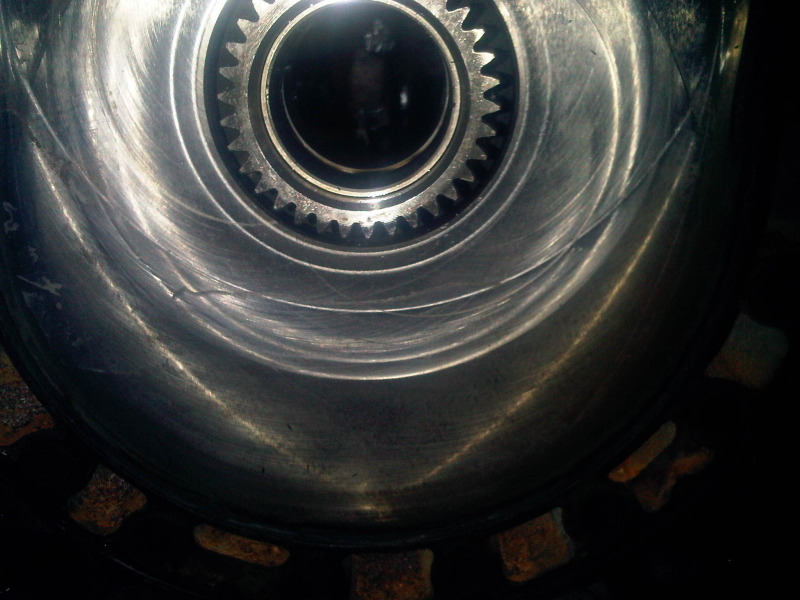
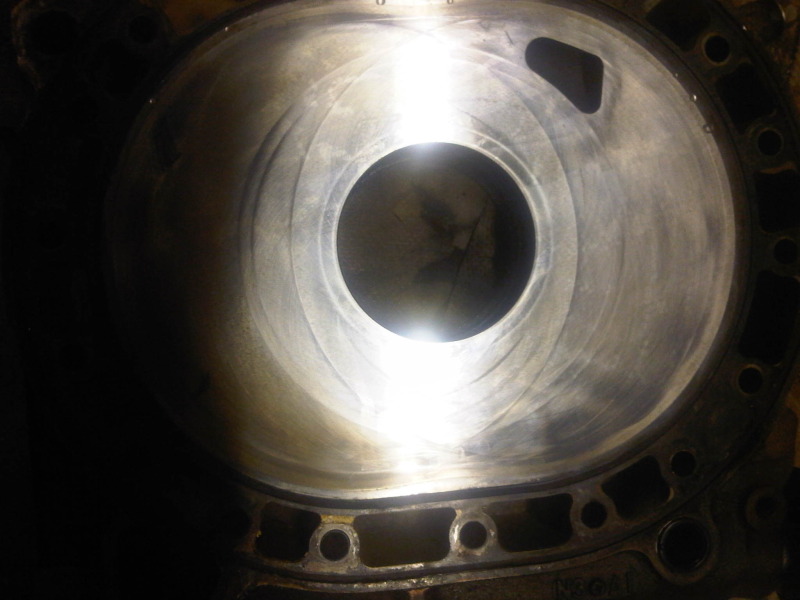
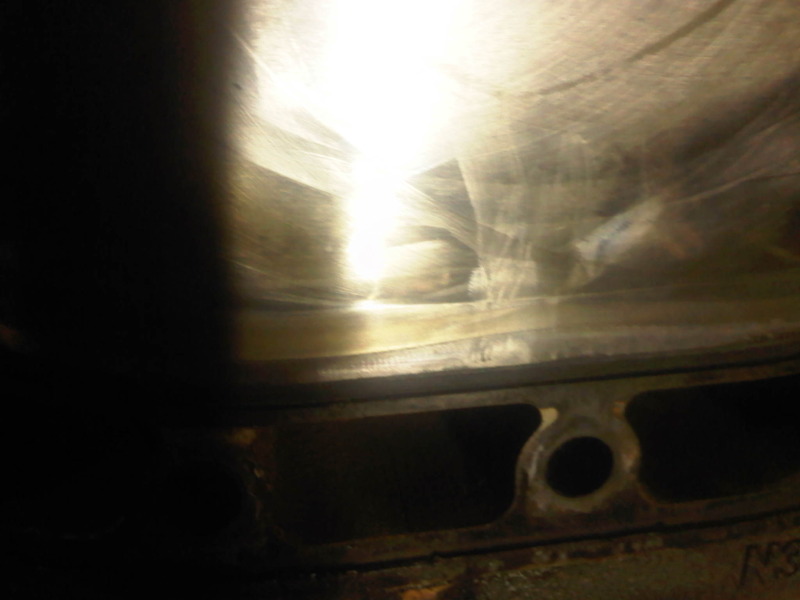
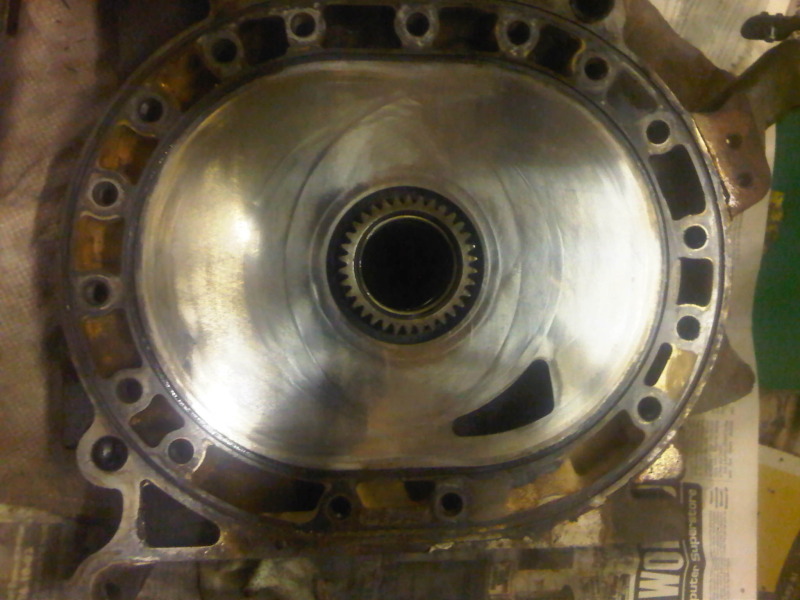
Centre Iron, Rear side:
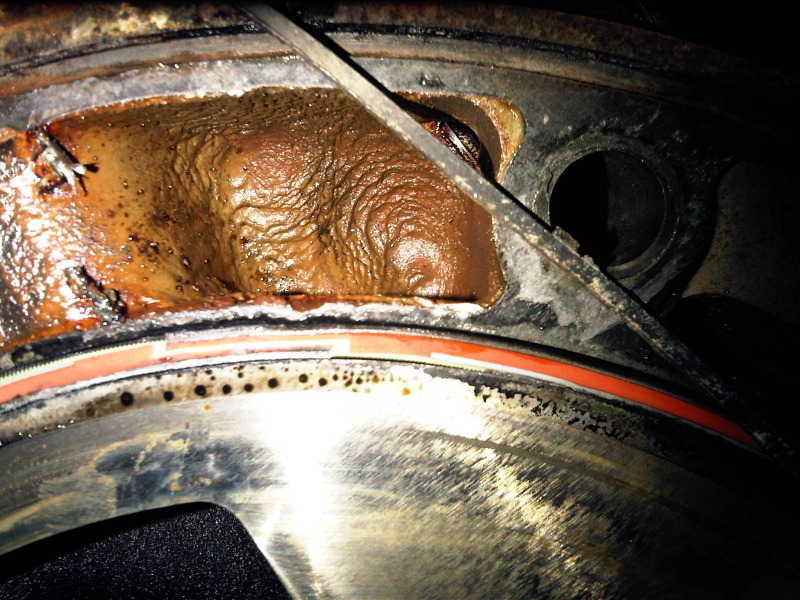
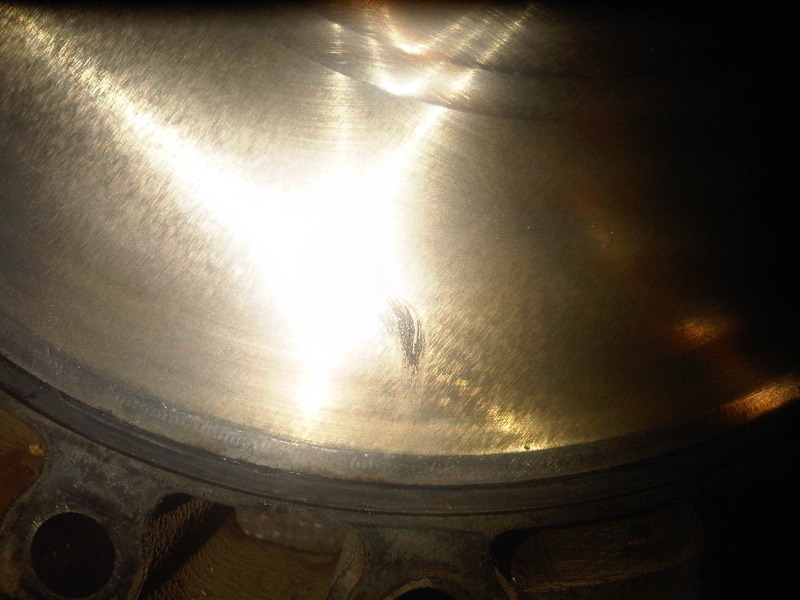
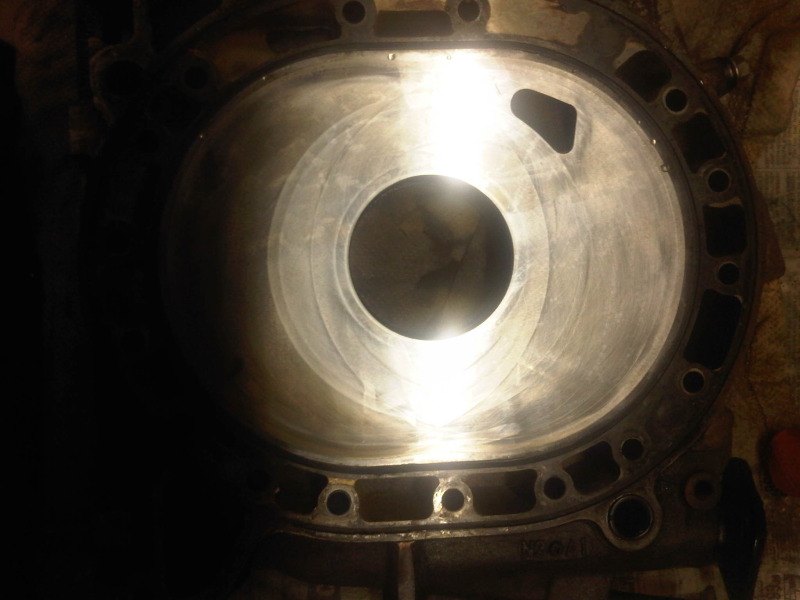
Front Iron:
The line of wear I'm pointing at catches a nail when ran over....
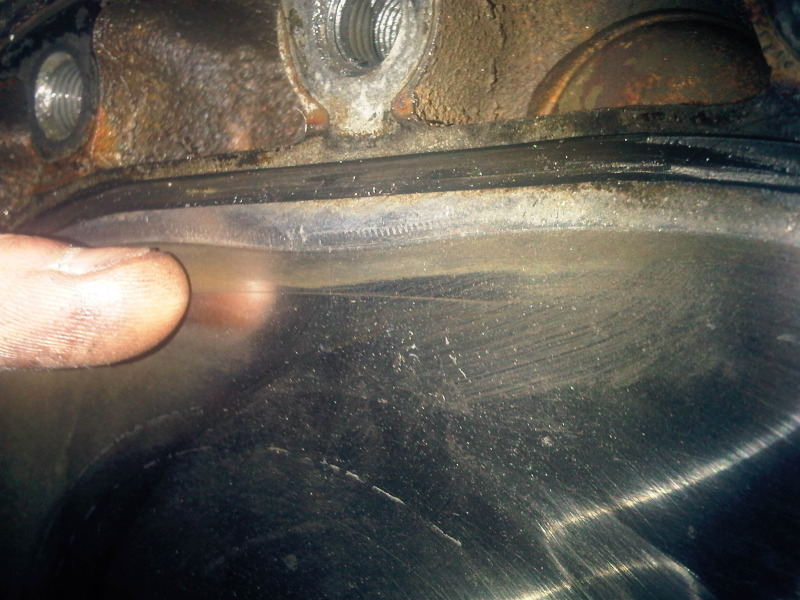
I'll order a dial test indicator shortly to measure the wear on these plates.
Additional info on the engine:
89k miles on the block. Blew an apex seal on the rear rotor 30k miles ago & was rebuilt by WGT back in 2002 (Rear housing was replaced). I disassembled the motor in working condition. Car has been 100% stock for all of its miles.
This is my first rebuild, so any advice/suggestions would be much appreciated. I'm not really pressed for time, so would rather do it right & once 
Front Iron:
The line of wear I'm pointing at catches a nail when ran over....
I'll order a dial test indicator shortly to measure the wear on these plates.
Additional info on the engine:
89k miles on the block. Blew an apex seal on the rear rotor 30k miles ago & was rebuilt by WGT back in 2002 (Rear housing was replaced). I disassembled the motor in working condition. Car has been 100% stock for all of its miles.
This is my first rebuild, so any advice/suggestions would be much appreciated
. I'm not really pressed for time, so would rather do it right & once
Thread Starter
Joined: Mar 2008
Posts: 2,213
Likes: 283
From: Somerset, England
Found a dial test indicator & base in the barn, so checked my plates for wear/warp. All is well within re-usable spec . Cleaned all engine internals, all is now shiny & packed up in bags waiting to be reassembled
I've started building a press so I can press all my bearings, pics to follow.
. Cleaned all engine internals, all is now shiny & packed up in bags waiting to be reassembled I've started building a press so I can press all my bearings, pics to follow.
Thread Starter
Joined: Mar 2008
Posts: 2,213
Likes: 283
From: Somerset, England
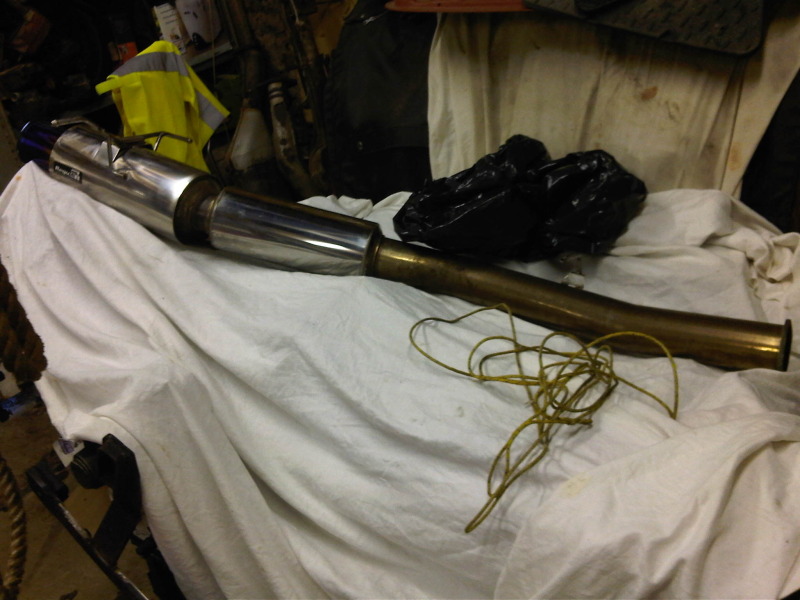
Removed the stock exhaust from the FD today. Shes seen more than her fair share of salty UK winters & the years haven't been kind. The standard backbox is huge! Shoe is there for scale

Wings, bonnet and bumper are now off....Prep work started for a colour change.
After test fitting the exhaust I decided that a full blue tip wasn't really what I was after, so settled for halfway! Quite pleased with how it came out. The rest of the exhaust still needs to be polished.
Wings, bonnet and bumper are now off....Prep work started for a colour change
.After test fitting the exhaust I decided that a full blue tip wasn't really what I was after, so settled for halfway! Quite pleased with how it came out. The rest of the exhaust still needs to be polished.