
My 93 Burnout Kit Mini Build pic thread... from thrashed to now

My 93 Burnout Kit Mini Build pic thread... from thrashed to now
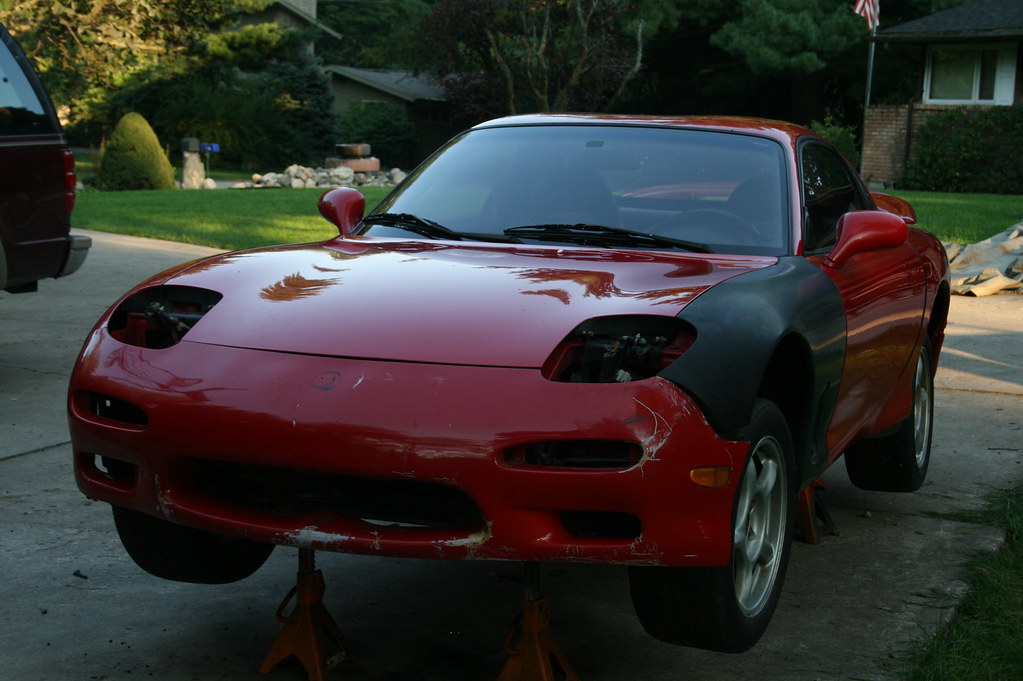
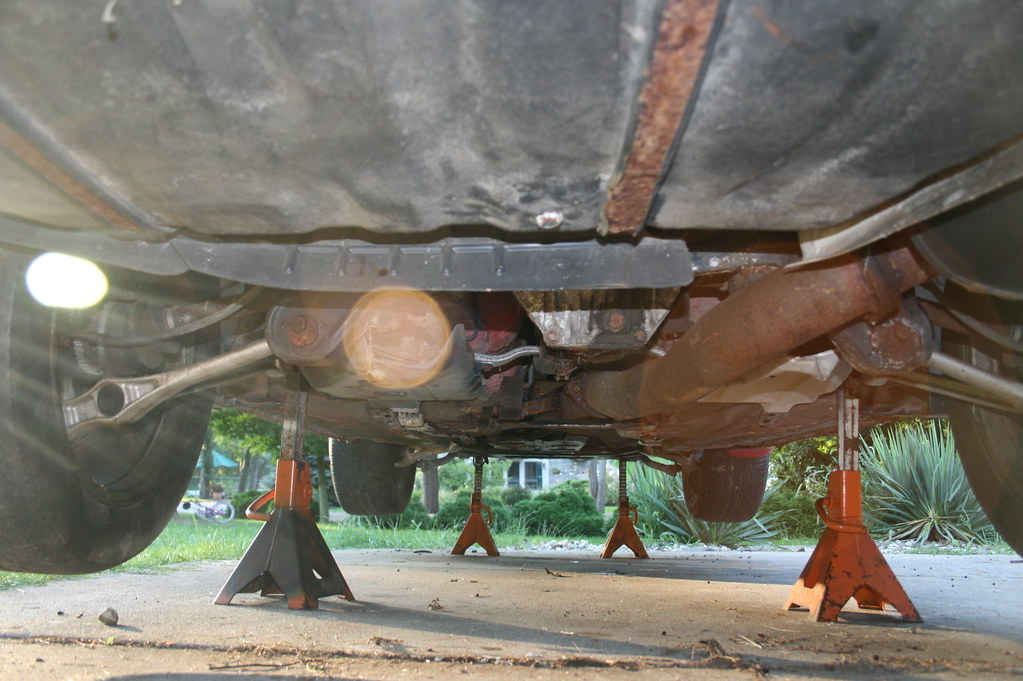
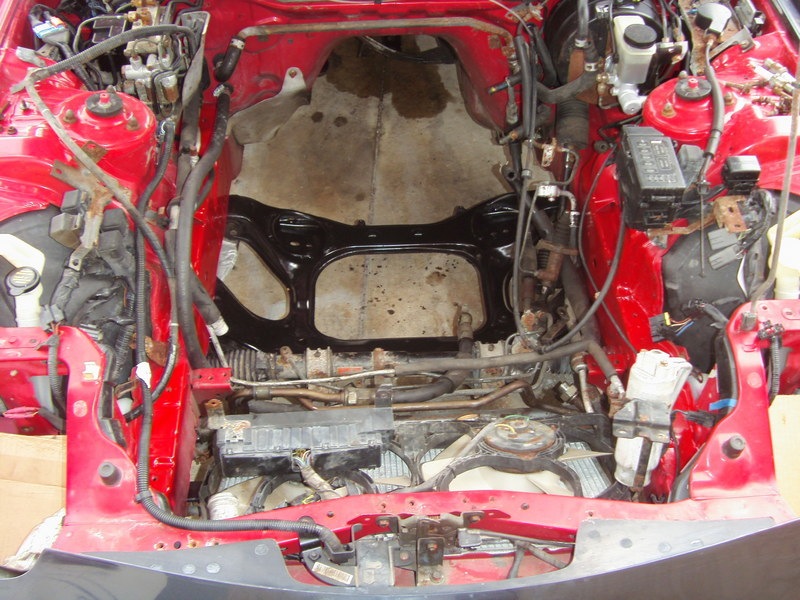
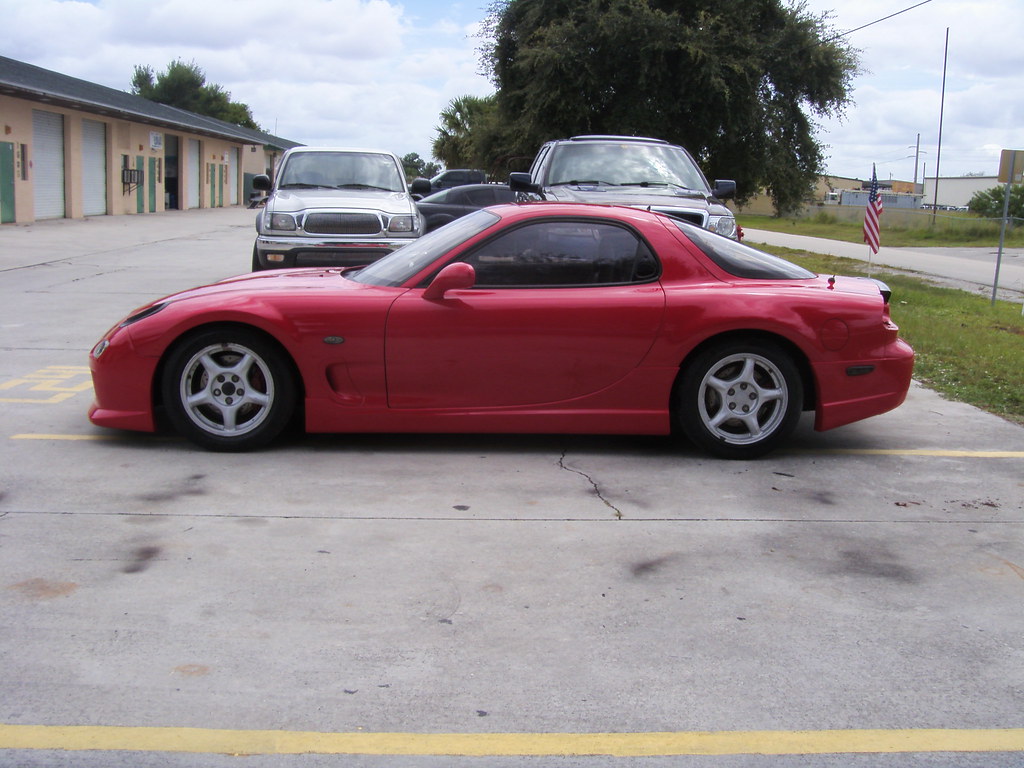
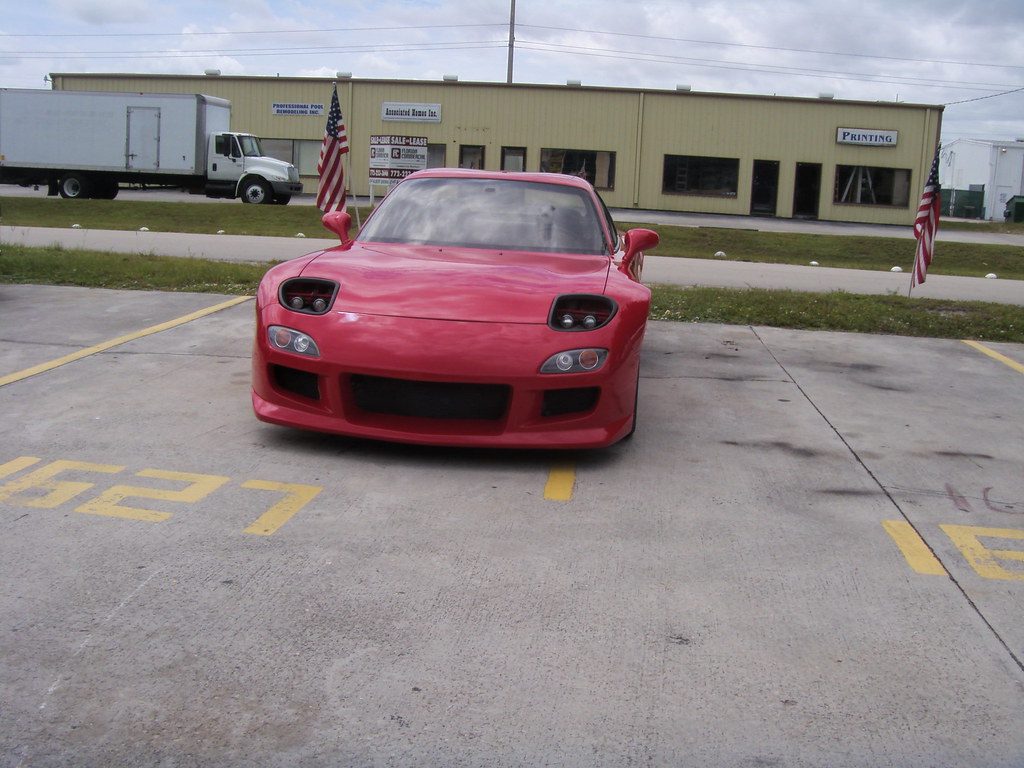
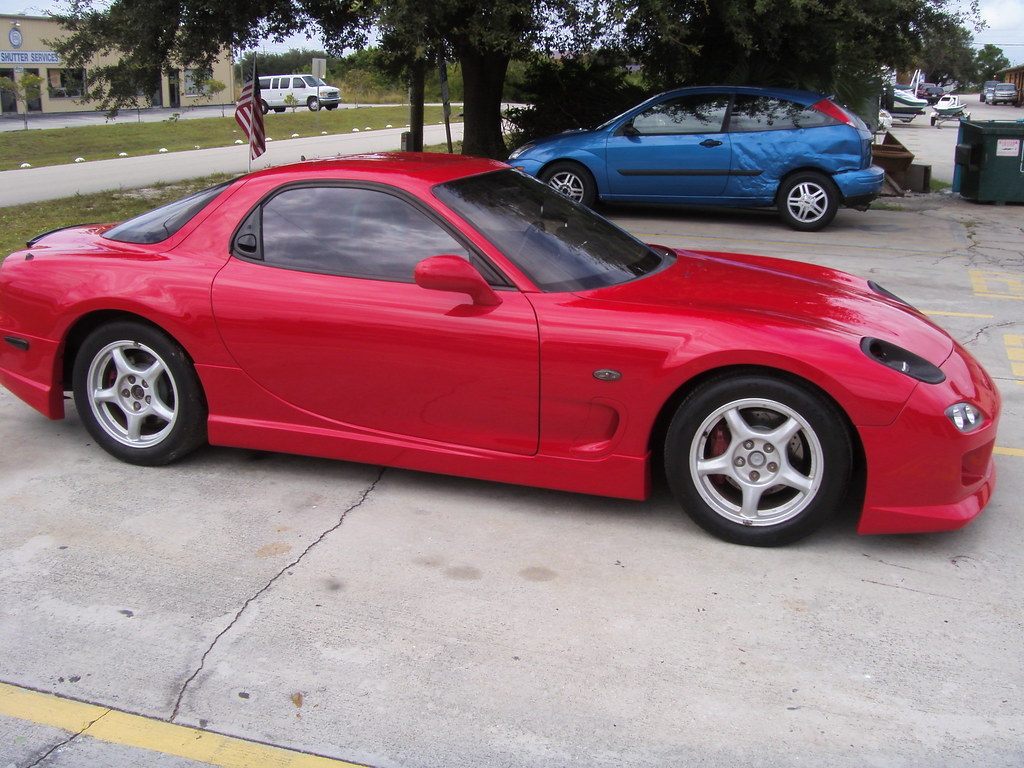
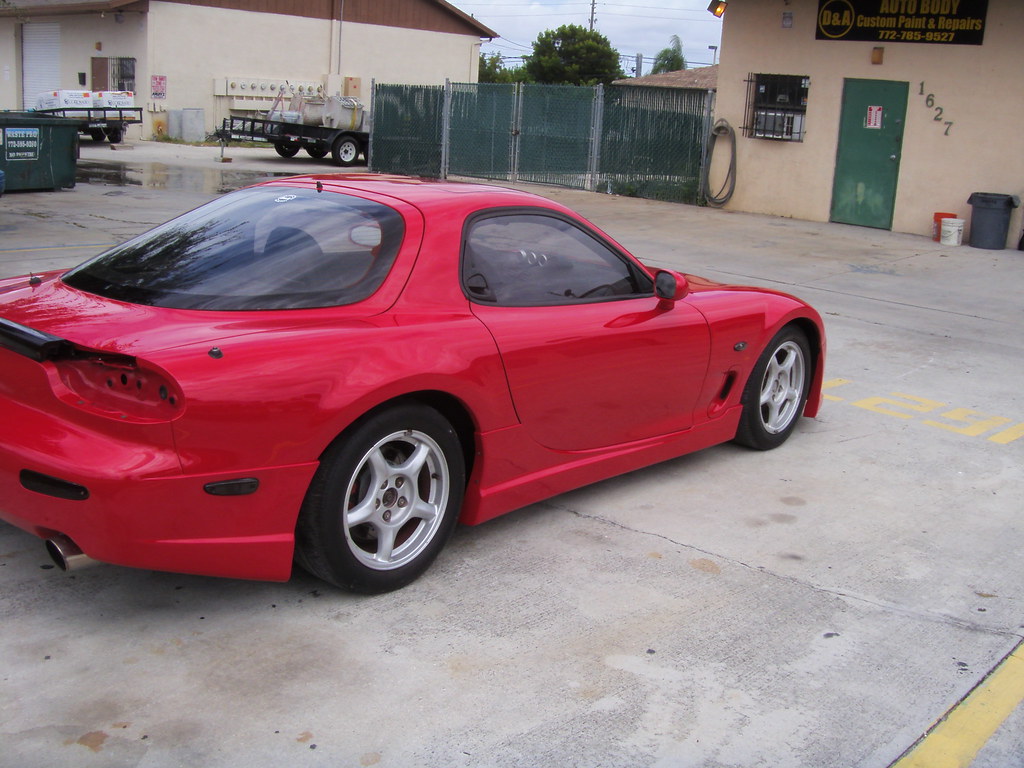
So I picked my car up 3 years ago on the cheap off of ebay, but it was completely trashed. Engine blown, cheap ebay turbo on it, rusted out EVERYTHING... it was an Indiana car and was beat, here are some pics from when I got it. All the work was done by a one man shop in Port Saint Lucie, FL. PM me for his details.
First thing done was clearing out the engine bay, then strip and paint:
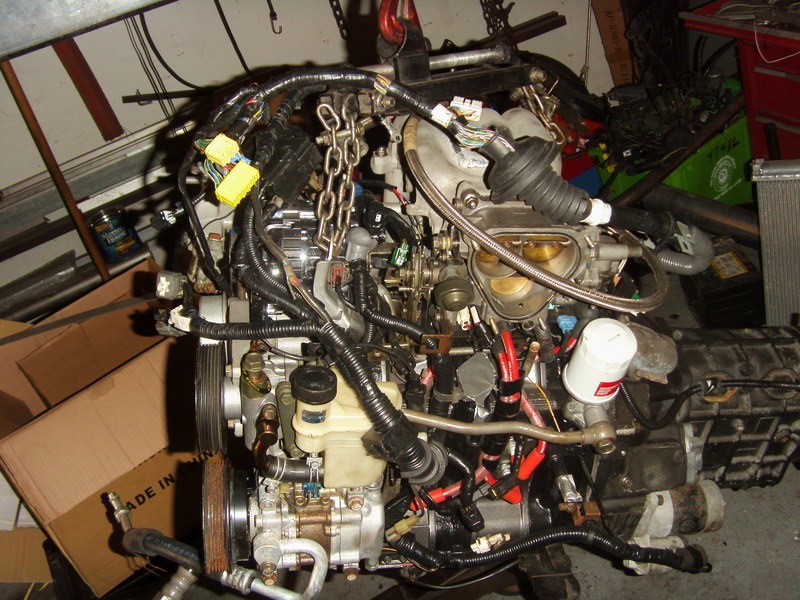
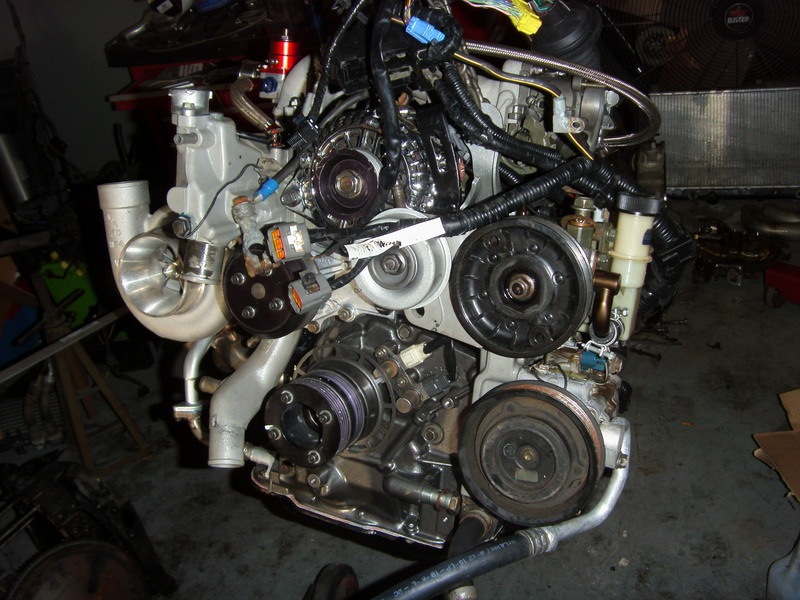
Next up was ordering a new engine from Rotary Resurrection (via David Jerome on forum), A T04R turbo and manifold kit from phoenix turbos, a lightly used transmission, ported UIM, ported LIM, ported throttle body
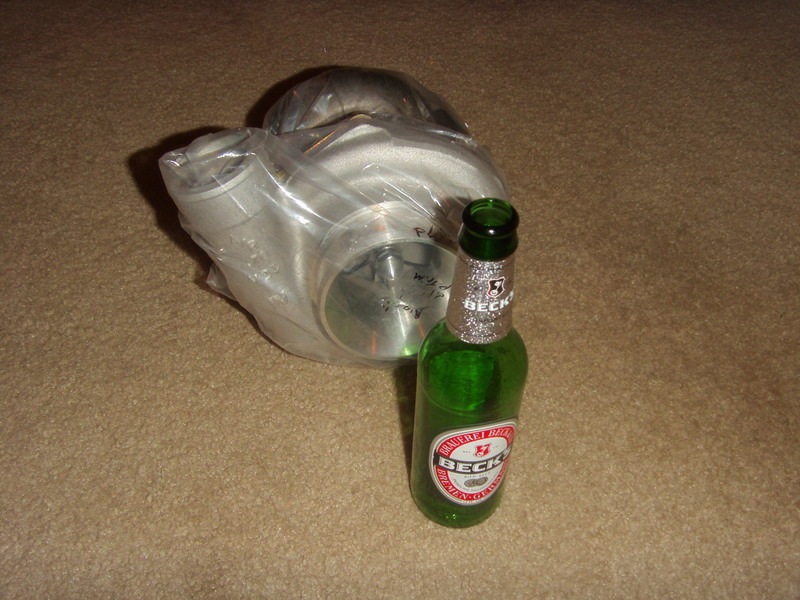
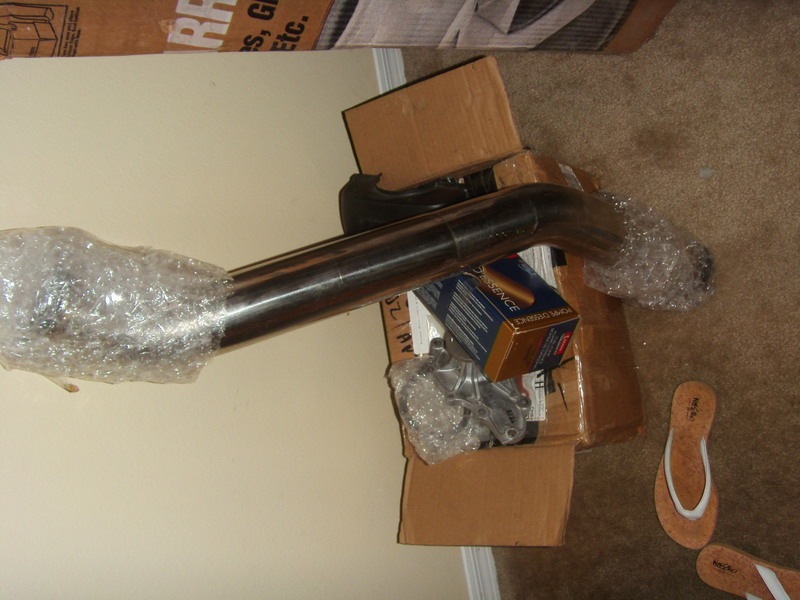
Single turbo downpipe from rx7store:
First thing done was clearing out the engine bay, then strip and paint:
Next up was ordering a new engine from Rotary Resurrection (via David Jerome on forum), A T04R turbo and manifold kit from phoenix turbos, a lightly used transmission, ported UIM, ported LIM, ported throttle body
Single turbo downpipe from rx7store:
Dual oil coolers from the R1 installed:
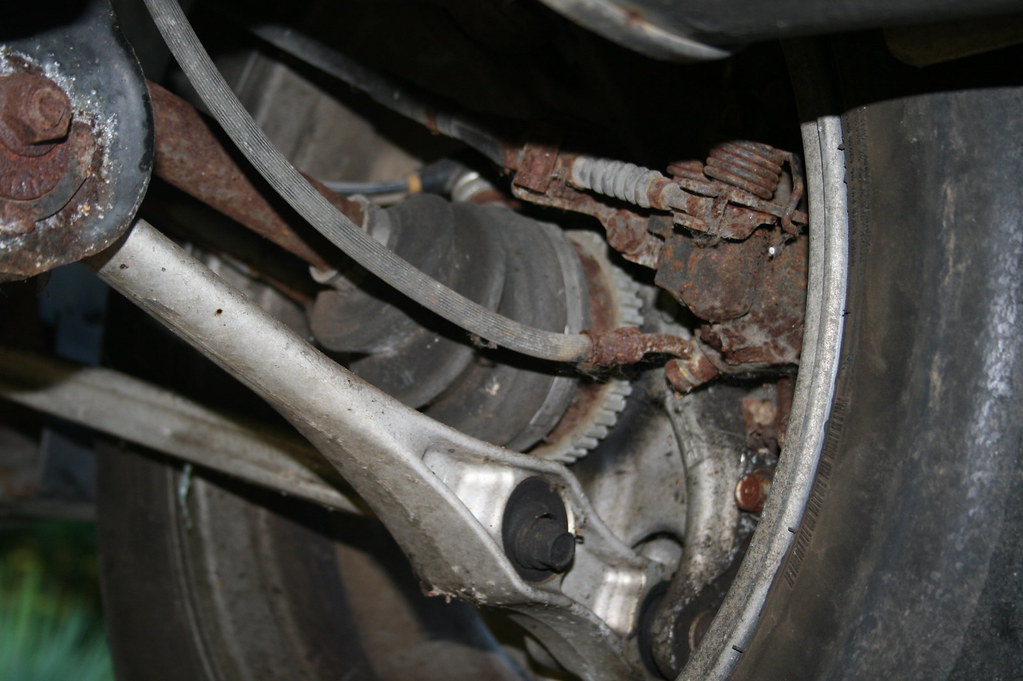
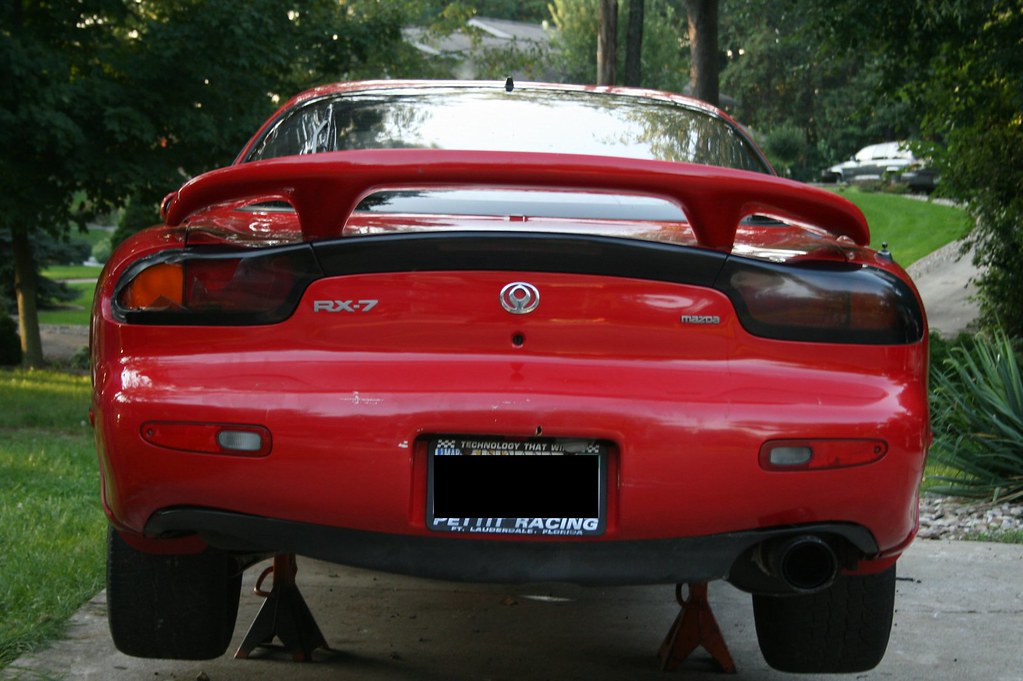
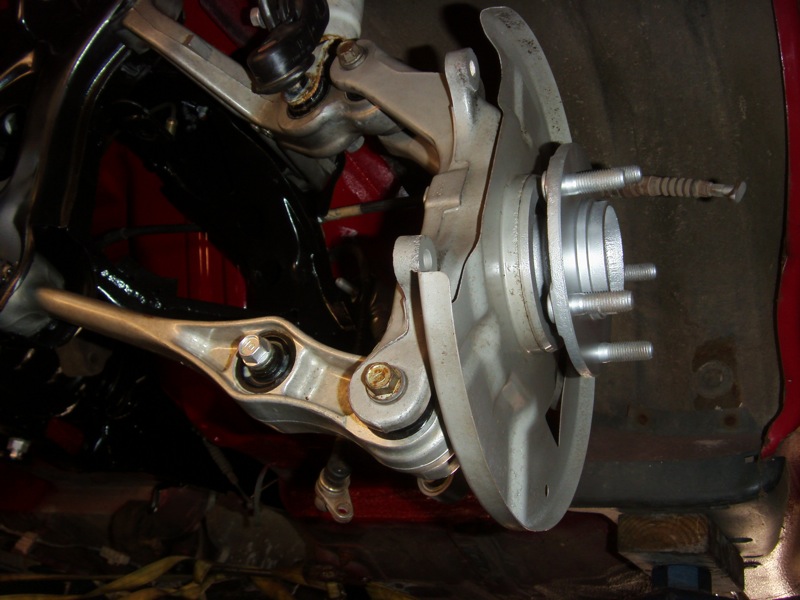
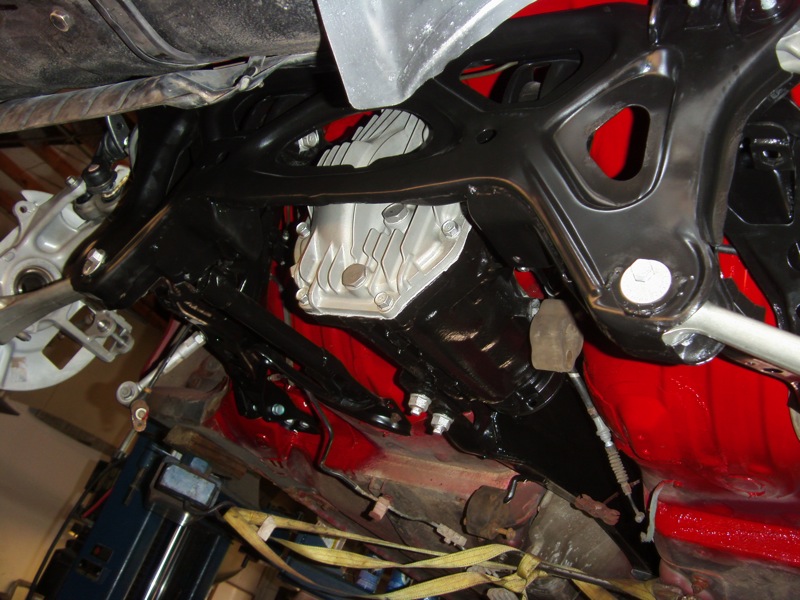
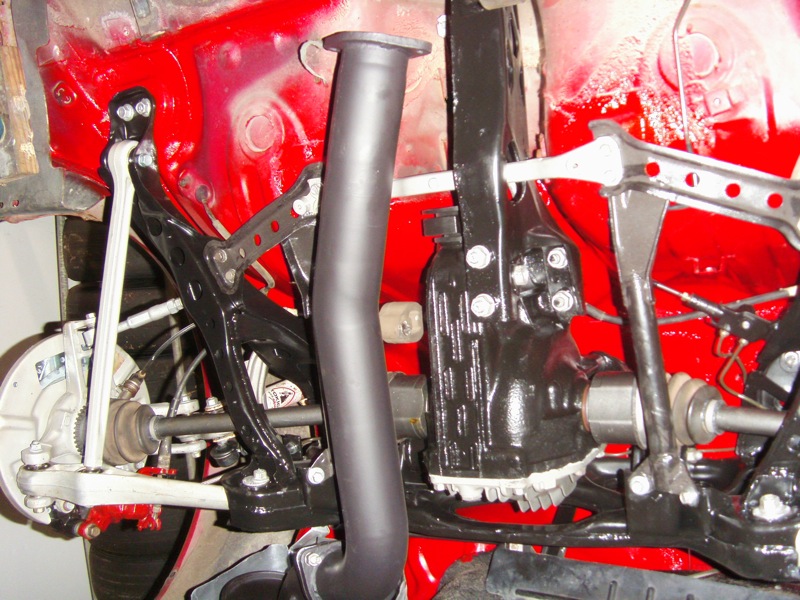
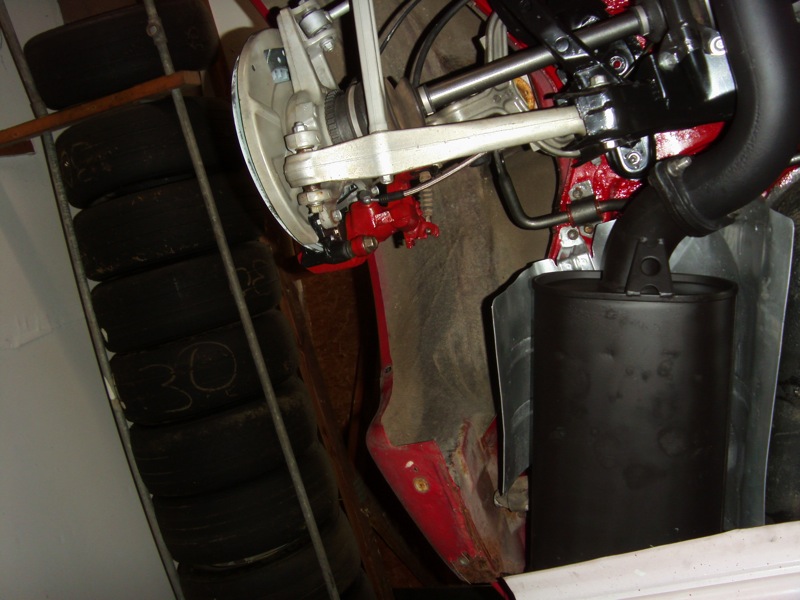
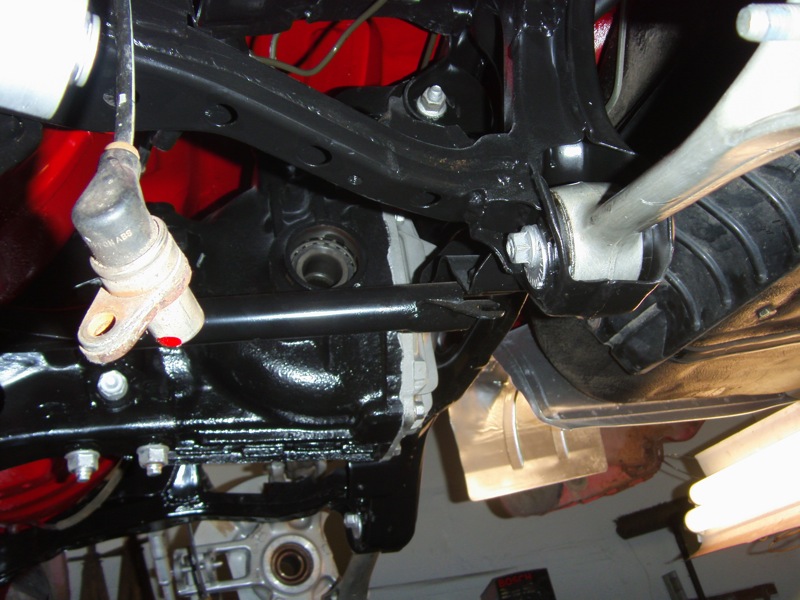
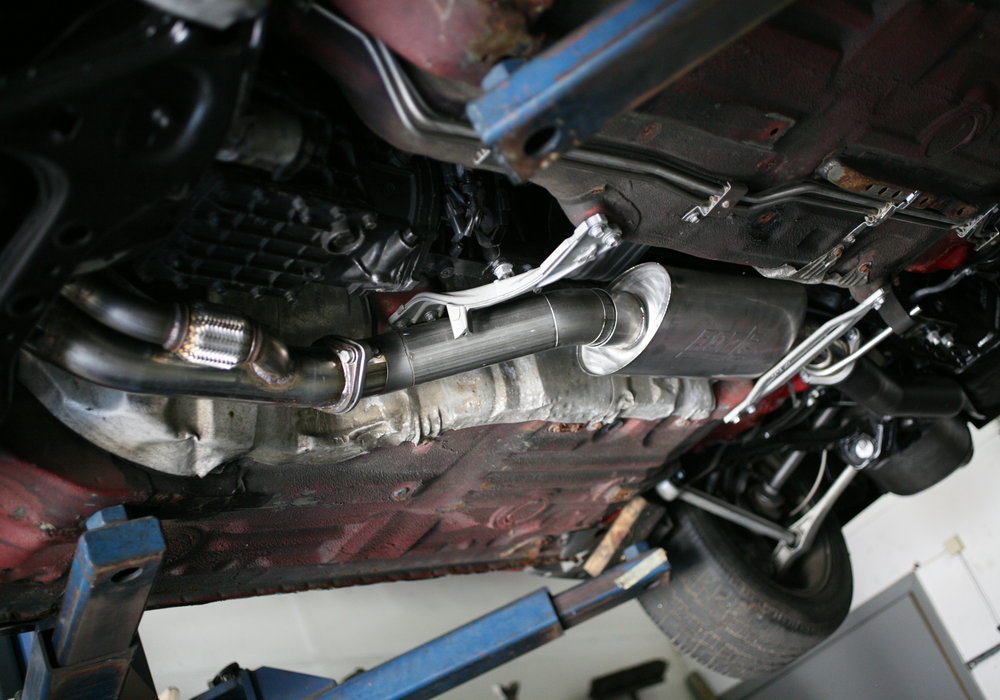
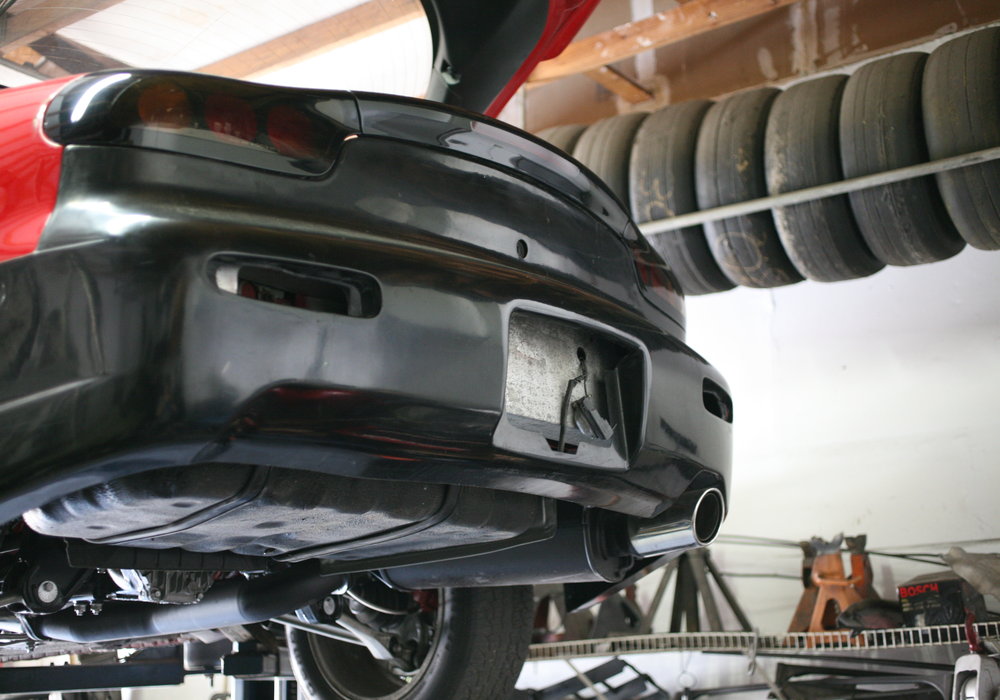
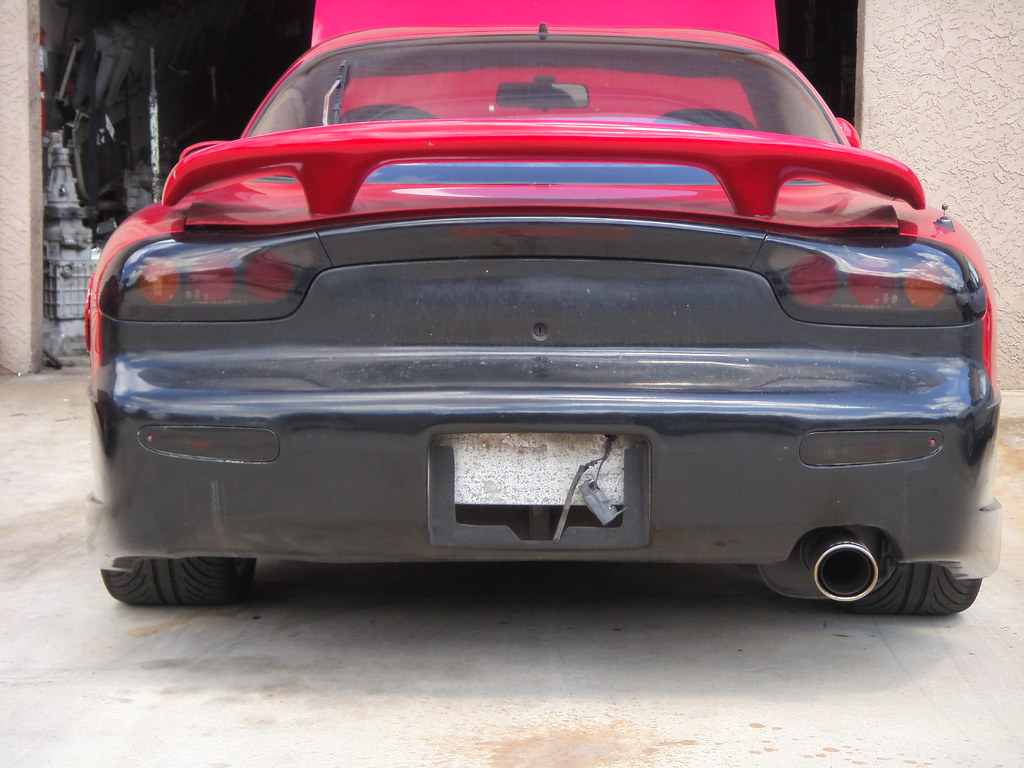
The entire rear end was restored, many pieces replaced. All the brakes were redone, new lines were run for both fuel and brakes. The racing beat muffler was salvaged and restored, it was full of oil because the idiot who owned the car before me had the turbo upside down:
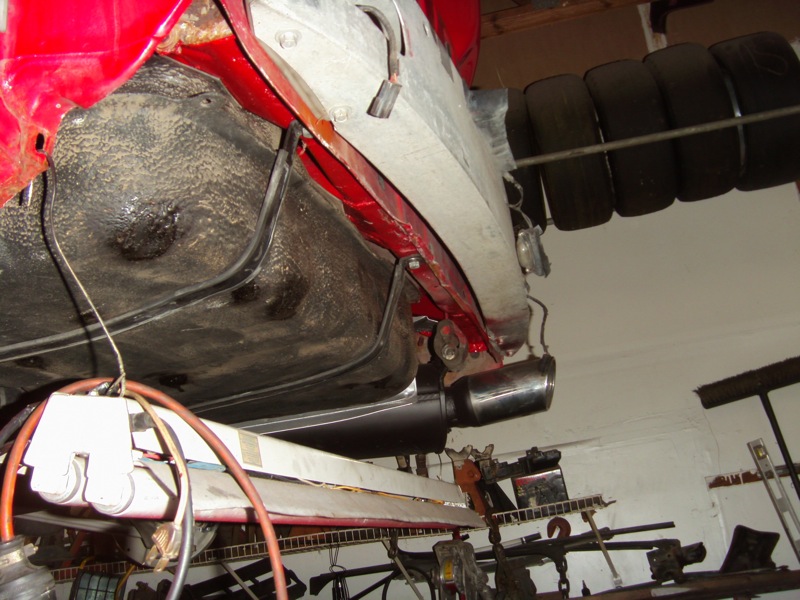

Before:
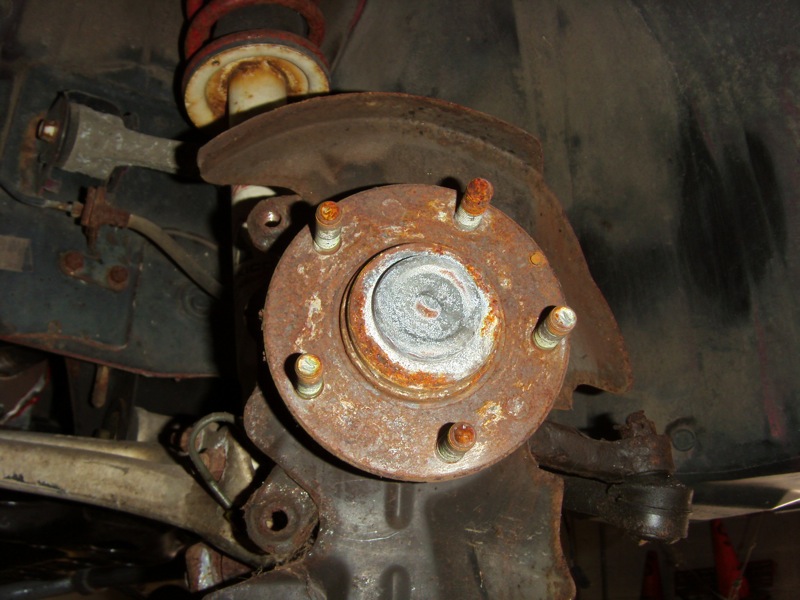
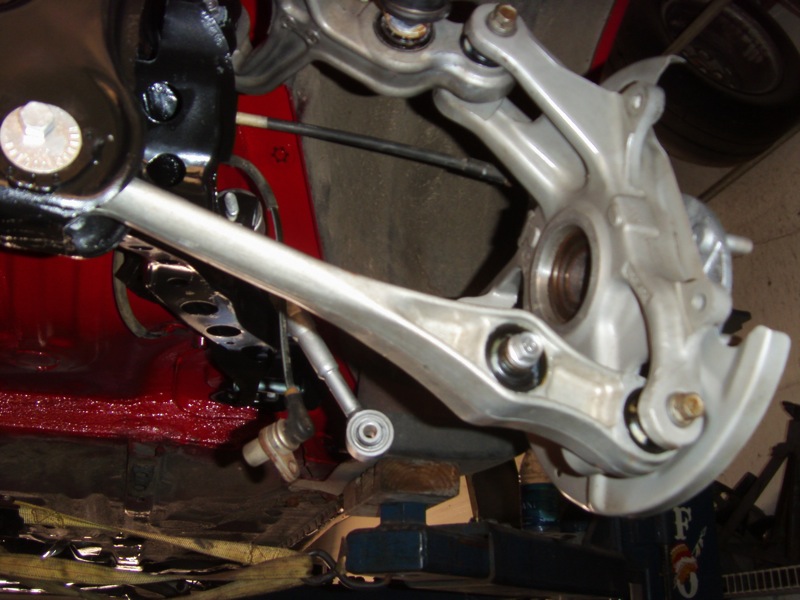
After:
The entire rear end was restored, many pieces replaced. All the brakes were redone, new lines were run for both fuel and brakes. The racing beat muffler was salvaged and restored, it was full of oil because the idiot who owned the car before me had the turbo upside down:
Before:
After:
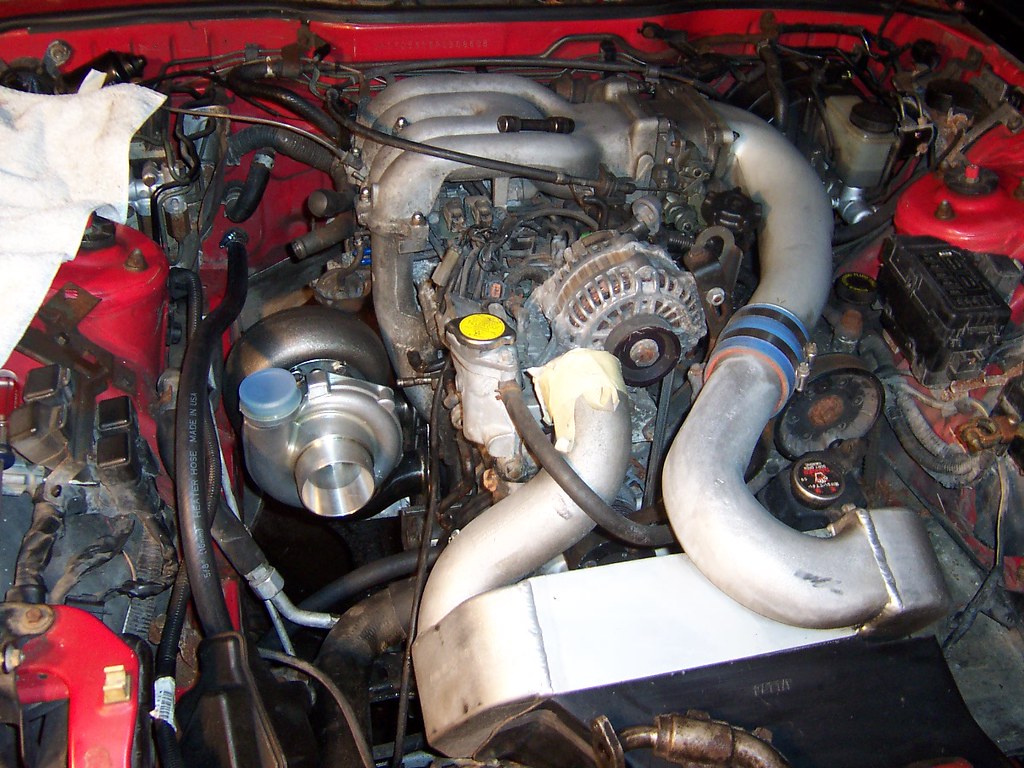
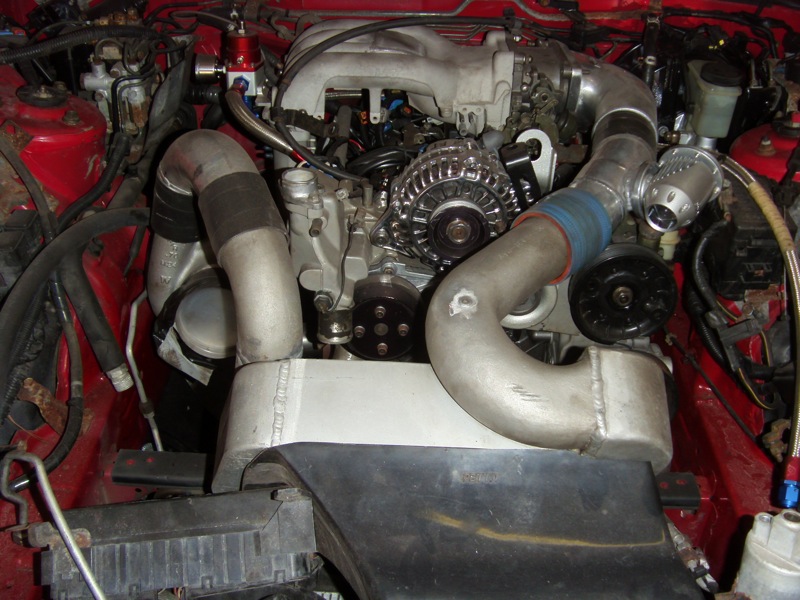
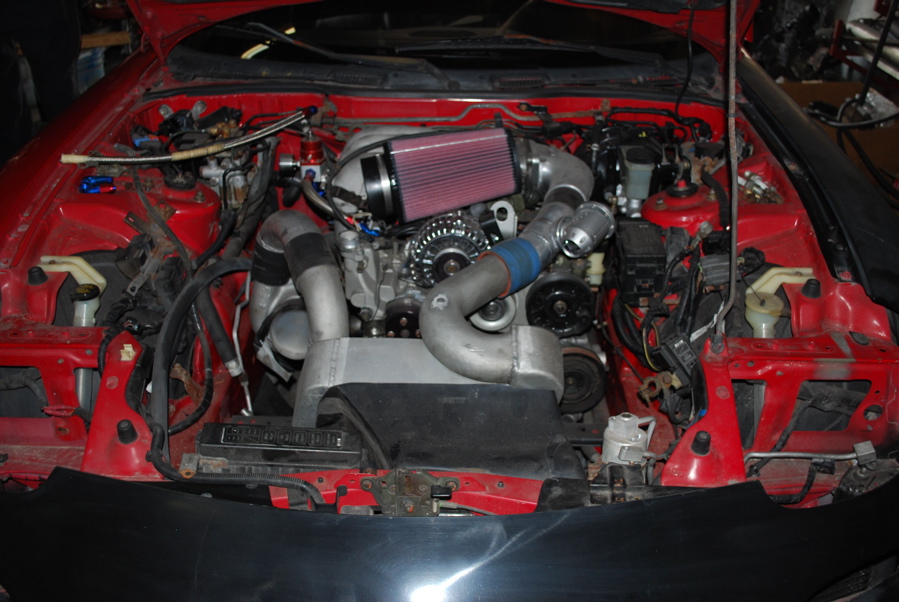
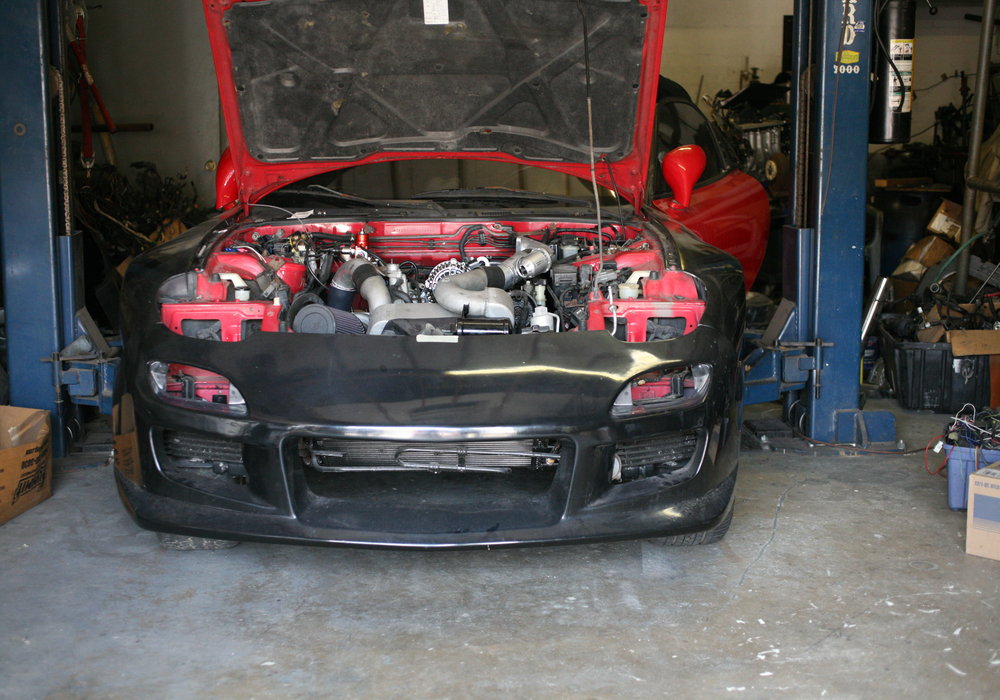
Engine, transmission, intercooler, blow off valve installed:
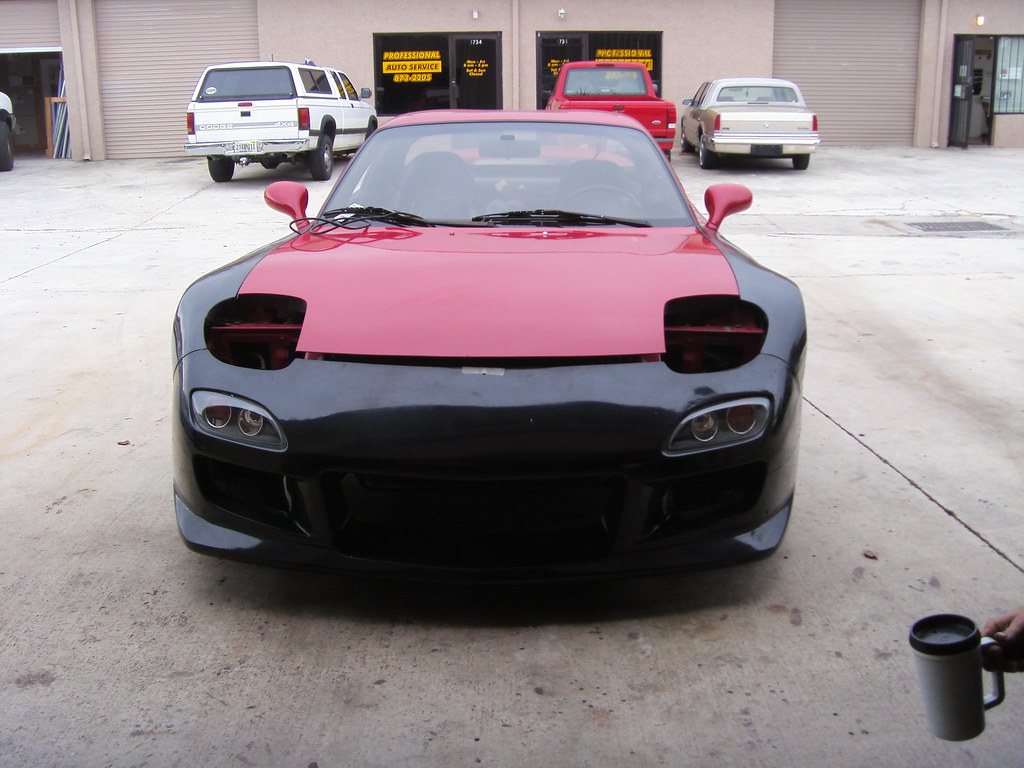
I purchased the burnout kit from shine, first I ordered just the front and rear bumper, here is the initial fitting:


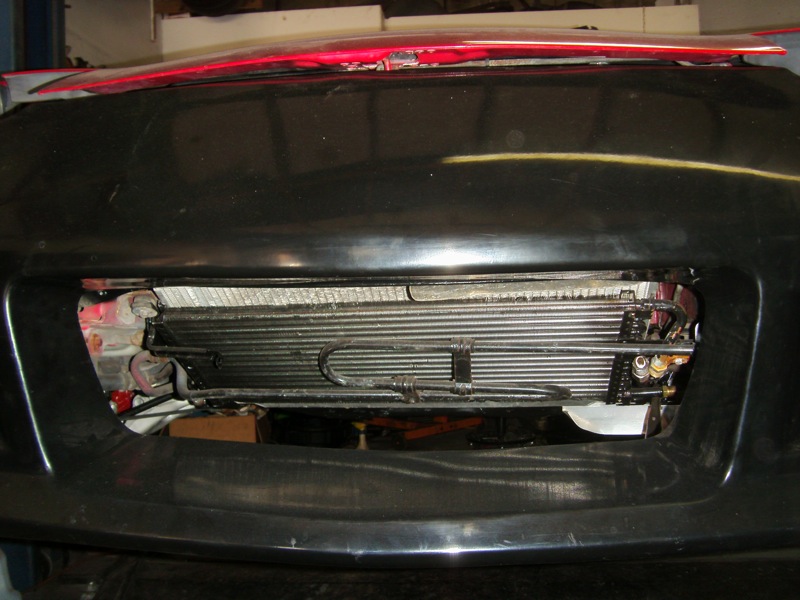
New Radiator Installed:
New fuel tank installed
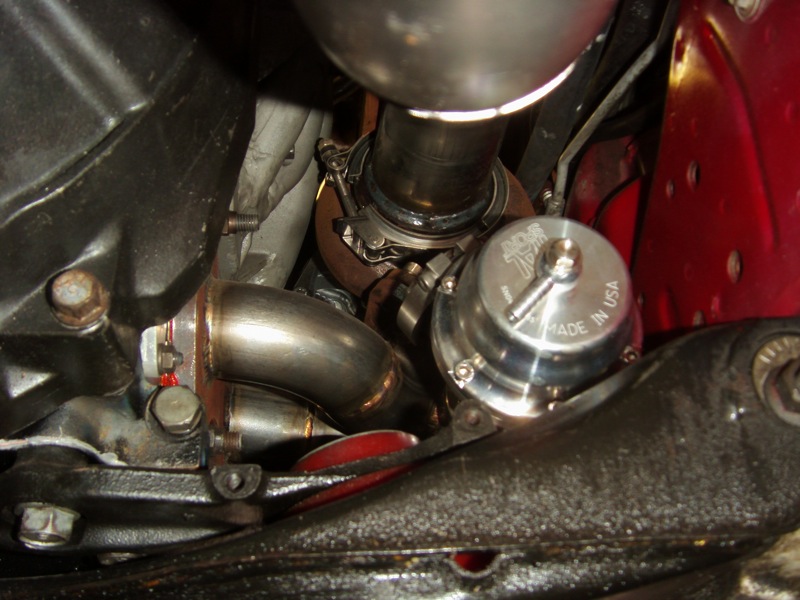
Tial wastegate
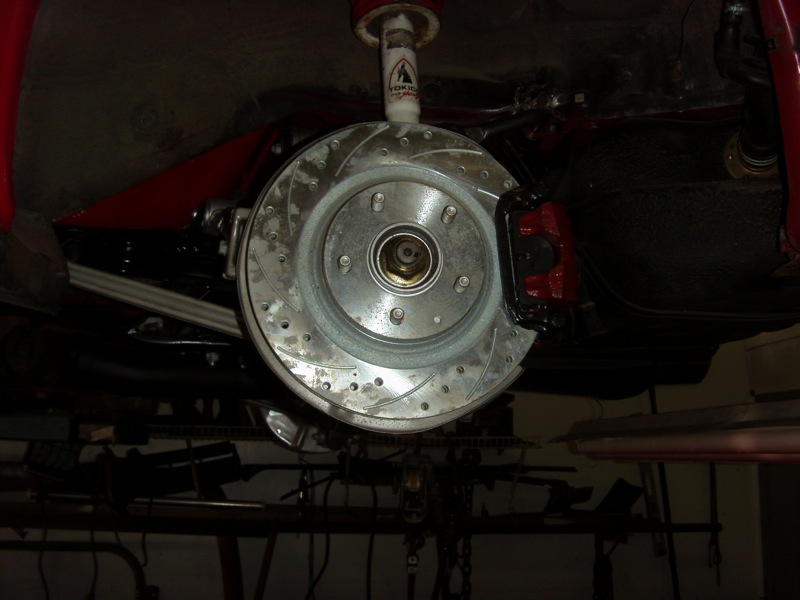
Brakes restored:
Fuel lines being run:
Undercarriage nearly done:
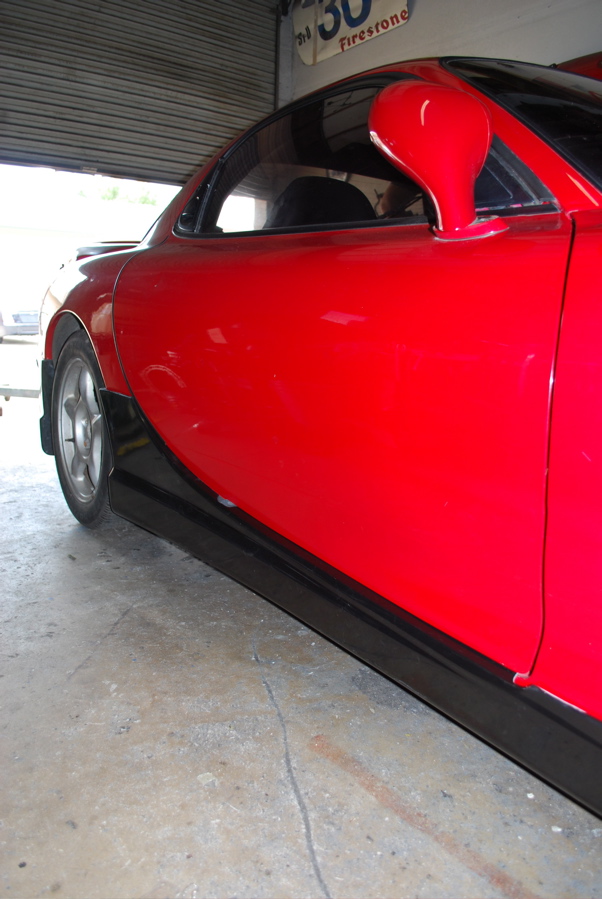
Burnout side skirts were ordered and attached:
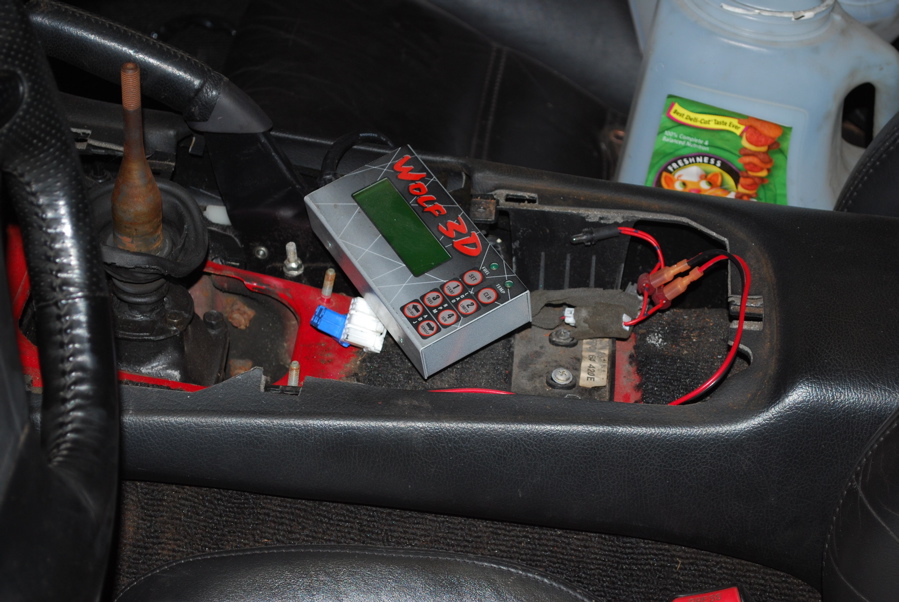
Wolf EMS and handcontroller installed:
I purchased the burnout kit from shine, first I ordered just the front and rear bumper, here is the initial fitting:
New Radiator Installed:
New fuel tank installed
Tial wastegate
Brakes restored:
Fuel lines being run:
Undercarriage nearly done:
Burnout side skirts were ordered and attached:
Wolf EMS and handcontroller installed:
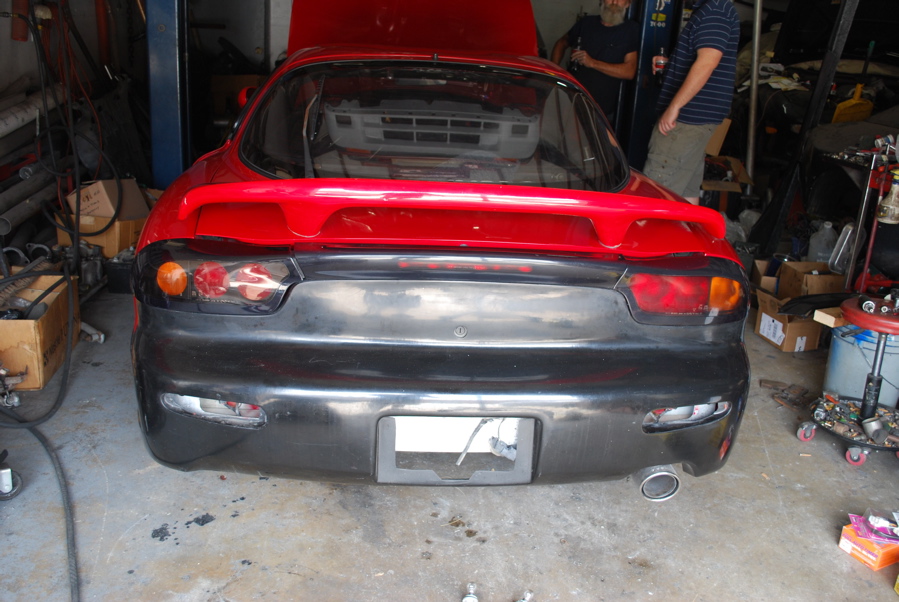
99 spec tail lamps were purchased, here is one with the original:
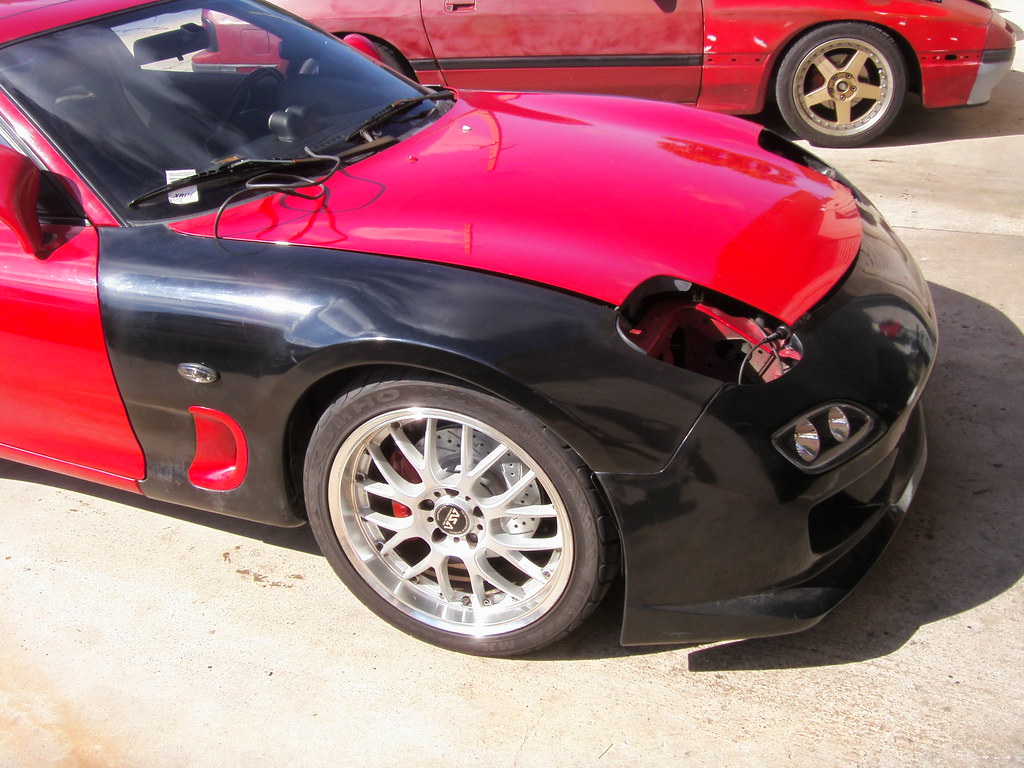
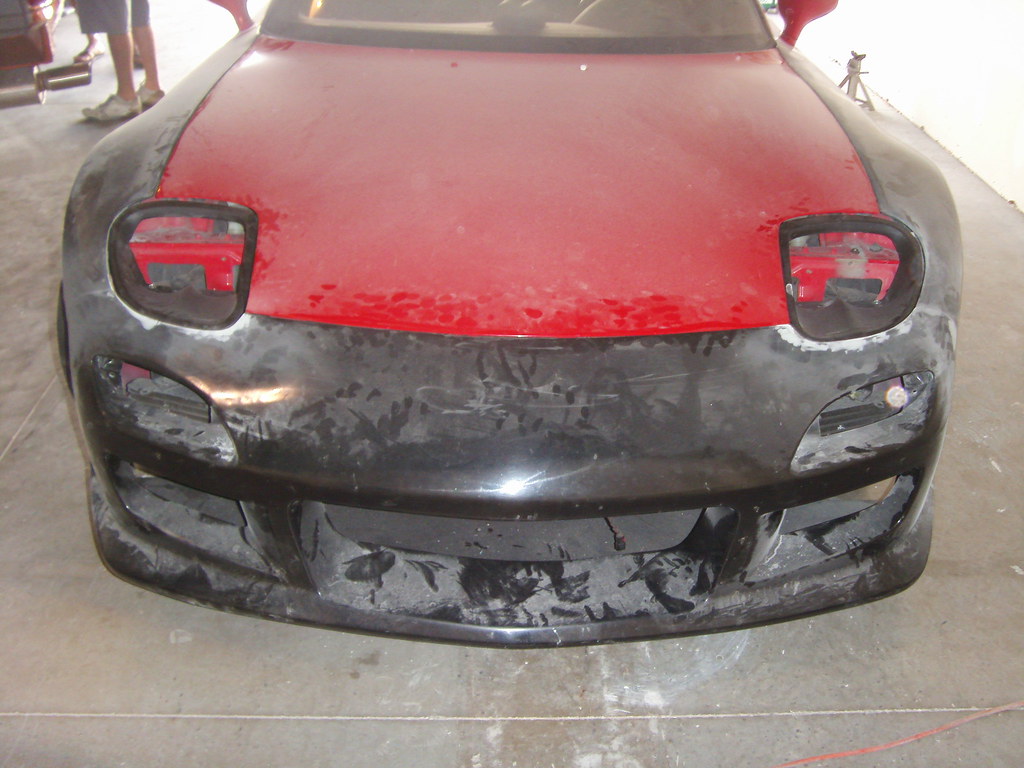
I decided to go all the way and purchased front burnout fenders and rear flares, here we are test fitting:
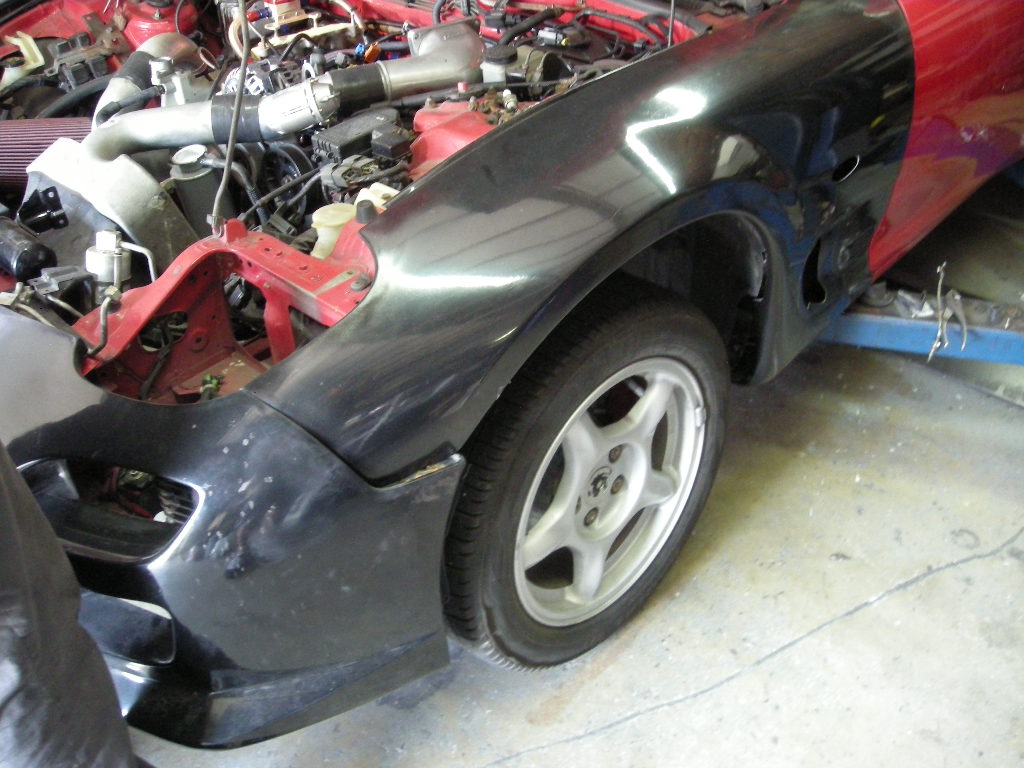
Overall, the body kit needed a lot of work to get the fitment correct, but to be expected with replica's I suppose.
Gauges installed, originally went with 2 in speaker, 1 column mount and 2 pillar's:
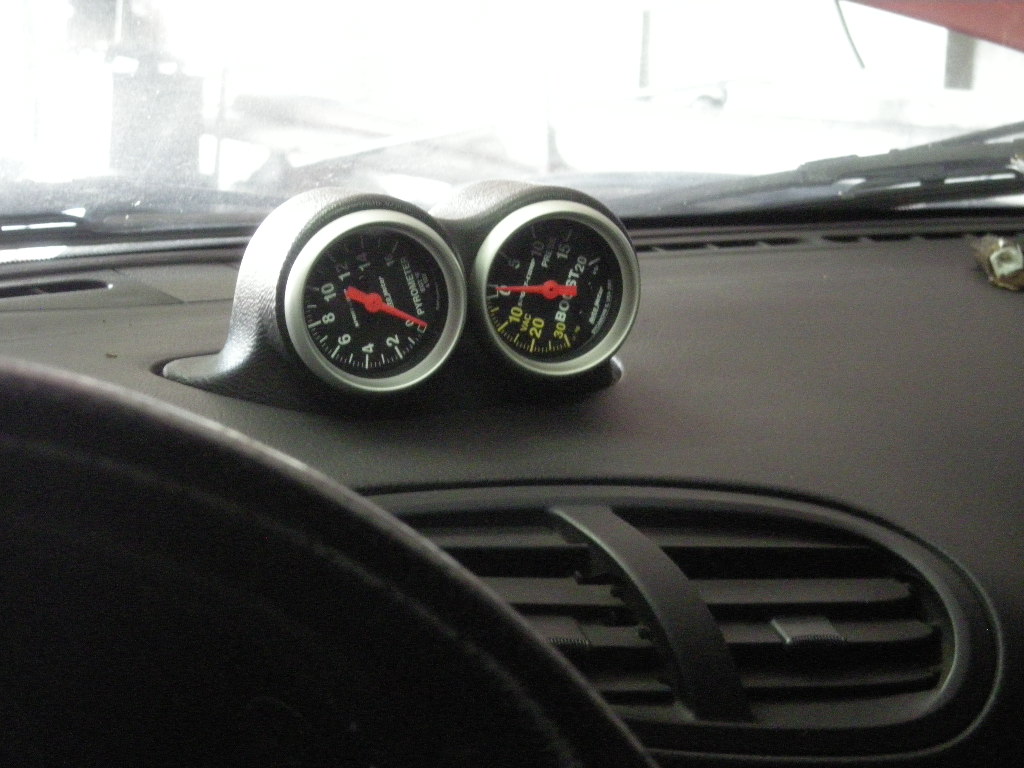
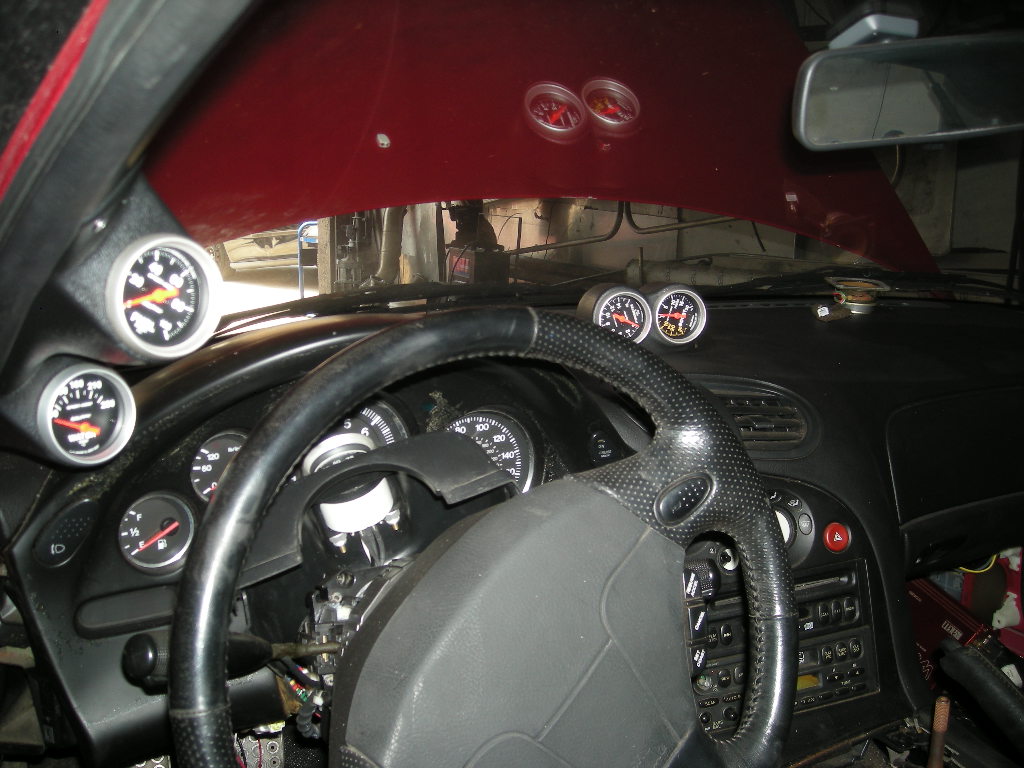
Recently I decided didn't like this setup so I am getting rid of the column mount and changed to a 4 gauge speaker pod:

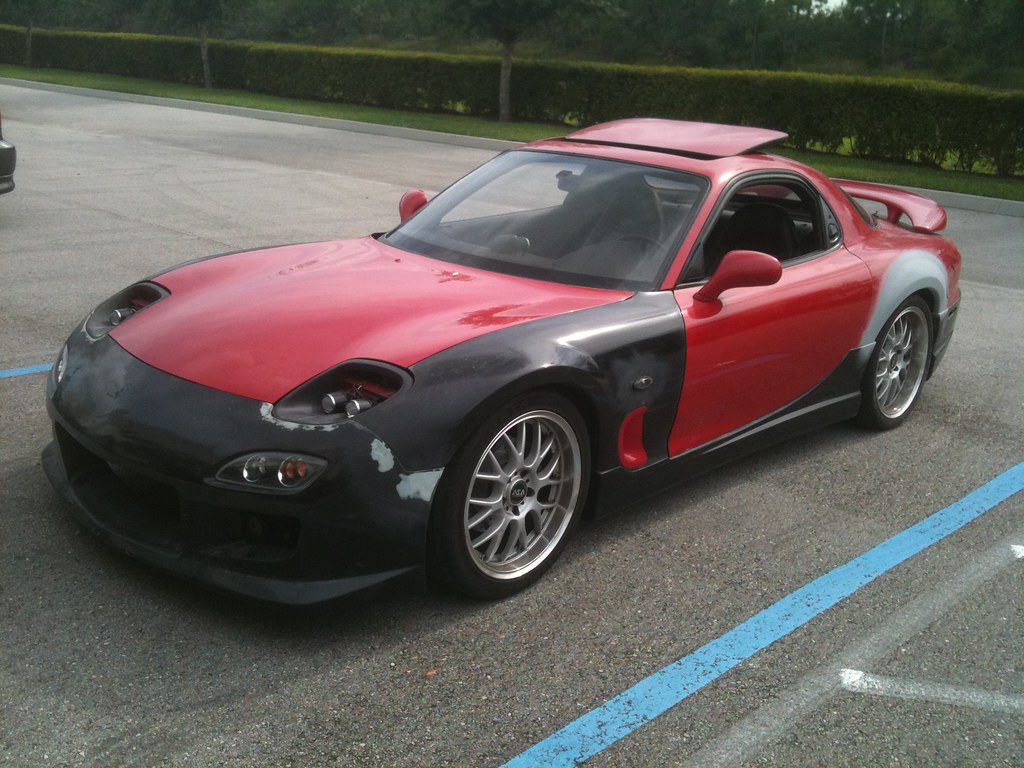
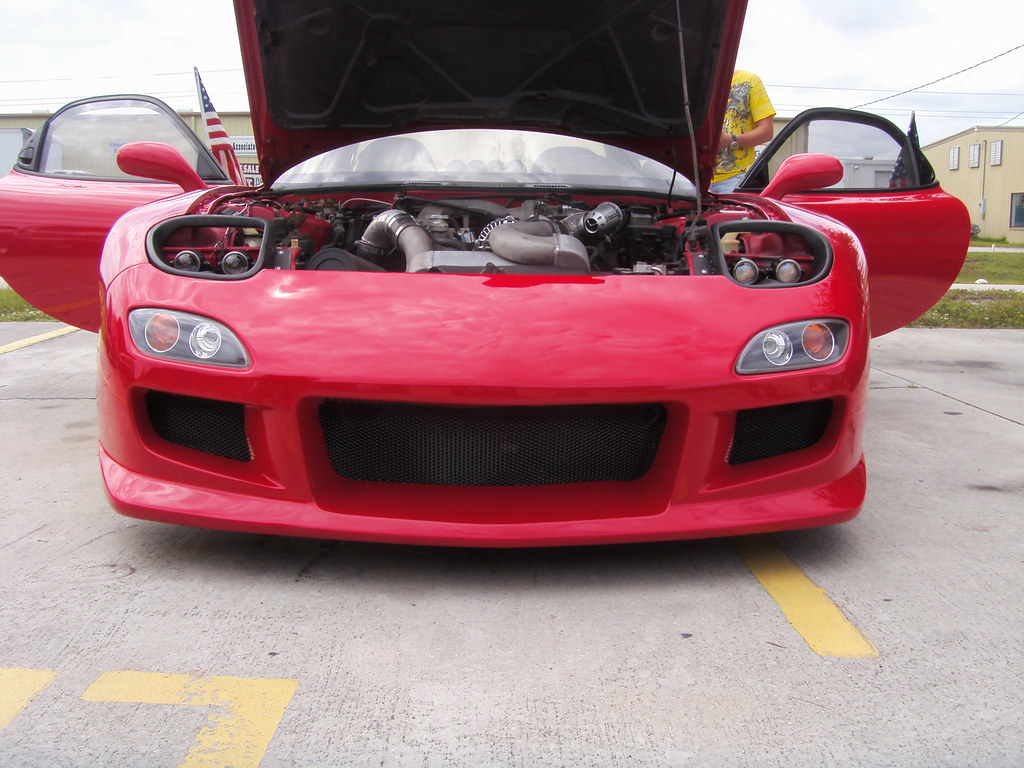
Here is a front view of the burnout body kit:
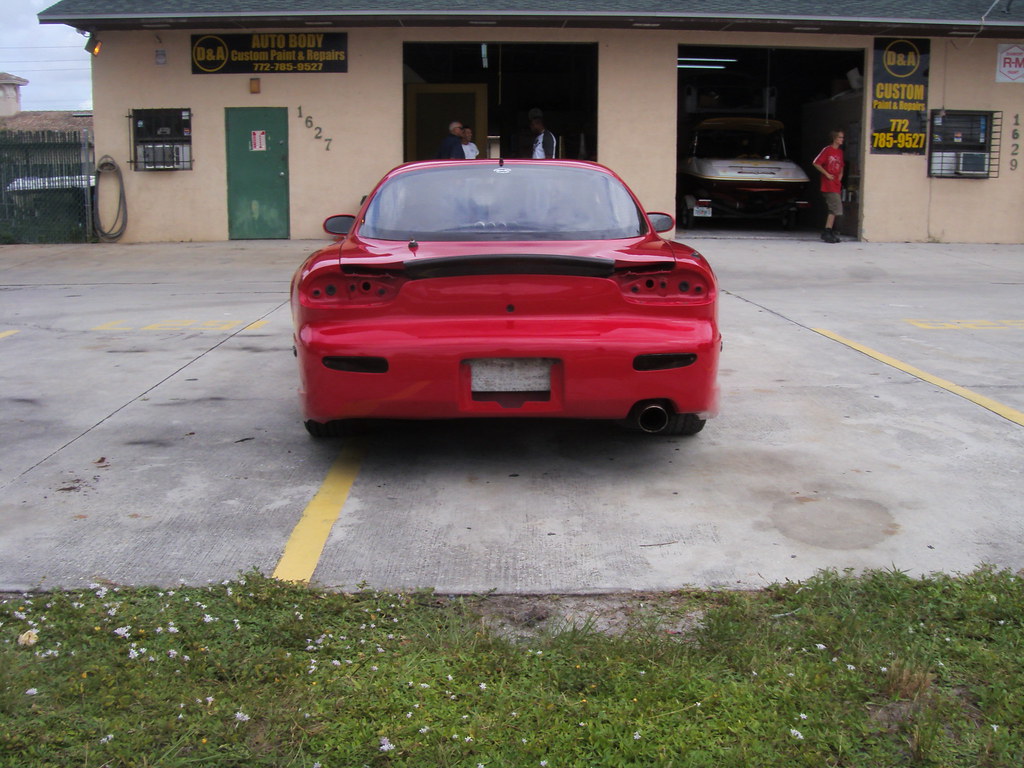
Here is a back view of the burnout kit with 99 spec tail lamps:
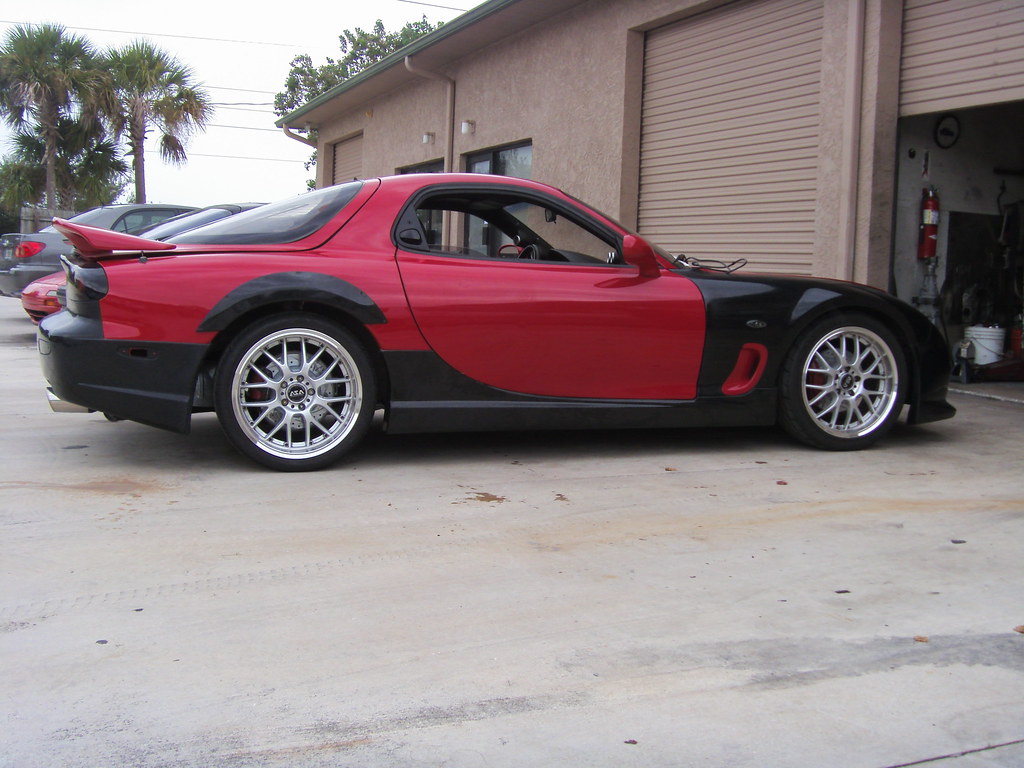
Here is a pic with some borrowed wheels to get the alignment on track. This pic was taken when street tuning began.
Test fitting the burnout kit:
I decided to go all the way and purchased front burnout fenders and rear flares, here we are test fitting:
Overall, the body kit needed a lot of work to get the fitment correct, but to be expected with replica's I suppose.
Gauges installed, originally went with 2 in speaker, 1 column mount and 2 pillar's:
Recently I decided didn't like this setup so I am getting rid of the column mount and changed to a 4 gauge speaker pod:
Here is a front view of the burnout body kit:
Here is a back view of the burnout kit with 99 spec tail lamps:
Here is a pic with some borrowed wheels to get the alignment on track. This pic was taken when street tuning began.
Test fitting the burnout kit:
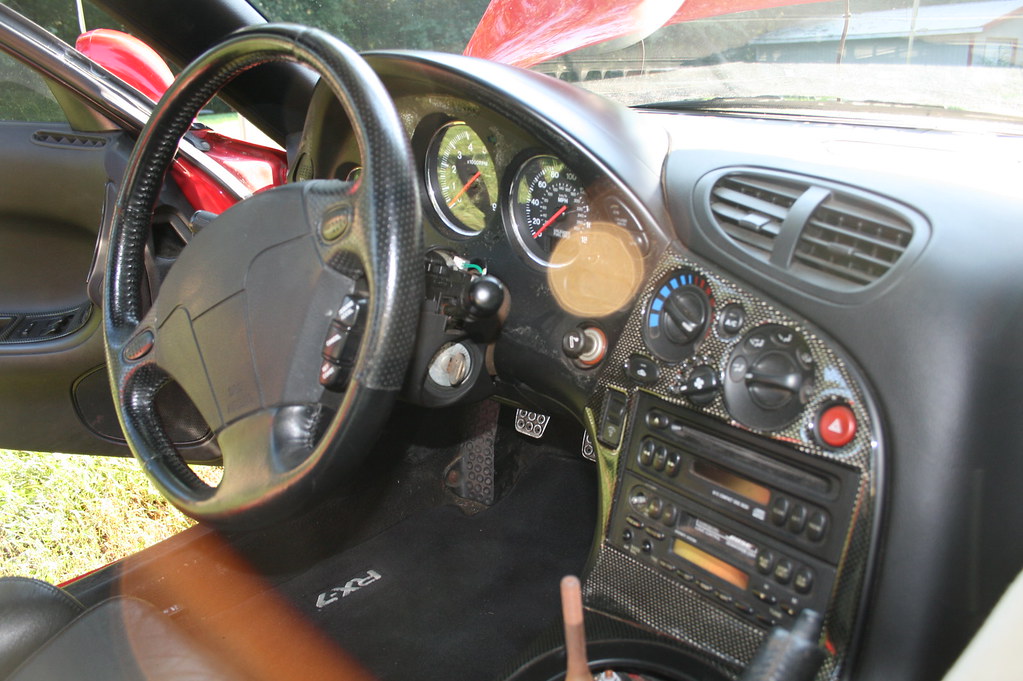
The interior was covered in a cheap carbon fiber dash overlay kit. Basically this is a carbon fiber piece that is glued onto the interior pieces. The glue was covering every piece of plastic in the interior, and took quite a bit of work to remove. Here is a before shot of my gauge cluster and other dash pieces:

First I removed the glue by scrubbing it with goo gone and water. Then I sanded the piece down using 600 grit sand paper, followed by a wet sand using 1000 grit paper. After the piece was clean and dry, I sprayed it with Duplicolor Truck Bed Liner.

This picture was after the first coat.
After 3 coats, I let the paint dry and then I wet sand each piece with 1000 grit sand paper. This helped to remove the rough texture. The finished results are as follows:

This is the speedometer put back together, and after I painted the silver gauge rings (they had oxidized).
Here are all the pieces that I refinished:

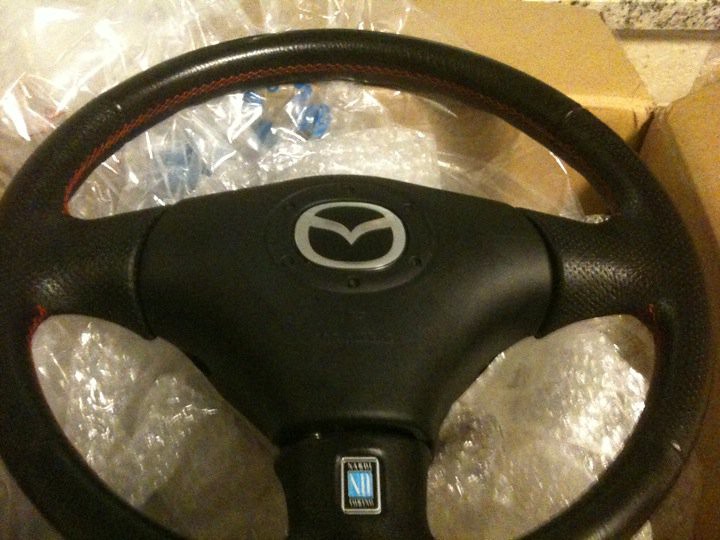
I have just purchased a genuine Spirit R steering wheel and shift ****. This is the Spirit R wheel:

As well as new floor mats:

I have also purchased a new JVC head unit.

Spirit R Shift ****:

I picked up a Spirit R steering wheel off of bryan from rx7 boutique... love this wheel, install pending!
First I removed the glue by scrubbing it with goo gone and water. Then I sanded the piece down using 600 grit sand paper, followed by a wet sand using 1000 grit paper. After the piece was clean and dry, I sprayed it with Duplicolor Truck Bed Liner.
This picture was after the first coat.
After 3 coats, I let the paint dry and then I wet sand each piece with 1000 grit sand paper. This helped to remove the rough texture. The finished results are as follows:
This is the speedometer put back together, and after I painted the silver gauge rings (they had oxidized).
Here are all the pieces that I refinished:
I have just purchased a genuine Spirit R steering wheel and shift ****. This is the Spirit R wheel:
As well as new floor mats:
I have also purchased a new JVC head unit.
Spirit R Shift ****:
I picked up a Spirit R steering wheel off of bryan from rx7 boutique... love this wheel, install pending!


A Shine Auto Burnout Style Full Aero Kit was installed to my 1993 Mazda RX-7. Wide body flares were fixed to the rear fenders and the front fenders swapped out for new FRP material wide body fenders.
Here is an image of the body kit fitted initially:
The kit was made by Shine Auto and made from a (FRP) Fiberglass based material. There were many fitment problems and required some fiberglass work on every piece except for the side skirts. Here are some pictures of the kit after the fiberglass work was performed:
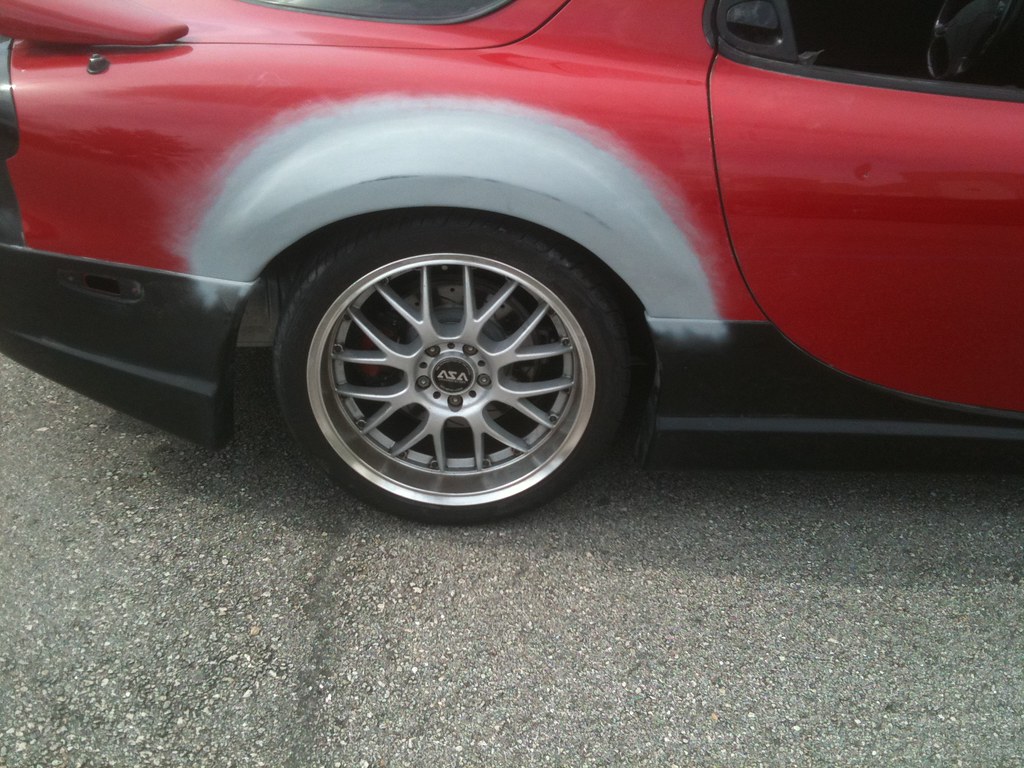
Additionally, the rare flares were molded in:
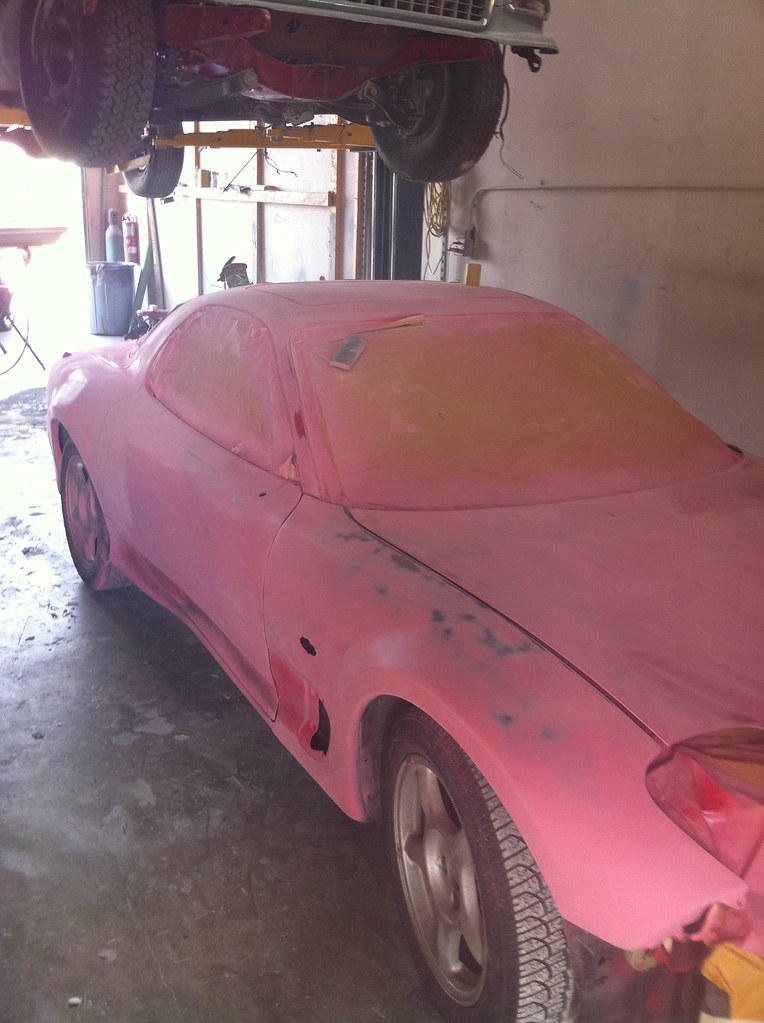
After the body work was complete, the body shop primed the car:
Here is an image of the body kit fitted initially:
The kit was made by Shine Auto and made from a (FRP) Fiberglass based material. There were many fitment problems and required some fiberglass work on every piece except for the side skirts. Here are some pictures of the kit after the fiberglass work was performed:
Additionally, the rare flares were molded in:
After the body work was complete, the body shop primed the car:
Trending Topics
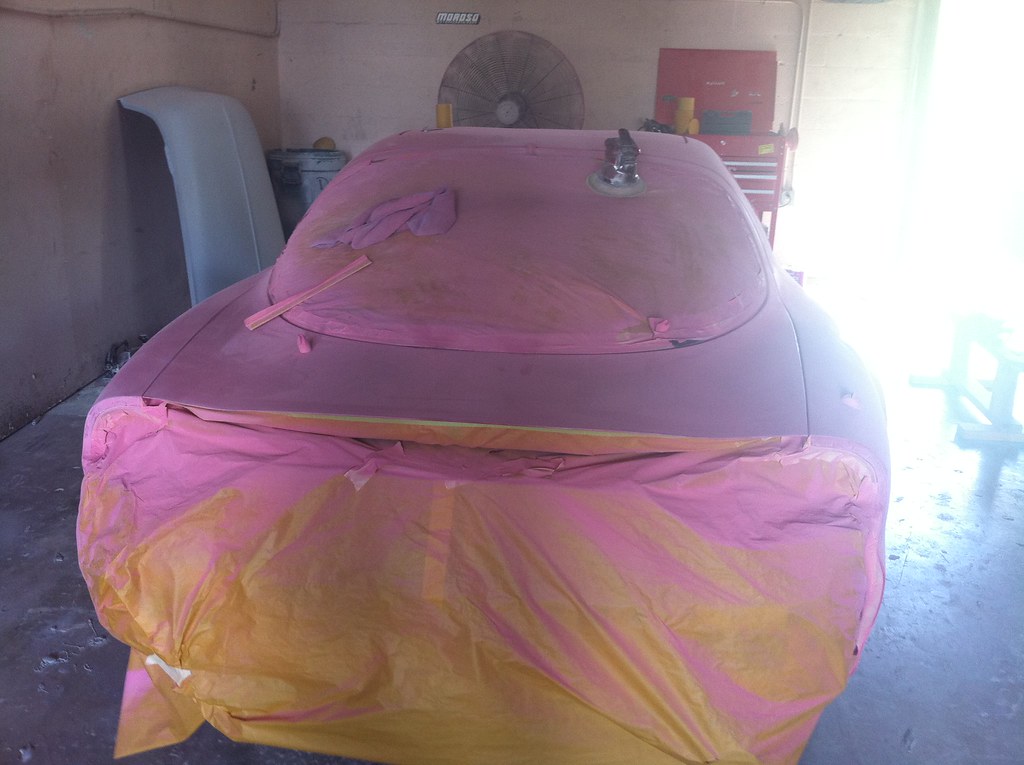
Here are pictures of the painting process:


I recently just ordered Work XD-9s in MBL finish, 18x10 and 18x9. The rest of the Evo-R Sleek Headlight kit is now installed, I will post pics when I get the wheels on in a couple weeks.
I recently just ordered Work XD-9s in MBL finish, 18x10 and 18x9. The rest of the Evo-R Sleek Headlight kit is now installed, I will post pics when I get the wheels on in a couple weeks.


I'm a fan of sleek headlights... the Evo-R kit needed a lot of tinkering to get right, but we have them looking pretty good, i'll post pics when I get the wheels on. I may go back to popups one day who knows...
Some dude is making replicas of the knightsports and I think selling them for around 420$ when hes done. There looking good. The only sleek lights im a real fan of are the re amemiya lights. All of the others just dont look as good. They are damn expensive though.
