
Mannykillers/ AAPARKAH Street/time Attack/Drift Build (heavy Pics) #Thisisthewolf


^^ Very nice! I have my ducting all sorted out and I could actually end up putting it where the OEM Alum Snake sits... kinda wedged up between the Engine Subframe and the Sway bar...but I want to get custom low links for the sway bar because as it sits now it is the lowest hanging part of the car and I don't like that. If I move it up..it'll sit where the OEM snake sits..so I have a couple other clever ideas for location... ;-)


I'm ready to see some numbers

As always, great work. Your ducting fabrication is all very nice. Gives me ideas.


Small Update:
Well I've been slightly out of the loop with everything and after the car didn't make the power It should have....some other un-enthusiast stuff (life Happened) and I had to shift priorities for a few weeks there. Always have respect for the death and loved ones lost. It is not directly related to me but my best friend.....Girlfriend lost her grandmother a few weeks ago and so we've been kind of dealing with that. THings have been slowly brewing though.
I got a Care package in the mail thanks to the wonderful Full Function Engineering......Once again..Blown away with the quality and customer service of this company. They will forever be my first choice for accessories!! I know some of you have seen them but Introducing their new Billit Aluminum Height Adjustable Motor Mounts. These things are just the "cream of the crop."
Full Function Engineering height Adjustable Alum Motor Mounts: also my 2 brand new Exedy ceremetallic clutch discs and intermediate plate.

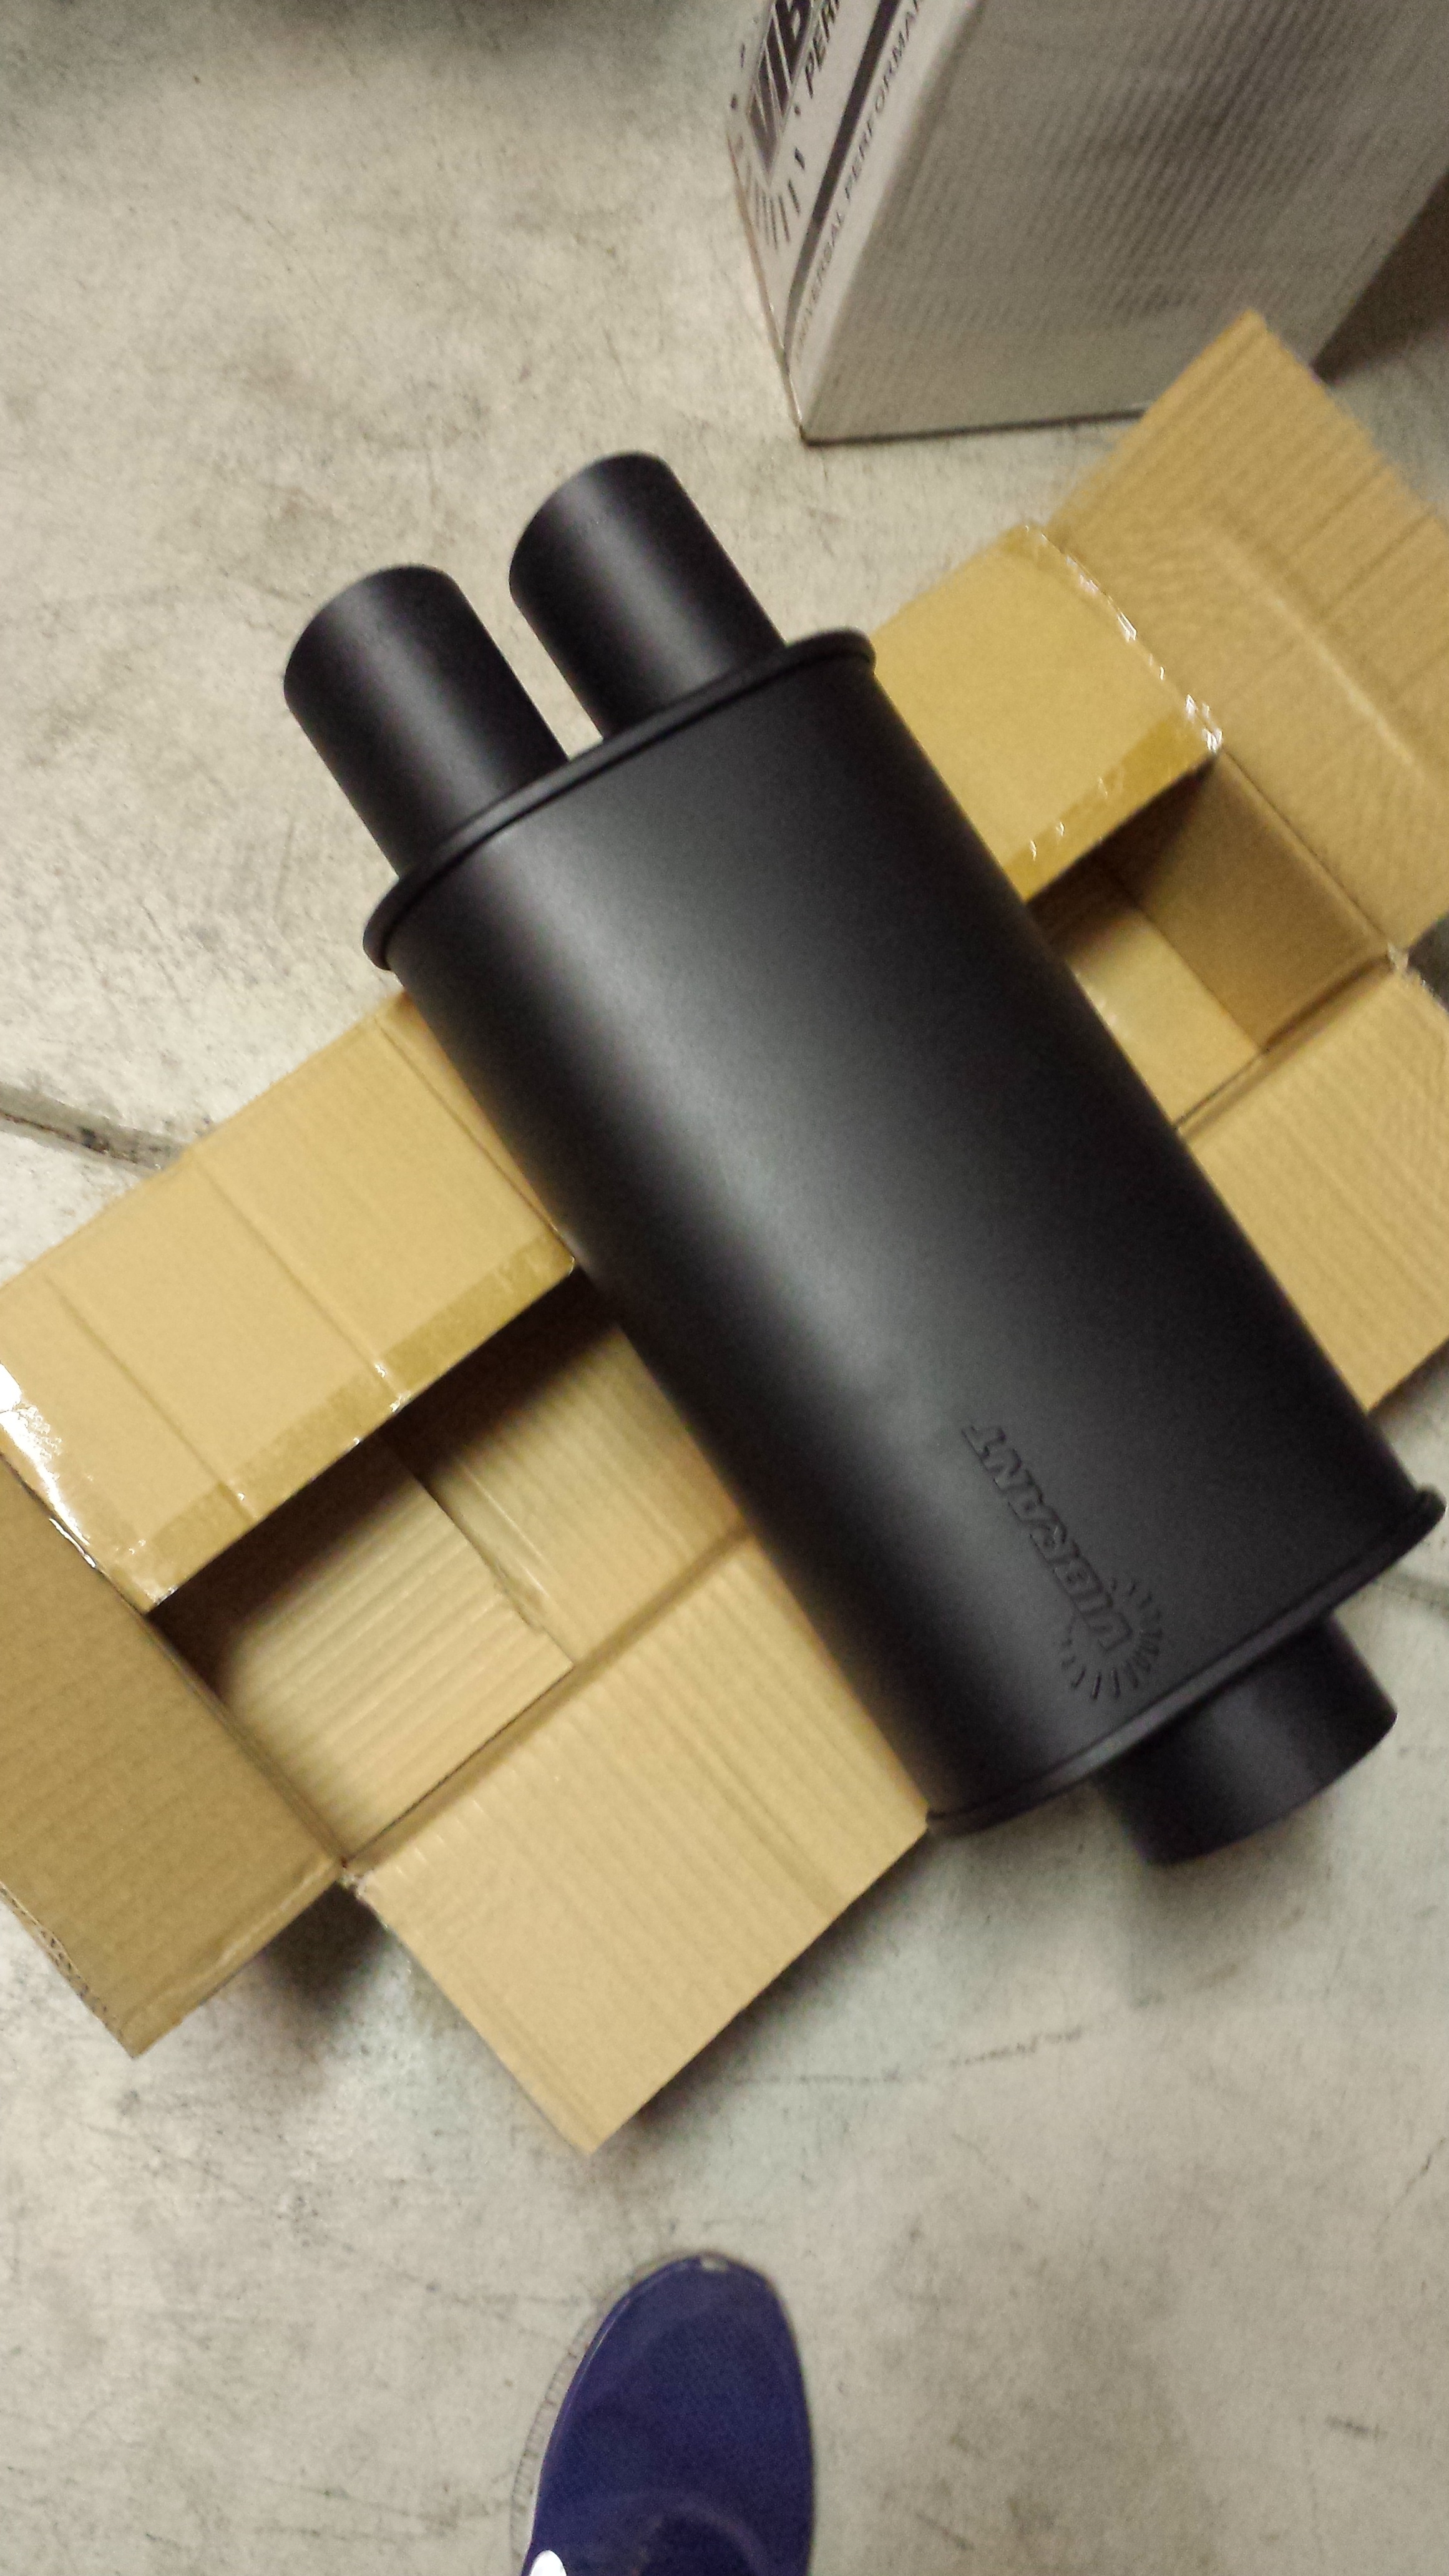
And Exhaust muffler came in as well. Nothing ooober special but nice and simple and hopefully as "under the radar as 4" can be..
Vibrant 4" inlet to dual 3" outlets
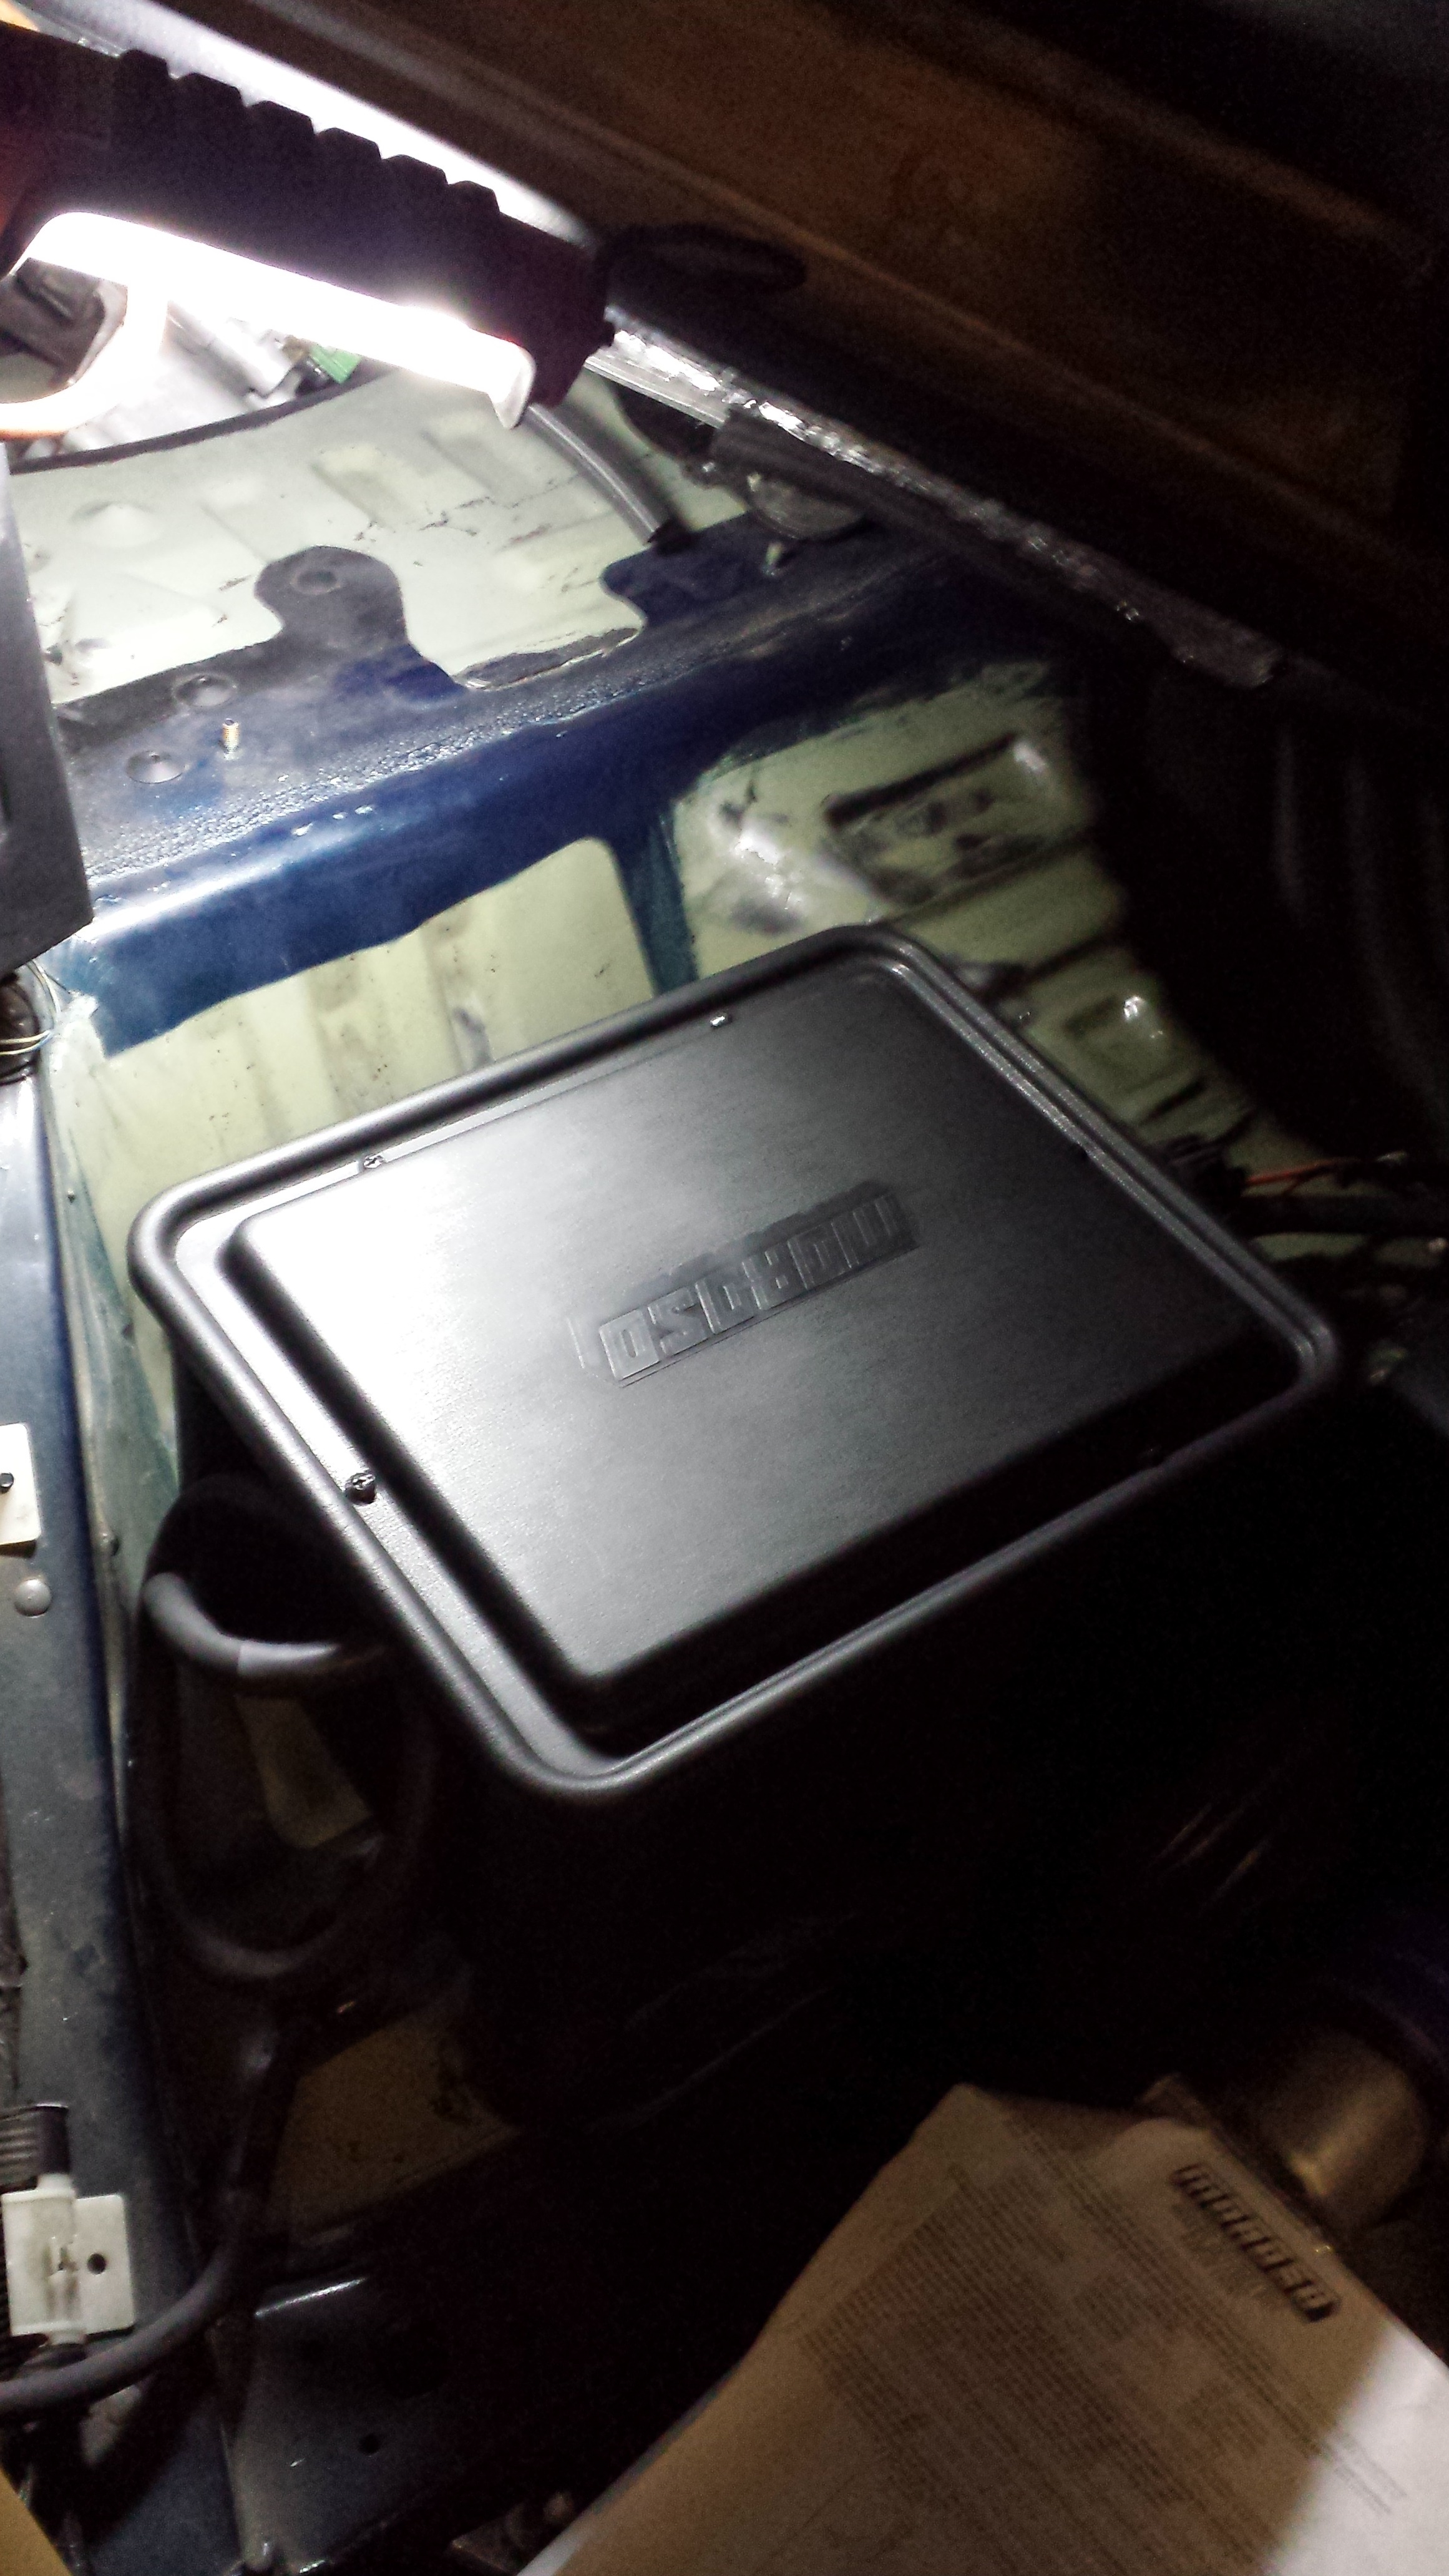
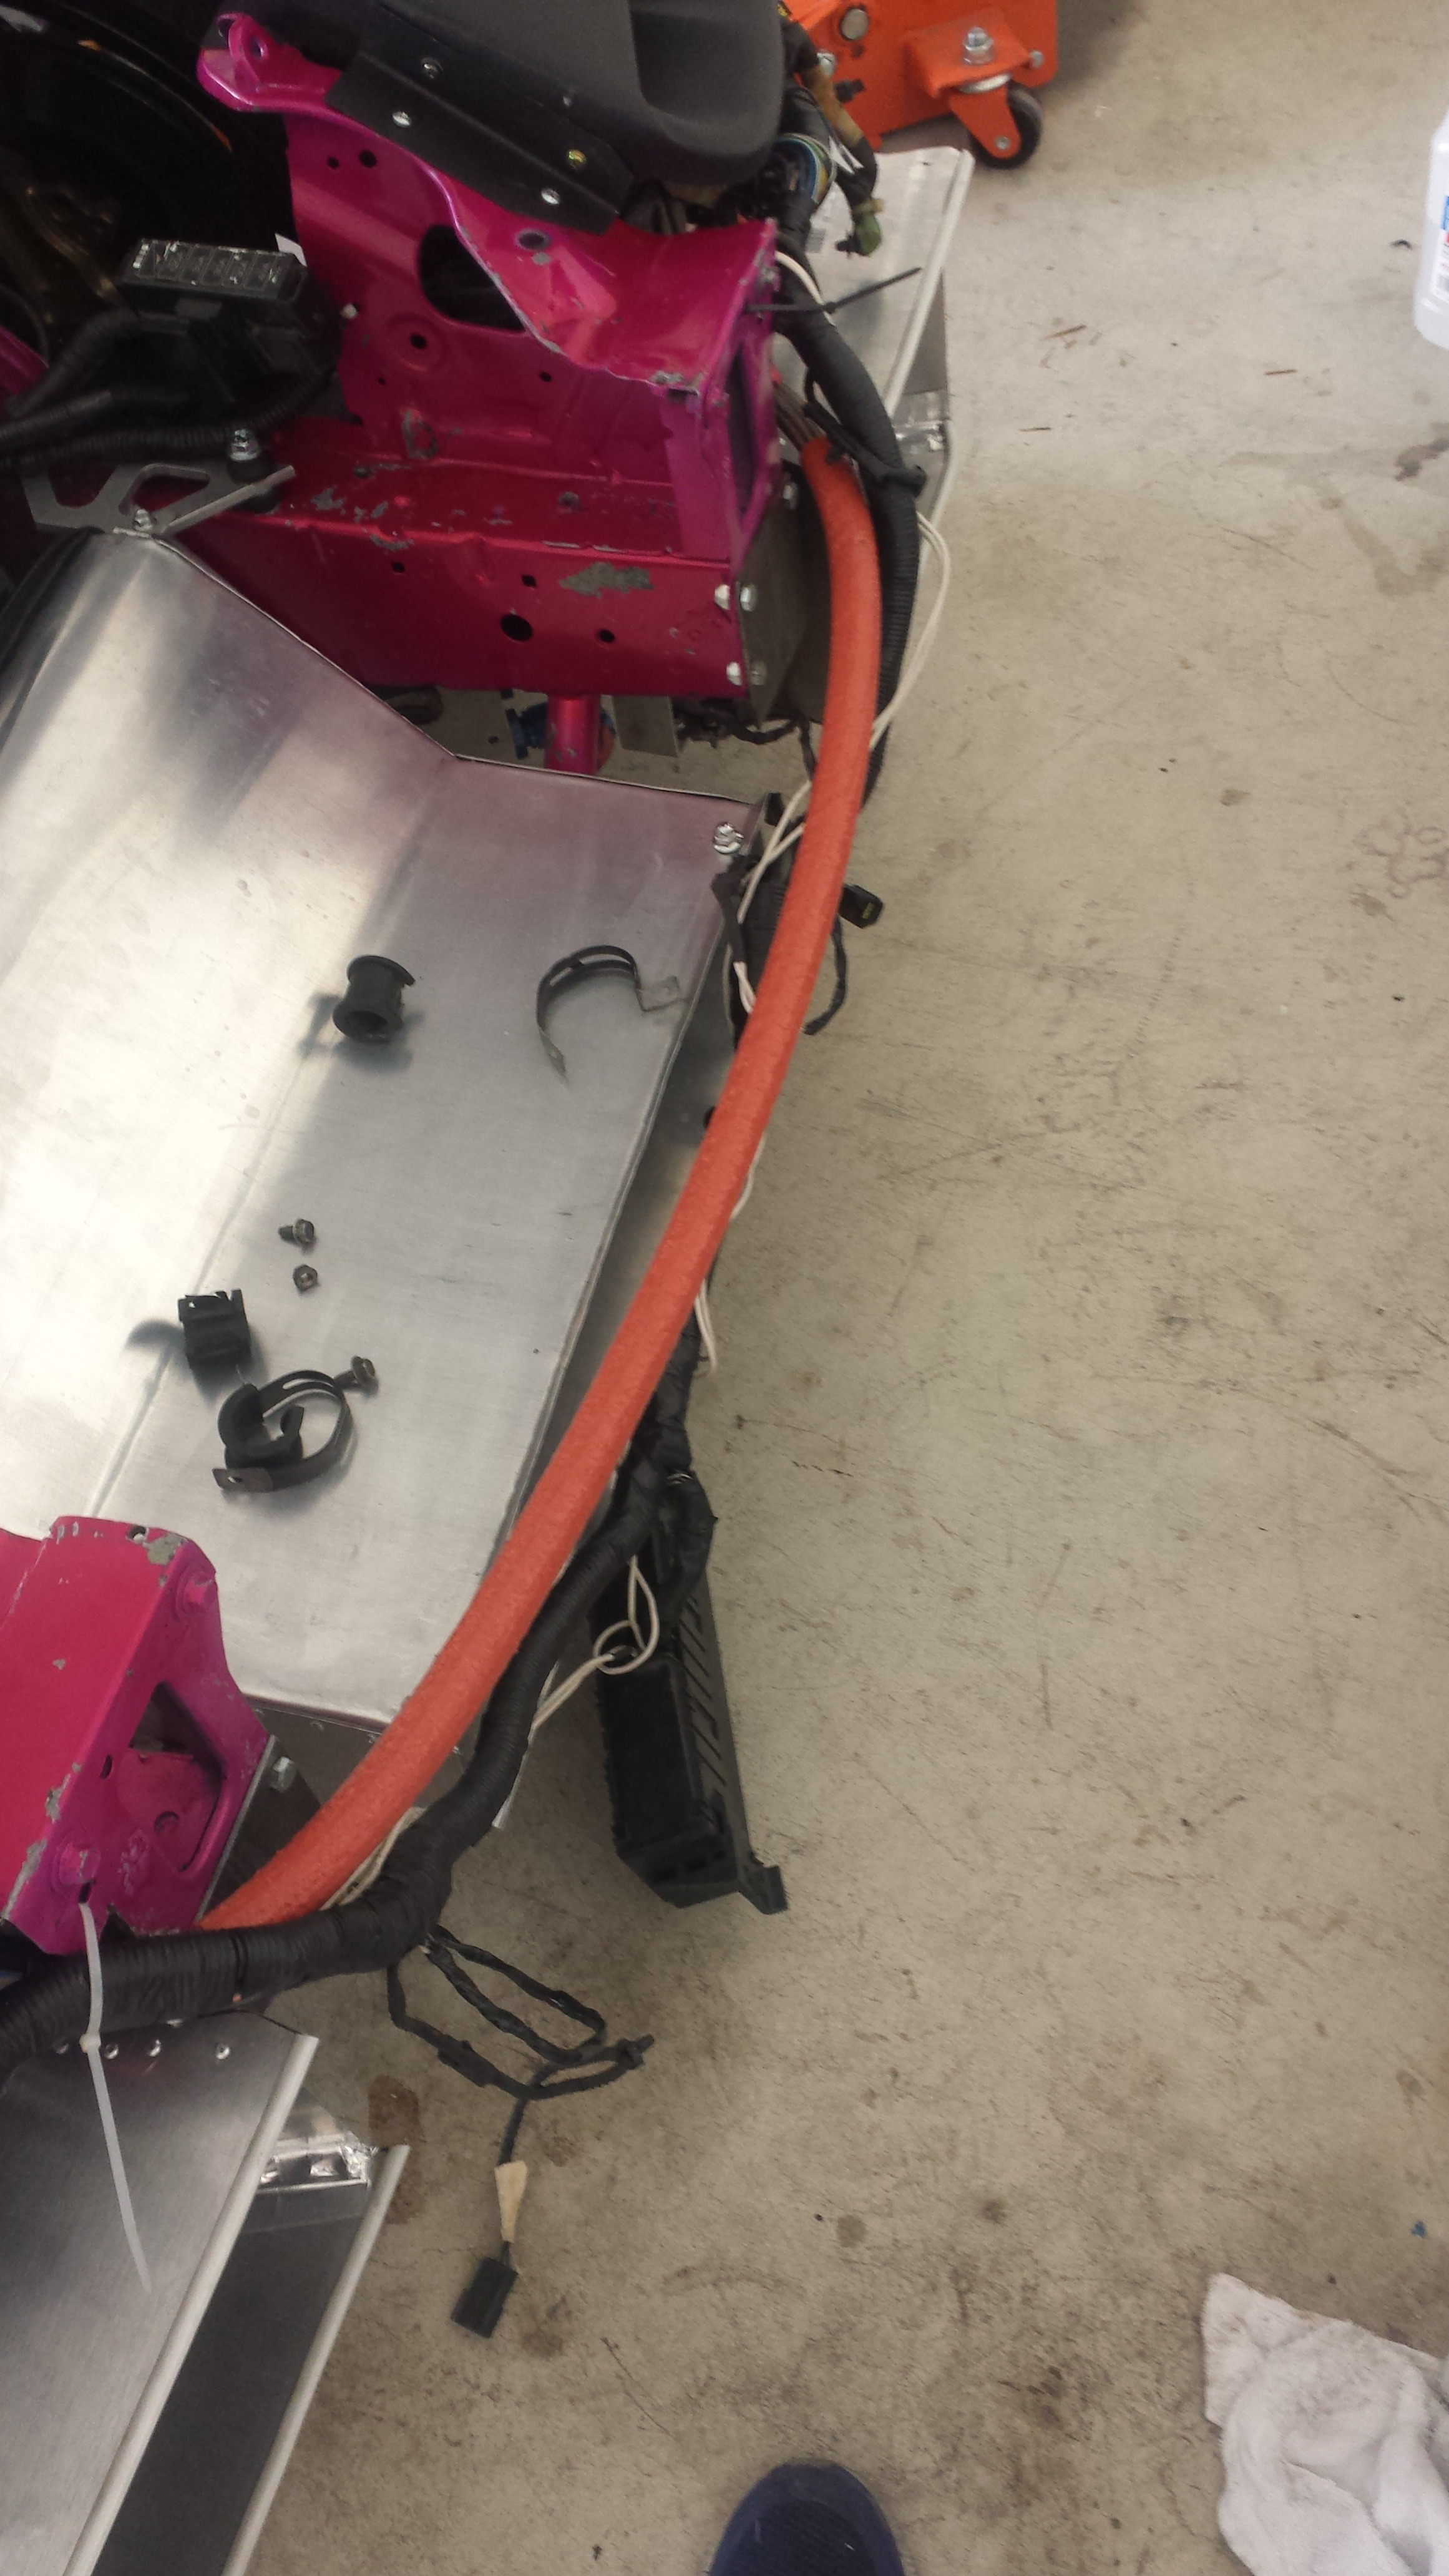
I also needed to get a sealed battery box for the track. I chose the Moroso nhra sealed battery box because I don't like metal things. It's some type of poly-whogives a hell material but it's a nice solid unit and came with all hardware as well as 3/8 bolts for the battery tie down and a clear vent tube. So I got to work installing it behind my passenger seat.
Moroso sealed batter box

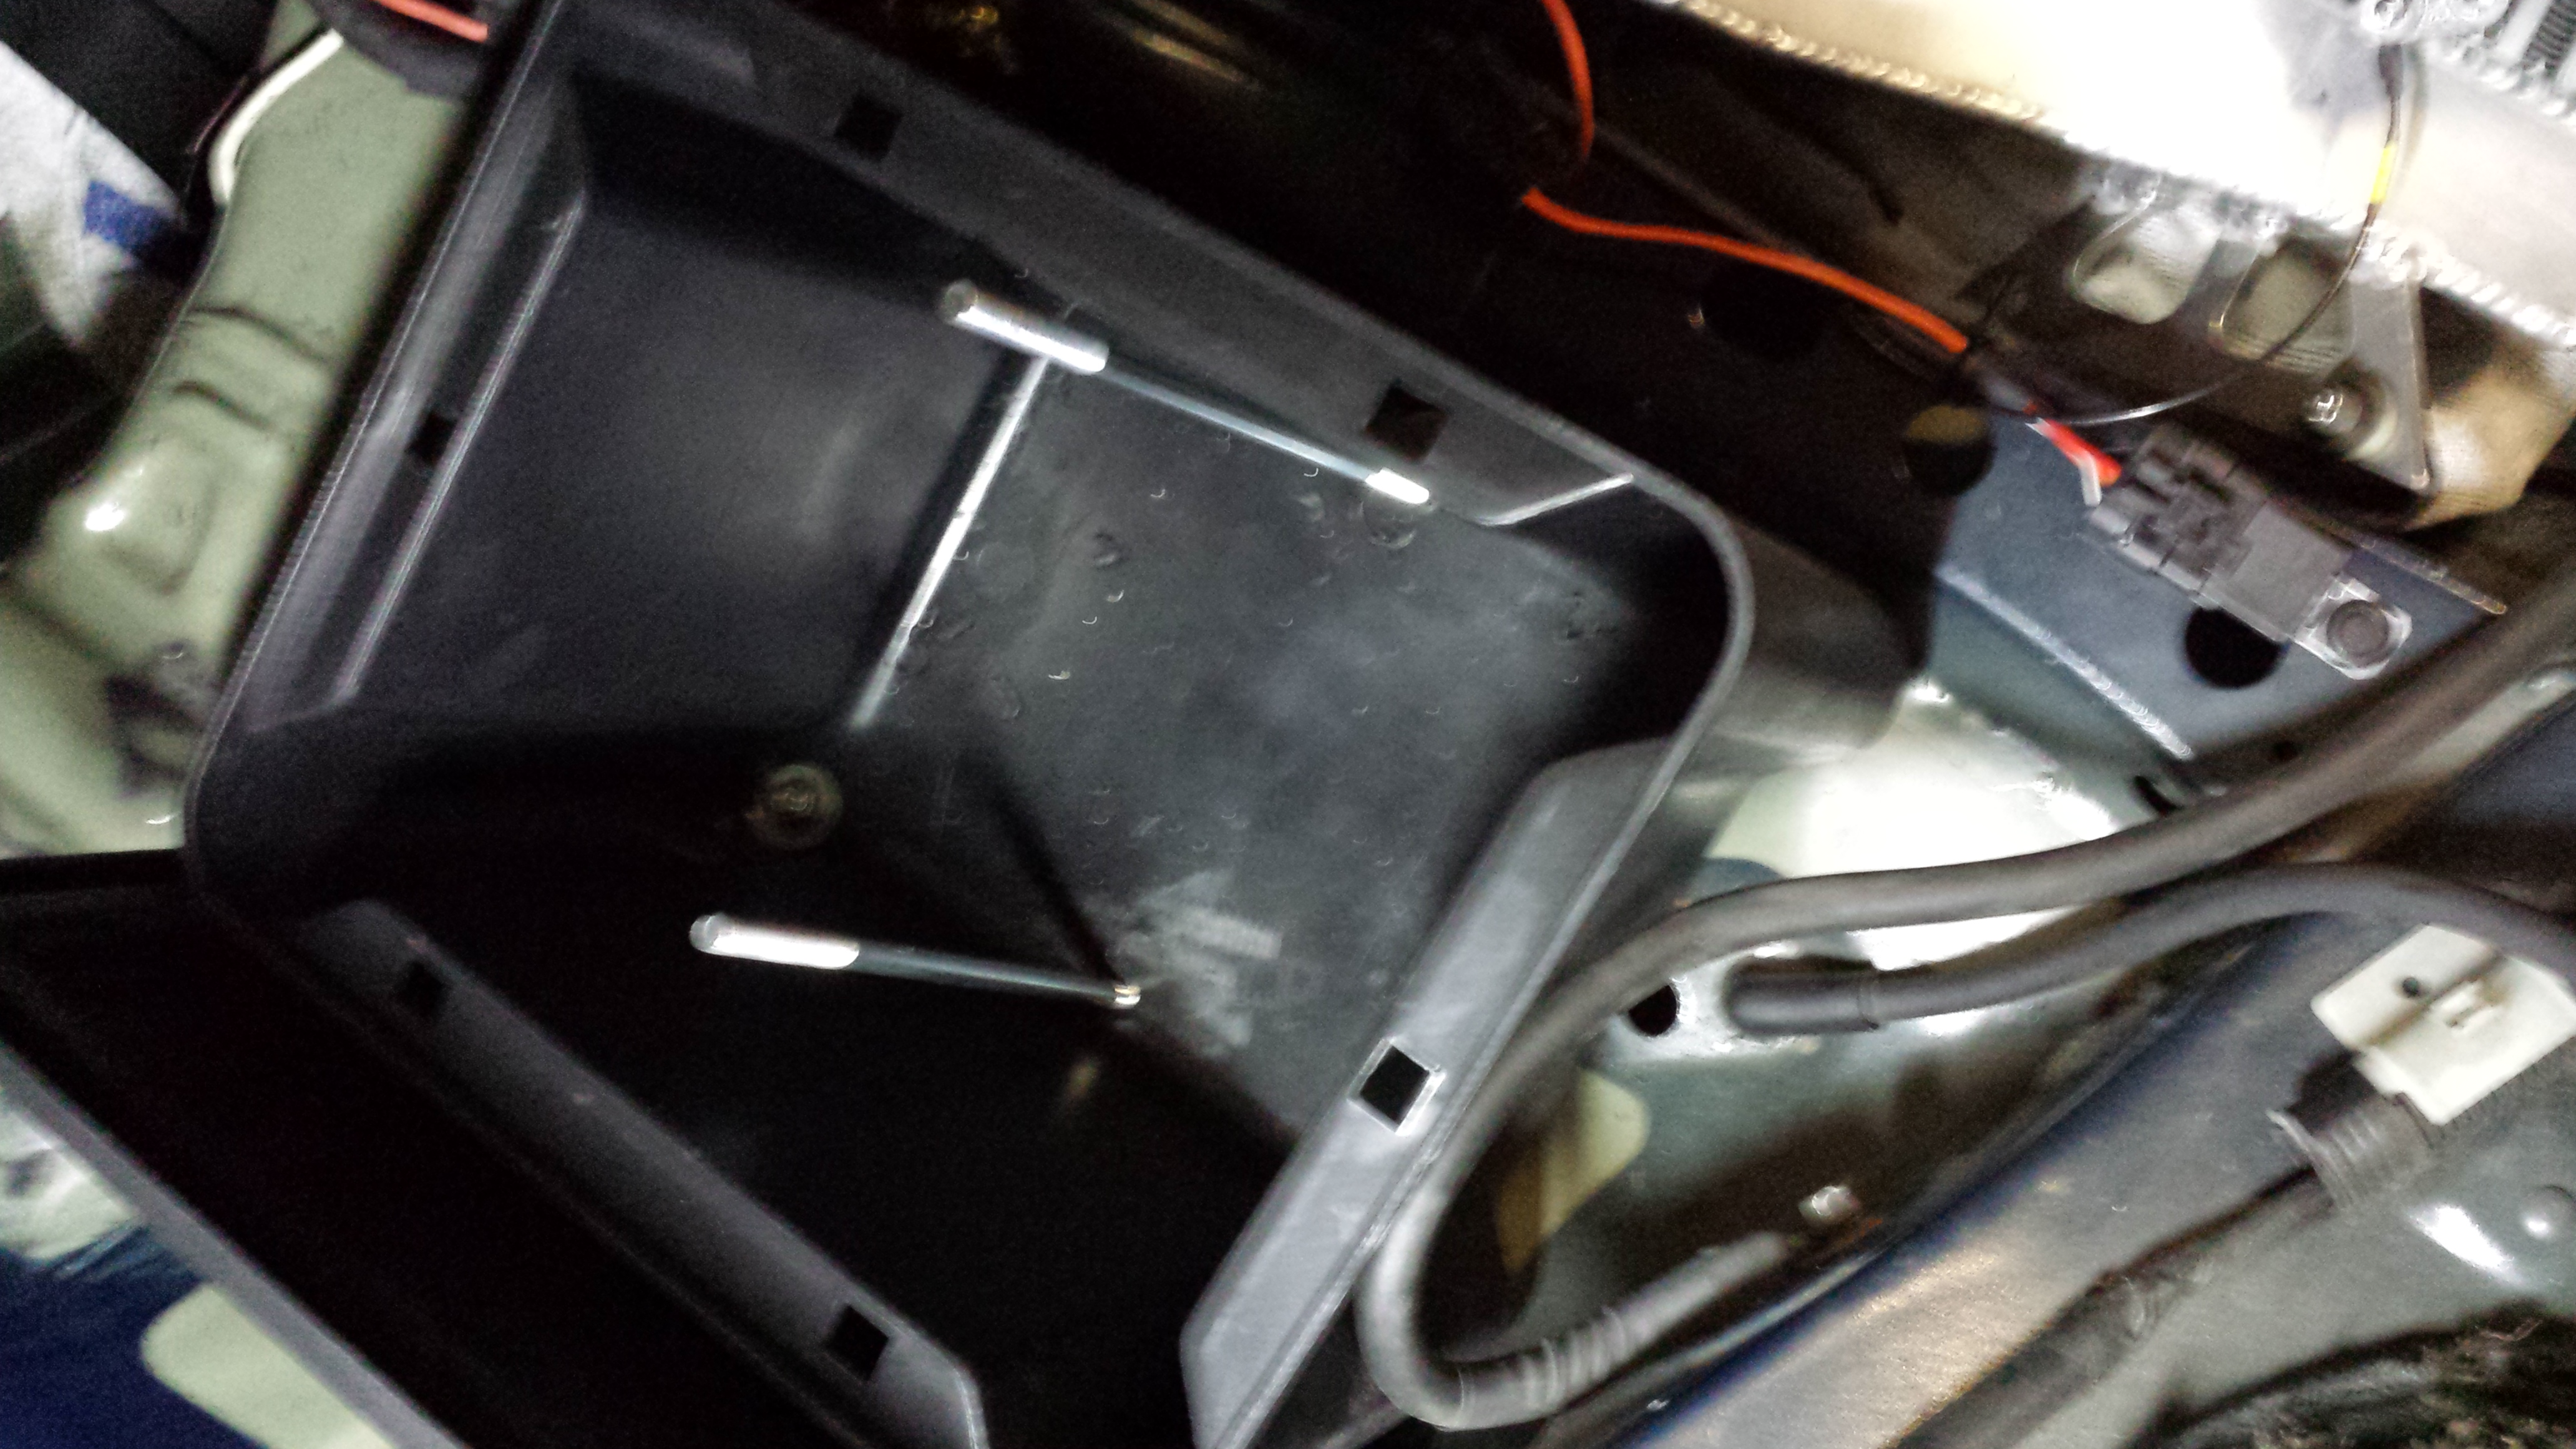
Now there was a problem... the box was much larger than I had though and I didn't want to put it in the trunk... so I had to use more 3/8 bolts to raise the front end of it to fit. So the back side of the box is literally sitting on the angled sheet metal of the fram (passenger side bin area) and the front of the battery box is elevated roughly 5-7 inches..being held up in the air by the threaded bolts and nuts. there are 4 nuts securing the bolts. One on the bottom underneath the car sheet metal along with a large washer. One on top as well...accompanied by another washer... the necessary rise...then 3rd Nut/washer..the battery box and a washer/Nut on the inside. The damn thing doesn't budge. It seems VERY secure..so hopefully no one at the track says anything about it. Anyways...here's the install:
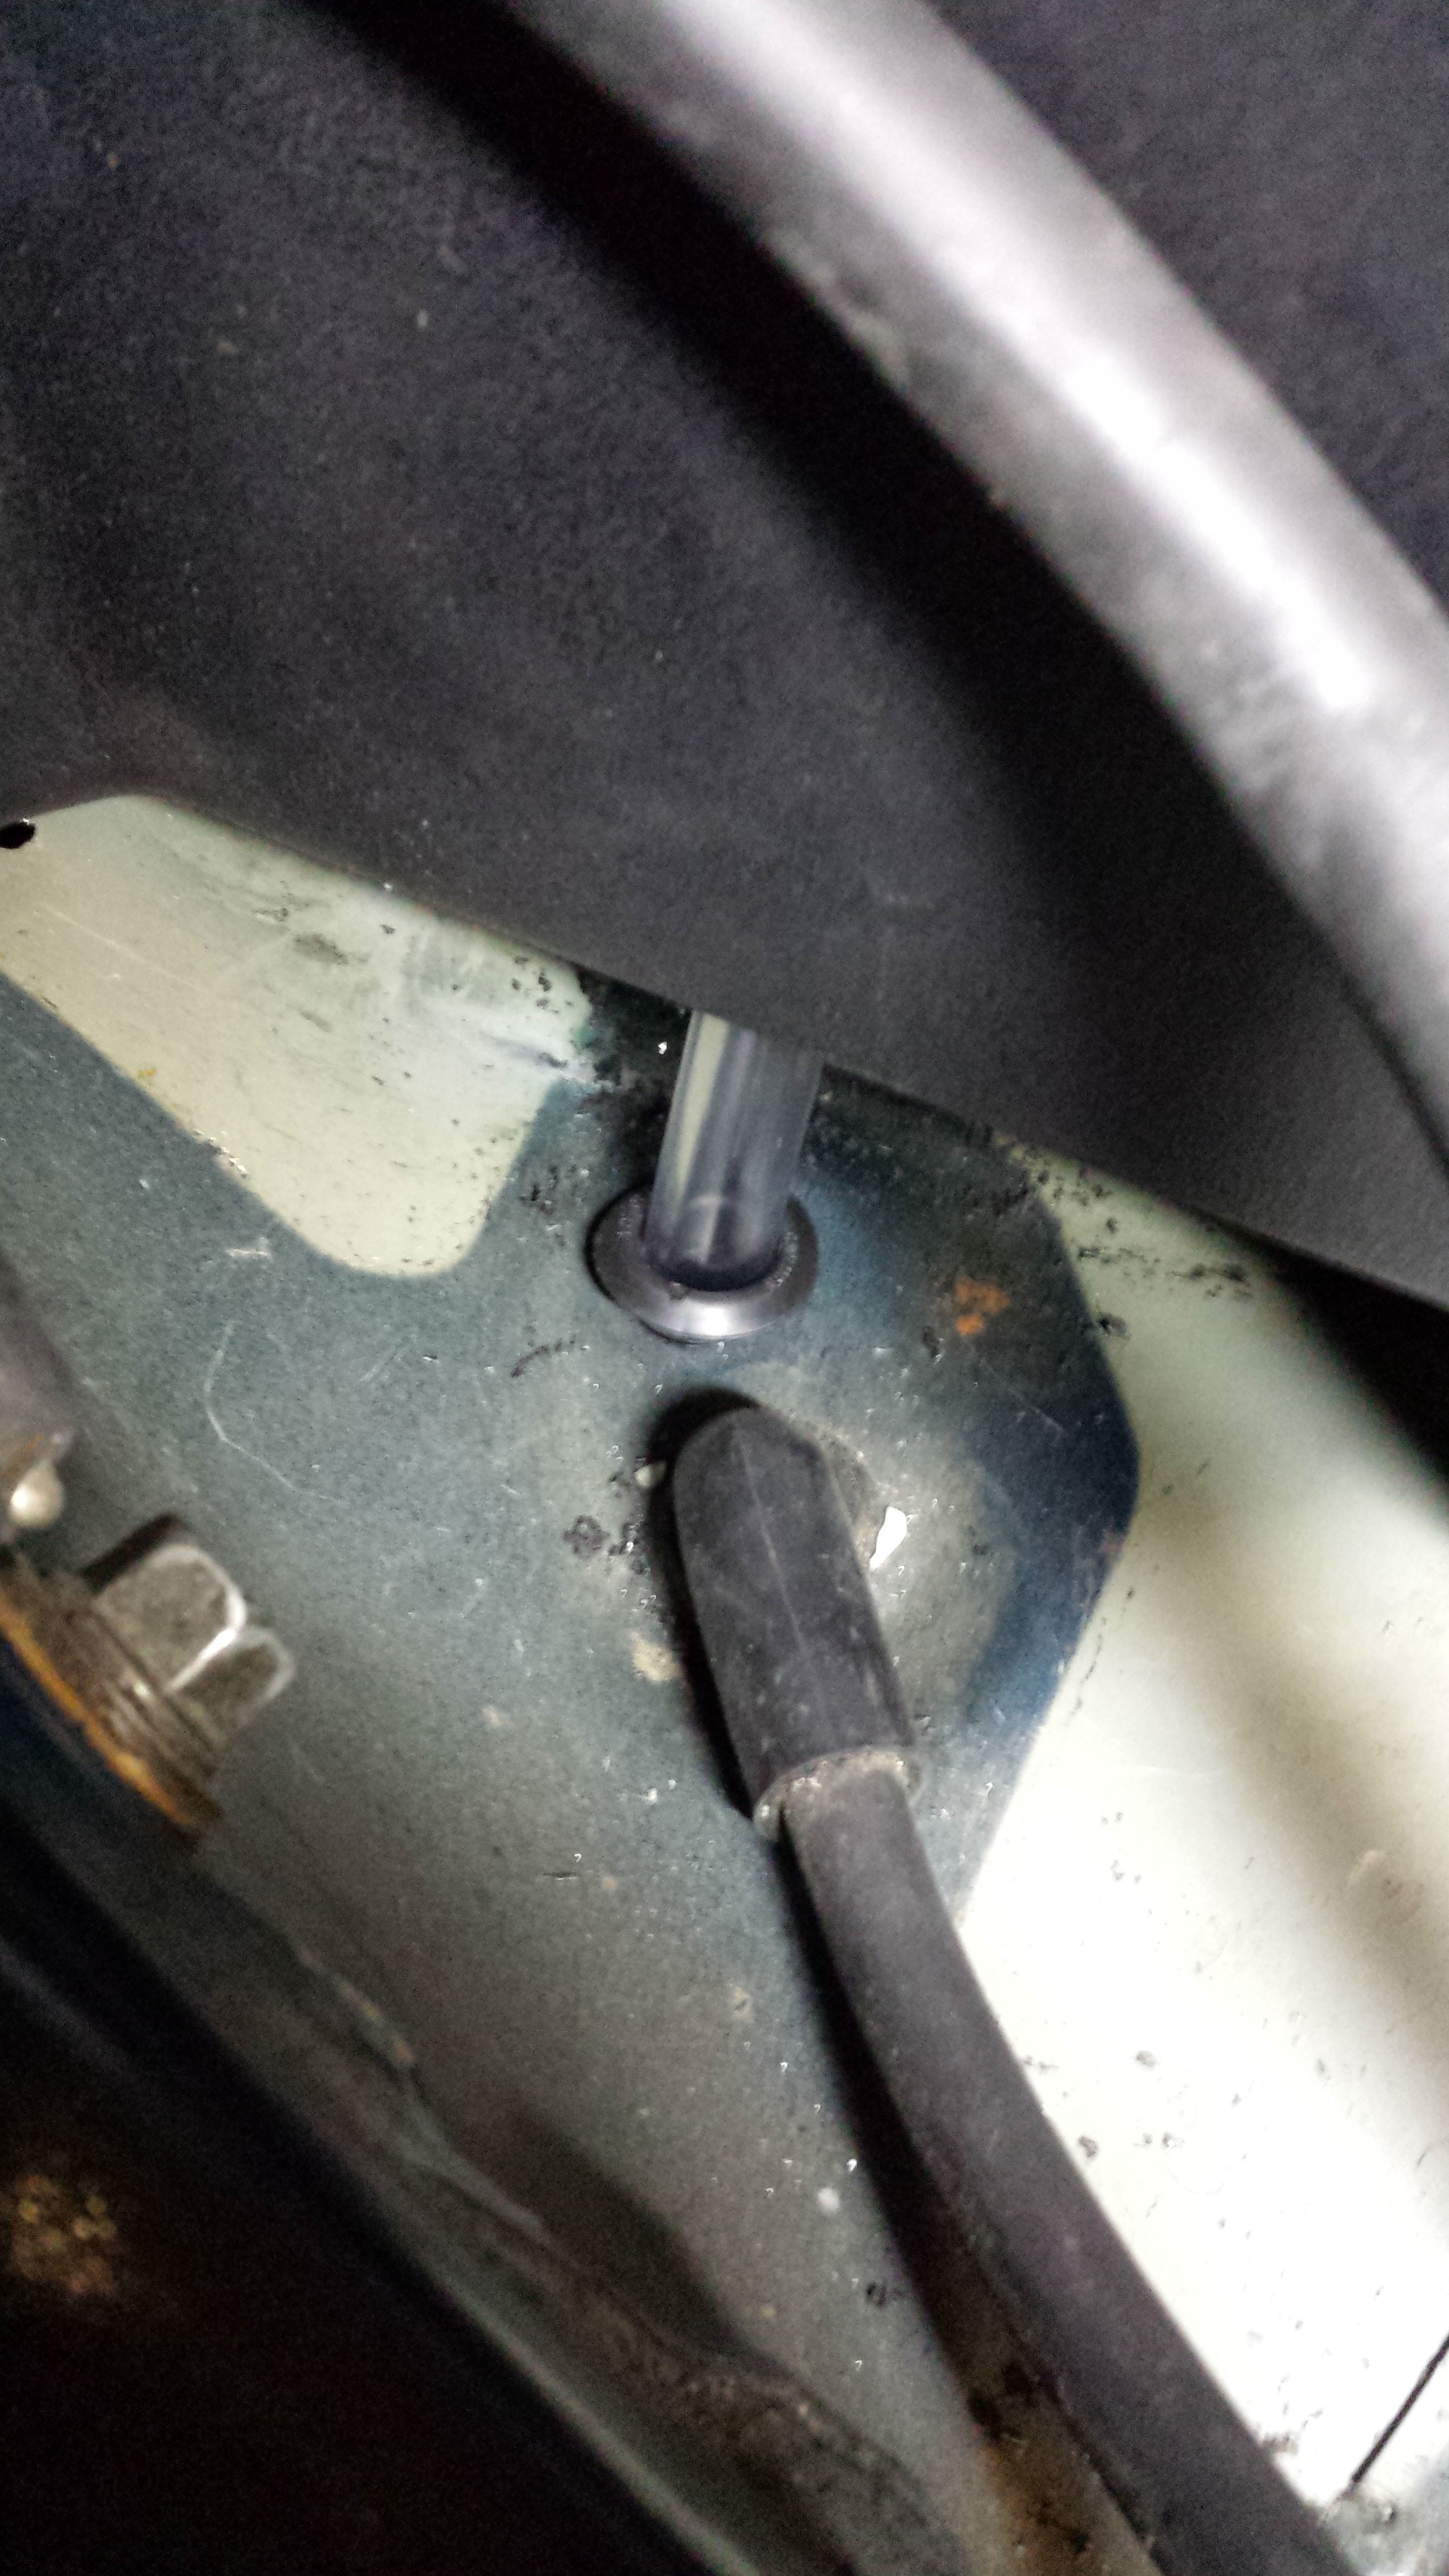
The vent through the bottom of the car


finished!
And on to other related things. someone asked what side skirts i'm using. They're knock off Mazda speed units from Bodykits.com They fit like doooo...thanks for your interest haha. I cut them quite a bit just to look decent. My body/paint guy will eventually fix them all.
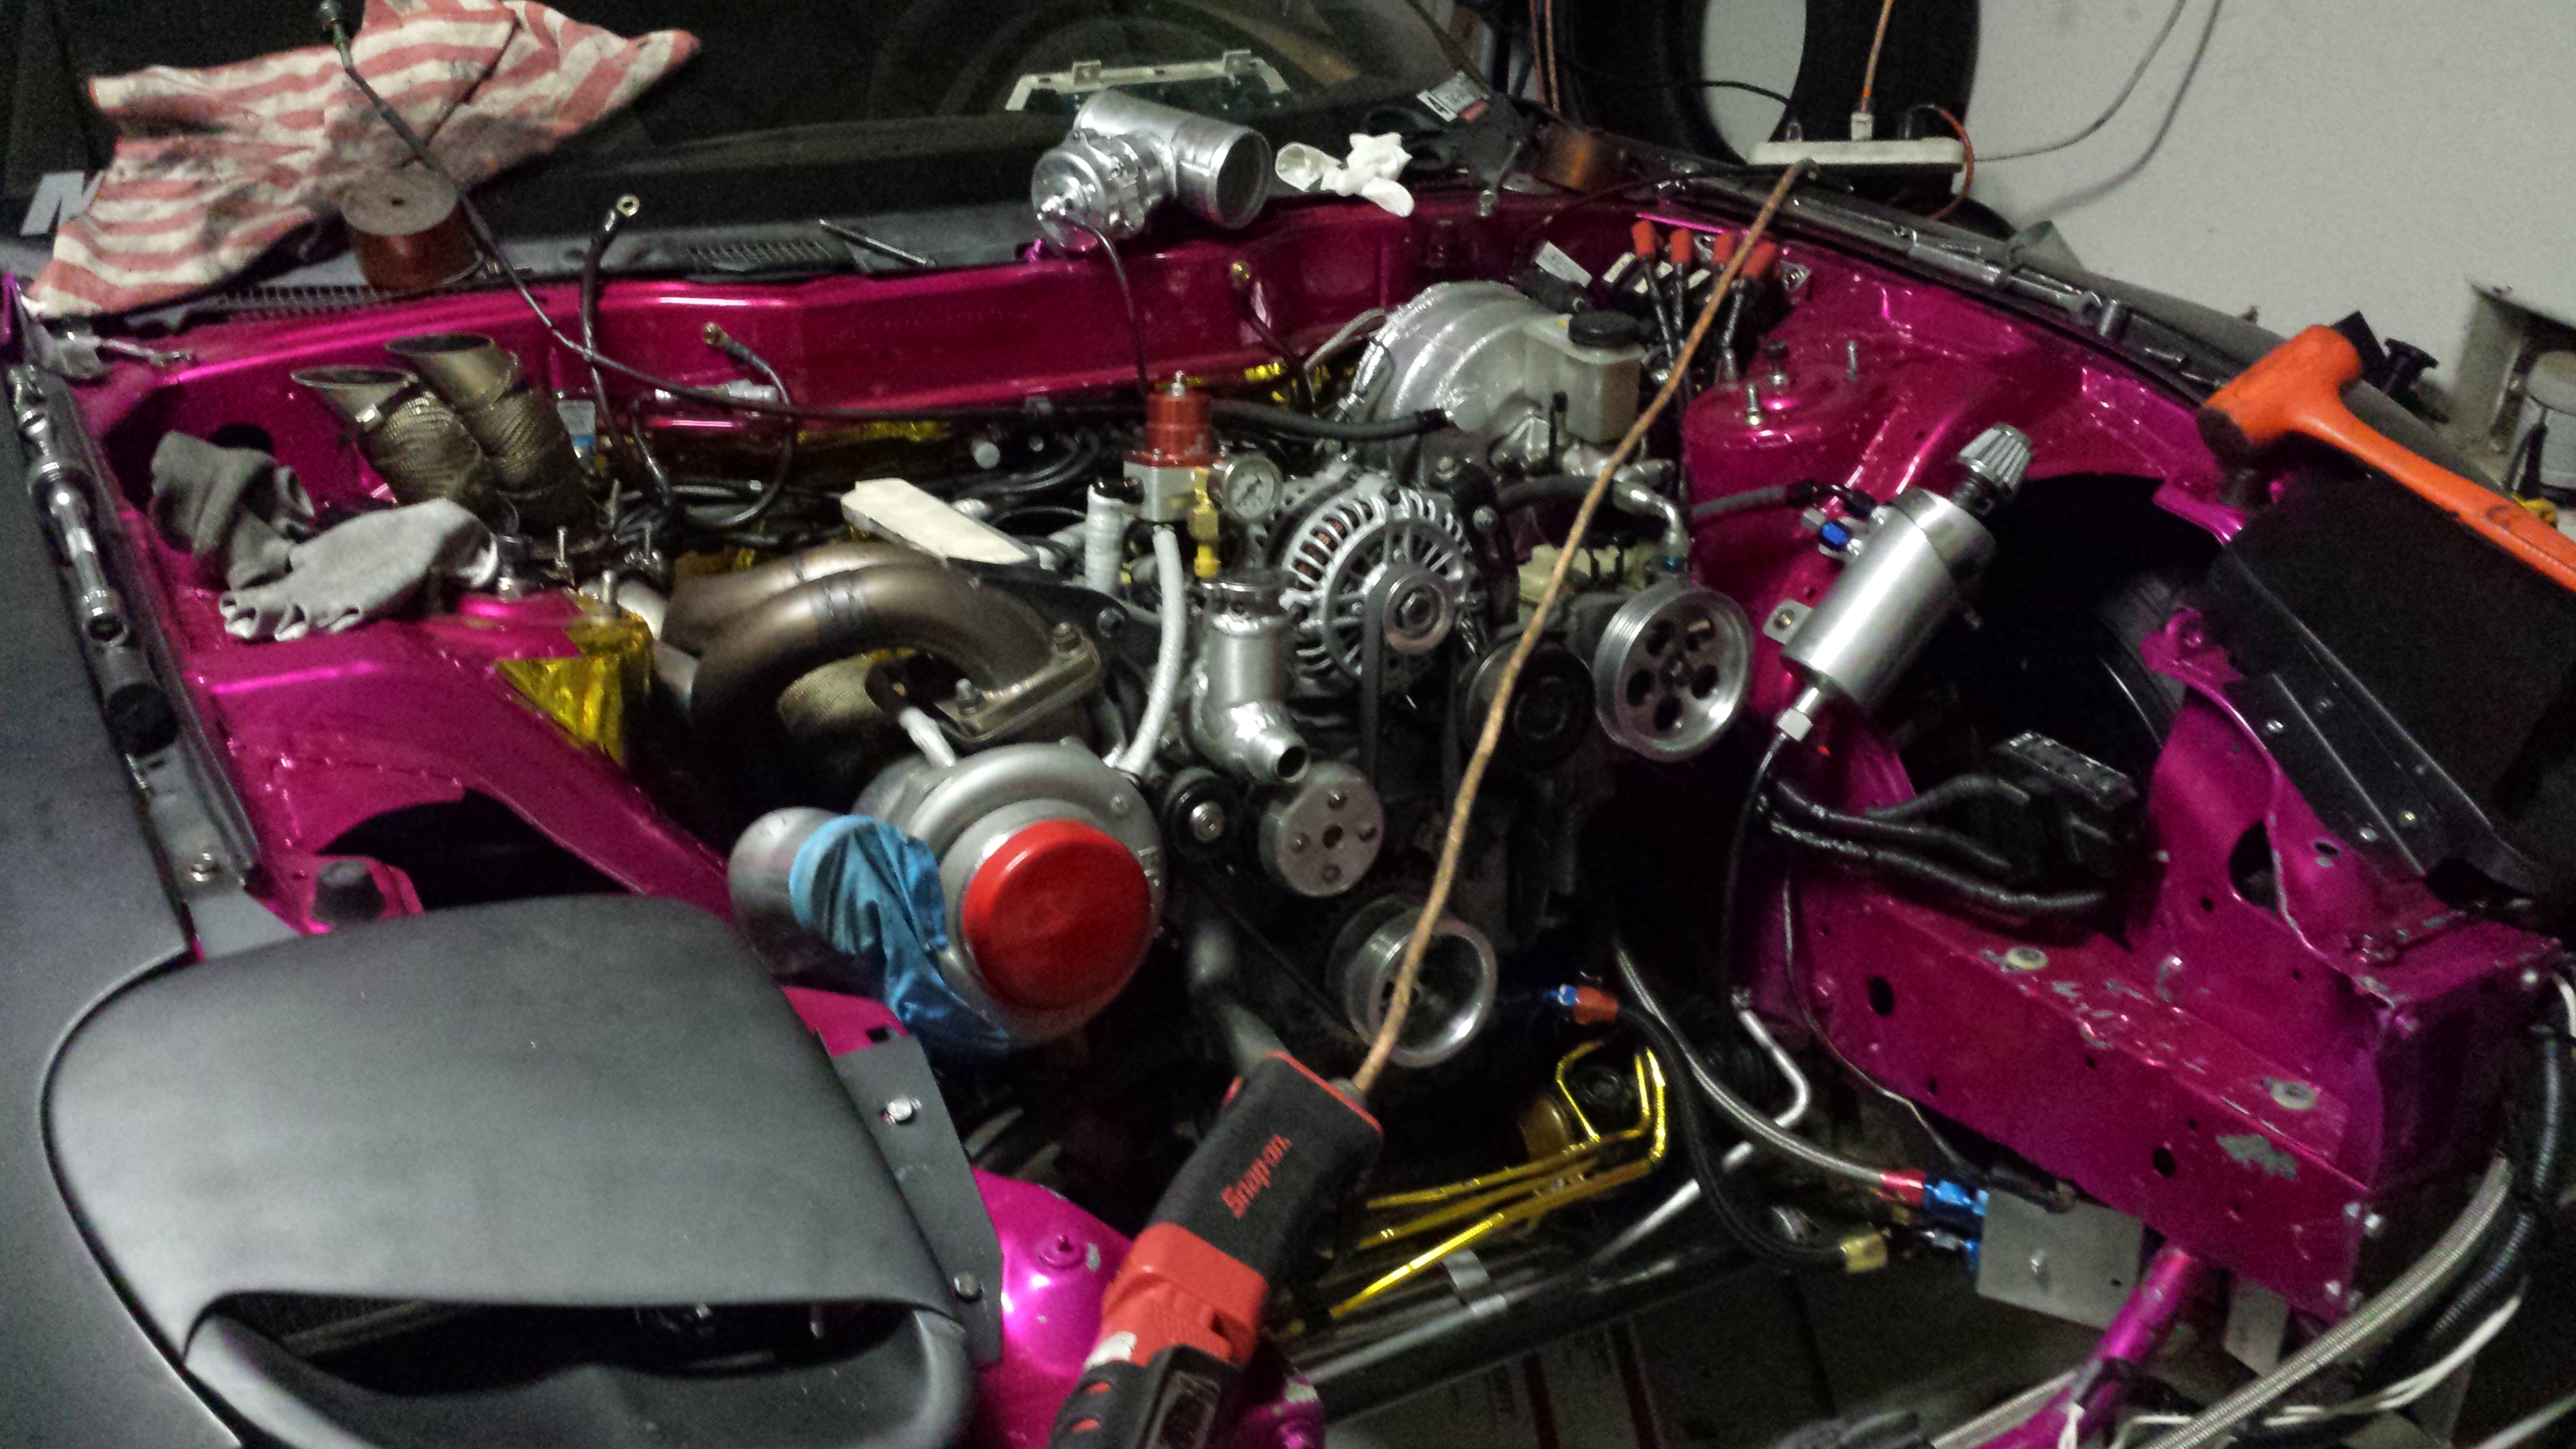
The flow restriction. Still not certain of what it was. I looked at everything and I don't know if it was the Throttle body or what.....maybe the runner length of the uim didn't favor the set boost or whatever it was I still do not know. I've pulled the motor for some un-finished business and upgrades little agitating things I rushed....such as multiple grounds. I'm cleaning the engine bay, installing my new Full Function Engineering adjustable Motor Mounts, New Clutch disks and intermediate plate, AEM Fuel pressure gauge, Innovate TC-4 so I can log my EGT's, Switching back to the OEM UIM/TB/TPS/R-works Elbow and hitting the dyno again. I want to square away my Mechanicals before I even think about paint or body. Can't get ahead of myself. But Thats where I'm at right now. Waiting to get my Intercooler tube to T/B elbow with BOV fabbed up and then she all goes back together. Stay tuned guys!! Thanks for the Support!!
Well I've been slightly out of the loop with everything and after the car didn't make the power It should have....some other un-enthusiast stuff (life Happened) and I had to shift priorities for a few weeks there. Always have respect for the death and loved ones lost. It is not directly related to me but my best friend.....Girlfriend lost her grandmother a few weeks ago and so we've been kind of dealing with that. THings have been slowly brewing though.
I got a Care package in the mail thanks to the wonderful Full Function Engineering......Once again..Blown away with the quality and customer service of this company. They will forever be my first choice for accessories!! I know some of you have seen them but Introducing their new Billit Aluminum Height Adjustable Motor Mounts. These things are just the "cream of the crop."
Full Function Engineering height Adjustable Alum Motor Mounts: also my 2 brand new Exedy ceremetallic clutch discs and intermediate plate.
And Exhaust muffler came in as well. Nothing ooober special but nice and simple and hopefully as "under the radar as 4" can be..
Vibrant 4" inlet to dual 3" outlets
I also needed to get a sealed battery box for the track. I chose the Moroso nhra sealed battery box because I don't like metal things. It's some type of poly-whogives a hell material but it's a nice solid unit and came with all hardware as well as 3/8 bolts for the battery tie down and a clear vent tube. So I got to work installing it behind my passenger seat.
Moroso sealed batter box
Now there was a problem... the box was much larger than I had though and I didn't want to put it in the trunk... so I had to use more 3/8 bolts to raise the front end of it to fit. So the back side of the box is literally sitting on the angled sheet metal of the fram (passenger side bin area) and the front of the battery box is elevated roughly 5-7 inches..being held up in the air by the threaded bolts and nuts. there are 4 nuts securing the bolts. One on the bottom underneath the car sheet metal along with a large washer. One on top as well...accompanied by another washer... the necessary rise...then 3rd Nut/washer..the battery box and a washer/Nut on the inside. The damn thing doesn't budge. It seems VERY secure..so hopefully no one at the track says anything about it. Anyways...here's the install:
The vent through the bottom of the car
finished!
And on to other related things. someone asked what side skirts i'm using. They're knock off Mazda speed units from Bodykits.com They fit like doooo...thanks for your interest haha. I cut them quite a bit just to look decent. My body/paint guy will eventually fix them all.
The flow restriction. Still not certain of what it was. I looked at everything and I don't know if it was the Throttle body or what.....maybe the runner length of the uim didn't favor the set boost or whatever it was I still do not know. I've pulled the motor for some un-finished business and upgrades little agitating things I rushed....such as multiple grounds. I'm cleaning the engine bay, installing my new Full Function Engineering adjustable Motor Mounts, New Clutch disks and intermediate plate, AEM Fuel pressure gauge, Innovate TC-4 so I can log my EGT's, Switching back to the OEM UIM/TB/TPS/R-works Elbow and hitting the dyno again. I want to square away my Mechanicals before I even think about paint or body. Can't get ahead of myself. But Thats where I'm at right now. Waiting to get my Intercooler tube to T/B elbow with BOV fabbed up and then she all goes back together. Stay tuned guys!! Thanks for the Support!!


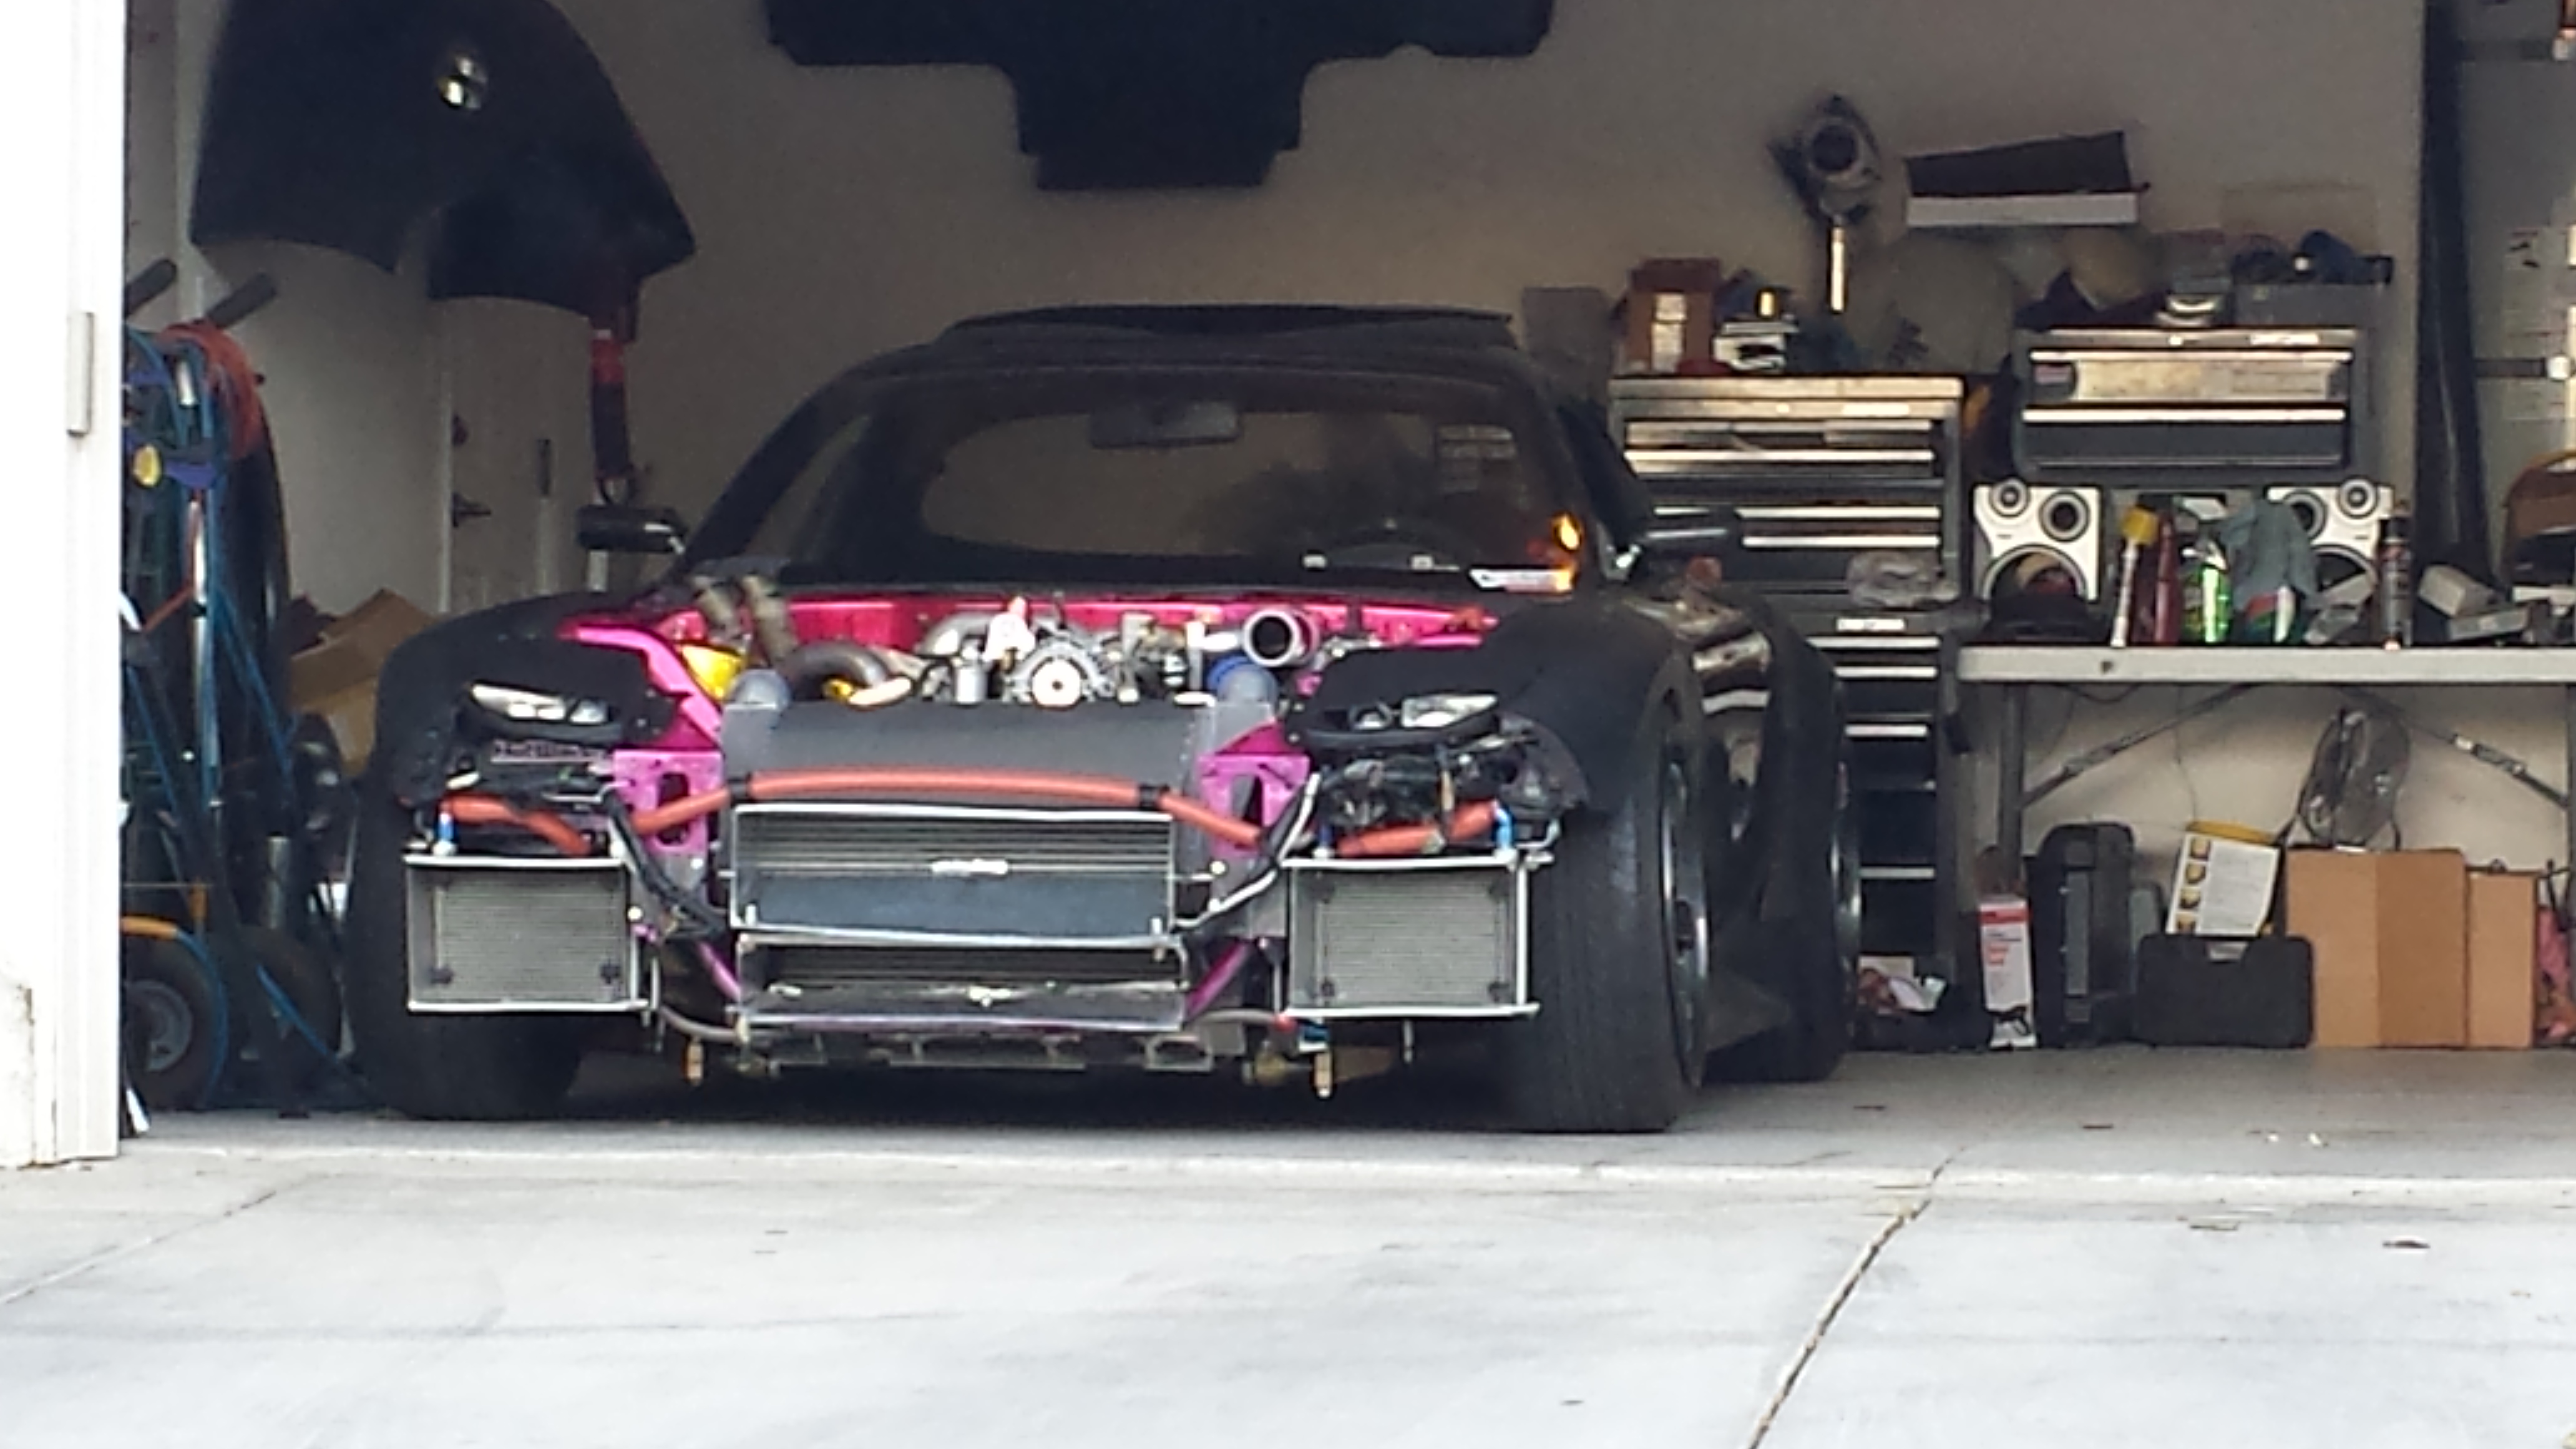
I see you're doing sweet ducting for your oil coolers... I sort of gave up a few years ago to run ducting for drift since it didn't make much of a difference sideways, and every time you hit something with the front... you gotta make it again (I just run a fan on everything now  ) haha
) haha


Update:
Wellllll Back onto the beat. I was working some 15 hour days for the past week or so... don't even know how long.....actually I believe it was 9 days in a row. When you work like that...it really feels as if you never left your job. Wake up at 5:45...work from 6:45 to 3pm..then haul Aceeee to my other job and clock in at 4:15..and work to 11:30pm. Seems like one continuous shift and you never really feel like you clocked out haha. But It's nice at the same time because you get a hefty pay day and before you know it...the 9 day span is over.
ANYWAYS!
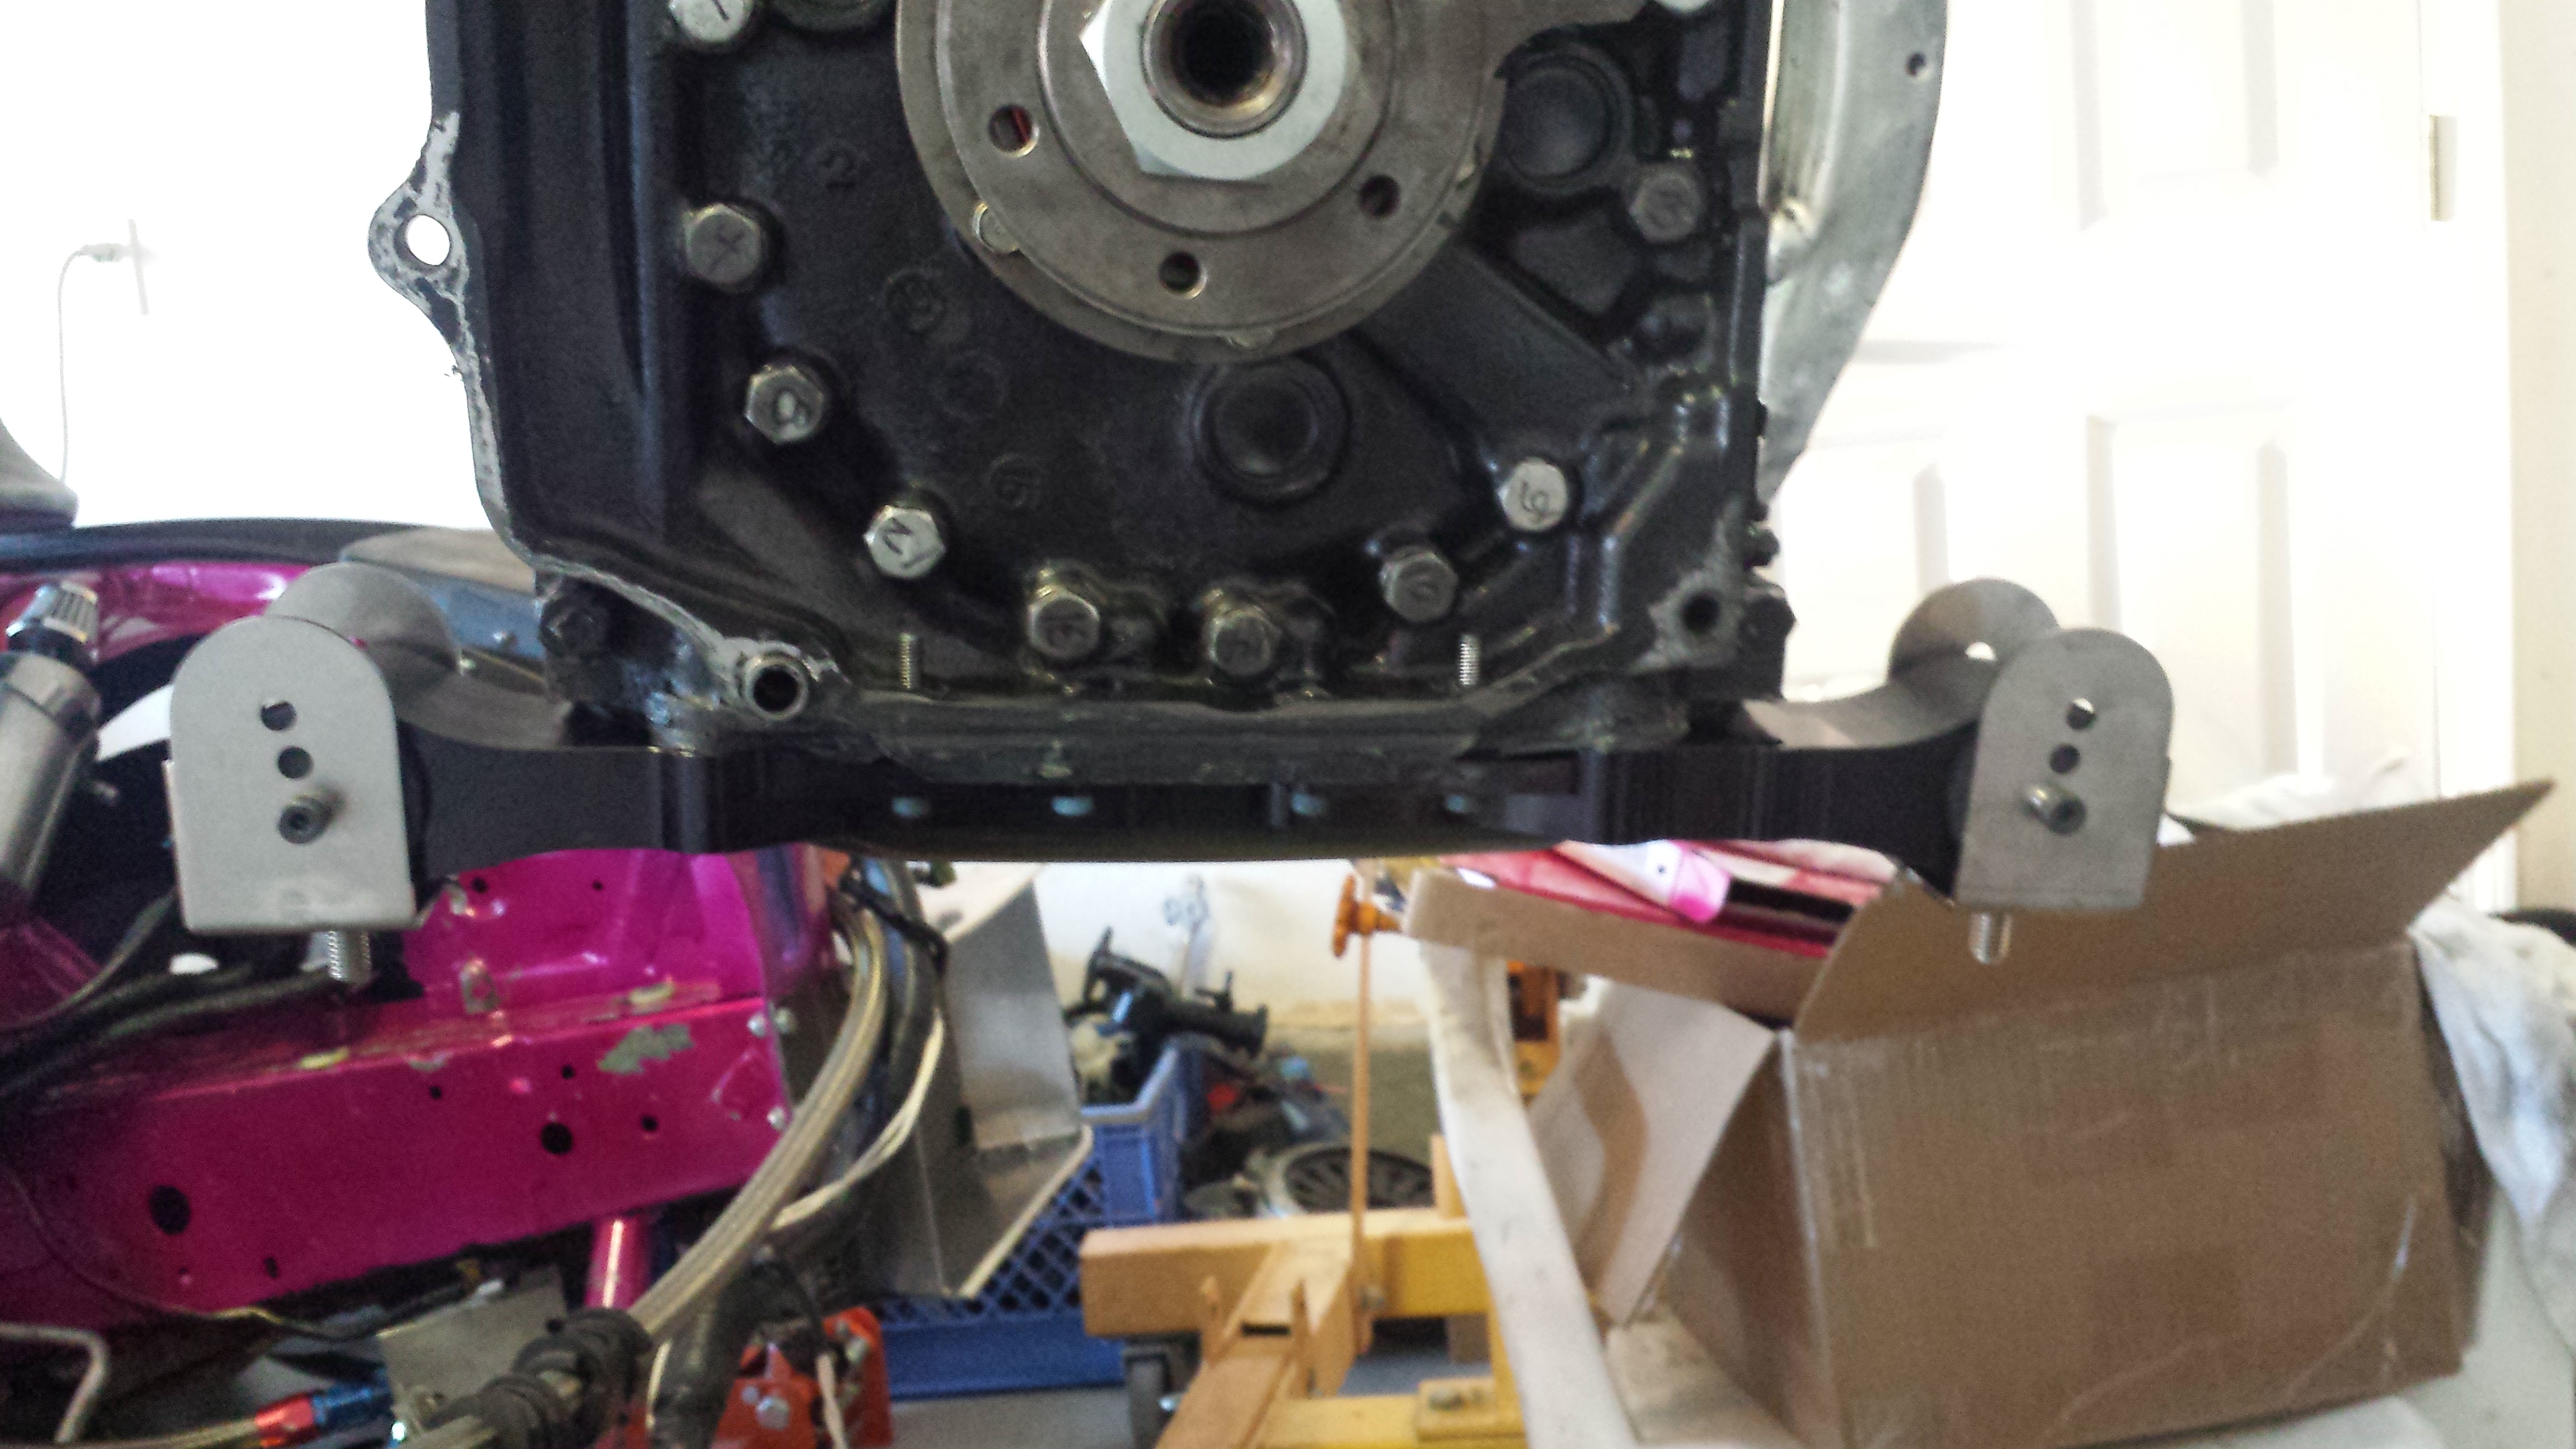
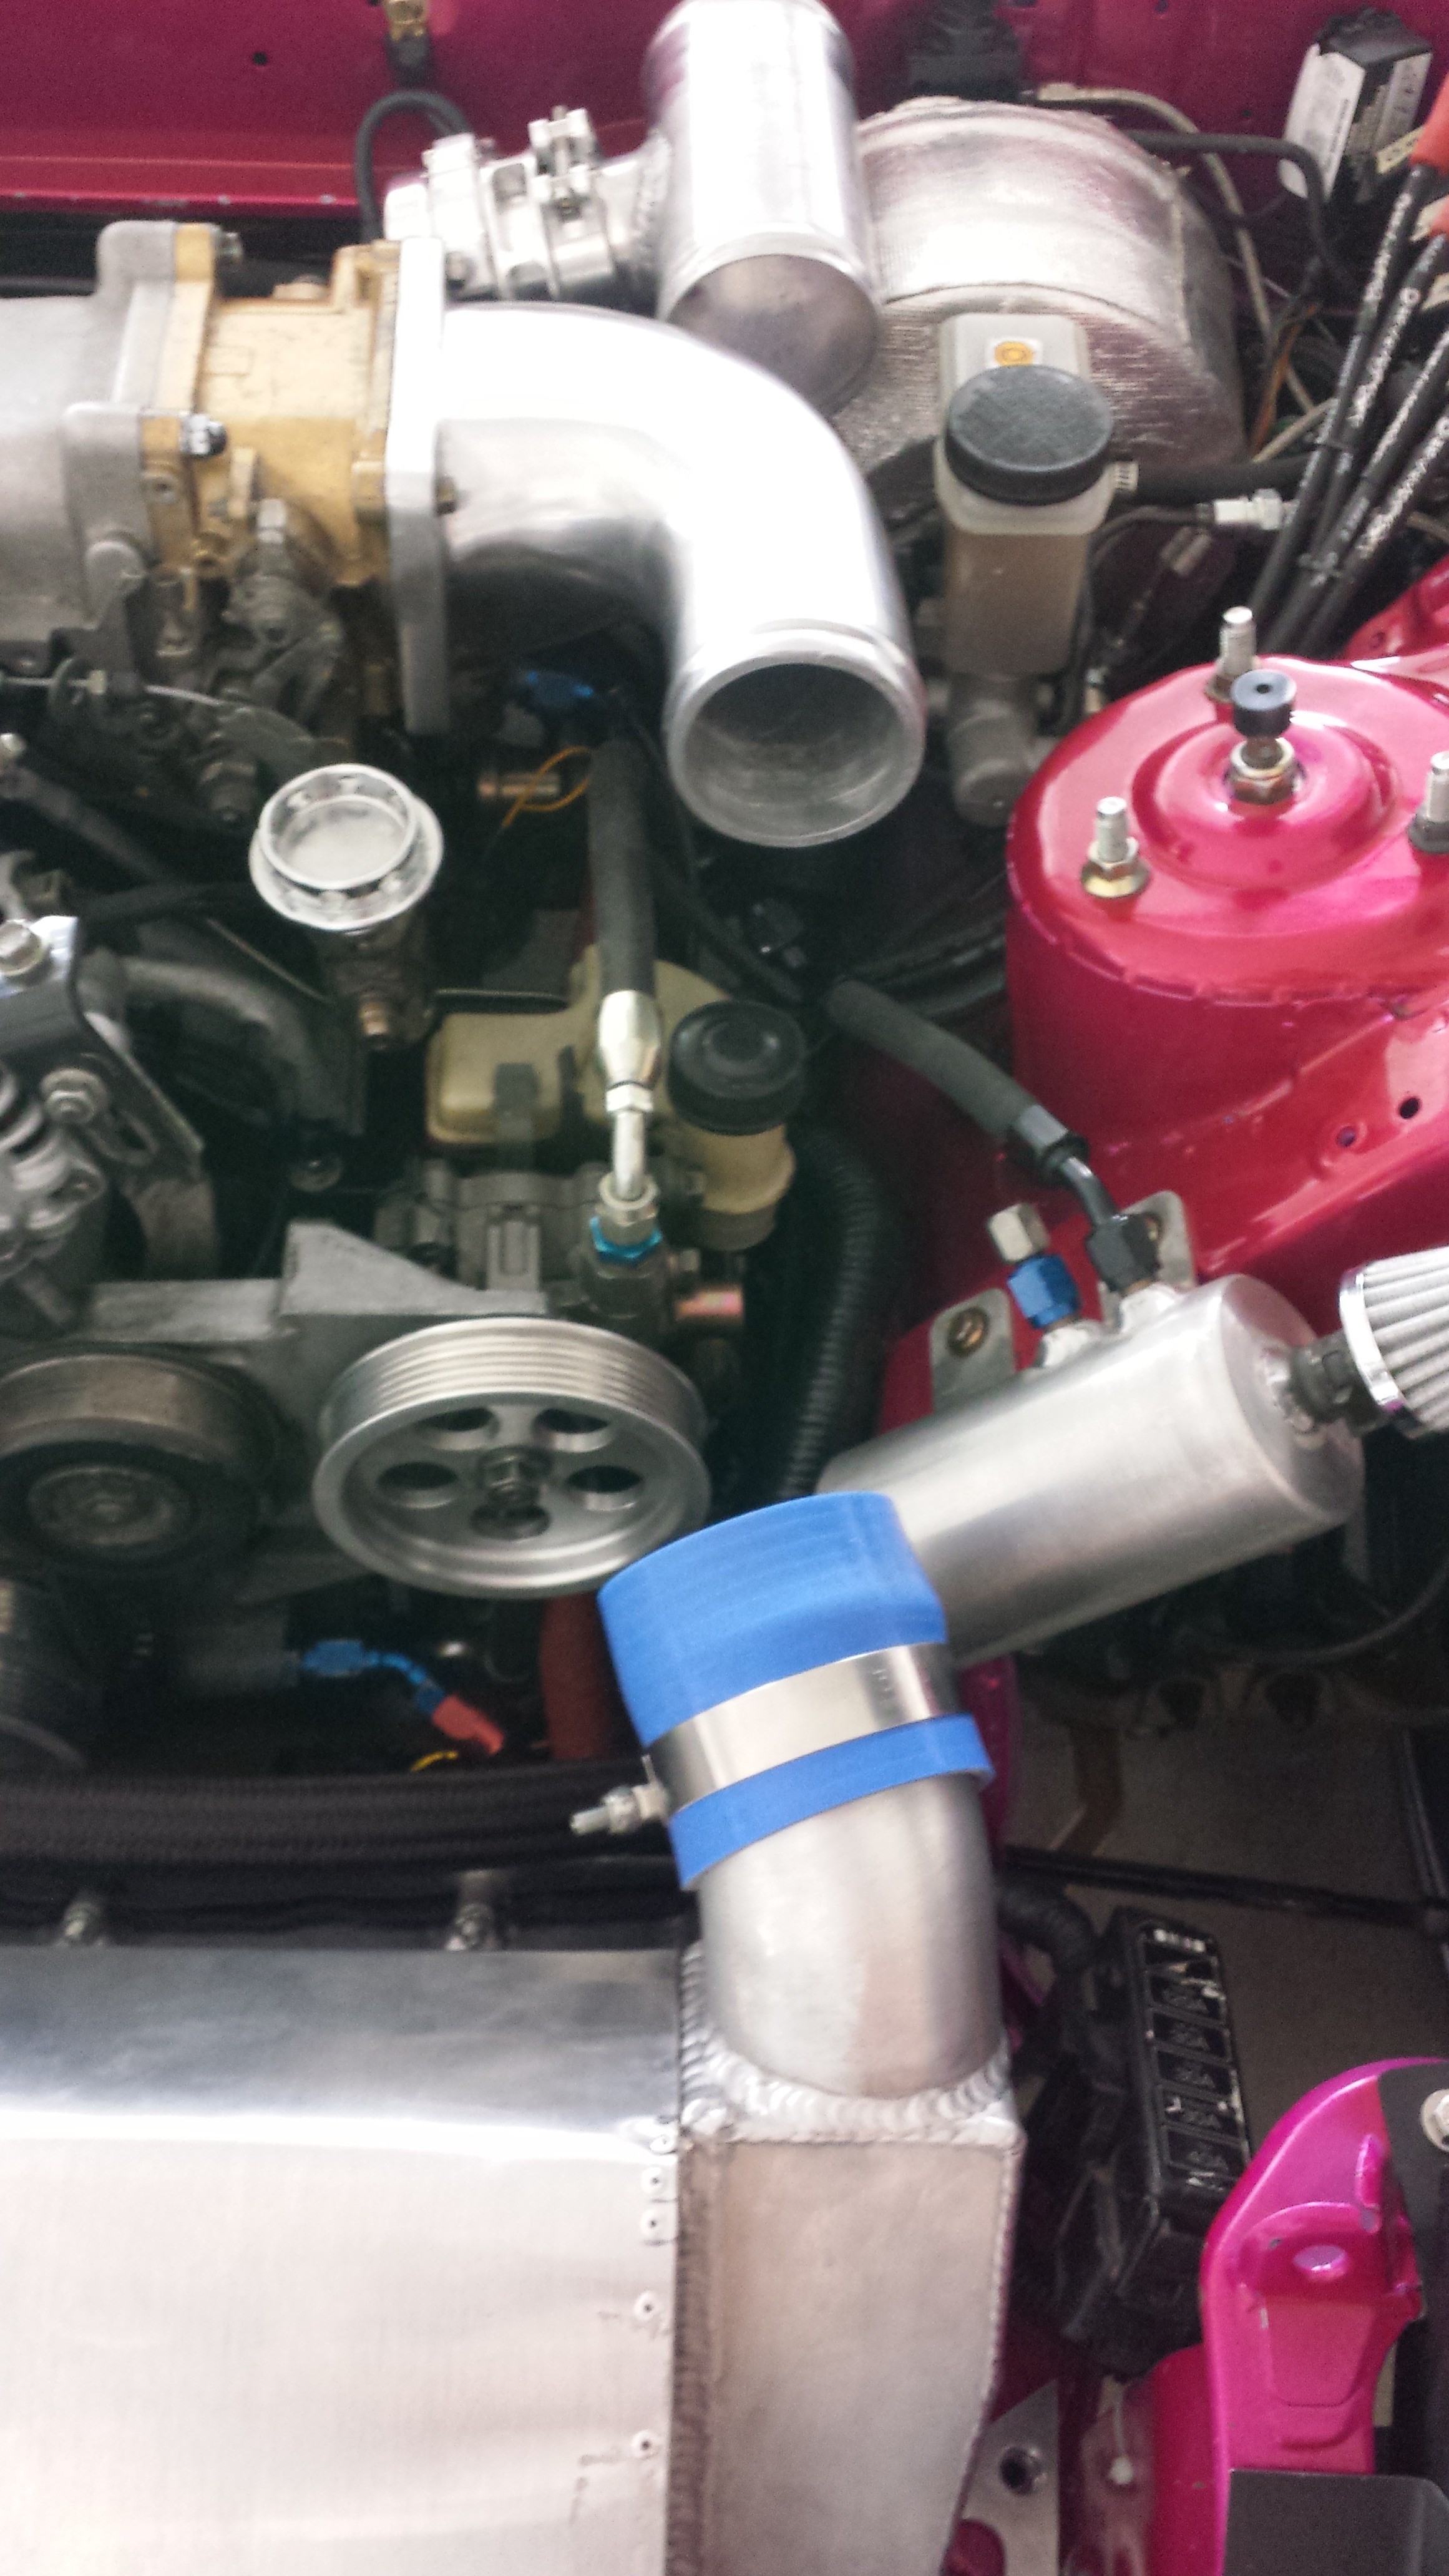
I decided to swap my IRP poly motor mounts out for the new Full Function Engineering Height Adjustable Motor mounts and Billit Arms. I'm running their aftermarket Trigger Kit, Both Primary and Secondary rails, and i'll most likely purchase whatever they develop next. It's awesome that all of their products are so high quality and I think its rad that a newer company is still developing new high quality products for a 20 year old chassis. Mad Props to these guys!!
The mounts came with hardware and they installed very easily. The install was straight forward if you've ever installed motor mounts, but if you havn't you may want to do a little research, but practically anyone can install these if you've ever turned a wrench before. I chose to keep the OEM height.....which is the Middle height hole just to make sure that my Intercooler lined up with my turbo outlet.
Here are some pics of the install:
Bare motor

They look so nice man.....sooo nice.. All bolt holes line up nice and they even included a large hex drive for the bolts so you don't have to run out and scramble for tools
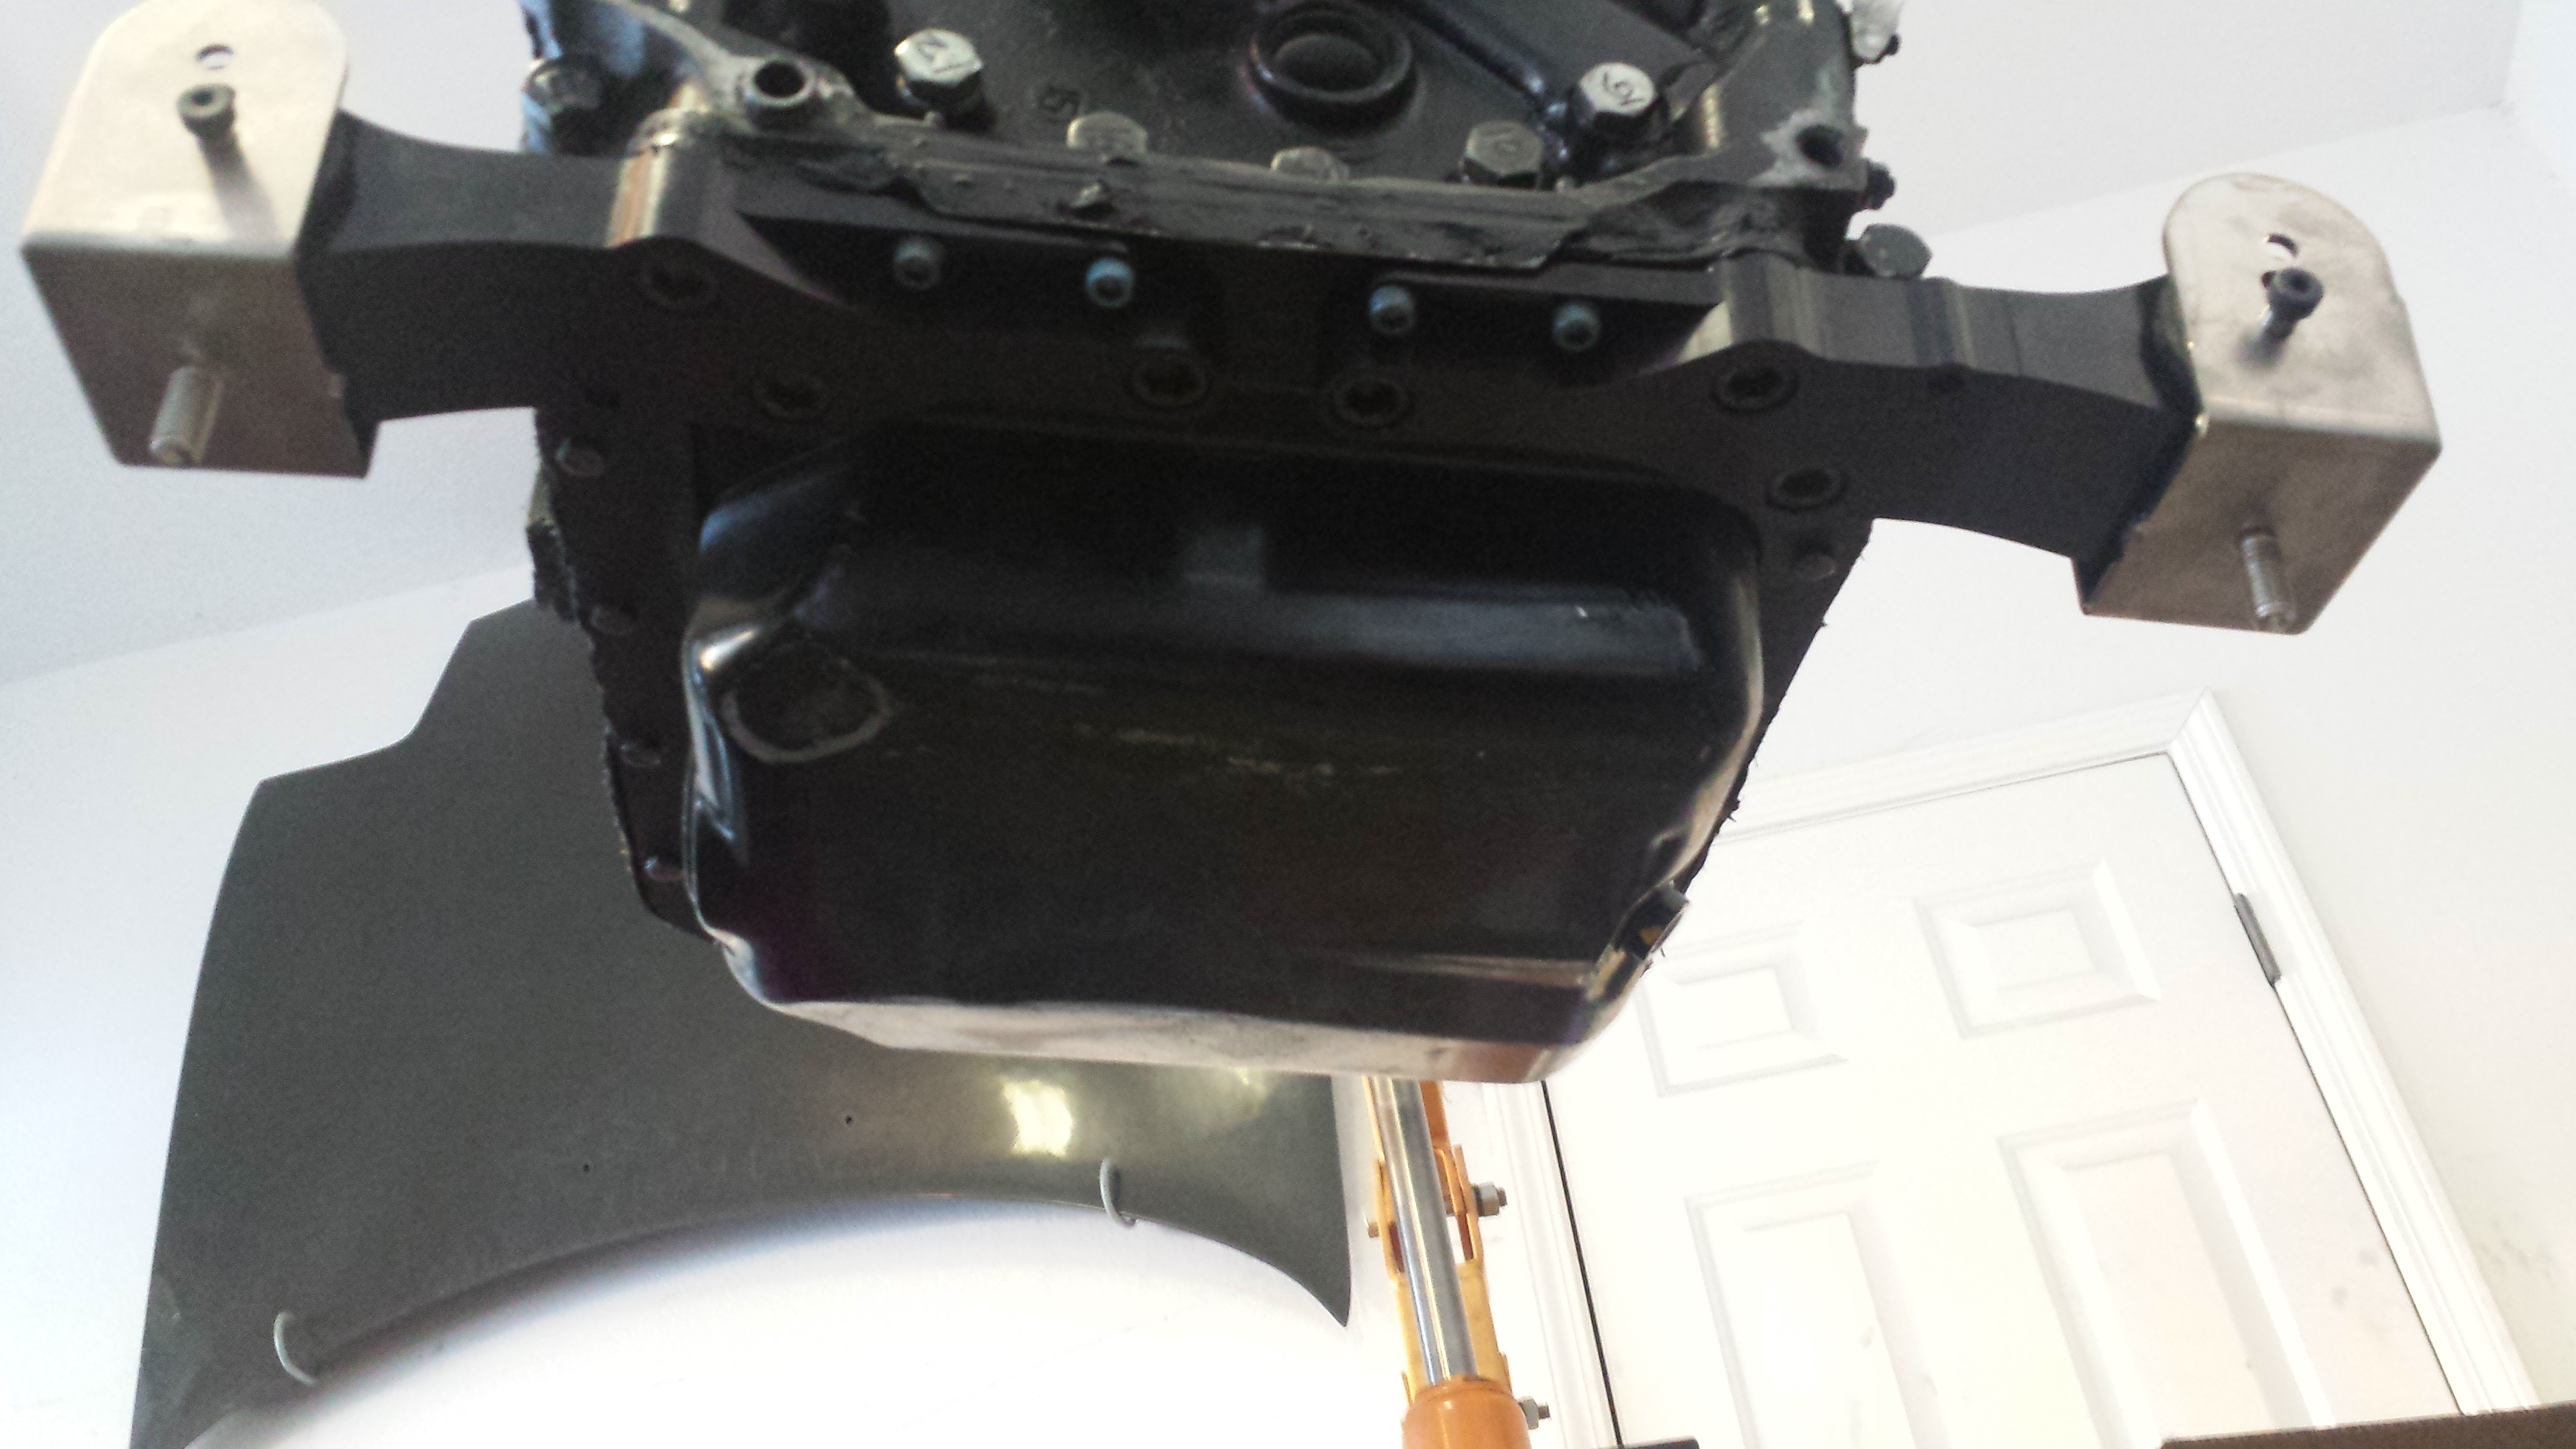
Here you can see the height adjustable brackets the Mounts come with... I had them on the lowest setting but ended up changing them to the middle one for OEM height just so I didn't run into any problems. I can most likely run the lowest setting if I pull my IC spacers out and just run the doh doh's. I'll experiment when I have time
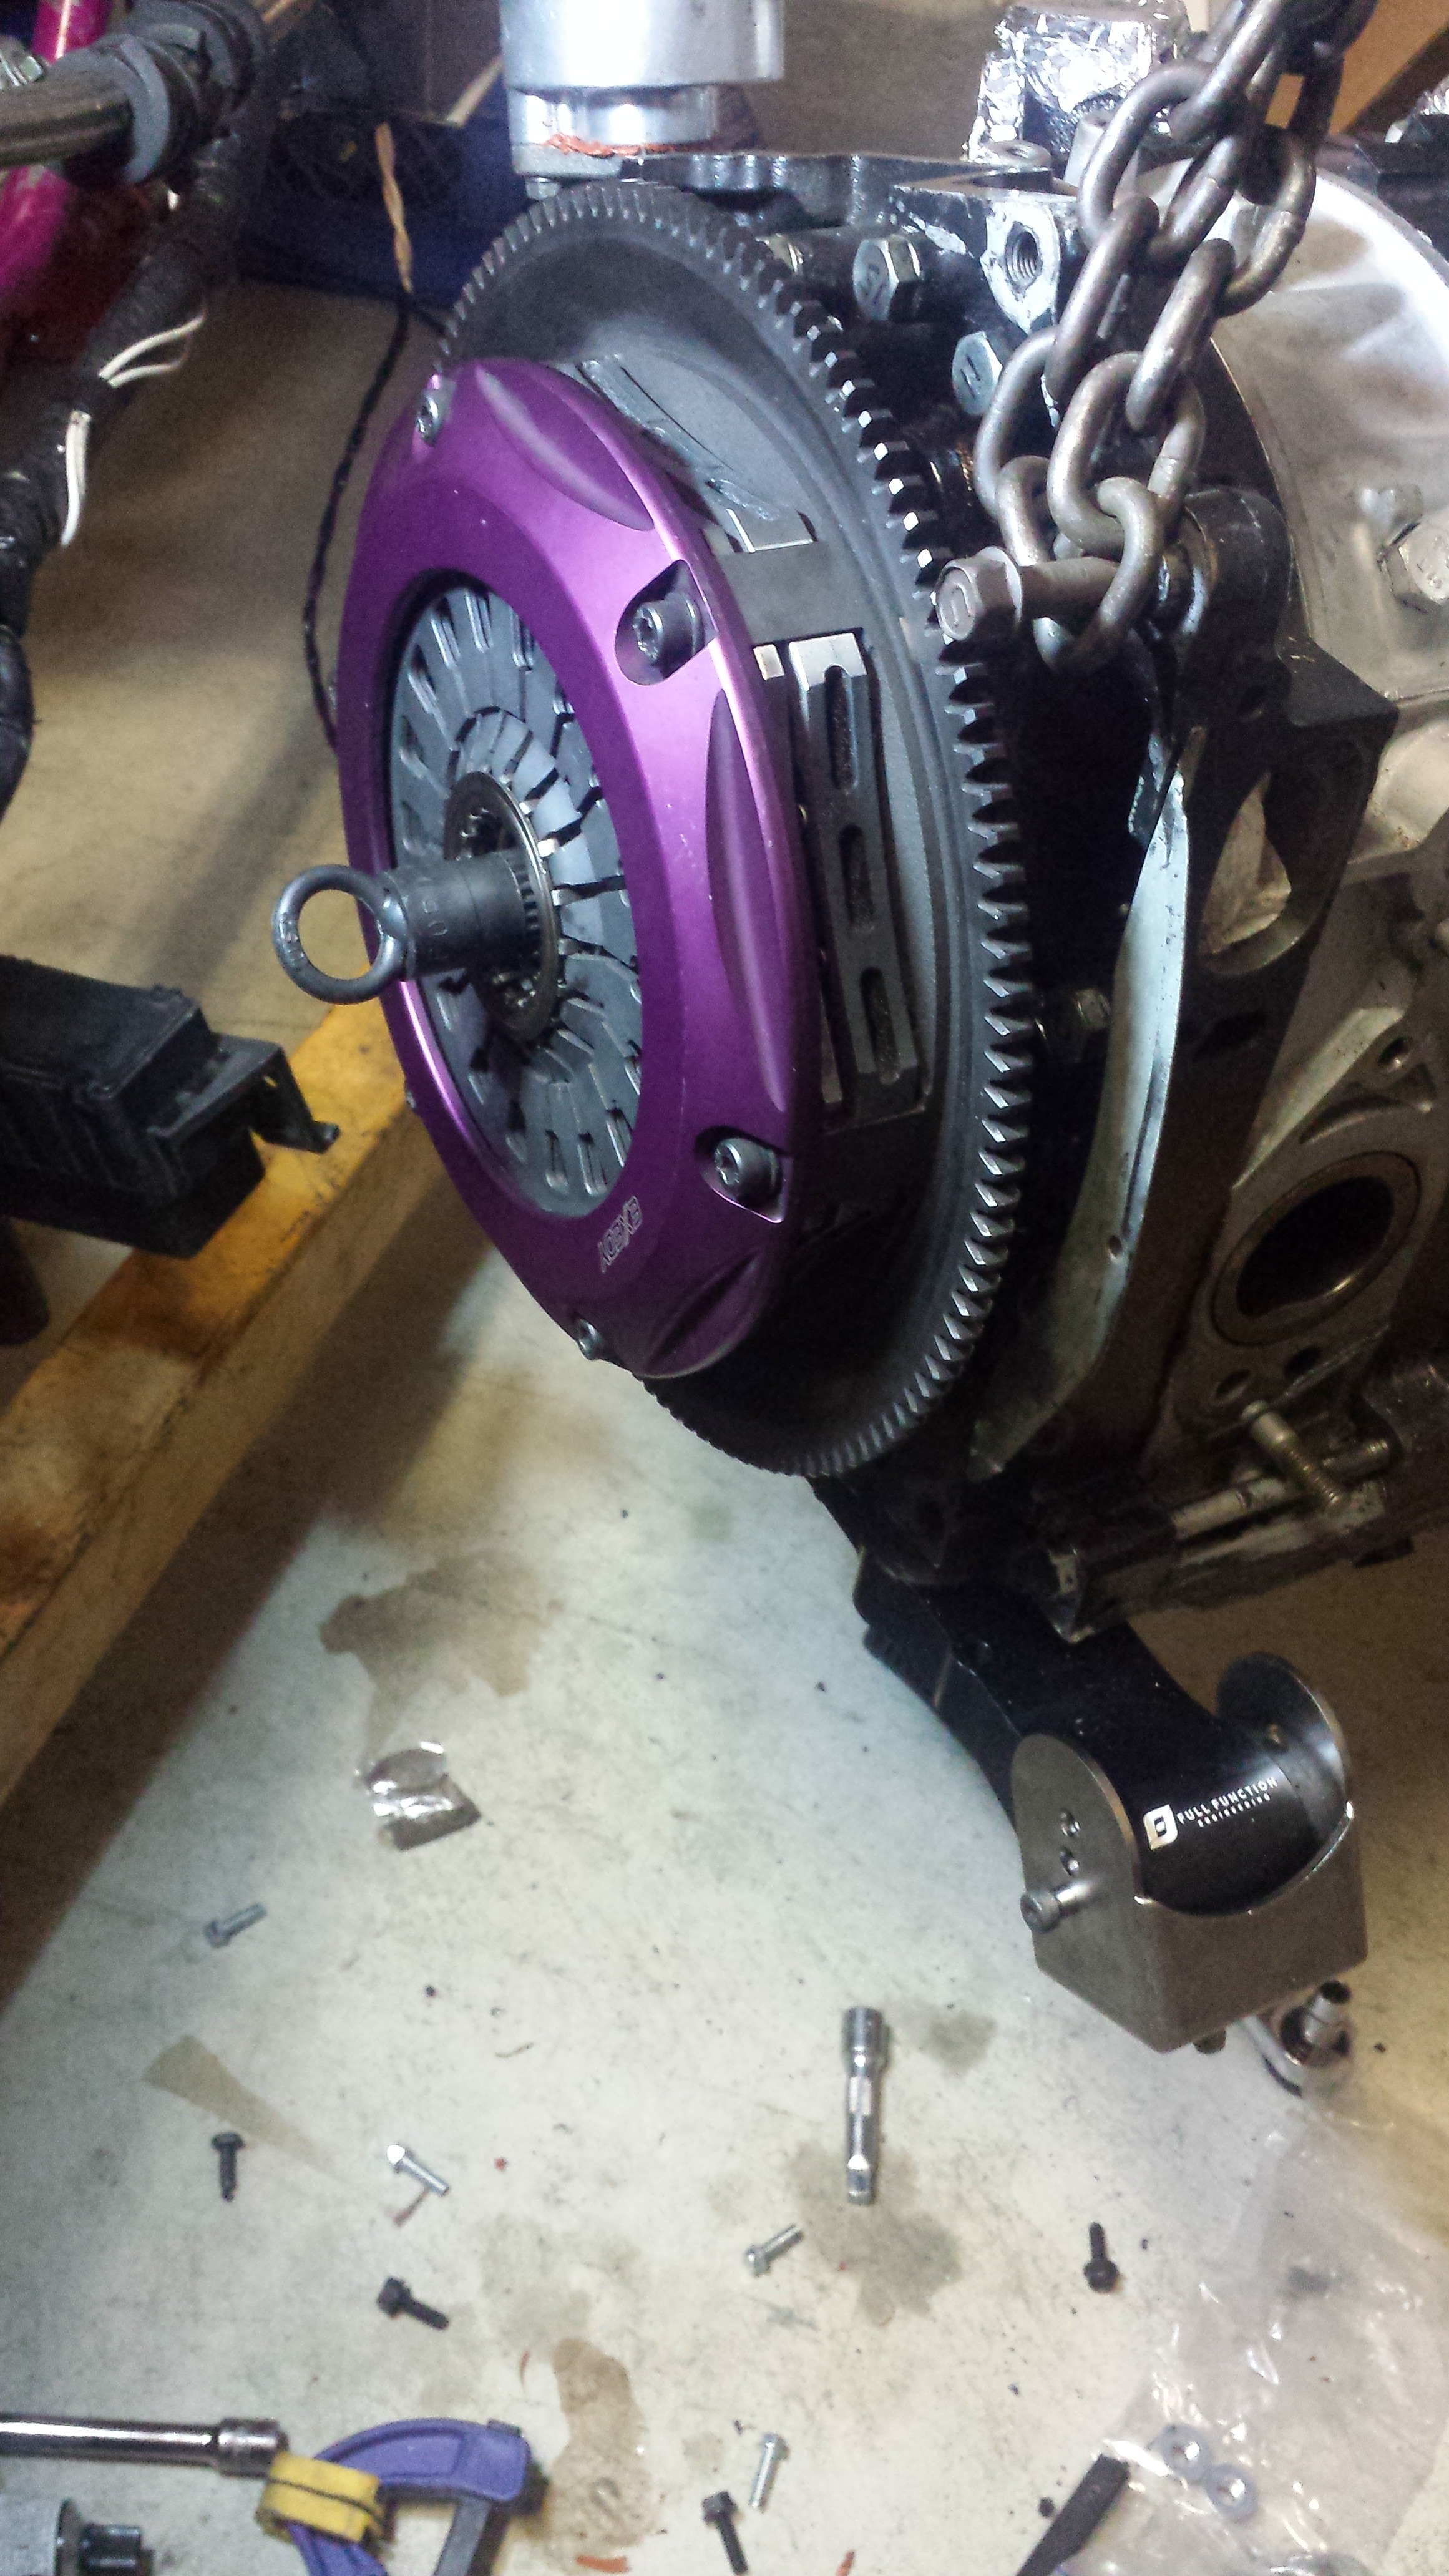
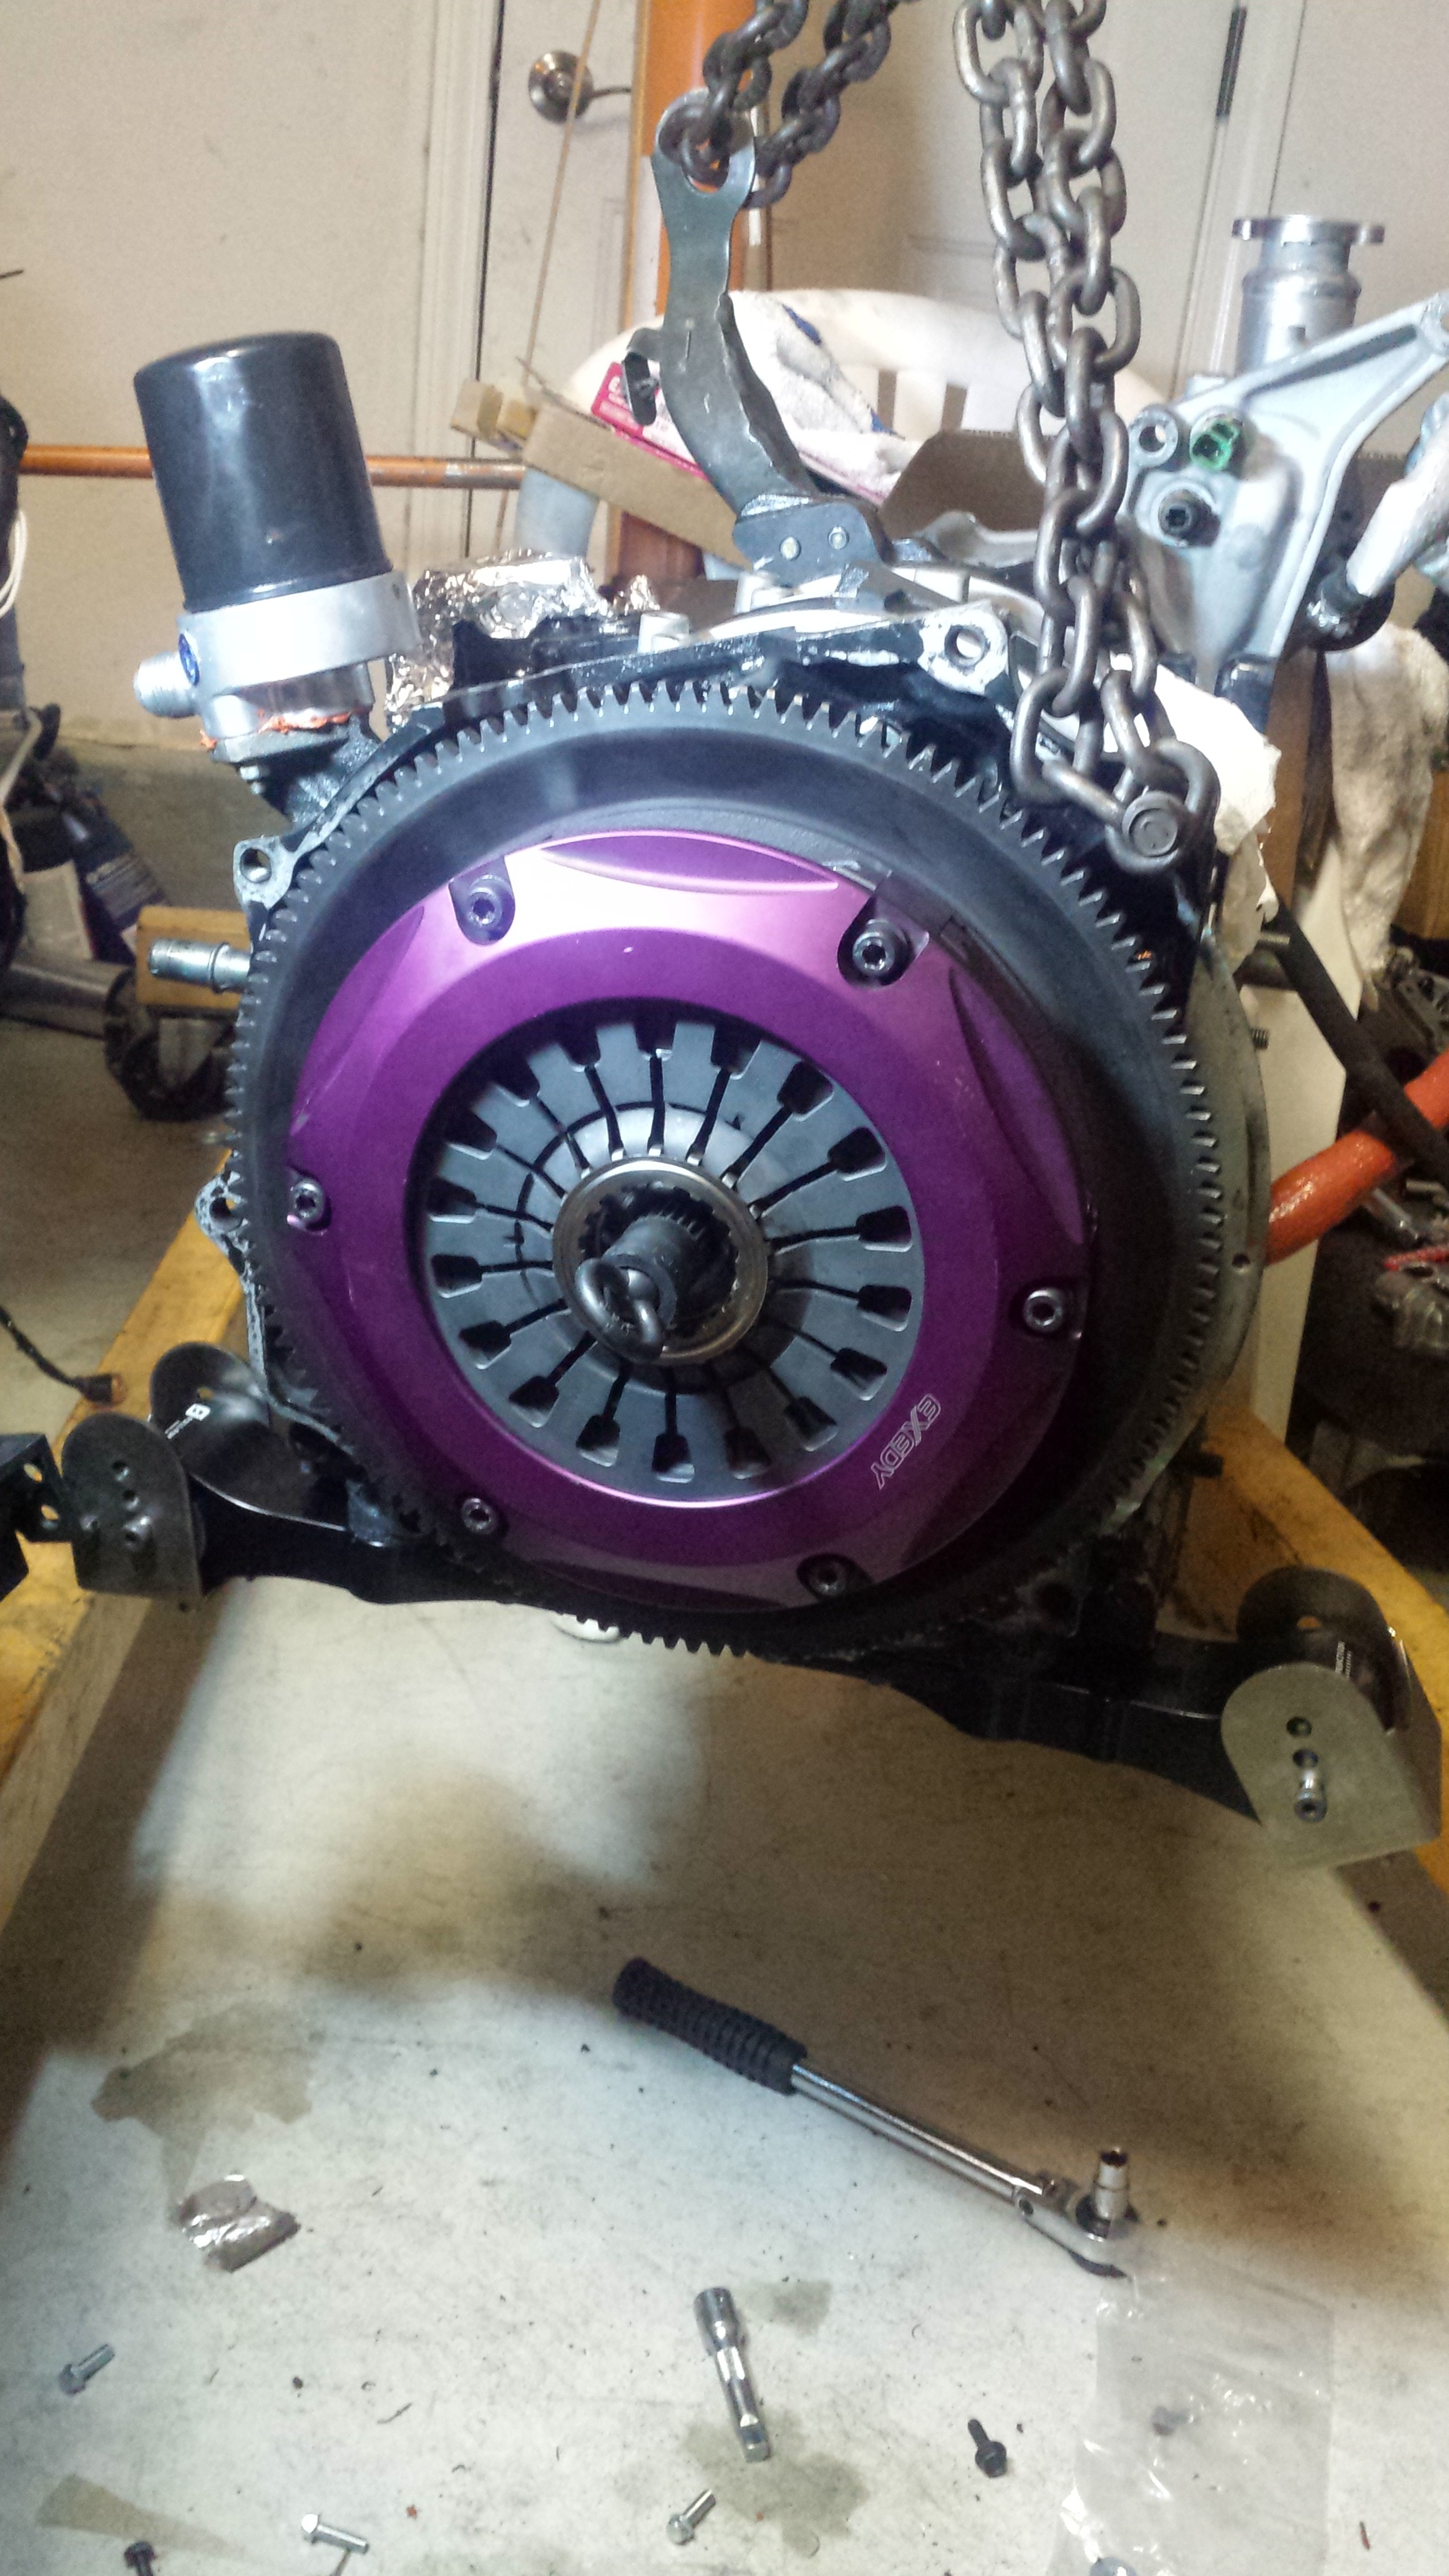
I also installed my new Exedy Twin Disc Cerametallic discs and Intermediate plate... Got them for a slamming deal too.. if anyone needs replacement discs just pm me and i'll give you who I went through. But there is no lower price shipped
Wellllll Back onto the beat. I was working some 15 hour days for the past week or so... don't even know how long.....actually I believe it was 9 days in a row. When you work like that...it really feels as if you never left your job. Wake up at 5:45...work from 6:45 to 3pm..then haul Aceeee to my other job and clock in at 4:15..and work to 11:30pm. Seems like one continuous shift and you never really feel like you clocked out haha. But It's nice at the same time because you get a hefty pay day and before you know it...the 9 day span is over.
ANYWAYS!
I decided to swap my IRP poly motor mounts out for the new Full Function Engineering Height Adjustable Motor mounts and Billit Arms. I'm running their aftermarket Trigger Kit, Both Primary and Secondary rails, and i'll most likely purchase whatever they develop next. It's awesome that all of their products are so high quality and I think its rad that a newer company is still developing new high quality products for a 20 year old chassis. Mad Props to these guys!!
The mounts came with hardware and they installed very easily. The install was straight forward if you've ever installed motor mounts, but if you havn't you may want to do a little research, but practically anyone can install these if you've ever turned a wrench before. I chose to keep the OEM height.....which is the Middle height hole just to make sure that my Intercooler lined up with my turbo outlet.
Here are some pics of the install:
Bare motor
They look so nice man.....sooo nice.. All bolt holes line up nice and they even included a large hex drive for the bolts so you don't have to run out and scramble for tools
Here you can see the height adjustable brackets the Mounts come with... I had them on the lowest setting but ended up changing them to the middle one for OEM height just so I didn't run into any problems. I can most likely run the lowest setting if I pull my IC spacers out and just run the doh doh's. I'll experiment when I have time
I also installed my new Exedy Twin Disc Cerametallic discs and Intermediate plate... Got them for a slamming deal too.. if anyone needs replacement discs just pm me and i'll give you who I went through. But there is no lower price shipped
^^^My Baker Fire sleeve came in as well, so I covered my Oil cooler feed line as it runs and sits up against a few other lines. Better safe than sorry!
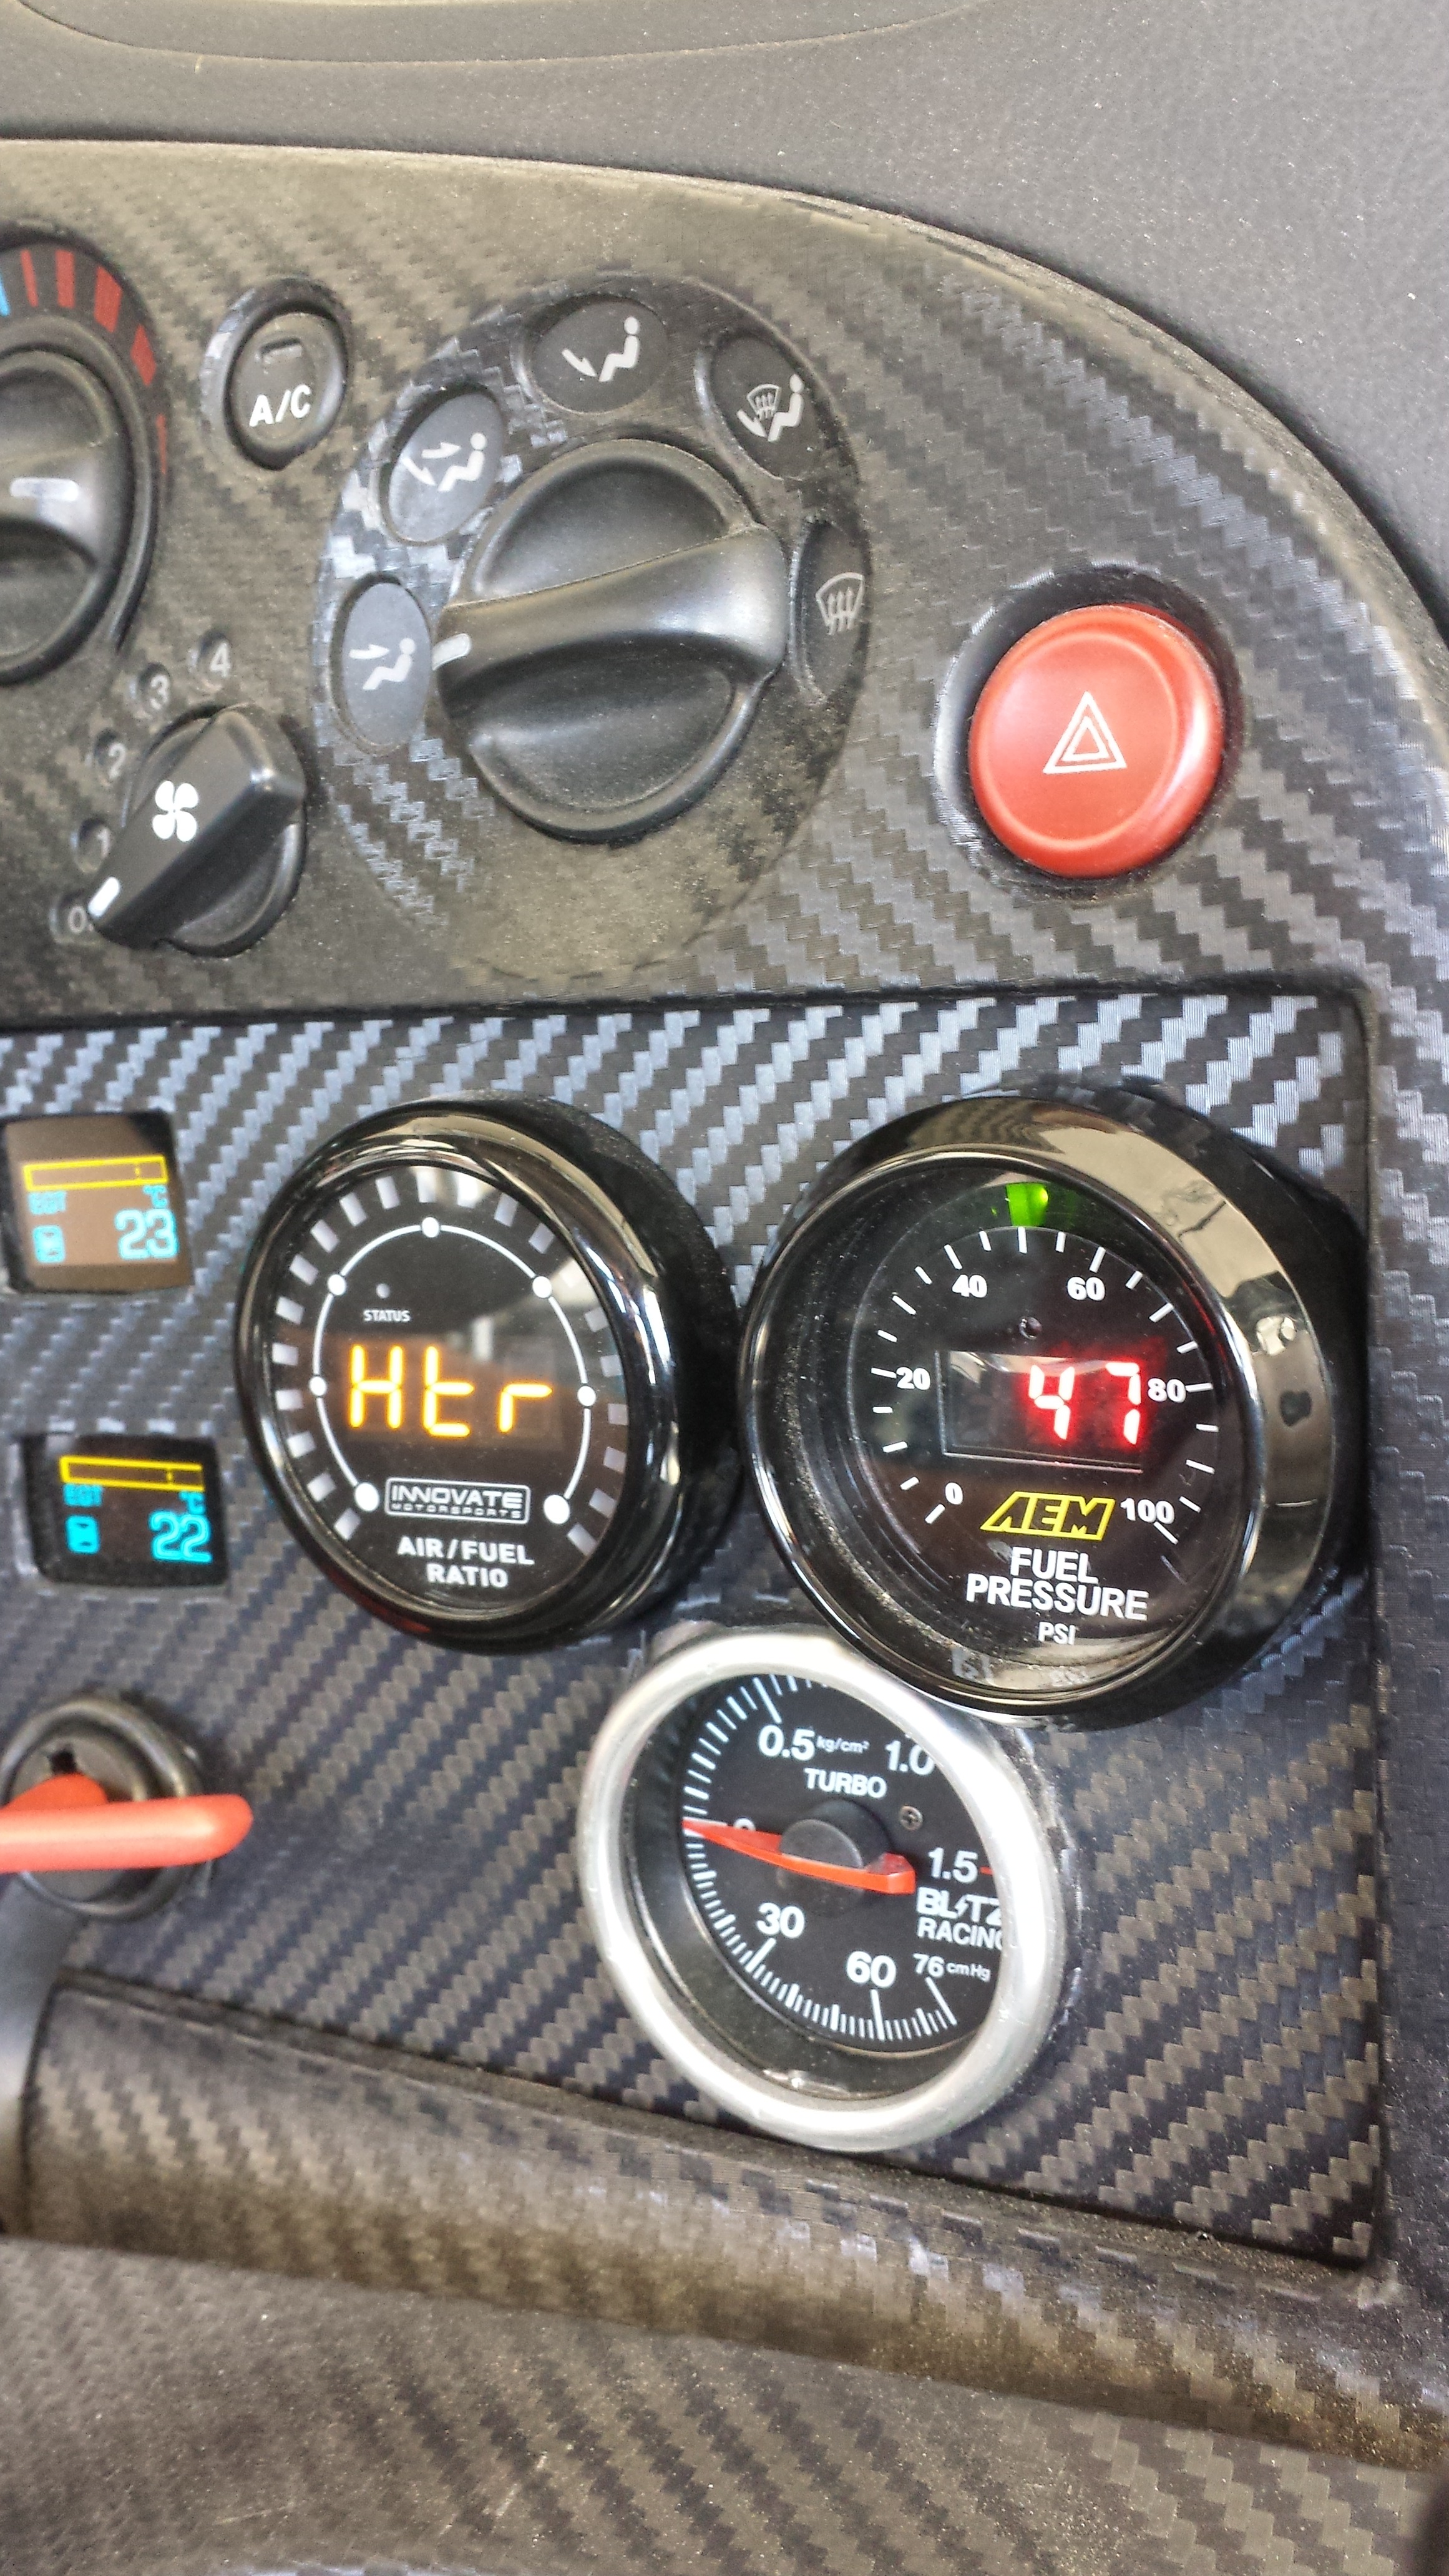
I've also been wanting to install my AEM digital Fuel Pressure gauge and sensor. I wasn't sure where I should install it but realized that I should put it right at the source, so I got a brass fitting from amazon for some 3 bucks or so and installed it on my Fuel Pressure Regulator. The "T" fitting screws right in and the fuel pressure gauge sensor plugs into the bottom port while the Original Gauge faces forward. I think I may be needing a new gauge though because the one I have was leaking some jelly crap
This is a bad picture but here's what it looks like after the install
Here is the Digital gauge inside the cabin installed. I'm glad I left room for the extra gauge.... Fits well and I love Digital gauges. I hate looking at old school analog needles and lines. I just want to be able to look and instantly know what my fuel pressure, egt's, and AFR's are. Came out nice though
THEN once again....for the third time... I had to cut my Oil filler neck. Since I am switching back to the OEM UIM it fit....but to fill it I would need to move my cast elbow and that is just plain stupid. SO I cut it and my buddy DAN at a new race car shop out here called GS-Werks Welded it up for me. Angled it in towards the P/S unit.
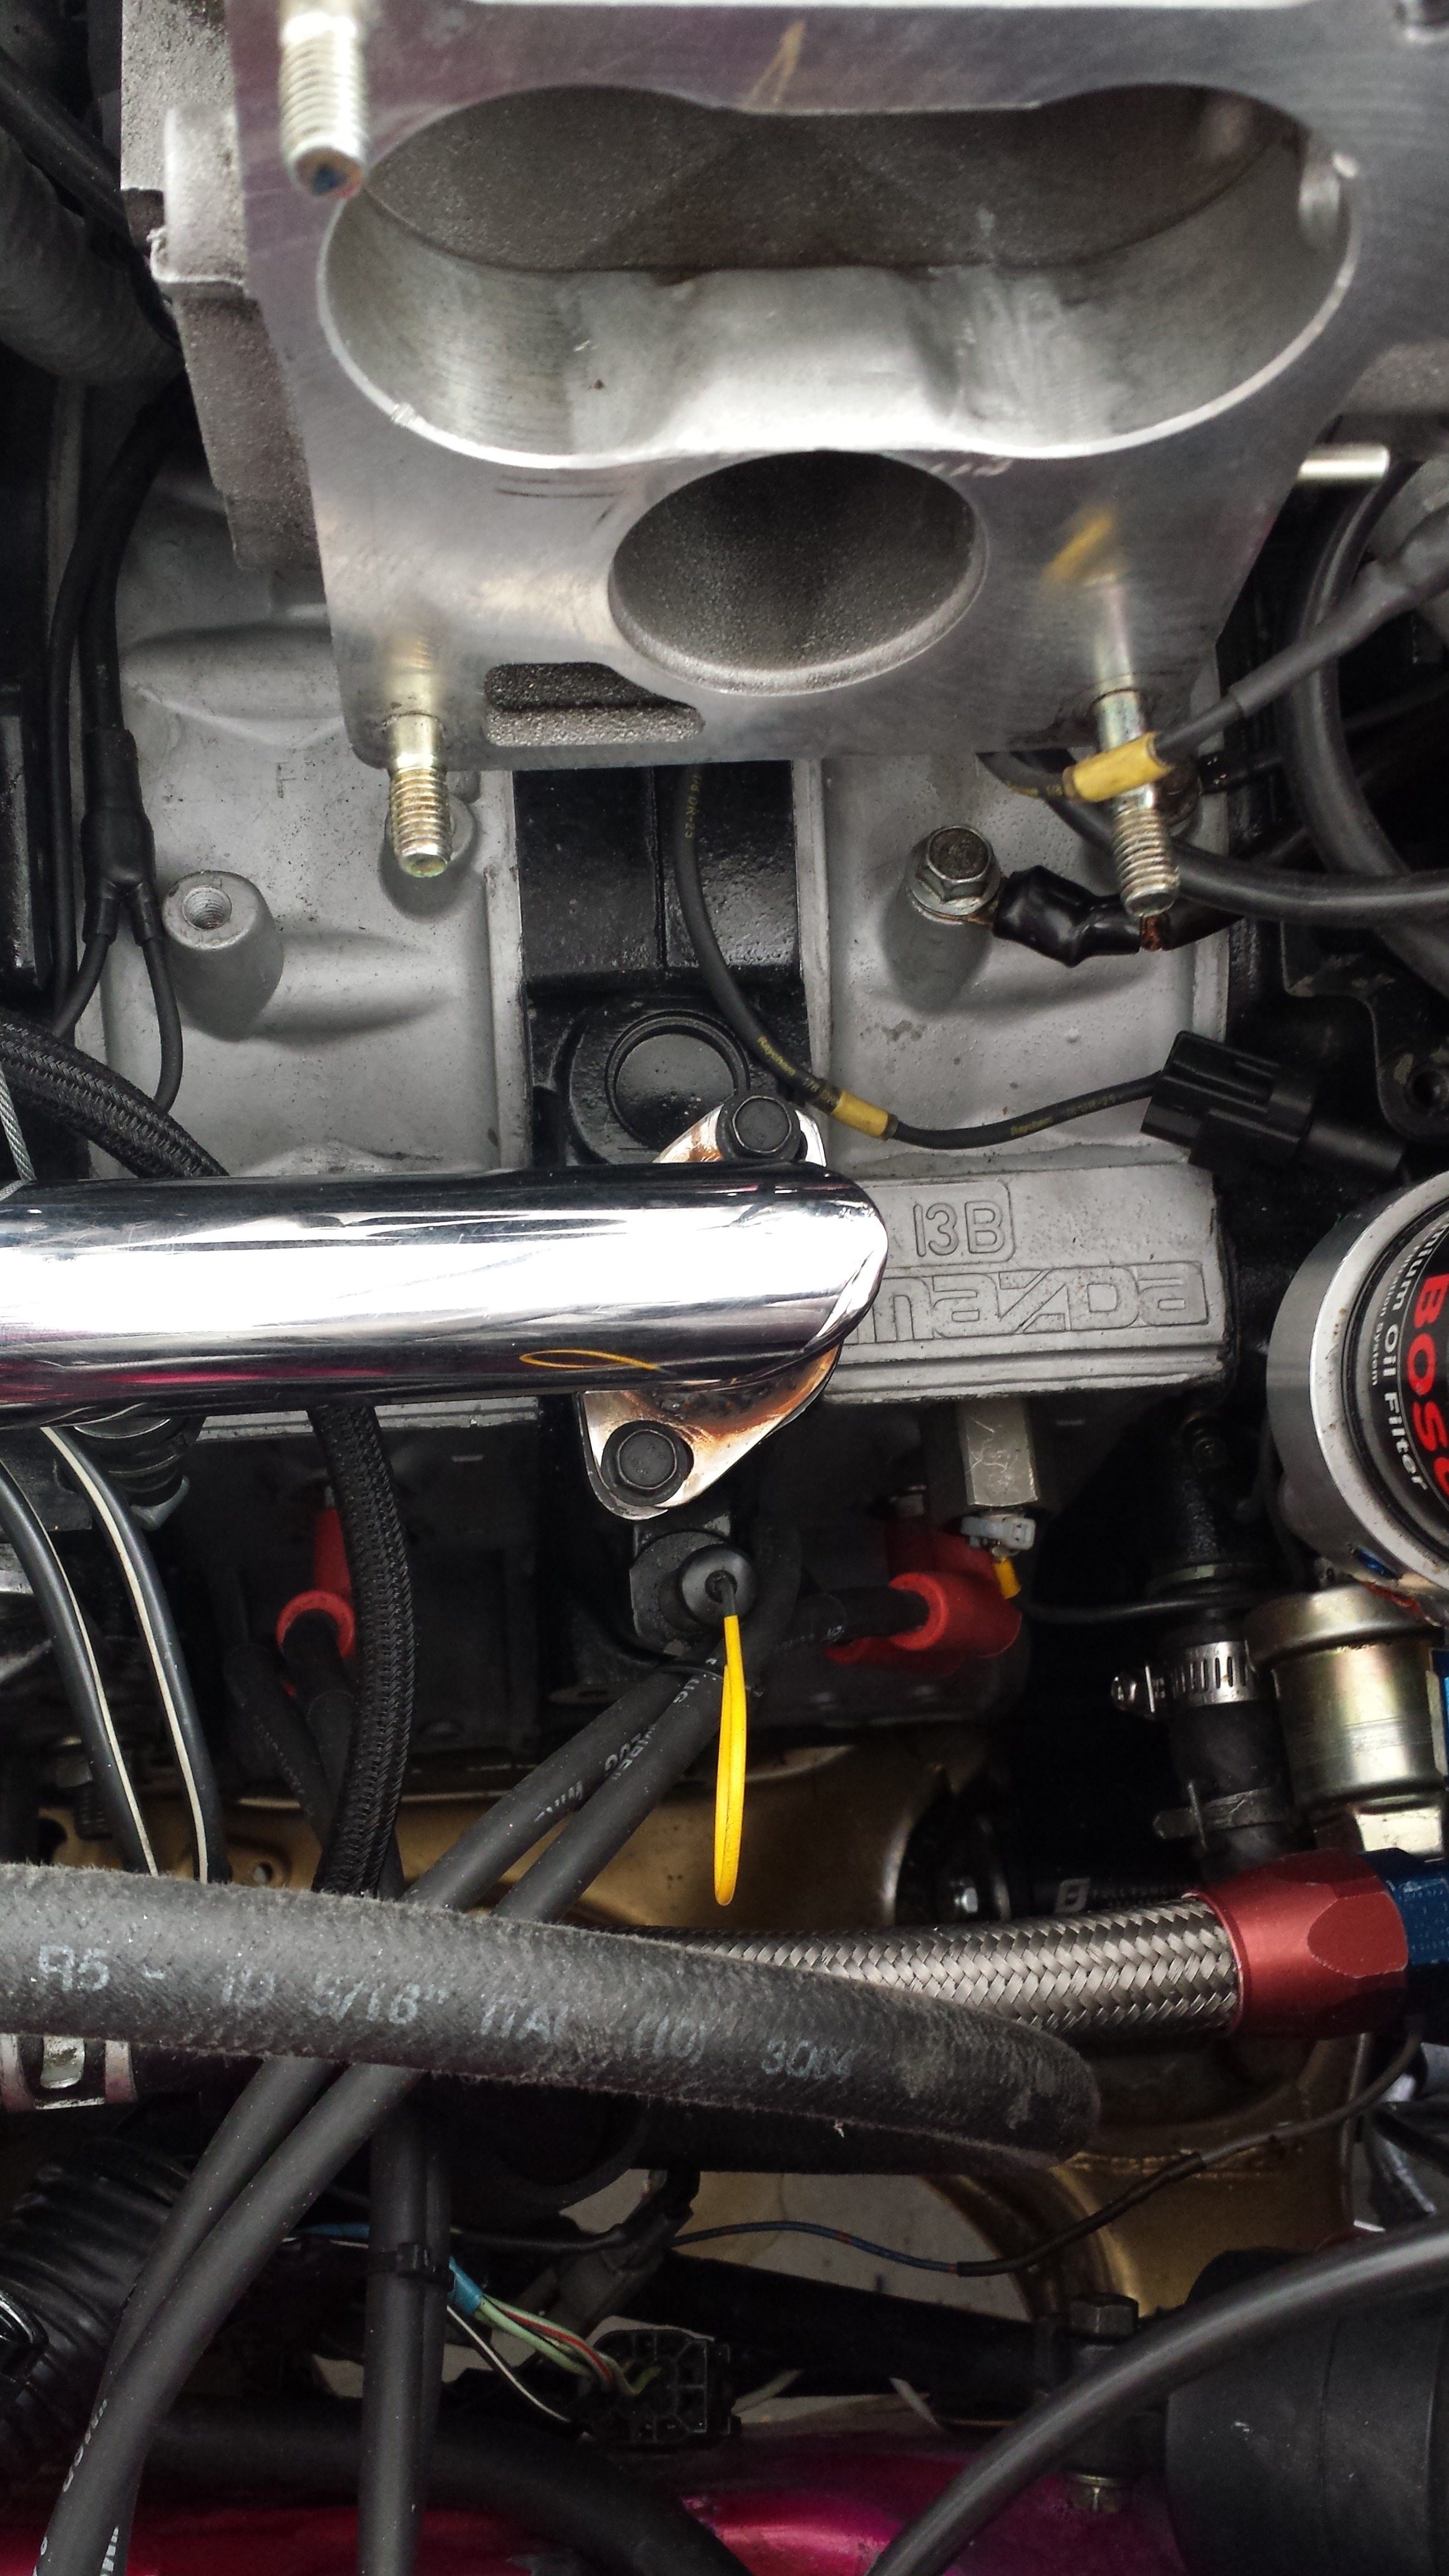
Bad quality pic warning
I've also been wanting to install my AEM digital Fuel Pressure gauge and sensor. I wasn't sure where I should install it but realized that I should put it right at the source, so I got a brass fitting from amazon for some 3 bucks or so and installed it on my Fuel Pressure Regulator. The "T" fitting screws right in and the fuel pressure gauge sensor plugs into the bottom port while the Original Gauge faces forward. I think I may be needing a new gauge though because the one I have was leaking some jelly crap
This is a bad picture but here's what it looks like after the install
Here is the Digital gauge inside the cabin installed. I'm glad I left room for the extra gauge.... Fits well and I love Digital gauges. I hate looking at old school analog needles and lines. I just want to be able to look and instantly know what my fuel pressure, egt's, and AFR's are.
THEN once again....for the third time... I had to cut my Oil filler neck. Since I am switching back to the OEM UIM it fit....but to fill it I would need to move my cast elbow and that is just plain stupid. SO I cut it and my buddy DAN at a new race car shop out here called GS-Werks Welded it up for me. Angled it in towards the P/S unit.
Bad quality pic warning
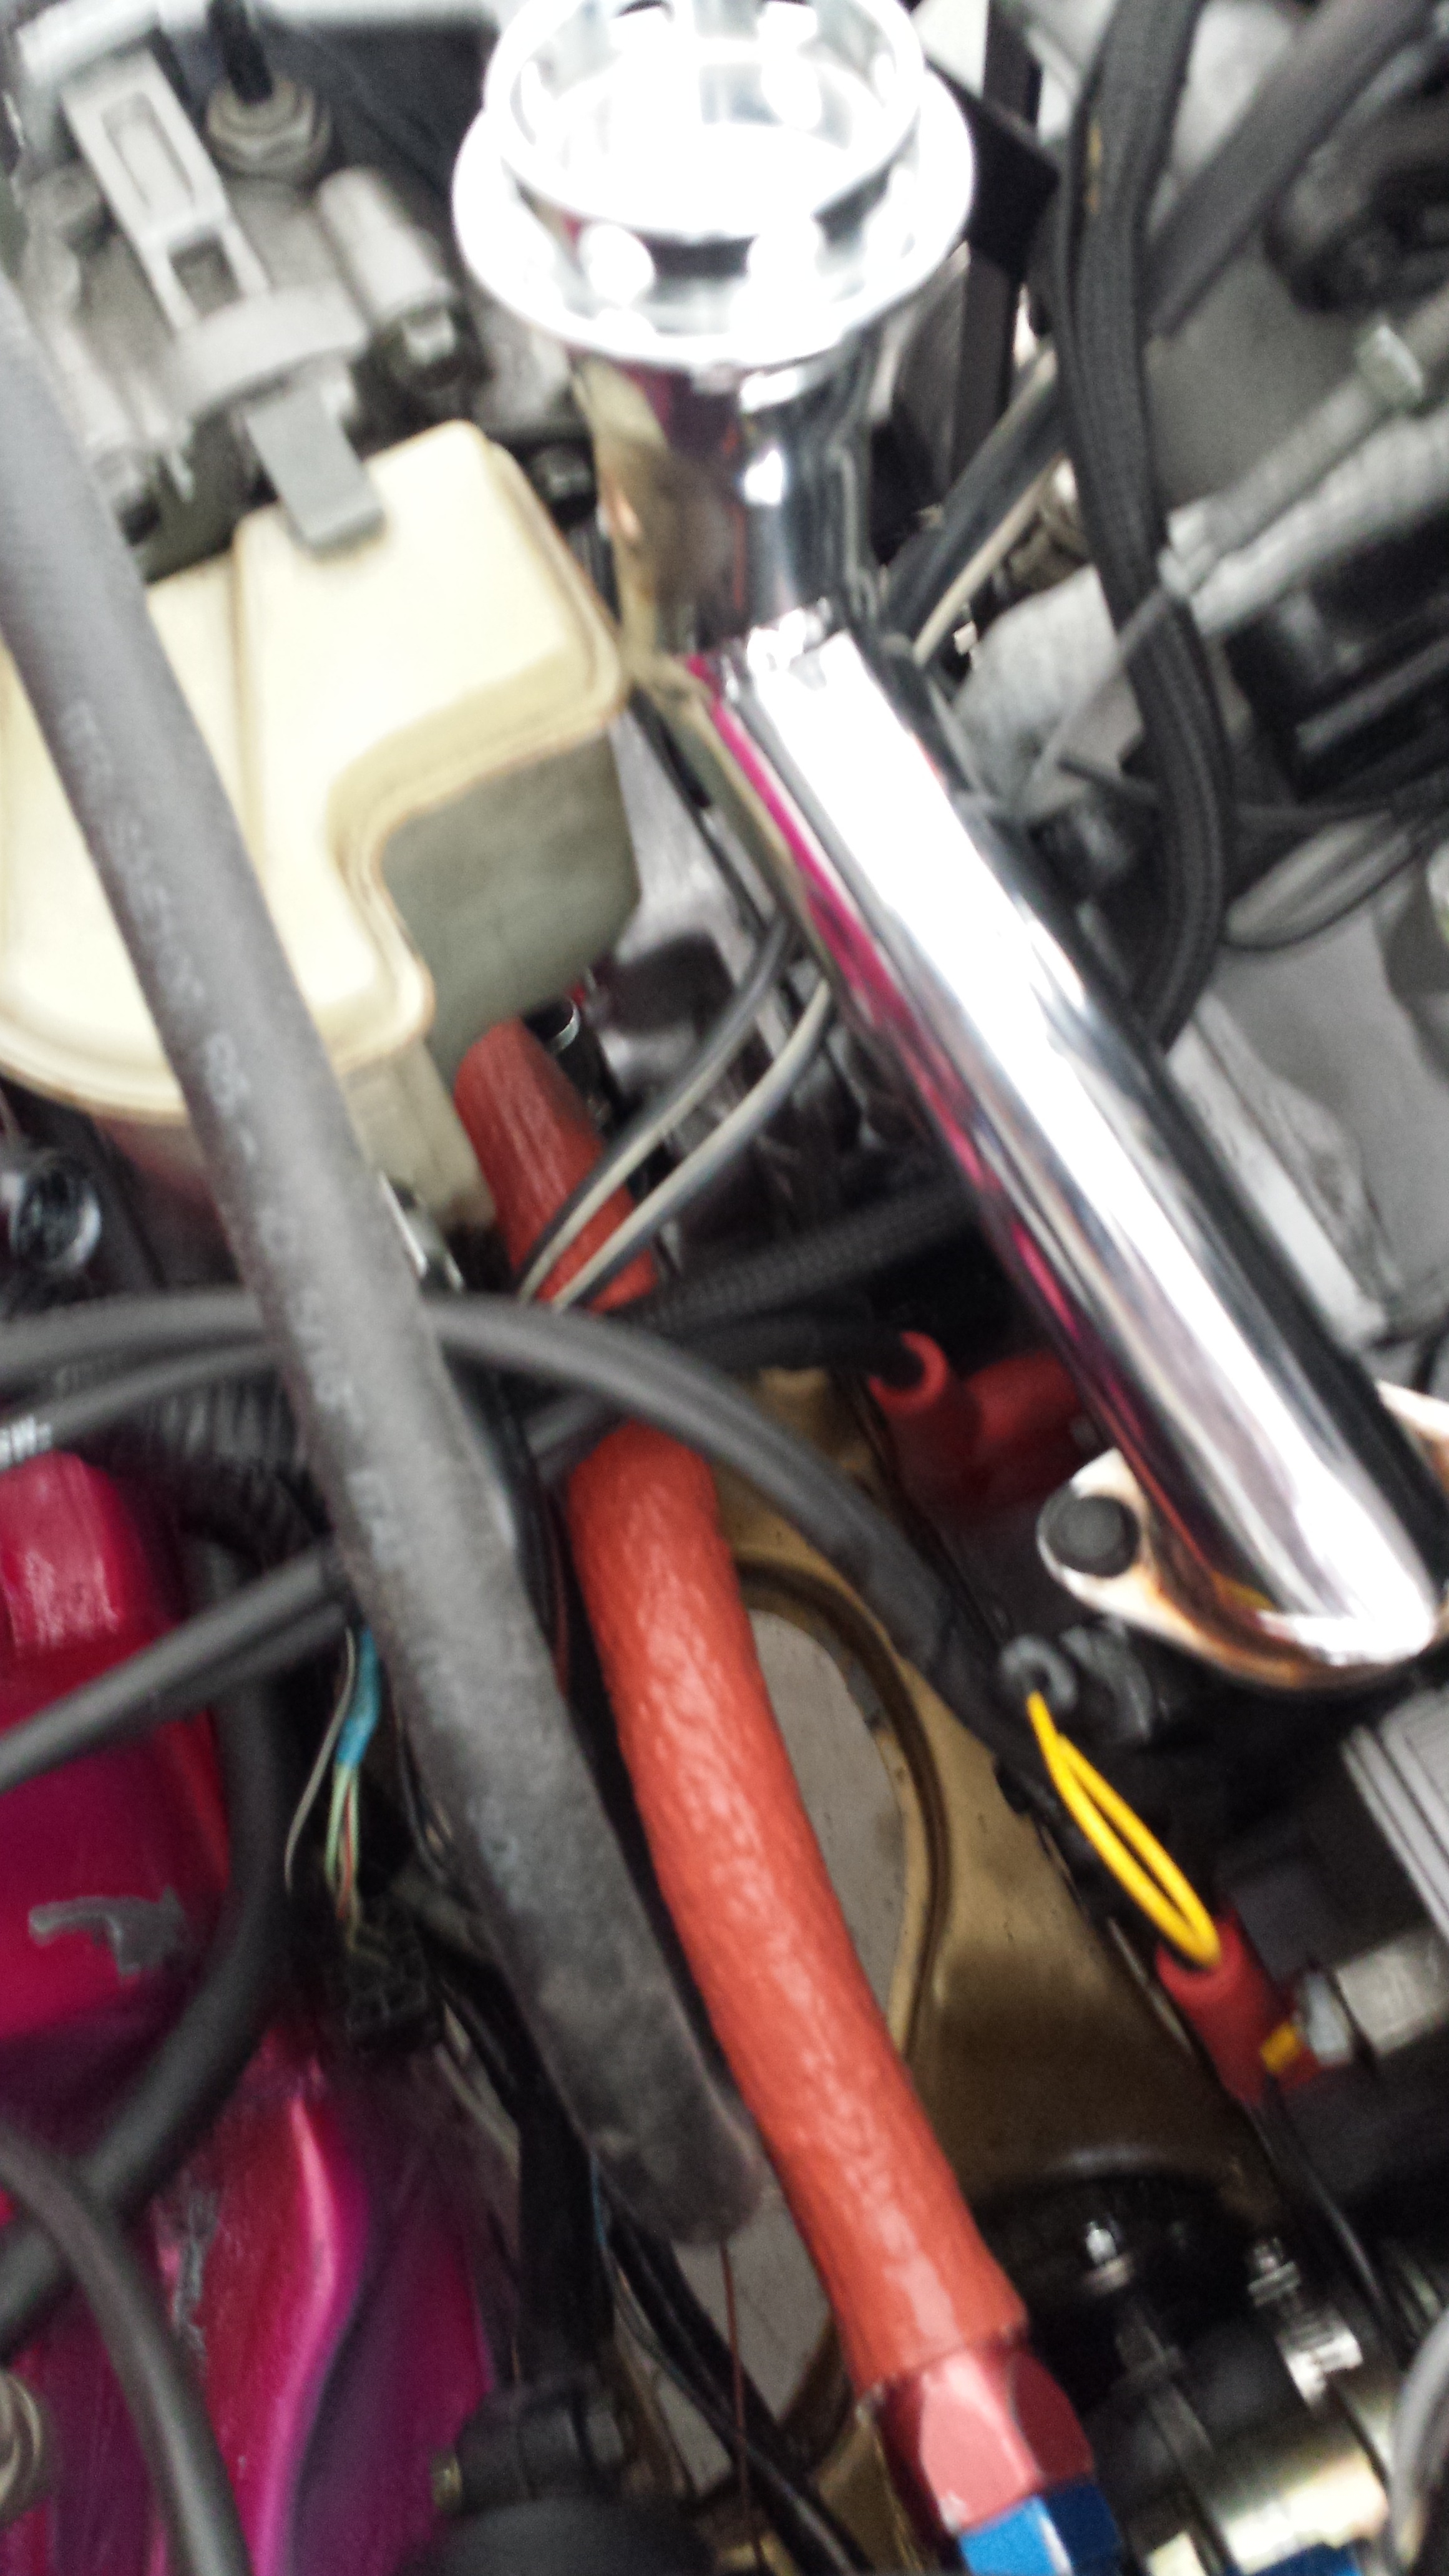
I also took the time to cover the long Oil cooler line from my primary oil cooler to the second Passenger side oil cooler as well. A lot of my Electrical sits right up against it and last thing I want is to start having some intermittent electrical because of lack of "care."
And then it was time to fill her up with coolant and Oil. My Radiator bleed worked like a Charm,...shout out to my buddy Phillip Stewart for the Idea. The system is a breeze to bleed now. Don't even really need the Lisle Funnel..but I used it anyways. So I hooked up all my electrical plugs. Did a fuel leak test by simply turning on my fuel pumps....listening and looking with a flash light, and looking under the car.....and all was good. Primmed the whole system, and cranked her without fuel pressure to get some oil pressure going and once again it was crank time.
Here's my start up again haha. Had to use ghetto throttle line bracket mcguiver channel lock system to mount the throttle cable till my bracket comes in.. But she fires right up no problem. Hopefully this video works:
20130902_132956_zpsb3d5b66f.mp4 Video by mannykiller | Photobucket
if not try this one

I forgot to say...I switched back to an OEM TPS so I wired that in correctly and calibrated it in seconds with the Adaptronic Software before the first start.
It was nice to pull the motor again because I was able to clean all the little things I left un-prioritized up. no grime or dirt anywhere now, which is always a plus.
You can also thank Jaime Gonzales for painting the throttle body gold. What a jerk... I'll clean it up when I apply the gold heat reflective to the underside of the UIM.
So that leaves one thing left. I need to have a charge pipe fabbed up. Which really shouldn't be to hard or time consuming. I have aluminum tube and i'll probly cut it myself in my garage and take it to someone to have welded up.
Here's the section that I need to have done:
So I took her for a nice little test drive up the street and back. Sounds great, no leaks, no over-heating, no air in system... so i'm loving it. I did have to replace my battery though. The car had a weak crank so I had to hook up the charger. After I got back from the test drive the car died in the drive way and I was unable to start it again without a jump from my trusty prius. This battery had been giving me problems so I took it back to autozone and got a fresh one with the warranty. Luckily they switched it out no questions asked and the fresh battery turned the starter nice and fast.
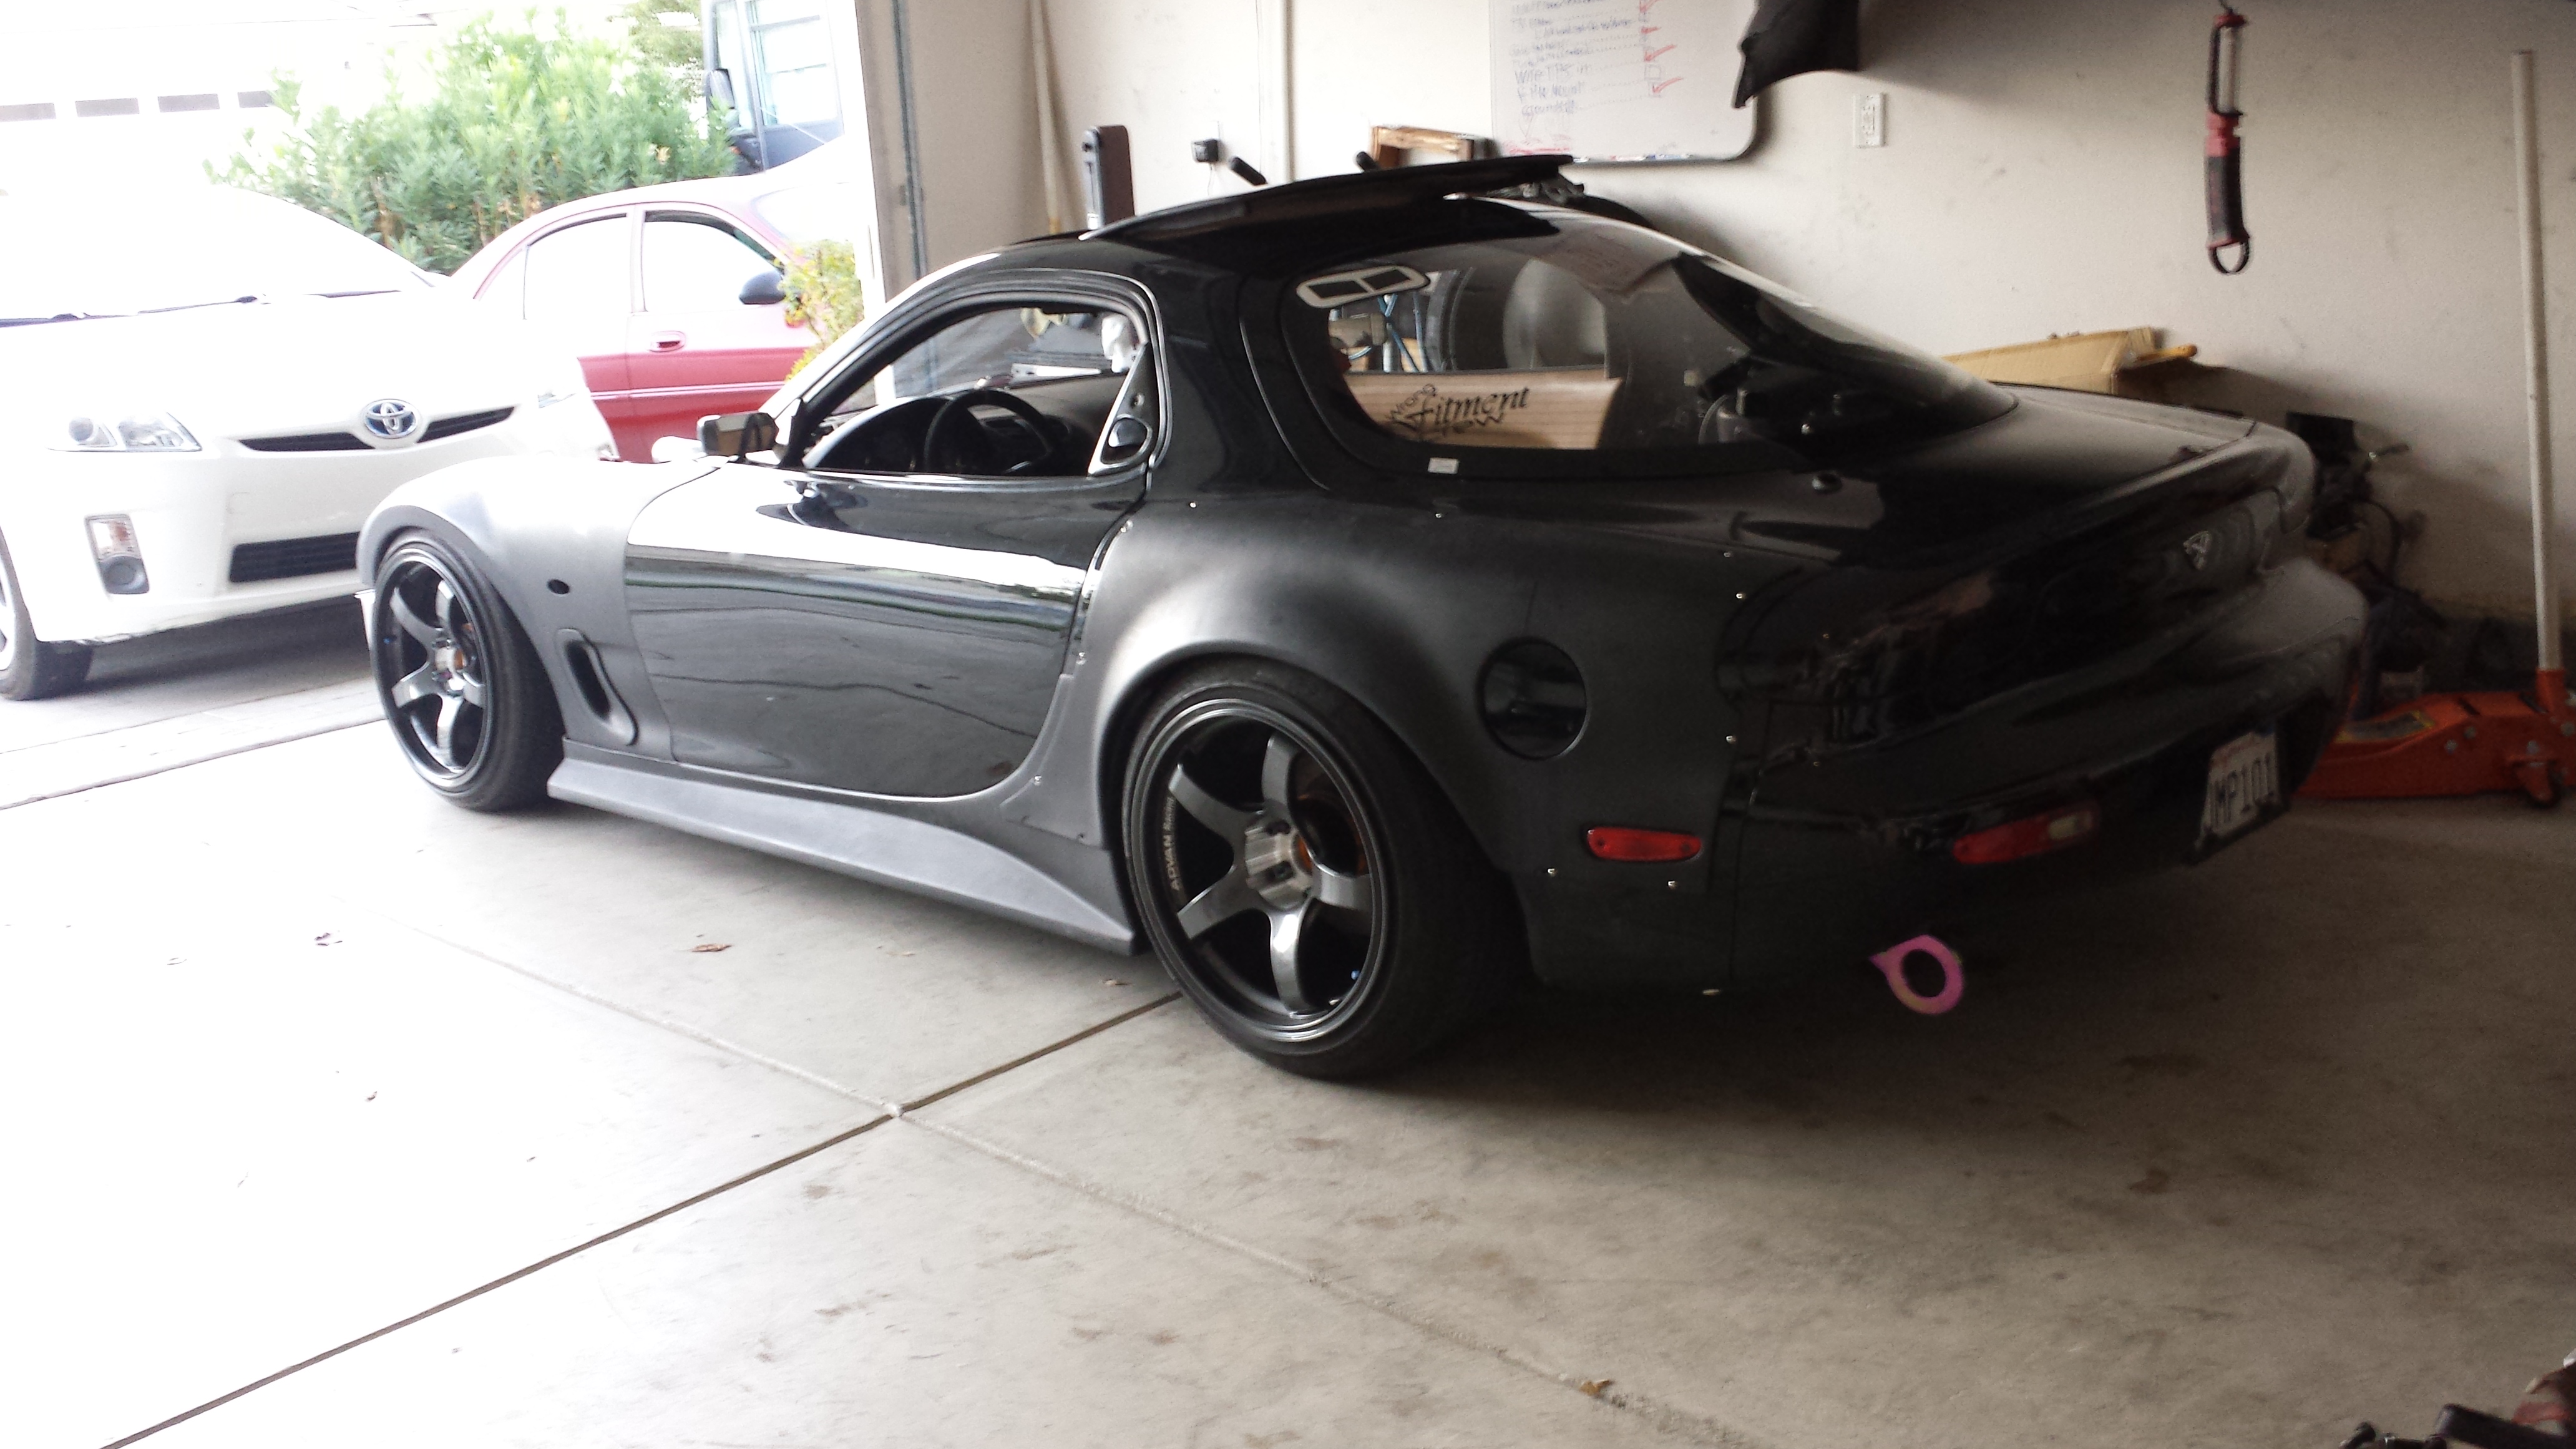
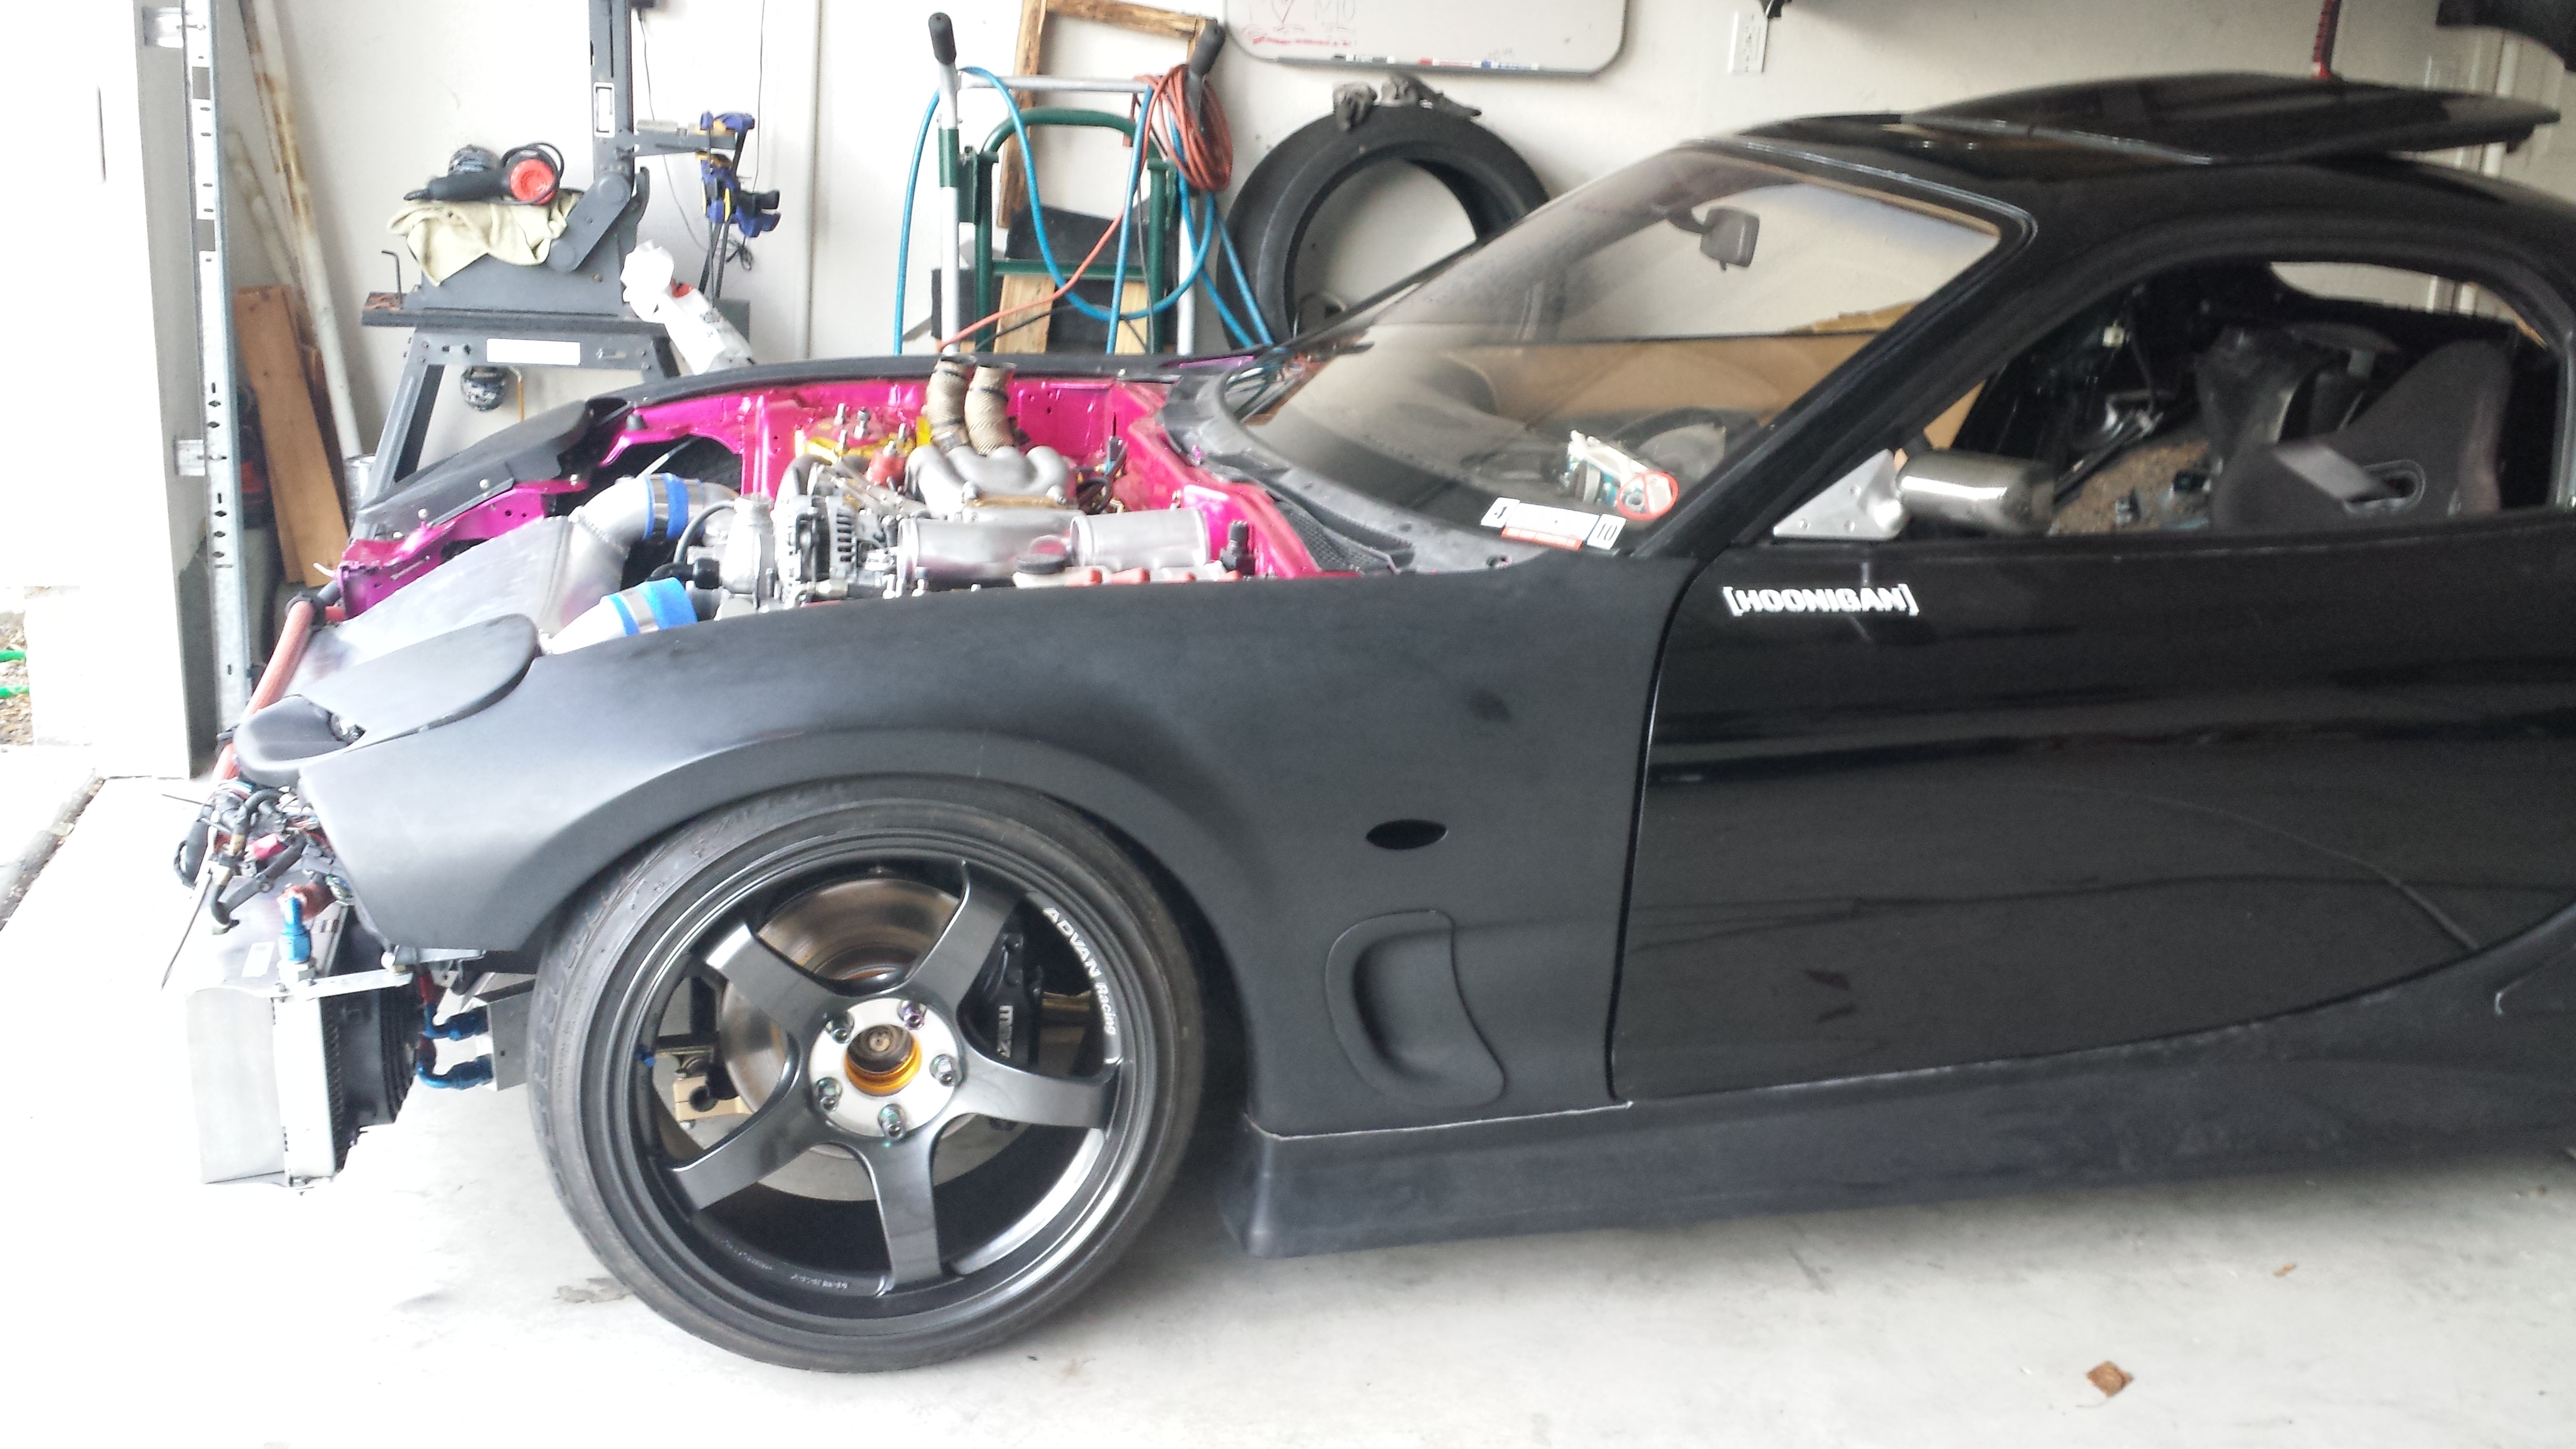
Here are some random pics
That leaves me to the current. I have a full fd-legal cage appointment set for the last week of this month. But I'm not sure If I want to keep it or prolong it and go get the car tuned. I need to break in the clutch....so if anyone has the correct method and doesn't mind sharing please let me know. Otherwise i'll search it haha. But I was told to rev her out to 4k and do 3 10 Second long clutch slips, and that should do it.
And then it was time to fill her up with coolant and Oil. My Radiator bleed worked like a Charm,...shout out to my buddy Phillip Stewart for the Idea. The system is a breeze to bleed now. Don't even really need the Lisle Funnel..but I used it anyways. So I hooked up all my electrical plugs. Did a fuel leak test by simply turning on my fuel pumps....listening and looking with a flash light, and looking under the car.....and all was good. Primmed the whole system, and cranked her without fuel pressure to get some oil pressure going and once again it was crank time.
Here's my start up again haha. Had to use ghetto throttle line bracket mcguiver channel lock system to mount the throttle cable till my bracket comes in.. But she fires right up no problem. Hopefully this video works:
20130902_132956_zpsb3d5b66f.mp4 Video by mannykiller | Photobucket
if not try this one
I forgot to say...I switched back to an OEM TPS so I wired that in correctly and calibrated it in seconds with the Adaptronic Software before the first start.
It was nice to pull the motor again because I was able to clean all the little things I left un-prioritized up. no grime or dirt anywhere now, which is always a plus.
You can also thank Jaime Gonzales for painting the throttle body gold. What a jerk... I'll clean it up when I apply the gold heat reflective to the underside of the UIM.
So that leaves one thing left. I need to have a charge pipe fabbed up. Which really shouldn't be to hard or time consuming. I have aluminum tube and i'll probly cut it myself in my garage and take it to someone to have welded up.
Here's the section that I need to have done:
So I took her for a nice little test drive up the street and back. Sounds great, no leaks, no over-heating, no air in system... so i'm loving it. I did have to replace my battery though. The car had a weak crank so I had to hook up the charger. After I got back from the test drive the car died in the drive way and I was unable to start it again without a jump from my trusty prius. This battery had been giving me problems so I took it back to autozone and got a fresh one with the warranty. Luckily they switched it out no questions asked and the fresh battery turned the starter nice and fast.
Here are some random pics
That leaves me to the current. I have a full fd-legal cage appointment set for the last week of this month. But I'm not sure If I want to keep it or prolong it and go get the car tuned. I need to break in the clutch....so if anyone has the correct method and doesn't mind sharing please let me know. Otherwise i'll search it haha. But I was told to rev her out to 4k and do 3 10 Second long clutch slips, and that should do it.
SMall Update:
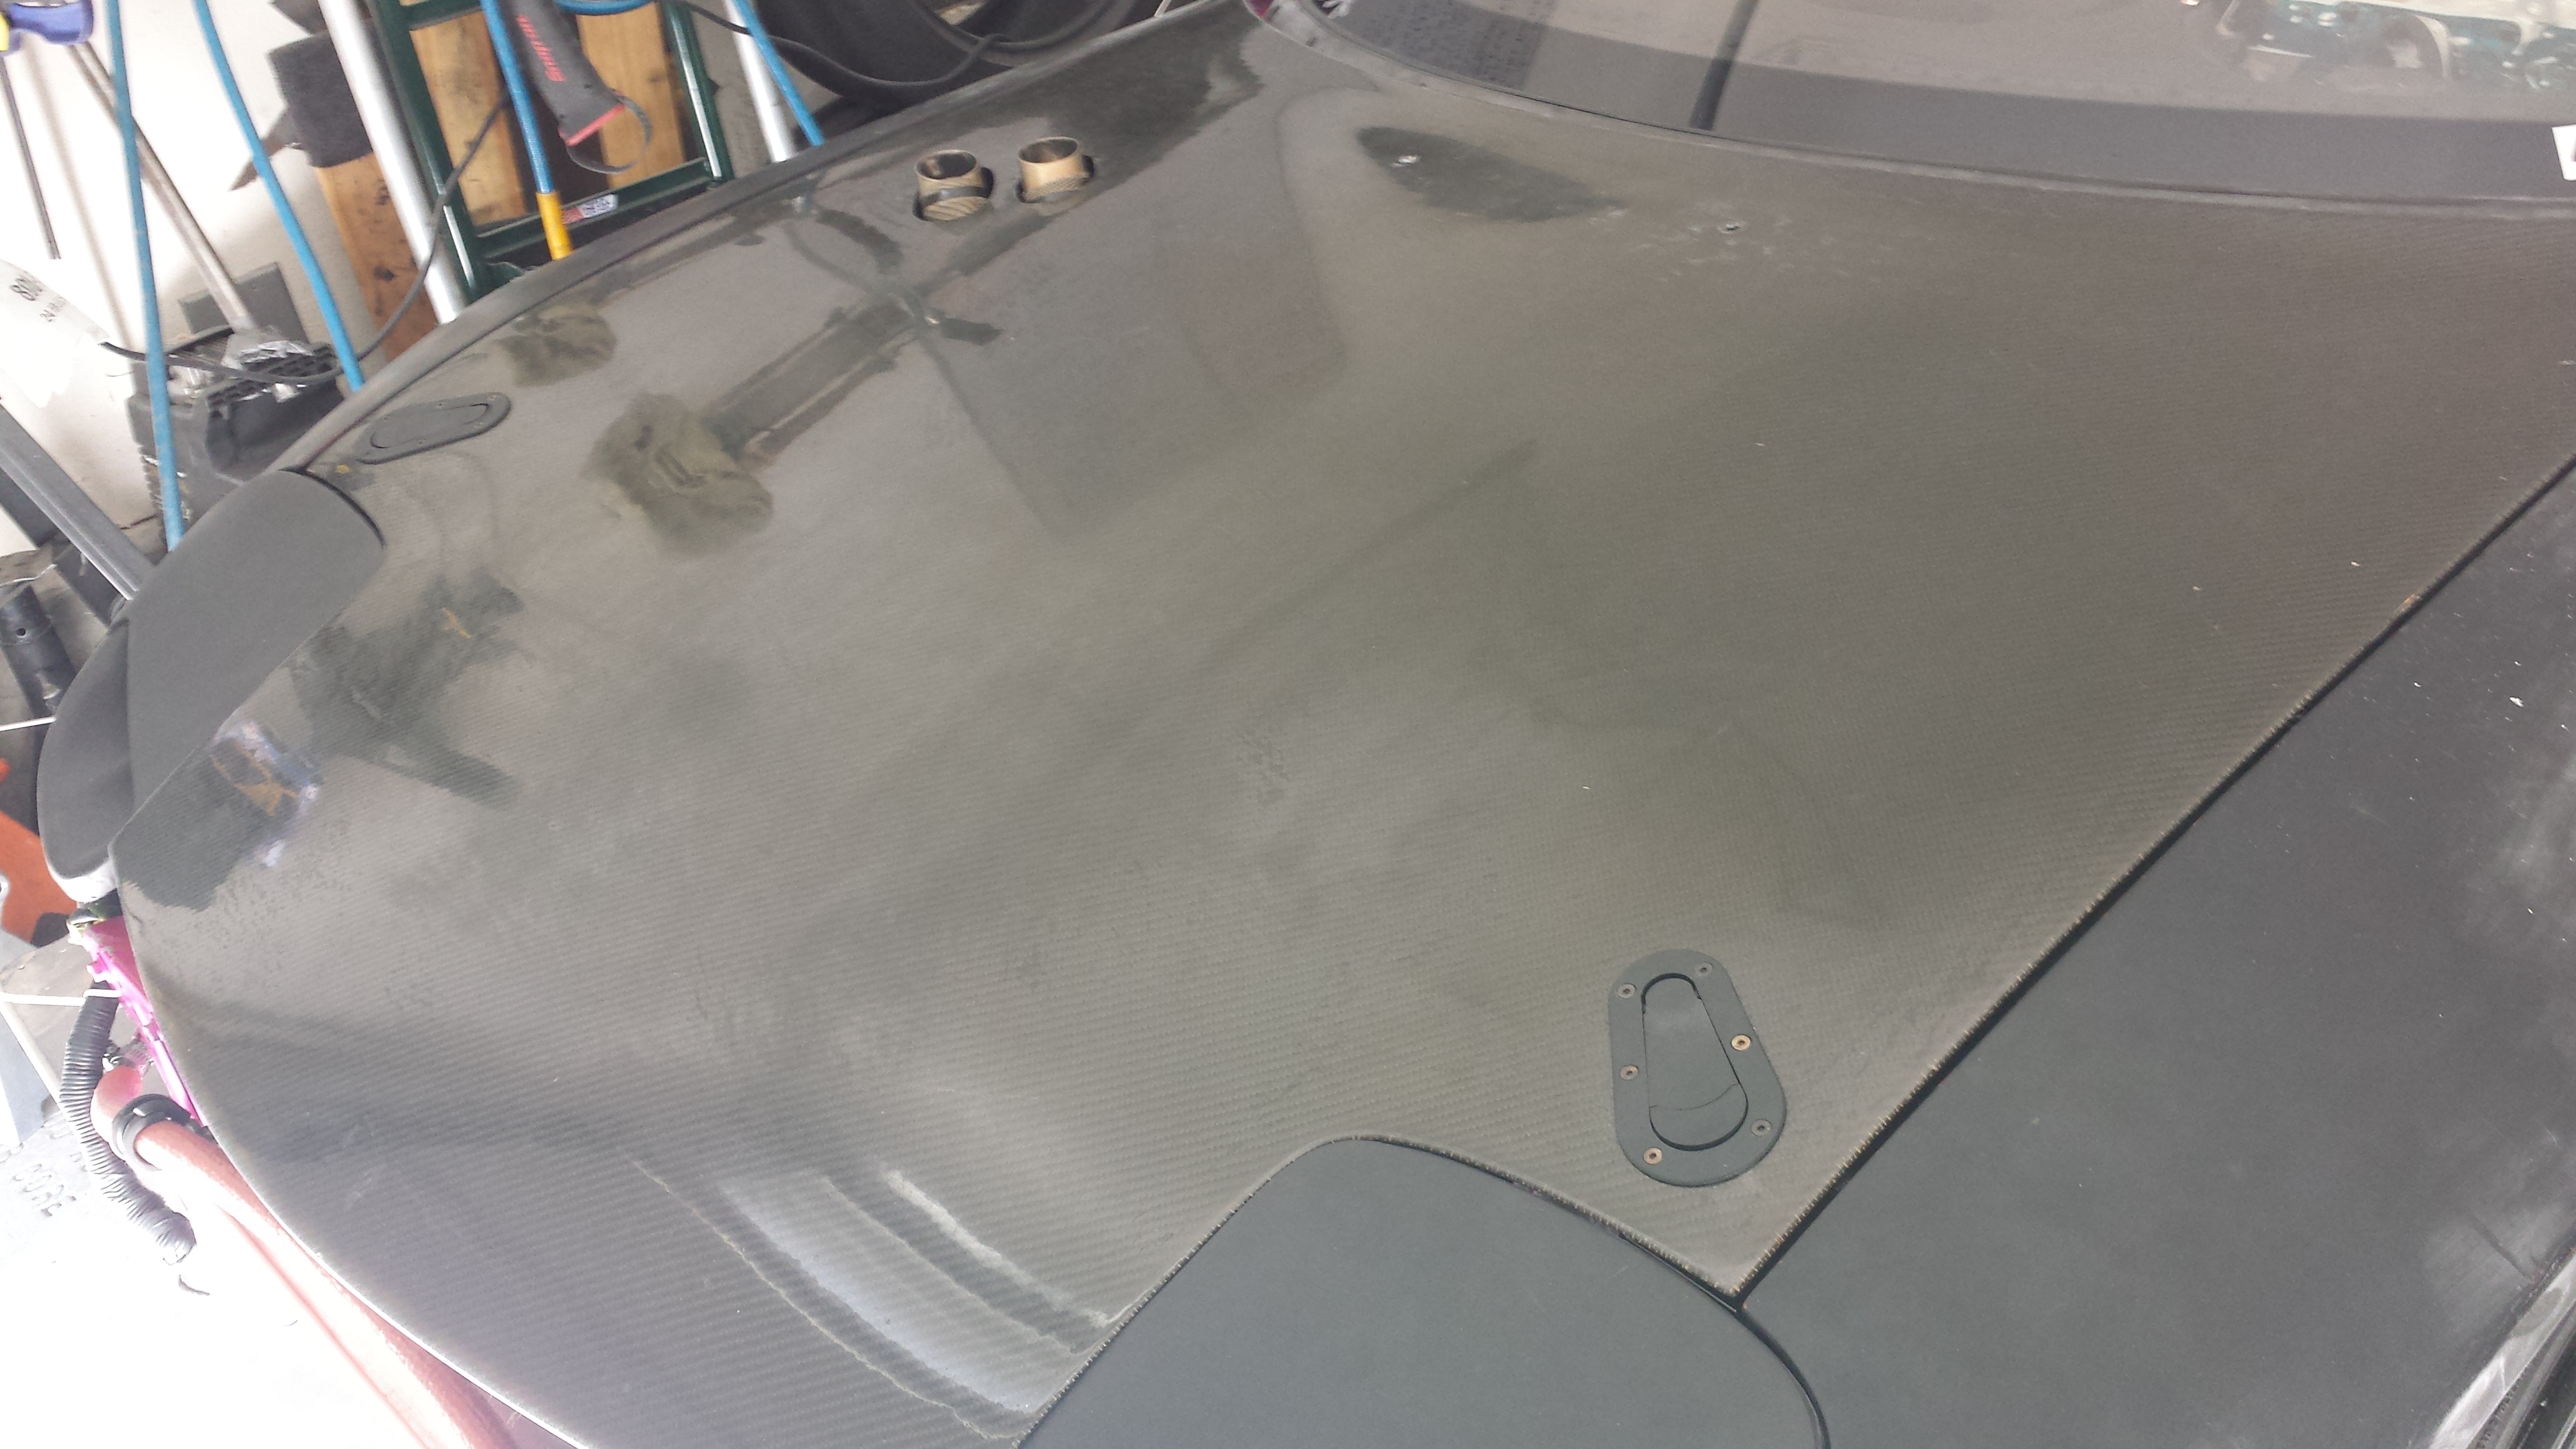
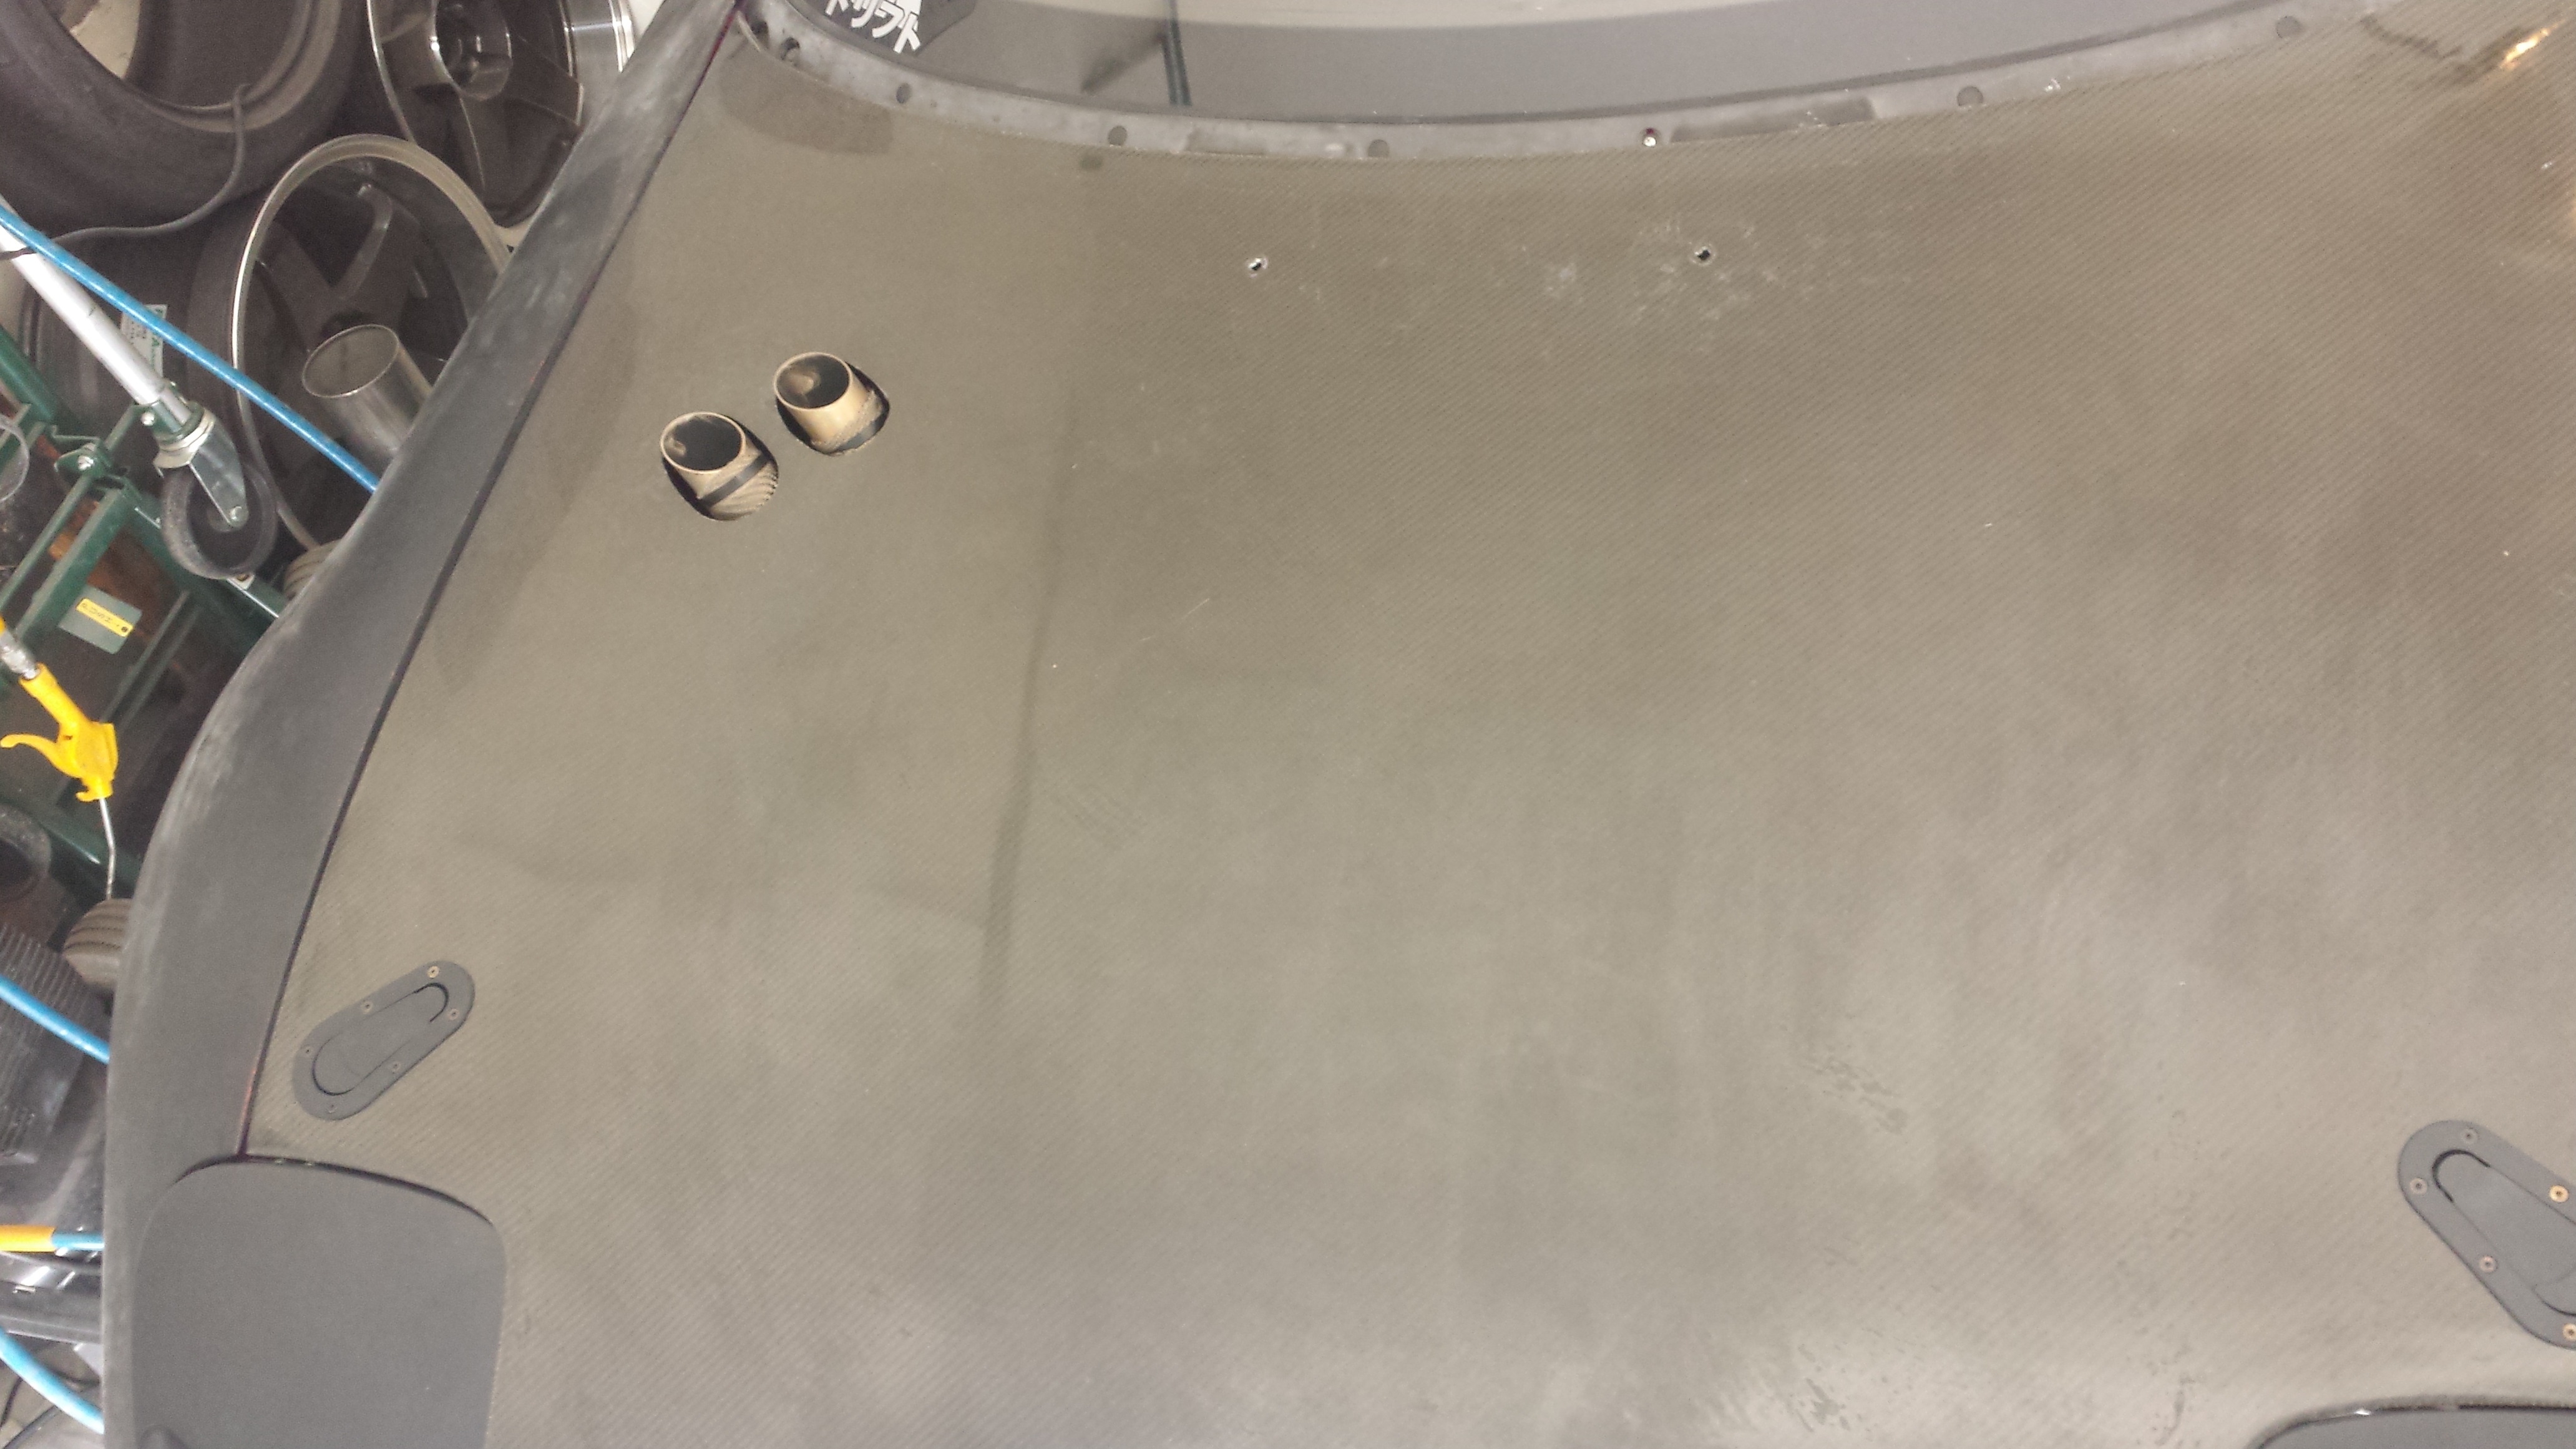
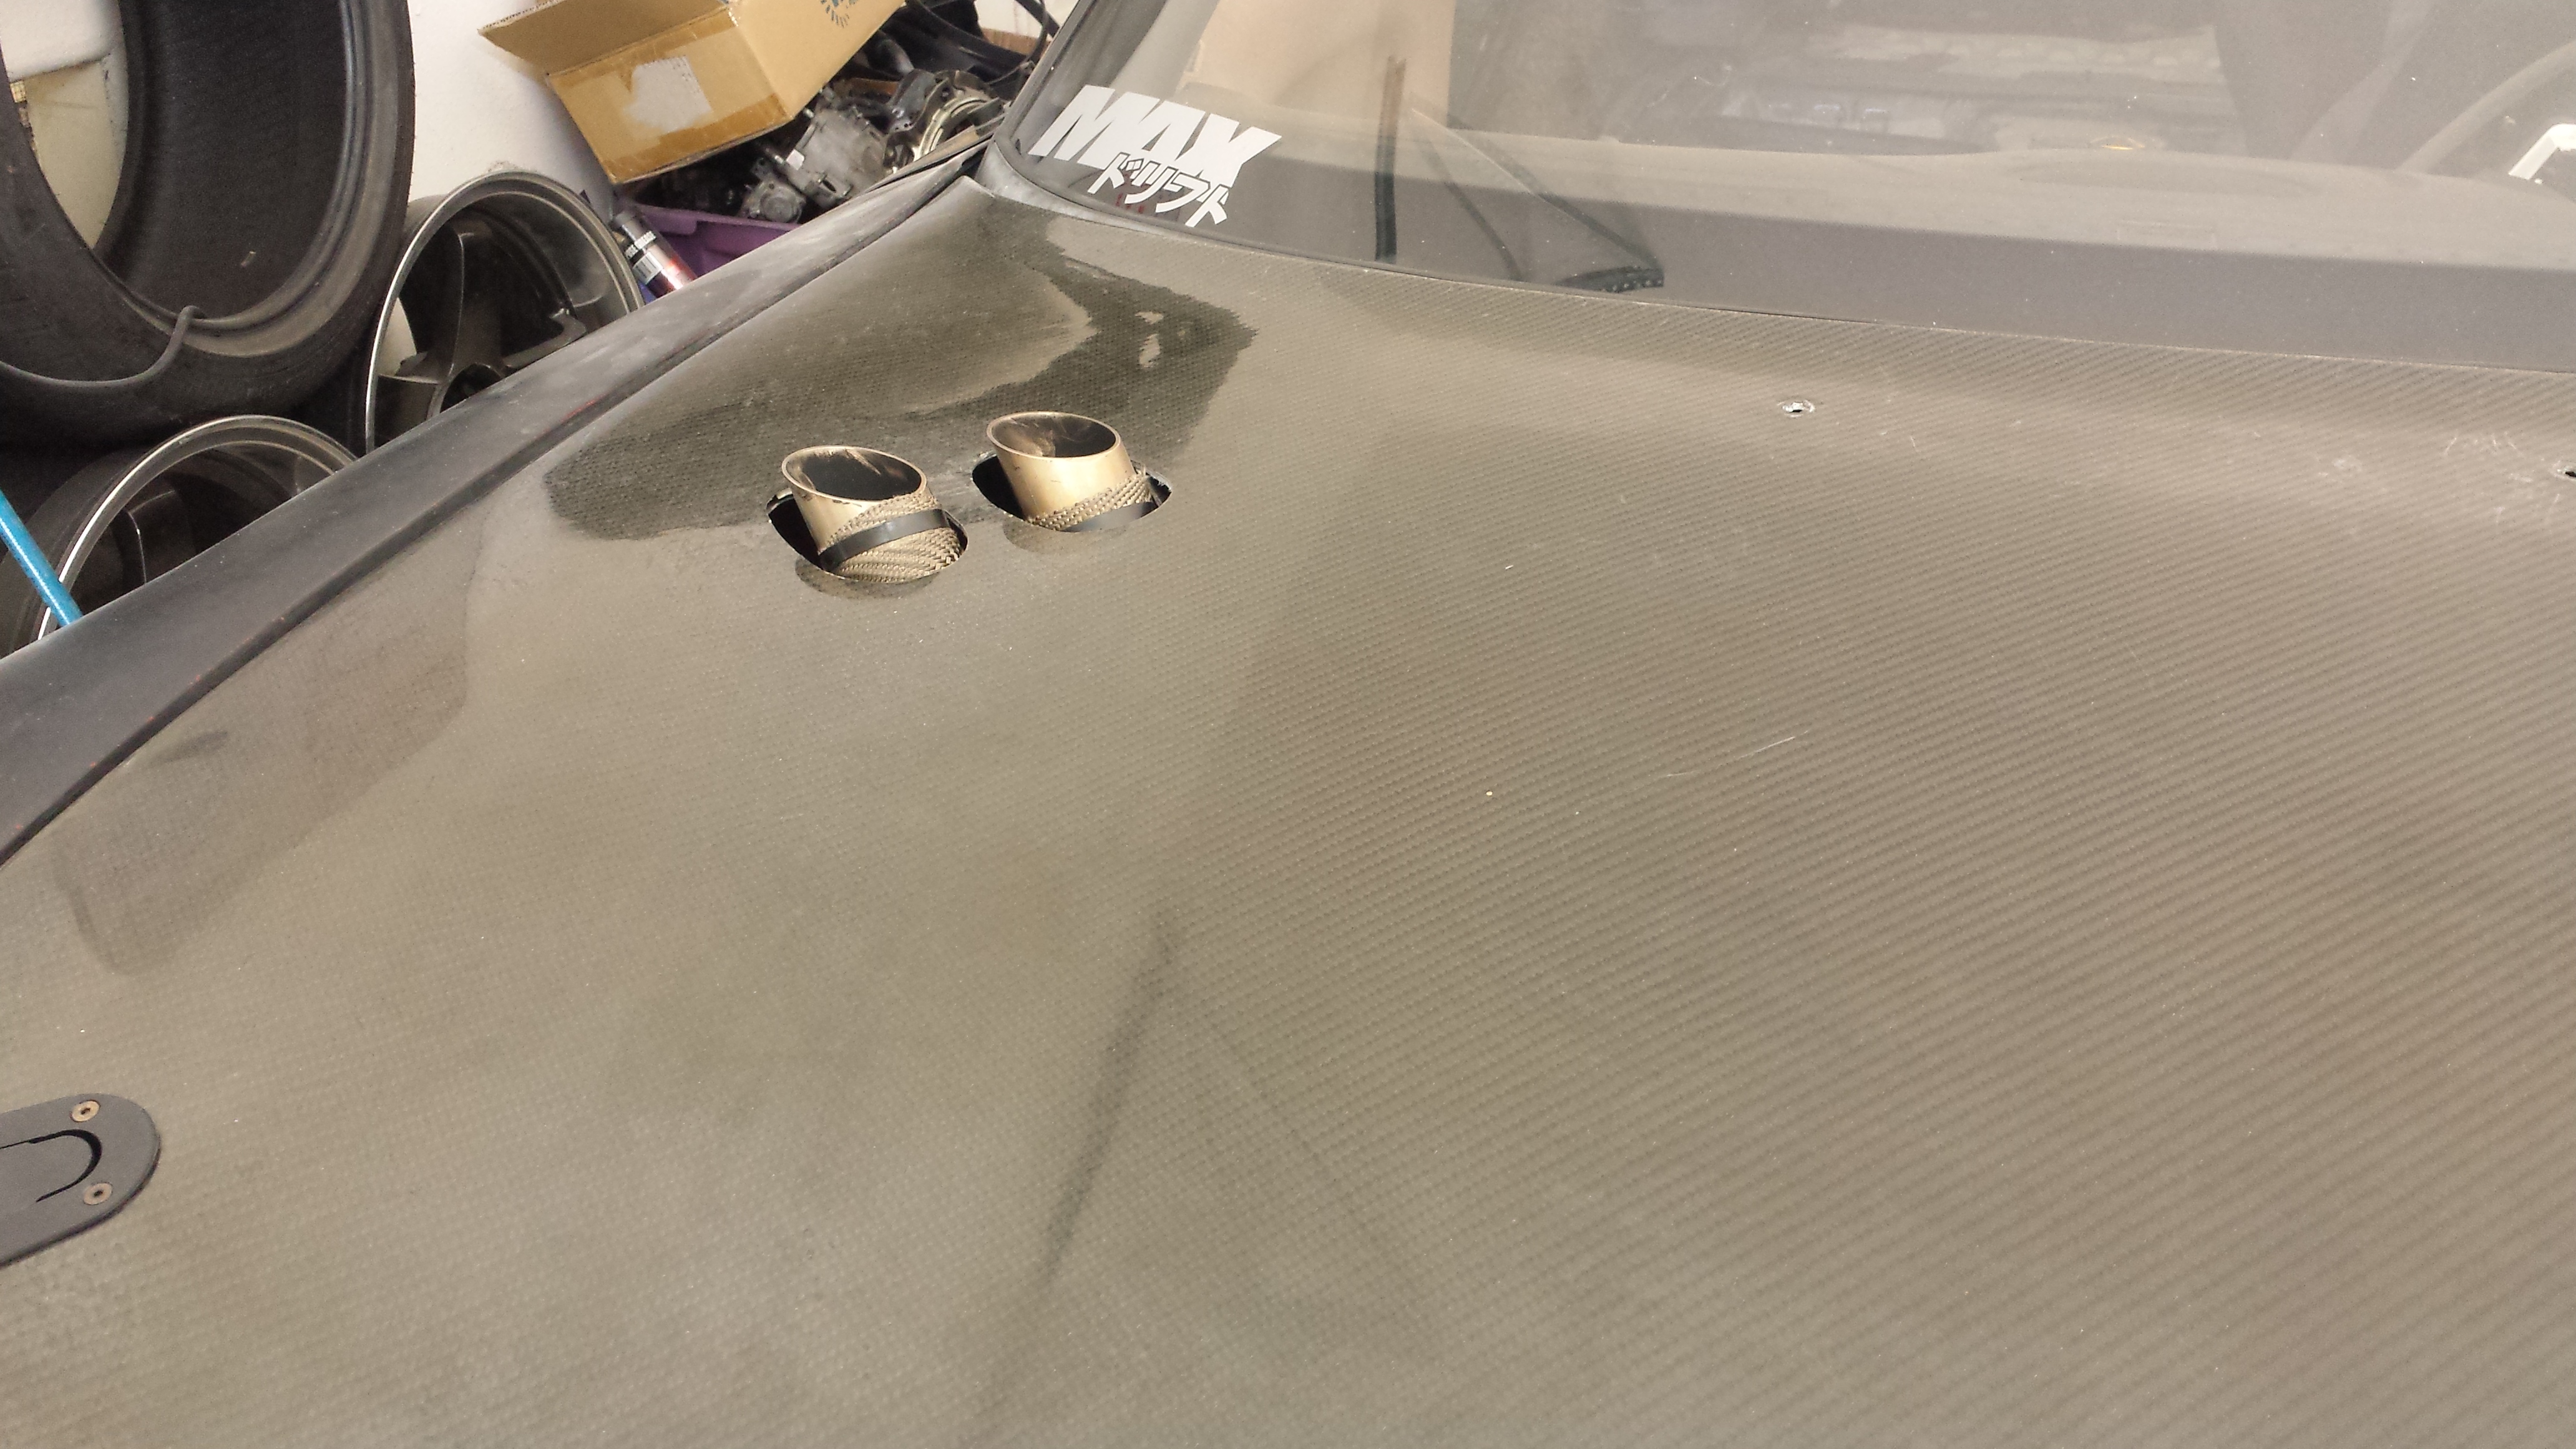
Was able to get the hood back on....I needed Hood-pins installed so I picked up some Aero-Catch Hood pins. Measured everything out and started cutting. I don't know.... but the install took me a good 4 hours to complete. It was a process because the CF hood needed some major dremmeling to get the backing plates of the pins in the correct position. But the end result came out nice...check it out:
I still need to adjust my Headlight buckets just a tad as one of them is almost under the hood on the inside edge.
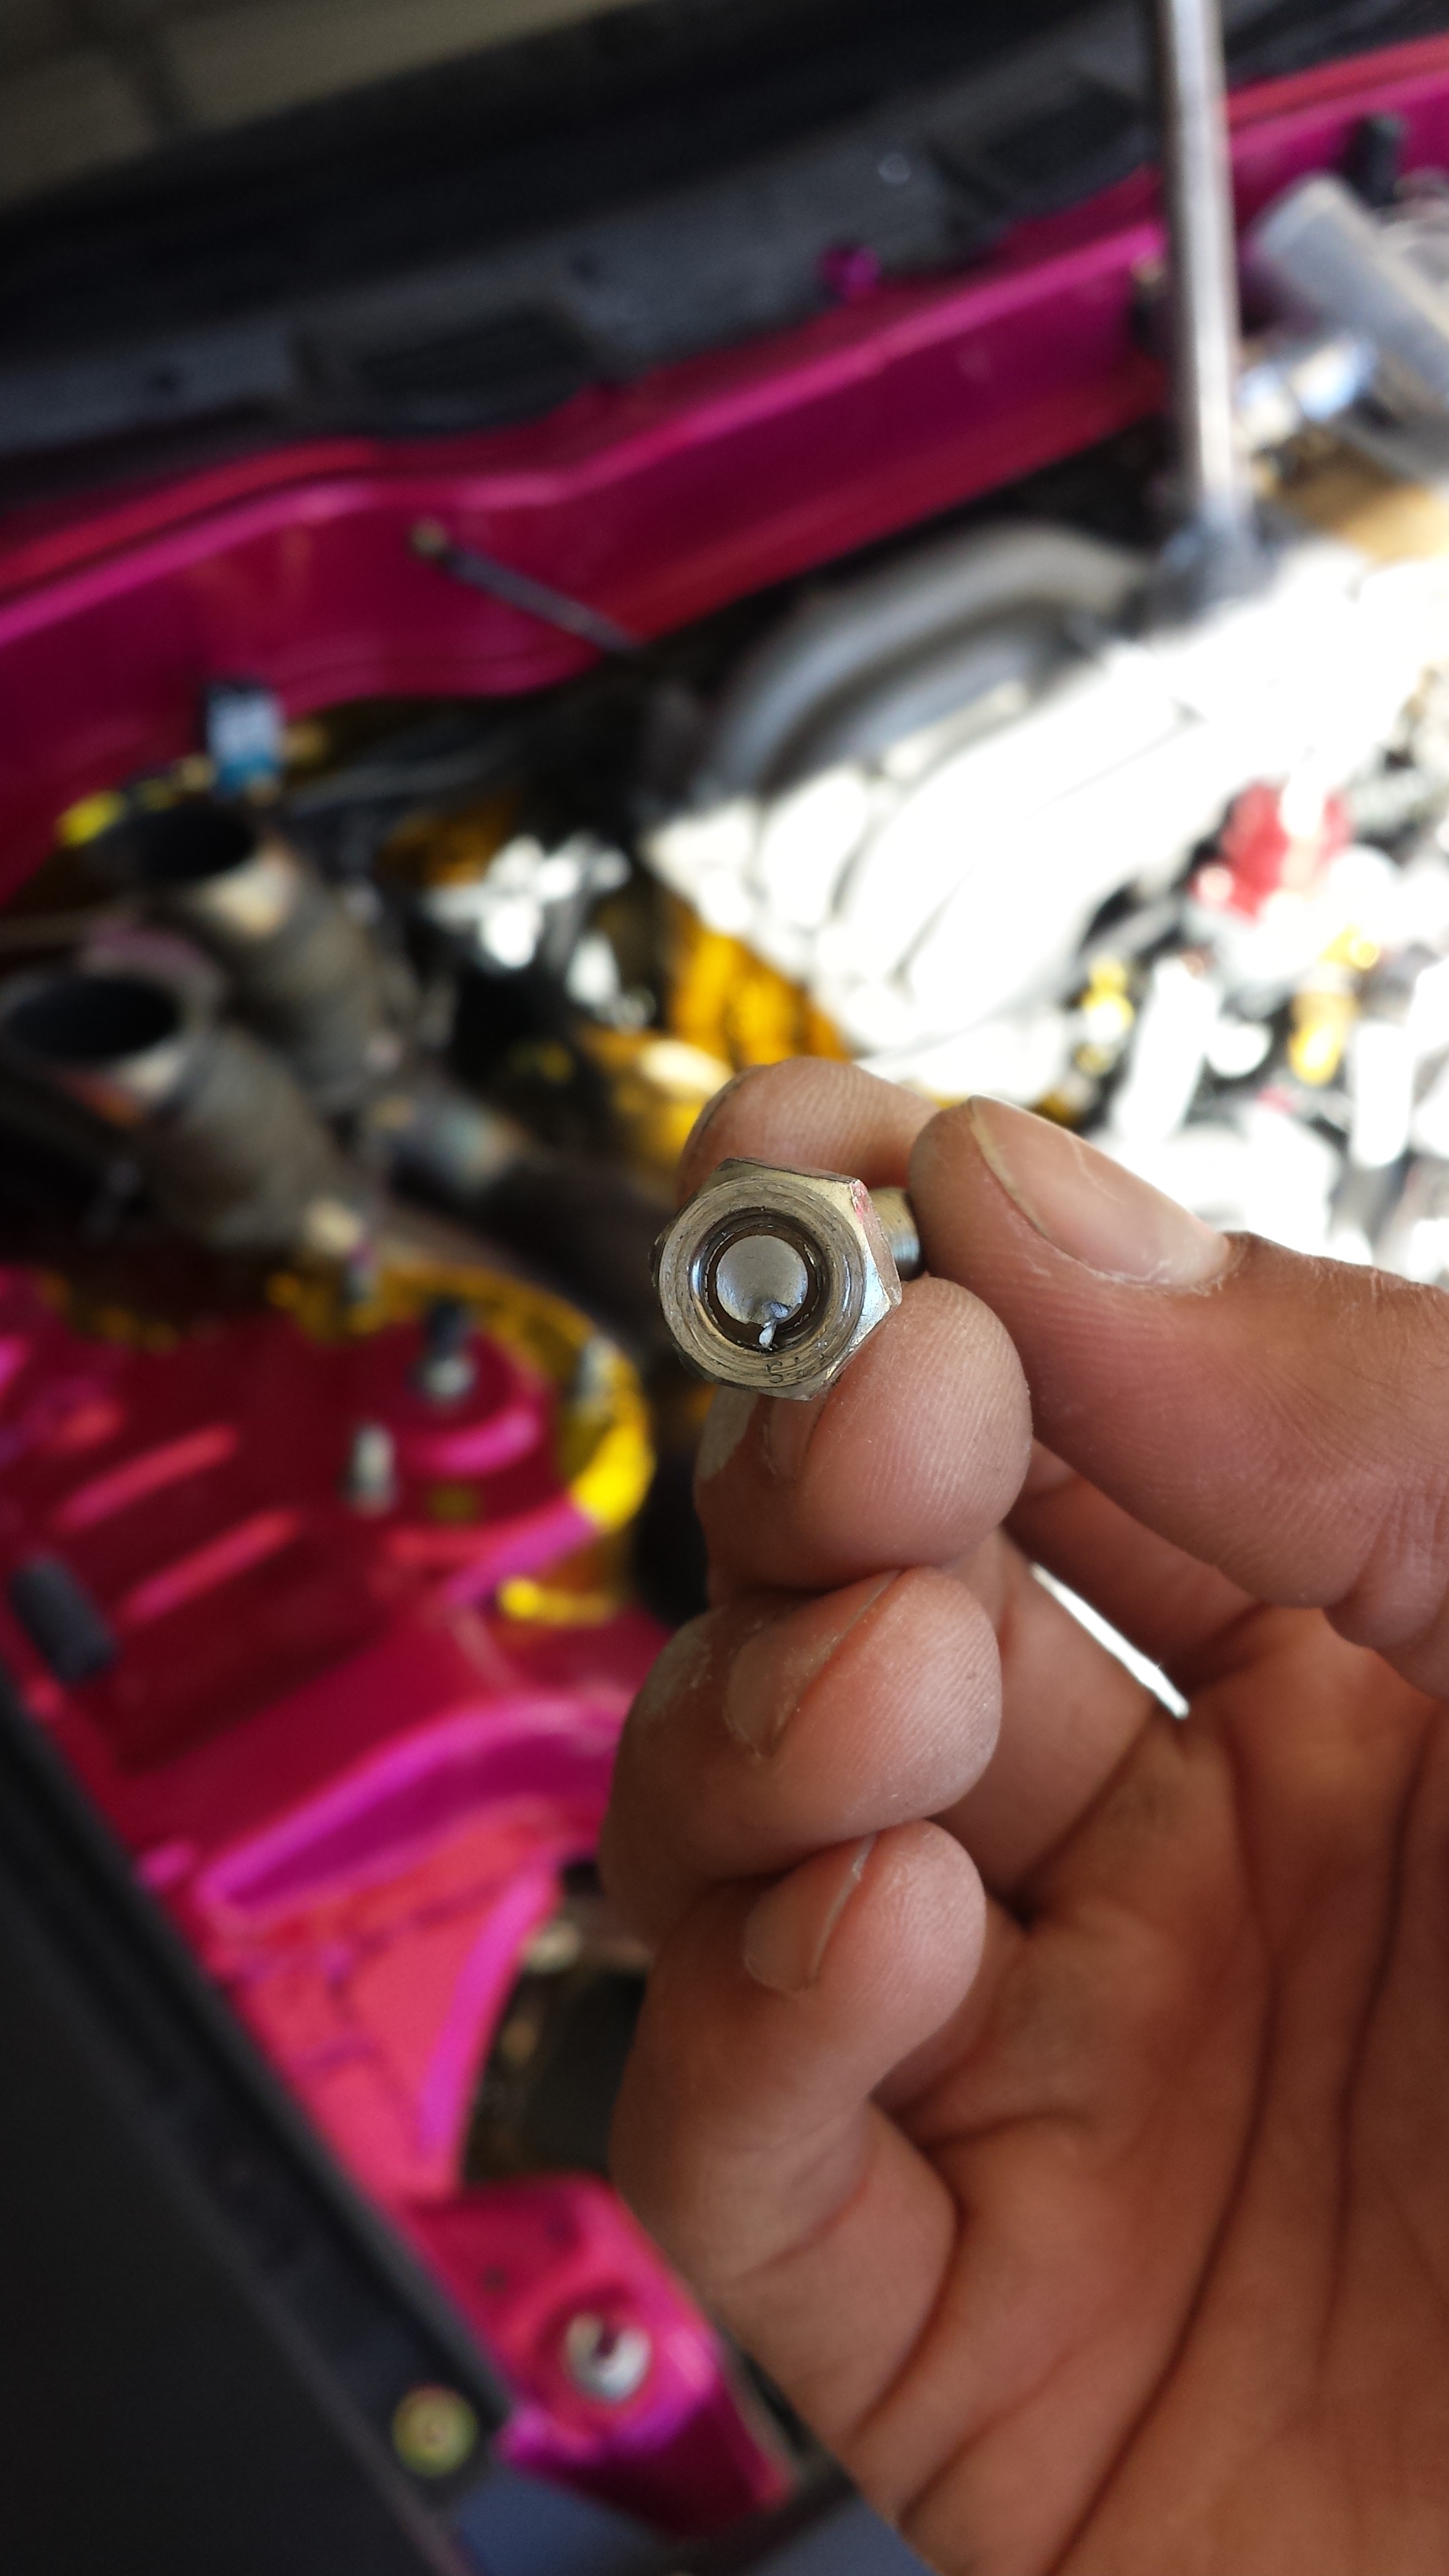
and then this happened when I was aligning the Gates to the hood holes. I seriously loosened it just fine...then as soon as there was the SLIGHTEST bit of tension the bolt snapped...
SOAB
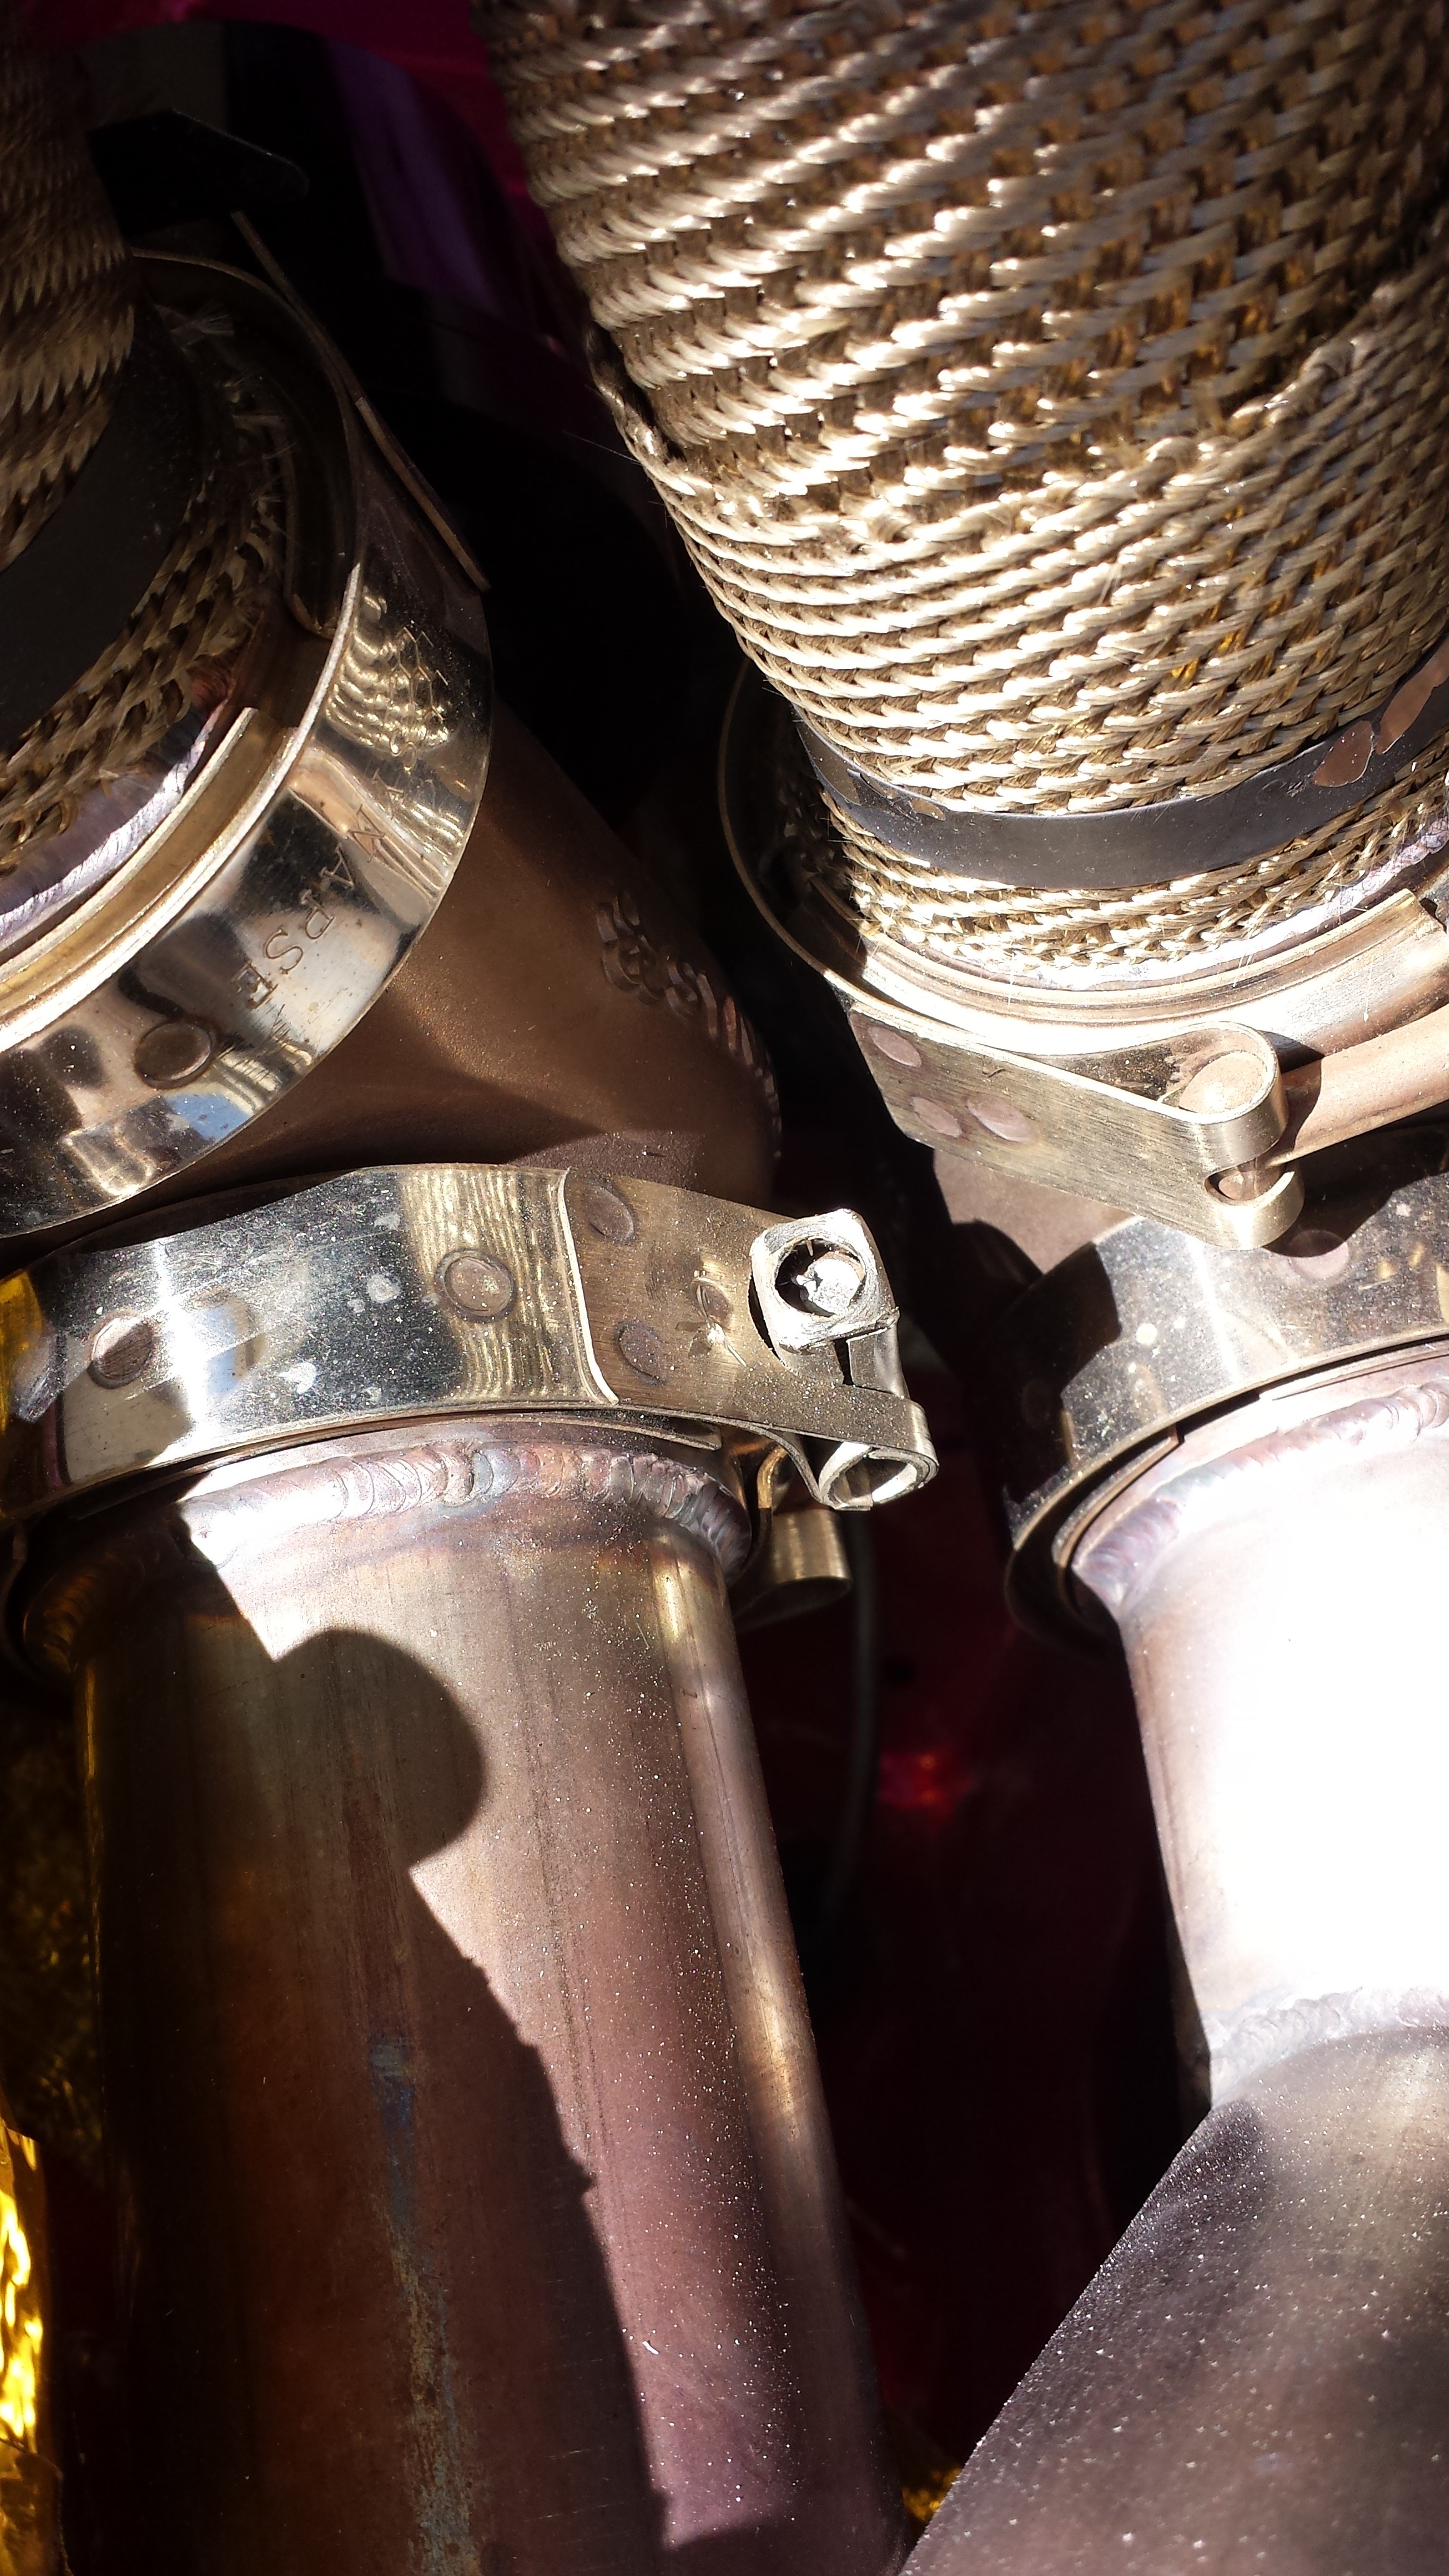
I called Synapse and the guy was nice...said he'd send me a new clamp for free if I pay shipping. But I think i'm over T-bolt clamps.. I'd rather have the turbosmart style clamps with the Allen head bolts. I'll do more research and see if they'd even fit.
More Updates soon!
Was able to get the hood back on....I needed Hood-pins installed so I picked up some Aero-Catch Hood pins. Measured everything out and started cutting. I don't know.... but the install took me a good 4 hours to complete. It was a process because the CF hood needed some major dremmeling to get the backing plates of the pins in the correct position. But the end result came out nice...check it out:
I still need to adjust my Headlight buckets just a tad as one of them is almost under the hood on the inside edge.
and then this happened when I was aligning the Gates to the hood holes. I seriously loosened it just fine...then as soon as there was the SLIGHTEST bit of tension the bolt snapped...
SOAB
I called Synapse and the guy was nice...said he'd send me a new clamp for free if I pay shipping. But I think i'm over T-bolt clamps.. I'd rather have the turbosmart style clamps with the Allen head bolts. I'll do more research and see if they'd even fit.
More Updates soon!

