When you click on links to various merchants on this site and make a purchase, this can result in this site earning a commission. Affiliate programs and affiliations include, but are not limited to, the eBay Partner Network.
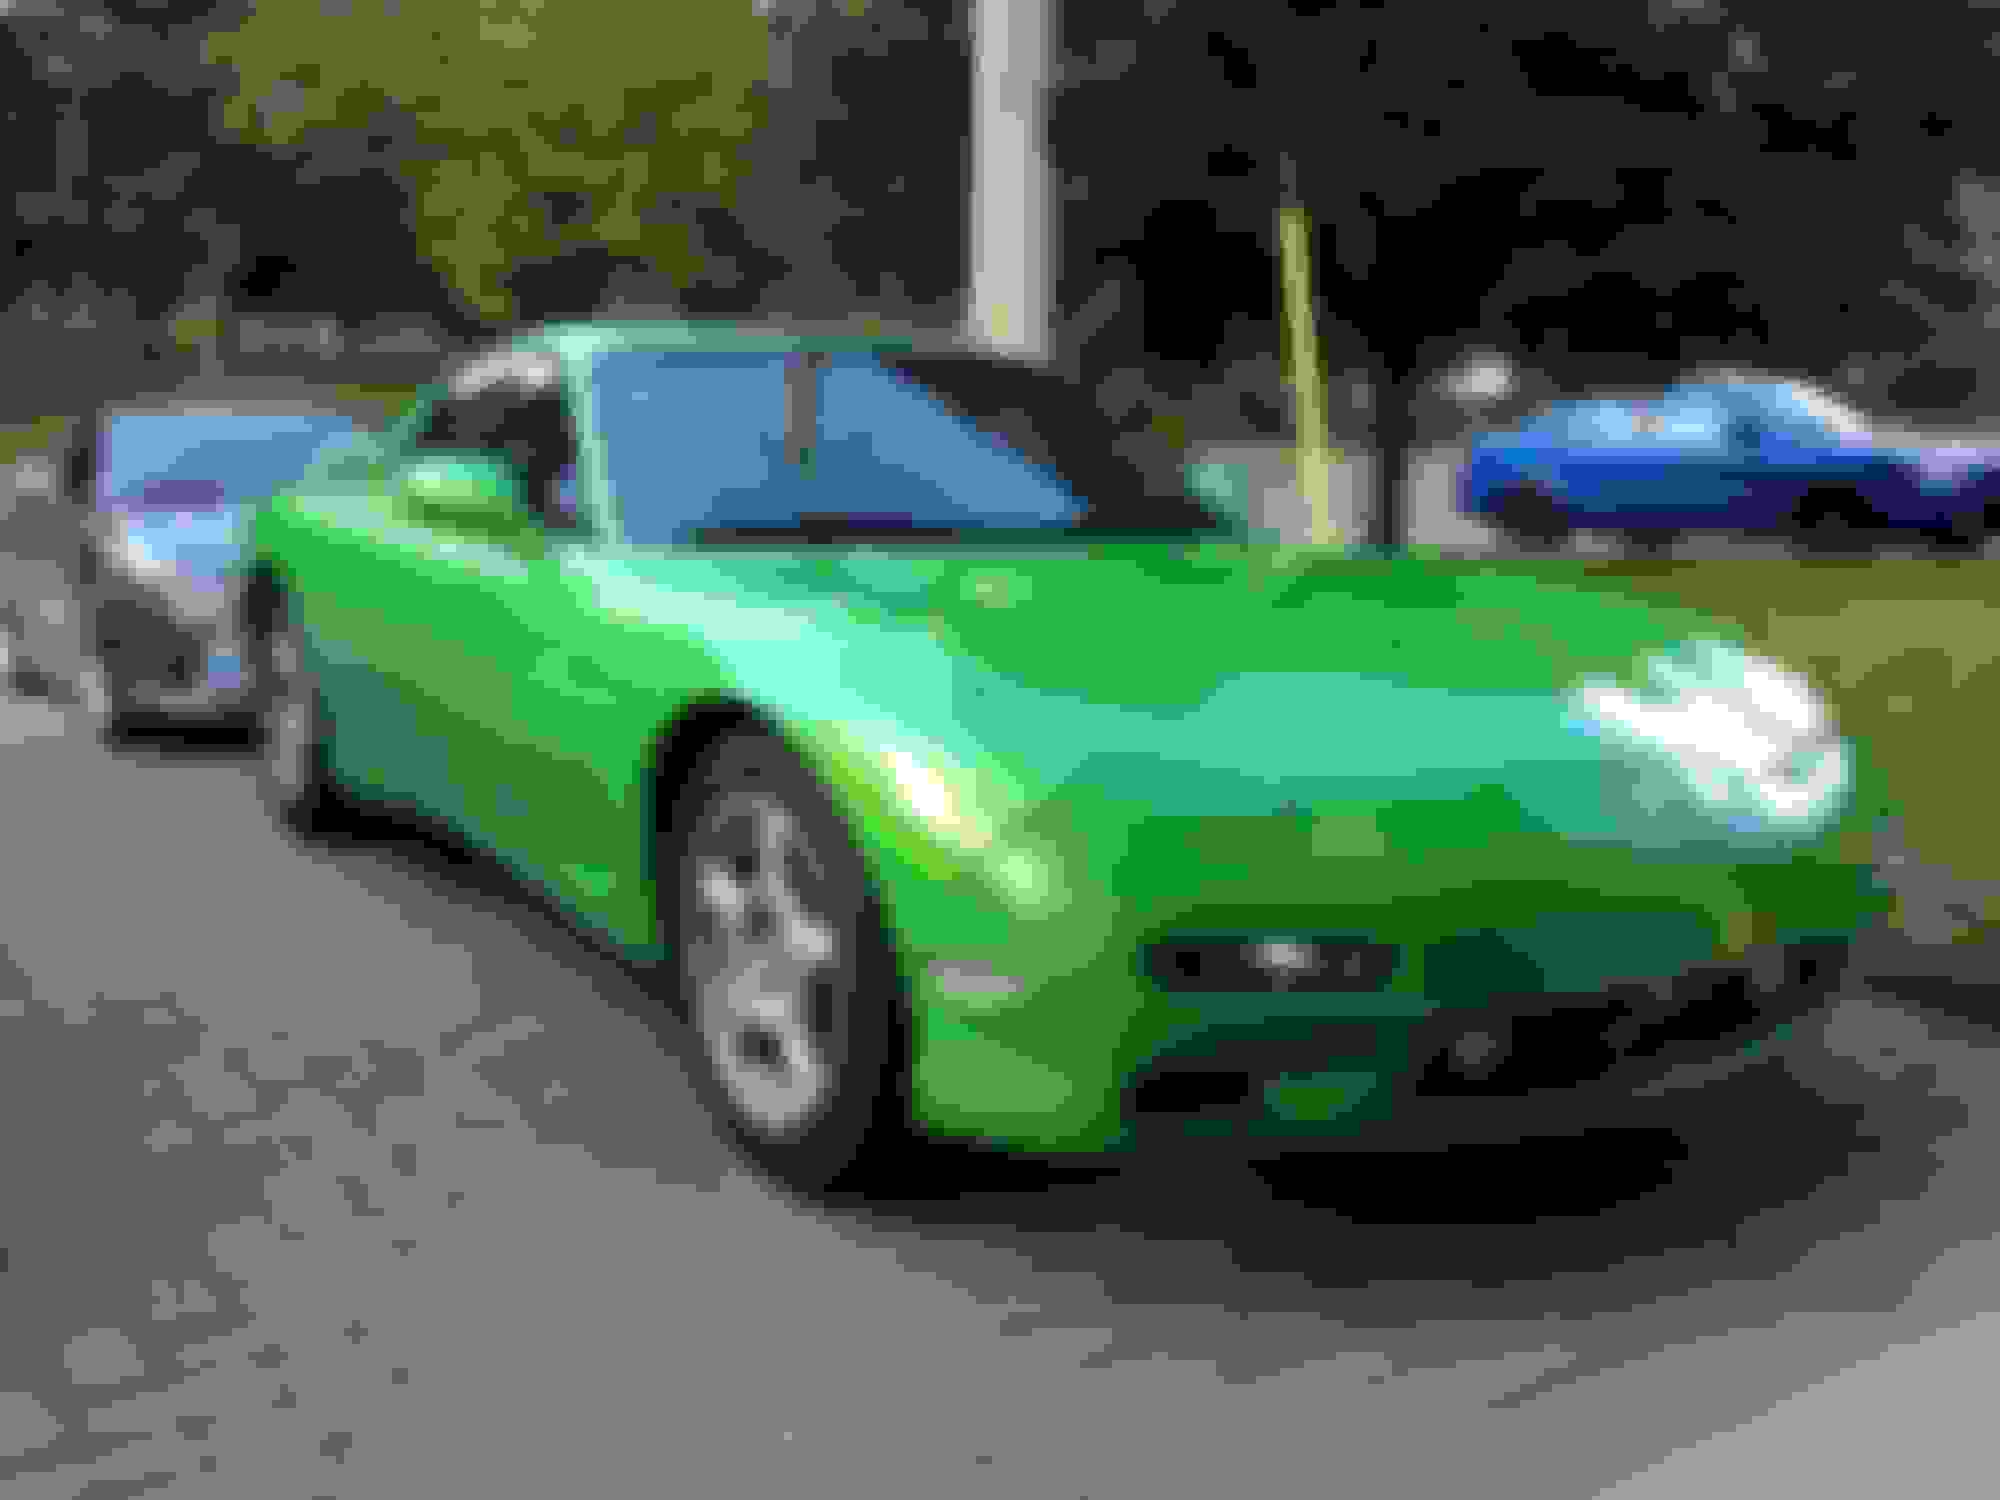
Picked car up at the end of last summer. Had two fd's at the time. Decided to keep one and do an LS swap over the winter. Car was in pretty good shape but alot of errors were made during modifications which I am fixing as I go along.
A month after I purchased the car:
For the mount kit I have:
- newer hinson subframe kit
- samberg bumpsteer kit
- Hinson radiator setup
- Hinson torque arm will try to add KG diff brace or may end up trying to get the samberg diff mount
Ran into a couple problems so far:
- The mount kit I purchase was for a Auto trans. I purchased the proper t56 mounts needed and was able to pickup a Brand New 3.9 diff!
- Fuel and brake lines weren't in the best shape so ripped that all out
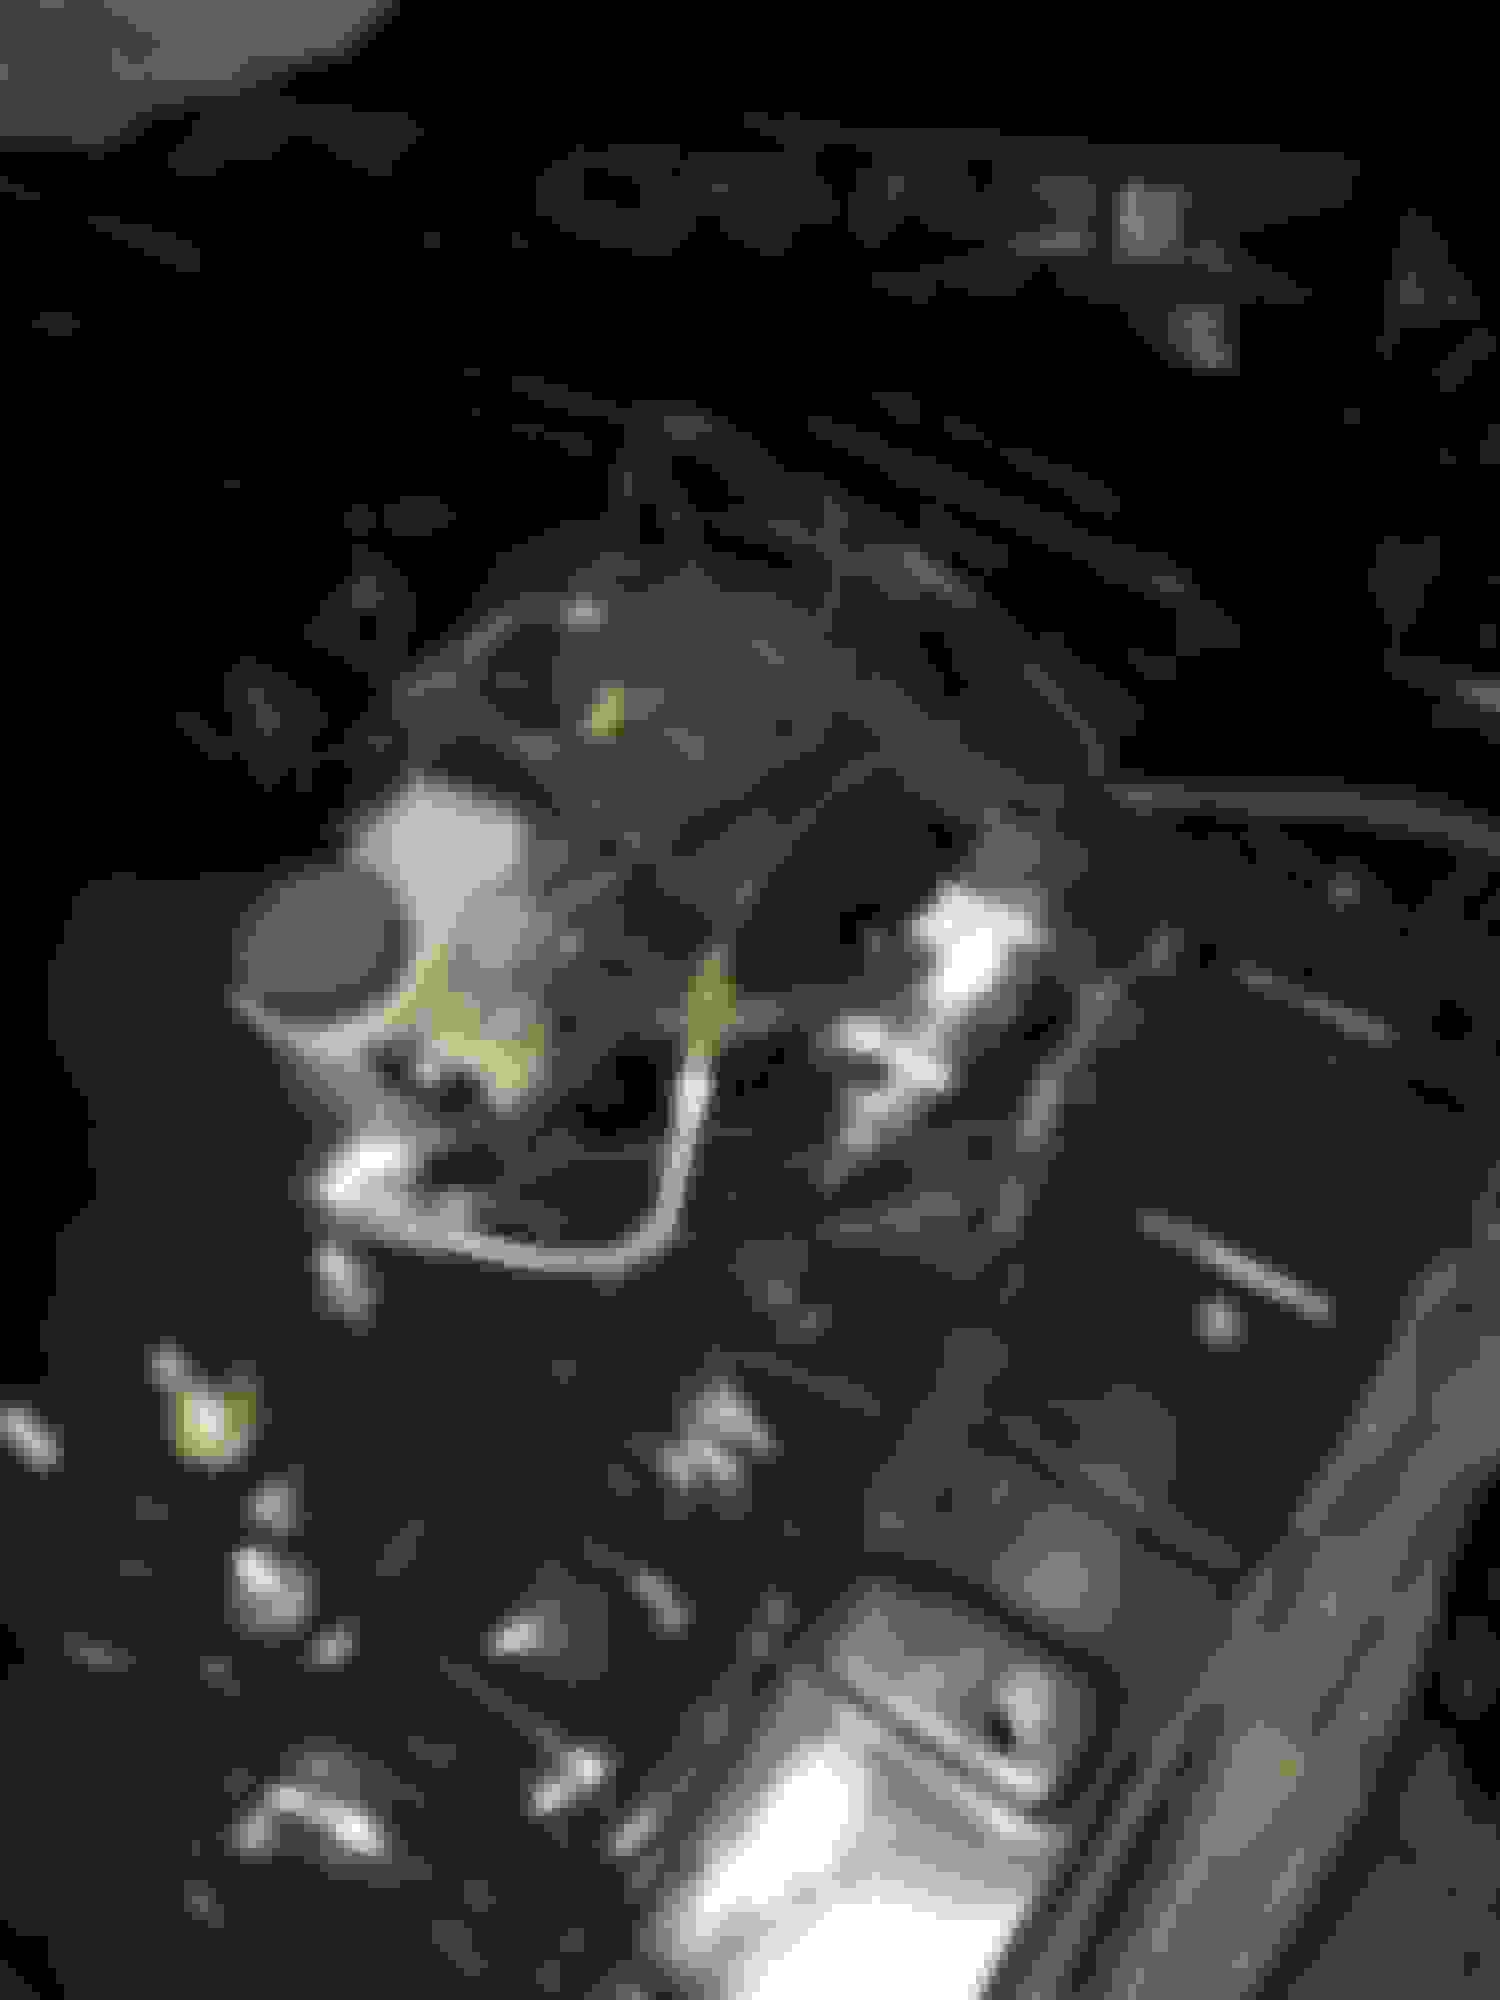
- Fuel canister had some problems
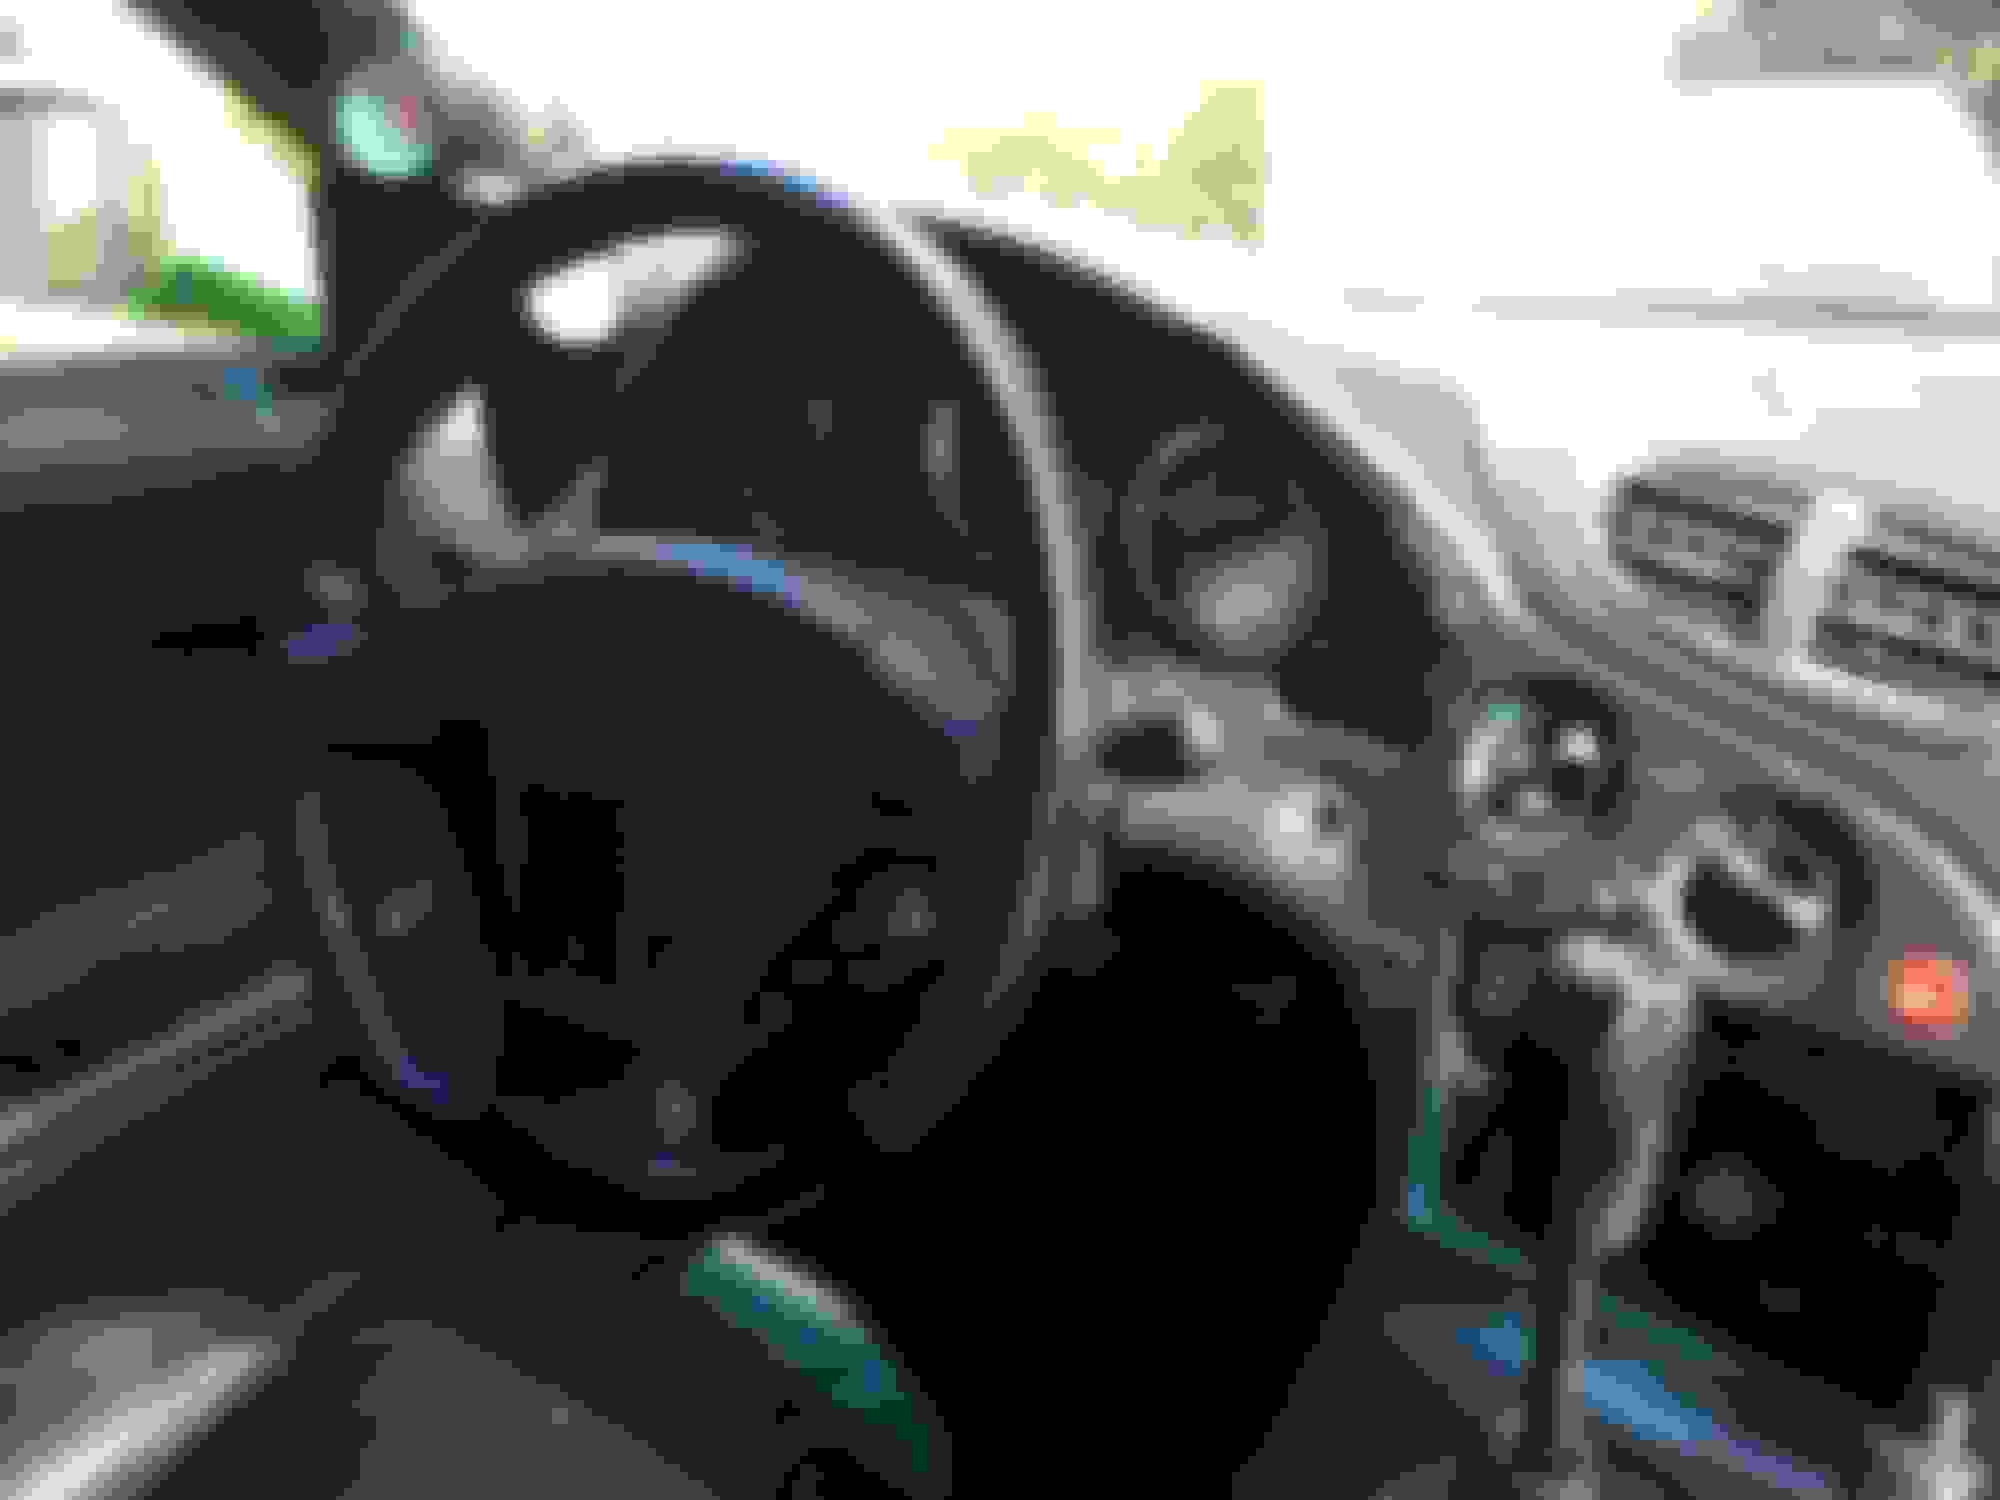
- Wiring for front lights
- T56 clutch line/bleeder
Fuel canister with some butt connectors and non submersible fuel line
Picked up a low mileage LS1/T56 full hot rod swap. It is from an 02 Firebird. Took it apart to inspect it and its in great shape. Going to do some basic maintenance:
- New rear main seal
- New GM slave
- New rear main seal gasket
- Oil pan gasket
- New pilot bearing
For the Clutch setup:
- New Textralia Z grip
- New wilwood clutch master
- Chase bays clutch line and remote bleeder
- New oem slave cylinder and pilot bearing
For the Fuel set up I decided with:
- 6an fittings
- 6an nylon braided line
- New Corvette 58psi FPR/Filter I believe it is Wix part #33737
For the rear end setup I was able to pick up a brand new 3.9 diff. I was also able to pick up a low mileage 3.9 spare as well! I have installed new super pro differential bushings.
Last edited by codywelshrx7; Feb 2, 2016 at 10:03 AM.
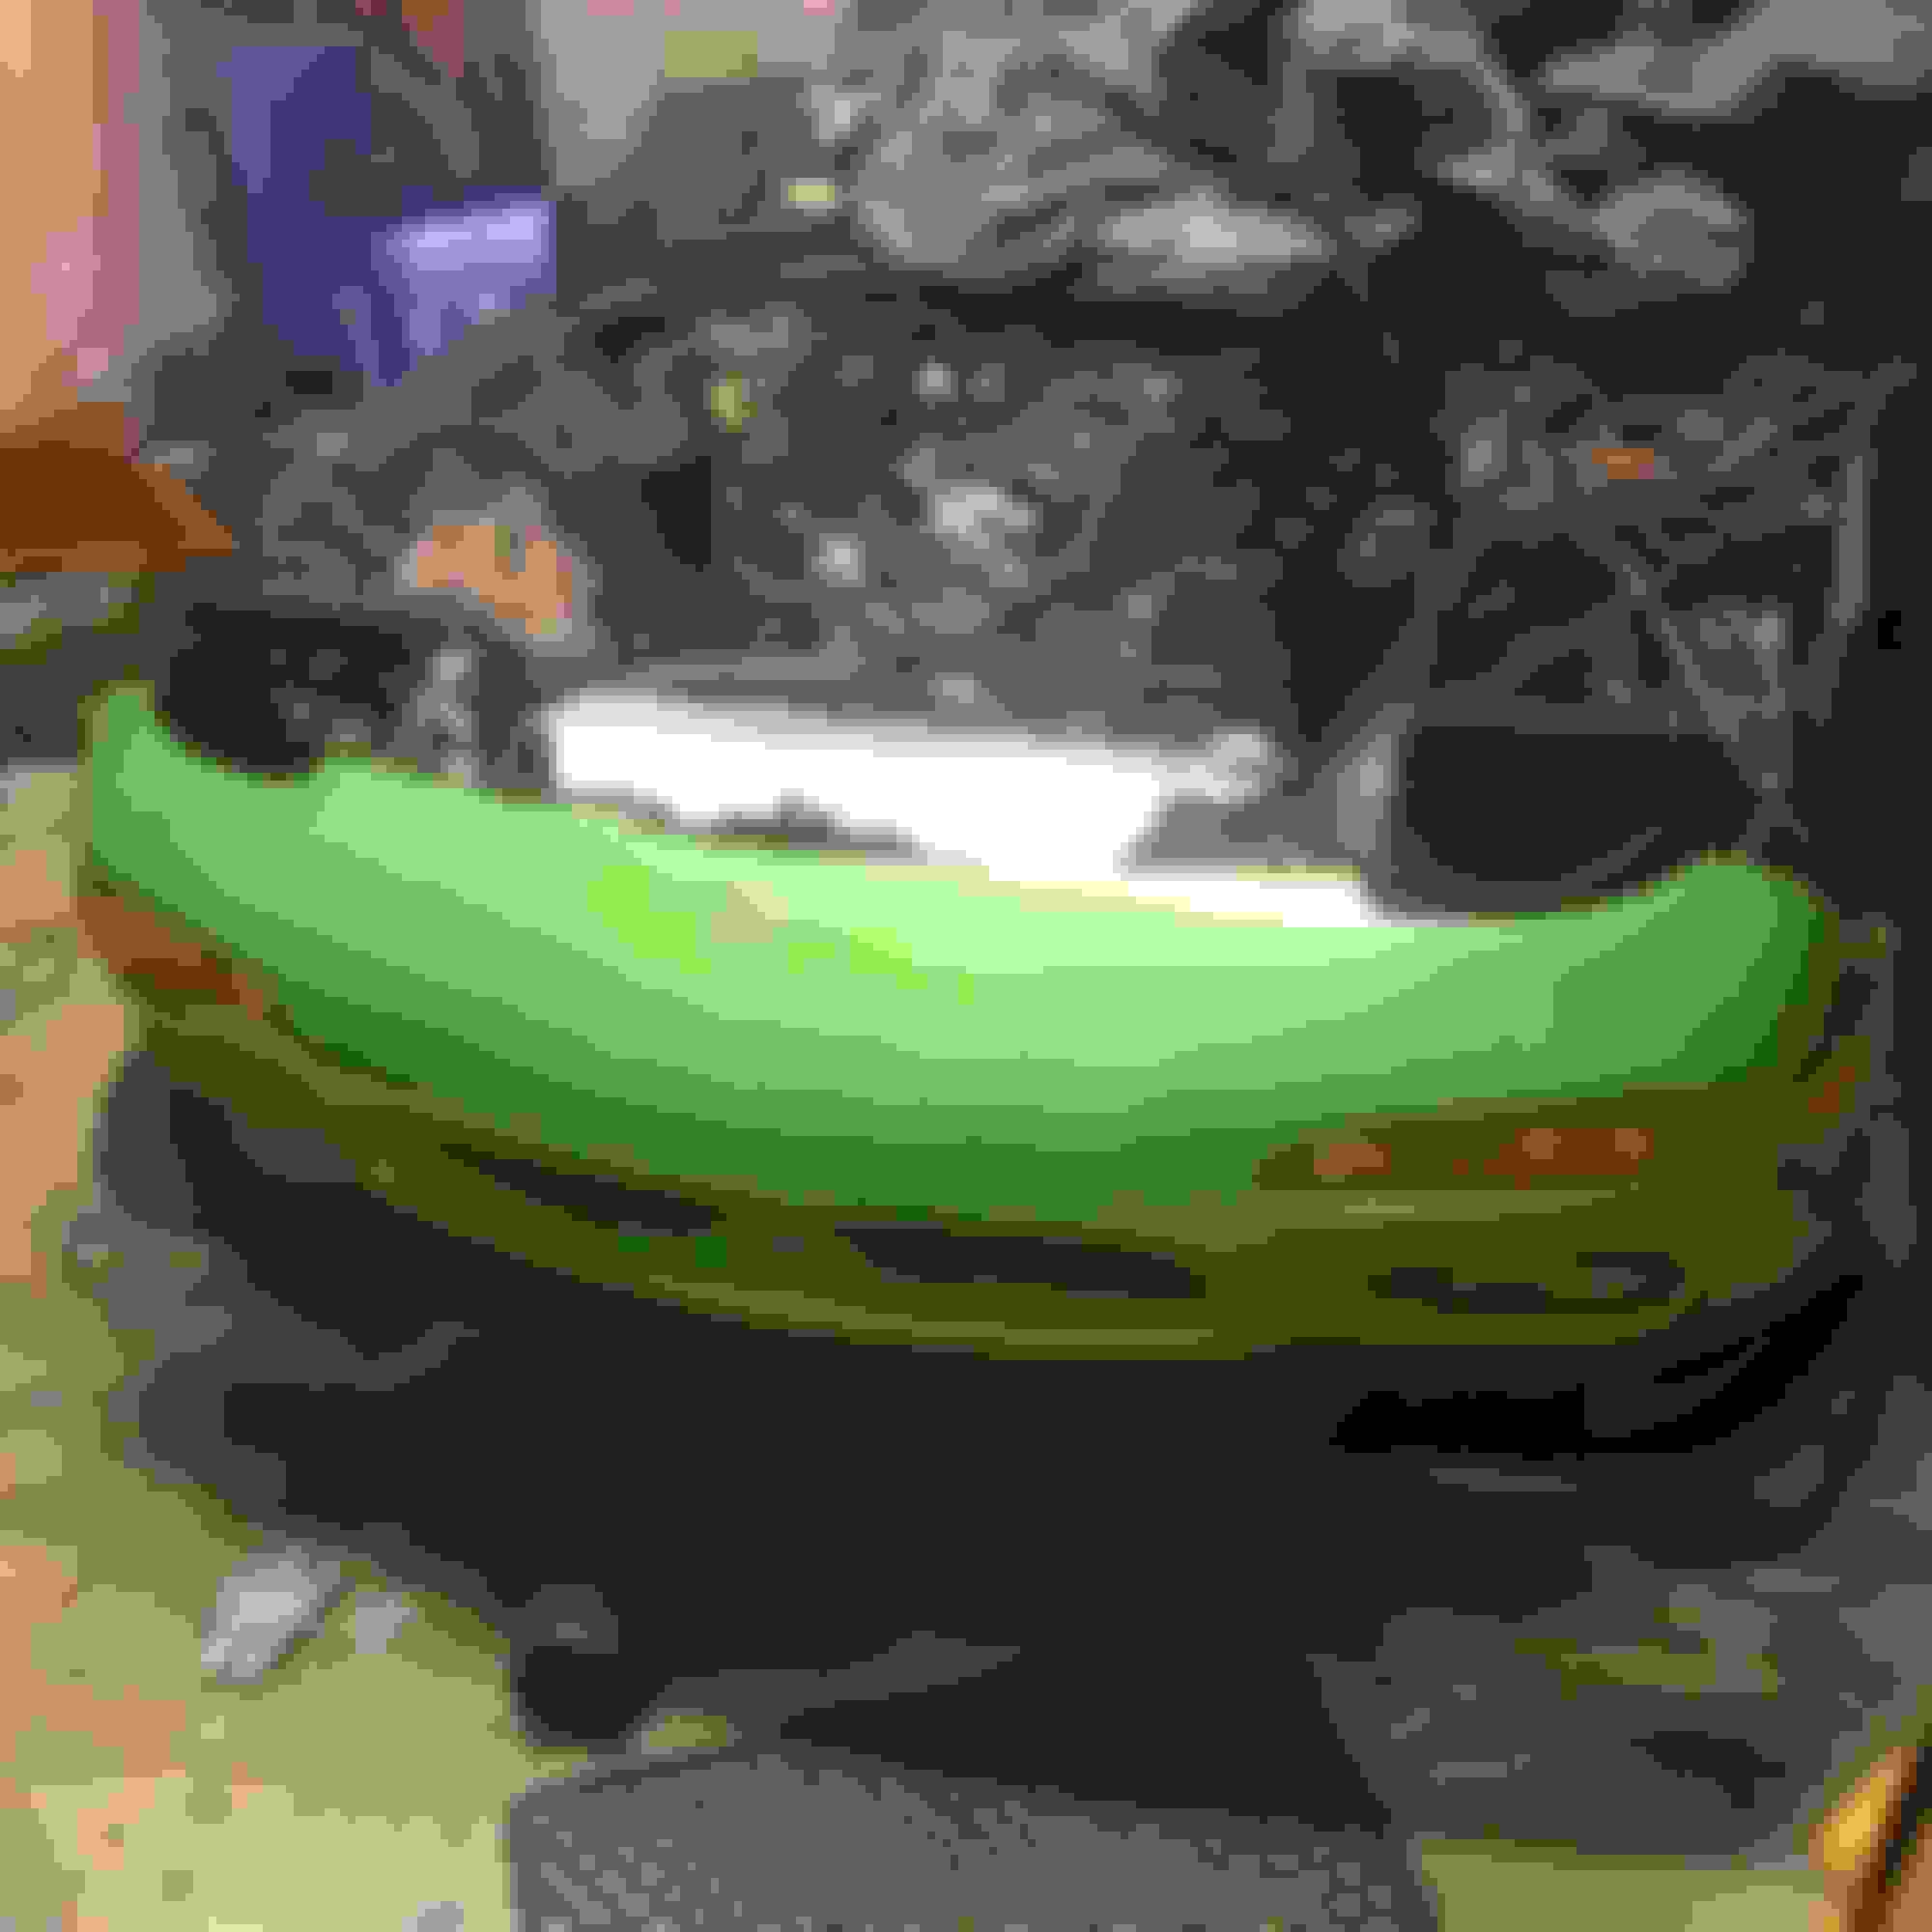
I believe a rare front bumper I picked up as I havent seen one of these before. Looks like a 99 spec front bumper with a moulded autoexe lip except It is all fibreglass
Identification tag on the back if anyone can identify what company this bumper came from.
99 spec Front lip
Tri-Ax Shifter for the t56
Super pro bushing kit
Debating running these wheels and powder coating them black.
Finally the chase bays clutch line and bleeder showed up and I was able to put everything back together and get the engine in.
Vertical limits to get it in lol
Starting to piece everything back together
Starting to mock up oil cooler. Probably will change this as I don't like the distance of the lines. May go in front of the rad. Hinson intake is taking up the space on the driver side.
I should be completely done by end of April. Just more of the little stuff to do now. Plus a few things I need to order or send out. (Some more fittings, send out Ecu)
Some more progress made on the car. Waiting for a few things to come in:
- Samberg rear diff brace
- Coupler for intake
- Earls power steering fittings and line
- MGW shifter
- Frost tuned ecu
Miata red stitched wheel wired for fd connectors and holes drilled.
PCM controlled fan relays being wired in
Exhaust system heat wrapped ready to be put on.
Almost Done!
Oil cooler, rad, power steering cooler mounted now just to make an undertray.
Engine bay completed. Hood dampers installed. Now time to make an undertray and radiator ducting.
Diffuser mounted and exhaust sitting in place... Need to fab up the vband flanges to connect it all together. Test fitting a spoiler I had seems to be ok..... still debating on spoiler or not.
On way to alignment shop today! May have to black out that oil cooler.
Final stance before it gets aligned. <br/>Wheel specs:<br/>18x9 +40 255/35/18<br/>18x9.5 +40 265/35/18
After the tcs trailing and toe arms from Banzai were installed along with the super pro/power flex bushings the pillowballs have seen the end of their days. Awaiting replacements from J-Auto hopefully they are here today.
Side note. Had my harness modified by Ronin ran into a couple snags as the fuel pump relay pins were mixed up causing me to run around chasing grounds. It is all fixed now and running good.
Had an ecu from Frost tuning modified for my application. I was only able to go to 80mph due to the speed calculation from the ecm being incorrect. This is all resolved and a new ecu is on its way. For now the vss is disconnected.
Next to do:
Intsall J-Auto pillow *****
Install new ecu
Replace collector gasket
Replace shifter bushing
Re bleed brakes
Re bleed clutch
Improve on radiator ducting
New pillowballs in from J-Auto just need to install the snap rings!
Final engine bay setup for now....
Late night spoiler install using the stock hole so it can be removed easily. Taillight modification with Yellow turn rings as well came out quite nice. This is the second pair I have done now.