GAVBEY'S FD3S (picture heavy)


 06-05-13, 03:16 AM
#78
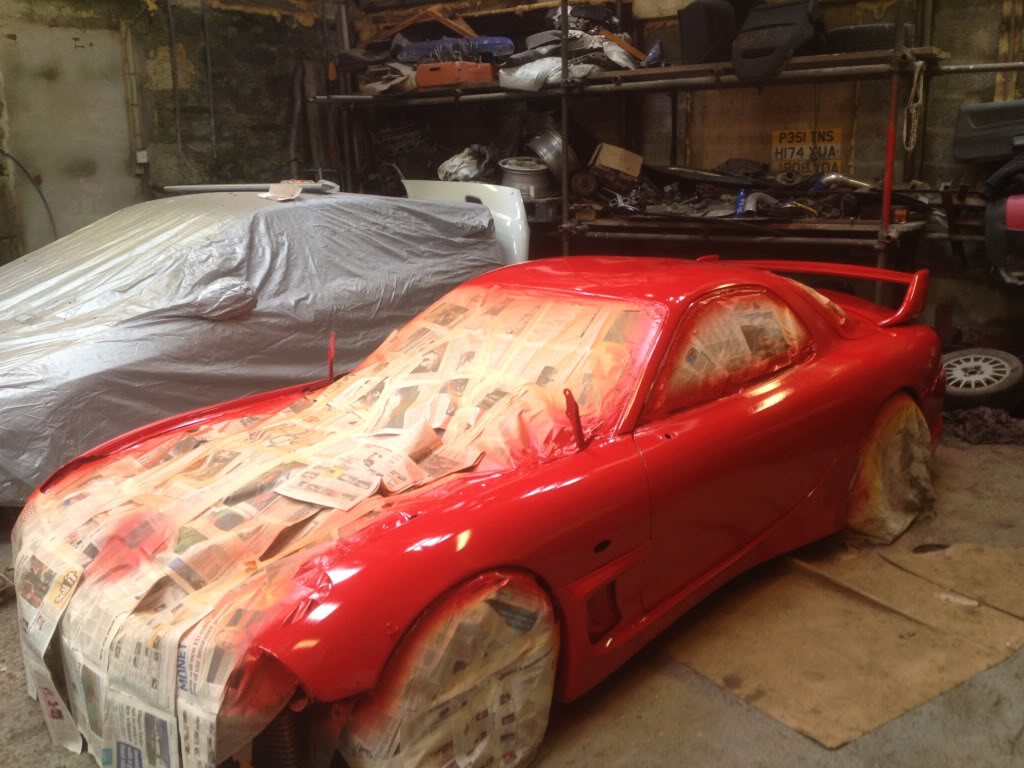
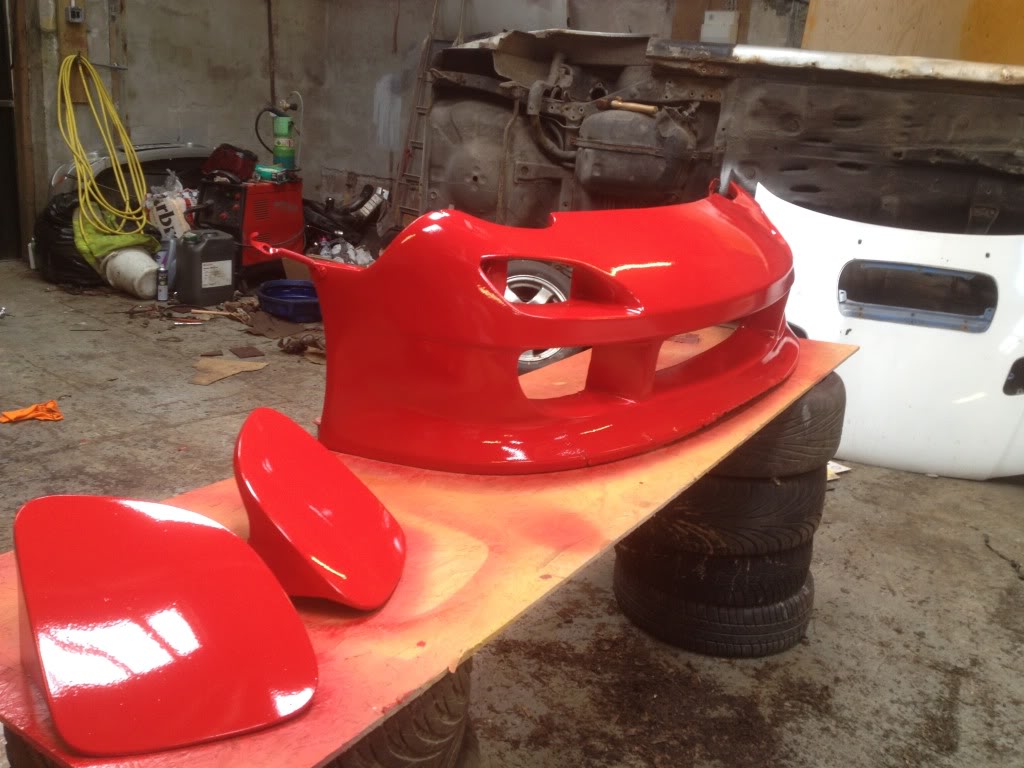
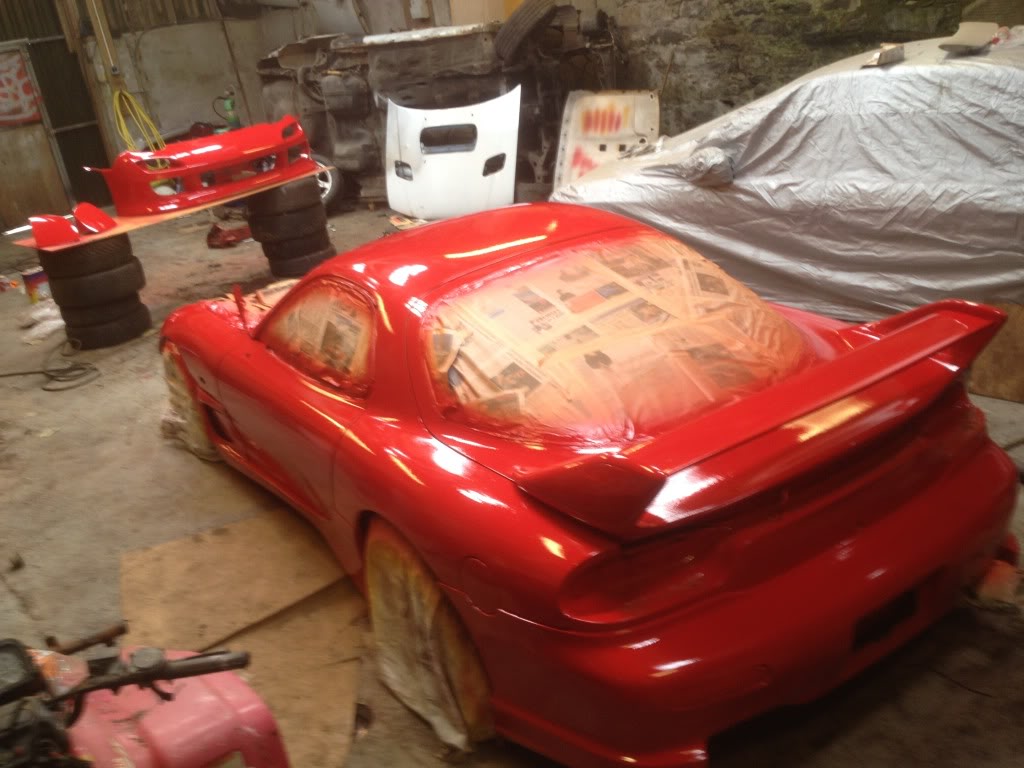
another little update.
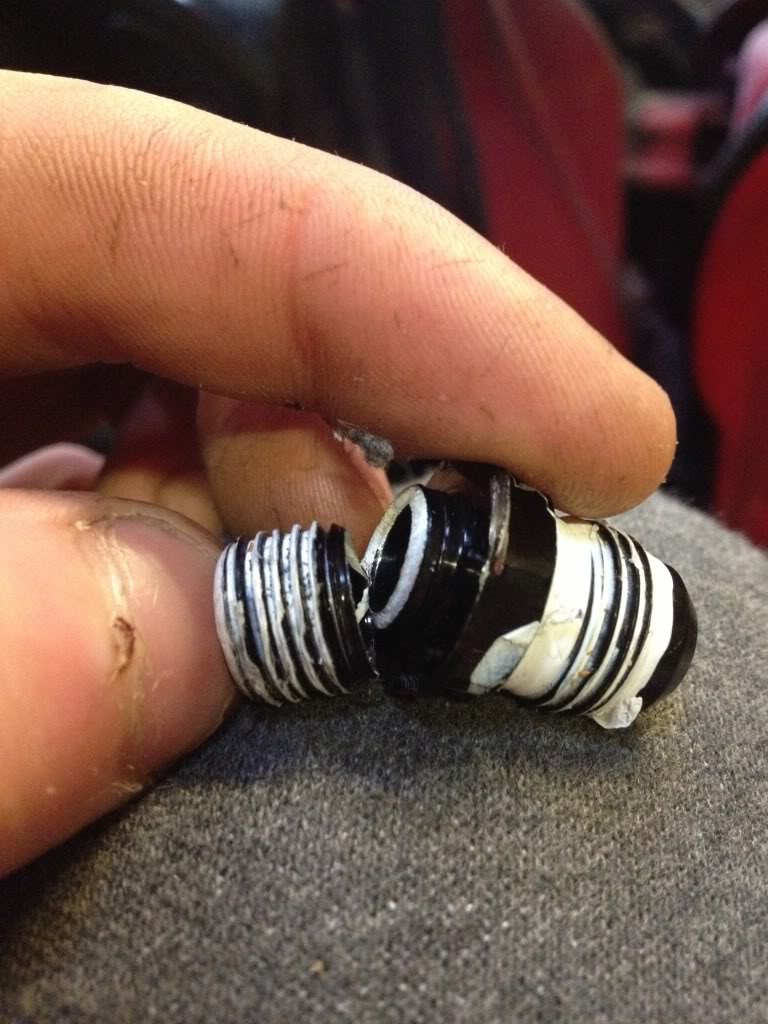
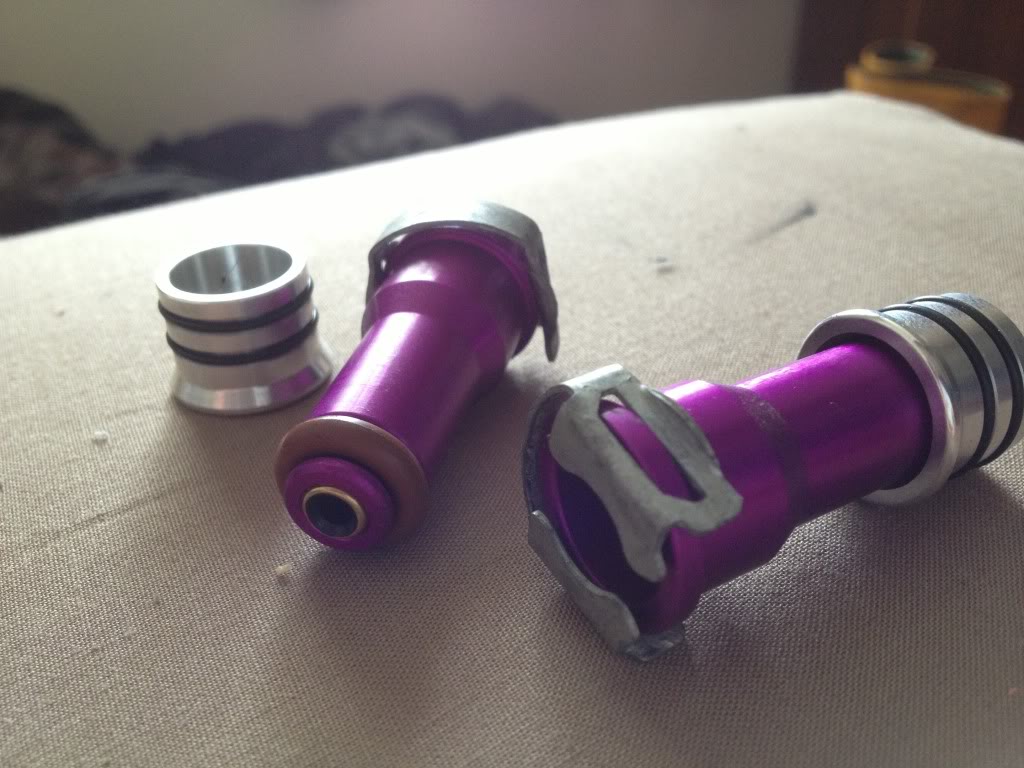
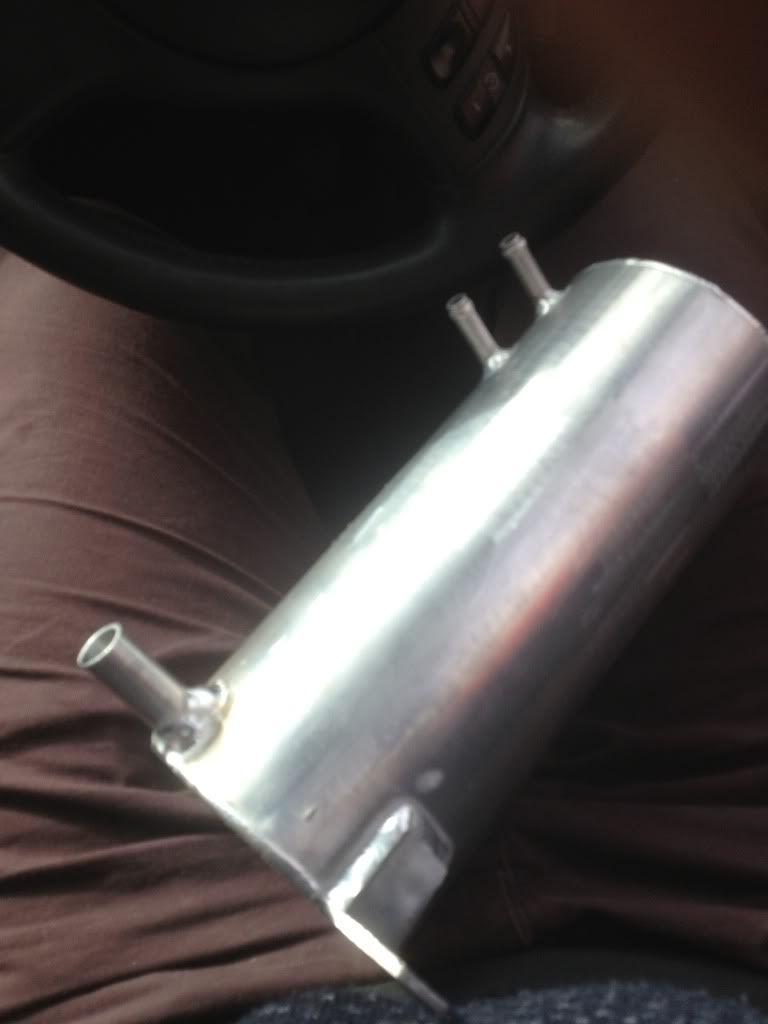
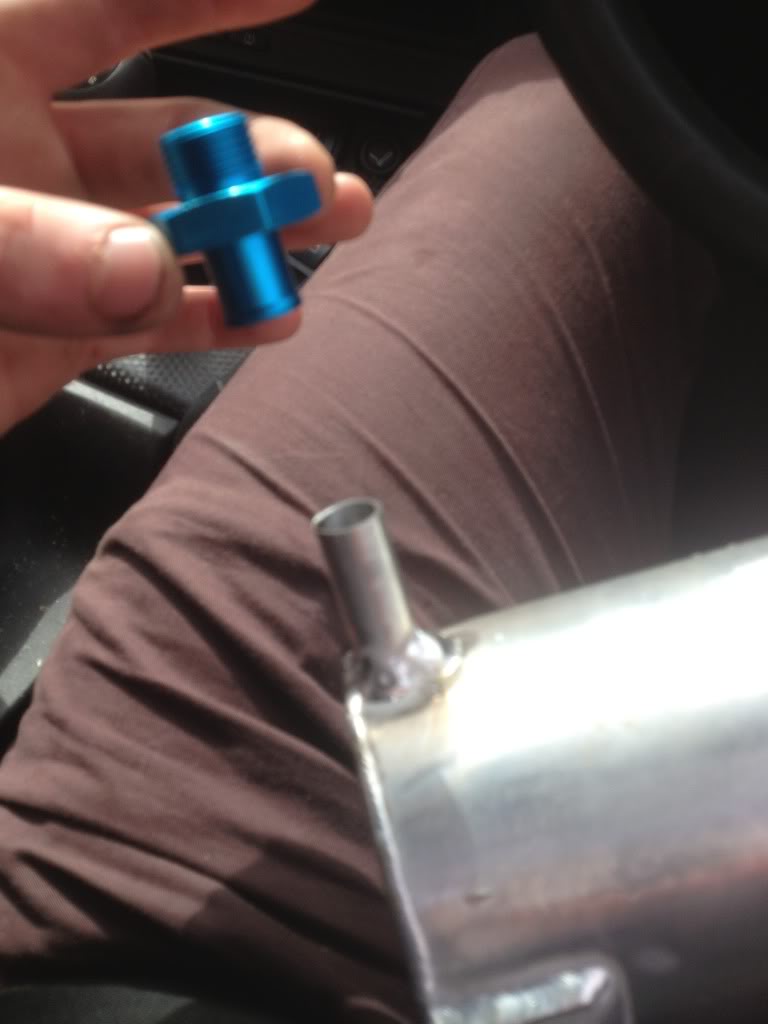
got my dm-motorsport fuel rail but snapped off one of the joiners.
pics to follow
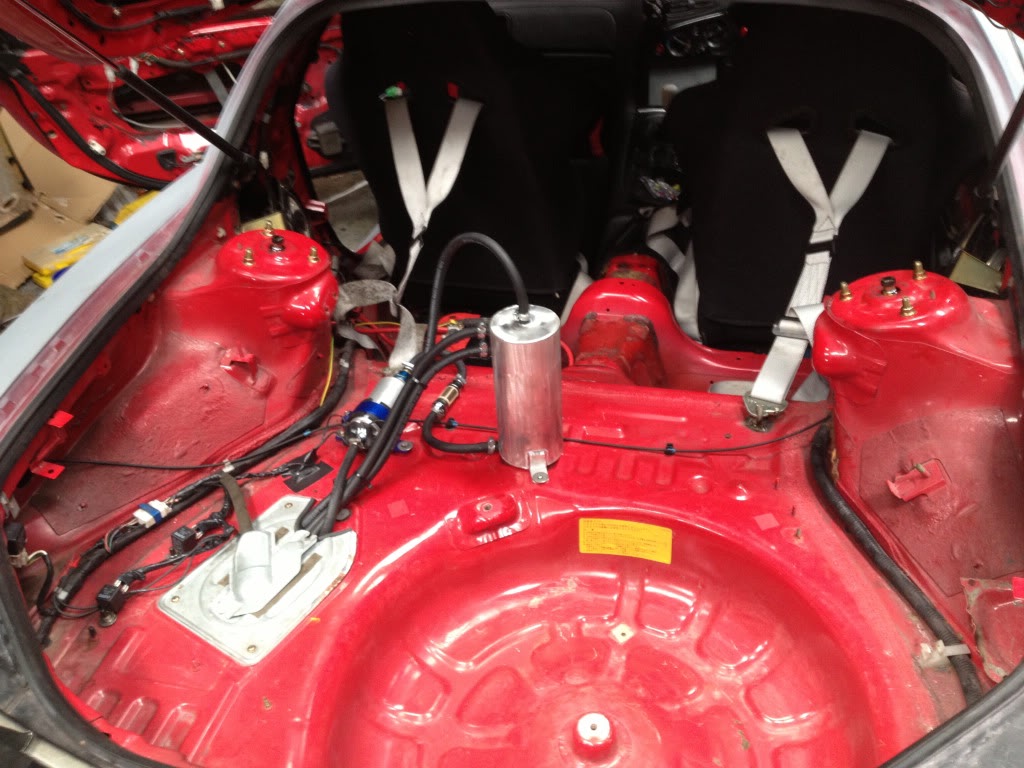
arch roller

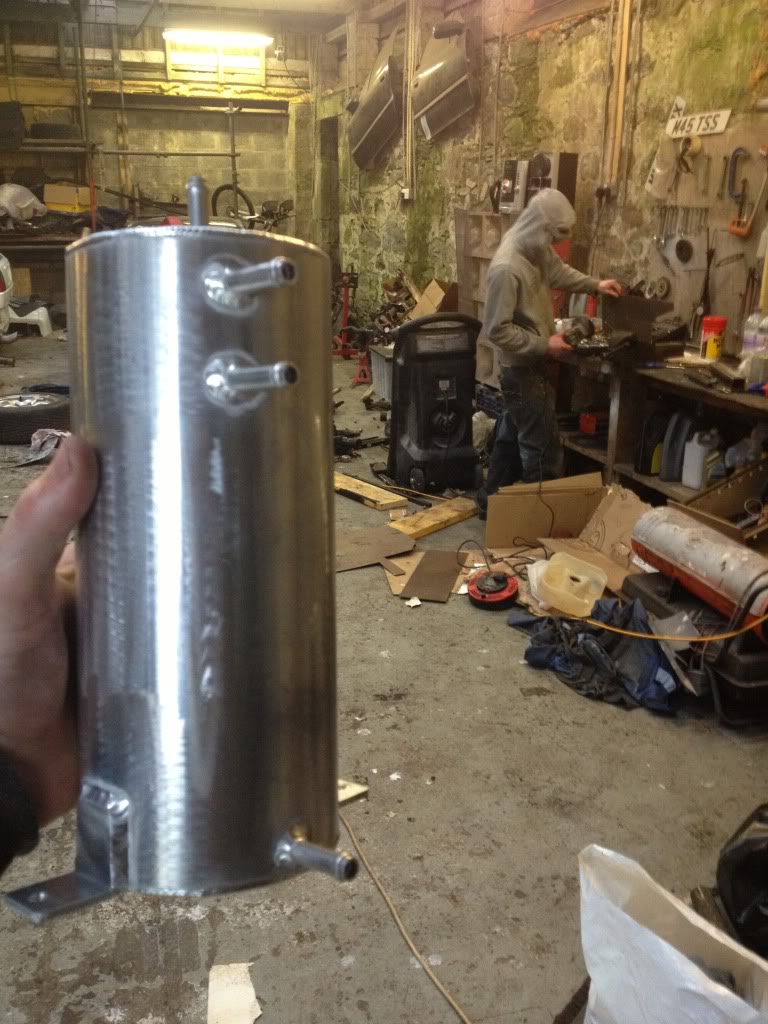
swirl pot
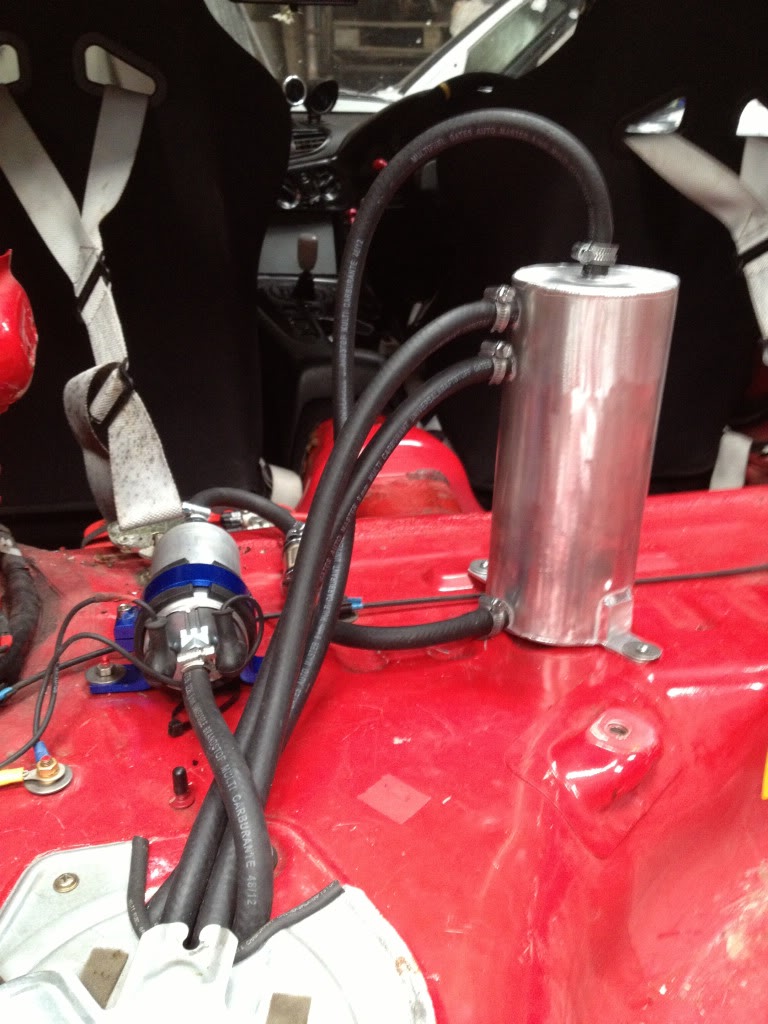
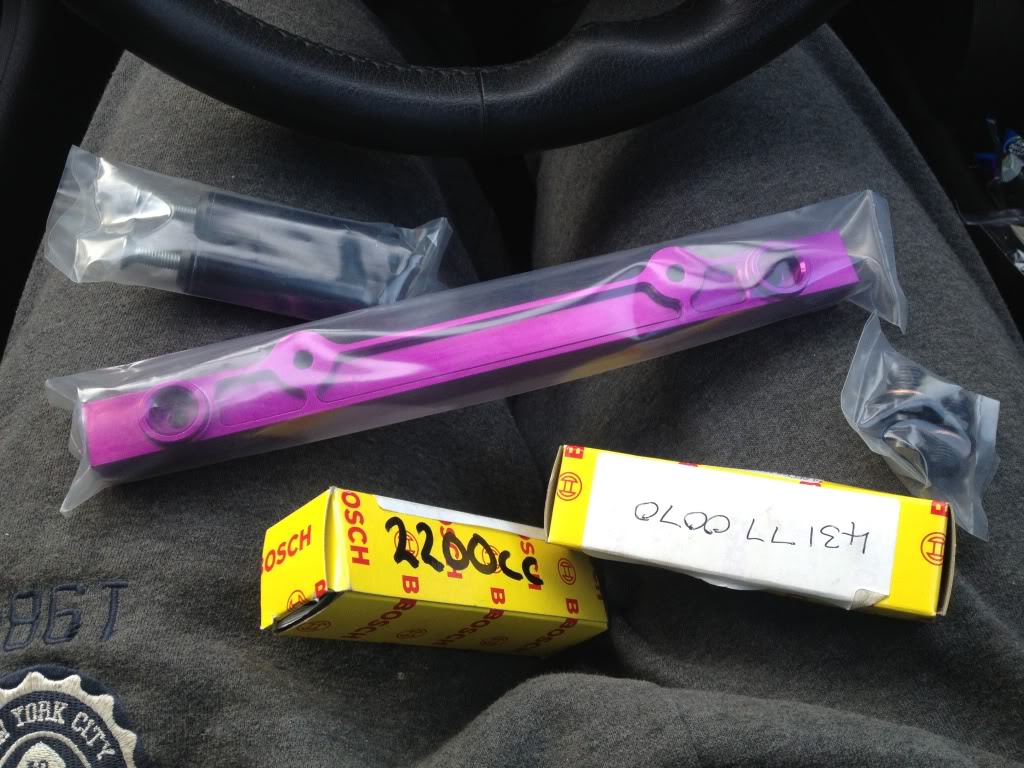
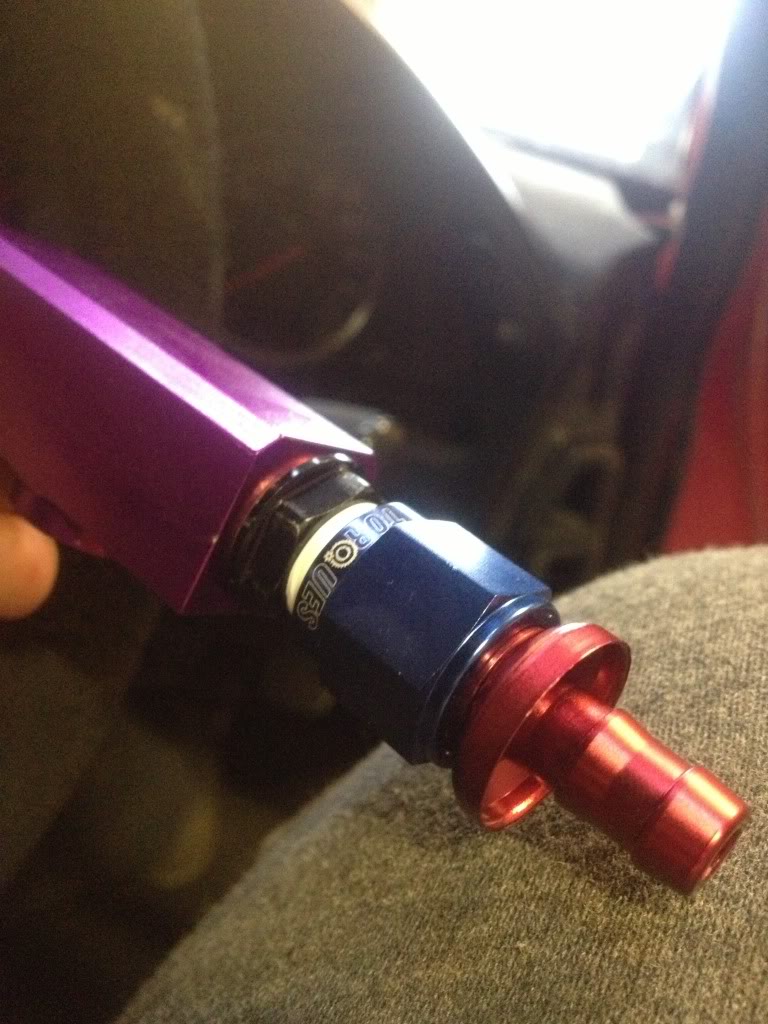
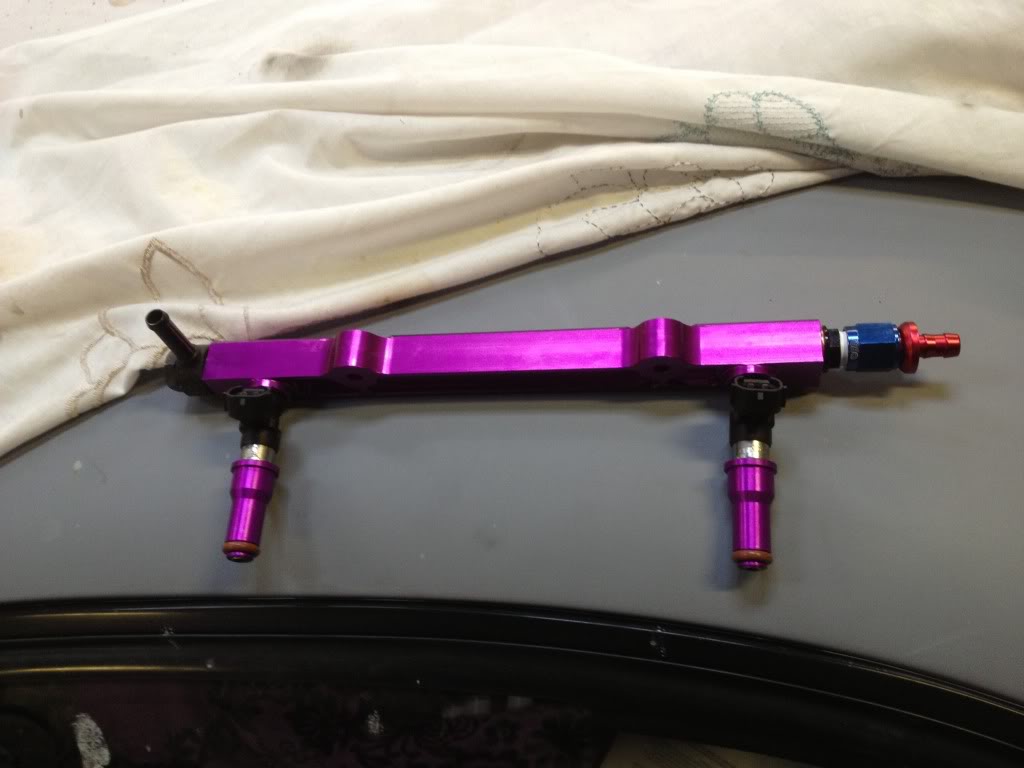
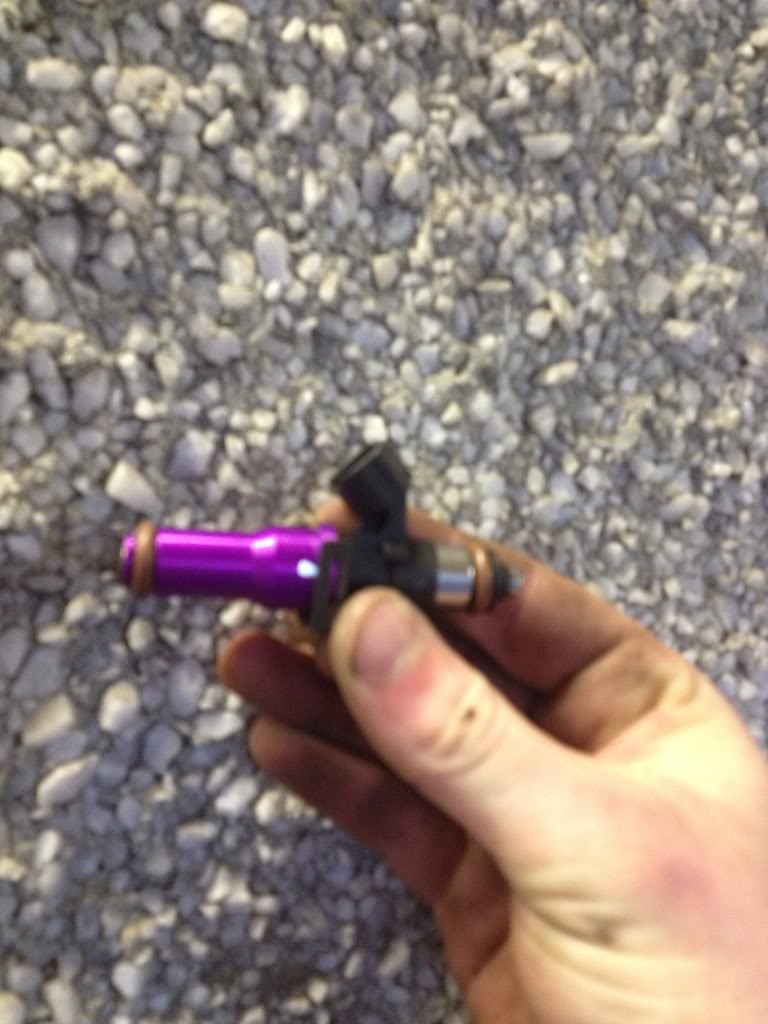
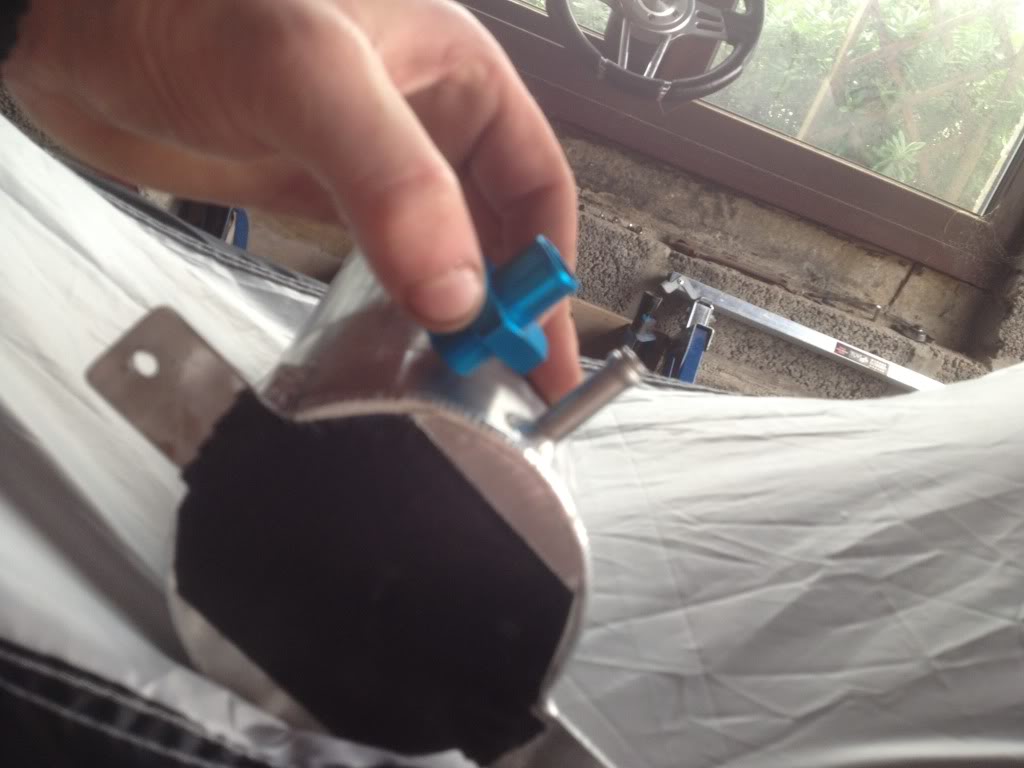
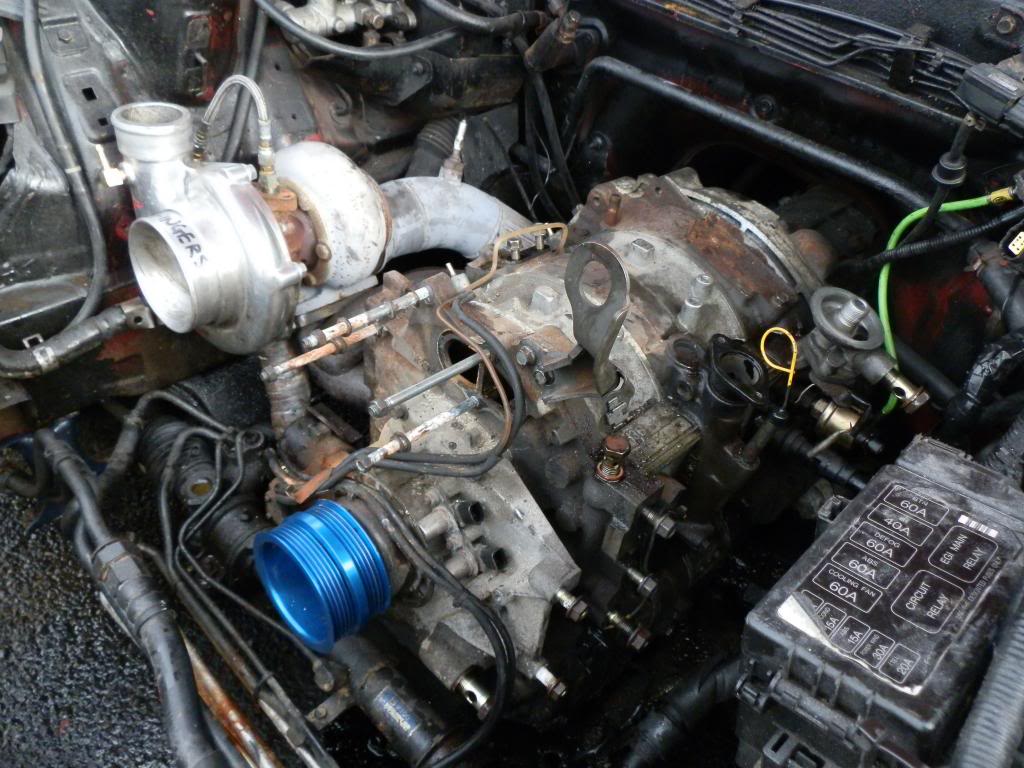
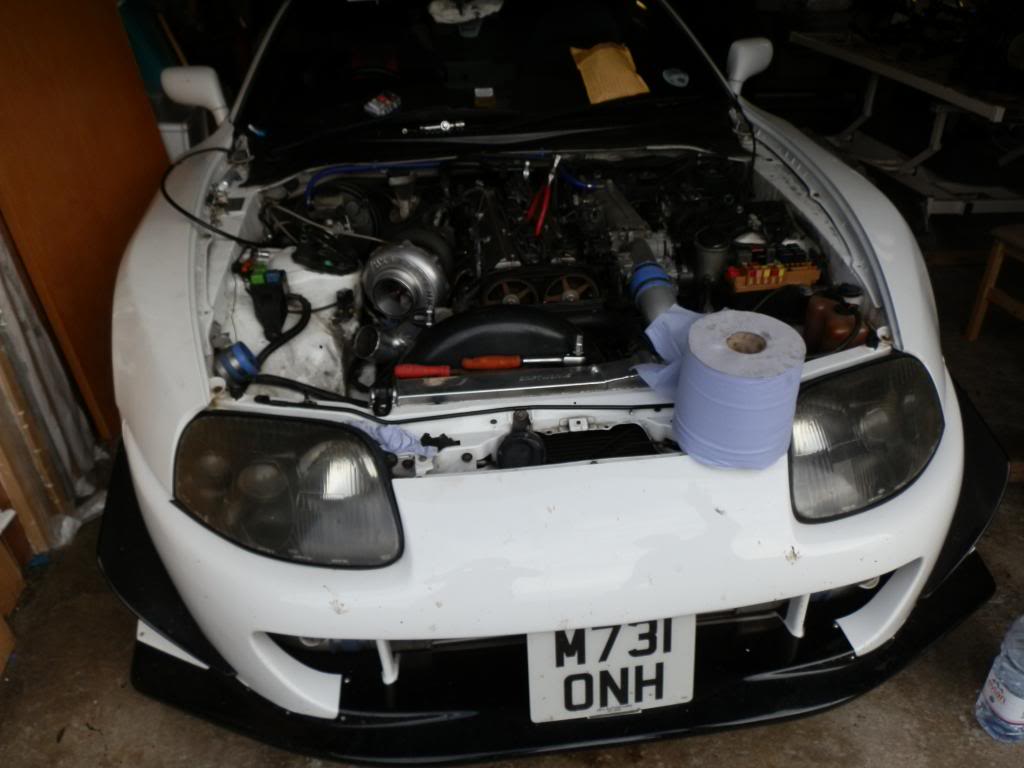
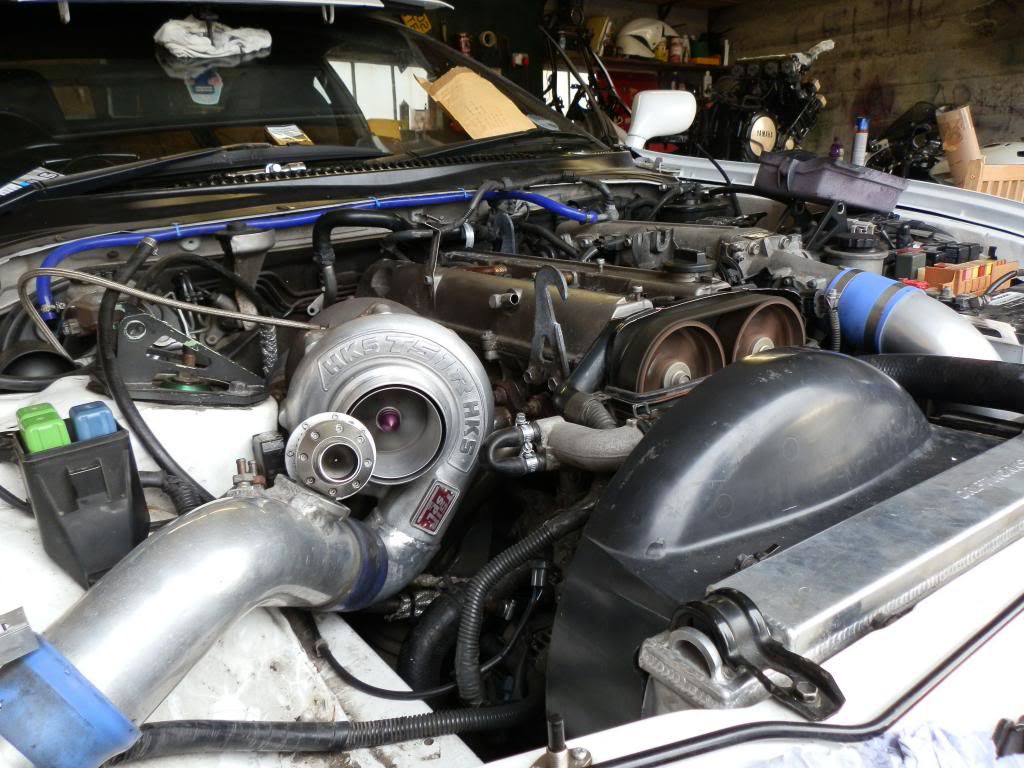
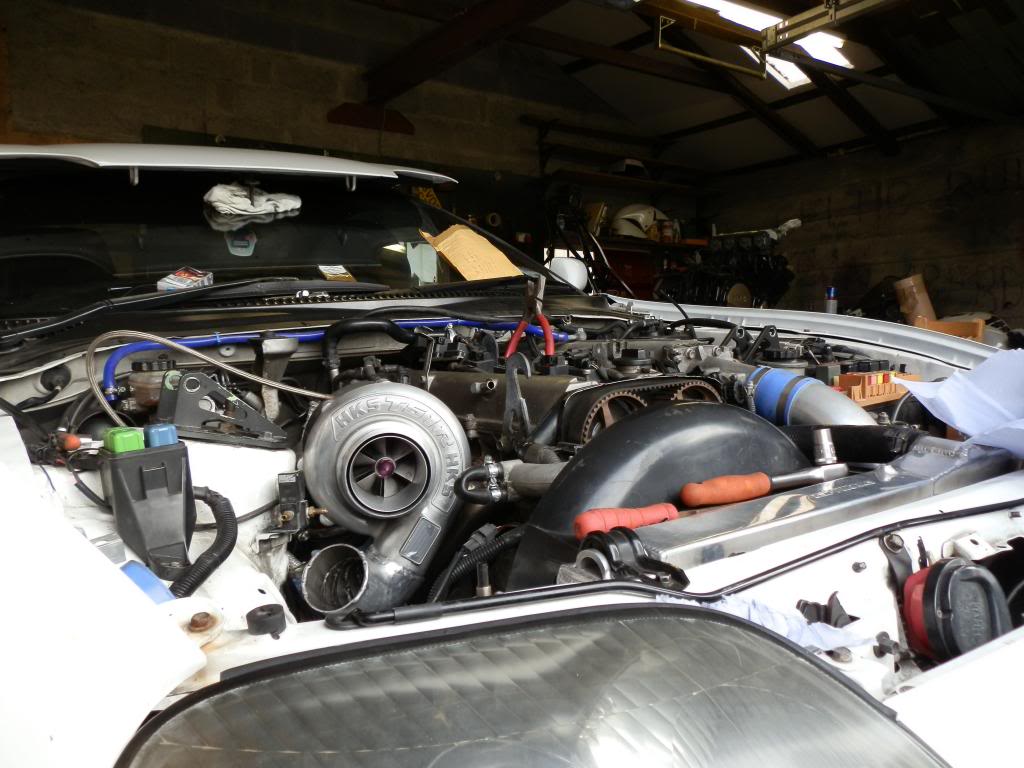
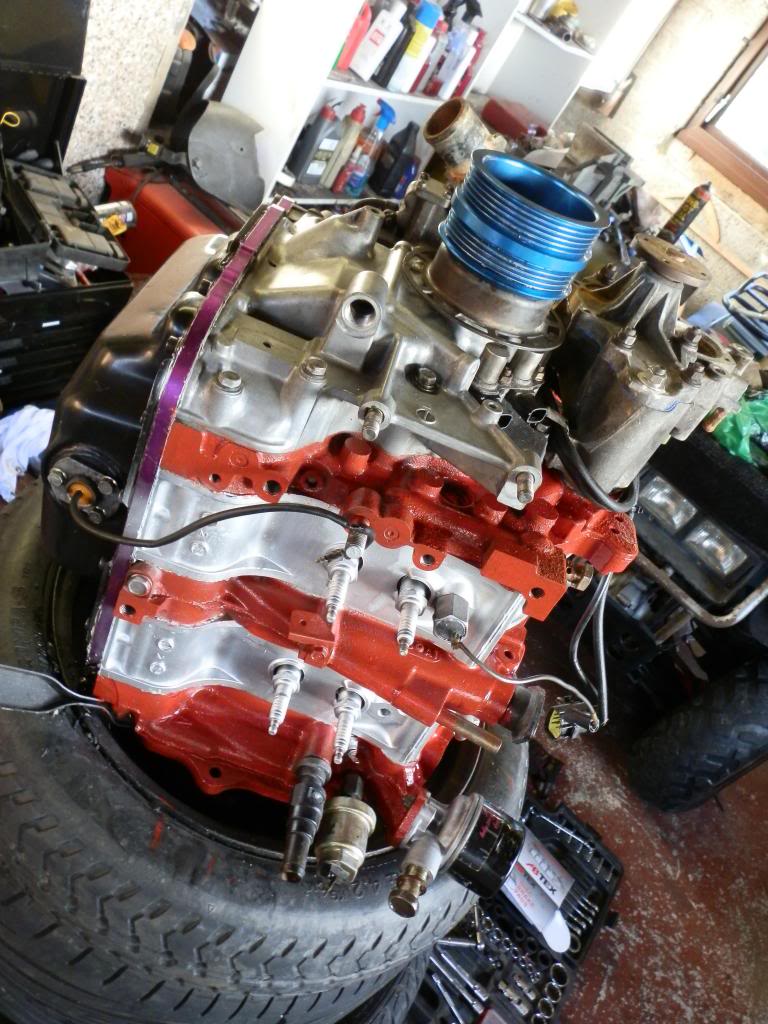
hre is my fuel rail. DM-motorsport with NGI2's 2200cc injectors. ill use the 550 in the primarys. anyone know the power fc settings for lag?
one side fitted
snapped bit


got my dm-motorsport fuel rail but snapped off one of the joiners.
pics to follow
arch roller
swirl pot
hre is my fuel rail. DM-motorsport with NGI2's 2200cc injectors. ill use the 550 in the primarys. anyone know the power fc settings for lag?
one side fitted
snapped bit

 06-18-13, 05:36 AM
#84
sooo here is another update. all runing with water meth and my 2200cc injectors. i hadd a problem with missing spacers but the guys at DM-motorsport sent out new ones straight away. im extremely happy with these guys. i will buy from them again
anyway for some pictures
so driving along i decided to put down the foot. once fully on boost (8psi) i heard a pop and the boost was reduced to 5psi.... it was safe to say i shat myself. found this.. ~(the cheap reducer melted and blew)
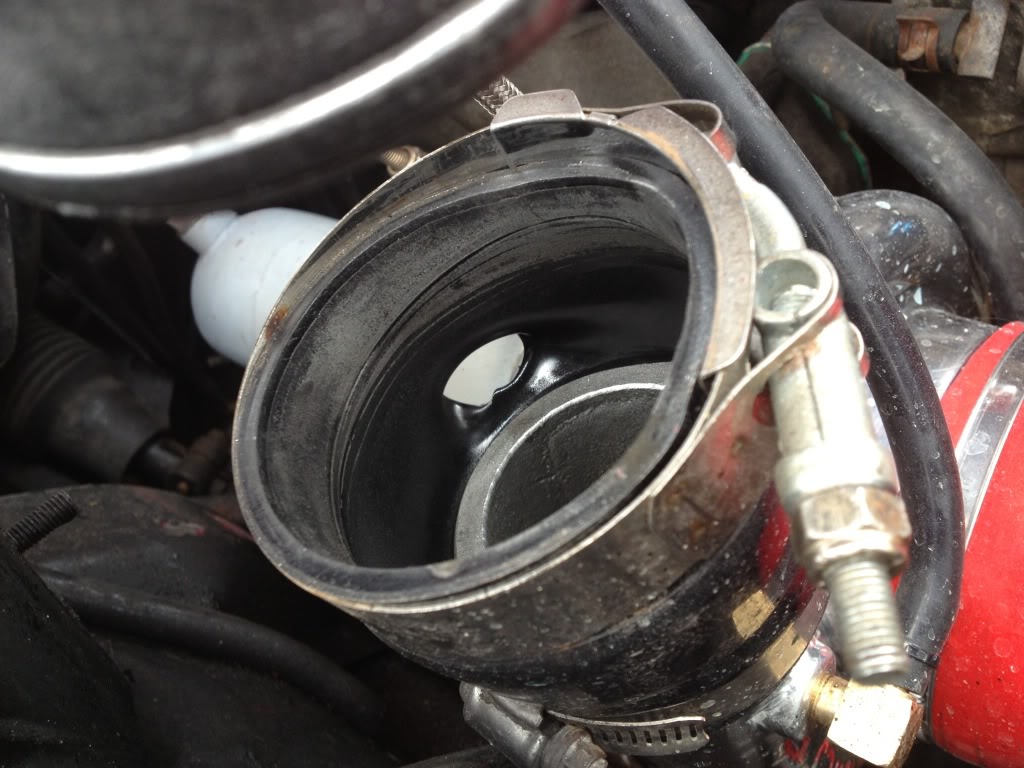
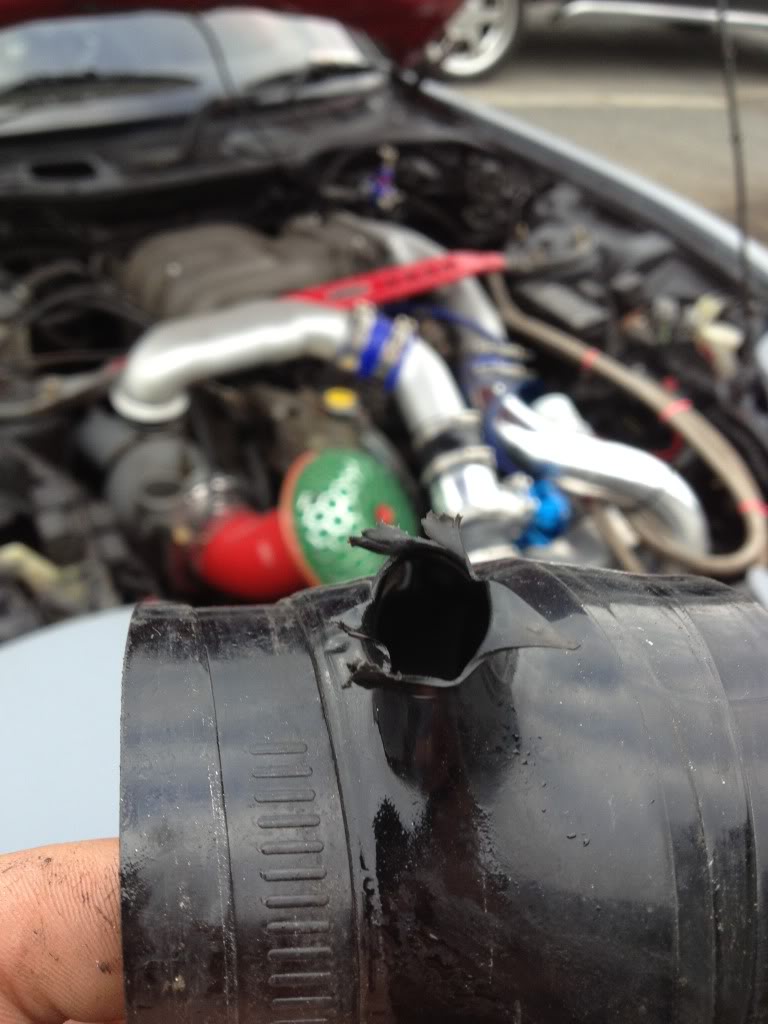
so i fitted a better silicone one.
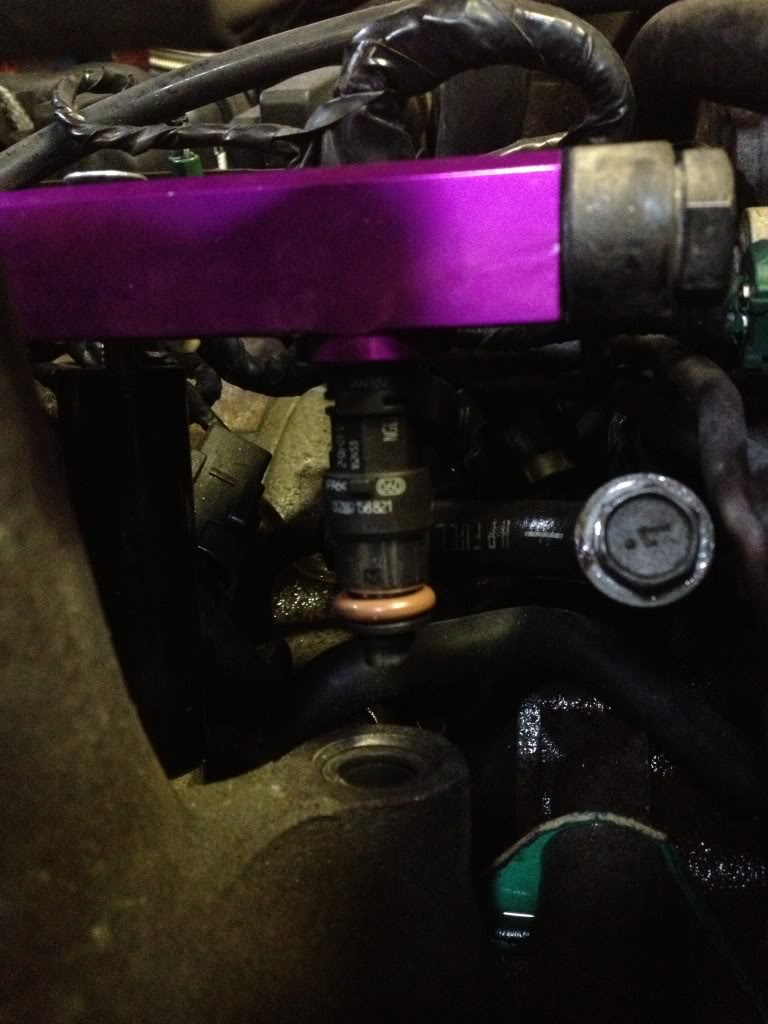
here is the picture of my fuel rail not reaching the manifold (spacer missing)
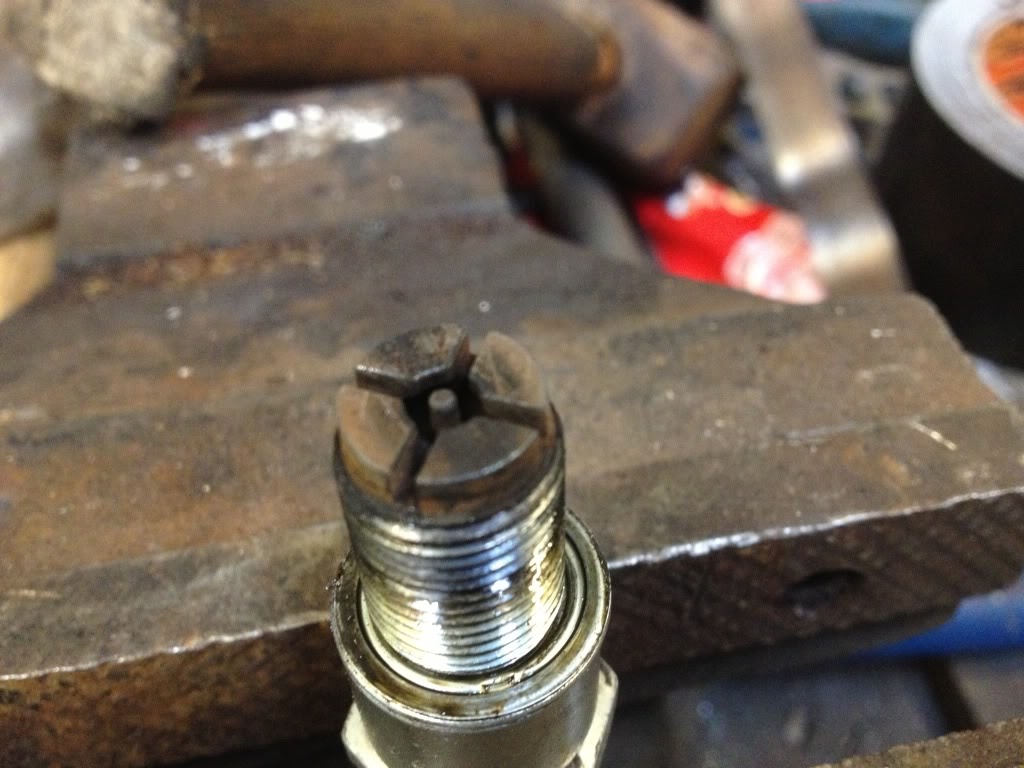
my plugs were this colour... is this ok?
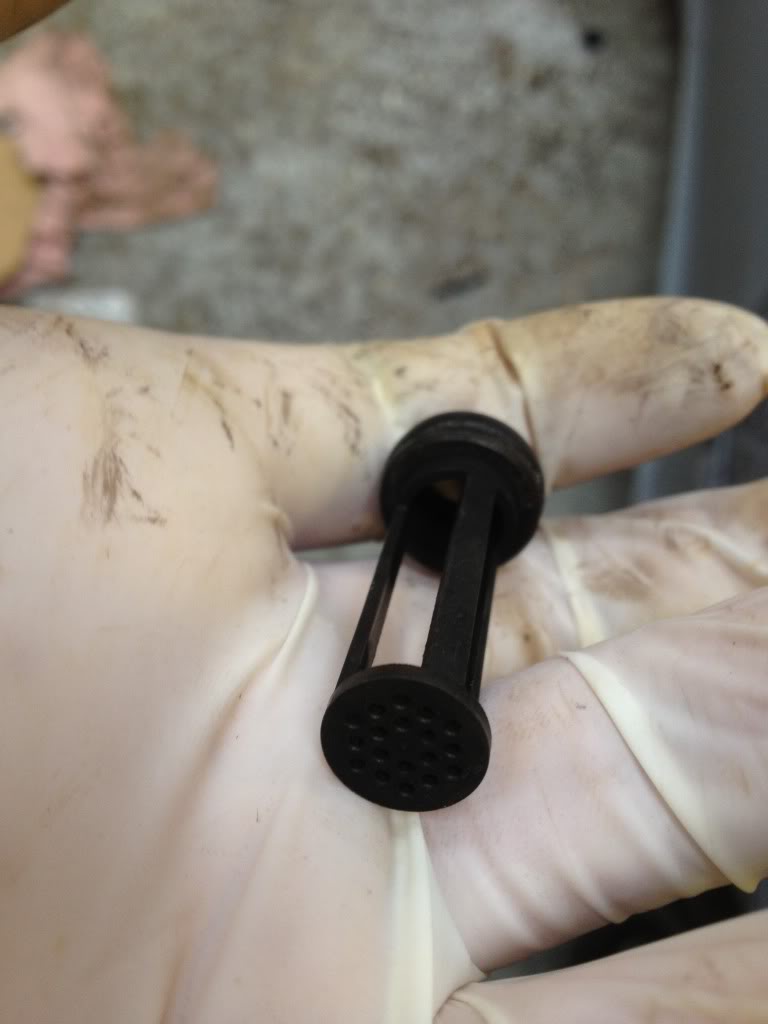
these injector diffusers are out now
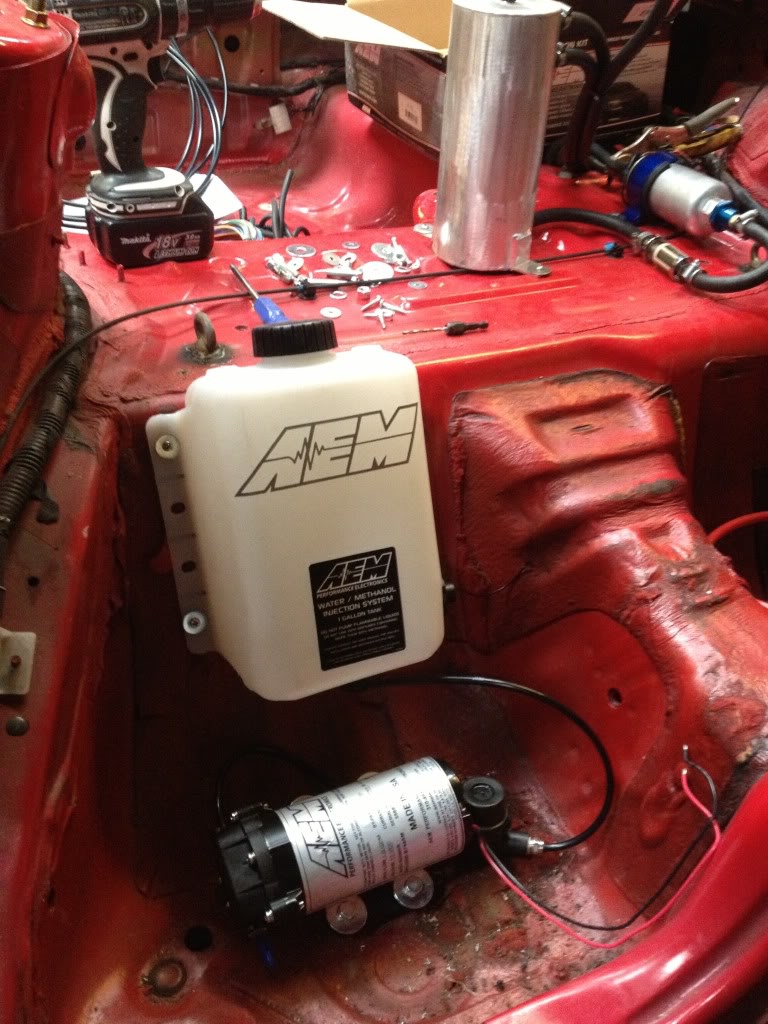
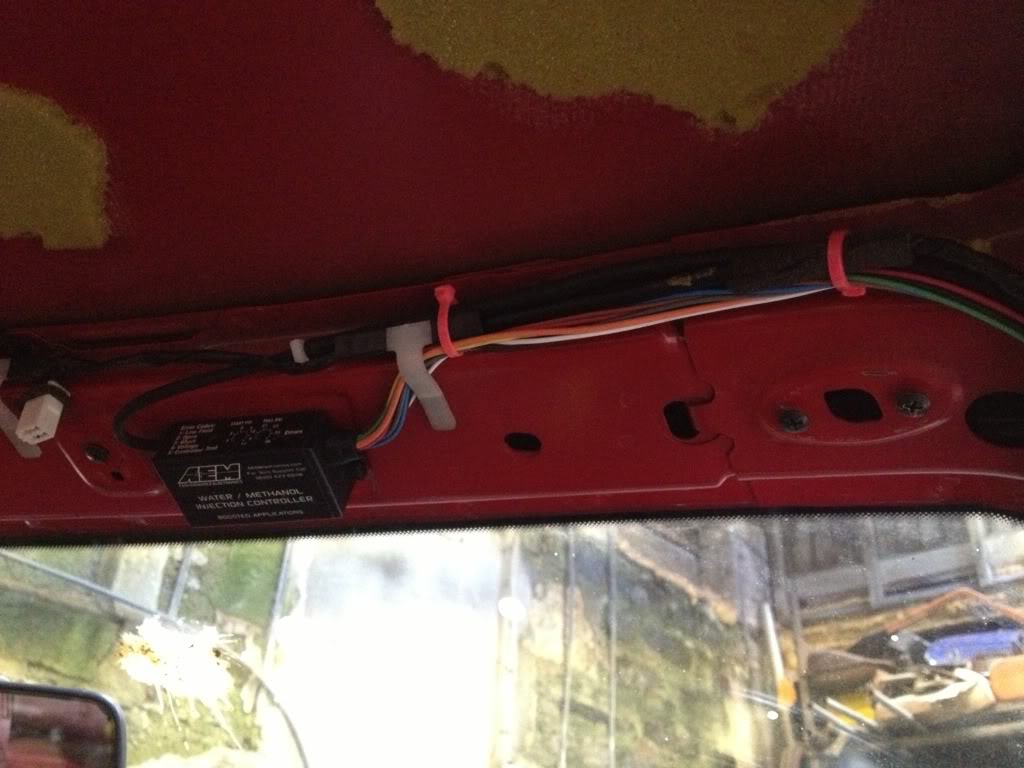
AEM water methanol installed
i tested my ICV idle controle valve. does anyone elses sound like this? is mine goosed?
[flash=]http://s549.photobucket.com/user/gavbey/media/65F02B77-3430-48AD-97A7-273A0D6F83FD-1085-000000C82CD984DE_zpsb54032aa.mp4.html[/flash]
AEM meth controler mounted on the roof
anyway for some pictures
so driving along i decided to put down the foot. once fully on boost (8psi) i heard a pop and the boost was reduced to 5psi.... it was safe to say i shat myself. found this.. ~(the cheap reducer melted and blew)
so i fitted a better silicone one.
here is the picture of my fuel rail not reaching the manifold (spacer missing)
my plugs were this colour... is this ok?
these injector diffusers are out now
AEM water methanol installed
i tested my ICV idle controle valve. does anyone elses sound like this? is mine goosed?
[flash=]http://s549.photobucket.com/user/gavbey/media/65F02B77-3430-48AD-97A7-273A0D6F83FD-1085-000000C82CD984DE_zpsb54032aa.mp4.html[/flash]
AEM meth controler mounted on the roof
06-18-13, 05:37 AM
#85
present i made bobby for his good efforts with the evo.
the 200 getting some DP
parked up waiting for bits
nice evo engine, EVERYTHING was destroyed. turbo blew..
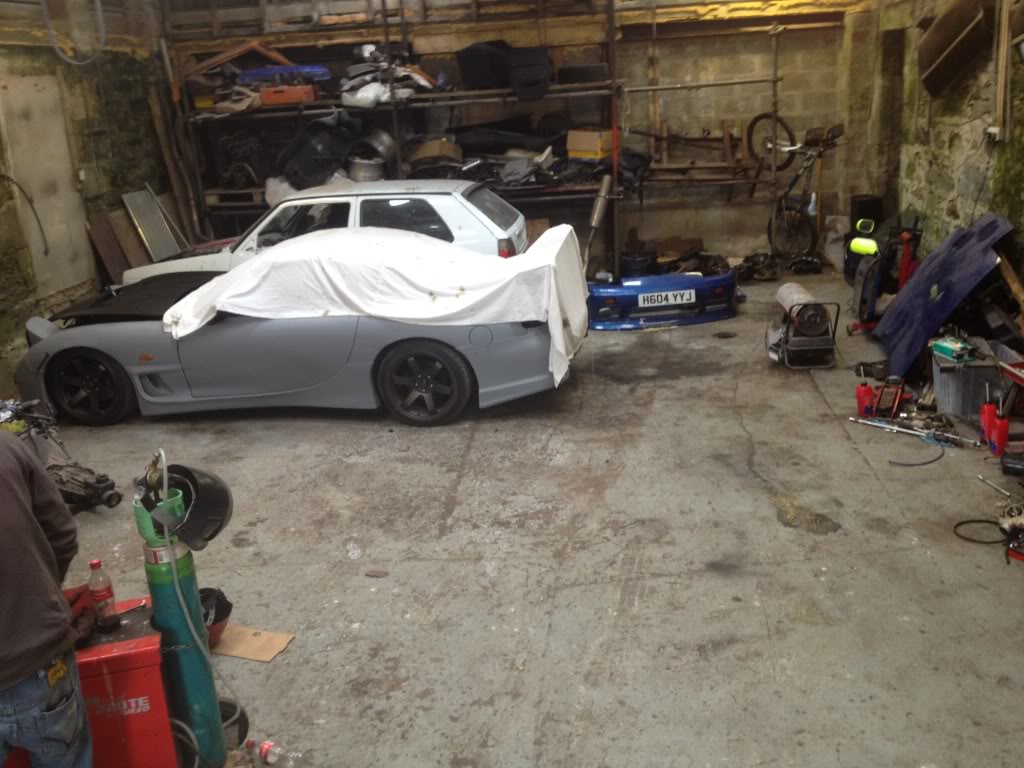
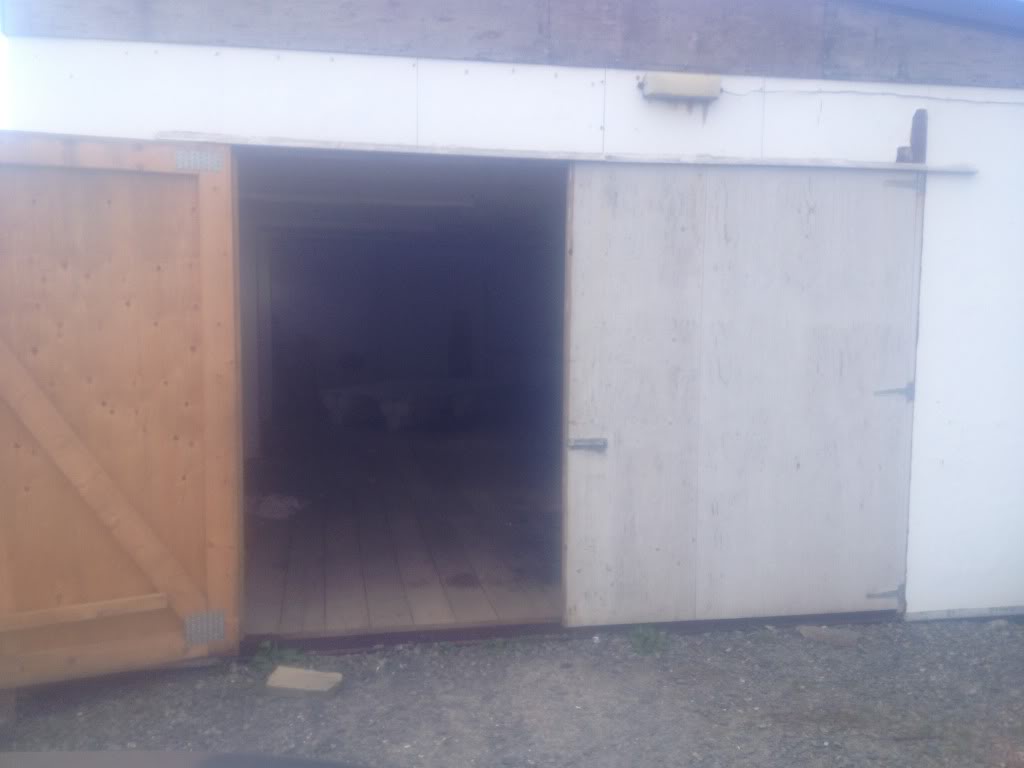
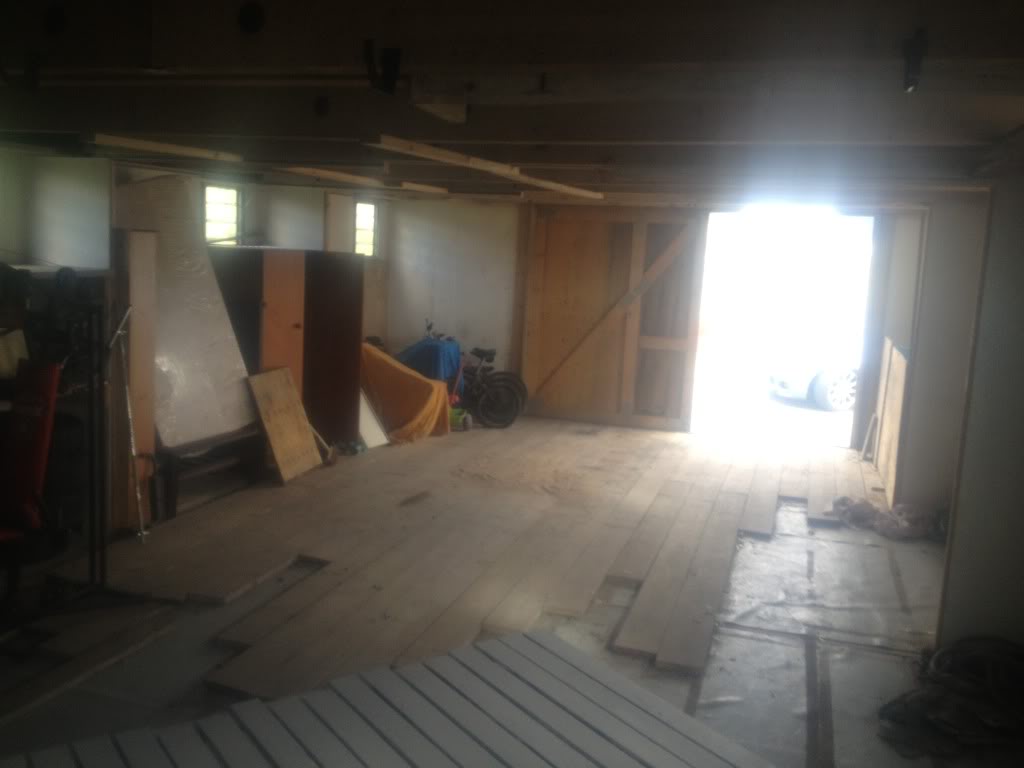
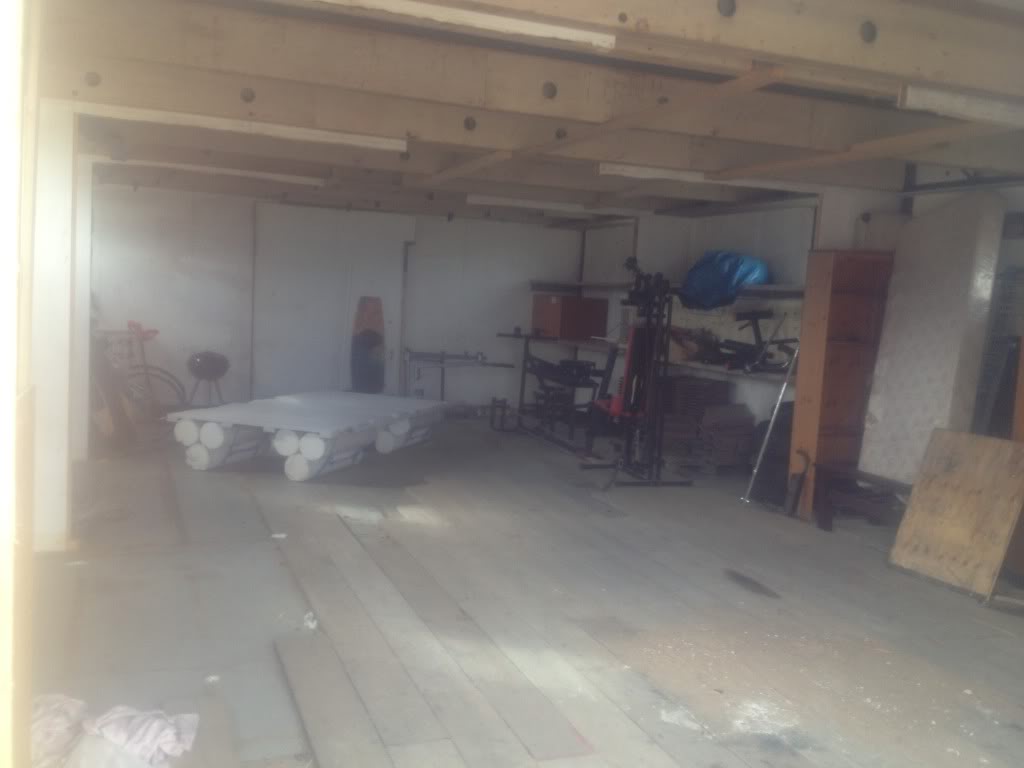
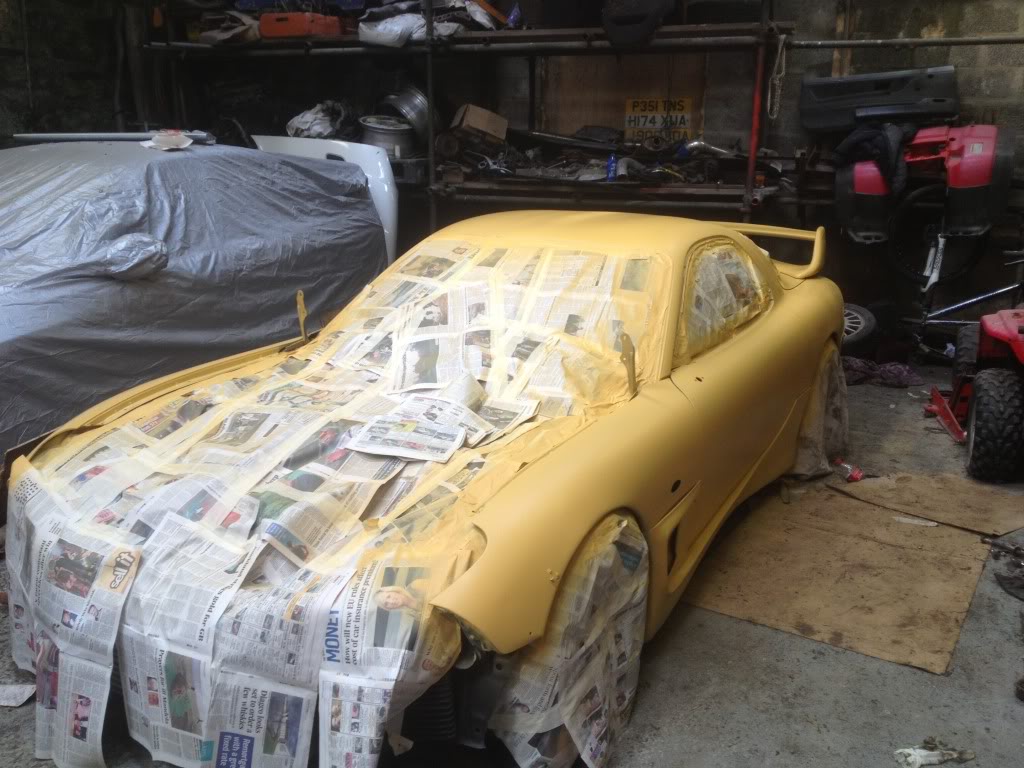
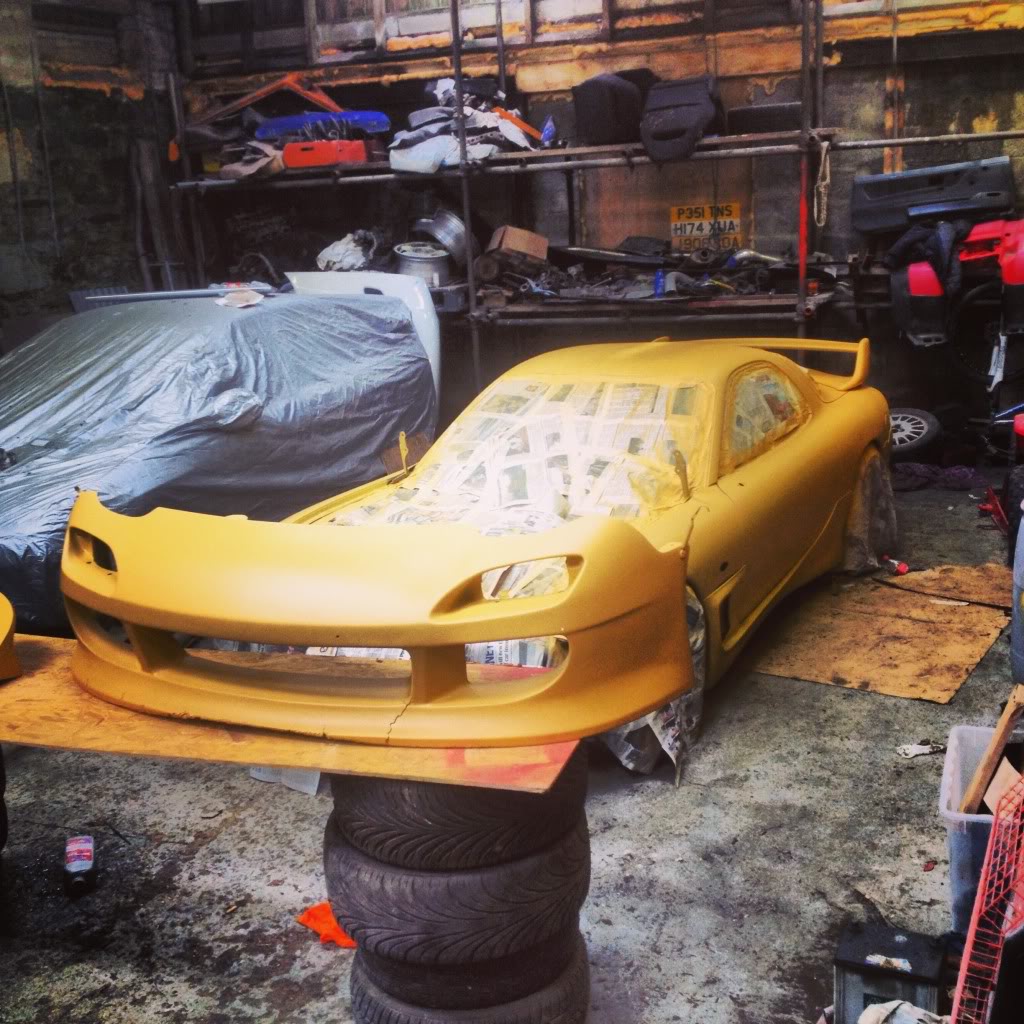
this is the new workshop. its a mess but ill finnish the floor etc before i move in. cant wait!
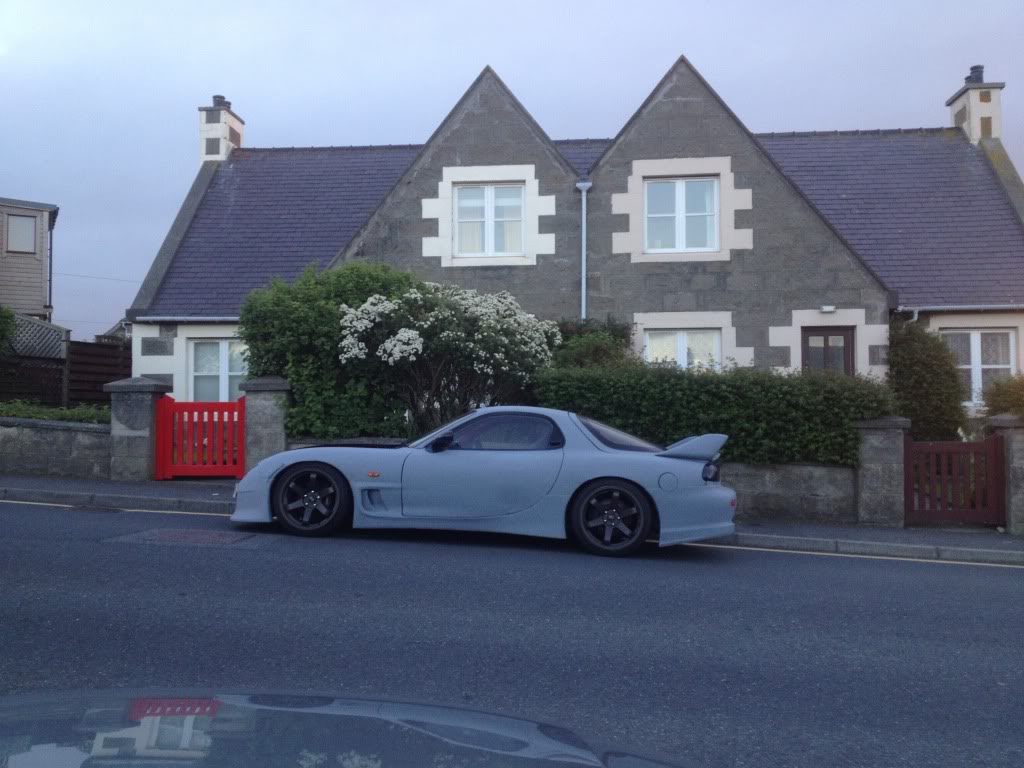
my mate daniel detailed my car. he made an awsome job!


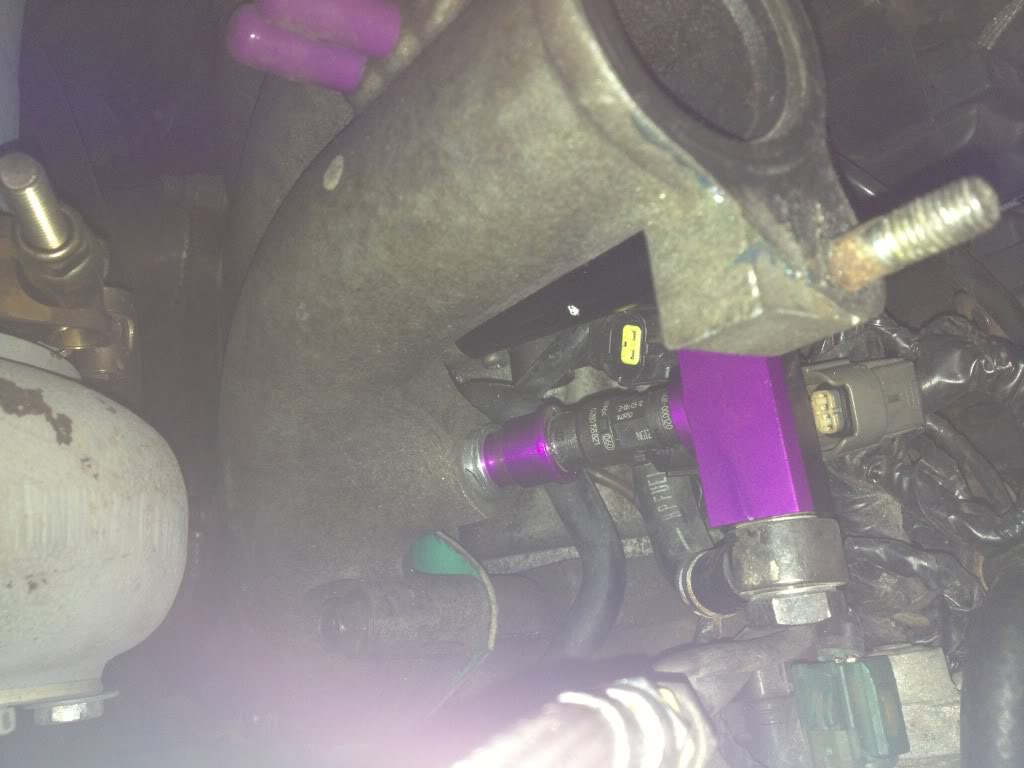
any yesssss the spacers are here.
there all fitted and the car is running again . i noticed the forward housing got the manifold cherry red. it was running hotter than the rear.. it then sorted itself out but what causes this?
cheers guys
the 200 getting some DP
parked up waiting for bits
nice evo engine, EVERYTHING was destroyed. turbo blew..
this is the new workshop. its a mess but ill finnish the floor etc before i move in. cant wait!
my mate daniel detailed my car. he made an awsome job!
any yesssss the spacers are here.
there all fitted and the car is running again . i noticed the forward housing got the manifold cherry red. it was running hotter than the rear.. it then sorted itself out but what causes this?
cheers guys


 avbey/AB23F876-3BCC-4B6F-97E2-E30460118E33-1720-0000018AD61E6BD0_zps8145bb19.jpg[/IMG]
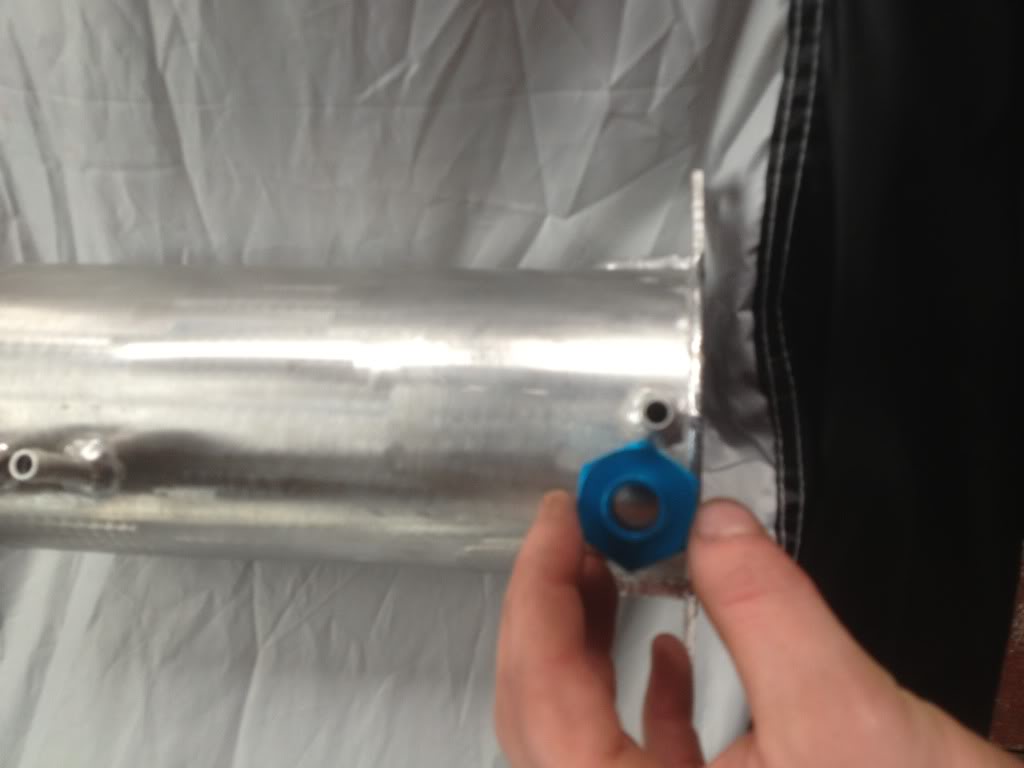
 04-26-14, 09:00 PM
#89
Hi Guys,
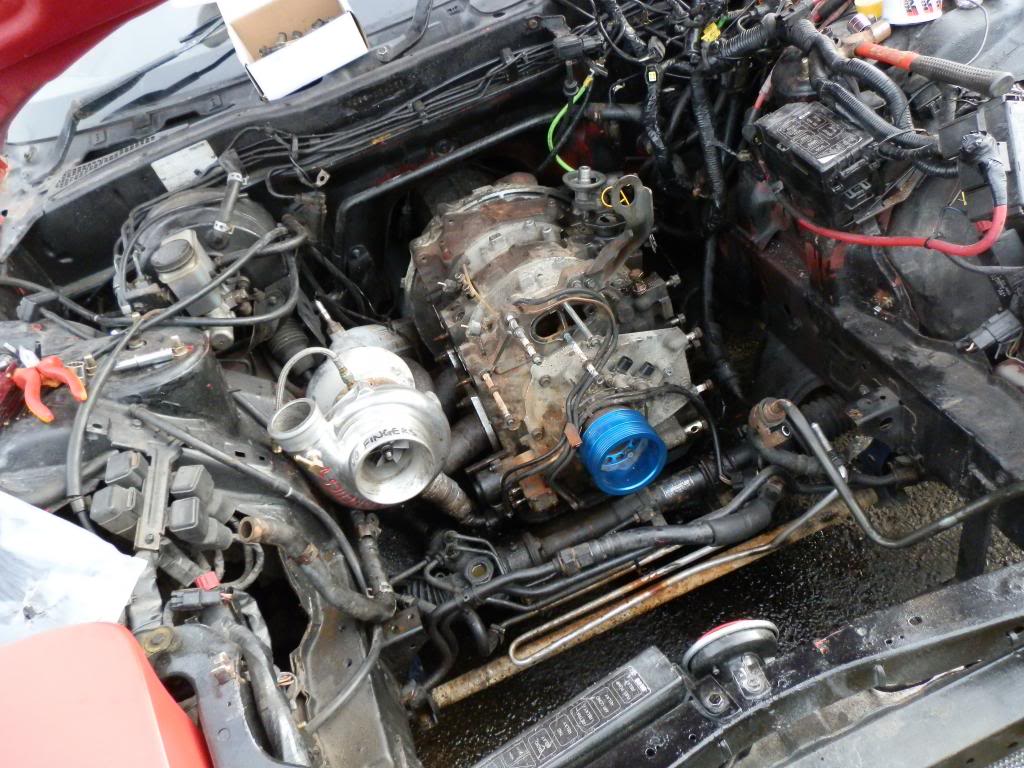
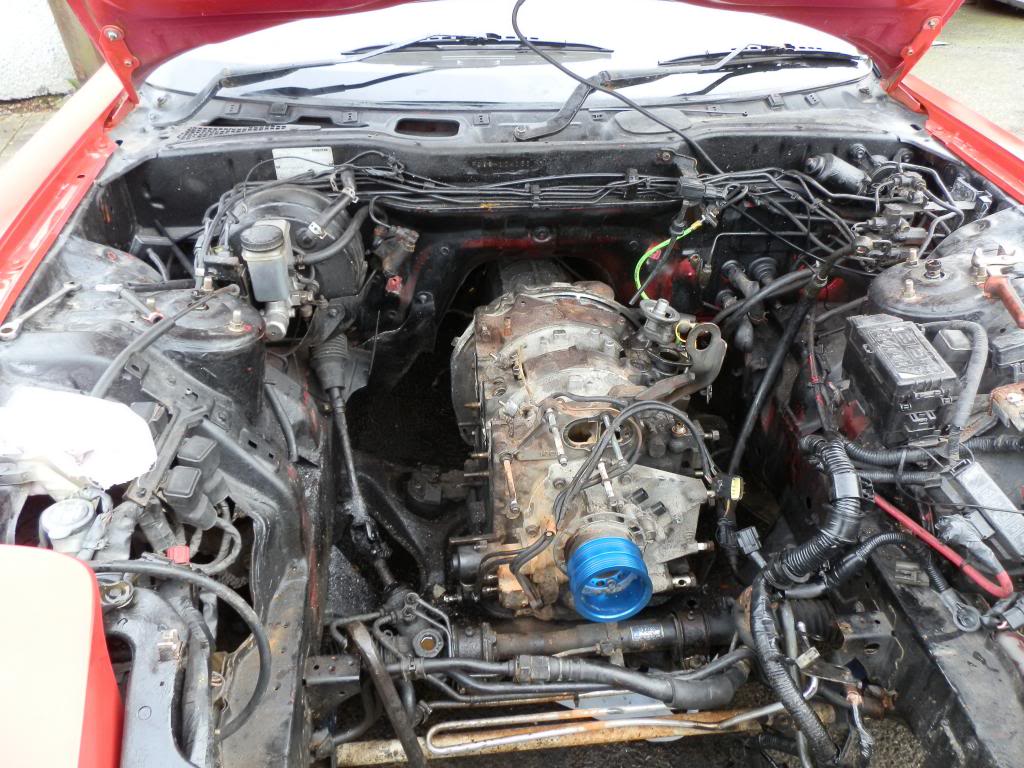
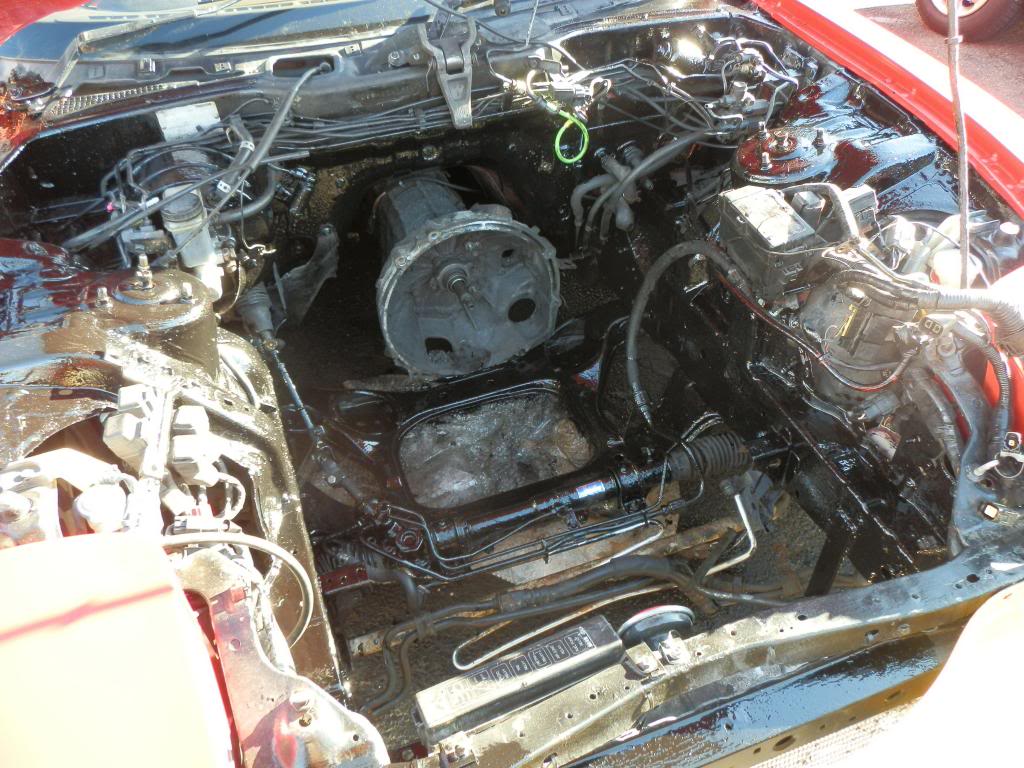
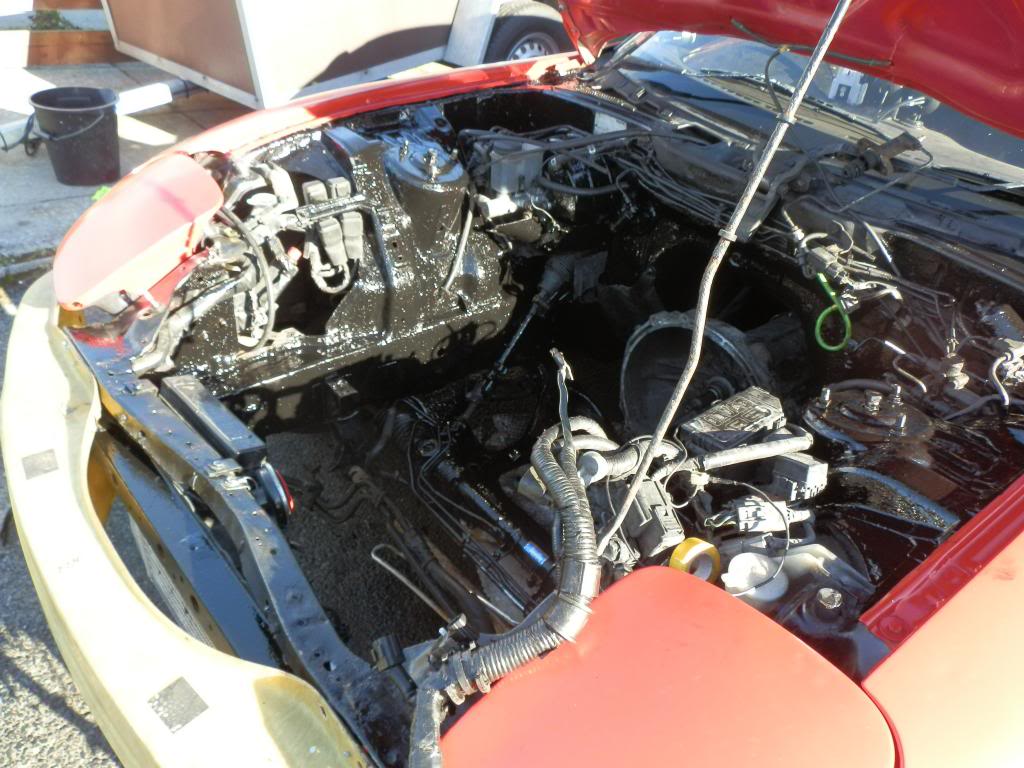
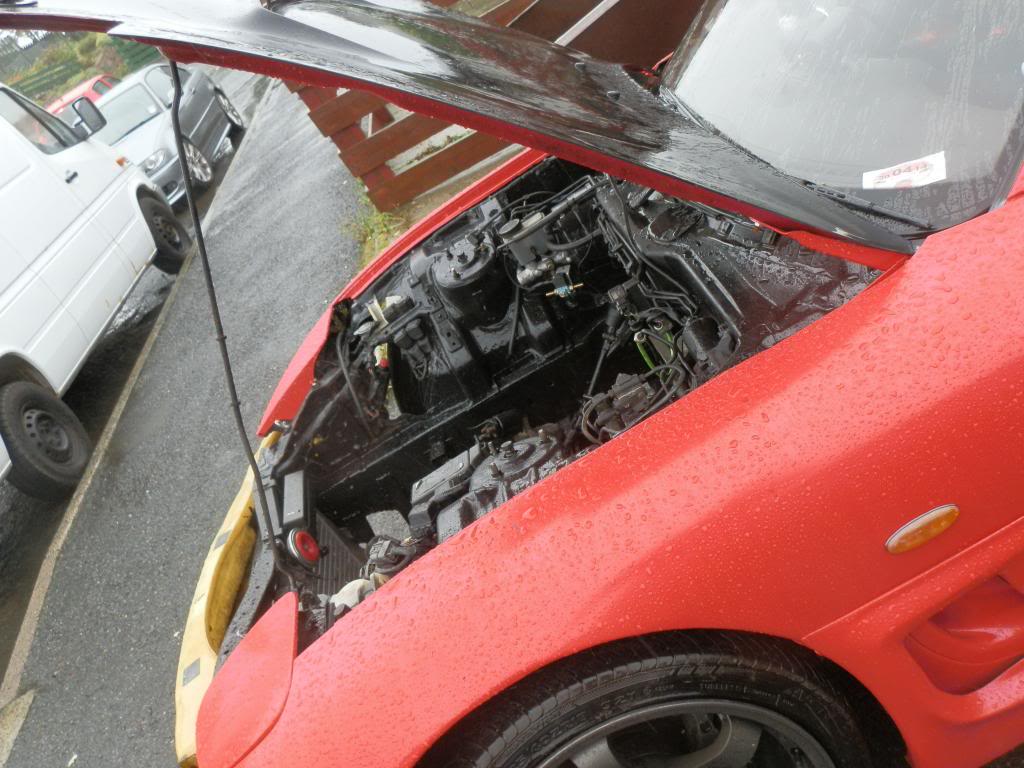
im back from offshore now and have been playing with the rx7. ive started stripping down the engine but i cant seem to seperate the engine from gearbox. ive read up on it but as mine is the HKS GD twin plate its a tad diffrent.
so ill say the story with the pictures
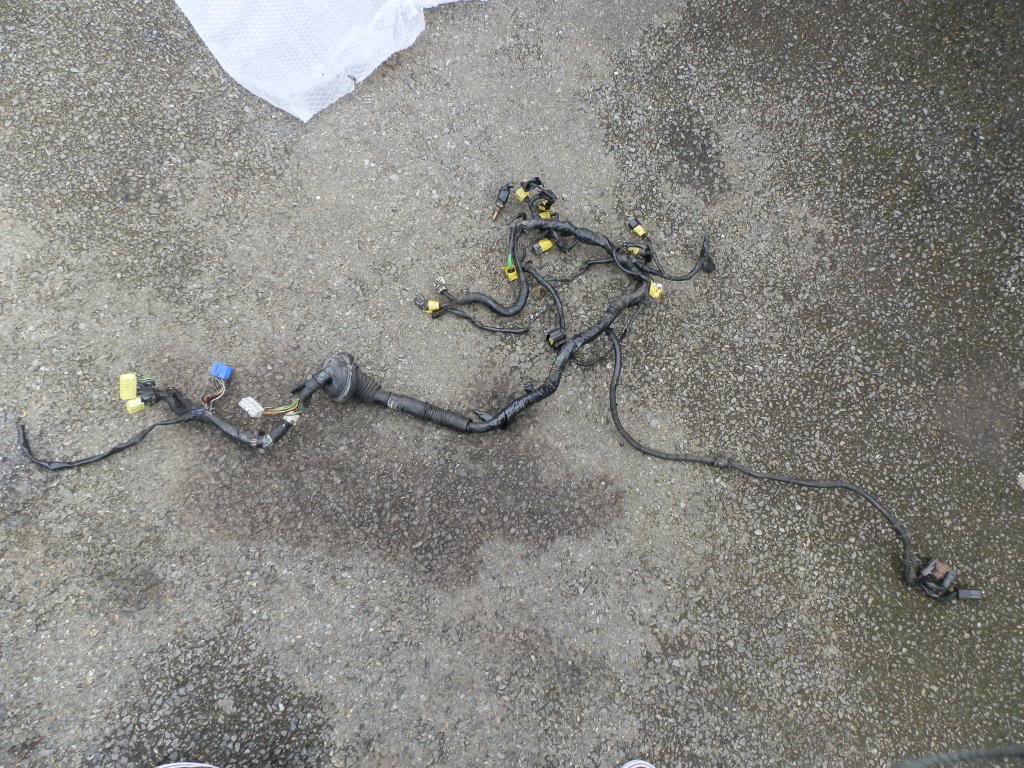
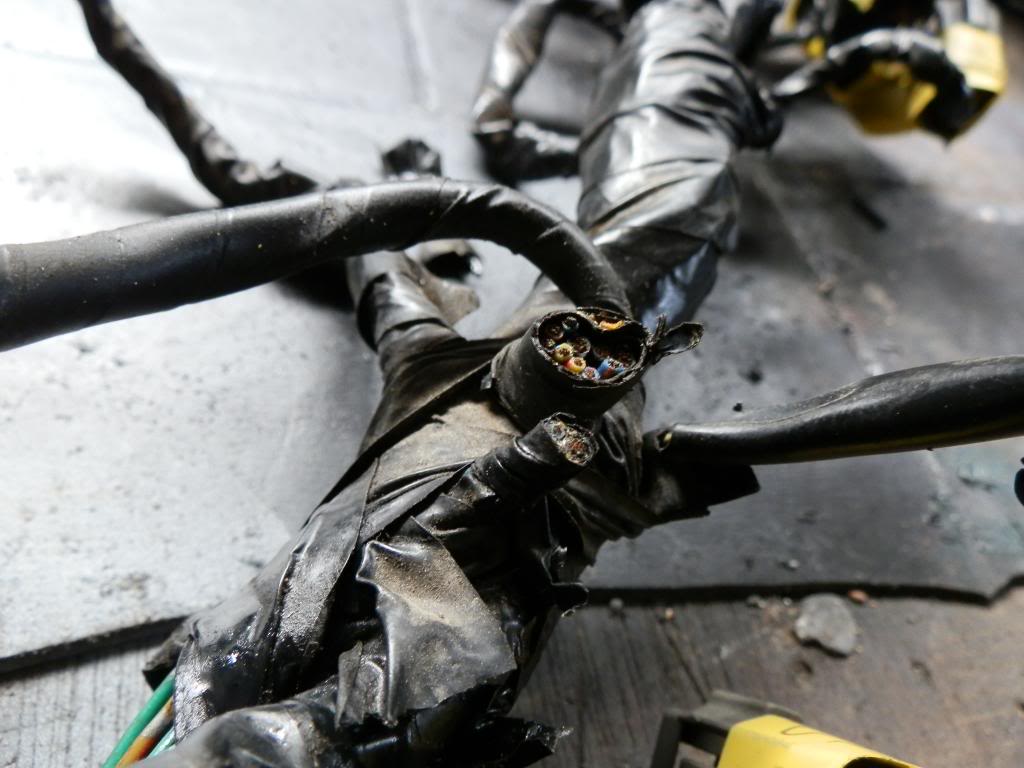
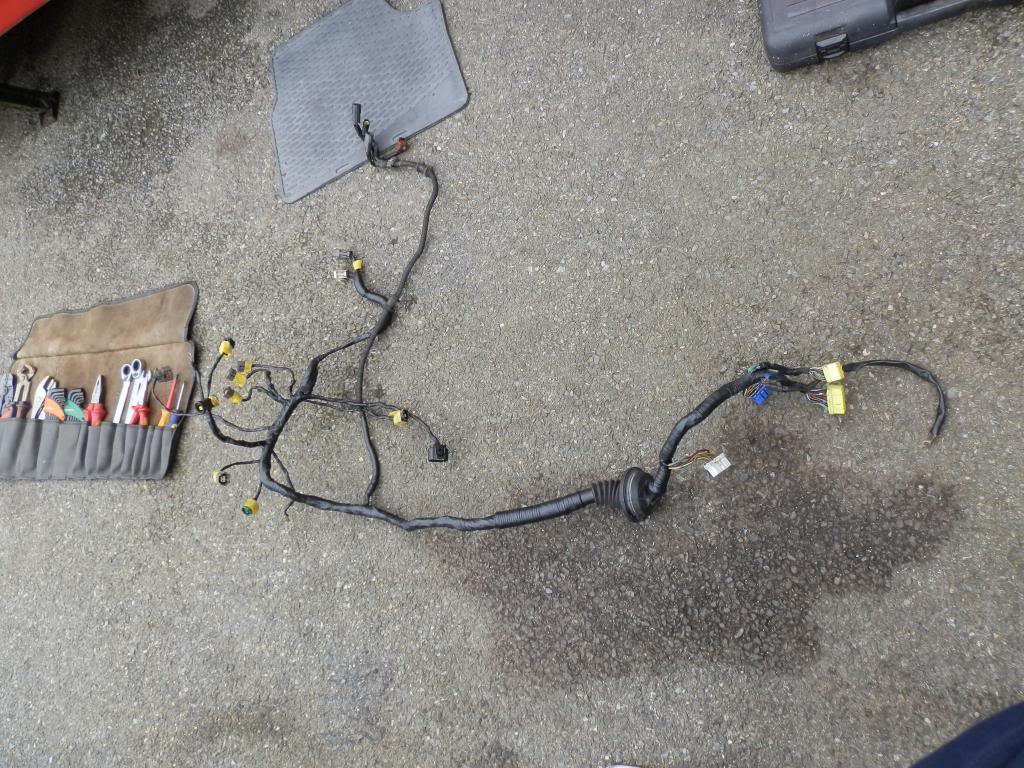
here is the stock engine loom
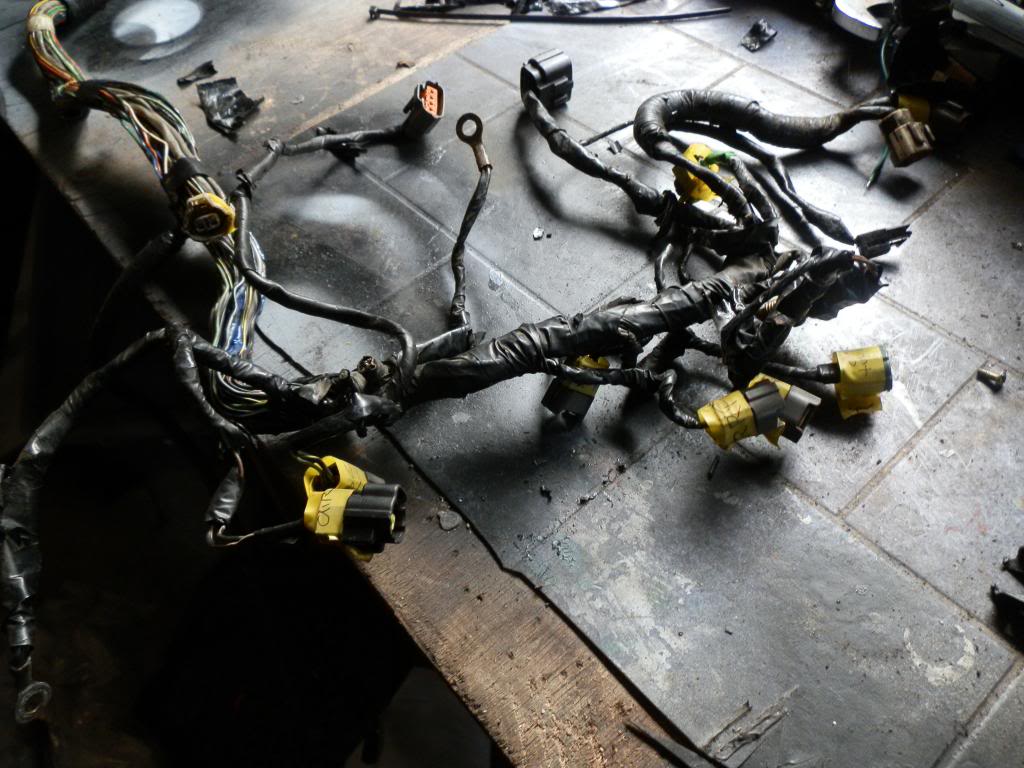
snipped plugs that were for the twin turbo solenoids
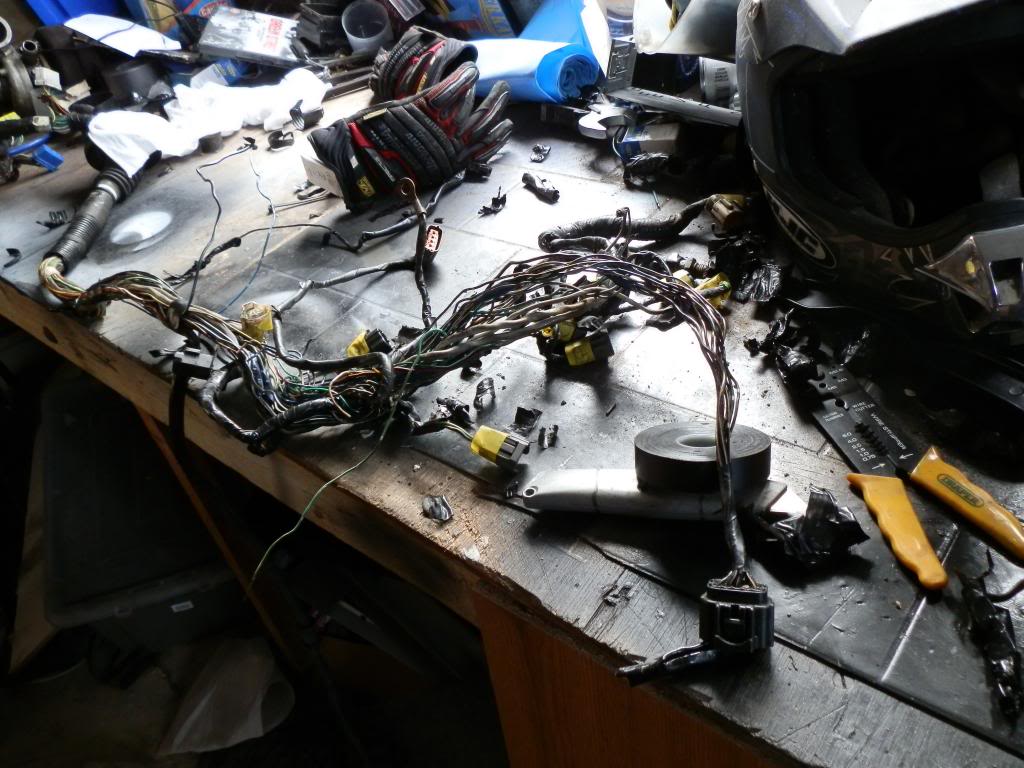
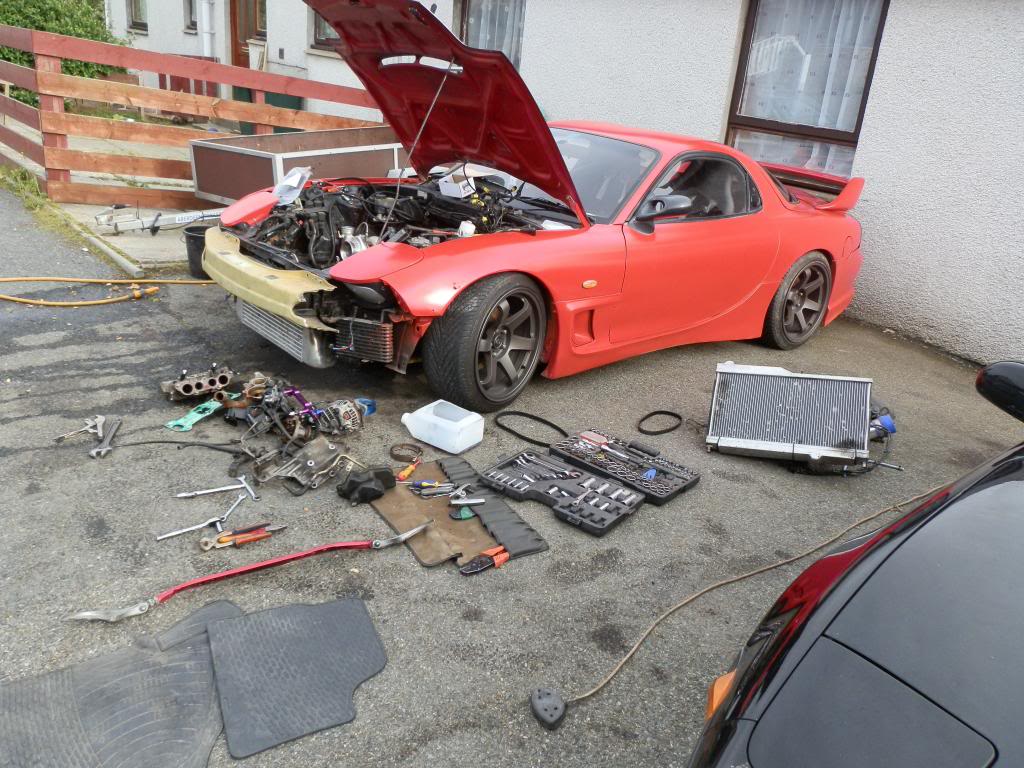
on the bench, let work comence
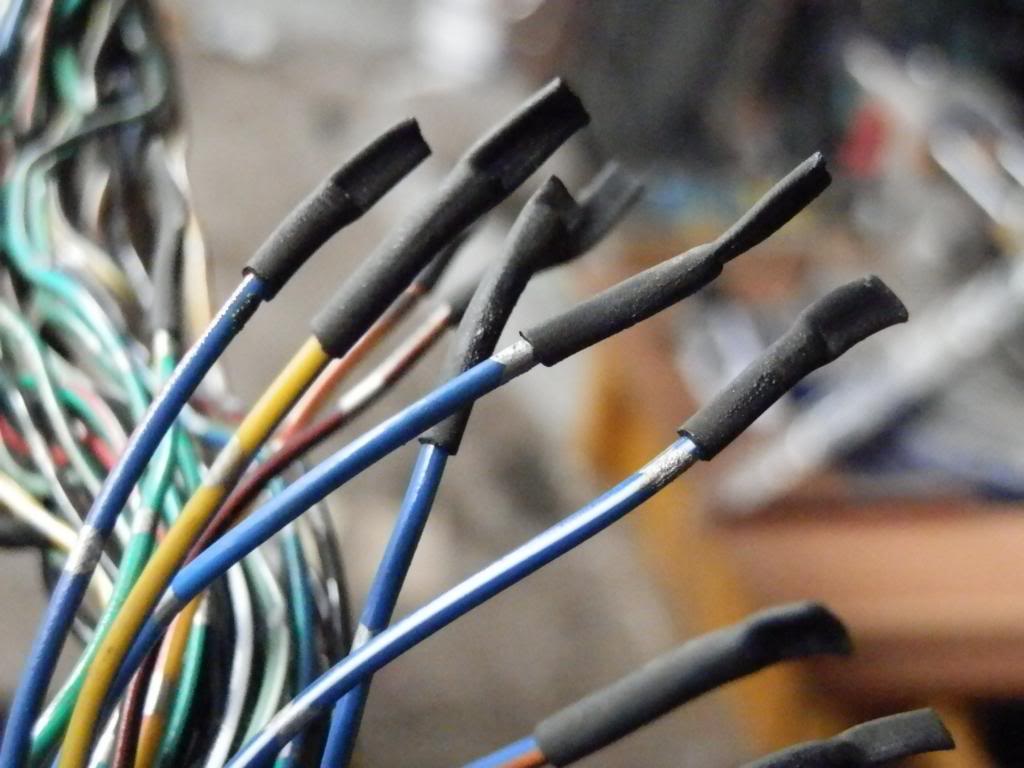
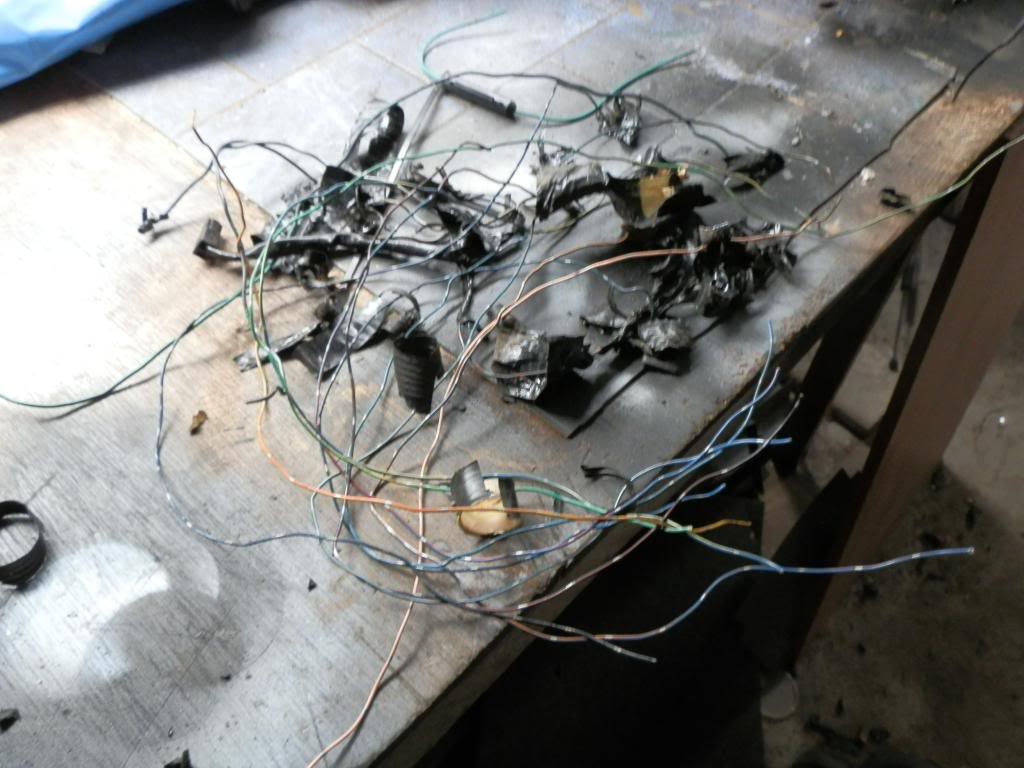
i know its not the most profetional way of trimming the loom but it shall do for me. all wires traced and brought back to inside the car then heat shrinked the snipped ends
some of the leftovers
alll done
im back from offshore now and have been playing with the rx7. ive started stripping down the engine but i cant seem to seperate the engine from gearbox. ive read up on it but as mine is the HKS GD twin plate its a tad diffrent.
so ill say the story with the pictures
here is the stock engine loom
snipped plugs that were for the twin turbo solenoids
on the bench, let work comence
i know its not the most profetional way of trimming the loom but it shall do for me. all wires traced and brought back to inside the car then heat shrinked the snipped ends
some of the leftovers
alll done
04-26-14, 09:01 PM
#90
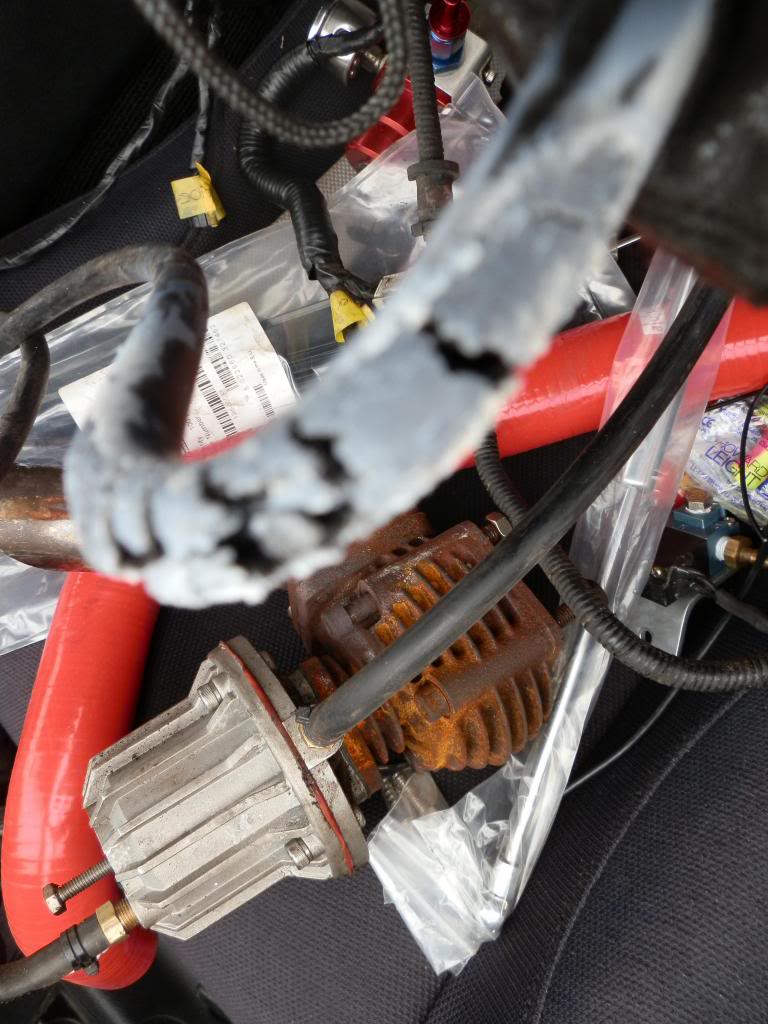
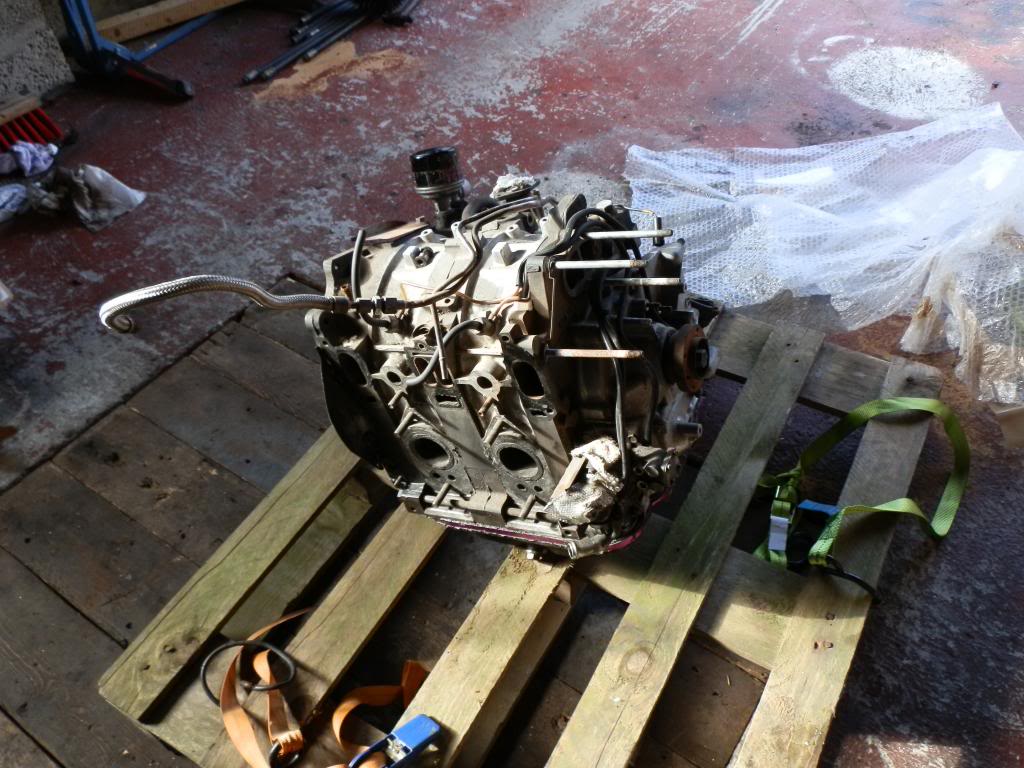
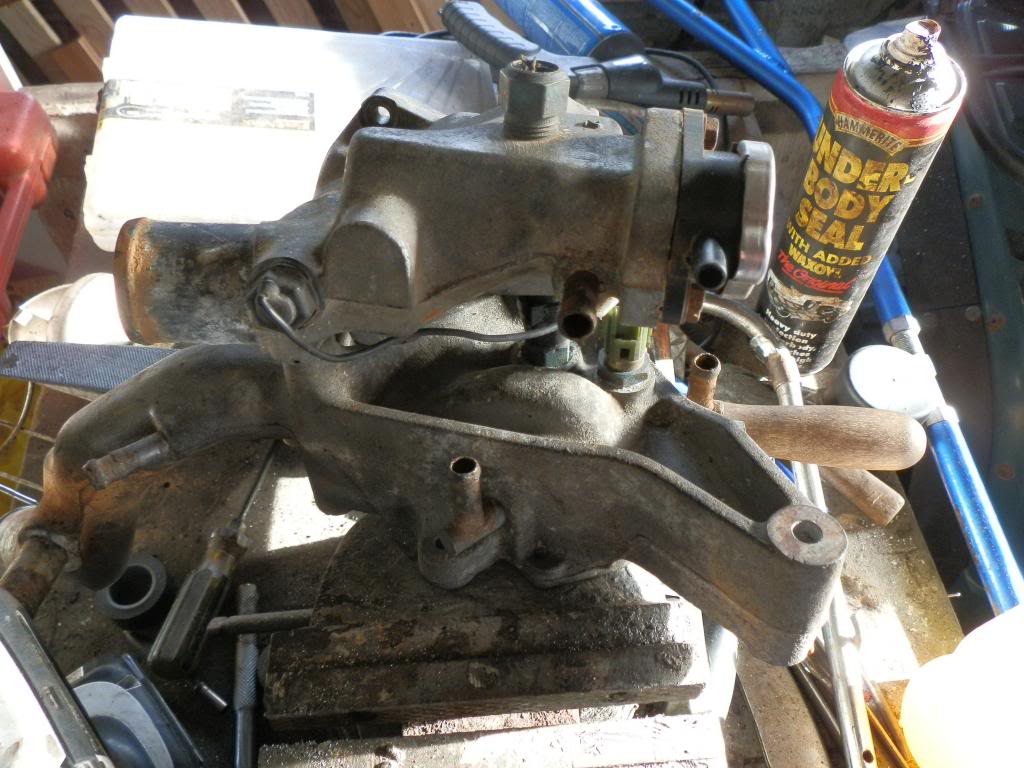
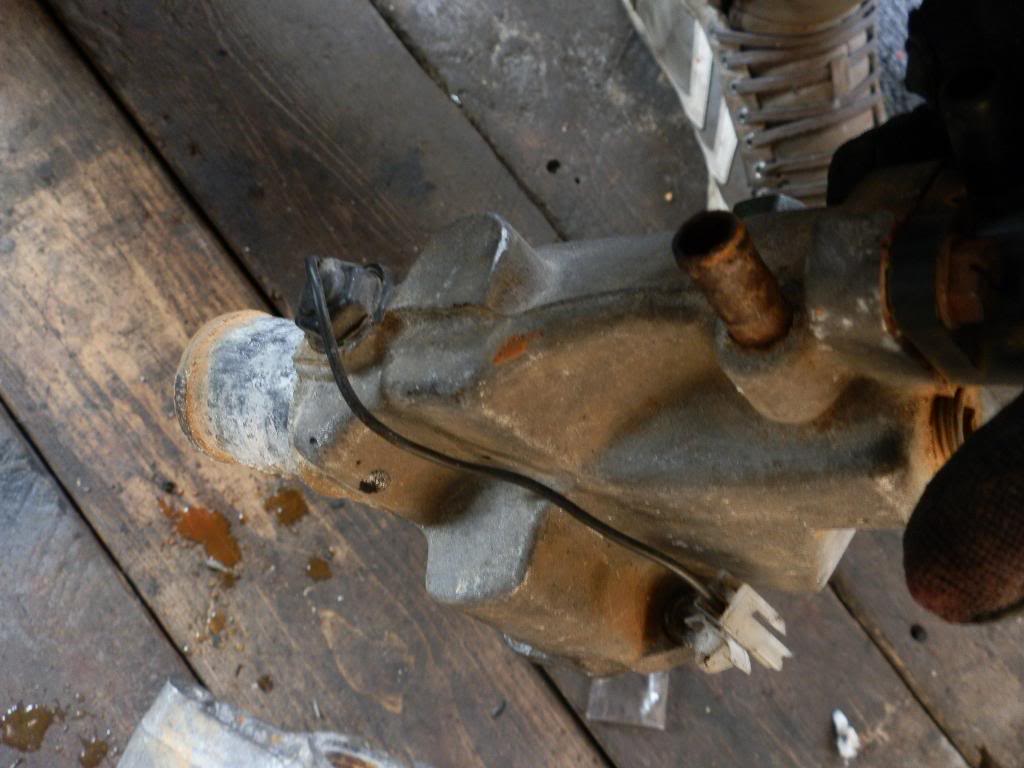
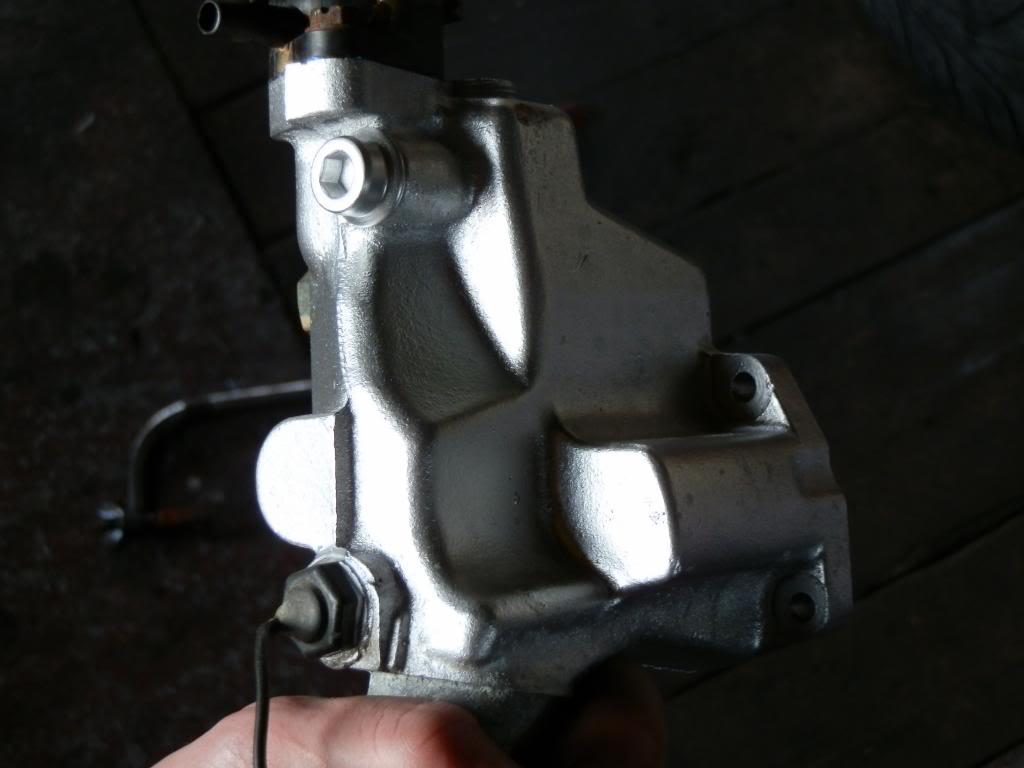
here is what ive taken off today
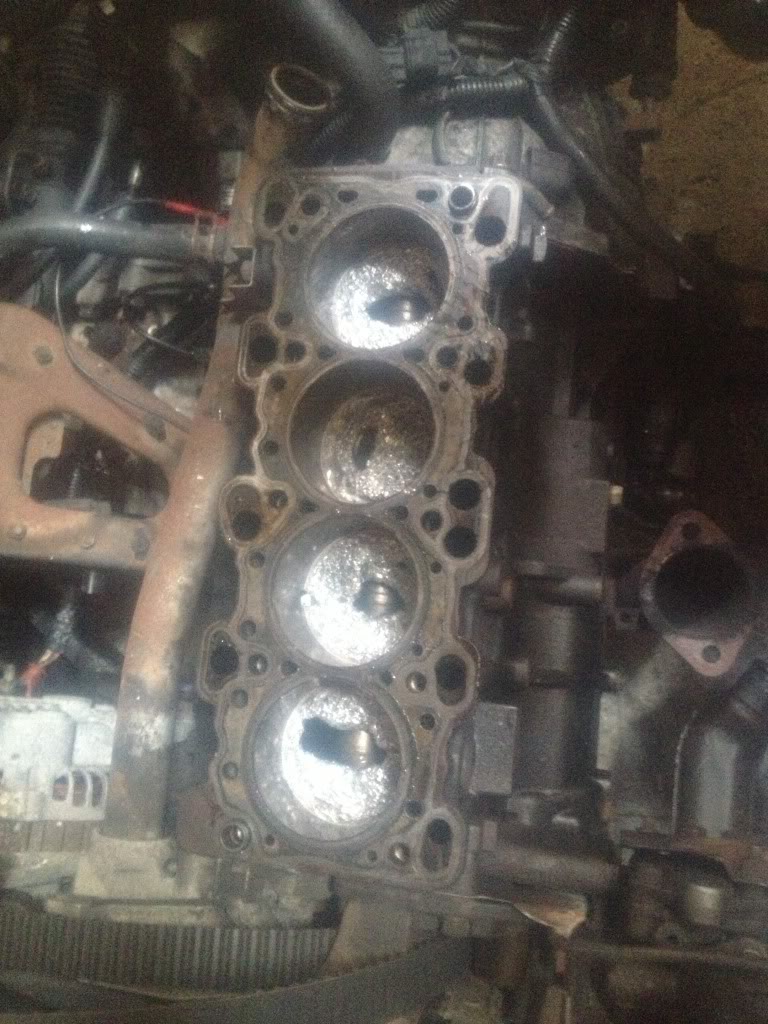
soo here is what caused my engine to blow. the pipe going to the wastegate (lowest port) melted on the downpipe/wastegate and caused it to majorly overboost and die.
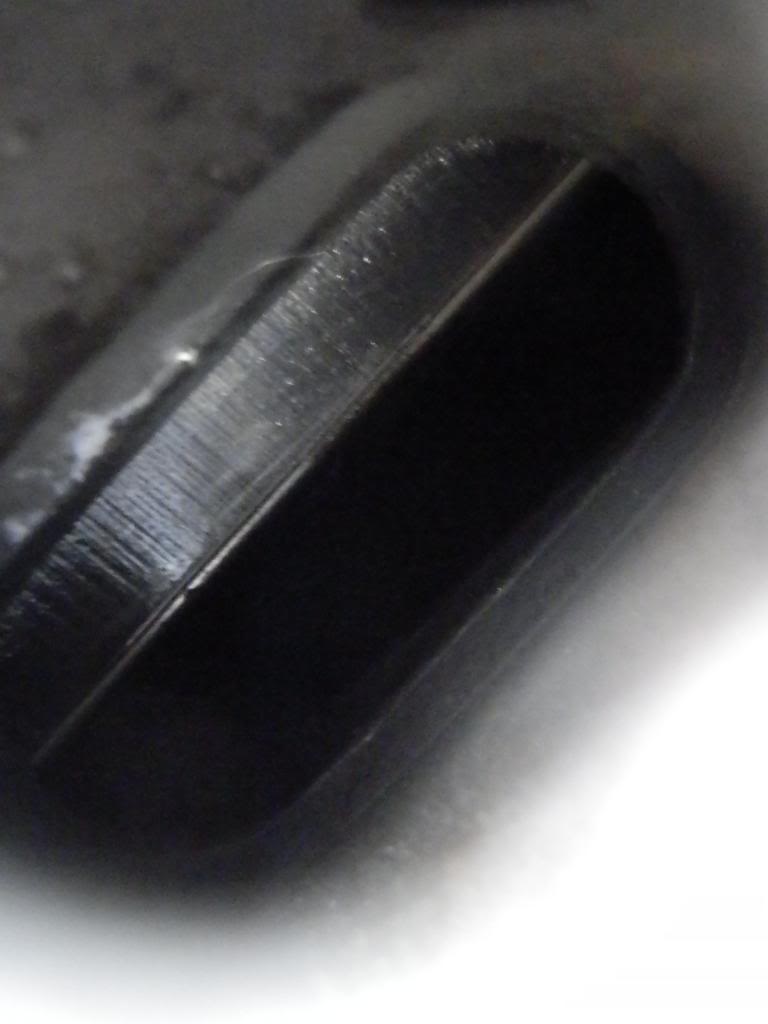
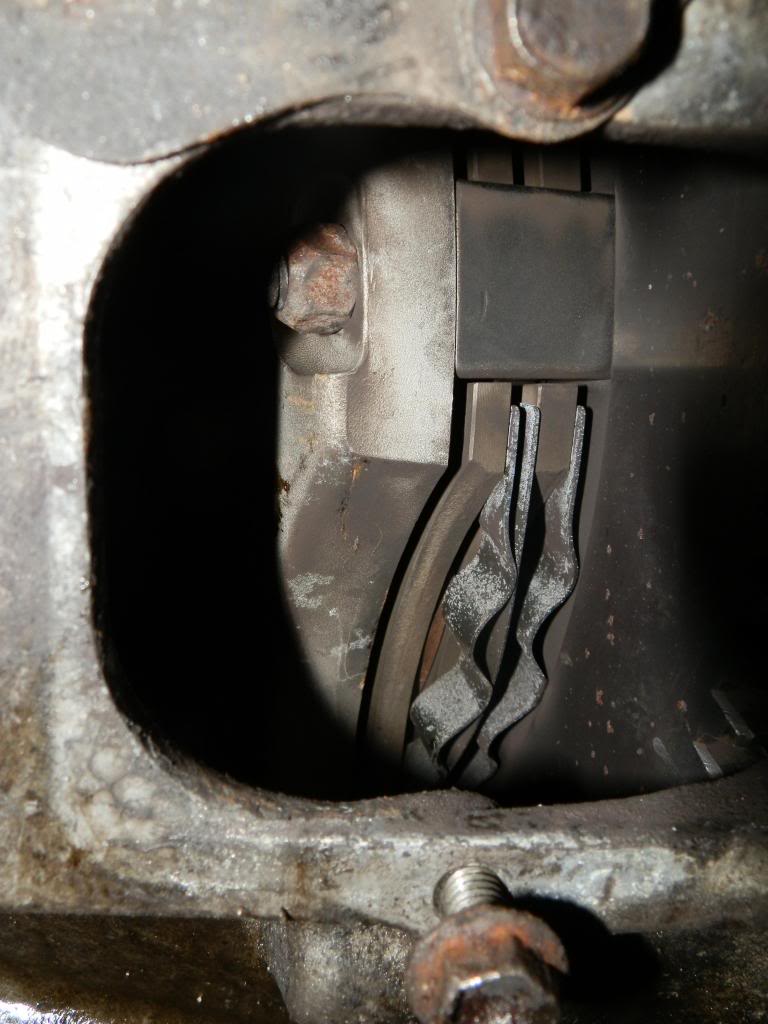
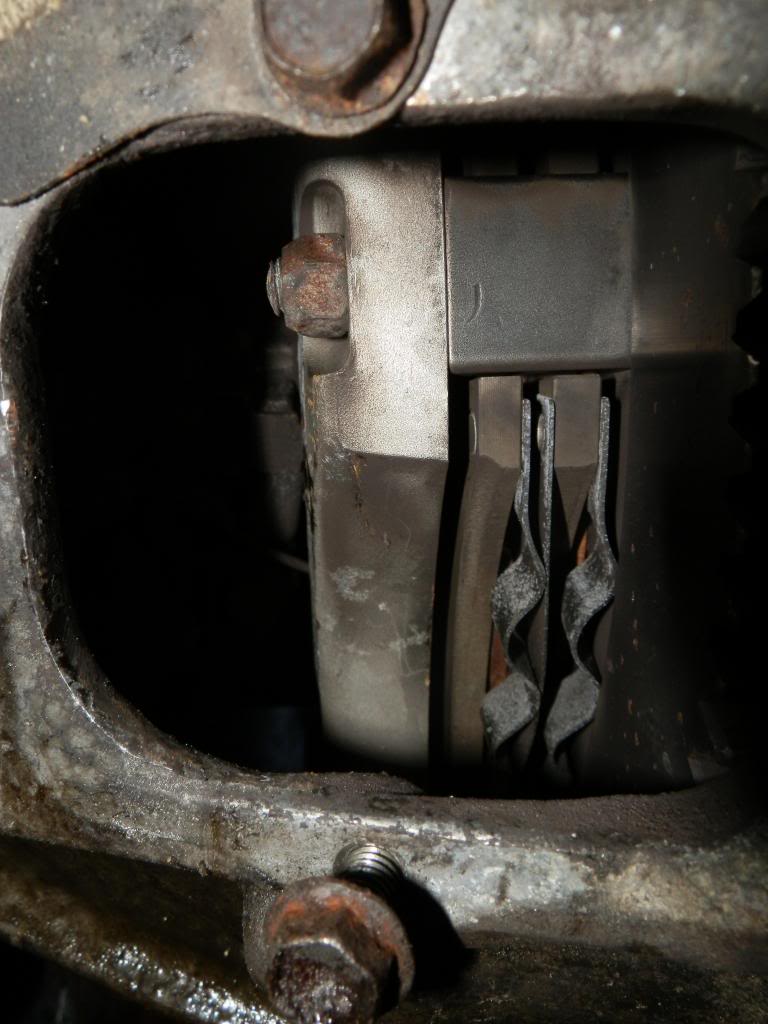
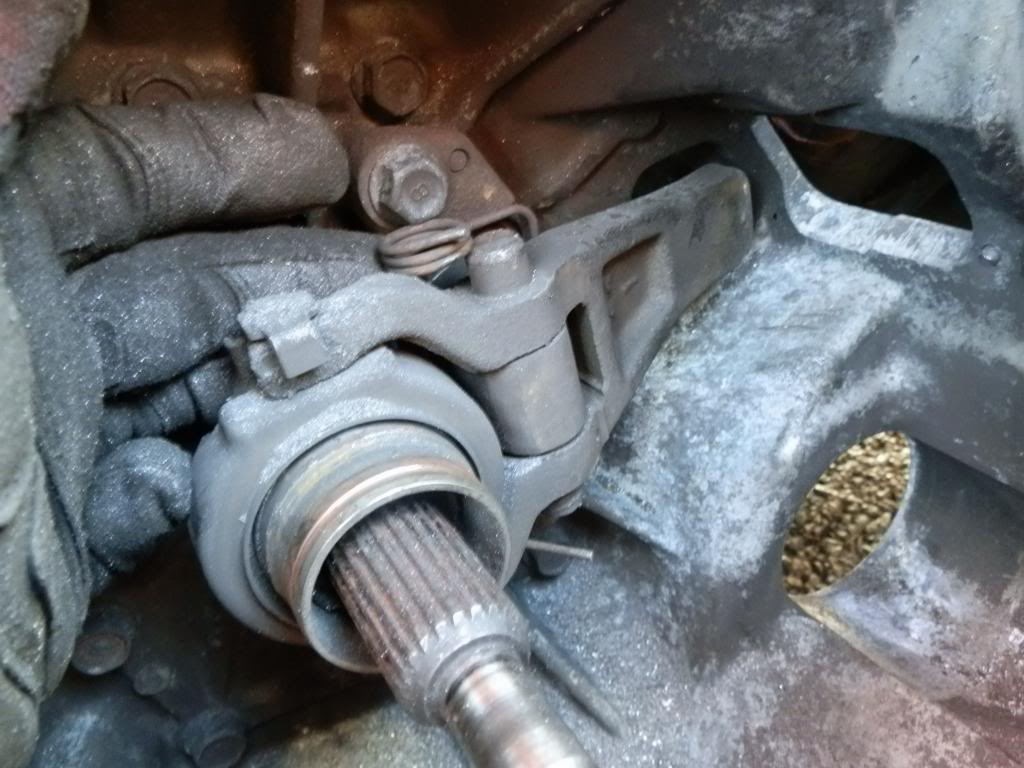
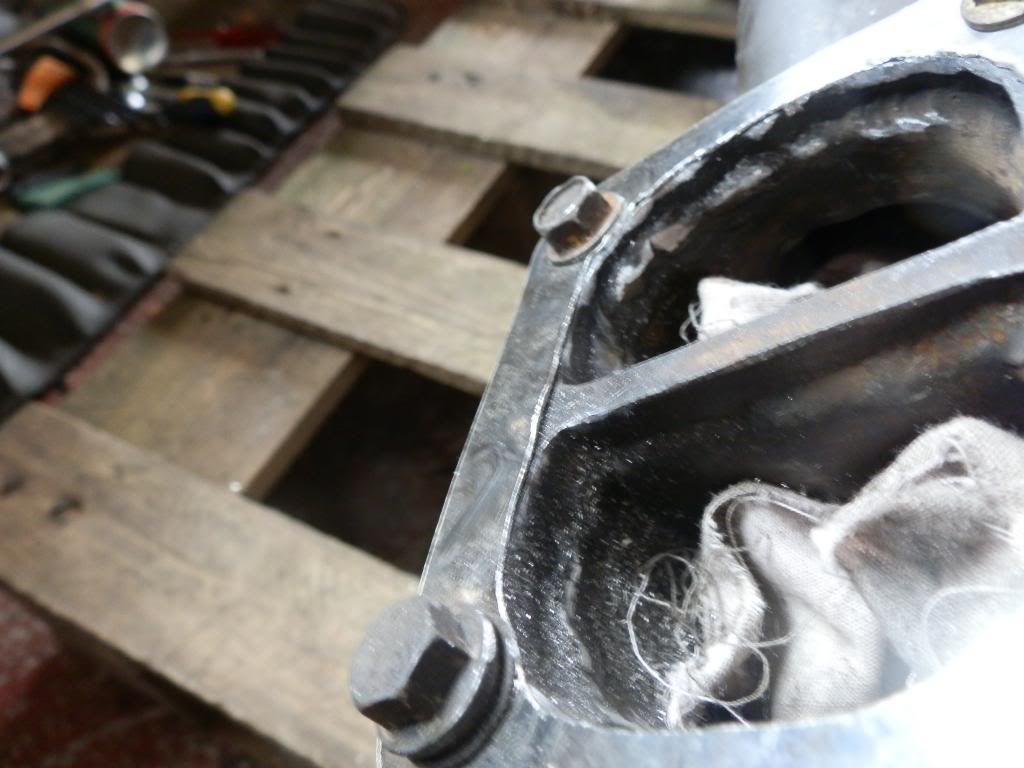
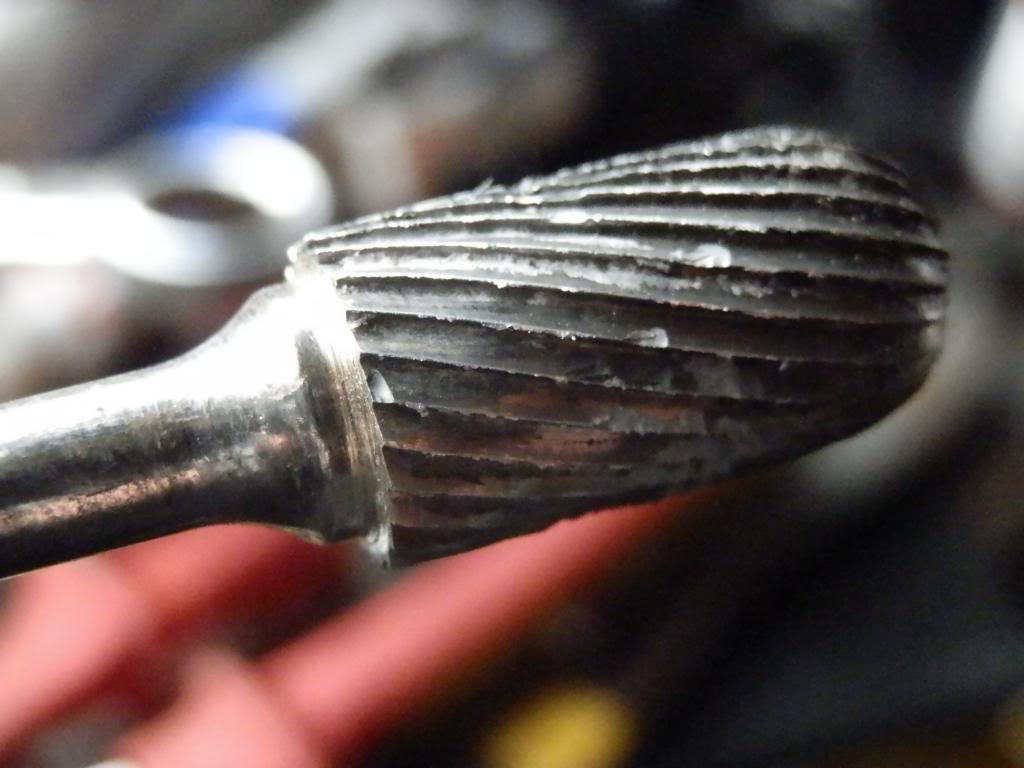
so have a look at this guys. all tips felt smooth with no obvious chips apart from this one in the pic below. do side seals go?
any comments welcome
soo here is what caused my engine to blow. the pipe going to the wastegate (lowest port) melted on the downpipe/wastegate and caused it to majorly overboost and die.
so have a look at this guys. all tips felt smooth with no obvious chips apart from this one in the pic below. do side seals go?
any comments welcome
04-26-14, 09:02 PM
#91
Cheers for the comments guys,
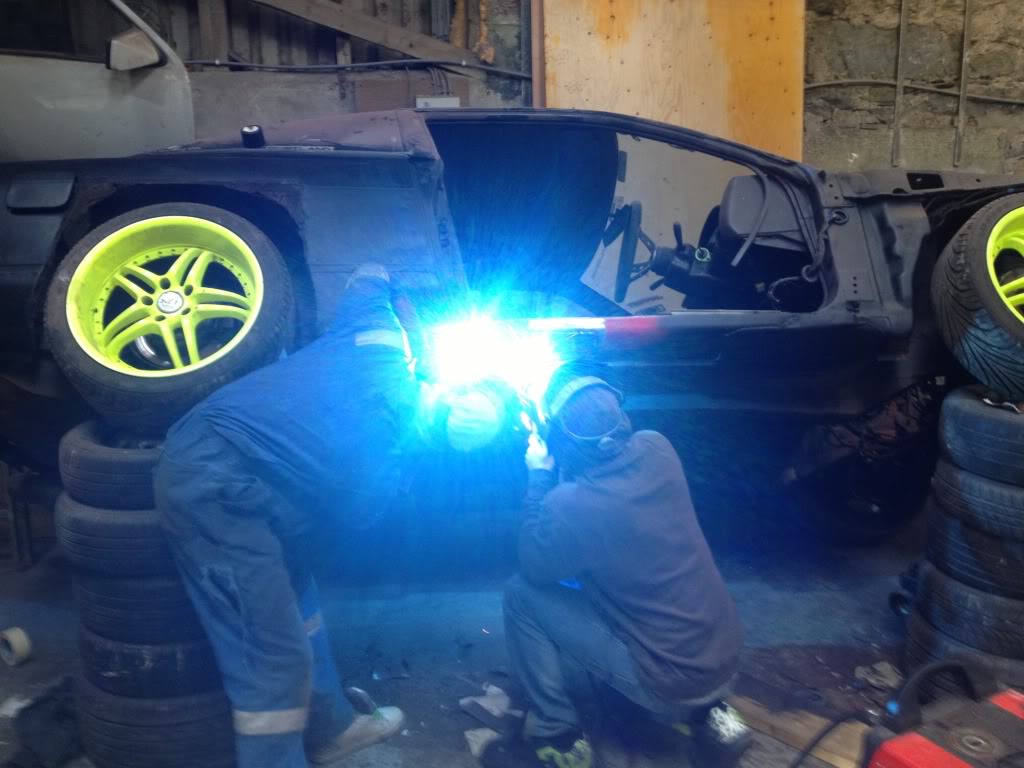
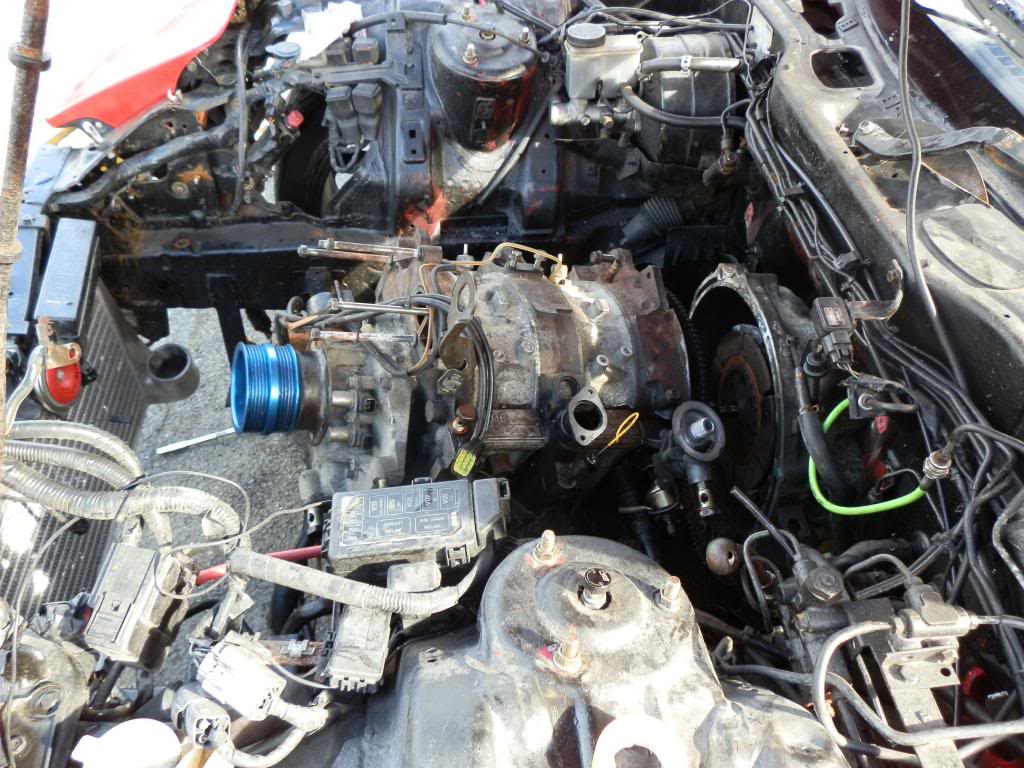
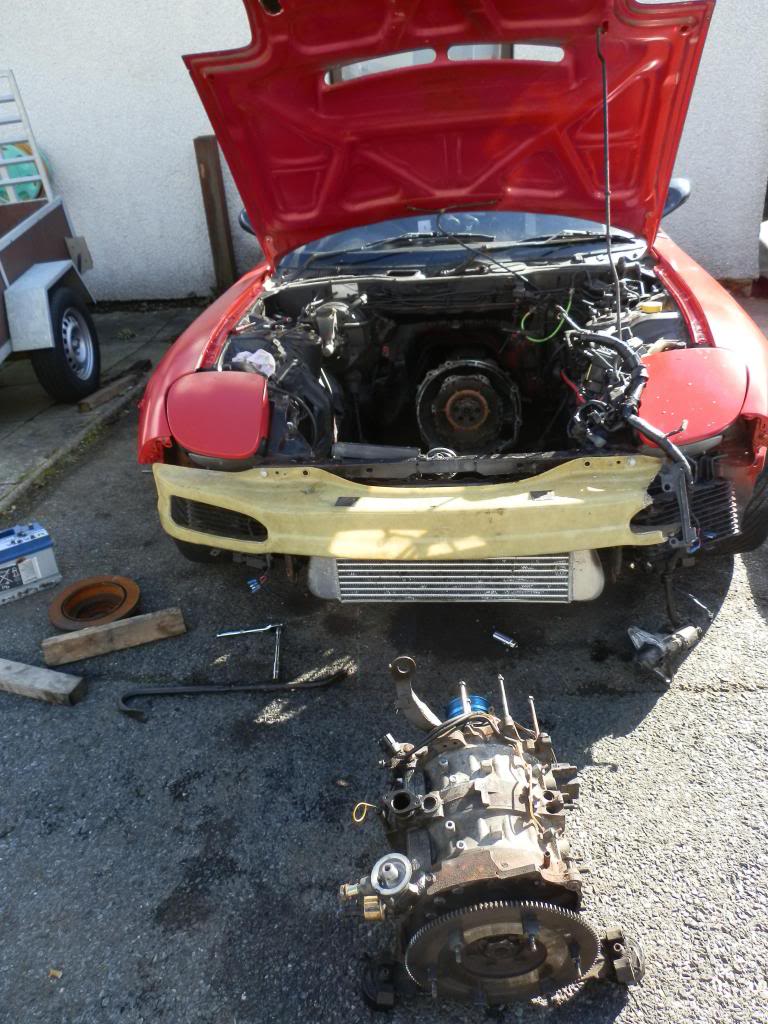
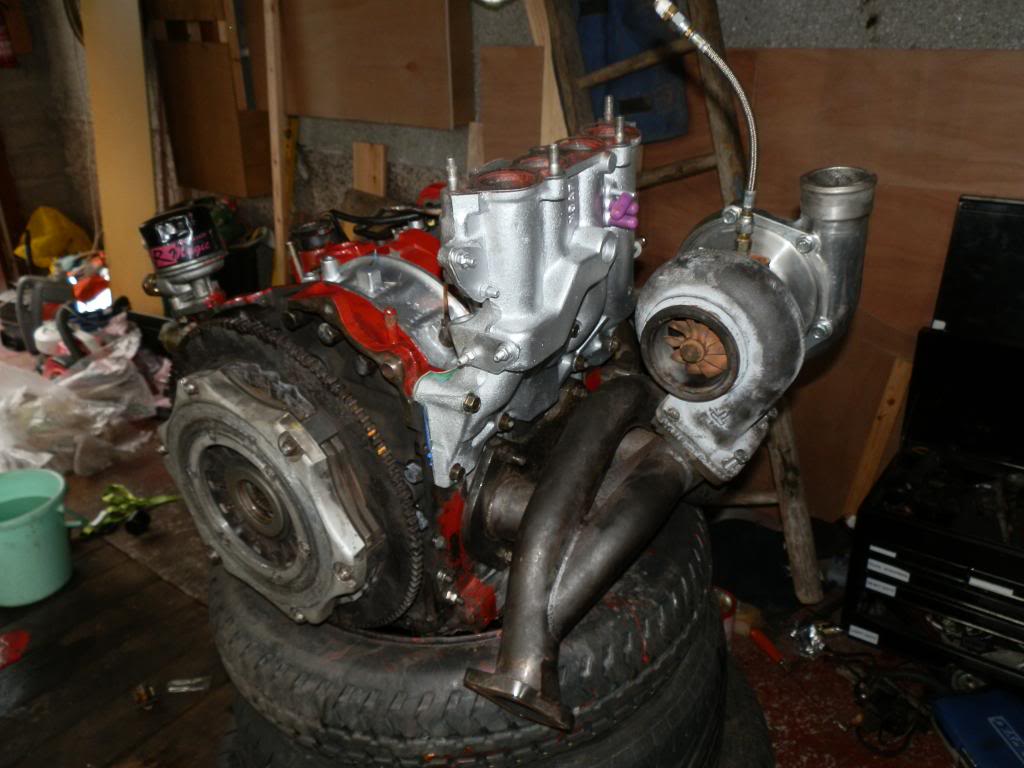
well today was another day, paid for my replacement engine from charlieP thank you mate. street ported block this time so should be a good piece different.
took the engine out myself. no hoists or a help from anyone. (i do not recommend this) it was a FDUKER!
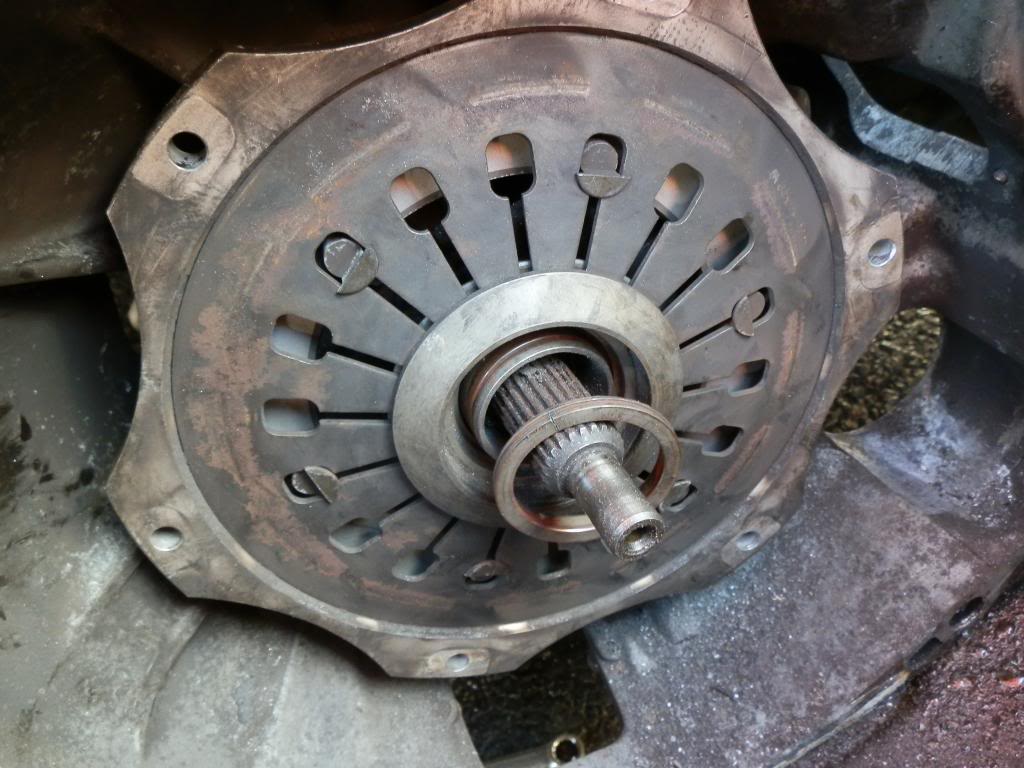
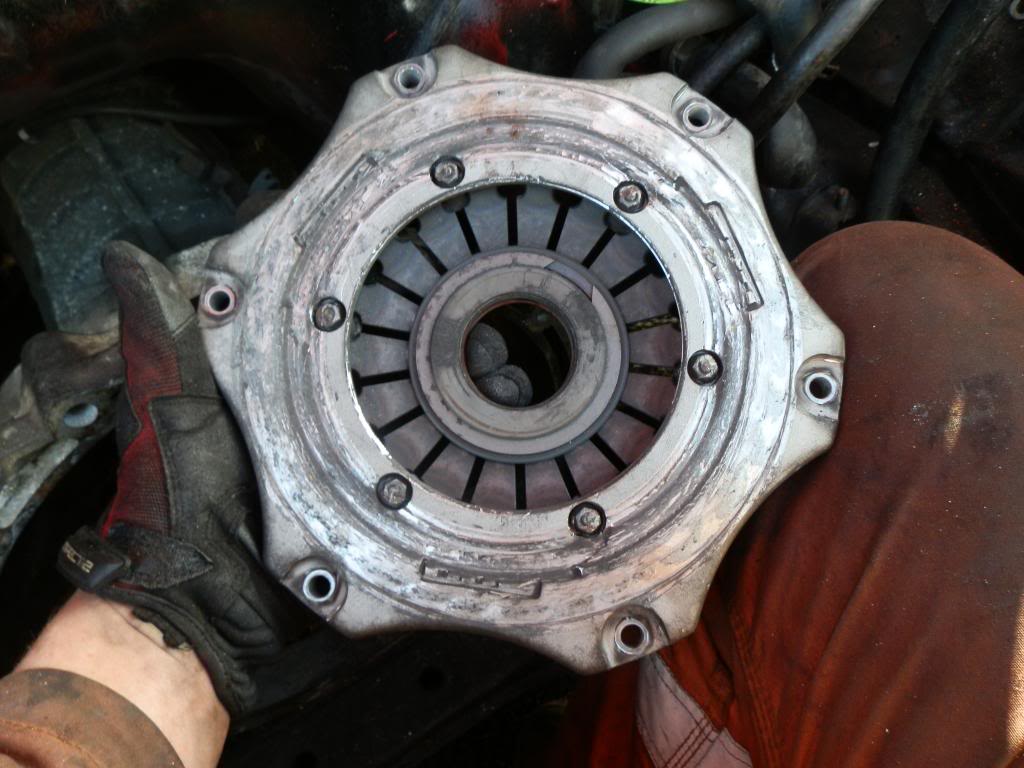
the worst bit was the clutch. its a HKS GD twin plate clutch. the clutch is not like standard so ill make a Wright up as its quite complicated how it all goes together on the thrust bearing. it can only come off by undoing the 6 12mm bolts, plus found a snapped spring that's been broken for years by the looks of things its been hitting the clutch face.
so here's some pics.
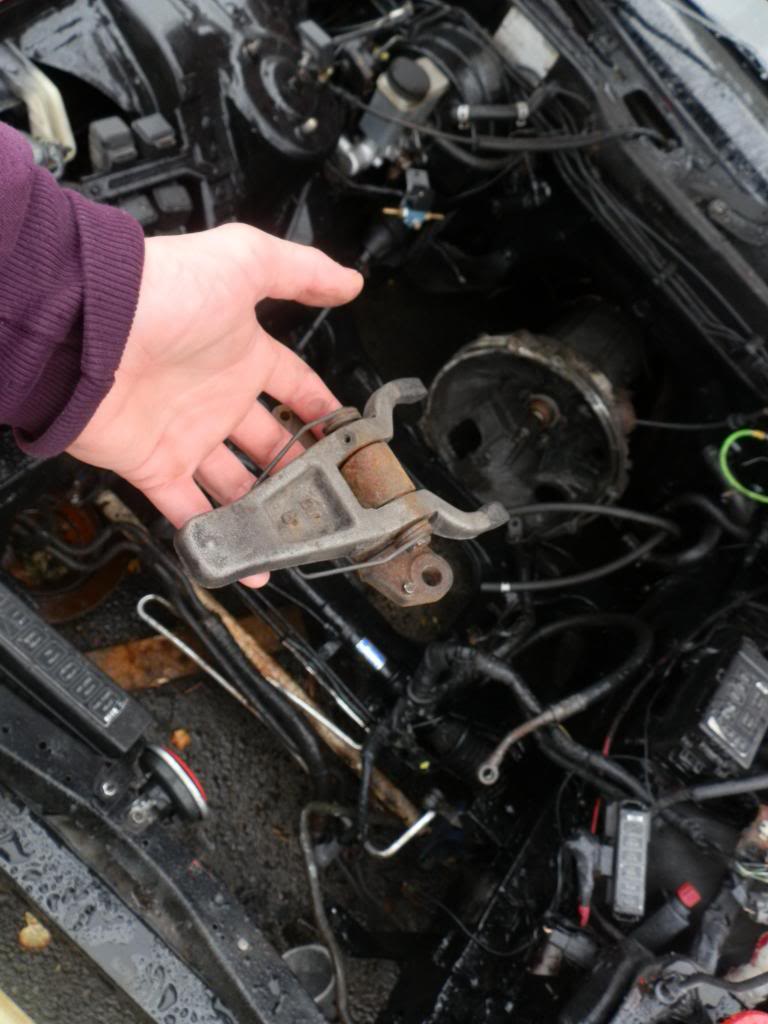
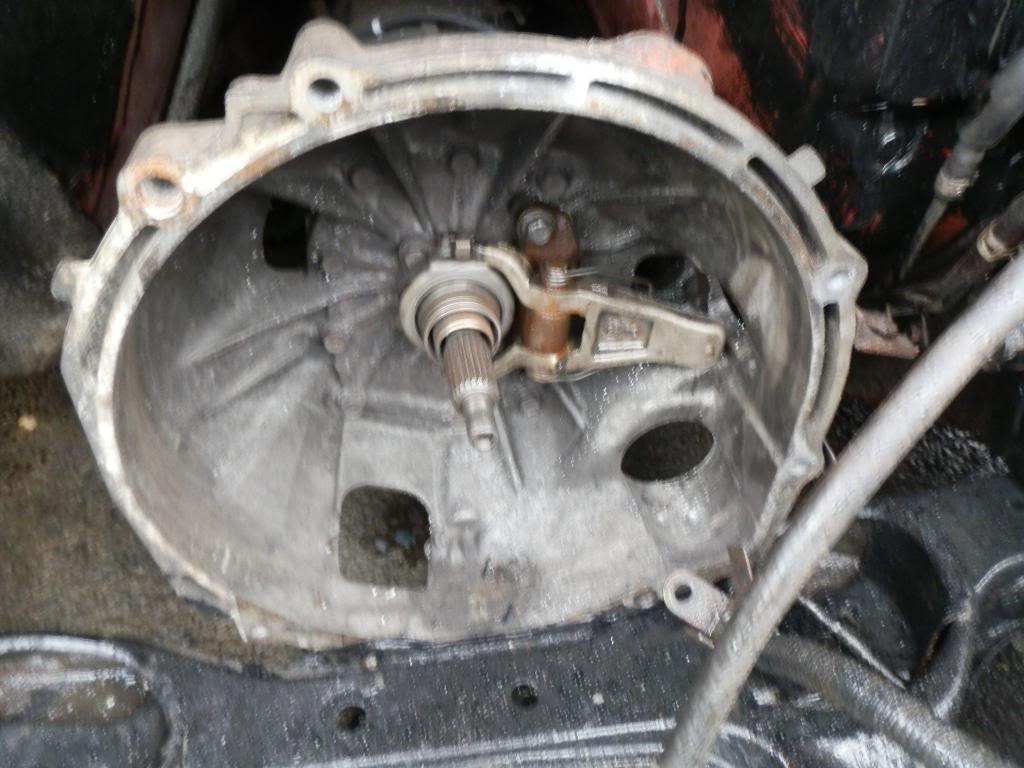
here is the clutch in the gearbox, i couldnt see nor get to the normal thrust bearing retainer.
so i eventually gave up and ondone the x6 12mm bolts from the little inspection hole after some wigiling to move it from the dowels it came off. lifted it out myself. weird that i can hold onto my hole engine. also ive got solid motor mounts that i never knew about

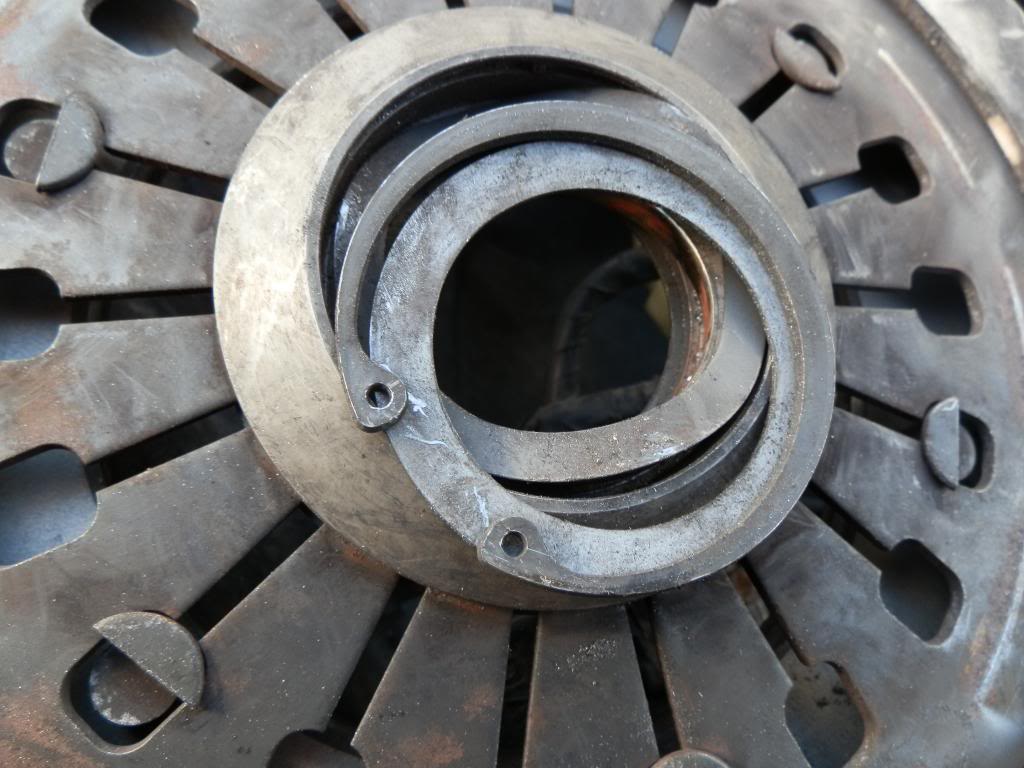
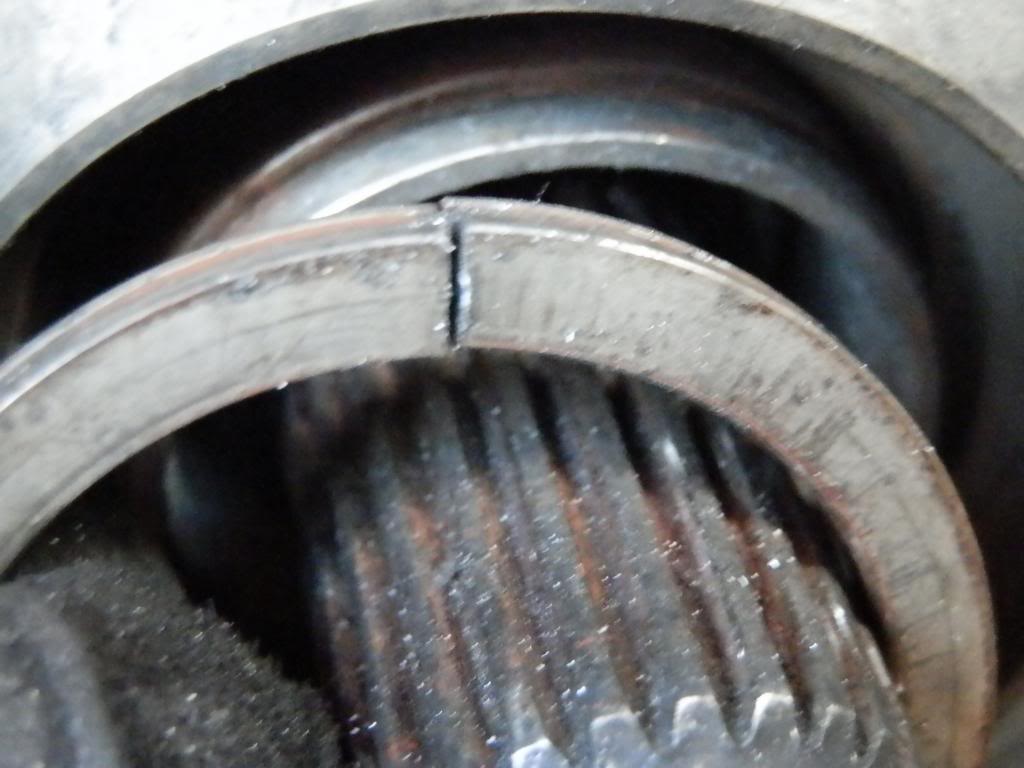
so onto the clutch. its a hks gd twin plate clutch. the thrust bearing is the pull type like normal but the way it holds on is diffrent from stock. once you have all the plates out and your left with the front plate you will see in the centre a circlip. this needs to come out. then if you look down the spindle you will see a tapered spacer/retainer with a slight split in it. this retainer holds the clutch onto the thrust bearing so becarfull splitting it. i used a terminal screw driver and picked it out. THEN it will all slide out. this is the only way to seperate this clutch and gearbox. putting the clutch on is easy. the retainer simply pushes on and clips over the ledge on the thrust bearing so you can infact put the engine and clutch back on the gearbox as one.
as always all comments welcome
well today was another day, paid for my replacement engine from charlieP thank you mate. street ported block this time so should be a good piece different.
took the engine out myself. no hoists or a help from anyone. (i do not recommend this) it was a FDUKER!
the worst bit was the clutch. its a HKS GD twin plate clutch. the clutch is not like standard so ill make a Wright up as its quite complicated how it all goes together on the thrust bearing. it can only come off by undoing the 6 12mm bolts, plus found a snapped spring that's been broken for years by the looks of things its been hitting the clutch face.
so here's some pics.
here is the clutch in the gearbox, i couldnt see nor get to the normal thrust bearing retainer.
so i eventually gave up and ondone the x6 12mm bolts from the little inspection hole after some wigiling to move it from the dowels it came off. lifted it out myself. weird that i can hold onto my hole engine. also ive got solid motor mounts that i never knew about
so onto the clutch. its a hks gd twin plate clutch. the thrust bearing is the pull type like normal but the way it holds on is diffrent from stock. once you have all the plates out and your left with the front plate you will see in the centre a circlip. this needs to come out. then if you look down the spindle you will see a tapered spacer/retainer with a slight split in it. this retainer holds the clutch onto the thrust bearing so becarfull splitting it. i used a terminal screw driver and picked it out. THEN it will all slide out. this is the only way to seperate this clutch and gearbox. putting the clutch on is easy. the retainer simply pushes on and clips over the ledge on the thrust bearing so you can infact put the engine and clutch back on the gearbox as one.
as always all comments welcome
04-26-14, 09:02 PM
#92
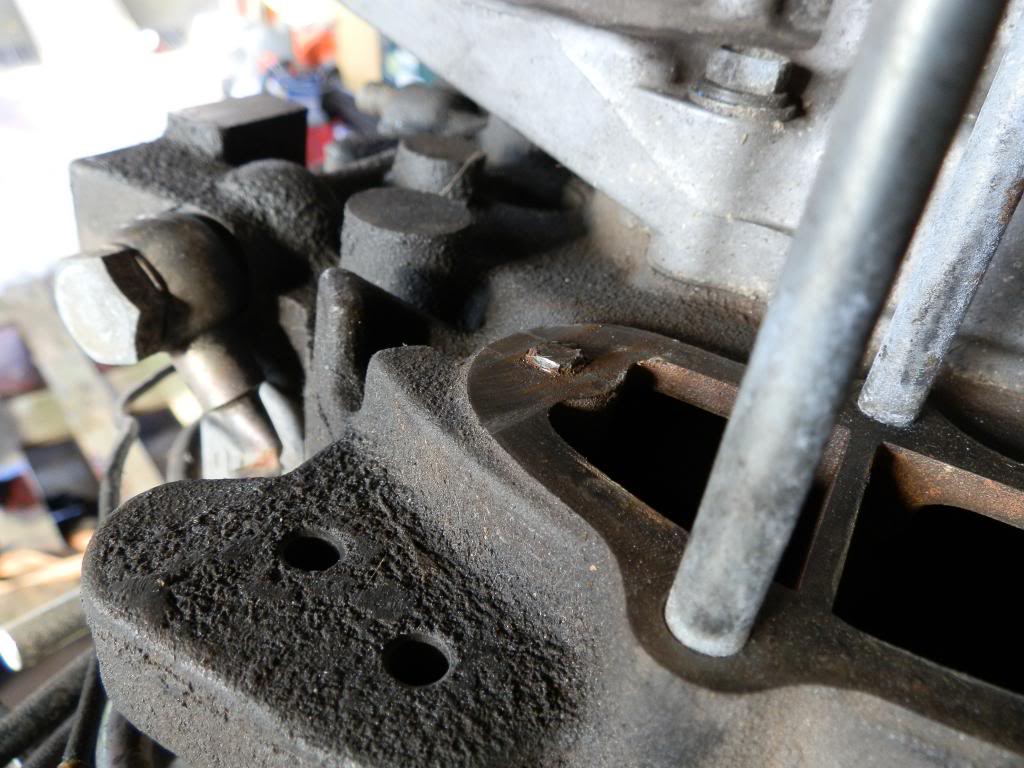
i then seen some damage to the front plate
on further investigation i found that the clutch fork spring had broken. and i mean a long time ago! you can see the wear pictures. i need a new spring or fork assy, anyone got one?
i then de-greased the bay and painted it with some black hamerite to shetland proof it. (hourendous weather)
so im just waiting on the engine and trying to find a clutch fork assy,
04-26-14, 09:03 PM
#93
hi guys.
been a busy bee. bought a HKS TWIN POWER ive been looking for one for adges.
also my engine came
here is some pictures
this is where i live just now. Shetland is a beutifull place although im looking forward to moving down the road to perth/livingston


ive also been helping my pal put a nice single turbo on his car. hks t51r on his supra. its a nice motor but its going to blow up most likely. it will produce too much power for an un cracked engine
and the best bit.
been a busy bee. bought a HKS TWIN POWER ive been looking for one for adges.
also my engine came
here is some pictures
this is where i live just now. Shetland is a beutifull place although im looking forward to moving down the road to perth/livingston
ive also been helping my pal put a nice single turbo on his car. hks t51r on his supra. its a nice motor but its going to blow up most likely. it will produce too much power for an un cracked engine
and the best bit.
04-26-14, 09:04 PM
#94
engine came
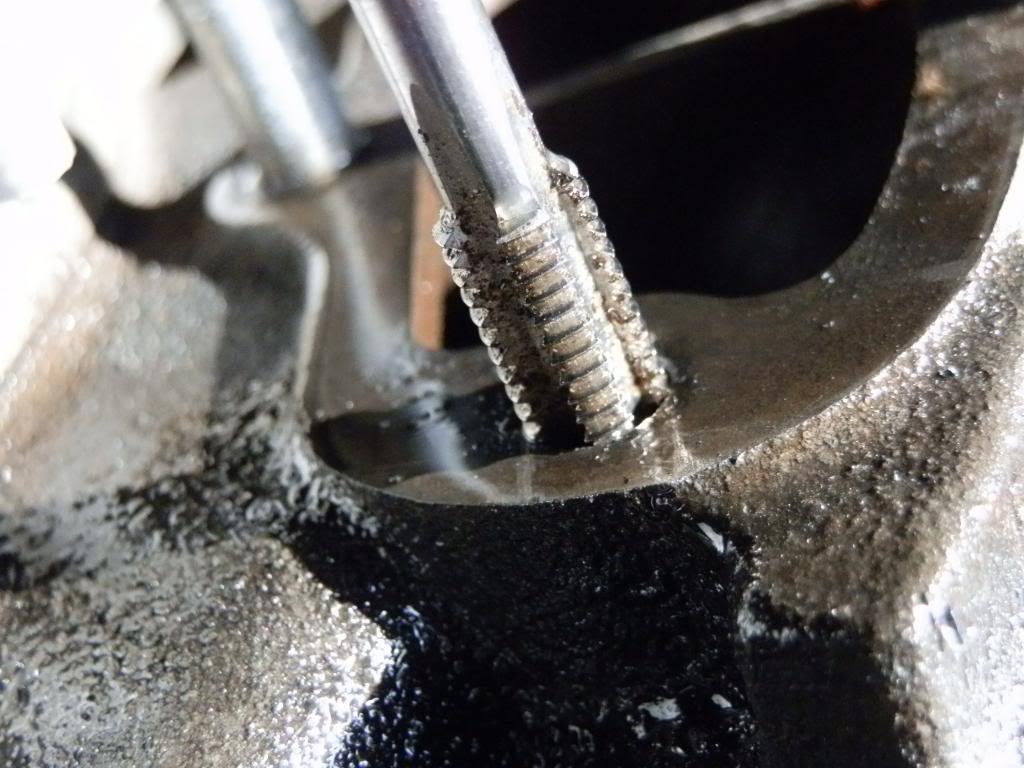
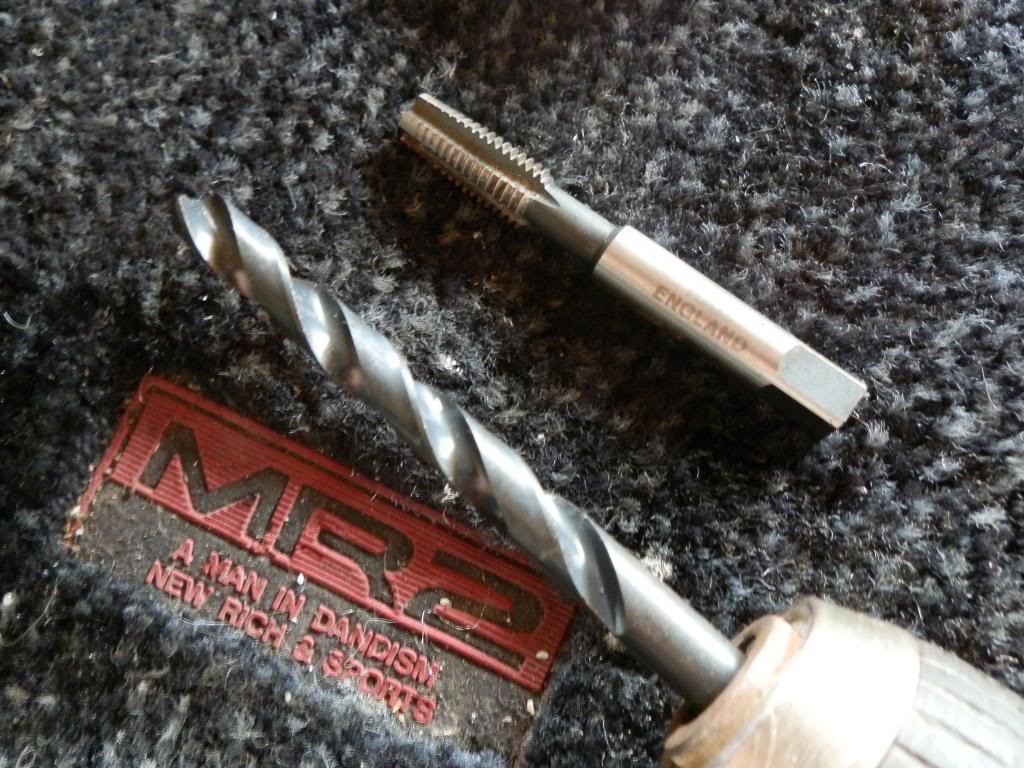
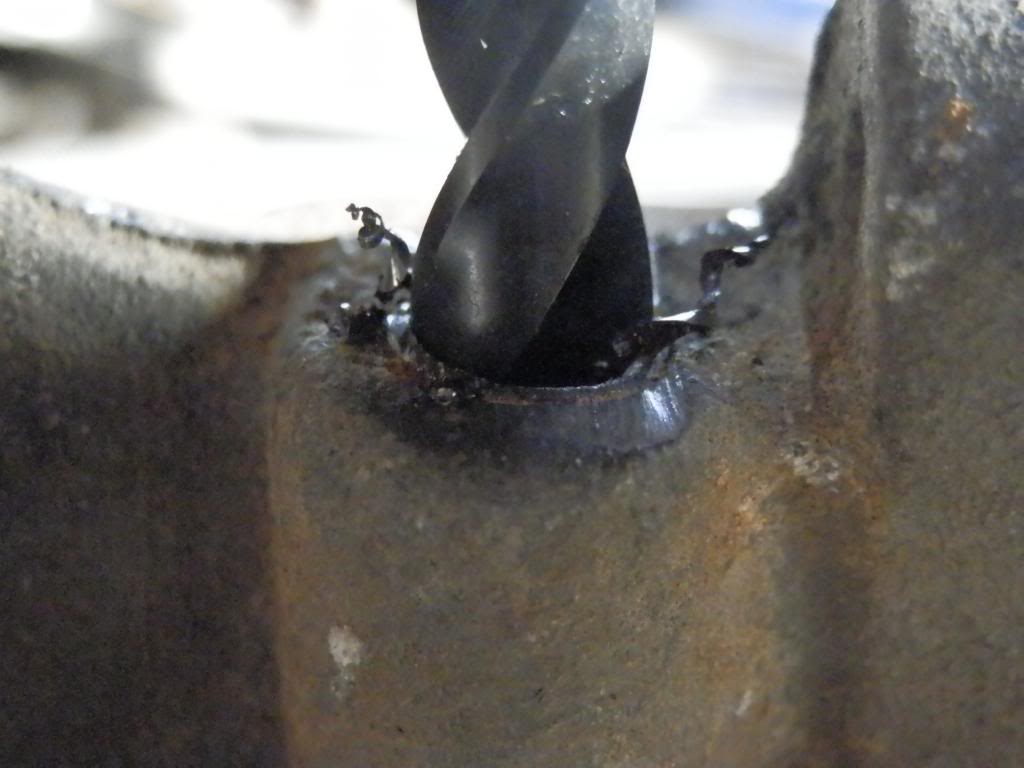
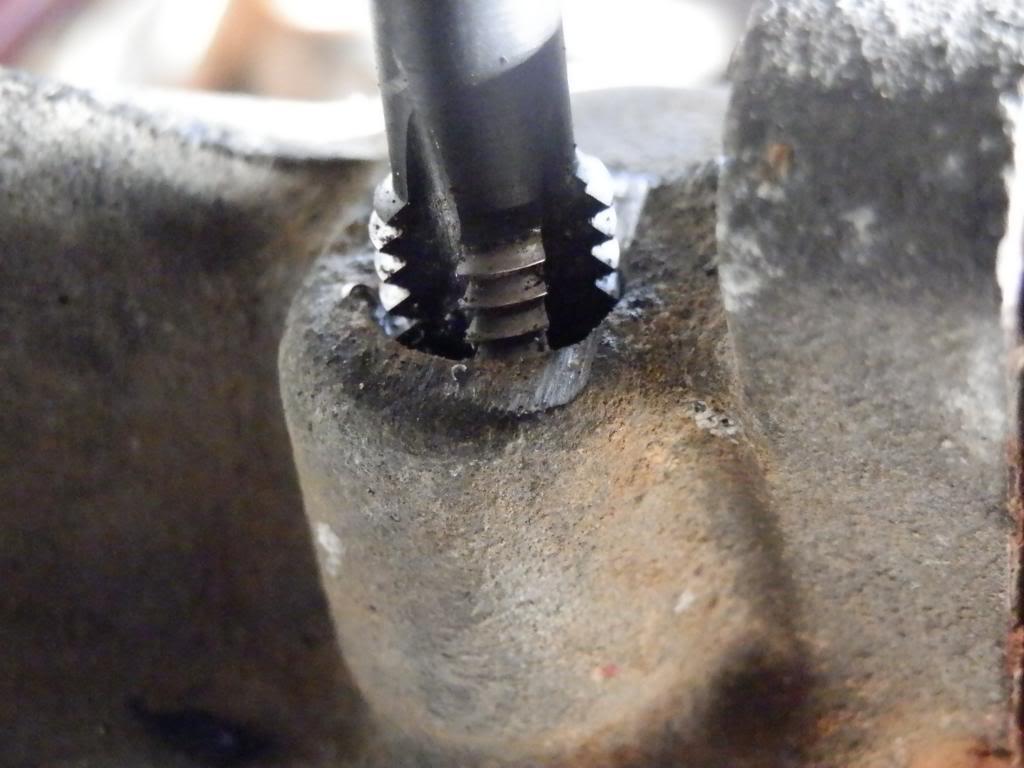
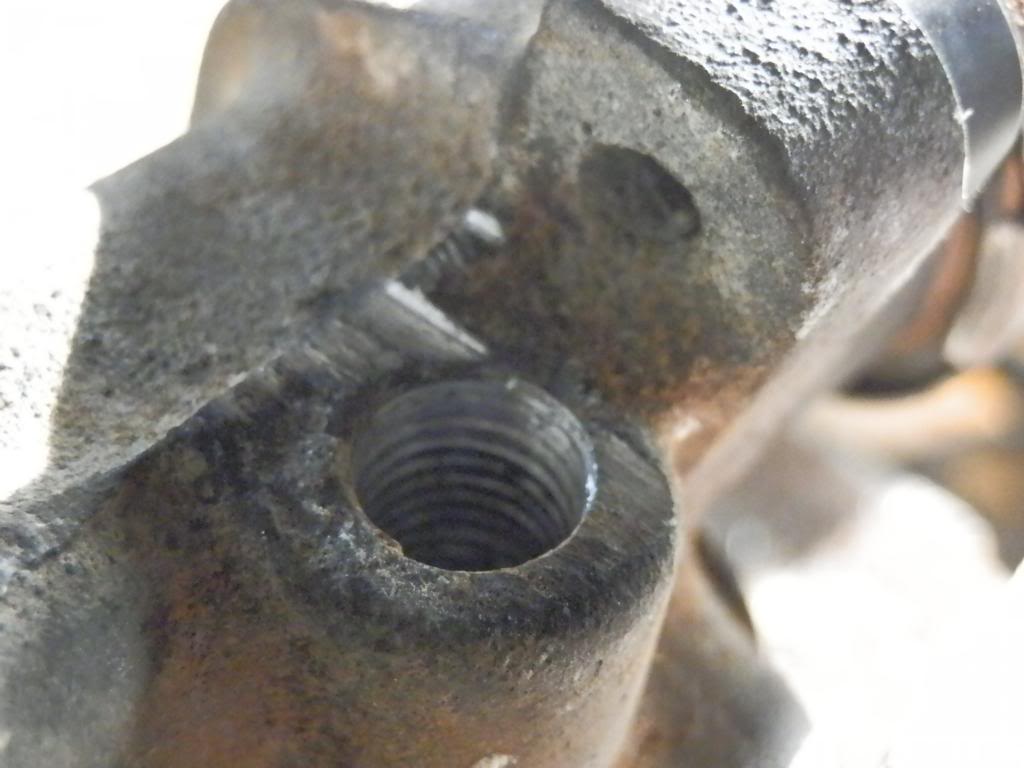
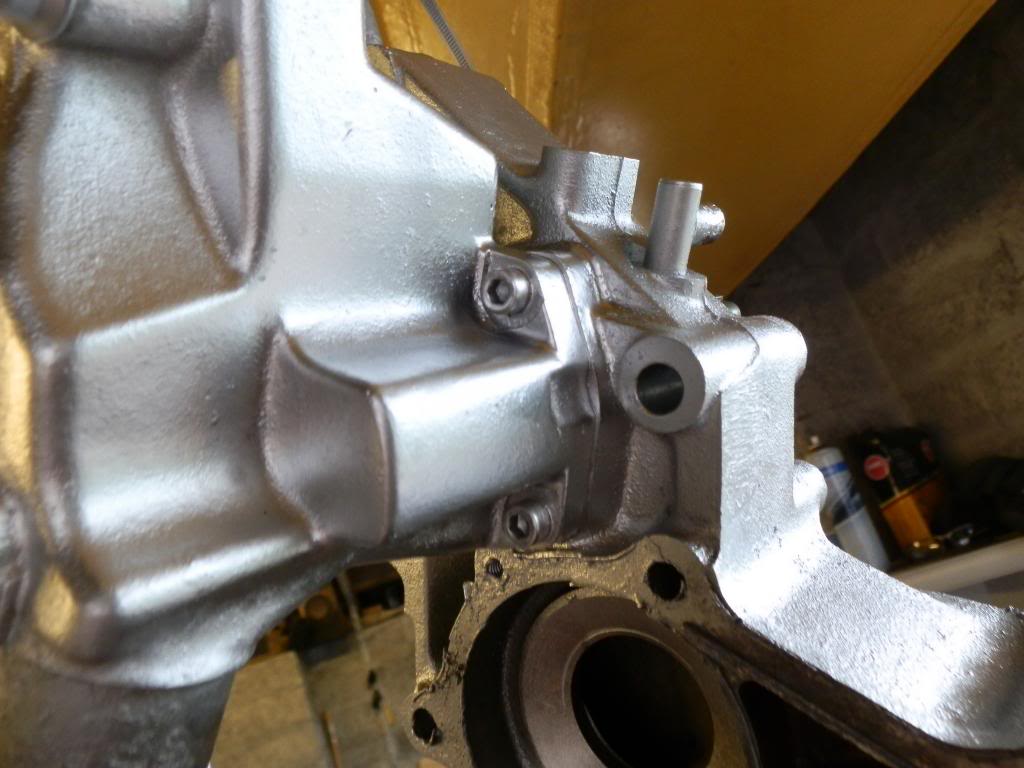
after inspecting it a bolt had been sheared off in the block. i just drilled it and re-tapped it.

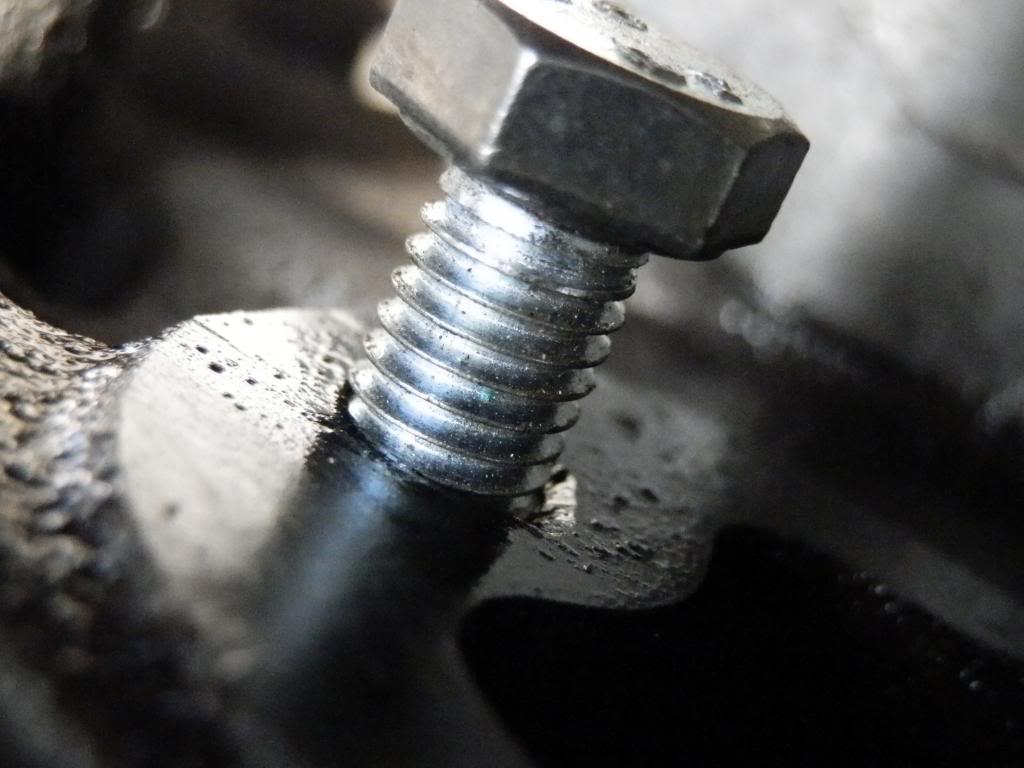
i then gave it a clean then painted it a bit then fitted some parts. waiting for a new waterpump to come as mine had a slight leak
still waiting for my clutch fork before i can put the engine back in.
exiting stuff
update more soon
after inspecting it a bolt had been sheared off in the block. i just drilled it and re-tapped it.
i then gave it a clean then painted it a bit then fitted some parts. waiting for a new waterpump to come as mine had a slight leak
still waiting for my clutch fork before i can put the engine back in.
exiting stuff
update more soon

 04-26-14, 09:06 PM
#97
Yeah no worries man, just interested get the new one in first yes definately :thumbsup:
The 19mm on the front isn't as bad as the rear. Just heat it up first and it whizzes off Same withthe rear. And it's a 54mm not 53mm
If you dont have a torque gun with about 700nm torque on it, then it will be difficult to hold the engine in place steady by using a breaker bar, especially if you dont have an engine stand. On my first engine, i bolted the block to the floor to undo the front and rear bolts/nut
get the new one in first yes definately :thumbsup:The 19mm on the front isn't as bad as the rear. Just heat it up first and it whizzes off
Same withthe rear. And it's a 54mm not 53mm If you dont have a torque gun with about 700nm torque on it, then it will be difficult to hold the engine in place steady by using a breaker bar, especially if you dont have an engine stand. On my first engine, i bolted the block to the floor to undo the front and rear bolts/nut
54mm i must remember that.
so not much got done today as i was waiting for parts. also what way do the engine mounts face? they fit both ways but have diffrent angles if you know what i mean
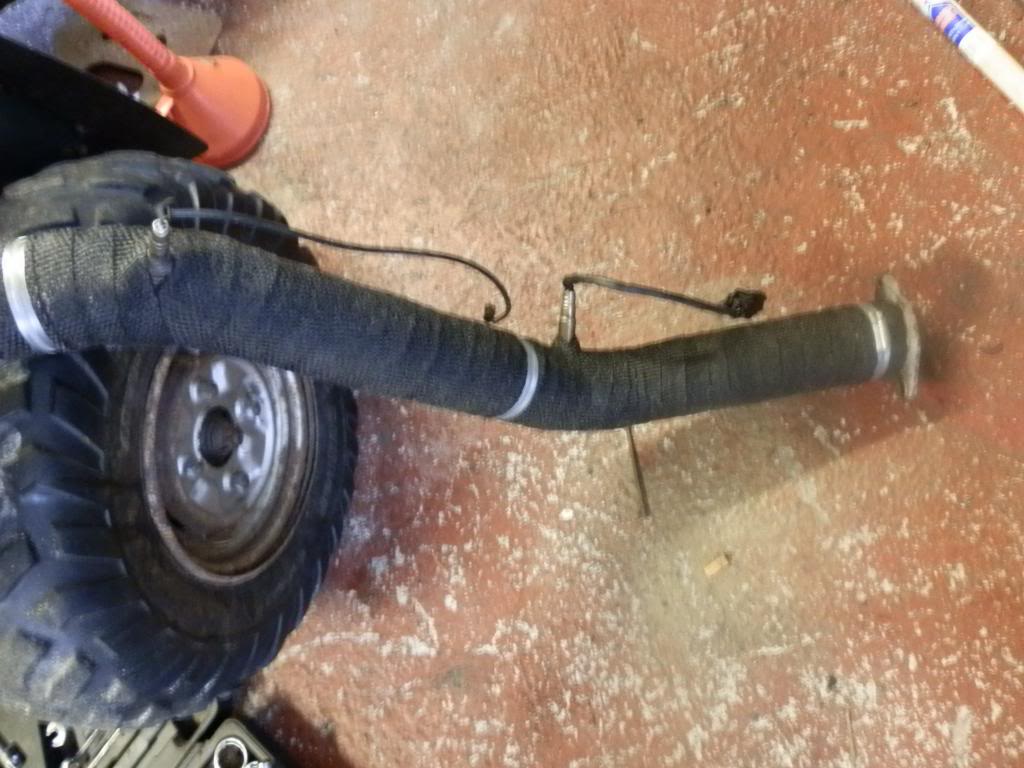
heatwraped my downpipe
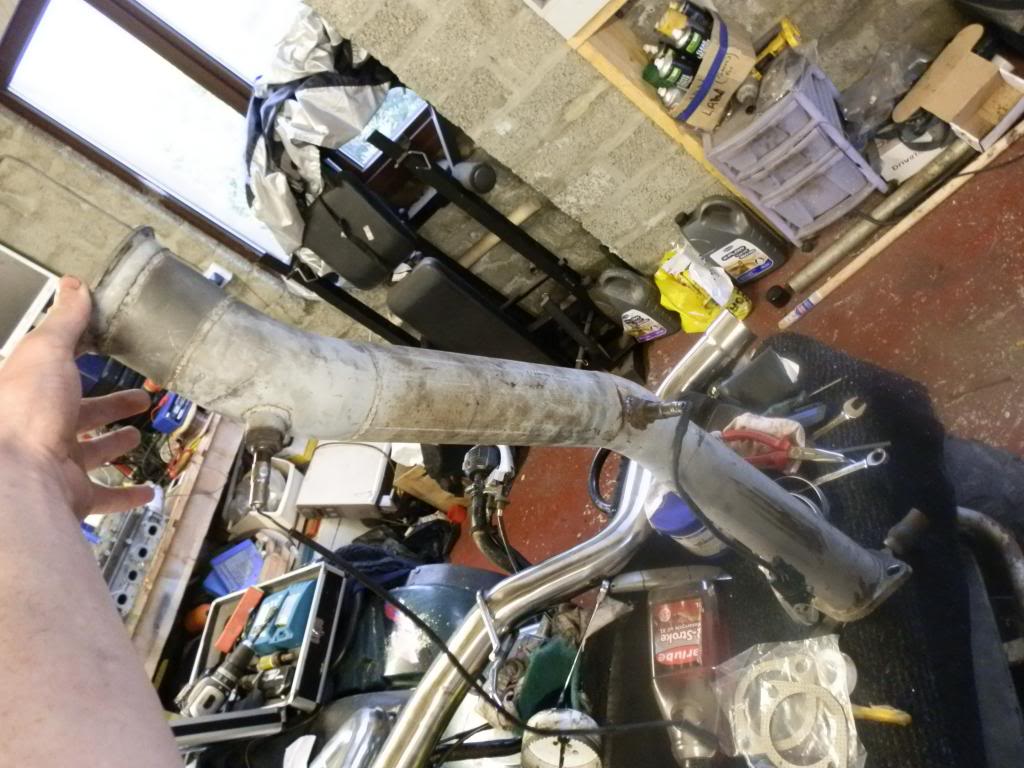
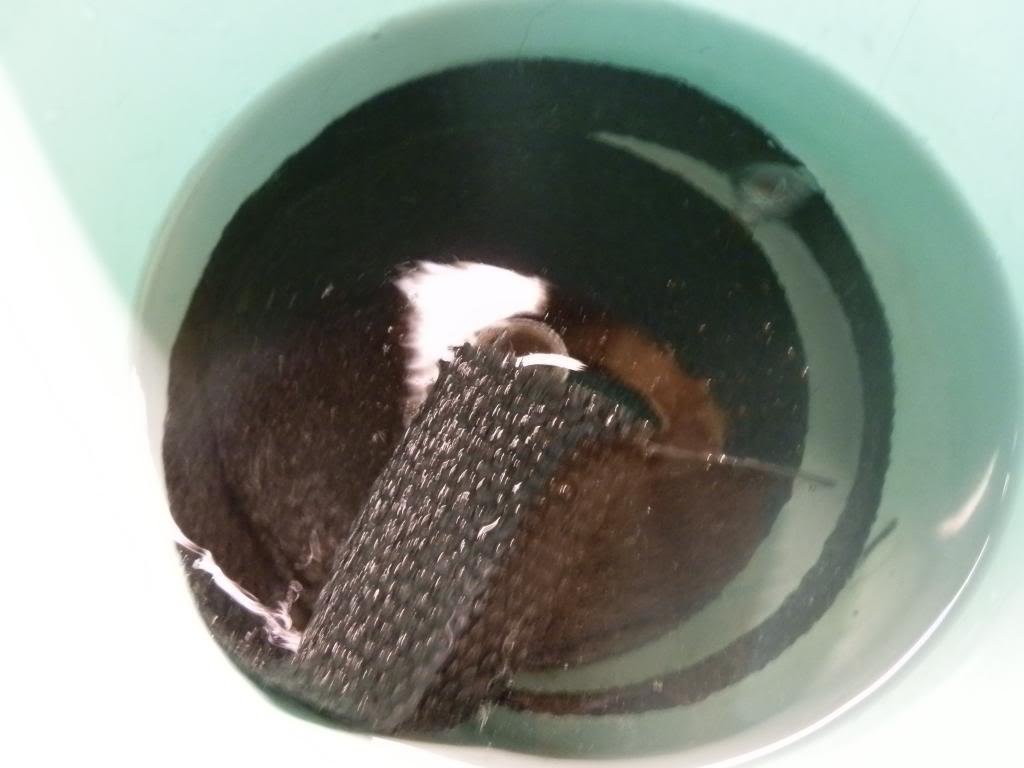
i put it in a bucket of water to soak the wrap so i wouldnt get glass everywhere

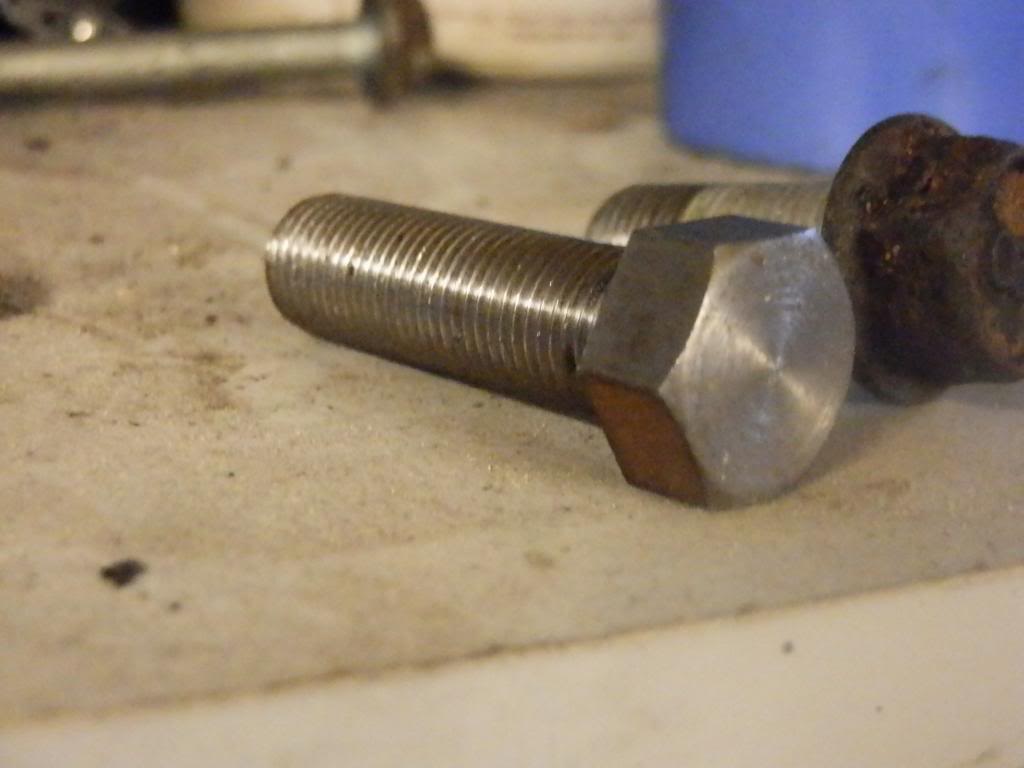
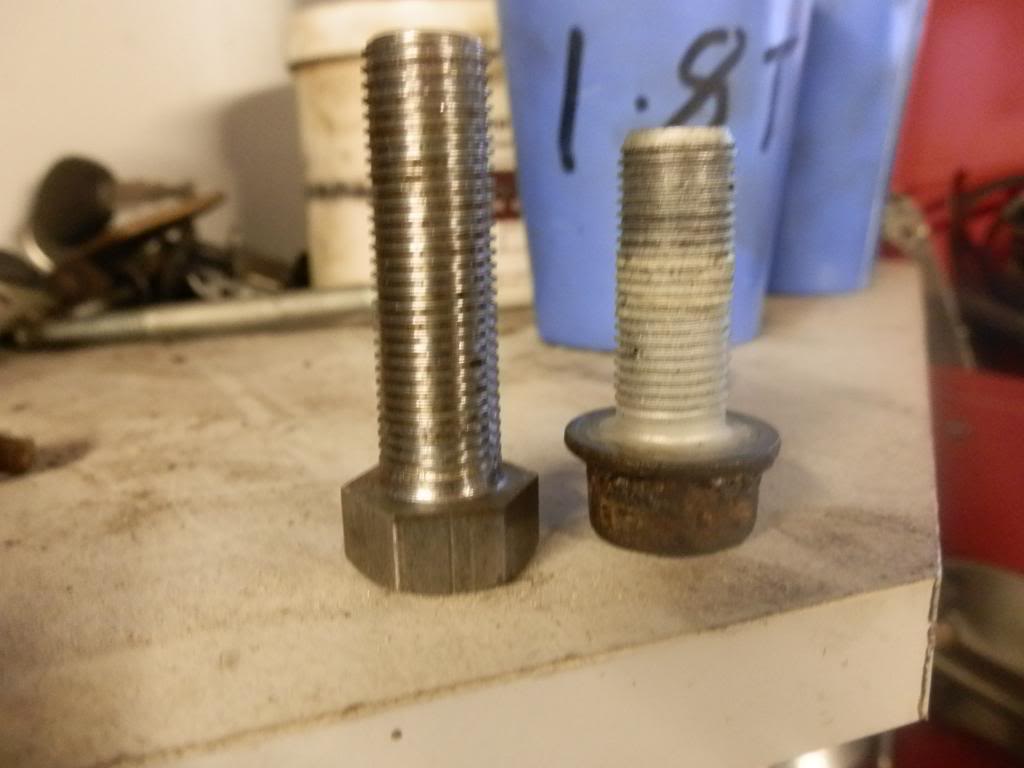
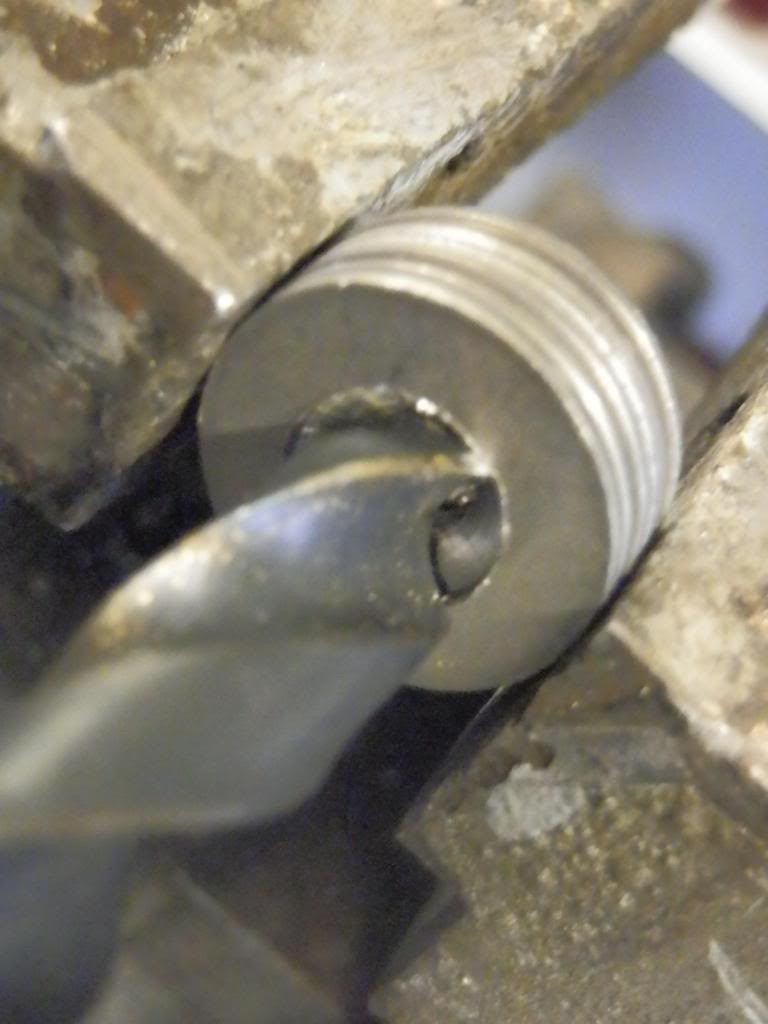
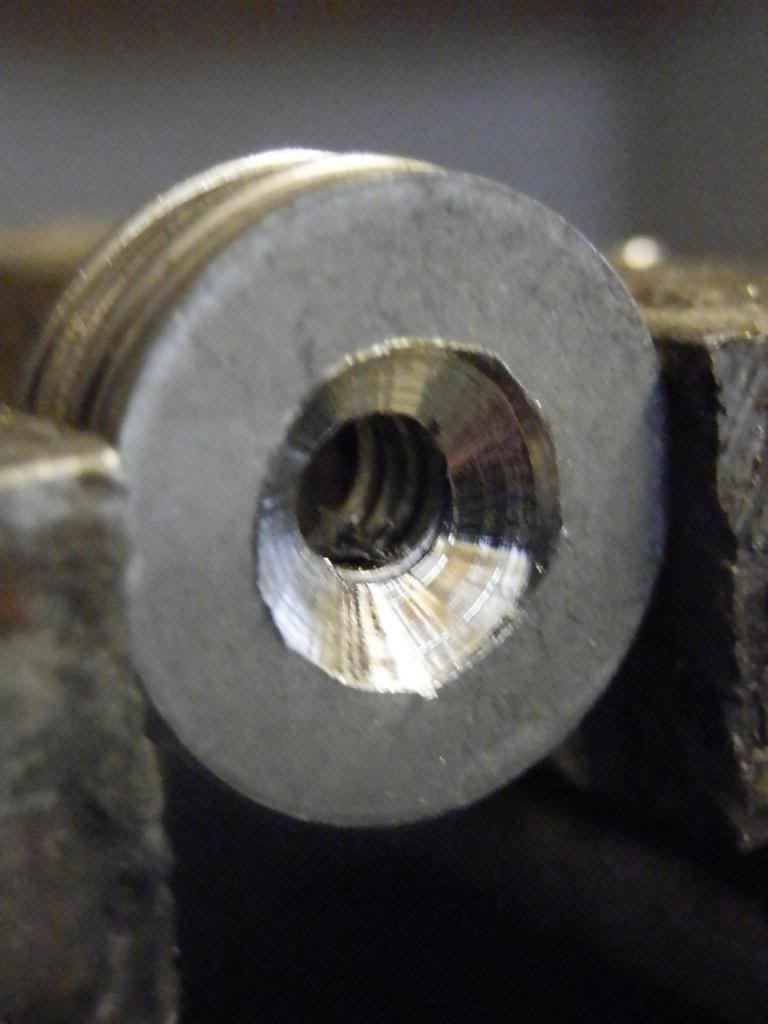
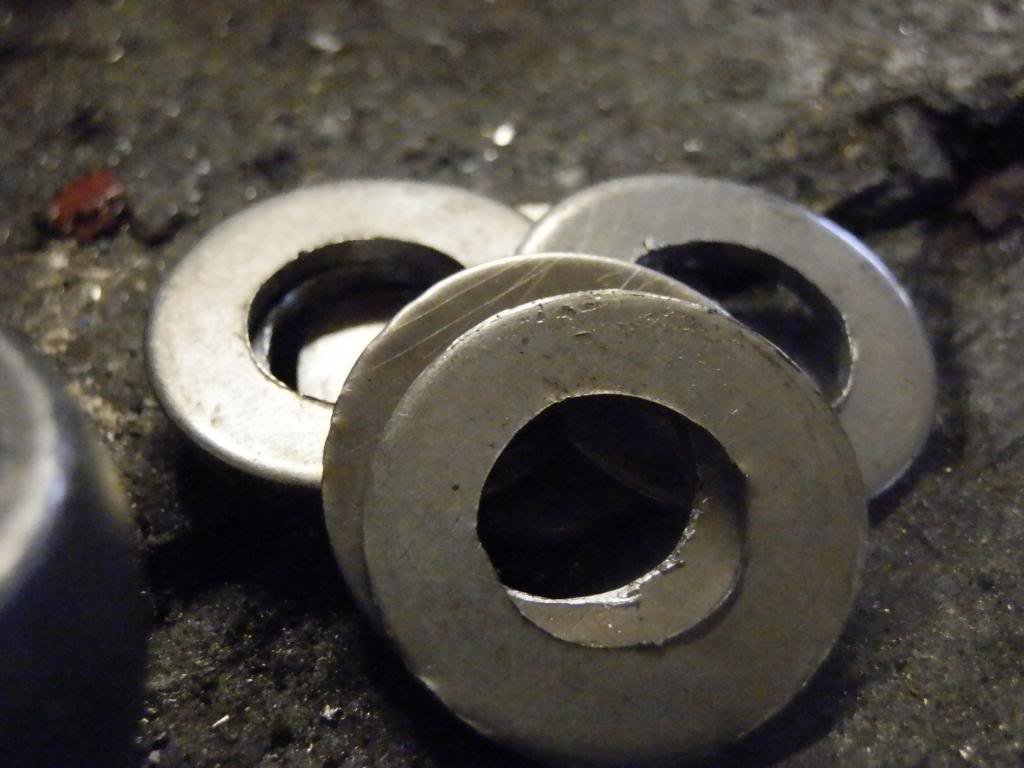
then my next problem. the engine mount bolts were too short as this engine has a 10mm thick brace. i couldnt find bolts anywhere. there 12x1.25 if anyone is wondering. i ended up going to my friends machein shop and he made some for me. i then made some washers too haha honest im not a cheap FDUKER.

 04-26-14, 09:07 PM
#99
so one of my clutch forks came ha.
the weather is horrible though. its pissing it down! so ive got everything organised for tomorrow to get the engine in. even if its raining!
heres some pics of todays work.
its wet!
clutxh fork arived
fork fitted
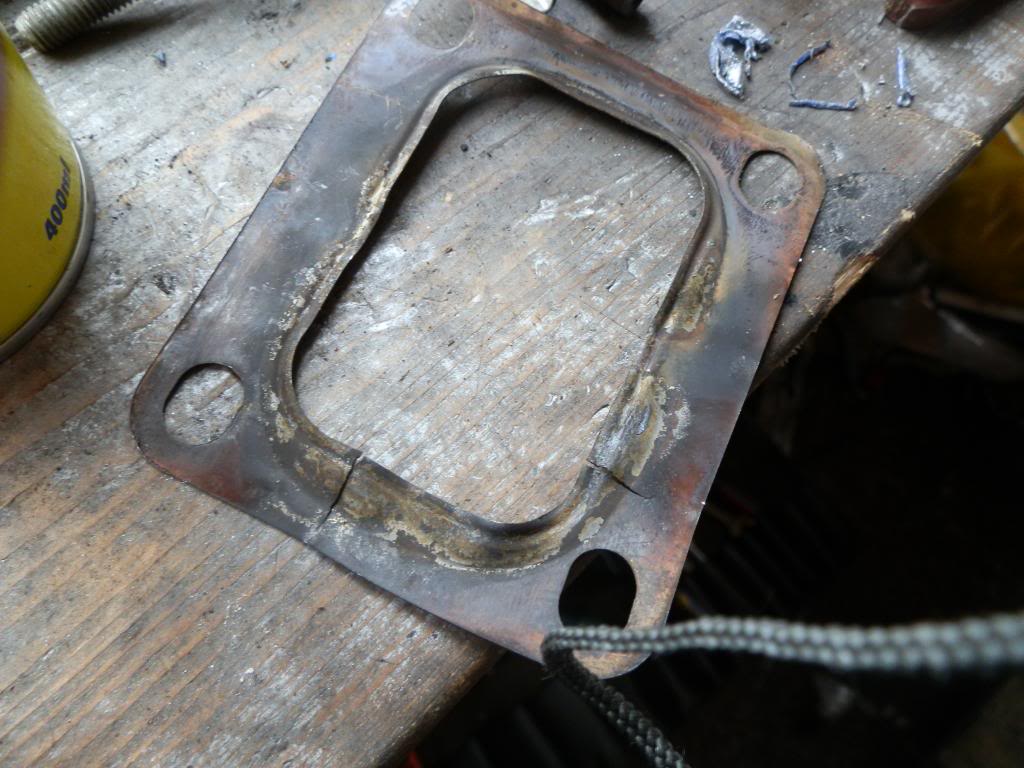
the exhaust gasket that came off..... well it was a close one. it had warped and cracked as the gasket was smaller than the manifold. so i ported the new one to the manifold. the turbo is the same so its all port matched
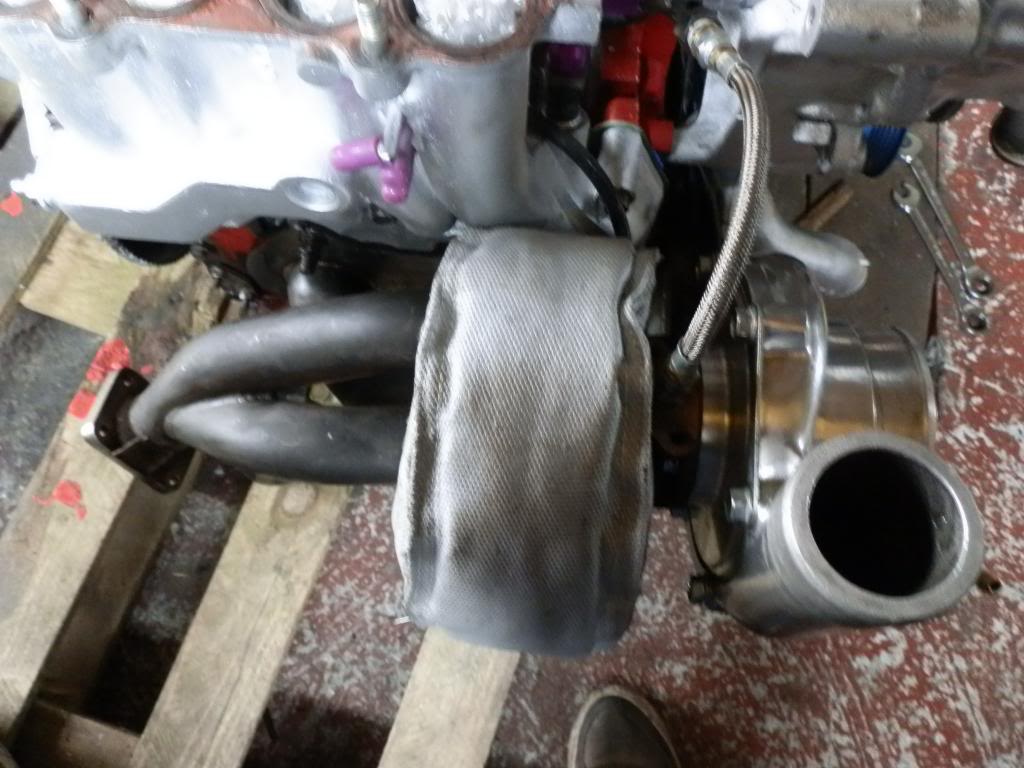
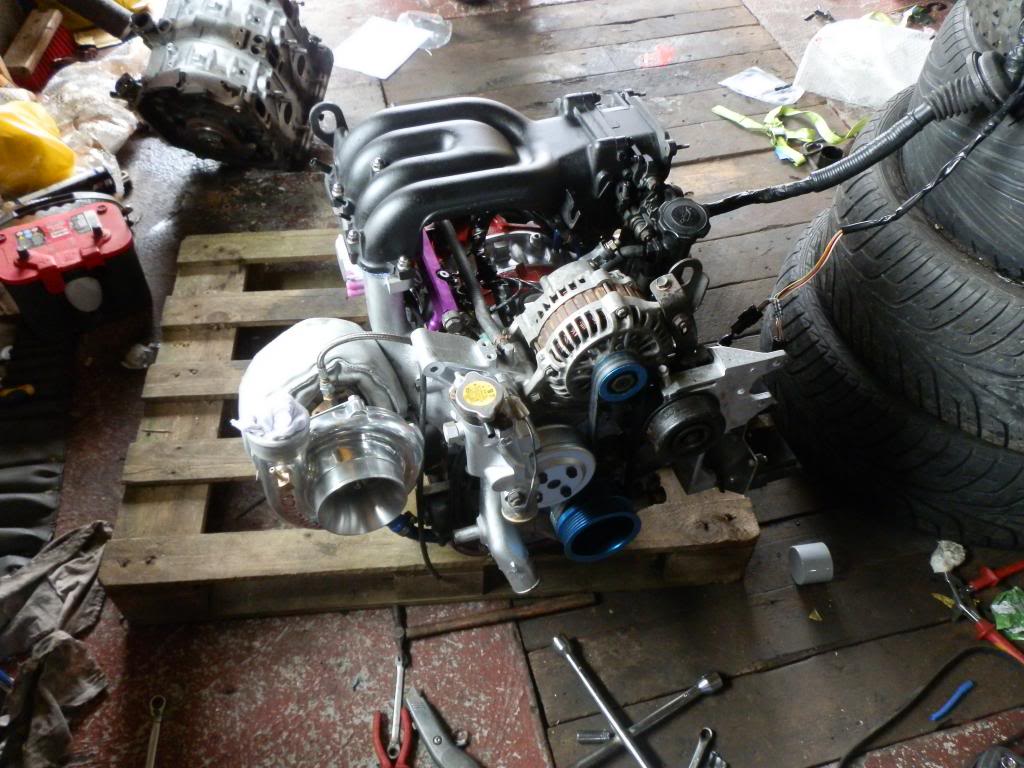
so here is the engine with turbo on. ive put on a turbo jacket. i never wraped the manifold as i thought too much heat would crack it. so only the turbo and downpipe are heat wraped
all ready for tomorrow
speak soon guys
the weather is horrible though. its pissing it down! so ive got everything organised for tomorrow to get the engine in. even if its raining!
heres some pics of todays work.
its wet!
clutxh fork arived
fork fitted
the exhaust gasket that came off..... well it was a close one. it had warped and cracked as the gasket was smaller than the manifold. so i ported the new one to the manifold. the turbo is the same so its all port matched
so here is the engine with turbo on. ive put on a turbo jacket. i never wraped the manifold as i thought too much heat would crack it. so only the turbo and downpipe are heat wraped
all ready for tomorrow
speak soon guys
04-26-14, 09:08 PM
#100
so updates this week,
spoiler on
tided up bay (boost hoses)
changed thermostat
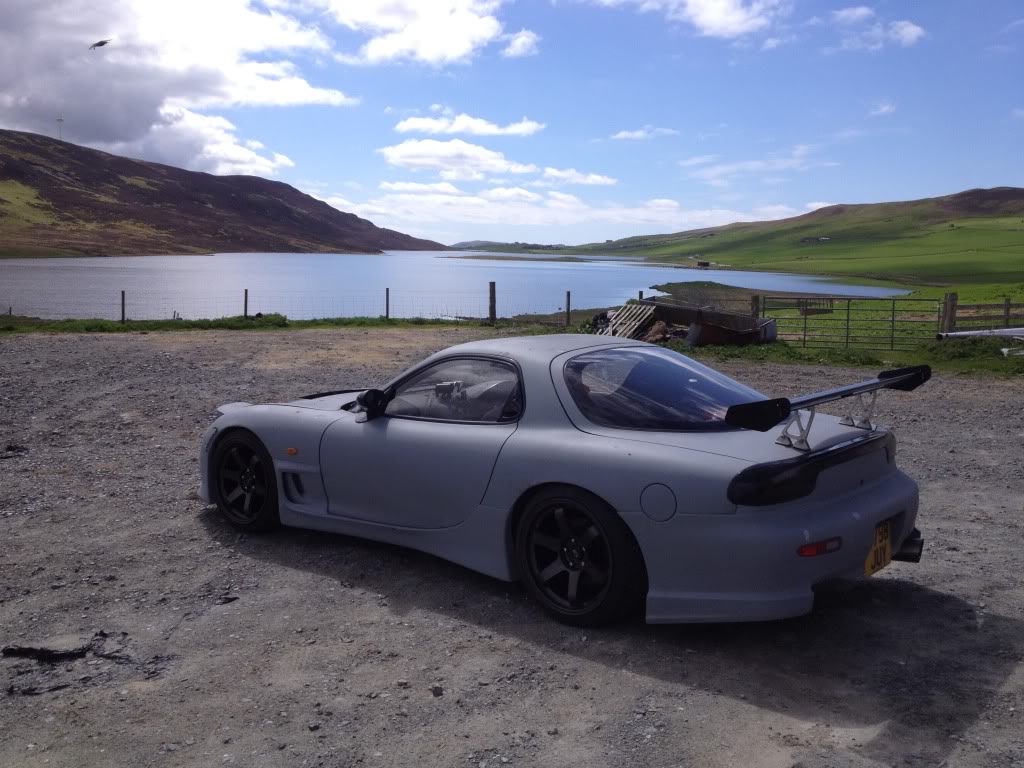
ive not been doing too much modifying and fixing as ive been out driving it. i love it, its going beutifull! im running circa 10psi and its insane how quick it is! here is some pics.
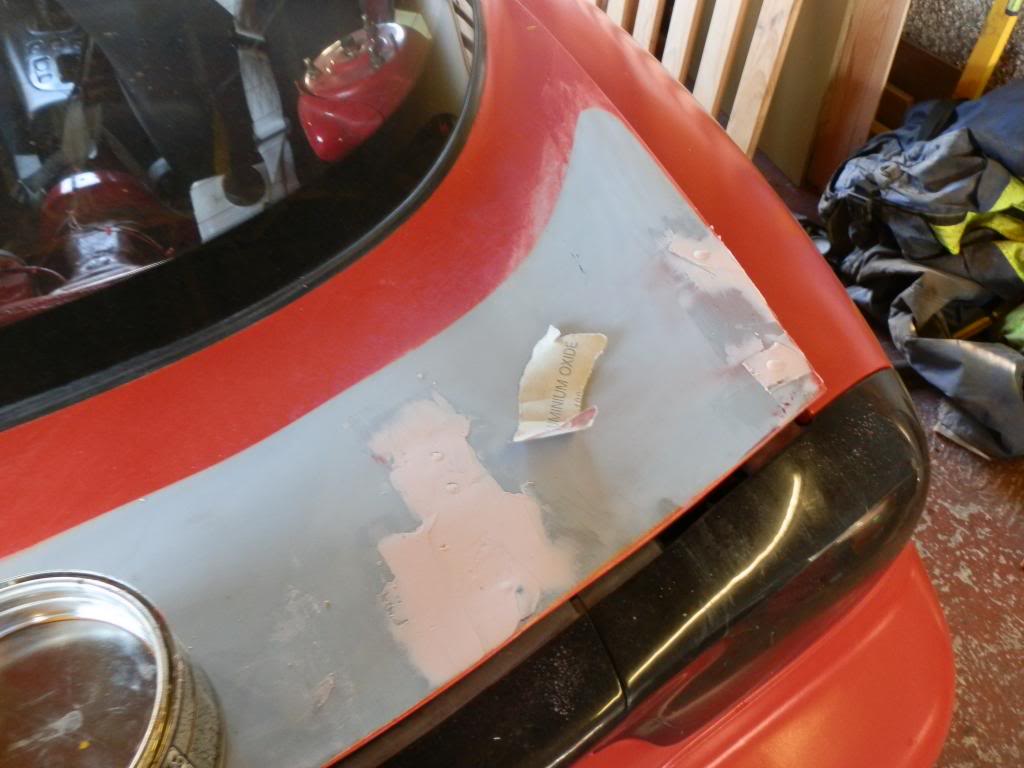
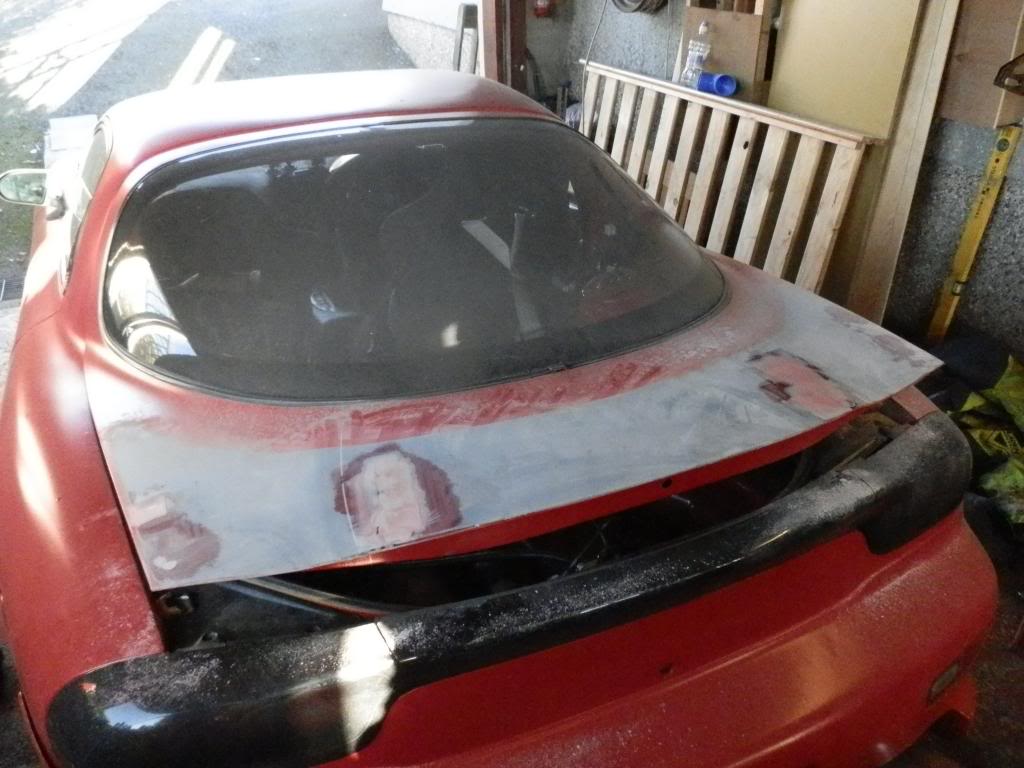
i took off the old spoiler and sanded filled and painted boot.
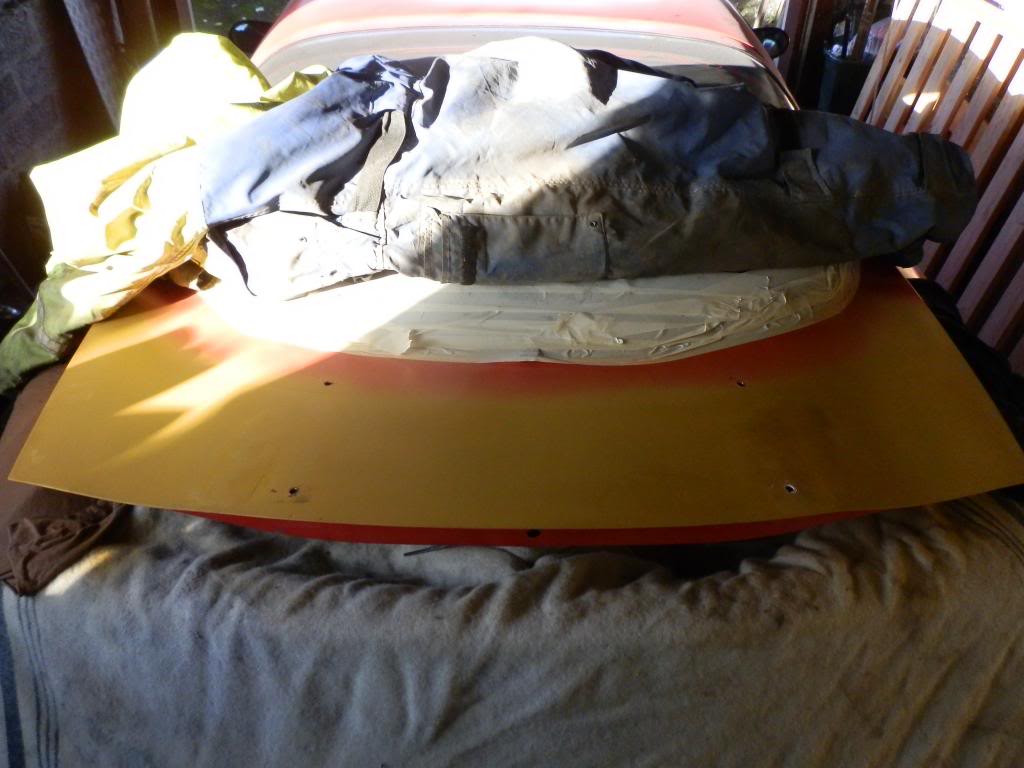

these are the brackets i got made up from my hommie jamieP, they were origanaly 7" but i might of added another 7" on there by mistake....... ps they also need some holes cut into them to make them look better.
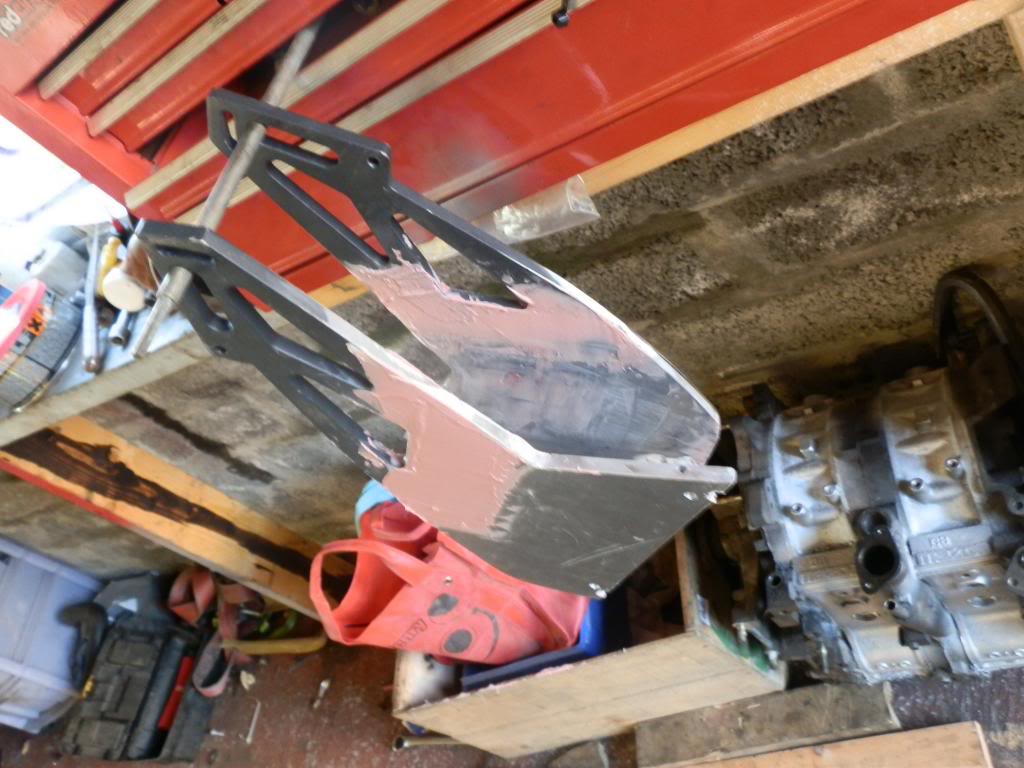
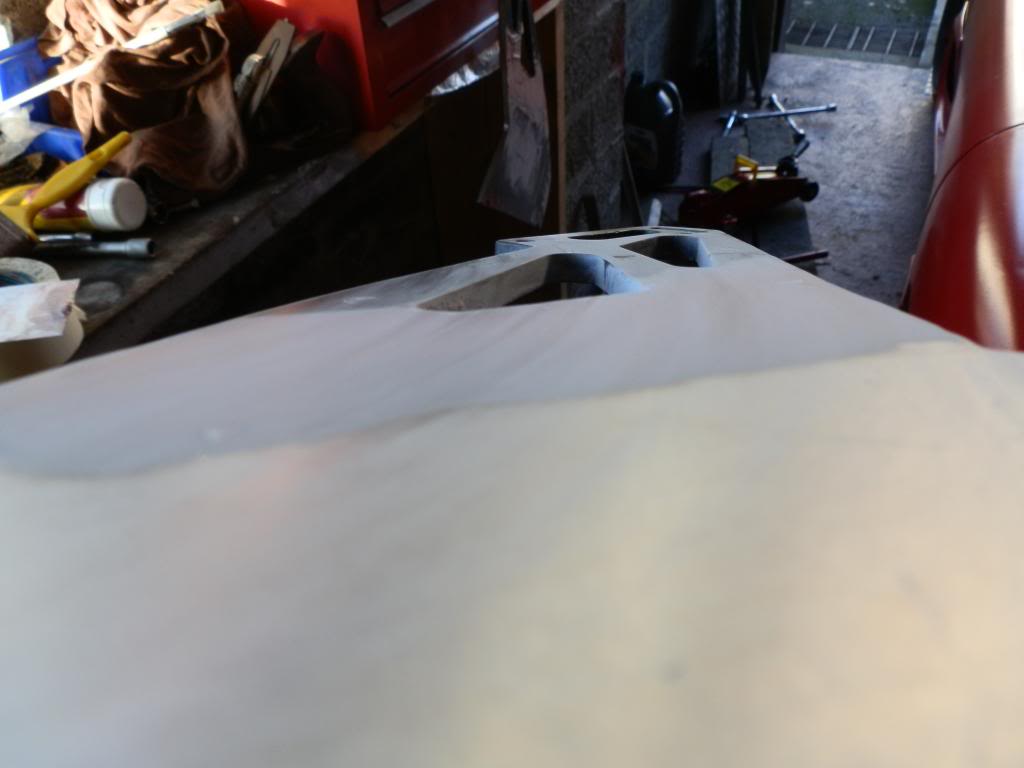
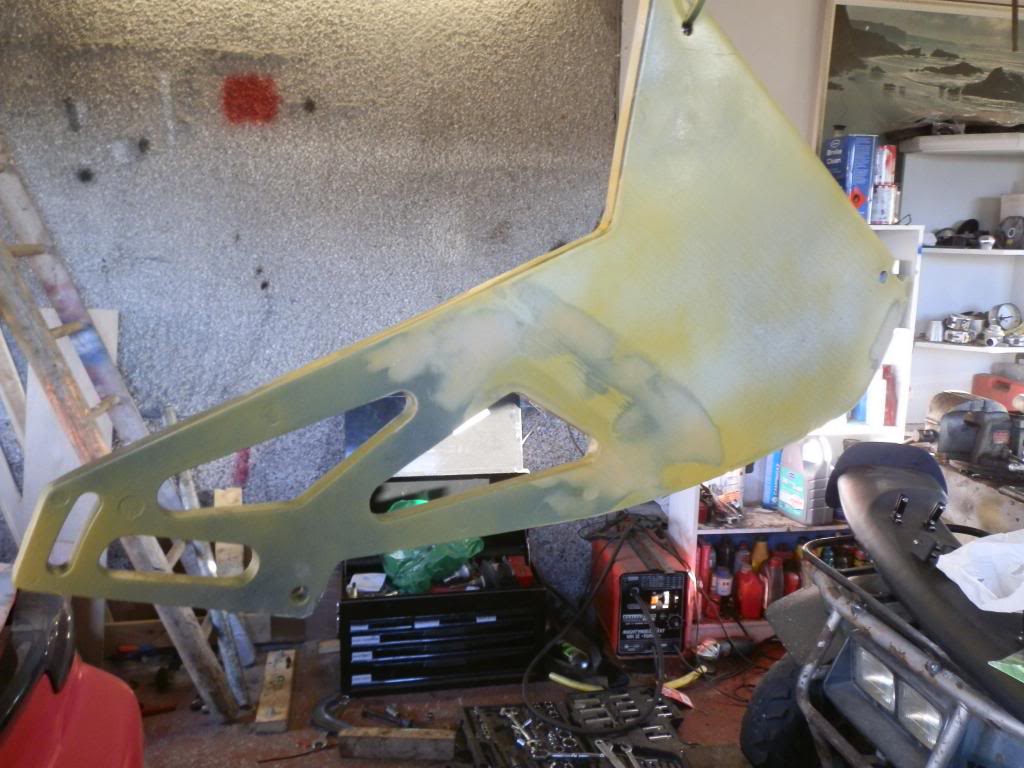
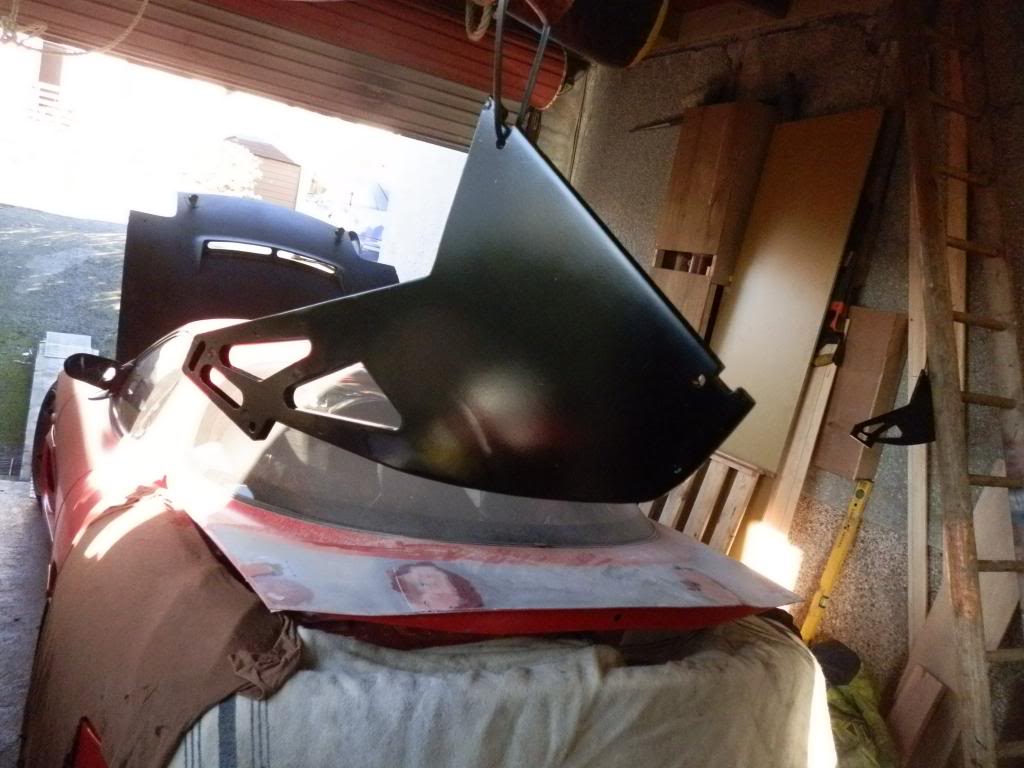
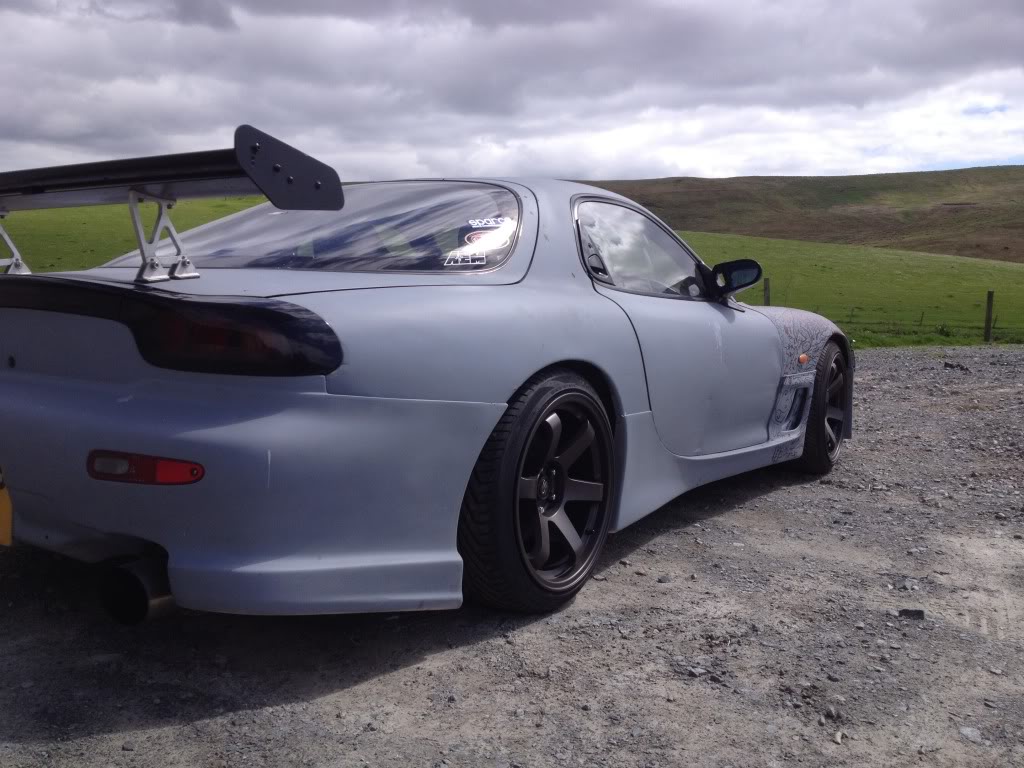
the spoiler looks ott tbh, it would be ok if it was down 2" or so but its deffinatly helping with grip on the back end.
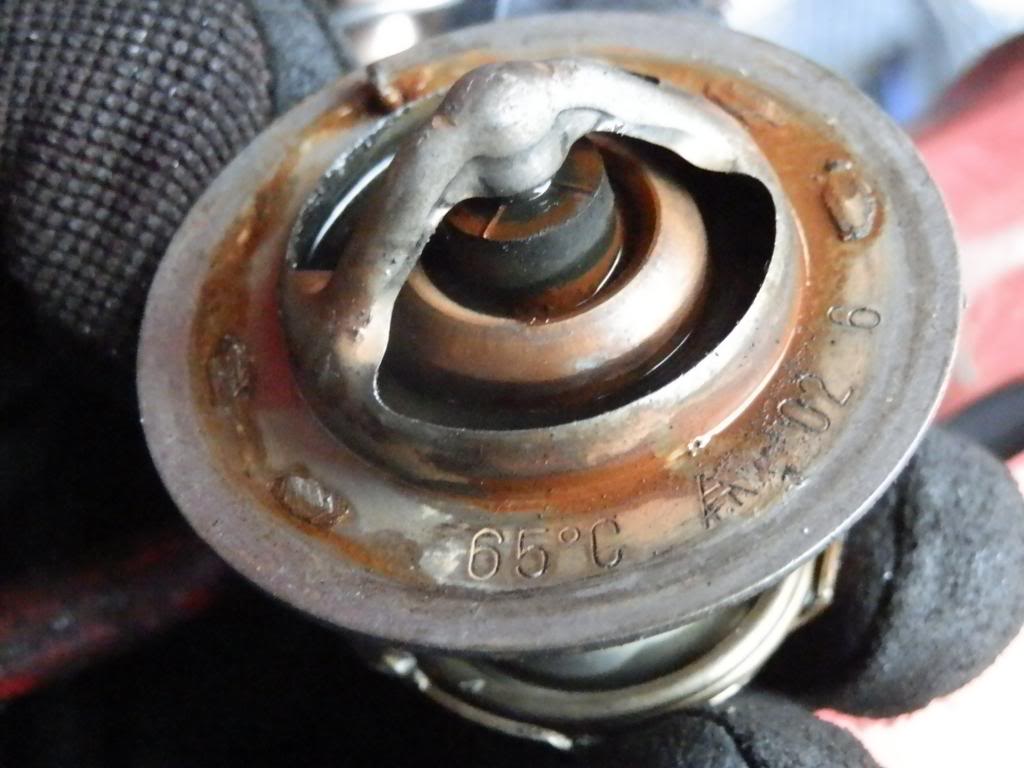
well my car ran really low temp. circa 60 - 70 degreess, which is too cool. so i bought a new thermostat for 82 degrees. its installed and works lovley.
spoiler on
tided up bay (boost hoses)
changed thermostat
ive not been doing too much modifying and fixing as ive been out driving it. i love it, its going beutifull! im running circa 10psi and its insane how quick it is! here is some pics.
i took off the old spoiler and sanded filled and painted boot.
these are the brackets i got made up from my hommie jamieP, they were origanaly 7" but i might of added another 7" on there by mistake....... ps they also need some holes cut into them to make them look better.
the spoiler looks ott tbh, it would be ok if it was down 2" or so but its deffinatly helping with grip on the back end.
well my car ran really low temp. circa 60 - 70 degreess, which is too cool. so i bought a new thermostat for 82 degrees. its installed and works lovley.