FD Interior Resto Thread


So I have been working for a while on restoring my worn out FD interior and I decided a newer thread with some of my successes and failures could be of some use to others on the forum. Now I haven't done too terribly much but as of recent, I have found myself with bits and pieces time through the week to put some ideas to work and to get busy with some interior trim and restoring it the best way (or as eye pleasing to me) as possible.
With this thread, I hope to share some of my work with you wonderful RX7club people and I hope to gain some good and bad feed back. Please feel free to let me know how I'm doing or what you are working on OR also share some tips that could be useful on anything else you've had good or bad luck on.
I have no experience in any restoration or painting work so please excuse my backward ingenuity.
The first order of business was the map pocket lid. In this pic you can see where I have made a mess of what used to be the map lid hinge. Well where you see the two white washers, the plastic tab that was once there was gone/broke. The white washers are two plastic washers from Ace Hardware and they are held on by some two part Gorilla Epoxy. The epoxy is rated for up to 3500 pounds.
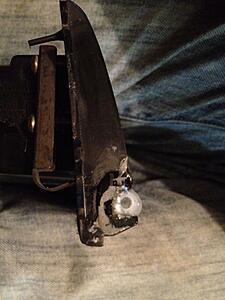
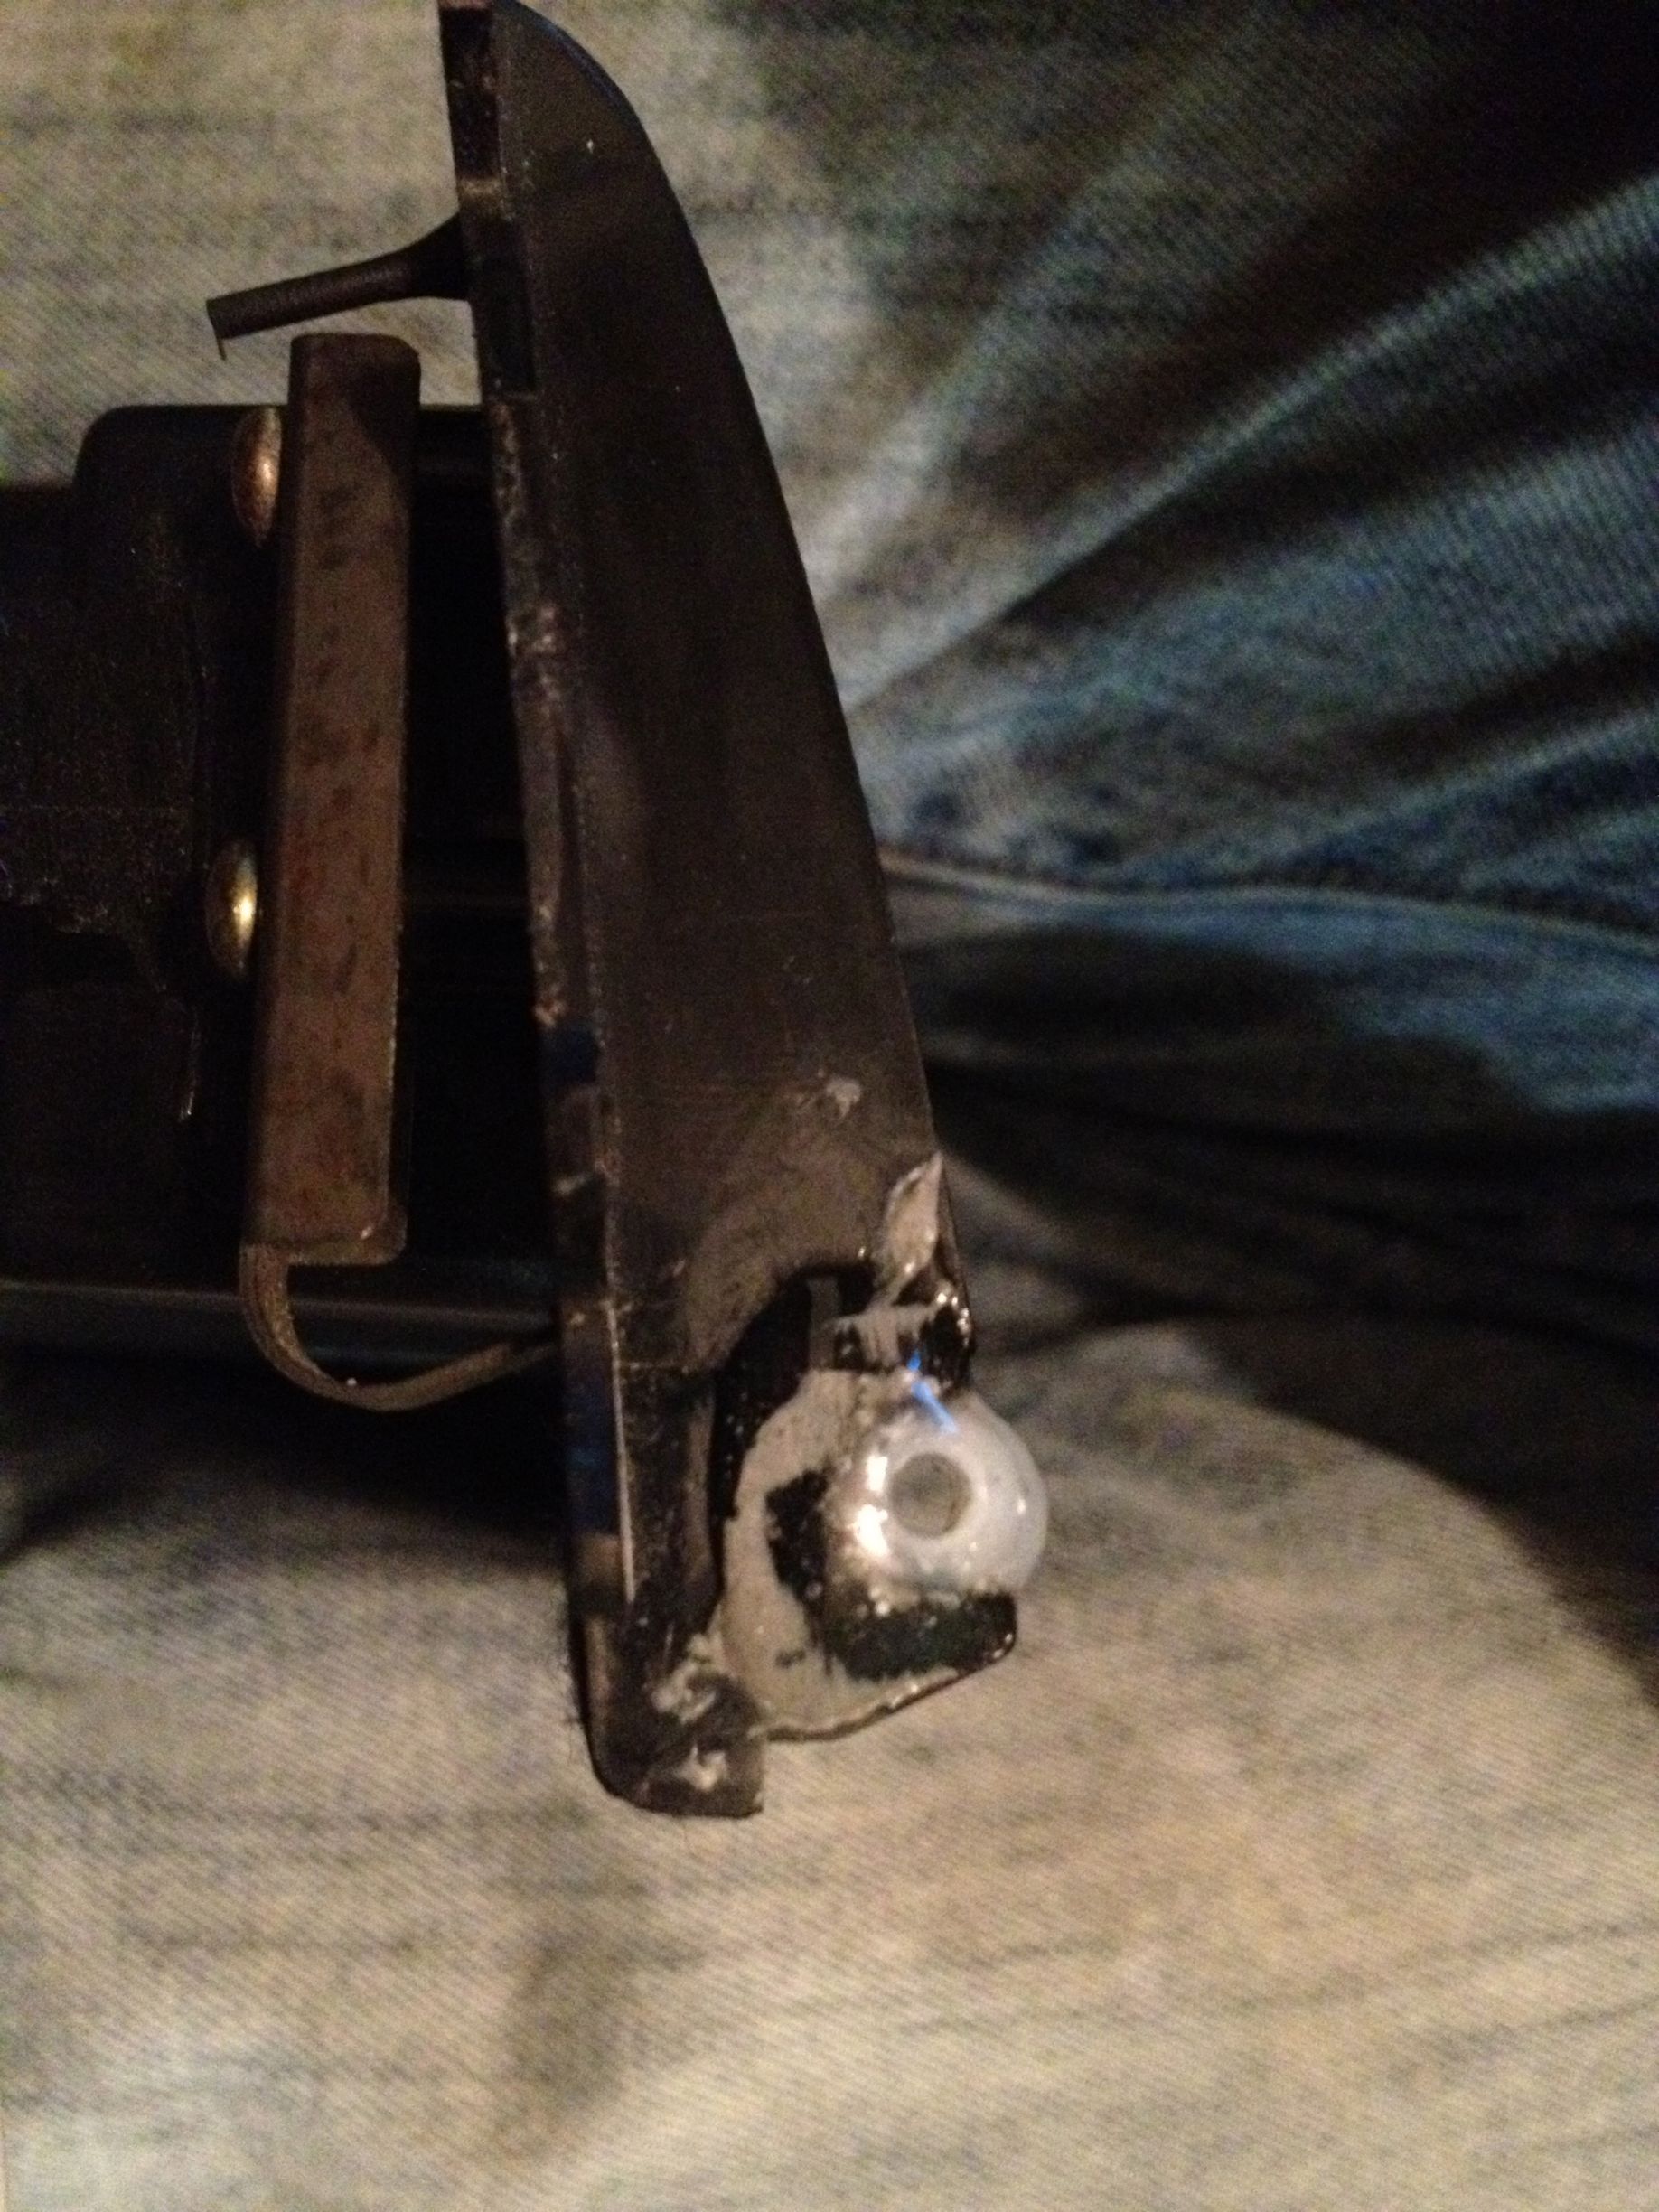

The lid with the cotter pin in place, opens and shuts perfectly. May not be the most beautifully designed fix but it gets the job done. I wanted something also that could stay in place, which if you bend the cotter pin ends, it will not slide out. Even after several openings and closings, the pin stays put and the epoxy does its job. Now if you do pay attention to my pictures, I was a little generous with the epoxy in its locations on both sides of the broken tab. If you are looking for an easy repair, the epoxy was $4 and the cotter pin (you may have something better) was $.10......And I have been using this epoxy in other broke plastic areas.
Prepping the areas is as usual, a MUST. I had tried a different adhesive the first go around and when it didn't work, I took my Craftsman dremil tool and lightly grinded the old adhesive off and made a rough area to apply the epoxy. I cleaned it off with a little rubbing alcohol and dried it and my patch work has seemed to hold better than I expected.
Prepping the areas is as usual, a MUST. I had tried a different adhesive the first go around and when it didn't work, I took my Craftsman dremil tool and lightly grinded the old adhesive off and made a rough area to apply the epoxy. I cleaned it off with a little rubbing alcohol and dried it and my patch work has seemed to hold better than I expected.
Moving right along, I started researching to refinish my black plastics in all those touchable areas. Mainly the ones that seemed to pick up the most scratches and what not. My attention was set on the shifter plastic/bezel and the door plastic around the handle and switches.
When I did a search of the forum a year ago, I found a helpful guy by the username Tuesday. He had re done his interior plastics and they looked great. He had replied to me with his procedure to remove that crumby rubber coating and the steps to take to re coating them with a better paint to make them look good. He took a scotch brite pad with some sur solv and basically wet sanded the plastic to get rid of the coating. Then from there he took sand paper and progressively sanded the smooth plastic surfaces to continually remove the old coating and also to create a new surface.
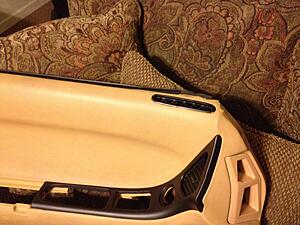
Here is a pic of my driver door panel. As you can see, there are some light scratches in the plastic from the scotch brite pad. It still took something with some grit to get the old coating off but I didn't sand the plastic as well as I should have.

When I did a search of the forum a year ago, I found a helpful guy by the username Tuesday. He had re done his interior plastics and they looked great. He had replied to me with his procedure to remove that crumby rubber coating and the steps to take to re coating them with a better paint to make them look good. He took a scotch brite pad with some sur solv and basically wet sanded the plastic to get rid of the coating. Then from there he took sand paper and progressively sanded the smooth plastic surfaces to continually remove the old coating and also to create a new surface.
Here is a pic of my driver door panel. As you can see, there are some light scratches in the plastic from the scotch brite pad. It still took something with some grit to get the old coating off but I didn't sand the plastic as well as I should have.

Here is a link to Tuesday's build thread as well if you wanna check out some much better work than myself.
https://www.rx7club.com/build-thread...thread-980750/
https://www.rx7club.com/build-thread...thread-980750/
Trending Topics


I plan to update this as often as I can and give as many details on everything I mess with. Thanks guys for the approval. I will definitely be more motivated now to do more and share more than I had planned.
In my last post, I don't think I put as much emphasis on it as I should but I will say it again....WHENEVER YOU USE CHEMICALS WITH THE SCOTCH BRITE PAD OR WHATEVER YOU DECIDE TO USE FOR SCUFFING THE PLASTICS, KEEP IN MIND OF HOW MUCH PRESSURE YOU PUT INTO IT BECAUSE SOME SCRATCHES WOULD NOT SAND OUT!!! HENCE MY DOOR PLASTIC HAS ALL THE LIGHT SCRATCHES THAT ARE STILL VISIBLE EVEN AFTER SEVERAL COATS OF BUMPER COATING
I think with every piece, with exception of the first trial paintings, has one coat of sandable primer and 2 to 3 coats of bumper coating. 2 coats of bumper coating usually looks good.
Alright, here's a quick post for tonight. I have some stuff that's keeping me busy but the end of this week I plan to upload some very cool stuff for you guys.
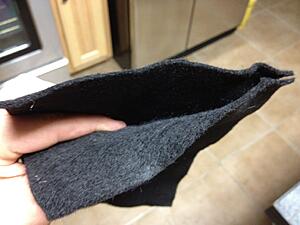
To touch back on the map pocket lid, if you have ever noticed the felt or textured mat that is on the underside, I decided to put some extra fabric to use and kinda freshen it up.
I ended up using this black felt material that I had from a diff project that was picked up at hobby lobby. It is a lot thicker than the factory stuff that's on the underside. Your lid may be in better shape than mine but my lid was cracked almost completely in two and eroded away. I cut the shape I wanted to fit in the lid, then I actually took an iron and tried to kill down some of the fuzz on the felt. Be careful because it will burn. I turned the heat setting down and just lightly hit it basically trying to flatten it out and shape it in. Turned out not too bad. I always use 3M adhesive spray for any interior work. It's always been good to me.


Late night post. I painted the door panel vent up by the driver side window. This vent is by far the most decayed piece of plastic I have dealt with and so sun faded and brittle. I tried to sand it and the little vent slots are a pain in the a@$. I think I little extra black on the door doesn't look too bad.

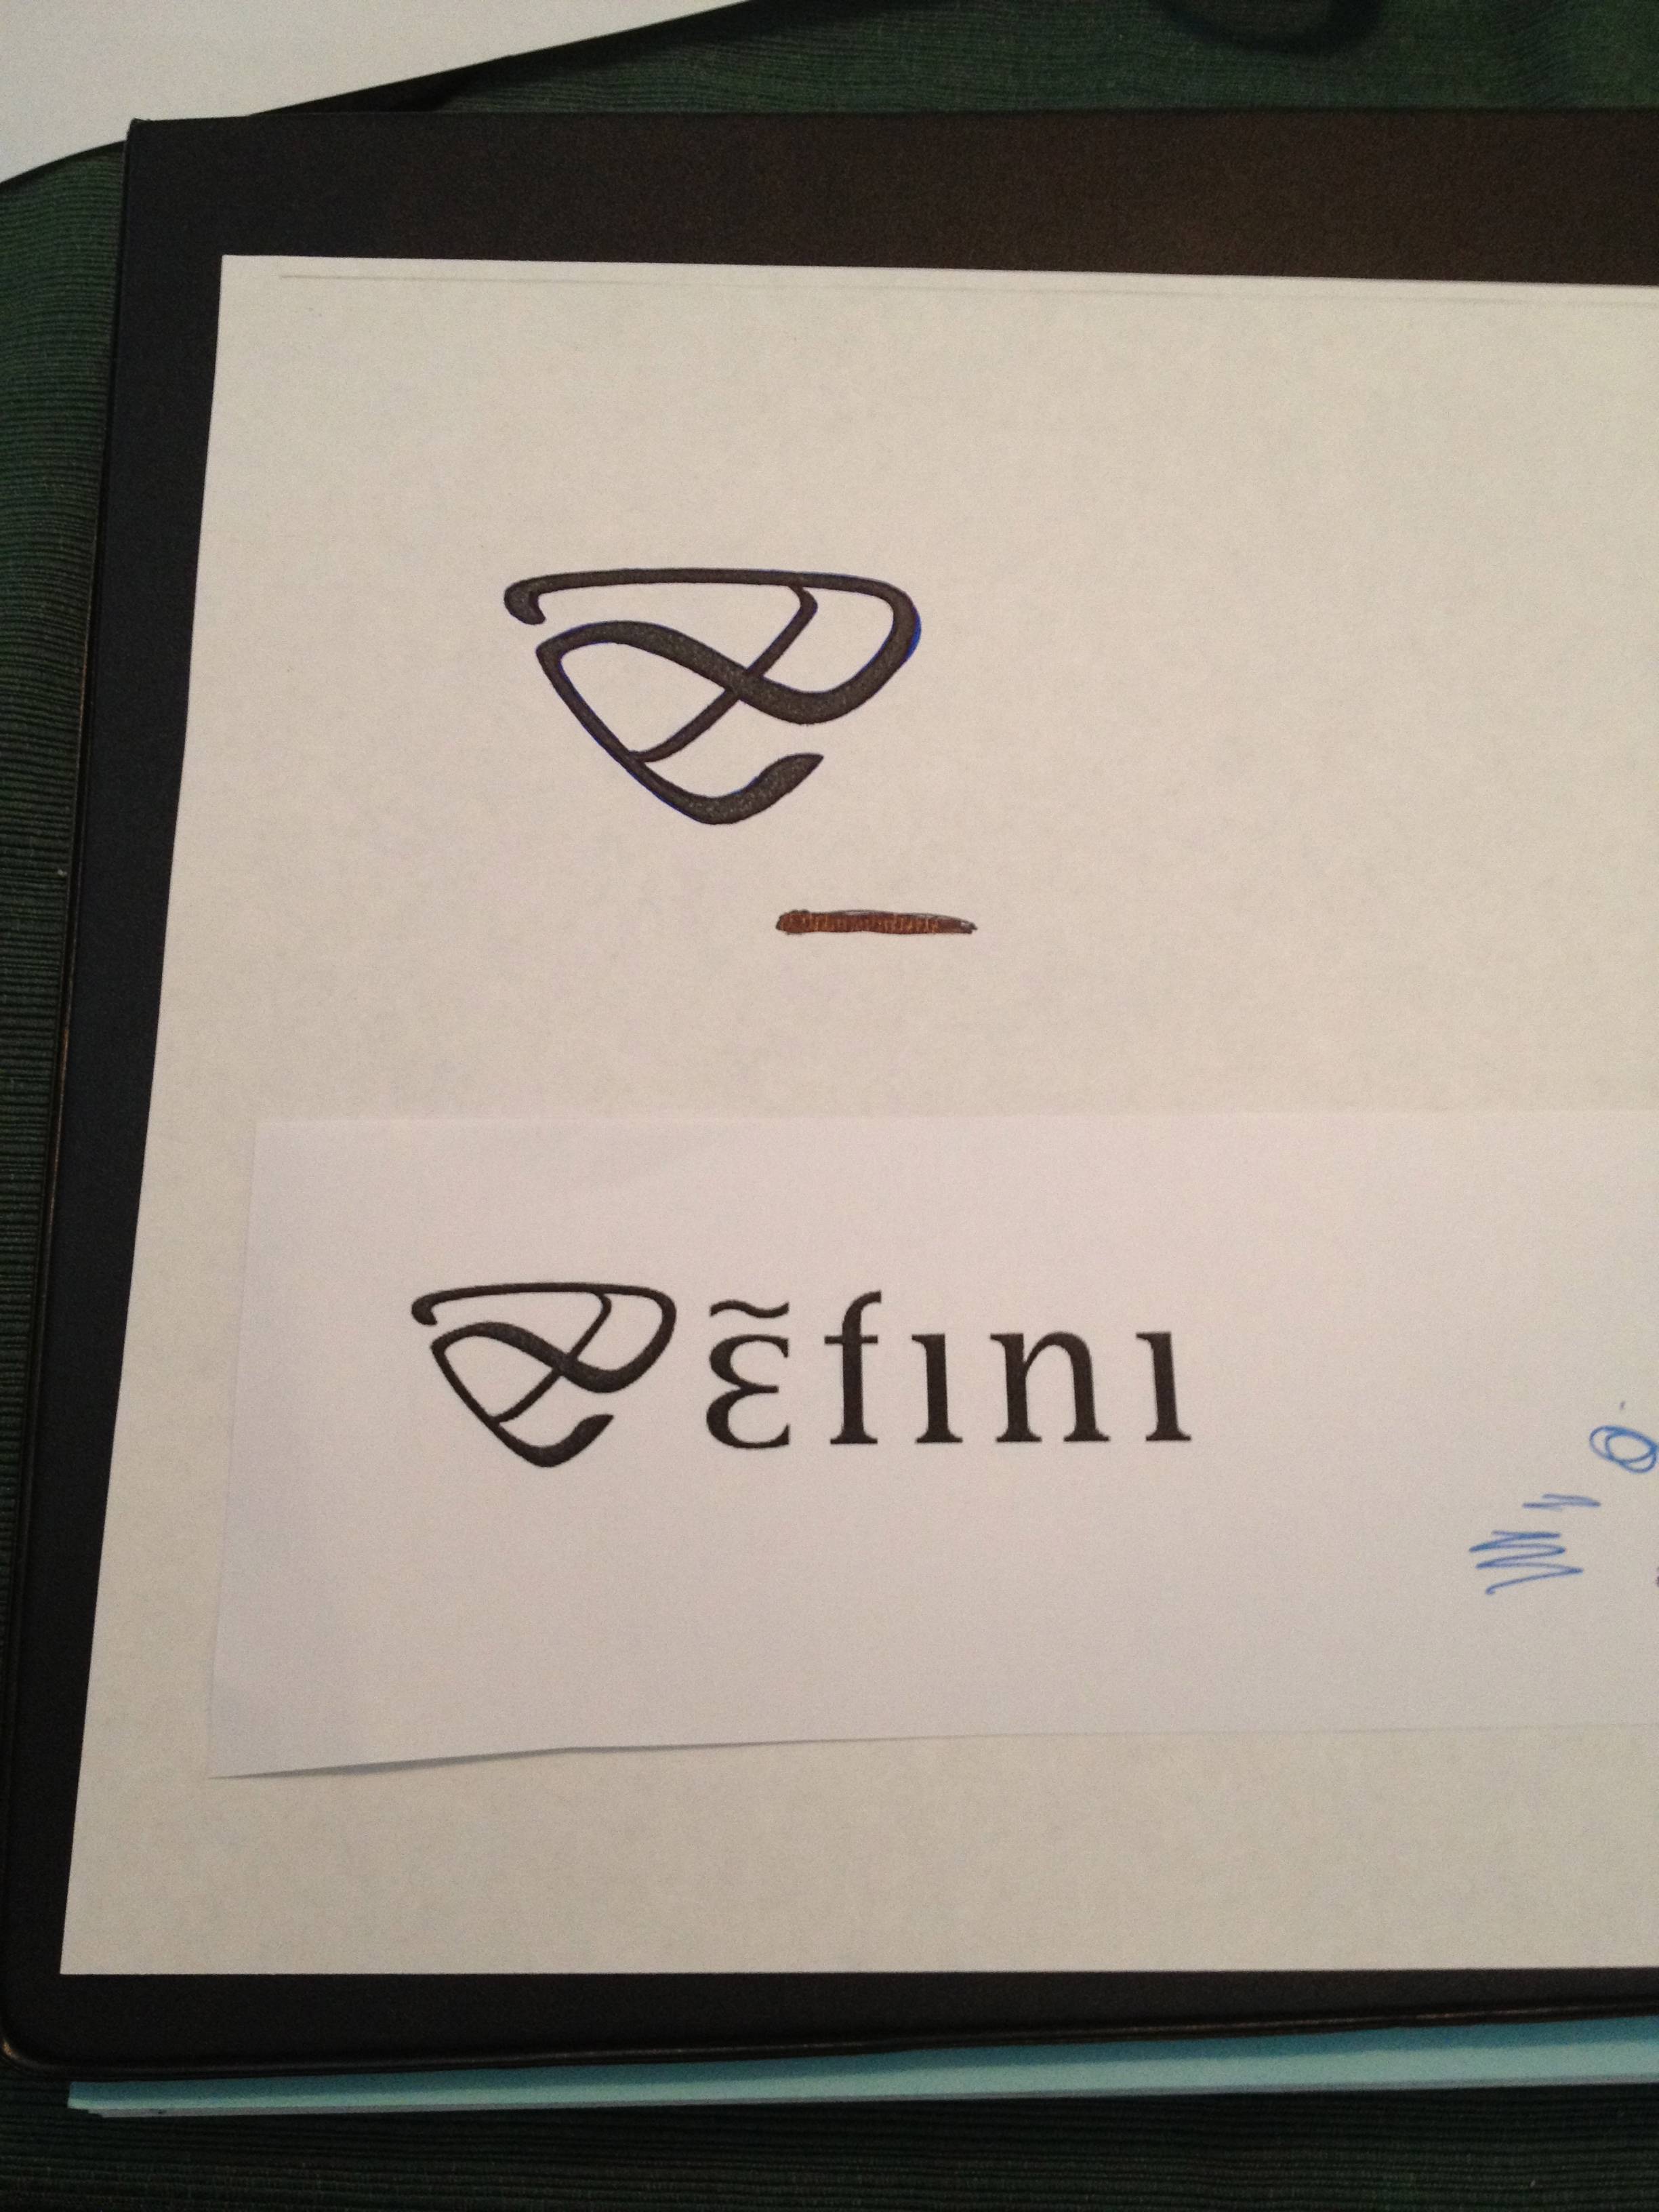

Printed out an Efini logo and then traced it out and made a stencil. I made several out of different materials so that I can put some on different things if I feel like trying it out. The first area that I definitely wanted to try and stencil a logo was on the door speaker covers. I thought it would look cool with the surface of the door speaker.
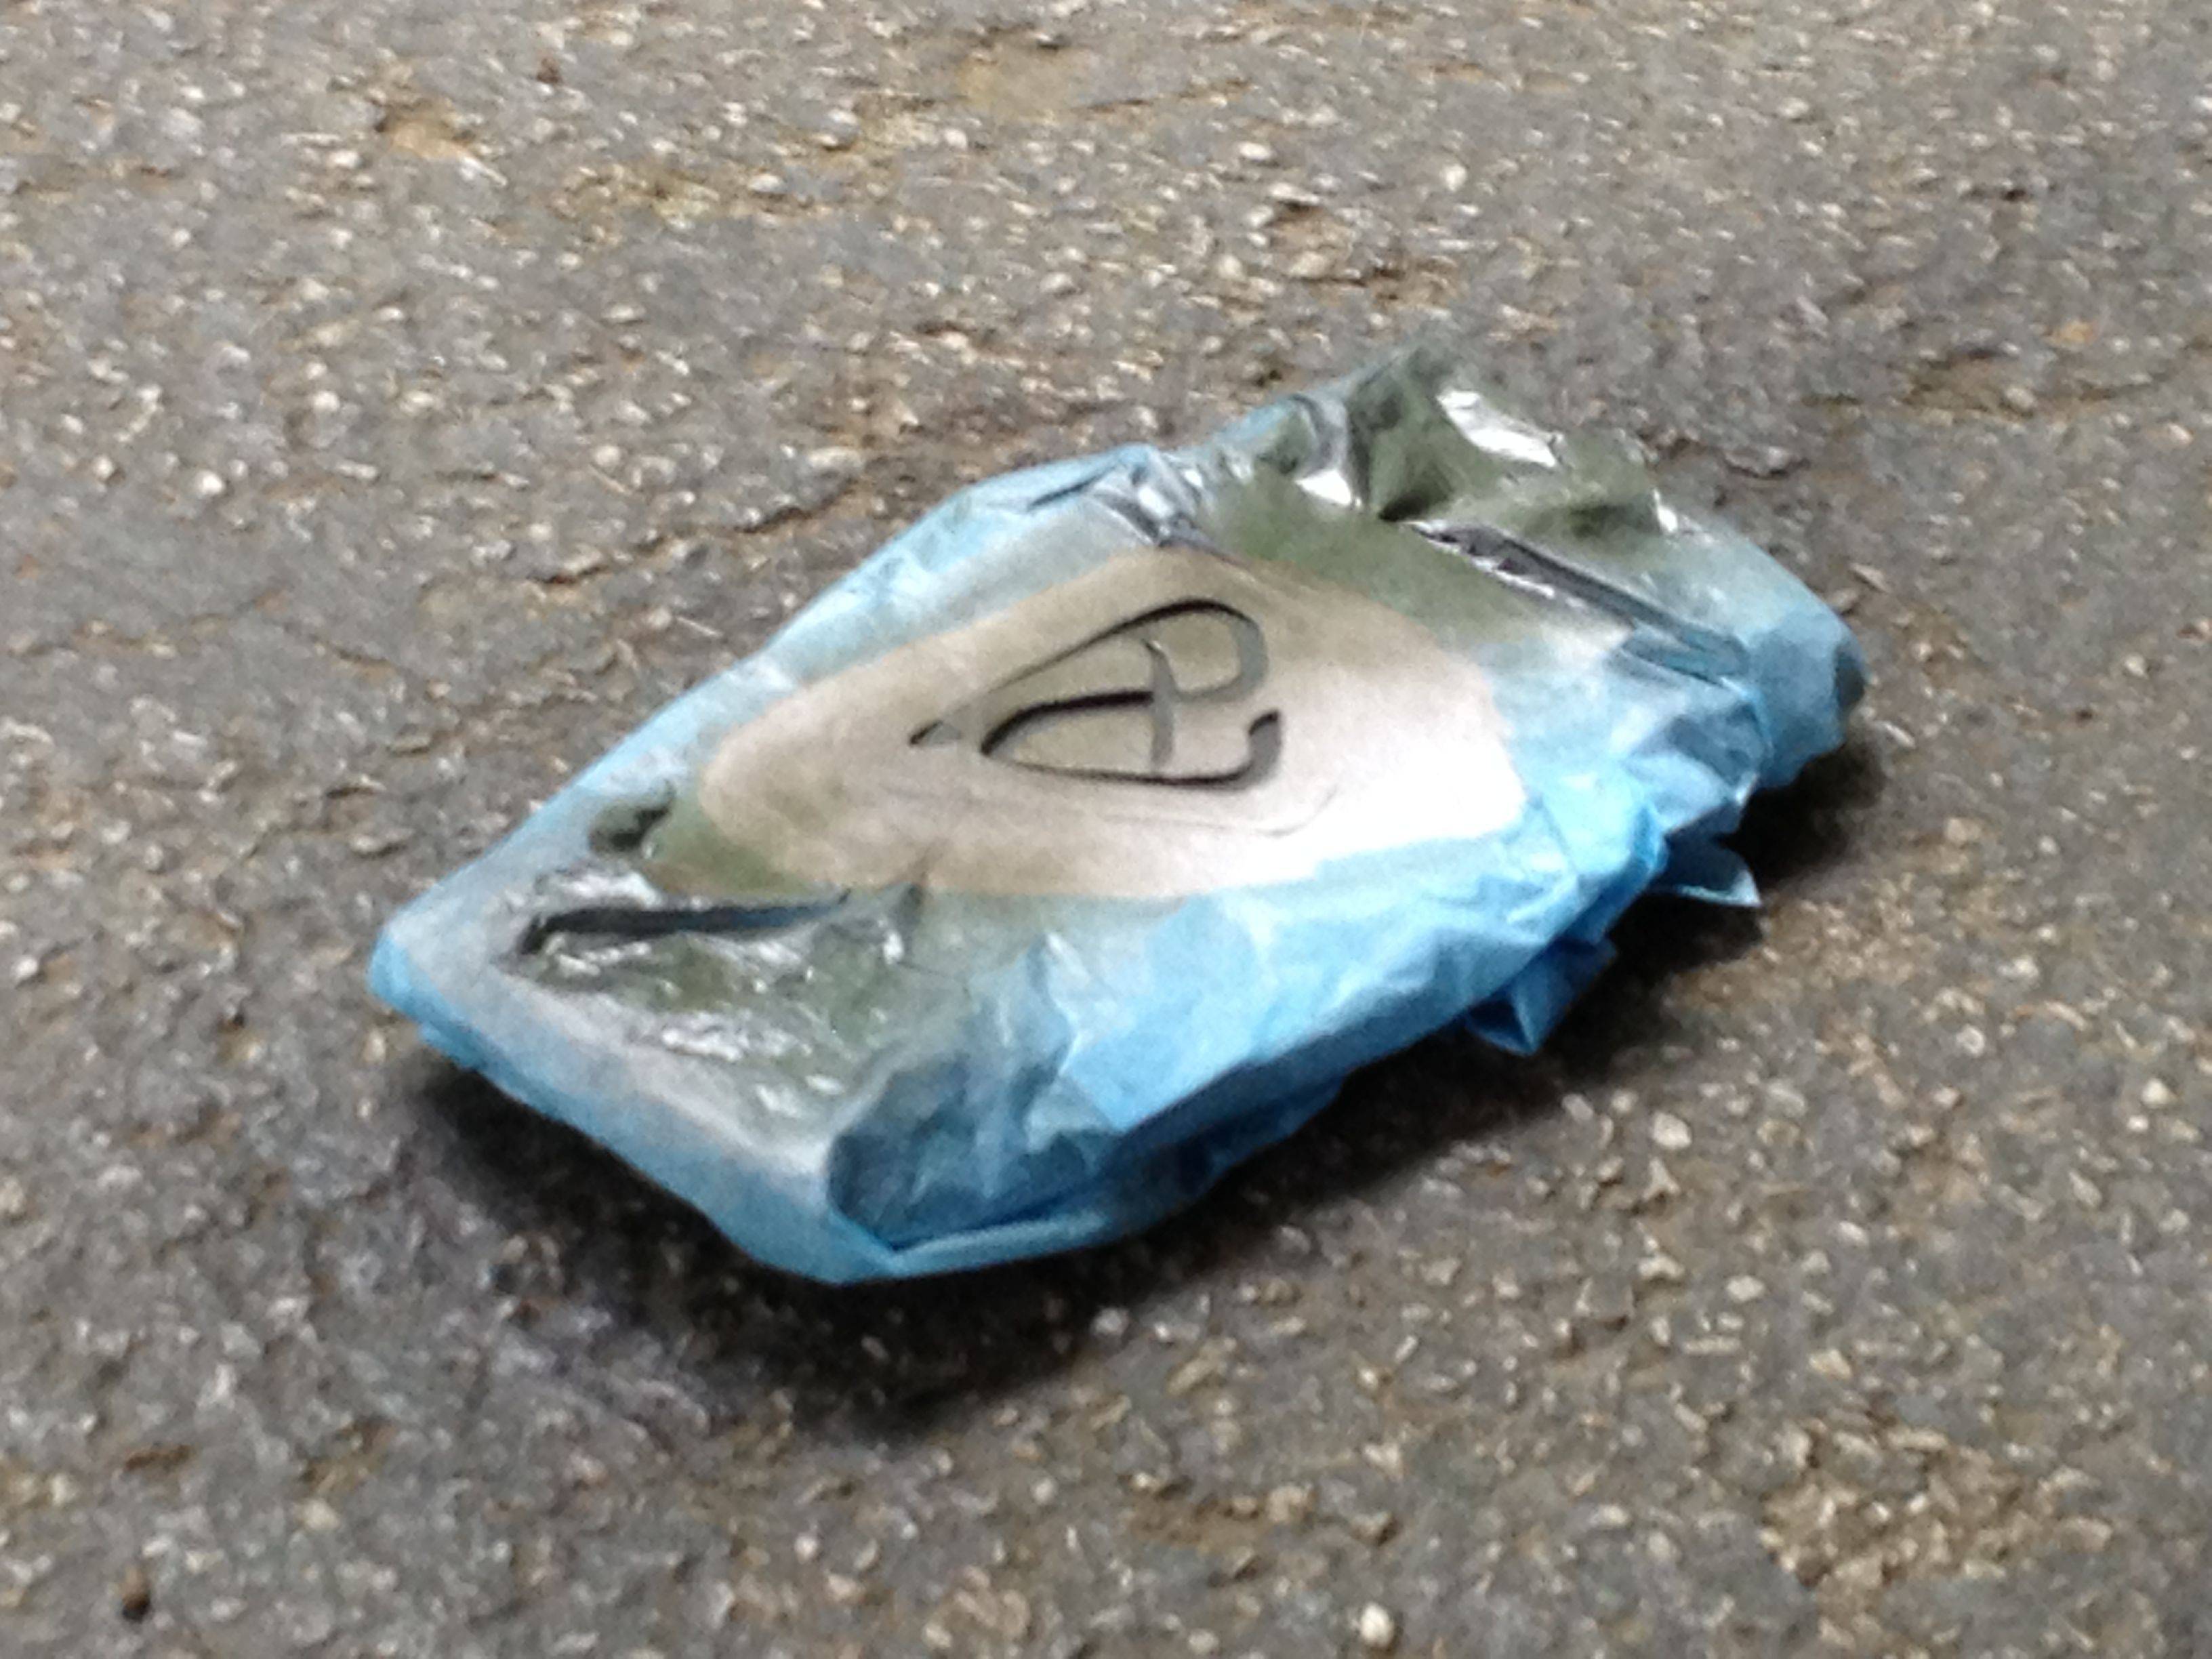
I basically cut it out after tracing, then somewhat laminated it because I needed it to be a little more durable.....and when I say laminated, I mean I put scotch tape on it over and over and over again. It made it stronger and the paper didn't just get super soggy. I will say, it laid down well to the cover but I still taped it in place then covered the surround speaker area.


I basically cut it out after tracing, then somewhat laminated it because I needed it to be a little more durable.....and when I say laminated, I mean I put scotch tape on it over and over and over again. It made it stronger and the paper didn't just get super soggy. I will say, it laid down well to the cover but I still taped it in place then covered the surround speaker area.
Last edited by foxrace4; Jun 14, 2013 at 06:47 PM. Reason: Left out some info
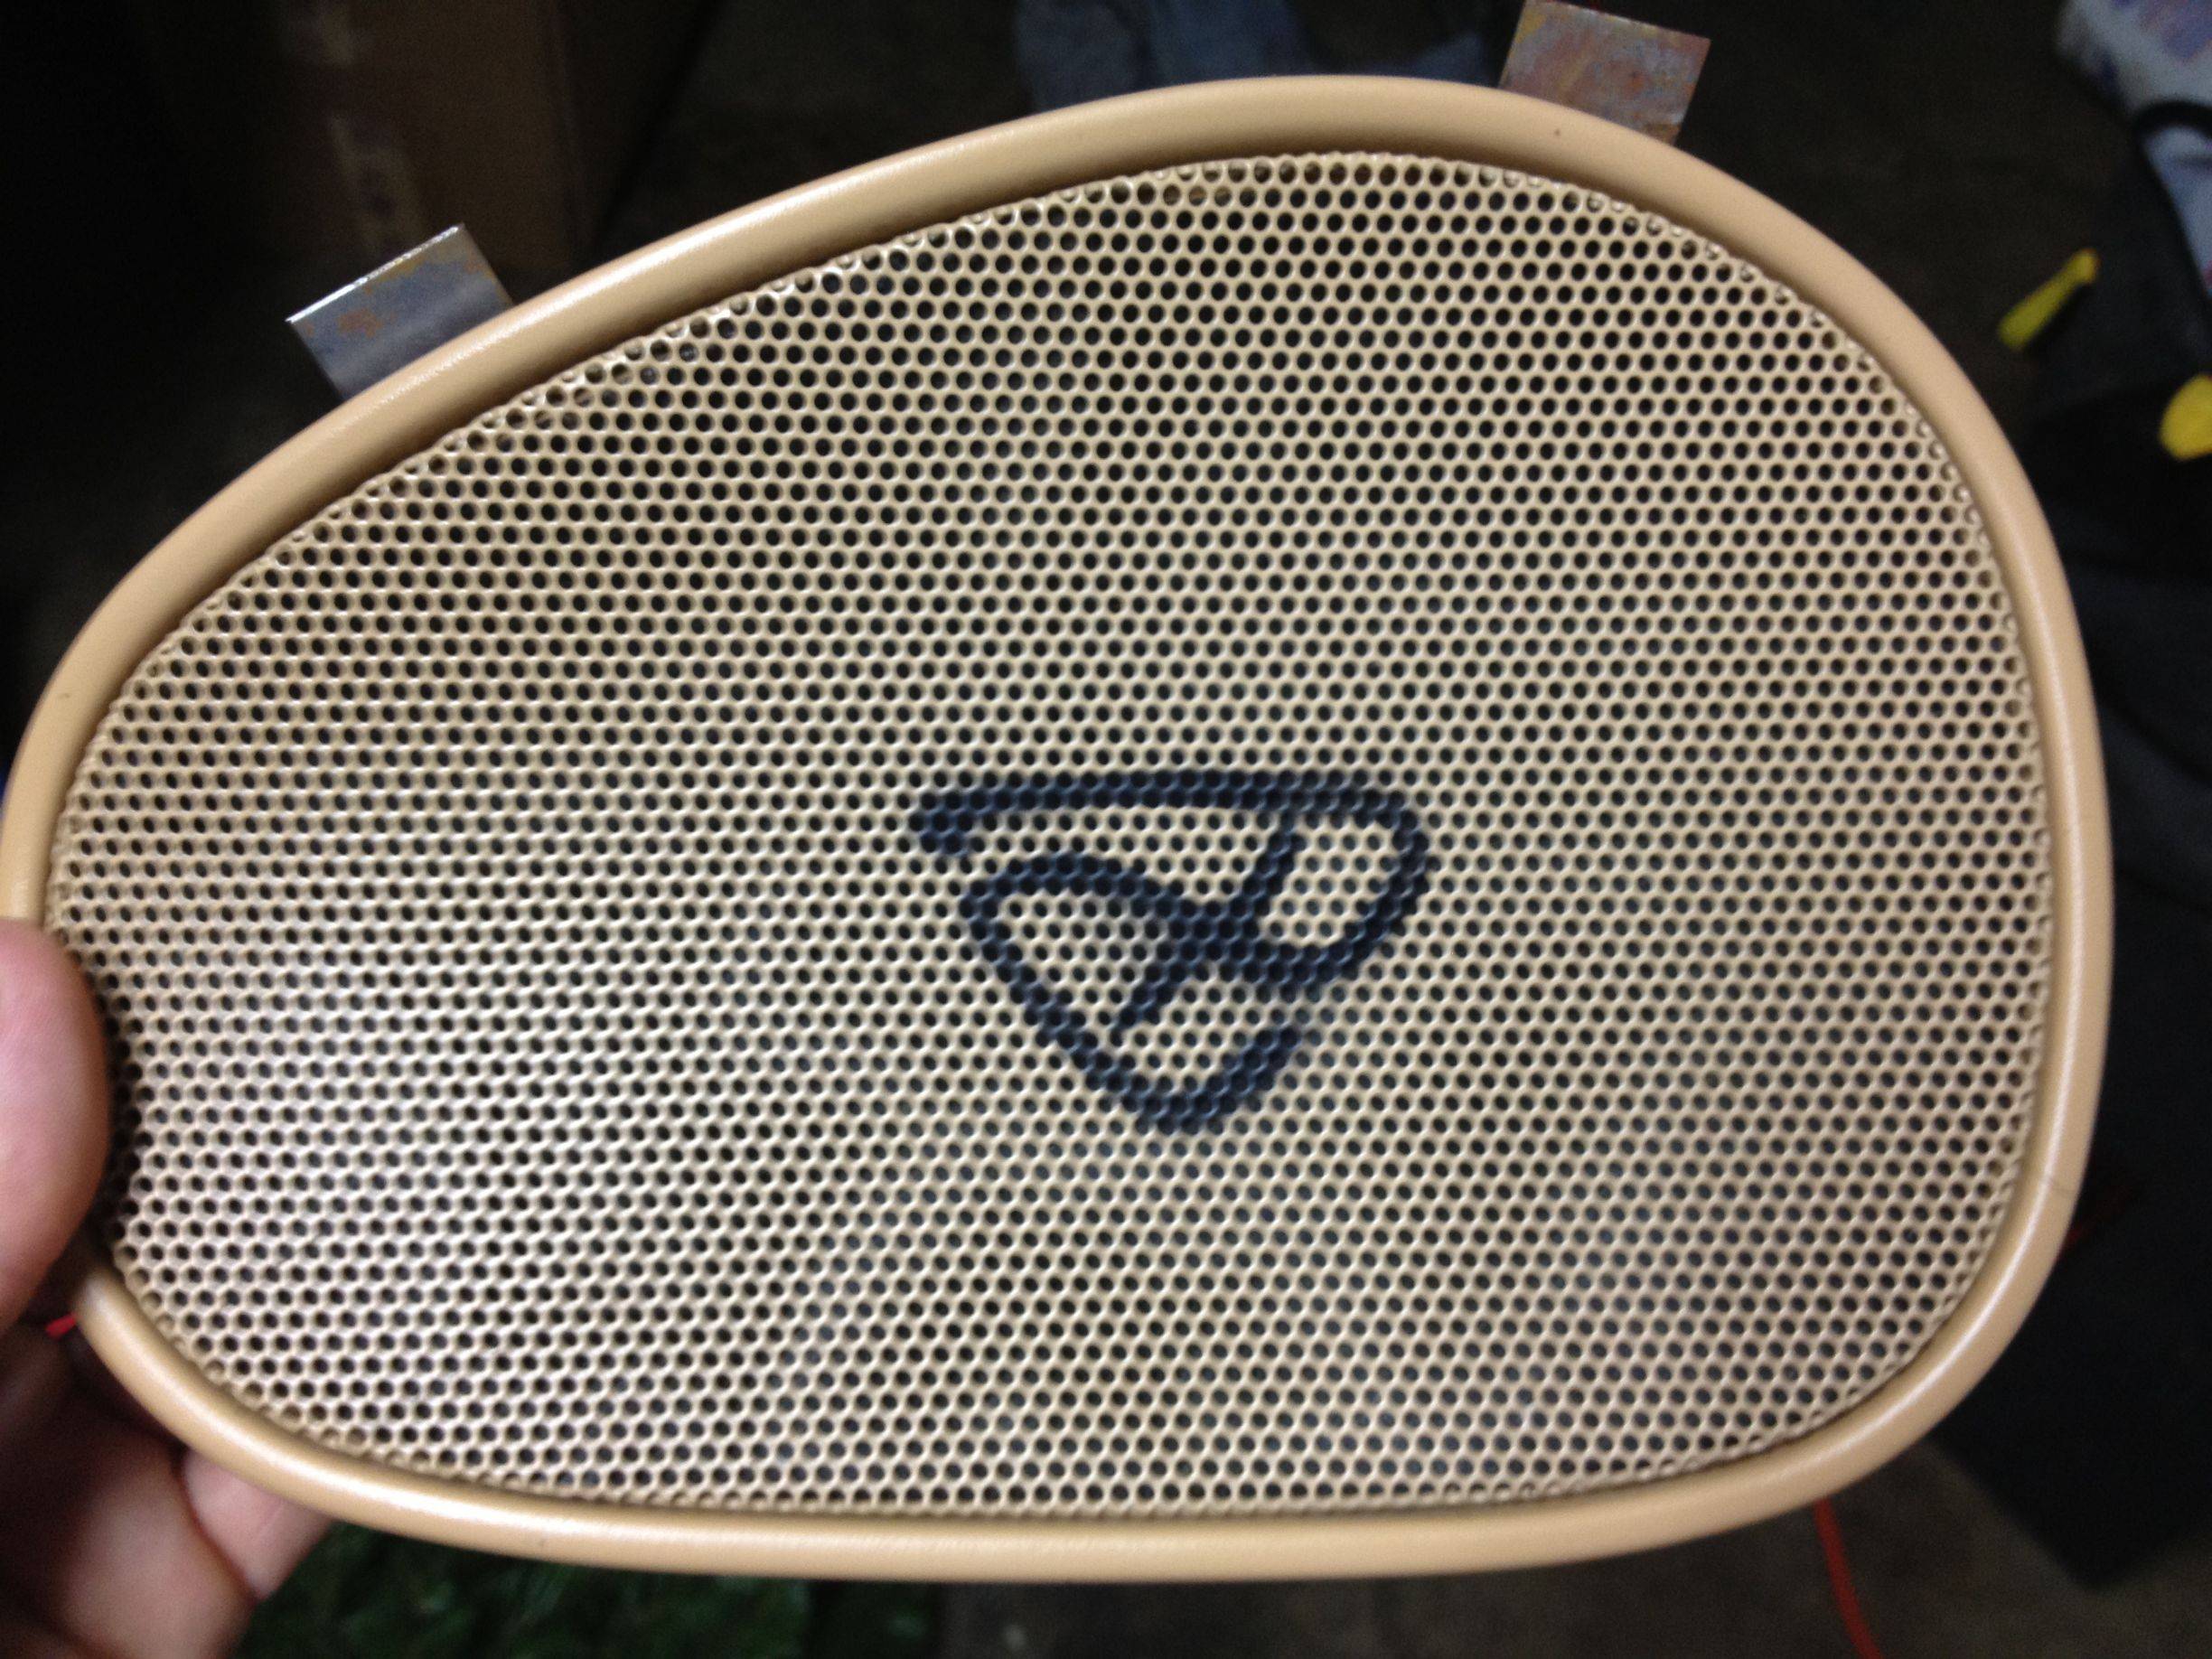
And voila!....Needs some touching up but for me having to talent, I am very pleased. I am gonna clean it up a bit and make the lines a bit sharper but I love it. Wasn't sure if I should have made it bigger but I didn't want it to be too huge. Only problems are getting the stencil to lay flat on the speaker to prevent overspray underneath the stencil.
All I did was clean the area really well and made sure it was dry, then sprayed it. I want to get some trial work with it on the car to see if its in an area where my shoes might rub on it and wear it off eventually.

All I did was clean the area really well and made sure it was dry, then sprayed it. I want to get some trial work with it on the car to see if its in an area where my shoes might rub on it and wear it off eventually.

for your stencil, cut it out of sheet metal and use magnets on the back side to hold it down. or you can cut it out of vinyl and the adhesive will hold long enough for you to shoot it but obviously you destroy the vinyl when you peel it off.
looks good so far
looks good so far
Alrighty, it's been a while since I have updated this thread but I have much to share from my endeavors with the car since then. I have gotten better at my paint skills but I am not a pro by any means. I always have to remind you guys but it really is so much more enjoyable doing this all myself.