When you click on links to various merchants on this site and make a purchase, this can result in this site earning a commission. Affiliate programs and affiliations include, but are not limited to, the eBay Partner Network.
Is that the color that came on the racing beat prot�g� turbo?
Yeah, from the ~03 Mazdaspeed Protege. Scrolling through the thread I thought "Awesome, kept it a Mazda colour!" and then read that it's apparently not that colour after all
I won't bore anyone with details, but paying for a new roof is damn expensive, so I've been on hiatus from working on, or spending money on the car. I've finally got some motivation and some free time back.
Engine bay is painted. I was sort of kicking myself for not having it paint matched with the rest of the car, but due to budget and time constraints at the time, I couldn't make it work. I'm actually really glad i kept it black. I think it helps to frame the engine better, and it's easy to touch up.
Next is cleaning up the wiring, undoing the battery relocation, reinstalling all these bits and then onto the engine.
I also scored pretty big, i thought. Checked the Mazda inventory, and there was just 1 left in the US. Obviously couldn't turn this down.
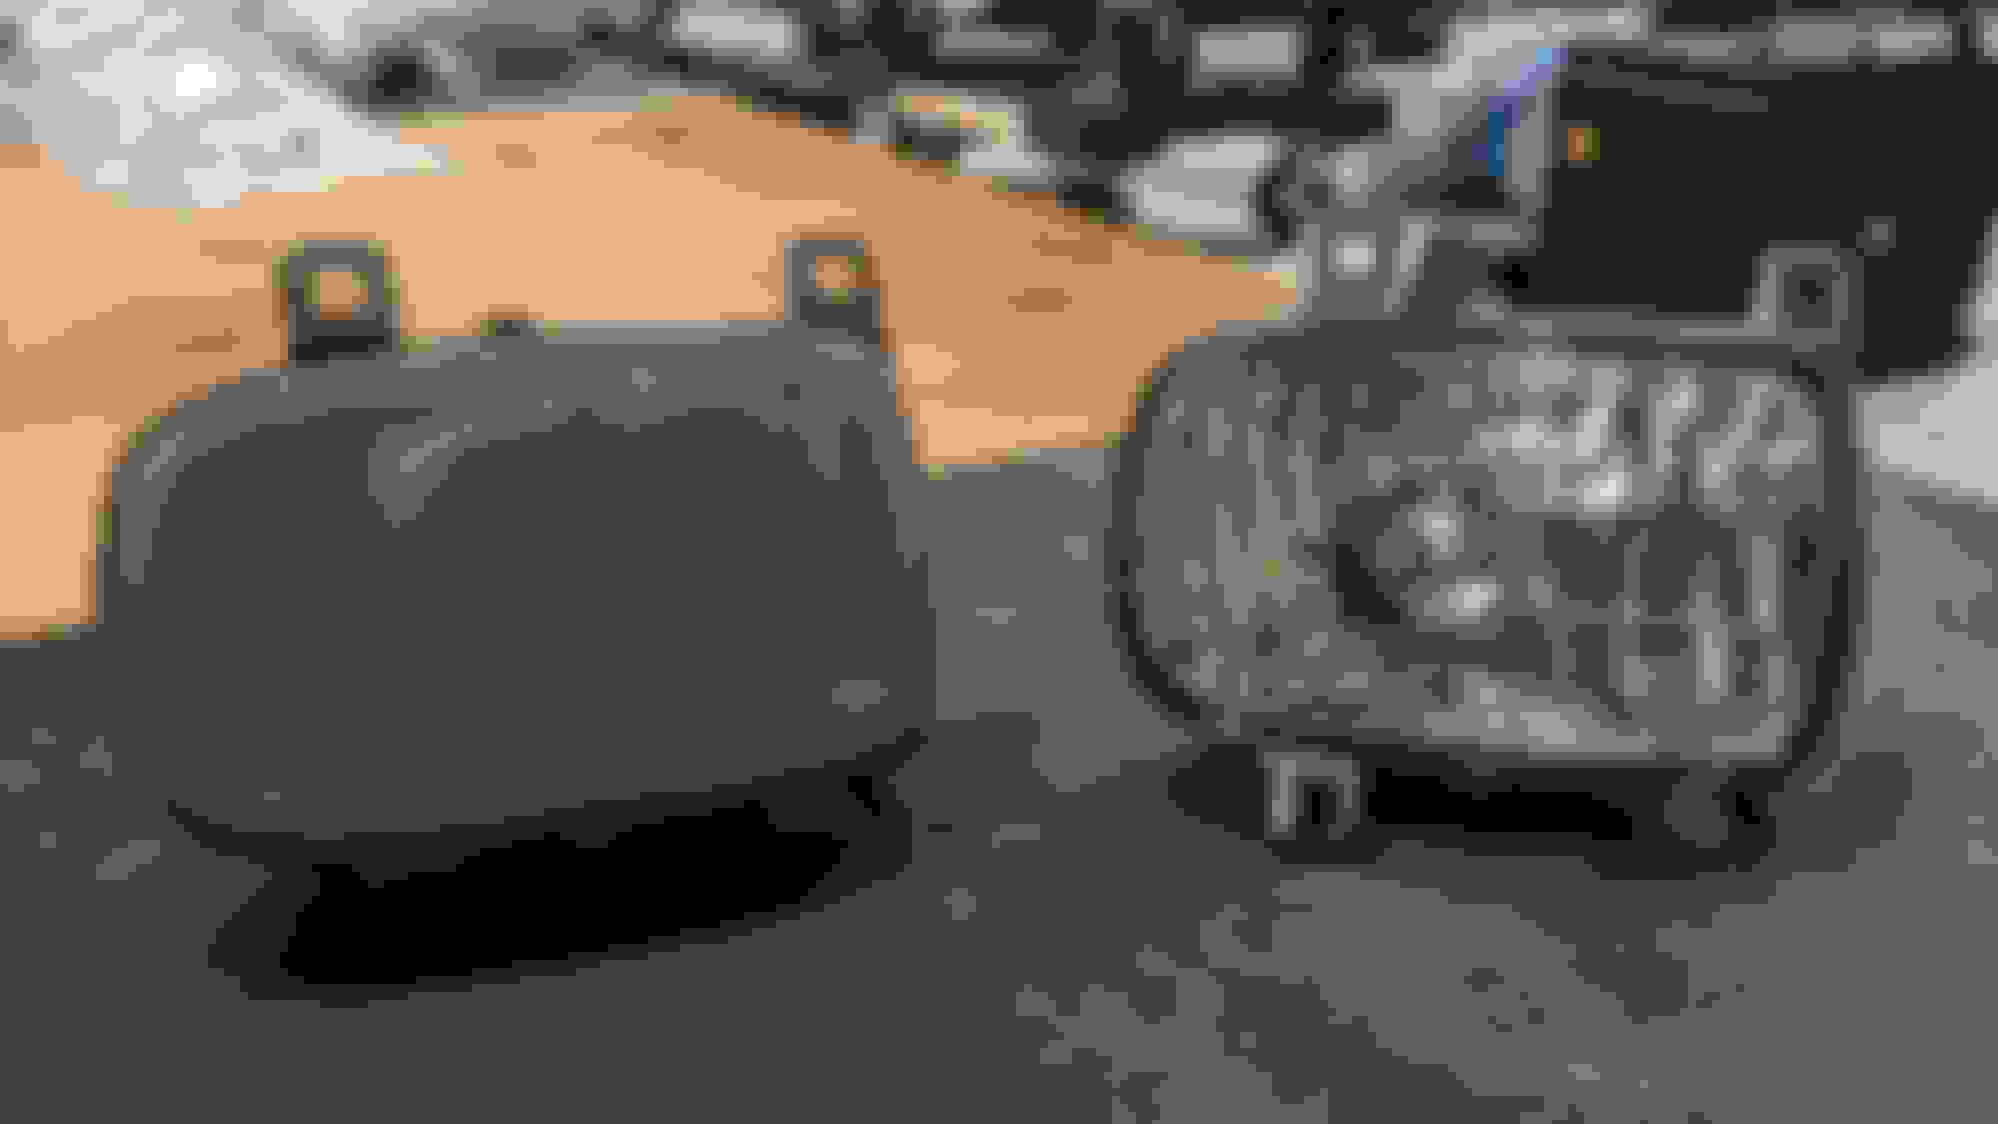
My old bins are pretty scuffed, have been repaired at one point, missing tabs and the bin is cut for a battery relocation.
The partition was also available so I said screw it, add to order.
Working on a 30 year old car is a little like archeology. You're uncovering the often not too pretty past.
Battery relocation brackets welded to the floor under the bins, stereo wiring, battery relocation in the engine bay, under the dash shenanigans. Yikes
Exhibit A.
Looks like they bolted the old fuse block to the ignitor. I'll plan to put a smaller battery in the factory location and undo this mess.
Hood release switch, no idea why they did this.
Fan extension nightmare
Old amp wiring
No idea, these were already snipped.
Wrapped in electrical tape, no clue
Hopefully i don't find anymore surprises, these are all fairly minor and while i haven't driven the car yet, I did test a lot of the system and they seemed to function, so fingers crossed.
Speaking of wiring, I'll be running the wiring for the SakeBomb fuel pump rewire, but not hooking it up until i get the car running. Just trying to eliminate possible frustrations later if something goes wrong. I'll finish pinning it in when i verify the car runs under its factory condition.
Upgrades people, upgrades
And the new bins in, wow, I know this was a lot of hurt on the wallet but it looks so good.
Great build you got going here! BTW, there's nothing worse that having to fix a previous owner's ****-poor electrical work. Once I find their f-ups, it's usually pretty easy to fix, but when I'm done it profoundly bothers me, knowing that someone so inept who had no business messing with anything electrical once molested my car like that!
About 90% finished with simplified sequential and changing from blue to black silicone hose. I've hated nearly ever minute of it.
Some lessons learned:
Study the diagram, study it some more, then stare at it. It eventually makes sense. What is frustrating is figuring out how to route the hoses. I did this with the wiring harness pushed to the side. Bad idea, had to undo it to snake the harness under it all and redo some of the work. Then putting the coils in, i realized it was pinching some hoses. Then when the UIM went on, i realized some more things were in the way.
Old crispy wiring covered in grease/oil/blood/tears was a struggle. There is no suppleness left and it feels like wrestling a rigor mortised snake. I half debated stopping and ordering a replacement from Wiring Specialties, but now that I'm on a roll/rush to get this car done for summer I don't want to stop what progress I'm making. I'm fighting to get this wiring out of the way of all the hoses and other garbage that goes around it, so i'd advise anyone in the future to consider just biting the bullet.
Hopefully I'll have this all buttoned up in a day or two so it can go back into the car. I'm itching to get all these other little things done and it's best if the engine gets back in the car so i can keep making progress.
It should be noted the the common vacuum hose diagram is highly stylized and does not reflect how the actual rats nest looks.
A better guide is actually the "exploded" diagram for the vacuum line parts in the parts catalogue.
Also it may be good to get an example of a rats nest that has been removed intact *, to use as a 3D guide.
I believe a good part of Mazda's re-issued parts list is the preformed vacuum hose bits. Very expensive to buy them all, but they will also fit together nicely.
(* this actually happens when a shop is doing a full rats nest delete, which is very common.)
So rewarding to unf*ck something that a mechanically disadvantaged previous owner tried to ruin. Went through some similar stuff with my fd and other vehicles I've owned in the past. Keep up the good work.
Super satisfying to get the rats nest simplified. I actually ended up reusing two out of the three set of hard lines on the solenoid rack. Just made sense as it beats having multiple tee fittings. The one I removed is the one feeding the three ports on the LIM. Was thinking of buying a couple of vacuum blocks to try and make it look better, but, decided free and works was better, lol. Anyways, hands were definitely sore after doing all that.
Finished the vacuum routing, tried putting everything back the way it came out.
The previous owner had done their own blue silicone vacuum job (as you can see from the remnants), but they had thrown away the two vacuum lines that control the wastegates. Specifically why this matters is the boost restrictors that were now missing. I dug up an old thread here, so thanks to @alexdimen for the info about sizing.
I used a 1/16" drill bit (close enough to a #52/#53)
Because the previous owner had left some of the coolant lines open for who knows how long, I noticed a lot of crud and rust in the line that goes through the throttle body. I decided to delete the thermowax and loop the back on the engines port to the front of the waterpump housing.
I picked up a downpipe that doesn't have a giant dent in it, and has a second O2 port already installed for a wideband.
The old mystery exhaust had to drop to get the downpipe in. I'm replacing this with a racing beat catback exhaust. The car still has the factory cat.
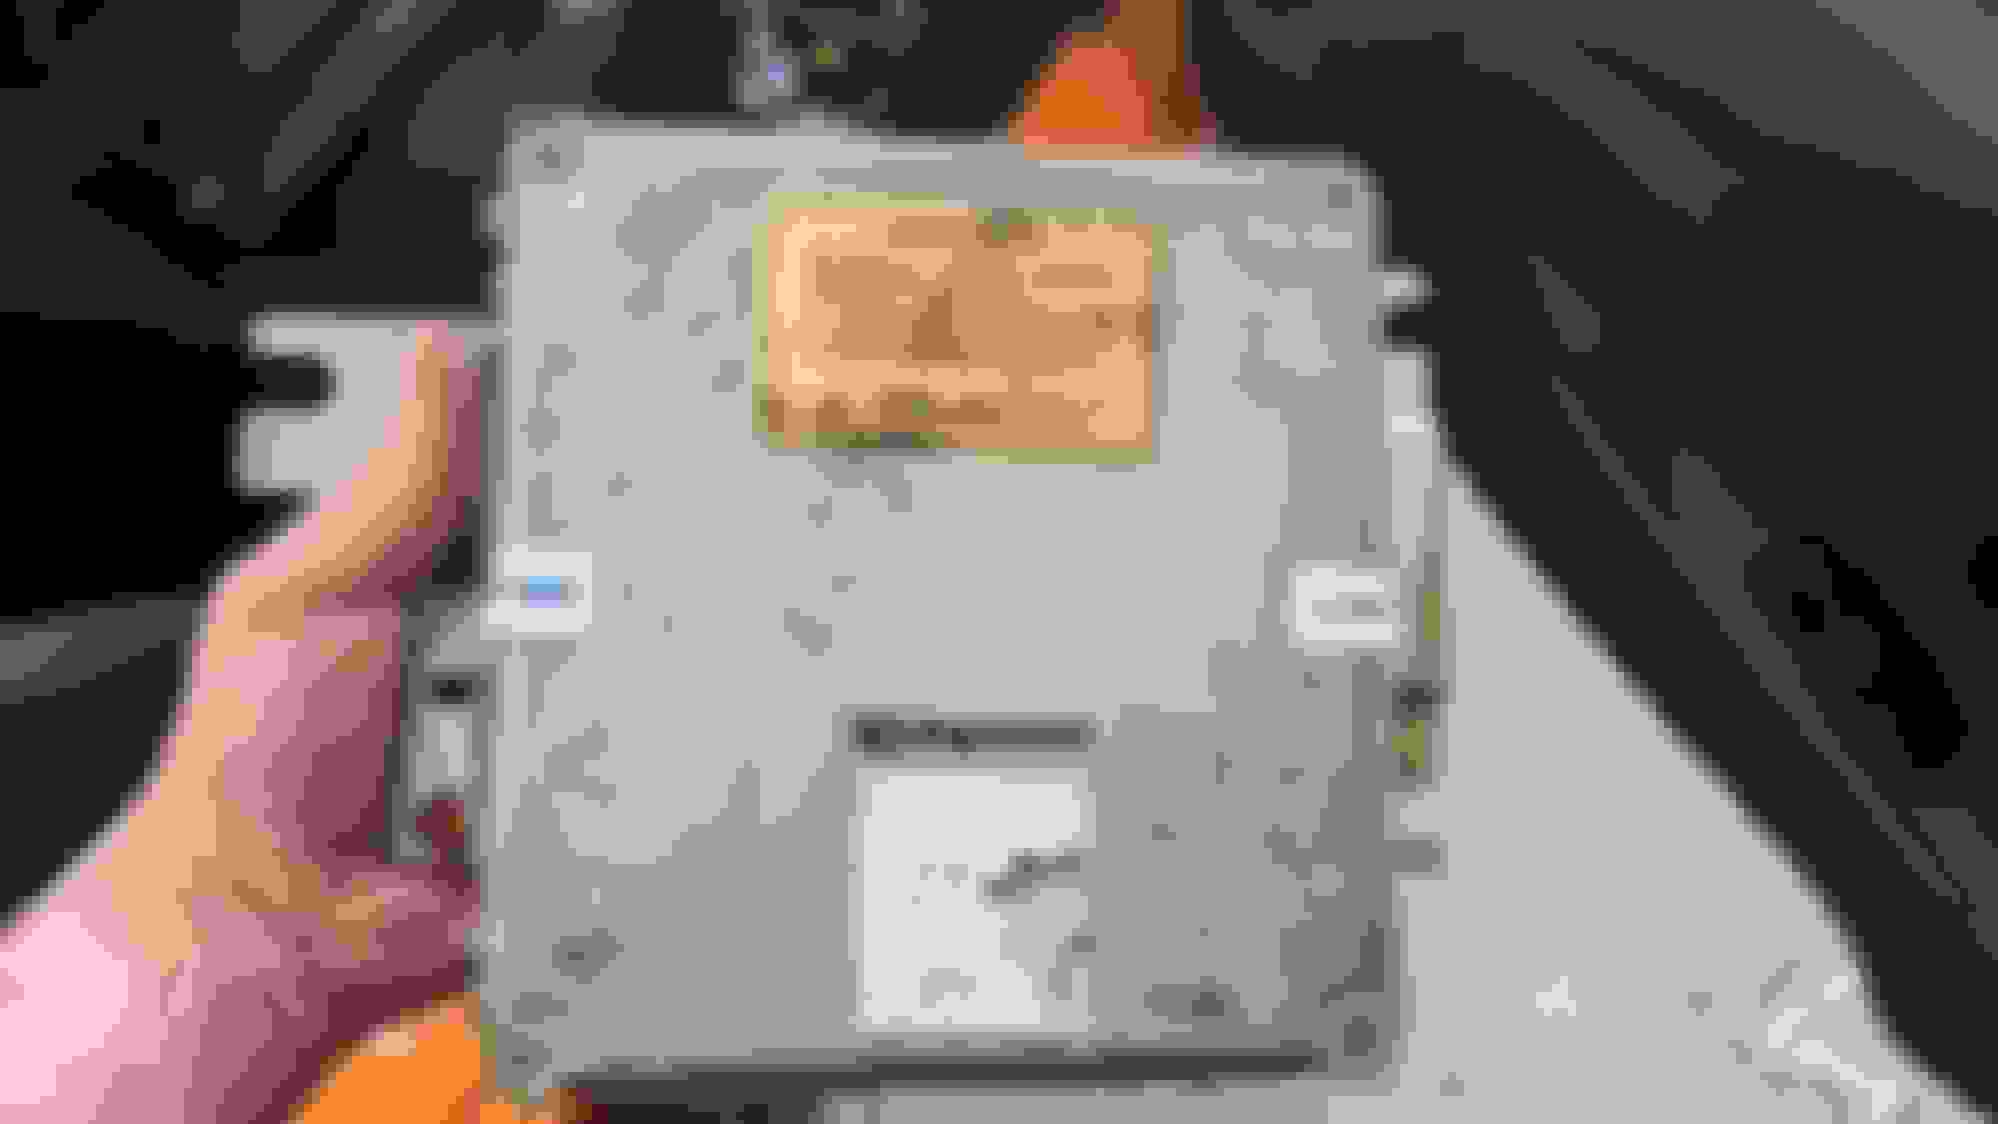
Some more oddness to the state of the car as I got it. A MINES ecu.
I did some searching around, but honestly i couldn't find much on a MINES ecu. MINES is a japanese tuner that focuses heavily on Nissan cars, so this kind of surprised me, but they do offer ECU tuning. However, i couldn't verify anything about the tune. I suspected that the ECU might have had something to do with why the car didn't run when i initially tried to start it.
Out with the old and in with the, well, still old.
OK, so engine is installed. I removed the EGI fuse and cranked the engine to build some oil pressure. I had suspected that based on the story from the last owner that we had a fueling issue with the car. Just for a recap, he had claimed the car was running one day, then stopped. They did some diagnosing and checked on the fuel pump. That was when they discovered the fuel tank had rusted out. The car was left in that state. I've since added a new fuel tank, new fuel pump, new fuel filter. I pulled the injectors out and did the DIY 9V battery/brake clean backflush technique. I had assumed the "stopped running" might have been from picking up trash from the tank and clogging something.
It was getting late but I really wanted to see if I had fixed the issue with the new known ECU tune/condition, cleaning injectors and fuel pump.
Key on, the PFC commander comes to life, tried starting the car. No dice. If i spray some starting fluid down its throat it will fire and run until that is exhausted. So I'm still not getting fuel.
Some things I will investigate today:
1. I found out the PFC will illuminate the exhaust temp lamp if there are sensor issues. I will dig into this today
2. Fuel pump is priming, but I will probably jumper the pump and pull the feed line to verify flow.
3. Hook up the feed line and disconnect the return line. Verify flow (possible bad FPR??)
I'd love any other thoughts. I'm so close to hearing this thing finally run on its own, it's killing me!
The Sensor Check screen in the PFC Commander is a great place to look for any faults. Shows all the voltages of major inputs. If something is unplugged it will be reverse highlighted.
First step is to make sure the fuel pump is running and you are getting fuel pressure. Jumper the F/P and GND terminals in the diagnostic box under the hood and turn the key to On, that will run the fuel pump full time.
 09-29-22, 09:37 PM